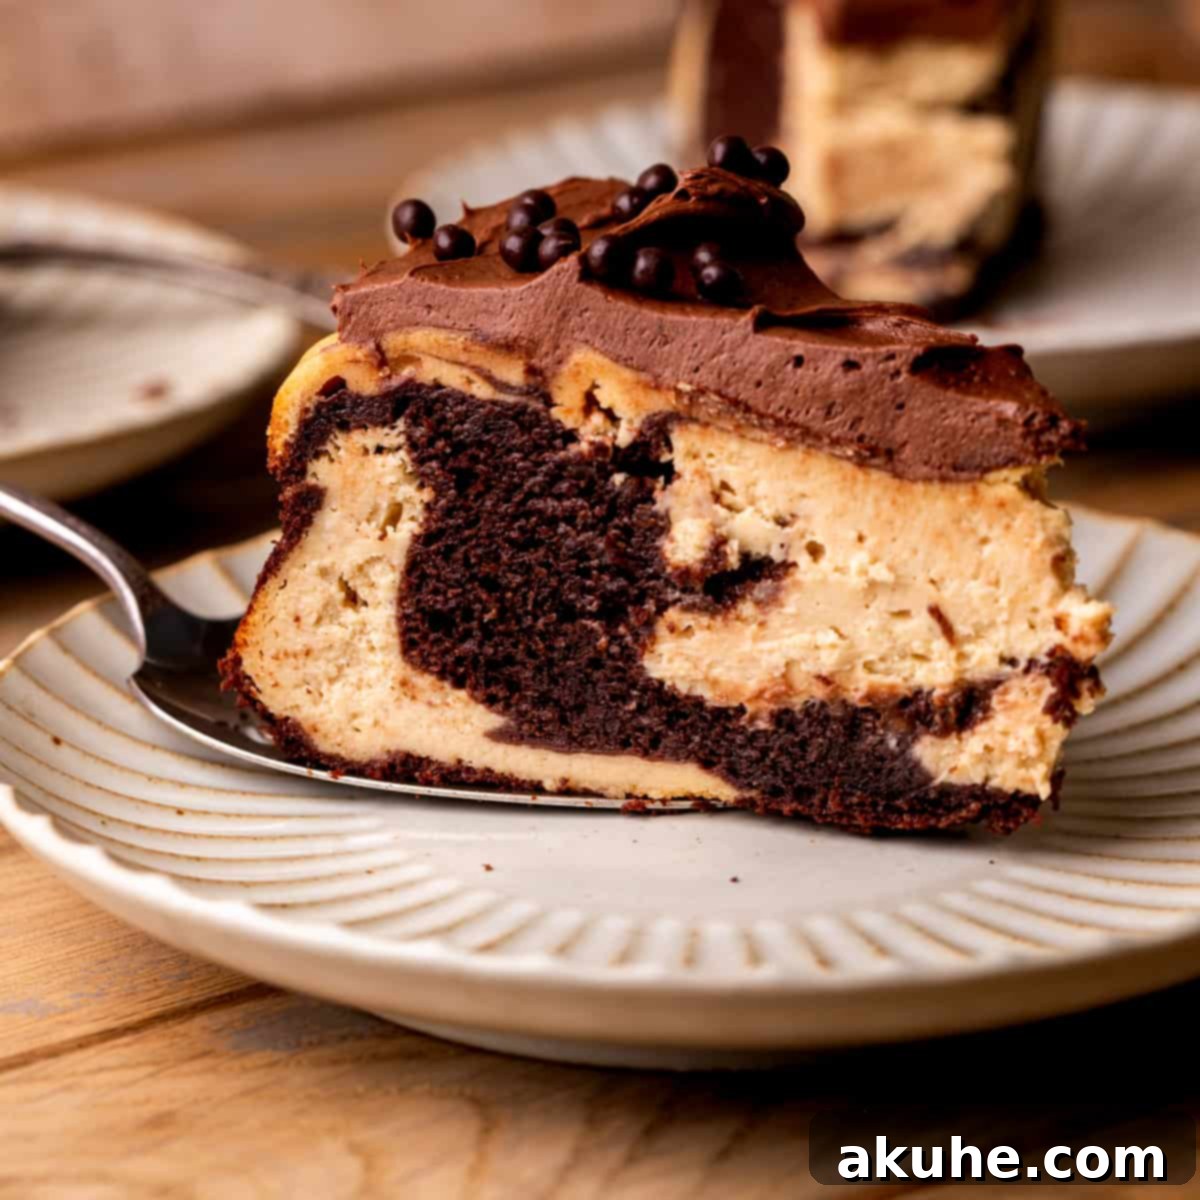
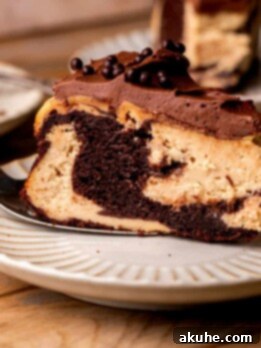
Indulge in the ultimate dessert experience with our sensational **Chocolate Peanut Butter Cheesecake**. This isn’t just a dessert; it’s a harmonious marriage of two universally loved flavors, chocolate and peanut butter, expertly combined into a single, show-stopping treat. Imagine the rich, moist texture of a classic chocolate cake perfectly intertwined with the creamy, dreamy bliss of peanut butter cheesecake. Each bite delivers a decadent swirl of both, crowned with a luscious chocolate frosting that elevates this masterpiece to an unparalleled level of deliciousness.
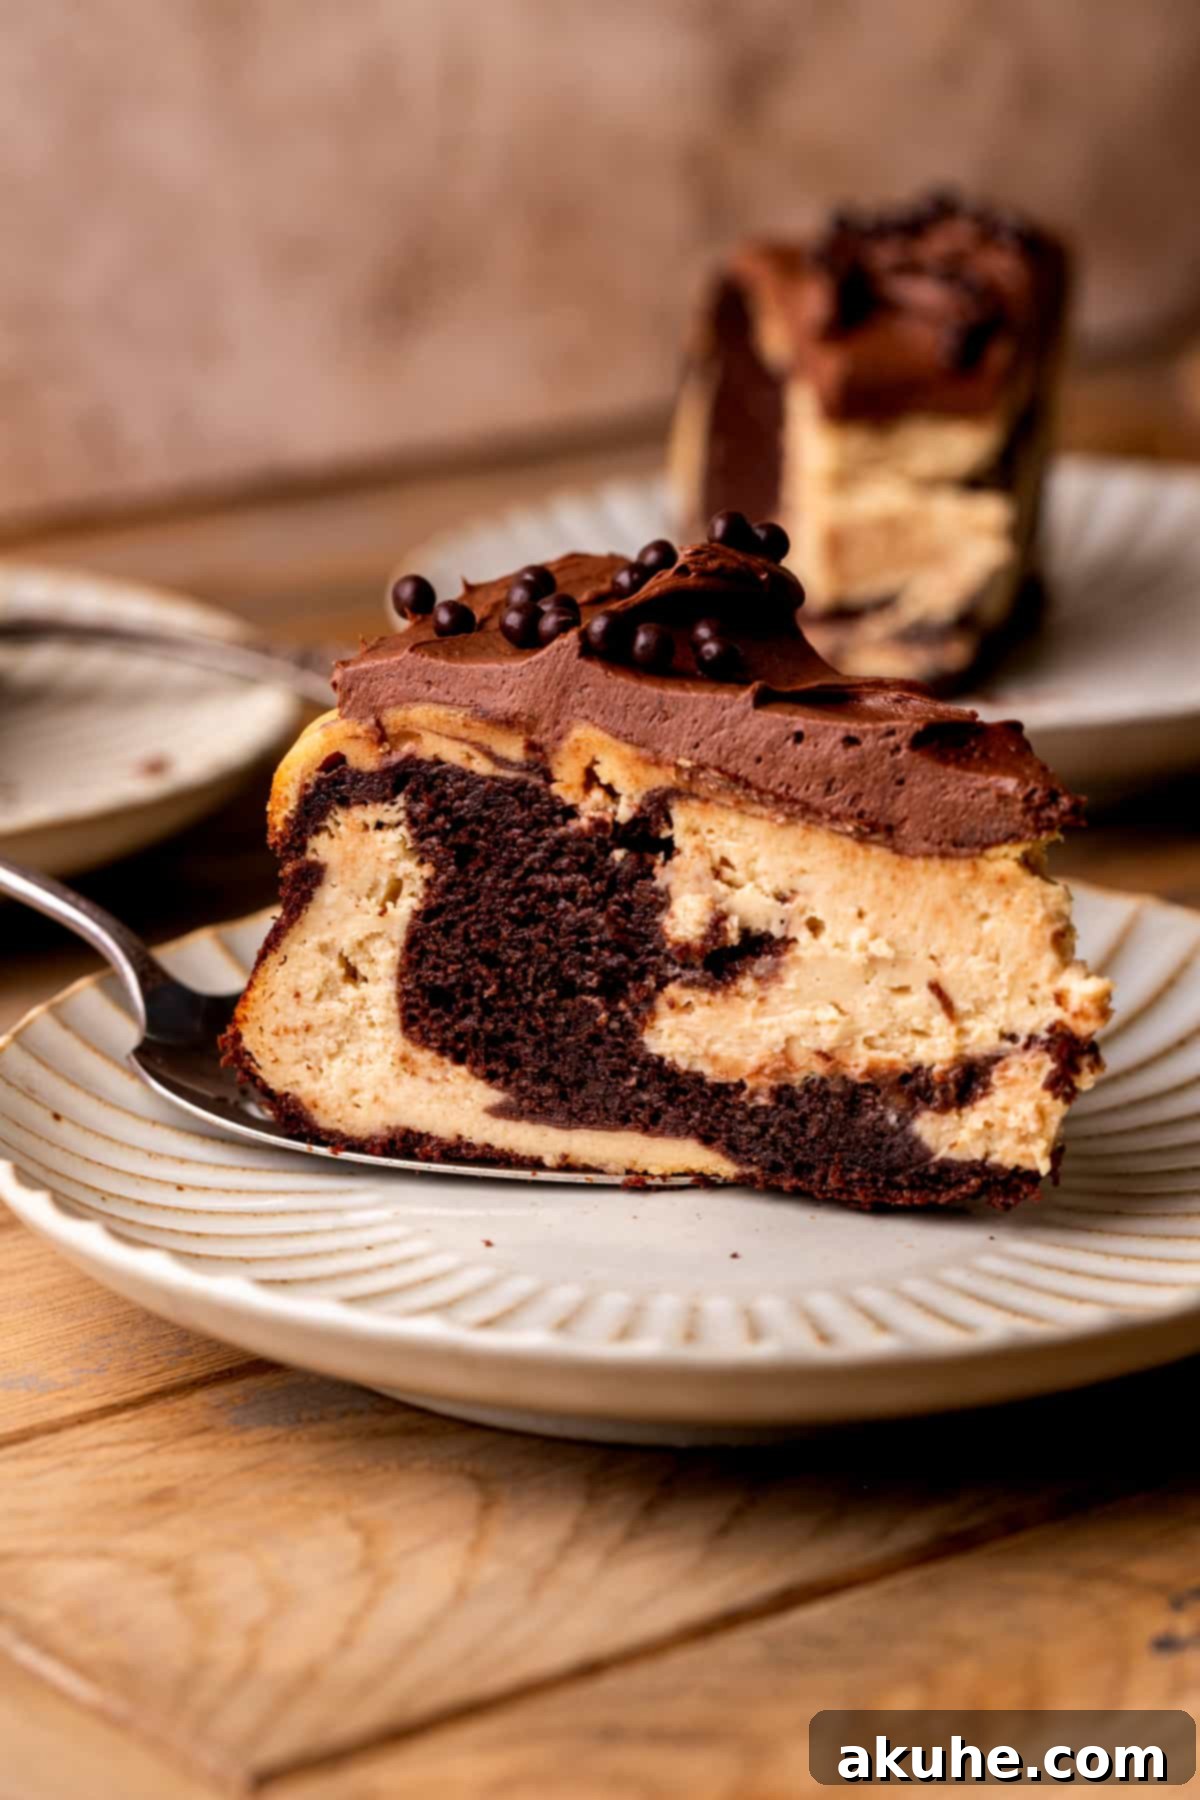
This dessert is a true crowd-pleaser, designed to satisfy every craving. Whether you’re a devout peanut butter enthusiast, a dedicated chocoholic, a cake connoisseur, or a cheesecake aficionado, this recipe has something extraordinary for you. Why settle for one dessert when you can have the absolute best of multiple worlds, combined into a single, unforgettable creation? It’s more than just the sum of its parts; it’s an elevated experience that will leave everyone at your table delighted. The next time you’re looking to impress guests or simply treat your loved ones (and yourself!) to something truly special, this **Chocolate Peanut Butter Cheesecake recipe** is your secret weapon. Prepare for an outpouring of compliments!
For those who adore the irresistible pairing of chocolate and peanut butter, we have more delightful recipes to explore:
- Reese’s Cup Peanut Butter Cookies
- Chocolate Peanut Butter Cake
- Peanut Butter Nutella Cookies
Why This Chocolate Peanut Butter Cheesecake Recipe Stands Out
Our **Chocolate Peanut Butter Cheesecake** isn’t just another dessert; it’s a carefully crafted recipe designed for maximum flavor and enjoyment. Here’s why it deserves a prime spot in your baking repertoire:
- The Ultimate Flavor Harmony: Chocolate and peanut butter are a match made in culinary heaven, and this recipe perfectly encapsulates that magical pairing. We’ve meticulously balanced the intense richness of the chocolate cake with the creamy, nutty essence of the peanut butter cheesecake. The proportions are just right, ensuring that neither flavor overpowers the other, resulting in a symphony of taste in every single spoonful.
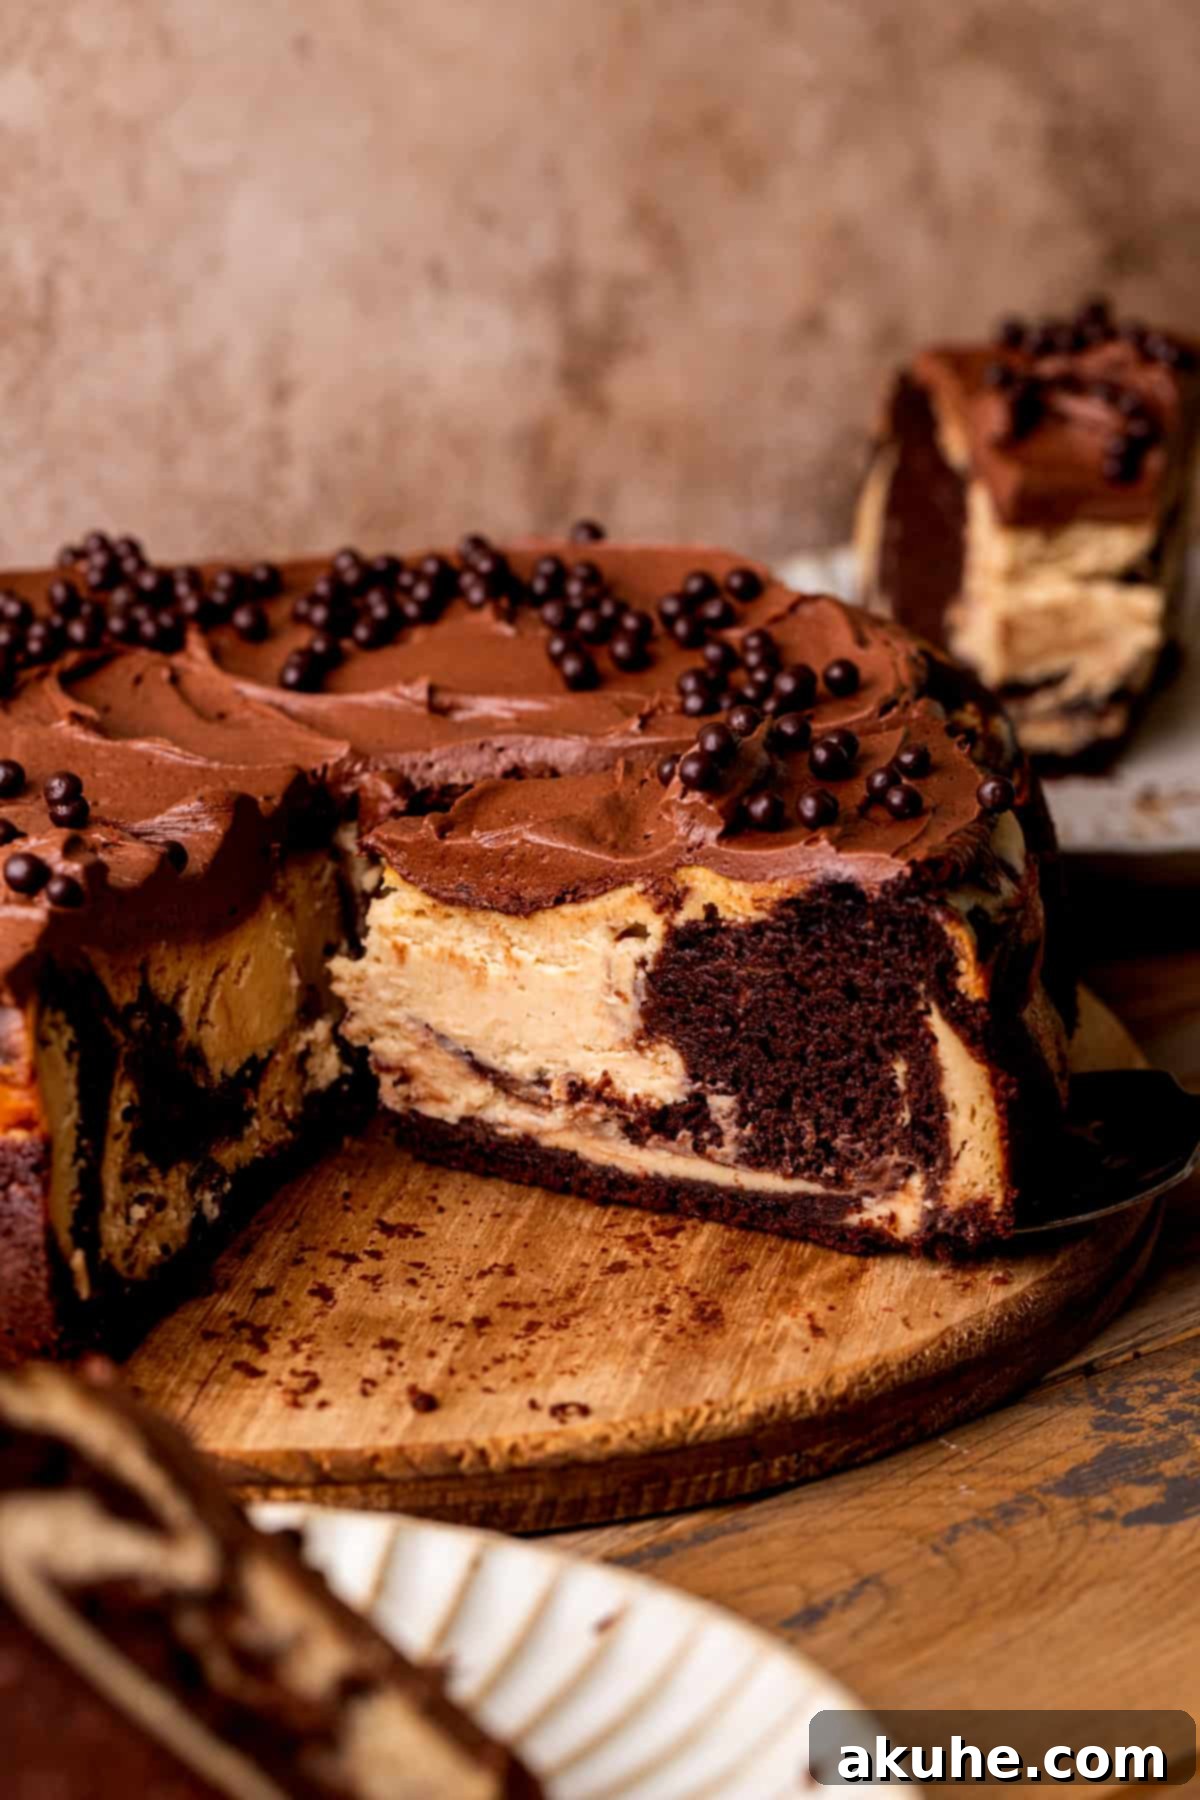
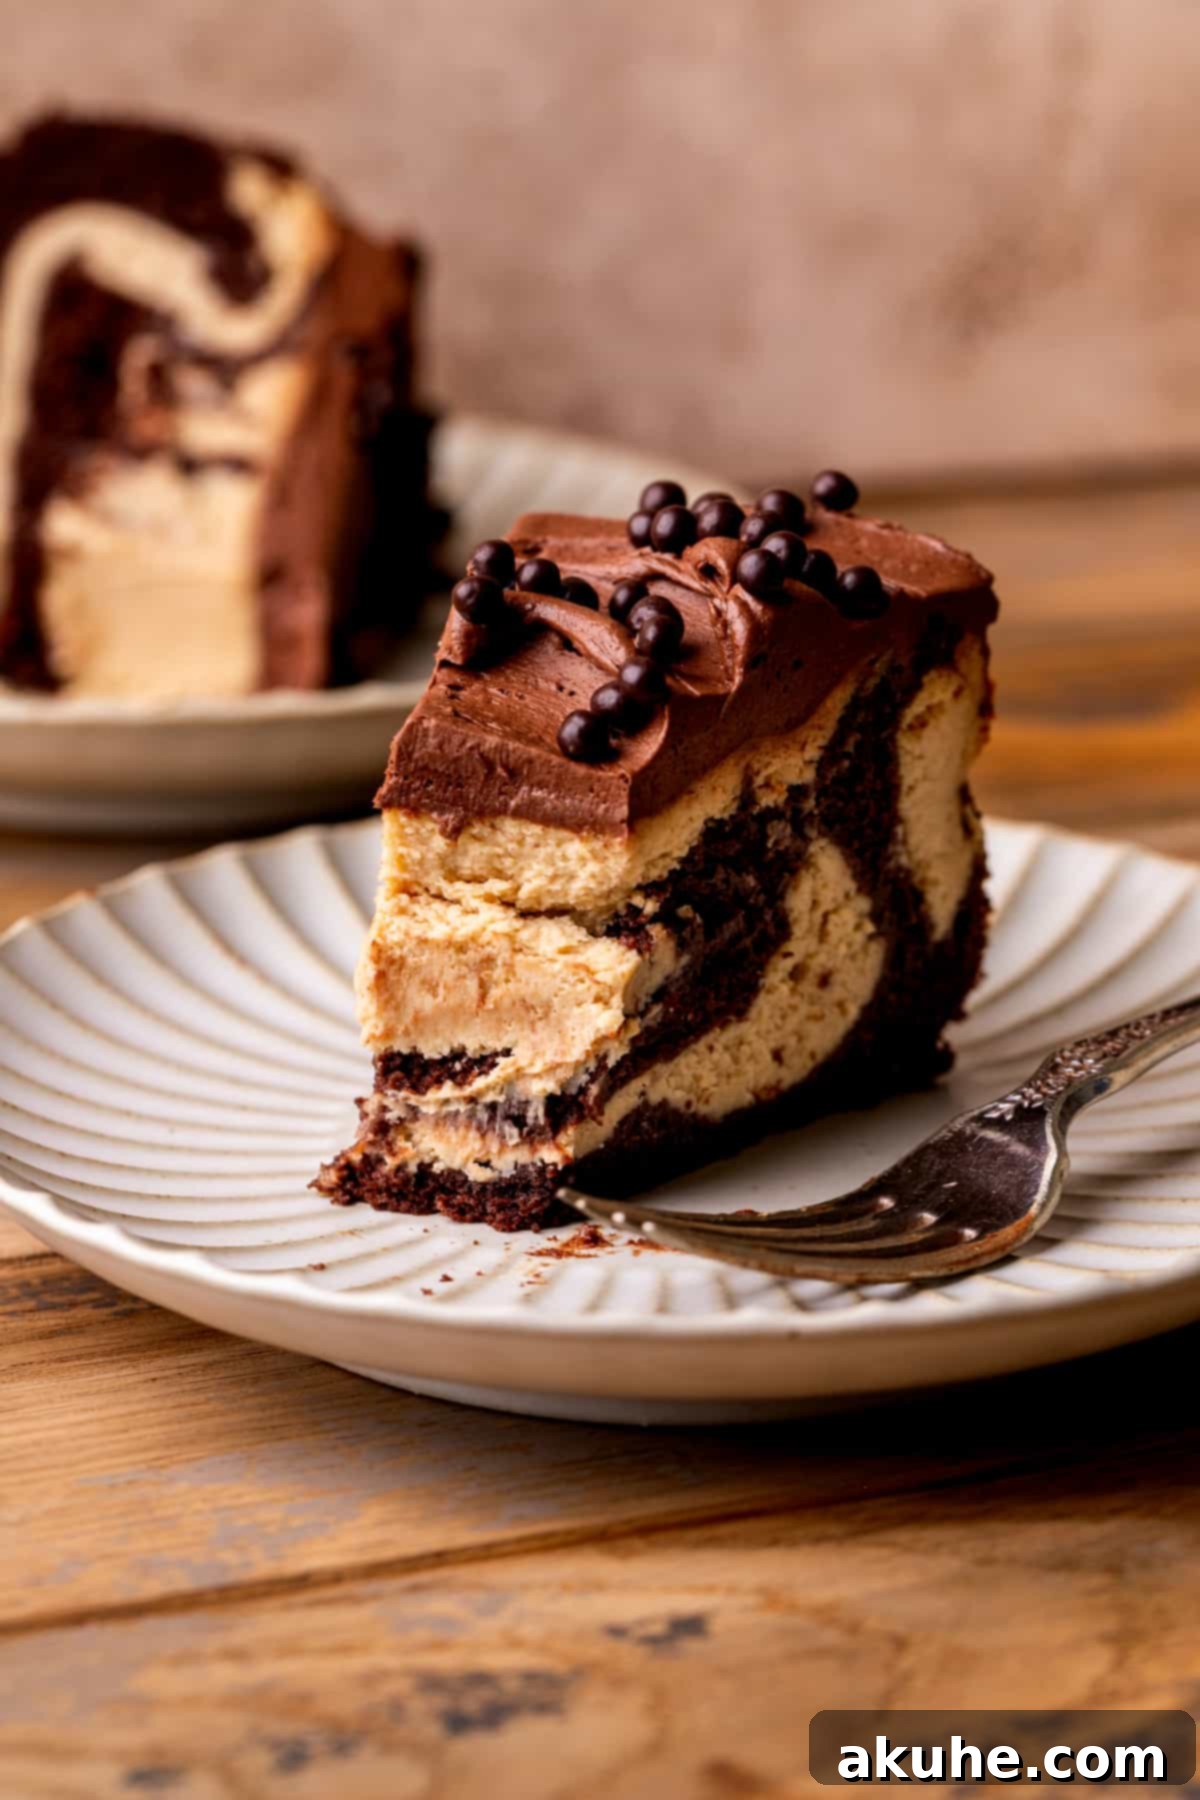
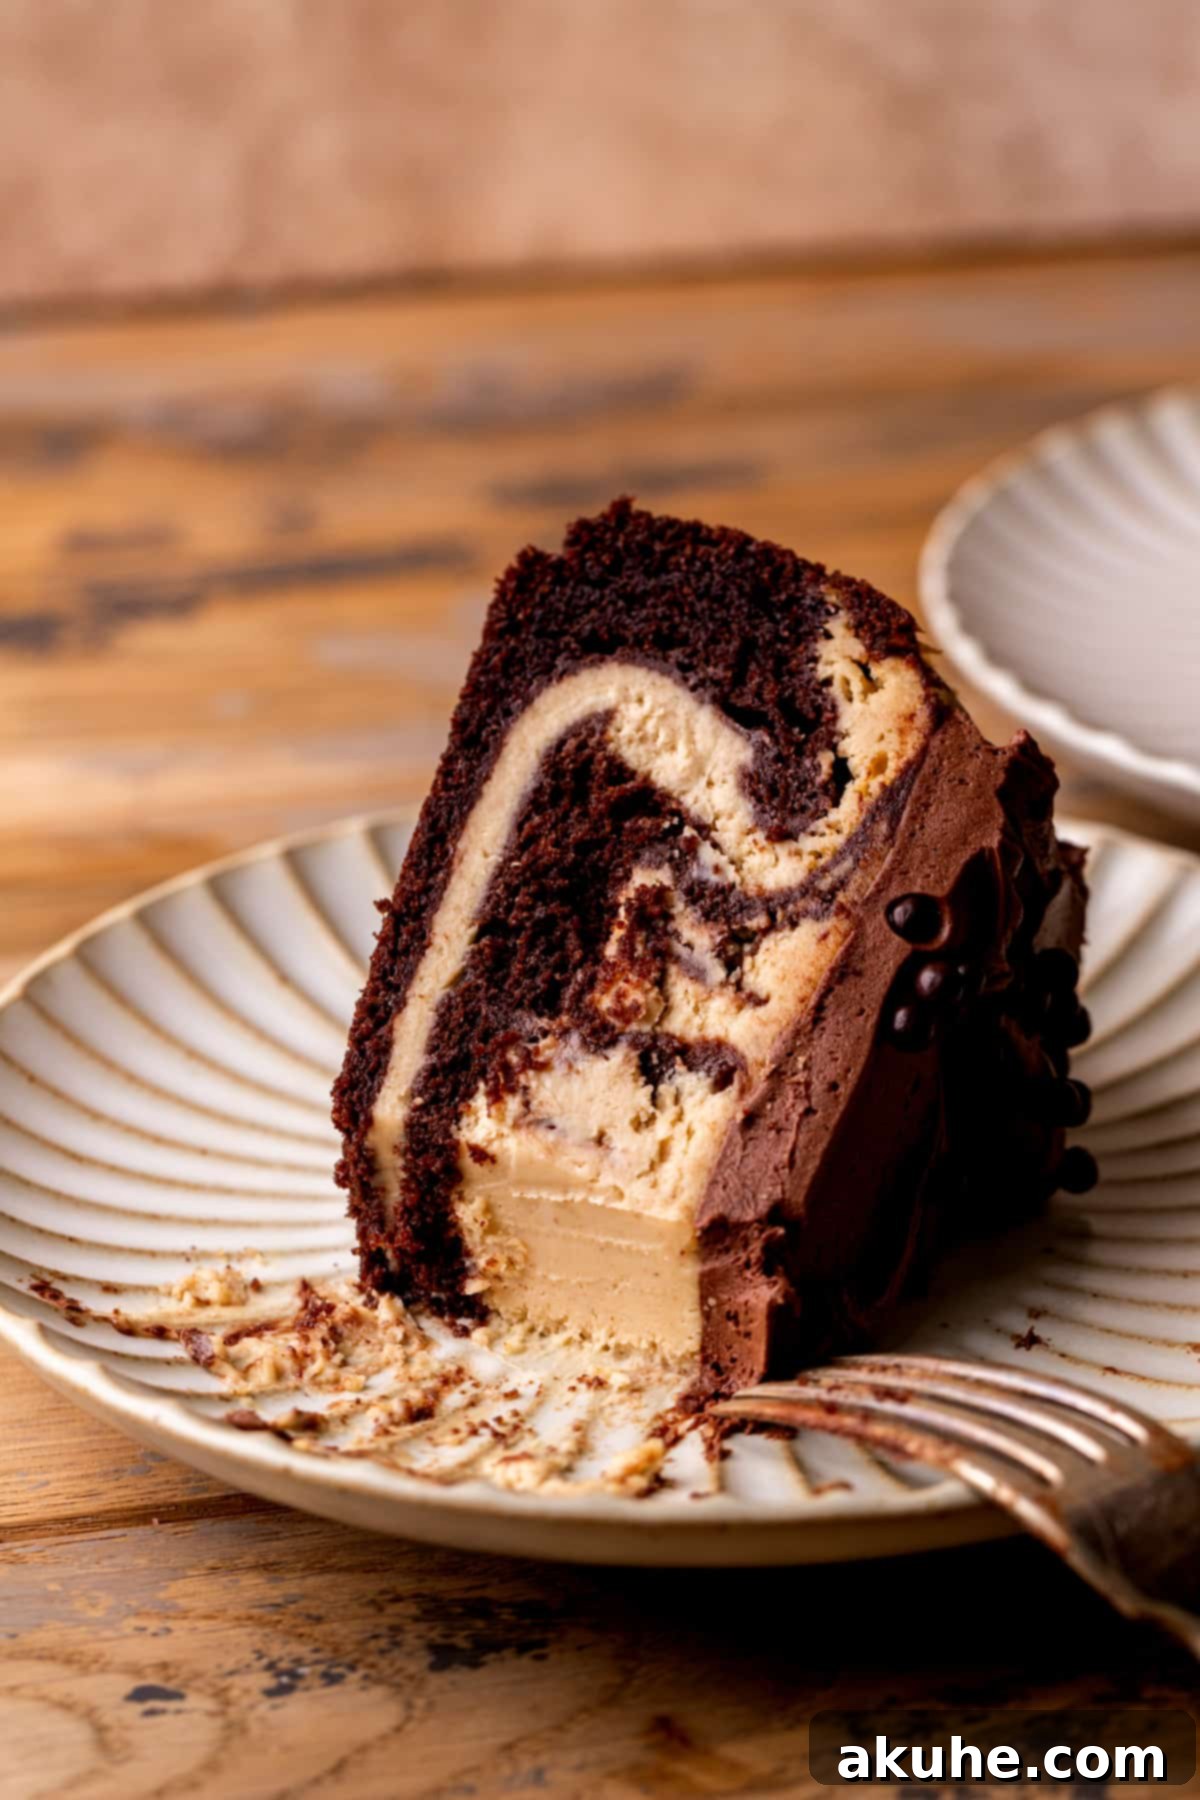
- Visually Stunning Marbled Layers: Beyond its incredible taste, this cheesecake offers a captivating visual appeal. The ingenious technique of swirling the chocolate cake batter and peanut butter cheesecake batter creates striking marbled layers. This isn’t just for aesthetics; it guarantees that each slice, and indeed every bite, offers you the delightful experience of both soft chocolate cake and velvety peanut butter cheesecake, delivering a truly complex and satisfying flavor profile.
- Irresistibly Perfect Texture: Prepare for a textural delight that will keep you coming back for more. The silky-smooth, melt-in-your-mouth peanut butter cheesecake filling contrasts beautifully with the tender, moist crumb of the chocolate cake. This dynamic interplay of textures makes for an incredibly satisfying dessert that feels luxurious and comforting. The combination is so harmonious, you’ll find it nearly impossible to resist another bite!
Essential Ingredient Notes for Your Chocolate Peanut Butter Cheesecake
Achieving the perfect **Chocolate Peanut Butter Cheesecake** begins with understanding your ingredients. Below are some crucial tips for the key components. For a complete, detailed list of ingredients and their exact measurements, please refer to the comprehensive recipe card located further down on this page.
- Sour Cream: This ingredient is vital for adding moisture and a slight tang to both the cheesecake and cake components, enhancing their richness and balancing the sweetness. For optimal blending and to prevent lumps, ensure your sour cream is at room temperature. Take it out of the refrigerator at least two hours before you begin baking.
- Eggs: Large eggs are used in both the cheesecake and cake batters. Like sour cream, room temperature eggs are essential. They emulsify better with other ingredients, creating a smoother batter and a more uniform, tender texture in your baked goods. Remove them from the fridge approximately two hours before you start your preparation.
- Heavy Cream: This contributes to the luxurious, creamy texture of the peanut butter cheesecake. Bringing it to room temperature helps it integrate seamlessly into the batter, preventing curdling and ensuring a consistently smooth filling. Allow it to sit out for about two hours prior to use.
- Powdered Sugar (Icing Sugar): Used primarily for the frosting, powdered sugar (or icing sugar) must be sifted meticulously. This step is non-negotiable for achieving a velvety-smooth, lump-free chocolate frosting. Skipping this can result in a grainy, unpleasant texture, so sift thoroughly to ensure a perfect finish.
- Cream Cheese: The star of any cheesecake, full-fat cream cheese at room temperature is crucial. Cold cream cheese will be lumpy and difficult to beat smoothly, leading to a textured cheesecake batter. For a truly smooth and creamy cheesecake, let your cream cheese soften on the counter for at least two hours before mixing.
- Oil (Vegetable or Canola): For the chocolate cake, a neutral-flavored oil like vegetable or canola oil is recommended. These oils contribute to a wonderfully moist and tender cake crumb without imparting any distinct flavor. Both work equally well; choose whichever you have on hand.
- Butter: Essential for the rich chocolate frosting, unsalted butter should also be at room temperature. Softened butter creams easily with sugar, incorporating air for a light and fluffy frosting. Pull it out of the refrigerator at least two hours before you plan to make the frosting.
- Peanut Butter: For the smoothest and most consistent cheesecake texture, we highly recommend using a creamy, smooth peanut butter. Crunchy peanut butter can introduce uneven textures that might detract from the cheesecake’s silky mouthfeel. Additionally, avoid natural peanut butter (the kind that separates oil), as its varying oil content and coarser texture can significantly alter the consistency of the cheesecake batter.
Clever Ingredient Substitutions for Your Cheesecake
While the original recipe for this **Chocolate Peanut Butter Cheesecake** is perfected, we understand that dietary needs or pantry availability might call for some modifications. Here are a few helpful substitutions to consider:
- Dairy-Free Adaptation: For those following a dairy-free diet, this recipe is surprisingly adaptable! You can confidently swap out dairy products for your favorite plant-based alternatives. Opt for high-quality dairy-free cream cheese brands, dairy-free sour cream, and dairy-free heavy cream (often coconut-based or almond-based). Ensure that your dairy-free butter for the frosting is also a good baking alternative. The key is to use products you trust for their flavor and texture in baking.
- Gluten-Free Exploration: While this recipe has not been officially tested with gluten-free flour, many home bakers successfully convert cake and cheesecake recipes. If you’re experimenting with a gluten-free version, we suggest using a high-quality 1:1 gluten-free all-purpose flour blend that contains xanthan gum. This will help maintain the cake’s structure and moisture. If you try it, please share your results – your experience could be invaluable to other gluten-free bakers!
- Buttermilk Alternative: If you don’t have buttermilk on hand for the chocolate cake, don’t fret! You can easily make a homemade substitute. Simply combine 1 cup of regular milk (dairy or plant-based) with 1 tablespoon of white vinegar or fresh lemon juice. Stir it gently and let it sit for about 10 minutes. During this time, the milk will curdle slightly, mimicking the acidity and texture of traditional buttermilk, which is essential for the cake’s tenderness and flavor.
Step-by-Step Instructions: Crafting the Peanut Butter Cheesecake Batter
Let’s begin the exciting journey of creating your **Chocolate Peanut Butter Cheesecake** by preparing the luscious peanut butter cheesecake batter. Follow these steps carefully for a perfectly creamy result:
- Preparation is Key: Begin by preheating your oven to 350°F (175°C). While the oven heats, meticulously prepare your 9-inch springform pan. Generously spray the bottom and sides of the pan with a nonstick baking spray. For easy release and to prevent sticking, line the bottom of the pan with a perfectly cut parchment paper circle, then spray the parchment paper again. This double-layer of protection ensures your beautiful cheesecake comes out flawlessly.
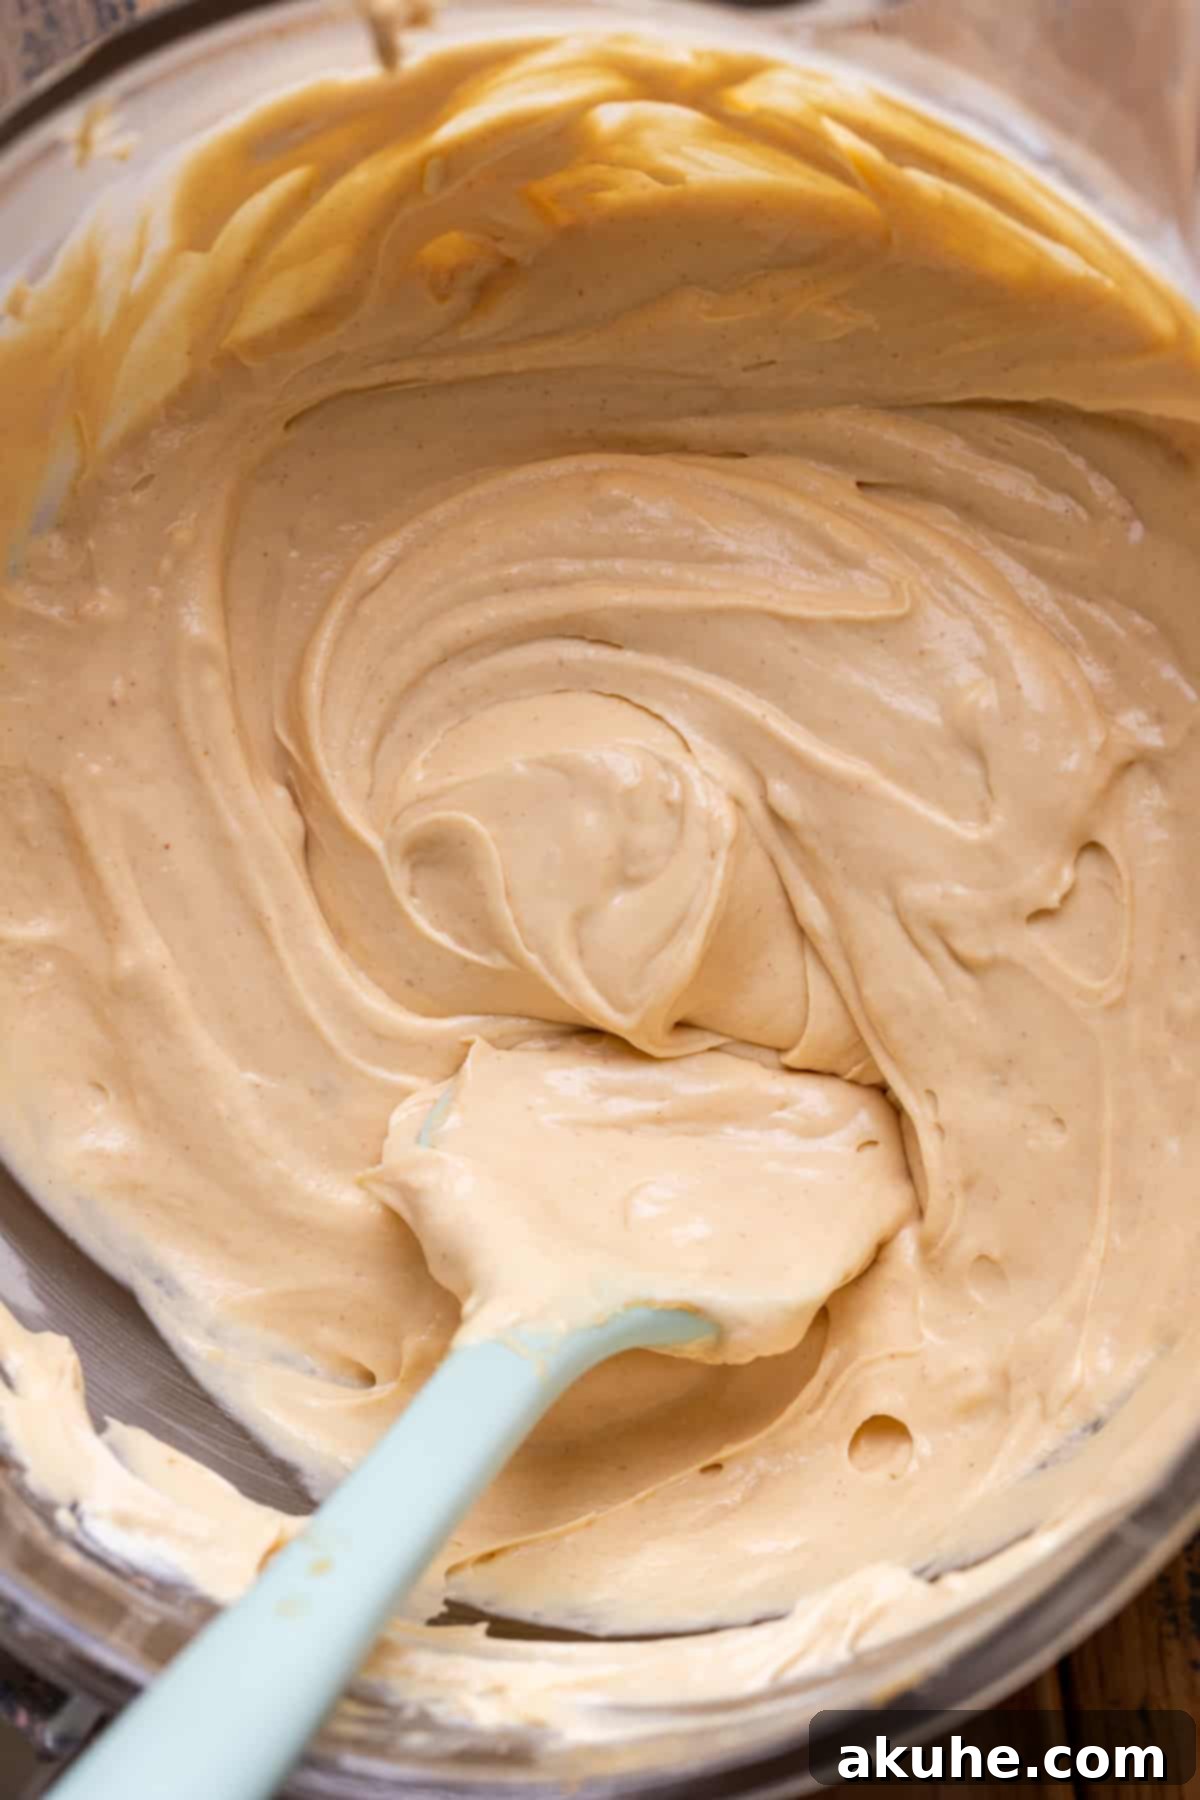
- Cream Cheese and Sugar Base: In a large mixing bowl, combine the softened cream cheese and granulated sugar. Using an electric mixer on high speed, beat these ingredients together for a full two minutes. The goal is to achieve a wonderfully light, fluffy, and completely smooth mixture. As you mix, periodically pause to scrape down the sides of the bowl with a rubber spatula, ensuring all ingredients are thoroughly incorporated.
- Infuse the Flavors: To the cream cheese mixture, add the creamy peanut butter, room temperature sour cream, heavy cream, and pure vanilla extract. Reduce your mixer speed to medium and continue mixing until all these rich ingredients are smoothly combined and thoroughly integrated. The batter should be uniform in color and texture, with no streaks of individual ingredients visible.
- Gentle Egg Incorporation: Finally, add the large eggs to the mixture. This step requires a light touch. Mix them in on low speed, and only until they are just combined. Overmixing the eggs at this stage can introduce too much air, which can cause the cheesecake to crack during baking. Once combined, remove the bowl from the mixer and give the sides one final scrape with your spatula to ensure everything is perfectly blended. Set this glorious peanut butter cheesecake batter aside.
Step-by-Step Instructions: Mastering the Chocolate Cake and Assembly
Now, let’s create the rich chocolate cake batter and assemble your exquisite **Chocolate Peanut Butter Cheesecake** for baking. This layering technique is key to those beautiful marbled patterns.
- Combine Dry Ingredients: In a generously sized mixing bowl, whisk together all the dry ingredients for the chocolate cake: all-purpose flour, unsweetened cocoa powder, cornstarch, baking powder, baking soda, and salt. Whisk thoroughly to ensure they are well combined and there are no lumps of leavening agents. Set this bowl aside for a moment.
- Prepare Wet Ingredients: In a separate, medium-sized bowl, combine the oil, granulated sugar, room temperature eggs, pure vanilla extract, white vinegar, sour cream, and buttermilk. Whisk these ingredients until they are thoroughly blended. Then, carefully and slowly pour in the hot water, mixing continuously. Adding the hot water gradually is crucial to prevent the eggs from cooking and scrambling.
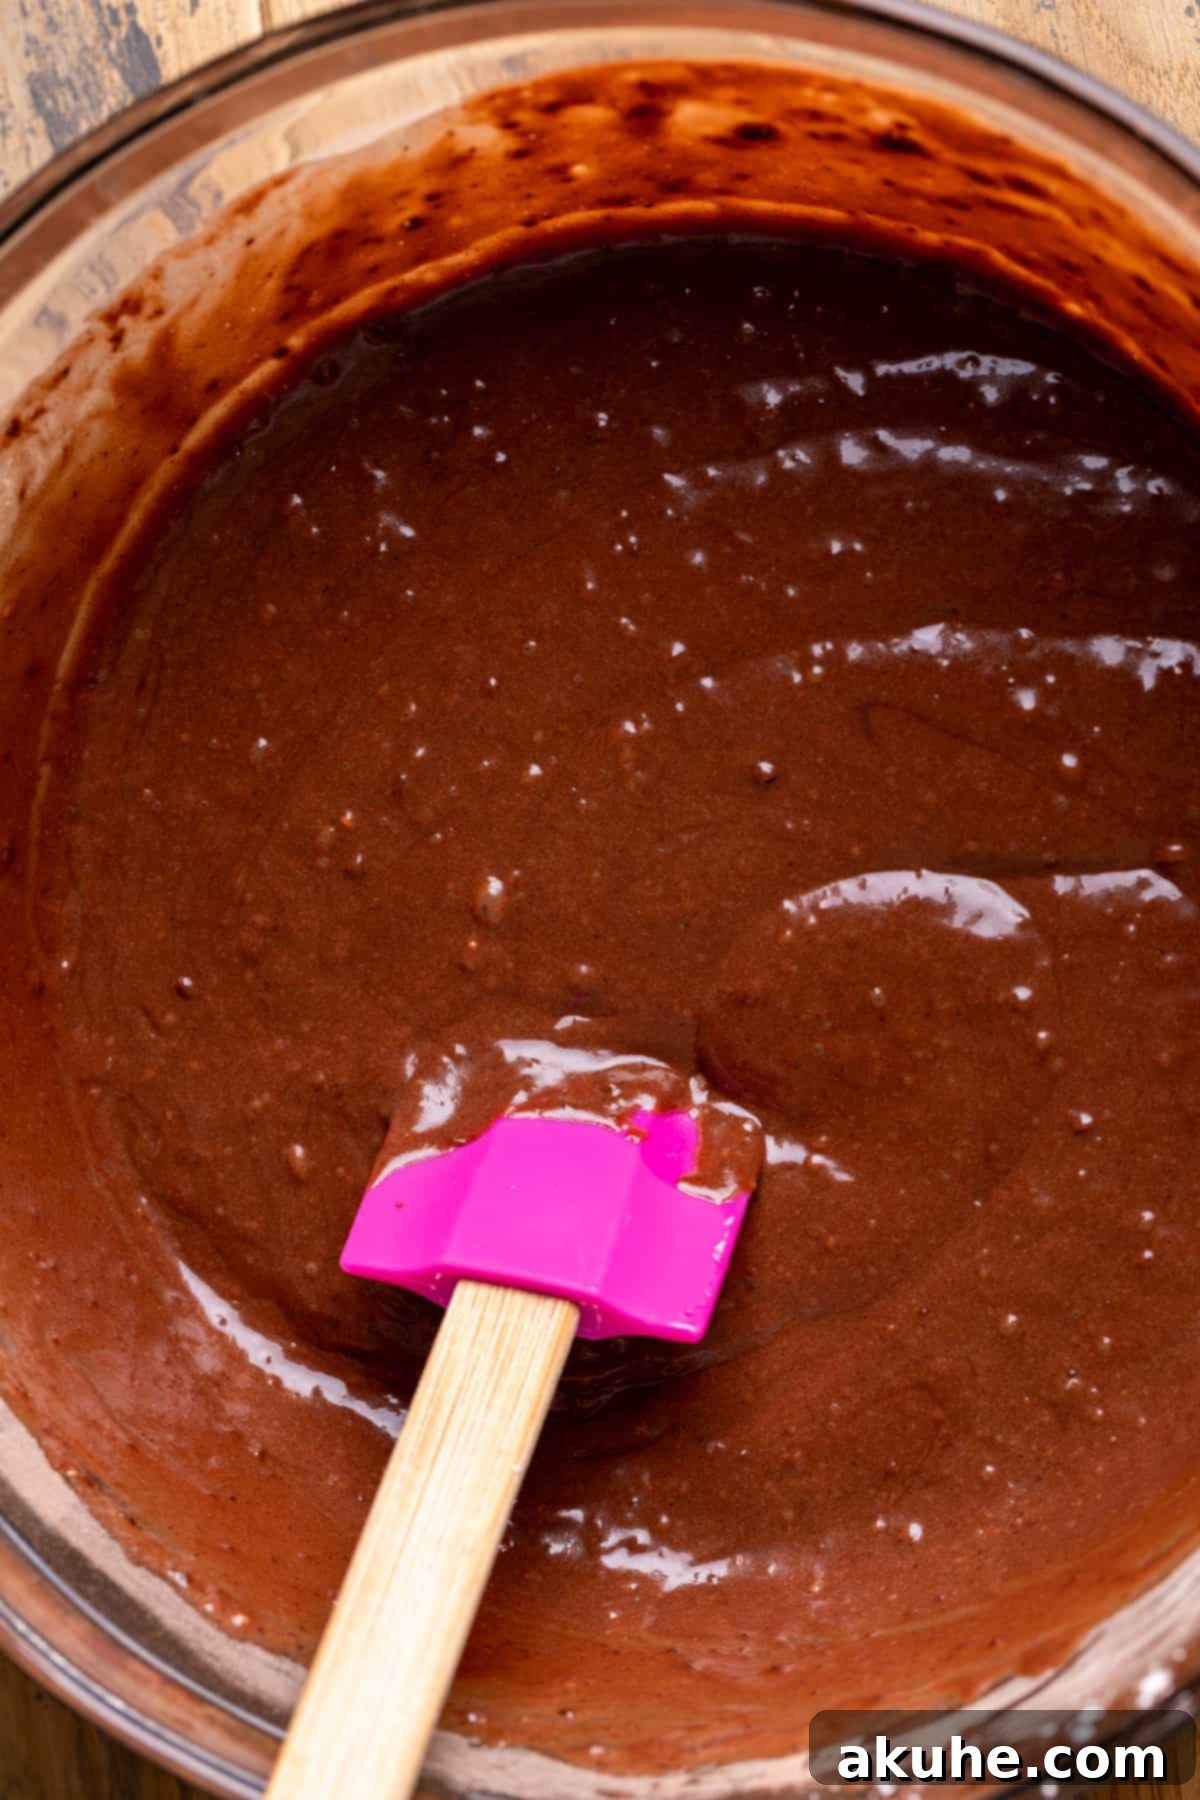
- Bringing Batters Together: Gently pour the prepared wet ingredients into the bowl containing your dry ingredients. Mix them together using a whisk or spatula until the batter is completely smooth and free of any flour lumps. Be careful not to overmix; just combine until smooth.
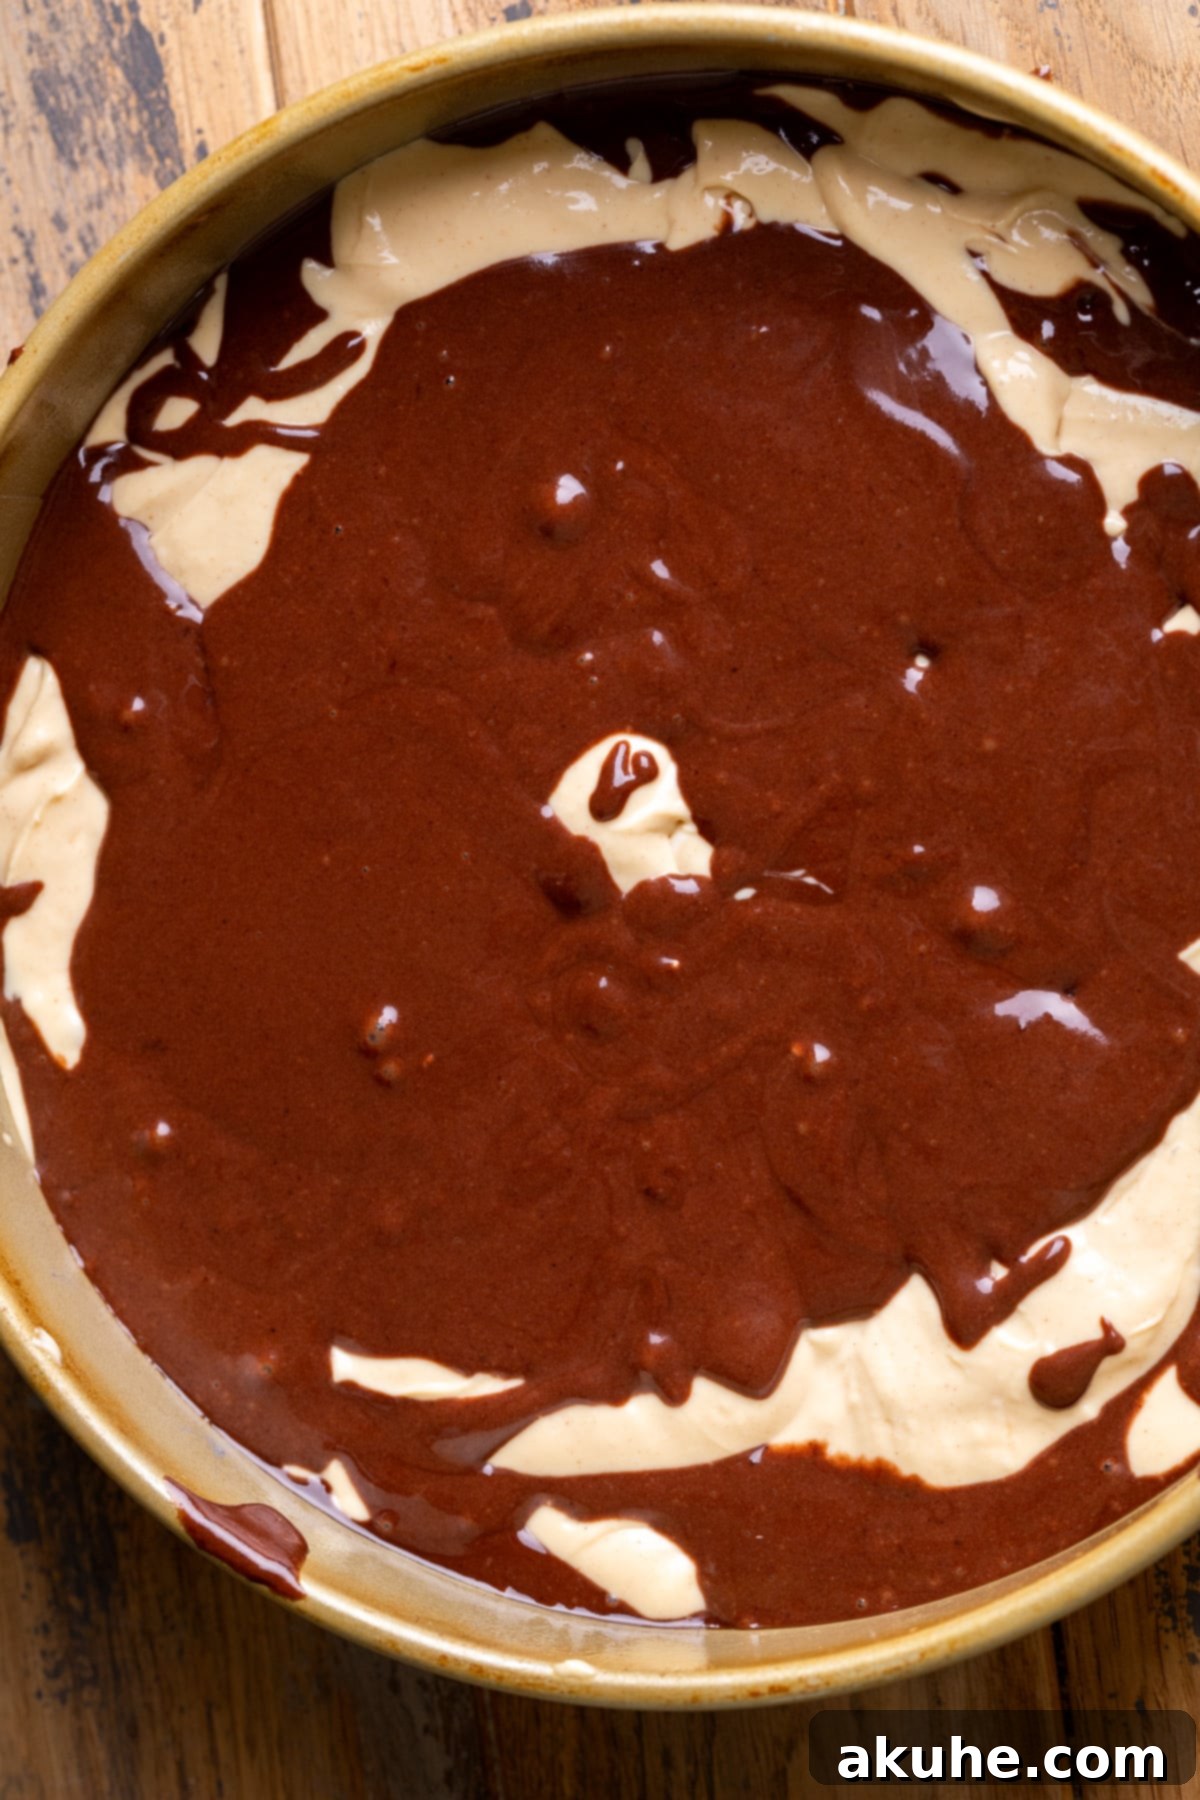
- Layering for Marbled Perfection (First Layer): Now for the artistic part! Pour approximately one-third of the rich chocolate cake batter into your prepared springform pan, spreading it evenly across the bottom to form a foundational layer. Next, take one-third of your creamy peanut butter cheesecake batter and dollop it generously over the chocolate cake layer. Crucially, do NOT use a knife or spatula to swirl these layers together. The “lumps” and uneven placement of the cheesecake batter are exactly what will create the stunning marbled pattern as it bakes, allowing for distinct lines without over-mixing.
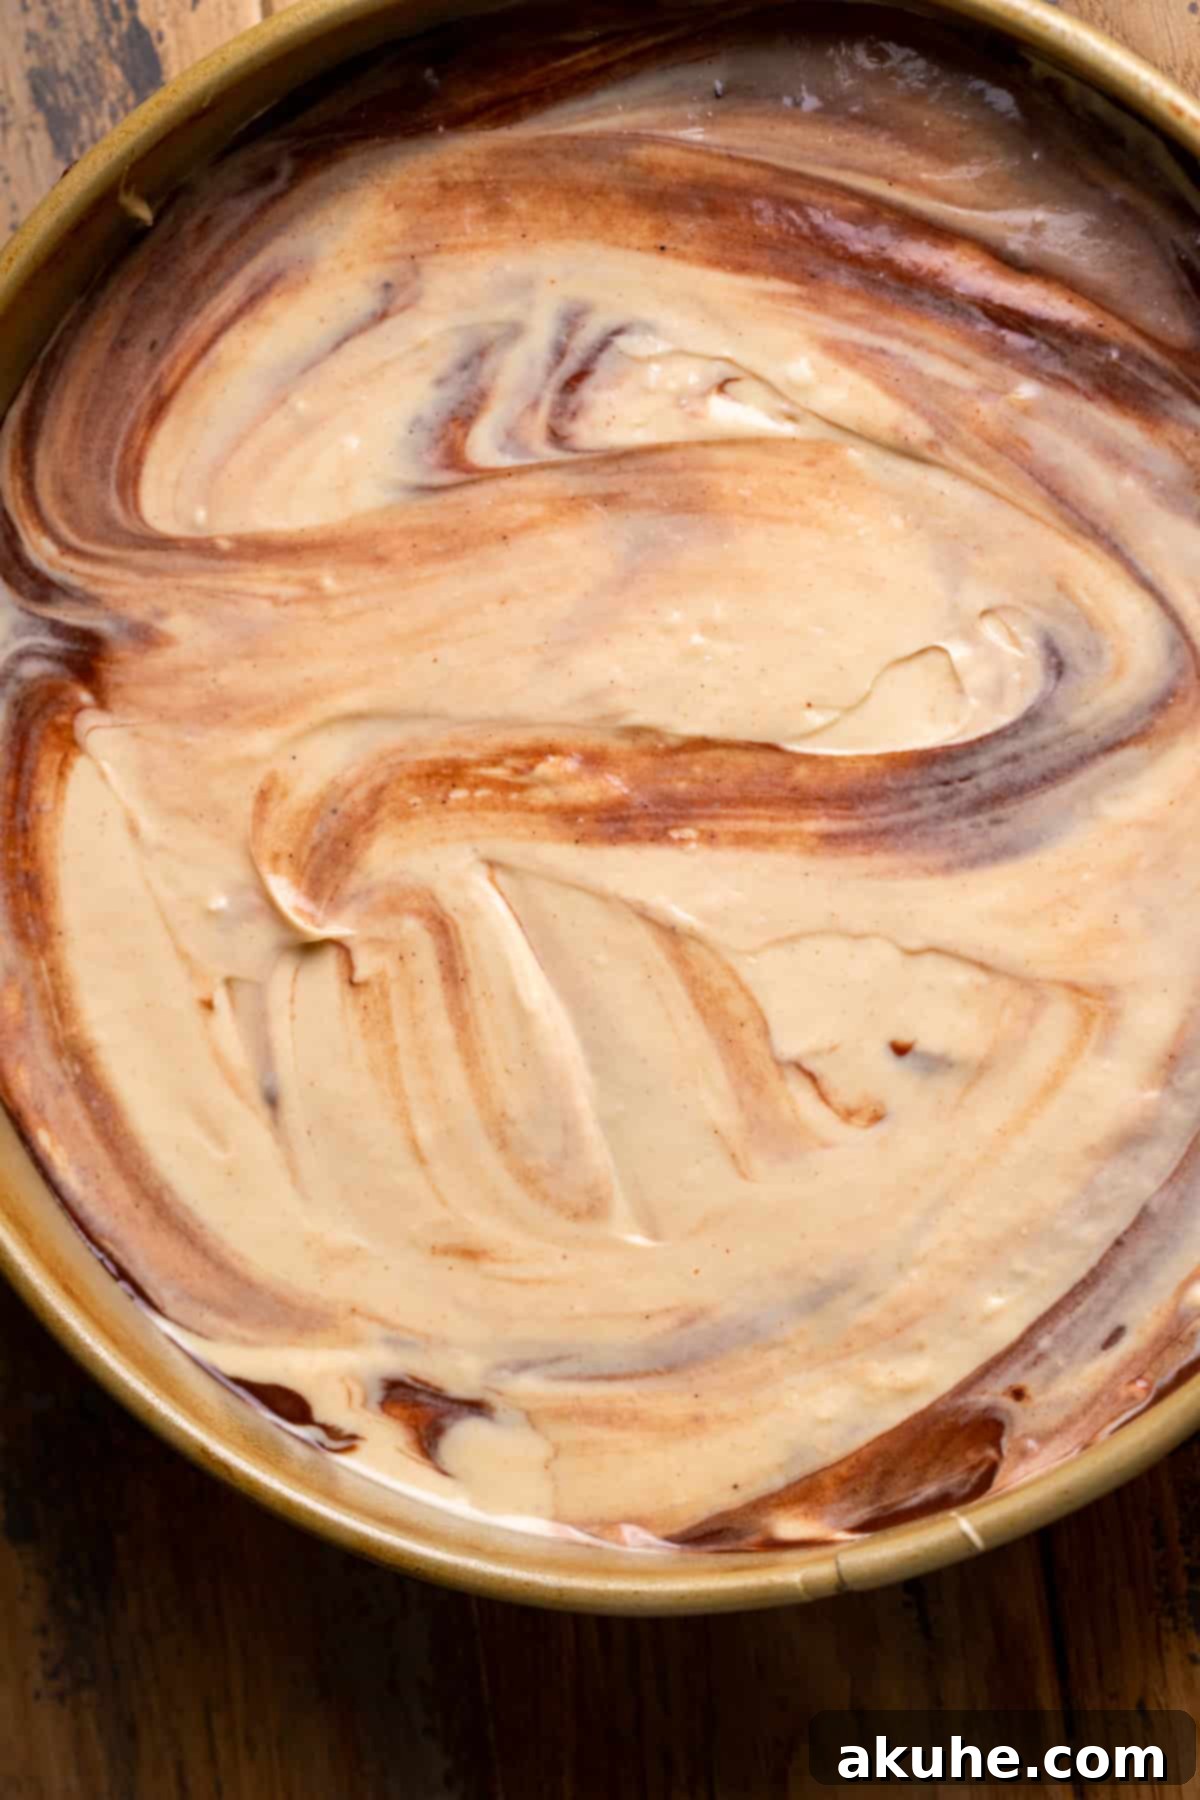
- Continue Layering: Repeat the dolloping process. Add another one-third of the chocolate cake batter on top of the cheesecake dollops, ensuring it covers most of the surface. Follow this with another one-third of the peanut butter cheesecake batter, distributed in dollops. Finish by adding the remaining chocolate cake batter, then top with the very last portion of peanut butter cheesecake batter. Once all batters are in the pan, use a spatula to gently smooth the very top layer, ensuring an even baking surface, but still allowing the dollops beneath to maintain their marbling potential.
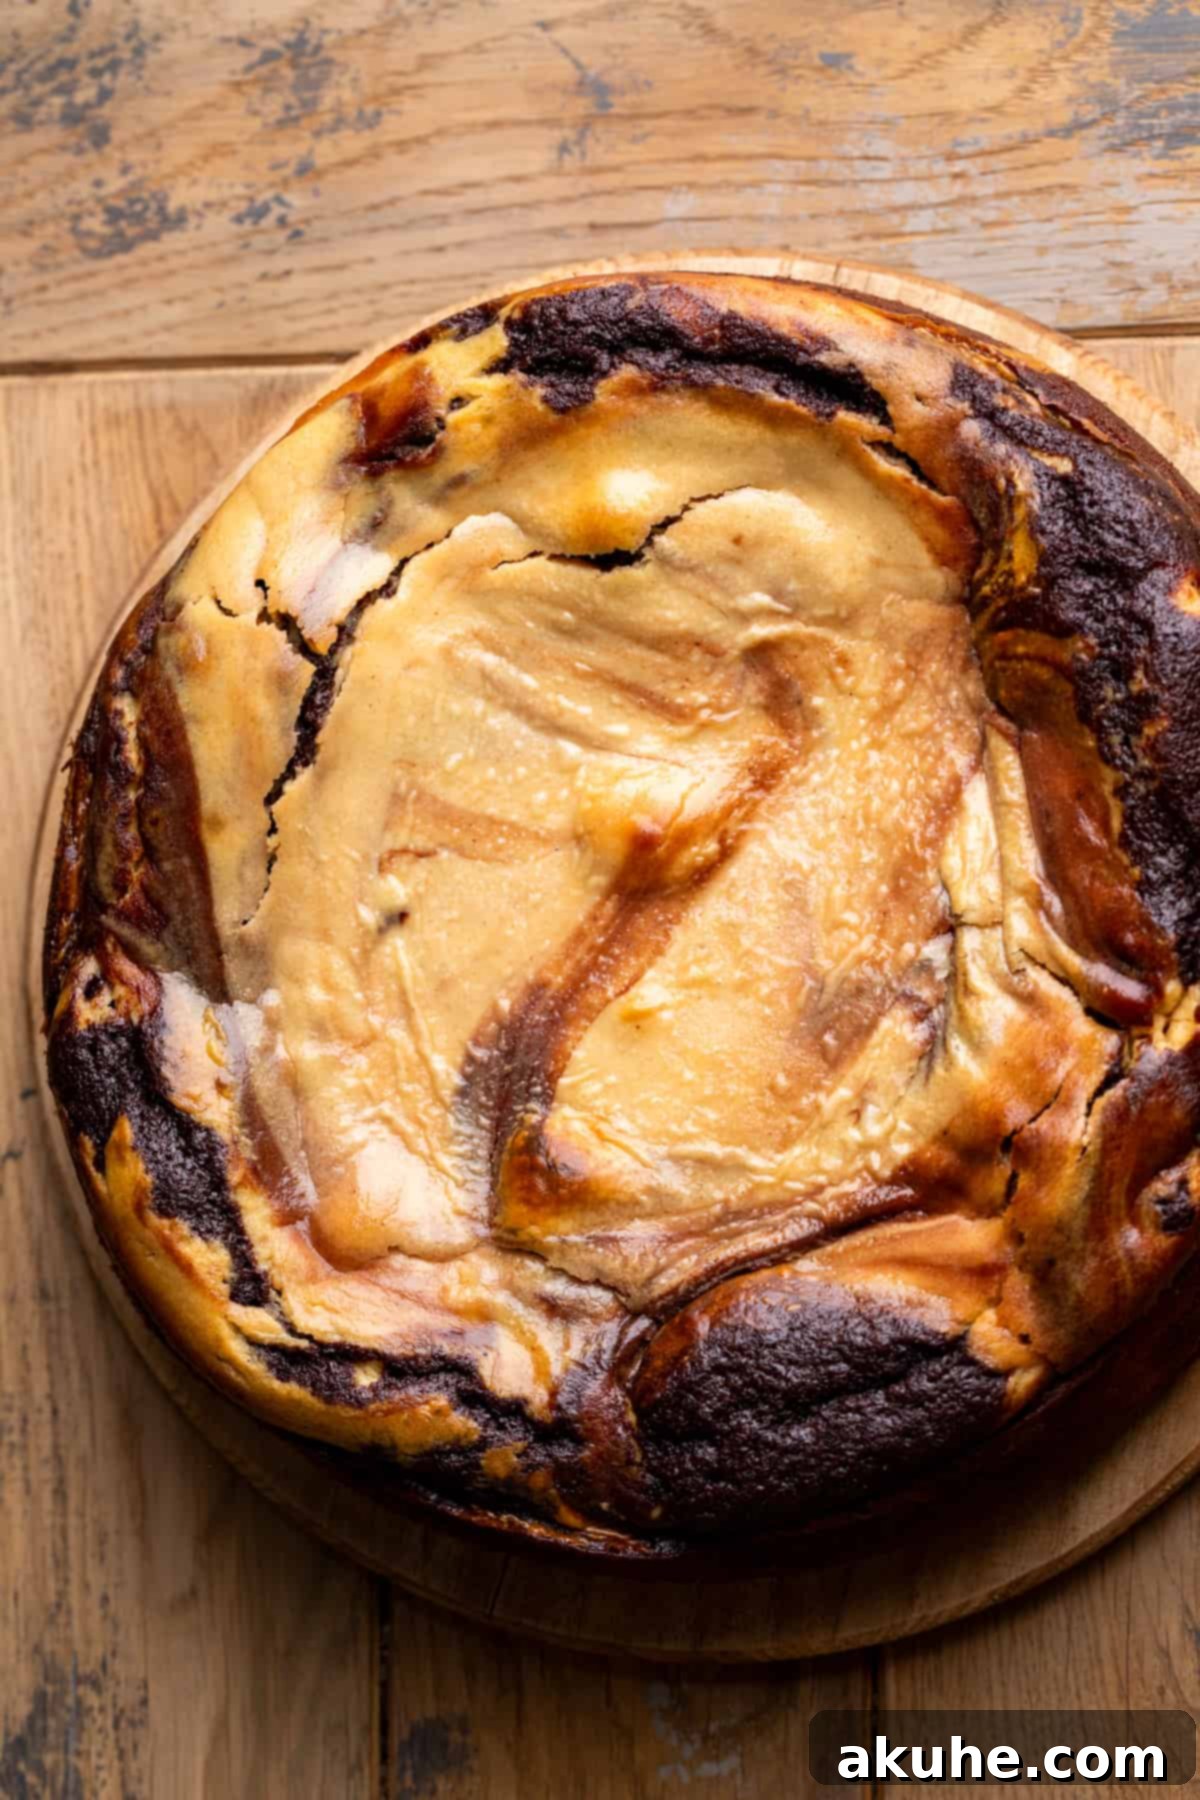
- Bake to Perfection: Carefully transfer the pan to your preheated oven. Bake the **Chocolate Peanut Butter Cheesecake** for approximately 45-55 minutes. The cheesecake is perfectly done when its edges are set and firm, but the very center still retains a slight, delicate jiggle when gently shaken. This slight jiggle indicates a moist and creamy interior. It’s crucial not to overbake, as this can lead to a dry cake layer and potential cracks in the cheesecake.
- Cool and Chill: Once baked, remove the cheesecake from the oven. Keep it in the springform pan and place it on a wire rack to cool completely to room temperature. This gradual cooling prevents cracking. After it has fully cooled, wrap the entire pan tightly in aluminum foil. Transfer the wrapped cheesecake to the refrigerator and allow it to chill overnight, or for a minimum of 6 hours. This extended chilling time is vital for the cheesecake to firm up, set properly, and for the flavors to fully meld, making it much easier to slice cleanly.
Step-by-Step Instructions: Whipping Up the Rich Chocolate Frosting
No **Chocolate Peanut Butter Cheesecake** is complete without a rich, decadent chocolate frosting. This simple recipe yields a smooth and creamy topping that perfectly complements the cake and cheesecake layers.
- Sift Dry Ingredients: In a medium-sized mixing bowl, combine the powdered sugar and unsweetened cocoa powder. Using a fine-mesh sieve, sift these dry ingredients together. This crucial step removes any lumps from the powdered sugar and cocoa, ensuring your frosting is wonderfully smooth and free of gritty bits. Set the sifted mixture aside.
- Cream the Butter: Place the room temperature unsalted butter into a large mixing bowl. Using an electric mixer on high speed, beat the butter for approximately three minutes. During this time, the butter should become noticeably lightened in color and wonderfully creamy and fluffy. Remember to periodically pause and scrape down the sides of the bowl with a rubber spatula to ensure all the butter is evenly creamed.
- Combine and Flavor: With the mixer on low speed, gradually add the sifted dry ingredients (powdered sugar and cocoa powder) to the creamed butter. Mix until they are just combined and no dry streaks remain. Then, add the pure vanilla extract and mix it in until evenly distributed.
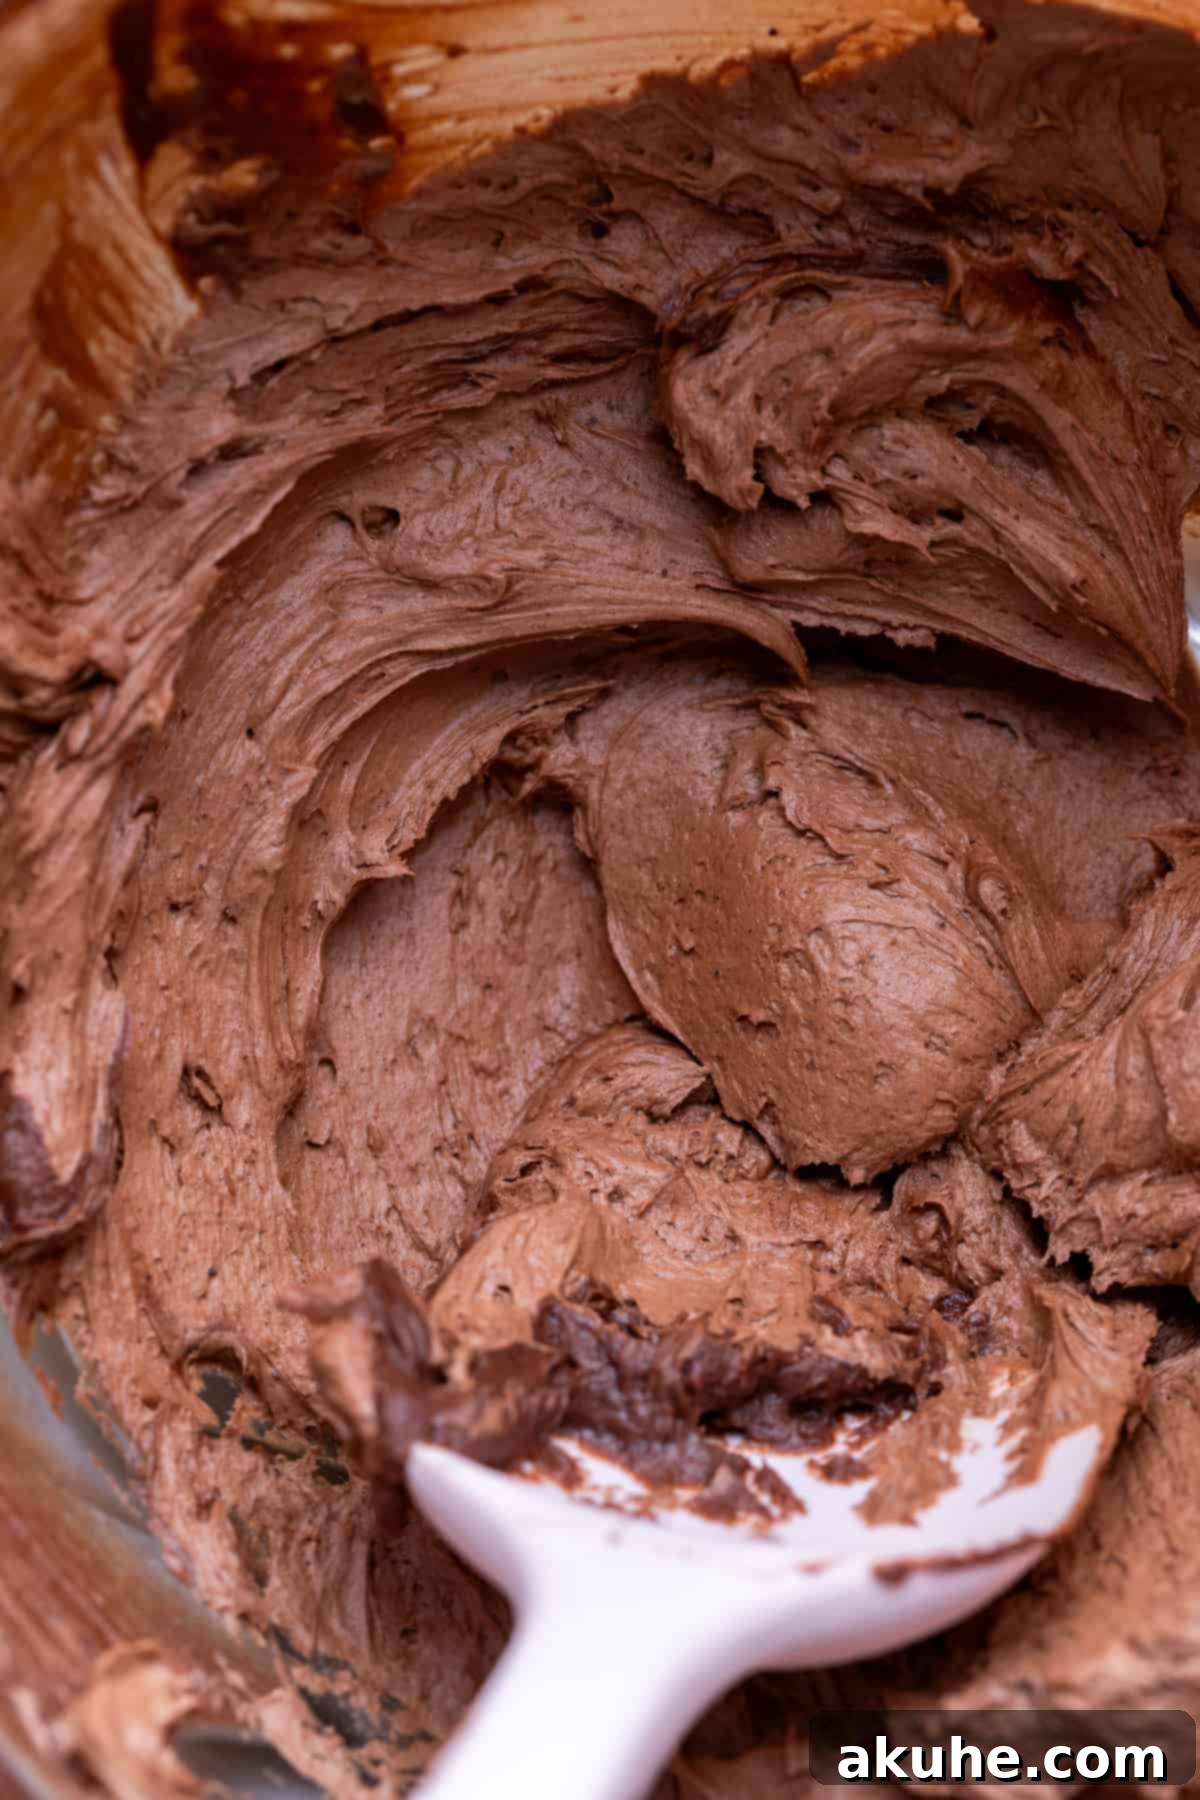
- Whip to Perfection: Increase the mixer speed to high and beat the frosting for another two minutes. This final whip will make the frosting incredibly light and airy. Halfway through this beating time, stop and scrape down the sides of the bowl one more time, ensuring all ingredients are thoroughly incorporated and the frosting achieves a uniform consistency.
- Frost Your Masterpiece: Once the **Chocolate Peanut Butter Cheesecake** has been thoroughly chilled, carefully remove the springform pan. Run a thin knife around the edge of the pan before releasing the spring and lifting off the ring. Gently remove the parchment paper from the bottom. Transfer your chilled cheesecake to a serving platter. With an offset spatula, spread the prepared chocolate frosting evenly over the top surface of the cheesecake, creating a beautiful and delicious finish.
Expert Baking Tips for a Flawless Chocolate Peanut Butter Cheesecake
Achieving baking perfection, especially with a layered dessert like our **Chocolate Peanut Butter Cheesecake**, often comes down to a few expert techniques. Heed these tips to ensure your cheesecake turns out beautifully every time:
- Accurate Flour Measurement is Crucial: The consistency of your chocolate cake layer heavily relies on precise flour measurement. Always use the “spoon and level” method: gently spoon flour into your measuring cup until it overflows, then level off the excess with the back of a knife. Never scoop flour directly from the bag with your measuring cup, as this compacts the flour, resulting in too much flour and potentially a dry, dense cake layer. Alternatively, for the most accurate results, use a kitchen scale to weigh your flour.
- Effortless Cheesecake Removal: To ensure your stunning cheesecake releases easily from the pan without any tears or mishaps, a thorough prep of your springform pan is essential. Start by generously spraying the entire inside of the springform pan (bottom and sides) with a nonstick baking spray. Then, line the bottom with a parchment paper circle and spray the parchment paper once more. Be diligent and thorough with your spraying; any missed spots can cause the cake or cheesecake to stick and tear upon removal, ruining your presentation.
- No Water Bath Needed, But Watch Closely: Unlike many traditional cheesecakes that require a water bath for even baking and to prevent cracks, the cheesecake layers in this recipe are thin enough that a water bath isn’t necessary. This simplifies the baking process! However, it does mean you need to pay closer attention towards the end of the baking time. The cake layer tends to bake faster than the cheesecake. Remove the entire cake from the oven as soon as the edges of the cheesecake appear set and firm, with only a slight, gentle jiggle in the very center. Overbaking will dry out the cake and could still lead to cracks in the cheesecake.
- High Altitude Adjustments: For bakers living at high altitudes, slight adjustments are often needed. To compensate for reduced atmospheric pressure, which can cause cakes to rise too quickly and collapse, consider adding an extra 1 tablespoon of all-purpose flour to the chocolate cake batter. This helps to strengthen the cake’s structure.
Frequently Asked Questions (FAQ) About Chocolate Peanut Butter Cheesecake
Here are some common questions and helpful answers to guide you in making and enjoying your **Chocolate Peanut Butter Cheesecake**:
It is not recommended to use a smaller springform pan than the specified 9-inch size. This recipe yields a significant amount of batter, and a smaller pan would likely overflow during baking. Using a larger pan might result in thinner layers and a shorter baking time, but generally, sticking to the 9-inch pan ensures the ideal cake-to-cheesecake ratio and height.
For those picture-perfect slices, two things are paramount. First, ensure your **Chocolate Peanut Butter Cheesecake** is thoroughly chilled – ideally overnight, or for at least 6 hours. A very cold cheesecake holds its shape much better. Second, use a sharp, thin-bladed knife. For the cleanest cuts, dip your knife in hot water and wipe it clean with a towel after each slice. This prevents sticky residue from tearing the next slice.
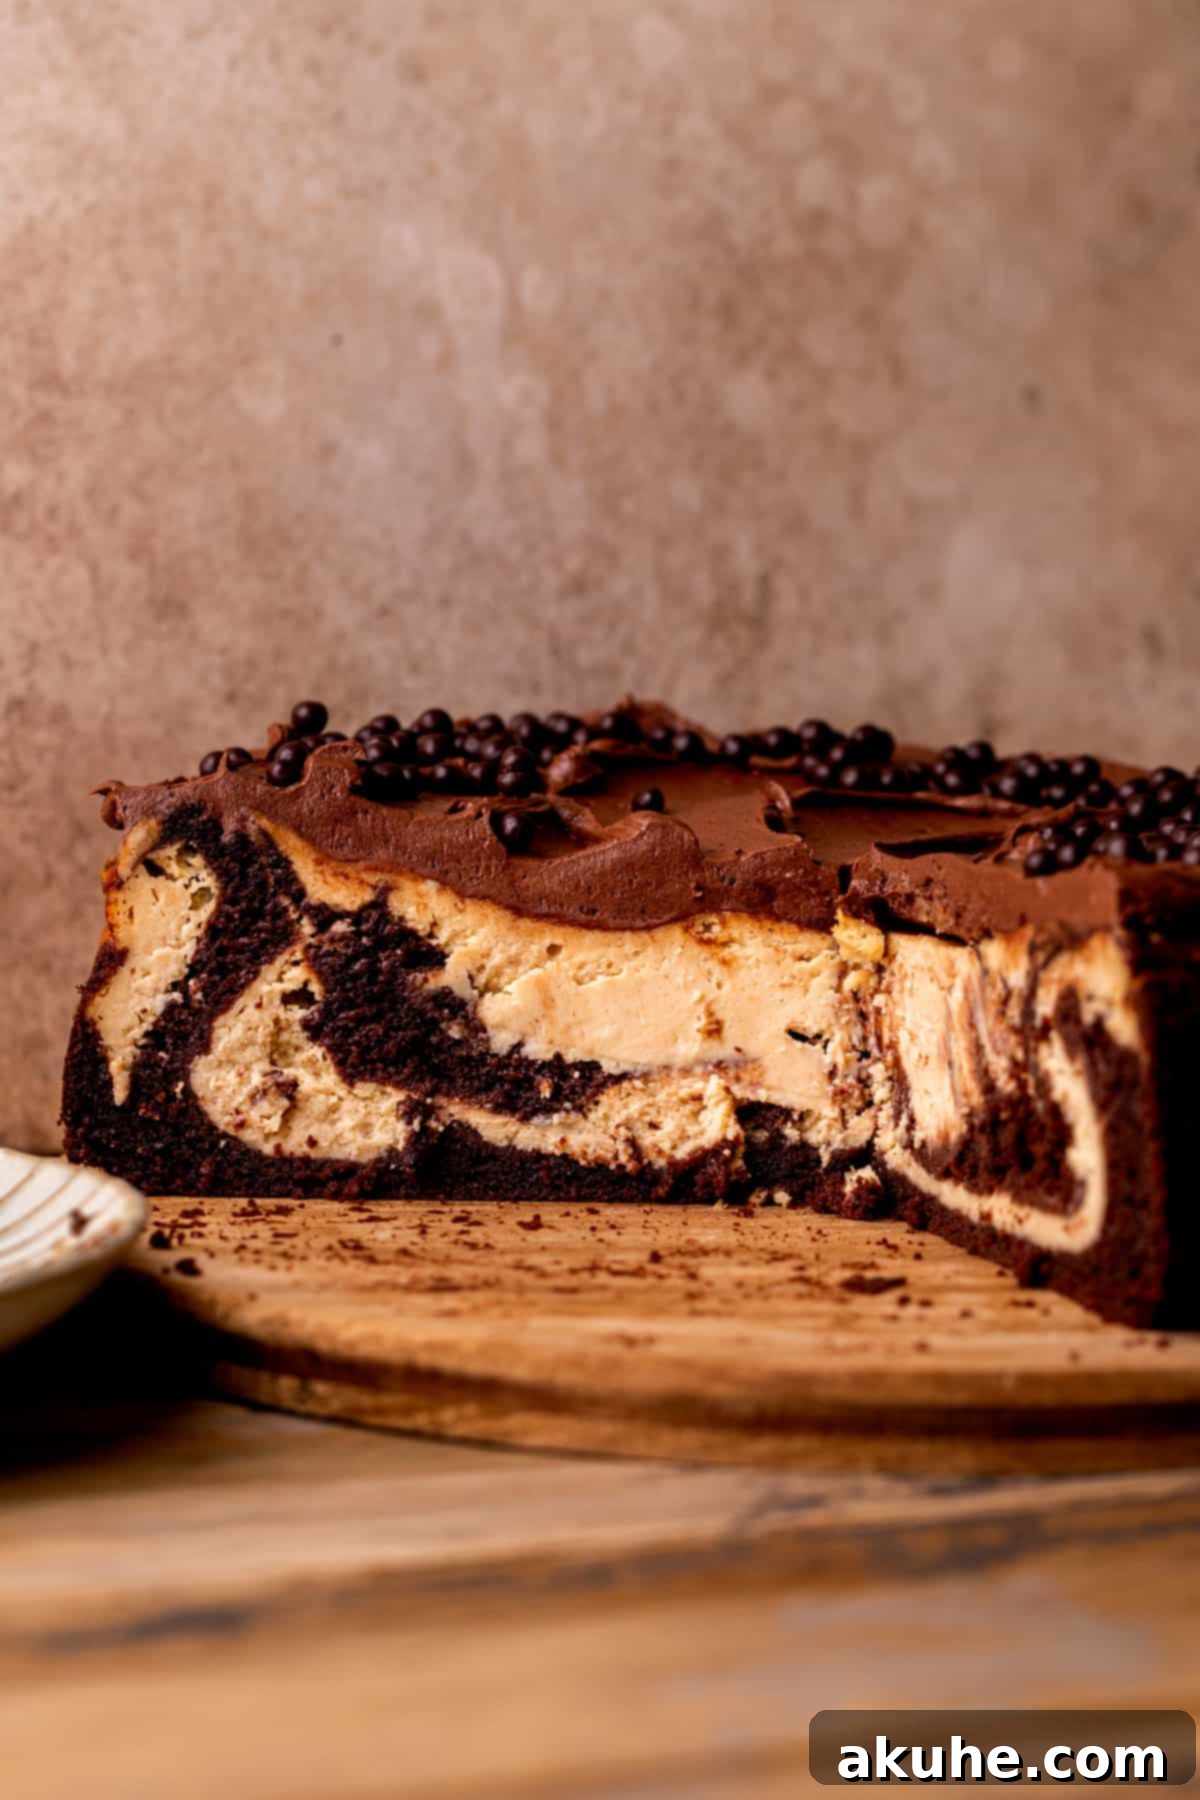
The stunning marbled effect is created by a simple, yet effective technique: dolloping. Instead of pouring or vigorously swirling the chocolate cake and peanut butter cheesecake batters together, you’ll spoon or dollop alternating layers onto each other. The natural flow and spread of the batters, combined with the slight unevenness from dolloping, will bake into distinct, beautiful marbled patterns. Resist the urge to swirl with a knife, as this will overmix the batters and result in a muddy, less defined look rather than elegant lines.
Using room temperature ingredients, especially for dairy products like cream cheese, butter, sour cream, and eggs, is crucial for a smooth and consistent batter. Cold ingredients don’t emulsify well, leading to lumpy batters and a less uniform texture in the final baked product. Room temperature ingredients blend easily, creating a smoother, more aerated batter and ultimately a more tender, even crumb in your cake and a silkier cheesecake.
Delicious Recipe Variations to Explore
This **Chocolate Peanut Butter Cheesecake** is fantastic as is, but it’s also a versatile base for creative twists. Here are some ideas to customize your next bake:
- No Frosting Option: If you or your guests prefer a less sweet dessert or a cleaner presentation, the chocolate frosting can be easily omitted. The peanut butter cheesecake layers are incredibly rich and creamy on their own, providing ample flavor and moisture without the need for an additional topping. It’s a sophisticated choice for those who appreciate the pure taste of the cake and cheesecake.
- Elevate to Double Chocolate Cheesecake: For the ultimate chocolate lover, transform this into a truly intense double chocolate experience. Instead of the peanut butter cheesecake, substitute the cheesecake batter with a rich chocolate cheesecake recipe. This will result in an extraordinarily decadent dessert, featuring deep chocolate cake layers interwoven with luscious chocolate cheesecake, all crowned with a chocolate frosting. Explore our Triple Chocolate Cheesecake recipe for inspiration on a chocolate cheesecake batter.
- Add Chocolate Chips: Introduce an extra layer of chocolatey goodness and texture by folding a cup of mini chocolate chips into either the chocolate cake batter or the peanut butter cheesecake batter (or both!) before assembling. This adds delightful pockets of melted chocolate throughout the dessert.
- Peanut Butter Drizzle: Instead of, or in addition to, the chocolate frosting, consider a simple peanut butter drizzle. Melt a few tablespoons of creamy peanut butter with a touch of powdered sugar and milk until it reaches a drizzly consistency. Drizzle artfully over the cooled cheesecake for an extra peanut butter punch.
Essential Special Tools for Baking Success
Having the right tools can make all the difference in your baking journey, especially when creating a multi-layered dessert like this **Chocolate Peanut Butter Cheesecake**. Here are a few recommended items that will ensure a smoother and more enjoyable baking process:
- Springform Pan: A high-quality springform pan is indispensable for cheesecakes. It features removable sides that detach from the base, allowing for easy and clean removal of delicate desserts without damaging their structure. We typically use a sturdy 9-inch springform pan for this recipe. If you desire a slightly taller cheesecake with thicker layers, an 8-inch springform pan can also be used, though baking times may vary slightly.
- Parchment Paper Circles: To guarantee a perfect non-stick release from the bottom of your springform pan, pre-cut 8-inch parchment paper circles are a game-changer. These save you the time and hassle of tracing and cutting parchment paper from a roll, ensuring a perfectly sized barrier every time. They are a small convenience that makes a big difference.
- Nonstick Baking Spray with Flour: For extra insurance against sticking, especially with cakes, a nonstick baking spray that contains flour is highly recommended. Products like this specific type of nonstick spray create an excellent release surface, ensuring your cake layers don’t adhere to the sides or bottom of the pan.
- Offset Spatula: This handy tool is perfect for spreading batters, fillings, and especially frostings smoothly and evenly. Its angled blade allows for greater control and precision, making it easy to achieve a professional-looking finish on your cheesecake frosting. We use this type of offset spatula for effortless spreading.
Storing and Freezing Your Chocolate Peanut Butter Cheesecake
Proper storage is essential to maintain the freshness and incredible taste of your **Chocolate Peanut Butter Cheesecake**. Here’s how to keep it delicious for longer:
Refrigeration: Once cooled and frosted, store the entire cheesecake, or individual slices, in the refrigerator. The best way to store a whole cheesecake is in an airtight container, such as a specialized cake carrier, to prevent it from absorbing odors from other foods and to maintain its moisture. When properly stored in the fridge, your chocolate peanut butter cheesecake will remain fresh and delightful for up to 5 days.
Freezing Individual Slices: For longer enjoyment, individual slices of the **Chocolate Peanut Butter Cheesecake** freeze beautifully. First, place each slice on a small plate or baking sheet and freeze for about 30-60 minutes until firm. This prevents the frosting from sticking. Then, tightly wrap each firm slice in plastic wrap, followed by a layer of aluminum foil. Store the wrapped slices in an airtight freezer-safe container or bag. They can be frozen for up to 30 days. To enjoy, simply thaw a slice at room temperature for 1-2 hours before serving. This method is perfect for portion control and spontaneous dessert cravings!
Freezing the Undecorated Cheesecake: You can also prepare and freeze the entire **Chocolate Peanut Butter Cheesecake** before decorating it. After the cheesecake has been baked and thoroughly chilled in the refrigerator overnight (this step is crucial for its structure), ensure it is completely cold. Then, carefully wrap the entire cooled cheesecake (still in its springform pan or on its base, if removable) tightly with several layers of plastic wrap, followed by a layer of aluminum foil. This double wrapping protects it from freezer burn. It can be frozen for up to 30 days. When you’re ready to serve, thaw the cheesecake in the refrigerator overnight, or at room temperature for 1-2 hours, before unwrapping and decorating with the chocolate frosting.
Explore More Delightful Cheesecake Recipes
If you’ve fallen in love with the magic of cheesecake, you’ll be thrilled to discover our other popular variations. Expand your baking repertoire and try these equally delicious cheesecake recipes:
- Sugar Cookie Cheesecake
- Carrot Cake Cheesecake
- Apple Pie Cheesecake
- Pumpkin Cheesecake
- Chocolate Cheesecake Bars
We truly hope you adore this recipe! If you loved baking and tasting this **Chocolate Peanut Butter Cheesecake**, please take a moment to leave a STAR REVIEW below. Your feedback helps other bakers discover this wonderful treat! Don’t forget to share your creations on Instagram and tag me @stephaniesweettreats. For more delicious inspiration and baking ideas, make sure to follow me on Pinterest. Happy baking!
Chocolate Peanut Butter Cheesecake
This chocolate peanut butter cheesecake is a combination of chocolate cake and peanut butter cheesecake. The two batters are swirled together and it is topped with chocolate frosting.
Print Recipe
Pin Recipe
45
53
6
7 38
16 slices
Ingredients
Peanut Butter Cheesecake
- 16 oz Cream cheese, room temperature
- 1/2 cup White granulated sugar
- 3/4 cup Peanut butter, creamy
- 2/3 cup Sour cream, room temperature
- 1/3 cup Heavy cream, room temperature
- 1 tsp Pure vanilla extract
- 2 Large eggs, room temperature
Chocolate Cake
- 1 cup All-purpose flour
- 2 TBSP Cornstarch
- 1/2 cup Unsweetened cocoa powder
- 1 tsp Baking powder
- 1/2 tsp Baking soda
- 1/2 tsp Salt
- 1/2 cup Oil, canola or vegetable oil
- 3/4 cup White granulated sugar
- 2 Large eggs, room temperature
- 1 tsp Pure vanilla extract
- 1 tsp White vinegar
- 1/4 cup Sour cream, room temperature
- 1/2 cup Buttermilk, room temperature
- 1/2 cup Hot water
Chocolate Frosting
- 1 cup Unsalted butter, room temperature
- 2/3 cup Powdered sugar
- 1/3 cup Unsweetened cocoa powder
- 1 tsp Pure vanilla extract
Instructions
Peanut Butter Cheesecake
Preheat the oven to 350℉ (175°C). Spray a 9-inch springform pan generously with nonstick baking spray. Line the bottom with an 8-inch parchment paper circle and spray it again for extra non-stick insurance.
Using an electric mixer, beat the room temperature cream cheese and granulated sugar on high speed for 2 minutes until light and fluffy. Make sure to scrape the sides of the bowl with a rubber spatula periodically to ensure everything is well combined.
Add the creamy peanut butter, room temperature sour cream, room temperature heavy cream, and pure vanilla extract to the cream cheese mixture. Mix on medium speed until the mixture is completely smooth and fully combined, with no streaks.
Finally, add the room temperature large eggs and mix them in on low speed until just combined. Be careful not to overmix at this stage. Take the batter off the mixer and scrape the sides of the bowl before setting it aside.
Chocolate Cake
In a large mixing bowl, combine all the dry ingredients for the chocolate cake: all-purpose flour, cornstarch, unsweetened cocoa powder, baking powder, baking soda, and salt. Whisk well to ensure they are thoroughly mixed. Set this bowl aside.
In a separate medium bowl, combine the oil (canola or vegetable), white granulated sugar, room temperature large eggs, pure vanilla extract, white vinegar, room temperature sour cream, and room temperature buttermilk. Mix thoroughly. Slowly and carefully add in the hot water, stirring continuously to prevent cooking the eggs.
Pour the wet ingredients into the dry ingredients. Mix until completely combined and there are no lumps of flour remaining. Be careful not to overmix, as this can lead to a tough cake.
Pour approximately one-third of the chocolate cake batter into the prepared springform pan, spreading it into an even layer on the bottom. Next, dollop about one-third of the peanut butter cheesecake batter over the cake batter, creating distinct lumps. Do not use a knife to swirl it in; the dollops will naturally create the beautiful marbled pattern as it bakes.
Dollop another one-third of the chocolate cake batter on top of the cheesecake dollops. Then, add another one-third of the cheesecake batter. Finish by adding the remaining chocolate cake batter, and top with the final portion of cheesecake batter. The uneven layers from the dollops will create a stunning marbled effect. Gently smooth the very top layer with a spatula.
Bake the cheesecake for 45-55 minutes. It is done when the edges are set and only the middle has a slight, delicate jiggle. Remove the cake from the oven and keep it in the pan. Let it cool completely on a wire rack to room temperature.
Once completely cooled, wrap the pan tightly in aluminum foil and place it in the refrigerator to chill. This crucial chilling process should last overnight, or for a minimum of 6 hours, to allow the cheesecake to firm up and set properly.
Chocolate Frosting
In a medium bowl, sift the powdered sugar and unsweetened cocoa powder together to remove any lumps. Set the sifted dry ingredients aside.
Using an electric mixer, beat the room temperature unsalted butter on high speed for 3 minutes until it becomes light, fluffy, and creamy. Periodically scrape the sides of the bowl to ensure all the butter is evenly incorporated.
Reduce the mixer speed to low and gradually add the sifted dry ingredients (powdered sugar and cocoa powder) to the butter mixture. Mix until just combined. Then, add the pure vanilla extract and mix it in until evenly distributed.
Increase the mixer speed to high and beat the frosting for another 2 minutes, until it’s light and airy. Scrape the sides of the bowl halfway through this step to ensure a smooth, uniform frosting.
Once the cheesecake is thoroughly chilled, remove it from the springform pan and gently peel off the parchment paper. Transfer the cheesecake to your desired serving platter. Spread the prepared chocolate frosting evenly over the top surface of the chilled cheesecake using an offset spatula.
Notes
Flour Measurement: Always make sure flour is spooned into the measuring cup and then leveled off with the back of a knife, or better yet, use a kitchen scale for precision. Compacted flour can significantly dry out the cake, resulting in a less tender crumb.
High Altitude Baking: If you are baking at a high altitude, consider adding an extra 1 tablespoon of all-purpose flour to the chocolate cake batter. This helps to provide more structure and prevent the cake from collapsing.
Room Temperature Ingredients: For optimal mixing and a smooth batter, ensure all dairy ingredients (cream cheese, sour cream, heavy cream, butter) and eggs are pulled out of the refrigerator at least 2 hours before you begin baking.
Nutrition Facts (per slice, approximate):
- Calories: 488 kcal
- Carbohydrates: 36g
- Protein: 7g
- Fat: 40g
- Saturated Fat: 18g
- Polyunsaturated Fat: 5g
- Monounsaturated Fat: 14g
- Trans Fat: 0.5g
- Cholesterol: 73mg
- Sodium: 291mg
- Potassium: 218mg
- Fiber: 2g
- Sugar: 19g
- Vitamin A: 903IU
- Vitamin C: 0.1mg
- Calcium: 84mg
- Iron: 1mg
