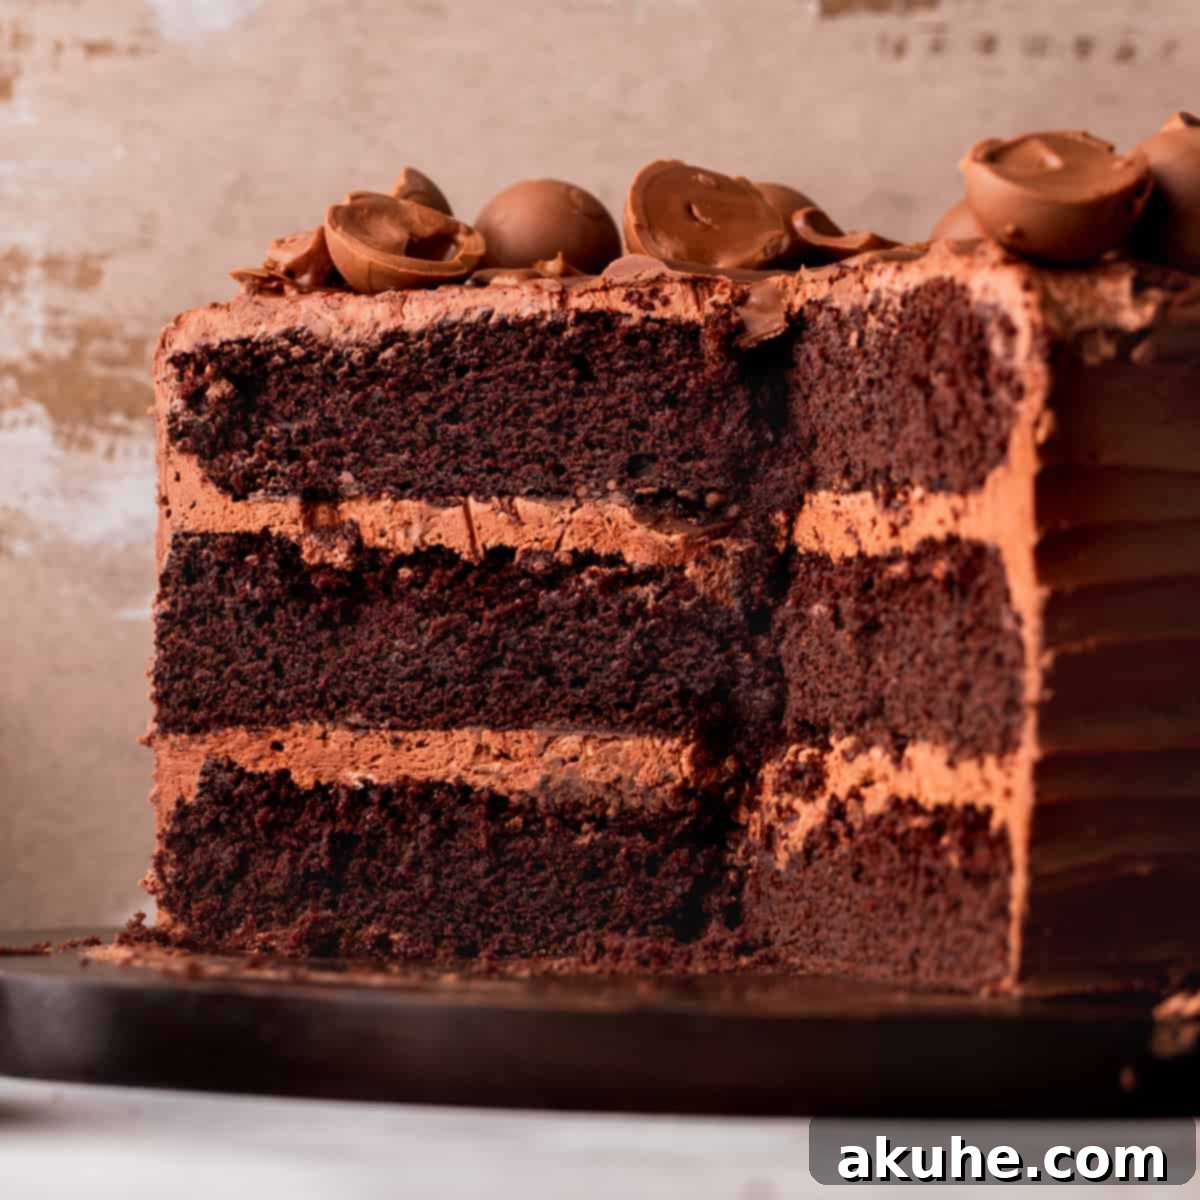
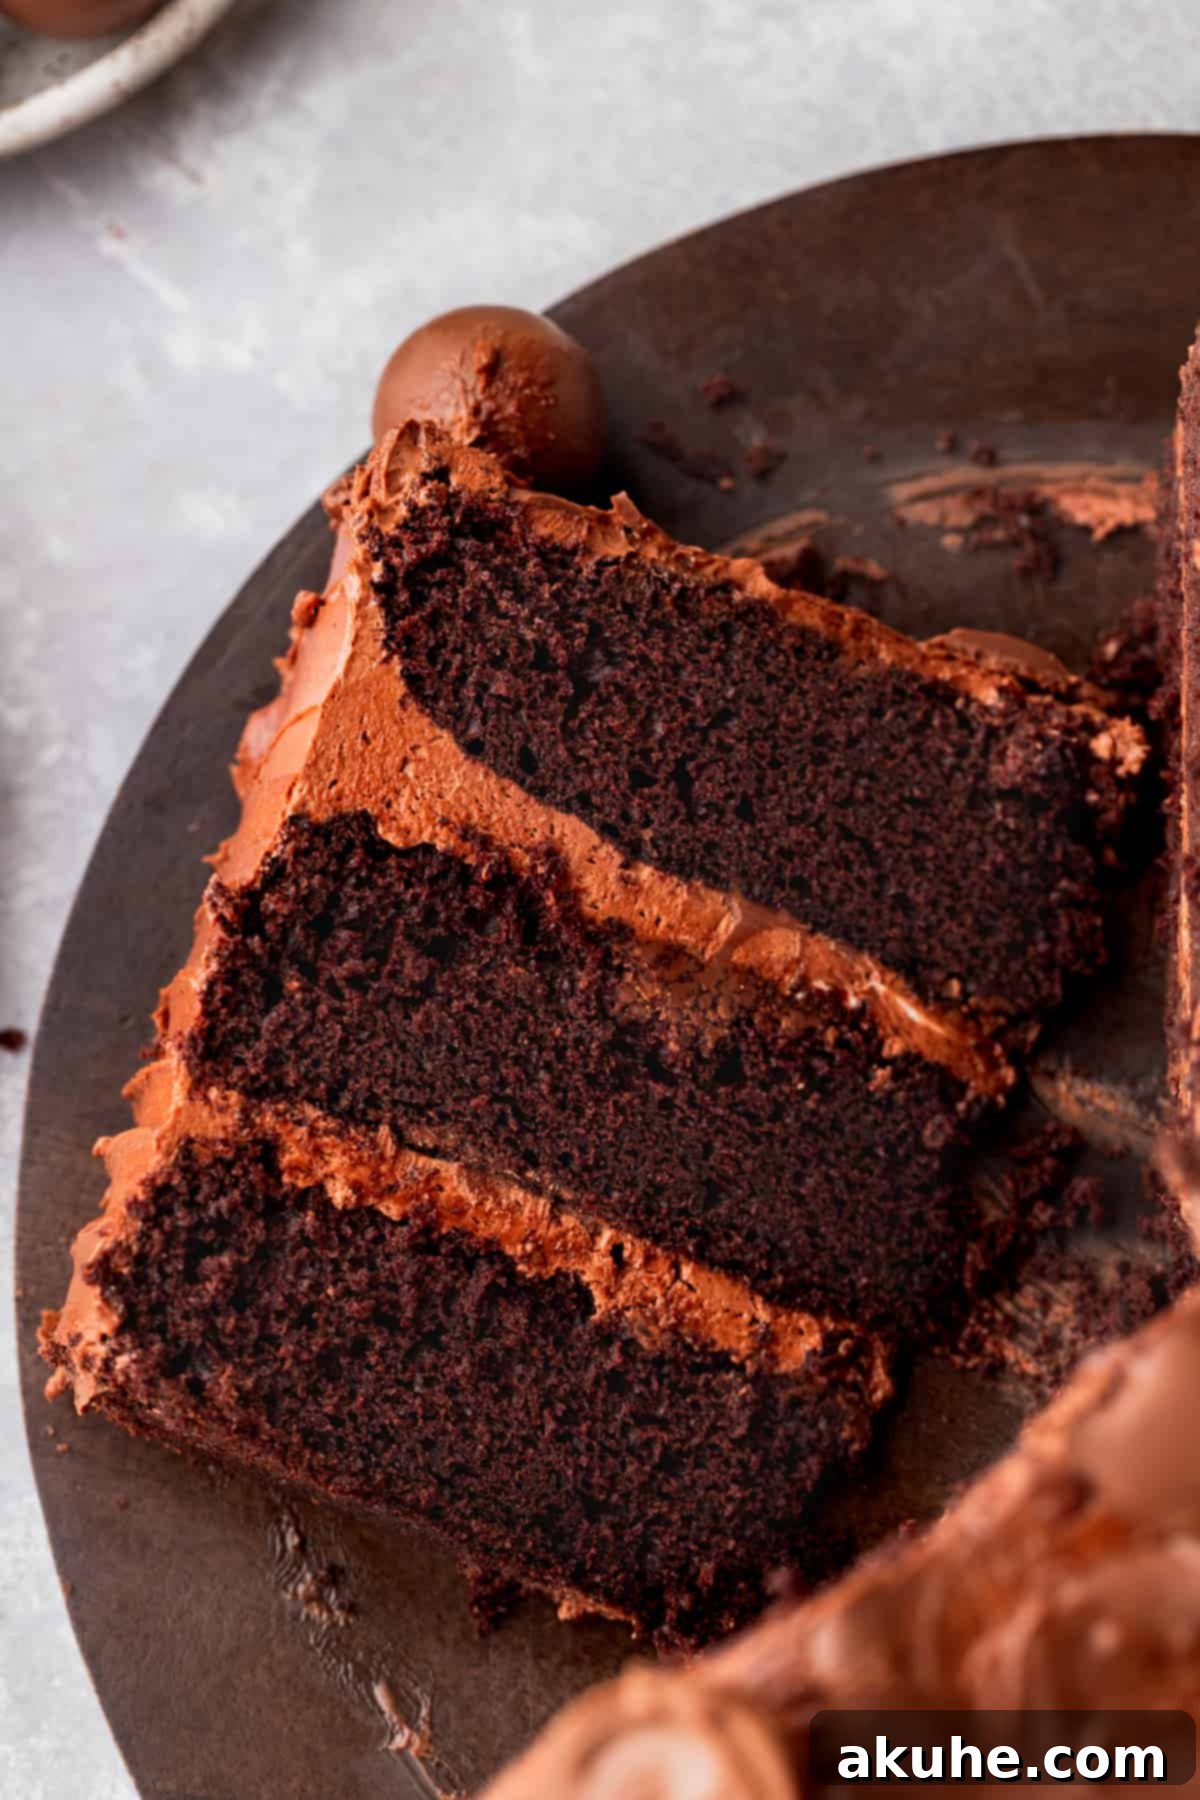
Prepare to be enchanted by the **Ultimate Decadent Chocolate Truffle Cake**, a truly extraordinary dessert designed for the most serious chocolate aficionados. This magnificent layered creation isn’t just a cake; it’s an immersive chocolate experience, boasting incredibly moist cake layers generously filled with a velvety chocolate frosting and luscious swirls of melted Lindt truffles. Each forkful delivers an unparalleled richness, making it an unforgettable treat for any special occasion.
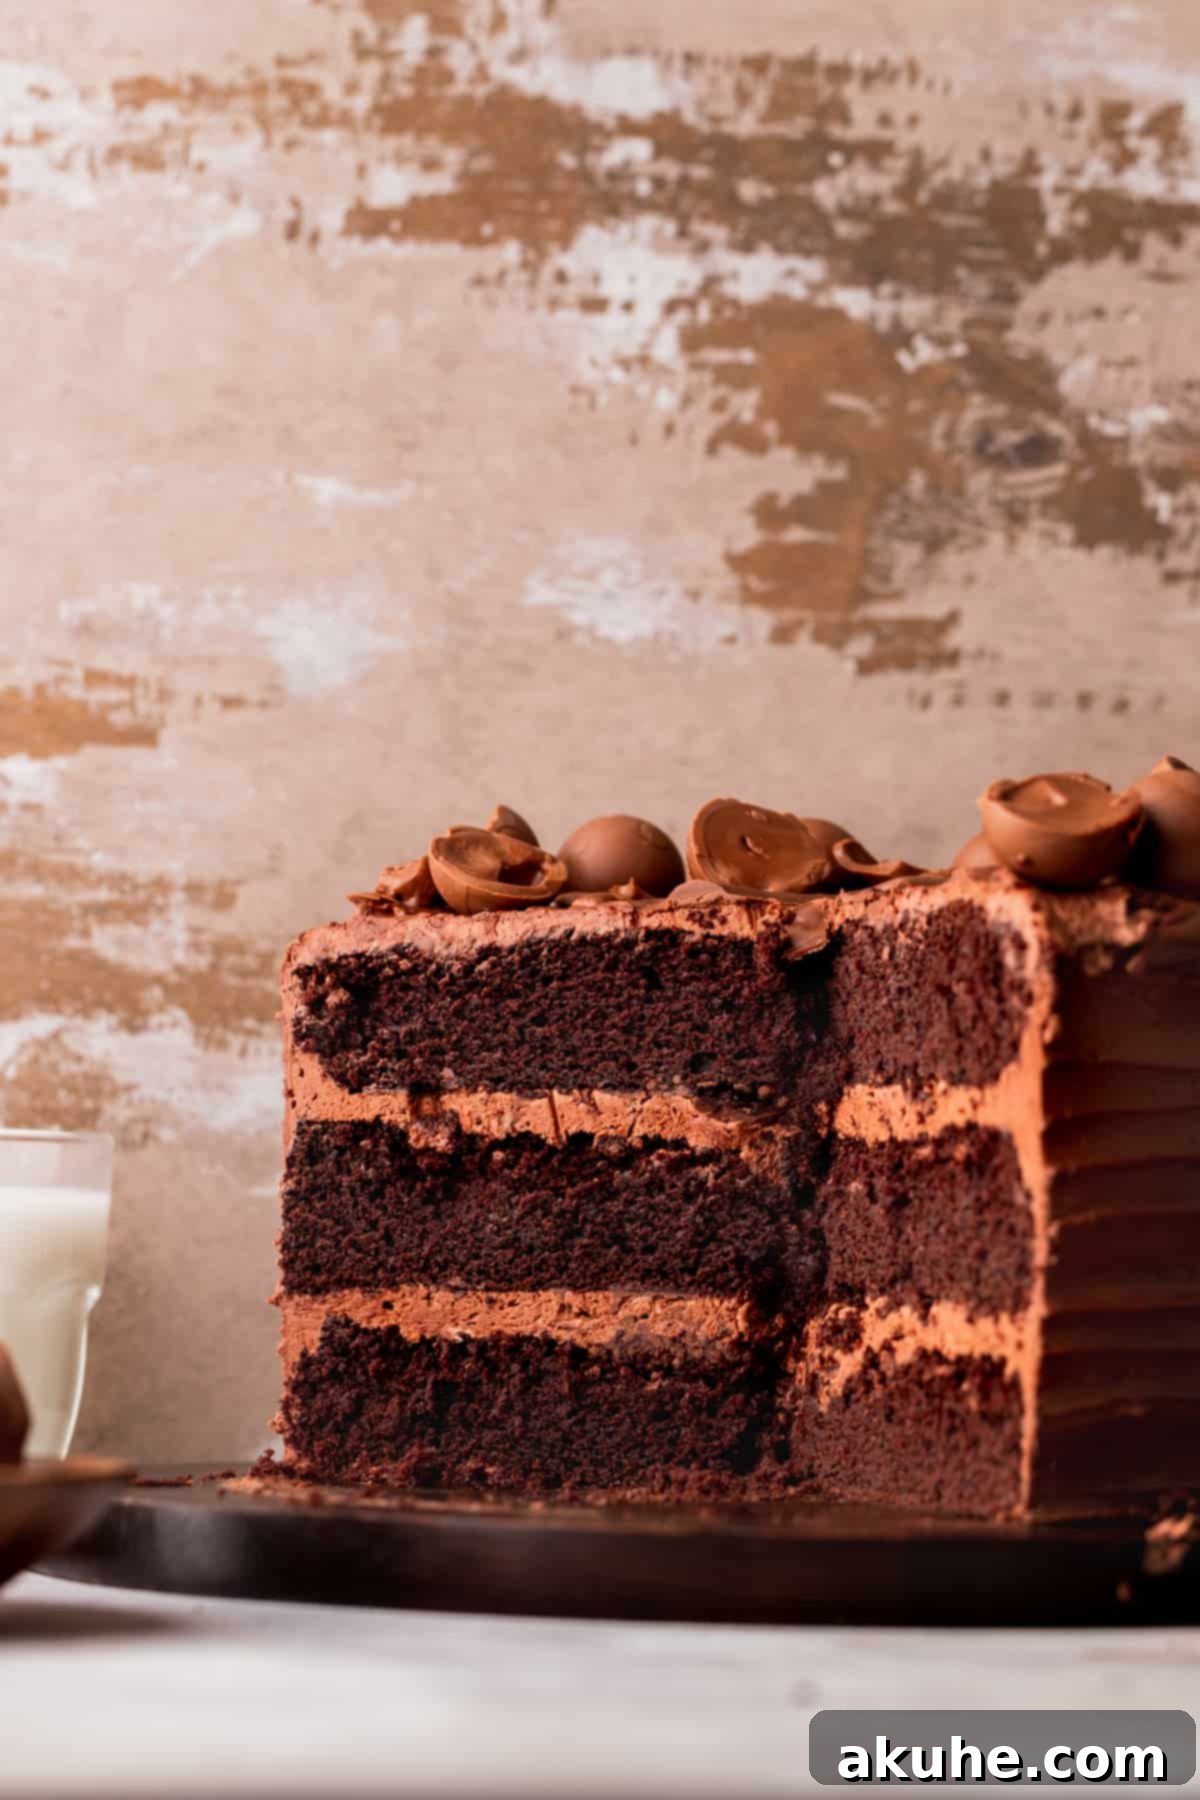
Imagine the delight of presenting a dessert that combines the intense flavor of premium chocolate with the melt-in-your-mouth texture of truffles. This homemade chocolate truffle cake is more than just baking; it’s an act of love, perfect for celebrating Valentine’s Day, a milestone birthday, or simply elevating an ordinary day into something spectacular. The “wow factor” is guaranteed, leaving a lasting impression on anyone lucky enough to taste it. Skip the predictable box of chocolates and showcase your baking prowess with this show-stopping centerpiece!
If your heart beats for all things chocolate, you might also love our other sensational chocolate desserts: the delightful Twix Cake, our indulgent Oreo Brownies, and the sophisticated Black Velvet Cake.
Why This Decadent Chocolate Truffle Cake Recipe is a Must-Try
What makes this chocolate truffle cake stand head and shoulders above the rest? It’s a harmonious blend of carefully chosen ingredients and techniques that result in a truly superior dessert. Here’s why this recipe will become your new go-to for chocolate indulgence:
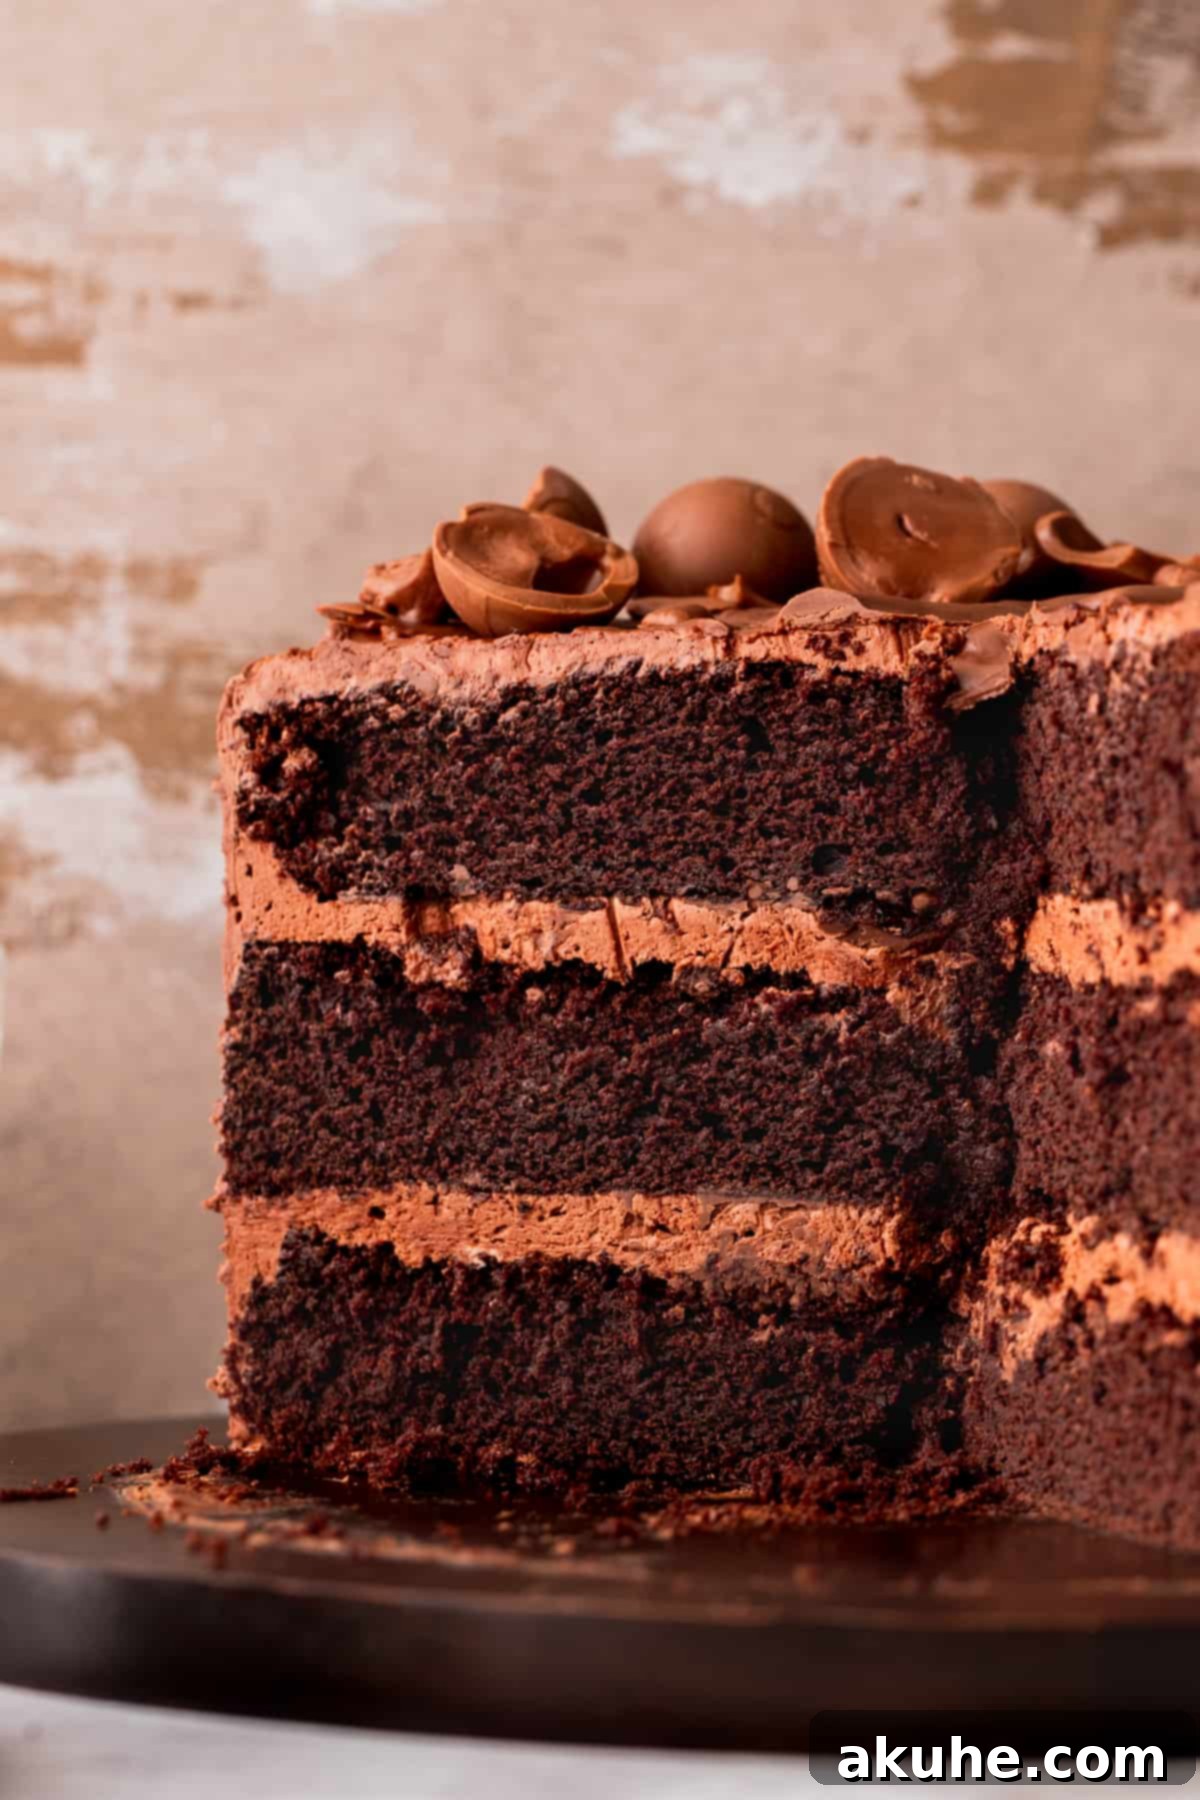
- Unbelievably Soft & Moist Layered Cake: Forget dry, crumbly cakes of the past. This recipe features three perfectly baked cake layers that are exceptionally soft, tender, and incredibly moist. The secret lies in a balanced blend of wet and dry ingredients, including the magical touch of oil and buttermilk, ensuring a delicate crumb that practically melts in your mouth. Each layer is a testament to achieving perfect texture, providing an ideal, sturdy yet delicate foundation for the rich fillings.
- Luxurious Chocolate Truffle Infusion: This isn’t just a chocolate cake; it’s a *chocolate truffle* cake, and the distinction is vital. By incorporating your favorite high-quality chocolate truffles – we highly recommend Lindt for their unparalleled smooth, rich flavor – directly into the filling, we elevate the entire dessert to gourmet status. The melted truffles are not merely a garnish; they are swirled generously into the frosting, distributing their intense chocolate essence and creamy texture throughout each bite, creating an experience that’s truly amazing and distinct from standard chocolate cakes. It’s a taste of pure, unadulterated bliss.
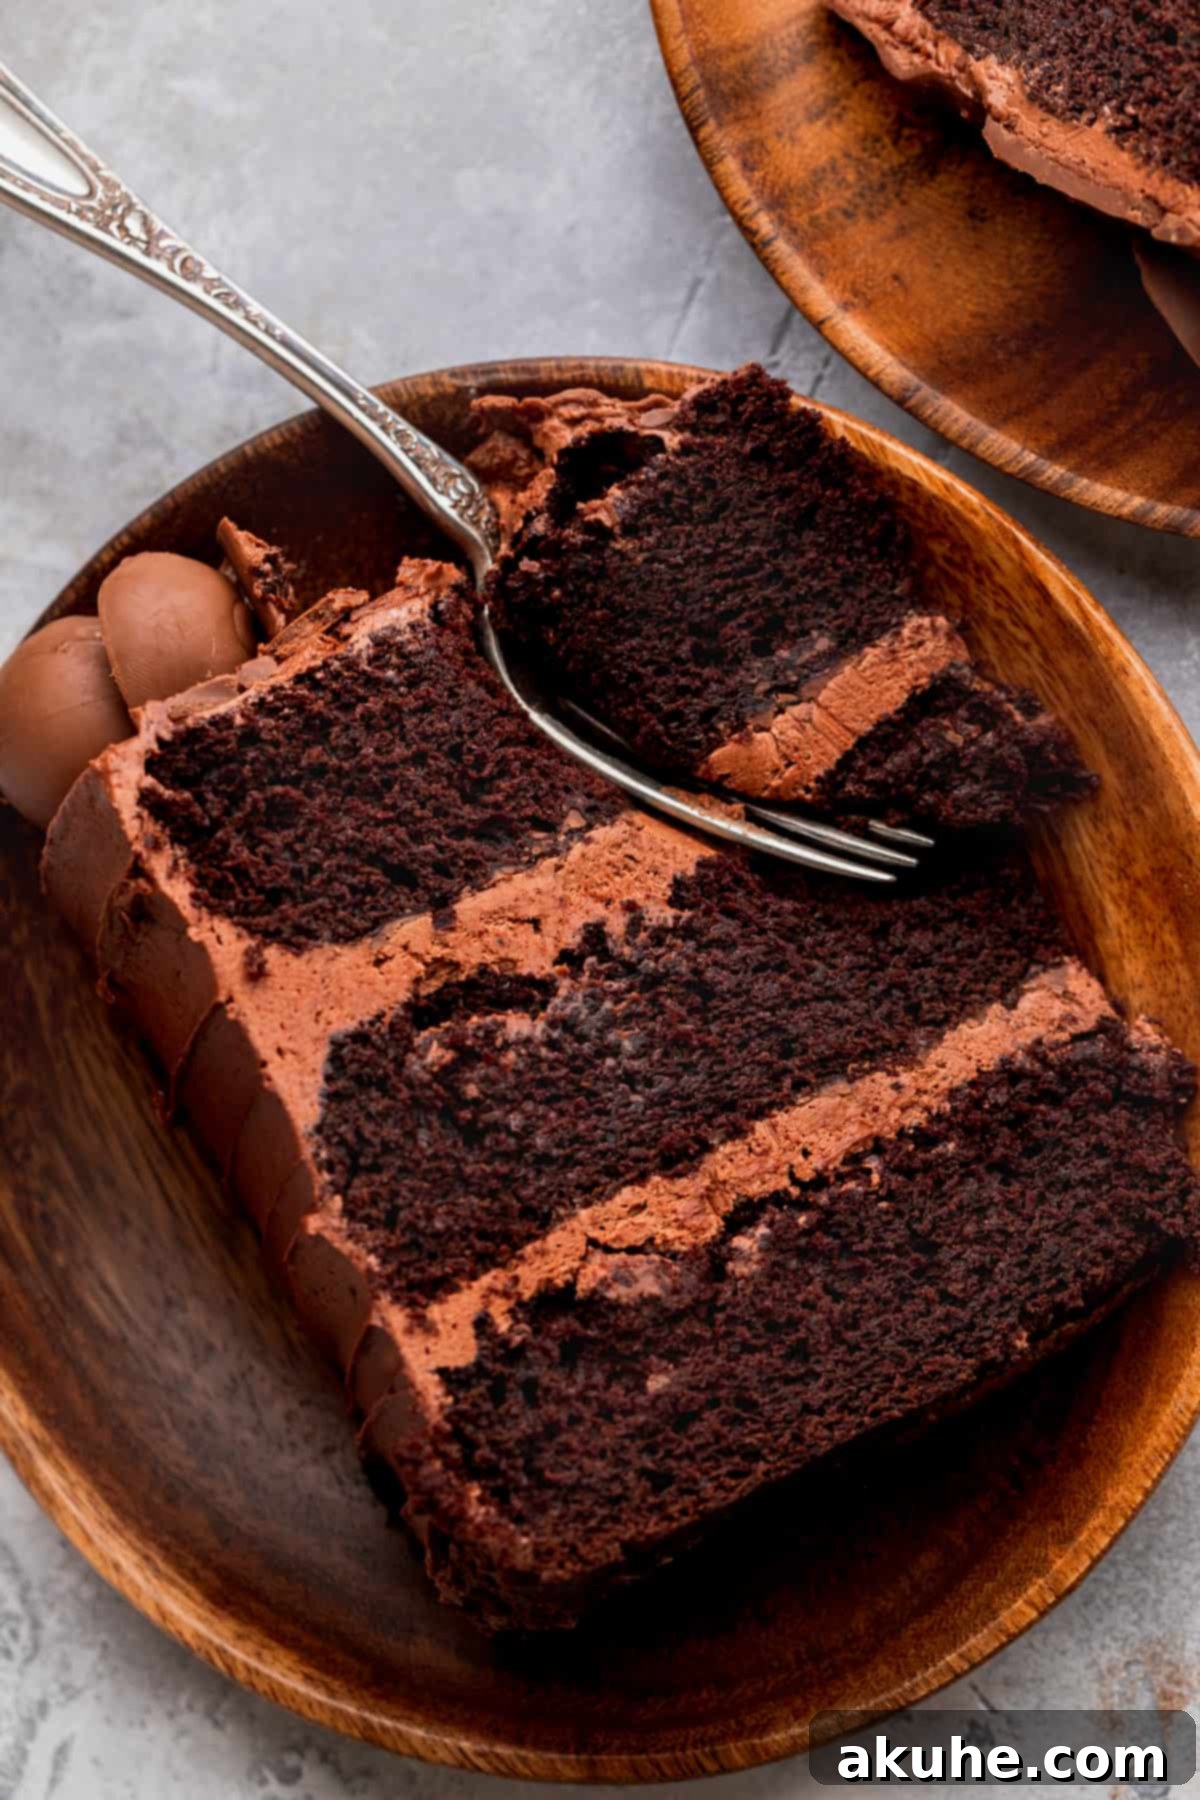
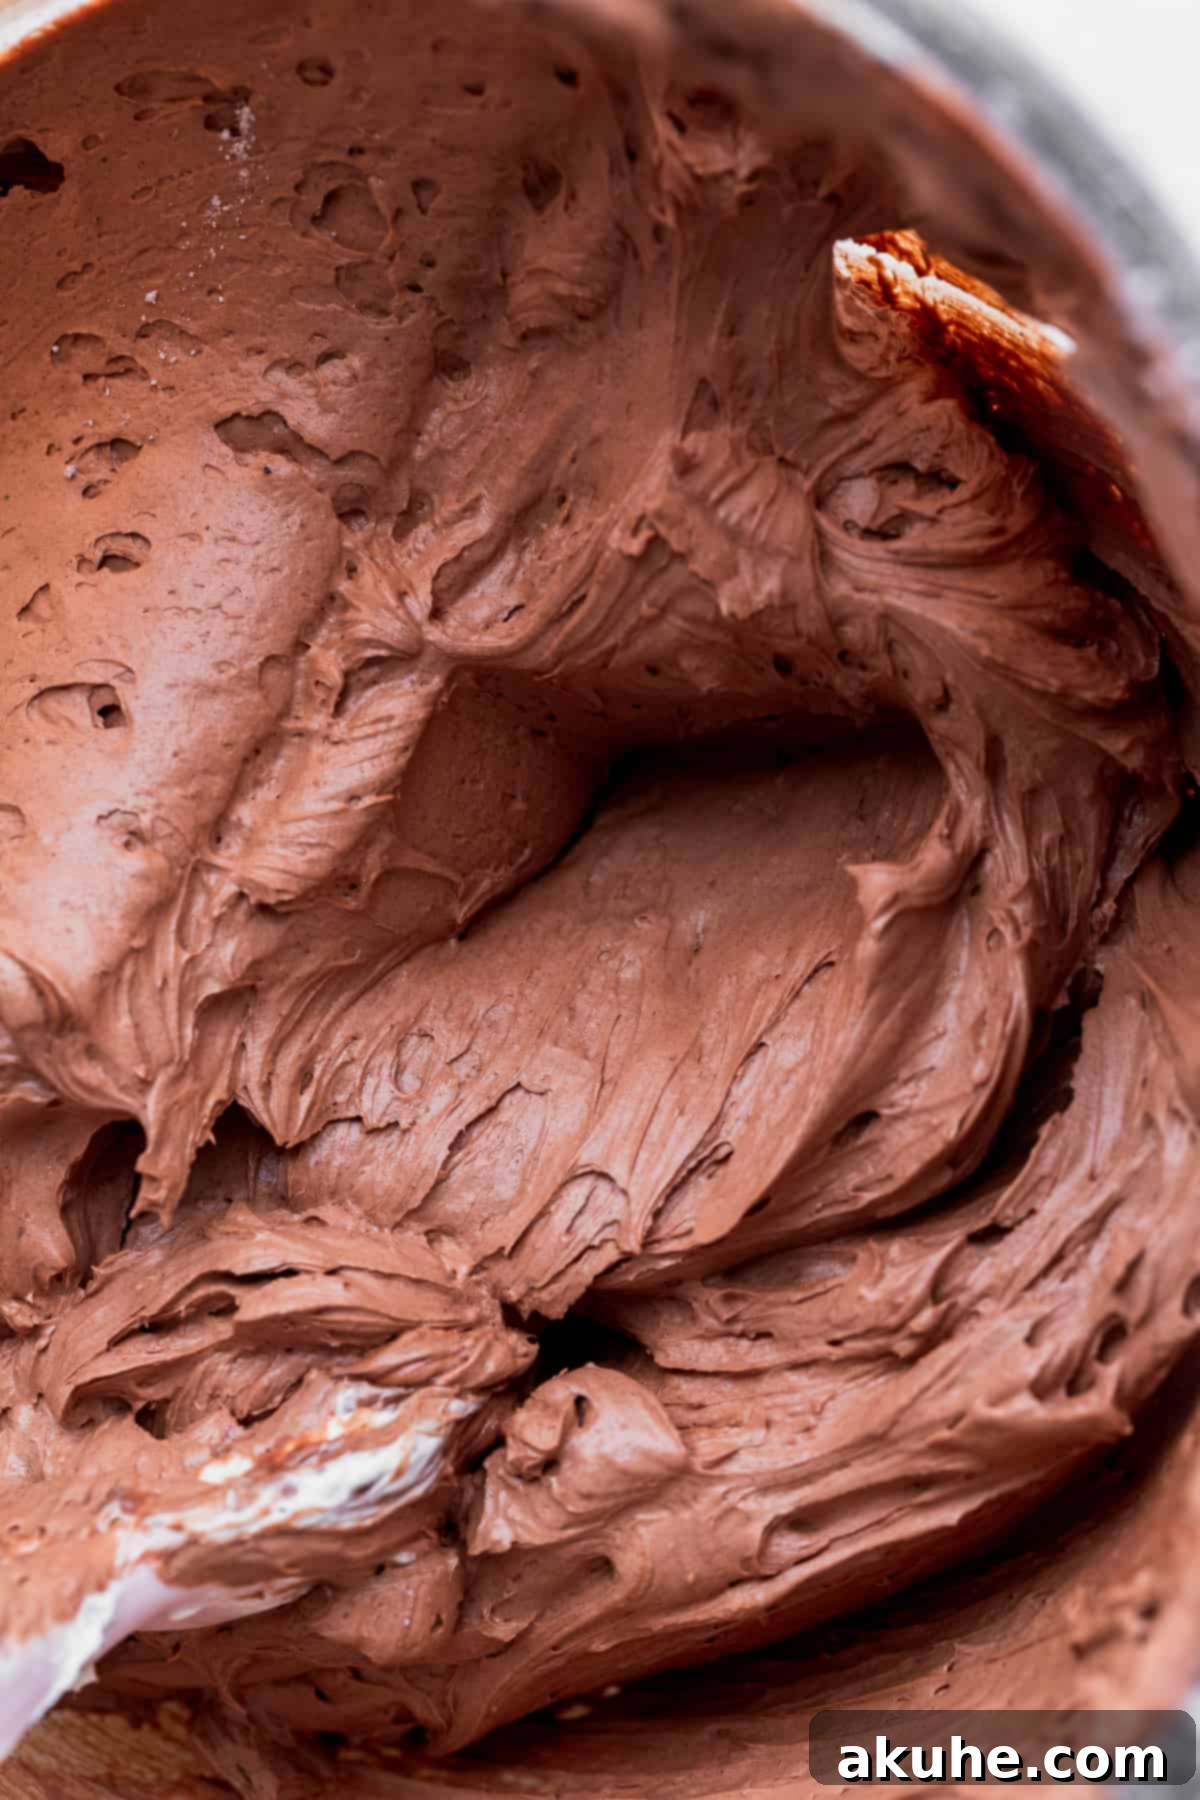
- Velvety Smooth Chocolate Frosting: The homemade chocolate frosting for this cake is so exquisitely rich, light, and smooth, you’ll be tempted to eat it by the spoonful before it even reaches the cake! Crafted to perfection with room-temperature butter and sifted powdered sugar, it provides the ideal creamy complement to the tender cake layers and the intense truffle swirls. This frosting isn’t merely a topping; it’s a critical component that binds all the flavors and textures together, bringing the entire cake to an elevated level of decadence and making every slice a truly gourmet experience.
Essential Ingredients for Your Decadent Chocolate Truffle Cake
Crafting a truly spectacular chocolate truffle cake begins with selecting the right ingredients and understanding their role. Here are some detailed notes to ensure your cake turns out perfectly, yielding optimal flavor and texture. For a complete list with precise measurements, please refer to the comprehensive recipe card below.
- Unsweetened Cocoa Powder: For an intensely deep, dark, and rich chocolate flavor, **Dutch process cocoa powder** is highly recommended. Unlike natural cocoa, Dutch process cocoa has been treated to neutralize its acidity, resulting in a darker color and a smoother, less bitter chocolate taste that truly shines in baked goods. It contributes significantly to the cake’s profound chocolate notes. This is the specific brand I personally use and love for consistent results.
- Oil (Canola, Vegetable, or Light Olive Oil): The use of a neutral-flavored oil in this recipe is paramount for achieving a supremely moist and tender crumb. Oil remains liquid at room temperature, contributing to a cake that stays soft, pliable, and fresh for longer compared to butter-based cakes, which can sometimes dry out more quickly. Canola oil, vegetable oil, or a light olive oil are all excellent choices that won’t interfere with the rich chocolate taste, allowing it to be the star.
- Large Eggs: Always opt for large eggs for consistency in baking recipes. It’s vital that your eggs are at **room temperature** before you begin mixing. Cold eggs can stiffen butter, curdle your batter, and ultimately affect the overall emulsion and texture of the final cake, leading to a less desirable result. Plan ahead and take them out of the refrigerator at least 2 hours before you plan to start baking.
- Buttermilk (Full-Fat or Reduced-Fat): Buttermilk is truly a secret weapon in many moist cake recipes. Its inherent acidity reacts beautifully with baking soda to create a lighter, more tender crumb by assisting in leavening, while also adding a subtle tangy depth that wonderfully enhances the chocolate flavor. Like eggs, buttermilk should be at **room temperature** for optimal blending with other ingredients and to ensure a smooth, homogenous batter. Remove it from the fridge approximately 2 hours prior to use.
- Hot Water (or Hot Coffee): This seemingly simple ingredient plays a critical role in “blooming” the cocoa powder. Steaming hot water (or hot coffee for an even deeper, more complex chocolate note that many professional bakers swear by) helps to fully dissolve and release the full flavor potential of the cocoa particles. This process intensifies their flavor and ensures a more profound, vibrant chocolate presence in your cake. Ensure the water is steaming, but not at a rolling boil.
- Unsalted Butter (for Frosting): For the ultimate, rich, and velvety chocolate buttercream, high-quality unsalted butter is an absolute must. Using unsalted butter gives you complete control over the saltiness of your frosting, allowing you to season it perfectly. Just like the eggs and buttermilk, it should be at **room temperature** – soft enough to easily indent with your finger, but not melted or greasy. This ensures it creams properly with the powdered sugar, incorporating air for a light, fluffy, and smooth frosting.
- Powdered Sugar (Confectioners’ Sugar): For a silky-smooth, grit-free chocolate frosting, **sifting your powdered sugar is non-negotiable**. Powdered sugar can easily clump, and these tiny lumps will create an unpleasant texture in your buttercream. Sifting meticulously removes any lumps, guaranteeing a beautifully smooth, airy, and professional-grade texture for your frosting.
- Semi-Sweet Chocolate Bar (for Cake Batter): When it comes to melting chocolate for the cake batter, always opt for a high-quality semi-sweet chocolate bar over chocolate chips. Chocolate bars typically contain fewer stabilizers and additives, which means they melt far more smoothly and evenly. This ensures they integrate seamlessly into your batter for a superior chocolate flavor and a more desirable, tender texture within the cake itself.
- Chocolate Truffles (Lindt or Your Favorite): The undeniable star of the show! While we adore the exquisite melt, intense creaminess, and rich flavor of Lindt truffles, feel free to substitute with your own favorite brand of chocolate truffles. Ghirardelli squares or Dove chocolates are excellent alternatives that will still deliver that luxurious, indulgent core to your cake. These truffles are melted and generously swirled into the frosting, creating delightful pockets of intense, creamy chocolate goodness with every bite.
Smart Ingredient Substitutions & Dietary Adjustments
Flexibility is a wonderful aspect of baking, and this decadent chocolate truffle cake recipe can often be adapted to suit various preferences or dietary needs without sacrificing flavor. Here are some thoughtful substitutions and considerations:
- Dairy-Free Version: For those avoiding dairy, most of the dairy ingredients can be easily swapped for your favorite plant-based alternatives. Use a good quality plant-based milk (such as almond, soy, or oat milk) to create a homemade buttermilk substitute (see tip below), dairy-free butter substitutes for the frosting, and ensure your chosen chocolate bar and truffles are certified dairy-free.
- Gluten-Free Option: While I haven’t personally tested a gluten-free version of this specific recipe myself, many bakers have considerable success using a reputable 1:1 gluten-free all-purpose flour blend (one that specifically contains xanthan gum) as a direct substitute for regular wheat flour in cake recipes. If you venture to try this, please share your results in the comments – your feedback greatly helps other bakers!
- Alternative Truffles: Don’t feel strictly limited to Lindt if you have another cherished brand! High-quality Ghirardelli squares, Godiva truffles, or creamy Dove chocolates are all fantastic alternatives that will still provide that luxurious, melt-in-your-mouth chocolate swirl within your frosting. Choose a brand whose flavor you genuinely love for the best possible outcome.
- Homemade Buttermilk Substitute: Unexpectedly out of buttermilk? No problem at all! You can easily concoct your own effective substitute. Simply pour 1 cup of regular milk (either dairy or your preferred plant-based milk) into a measuring cup and stir in 1 tablespoon of white vinegar or fresh lemon juice. Let it sit undisturbed for 5-10 minutes until it visibly curdles slightly. This homemade version works just as effectively in adding essential moisture and tenderness to your cake, and it’s a common trick used by savvy bakers.
Step-by-Step Instructions: Crafting Your Chocolate Cake Batter and Velvety Buttercream
Let’s embark on the delightful journey of baking this incredible chocolate truffle cake. The cake layers are surprisingly simple and can even be made by hand, while the frosting benefits greatly from the power of an electric mixer for that perfect airy texture. Gather your ingredients, ensure they’re at room temperature where specified, and let’s create some baking magic!
For the Decadent Chocolate Cake Layers:
You don’t necessarily need an electric mixer for the cake layers; a whisk and a couple of bowls will suffice, making the process surprisingly straightforward and enjoyable.
- STEP 1: Prepare Your Pans & Melt Chocolate. Begin by preheating your oven to a steady 350°F (175°C). Carefully prepare three 8-inch round cake pans by thoroughly greasing them with baking nonstick spray. For ultimate easy removal and to prevent any sticking, line the bottoms of each pan with precisely cut 8-inch parchment paper circles, then give them another quick spray. In parallel, gently melt your 4 oz semi-sweet chocolate bar in a small, microwave-safe bowl. Heat in short 20-second intervals, stirring vigorously after each interval, until the chocolate is completely smooth and free of lumps. Allow it to cool slightly, but remain fluid, before incorporating it into the wet ingredients.
- STEP 2: Combine Dry Ingredients. In a medium-sized mixing bowl, meticulously sift together the all-purpose flour, Dutch process cocoa powder, baking powder, baking soda, and salt. Sifting is a crucial step here to ensure there are absolutely no lumps and that the crucial leavening agents are perfectly and evenly distributed throughout the dry mix. Once sifted, add the granulated white sugar and whisk everything together thoroughly until completely combined.
- STEP 3: Blend Wet Ingredients. In a separate, much larger mixing bowl, whisk together the oil, pure vanilla extract, your room-temperature large eggs, and the room-temperature buttermilk until the mixture is smooth and well-emulsified. Now, gradually whisk in the slightly cooled, but still fluid, melted chocolate bar until it is fully incorporated into the wet mixture. Next, heat your water (or coffee) in a small saucepan or microwave until it’s steaming hot. Slowly, and with great care, whisk the hot water into your wet ingredient mixture. This “blooms” the cocoa powder, intensifying its chocolate flavor and contributing to the cake’s dark hue.
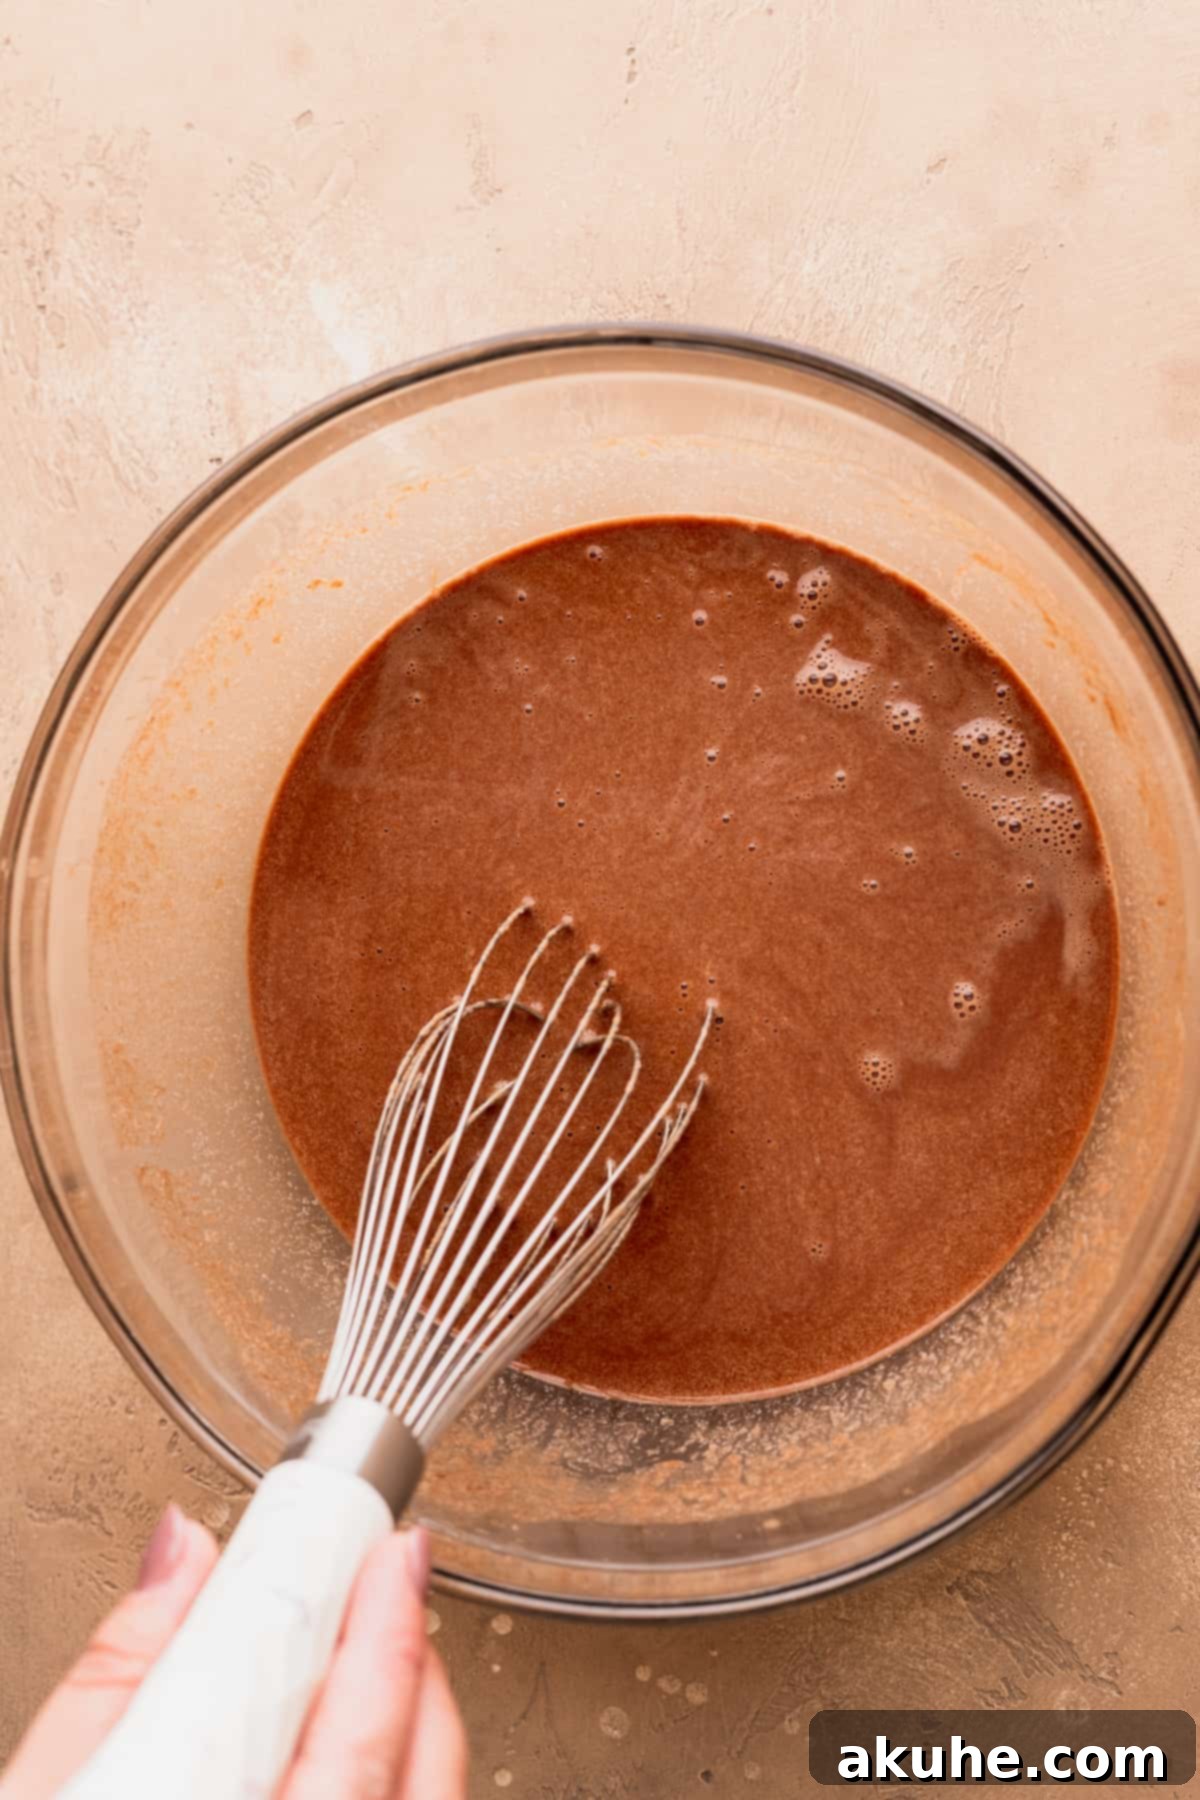
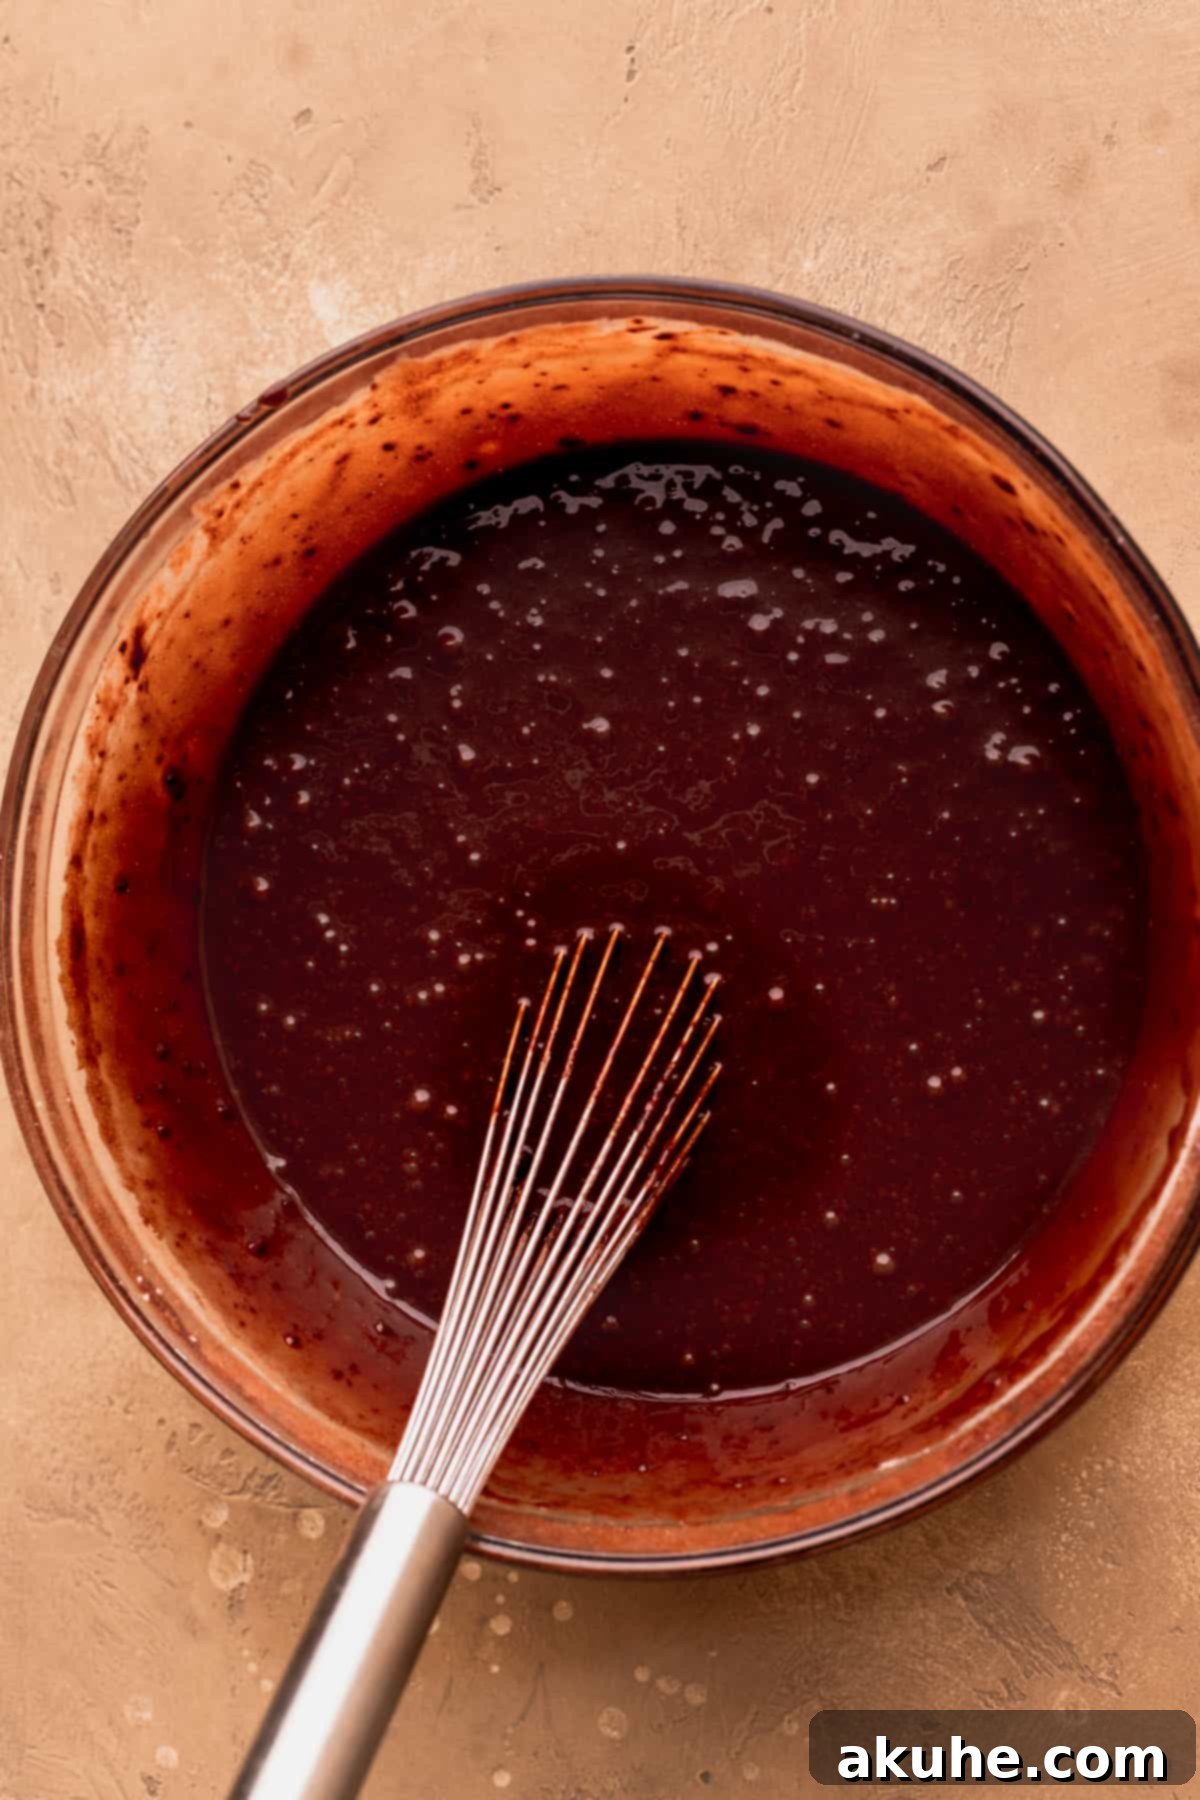
- STEP 4: Combine & Pour the Batter. Gently pour the dry ingredients mixture directly into the wet ingredients bowl. Using your whisk or a rubber spatula, mix until *just combined*. It is critically important not to overmix the batter at this stage, as excessive mixing can develop the gluten in the flour too much, resulting in a tough or dense cake rather than the desired tender crumb. A few small lumps are perfectly acceptable and will disappear during baking! Divide the batter evenly among your three prepared 8-inch cake pans.
- STEP 5: Bake to Perfection. Carefully transfer the filled cake pans to your preheated oven. Bake for approximately 23-25 minutes, keeping a close eye on them. The cakes are ready when a wooden toothpick or cake tester inserted into the very center of a cake layer comes out clean, with no wet batter clinging to it. Remember that baking time can vary slightly depending on your specific oven’s calibration.
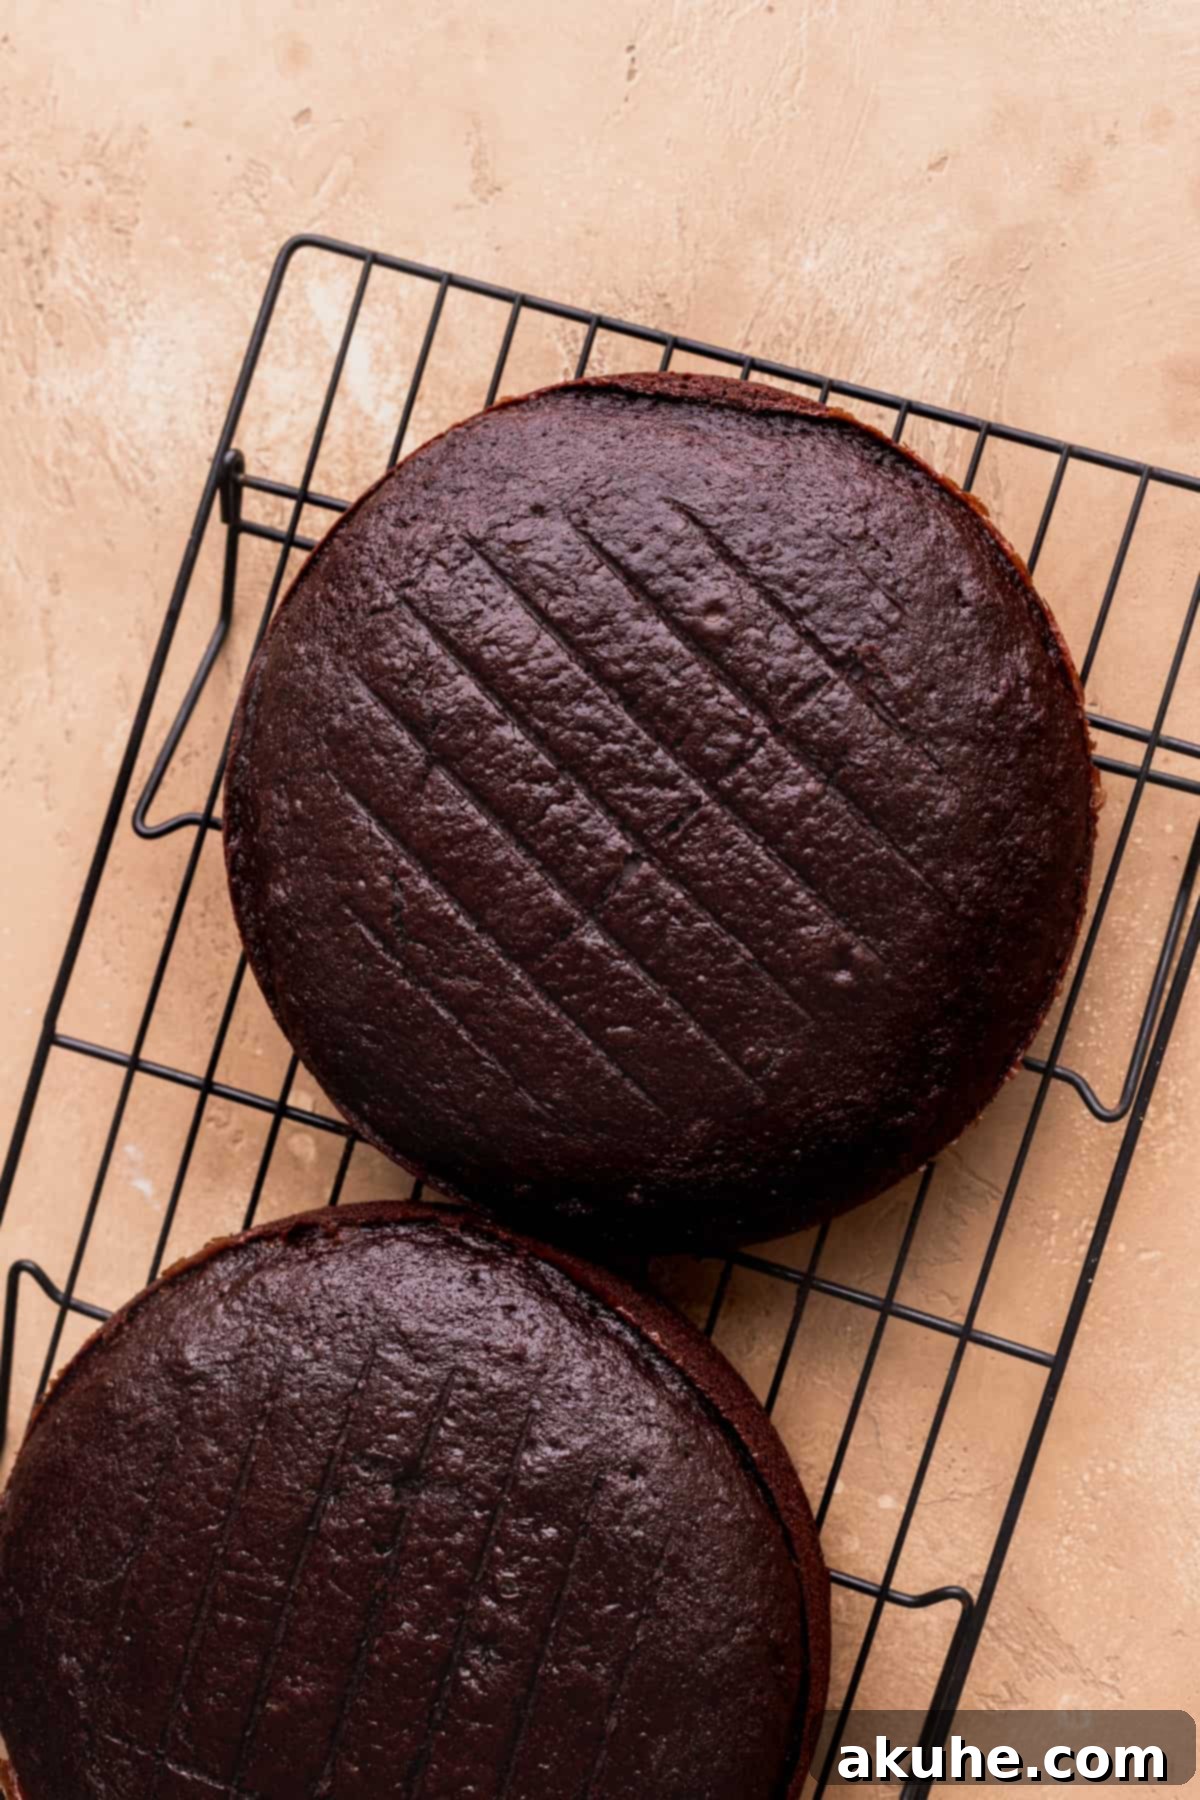
- STEP 6: Cool the Cake Layers. Once baked, remove the cakes from the oven and let them cool in their pans on a wire rack for about 10-15 minutes. This initial cooling period allows the cakes to firm up slightly, making them much easier to handle without breaking. After this, carefully invert the cakes onto the wire rack, gently peel off the parchment paper from the bottoms, and allow them to cool completely to room temperature before attempting to frost or decorate. This step is absolutely vital to prevent melted frosting and sliding, unstable layers.
For the Silky Chocolate Buttercream Frosting:
A stand mixer with a paddle attachment or a powerful hand mixer will make light work of this luscious frosting, ensuring it’s beautifully smooth and exceptionally fluffy.
- STEP 7: Prepare Dry Frosting Mix & Beat Butter. In a large mixing bowl (or the bowl of your stand mixer), sift together the powdered sugar and unsweetened cocoa powder. This ensures a lump-free frosting. Set this mixture aside for a moment. Now, in a separate large mixing bowl, or directly in your stand mixer, place the room-temperature unsalted butter. Beat the butter on high speed for a full 3 minutes until it transforms into a light, pale, and incredibly fluffy consistency. This aeration is a critical step for achieving a light and airy frosting.
- STEP 8: Create the Perfect Frosting. With your mixer set to low speed, gradually add in about half of your sifted powdered sugar and cocoa powder mixture. Mix only until it’s just incorporated, stopping to scrape down the sides of the bowl as needed to ensure everything combines evenly. Then, add the remaining powdered sugar and cocoa mixture, continuing to mix on low speed until it starts to come together. Once mostly combined, add the pure vanilla extract and the salt. Finally, increase the mixer speed to high and beat for another 2-3 minutes until the frosting is wonderfully fluffy, perfectly smooth, and easily spreadable. Do not rush this final beating step; the aeration time contributes significantly to the frosting’s ideal luxurious texture.
Expert Tips for Assembling Your Stunning Chocolate Truffle Cake
Assembling a beautifully layered cake can sometimes feel a bit daunting, but with these insightful tips and the right tools, you’ll effortlessly achieve a professional-looking finish. Remember, precision and a little patience are your best friends throughout this process!
- Helpful Cake Decorating Tools: While not strictly necessary for deliciousness, certain tools can significantly simplify cake assembly and yield a more polished, bakery-quality result. Consider acquiring a cake turntable for smooth, even frosting application; an offset icing spatula for effortless spreading of frosting and fillings; a straight icing spatula for general smoothing; a cake scraper for achieving perfectly sharp, vertical sides; a cake leveler (or a very long, sharp serrated bread knife) for perfectly flat cake layers; and a reliable cake carrier for safe transport and elegant storage.
- Level Your Cake Layers for Stability: For a cake that is both stable and aesthetically pleasing, it’s absolutely essential to level your cooled cake layers. Use a serrated knife with a gentle sawing motion or a specialized cake leveler to carefully slice off any domed tops from your baked chocolate cake layers. Aim for as flat and even a surface as possible for each layer to ensure your stacked cake remains perfectly straight and doesn’t lean.
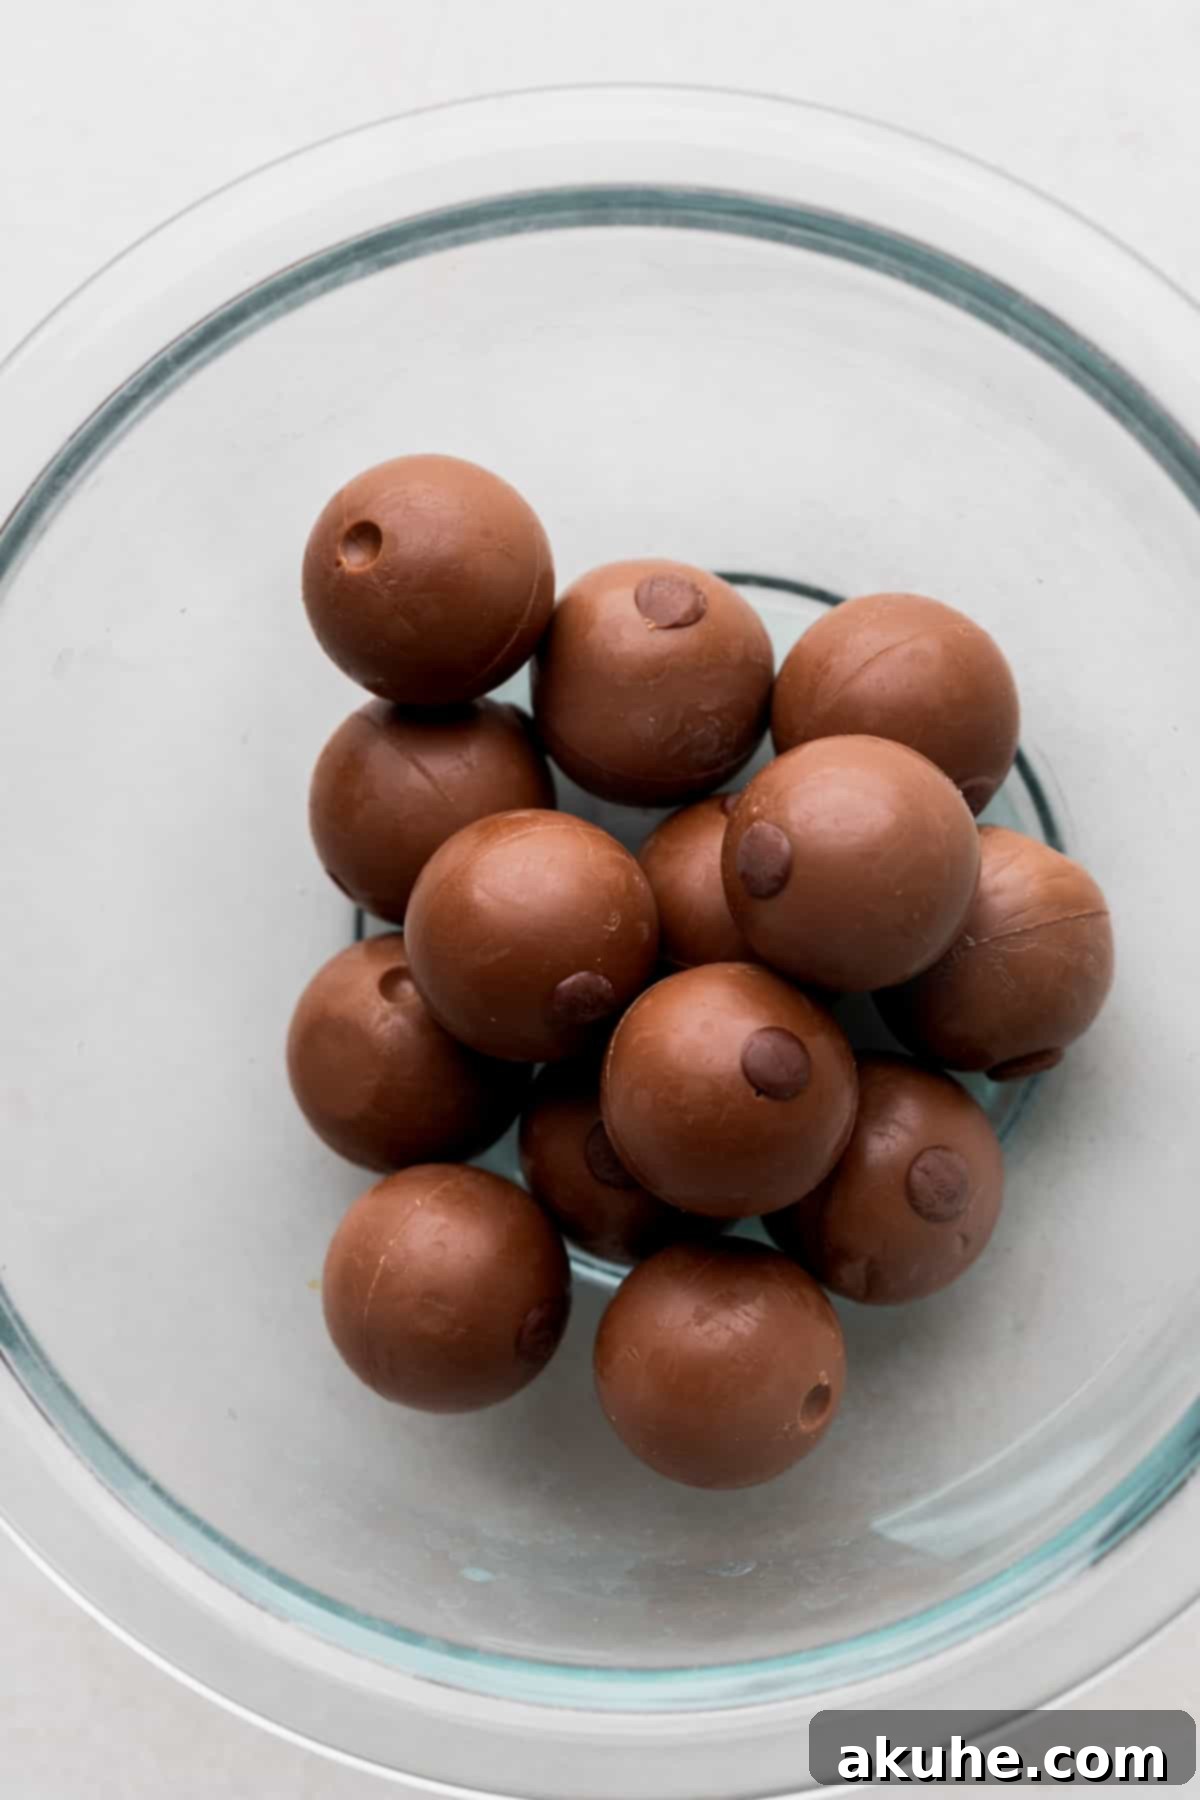
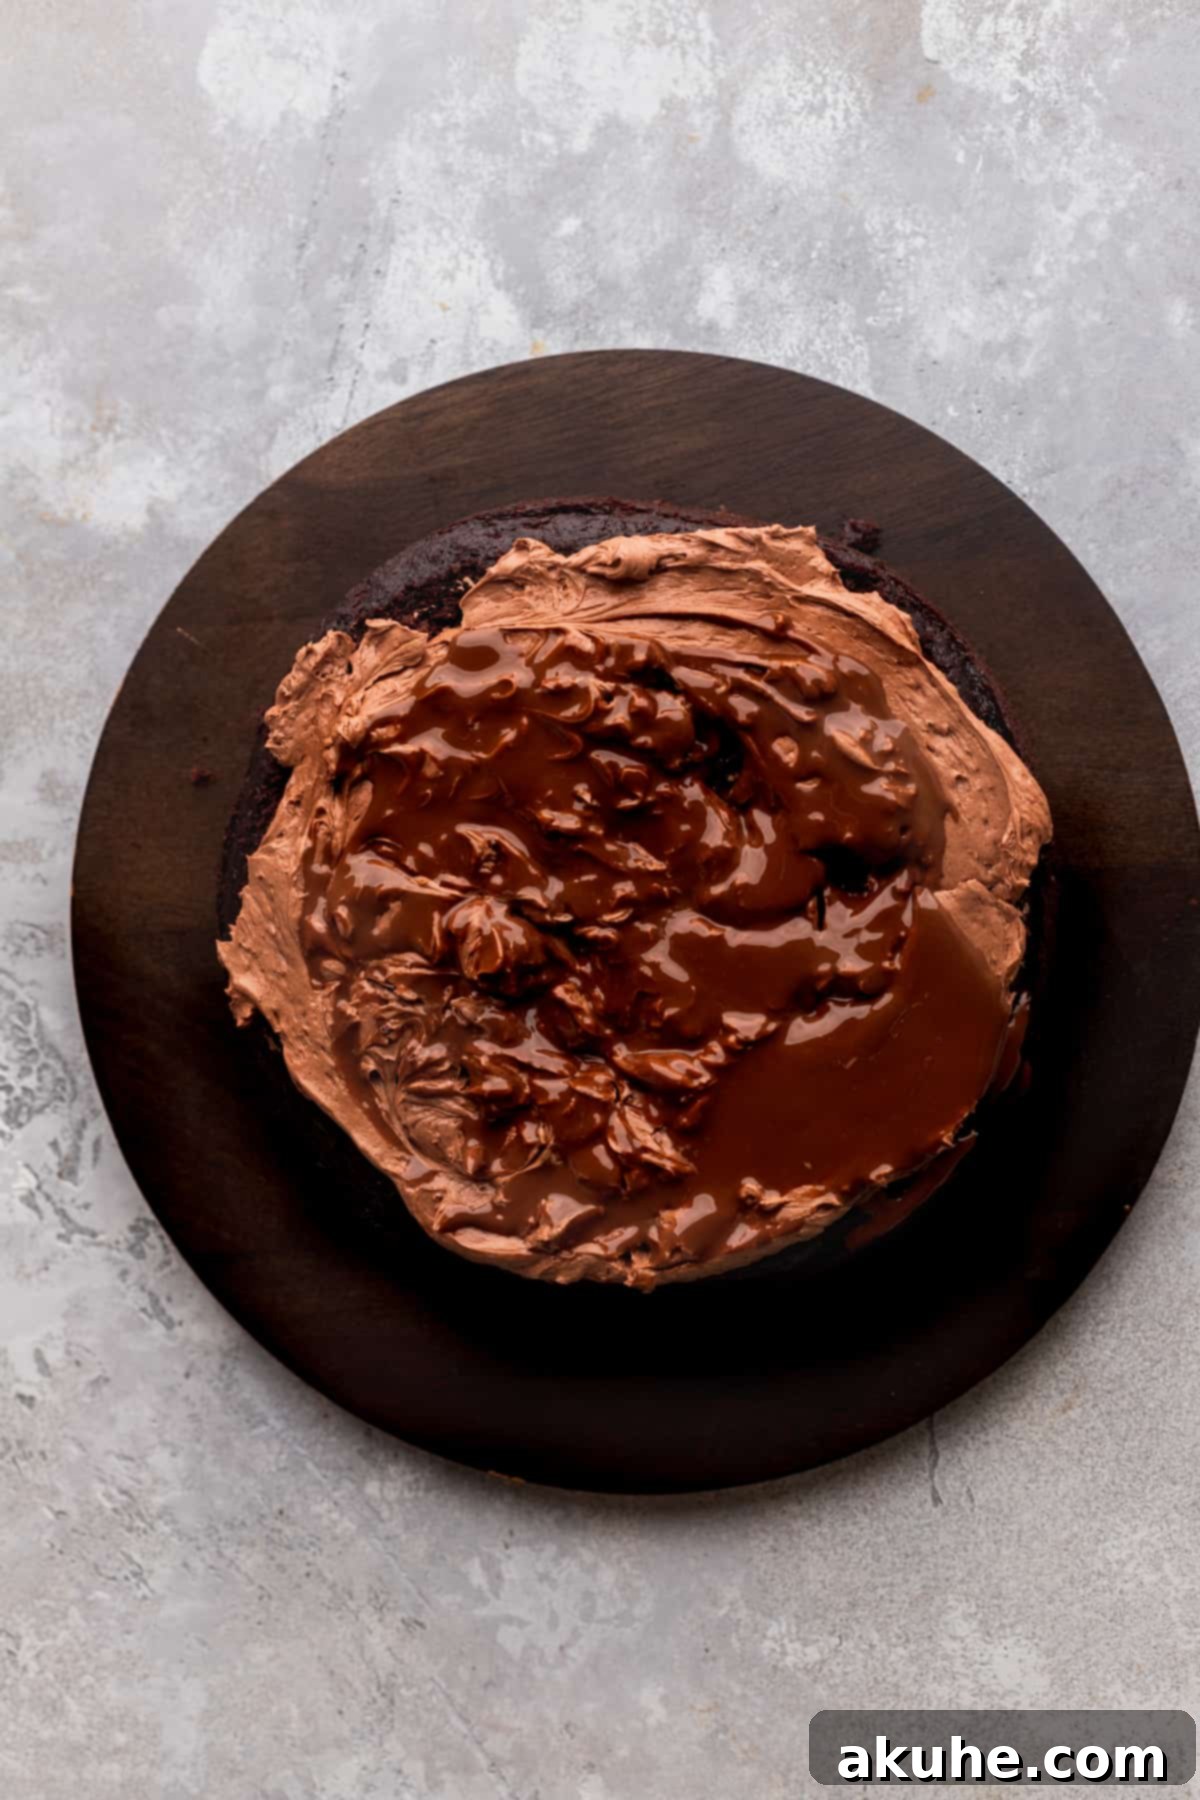
- Melt Truffles Just Before Use: The ten Lindt truffles (or your chosen brand) should be melted with precision. Heat them in short 20-second intervals in a microwave-safe bowl, stirring thoroughly after each interval, until they are perfectly smooth, glossy, and pourable. It’s crucial to have these ready to go immediately before you need them for layering, as melted truffles can cool and thicken quite rapidly.
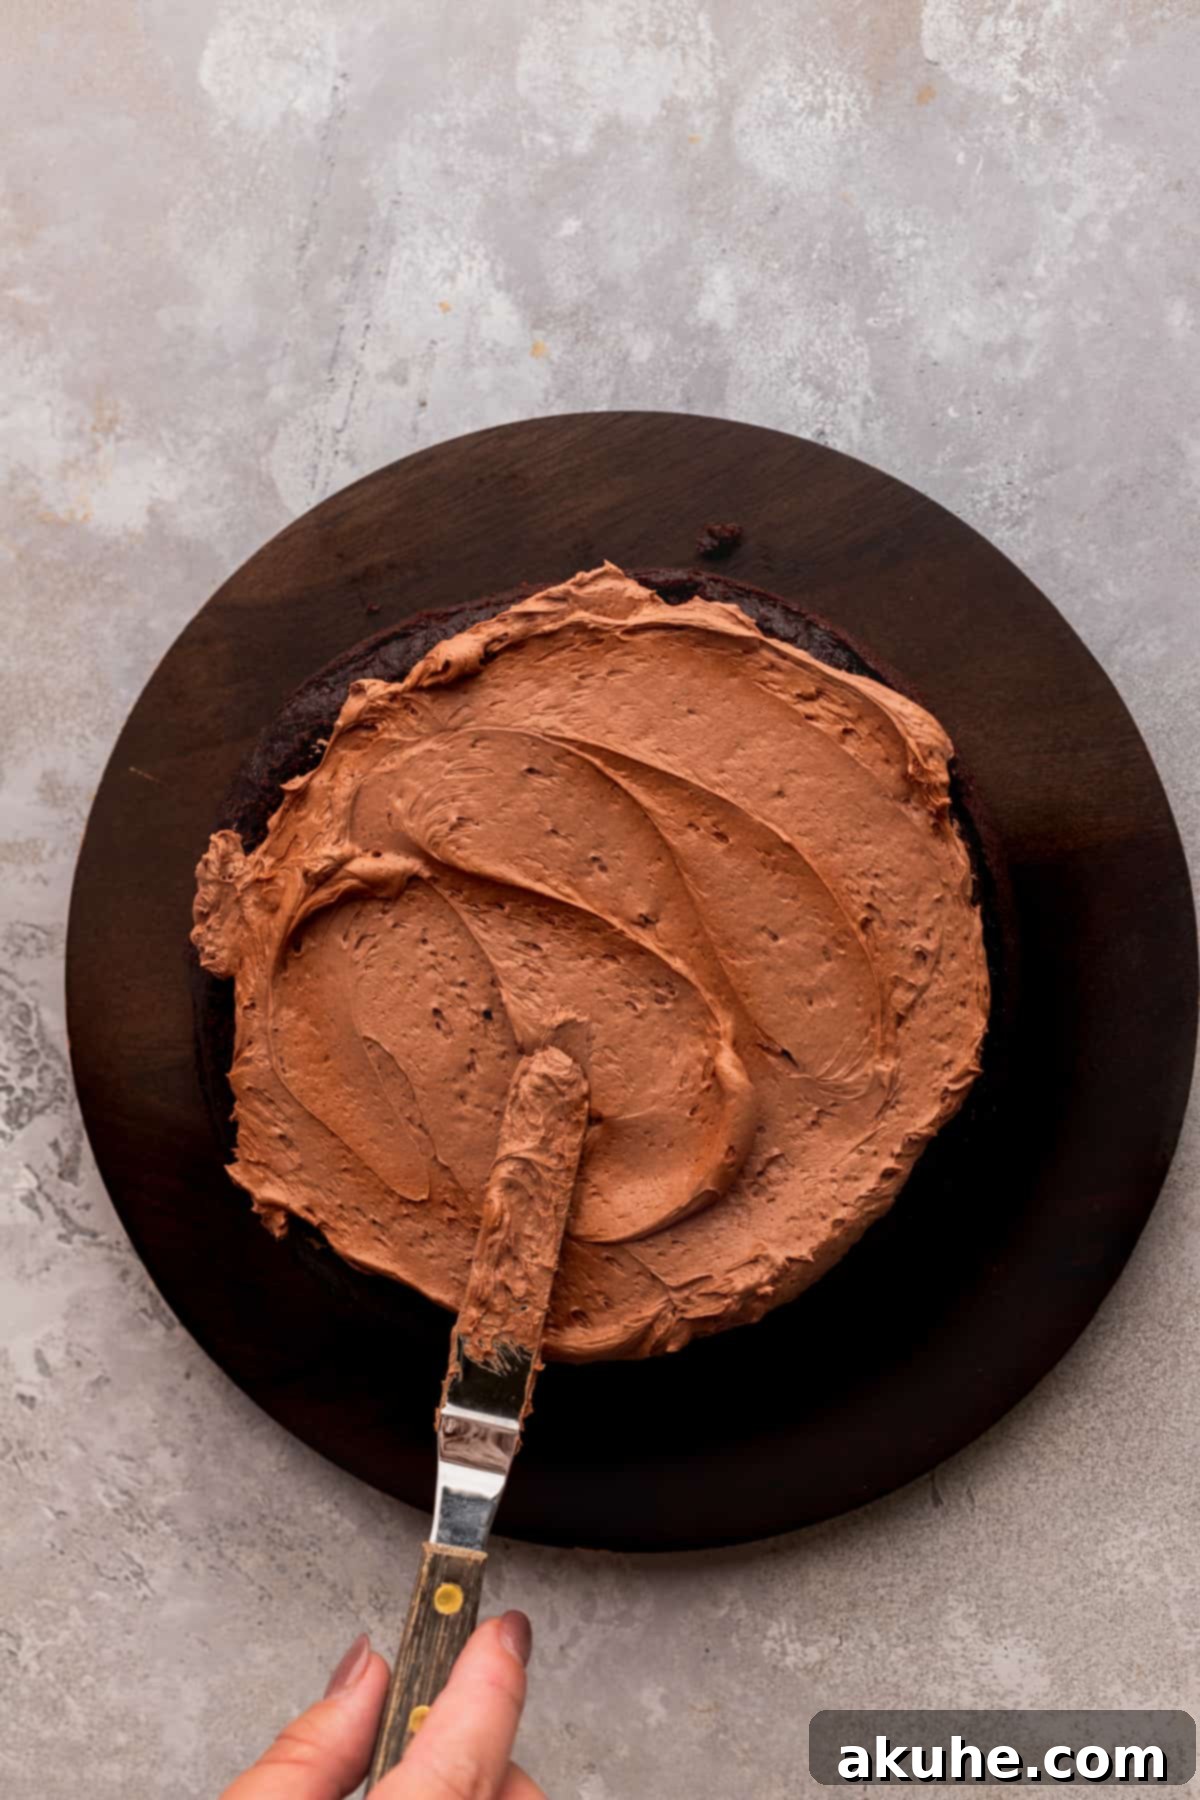
- Layering with Frosting and Truffles: Place your first leveled chocolate cake layer onto your chosen serving plate or cake stand (a turntable is very helpful here). Spread a generous 3/4 cup of your velvety chocolate frosting evenly over this layer, extending almost to the edges. Now, drizzle half of the freshly melted truffles on top of the frosting. Using a butter knife or the very tip of your offset spatula, gently swirl the melted truffles into the frosting. This creates beautiful marbling and ensures a burst of intense truffle flavor in every single bite.
- Repeat for the Second Layer: Carefully place the second cake layer directly on top of the first, taking care to align it as best as you can for an even stack. Repeat the frosting process exactly as before: spread another 3/4 cup of chocolate frosting evenly, then drizzle and swirl in the remaining melted truffles.
- The Final Cake Layer Orientation: Position the third and final cake layer on top of your stack, making sure the bottom of this layer is facing upwards. This often provides the flattest, smoothest surface for the top of your cake, which will lead to a more professional and clean finish once frosted.
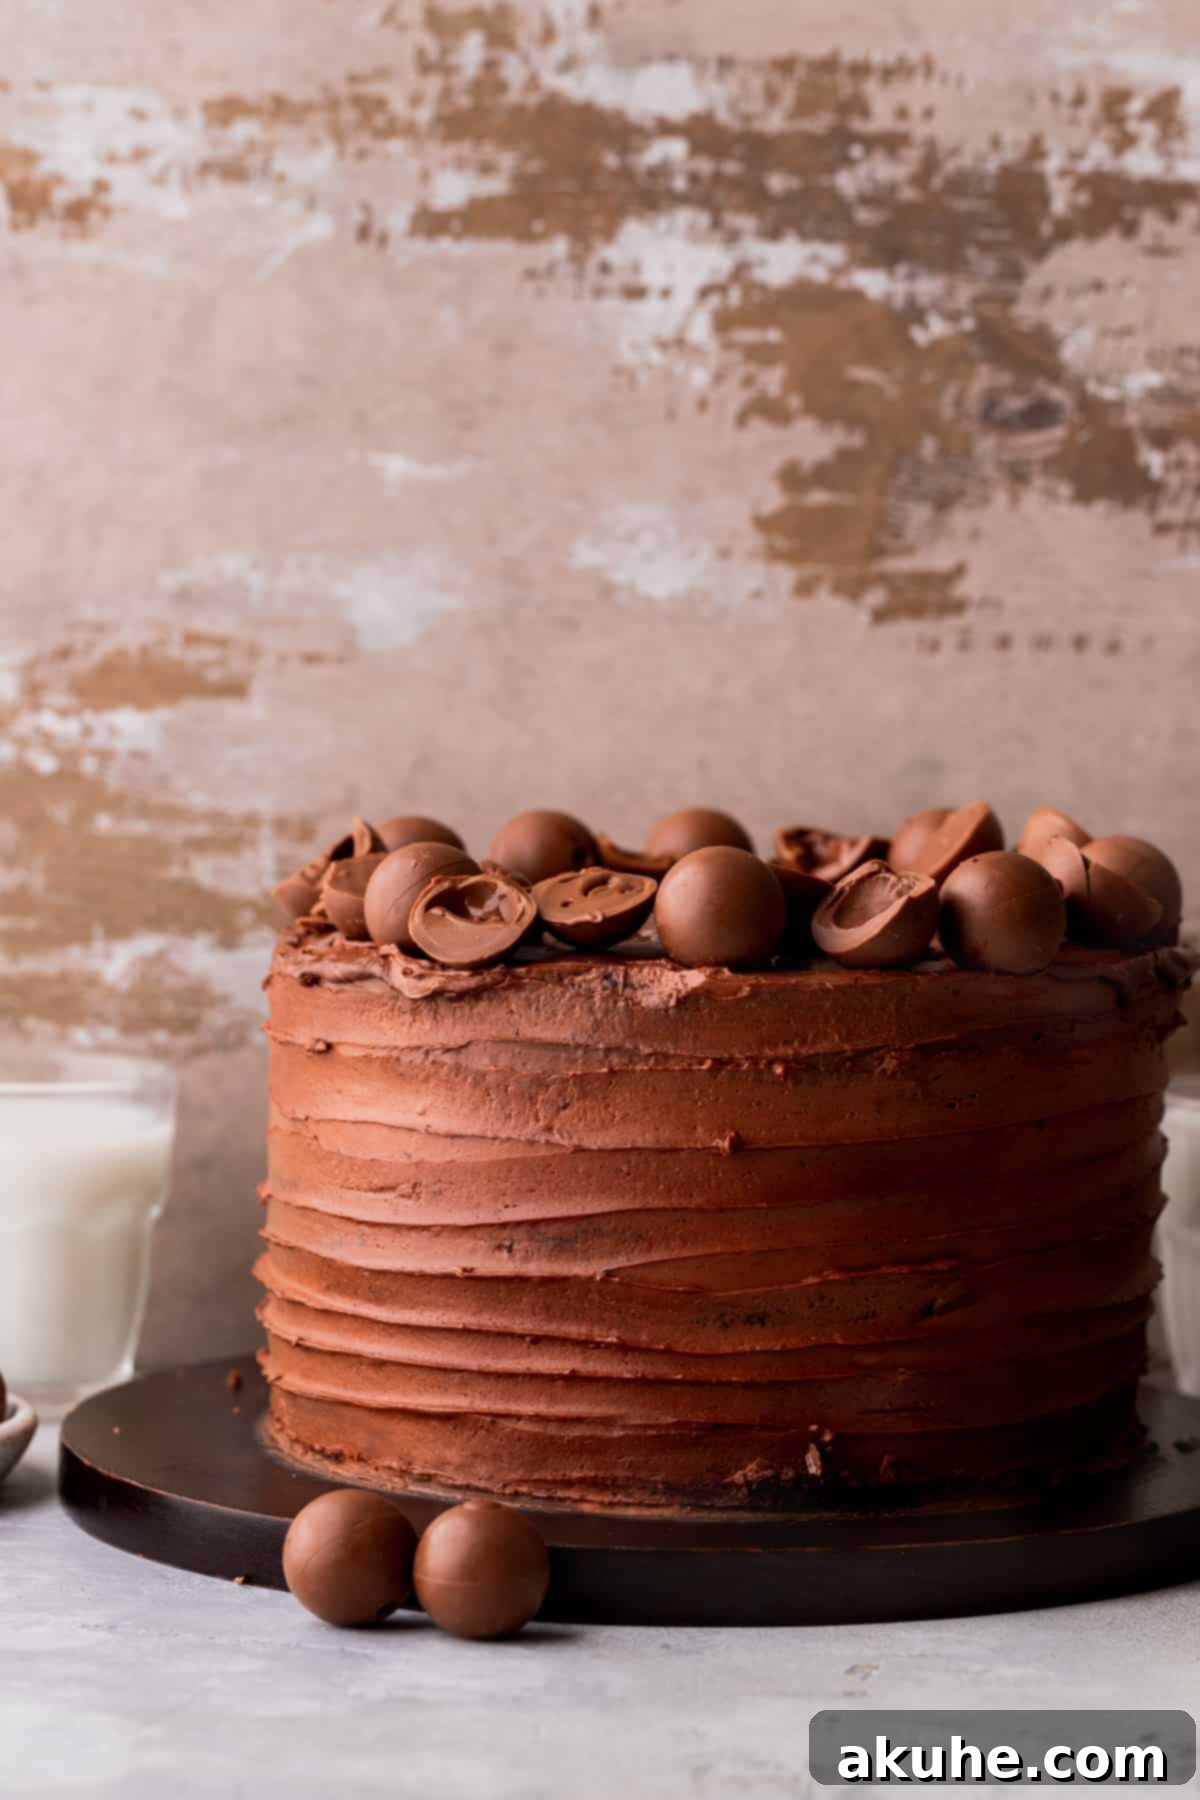
- The Essential Crumb Coat: Apply a very thin, light layer of chocolate frosting over the entire cake – covering both the top and the sides. This initial, sheer layer is called a “crumb coat,” and its primary purpose is to trap any loose cake crumbs, preventing them from mixing into your final, visible layer of frosting. Once thinly coated, place the cake in the freezer for approximately 15 minutes (or 30 minutes in the refrigerator) to allow this crumb coat to set firm. This step is absolutely crucial for achieving a clean, smooth, and perfectly crumb-free finish on your final frosting layer.
- Final Frosting & Decoration: After the crumb coat has completely set, remove the cake from the freezer (or refrigerator). Apply the remaining chocolate frosting generously over the entire cake, using your spatulas and/or a cake scraper to achieve your desired level of smoothness. Don’t be afraid to take your time and refine the finish. For an extra touch of elegance and to reinforce the delicious “truffle” theme, artfully arrange your extra, unmelted whole Lindt truffles on top of the frosted cake as a beautiful and edible garnish.
- Serve & Savor: Allow your magnificent decadent chocolate truffle cake to come to a comfortable room temperature for about 20-30 minutes before slicing. This brief wait will ensure both the frosting and the cake layers are at their most tender and flavorful, providing the best possible eating experience. Then, slice, serve, and bask in the appreciation of your truly impressive homemade dessert!
Frequently Asked Questions About Our Chocolate Truffle Cake
Here are answers to some common questions you might have while baking and enjoying this incredible chocolate truffle cake, offering helpful insights and flexibility for your kitchen endeavors:
- Can this recipe be adapted for cupcakes? Absolutely! This versatile recipe works beautifully for cupcakes. To make a manageable batch, simply halve the original recipe to yield approximately 12 decadent chocolate truffle cupcakes. Bake them in a muffin tin lined with paper liners for a slightly shorter duration of 18-20 minutes, or until a toothpick inserted into the center comes out clean. You’ll need to adjust frosting proportions accordingly for individual piping.
- What other cake pan sizes can I use? You have several excellent options for alternate pan sizes. You can bake this recipe in two 9-inch round cake pans (though you might find you need slightly less frosting for these larger, flatter layers). Alternatively, for a taller, more elegant presentation, four 6-inch cake pans work wonderfully. For a simple sheet cake, a single 9×13-inch rectangular cake pan is suitable, but if using this size, consider halving the frosting recipe as it’s a single, thinner layer. To make three 6-inch cake pans, an 8×8-inch square pan, or a 9×9-inch square pan, you should halve the entire recipe for appropriate cake batter and frosting amounts.
- Can the cake layers be prepared in advance? Yes, indeed! This is a fantastic time-saving tip for busy bakers. Once your cake layers have cooled completely to room temperature, wrap each individual layer tightly in several layers of plastic cling wrap. You can then store them at room temperature for up to 2 days without compromising freshness. For longer storage, freeze them for up to 30 days. If frozen, simply transfer them to the refrigerator the night before you plan to assemble and decorate, then let them come to room temperature for about an hour before you begin frosting. This ensures optimal texture and ease of handling for decorating.
Delicious Chocolate Truffle Cake Recipe Variations to Explore
While this recipe for the Decadent Chocolate Truffle Cake is utterly perfect as is, you can always get creative and customize it to your personal liking or to suit a specific occasion. Here are some delightful variations to explore:
- White Chocolate Truffle Cake: For a delightful and elegant twist, consider transforming this into a white chocolate masterpiece. Substitute the semi-sweet chocolate bar in the cake batter with a high-quality white chocolate (ensure it’s baking chocolate, not just chips), and use premium white chocolate truffles for the filling swirls. You’ll achieve a beautiful contrast in color and a wonderfully sweet, creamy flavor profile that’s truly distinct.
- Chocolate Cream Cheese Frosting Upgrade: If you prefer a frosting with a slightly tangy depth and perhaps a bit less sweetness than a traditional buttercream, consider swapping out the standard chocolate buttercream for a rich chocolate cream cheese frosting. It introduces another layer of complexity and a delicious tang that beautifully complements the deep chocolate flavors of the cake and truffles. Check out this recipe for fantastic chocolate cream cheese frosting inspiration!
- Nutty Crunch Revelation: For an added textural contrast and a wonderful nutty flavor, sprinkle a layer of finely chopped toasted nuts (pecans, walnuts, or hazelnuts work exquisitely) between the cake layers before adding the melted truffle swirls. The crunch will be a delightful surprise.
- Raspberry Elegance: Introduce a touch of fruity brightness by spreading a thin layer of high-quality raspberry jam or a vibrant fresh raspberry compote on top of the frosting before drizzling the melted truffles. Chocolate and raspberry are a classic pairing for a reason – their flavors perfectly complement each other.
Recommended Special Tools for Effortless Cake Baking & Decorating
Having the right tools at your disposal can truly transform your baking experience, especially when creating a multi-layered masterpiece like this chocolate truffle cake. These carefully selected items are designed to make the process smoother, more efficient, and ultimately help you achieve a stunning, professional-quality finish with ease:
- Cake Pans: For consistently even baking and beautifully formed layers, high-quality cake pans are absolutely essential. I consistently achieve excellent results with Wilton 8-inch cake pans, which are known for promoting uniform heating and ensuring an easy release of your precious cake layers.
- Parchment Paper Circles: Save yourself valuable time and ensure non-stick success every single time with convenient, pre-cut 8-inch parchment paper circles specifically designed for the bottom of your cake pans. No more tedious tracing and cutting from a roll!
- Baking Spray with Flour: For the ultimate non-stick assurance and to guarantee your cake layers slide out perfectly, I highly recommend relying on a premium nonstick baking spray that includes flour. It creates an impeccable barrier, preventing your beautifully baked cake layers from ever sticking to the pan.
- Offset Spatula: This handy and versatile tool, such as this offset spatula, is an indispensable asset for effortlessly spreading frosting and delicate fillings between cake layers and on the sides of the cake. Its angled blade allows for smooth, even coverage and precise control, making decorating much easier.
- Cake Turntable: A good quality Ateco cast iron turntable is a complete game-changer for cake decorating. Its robust construction and seamlessly smooth spin allow for incredibly fluid and even frosting application around the entire circumference of the cake, eliminating any jerky movements that can disrupt your perfect finish.
- Metal Cake Scraper: To achieve those coveted perfectly sharp edges and impeccably smooth, vertical sides that instantly elevate a homemade cake to a professional-looking status, a sturdy metal cake scraper is an absolute must-have tool in your decorating arsenal.
- Piping Bags: For both filling the layers with frosting and for adding decorative touches, these generously sized 18-inch piping bags are ideal. They hold a significant amount of frosting, greatly reducing the need for frequent refills during the decorating process and allowing for a more continuous flow.
- Piping Tip: For creating elegant swirls, classic rosettes, and beautiful decorative borders, the Wilton 1M piping tip is a timeless and incredibly versatile favorite among bakers. It allows you to pipe intricate designs with remarkable ease and consistency.
Storing and Freezing Your Chocolate Truffle Cake
To ensure your magnificent chocolate truffle cake remains as delicious and fresh as the day it was baked, proper storage techniques are absolutely key. Store the entire cake or individual slices in an airtight container, such as a dedicated cake carrier or a large sealable plastic container. This crucial step protects it from drying out, prevents it from absorbing other refrigerator odors, and maintains its exquisite moisture. Your cake will stay fresh and wonderfully moist in the refrigerator for up to 5 days, allowing you to savor its indulgence over several enjoyable occasions.
Freezing Instructions for Longevity
If you wish to extend the life and enjoyment of your chocolate truffle cake even further, it freezes beautifully! For the best possible results and convenience, we recommend slicing the cake into individual servings first. Wrap each slice tightly and thoroughly in several layers of plastic cling film, ensuring no air is trapped. Then, place the wrapped slices in an airtight freezer-safe container or a heavy-duty freezer bag. This meticulous method helps to prevent freezer burn and makes it incredibly easy to thaw individual portions exactly as desired. The cake can be safely frozen for up to 30 days. To enjoy a frozen slice, simply remove it from the freezer and let it thaw at room temperature for a few hours, or slowly overnight in the refrigerator for optimal texture.
Explore More Decadent Chocolate & Layered Cake Recipes
If you’ve truly fallen in love with the richness and indulgence of this chocolate truffle cake, you’ll be thrilled to discover more delightful recipes from our extensive collection. Expand your baking repertoire and satisfy your chocolate cravings with these equally irresistible chocolate and layered cake creations:
- Mini Chocolate Cake
- Chocolate Ganache Cake
- Chocolate Peanut Butter Cake
- Brownie Cake
- Ding Dong Cake
Did you absolutely adore this recipe and create your own masterpiece? Please consider leaving a **STAR REVIEW** below! Your valuable feedback and ratings not only help other enthusiastic bakers discover and enjoy these sweet treats, but they also inspire us to create more delicious content. Don’t forget to tag me on Instagram @stephaniesweettreats with your stunning creations – I love seeing what you bake! For even more baking inspiration, delightful recipes, and sweet ideas, be sure to follow me on Pinterest!
Chocolate Truffle Cake Recipe
This layered chocolate truffle cake is the epitome of chocolate decadence. It’s filled with rich chocolate frosting and features luxurious swirls of melted Lindt truffles, making it truly unforgettable. Get ready to impress with this ultimate chocolate dessert!
Author: Stephanie Rutherford
Servings: 16 slices
Ingredients
For the Chocolate Cake:
- 2 1/2 cups All-purpose flour
- 1 cup Unsweetened cocoa powder (Dutch process recommended)
- 1 3/4 cup White granulated sugar
- 2 1/2 tsp Baking powder
- 1 1/2 tsp Baking soda
- 1 tsp Salt
- 3/4 cup Oil (canola, vegetable, or light olive oil)
- 1 tsp Pure vanilla extract
- 4 Large eggs, at room temperature
- 1 cup Buttermilk, at room temperature
- 4 oz Semi-sweet chocolate bar, melted (e.g., Lindt 70% chocolate)
- 1 cup Hot water, steaming (or hot coffee for a richer flavor)
For the Chocolate Frosting:
- 2 1/2 cups Unsalted butter, at room temperature
- 3 1/2 cups Powdered sugar, sifted
- 1/2 cup Unsweetened cocoa powder, sifted
- 1 tsp Pure vanilla extract
- 1/2 tsp Salt
- 10 Lindt truffles, melted (for swirling in frosting)
- Additional Lindt truffles, for decoration
Instructions
Chocolate Cake:
- Preheat oven to 350°F (175°C). Grease three 8-inch cake pans with nonstick spray, line bottoms with 8-inch parchment paper circles, and spray again.
- Melt the 4 oz semi-sweet chocolate bar in a microwave-safe bowl in 20-second intervals, stirring until smooth. Let cool slightly.
- In a medium bowl, sift together flour, cocoa powder, baking soda, baking powder, and salt. Stir in white granulated sugar until combined.
- In a large bowl, whisk oil, vanilla, room-temperature eggs, room-temperature buttermilk, and cooled melted chocolate. Slowly whisk in the steaming hot water.
- Pour dry ingredients into wet ingredients and mix until just combined (do not overmix to avoid a tough cake).
- Divide batter evenly among the three prepared cake pans. Bake for 23-25 minutes, or until a toothpick inserted into the center comes out clean.
- Let cakes cool in pans for 10-15 minutes, then invert onto a wire rack to cool completely to room temperature.
Chocolate Frosting:
- In a large bowl, sift powdered sugar and cocoa powder together; set aside.
- In a separate large mixing bowl (or stand mixer with a paddle attachment), beat room-temperature unsalted butter on high speed for 3 minutes until light and fluffy.
- Add half of the sifted sugar-cocoa mixture to the butter and mix on low speed until just combined. Add the remaining mixture, vanilla extract, and salt. Increase speed to high and beat for 2-3 minutes until the frosting is wonderfully fluffy and smooth.
Assembly:
- Melt the 10 Lindt truffles in the microwave in 20-second intervals, stirring until smooth and fluid. Do this immediately before layering.
- Using a serrated knife or cake leveler, carefully cut off any domed tops from the cooled cake layers to create flat, even surfaces.
- Place the first leveled cake layer on your serving plate or cake stand. Spread 3/4 cup of chocolate frosting evenly over it. Drizzle half of the melted truffles on top and swirl gently with a butter knife or offset spatula.
- Place the second cake layer on top, aligning it carefully. Repeat with another 3/4 cup of frosting and swirl in the remaining melted truffles.
- Place the final cake layer with its bottom facing up (this usually provides the flattest top surface).
- Apply a thin, light “crumb coat” of frosting over the entire cake (top and sides). Freeze for 15 minutes to allow the crumb coat to set and trap any loose crumbs.
- Remove from freezer, apply the remaining frosting to achieve a smooth and polished finish, and decorate the top with extra whole Lindt truffles as desired.
Notes
- Flour Measurement: For accurate and consistent results, always spoon and level your flour or use a kitchen scale. Compacted flour can lead to a dense, dry cake.
- High-Altitude Baking: If you are baking at a high altitude, consider adding an extra tablespoon of all-purpose flour to your dry ingredients to adjust for the lower air pressure.
- Room Temperature Ingredients: It is crucial for both cake and frosting to pull out dairy ingredients (eggs, buttermilk, butter) at least 2 hours before you begin baking. This ensures they reach true room temperature, which promotes better emulsion in your batter and a smoother, fluffier frosting.
Nutrition Information (per serving, estimated)
- Calories: 532 kcal
- Carbohydrates: 70g
- Protein: 4g
- Fat: 41g
- Saturated Fat: 20g
- Polyunsaturated Fat: 4g
- Monounsaturated Fat: 15g
- Trans Fat: 1g
- Cholesterol: 78mg
- Sodium: 409mg
- Potassium: 174mg
- Fiber: 4g
- Sugar: 23g
- Vitamin A: 911 IU
- Calcium: 76mg
- Iron: 2mg
