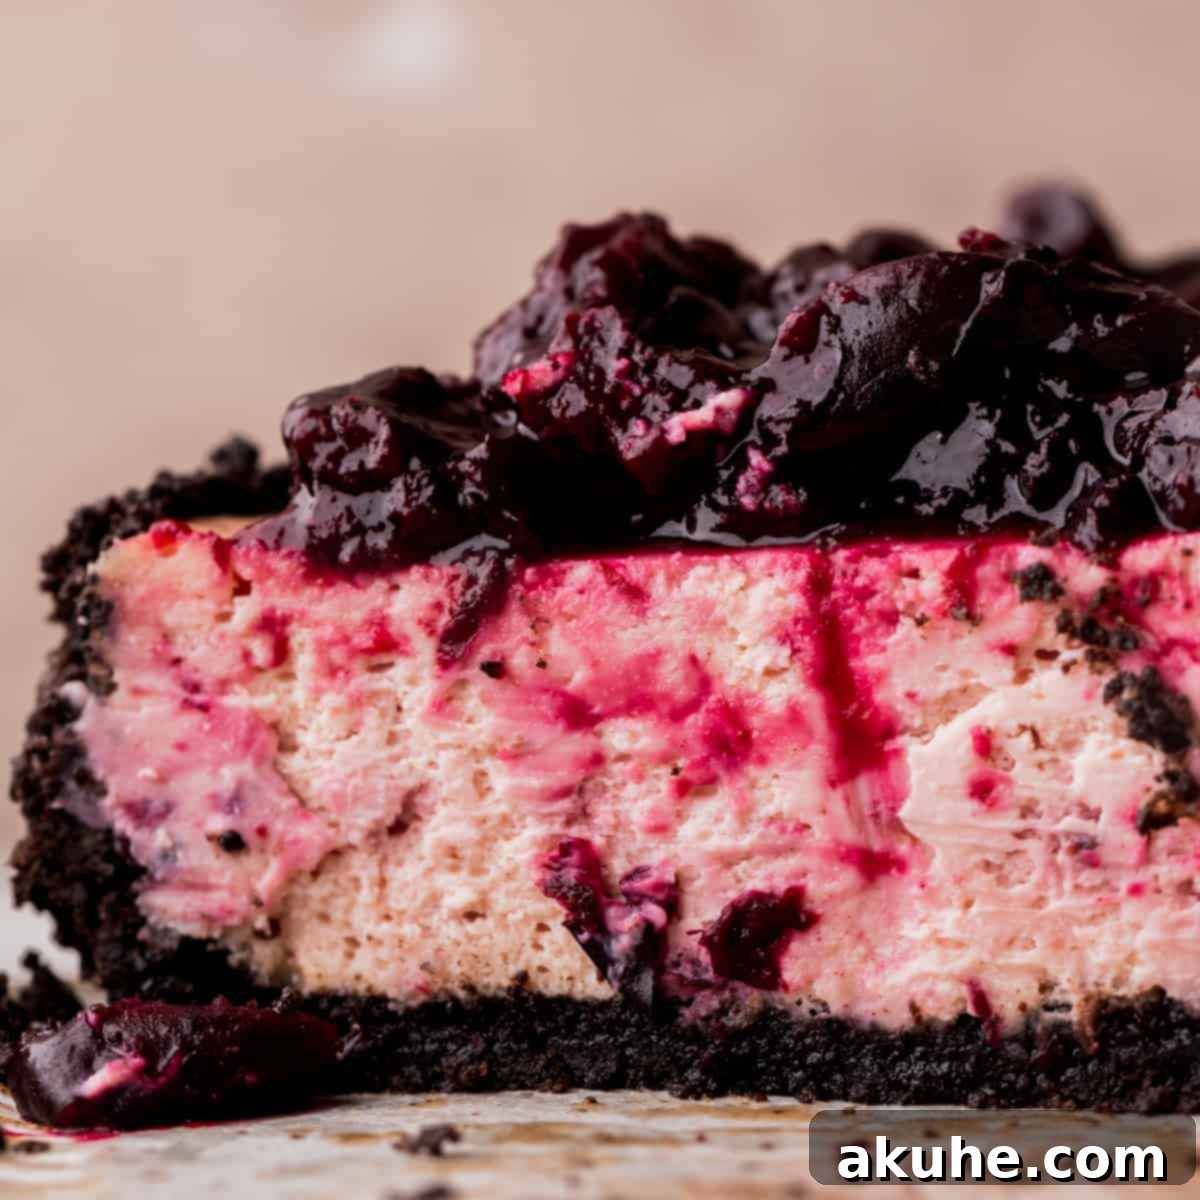
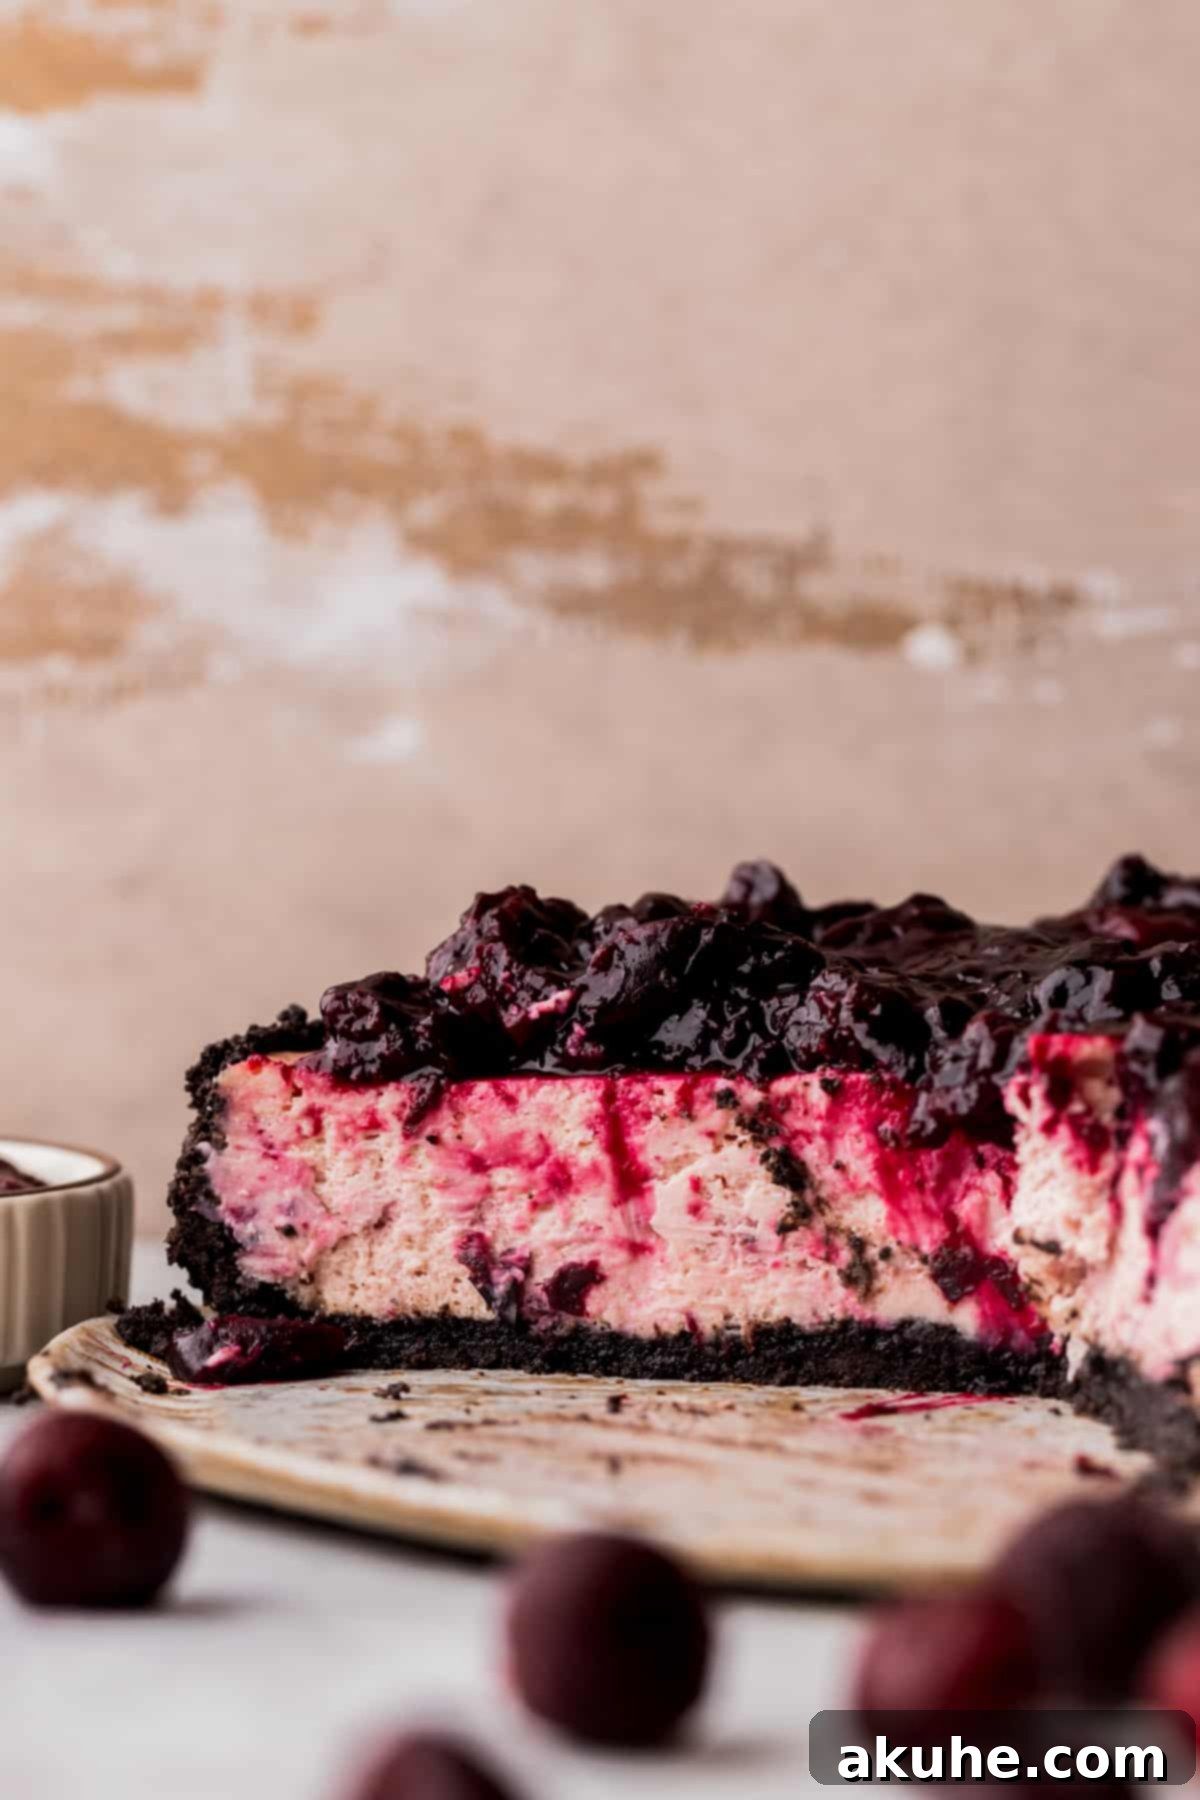
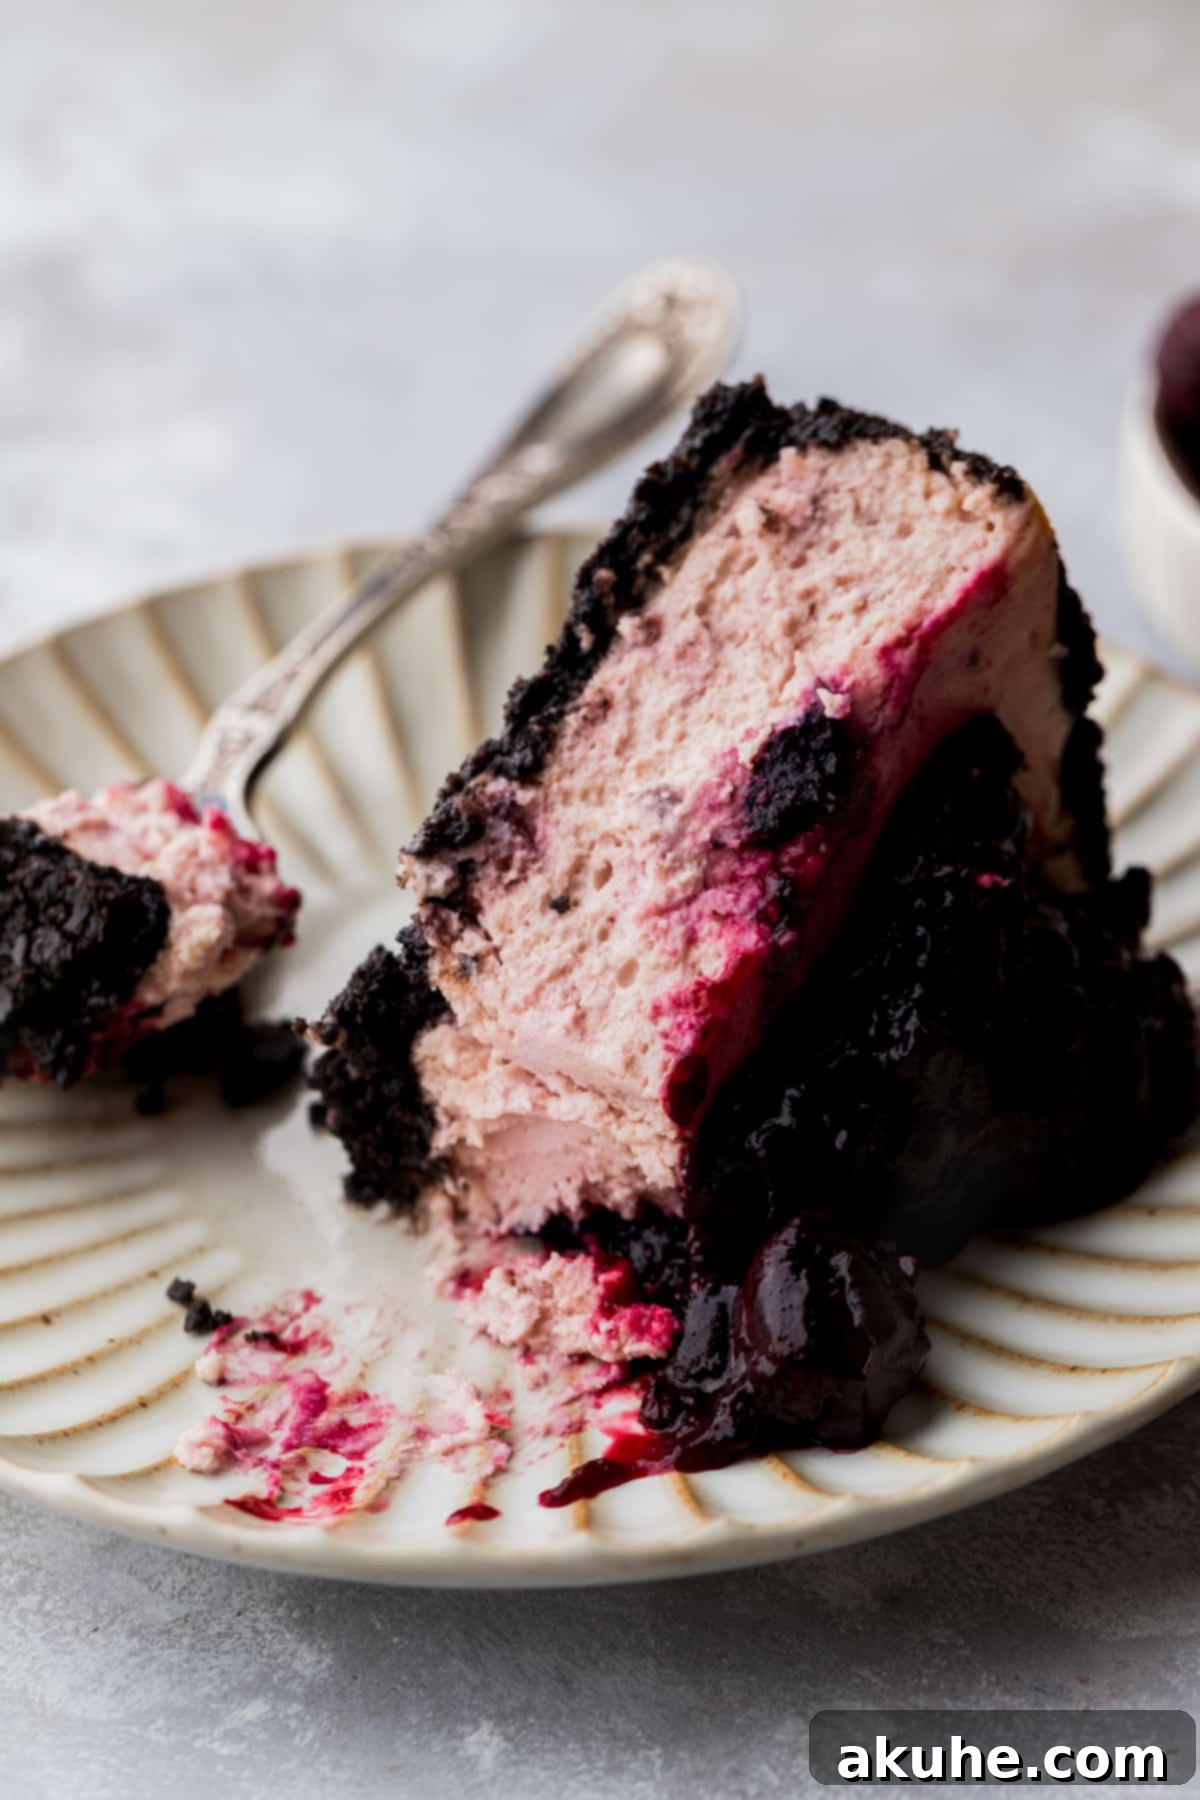
Indulge in the ultimate dessert experience with this exquisite baked cherry cheesecake, featuring a rich, dark Oreo crust and an incredibly creamy cheesecake filling generously swirled with homemade cherry pie topping. Crowned with an abundance of vibrant cherry pie filling, this recipe promises a symphony of textures and flavors that will captivate any cheesecake enthusiast. It’s not just a dessert; it’s a showstopper, perfect for any celebration or simply to elevate your everyday. Once you experience the depth of flavor from the fresh cherry infusion and the velvety smooth texture, you’ll understand why this homemade cherry cheesecake is truly a masterpiece.
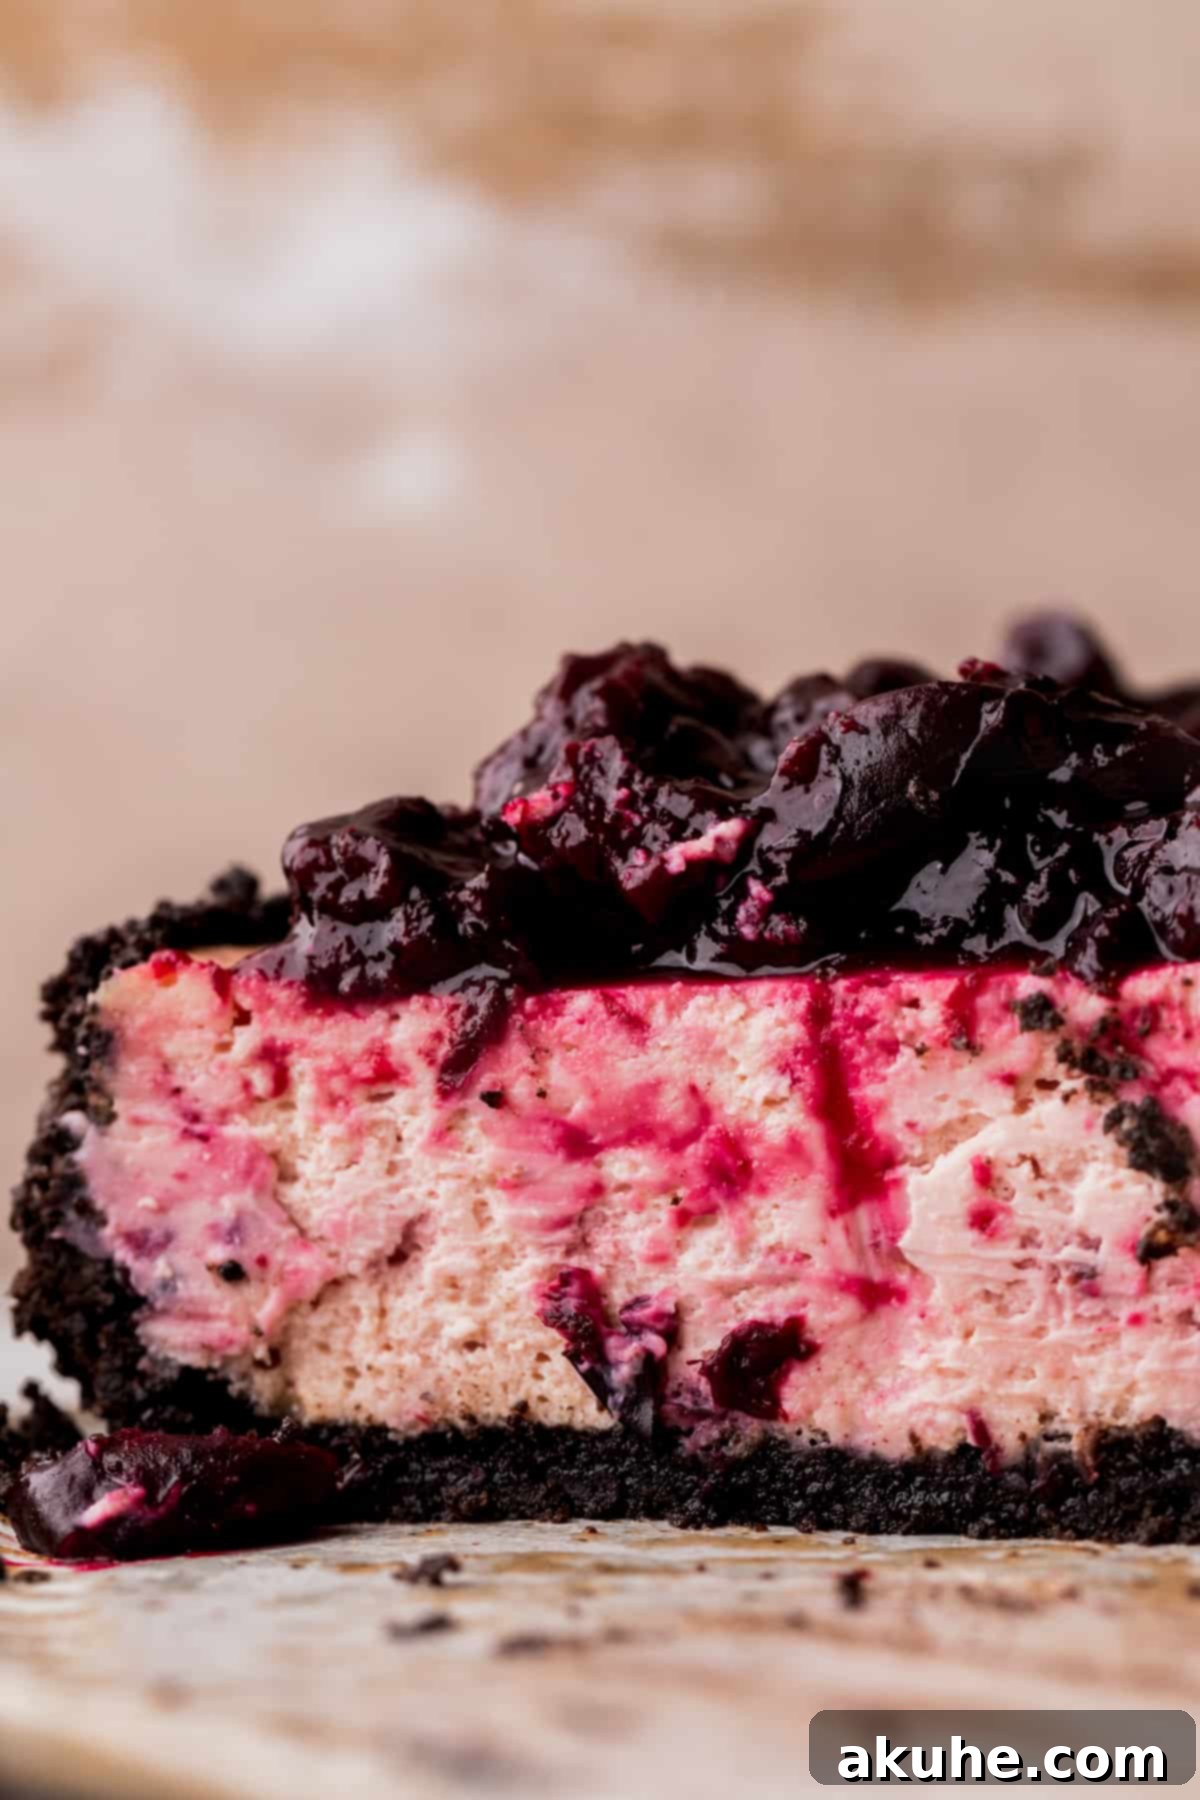
As an avid cheesecake lover, I’ve poured countless hours into perfecting recipes that achieve that ideal balance of decadent creaminess and rich flavor. This baked cherry cheesecake stands out as a personal favorite, consistently earning rave reviews at family gatherings and special occasions. Its classic appeal, combined with a unique twist of incorporating cherry flavor directly into the batter, makes it an undeniable crowd-pleaser. Prepare to become the star of any event with this impressive yet surprisingly accessible dessert.
For those who appreciate classic desserts, explore some of our other beloved recipes such as the rich Chocolate Peanut Butter Cake, the irresistibly gooey Turtle Brownies, and the delightful Twix Cake.
Why This Homemade Cherry Cheesecake Recipe is a Must-Try
Crafting the perfect cheesecake can seem daunting, but this recipe simplifies the process while delivering exceptional results. Here’s why this particular cherry cheesecake will become your new go-to:
- Unbelievably Creamy and Fluffy Texture: My journey into baking began with a deep fascination for cheesecakes. This recipe is the culmination of years of experimentation, ensuring a cheesecake that boasts a consistently smooth, creamy, and wonderfully fluffy texture with every single bite. Say goodbye to dense, heavy cheesecakes and hello to light, airy perfection.
- Intense Cherry Flavor Throughout: Unlike many recipes that simply top the cheesecake with cherries, our method integrates a vibrant cherry puree directly into the cheesecake batter. This ensures that the delightful tang and sweetness of cherries are present in every layer, from the first forkful to the last. The rich, homemade cherry topping further enhances this robust fruit flavor.
- Homemade Cherry Pie Filling That Outshines Canned Options: While convenience is tempting, the difference a homemade cherry pie filling makes is truly transformative. This recipe provides a simple, straightforward method for preparing a fresh, flavorful cherry topping that far surpasses anything you’ll find in a can. It’s bursting with natural cherry goodness and adds an unparalleled freshness to the entire dessert.
- Beginner-Friendly with Expert Tips: Don’t let the elegance of this dessert fool you; this recipe is designed with ease in mind. Every step is clearly articulated, making it accessible even for those who don’t frequently bake. We provide foolproof instructions for utilizing a water bath, a critical technique for achieving a crack-free and perfectly baked cheesecake. With our detailed guidance, you’ll feel confident creating a bakery-quality dessert in your own kitchen.
Essential Ingredient Notes for Your Perfect Cherry Cheesecake
The quality and preparation of your ingredients are key to a truly magnificent cheesecake. While a full list is provided in the recipe card below, here are some crucial notes to ensure success:
- Unsalted Butter: Melted unsalted butter is essential for binding the Oreo crust. Using unsalted butter allows you to control the overall saltiness of the dessert. You can easily melt this in a microwave for convenience.
- Sour Cream: Opt for full-fat sour cream to achieve the richest flavor and creamiest texture in your cheesecake batter. Alternatively, full-fat Greek yogurt can be used as a substitute for a similar tangy richness. Remember to pull it out of the refrigerator at least 2 hours before baking so it reaches room temperature, ensuring a smooth, lump-free batter.
- Cream Cheese: Full-fat cream cheese is non-negotiable for a truly luscious and stable cheesecake. Avoid reduced-fat versions, as they can compromise the texture and richness. Like sour cream, ensure your cream cheese is at room temperature for at least 2 hours prior to mixing. This is vital for achieving a perfectly smooth and uniform cheesecake batter, preventing lumps and ensuring even baking.
- Eggs: Large, room-temperature eggs are essential for emulsifying the batter properly and contributing to the cheesecake’s structure and creamy consistency. Using whole eggs (not just egg whites) is important for the fat content in the yolks, which adds richness and helps prevent cracks. Allow them to sit out for at least 2 hours before you begin baking.
- Cherries: Whether you choose fresh or frozen cherries, make sure they are pitted. Fresh cherries offer a vibrant taste, while frozen cherries are a convenient and equally delicious option, especially when fresh ones are out of season. Thaw frozen cherries completely before using them for the topping.
Ingredient Substitutions and Dietary Adaptations
We believe everyone should enjoy delicious cheesecake! Here are some potential substitutions:
- Dairy-Free Options: For a dairy-free version, you can generally substitute your favorite dairy-free cream cheese, sour cream, and butter alternatives. Ensure they are specifically designed for baking and have a similar consistency to their dairy counterparts. Results may vary slightly, but many excellent dairy-free options are available today.
- Gluten-Free Adaptation: While this recipe has not been officially tested as gluten-free, you can attempt to make it so by replacing the Oreo crust with a gluten-free cookie crumb crust (e.g., gluten-free graham crackers or gluten-free chocolate sandwich cookies) mixed with melted butter. Please let us know if you try this and what your results are!
Step-By-Step Instructions: Crafting the Homemade Cherry Topping and Puree
Creating your own cherry topping and puree is simple and adds an incredible depth of flavor to this cheesecake.
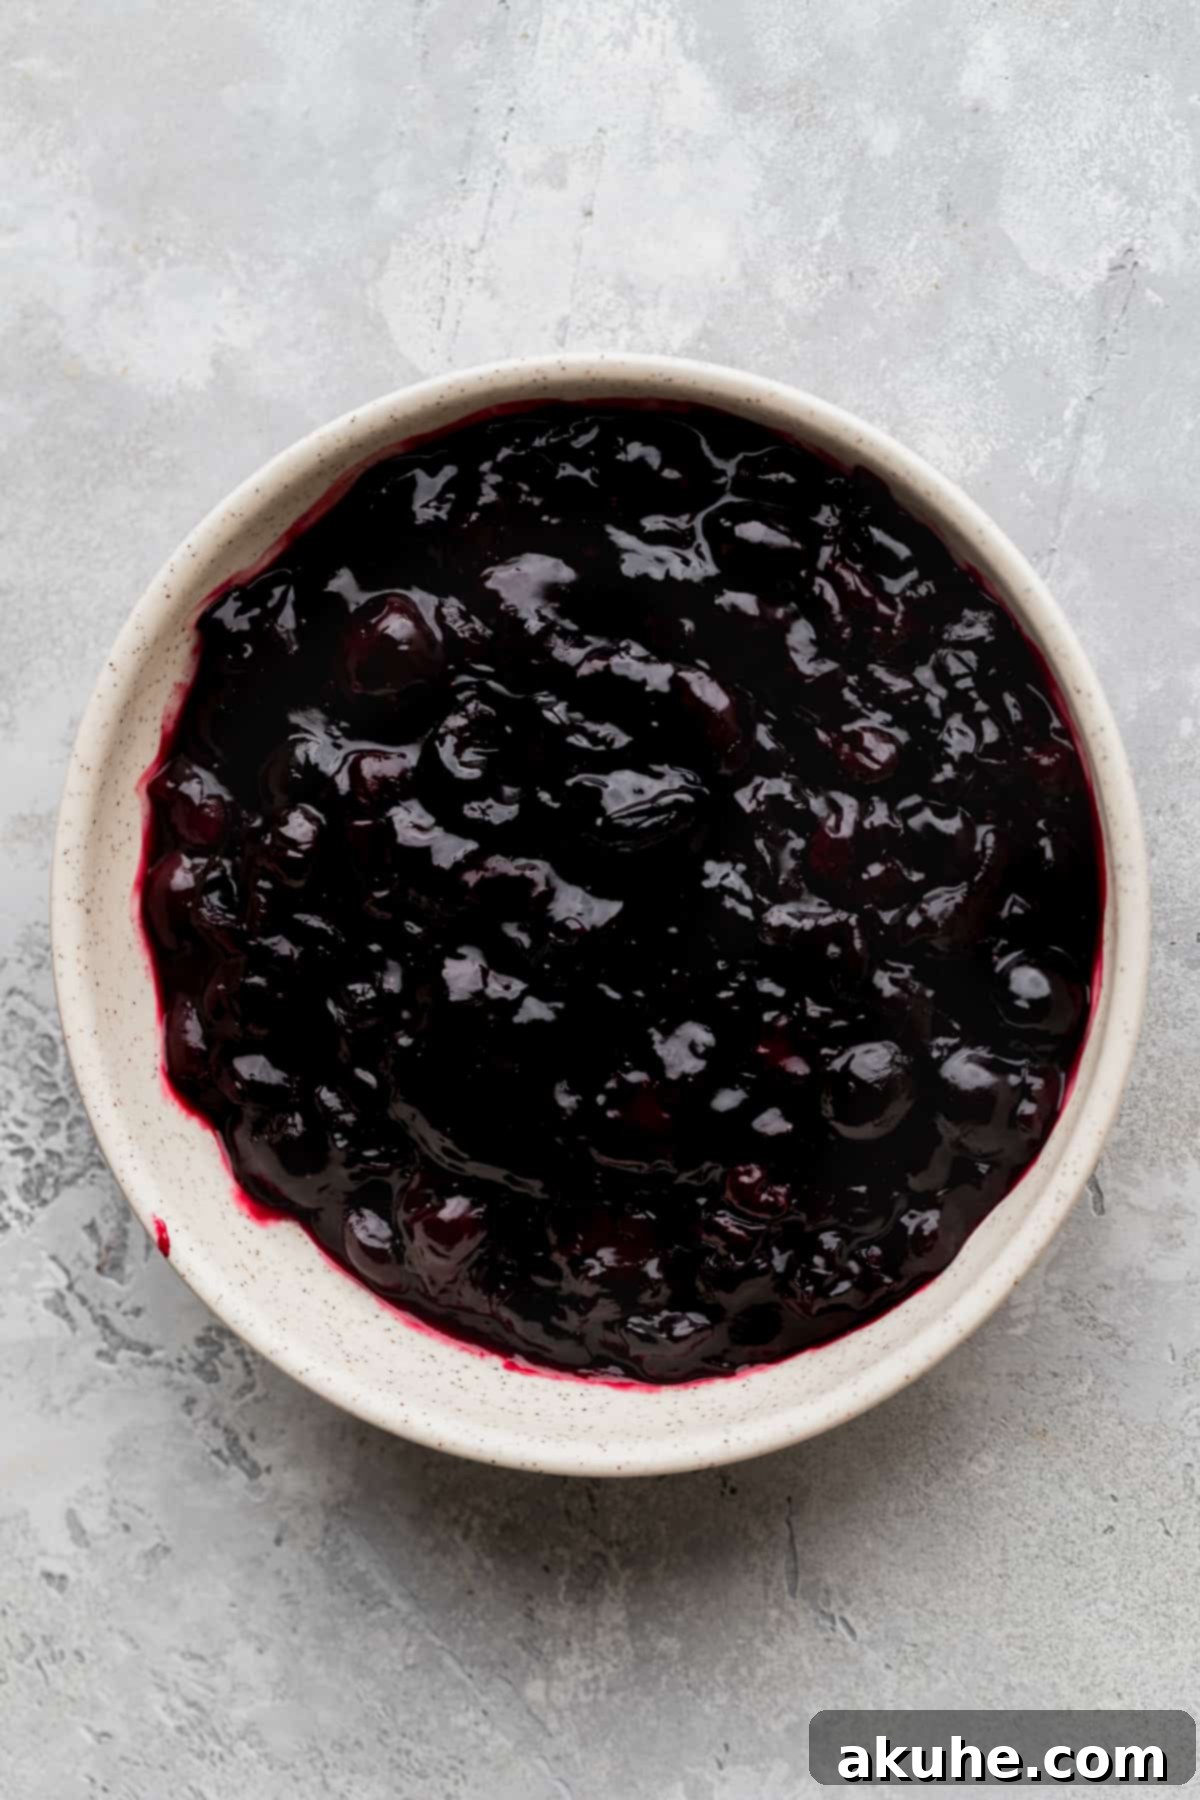
STEP 1: Prepare the Cherry Topping. In a medium saucepan, combine your fresh or thawed pitted cherries, white granulated sugar, and cornstarch. Stir well to coat the cherries. Heat the mixture over medium heat, stirring occasionally. As it heats, the cherries will release their juices, and the mixture will start to gently simmer. Continue cooking until the juices begin to separate and thicken slightly. This typically takes about 8-10 minutes.
Once simmering, use a spatula or a potato masher to gently mash about half of the cherries. This will release more flavor and create a delightful texture with both whole and mashed fruit. Continue cooking for another 2-3 minutes, allowing the sauce to thicken further until it coats the back of a spoon. Be careful not to overcook, as it will thicken more as it cools.
STEP 2: Create the Cherry Puree. Carefully scoop out ½ cup of the prepared cherry topping. Transfer this portion to a food processor or a high-speed blender. Blend until it forms a smooth, vibrant puree. This process typically yields about ¼ cup of intensely flavored cherry puree, which will be incorporated directly into the cheesecake batter for an all-over cherry essence.
STEP 3: Chill Both Cherry Components. To ensure the cherry puree blends seamlessly into the cheesecake batter without compromising its temperature or consistency, place the ¼ cup of puree into a small, freezer-safe container. Freeze for approximately 15 minutes, or until it is cool to the touch but not frozen solid. This quick chill prevents the puree from warming the cream cheese mixture when added.
Transfer the remainder of the cherry topping (the un-pureed portion) into an airtight container. Store it in your refrigerator until you are ready to generously spoon it over your chilled cheesecake. This allows the topping to fully cool and set, providing a beautiful finish.
Step-By-Step Instructions: Assembling and Baking Your Cherry Cheesecake
Now, let’s bring together all the elements to create your show-stopping cherry cheesecake. For this process, you will need a 9-inch parchment paper circle, a 9-inch springform pan, either a hand mixer or a stand mixer with a paddle attachment, and a reliable rubber spatula.
STEP 1: Prepare the Oreo Crust. Begin by preheating your oven to 325°F (160°C). Prepare your 9-inch springform pan by generously spraying it with a non-stick baking spray. Line the bottom of the pan with a 9-inch parchment paper circle, then spray the parchment paper again. This double layer of protection ensures your crust won’t stick and can be easily removed.
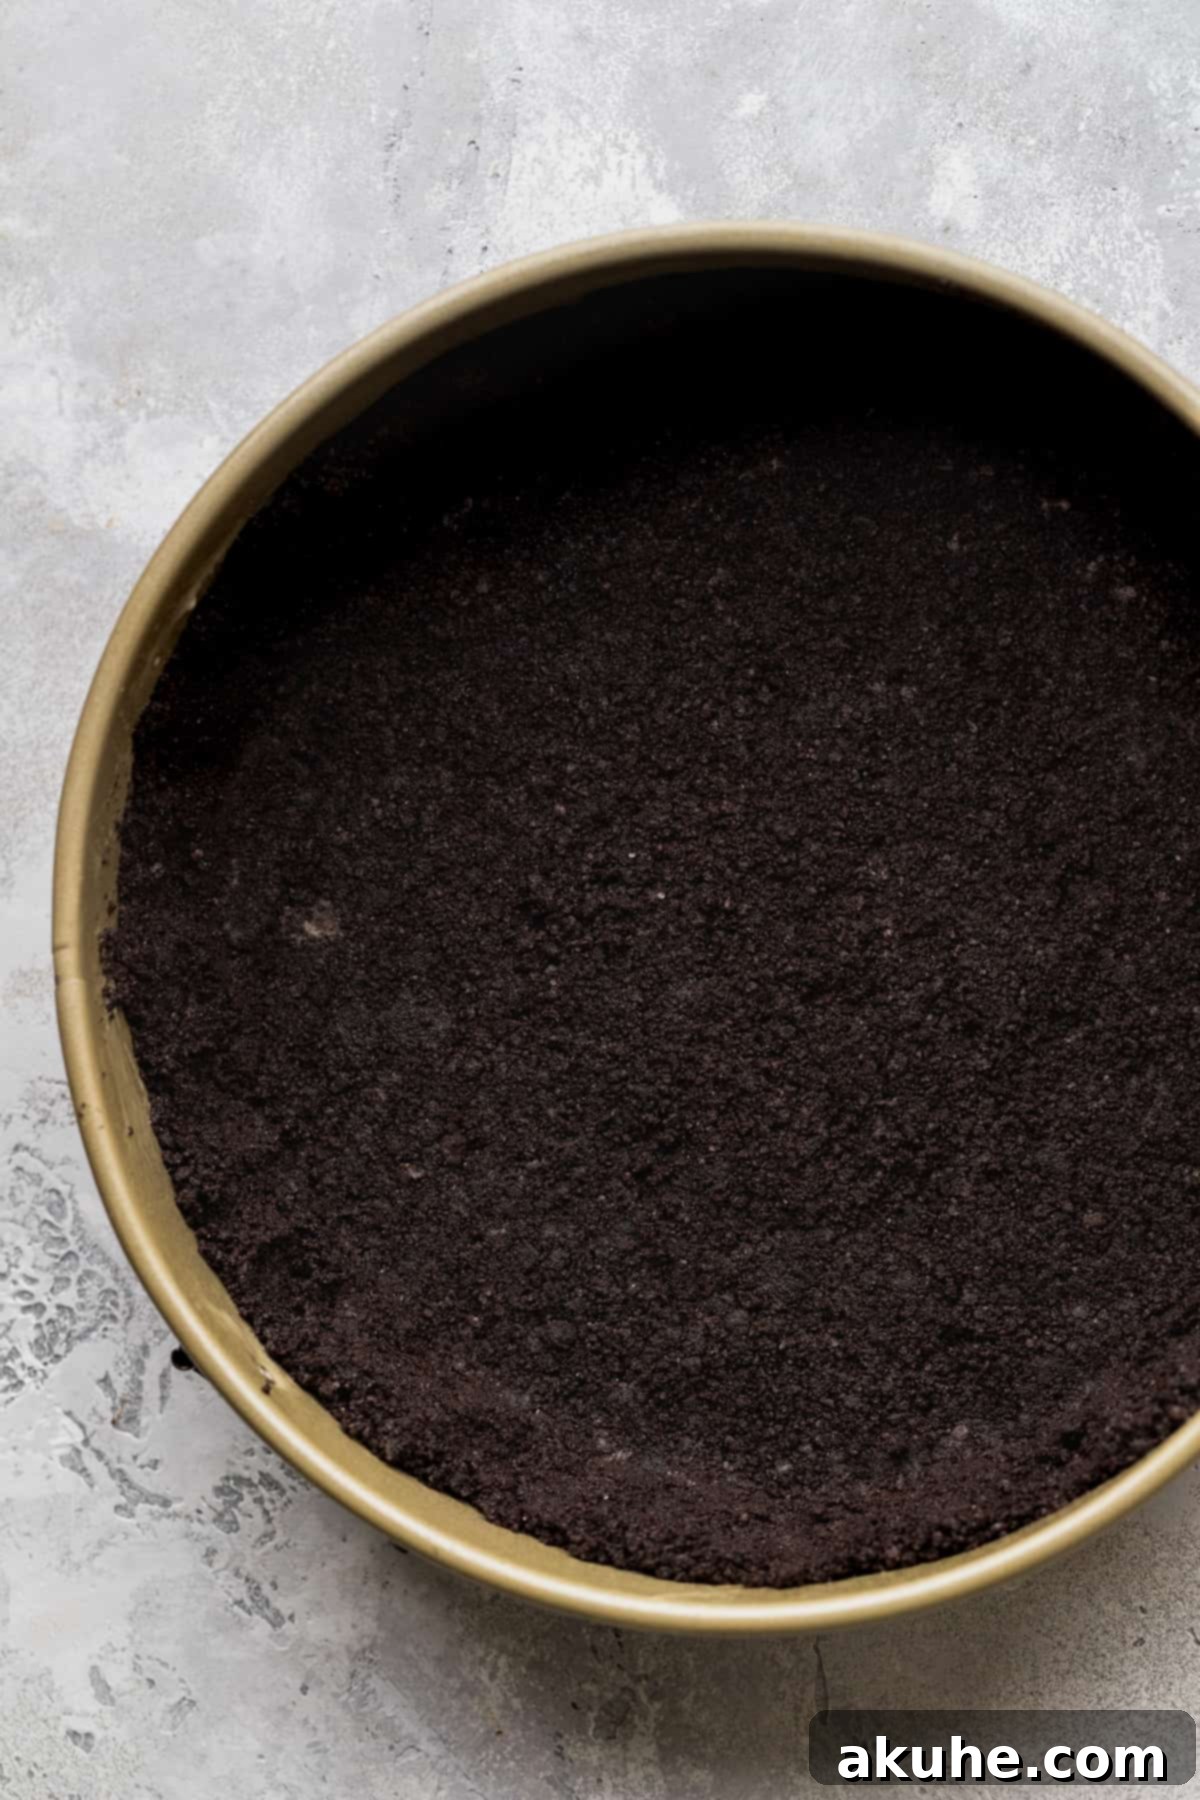
Next, use a food processor to blend your Oreo cookies (with their cream filling) into fine, even crumbs. In a medium bowl, combine the Oreo crumbs with the melted unsalted butter. Use a fork to mix them thoroughly until the crumbs are uniformly moistened and resemble wet sand.
STEP 2: Bake the Oreo Crust. Pour the prepared Oreo crumb mixture into the bottom of your greased and lined 9-inch springform pan. Use your hands to firmly press the crumbs evenly across the bottom and about halfway up the sides of the pan. For a truly compact and sturdy crust, use the bottom of a flat-bottomed measuring cup or a glass to press down firmly, especially along the edges. Bake the crust in the preheated oven for 10-12 minutes. This brief bake sets the crust, making it less likely to become soggy once the cheesecake filling is added. Remove from oven and let cool slightly while you prepare the filling.
STEP 3: Beat Cream Cheese and Sugar to Perfection. In a large mixing bowl, using your hand mixer or a stand mixer fitted with the paddle attachment, beat the room temperature full-fat cream cheese with the white granulated sugar. Start on low speed until combined, then increase to high speed and beat for 2 full minutes. It is crucial to beat this mixture until it is completely smooth, light, and fluffy, with no visible lumps of cream cheese. Scrape down the sides and bottom of the bowl frequently with your rubber spatula to ensure everything is thoroughly incorporated.
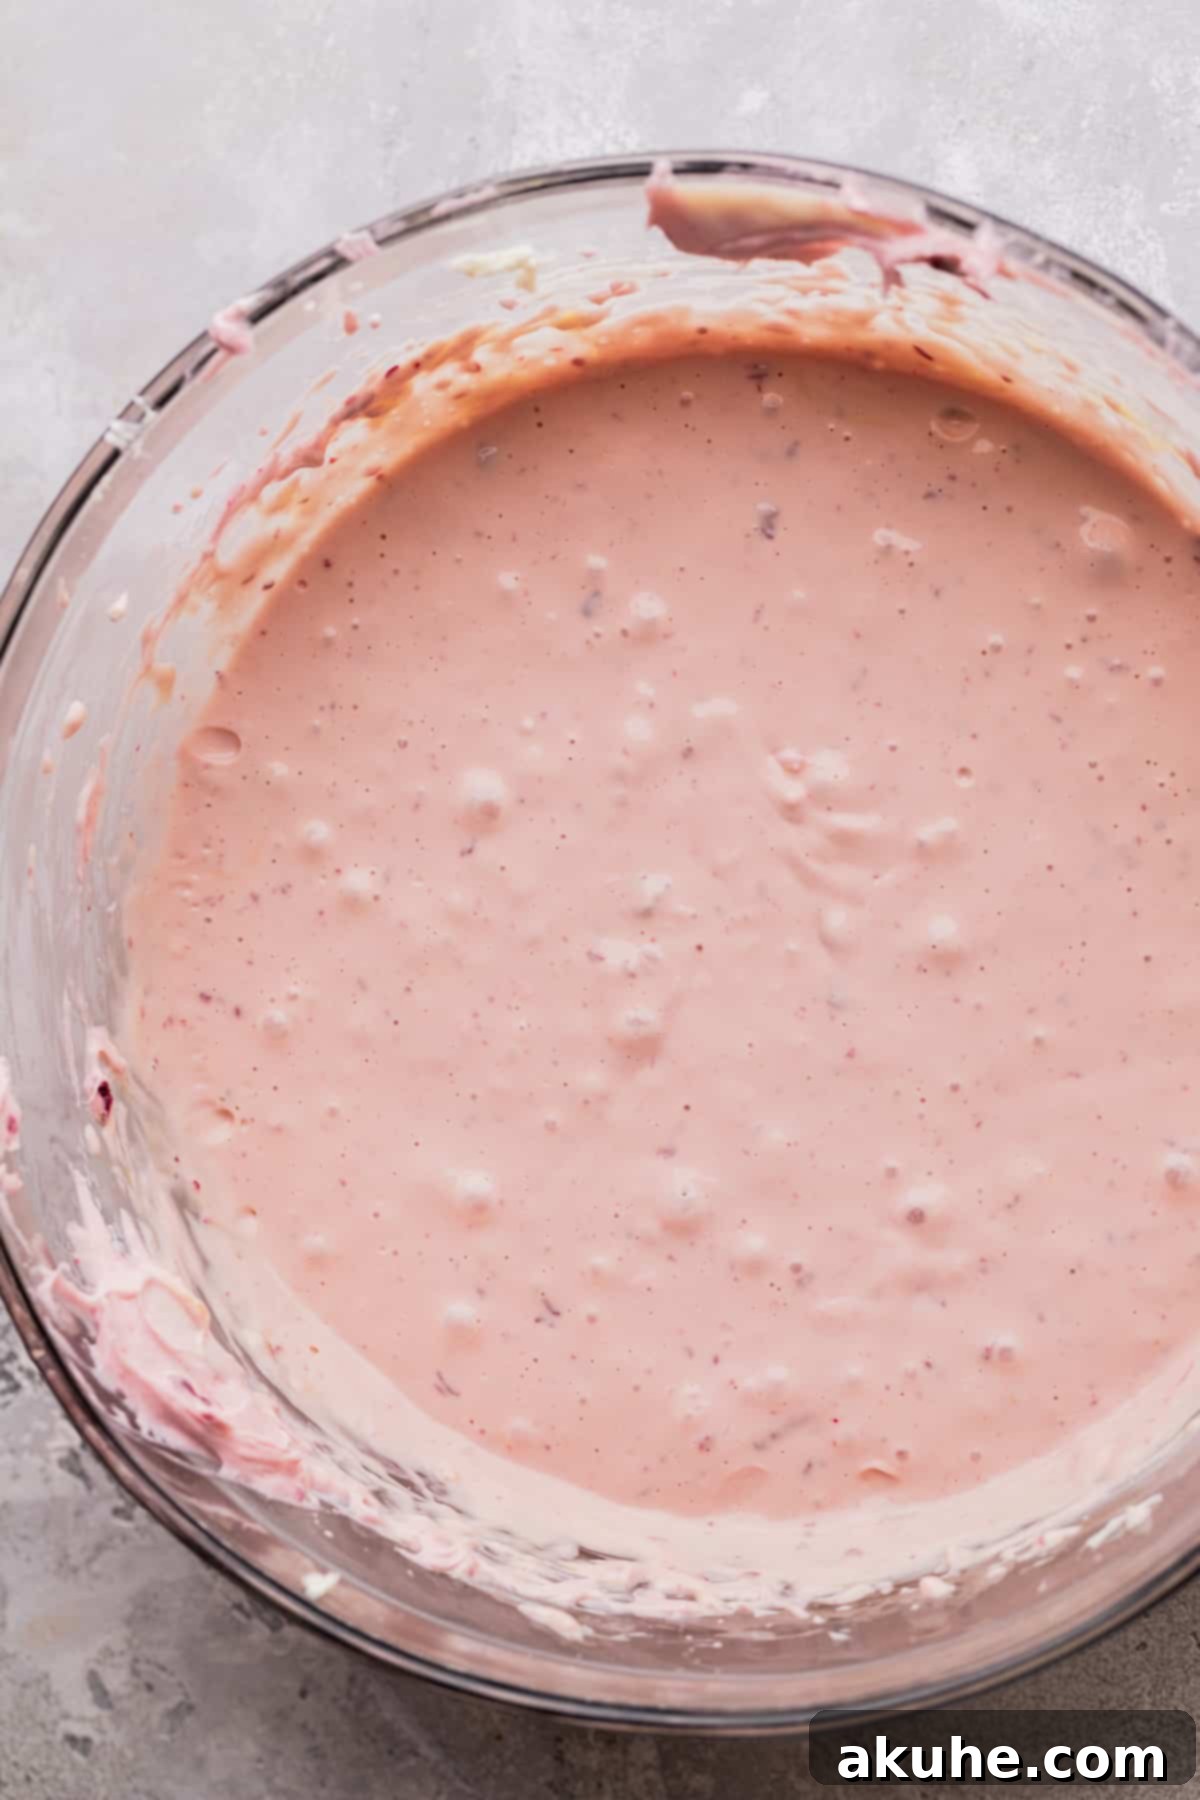
STEP 4: Incorporate Wet Ingredients Carefully. Reduce the mixer speed to medium. Add the room-temperature full-fat sour cream, the chilled cherry puree, and the pure vanilla extract to the cream cheese mixture. Mix until just combined and smooth, taking care not to overmix at this stage. Scrape the bowl again.
With the mixer on the lowest speed, add the large room-temperature eggs, one at a time. Mix each egg in just until it is barely incorporated before adding the next. The goal here is to introduce as little air as possible into the batter. Overmixing the eggs can incorporate too much air, which can cause the cheesecake to puff up excessively during baking and then crack as it cools. The batter should now have a beautiful, light pink hue from the cherry puree.
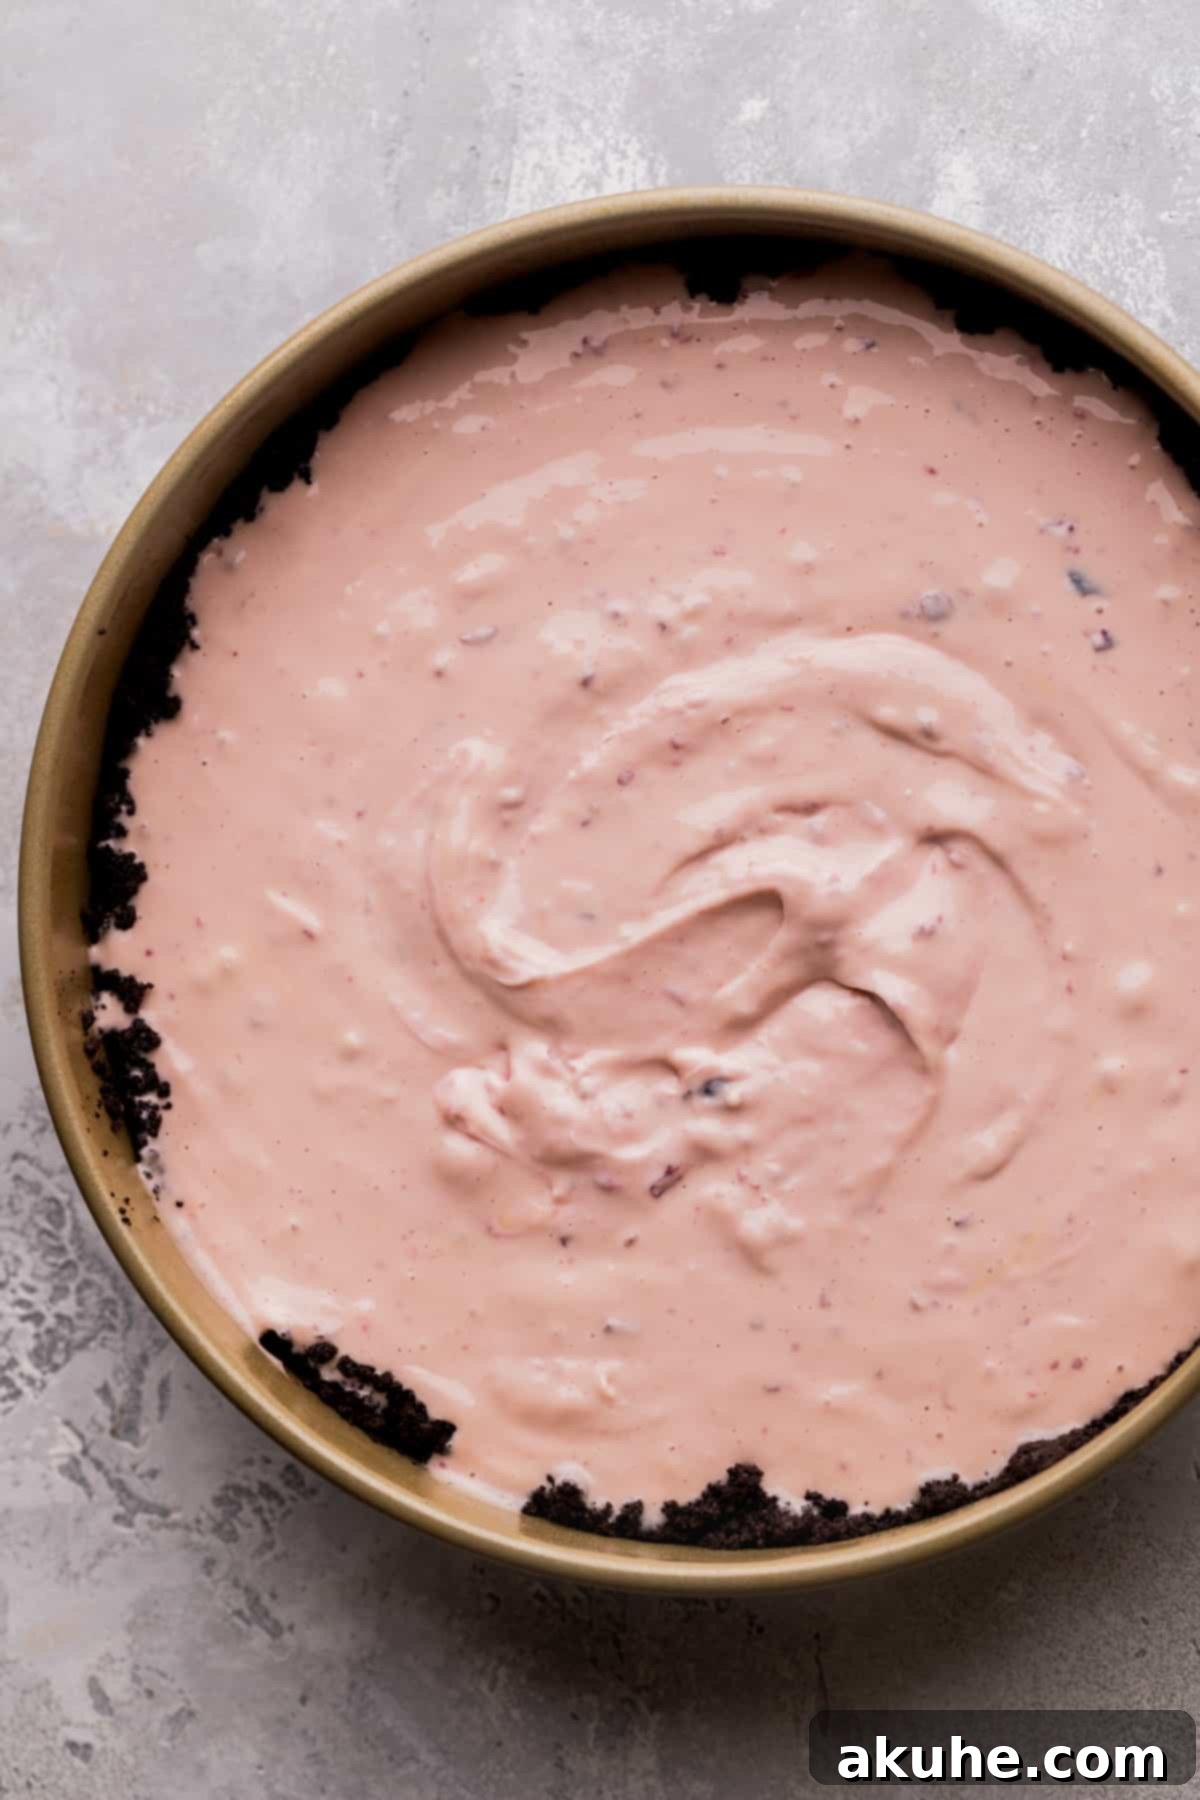
STEP 5: Bake the Cheesecake in a Water Bath. Carefully pour the silky-smooth cherry cheesecake mixture onto your pre-baked and cooled Oreo crust in the springform pan. Gently tap the pan on the counter a few times to release any large air bubbles.
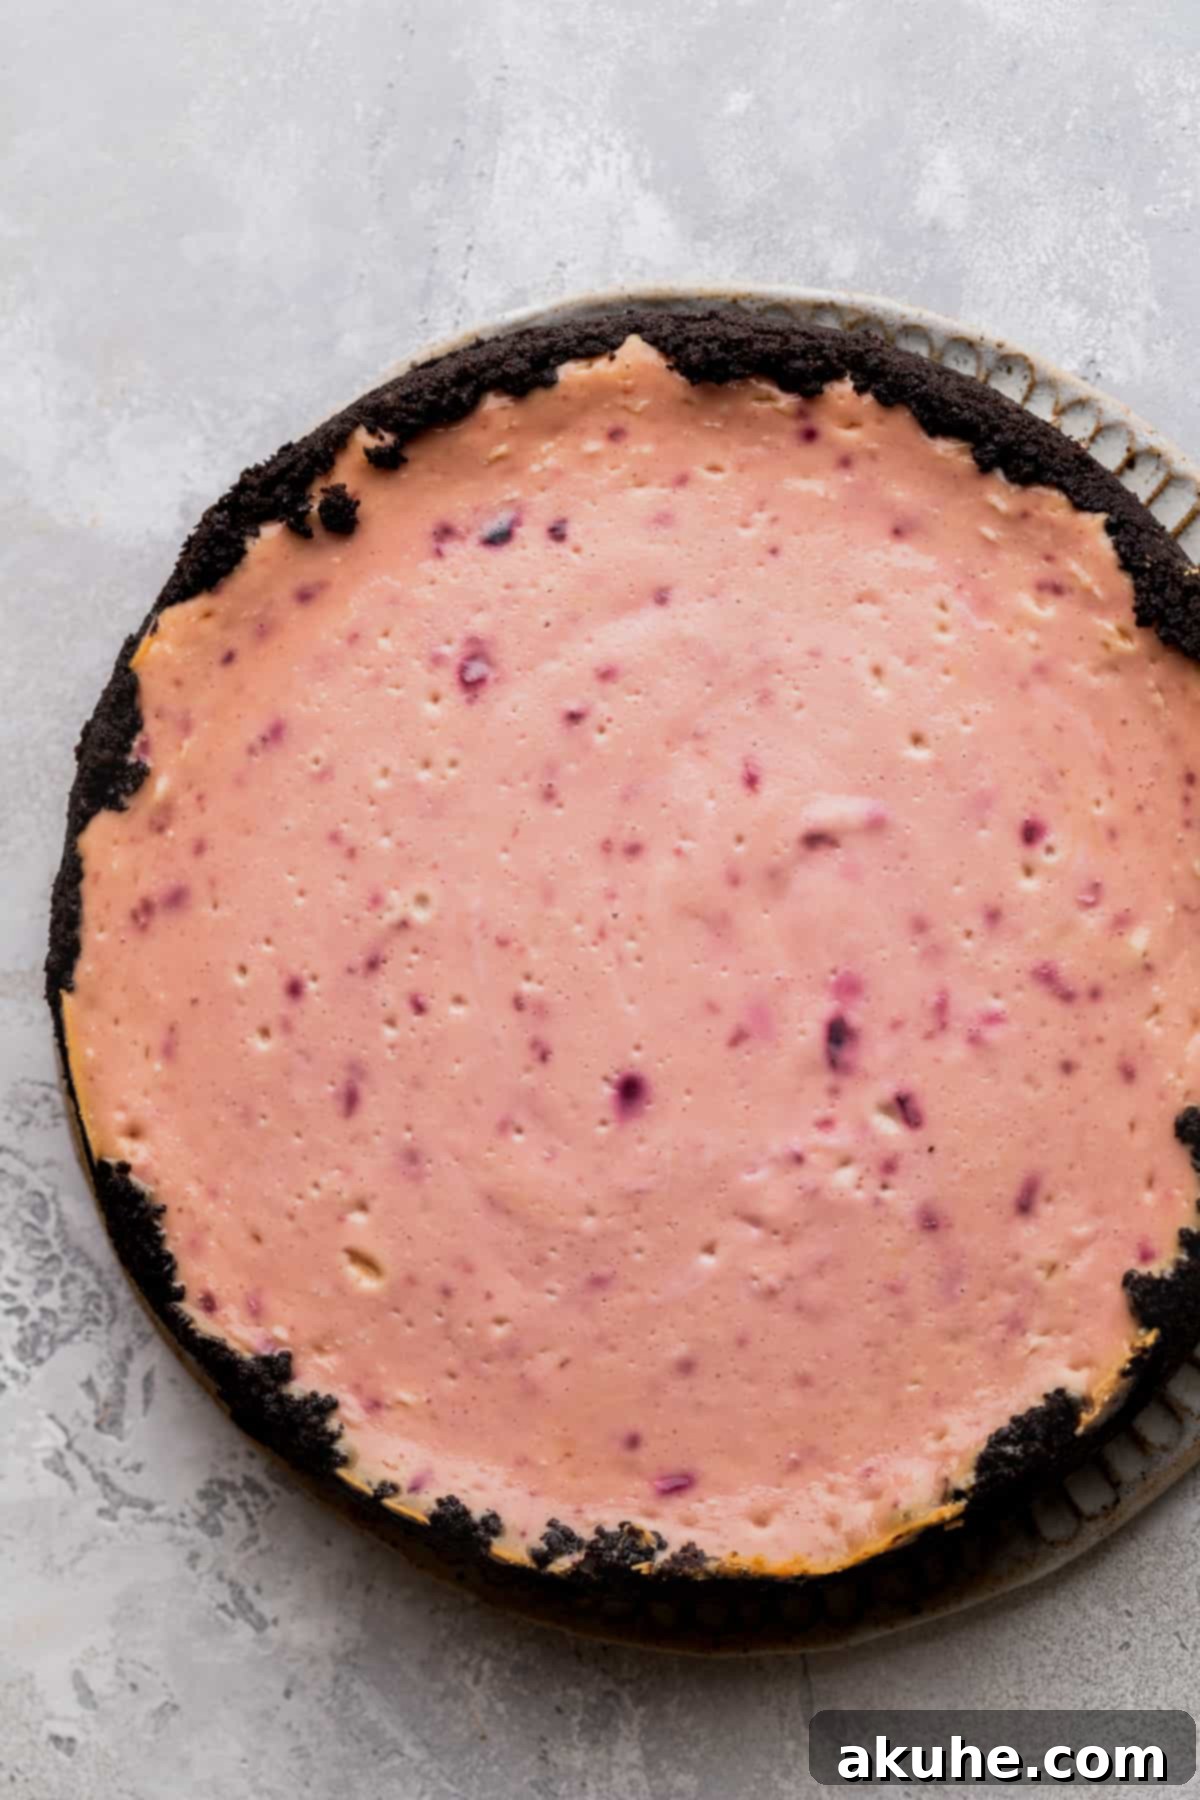
Now, prepare your chosen water bath method (detailed below in the “Water Bath Tips” section). Place the springform pan, secured within your water bath setup, into your preheated oven. Bake for approximately 70-80 minutes. The cheesecake is done when the edges appear set and slightly puffed, but the very center (about 2-3 inches in diameter) still has a slight, delicate jiggle when you gently shake the pan. Overbaking can lead to a dry, cracked cheesecake, so watch it closely.
STEP 6: Cool the Cheesecake Gradually. Once baked, do not remove the cheesecake from the oven immediately. Turn off the oven, prop open the oven door a few inches (you can use a wooden spoon), and allow the cheesecake to cool slowly in the residual heat for 30 minutes. This slow cooling prevents drastic temperature changes that can cause cracks.
After 30 minutes, carefully remove the cheesecake (still in its springform pan) from the oven and the water bath. Transfer it to a wire cooling rack to cool completely to room temperature. This can take several hours. Once at room temperature, cover the springform pan tightly with plastic wrap and chill the cheesecake in the refrigerator for a minimum of 6 hours, or ideally, overnight. Chilling is crucial for the cheesecake to firm up, set properly, and achieve its ultimate creamy texture.
Decorating Your Magnificent Cherry Cheesecake
The final touch is often the most visually stunning! Once your cheesecake is perfectly chilled and set, it’s time to adorn it with the beautiful homemade cherry topping you prepared earlier.
First, carefully remove the sides of the springform pan. To do this, run a thin, sharp knife around the perimeter of the cheesecake before releasing the spring clamp. This helps ensure a clean separation from the pan. Then, gently tilt the cheesecake onto its side to carefully remove the parchment paper circle from the bottom.
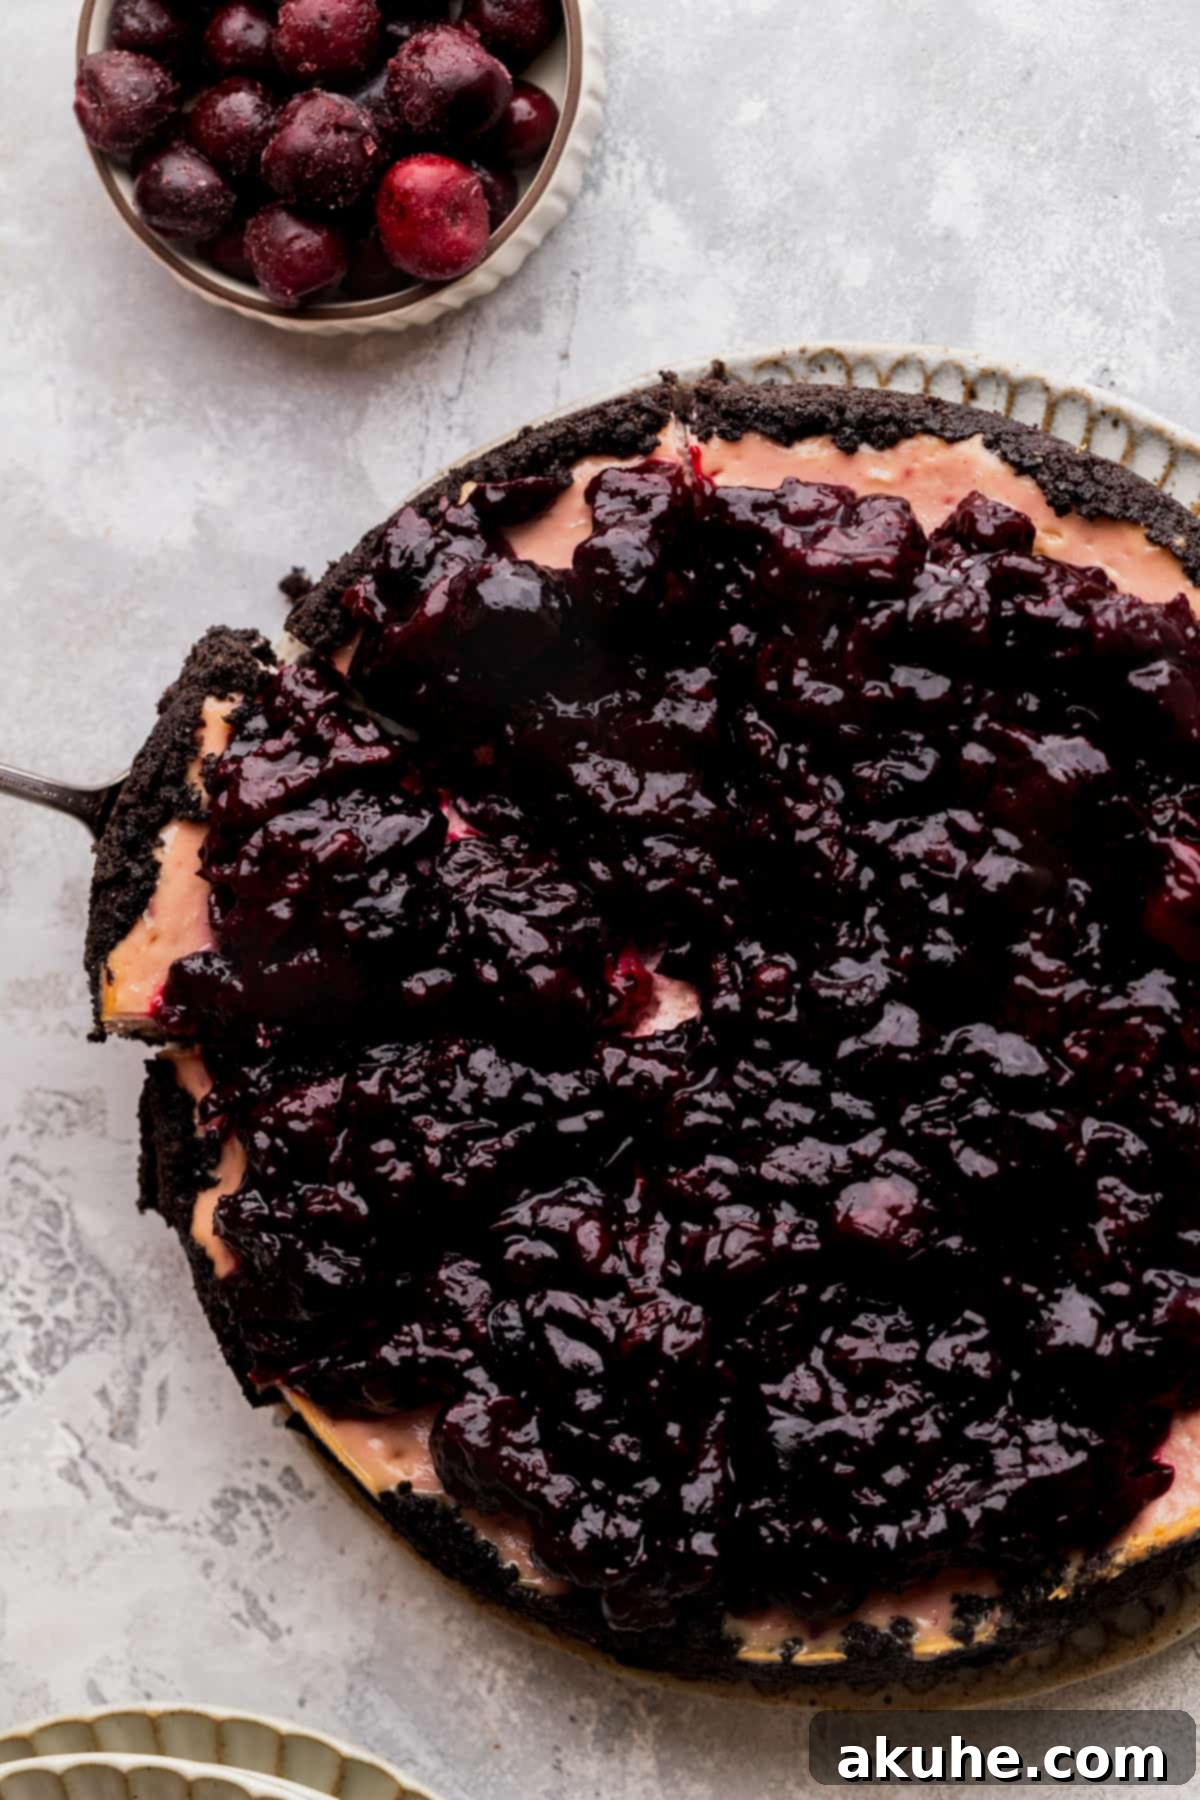
Next, spoon the chilled cherry topping generously over the top of your cheesecake. Using an offset spatula or the back of a spoon, gently spread the topping evenly across the surface, ensuring a smooth and inviting layer that glistens with fresh cherry goodness. You can leave some topping for individual slices if desired. Slice, serve, and enjoy the praise!
Mastering the Water Bath for Flawless Cheesecake
A water bath (also known as a bain-marie) is a secret weapon for baking cheesecakes. It provides a moist, humid environment in the oven, which is essential for preventing cracks and ensuring an incredibly creamy, evenly baked texture. The steam surrounding the cheesecake moderates the baking temperature, allowing it to cook gently and uniformly without drying out or firming too quickly.
Here are two effective techniques for setting up a water bath, both utilizing a large roasting pan and hot, steaming water:
- The Double Pan Method (Recommended): This is my preferred method for guaranteeing no water seeps into your crust. Place your springform pan (with the cheesecake batter) inside a slightly larger, solid 10-inch cake pan. Then, place this entire assembly into your large roasting pan. Carefully fill the roasting pan with hot tap water or freshly boiled water, ensuring the water level comes about halfway up the sides of the 10-inch cake pan. This acts as a barrier, preventing any water from reaching the springform pan directly. This method makes cheesecake baking virtually worry-free!
- The Foil Wrap Method: For this technique, you will need heavy-duty aluminum foil. Tightly wrap the exterior of your springform pan (containing the cheesecake) twice with a generous amount of foil, ensuring there are no gaps or tears. Place the foil-wrapped springform pan directly into the large roasting pan. Then, carefully pour hot water into the roasting pan, filling it about halfway up the sides of the springform pan. While effective, there’s a slight risk with this method that water might find its way through a small tear or gap in the foil, potentially leading to a soggy crust.
I highly recommend the first method to ensure a completely dry and crisp Oreo crust every time. It eliminates any concerns about water leakage and makes the water bath process straightforward and stress-free.
Expert Tips for Preventing Cheesecake Cracks
Cracks can be frustrating, but with a few simple techniques, you can achieve a perfectly smooth, beautiful cheesecake surface:
- Ensure a Silky-Smooth Batter (Pre-Eggs): The initial mixing of cream cheese and sugar is paramount. Beat these ingredients on high speed until the mixture is exceptionally creamy and smooth. Any small chunks of unmixed cream cheese can expand and contract differently during baking, leading to tension and cracks. Always scrape down the bowl thoroughly to ensure uniform mixing.
- Incorporate Eggs Gently and Slowly: Once you add the eggs, switch your mixer to the lowest possible speed. Add them one at a time, mixing just until each egg is barely incorporated. The goal is to minimize the incorporation of air into the batter at this stage. Too much air creates large bubbles within the cheesecake batter, causing it to rise too quickly and dramatically in the oven. As the cheesecake then cools and contracts, these air pockets collapse, resulting in unsightly cracks.
- Always Use a Water Bath: As discussed in detail above, a water bath is not optional; it’s essential for a crack-free cheesecake. The moist, steamy environment created by the water bath ensures even, gentle baking and prevents the cheesecake from drying out and cracking. Refer to our “Water Bath Tips” section for the best methods.
- Implement Gradual Cooling: Sudden temperature changes are a primary culprit for cheesecake cracks. After your cheesecake has finished baking, turn off the oven but leave the cheesecake inside. Prop the oven door open slightly and allow the cheesecake to cool slowly within the oven for at least 30 minutes. This gradual transition prevents the cheesecake from rapidly shrinking and cracking due to a sudden drop in temperature. Only transfer it to a cooling rack after this initial cooling period.
Effortless Removal of Cheesecake From the Springform Pan
Removing a cheesecake from its pan can be tricky, but with proper preparation and patience, it can be a seamless process, leaving you with a beautifully intact dessert.
First, always start by spraying the interior of your springform pan generously with a non-stick baking spray. Next, line the bottom of the pan with a 9-inch parchment paper circle. Then, spray the parchment paper again for an extra layer of protection. This preparation ensures that neither the crust nor the cheesecake batter will adhere to the pan.
After your cheesecake has been thoroughly chilled in the refrigerator, ideally overnight, it will be firm and much easier to handle. When ready to serve, carefully release the spring mechanism on the pan. The sides should then pop right off. If you encounter any resistance, very gently run a thin, sharp knife around the inner edge of the cheesecake before attempting to release the spring. This small step can make all the difference.
Once the sides are removed, you should be able to carefully lay the cheesecake flat onto a serving platter or board. Then, gently slide the bottom of the pan and the parchment circle out from underneath, leaving your stunning cheesecake ready for decoration and serving.
Frequently Asked Questions (FAQ)
Absolutely! This recipe is highly versatile. To make approximately 12 delightful mini cheesecakes, simply divide the cheesecake batter into thirds. Bake them in a standard muffin pan lined with paper liners for a shorter duration of 18-20 minutes. For more detailed instructions and specific tips on baking mini cheesecakes, refer to our comprehensive guide on Mini Oreo Cheesecakes.
While a 9-inch springform pan is ideal, you have other options. To create cheesecake bars, you can halve the entire recipe and bake it in an 8×8 or 9×9 inch baking pan (you’ll use approximately 16 oz of cream cheese for this halved version). If you prefer a slightly taller cheesecake, an 8-inch springform pan works wonderfully with the full recipe. For a smaller, more intimate cheesecake using a 6-inch springform pan, you should halve the recipe but maintain 16 oz of cream cheese to ensure adequate height and richness.
The key to perfectly neat and clean slices lies in two main factors: temperature and technique. First and foremost, ensure your cheesecake is thoroughly chilled, ideally overnight. A very cold cheesecake will hold its shape much better. Second, use a long, sharp knife. For the cleanest cuts, dip your knife in hot water and wipe it clean with a paper towel after each slice. This keeps the knife warm and clean, preventing the cheesecake from sticking and dragging, resulting in beautifully smooth slices every time.
Delicious Recipe Variations
While this recipe is perfect as is, you can easily adapt it to suit your preferences or time constraints:
- Time-Saving Topping: If you’re short on time, you can certainly top the cheesecake with a high-quality canned cherry pie filling instead of making it from scratch. While homemade is always recommended for superior flavor, a good quality canned option can still yield a delicious result.
- Plain Cheesecake Base with Cherry Topping: For those who prefer a more traditional cheesecake flavor in the base, you can omit the cherry puree from the cheesecake batter entirely. Simply follow the rest of the recipe as instructed, creating a classic creamy cheesecake, and then generously top it with your homemade (or canned) cherry pie filling once it’s chilled.
Recommended Special Tools for Cheesecake Success
Having the right tools can make all the difference in your baking experience and the final outcome:
- Springform Pan: A good quality 9-inch springform pan is essential for cheesecakes, allowing for easy removal without flipping. If you prefer a taller cheesecake with a thicker layer of filling, an 8-inch springform pan is an excellent choice.
- Parchment Paper Circles: These pre-cut 8-inch parchment paper circles are a game-changer! They perfectly fit the bottom of your springform pan, eliminating the need for tedious cutting and ensuring the crust never sticks.
- Baking Spray with Flour: A reliable nonstick spray with flour is invaluable for preventing sticking, especially for the crust and the sides of the pan. It creates an extra barrier that ensures your cheesecake releases flawlessly.
- Offset Spatula: An offset spatula is incredibly versatile. It’s ideal for smoothly spreading the cheesecake batter into the pan, leveling it out, and later, for evenly distributing the cherry topping over the chilled cheesecake. Its angled blade makes these tasks effortless.
Storing and Freezing Your Cherry Cheesecake
Proper storage is essential to maintain the freshness and quality of your delicious cherry cheesecake.
Store any leftover cherry cheesecake in an airtight container in the refrigerator. A cake carrier is ideal for keeping it fresh and protected. When stored correctly, your cheesecake will remain fresh and delightful for up to 5 days.
Freezing Instructions
Cheesecake freezes beautifully, allowing you to enjoy this treat long after it’s made.
You can freeze individual slices for convenient portion control. Simply place each slice in an airtight container or wrap it tightly in plastic wrap followed by aluminum foil. Frozen individual slices can be stored for up to 30 days. To serve, thaw for 1-2 hours at room temperature before indulging.
Alternatively, you can freeze an entire cheesecake before it’s decorated. Ensure the cheesecake has fully cooled to room temperature and then thoroughly chilled in the refrigerator overnight. Once chilled, wrap the whole cheesecake tightly first in several layers of plastic wrap, then in a layer of aluminum foil. This double wrapping helps prevent freezer burn. Freeze for up to 30 days. When ready to serve, thaw the cheesecake in the refrigerator for several hours, or 1-2 hours at room temperature, before decorating with the cherry topping.
Explore More Cheesecake Recipes
If you loved this cherry cheesecake, you might enjoy these other delightful cheesecake creations:
Perfect Christmas Recipes for the Festive Season
- Gingerbread Cheesecake
- Mini Gingerbread Cheesecakes
- Toblerone Cheesecake
- Chocolate Truffle Cake
- Grinch Cookies
If you adore this recipe, please consider leaving a STAR REVIEW below! Share your delicious creations by tagging me on Instagram @stephaniesweettreats. For more baking inspiration and ideas, be sure to follow me on Pinterest. Your feedback and shares mean the world!
Cherry Cheesecake
Print Recipe | Pin Recipe | Leave a Review
Ingredients
Oreo Crust
- 2 1/2 cups Oreo crumbs (keep the filling!)
- 4 TBSP Unsalted butter, melted
Cherry Topping
- 1 lb Cherries, fresh or frozen pitted cherries
- 1/2 cup White granulated sugar
- 2 TBSP Cornstarch
Cherry Cheesecake
- 24 oz Cream cheese, room temperature
- 3/4 cup White granulated sugar
- 1/2 cup Sour cream, room temperature
- 1/4 cup Cherry filling pureed (see instructions)
- 1 tsp Pure vanilla extract
- 4 Large eggs, room temperature
Instructions
Oreo Crust
- Preheat the oven to 325°F. Spray a 9-inch springform pan with baking nonstick spray. Line the bottom of the pan with a 9-inch parchment paper circle. Spray again.
- Use a food processor/ blender to blend the Oreos into a fine crumb. In a small bowl mix the Oreo crumbs and melted butter with a fork.
- Pour the crumbs into the pan. Use your hands to press the crust up the sides of the pan. Use the bottom of a measuring cup to compact the crust.
- Bake for 12 minutes.
Cherry Topping
- In a medium saucepan, mix the cherries, sugar, and cornstarch. Heat on medium heat until the juice starts to separate.
- Lightly mash half of the cherries and let it cook until it thickens slightly.
- Take a 1/2 cup of the cherry topping. Blend in the blender into a puree; it will be 1/4 cup of pureed cherry topping. Place in the freezer to cool before putting in the cheesecake batter. (About 15 minutes in the freezer.)
- Place the rest of the cherry topping in an airtight container in the fridge.
Cherry Cheesecake
- Using a mixer, beat the cream cheese and sugar on high speed for 2 minutes. Scrape the bowl.
- Add the sour cream, cherry puree, and vanilla extract and mix on medium speed. Then, add in the 4 eggs and mix on low speed until just combined. The batter will be a light pink color.
- Pour the batter into the oreo crust. Prepare the water bath.
- Water bath. Use one of these methods for a water bath. Both methods use a large roasting pan and hot steaming water.
1. Place the springform pan in a 10 inch cake pan. Place the cake pan in the roasting pan and fill with hot water halfway up the cake pan. This method prevents water from getting into the crust.
2. Wrap the springform pan tightly twice in aluminum foil. Place the springform pan inside the roasting pan. Fill with hot water halfway up the springform pan. This method works great, but can sometimes leak water into the crust. - Bake for 70-80 minutes until the edges are set and the middle has a slight jiggle.
- Turn off the oven, crack open the door, and let the cheesecake slowly cool for 30 minutes. Then, transfer the springform pan to a cooling rack to cool completely.
- Cover the pan with foil and chill overnight or at least 6 hours.
- Take the pan and parchment paper off of the cheesecake. Pour the cherry topping on top of the cheesecake and serve.
Notes
Nutrition Facts (per serving):
- Calories: 271kcal
- Carbohydrates: 24g
- Protein: 3g
- Fat: 19g
- Saturated Fat: 11g
- Polyunsaturated Fat: 1g
- Monounsaturated Fat: 5g
- Trans Fat: 0.1g
- Cholesterol: 55mg
- Sodium: 136mg
- Potassium: 130mg
- Fiber: 1g
- Sugar: 21g
- Vitamin A: 721IU
- Vitamin C: 2mg
- Calcium: 53mg
- Iron: 0.2mg
Please leave a star rating and review below!
