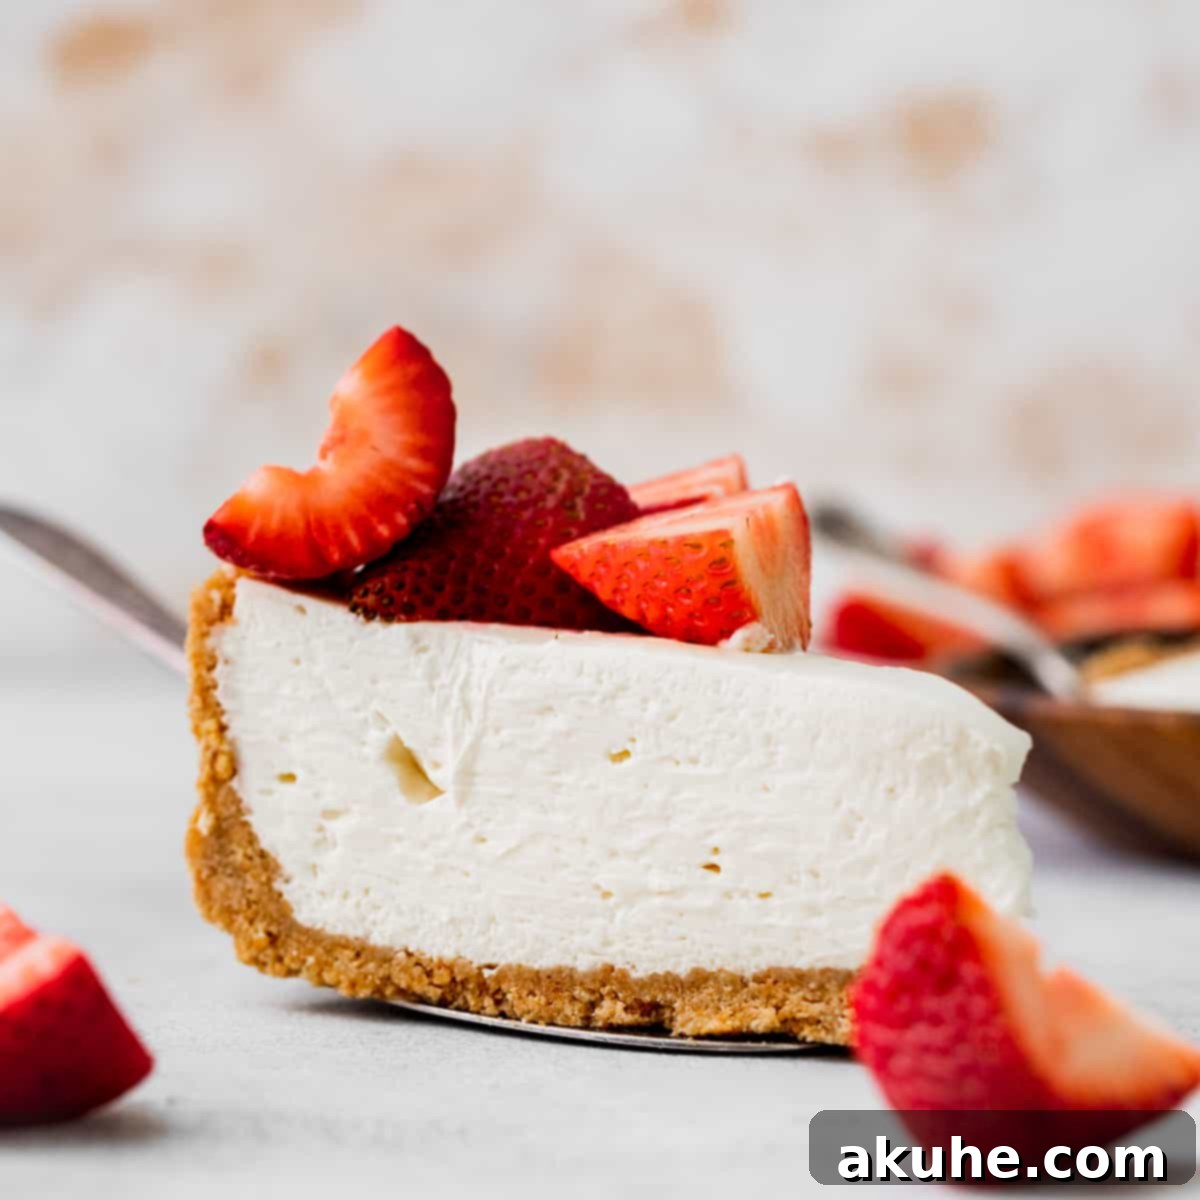
Welcome to the ultimate guide for crafting the most exquisite No-Bake Vanilla Cheesecake! Imagine a dessert so effortlessly elegant, so incredibly creamy, and bursting with classic vanilla flavor, all resting atop a perfectly buttery graham cracker crust. This recipe isn’t just a dessert; it’s a culinary experience designed for simplicity and maximum indulgence. Forget turning on your oven; this cheesecake achieves its sublime texture and rich taste through the magic of refrigeration, making it the ideal treat for any season, from sun-drenched summer gatherings to festive holiday celebrations.
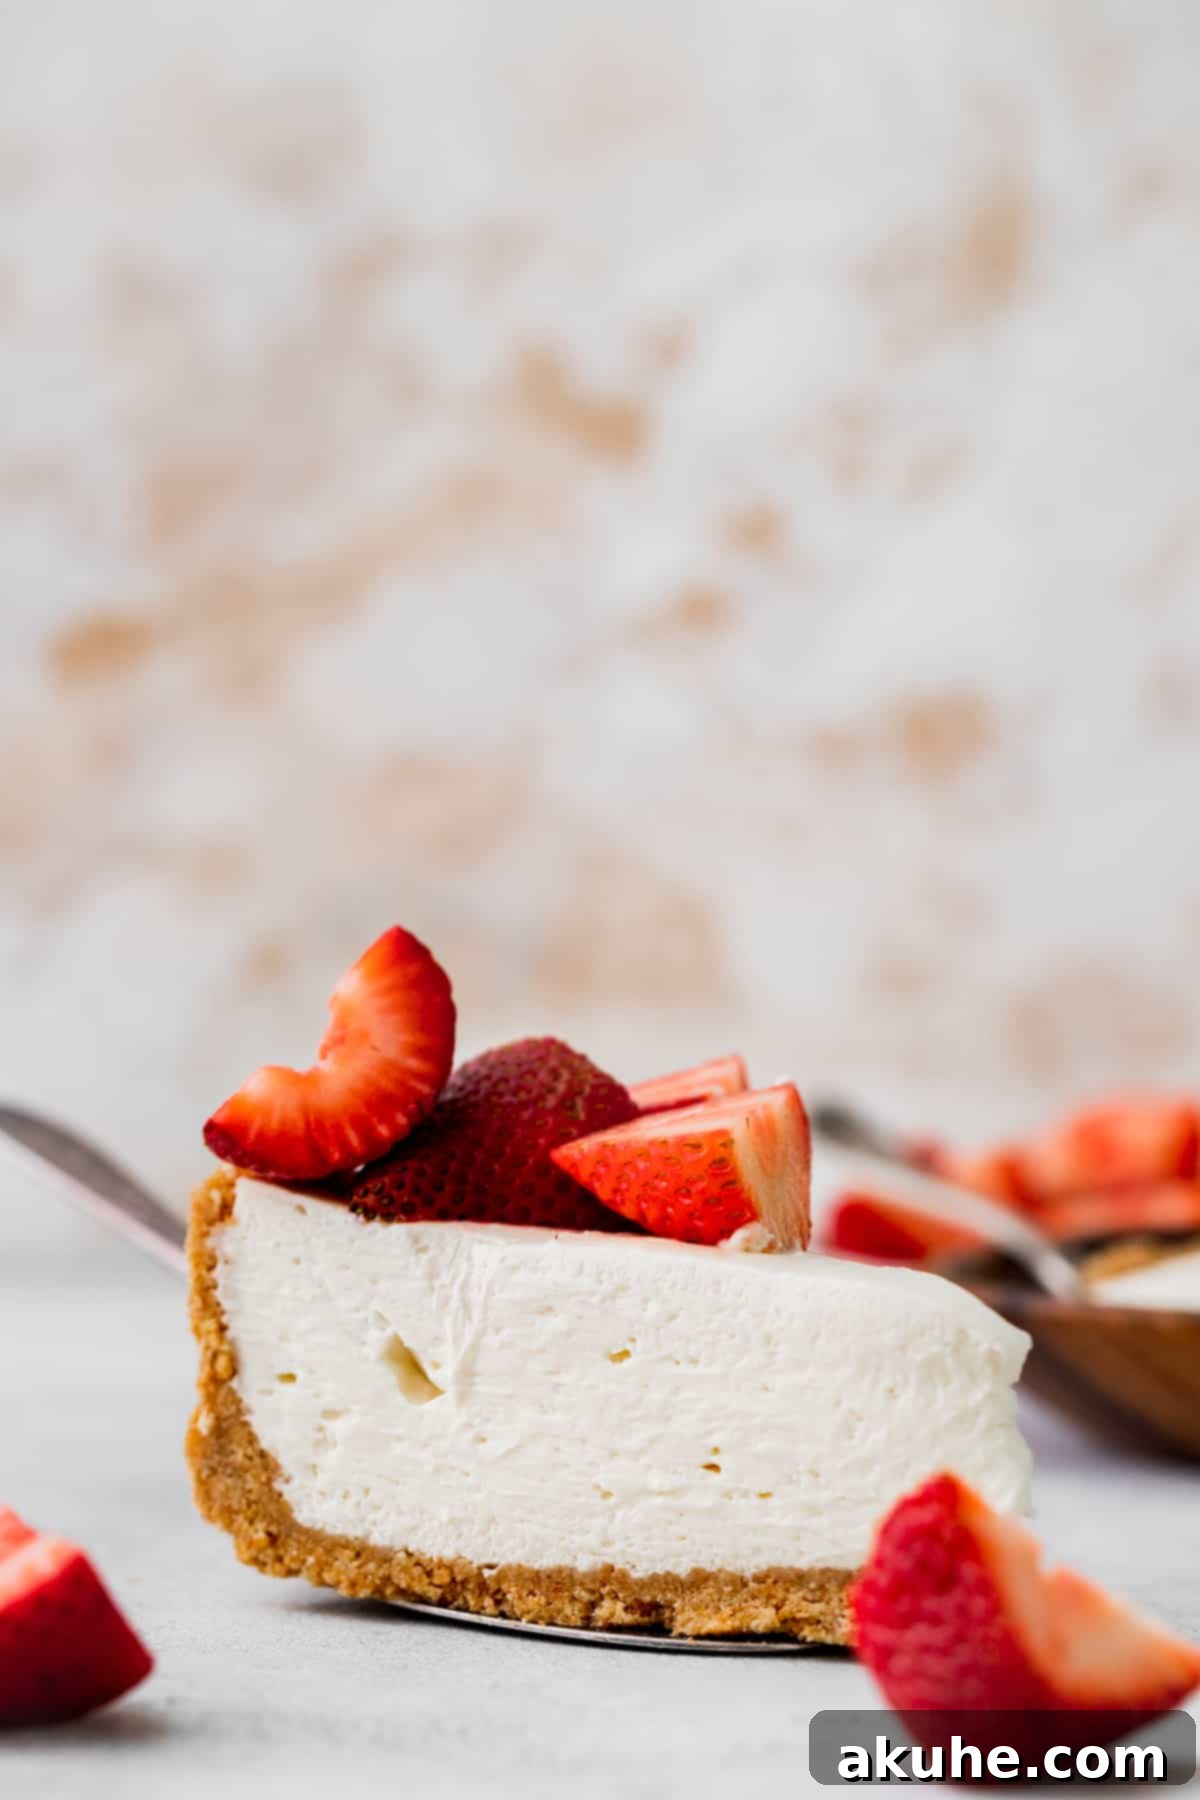
Whether you’re hosting a sophisticated dinner party or simply craving a sweet escape, this vanilla no-bake cheesecake promises to be a showstopper without the stress. Its versatility is truly unmatched; while we often adorn it with vibrant fresh strawberries, symbolizing the freshness of summer, the canvas is yours to customize. Picture it topped with a rich chocolate ganache, a tangy raspberry coulis, or even a decadent salted caramel drizzle. The possibilities are endless, allowing you to tailor this delightful dessert to any occasion or personal preference. This recipe streamlines the art of cheesecake making, proving that exceptional taste doesn’t always require complex techniques or extensive baking.
For those who love the convenience and deliciousness of no-bake desserts, we encourage you to explore more delightful options. Consider trying our Swirled No Bake Pumpkin Cheesecake for a seasonal twist, the rich and decadent No Bake Brownie Chocolate Cheesecake, or the irresistible combination of flavors in our No Bake Turtle Pie. Each offers a unique flavor profile while maintaining the ease and elegance of a no-bake preparation.
Why This No-Bake Vanilla Cheesecake is a Must-Try
This No-Bake Vanilla Cheesecake isn’t just another dessert; it’s a brilliant solution for busy bakers and anyone seeking maximum flavor with minimal effort. Here’s why this recipe stands out:
- Irresistible Graham Cracker Crust: Our signature crust is a masterpiece of buttery, crumbly perfection. Crafted from finely crushed graham crackers and perfectly blended with melted butter, it forms a sturdy yet delicate foundation that beautifully complements the creamy filling. Its golden-brown hue and subtle sweetness add an essential layer of flavor and texture to every single bite.
- Velvet-Smooth, Creamy Texture: Prepare for a truly luxurious experience. This no-bake cheesecake boasts an incredibly smooth, melt-in-your-mouth texture that is both light and rich. The careful combination of cream cheese, sour cream, and whipped heavy cream creates a delightful consistency that is never overly dense or heavy, making it an absolute pleasure to eat.
- Effortless Preparation: Say goodbye to water baths, cracked tops, and the anxiety of oven baking. This recipe significantly simplifies the cheesecake-making process, allowing you to create a show-stopping dessert with fewer steps and less fuss. While it does require a patient chill time, the active preparation is surprisingly quick and straightforward, perfect for novice and experienced bakers alike.
- Endless Topping Possibilities: This cheesecake serves as the perfect blank canvas for your culinary creativity. While fresh berries are a classic choice, its subtle vanilla flavor harmonizes beautifully with an array of toppings. Experiment with fruit compotes, chocolate shavings, caramel sauce, nuts, or even a simple dusting of cocoa powder. Each addition transforms the cheesecake, offering a fresh experience every time.
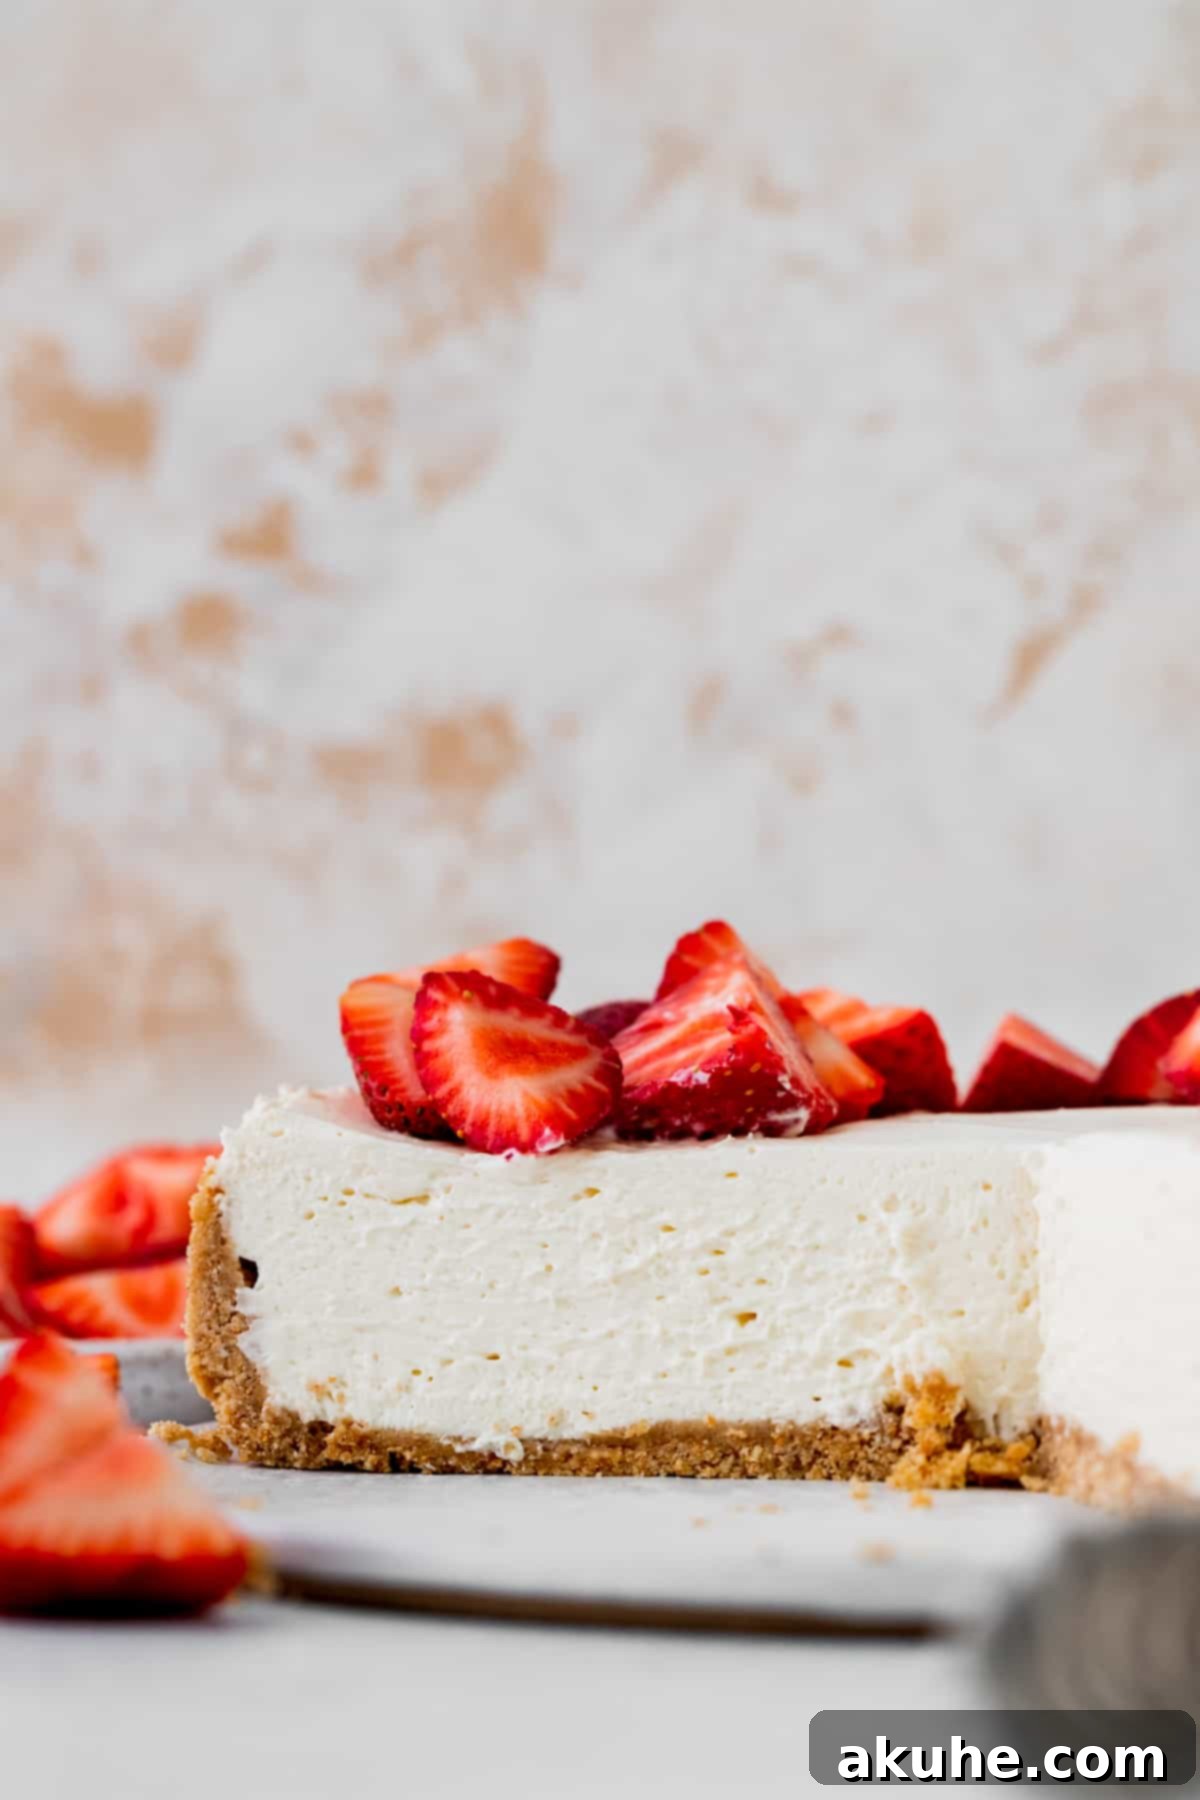
Essential Ingredients for Your No-Bake Vanilla Cheesecake
The secret to an outstanding no-bake cheesecake lies in the quality and preparation of its ingredients. Always use full-fat dairy products for the creamiest, richest texture. Here are some detailed notes on the key components:
- Graham Crackers: These form the classic, flavorful base for our crust. If you’re outside the U.S. and graham crackers are hard to find, excellent substitutes include Nilla Wafers (for a sweeter, vanilla-forward crust) or traditional digestive biscuits, which provide a similar crumbly texture and mild flavor. Ensure they are processed into very fine crumbs for a cohesive crust.
- Brown Sugar: We recommend using light brown sugar for the crust. Its subtle molasses notes add a depth of flavor and a slight chewiness that granulated sugar alone cannot provide, enhancing the buttery goodness of the base.
- Unsalted Butter: Melted unsalted butter is crucial for binding the crust ingredients together, creating that perfectly crisp and buttery texture. It’s fine for the butter to be warm when mixed with the crumbs; it helps to distribute evenly. Using unsalted butter allows you to control the overall saltiness of the dessert.
- Full-Fat Cream Cheese: This is the star of your cheesecake filling. Full-fat cream cheese is absolutely essential for achieving that characteristic rich, tangy flavor and ultra-creamy consistency. Reduced-fat versions can lead to a less stable and less satisfying texture. Remember to pull it out of the refrigerator at least 2 hours before you start, allowing it to reach room temperature. This ensures it beats smoothly and incorporates seamlessly with other ingredients, preventing lumps.
- Full-Fat Sour Cream: Adding sour cream introduces a delightful tanginess that balances the sweetness of the cheesecake, while also contributing to its incredibly smooth and luscious texture. Just like the cream cheese, ensure your full-fat sour cream is at room temperature before mixing. This aids in creating a uniformly smooth batter.
- Heavy Cream: This is whipped into stiff peaks to lighten the cheesecake filling, giving it an airy, cloud-like quality. The key here is to use very cold heavy cream. Cold cream whips up faster and holds its peaks much better, ensuring your cheesecake sets perfectly. Keep it in the fridge until you’re ready to whip it.
- White Granulated Sugar & Powdered Sugar: Granulated sugar sweetens the cream cheese mixture, while powdered sugar is used with the heavy cream for a silky smooth, lump-free whipped cream that contributes to the cheesecake’s delicate sweetness and structure.
- Pure Vanilla Extract: Don’t skimp on good quality vanilla extract. It’s the primary flavor in this cheesecake, and a high-quality extract will elevate the overall taste significantly, providing a warm, aromatic backbone to the dessert.
Step-by-Step Guide to Crafting Your Perfect No-Bake Cheesecake
Making this no-bake vanilla cheesecake is a delightful process. Gather your tools – two large mixing bowls, a stand mixer with both paddle and whisk attachments (or a reliable electric hand mixer), and a 9-inch springform pan – and let’s create something truly delicious. A 9-inch springform pan is ideal for easy removal.
STEP 1: Prepare the Springform Pan and Crust. Begin by lightly spraying a 9-inch springform pan with nonstick baking spray. For an even easier release, line the bottom of the pan with a precisely cut 9-inch parchment paper circle, then spray it again. This double-layer of nonstick protection ensures your beautiful cheesecake slides out effortlessly when ready to serve.
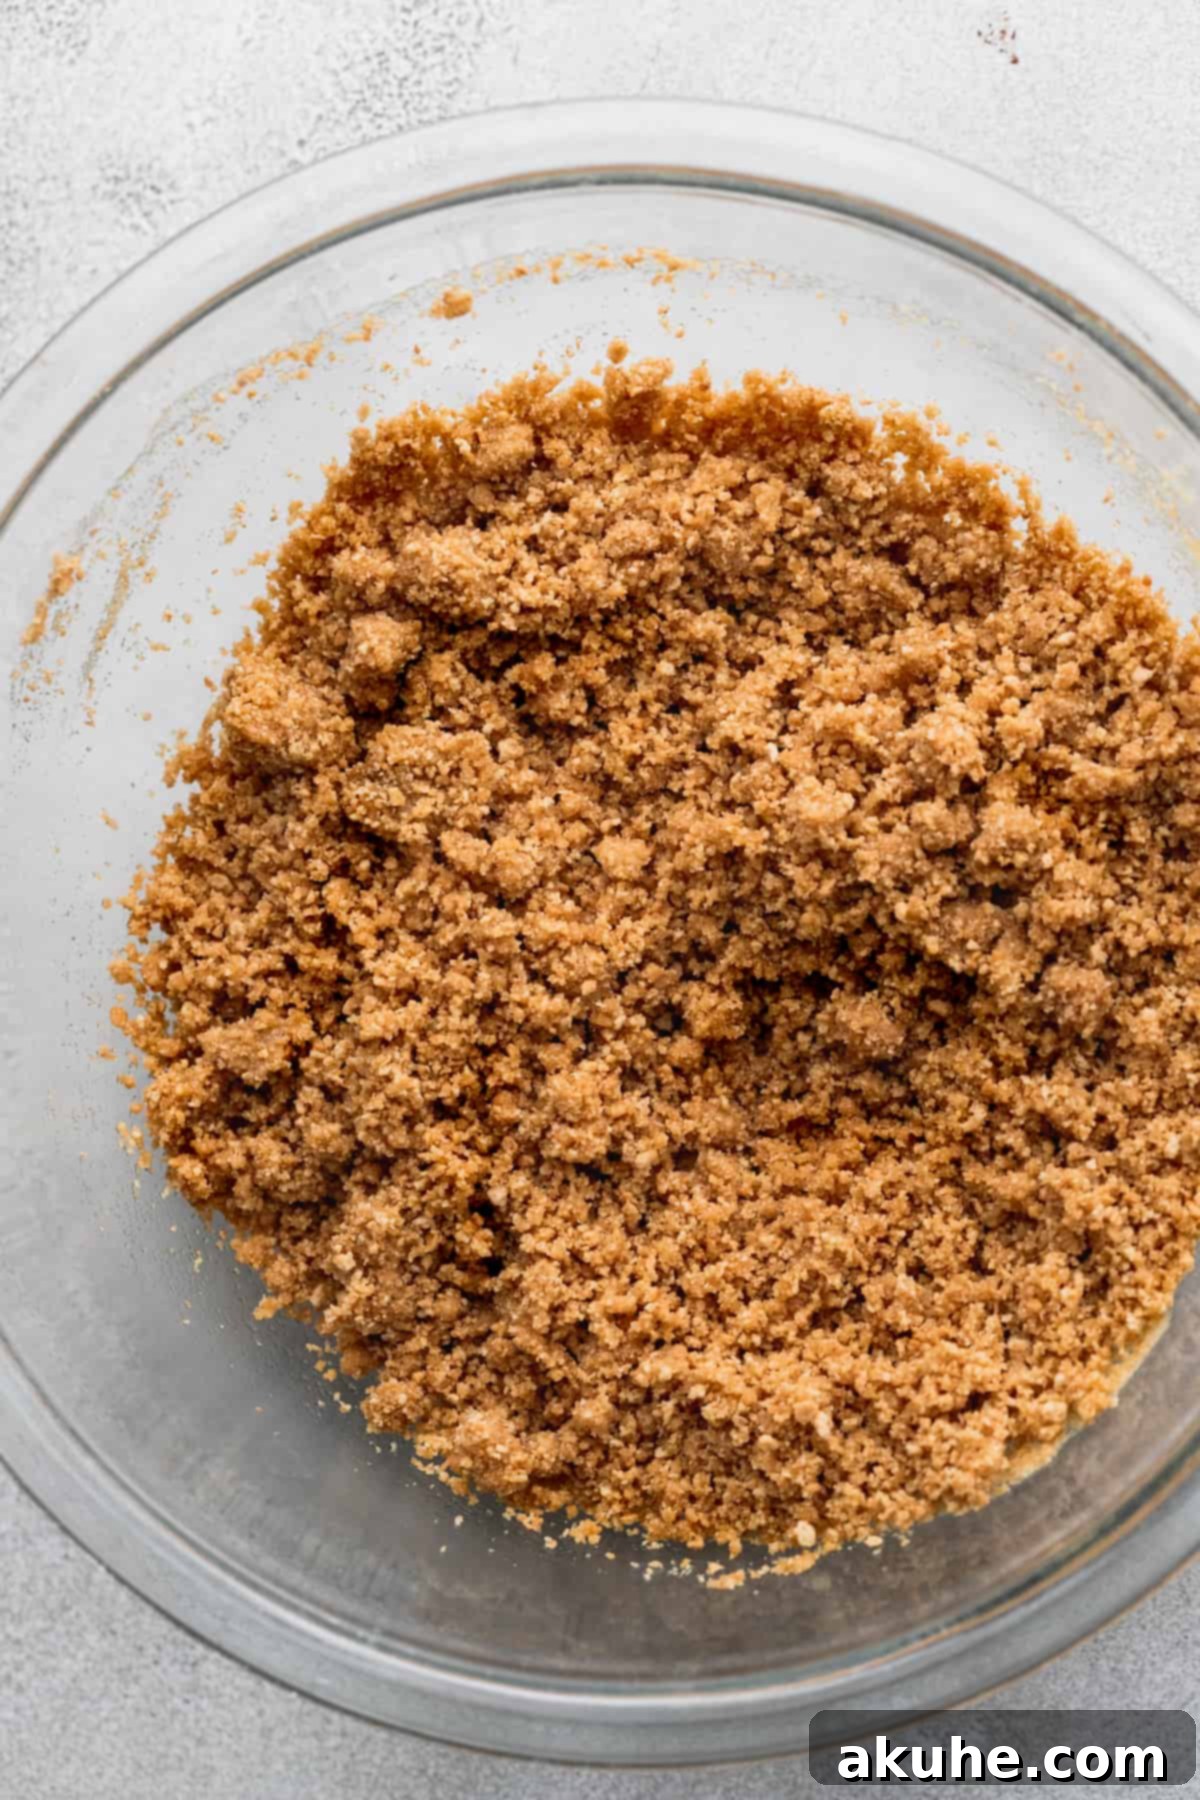
STEP 2: Create the Buttery Graham Cracker Crust. In a food processor, finely grind your graham crackers until they resemble fine, uniform crumbs. This ensures a consistent texture for your crust. Transfer these crumbs to a medium-sized bowl. Add the light brown sugar, which lends a subtle caramel note, and the melted unsalted butter. Mix these ingredients thoroughly with a fork until all the crumbs are moistened and resemble wet sand. This sticky mixture is the foundation of your cheesecake.
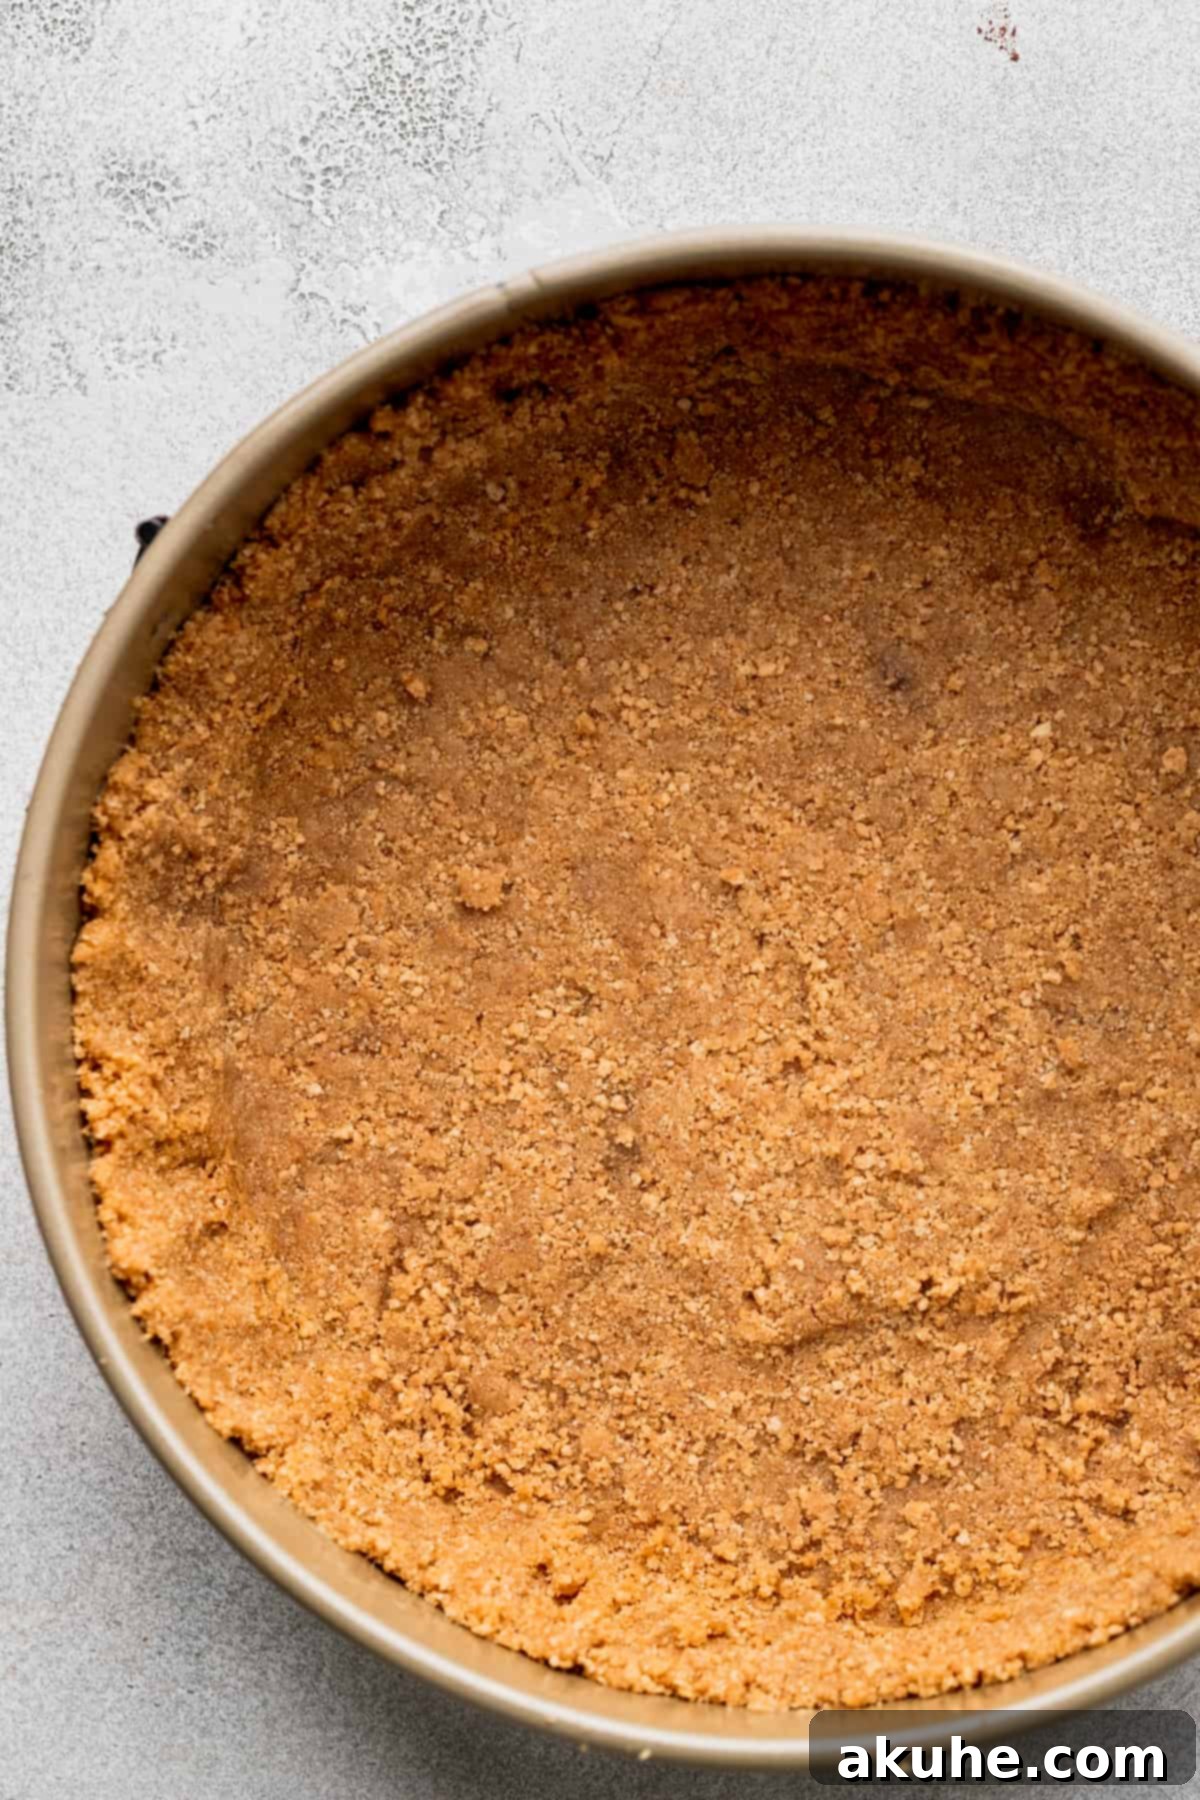
STEP 3: Form and Compact the Crust. Pour the prepared graham cracker mixture into the base of your greased and lined springform pan. Using your hands, gently but firmly press the crumbs evenly across the bottom and about halfway up the sides of the pan. For a perfectly compact and sturdy crust that won’t crumble when sliced, use the flat bottom of a measuring cup or a glass to press down firmly across the entire surface of the crust. This crucial step prevents the filling from seeping through.
STEP 4: Chill the Crust. Once compacted, place the springform pan with the crust into the freezer. Allow it to chill while you prepare the cheesecake filling. This quick freeze helps to solidify the butter in the crust, making it firm and less prone to leaking or breaking apart when the creamy filling is added.
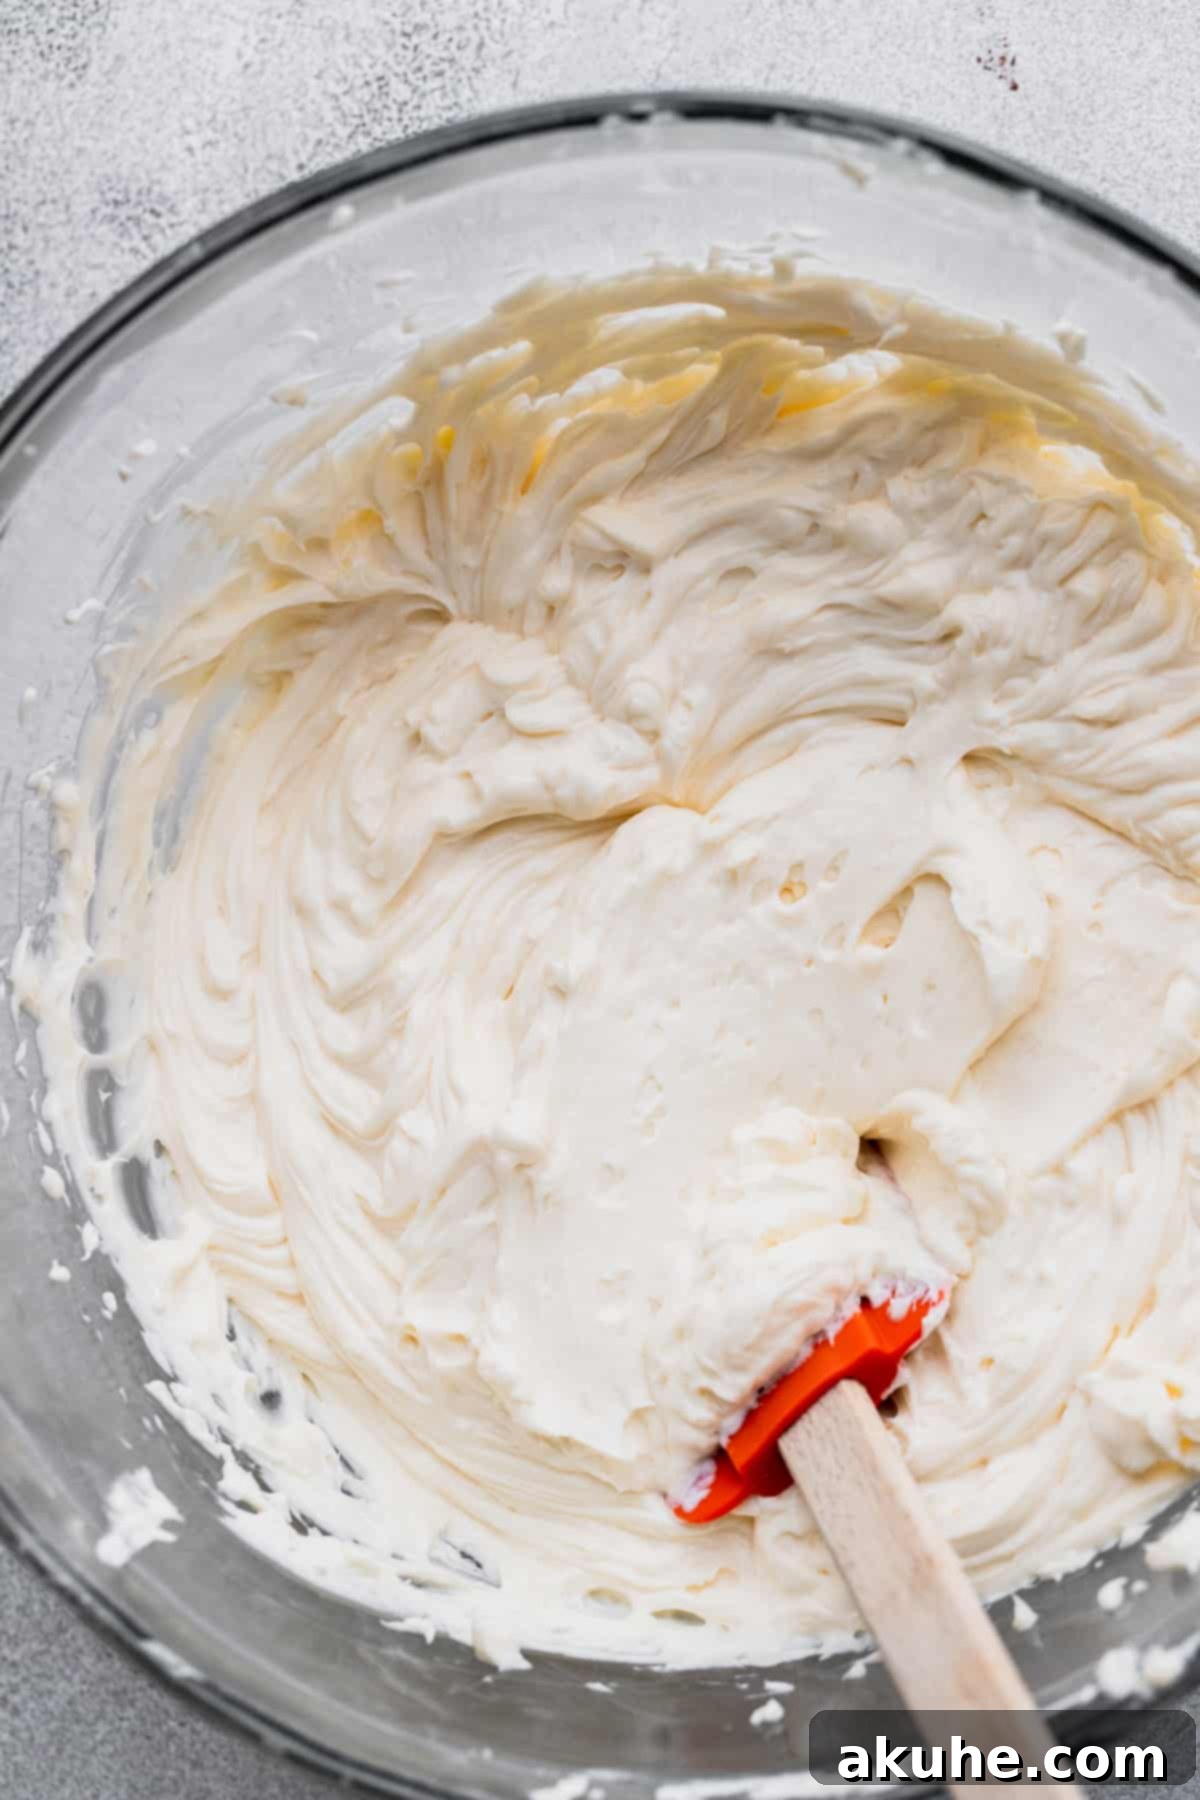
STEP 5: Prepare the Cream Cheese Base. In a large mixing bowl, using your stand mixer with the paddle attachment (or an electric hand mixer), beat the room temperature full-fat cream cheese on high speed for at least 1 minute. You want it to be light, fluffy, and completely smooth, with no lumps. Then, gradually add the white granulated sugar, pure vanilla extract, and room temperature full-fat sour cream. Continue beating on medium speed until the mixture is fully combined and perfectly smooth. Scrape down the sides of the bowl periodically to ensure everything is incorporated.
STEP 6: Whip the Heavy Cream. For the lightest, most stable whipped cream, place a clean metal mixing bowl and the whisk attachment in the freezer for about 10 minutes prior to whipping. This extreme cold is crucial. Once chilled, pour the very cold heavy cream into the bowl along with the powdered sugar. Beat on high speed until stiff peaks form. The whipped cream should hold its shape firmly when the whisk is lifted.
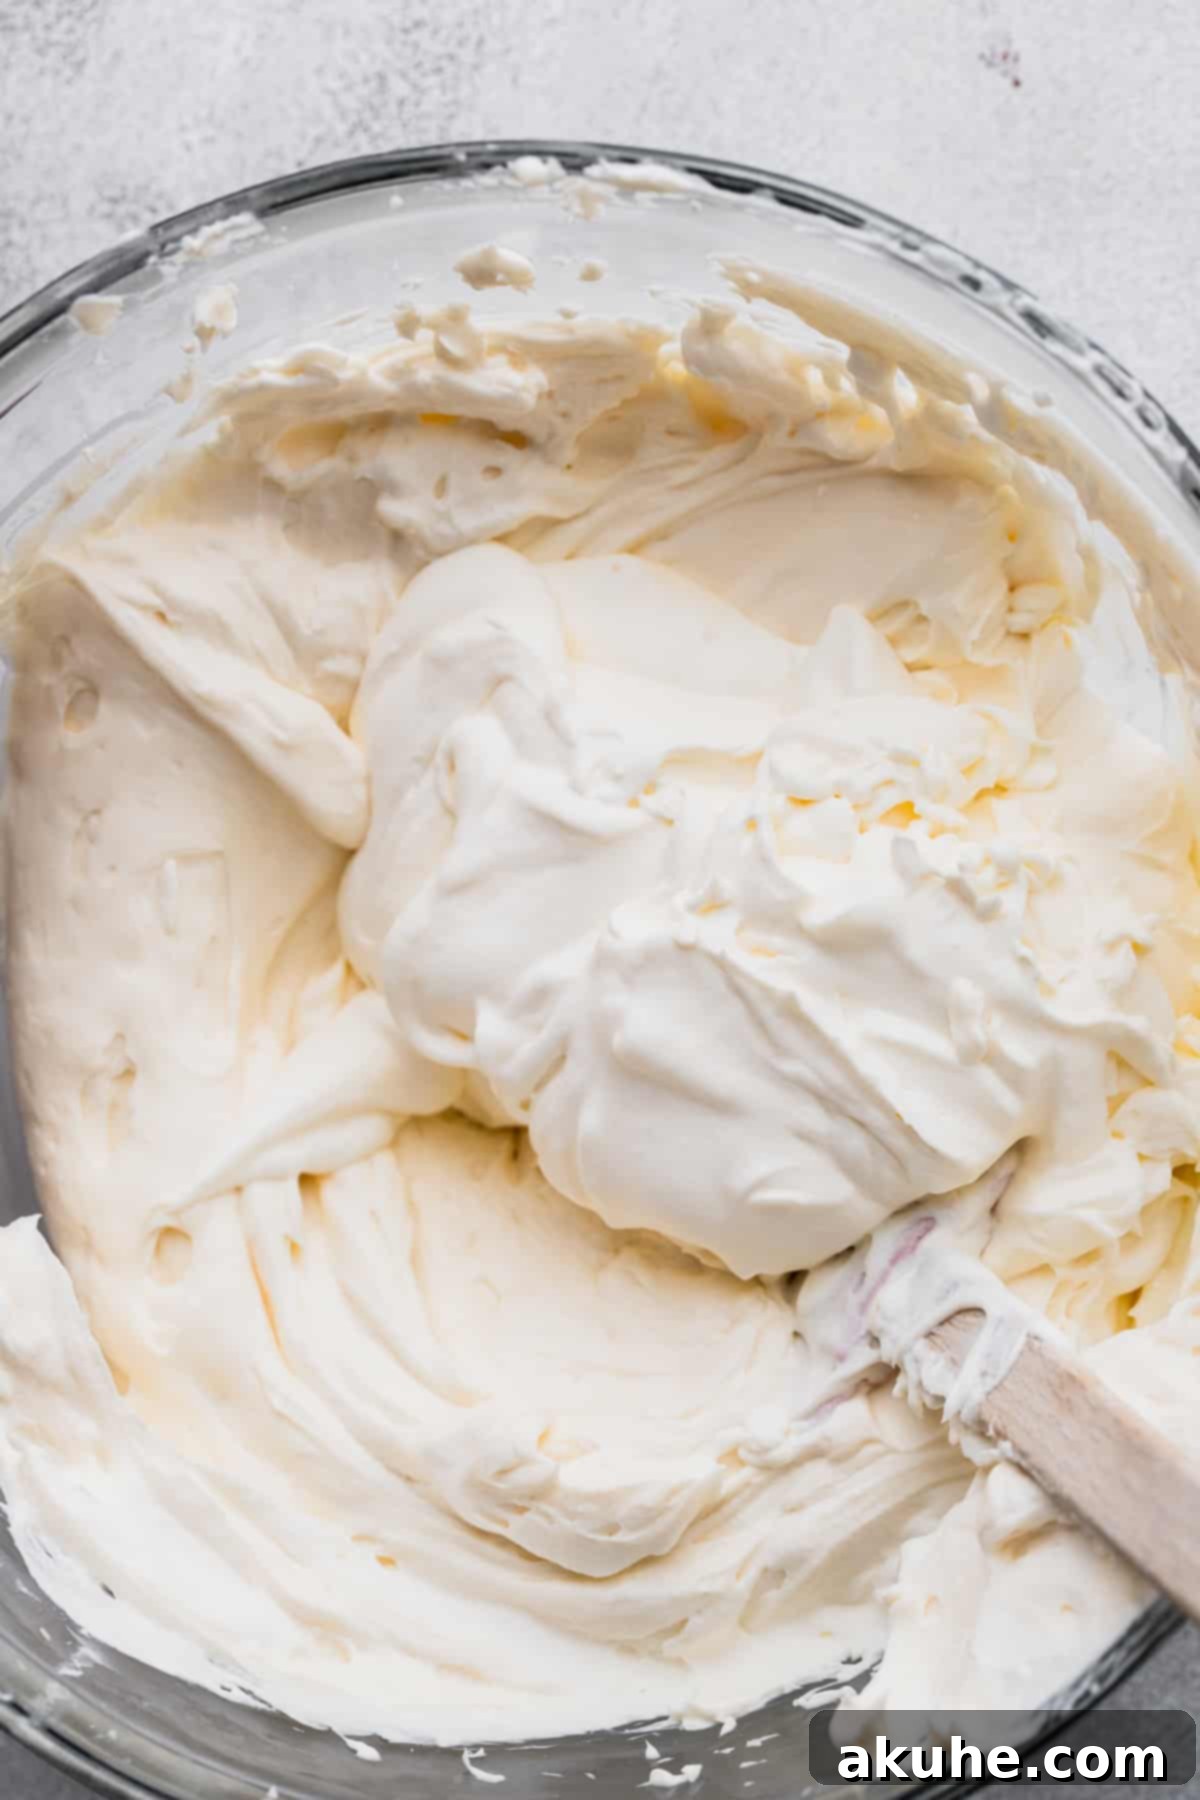
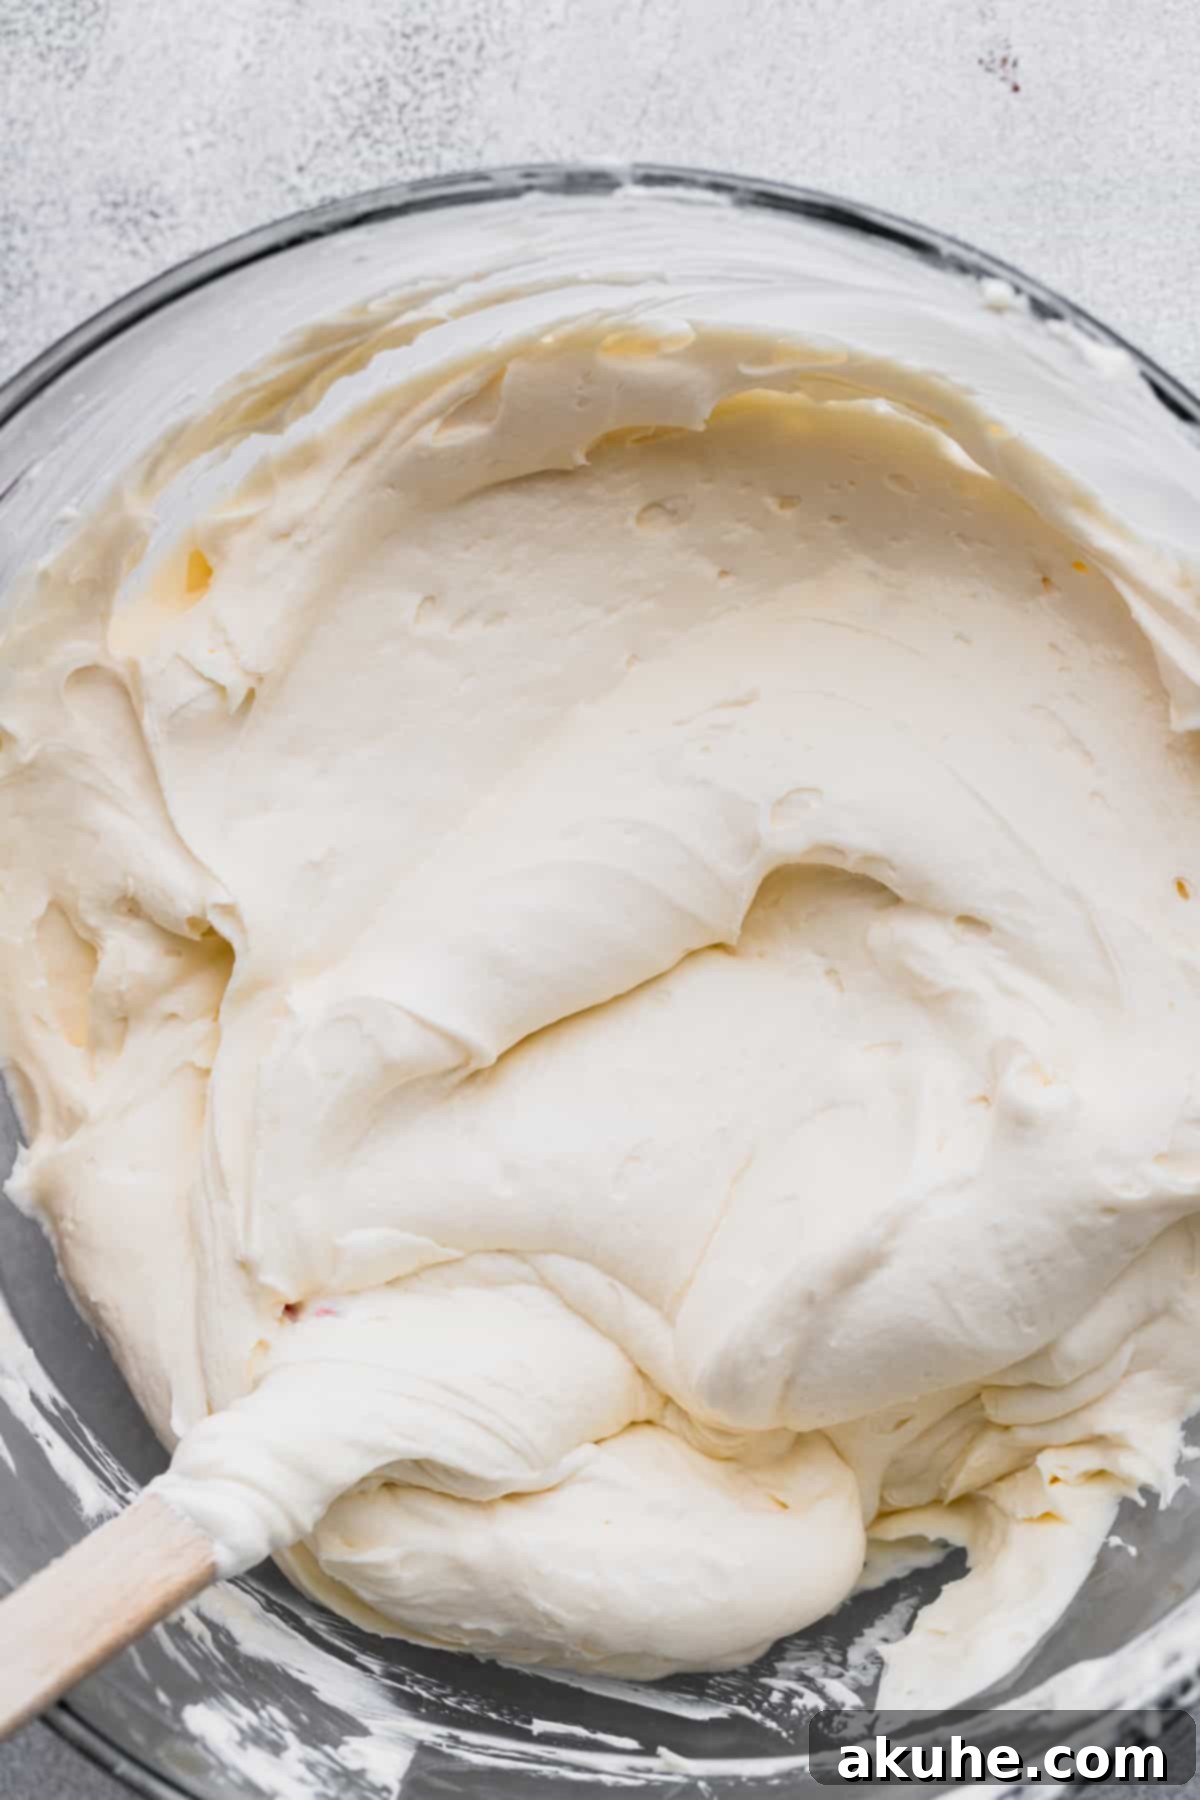
STEP 7: Gently Fold the Batter. This is a critical step for a light, airy cheesecake. Carefully spoon half of the whipped cream on top of the cream cheese mixture. Using a rubber spatula, gently fold it in with an upward motion, cutting through the center and lifting, until it’s about halfway incorporated. Add the remaining whipped cream and continue to fold very gently until just combined. Overmixing at this stage can deflate the whipped cream, resulting in a dense cheesecake that may not set properly. The goal is a light, airy, uniform mixture.
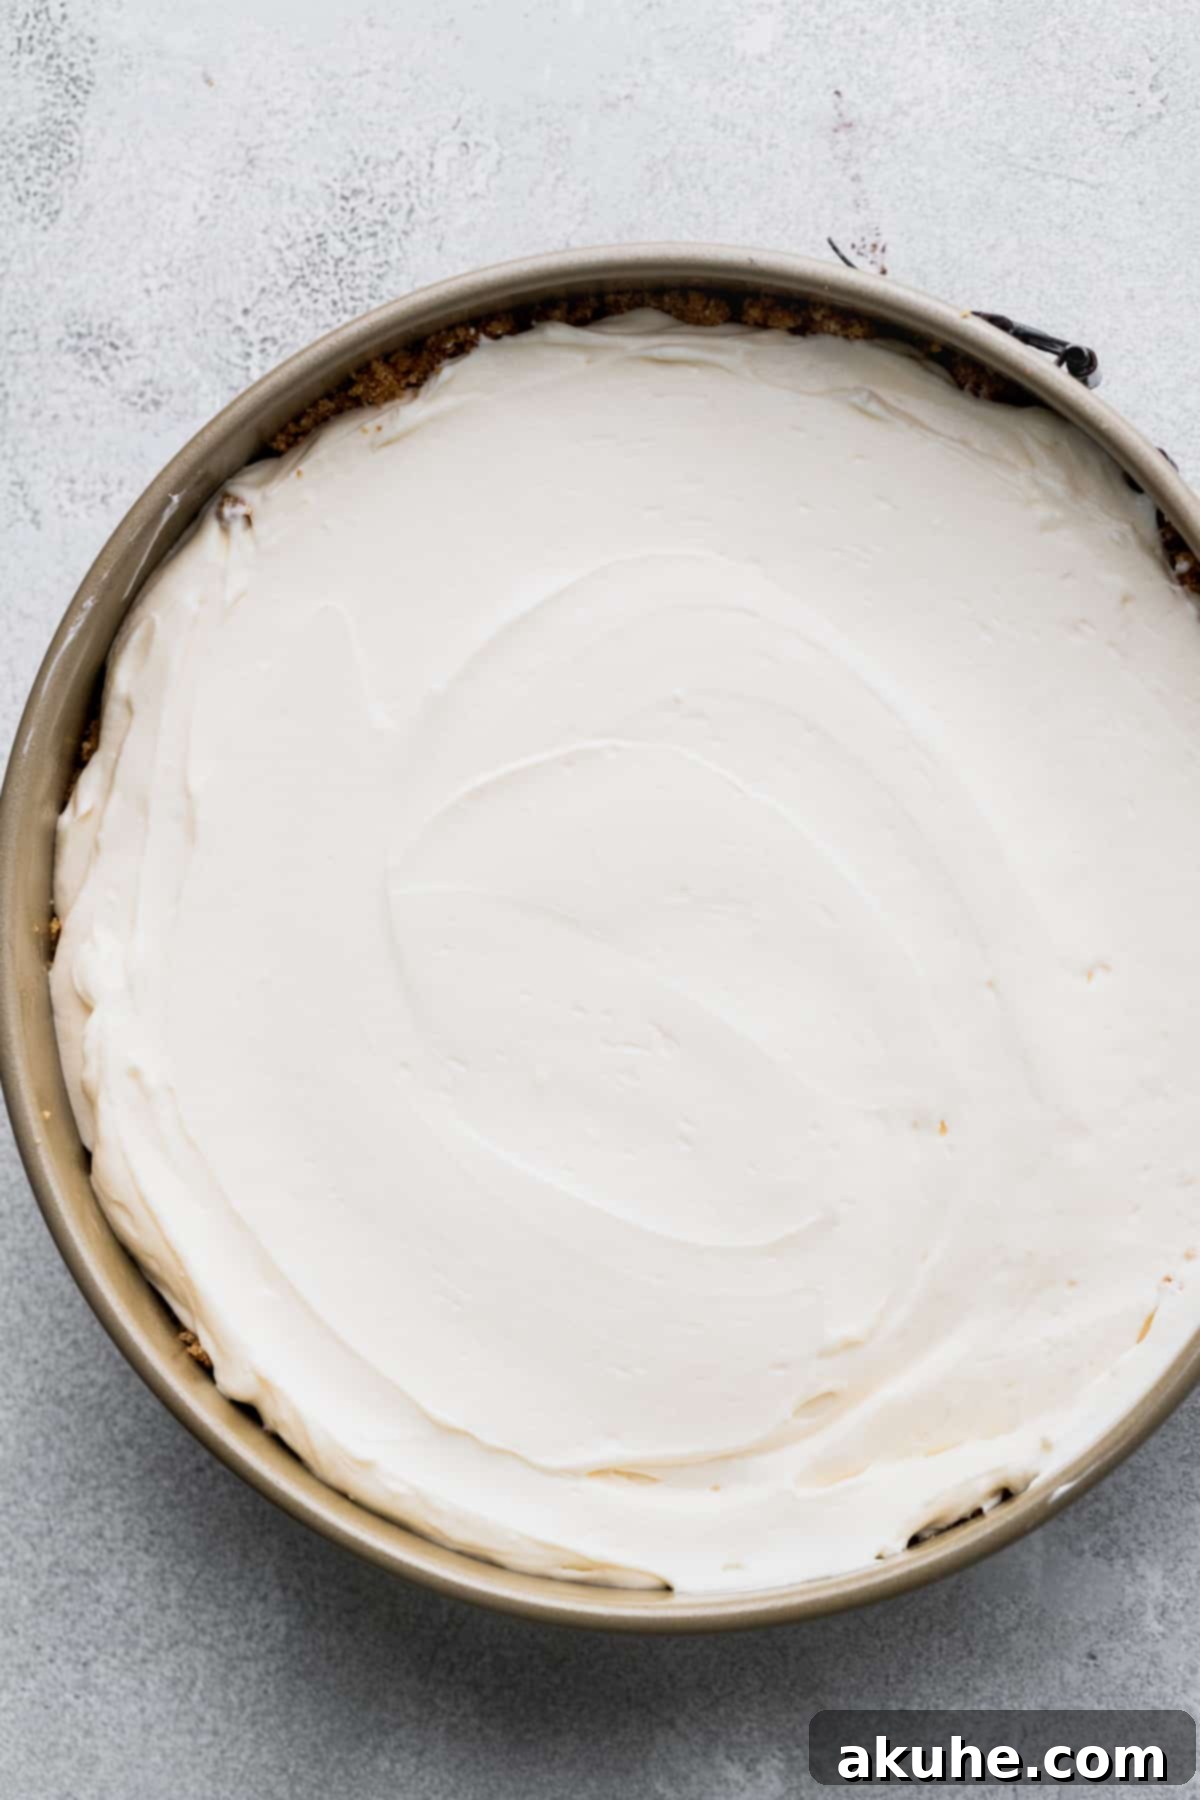
STEP 8: Pour and Chill. Carefully pour the finished cheesecake filling into the prepared springform pan, spreading it evenly with your rubber spatula to create a smooth top. Cover the pan loosely with aluminum foil to prevent any absorption of refrigerator odors. Now, the hardest part: chilling! Place the cheesecake in the refrigerator for a minimum of 6 hours, but for the absolute best results and a perfectly firm set, chilling it overnight is highly recommended. This allows the flavors to meld and the cheesecake to solidify beautifully.
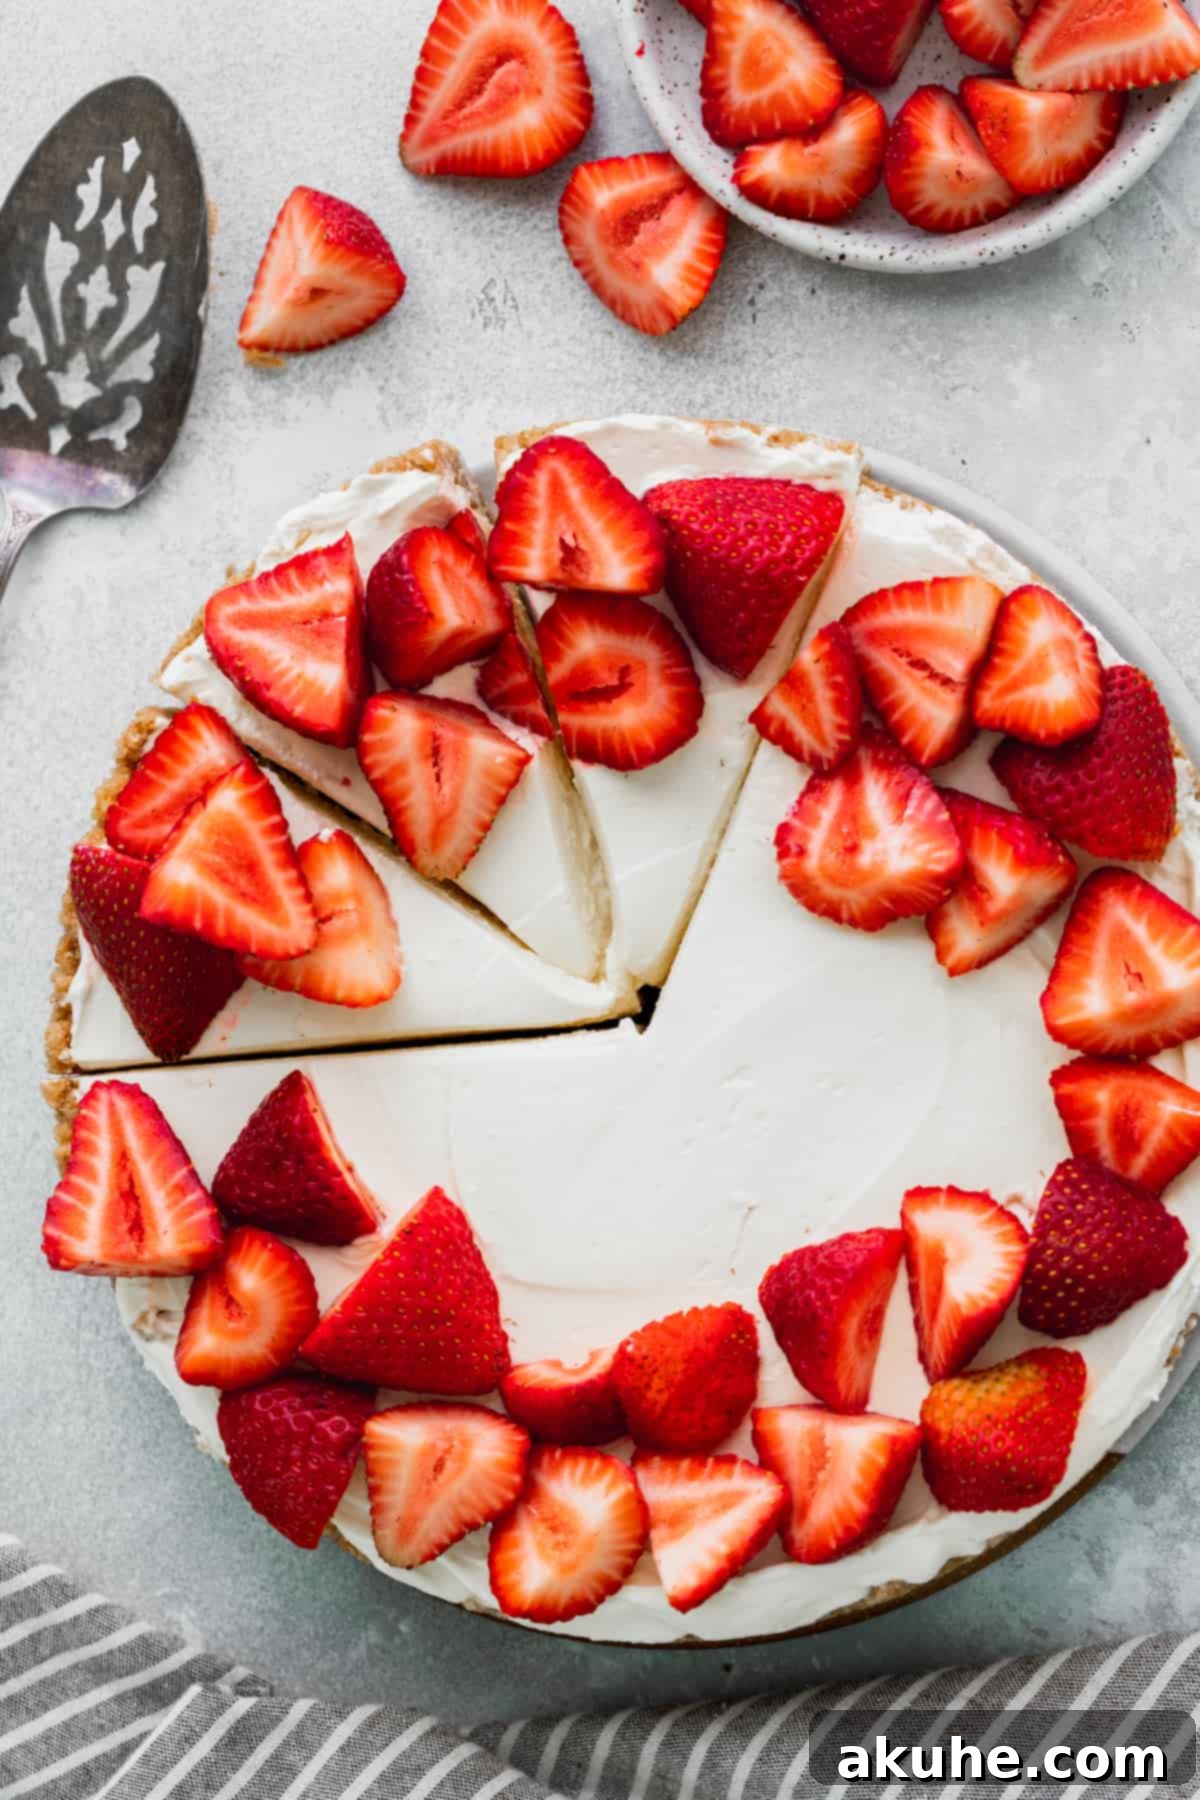
STEP 9: Decorate and Serve. Once thoroughly chilled, carefully remove the springform pan collar. A small, thin knife can be gently run around the edge if needed, but the parchment paper should prevent sticking. Now, unleash your creativity! Decorate your magnificent no-bake vanilla cheesecake with your chosen toppings just before serving for the freshest appearance and taste.
Creative Topping Ideas for Your Vanilla Cheesecake
The beauty of this vanilla cheesecake is its versatility. It’s a blank canvas ready for your favorite flavors. Here are some inspiring ideas to elevate your dessert:
- Decadent Salted Caramel: A drizzle of homemade or store-bought salted caramel sauce adds a rich, sophisticated sweetness with a hint of salt that perfectly contrasts the creamy vanilla. For inspiration, our Snickers Cheesecake recipe features an amazing caramel component.
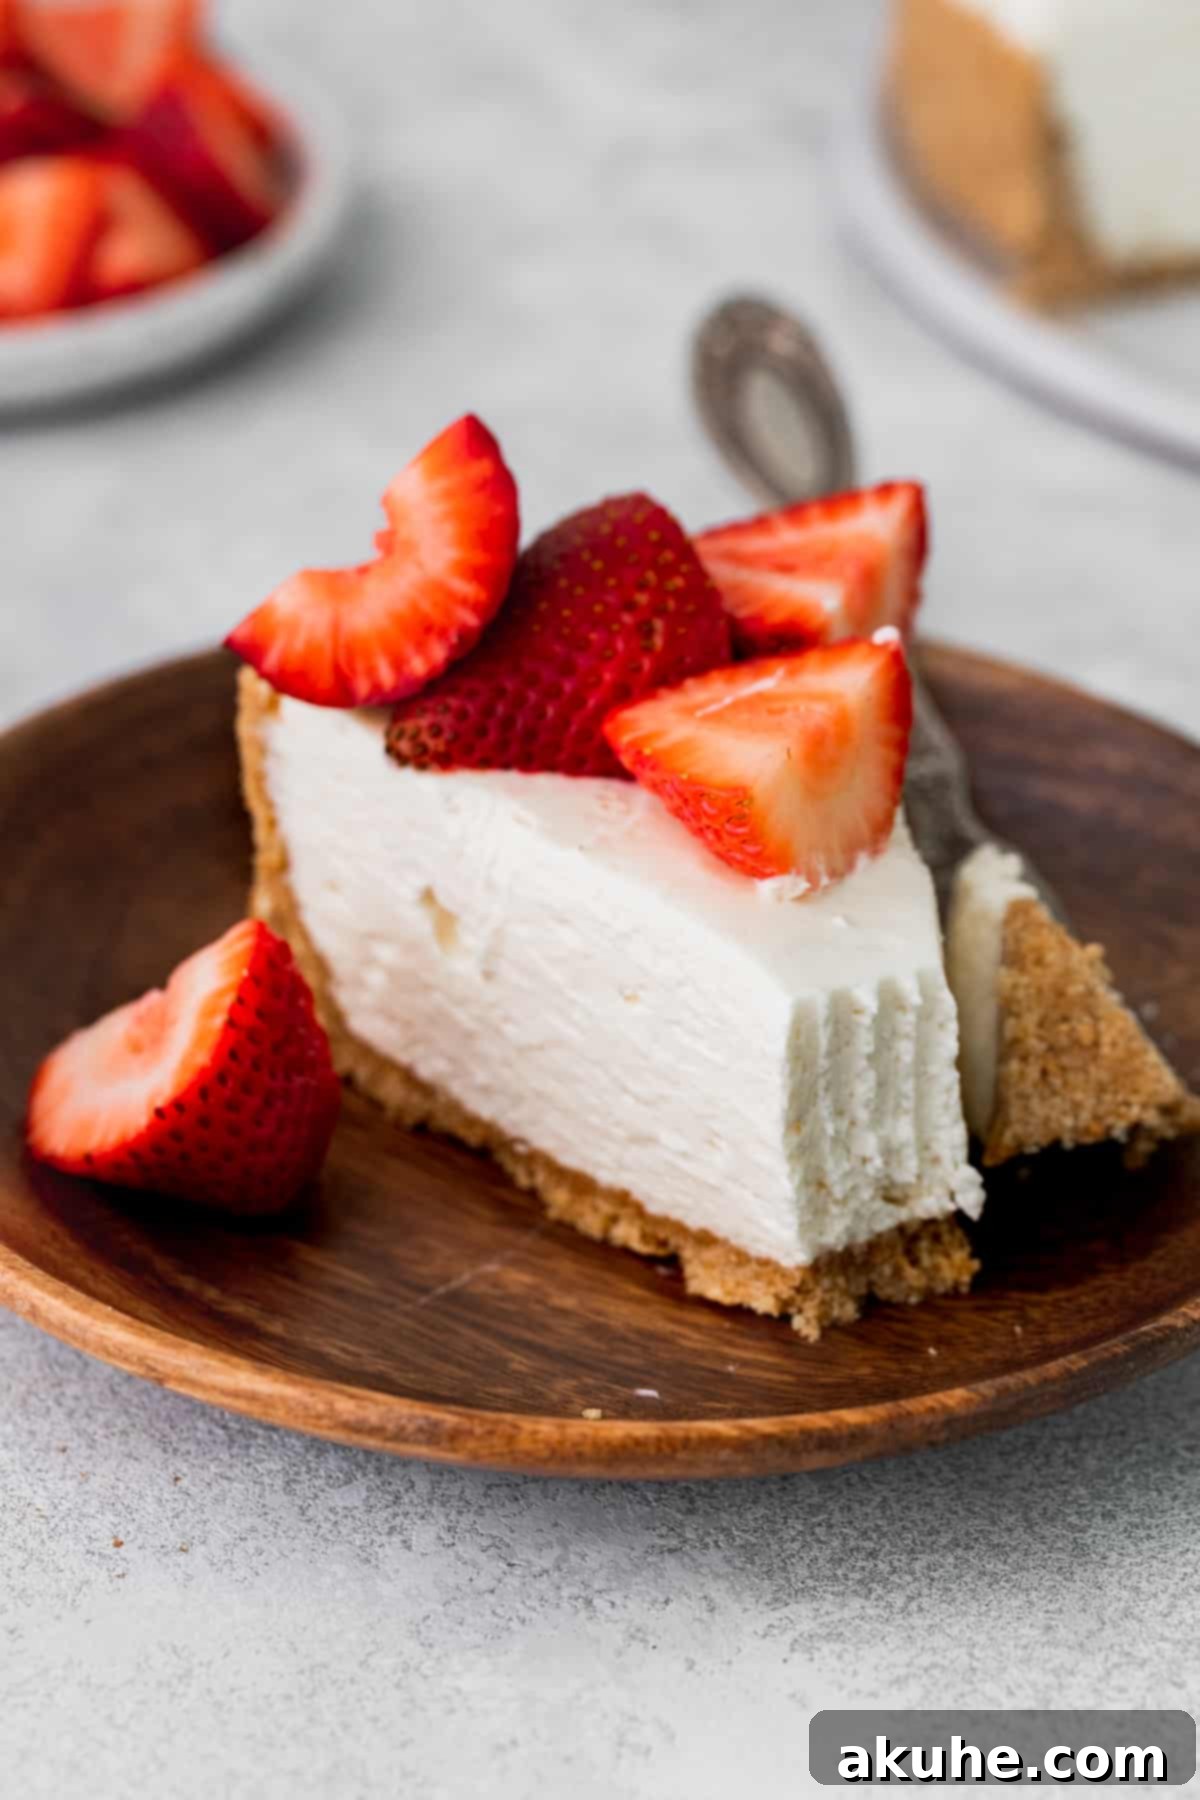
- Fresh Berries or Fruit: A classic for a reason! A colorful medley of fresh strawberries, blueberries, raspberries, or blackberries offers a vibrant burst of natural sweetness and a refreshing tang. Sliced peaches or kiwi can also create a stunning presentation.
- Lush Strawberry Sauce: Transform fresh or frozen strawberries into a silky, sweet, and slightly tart sauce. This adds a beautiful sheen and intense berry flavor. You can adapt the strawberry sauce recipe used for our Strawberry White Chocolate Cheesecake.
- Extra Whipped Cream: Sometimes, simplicity is key! A generous dollop of freshly whipped cream, perhaps with a touch of vanilla or a sprinkle of cinnamon, adds another layer of airy texture and creamy goodness.
- Rich Chocolate Ganache: For the ultimate chocolate lover, a glossy layer of homemade chocolate ganache provides a decadent contrast to the vanilla. The slight bitterness of dark chocolate can be particularly delightful.
- Toasted Nuts: A sprinkle of toasted pecans, walnuts, or almonds can add a delightful crunch and nutty flavor, balancing the cheesecake’s creamy texture.
- Citrus Zest: For a bright, aromatic touch, finely grated lemon, lime, or orange zest can be sprinkled over the top, adding a fresh, fragrant note.
Pro Tips for No-Fail No-Bake Cheesecake Success
Achieving a perfectly set, deliciously creamy no-bake cheesecake is within your reach with these expert tips:
- Effortless Pan Release: To ensure your cheesecake comes out of the springform pan flawlessly, don’t just rely on the nonstick spray. After spraying the pan, line the bottom with a precisely cut 9-inch parchment paper circle, then spray again. This creates a barrier that prevents sticking and ensures a clean release, maintaining the perfect shape of your cheesecake.
- The Art of Gentle Folding: This is arguably the most critical step for a light, airy cheesecake. When incorporating the whipped cream into the cream cheese mixture, be incredibly gentle. Use a rubber spatula to fold with an upward, lifting motion, rather than stirring or beating. If you are too rough, you will deflate the air from the whipped cream, effectively turning it back into liquid heavy cream. This will prevent your cheesecake from setting properly, resulting in a runny, disappointing dessert. Think of it as carefully integrating clouds, not mixing concrete.
- Patience is Key for Chilling: While 6 hours is the minimum recommended chill time, an overnight chill (10-12 hours) is truly ideal. This extended period in the refrigerator allows the cheesecake filling to fully firm up, ensures the flavors have ample time to meld, and results in a perfectly sliceable, stable cheesecake. Rushing this step will lead to a soft, possibly unset, cheesecake. Plan ahead for best results!
- Room Temperature Dairy: Ensure your cream cheese and sour cream are at proper room temperature (softened but not warm or greasy) before mixing. This allows them to beat smoothly and combine without lumps, creating a silky-smooth base for your filling.
- Cold Heavy Cream: Conversely, your heavy cream must be ice cold to whip up properly into stiff peaks. Consider chilling your mixing bowl and whisk attachment in the freezer for 10-15 minutes before whipping for optimal results.
Frequently Asked Questions (FAQ)
There are typically two main reasons: 1) You likely overmixed the whipped cream into the cream cheese mixture. Overmixing can deflate the air from the whipped cream, preventing it from providing the necessary structure for the cheesecake to set. The goal is to gently fold, not beat. 2) The cheesecake did not have enough time to properly chill in the refrigerator. A minimum of 6 hours is required, but for optimal firmness, an overnight chill (10-12 hours) is highly recommended. Ensure your heavy cream was also very cold when whipped, as this impacts its stability.
Absolutely! This recipe adapts beautifully to mini cheesecakes. To make approximately 12 mini cheesecakes, you can effectively divide the recipe quantity by three. Use a standard muffin pan lined with paper cupcake liners. Press a small amount of crust mixture into the bottom of each liner, then spoon the cheesecake filling on top. Chill as directed, though mini cheesecakes may set slightly faster due to their smaller size.
Yes, you can adjust the pan size! If you prefer a much thicker and taller cheesecake, you can use an 8-inch springform pan with the full recipe. Alternatively, for cheesecake bars, divide the recipe in half and use an 8×8-inch square pan. The chilling time might vary slightly with different pan sizes, so always ensure the cheesecake is firm to the touch before serving.
For perfectly clean slices, use a sharp, thin knife. Before each slice, dip the knife in hot water and wipe it clean. This warming and cleaning process helps the knife glide smoothly through the creamy texture without sticking or dragging, ensuring each slice looks as good as it tastes.
Storing and Freezing Your No-Bake Vanilla Cheesecake
Proper storage is essential to maintain the freshness and creamy texture of your no-bake vanilla cheesecake. To prevent it from absorbing refrigerator odors and to keep it at its best, store the cheesecake in an airtight container, such as a cake carrier. When stored correctly, it will remain fresh and delicious for up to 5 days in the refrigerator, allowing you to enjoy slices throughout the week.
Freezing Instructions for Extended Enjoyment
This no-bake cheesecake freezes exceptionally well, making it a fantastic make-ahead dessert. Here’s how to freeze it, either whole or in individual slices:
Freezing Individual Slices:
For convenient, single-serving portions, cut the cheesecake into individual slices after it has fully set in the refrigerator. Wrap each slice tightly in plastic wrap, ensuring no air is exposed. Then, place the wrapped slices in an airtight freezer-safe container or a freezer bag. This method protects them from freezer burn and makes it easy to grab a slice whenever a craving strikes. Freeze for up to 30 days. To enjoy, simply remove a slice from the freezer and let it thaw at room temperature for 1-2 hours, or in the refrigerator for 3-4 hours, until softened to your desired consistency.
Freezing the Whole Cheesecake:
If you plan to freeze the entire cheesecake, it’s best to do so before decorating. First, ensure the cheesecake has been thoroughly chilled overnight in the refrigerator and is completely firm. Once solid, carefully remove the springform pan collar. Wrap the entire cheesecake (with its base) tightly in multiple layers of plastic wrap, then an additional layer of aluminum foil. This double-layer protection is crucial for preventing freezer burn. Freeze for up to 30 days. When you’re ready to serve, transfer the frozen cheesecake to the refrigerator and let it thaw for approximately 24 hours. Once thawed, you can decorate it with your favorite toppings and serve.
Explore More Cheesecake Delights
We hope you adore this No-Bake Vanilla Cheesecake as much as we do! If you loved this recipe, please consider leaving a STAR REVIEW below to help others discover this incredible dessert. We’d also be thrilled to see your creations—tag us on Instagram @stephaniesweettreats. For more delicious recipe ideas and baking inspiration, make sure to follow us on Pinterest. Happy baking!
No Bake Vanilla Cheesecake
Pin Recipe
Leave a Review
Ingredients
Graham Cracker Crust
- 2 1/4 cup Graham cracker crumbs, (2 sleeves of crackers fine crumb)
- 1/4 cup Brown sugar, (packed light or dark)
- 10 TBSP Unsalted butter, (melted)
Vanilla Cheesecake
- 24 oz Cream cheese, (room temperature)
- 1/2 cup White granulated sugar
- 1 TBSP Pure vanilla extract
- 1/4 cup Sour cream, (room temperature)
- 1 1/3 cup Heavy cream, (cold)
- 1/3 cup Powdered sugar
Instructions
Graham Cracker Crust
- Spray a 9-inch springform pan with baking nonstick spray. Line the bottom with 9-inch parchment paper circle and spray again.
- Using a food processor, blend the graham crackers into a fine crumb. In a small bowl, combine the crumbs, brown sugar, and melted butter with a fork.
- Pour the crumbs into the pan. Use your hands to press the crumbs halfway up the sides of the pan. Use the bottom of a measuring cup to compact the crust.
- Place in the freezer while you make the cheesecake batter.
Vanilla Cheesecake
- Place a metal bowl with whisk attachments in the freezer for 10 minutes to get really cold.
- Using a mixer, beat the cream cheese on high for 1 minute. Add in the sugar and beat again for 1 minute. Scrape the bowl and add the vanilla and sour cream and mix on medium until smooth.
- Using the cold bowl, beat the heavy cream and powdered sugar on high speed until stiff peaks form.
- Add half of the whipped cream to the cream cheese mixture. Use a rubber spatula and gently fold it in until halfway mixed in. Add the rest of the whipped cream and fold until combined. Be very gentle to not knock out the air from the whipped cream.
- Pour the batter on top of the crust. Cover with aluminum foil and chill in the fridge for at least 6 hours or overnight.
- Remove the pan after the cheesecake chills. Top with your favorite topping before serving.
Notes
Make sure to be gentle when folding in the whipped cream. If you are too rough, it will be like adding 1 1/3 cups of heavy cream to the batter. It will not set!
Be sure to chill the cheesecake overnight so it sets!
Carbohydrates: 24g,
Protein: 4g,
Fat: 31g,
Saturated Fat: 18g,
Polyunsaturated Fat: 1g,
Monounsaturated Fat: 8g,
Trans Fat: 1g,
Cholesterol: 86mg,
Sodium: 220mg,
Potassium: 108mg,
Fiber: 1g,
Sugar: 15g,
Vitamin A: 1104IU,
Vitamin C: 1mg,
Calcium: 72mg,
Iron: 1mg
Did you make this recipe?
Please consider leaving a star rating and review below!
