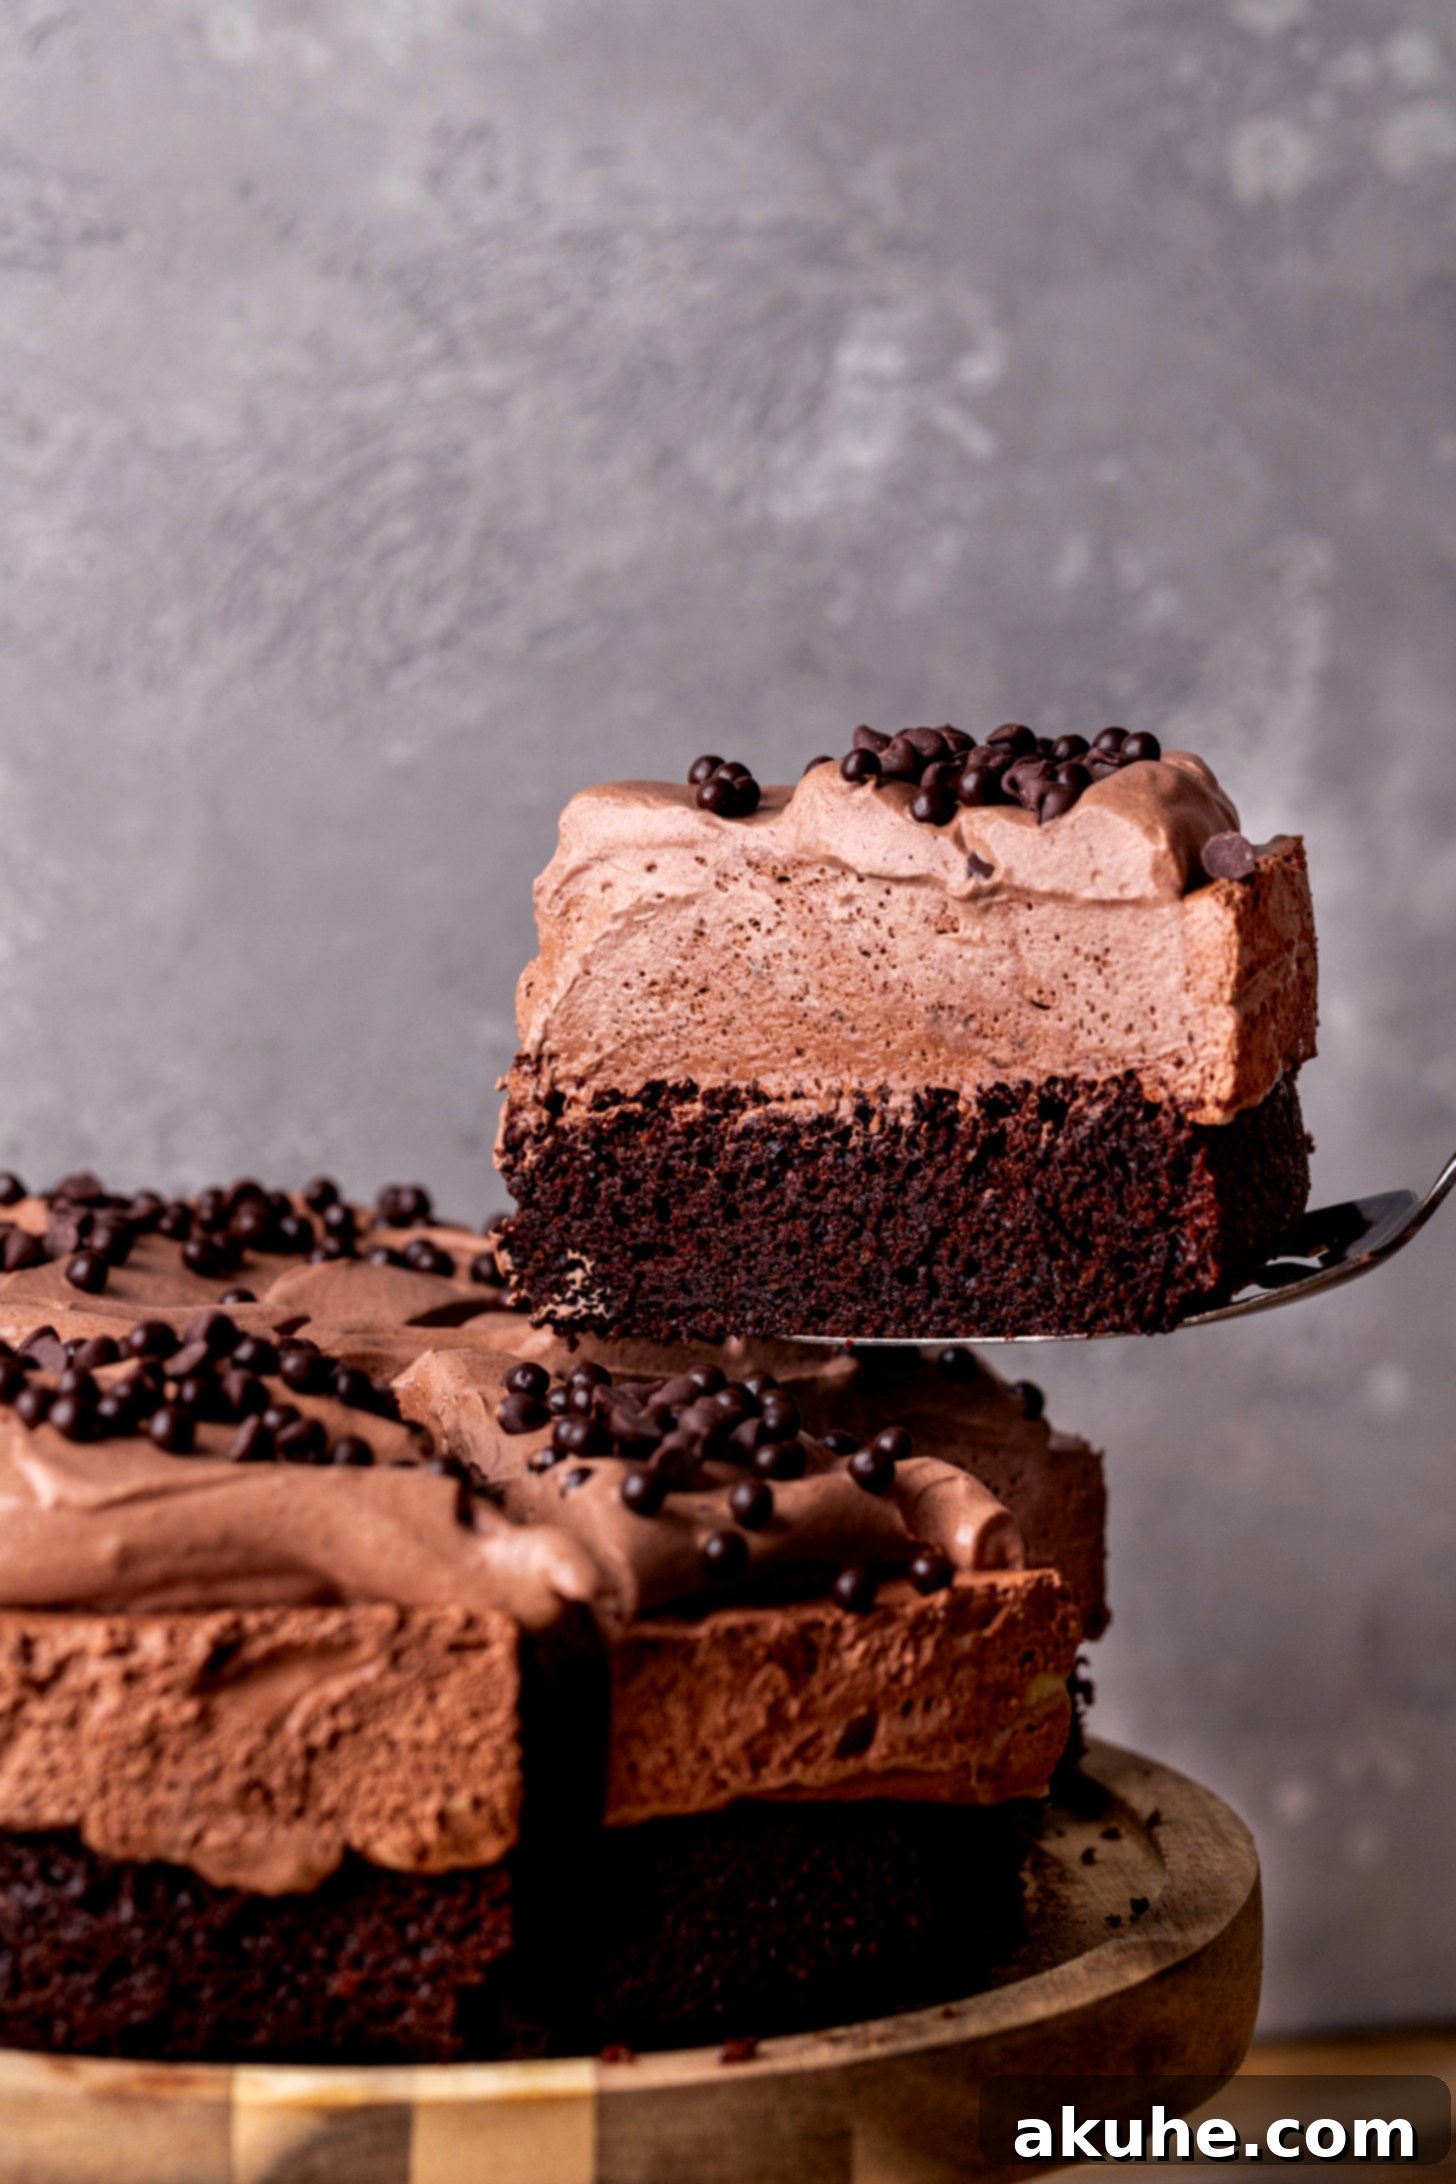
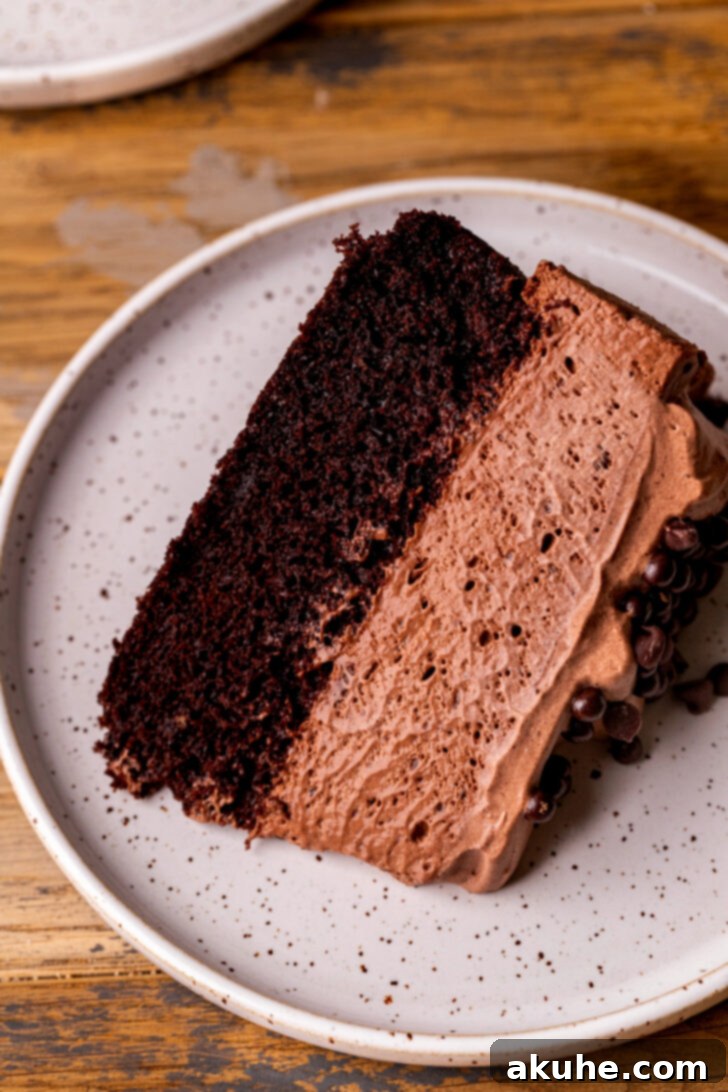
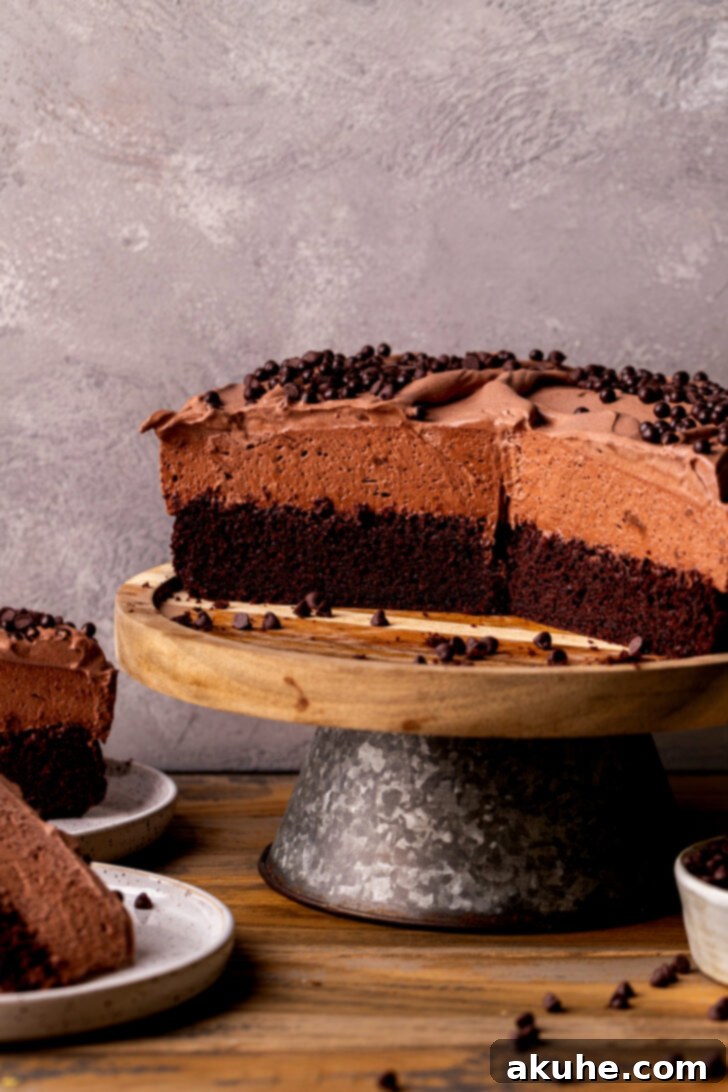
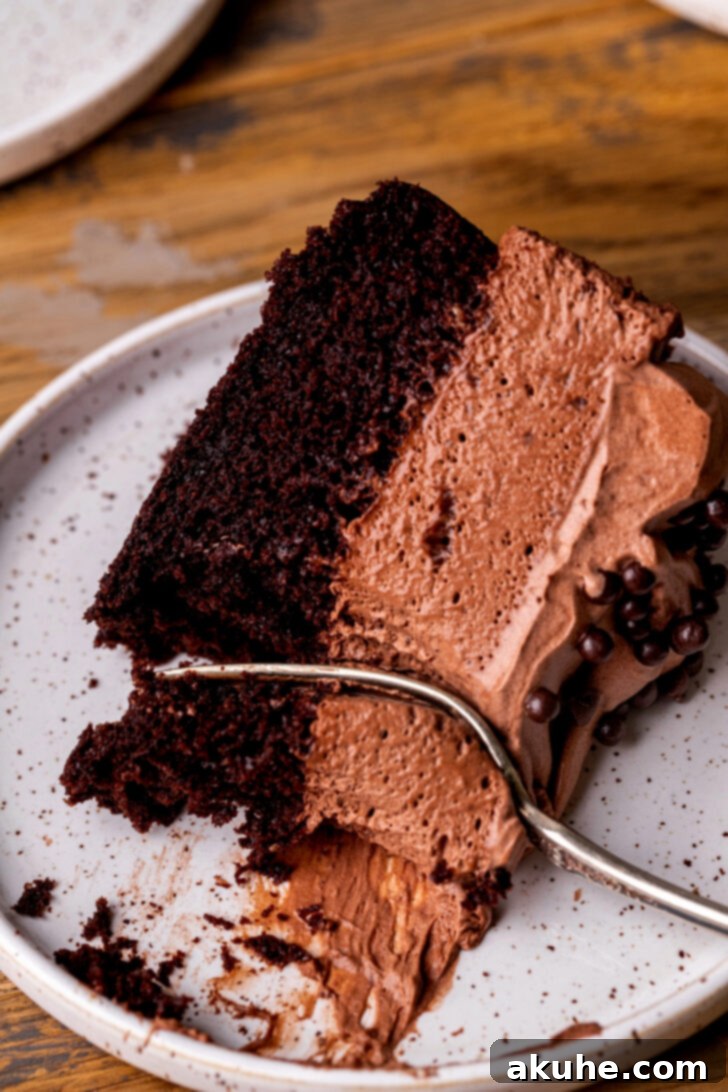
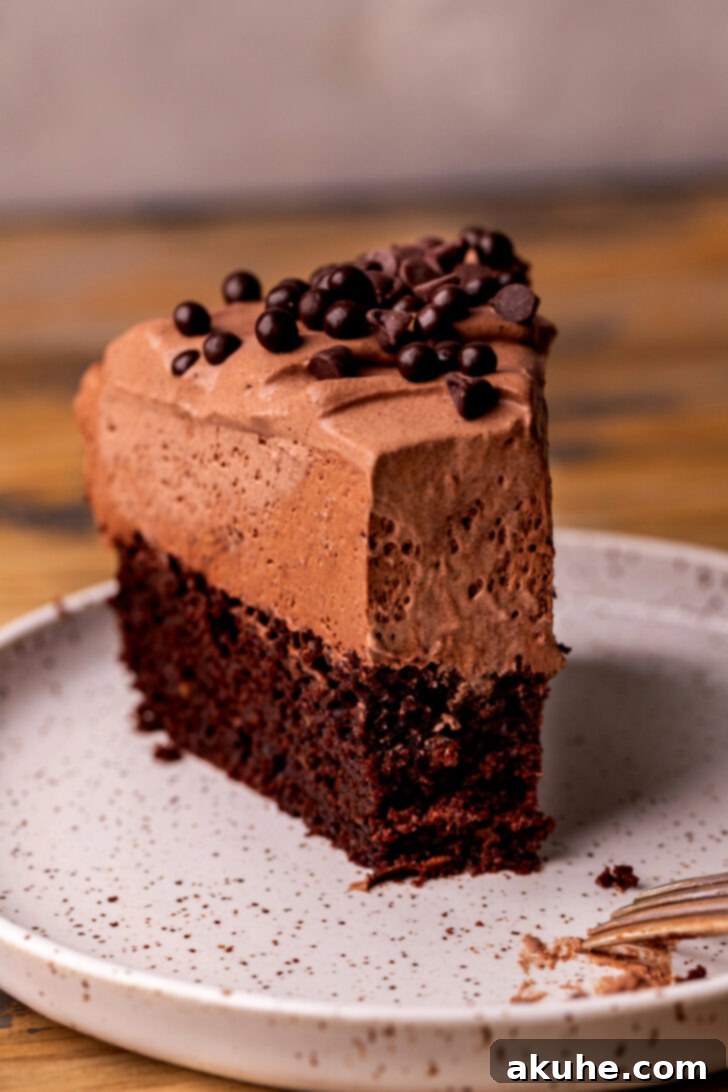
Embark on an extraordinary culinary journey with this **decadent Chocolate Mousse Cake**, a true masterpiece for any chocolate connoisseur. This luxurious dessert isn’t just a cake; it’s an experience, a symphony of textures and flavors that promises to melt in your mouth with every exquisite bite. Imagine: a foundation of rich, incredibly moist chocolate cake, generously topped with a cloud-like layer of fluffy chocolate mousse, and crowned with a delicate, airy chocolate whipped cream. This triple-chocolate sensation is designed to impress, yet surprisingly achievable for the home baker, making it the ultimate showstopper for any special occasion or a delightful treat to elevate an ordinary day.
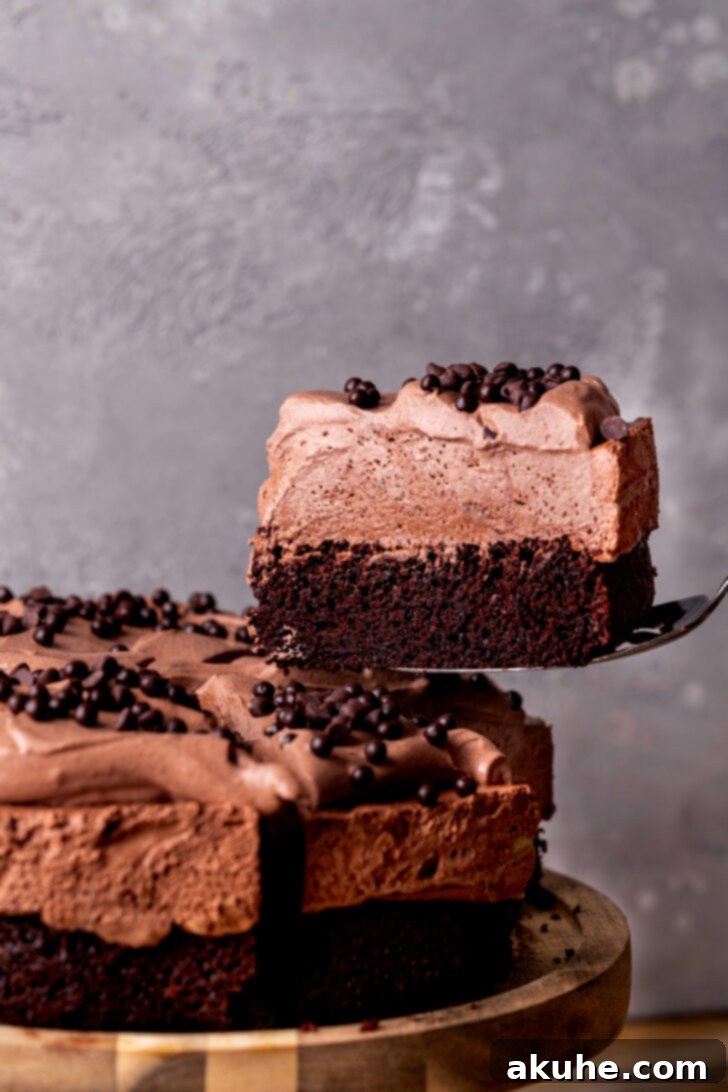
This isn’t merely a dessert; it’s a chocolate lover’s dream brought to life. Each of its three distinct layers delivers an intense, satisfying chocolate flavor. The secret to its incredible ease lies in our simplified chocolate mousse, crafted from a convenient instant chocolate pudding base that cuts down on preparation time without sacrificing an ounce of its luxurious texture or rich taste. Whether you’re a seasoned baker or just starting your journey, our comprehensive guide, complete with essential tips and step-by-step process photos, will empower you to create this magnificent cake with confidence. If you adore light, airy mousse desserts, you’ll also love exploring other creations like our Chocolate Raspberry Mousse Cake for another delightful treat.
Unlocking Perfection: Expert Tips for Your Chocolate Mousse Cake
Achieving a bakery-quality chocolate mousse cake at home is entirely within reach. While the recipe is straightforward, paying attention to a few key details will elevate your results, ensuring your cake is as moist, fluffy, and perfectly set as a professional creation. Follow these crucial tips and insights that will guide you to success:
- Precision in Flour Measurement is Key: The foundation of any great cake is its texture, and proper flour measurement is paramount. Always spoon your all-purpose flour into the measuring cup and then level it off with a straight edge. Dipping the measuring cup directly into the flour bag can compact it, leading to an excess of flour in your batter. Too much flour results in a dense, dry cake, detracting from the moist crumb we’re aiming for. This small step makes a significant difference in the final product’s tenderness.
- Effortless Cake Release with Thorough Pan Preparation: There’s nothing more disheartening than a beautiful cake sticking to its pan. To prevent this, thoroughly spray your springform pan with a high-quality baking nonstick spray. For an extra layer of security, cut a circle of parchment paper to fit the bottom of the pan and place it in. Spray the parchment paper again. This double layer of nonstick protection ensures your cake releases cleanly, preserving its perfect shape. Be meticulous and ensure every inch is covered; even small missed spots can cause tearing, so be thorough.
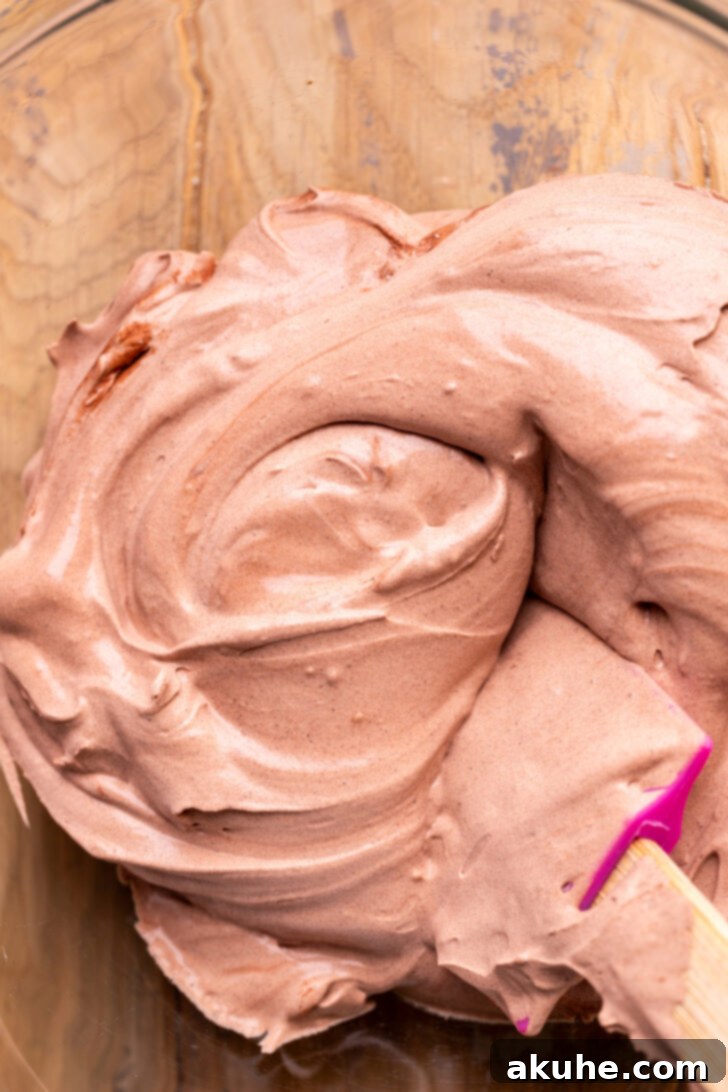
- Mastering the Art of Folding Whipped Cream: The ethereal, fluffy texture of the chocolate mousse relies heavily on the delicate incorporation of whipped cream. This step is often the trickiest, requiring a gentle hand. When folding the whipped cream into the pudding mixture, use a rubber spatula and perform light, upward motions, turning the bowl as you go. Overmixing or being too rough will deflate the whipped cream, causing the mousse to lose its airy structure. If the whipped cream deflates, it will essentially be like adding liquid heavy cream to your pudding, preventing the mousse from setting properly and resulting in a denser, less appealing texture.
- Patience is a Virtue: The Essential Chill Time: A chocolate mousse cake is a dessert that rewards patience. The long chilling time is not merely a suggestion; it’s a critical step for the mousse to properly set and for the flavors to meld beautifully. Rushing this process will result in a runny, unstable mousse layer. Plan to chill your cake for at least 6 hours, or ideally, overnight. This allows the mousse to firm up completely, ensuring clean slices and a truly luxurious mouthfeel. A well-chilled cake is a perfectly set cake.
- Room Temperature Ingredients for Superior Blending: For the most consistent and well-emulsified batter, ensure your dairy ingredients like eggs, buttermilk, and sour cream are at room temperature. Cold ingredients can cause the batter to curdle or become lumpy, preventing a smooth mix and potentially impacting the cake’s texture. Pull them out of the refrigerator about 30-60 minutes before you start baking to allow them to come to temperature.
- Achieving a Smooth Cake Batter: After combining wet and dry ingredients, mix just until no lumps of flour remain. Overmixing can develop the gluten in the flour, leading to a tough and chewy cake. A few small lumps are better than an overmixed batter, as the remaining small lumps will typically dissipate during baking.
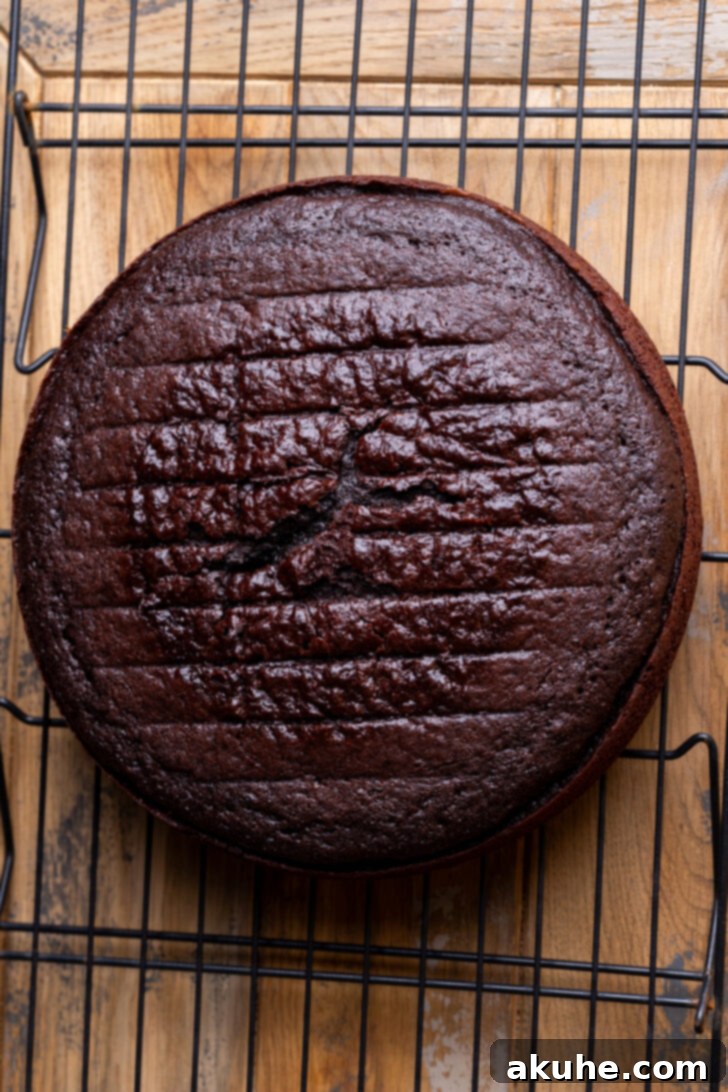
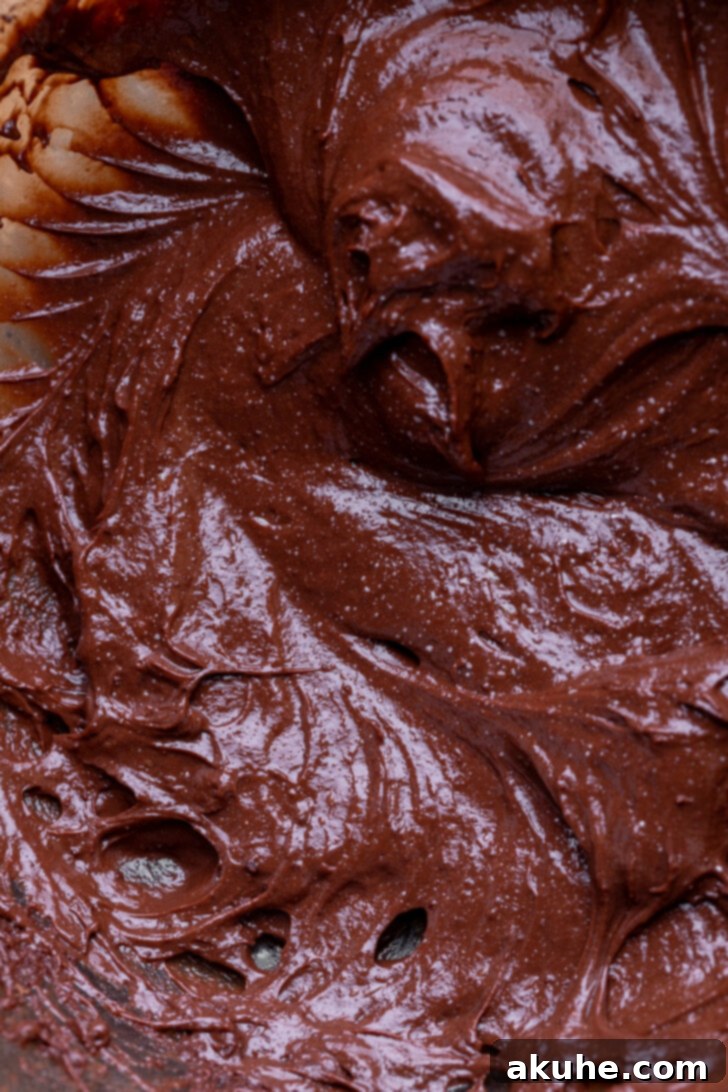
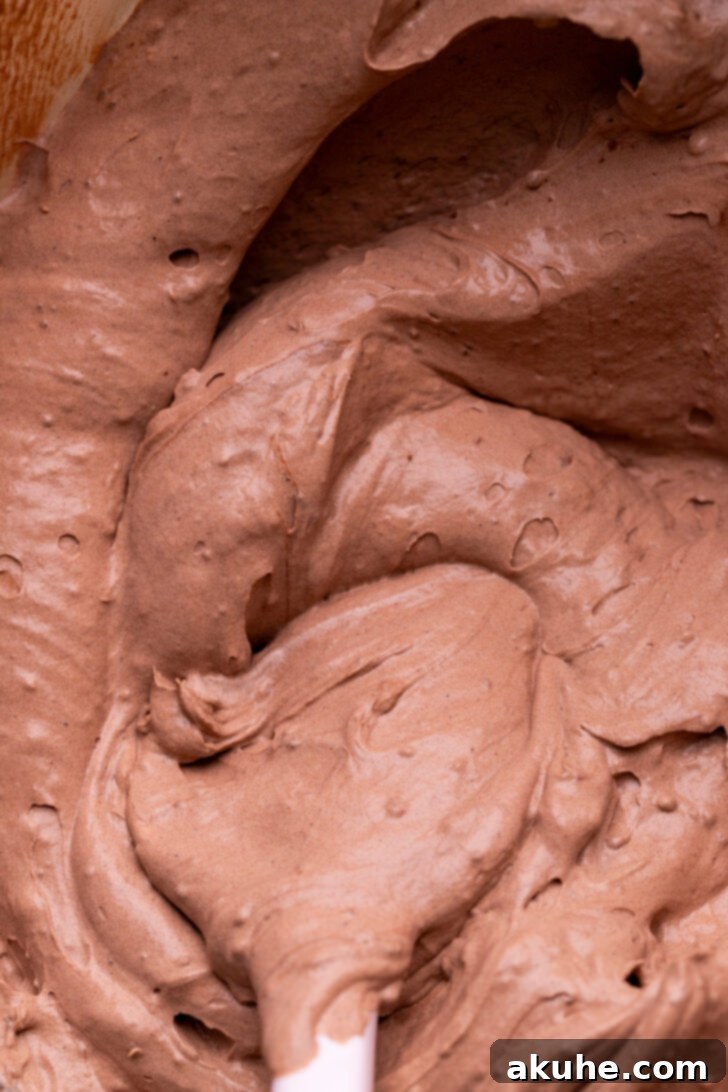
Crafting Your Masterpiece: Assembling the Chocolate Mousse Cake
Once your cake layers are cooled and your mousse is ready, the assembly process brings all the elements together for this show-stopping dessert. Follow these steps carefully to ensure a beautiful and stable finished product that will impress everyone at the table:
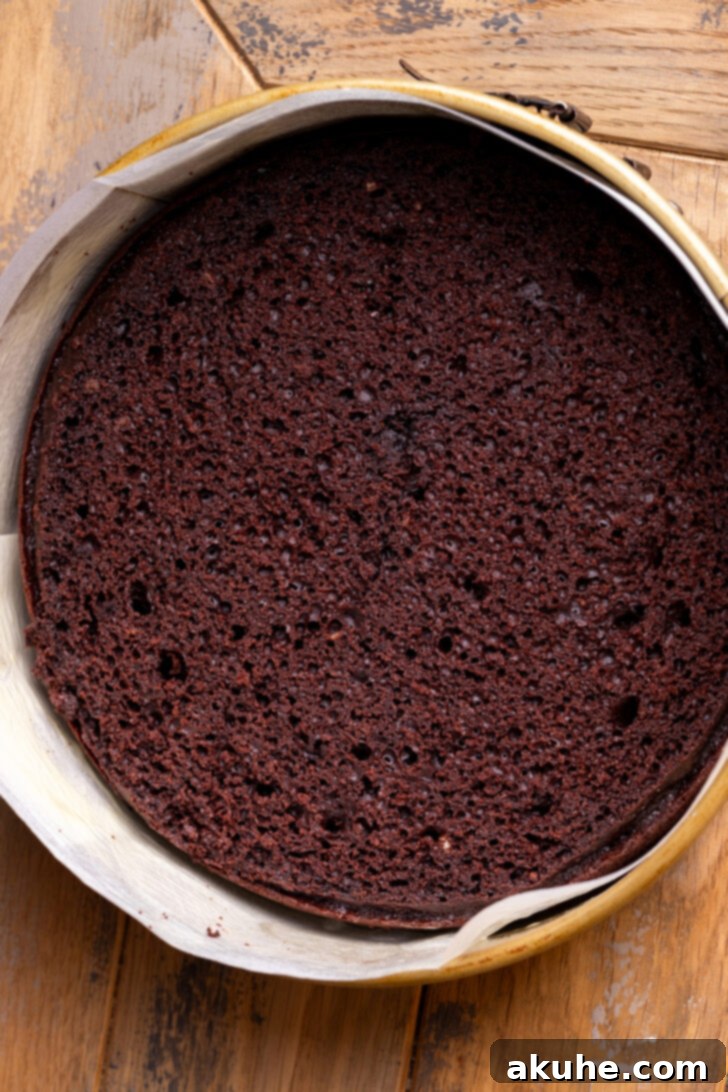
- Preparing the Springform Pan for Mousse: After leveling your chocolate cake, carefully place it back into the clean and freshly sprayed springform pan. For easy removal and a professional finish, line the inner sides of the pan with a sheet of acetate or a strip of parchment paper. This creates a smooth barrier that the mousse won’t stick to, allowing for a pristine presentation when the ring is removed.
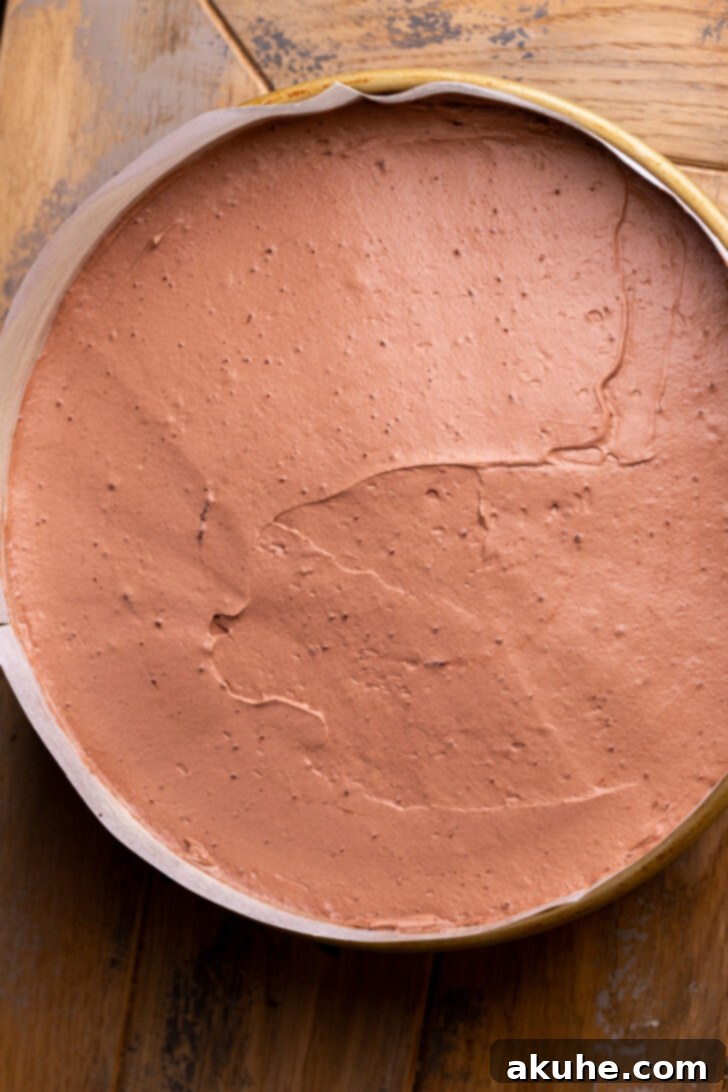
- Layering the Luscious Mousse: Carefully spoon the prepared chocolate mousse mixture over the leveled chocolate cake layer within the springform pan. Use an offset spatula or the back of a spoon to gently spread the mousse evenly across the entire surface, making sure it reaches the edges. Aim for a smooth, consistent layer that will contribute to the cake’s elegant appearance and balanced texture.
- Chilling for Structure and Flavor: This is arguably the most critical step in assembly. Once the mousse layer is smooth, cover the entire springform pan loosely with plastic wrap or aluminum foil. Transfer it to the refrigerator and allow it to chill for a minimum of 6 hours, though overnight chilling is highly recommended. This extended period allows the mousse to fully set, creating a firm and stable layer that will hold its shape beautifully when sliced. It also gives the flavors a chance to fully meld, enhancing the overall taste experience.
- Preparing the Chocolate Whipped Cream: On the day you plan to serve, or after the mousse has fully set, prepare your final layer: the chocolate whipped cream. This light and airy topping provides a perfect contrast to the rich mousse and dense cake. Beat heavy cream, powdered sugar, cocoa powder, and vanilla extract until medium peaks form. Be careful not to overbeat, or the cream will become grainy.
- The Grand Finale: Topping Your Cake: Once the cake is thoroughly chilled and the mousse is firm, gently unlatch and remove the springform pan ring. Carefully peel away the acetate or parchment paper from the sides. Now, generously spread the freshly made chocolate whipped cream over the top of the chilled mousse layer. You can create decorative swirls with an offset spatula or pipe it on for a more elaborate finish. Slice and serve immediately to enjoy its perfect texture.
Storage and Make-Ahead Tips
To keep your Chocolate Mousse Cake tasting fresh and delicious, proper storage is essential. Store any leftover cake in an airtight container in the refrigerator for up to 3-4 days. While it’s best enjoyed fresh, the cake can be prepared a day in advance, allowing the flavors to meld beautifully and the mousse to set perfectly. The chocolate whipped cream, however, is best made and applied just before serving for optimal freshness and texture. If making ahead, keep the cake covered and refrigerated, and whip the cream on the day of your event for the best results.
Frequently Asked Questions (FAQ) About Chocolate Mousse Cake
- Can I use regular cocoa powder instead of unsweetened?
- For this recipe, unsweetened cocoa powder is recommended to achieve the intended rich chocolate flavor and balance the sweetness. If you use sweetened cocoa, you may need to adjust the amount of sugar in the cake and whipped cream layers, but it might alter the overall balance and depth of chocolate flavor.
- What if I don’t have buttermilk?
- You can easily make a buttermilk substitute at home. For 1/2 cup of buttermilk, measure 1/2 cup of regular milk (whole or 2% works best) and stir in 1/2 tablespoon of white vinegar or lemon juice. Let it sit for 5-10 minutes until it slightly curdles. This acidity is crucial for the cake’s tenderness and moist crumb.
- My mousse didn’t set. What went wrong?
- The most common reasons for a mousse not setting are not beating the pudding mix long enough with milk until it thickens sufficiently, or being too aggressive when folding in the whipped cream, causing it to deflate. Ensure the pudding mixture is very thick before adding whipped cream, and fold very gently to maintain the airiness of the whipped cream, then allow adequate chilling time.
- Can I freeze this cake?
- Yes, you can freeze individual slices or the entire cake (without the final whipped cream topping) for up to 1 month. Wrap it tightly in plastic wrap, then aluminum foil, and place it in an airtight container. Thaw overnight in the refrigerator before adding fresh whipped cream and serving.
- Can I make this cake gluten-free?
- While this specific recipe is not gluten-free, you may be able to substitute the all-purpose flour with a 1:1 gluten-free baking flour blend that contains xanthan gum. Ensure your instant pudding mix is also gluten-free. Results may vary slightly in texture.
Craving more exquisite chocolate dessert ideas? Explore our other beloved recipes, including a supremely Moist Chocolate Cake and the intensely rich Chocolate Truffle Cake.
If you adored this recipe, we’d love to hear from you! Please leave astar review and share your delightful creation by tagging us on Instagram @stephaniesweettreats. For endless baking inspiration and more sweet ideas, be sure to follow us on Pinterest.
Recipe Video
For a visual guide to mastering this indulgent Chocolate Mousse Cake, watch our step-by-step recipe video. It covers all the essential techniques, from preparing the moist chocolate cake to perfectly layering the fluffy mousse and whipped cream, ensuring you achieve a flawless dessert every time.
Decadent Chocolate Mousse Cake
This chocolate mousse cake is an incredibly rich and satisfying dessert. It features a triple layer of moist chocolate cake, airy chocolate mousse, and luscious chocolate whipped cream, creating a harmonious blend of textures and deep chocolate flavor.
Print Recipe
Pin Recipe
Leave a Review
16 slices
Ingredients
Chocolate Cake
- 1 cup All-purpose flour
- 2 TBSP Cornstarch
- 1 tsp Baking powder
- 1/2 tsp Baking soda
- 1/2 tsp Salt
- 1/2 cup Unsweetened cocoa powder
- 1/2 cup Oil
- 1/2 cup White granulated sugar
- 1/3 cup Brown sugar, packed light or dark
- 2 Large eggs, room temperature
- 1 tsp Pure vanilla extract
- 1 tsp White vinegar
- 1/2 cup Buttermilk, room temperature
- 1/3 cup Sour cream, room temperature
- 1/2 cup Hot water
Chocolate Pudding Mousse
- 3.9 oz Instant chocolate pudding mix
- 1 cup Milk
- 2 cups Heavy cream
- 3 TBSP Unsweetened cocoa powder
- 1 tsp Pure vanilla extract
Chocolate Whipped Cream
- 1 cup Heavy cream
- 1/4 cup Powdered sugar
- 2 TBSP Unsweetened cocoa powder
- 1 tsp Pure vanilla extract
Instructions
Chocolate Cake
- Preheat the oven to 350℉ (175°C). Spray a 9-inch springform pan with baking spray. Line the bottom with a parchment paper circle and spray again.
- In a large bowl, whisk together the all-purpose flour, cornstarch, baking powder, baking soda, salt, and unsweetened cocoa powder. Set aside.1 cup All-purpose flour, 2 TBSP Cornstarch, 1 tsp Baking powder, 1/2 tsp Baking soda, 1/2 tsp Salt, 1/2 cup Unsweetened cocoa powder
- In a separate medium bowl, combine the oil, white granulated sugar, brown sugar, eggs, pure vanilla extract, white vinegar, buttermilk, and sour cream. Whisk until fully combined and smooth. Gradually mix in the hot water.1/2 cup Oil, 1/2 cup White granulated sugar, 1/3 cup Brown sugar, 2 Large eggs, 1 tsp Pure vanilla extract, 1 tsp White vinegar, 1/2 cup Buttermilk, 1/3 cup Sour cream, 1/2 cup Hot water
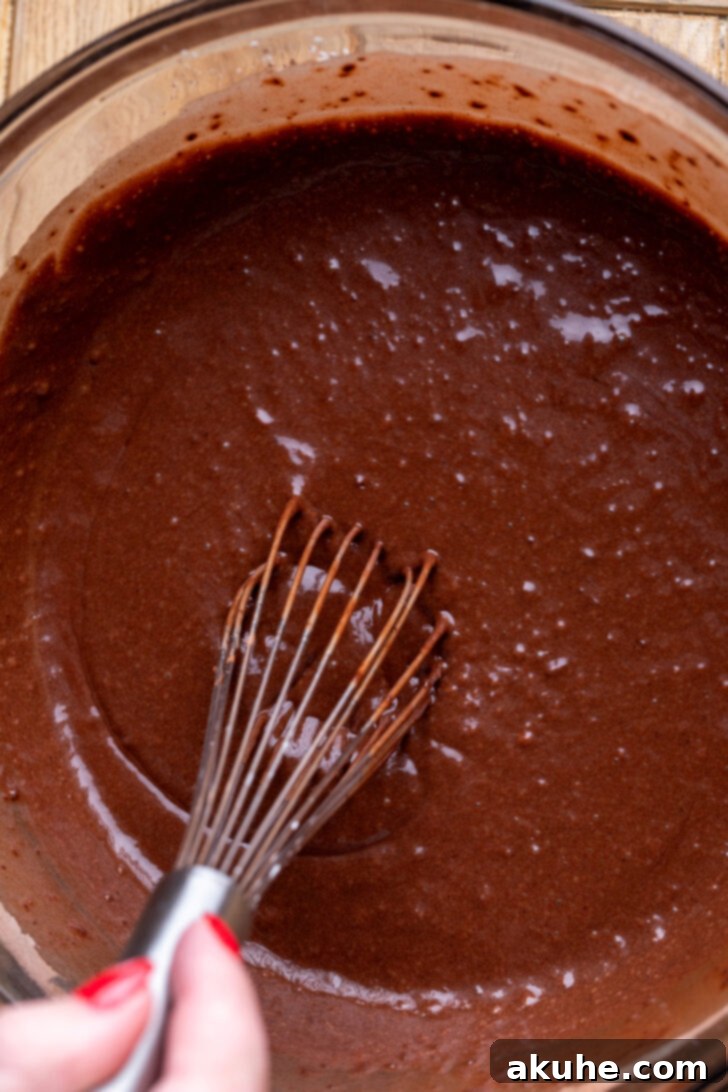
- Pour the wet ingredients mixture into the dry ingredients. Mix gently with a whisk or spatula until just combined and no lumps of flour remain. Be careful not to overmix.
- Pour the cake batter evenly into the prepared springform pan. Bake for 33-36 minutes, or until a wooden skewer or toothpick inserted into the center comes out clean with no wet batter.
- Allow the baked cake to cool in the hot pan for 10 minutes before carefully transferring it to a wire rack to cool completely. Ensure the cake is fully cooled before proceeding with assembly.
Chocolate Pudding Mousse
- In a large bowl, combine the instant chocolate pudding mix and milk. Beat with an electric mixer on high speed for 2 minutes until the mixture thickens. Set aside to firm up slightly.3.9 oz Instant chocolate pudding mix, 1 cup Milk
- In a separate chilled metal bowl (or a regular bowl that’s been in the freezer for 10-15 minutes), beat the heavy cream, unsweetened cocoa powder, and pure vanilla extract using a stand mixer or hand mixer. Beat until stiff peaks form, being careful not to overbeat.2 cups Heavy cream, 3 TBSP Unsweetened cocoa powder, 1 tsp Pure vanilla extract
- Gently add the beaten chocolate whipped cream to the prepared pudding mixture. Using a rubber spatula, carefully fold the two mixtures together until just combined and uniformly colored, being mindful not to deflate the whipped cream.
- Once the chocolate cake is completely cool, use a serrated knife to carefully level the top, removing any dome. Place the leveled cake back into the clean 9-inch springform pan (ensure it’s clean and sprayed with baking spray again!). Line the inner sides of the cake and pan with a sheet of acetate or a strip of parchment paper for a neat finish.
- Carefully spread the prepared chocolate mousse on top of the cake layer. Use an offset spatula to spread it evenly and smoothly across the surface.
- Cover the springform pan loosely with aluminum foil or plastic wrap. Place the cake in the refrigerator for at least 6 hours, or preferably overnight, to allow the mousse to set completely.
Chocolate Whipped Cream
- Just before serving (or after the cake has chilled), in a chilled metal bowl, beat the heavy cream, powdered sugar, unsweetened cocoa powder, and pure vanilla extract using an electric mixer until medium peaks form.1 cup Heavy cream, 1/4 cup Powdered sugar, 2 TBSP Unsweetened cocoa powder, 1 tsp Pure vanilla extract
- Carefully remove the springform pan ring from the chilled cake. Gently peel away the acetate or parchment paper from the sides. Top the cake generously with the freshly made chocolate whipped cream, spreading it evenly or piping it decoratively. Slice and serve immediately.
Notes
Flour Measurement: Always spoon and level your all-purpose flour into the measuring cup, or for best accuracy, use a kitchen scale. Compacted flour can lead to a dry cake.
High Altitude Baking: If you are baking at high altitude, consider adding an extra 1 tablespoon of all-purpose flour to your dry ingredients to help stabilize the cake structure.
Ingredient Temperature: For optimal results, ensure all dairy ingredients (eggs, buttermilk, sour cream) are at room temperature approximately 30-60 minutes before you begin mixing your cake batter.
Nutrition Information (per slice, approximately):
- Calories: 349kcal
- Carbohydrates: 31g
- Protein: 4g
- Fat: 26g
- Saturated Fat: 12g
- Polyunsaturated Fat: 3g
- Monounsaturated Fat: 9g
- Trans Fat: 0.03g
- Cholesterol: 56mg
- Sodium: 262mg
- Potassium: 178mg
- Fiber: 2g
- Sugar: 18g
- Vitamin A: 723IU
- Vitamin C: 0.3mg
- Calcium: 88mg
- Iron: 1mg
Did you make this recipe?
Please leave a star rating and review below!
