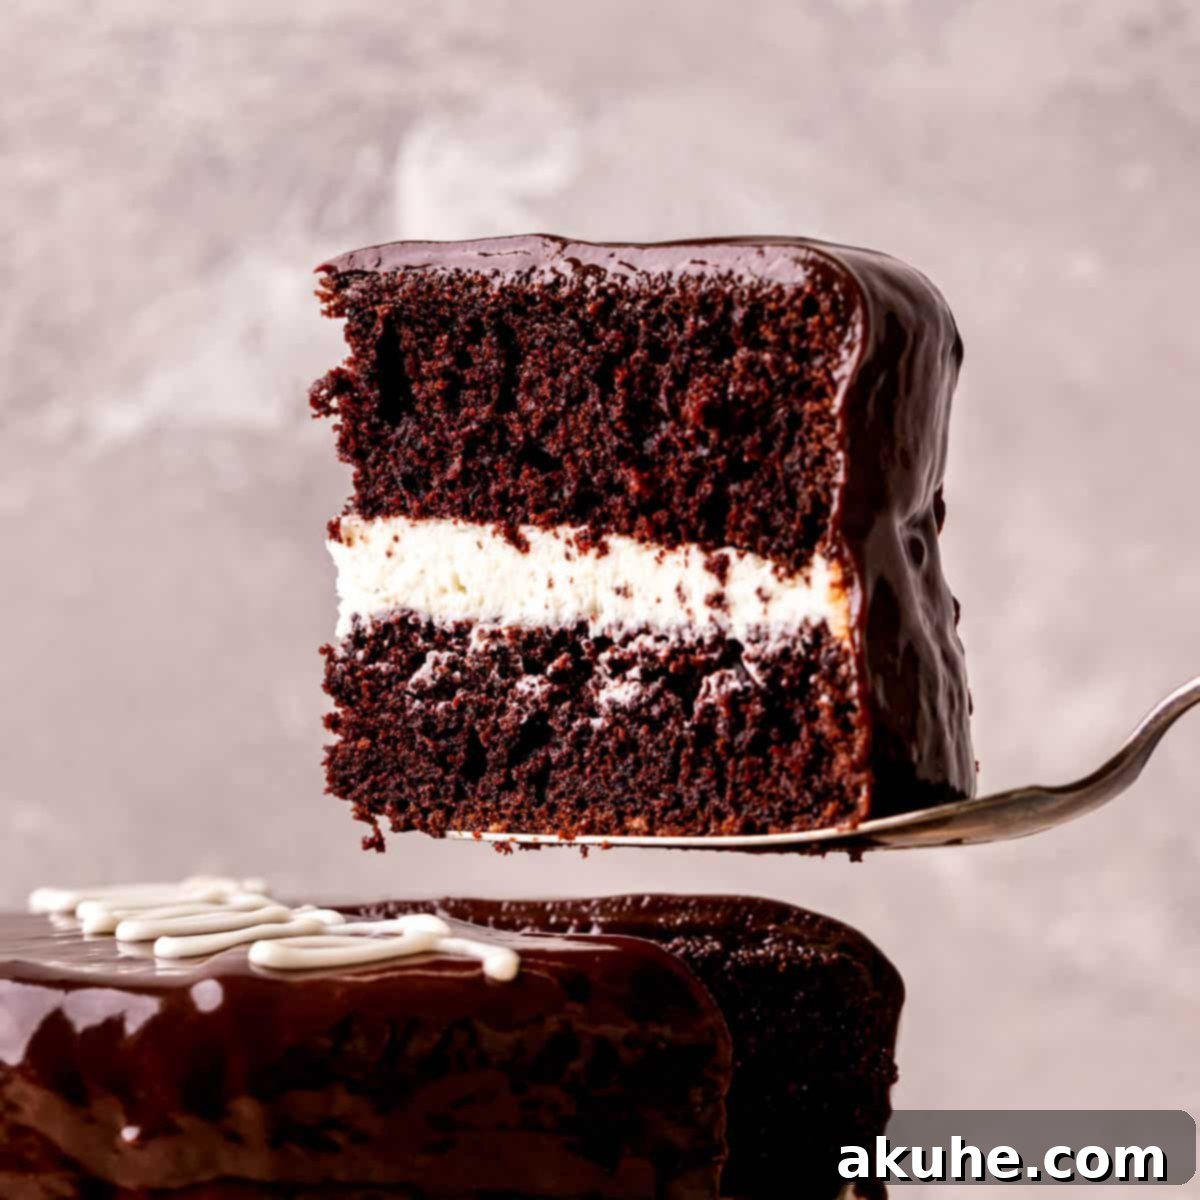
Homemade Ding Dong Cake: A Giant Twist on a Classic Treat
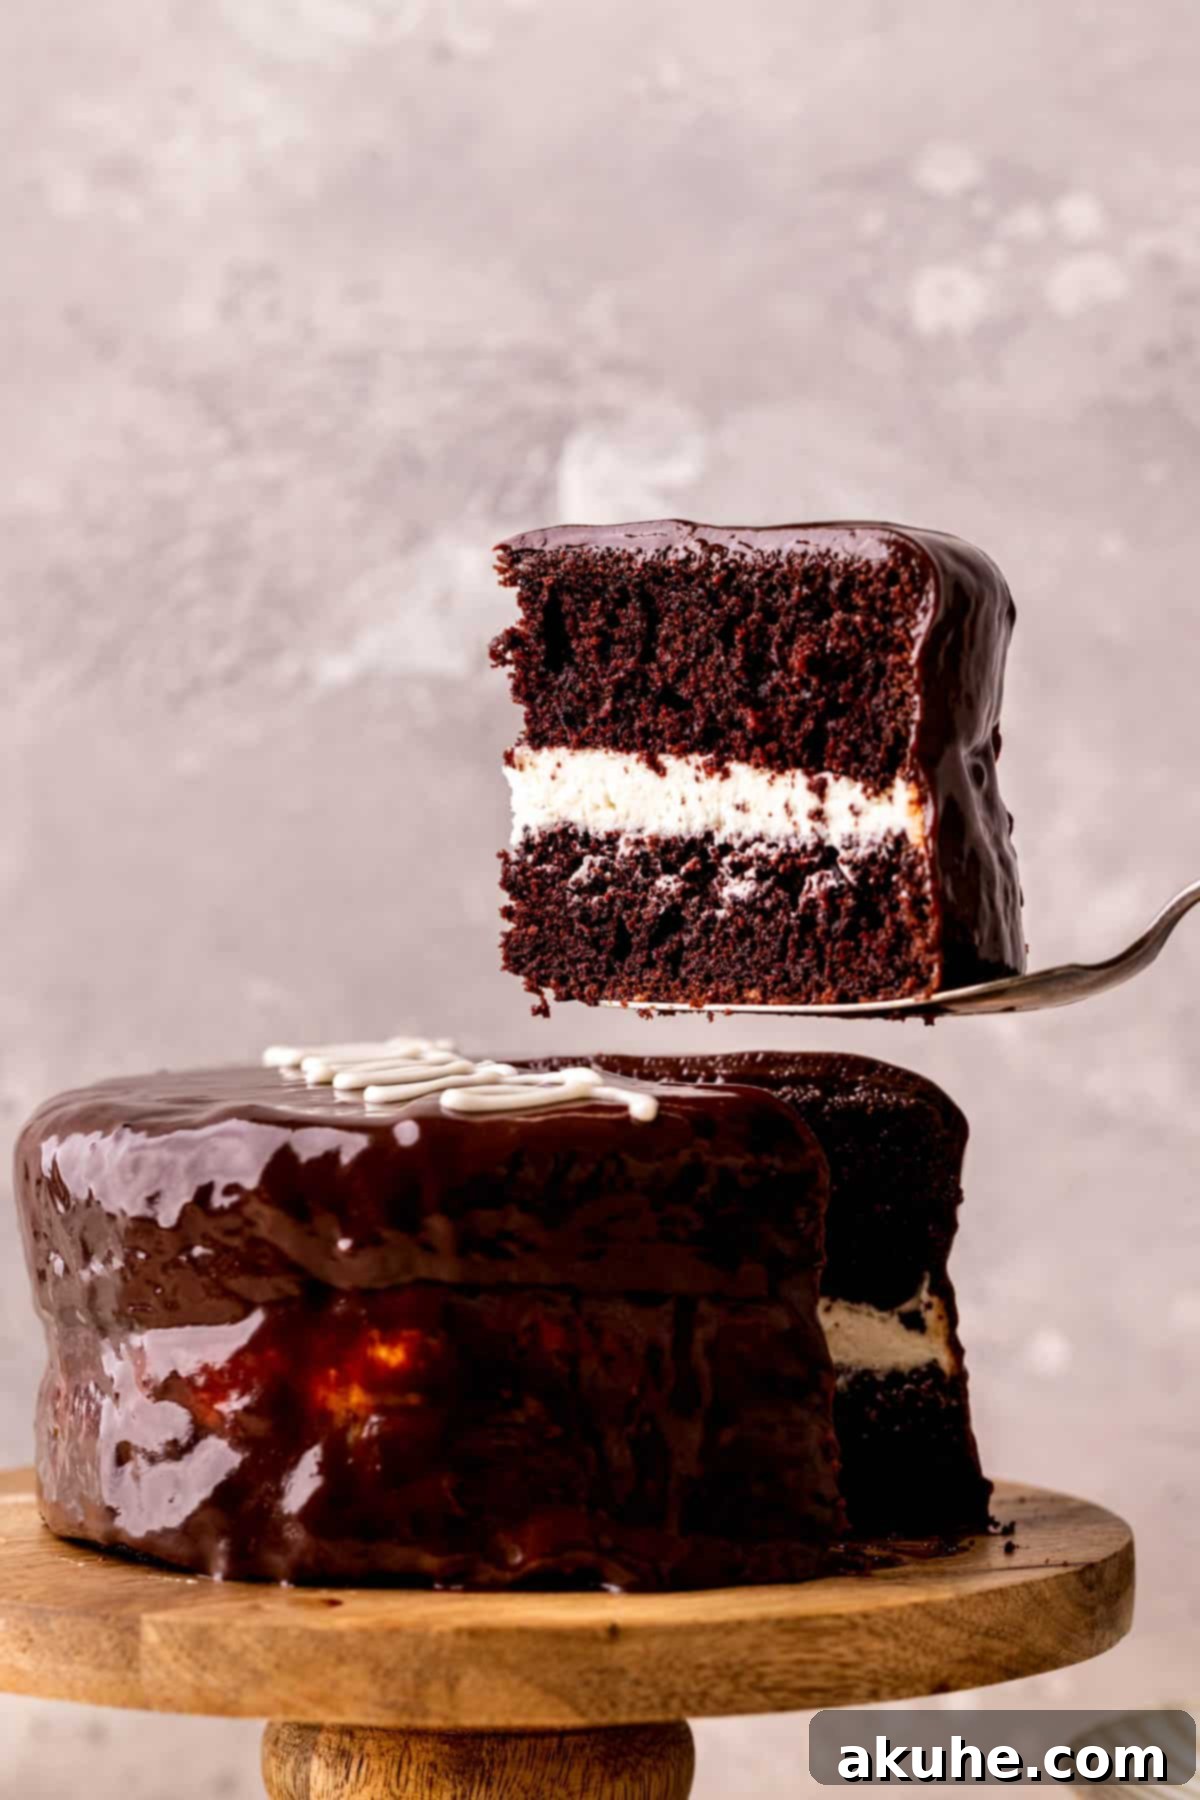
Indulge your nostalgia with this magnificent homemade Ding Dong cake, a grander, more decadent version of the iconic Hostess snack cake you remember. This isn’t just a dessert; it’s an experience, bringing together two layers of exceptionally moist chocolate cake, a luscious, fluffy cream center, and a glistening chocolate ganache topping. Every bite offers the familiar, beloved flavors of a classic Ding Dong, elevated to gourmet status through the magic of homemade baking. Forget those individually wrapped treats; this cake delivers all the charm and deliciousness in an impressive, shareable centerpiece. It truly is the ultimate chocolate lover’s dream, perfect for birthdays, special occasions, or simply a delightful weekend baking project.
What sets this homemade Ding Dong cake apart is its commitment to fresh, quality ingredients and a texture that far surpasses its commercial inspiration. The chocolate cake is incredibly rich and tender, while the cream filling is light, airy, and bursting with fresh vanilla flavor, a stark contrast to the often artificial taste of store-bought versions. The glossy chocolate ganache provides the perfect finishing touch, adding an extra layer of chocolatey goodness and that signature smooth, rich coating. This recipe captures the essence of a large Ding Dong, presenting a dessert that looks stunning and tastes even better – a true celebration of chocolate and cream.
If you enjoy creating delightful smaller cakes, explore these fantastic recipes: Mini Chocolate Cake, Mini Vanilla Cake, and Mini Carrot Cake.
Why This Homemade Ding Dong Cake Recipe is a Must-Try
There are countless reasons why this particular Ding Dong cake recipe stands out and guarantees a baking success that will impress everyone at the table. It’s more than just a copycat; it’s an improvement, designed to deliver superior taste and texture.
- A Superior Ding Dong Experience: This recipe takes everything wonderful about a classic Ding Dong and enhances it. You get that irresistible combination of deep chocolate cake and a cloud-like cream filling, but with flavors that are richer, fresher, and more authentic. The homemade approach allows for higher quality ingredients, resulting in a cake that feels gourmet yet comforting.
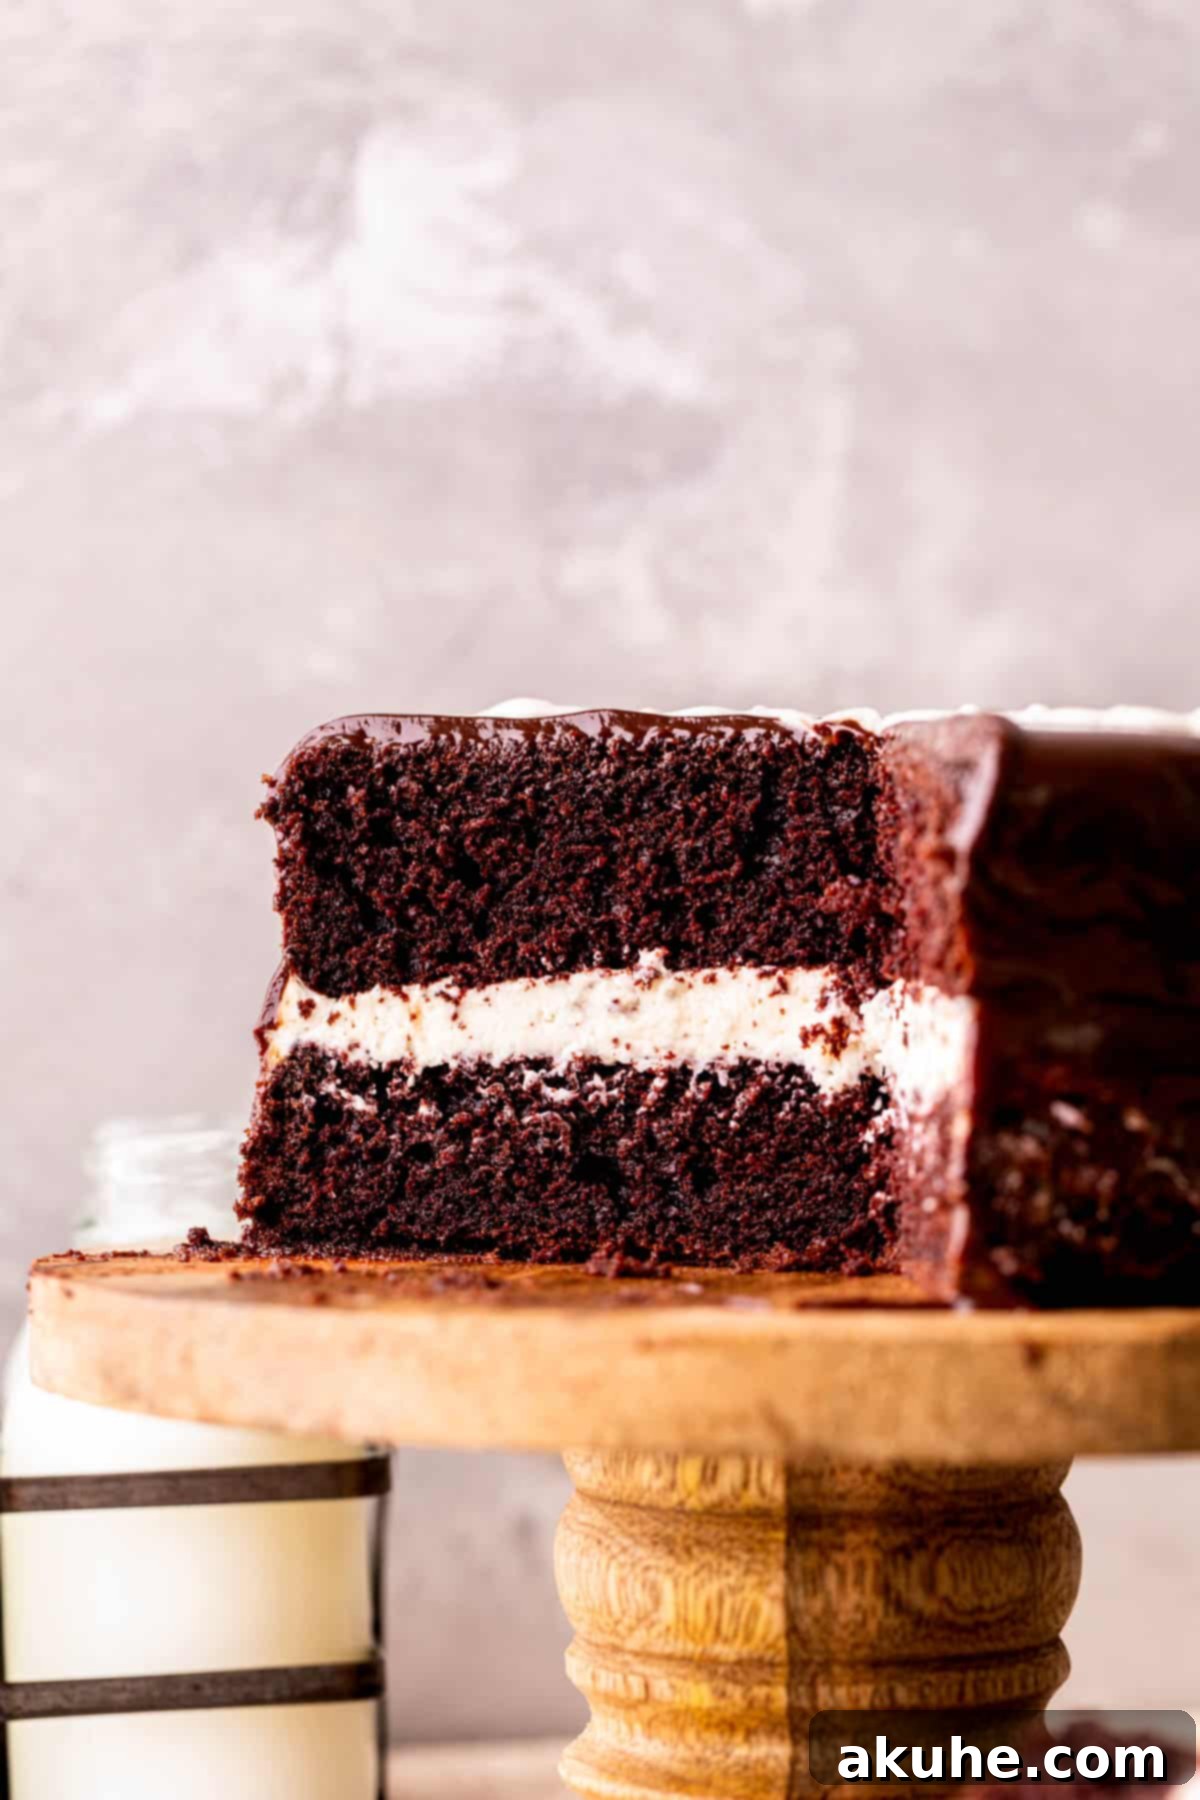
- Unmatched Texture Perfection: Prepare for a cake that boasts an incredibly moist and tender crumb. Unlike some store-bought cakes that can be dry or crumbly, our Ding Dong cake layers are baked to perfection, ensuring a delightful mouthfeel that melts in your mouth with every forkful.
- Velvety, Fresh Cream Filling: The heart of any Ding Dong is its cream filling, and this recipe delivers a homemade version that is truly exceptional. It mimics the beloved texture of the original – light and fluffy – but with a freshness and a pure vanilla flavor that you can only achieve from scratch. It’s sweet without being cloying, providing the perfect balance to the rich chocolate cake.
- Visually Stunning Presentation: Beyond its incredible taste, this Ding Dong cake is a feast for the eyes. With its defined layers, creamy white filling, and glossy chocolate ganache, it presents beautifully, making it an ideal centerpiece for any gathering. Adding the iconic Hostess swirl is the ultimate touch of nostalgic charm.
- A Delightful Baking Project: While impressive, this cake is also incredibly fun to make. Following the step-by-step instructions, even novice bakers can achieve a professional-looking and tasting result. There’s immense satisfaction in creating such a beloved treat from scratch.
Essential Ingredient Insights for Your Ding Dong Cake
Understanding the role of each ingredient is key to achieving the best possible results for your homemade Ding Dong cake. Here are some detailed notes to guide you. For a comprehensive list of quantities, please refer to the recipe card below.
- Unsweetened Cocoa Powder: For an intensely rich and deep chocolate flavor that truly elevates this cake, I highly recommend using Dutch-processed cocoa powder. Its alkalized nature reduces acidity, resulting in a smoother, less bitter chocolate taste and a darker color. This is an excellent option for achieving that desired richness.
- Oil (Canola, Vegetable, or Light Olive Oil): The use of oil in this chocolate cake recipe contributes significantly to its moistness and tender crumb. Unlike butter, which can make cakes denser, oil creates a lighter, softer texture. Choose a neutral-flavored oil like canola or vegetable oil to ensure the chocolate flavor remains front and center. A light olive oil can also be used, but ensure it doesn’t have too strong a flavor.
- Eggs (Large, Room Temperature): Bringing your large eggs to room temperature at least 2 hours before baking is a small but crucial step. Room temperature eggs emulsify more effectively with other ingredients, creating a smoother, more uniform batter. This leads to a better rise and a more consistent cake texture.
- Buttermilk (Full-Fat or Reduced-Fat, Room Temperature): Buttermilk is a secret weapon in chocolate cakes. Its acidity reacts with the baking soda, helping the cake to rise and creating an incredibly tender, moist crumb. Always use room temperature buttermilk for optimal emulsification. If you don’t have buttermilk, a simple substitution can be made (see “Ingredient Substitutions”).
- Hot Water (Steaming, or Hot Coffee): This ingredient is essential for “blooming” the cocoa powder. Adding steaming hot water (or hot coffee, which enhances chocolate flavor even further) to the cocoa powder intensifies its flavor and creates a deeper, richer chocolate presence in the cake. Be careful when adding it to the wet ingredients to avoid cooking the eggs.
- Semi-Sweet Chocolate Chips: For the ganache, semi-sweet chocolate chips are the ideal choice. Milk chocolate can be overly sweet, overpowering the delicate balance of the cake and filling. Semi-sweet chocolate provides a robust chocolate flavor that pairs perfectly with the creamy filling without being cloying.
- Milk (Any Kind): For the cream filling, you can use any type of milk you prefer, whether it’s whole milk, 2%, or even a dairy-free alternative. The key is its role in creating the thick, pudding-like base for the fluffy cream filling.
Smart Ingredient Substitutions and Adaptations
While this recipe is crafted for optimal results, a few substitutions can be made if needed, allowing for dietary considerations or simply what you have on hand.
- Dairy-Free Option: This recipe can easily be adapted for dairy-free diets. Simply swap out buttermilk for a dairy-free alternative like unsweetened almond milk or oat milk (with a tablespoon of vinegar or lemon juice to mimic buttermilk). For the cream filling, use a full-fat canned coconut milk (refrigerated overnight, scoop out the thick cream) or a high-quality dairy-free milk. Ensure your chocolate chips for the ganache are also dairy-free.
- Gluten-Free Version: I have not personally tested this recipe with gluten-free flour. However, many readers have success substituting all-purpose flour with a 1:1 gluten-free baking blend that contains xanthan gum. If you try this, please share your results! Adjustments to liquid might be necessary.
- Buttermilk Substitute: If you don’t have buttermilk on hand, you can easily make your own. Combine 1 cup of regular milk (dairy or non-dairy) with 1 tablespoon of white vinegar or lemon juice. Stir gently and let it sit for 10 minutes. The milk will curdle slightly, mimicking the acidity of buttermilk. Note: The recipe calls for 1/2 cup of buttermilk, so you’d use 1/2 cup of your homemade substitute.
- Coffee for Hot Water: As mentioned, substituting hot coffee for hot water in the chocolate cake layers will deepen the chocolate flavor without adding a coffee taste. It’s a fantastic trick to make your chocolate cake even more robust.
Step-by-Step Instructions: Creating the Perfect Chocolate Cake Layers
Building the foundation of your homemade Ding Dong cake begins with baking two perfectly moist and flavorful chocolate cake layers. Follow these instructions carefully for the best results.
- Prepare for Baking: Begin by preheating your oven to a precise 350°F (175°C). Take two 6-inch round cake pans and generously spray them with baking spray. To ensure your cakes release effortlessly, line the bottoms of the pans with parchment paper circles cut to size, then spray the parchment paper again. This double-layer of protection is key to preventing sticking.
- Combine Dry Ingredients: In a medium-sized mixing bowl, sift together the all-purpose flour, unsweetened cocoa powder, baking soda, baking powder, and salt. Sifting is crucial for preventing lumps and ensuring a light, airy cake. Once sifted, add the white granulated sugar and whisk everything together until thoroughly combined. Set this bowl aside.
- Prepare Wet Ingredients: Next, heat your water on the stovetop until it’s visibly steaming, but not vigorously boiling. In a separate large bowl, combine the room temperature large eggs, oil, pure vanilla extract, and room temperature buttermilk. With your mixer running on a low speed, slowly and gradually pour the steaming hot water into the wet ingredients. It’s important to pour slowly and continuously mix to prevent the eggs from cooking and scrambling.
- Gently Combine: Now, add the wet ingredient mixture to the bowl containing your dry ingredients. Using a whisk or a rubber spatula, gently mix the batter until it is just combined. Be extremely careful not to overmix; overmixing can develop the gluten in the flour too much, leading to a dense and tough cake. Stop mixing as soon as no dry streaks of flour are visible.
- Divide and Distribute: Carefully pour the prepared cake batter evenly into the two greased and lined 6-inch cake pans. You can use a kitchen scale for precision to ensure both layers are exactly the same size.
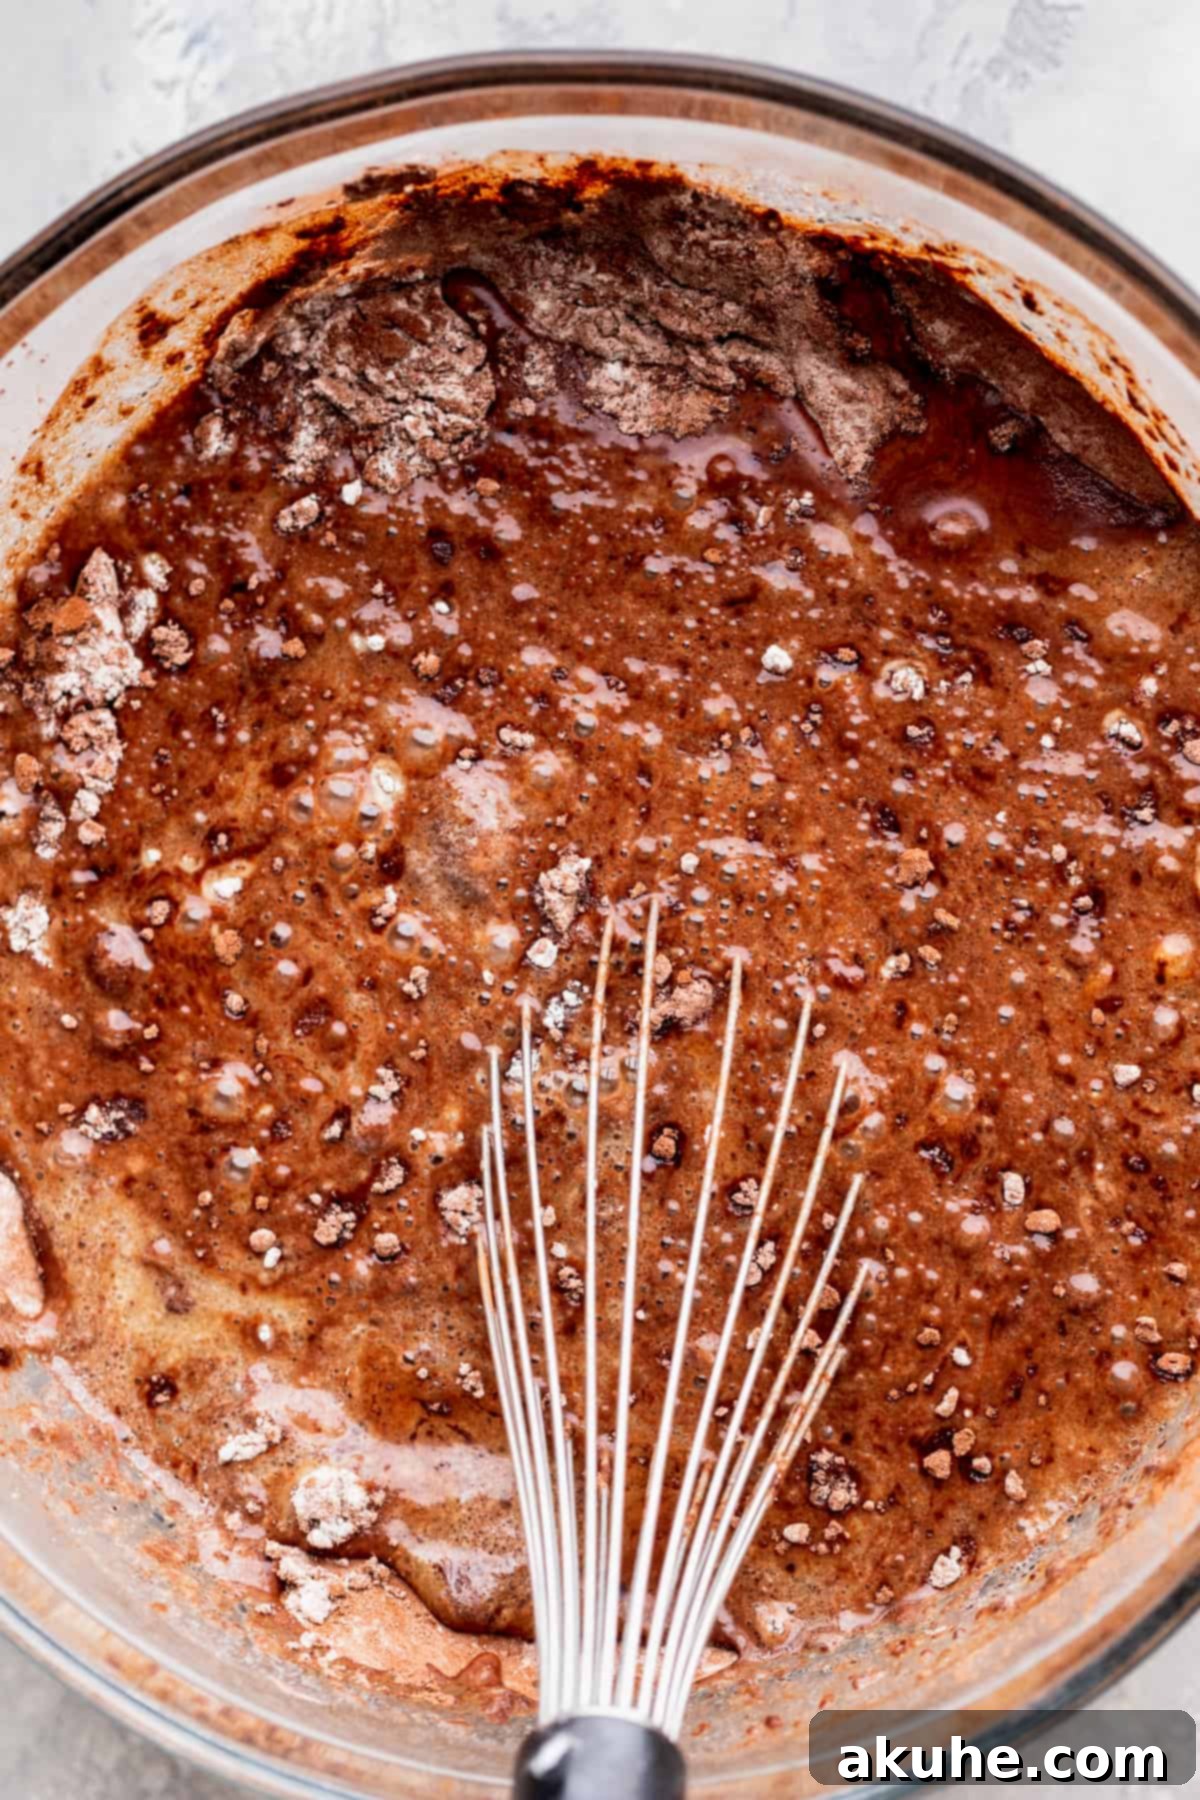
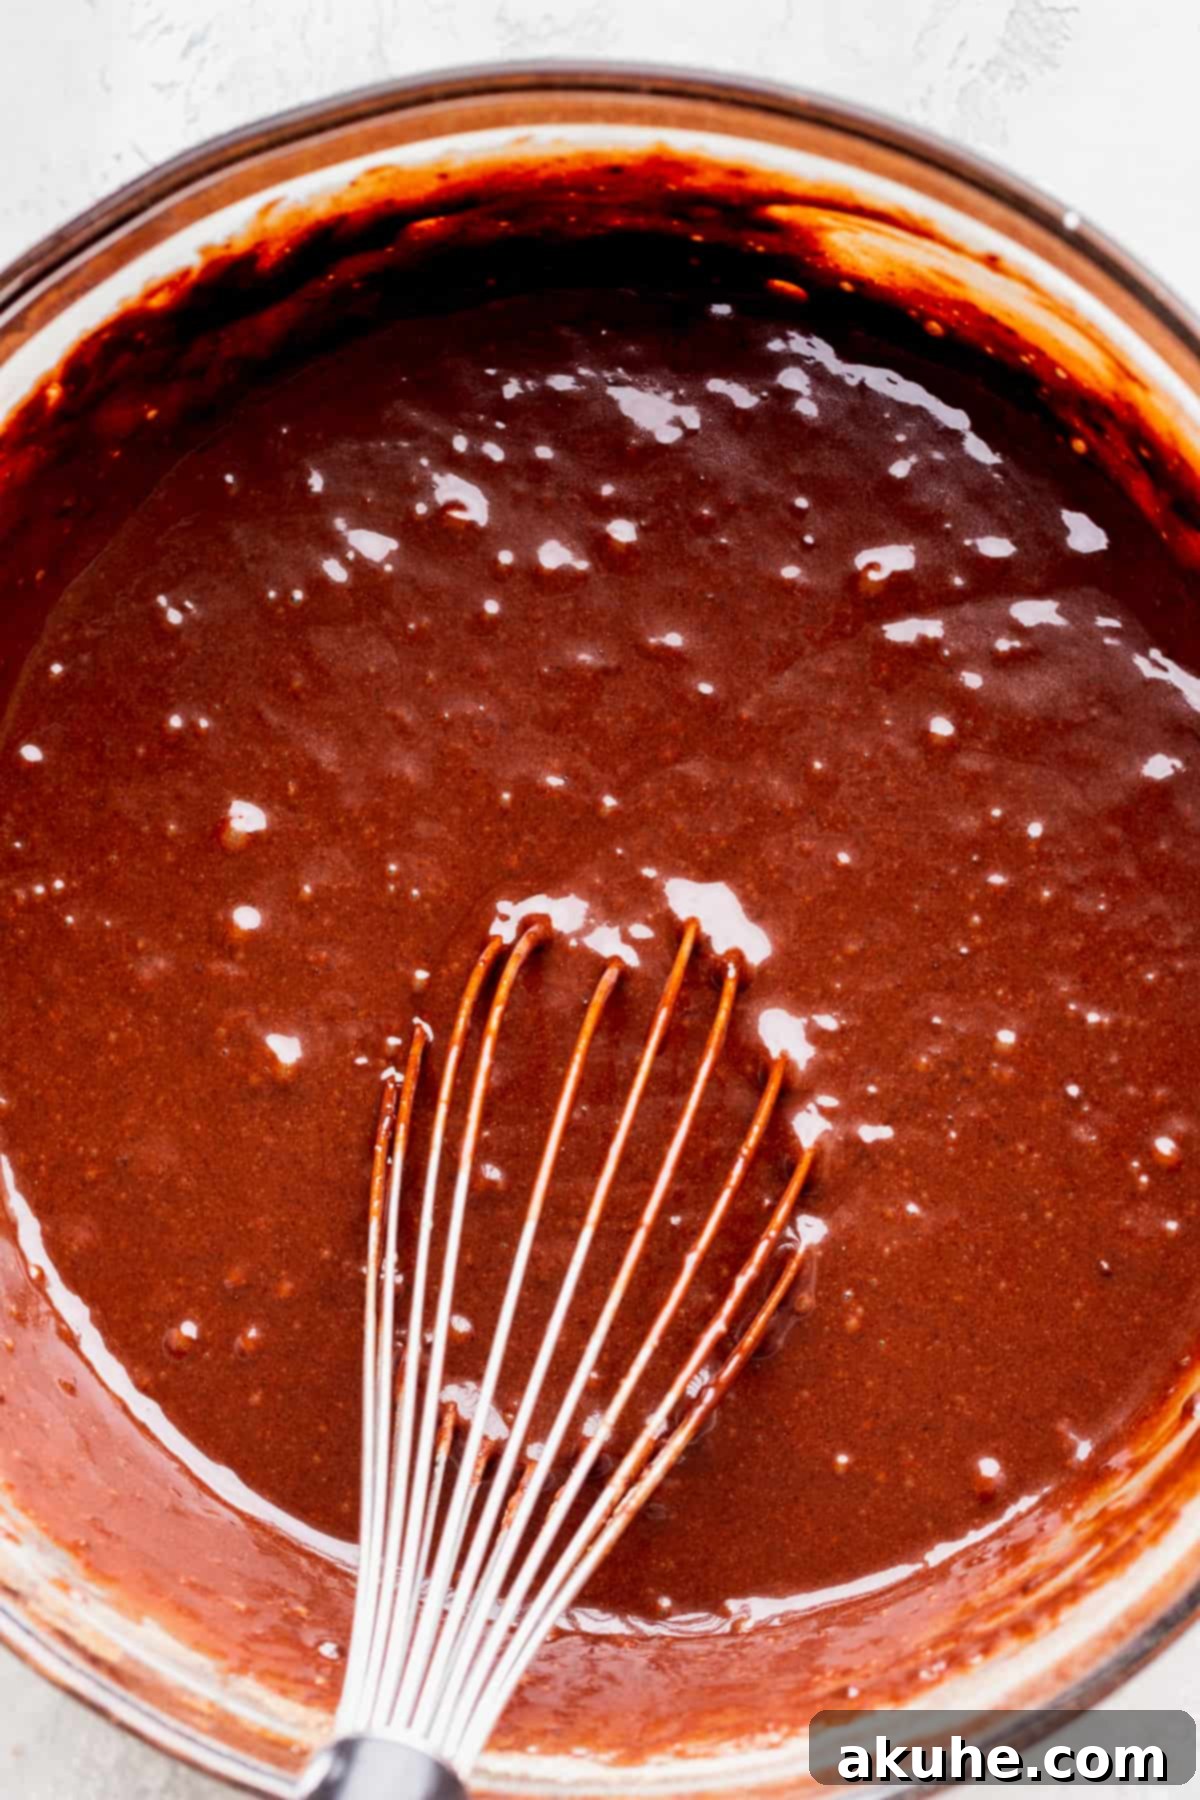
- Bake to Perfection: Place the cake pans into your preheated oven and bake for approximately 25-28 minutes. The cakes are done when a wooden toothpick or cake tester inserted into the center comes out clean or with a few moist crumbs attached, but no wet batter. Avoid opening the oven door too early, as this can cause the cakes to sink.
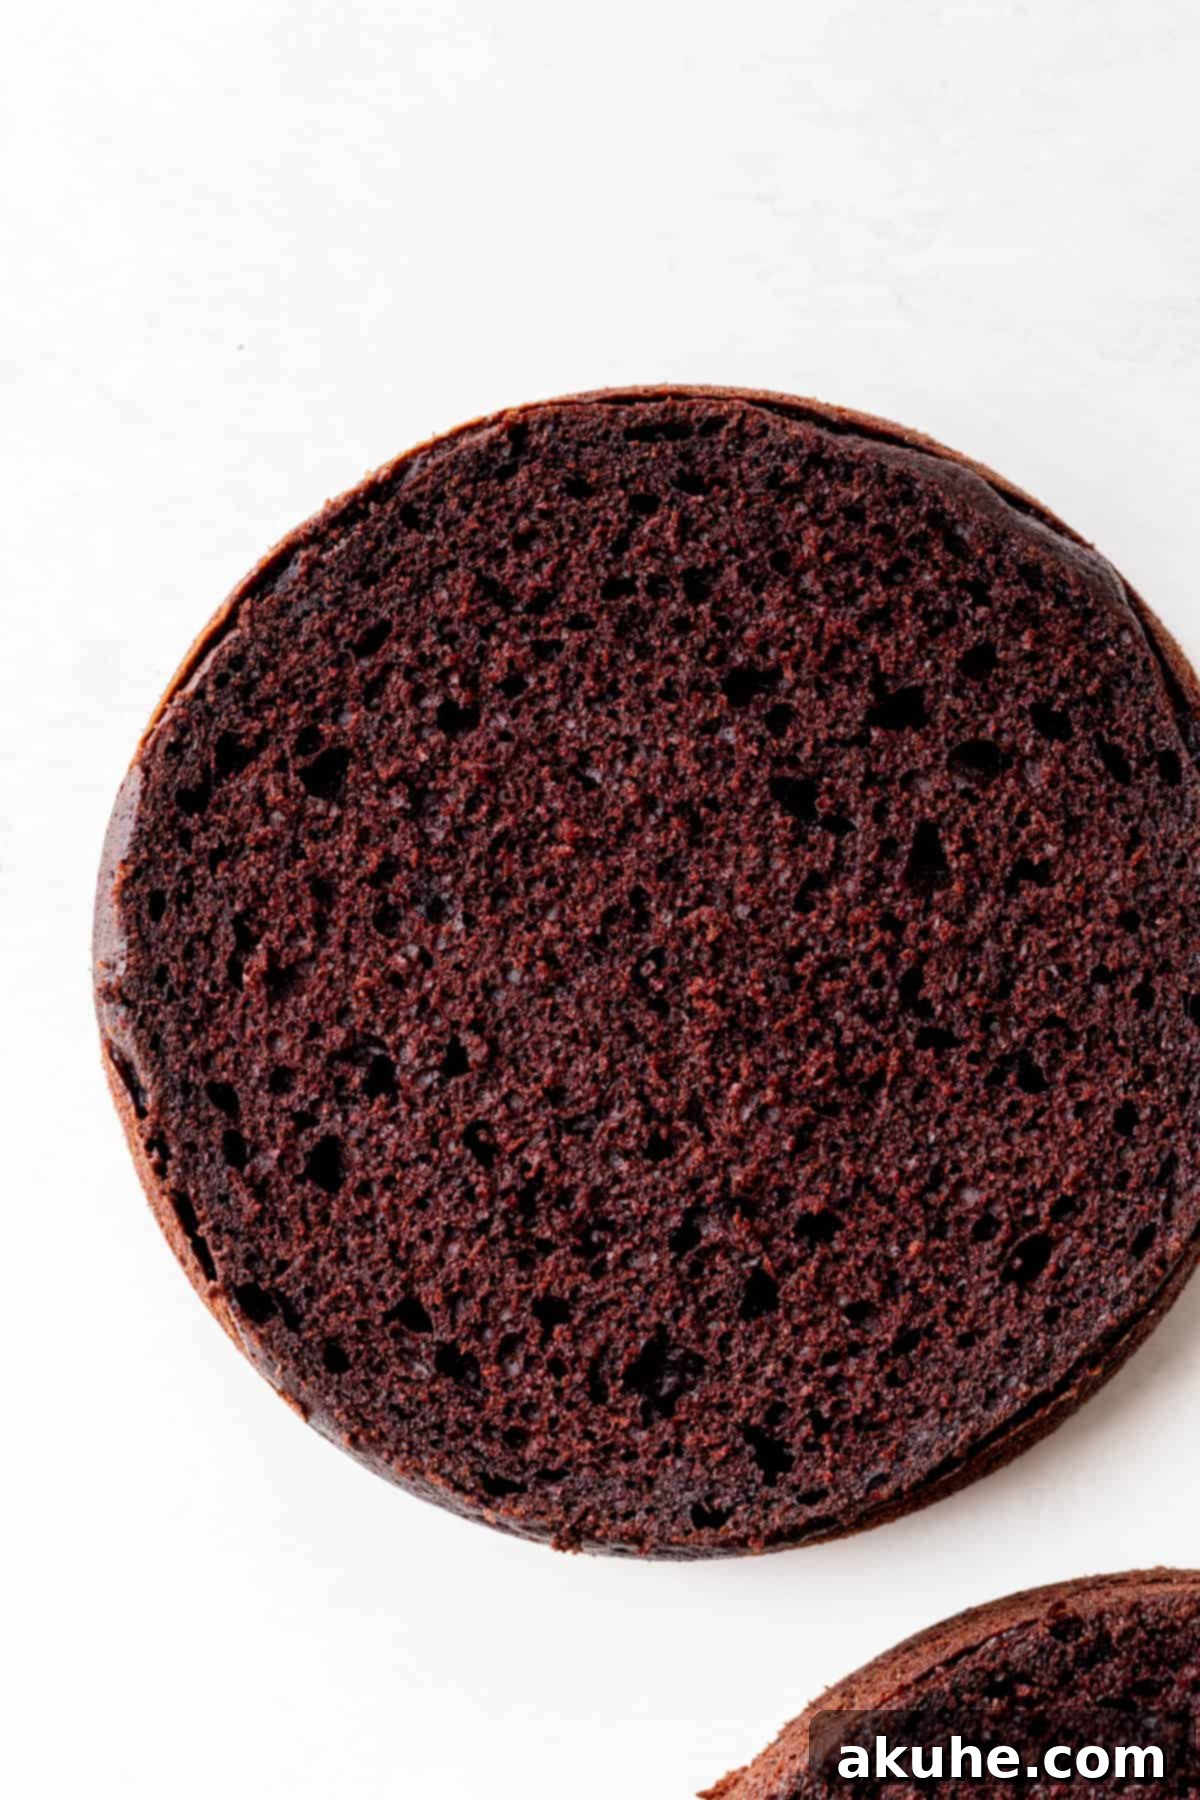
- Cooling Process: Once baked, remove the cakes from the oven and let them cool in their hot pans for precisely 10 minutes. This allows the cakes to firm up slightly and makes them easier to handle. After 10 minutes, carefully invert the cakes onto a wire cooling rack, gently peel off the parchment paper, and allow them to cool completely to room temperature before proceeding with assembly. This is crucial for preventing the cream filling from melting.
Step-by-Step Instructions: Crafting the Silky Cream Filling
The signature cream filling is what truly transforms this chocolate cake into a delightful Ding Dong. This recipe employs a classic cooked milk and flour base, which creates a stable and incredibly fluffy filling when beaten with butter and sugar. A stand mixer is highly recommended for achieving the perfect whipped consistency.
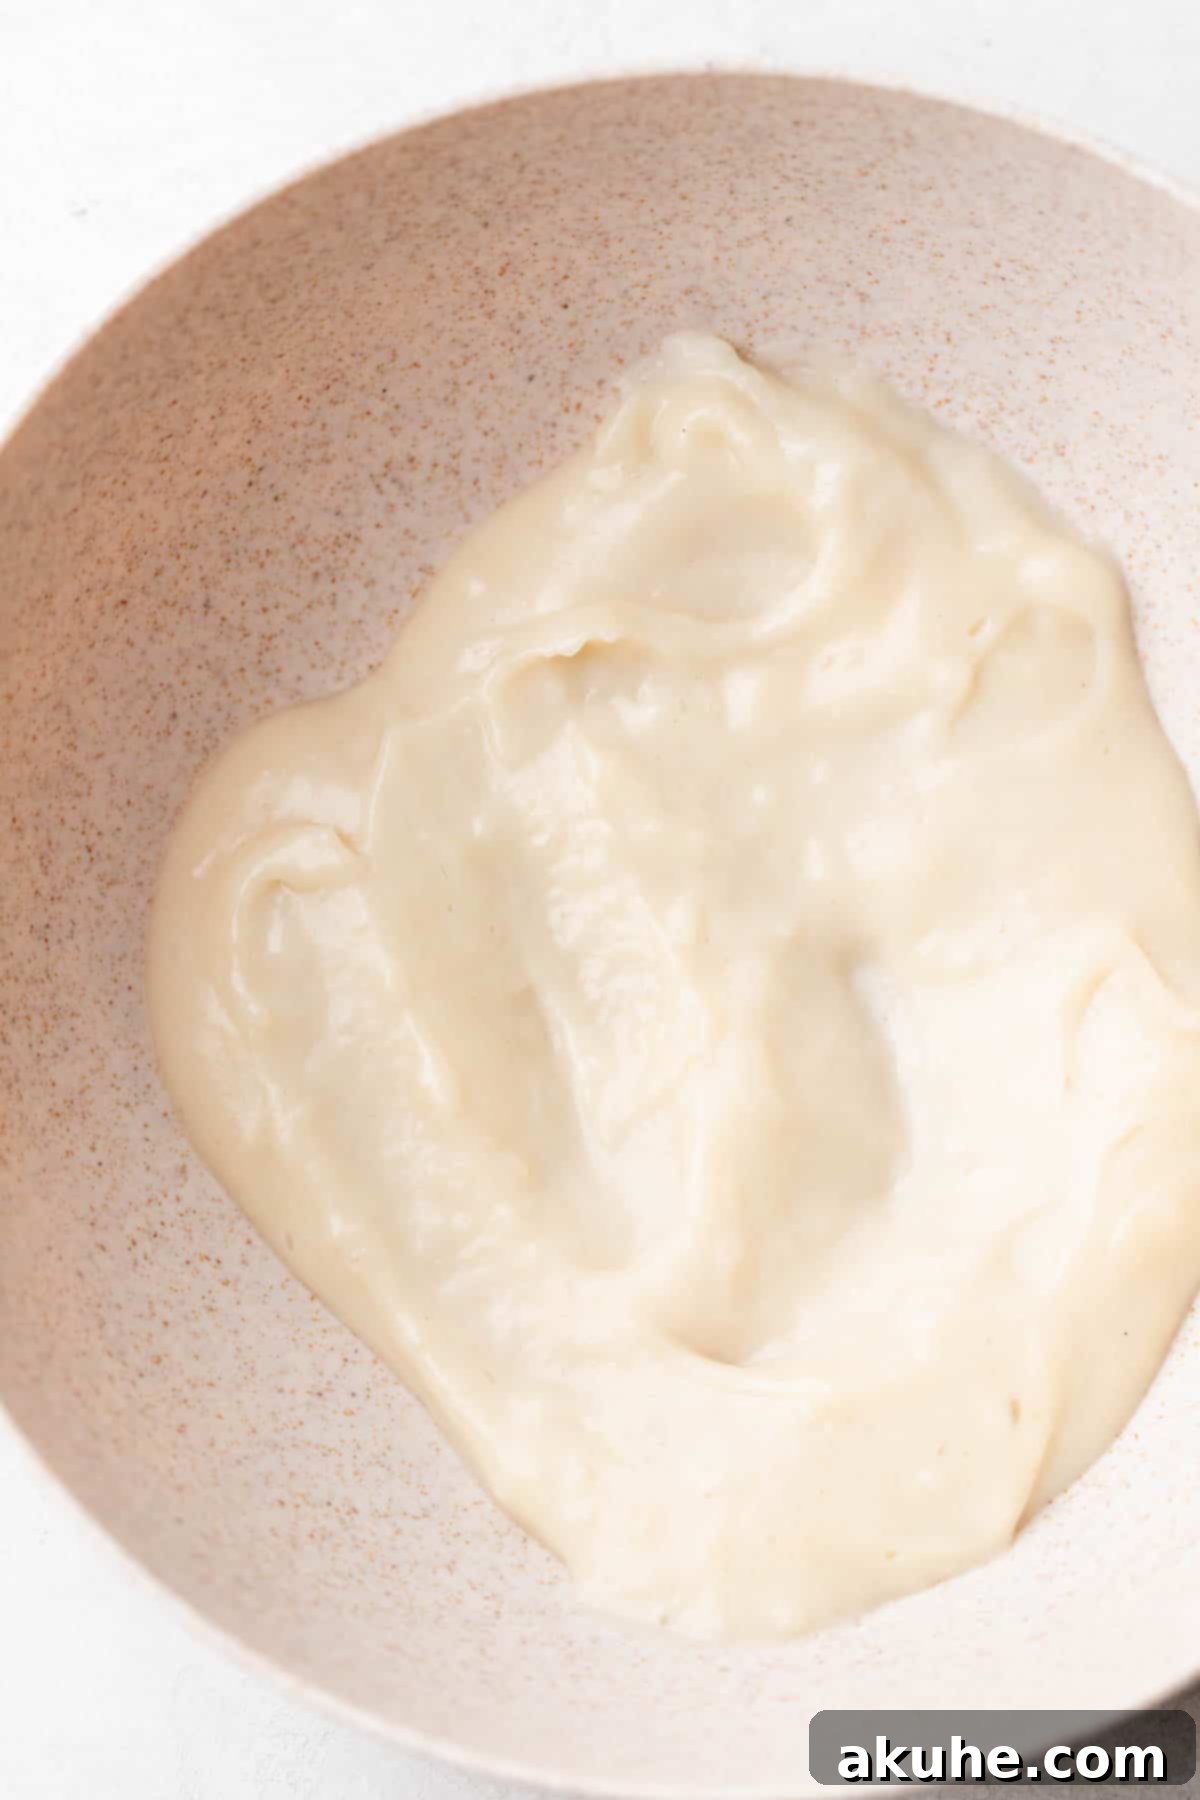
- Thicken the Milk Base: In a medium saucepan, combine the milk and all-purpose flour. Place the saucepan over medium heat on your stove. Continuously whisk the mixture to prevent lumps and ensure even cooking. Keep whisking until the milk mixture visibly thickens, resembling a thick pudding or gravy. This process typically takes about 2 minutes after the milk begins to heat up. The flour acts as a stabilizer, giving the filling its unique texture.
- Cool Completely: Once thickened, immediately transfer the milk mixture from the saucepan into a separate, clean bowl. Cover the surface directly with plastic wrap to prevent a skin from forming. Allow this mixture to cool completely to room temperature. This step is critical; if the milk mixture is even slightly warm, it will melt the butter in the next step, resulting in a runny filling. You can speed up the cooling by placing the bowl in an ice bath.
- Beat Butter and Sugar: Once the milk mixture is thoroughly cooled, it’s time to prepare the main cream base. In the bowl of a stand mixer fitted with the paddle attachment, or using a hand mixer, beat the room temperature unsalted butter and white granulated sugar together on high speed for a full 3 minutes. The mixture should become light, pale, and fluffy.
- Incorporate Cooled Milk and Vanilla: While the mixer is still running on high speed, very slowly begin to add the cooled milk and flour mixture to the butter and sugar. Drizzle it in gradually, allowing it to fully incorporate. After the milk mixture is added, pour in the pure vanilla extract. Continue mixing until all ingredients are well combined and smooth.
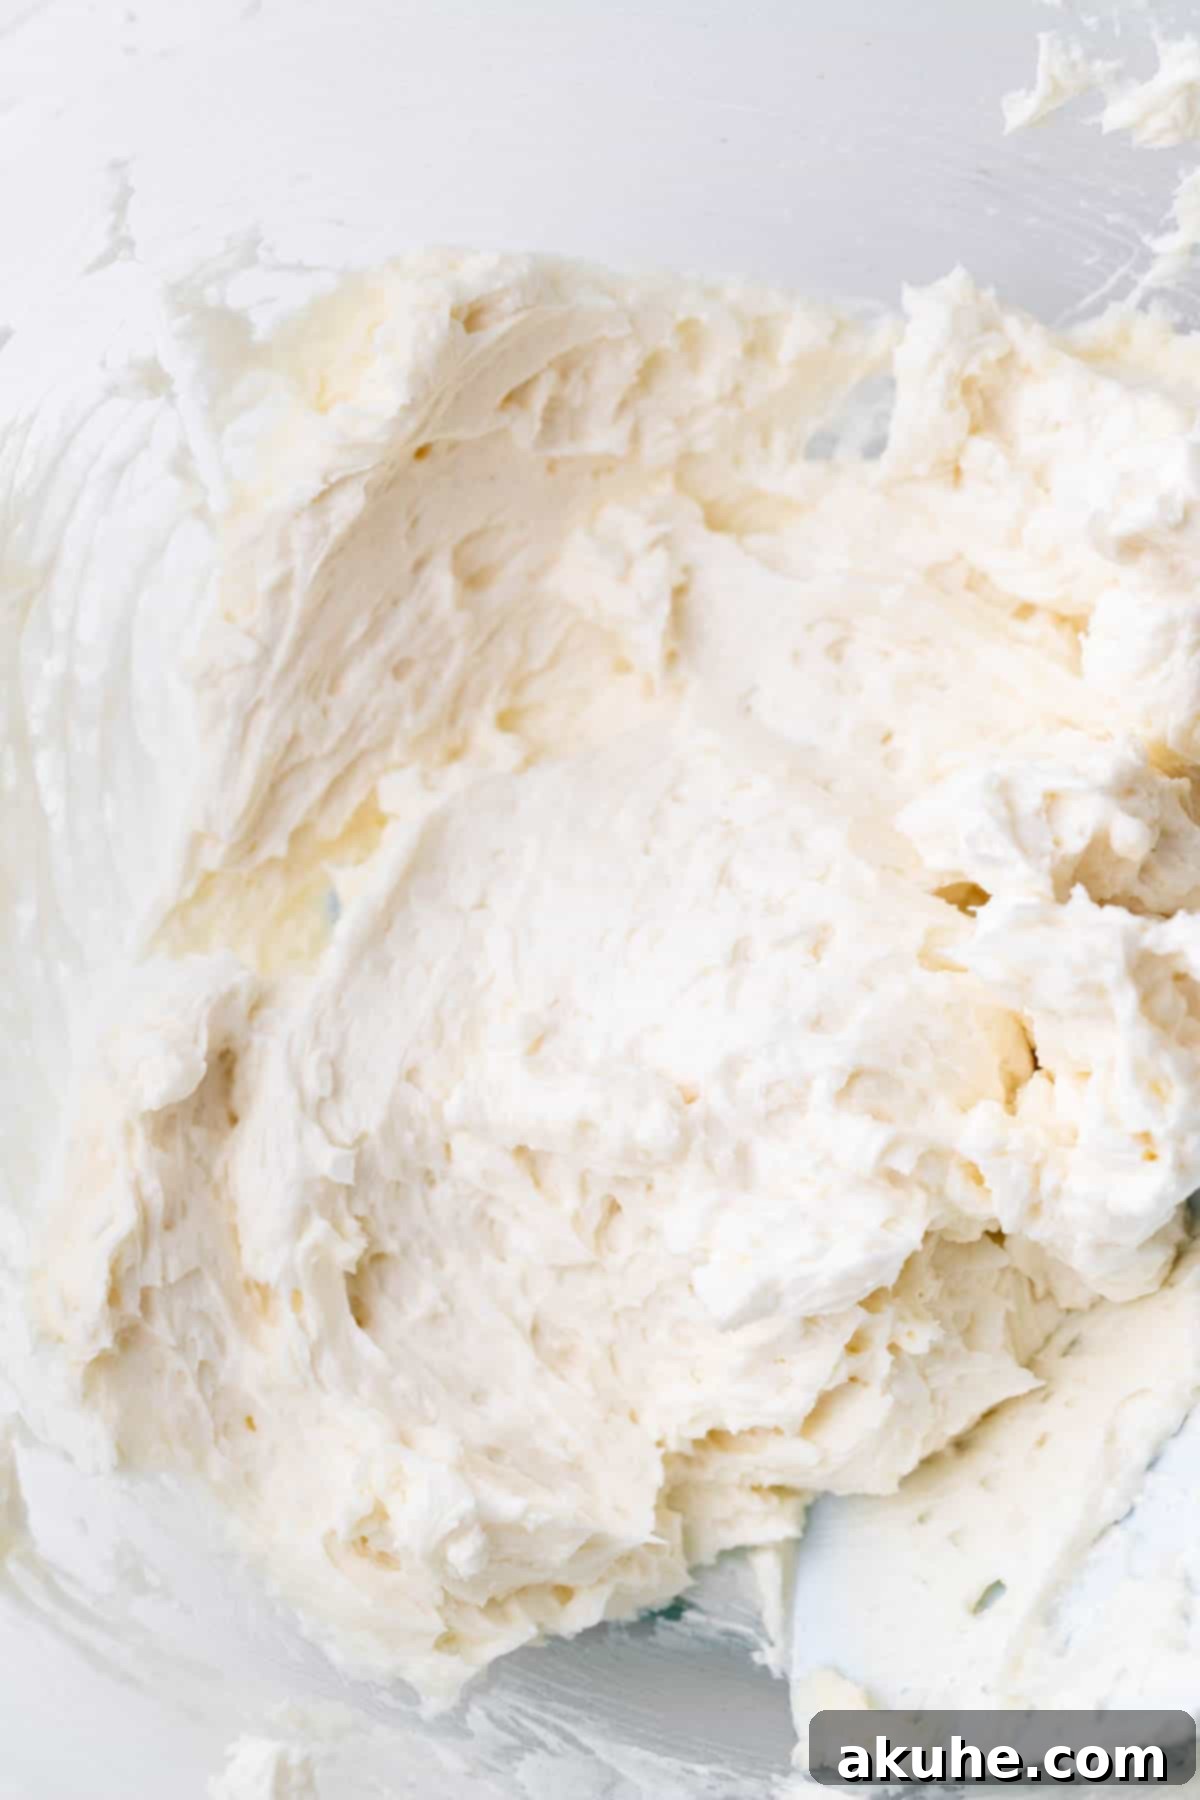
- Whip to Perfection: After all ingredients are mixed in, increase the mixer speed to high and let it run for a solid 5 minutes. This extended beating time is crucial for incorporating air, transforming the filling into a light, airy, and whipped cream-like texture that is characteristic of a Ding Dong. It should be incredibly fluffy and spreadable.
Step-by-Step Instructions: Assembling Your Magnificent Ding Dong Cake
With your chocolate cake layers baked and cooled, and your dreamy cream filling whipped, it’s time for the exciting part: assembly and adding the perfect chocolate ganache. This process brings all the elements together into one cohesive, irresistible dessert.
- Level Your Cake Layers: Using a long, serrated knife (a bread knife works well), carefully level the tops of your cooled cake layers. This means slicing off any domed tops to create flat surfaces. This ensures a stable cake that stacks neatly and looks professional.
- Begin Layering: Place your first leveled chocolate cake layer onto your chosen cake stand or serving plate. Spread an even layer of approximately 1 cup of the prepared cream filling over the top of this first cake layer, extending it almost to the edge. Carefully place the second chocolate cake layer on top, with its flat bottom side facing upwards. This creates a perfectly flat top surface for your ganache.
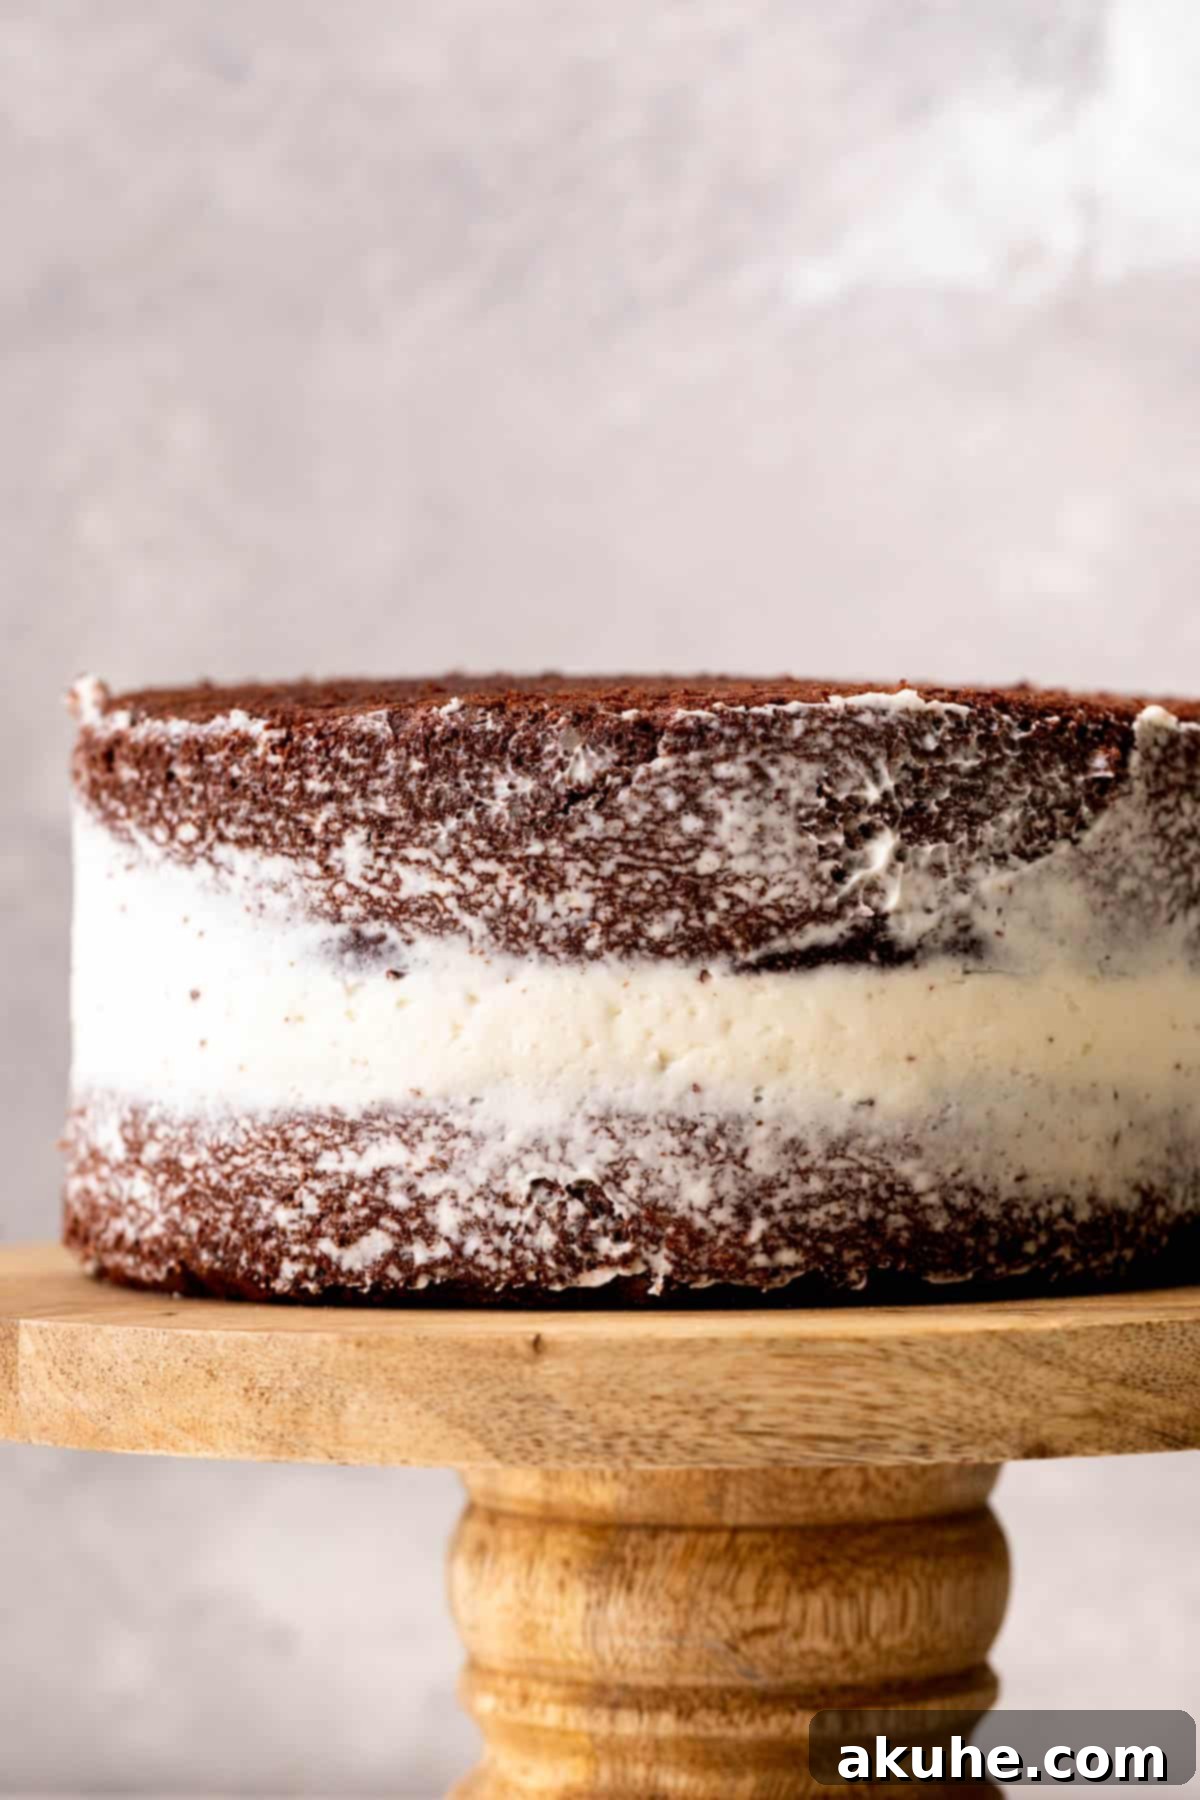
- Smooth the Sides: Use an icing spatula or an offset spatula to gently smooth any excess cream filling around the edges of the cake. Fill in any small gaps between the layers to create a clean, uniform look. The goal here is a very thin, light layer of filling on the outside, acting as a “crumb coat” to seal in any loose crumbs.
- Chill for Stability: Place the assembled cake (without the ganache yet) into the freezer for about 10 minutes. This quick chill helps the cream filling to firm up, making the cake more stable and easier to handle when you pour the warm ganache.
- Prepare the Chocolate Ganache: While your cake is chilling, begin preparing the ganache. Pour the heavy cream into a small saucepan and heat it over medium-low heat on the stove. Watch it carefully; you want it to just begin steaming around the edges, not boil vigorously. Meanwhile, place the semi-sweet chocolate chips in a heatproof bowl (a glass bowl works wonderfully as it retains heat). Once the cream is steaming, remove it from the heat and immediately pour it over the chocolate chips. Let it sit undisturbed for 2 minutes to allow the hot cream to melt the chocolate.
- Achieve a Silky Ganache: After 2 minutes, use a rubber spatula to gently stir the chocolate and cream mixture. Start stirring from the center and work your way outwards. Continue stirring until the ganache is completely smooth, glossy, and all the chocolate chips are fully melted and incorporated. It should have a beautiful, pourable consistency.
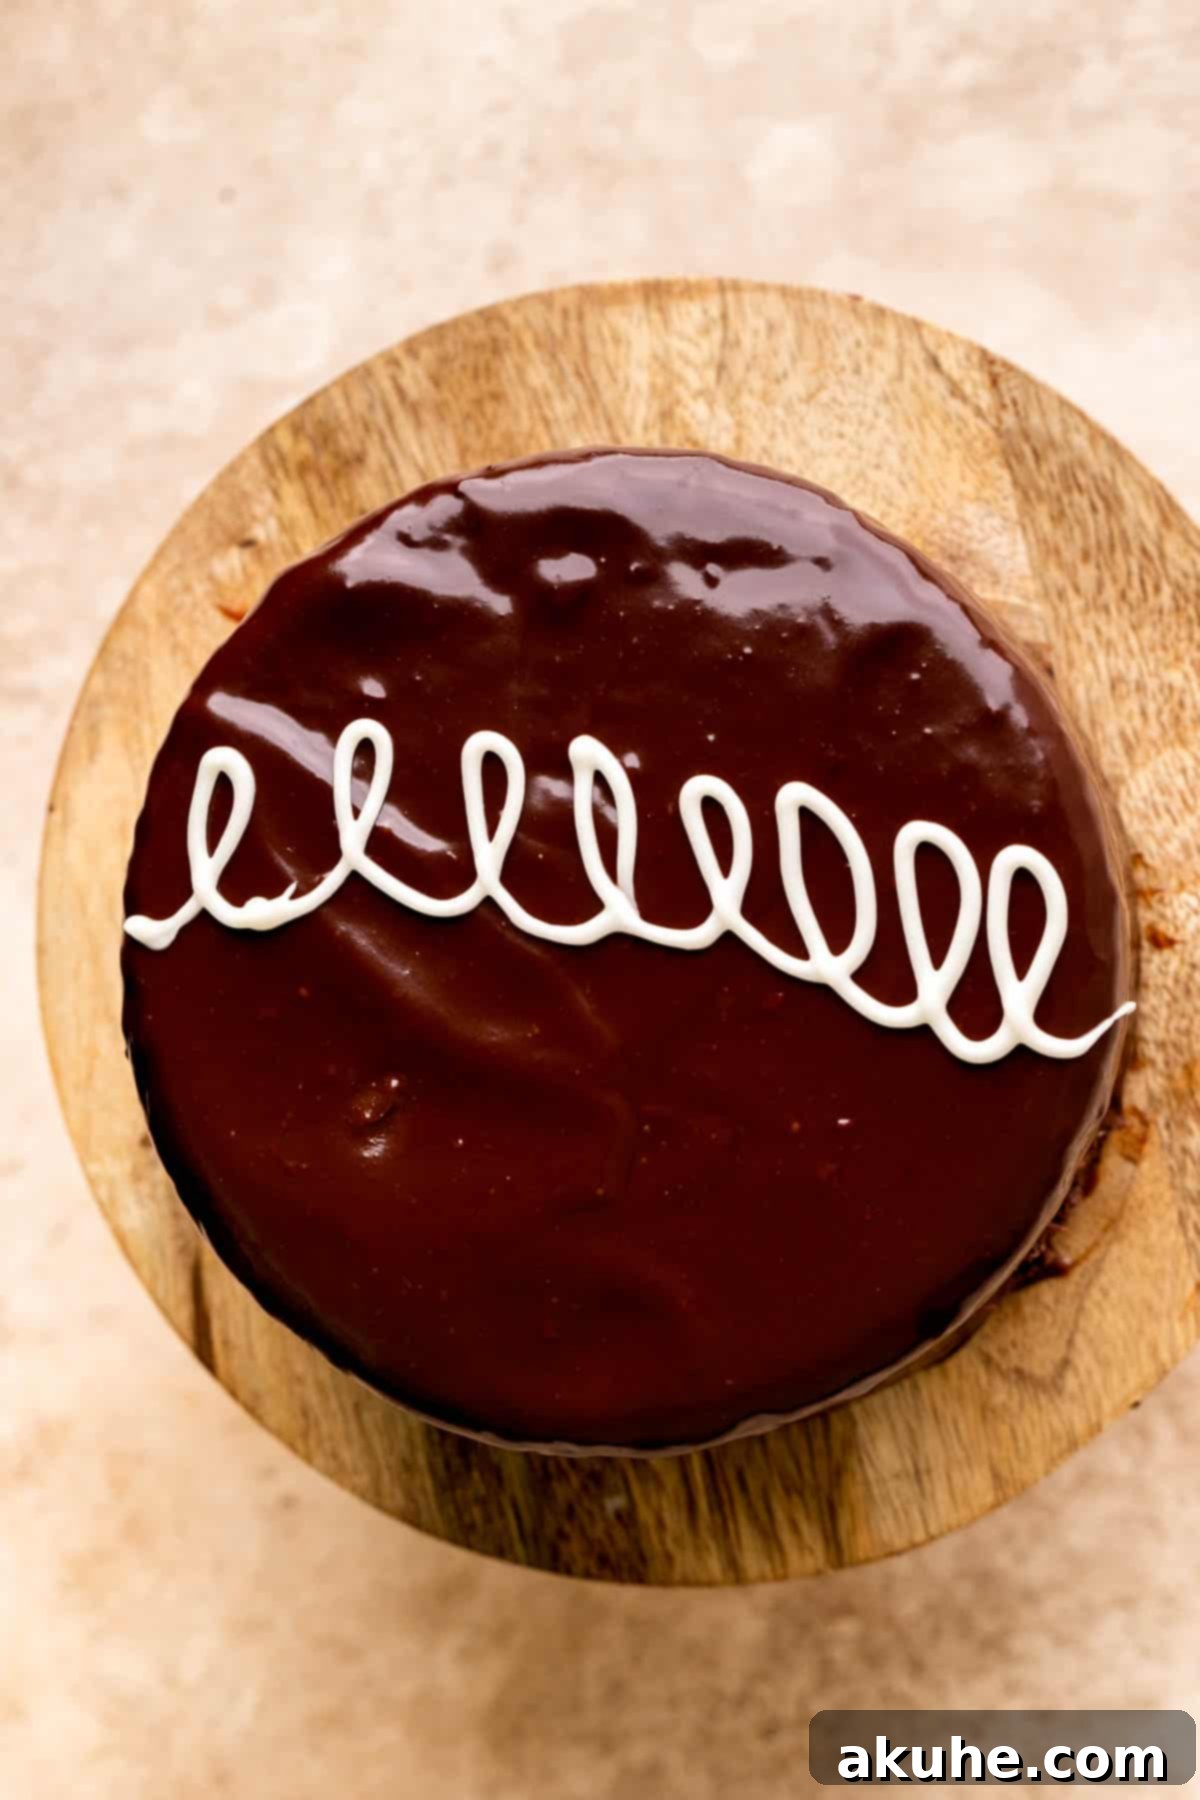
- Pour and Coat: Remove your chilled cake from the freezer. Place the cake on a wire rack, ensuring there’s a baking sheet or tray underneath to catch any drips of ganache. Carefully and slowly pour the warm ganache over the center of the cake. Allow it to naturally cascade down the sides, using an offset spatula if needed to gently guide it and ensure the entire cake is coated evenly. Don’t worry about perfection; a rustic drip can be quite charming.
- Final Chill and Serve: Once the ganache is applied, transfer the cake back to the freezer for another 10 minutes. This helps the ganache set quickly and gives it a beautiful, firm finish. After this final chill, your homemade Ding Dong cake is ready to be sliced and served!
- Optional: The Iconic Swirl: For that classic Hostess Ding Dong look, pipe a signature white swirl on top of the ganache using any leftover cream filling or a bit of white icing.
Expert Baking Tips for Your Best Ding Dong Cake
Achieving a truly spectacular homemade Ding Dong cake comes down to a few key techniques and expert tips that will elevate your baking from good to extraordinary. Pay attention to these details for a flawless result.
- Accurate Flour Measurement is Paramount: One of the most common baking mistakes is improperly measuring flour. Always “spoon and level” your flour: use a spoon to lightly fluff the flour in its container, then spoon it into your measuring cup, overfilling it slightly. Use the back of a knife or a straight edge to level off the excess flour. Never scoop the measuring cup directly into the flour, as this compacts it, leading to too much flour and a dry, dense cake. For ultimate accuracy, use a kitchen scale to weigh your ingredients.
- Flawless Cake Release: To ensure your beautiful cake layers come out of the pans without sticking, a thorough greasing and lining process is essential. After spraying the pans with nonstick baking spray, be sure to line the bottoms with parchment paper circles. Then, spray the parchment paper again. Missing even a small spot can cause a section of the cake to stick, potentially tearing it when you try to remove it.
- High Altitude Baking Adjustments: If you’re baking at high altitudes (generally above 3,500 feet), recipes often need slight modifications. For this chocolate cake, adding an extra 1 to 2 tablespoons of all-purpose flour to the cake batter can help to strengthen the cake’s structure and prevent it from collapsing or becoming too moist at higher elevations.
- Even Cream Layer Application: When spreading the cream filling between the cake layers and around the sides, an offset spatula is your best friend. Its angled blade allows for smooth, even distribution of the filling, making it easier to achieve those clean lines and a professional finish. Take your time to spread it evenly from edge to edge.
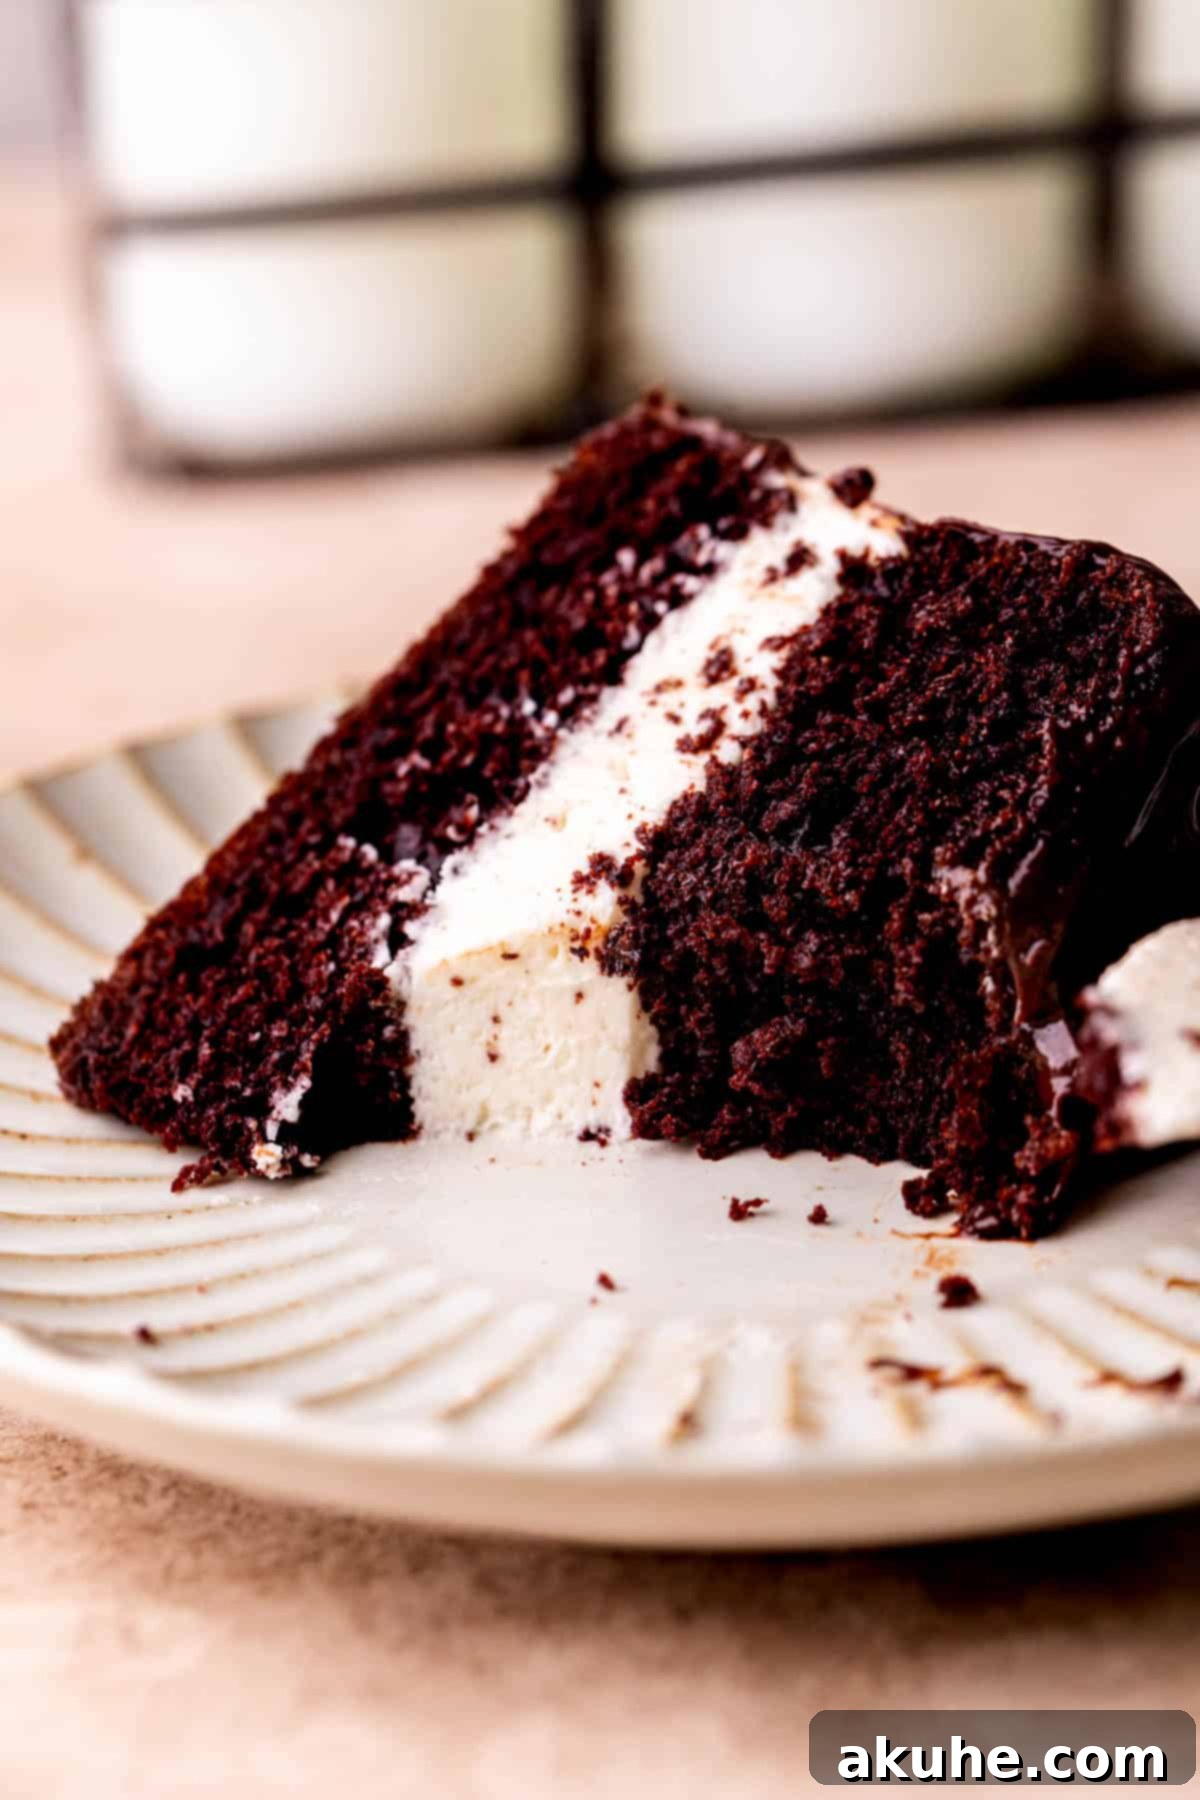
- For a Pristine Slice: To get beautifully clean slices of your Ding Dong cake, always use a sharp, serrated knife. After each cut, wipe the knife blade clean with a warm, damp cloth. This prevents the chocolate ganache and cream filling from smearing onto the next slice, ensuring every piece looks as perfect as it tastes.
- Do Not Overmix the Batter: After combining wet and dry ingredients, mix only until just incorporated. Overmixing develops gluten, leading to a tough, rubbery cake. A few small lumps are better than an overmixed batter.
- Cooling is Crucial: Ensure both the cake layers and the thickened milk mixture for the cream filling are completely cool before proceeding. Warm ingredients will cause the butter in your filling to melt, resulting in a runny mess, and warm cake layers will melt your cream and ganache. Patience during cooling pays off!
- Room Temperature Dairy and Eggs: As noted in the ingredients, room temperature eggs and buttermilk (and butter for the filling) are vital for proper emulsification and a smooth batter/filling. Plan ahead and pull them out of the refrigerator at least 2 hours before you begin baking.
Frequently Asked Questions About the Ding Dong Cake
What exactly is a Ding Dong cake?
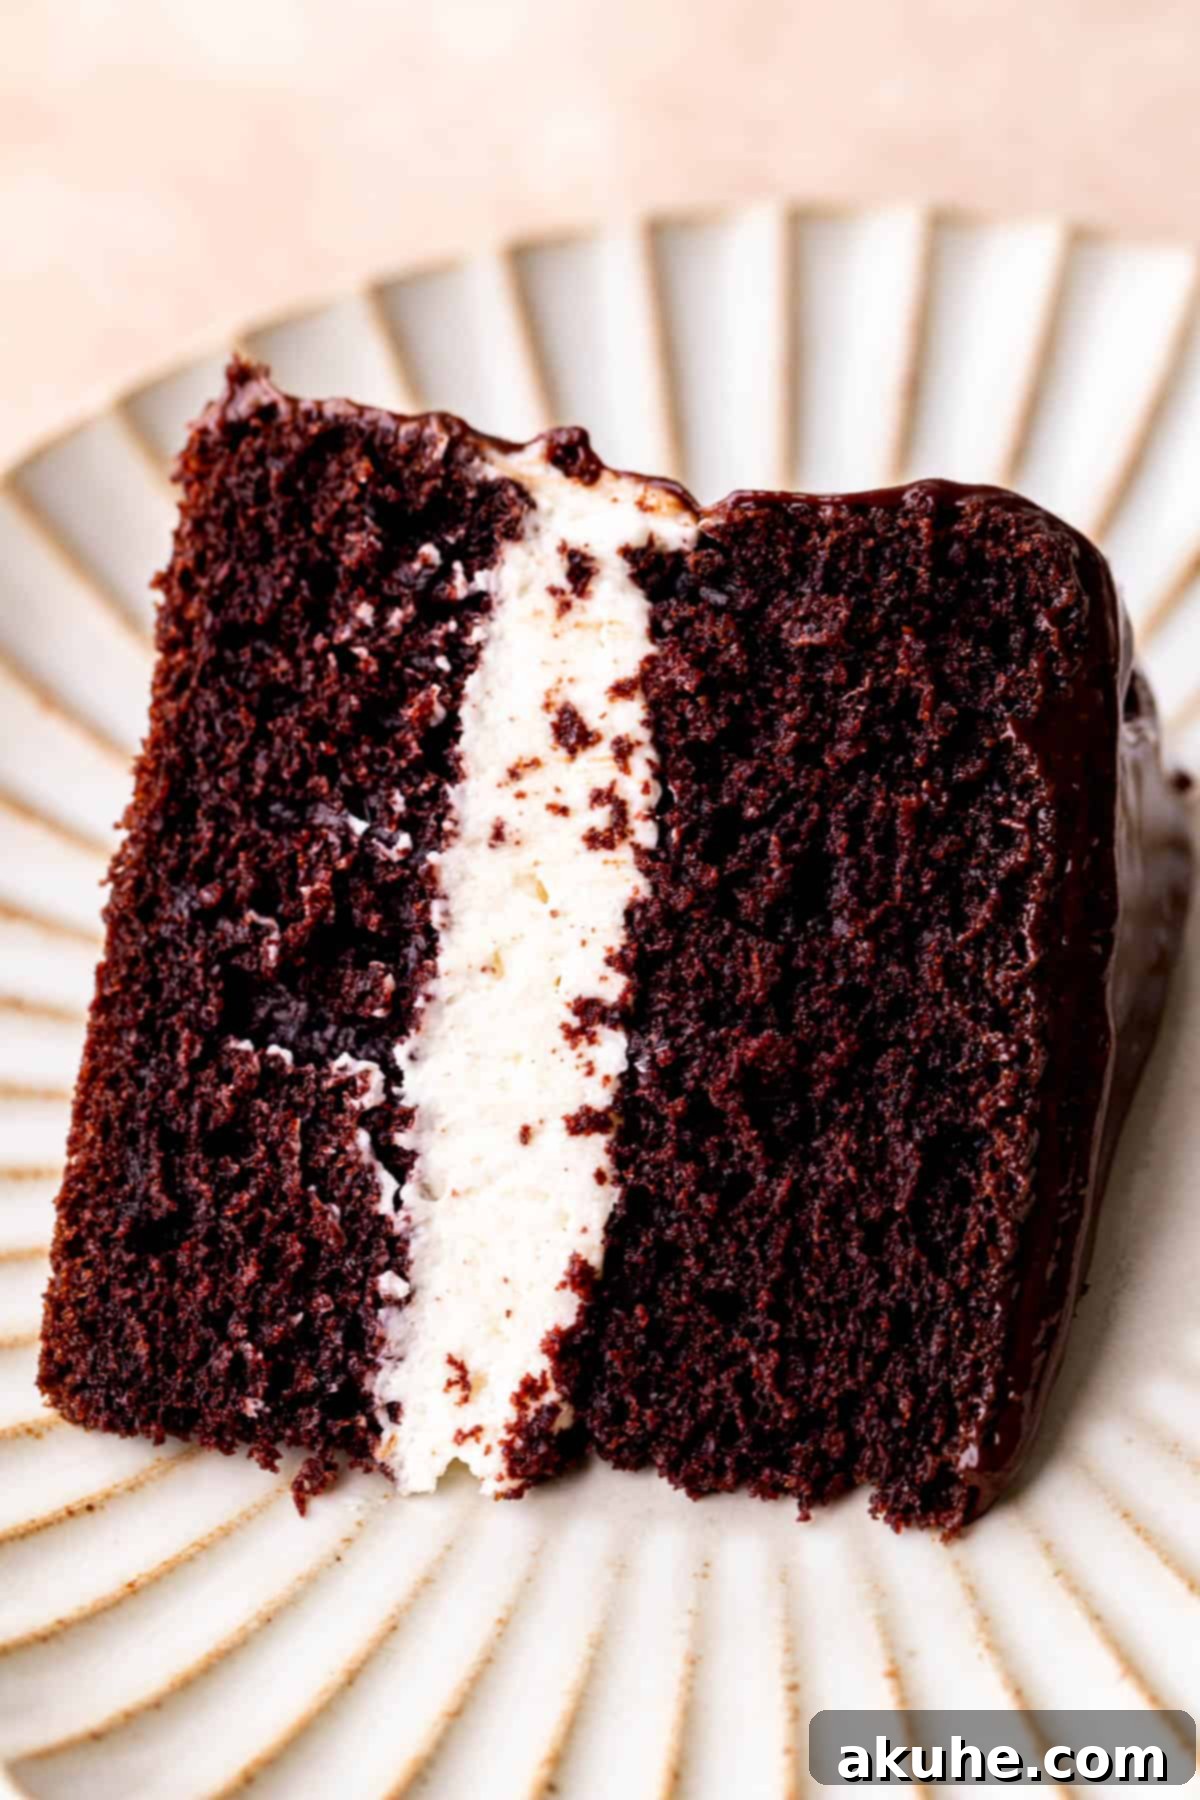
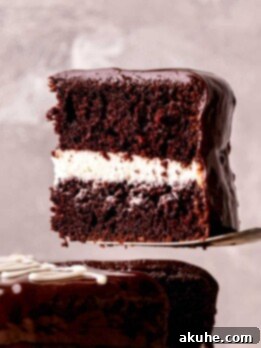
A Ding Dong is traditionally a small, individually wrapped snack cake featuring a disc of chocolate cake, a creamy white filling in the center, and an outer coating of rich chocolate. This homemade Ding Dong cake is a grander, layer cake rendition that meticulously mimics these beloved elements. It consists of two moist chocolate cake layers, a generous layer of our signature homemade cream filling with a fluffy texture, and is beautifully enveloped in a smooth, glossy chocolate ganache, capturing the essence of the classic treat in a more substantial and luxurious form.
Can the cake layers be prepared in advance?
Absolutely! Preparing the chocolate cake layers ahead of time is a fantastic way to streamline your baking process. Once the cake layers have completely cooled to room temperature, wrap them tightly in multiple layers of plastic wrap, then an additional layer of aluminum foil. You can then freeze them for up to 30 days. When you’re ready to assemble the cake, simply remove the frozen layers from the freezer about 1 hour before you plan to decorate. This allows them to thaw slightly, making them easier to handle and level.
Is it possible to transform this recipe into cupcakes?
Yes, this versatile recipe adapts beautifully to cupcakes! This recipe will yield approximately 12 delightful chocolate cupcakes. To truly capture the Hostess cupcake experience, you can hollow out a small portion from the center of each baked and cooled cupcake (using an apple corer or small knife) and then pipe the homemade cream filling inside. Top with the chocolate ganache and optionally add the iconic white swirl for a charming presentation.
What if my ganache is too thick or too thin?
If your ganache is too thick after mixing, add a tiny bit more warm heavy cream (about a tablespoon at a time) and stir until it reaches your desired pourable consistency. If it’s too thin, let it sit at room temperature for a bit longer, stirring occasionally, to allow it to cool and thicken. You can also place it in the refrigerator for 5-10 minutes, stirring every couple of minutes until it thickens.
Can I use a different type of chocolate for the ganache?
While semi-sweet chocolate chips are recommended for their balanced flavor, you can experiment with dark chocolate (60-70% cocoa solids) for a more intense, less sweet ganache. White chocolate ganache is also an option, but it would dramatically change the classic Ding Dong flavor profile.
What size cake pans are suitable if I don’t have 6-inch pans?
While 6-inch pans create the tall, classic Ding Dong look, you can also use two 8-inch round cake pans. However, the cake layers will be thinner, and the baking time will likely be slightly shorter. Keep a close eye on them and use the toothpick test for doneness.
Creative Recipe Variations to Explore
Once you’ve mastered the classic homemade Ding Dong cake, don’t hesitate to get creative and experiment with these delightful variations:
- Three-Layer Marvel: For an even taller, more dramatic presentation and an extra dose of cake-to-filling ratio, you can easily adapt this recipe to make a three-layer cake. Simply divide the batter among three 6-inch cake pans, or adjust a 9-inch recipe accordingly. You might need to slightly increase the cream filling quantity.
- Time-Saving Simplicity: If you’re short on time or prefer a minimalist aesthetic, feel free to skip the classic Hostess swirl decoration on top of the ganache. The cake will still be incredibly delicious and visually appealing with just the glossy chocolate coating.
- Mint Chocolate Dream: Infuse the cream filling with 1/2 to 1 teaspoon of peppermint extract for a refreshing mint chocolate Ding Dong experience. You could even add a drop of green food coloring for a festive touch.
- Raspberry Swirl: Swirl a tablespoon or two of seedless raspberry jam into a portion of the cream filling for a fruity counterpoint to the rich chocolate.
- Nutty Crunch: Sprinkle finely chopped toasted nuts (like pecans or walnuts) between the cake layers with the cream filling, or around the base of the cake, for added texture and flavor.
- Espresso Infusion: Add 1 teaspoon of instant espresso powder to the chocolate cake batter (along with the cocoa) to intensify the chocolate flavor without making it taste like coffee.
Proper Storing and Freezing Your Ding Dong Cake
To keep your homemade Ding Dong cake fresh and delicious for as long as possible, proper storage is essential. Due to its cream filling, refrigeration is key.
Store this beautiful Ding Dong cake in an airtight container, such as a specialized cake carrier, in the refrigerator. When stored correctly, it will maintain its optimal freshness and flavor for up to 5 days. Ensure the container is truly airtight to prevent the cake from drying out or absorbing refrigerator odors.
Freezing for Future Enjoyment
This cake is also wonderful for freezing, allowing you to enjoy a slice of homemade Ding Dong cake whenever a craving strikes. You can freeze the entire cake (once fully assembled and ganache is set) or individual slices. To freeze individual slices, place each slice in an airtight container, separating them with parchment paper if stacking. For a whole cake, wrap it tightly in plastic wrap, then in aluminum foil. The cake or slices can be frozen for up to 30 days. To thaw, simply transfer to the refrigerator overnight or allow individual slices to come to room temperature for about 30-60 minutes before serving. Freezing allows you to extend the enjoyment of your delicious creation!
Other Decadent Chocolate Layered Cake Recipes to Try
If you loved baking and enjoying this magnificent Ding Dong cake, you’ll surely adore these other chocolate-forward layered cake recipes. Expand your baking repertoire and delight in more chocolatey goodness:
- Triple Chocolate Cake
- Mint Chocolate Chip Cake
- Blueberry Chocolate Cake
- Chocolate Ganache Cake
- Oreo Cake
We hope you enjoyed creating this delightful Homemade Ding Dong Cake! If you loved this recipe, make sure to leave a STAR REVIEW below! Don’t forget to tag me on Instagram @stephaniesweettreats. To discover more inspiring baking ideas, follow me on Pinterest. Happy baking!
Ding Dong Cake Recipe Card
Ding Dong Cake
By Stephanie Rutherford
This homemade Ding Dong cake is a grand version of the beloved Hostess treat! It features a two-layer chocolate cake generously filled with a fluffy cream center and topped with a rich chocolate ganache, offering a truly superior dessert experience.
Prep Time: 1 hr | Cook Time: 27 mins | Decorating Time: 1 hr
Servings: 16 slices
Ingredients
Chocolate Cake
- 1 cup All-purpose flour
- 1/2 cup Unsweetened cocoa powder
- 1/2 tsp Baking soda
- 1 tsp Baking powder
- 1/2 tsp Salt
- 3/4 cup White granulated sugar
- 2 Large eggs, room temperature
- 1/2 cup Oil, canola or vegetable oil
- 1 tsp Pure vanilla extract
- 1/2 cup Buttermilk, room temperature
- 1/2 cup Hot water, steaming
Cream Filling
- 2 TBSP All-purpose flour
- 1/2 cup Milk
- 1 TBSP Pure vanilla extract
- 1/2 cup Unsalted butter, room temperature
- 1/2 cup White granulated sugar
Chocolate Ganache
- 1 cup Semi-sweet chocolate chips
- 3/4 cup Heavy cream
Instructions
Chocolate Cake
- Preheat the oven to 350°F (175°C). Spray two 6-inch cake pans with baking spray. Line the bottoms with 6-inch parchment paper circles. Spray again.
- In a medium bowl, sift the flour, cocoa powder, baking powder, and baking soda. Add the sugar and salt. Set aside.
- Heat the water on the stove until steaming. In a separate bowl, add the eggs, oil, vanilla, and buttermilk. Then, slowly mix in the hot water. Pour slowly to avoid cooking the eggs.
- Add the wet ingredients to the dry and use a whisk to mix until just combined. Be sure not to over mix.
- Pour the batter evenly between the two cake pans. Bake for 25-28 minutes until a toothpick inserted comes out clean.
- Let the cakes sit in the hot pans for 10 minutes. Then, transfer to a cooling rack. Cool the cake completely before using.
Cream Filling
- In a saucepan over medium heat, add the milk and flour. Continuously whisk the milk until the mixture has thickened to a pudding-like consistency. Once the milk heats up, this will only take about 2 minutes.
- Pour the thickened milk mixture into a separate bowl. Cover the surface directly with plastic wrap and cool completely before continuing.
- Using a mixer (stand or hand), beat the room temperature butter and sugar together on high speed for 3 minutes until light and fluffy. Keep the speed on high and very slowly add in the cooled milk mixture. Then, add in the vanilla extract.
- Once all ingredients are mixed in, beat on high speed for 5 minutes. The result will be almost like whipped cream in texture.
Chocolate Ganache
- Heat the heavy cream in a saucepan over medium-low heat until steaming around the edges. Pour the semi-sweet chocolate chips into a large heatproof bowl. Pour the hot cream over the chocolate chips. Let it sit undisturbed for 2 minutes.
- Use a rubber spatula to gently mix the chocolate and cream together until smooth and glossy.
Assembly
- Use a serrated knife to cut off any uneven domes on the cooled cake layers, creating flat surfaces.
- Place the first cake layer down on your serving plate. Spread 1 cup of the cream filling evenly over the cake. Place the second cake layer on top, with the bottom of the cake facing up for a flat surface.
- Use an icing spatula to smooth the cream filling around the side of the cake, filling any gaps. This should be a very light “crumb coat” layer.
- Freeze the assembled cake for 10 minutes. While it chills, prepare the chocolate ganache. Place the chilled cake on a wire rack set over a baking sheet to catch drips. Pour the chocolate ganache over the cake, ensuring it’s completely coated.
- Place the cake back in the freezer for 10 minutes before serving to allow the ganache to set. Optional: Decorate with the classic Hostess swirl using leftover cream filling or white icing.
Notes
- Flour Measurement: Make sure flour is spooned and leveled or use a kitchen scale for accuracy. Compacted flour can lead to dry cake layers.
- High Altitude Baking: If baking at high altitude, add an extra 1 TBSP of all-purpose flour to the cake batter to help with structure.
- Room Temperature Ingredients: Always pull out dairy ingredients (butter, buttermilk, eggs) 2 hours before baking to ensure they reach room temperature for optimal mixing and emulsification.
Nutrition Information
Calories: 326kcal, Carbohydrates: 31g, Protein: 3g, Fat: 22g, Saturated Fat: 10g, Polyunsaturated Fat: 3g, Monounsaturated Fat: 8g, Trans Fat: 0.3g, Cholesterol: 30mg, Sodium: 150mg, Potassium: 150mg, Fiber: 2g, Sugar: 21g, Vitamin A: 372IU, Vitamin C: 0.1mg, Calcium: 54mg, Iron: 2mg
