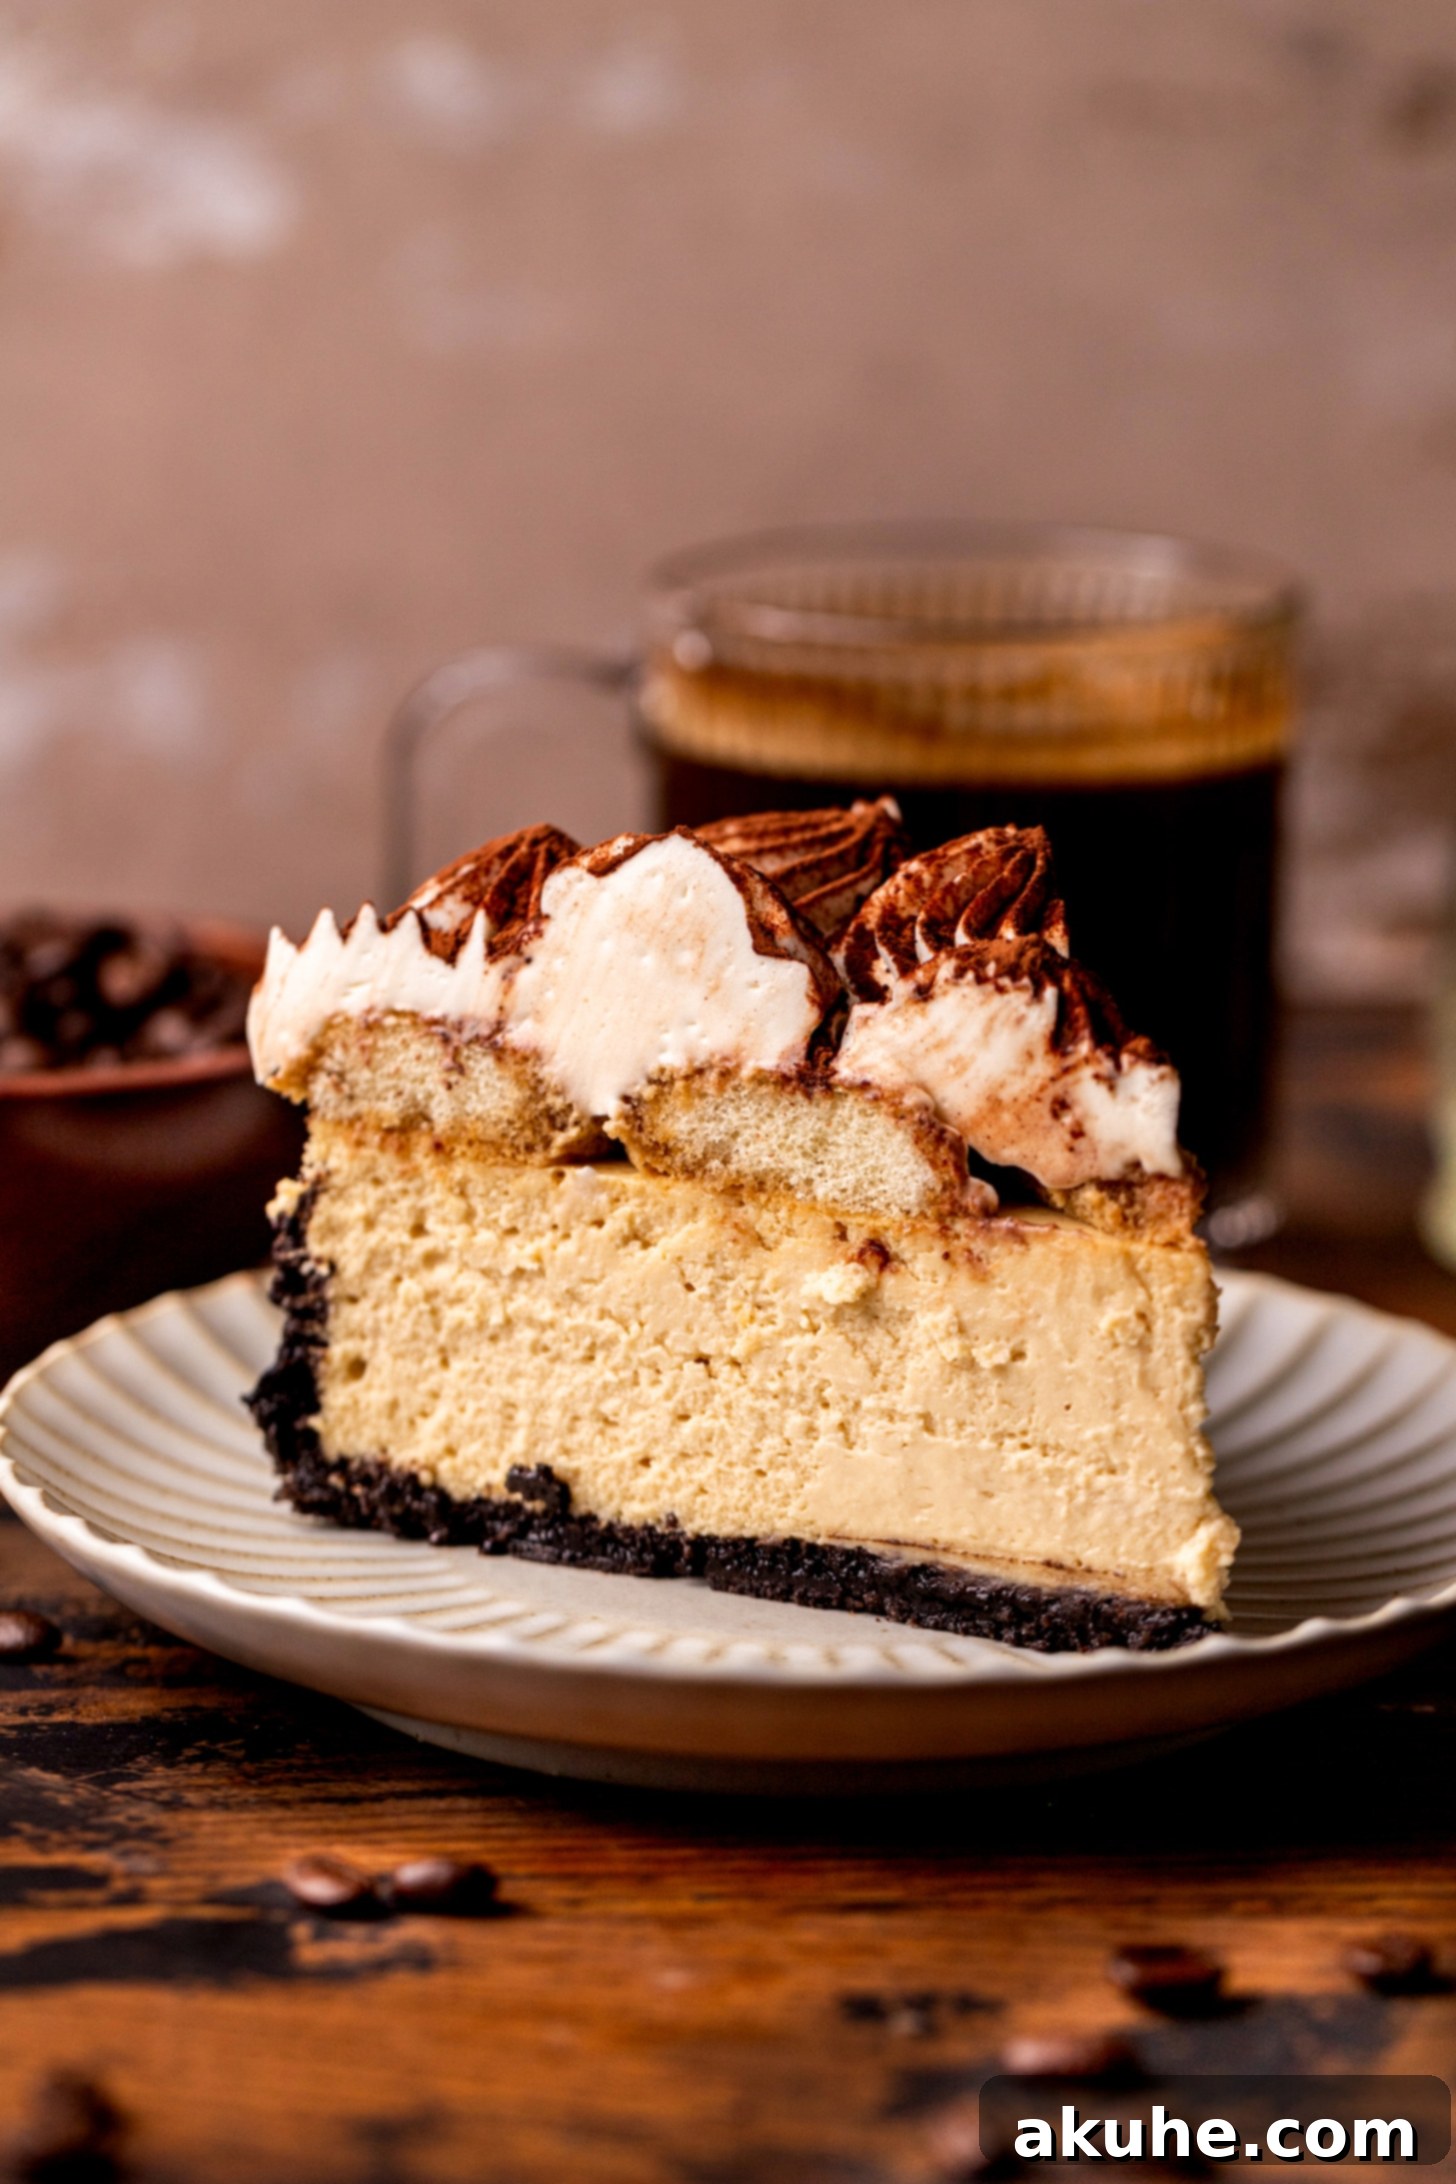
Decadent Tiramisu Cheesecake: The Ultimate Espresso Lover’s Dream Dessert
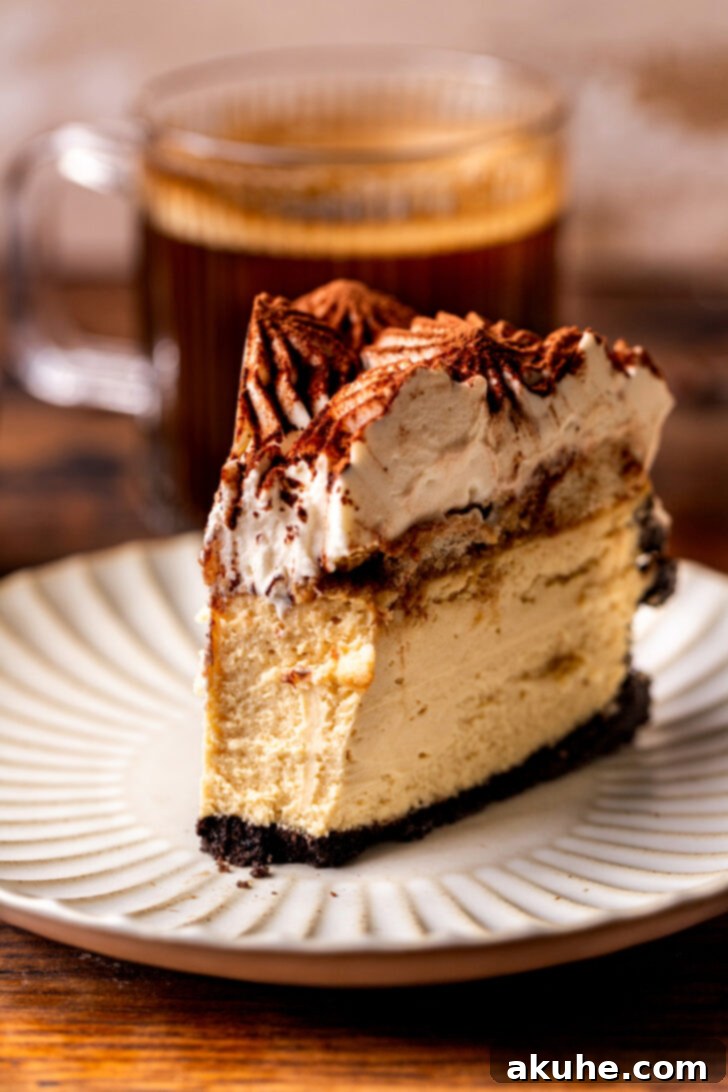
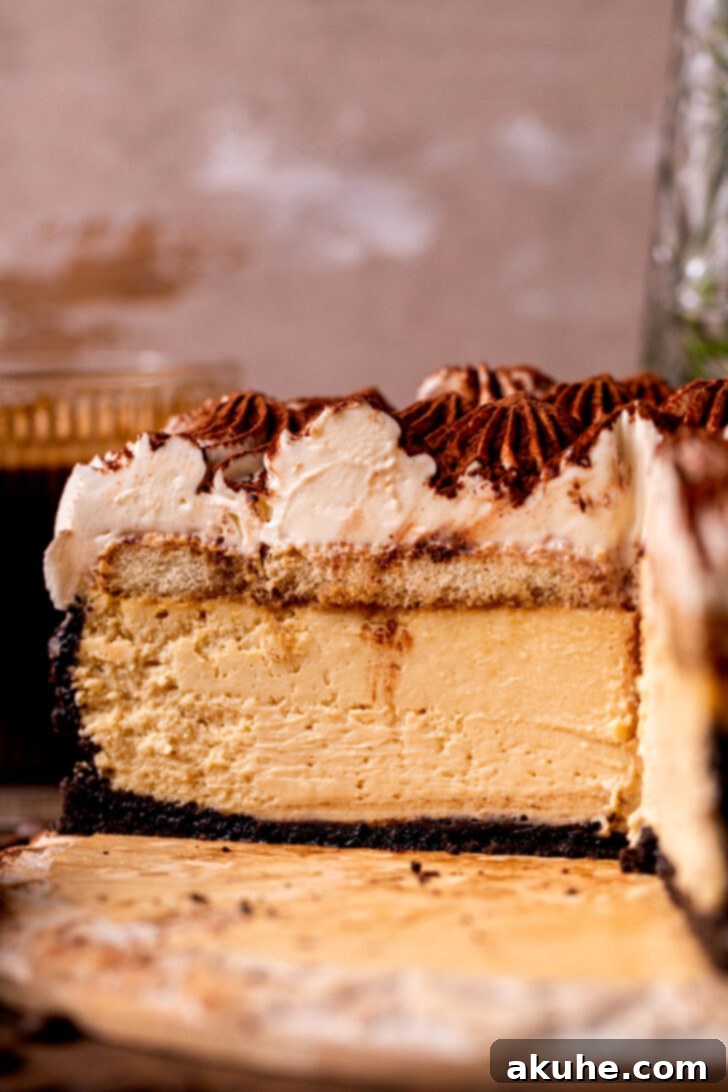
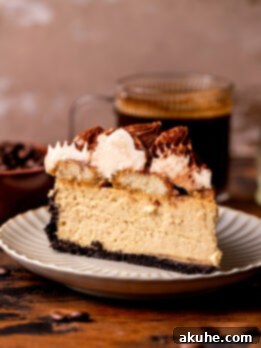
Prepare to embark on a culinary journey that marries two of the world’s most beloved desserts: the classic Italian Tiramisu and the rich, creamy American Cheesecake. This Tiramisu Cheesecake recipe is a testament to flavor fusion, offering an irresistible experience for every espresso aficionado. Imagine a velvety smooth, brown sugar espresso-infused cheesecake, nestled upon a delightful Oreo cookie crust. It’s then crowned with espresso-soaked ladyfingers, a cloud of homemade whipped mascarpone cream, and a delicate dusting of cocoa powder. The best part? This luxurious dessert delivers all the authentic tiramisu taste without any alcohol, making it a perfect treat for all ages and occasions. Get ready to impress your friends and family with a show-stopping creation that’s as beautiful as it is delicious.
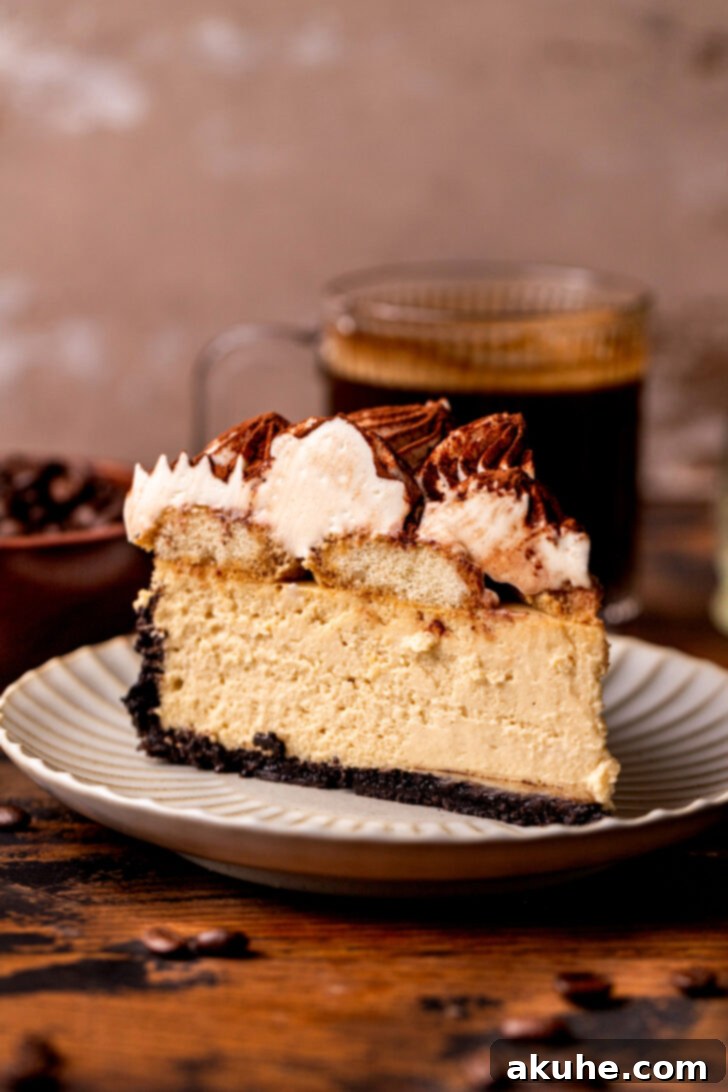
Tiramisu, meaning “pick me up” in Italian, is renowned for its layers of coffee-soaked goodness and creamy mascarpone. Cheesecake, on the other hand, is celebrated for its dense, rich texture and endless flavor possibilities. By bringing these two icons together, we’ve created a dessert that transcends expectations. This recipe isn’t just about combining flavors; it’s about crafting an experience. Each bite offers a harmonious balance of sweet, bitter, and creamy, making it an unforgettable grand finale to any meal. Whether you’re a seasoned baker or new to the world of cheesecakes, our detailed tips, tricks, and process photos will guide you every step of the way to achieve a perfect, crack-free masterpiece. If your heart beats for coffee-flavored delights, you might also enjoy my chewy coffee cookies!
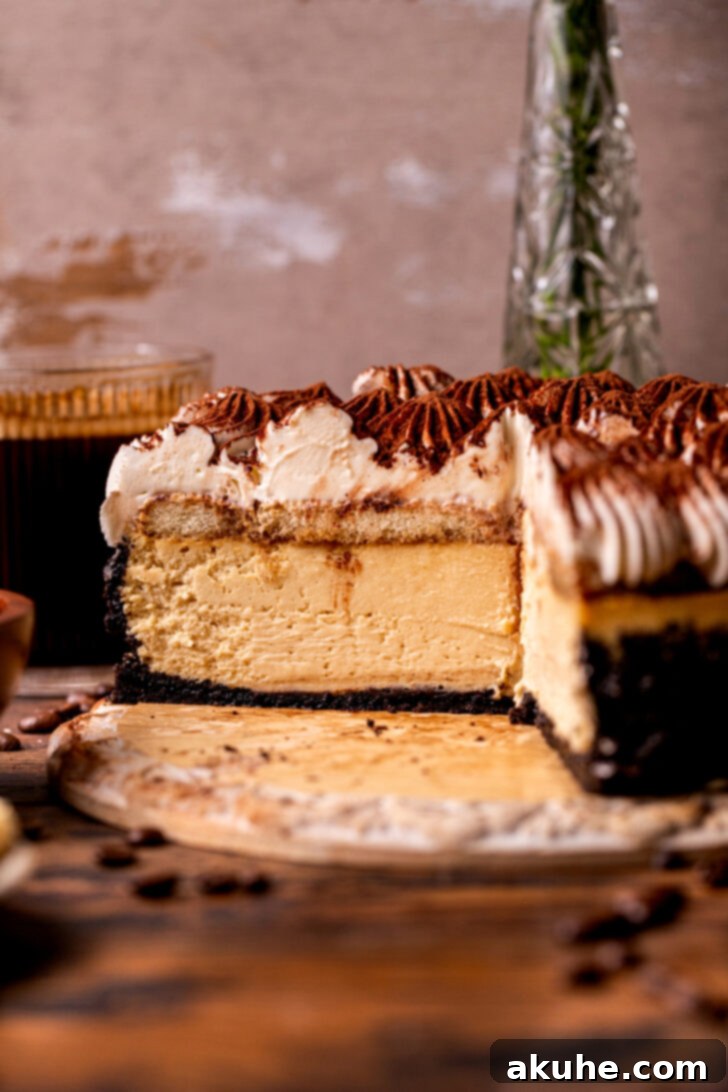
Expert Tips for Crafting Your Perfect Tiramisu Espresso Cheesecake
Achieving a flawless, restaurant-quality cheesecake at home is entirely possible with a few key techniques. These expert tips are designed to help you replicate the stunning results you see in our photos, ensuring your Tiramisu Cheesecake is not only delicious but also visually appealing. For even more insights into creating the silkiest toppings, be sure to check out my detailed guide on mascarpone frosting.
- Tip 1: Embrace Room Temperature Dairy Ingredients. This is perhaps the most critical step for a silky-smooth cheesecake batter. When dairy ingredients like cream cheese, sour cream, and eggs are at room temperature, they emulsify much more easily. Cold ingredients tend to clump, leading to an overmixed batter as you try to smooth it out. Overmixing incorporates too much air, which is the nemesis of a crack-free cheesecake. Plan ahead by pulling these ingredients out of the refrigerator at least two hours before you begin baking.
- Tip 2: Prepare Your Espresso in Advance. The robust flavor of espresso is central to this tiramisu cheesecake. Whether you’re using a traditional espresso machine, a Moka pot, or dissolving instant espresso powder in hot water, ensure your espresso is freshly brewed and then allowed to cool completely. Adding hot espresso to your batter can prematurely cook the eggs or alter the texture of your cream cheese. A cool, strong brew ensures the perfect flavor integration without compromising the cheesecake’s structure.
- Tip 3: Master the Art of Gentle Mixing for Eggs. Overmixing eggs is a common pitfall that leads to cheesecake cracks. When eggs are beaten at high speed, they incorporate excess air. During baking, these air bubbles expand, and as the cheesecake cools, they collapse, causing unsightly cracks on the surface. To avoid this, introduce the eggs and egg yolk into the batter on the lowest possible speed, mixing only until they are just combined. Stop as soon as you see no streaks of egg, and resist the urge to keep mixing.
- Tip 4: The Indispensable Water Bath Method. A water bath (bain-marie) is your secret weapon against dry, cracked cheesecakes. This method provides a moist, gentle cooking environment, ensuring the cheesecake bakes evenly from the edges to the center. The steam circulating around the pan prevents the top from drying out and cracking. There are two effective ways to set up a water bath:
- Method A: The “Pan in Pan” Approach: Place your springform pan (without wrapping it in foil) inside a slightly larger, 10-inch round cake pan. Then, place this cake pan into an even larger roasting pan. Carefully fill the roasting pan with hot, steaming water, ensuring the water level comes halfway up the sides of the 10-inch cake pan.
- Method B: The Foil Wrap Technique: Tightly wrap the base and sides of your springform pan with heavy-duty aluminum foil, at least twice, to create a waterproof barrier. Place the wrapped springform pan directly into your roasting pan. Fill the roasting pan halfway up the sides of the springform pan with hot, steaming water. This method requires careful wrapping to prevent water seepage.
Regardless of the method you choose, a water bath is crucial for a perfectly smooth, moist, and crack-free cheesecake.
- Tip 5: Patience is a Virtue – Chill for Perfection. While the aroma of a freshly baked cheesecake is enticing, resisting the urge to slice into it immediately is paramount. Proper chilling is vital for the cheesecake to fully set, develop its rich flavor, and achieve its signature dense, yet creamy texture. After baking and cooling gradually in the oven, allow the cheesecake to cool completely on a wire rack at room temperature. Then, cover it loosely and transfer it to the refrigerator to chill for a minimum of 6 hours, or ideally, overnight. This extended chilling time ensures a clean slice and an unparalleled taste experience.
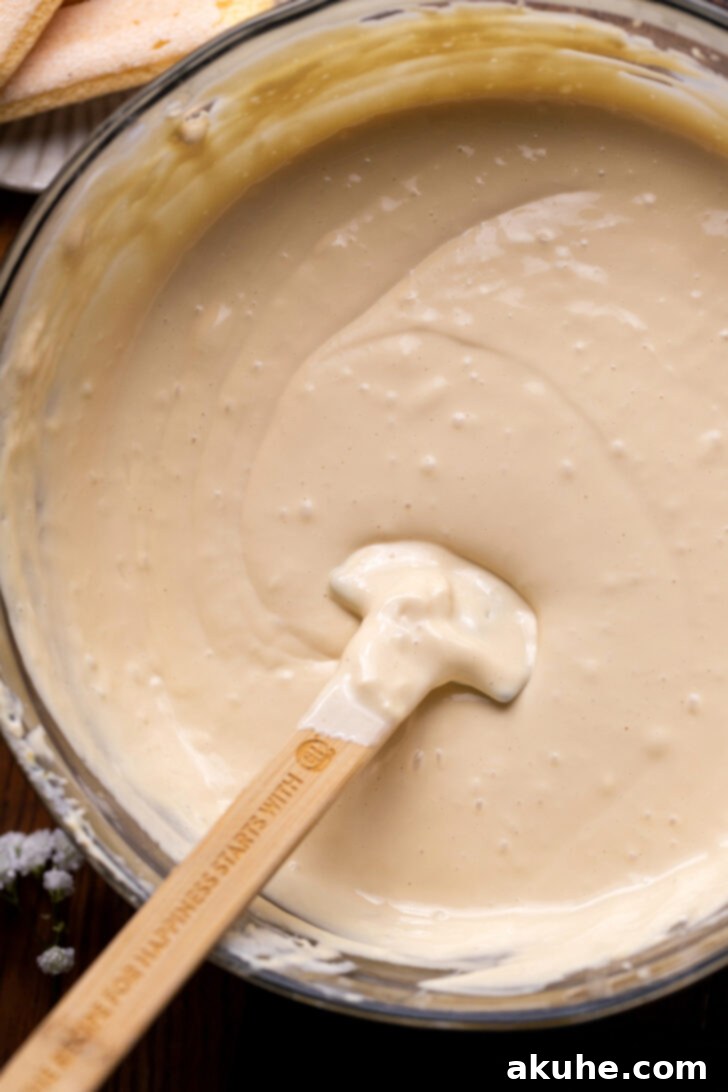
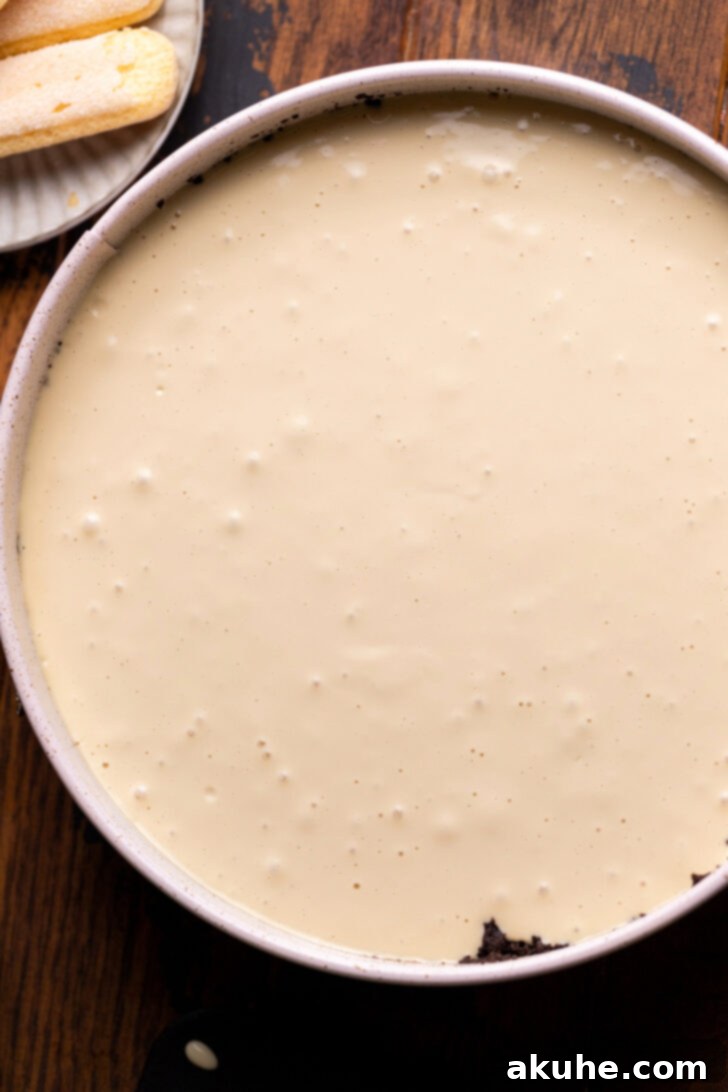
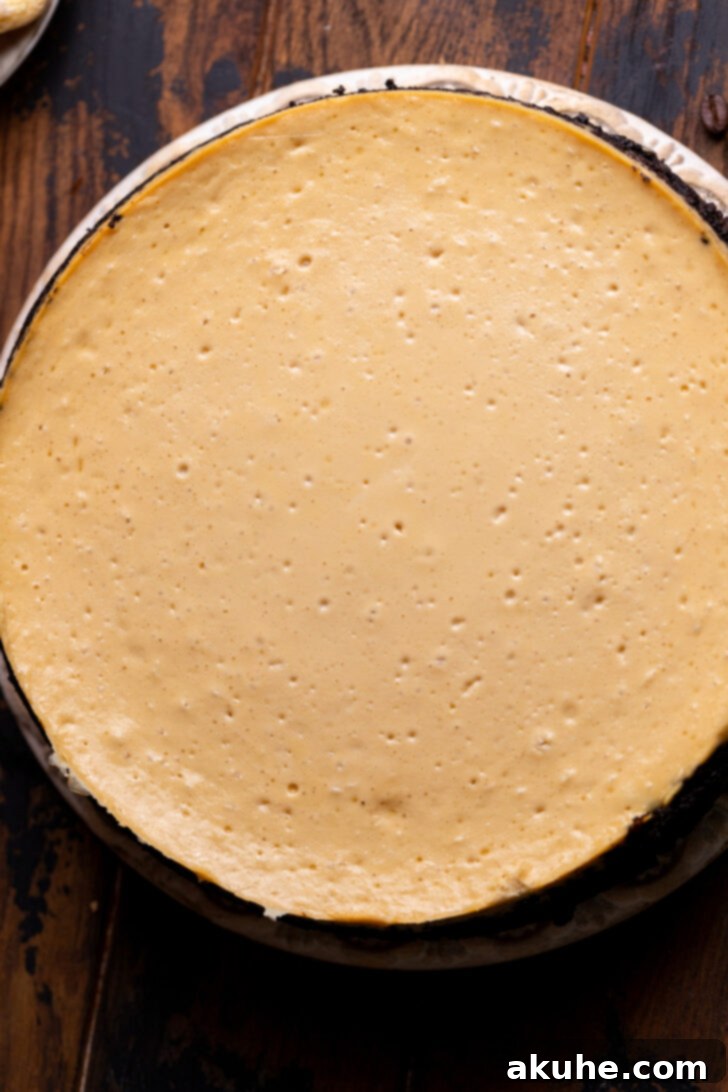
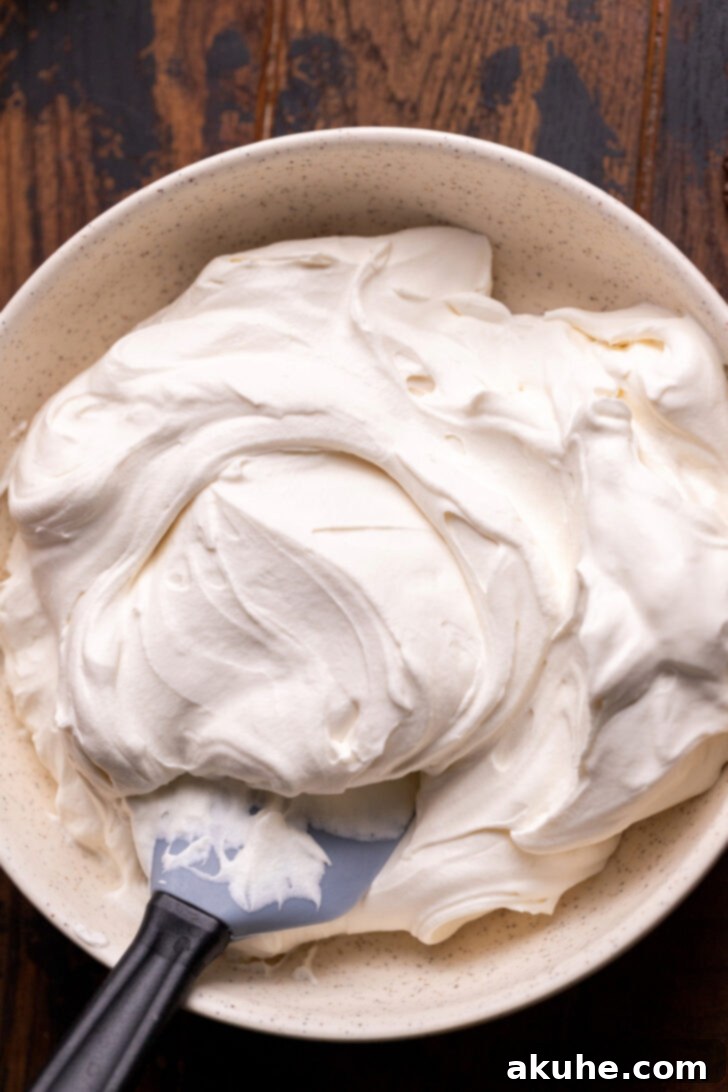
Assembling and Decorating Your Tiramisu Cheesecake Masterpiece
Once your espresso cheesecake has thoroughly chilled and set, the exciting part begins: assembly and decoration. This is where the dessert truly transforms into a tiramisu-inspired delight. The visual appeal is just as important as the taste, and with these steps, you’ll create a stunning presentation that rivals any bakery.
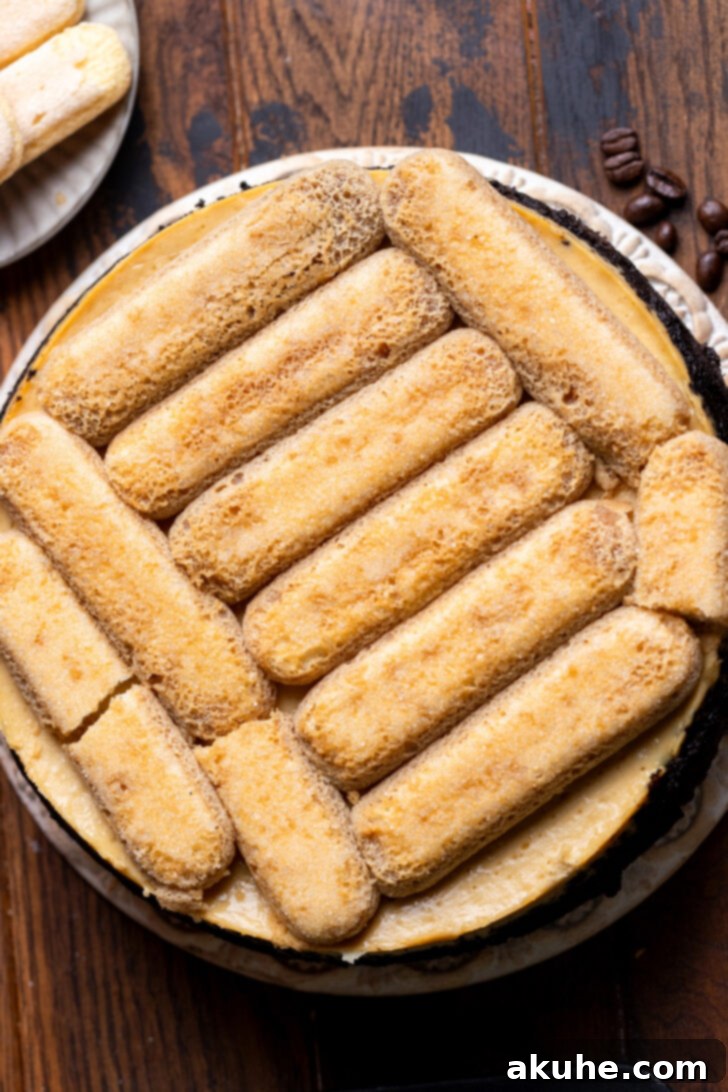
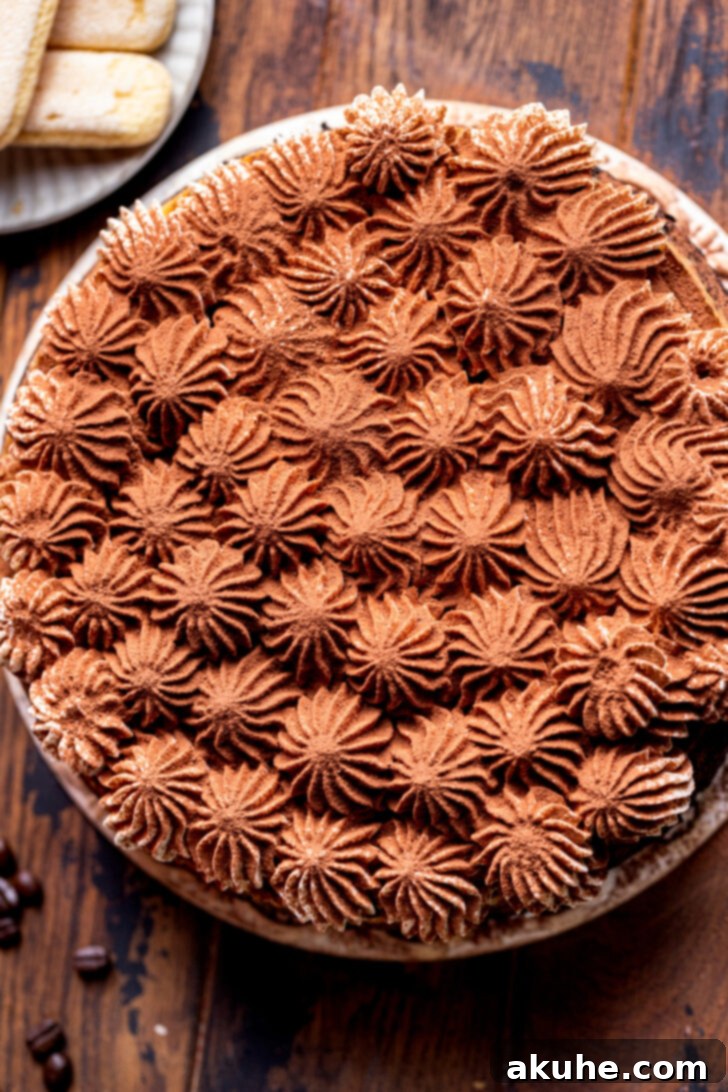
The key to perfect ladyfingers is a quick, light dip in espresso. You want them infused with coffee flavor, but not soggy, which could make your cheesecake watery. Arrange them neatly over the chilled cheesecake, trimming where necessary to fit. Then, pipe the velvety mascarpone cream – a luscious blend of mascarpone, powdered sugar, vanilla, and heavy cream – in beautiful rosettes or swirls. Finish with a generous dusting of unsweetened cocoa powder, giving your cheesecake that iconic tiramisu look and a subtle bitter contrast that perfectly balances the sweetness. Serve immediately or keep chilled until ready to impress!
If you’re a cheesecake enthusiast, you’ll love exploring other delightful variations. Don’t miss my no-bake chocolate cheesecake for a quick and easy dessert, or dive into the rich tradition of a classic New York-style cheesecake for a truly decadent experience.
We hope you adore this Tiramisu Cheesecake as much as we do! Your feedback helps us grow. Please leave astar review and share your baking success stories. Tag us on Instagram @stephaniesweettreats and follow us on Pinterest for more delectable dessert ideas and inspiration.
Rated 5 out of 5 stars from 20 reviews
Tiramisu Cheesecake
By Stephanie Rutherford
This tiramisu cheesecake is for all the espresso lovers! It has an Oreo crust with a creamy brown sugar espresso cheesecake. It is topped with espresso soaked ladyfingers, whipped mascarpone cream and cocoa powder.
Pin Recipe
Leave a Review
Ingredients
(Unit system: US)
The Crust
- 3 cups Oreos (fine crumb, equal to 26 Oreos)
- 5 TBSP Unsalted butter, melted
Espresso Cheesecake
- 32 oz Cream cheese, room temperature
- 1 cup Brown sugar, packed light or dark
- 2 tsp Pure vanilla extract
- 3/4 cup Sour cream, room temperature
- 1/3 cup Prepared Espresso, room temperature (1/3 cup hot water and 1 tsp of espresso powder)
- 4 Large eggs, room temperature
- 1 Egg yolk, room temperature
Whipped Mascarpone Cream
- 1 cup Prepared espresso
- 12 Ladyfingers
- 4 oz Mascarpone cheese, cold
- 1/2 cup Powdered sugar, sifted
- 1 tsp Pure vanilla extract
- 1 cup Heavy cream, cold
- 1/4 cup Cocoa powder, for dusting
Instructions
The Crust
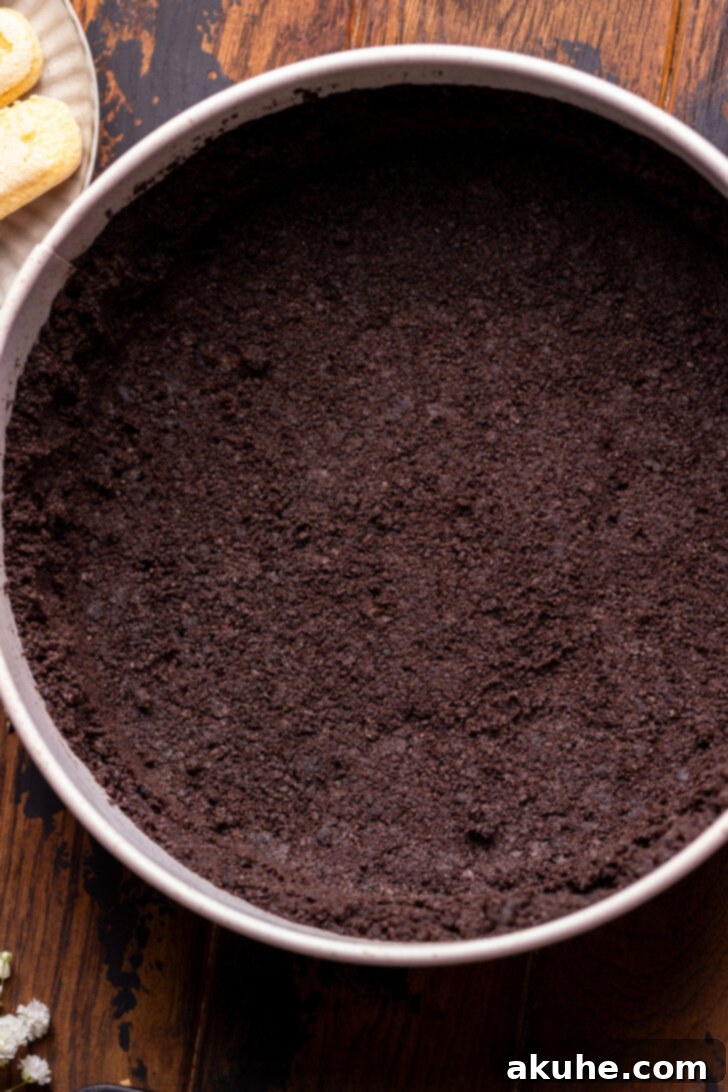
- Preheat the oven to 325℉. Spray a 9-inch springform pan with baking spray. Line the bottom of the pan with a parchment paper circle. Spray again.
- Using a food processor, blend the Oreos into a fine crumb. In a small bowl, add the Oreo crumbs and melted butter. Mix with a fork until combined. (Ingredients: 3 cups Oreos, 5 TBSP Unsalted butter)
- Pour the crumbs into the pan. Use your hands to press the crust halfway up the sides of the pan. Use the bottom of a measuring cup to compact the crust.
- Bake crust for 12 minutes.
Espresso Cheesecake
- Using a mixer, beat the cream cheese and brown sugar on high speed for 2 minutes. (Ingredients: 32 oz Cream cheese, 1 cup Brown sugar)
- Scrape the bowl using a baking rubber spatula. Add in the sour cream, espresso, and vanilla. Mix on medium until combined. (Ingredients: 2 tsp Pure vanilla extract, 3/4 cup Sour cream, 1/3 cup Prepared Espresso)
- Add in the eggs and egg yolk and mix on low speed until just combined. Scrape the bowl using the spatula. (Ingredients: 4 Large eggs, 1 Egg yolk)
- Pour cheesecake batter into pan. Prepare a water bath.
- Water Bath Options:
- Place springform pan in a 10-inch cake pan. Place cake pan in a roasting pan. Fill the roasting pan up halfway up the cake pan with hot steaming water.
- Wrap springform pan in foil tightly twice. Place pan in the roasting pan. Fill halfway up with hot steaming water.
- Bake cheesecake for 80-90 minutes. The cheesecake is done baking when the edges are set and the middle has a slight jiggle. If it is too jiggly, then bake for another 5 minutes and check again.
- Turn off the oven, crack open the door and let the cheesecake slowly cool for 30 minutes. Take cheesecake out of the oven and place on a wire rack. Let it cool completely before covering and chilling in the fridge for 6 hours or overnight.
Whipped Mascarpone Cream
- Using a hand mixer, beat the mascarpone (make sure it is cold so it won’t split) and powdered sugar until smooth. (Ingredients: 4 oz Mascarpone cheese, 1/2 cup Powdered sugar)
- Using a mixer, a metal bowl, and a whisk attachment, beat the heavy cream and vanilla on high speed until soft peaks form. (Ingredients: 1 cup Heavy cream, 1 tsp Pure vanilla extract)
- Add in the mascarpone to the whipped cream and beat on high until stiff peaks form. Set aside.
- Remove the cheesecake from the pan and remove the parchment paper. Soak the ladyfingers in the espresso and place on top of the cheesecake. Some of them will need to be cut so it fills the whole cheesecake. (Ingredients: 1 cup Prepared espresso, 12 Ladyfingers)
- Pipe circles of the mascarpone cream on top of the ladyfingers. Place the cocoa powder in a mesh sieve to dust it evenly over the cream. Keep the cheesecake cold before serving. (Ingredients: 1/4 cup Cocoa powder)
Notes
Pull out dairy ingredients 2 hours before baking to ensure they reach room temperature.
Nutrition Information
Carbohydrates: 49g,
Protein: 8g,
Fat: 41g,
Saturated Fat: 22g,
Polyunsaturated Fat: 3g,
Monounsaturated Fat: 11g,
Trans Fat: 0.2g,
Cholesterol: 127mg,
Sodium: 323mg,
Potassium: 224mg,
Fiber: 1g,
Sugar: 29g,
Vitamin A: 1319IU,
Vitamin C: 0.2mg,
Calcium: 112mg,
Iron: 4mg
Did you make this recipe? Please leave a star rating and review below!
