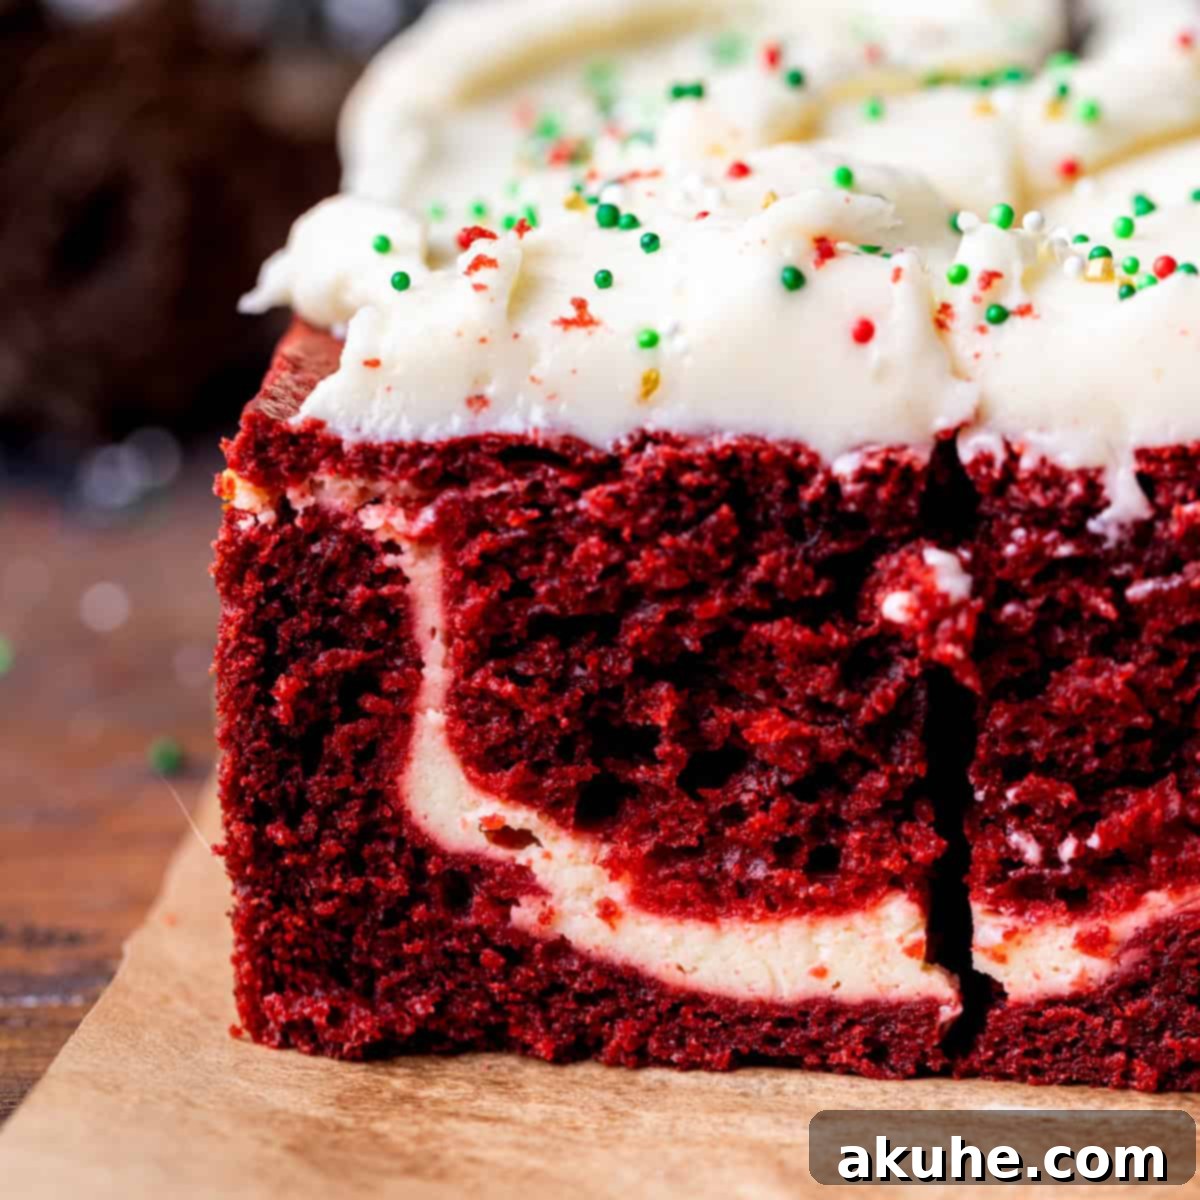
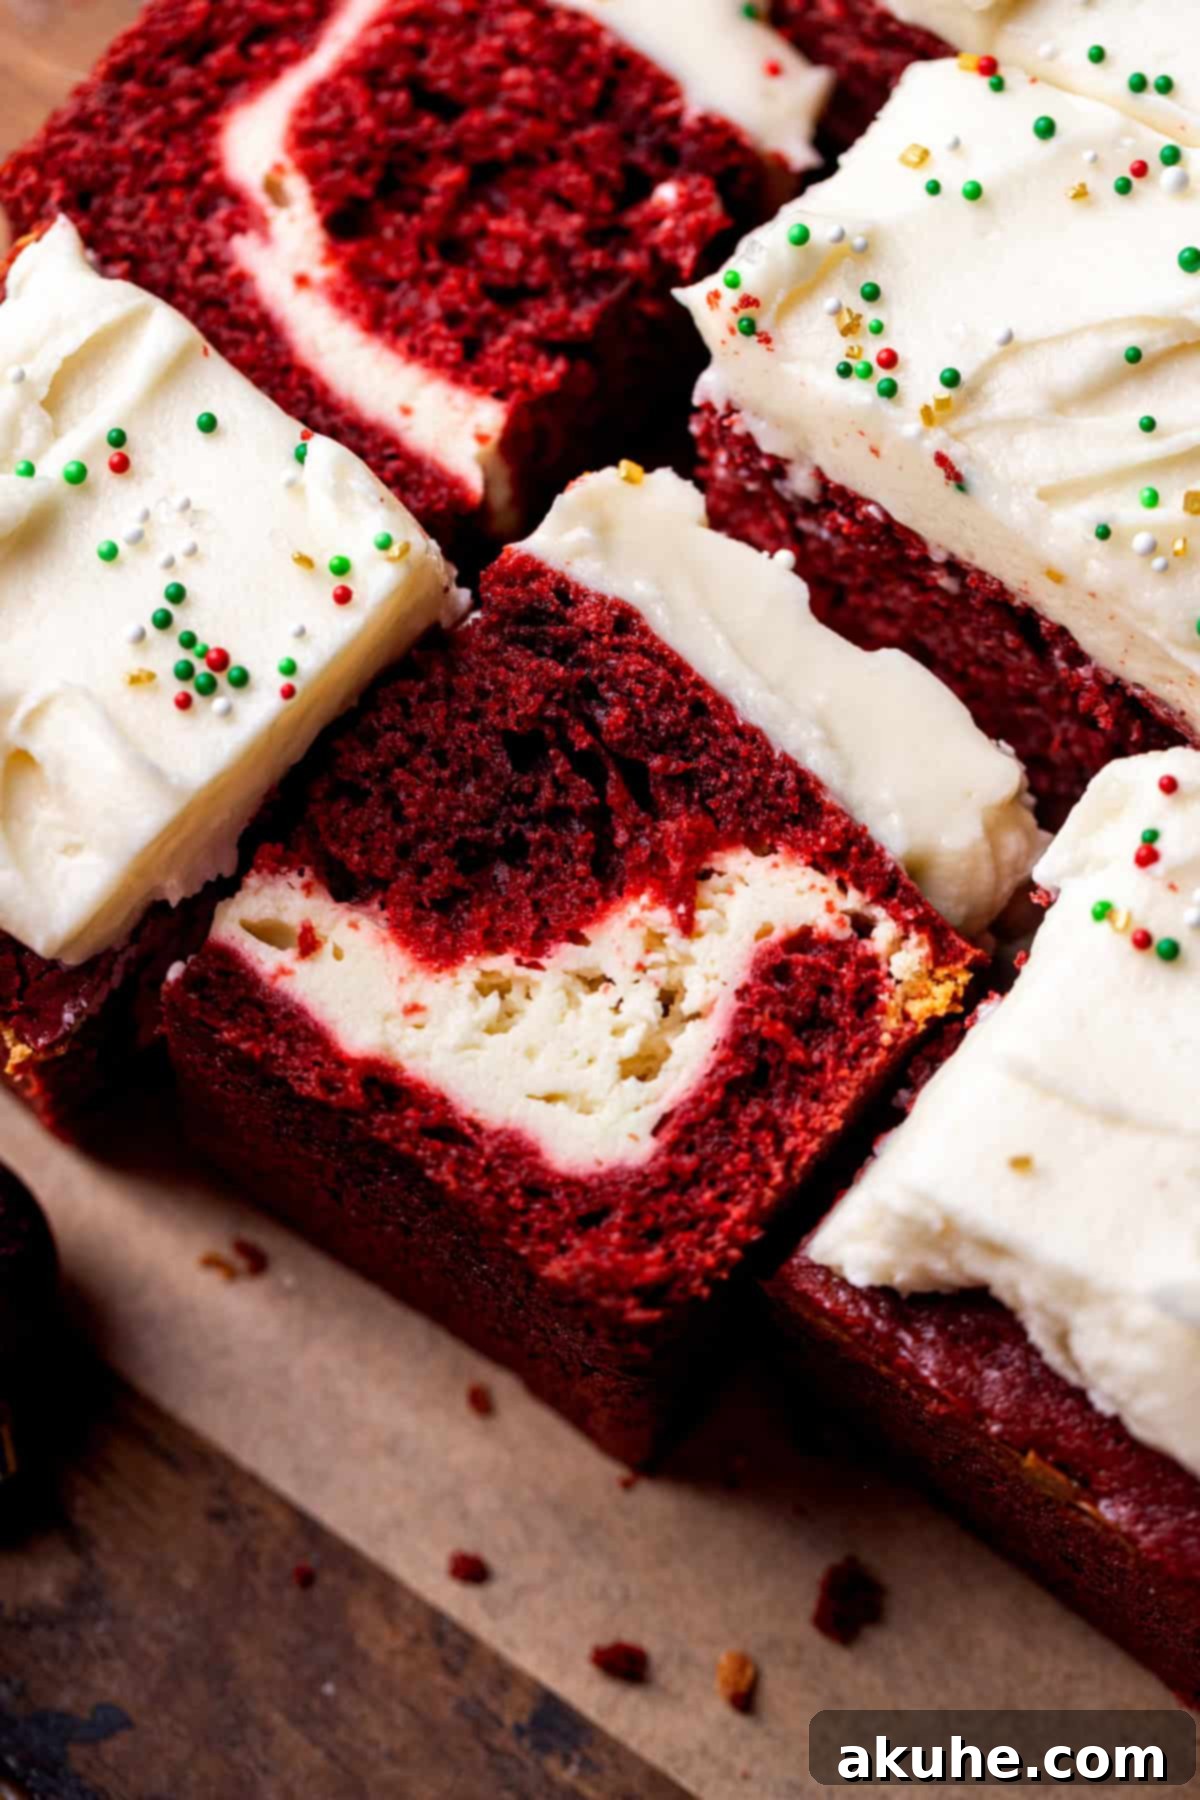
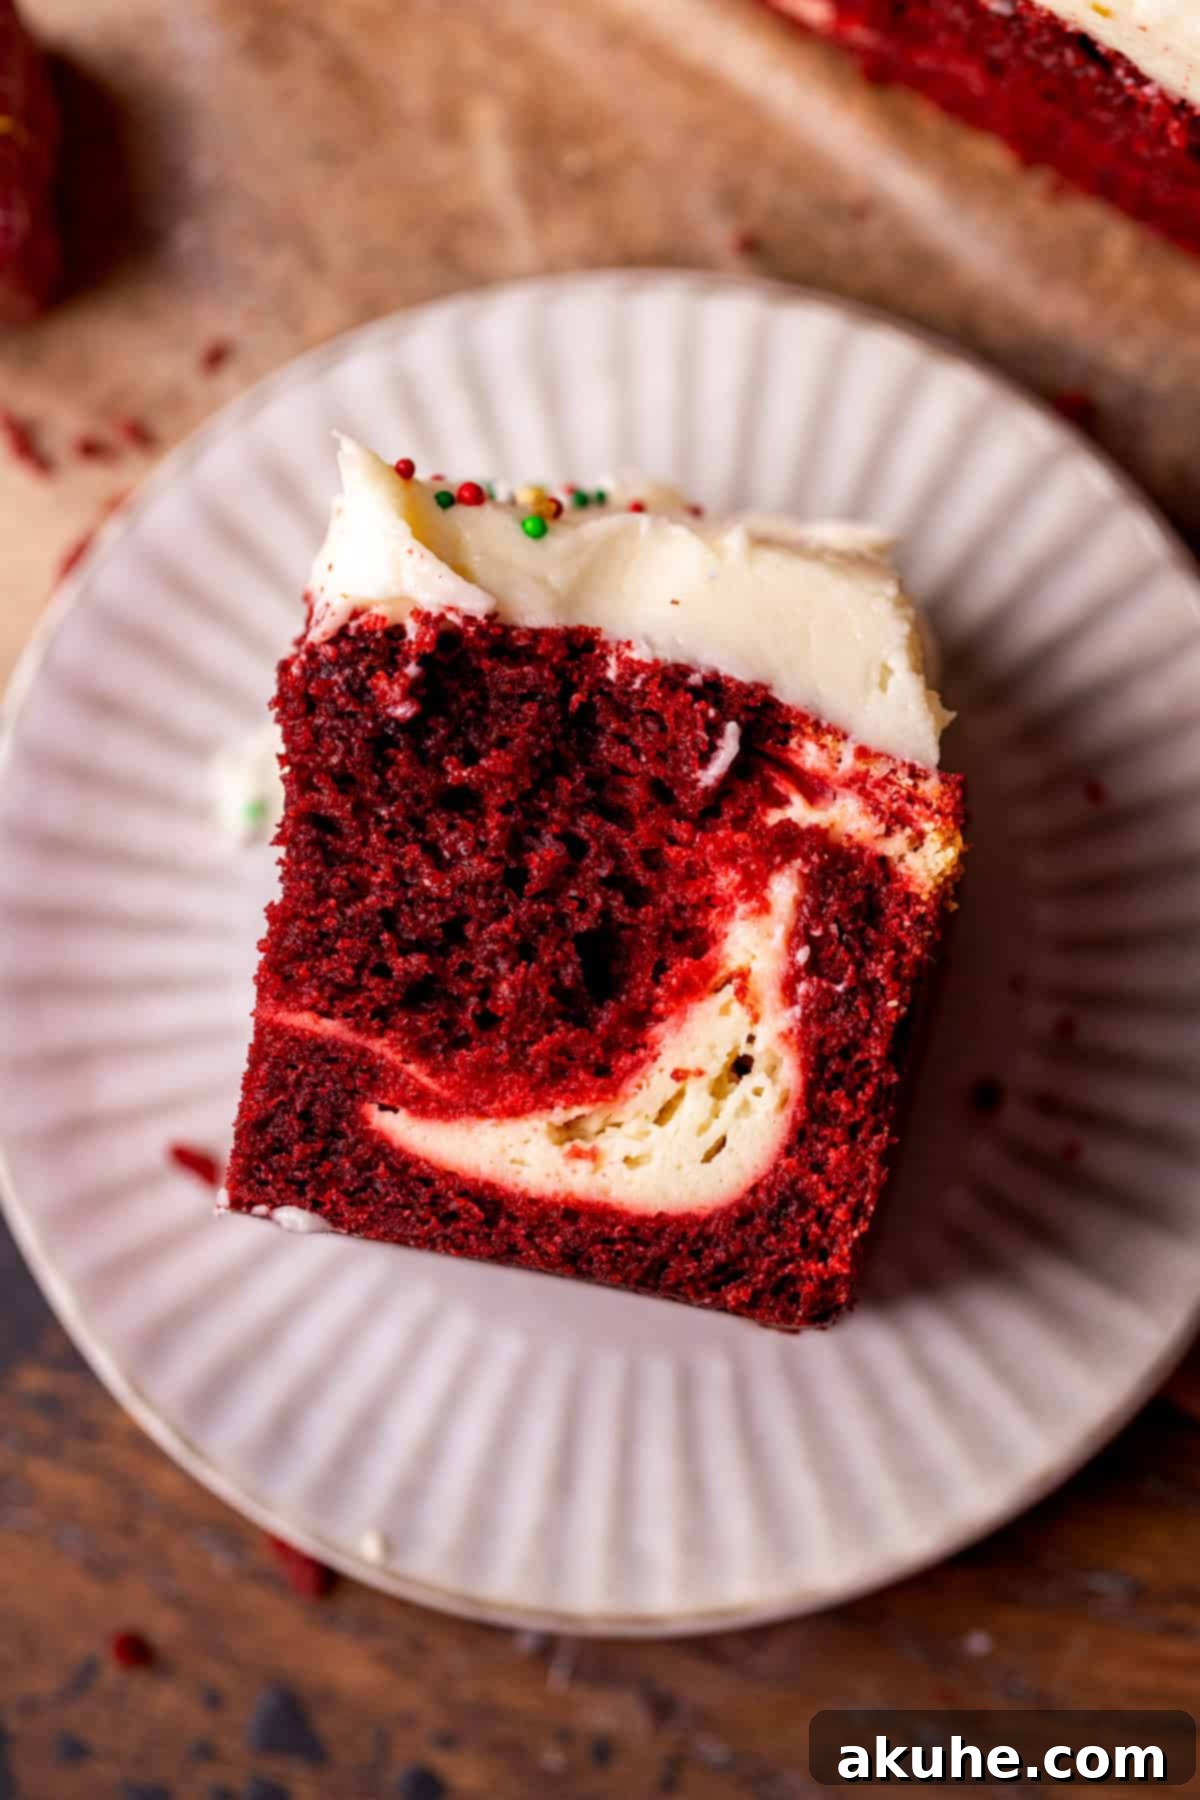
The holiday season calls for something truly special, and this **Red Velvet Christmas Cake with a delightful cheesecake layer** is the perfect festive centerpiece. Imagine a rich, moist red velvet cake, subtly chocolatey with that signature tangy note, beautifully contrasted by a creamy, luscious cheesecake filling. Crowned with a classic, velvety cream cheese icing, this single-layer wonder promises to be the star of your holiday dessert table. Its vibrant red and white hues naturally evoke the spirit of Christmas, making it not just a treat for the taste buds but also a feast for the eyes.
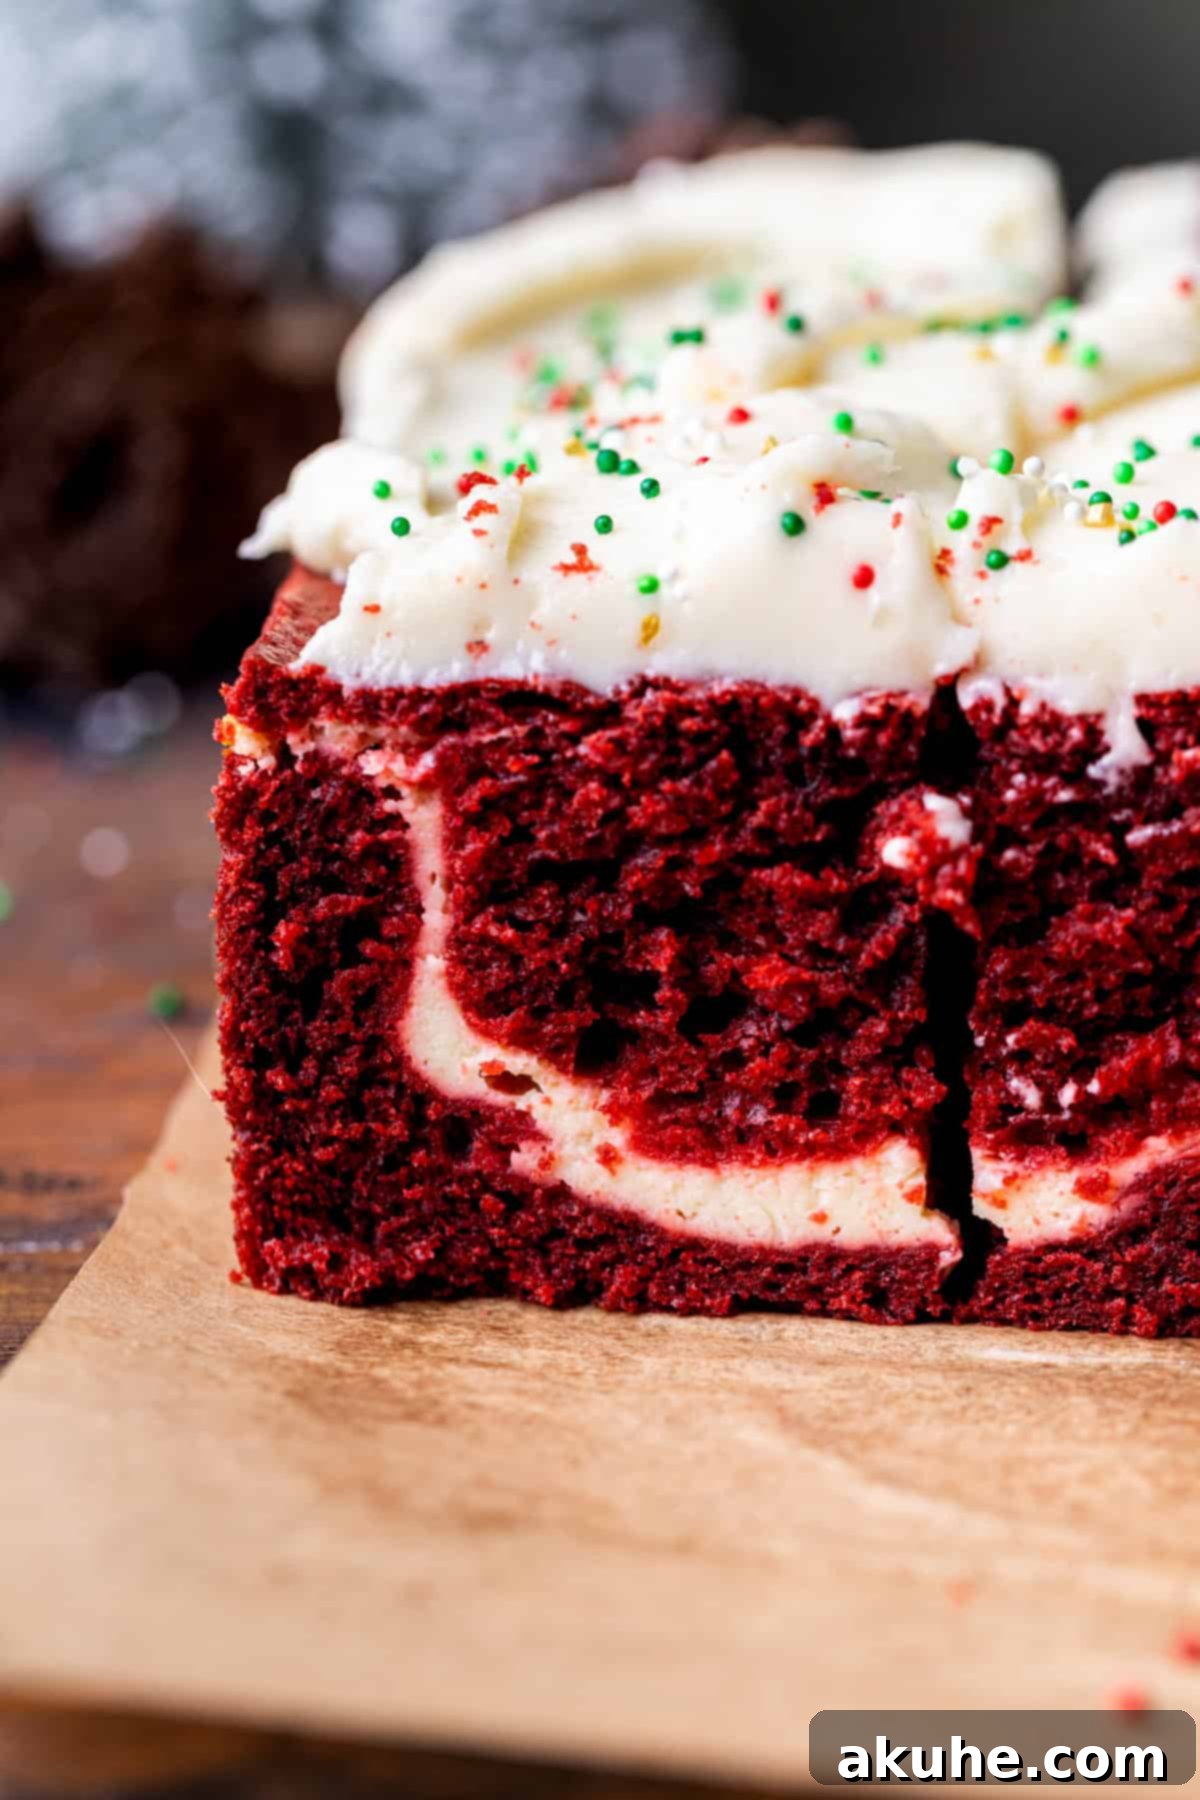
Creating this magnificent Christmas cake is surprisingly straightforward, offering a perfect balance of ease and elegance. The authentic red velvet flavor, with its distinctive tangy chocolate profile, is amplified by the decadent cheesecake layer nestled within. This innovative combination elevates a traditional holiday favorite to an entirely new level of deliciousness. For those who might prefer a different cake format, like a bundt cake, there are other fantastic options available, such as this delightful bundt cake version. However, for a show-stopping holiday dessert that perfectly captures the joy of the season, this layered sheet cake is simply unbeatable.
Why Red Velvet Cake Reigns Supreme for the Holidays
Red velvet cake holds a special place in the hearts of dessert lovers, and for good reason! Its enduring popularity, especially during the festive season, stems from several key characteristics that make it utterly irresistible:
- Distinctive Tangy Chocolate Flavor: Unlike a robust dark chocolate cake, red velvet offers a nuanced, gentle cocoa flavor complemented by a delightful tang. This unique taste profile is achieved through the careful balance of ingredients like buttermilk, vinegar, and a lower quantity of cocoa powder compared to traditional chocolate cakes. The acidity reacts with the cocoa, enhancing its subtle notes and creating a truly memorable flavor experience.
- Incredibly Soft and Moist Texture: One of the hallmarks of a well-made red velvet cake is its supremely soft, velvety crumb. This moist texture is thanks to the combination of buttermilk, oil, and often a touch of sour cream, which contribute to a tender cake that practically melts in your mouth. Each bite is a luxurious experience, making it deeply satisfying to eat.
- Naturally Festive Visual Appeal: With its striking contrast of deep red cake and bright white cream cheese icing, red velvet is inherently festive. This vibrant color scheme makes it a natural choice for holiday gatherings, birthdays, Valentine’s Day, and other celebrations where a splash of color adds to the joy. It’s a dessert that not only tastes good but also looks spectacular on any dessert spread.
- Approachable and Rewarding Baking Experience: Despite its sophisticated appearance, many red velvet recipes, including this sheet cake version, are quite simple to make. This makes it an ideal baking project for busy holidays when you want to impress without spending hours in the kitchen. The process is straightforward, and the results are consistently delicious, making it a favorite for home bakers.
If you’ve primarily experienced store-bought red velvet cakes, prepare for a revelation! Baking this cake fresh at home unleashes a depth of flavor and a superior texture that simply cannot be matched by commercially produced versions. The aroma alone will fill your home with holiday cheer.
Expert Tips for Crafting Your Perfect Red Velvet Christmas Cake
Achieving a bakery-quality Red Velvet Christmas Cake at home is entirely within reach with a few essential tips. Follow these guidelines to ensure your cake turns out moist, flavorful, and beautifully structured:
- Extended Bake Time Explained: This cake features a cheesecake layer, which naturally increases the overall baking time compared to a standard red velvet cake. Do not be alarmed by the longer duration. The moisture from the cheesecake layer actually helps prevent the red velvet cake from drying out, ensuring both layers bake perfectly without compromising texture. Always rely on the toothpick test for doneness, rather than just the timer.
- Gentle Mixing for Cheesecake Perfection: When incorporating the egg into your cheesecake batter, it’s crucial to mix on the lowest possible speed, just until combined. Over-mixing introduces too much air, which can cause the cheesecake layer to puff up excessively during baking and then dramatically sink in the middle as it cools, leading to cracks or an uneven texture. A smooth, dense cheesecake is the goal.
- Accurate Flour Measurement is Key: The amount of flour significantly impacts the final texture of your cake. For precise measurement, gently spoon flour into your measuring cup until it overflows, then level it off with a straight edge (like the back of a knife). Avoid scooping directly from the bag or pressing the flour down into the cup, as this compacts it, leading to an excess of flour and a dry, dense cake. Using a kitchen scale for flour is even more accurate if you have one.
- Bring Dairy to Room Temperature: For both the cake batter and the cream cheese frosting, ensuring dairy ingredients (like cream cheese, butter, eggs, buttermilk, and sour cream) are at room temperature is paramount. Room temperature ingredients emulsify more effectively, resulting in a smoother, more uniform batter and frosting. This is especially vital for the cheesecake layer; cold cream cheese will form stubborn lumps that are difficult to incorporate, leading to an inconsistent texture. Plan ahead and pull these ingredients out of the fridge at least an hour or two before you begin baking.
- Use Quality Food Coloring for Vibrancy: To achieve that rich, iconic red hue without affecting the cake’s flavor, opt for a high-quality gel food coloring, such as Americolor Super Red. Gel colors are concentrated, meaning you need less to achieve a vibrant result, unlike liquid food colorings which can dilute your batter and potentially add an unwanted taste.
Unpacking the Essence of Red Velvet Cake
Red velvet cake is more than just a red-colored chocolate cake; it’s a culinary masterpiece with a fascinating history and a distinctive flavor profile. At its core, red velvet is a cocoa-infused cake characterized by a buttermilk and vinegar tang, and its signature reddish hue.
Historically, red velvet cake gained its slight reddish-brown color from the chemical reaction between acidic ingredients like buttermilk and vinegar, and non-Dutched anthocyanin-rich cocoa powder. When these ingredients react, they naturally bring out reddish pigments in the cocoa. Early recipes often included cooked beets or beet juice, not just for color, but also for moisture, further contributing to the deep red tone and velvety texture. The term “velvet” itself refers to the smooth, tender crumb, a result of using cocoa powder, which tenderized cakes before the widespread use of baking soda and baking powder.
In modern baking, the vibrant red color we associate with red velvet cake is predominantly achieved with red food coloring. While some traditionalists might argue against it, the use of a high-quality gel food dye allows for a consistent, brilliant red that is truly eye-catching. For instance, Americolor Super Red food dye is highly recommended because it provides an intense color with minimal product, ensuring the dye doesn’t impart any unwanted flavor to the delicate cake.
Compared to a traditional chocolate cake, red velvet typically uses a much smaller amount of cocoa powder – often as little as one-quarter of what you’d find in a rich chocolate cake recipe. This contributes to its milder chocolate flavor, allowing the tangy notes from the buttermilk and vinegar to shine through, creating that unique, almost malty complexity that defines red velvet.
Effortless Assembly and Festive Decoration
Assembling this Red Velvet Christmas Cake is a rewarding process that guarantees a beautiful, layered dessert. Start by evenly spreading half of your vibrant red velvet batter into the prepared baking pan. Using an offset spatula will help you achieve a smooth, uniform layer, which is essential for ensuring the cheesecake remains perfectly centered within the cake.
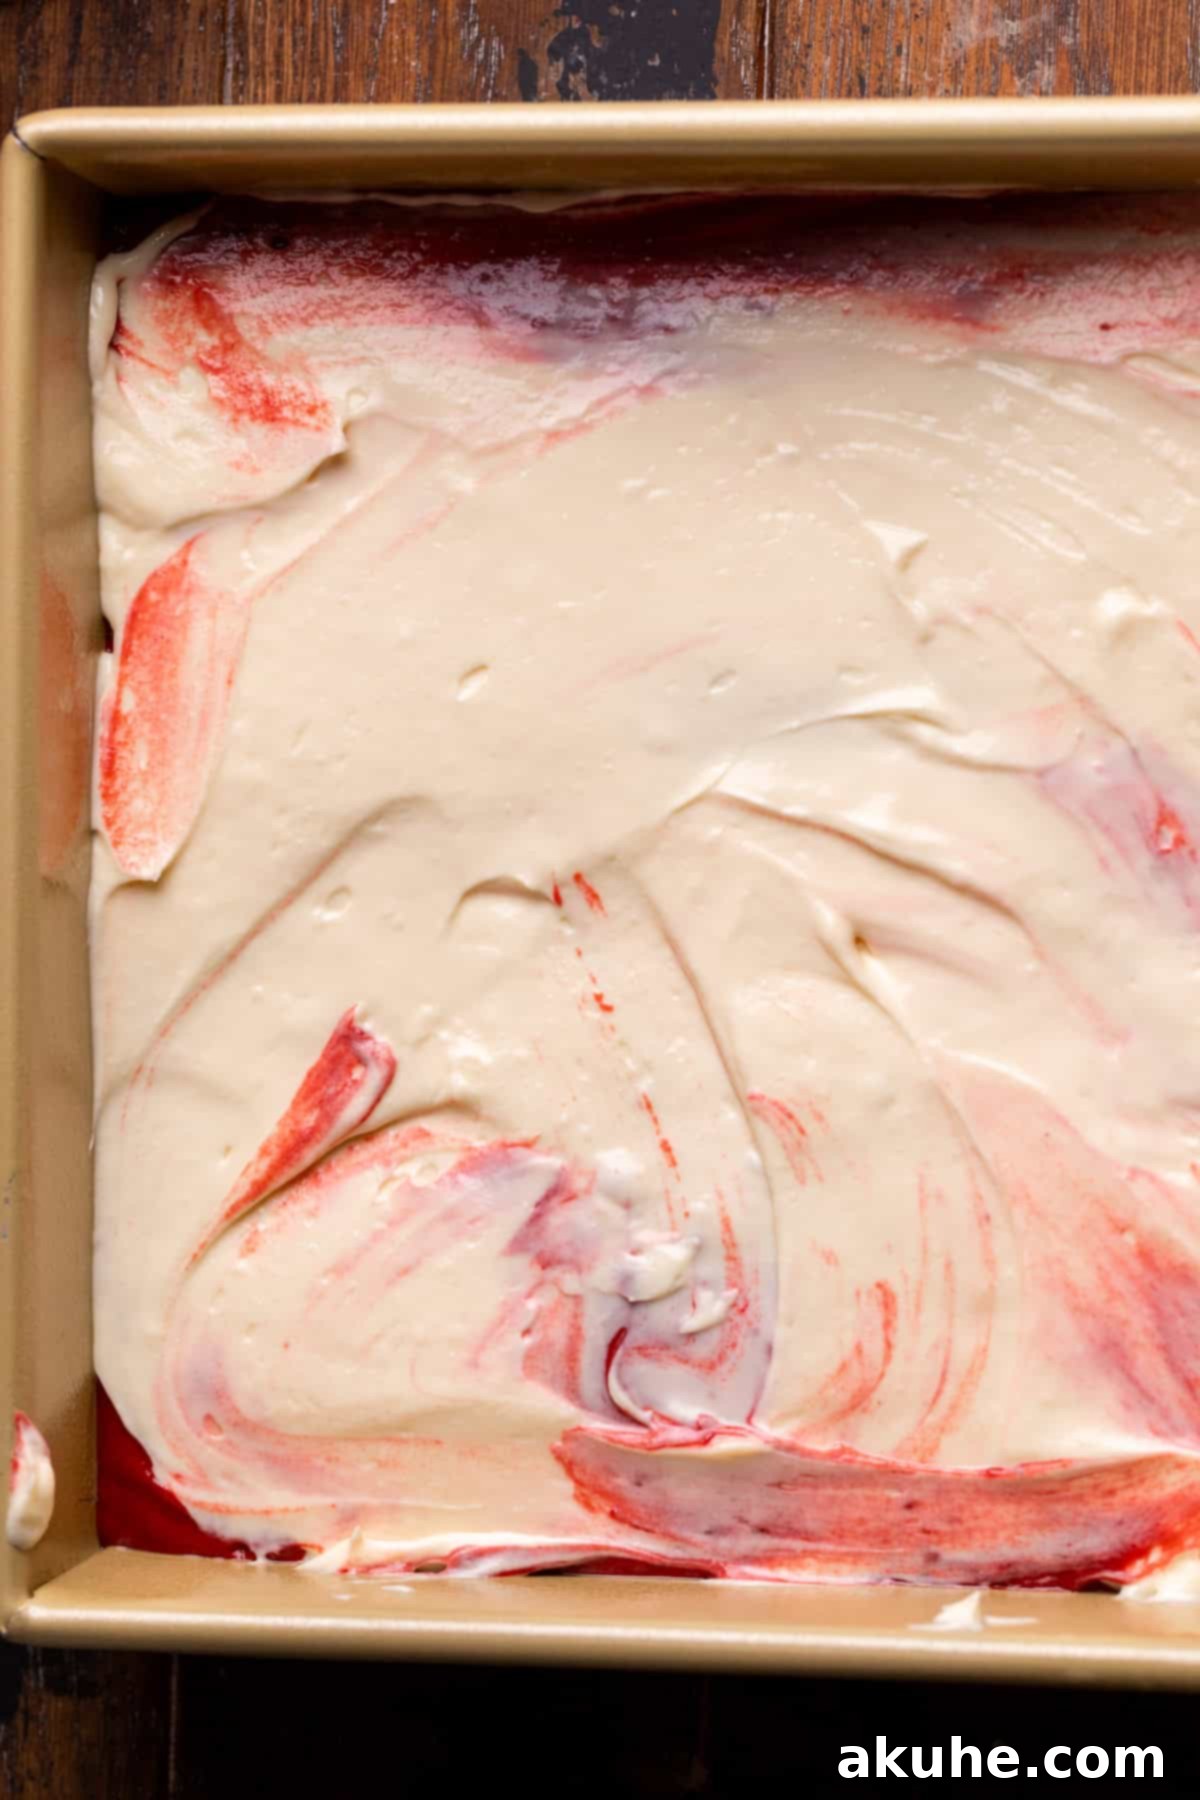
Next, carefully spoon and spread the cheesecake layer over the red velvet batter. Again, an offset spatula will be your best friend here, allowing you to gently spread the rich, creamy mixture evenly from edge to edge without disturbing the base layer. This precision ensures a distinct, appealing cheesecake band when you slice into the finished cake.
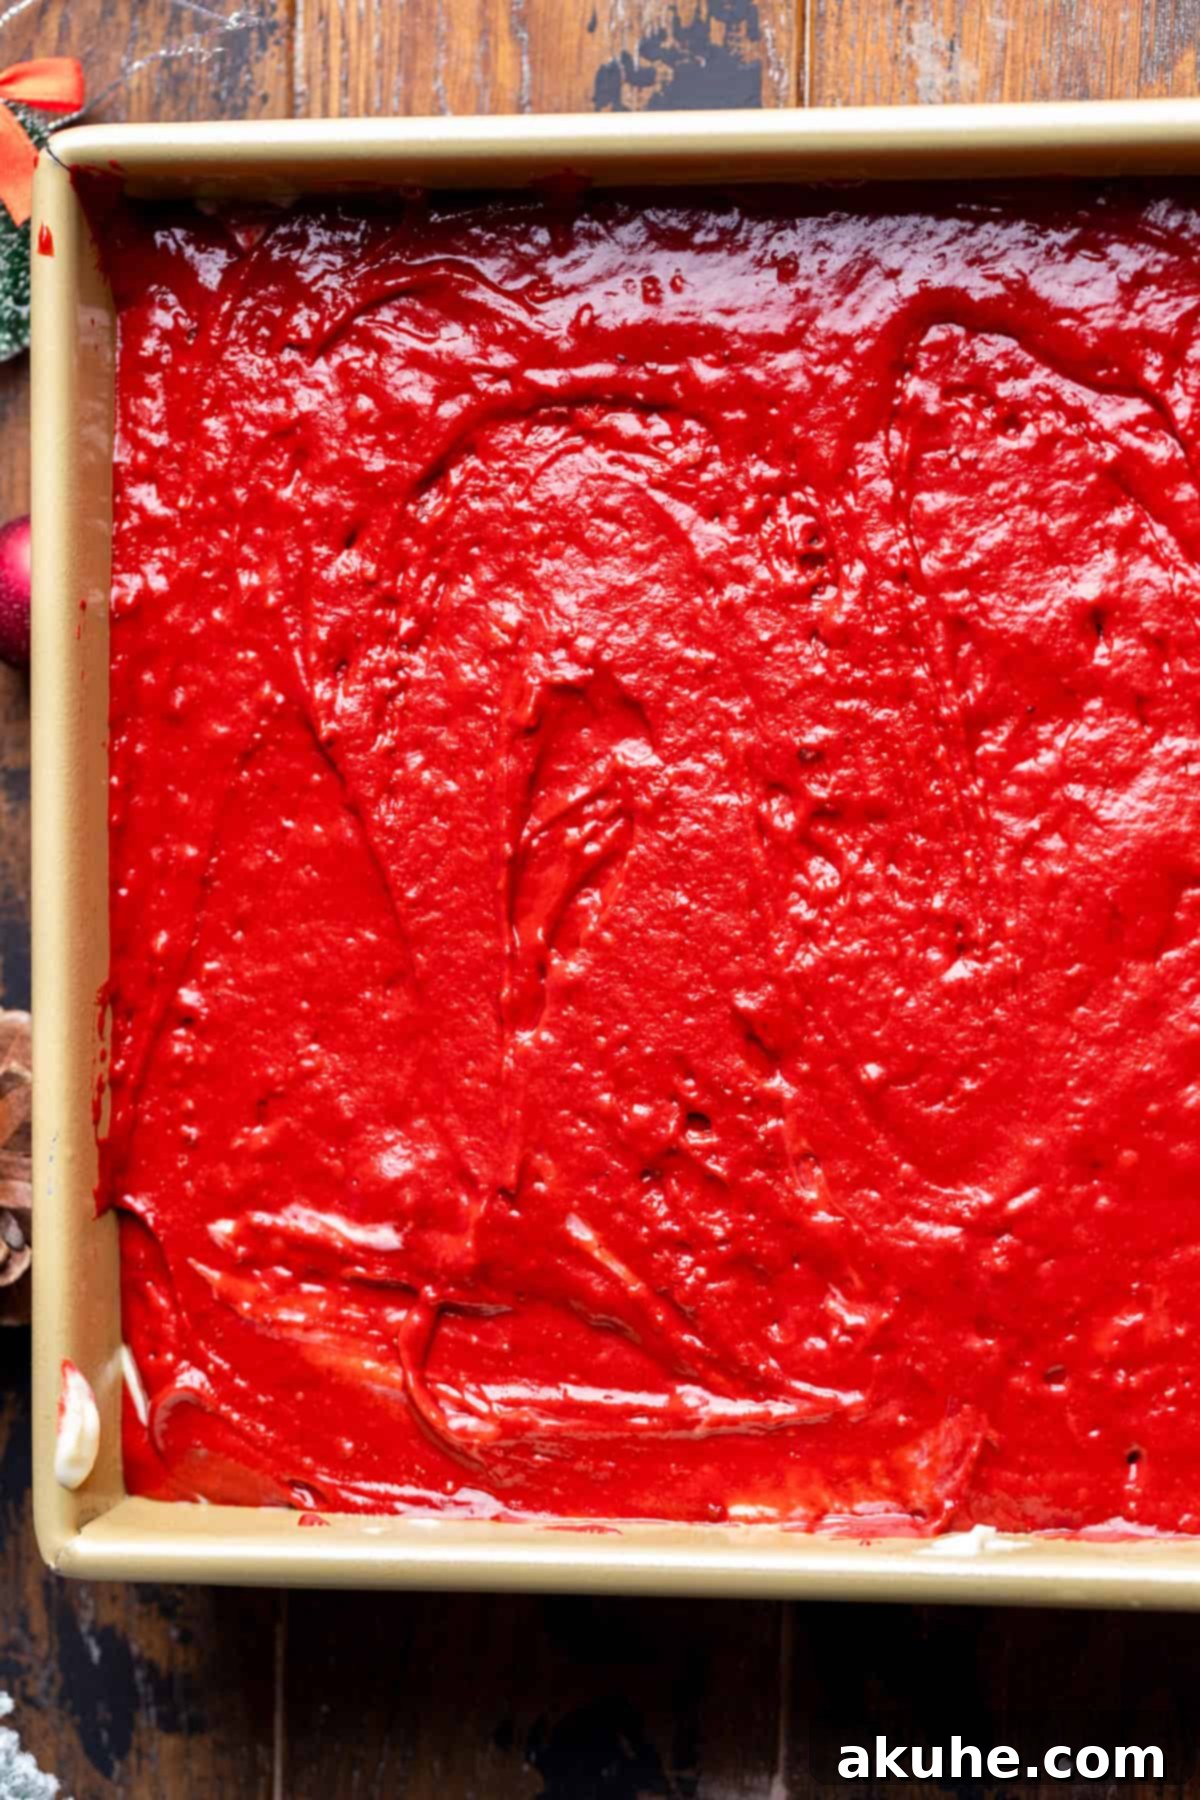
Finally, top the cheesecake layer with the remaining red velvet cake batter, spreading it carefully to cover the cheesecake completely. Take your time to create an even top layer, as this will result in a beautifully flat surface for frosting. Bake the cake as directed, remembering that the cheesecake layer will extend the baking time. A wooden skewer or toothpick inserted into the center should come out clean, perhaps with a few moist crumbs attached from the cheesecake, indicating it’s perfectly baked.
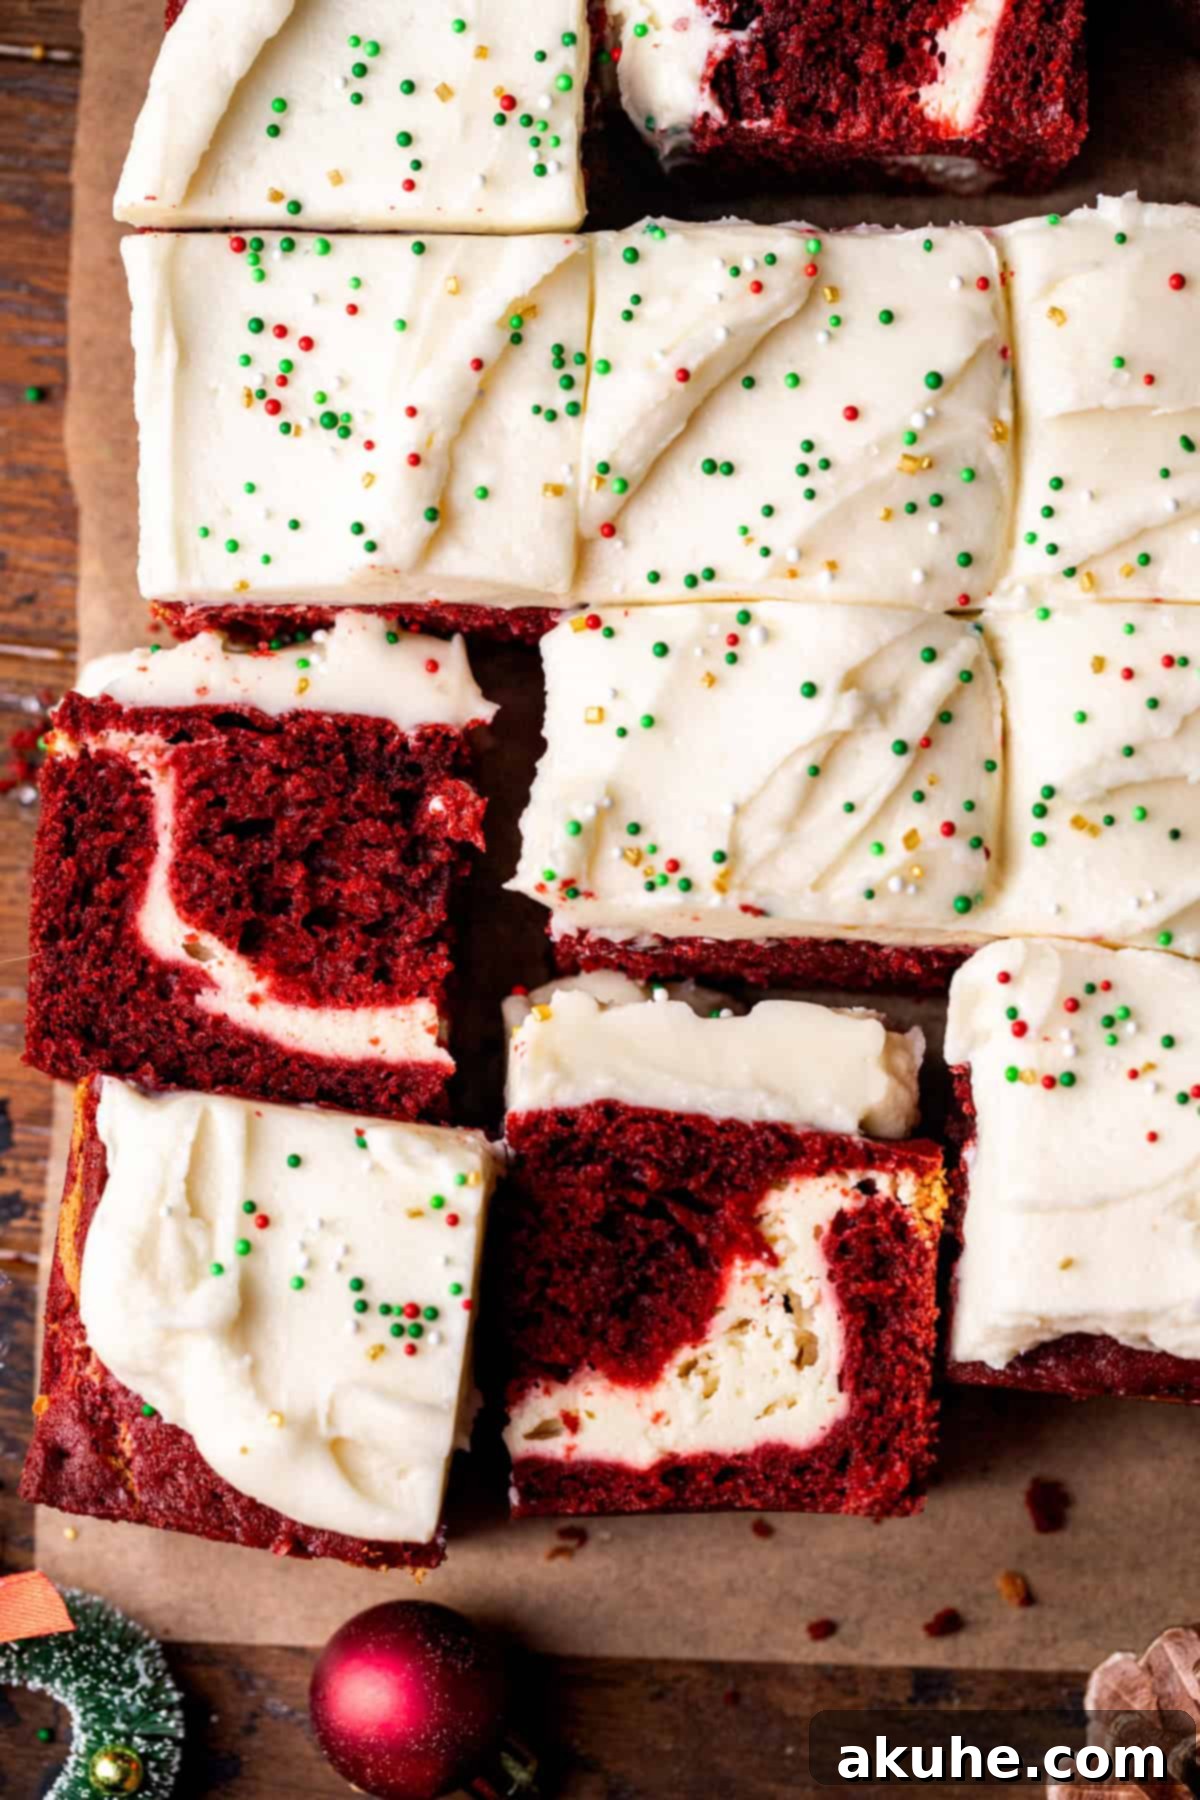
Once cooled, the cake is ready for its crowning glory: the luscious cream cheese icing. Spread it generously over the top of the cake, creating soft swirls or a smooth, elegant finish. For a festive Christmas touch, adorn your cake with holiday-themed sprinkles, edible glitter, or even fresh cranberries and rosemary sprigs for a sophisticated look. If you decide to bake this cake for another occasion, such as Valentine’s Day or a birthday, simply swap out the sprinkles for colors and themes that match your celebration. The versatility of this cake makes it suitable for any special event, always delivering on taste and presentation.
Red Velvet Cake FAQs
Here are answers to some common questions about making and storing your Red Velvet Christmas Cake:
Can I use a different size cake pan?
This recipe is designed for a 9×9 inch pan. If you wish to use a larger 9×13 inch pan, you would need to double the entire recipe to ensure adequate thickness for both cake and cheesecake layers. Please note that using a smaller pan than specified is not recommended, as the batter volume for this recipe already fills most of a 9×9 inch pan and would likely overflow in a smaller size.
Can this recipe be adapted for cupcakes?
Absolutely! This recipe can be beautifully transformed into individual Red Velvet Cheesecake Cupcakes. You can expect to yield approximately 18 standard-sized cupcakes. When layering, follow the same principle: fill cupcake liners halfway with red velvet batter, spoon a dollop of cheesecake batter into the center, and then top with more red velvet batter. Be mindful that the baking time will be significantly reduced for cupcakes. Start checking for doneness around 18 minutes, as a toothpick inserted should come out clean.
How should I store the Red Velvet Christmas Cake?
To maintain its freshness and delicious flavor, store your Red Velvet Christmas Cake in an airtight container, such as a cake carrier. This cake should be kept refrigerated for up to 5 days due to the cream cheese and cheesecake layers. If you want to enjoy it longer, the cake freezes exceptionally well. Place it in a freezer-safe, airtight container and store it in the freezer for up to 30 days. Thaw in the refrigerator before serving for the best results.
Discover More Festive Christmas Recipes
If you’re eager to explore more delightful holiday treats, be sure to check out these other irresistible recipes:
- White Chocolate Peppermint Cheesecake
- Peppermint Brownies
- Hot Chocolate Cheesecake
- Reindeer Cookies
- Gingerbread Cinnamon Rolls
We hope you love this Red Velvet Christmas Cake as much as we do! Your feedback means the world to us. Please make sure to leave a **STAR REVIEW** if you enjoyed this recipe. We’d also love to see your creations! Tag us on Instagram @stephaniesweettreats. For more delicious inspiration and baking ideas, don’t forget to follow me on Pinterest.
Red Velvet Christmas Cake
Authored by: Stephanie Rutherford
This red velvet Christmas cake is a one-layer red velvet cake with a cheesecake layer in the middle. Topped with cream cheese icing. It is perfect to make for the holiday season.
Prep Time: 1 hour
Cook Time: 30 minutes
Total Time: 1 hour 30 minutes
Servings: 16 slices
Ingredients
Cheesecake Layer
- 12 oz Cream cheese, room temperature
- 1/4 cup White granulated sugar
- 1 TBSP All-purpose flour
- 1 tsp Pure vanilla extract
- 1 Large egg, room temperature
Red Velvet Cake
- 3 cups All-purpose flour
- 1/4 cup Unsweetened cocoa powder (Dutch process recommended)
- 2 tsp Baking powder
- 1 tsp Baking soda
- 1 tsp salt
- 1 cup Oil (canola or vegetable)
- 1 1/2 cups White granulated sugar
- 1 tsp White vinegar
- 1 tsp Pure vanilla extract
- 3 Large eggs, room temperature
- 3/4 cup Sour cream, room temperature (or Greek yogurt)
- 1 cup Buttermilk, room temperature
- 1 tsp Red gel food coloring
Cream Cheese Frosting
- 4 oz Cream cheese, room temperature
- 1 cup Unsalted butter, room temperature
- 3 cups Powdered sugar, sifted
- 1 tsp Pure vanilla extract
Instructions
Cheesecake Layer
- In a small bowl, using a hand mixer, beat the cream cheese and sugar on high speed for 1 minute. Add in the flour and vanilla and mix on medium speed until just combined.
- Add in the large egg and mix on low speed until just combined. Set aside.
Red Velvet Cake
- Preheat the oven to 350℉ (175°C). Spray a 9×9 inch baking pan with baking spray. Line the bottom with parchment paper and spray again.
- In a medium bowl, whisk together the flour, cocoa powder, baking powder, baking soda, and salt. Set aside.
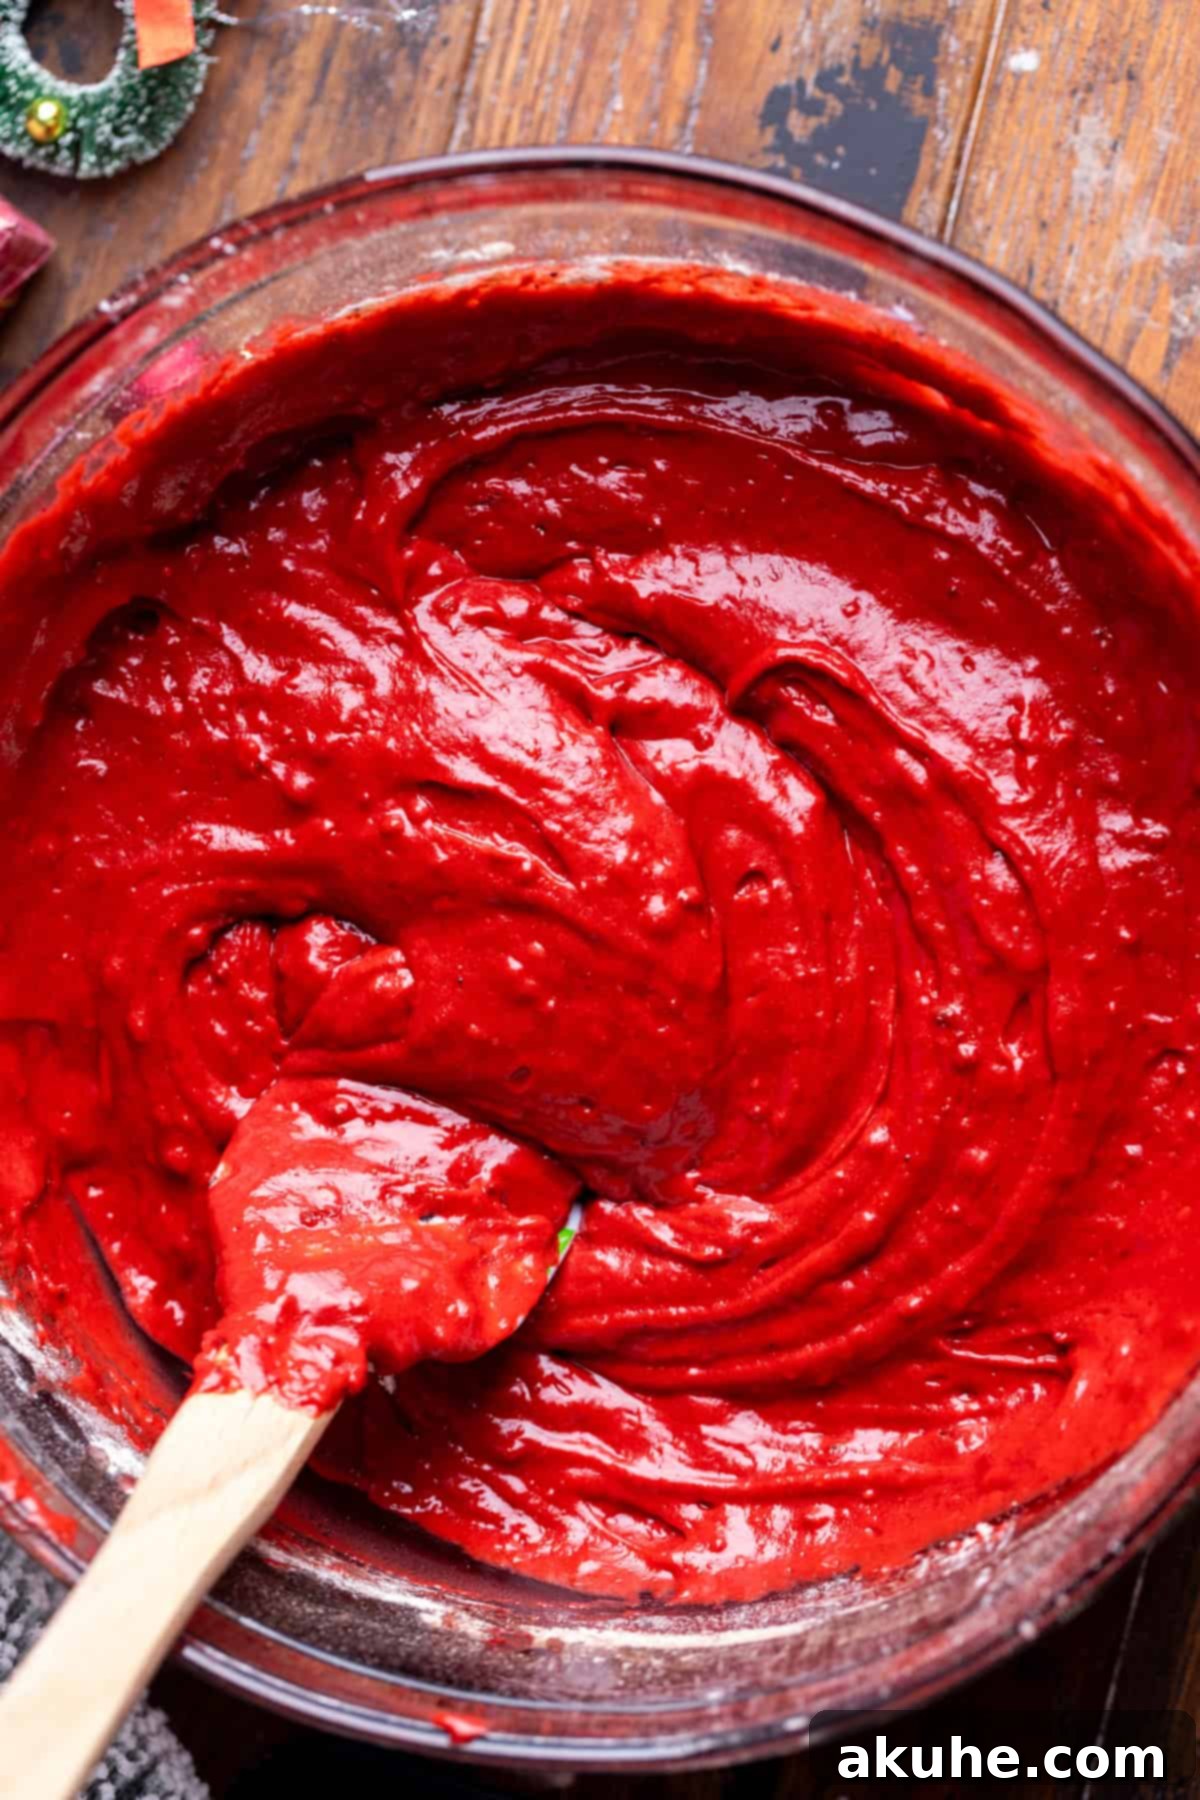
- In a large bowl, whisk together the oil, sugar, vinegar, vanilla, sour cream, eggs, buttermilk, and red food coloring. Mix until all ingredients are well combined and the color is uniform.
- Gradually add the dry ingredients to the wet ingredients. Use a baking rubber spatula to mix until just combined, being careful not to overmix.
- Spread half of the red velvet cake batter evenly into the prepared pan. Use an offset spatula for a smooth layer. Use a spoon or a cookie scoop to dollop the cheesecake batter evenly across the red velvet layer. Gently spread the cheesecake batter evenly with an offset icing spatula. Top with the remaining red velvet cake batter, spreading it evenly to cover the cheesecake layer completely.
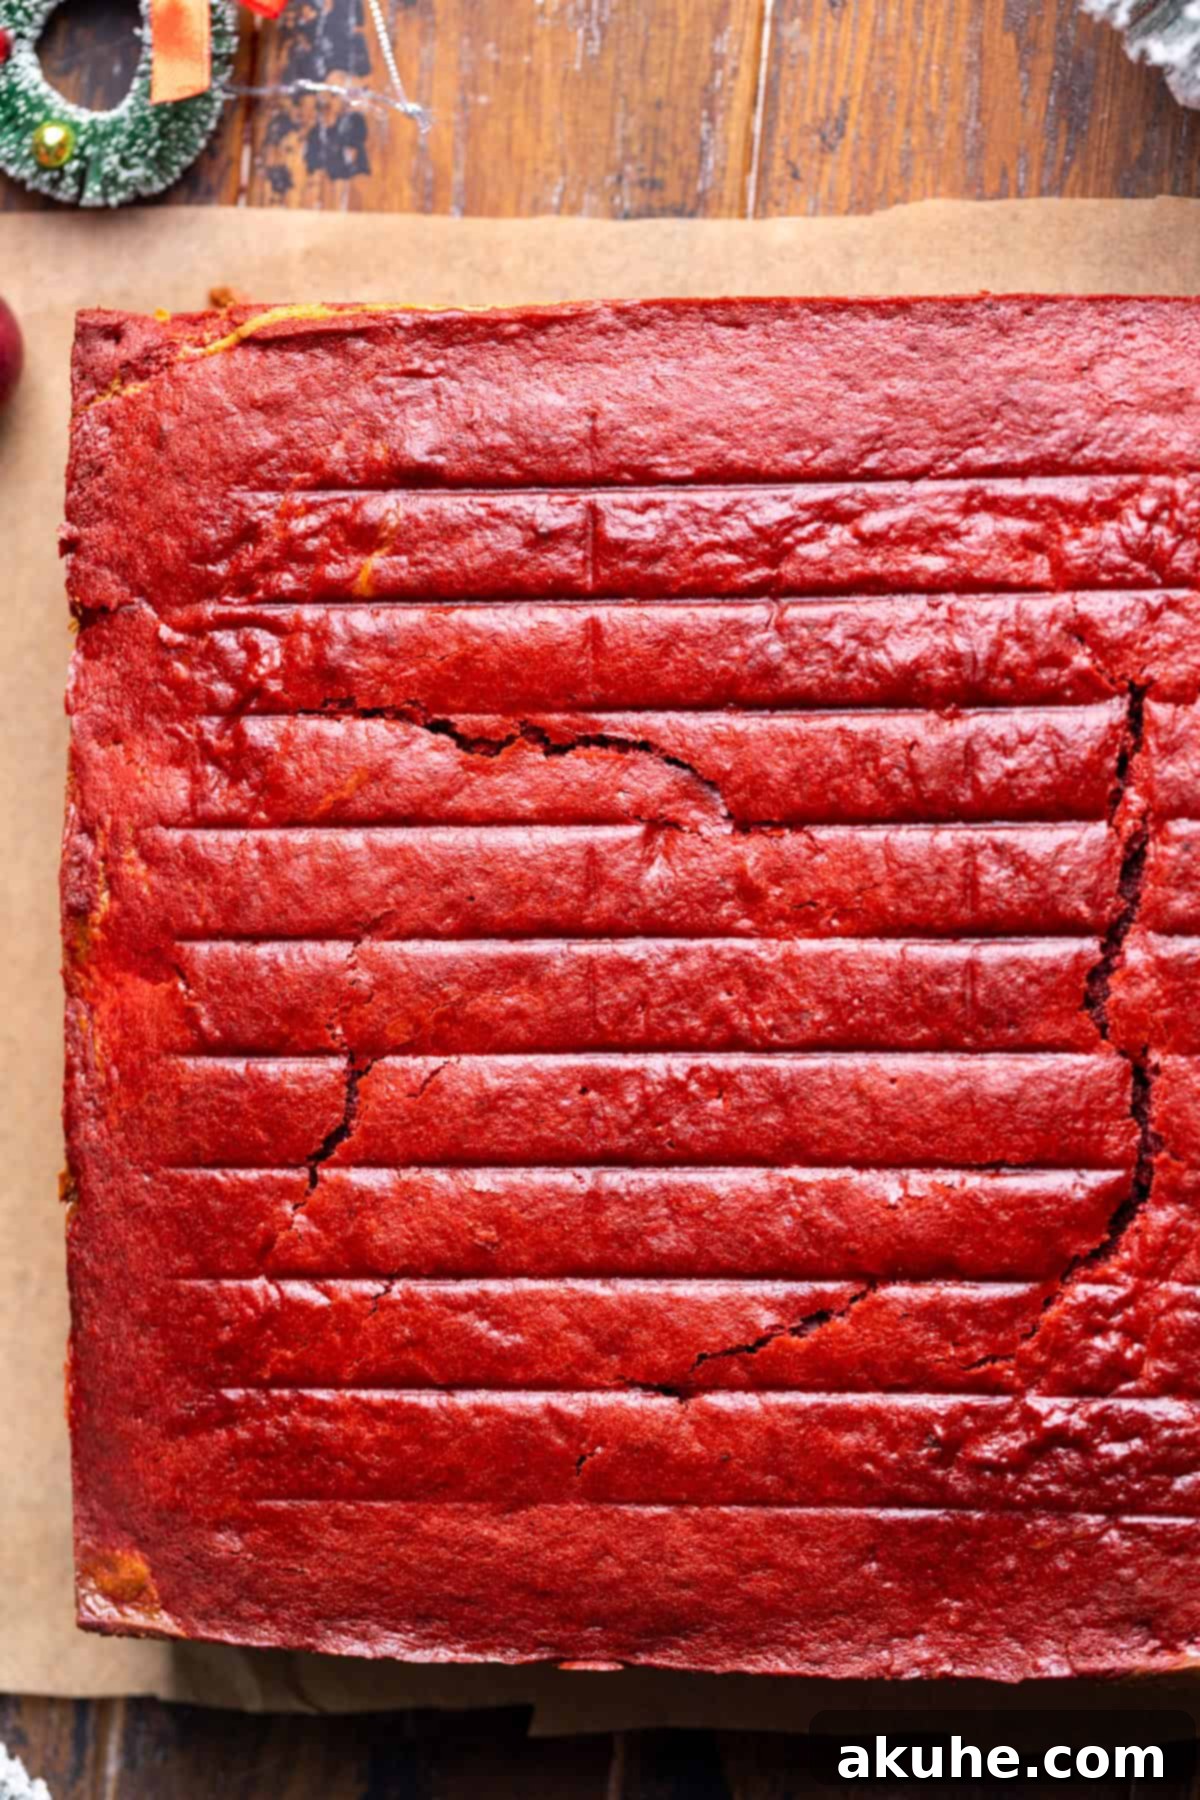
- Bake for 30-35 minutes, or until a toothpick inserted into the center (avoiding the cheesecake layer for initial checks, then checking all layers) comes out clean.
- Let the cake sit in the pan for 10 minutes before carefully transferring it to a cooling rack. Allow the cake to cool completely before decorating with frosting.
Cream Cheese Frosting
- In a medium bowl, sift the powdered sugar to remove any lumps. Set aside.
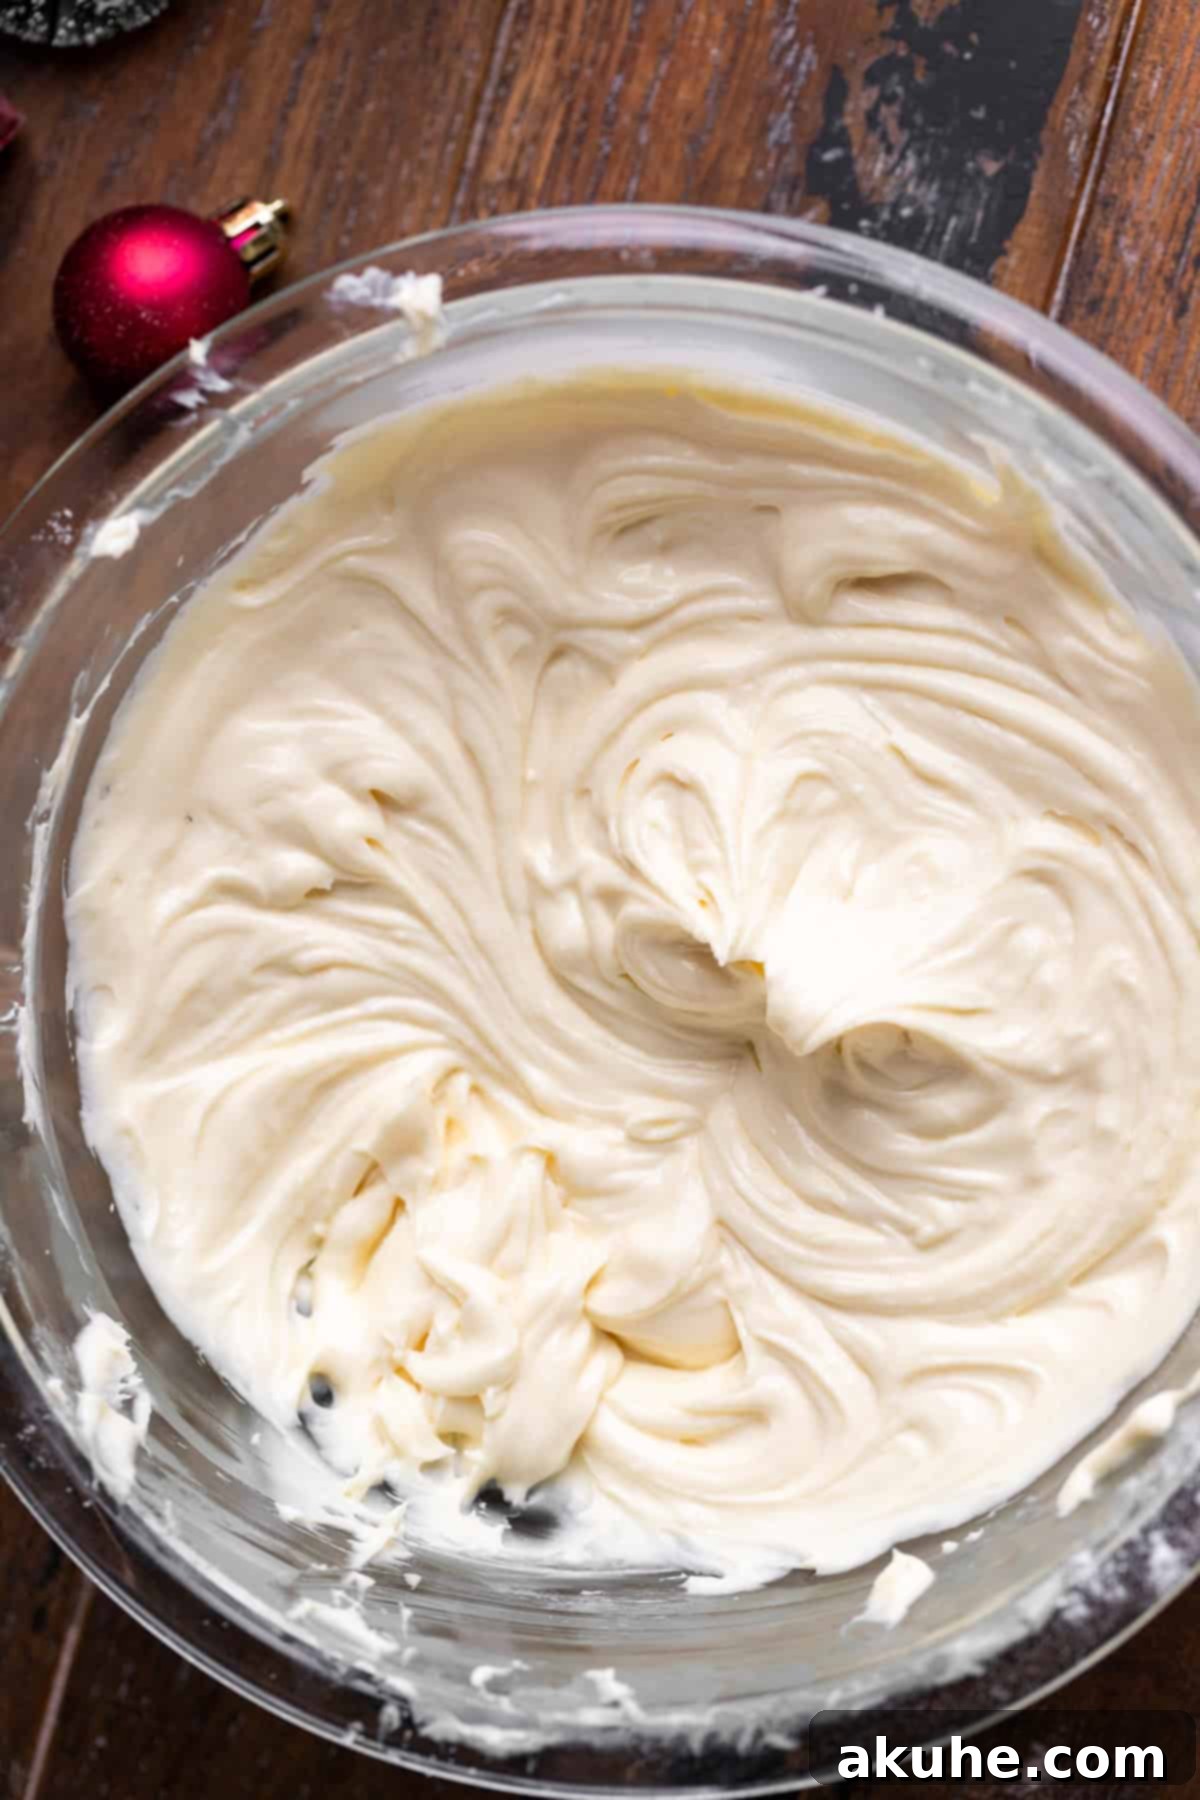
- In a large mixing bowl, using a stand mixer or hand mixer, beat the room temperature unsalted butter on high speed for 2 minutes until light and fluffy. Add in the room temperature cream cheese and mix on high for 1 minute, scraping down the sides of the bowl as needed.
- Gradually add the sifted powdered sugar to the butter and cream cheese mixture, mixing on medium speed until just combined. Add in the pure vanilla extract and mix on high speed until the frosting is creamy, smooth, and fluffy.
- Spread the prepared cream cheese frosting generously on top of the completely cooled cake. For a festive touch, you can top with Christmas sprinkles or other holiday decorations.
Notes
- Flour Measurement: For the most accurate results and to prevent a dry cake, ensure your flour is measured correctly. Spoon flour into your measuring cup and level it off; do not pack it down. Using a kitchen scale is the most precise method.
- High Altitude Baking: If you are baking at high altitude, consider adding an extra 3 tablespoons of flour to the cake batter to adjust for the lower atmospheric pressure.
- Room Temperature Dairy: For optimal mixing and texture, pull out all dairy ingredients (cream cheese, butter, eggs, buttermilk, sour cream) from the refrigerator at least 2 hours before you plan to start baking.
Nutrition Information (per serving)
Calories: 532 kcal, Carbohydrates: 67g, Protein: 5g, Fat: 38g, Saturated Fat: 16g, Polyunsaturated Fat: 5g, Monounsaturated Fat: 15g, Trans Fat: 1g, Cholesterol: 67mg, Sodium: 377mg, Potassium: 122mg, Fiber: 1g, Sugar: 24g, Vitamin A: 827 IU, Vitamin C: 0.1mg, Calcium: 94mg, Iron: 1mg
