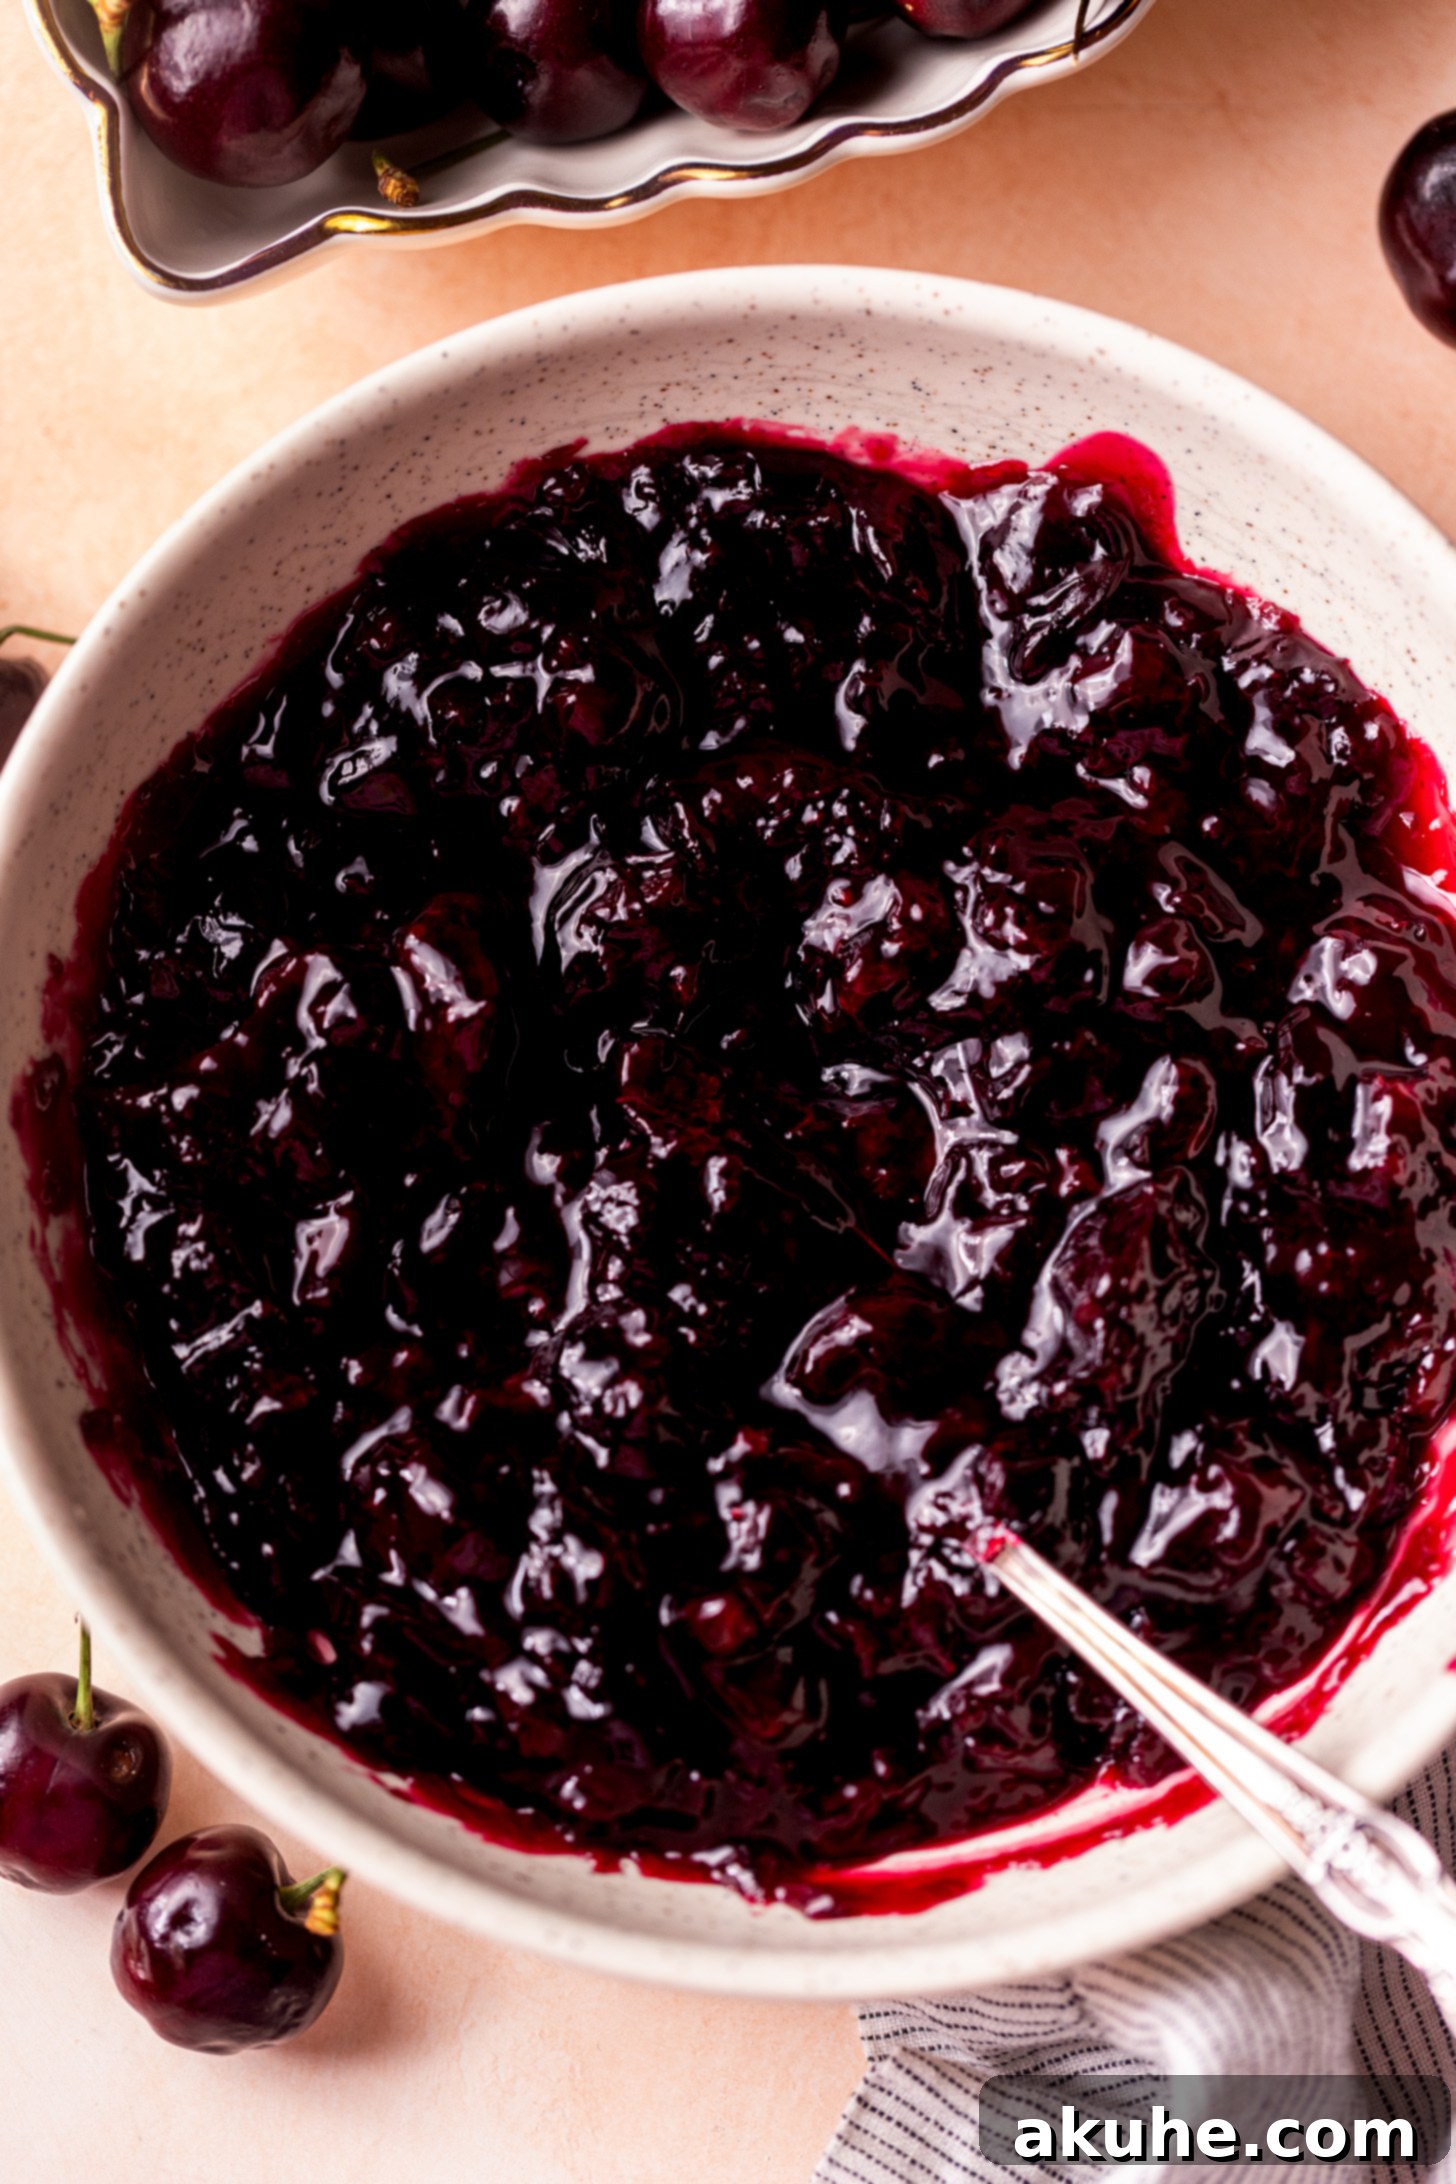
The Ultimate Homemade Cherry Pie Filling: Simple, Versatile & Utterly Delicious!
Discover the secret to elevating your desserts with this incredibly easy-to-make cherry pie filling. Crafted from either fresh or frozen cherries and requiring only five simple ingredients, this luscious filling is remarkably versatile. It’s the perfect accompaniment for a wide array of sweet treats, from classic pies and tarts to decadent cakes, charming cupcakes, delightful cookies, and much more. Say goodbye to store-bought varieties and hello to homemade goodness that truly shines!
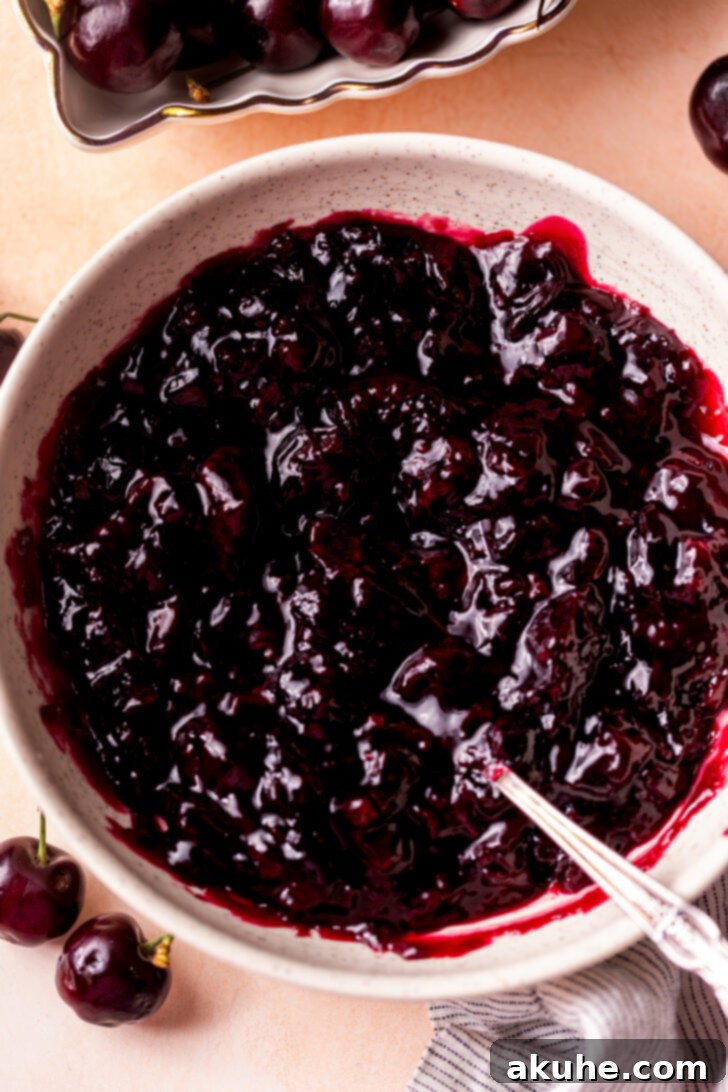
This homemade cherry pie filling stands out not just for its simplicity but also for its exceptional flavor. A subtle hint of almond extract is the secret ingredient that beautifully complements the natural sweetness and tartness of the cherries, creating a truly memorable taste profile. Whether you prefer the vibrant taste of seasonal fresh cherries or the convenience of frozen ones, this recipe is designed to work perfectly. We’ve gathered comprehensive tips, clever tricks, and clear process photos to guide you through each step, ensuring your cherry filling turns out absolutely perfect every time. If you’re a true aficionado of cherry desserts, you absolutely must try this filling in our exquisite White Forest Cake!
Why You’ll Adore Making Your Own Cherry Pie Filling
There’s an undeniable charm and superior quality that comes with homemade ingredients, and cherry pie filling is no exception. Beyond the sheer satisfaction of creating something from scratch, making your own filling offers several compelling advantages:
- Unmatched Flavor and Freshness: Store-bought fillings often contain artificial flavors and preservatives that can mask the true taste of cherries. Our recipe uses real cherries, allowing their vibrant, natural flavor to take center stage, enhanced by a touch of almond.
- Control Over Ingredients: You dictate what goes into your filling. This means you can adjust the sweetness level to your preference, avoid high-fructose corn syrup, and ensure you’re using wholesome ingredients. It’s perfect for those with dietary concerns or who simply prefer a cleaner, more natural product.
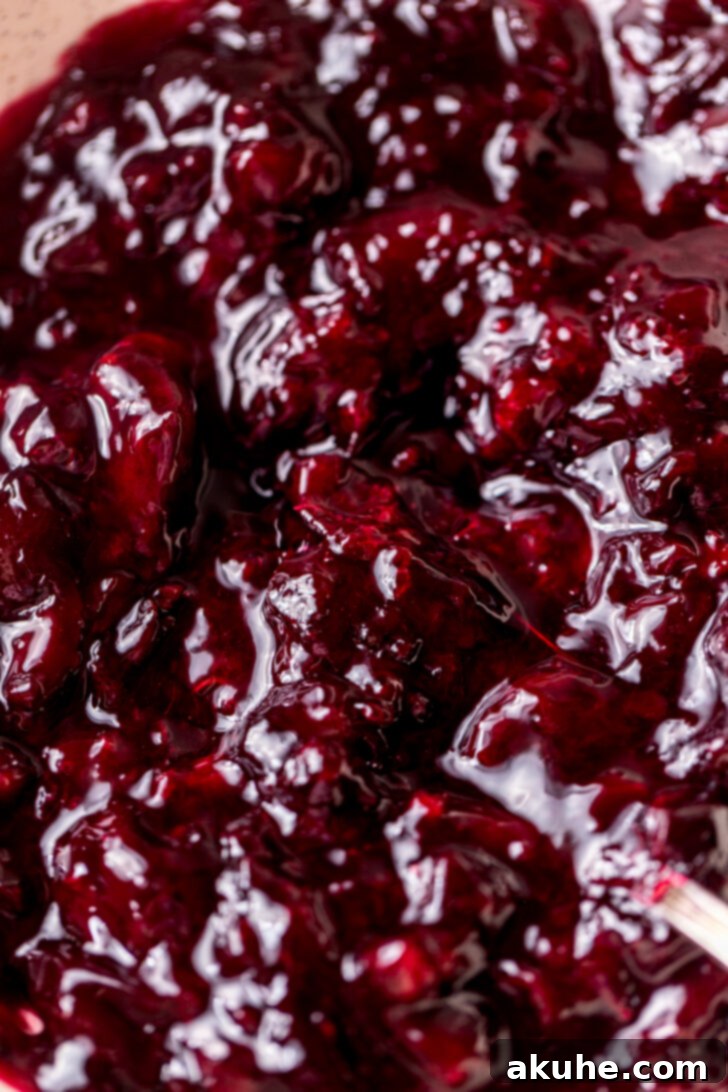
- Perfect Texture Every Time: Achieve your ideal consistency – whether you prefer a chunky filling with distinct fruit pieces or a smoother, compote-like texture. This level of customization is simply not possible with canned options.
- Cost-Effective: Especially when cherries are in season or when buying frozen in bulk, making your own filling can be significantly more economical than purchasing pre-made versions.
- Incredibly Versatile: While it excels in a pie, this filling is a blank canvas for countless desserts. Its robust flavor and beautiful color make it a fantastic addition to almost any sweet creation.
Fresh vs. Frozen Cherries: Choosing Your Star Ingredient
One of the beauties of this recipe is its adaptability, allowing you to use either fresh or frozen cherries with equally delicious results. Understanding the nuances of each option will help you achieve the best outcome.
Using Fresh Cherries
When cherries are in season (typically late spring to mid-summer), there’s nothing quite like the taste of fresh, ripe fruit. For this recipe, sweet cherries like Bing or Rainier are wonderful, offering a rich sweetness, while tart varieties such as Montmorency will yield a brighter, more classic pie filling flavor, often requiring a bit more sugar to balance the tartness. Regardless of your choice, ensure your fresh cherries are plump, firm, and blemish-free.
Pitting Fresh Cherries: This is arguably the most time-consuming step when using fresh cherries. A cherry pitter is a valuable tool that makes the process quick and clean. Alternatively, you can use a chopstick to push the pit out through the stem end, or carefully slice the cherries in half with a small paring knife and remove the pit manually. Safety first, always!
Using Frozen Cherries
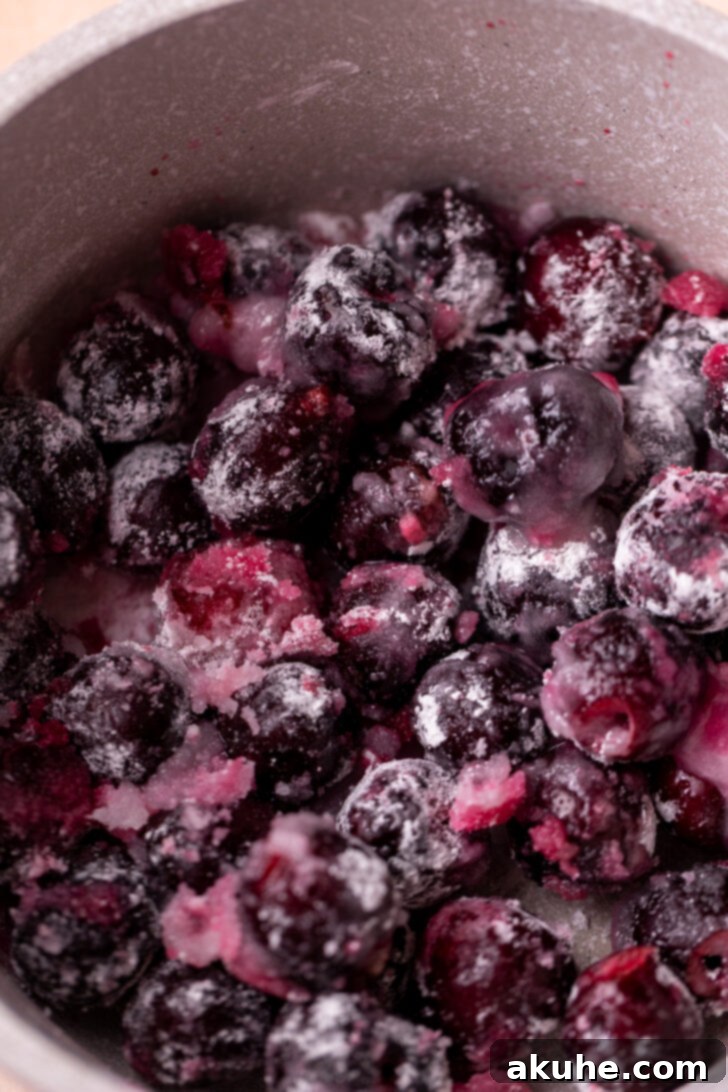
Frozen cherries are a fantastic year-round alternative that offer convenience without sacrificing flavor. They are usually pitted before freezing, saving you a significant amount of prep time. When using frozen cherries for this recipe, there’s no need to thaw them beforehand. Simply add them directly to the saucepan with the other ingredients. As they heat, they will naturally release their juices, just like fresh cherries, contributing to the rich liquid base of your filling. This makes spontaneous baking a breeze!
Key Ingredients for the Perfect Cherry Filling
This recipe prides itself on its simplicity, relying on a handful of common ingredients that come together to create something truly special. Let’s delve into what each component brings to the table:
- Cherries (Fresh or Frozen): The undeniable star! As discussed, either option works beautifully. They provide the core flavor, vibrant color, and delightful texture.
- Granulated Sugar: This provides the necessary sweetness to balance the tartness of the cherries, creating that classic sweet-tart profile loved in cherry desserts. You can adjust the amount slightly based on the sweetness of your cherries and your personal preference.
- Cornstarch: Our thickening agent. Cornstarch is essential for transforming the juicy cherry mixture into a luscious, spoonable filling. It creates a smooth, clear sauce without imparting any flavor, allowing the cherries to shine.
- Water: Used to create a slurry with the cornstarch. This step is crucial because adding cornstarch directly to hot liquid can result in lumps. Mixing it with a small amount of cold water first ensures it disperses evenly and thickens smoothly.
- Almond Extract: The secret weapon! While optional, a touch of almond extract elevates the cherry flavor dramatically. Almond and cherry are a classic pairing, as they share similar aromatic compounds. It adds a depth and complexity that will make your filling truly memorable. If you prefer, vanilla extract can be used as a substitute, or you can omit it entirely.
Expert Tips for Crafting Flawless Cherry Pie Filling
Achieving a perfectly balanced and beautifully textured cherry pie filling is easier than you think, especially with these insider tips. Follow these guidelines to ensure your homemade creation is a resounding success:
- Tip 1: Pit Your Cherries with Ease. If you’re opting for fresh cherries, pitting them is the first crucial step. A dedicated cherry pitter is a game-changer, making quick work of this task. Alternatively, you can use a sturdy chopstick to push the pit through the stem end or carefully slice each cherry in half to remove the pit. For a slightly chunkier texture, you can leave some cherries whole, or cut all of them in half for a more consistent bite. Just make sure no pits are left behind!
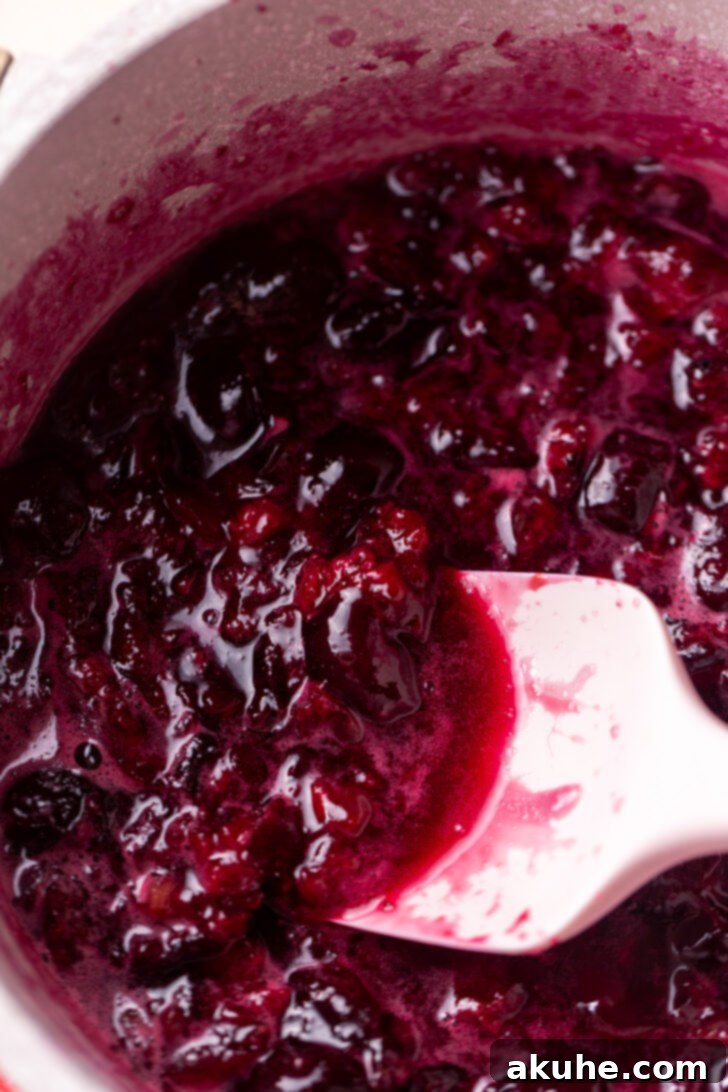
- Tip 2: Mashing for Ideal Texture. Once the cherries begin to soften and release their juices, it’s time to decide on your preferred texture. Use a potato masher, a large fork, or even the back of a sturdy spoon to gently mash some (or all) of the cherries. For a smooth, compote-like filling, mash most of them thoroughly. If you enjoy distinct pieces of fruit in your pie, mash only about half or two-thirds of the cherries. Mashing not only breaks down the fruit but also helps release more of their delicious flavor into the filling.
- Tip 3: Achieving Perfect Thickness. The key to a great pie filling is its consistency. Continue to heat the mixture on medium heat, stirring frequently, until it visibly thickens. This usually takes about 10 minutes from the point of mashing. You’ll know it’s ready when the filling coats the back of a spoon and holds its shape, or when it gently bubbles thick. Be careful not to overcook, as it can become too stiff once cooled. If it seems too thin, you can create a small slurry with additional cornstarch and water, stir it in, and cook for another minute.
- Tip 4: Gentle Heat is Your Friend. While you want the mixture to simmer and thicken, avoid high heat. Cooking on medium heat ensures even cooking, prevents the bottom from scorching, and allows the cornstarch to activate and thicken gradually without clumping. Consistent, gentle heat is crucial for a smooth and glossy finish.
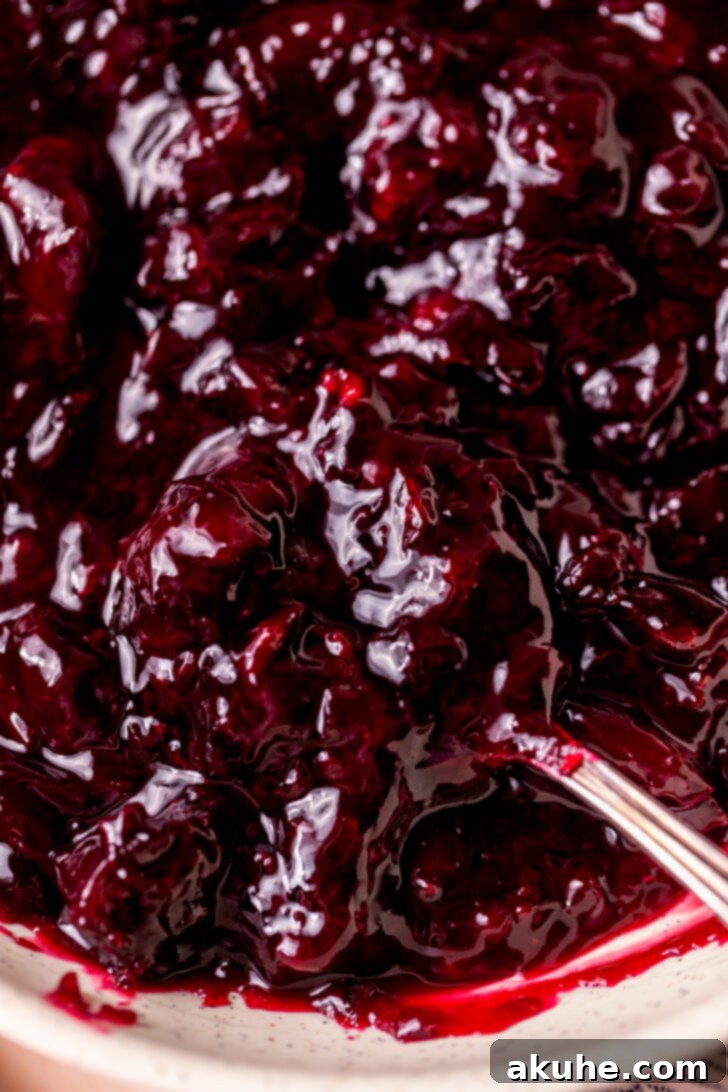
- Tip 5: Patience in Cooling. It’s tempting to use your filling immediately, but allowing it to cool completely is essential. As the filling cools, it will continue to thicken to its final, luscious consistency. Rushing this step can result in a runny pie filling. Pour it into a clean bowl, cover it, and let it cool at room temperature or in the refrigerator for faster chilling. This also allows the flavors to meld beautifully.
Endless Culinary Possibilities: How to Use Your Homemade Cherry Filling
Once you’ve crafted this exquisite cherry pie filling, a world of dessert possibilities opens up! Its rich flavor and beautiful ruby-red hue make it a stunning and delicious addition to countless sweet treats. Here are just a few ideas to inspire your next baking adventure:
- Classic Pies and Tarts: This is its most traditional and beloved application. Use it as a vibrant filling for a double-crust cherry pie, a elegant lattice-top tart, or individual mini pie bites. The homemade taste truly shines in these classics.
- Cakes and Cupcakes: Transform plain cakes and cupcakes into something extraordinary. Layer the cherry filling between cake layers, swirl it into vanilla or chocolate frosting, or simply spoon it over the top of frosted cupcakes for a burst of flavor and color.
- Cheesecakes: A dollop of this cherry filling is the ultimate topping for creamy cheesecakes. You can spoon it over individual slices or create a stunning swirl pattern on top of a whole cheesecake before chilling.
- Breakfast Delights: Elevate your morning routine! Spoon warm cherry filling over fluffy pancakes, crispy waffles, creamy oatmeal, or a refreshing bowl of Greek yogurt. It adds natural sweetness and a healthy fruit boost.
- Ice Cream and Sundaes: Forget artificial ice cream toppings! Drizzle this warm or chilled homemade cherry filling over vanilla bean ice cream for an instantly gourmet sundae. Add whipped cream and a sprinkle of chopped nuts for an extra special treat.
- Cookies and Bars: Incorporate the filling into various baked goods. Use it as a sweet center for thumbprint cookies, spread it between layers of shortbread bars, or even bake it into certain pastry recipes.
- Dessert Bowls: Sometimes, simplicity is key. Serve a generous spoonful of cherry filling in a bowl with a dollop of fresh whipped cream, a scoop of crème fraîche, or a simple vanilla custard for a quick, elegant dessert.
- Cocktail Garnish: For a sophisticated touch, use a spoonful of the filling (especially the whole cherries) as a garnish in cocktails like a Kir Royale or a Cherry Old Fashioned.
Storage and Freezing Instructions for Freshness
Proper storage is key to enjoying your homemade cherry pie filling for as long as possible. Here’s how to keep it fresh and delicious:
Refrigerator Storage
Once your cherry filling has cooled completely, transfer it to an airtight container. A glass jar or a sturdy plastic container with a tight-fitting lid works perfectly. Store the filling in the refrigerator for up to 5-7 days. Always ensure it’s fully cooled before placing it in the fridge to prevent condensation and maintain quality.
Freezing Instructions
This cherry pie filling freezes beautifully, allowing you to prepare it in advance or save leftovers for future baking endeavors. To freeze:
- Ensure the filling is completely cooled to room temperature.
- Divide the filling into freezer-safe airtight containers or heavy-duty freezer bags. If using bags, lay them flat on a baking sheet until frozen solid for easier stacking.
- Label the containers or bags with the date.
- Freeze for up to 3 months.
Thawing and Reheating: When you’re ready to use frozen cherry filling, transfer it from the freezer to the refrigerator and let it thaw overnight. If you’re in a hurry, you can gently reheat it in a saucepan over low heat, stirring occasionally, until it’s warmed through and smooth. Add a tiny splash of water if it seems too thick after thawing.
Looking for more delightful cherry-inspired treats? Explore our White Forest Cake and delicious Chocolate Cherry Cookies for even more ways to enjoy this incredible fruit!
Frequently Asked Questions (FAQ) About Cherry Pie Filling
- Can I use other fruits with this recipe?
- Absolutely! This recipe is incredibly versatile. You can easily substitute cherries with other berries like blueberries, raspberries, or mixed berries. Peaches, sliced apples, or even rhubarb would also work beautifully, though you might need to adjust the sugar and cooking time slightly depending on the fruit’s natural sweetness and firmness.
- How can I adjust the sweetness of the filling?
- The amount of sugar in the recipe is a good starting point, especially for tart cherries. If you’re using very sweet cherries, or prefer a less sweet filling, you can reduce the sugar by a tablespoon or two. Conversely, if your cherries are very tart or you enjoy a sweeter dessert, feel free to add an extra tablespoon of sugar. Taste the mixture after it has simmered for a few minutes and adjust to your preference.
- My filling is too runny/too thick. What went wrong?
- If your filling is too runny, it likely needs more cooking time for the cornstarch to fully activate and thicken. Continue simmering for a few more minutes, stirring constantly. If it’s still too thin, mix half a tablespoon of cornstarch with one tablespoon of cold water to create a slurry, then gradually stir it into the simmering filling and cook for another minute. If your filling is too thick, it might have been overcooked or had too much cornstarch. You can try stirring in a tablespoon or two of water or cherry juice until it reaches your desired consistency.
- Is it possible to make this filling without almond extract?
- Yes, you can certainly omit the almond extract if you prefer. The cherry flavor will still be wonderful on its own. If you’d like another complementary flavor, a quarter teaspoon of vanilla extract can be used as a substitute to add a classic sweet note.
- Is this cherry pie filling gluten-free?
- Yes, as written, this recipe is gluten-free! Cornstarch is a naturally gluten-free thickener. Always double-check your ingredient labels, especially for extracts, to ensure they are certified gluten-free if you have severe sensitivities.
We hope you adore this simple yet spectacular homemade cherry pie filling recipe! If you loved making it, please consider leaving astar rating and review below to share your experience with other passionate bakers. Your feedback helps our community grow! Don’t forget to tag us on Instagram @stephaniesweettreats with your stunning cherry creations, and for a constant stream of sweet inspiration, be sure to follow us on Pinterest.
Classic Homemade Cherry Pie Filling
Print Recipe
Pin Recipe
Leave a Review
Ingredients
- 1 lb Cherries, fresh or frozen, pitted
- 1/2 cup Granulated sugar
- 1 TBSP Cornstarch
- 1 TBSP Water
- 1/4 tsp Almond extract
Instructions
- Begin by ensuring your fresh cherries are pitted. If using frozen, no need to thaw. In a medium saucepan, combine the pitted cherries, granulated sugar, cornstarch, water, and almond extract. Stir all ingredients gently to combine them thoroughly.1 lb Cherries, 1/2 cup Granulated sugar, 1 TBSP Cornstarch, 1 TBSP Water, 1/4 tsp Almond extract
- Place the saucepan over medium heat. Cook the mixture, stirring occasionally, until the cherries begin to soften and their juices start to simmer. At this point, use a potato masher or the back of a fork to mash the cherries to your desired consistency. For a compote-like texture, mash most of the cherries. For a chunkier filling, mash only a portion.
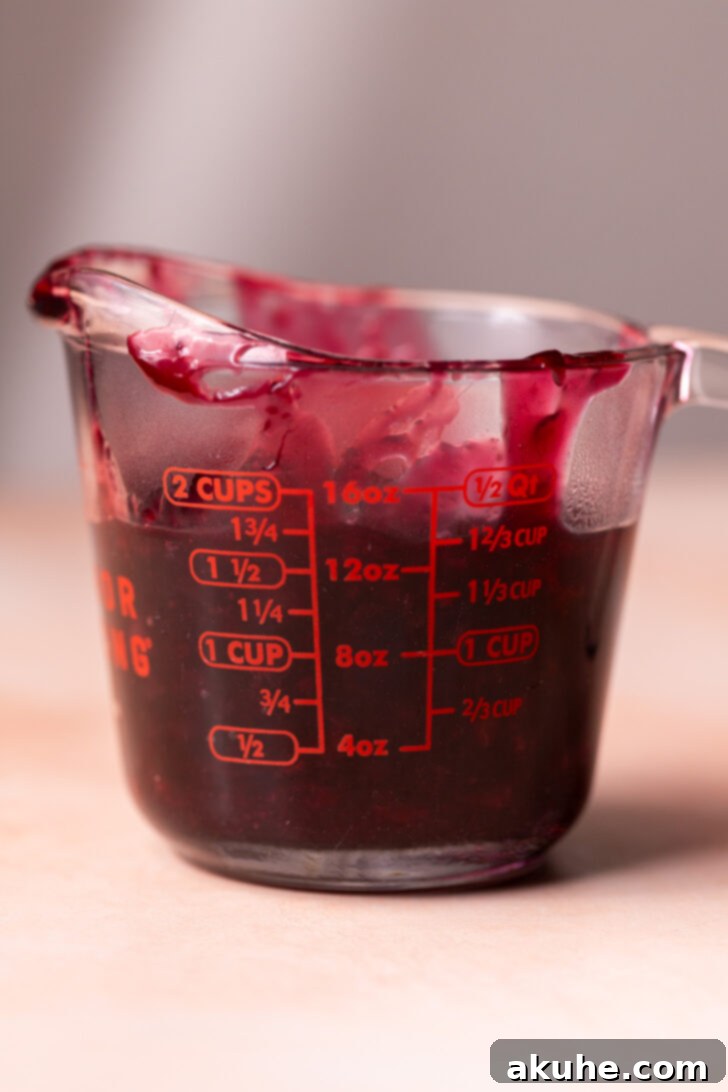
- Continue heating the filling, stirring constantly, for about 10 minutes until it visibly thickens to a luscious, spoonable consistency. Once thickened, carefully pour the hot cherry filling into a clean bowl and allow it to cool completely at room temperature. For faster cooling, you can place it in the refrigerator. This recipe yields approximately 1 ½ cups of delicious cherry filling.
Carbohydrates: 120g,
Protein: 3g,
Fat: 1g,
Saturated Fat: 0.1g,
Polyunsaturated Fat: 0.2g,
Monounsaturated Fat: 0.1g,
Sodium: 2mg,
Potassium: 674mg,
Fiber: 6g,
Sugar: 105g,
Vitamin A: 194IU,
Vitamin C: 21mg,
Calcium: 40mg,
Iron: 1mg
Did you make this recipe?
Please leave a star rating and review below!
