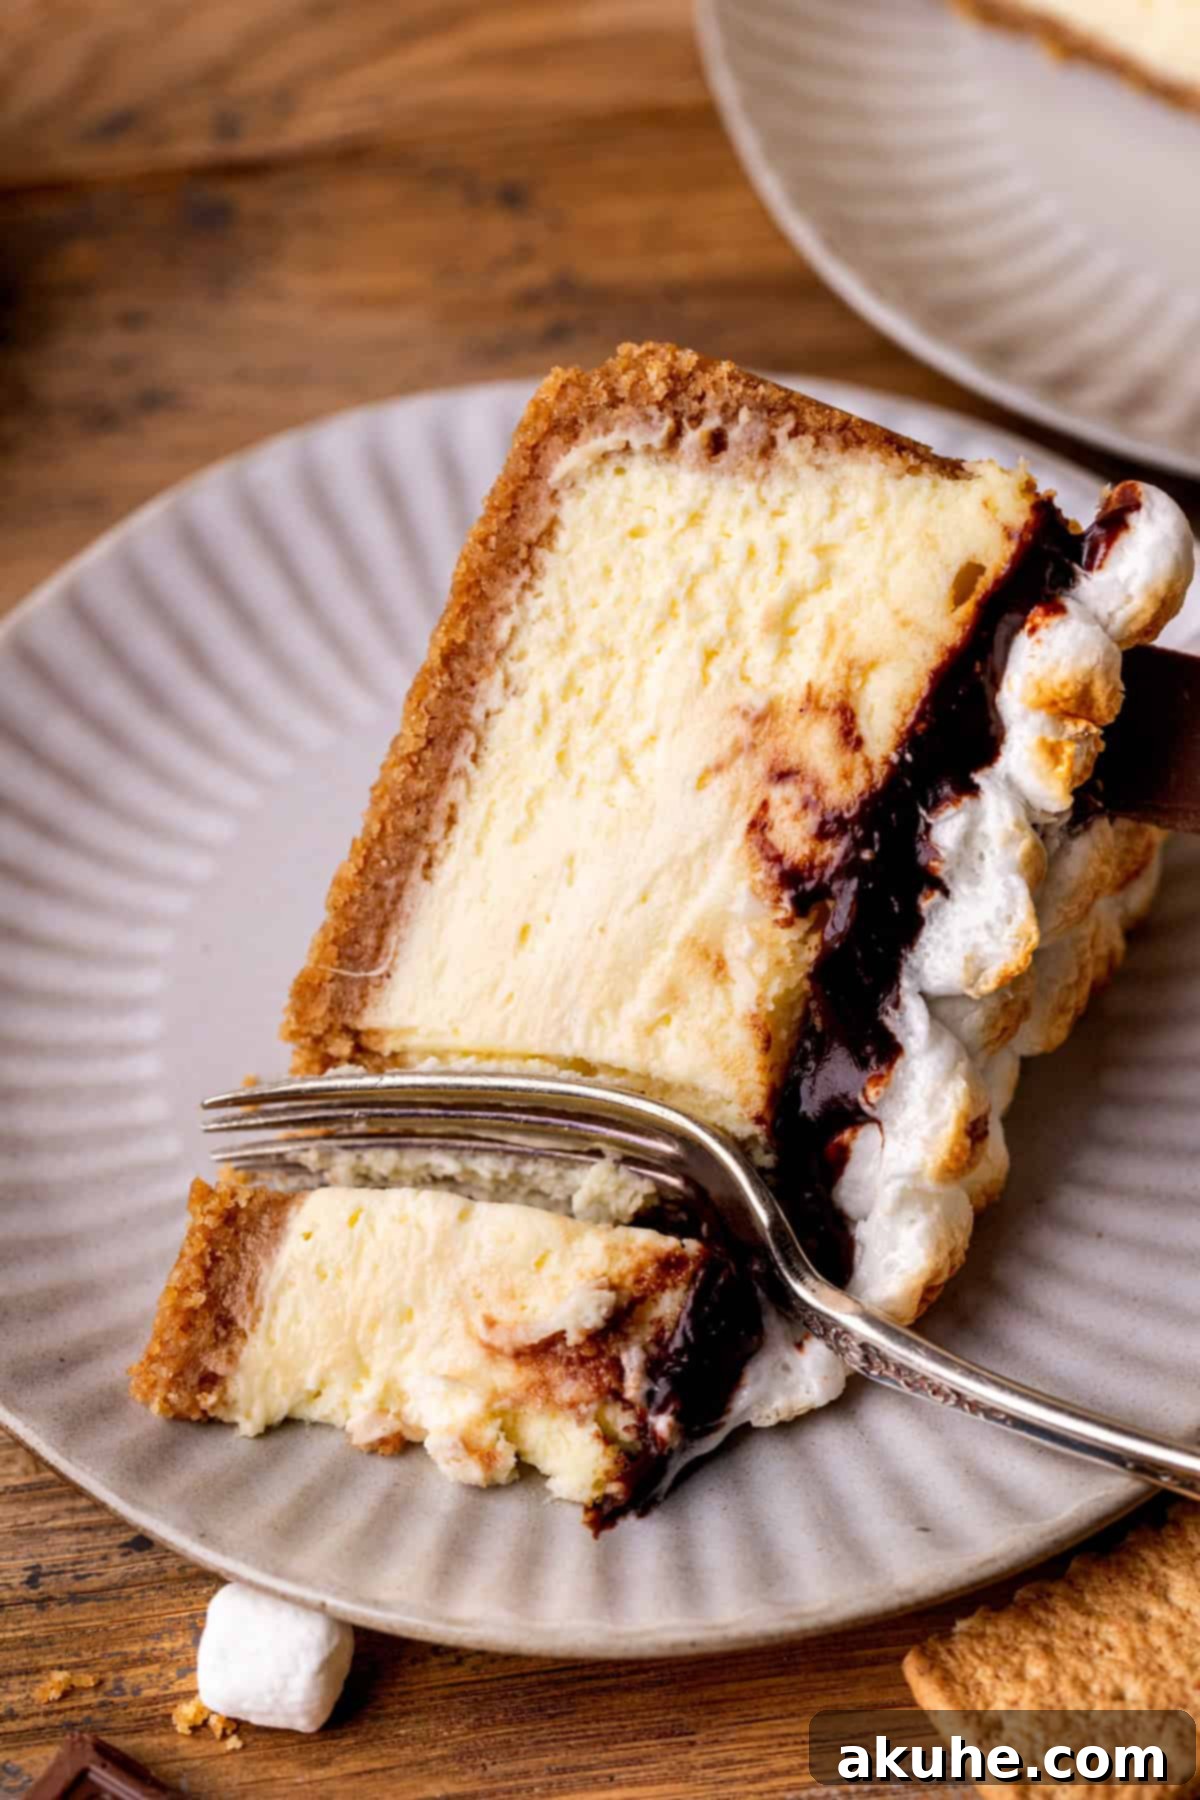
Ultimate S’mores Cheesecake Recipe: A Decadent Homemade Delight
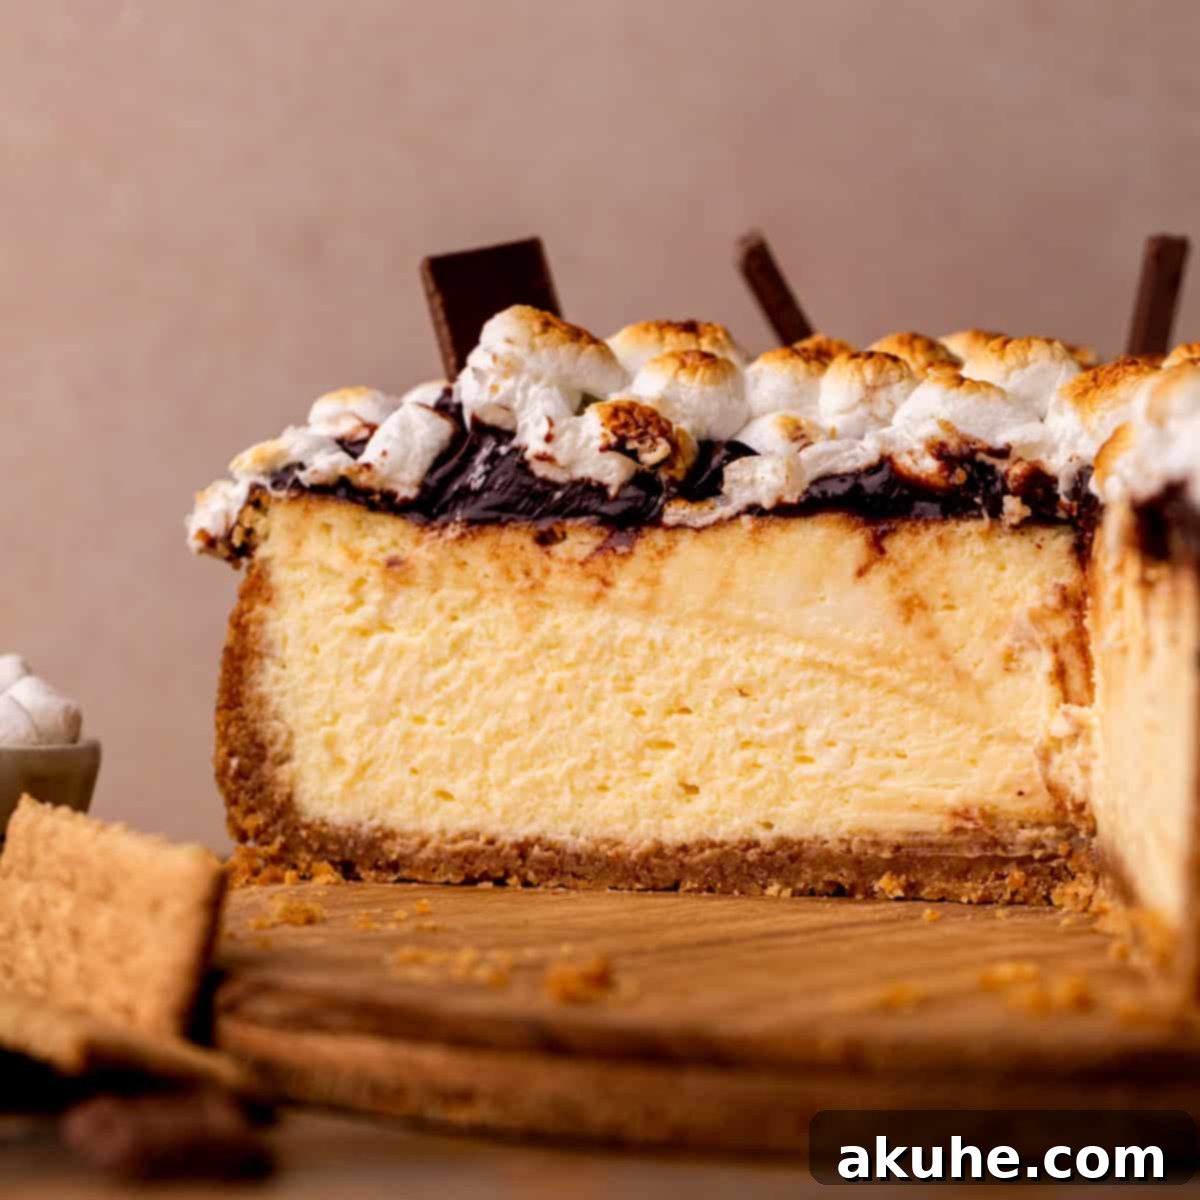
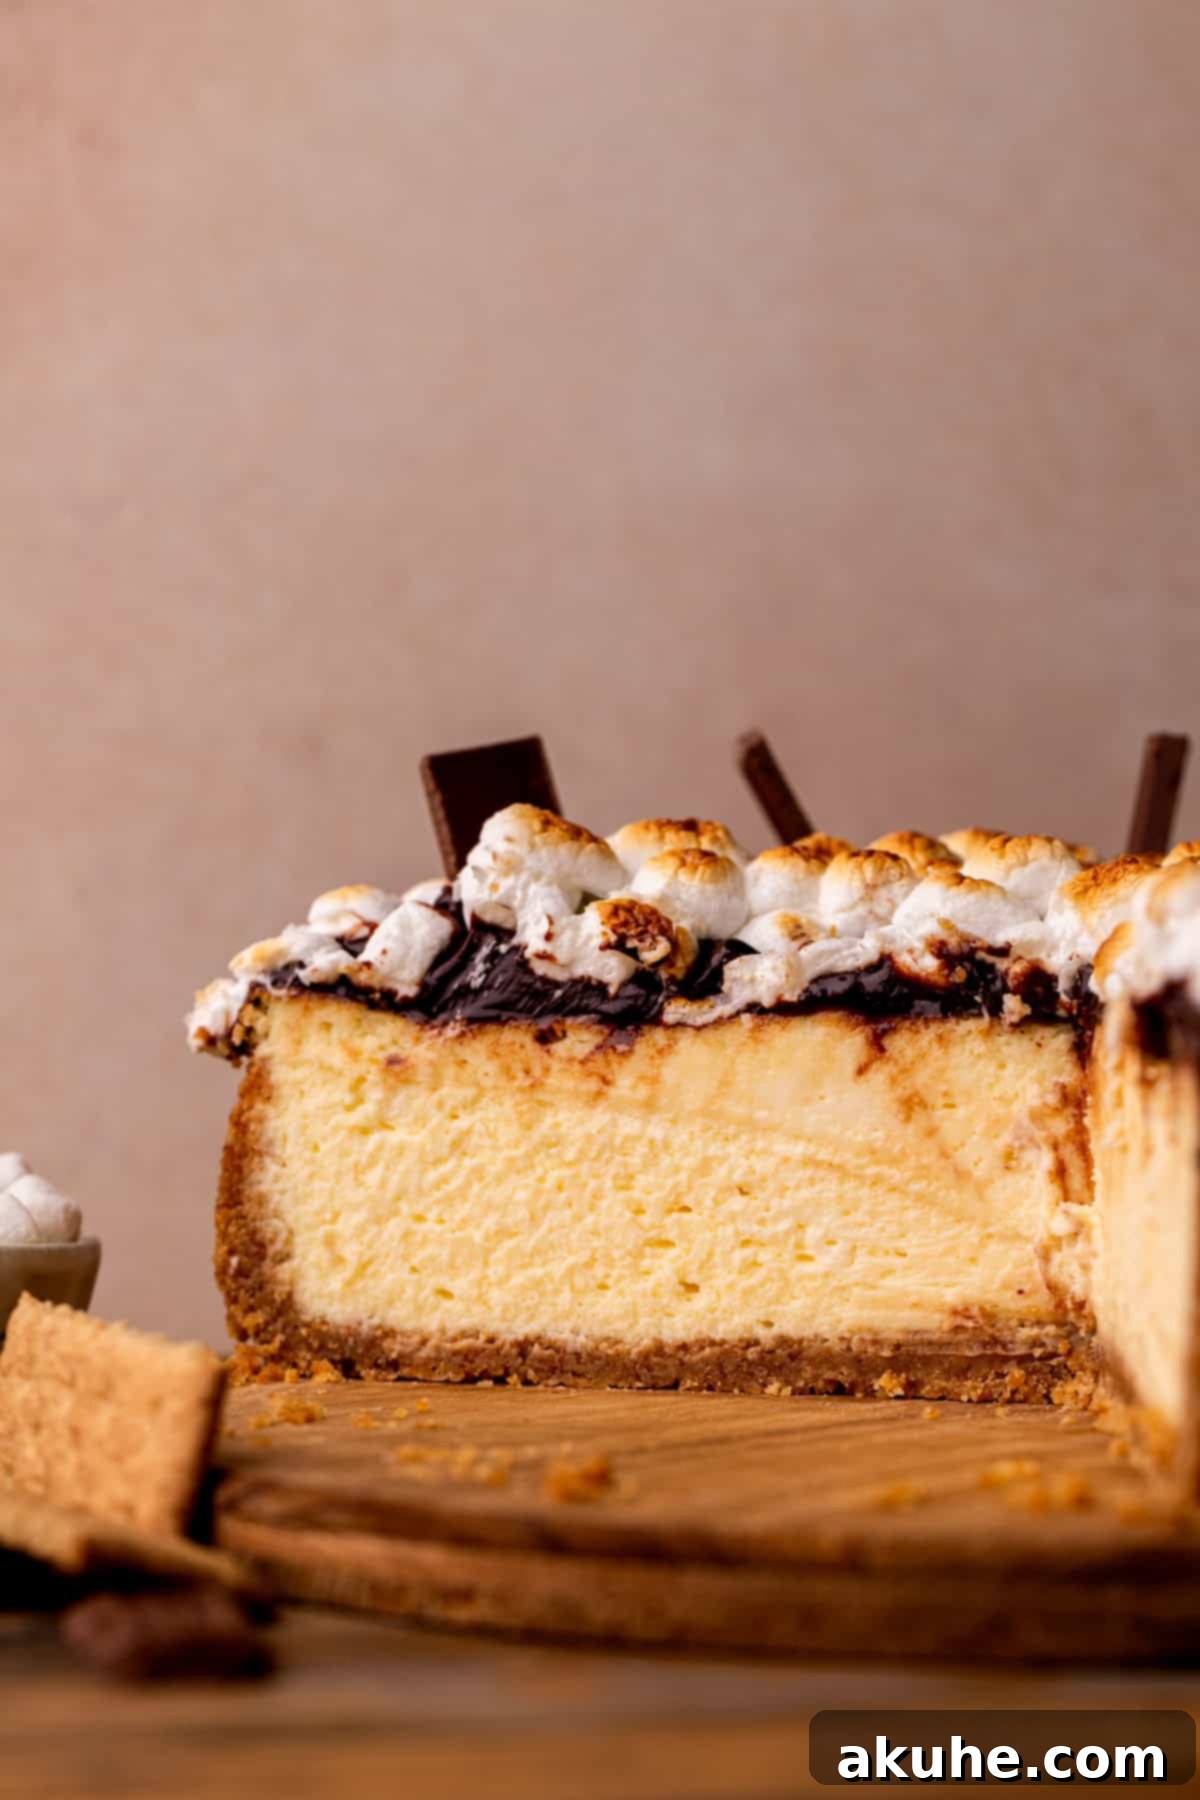
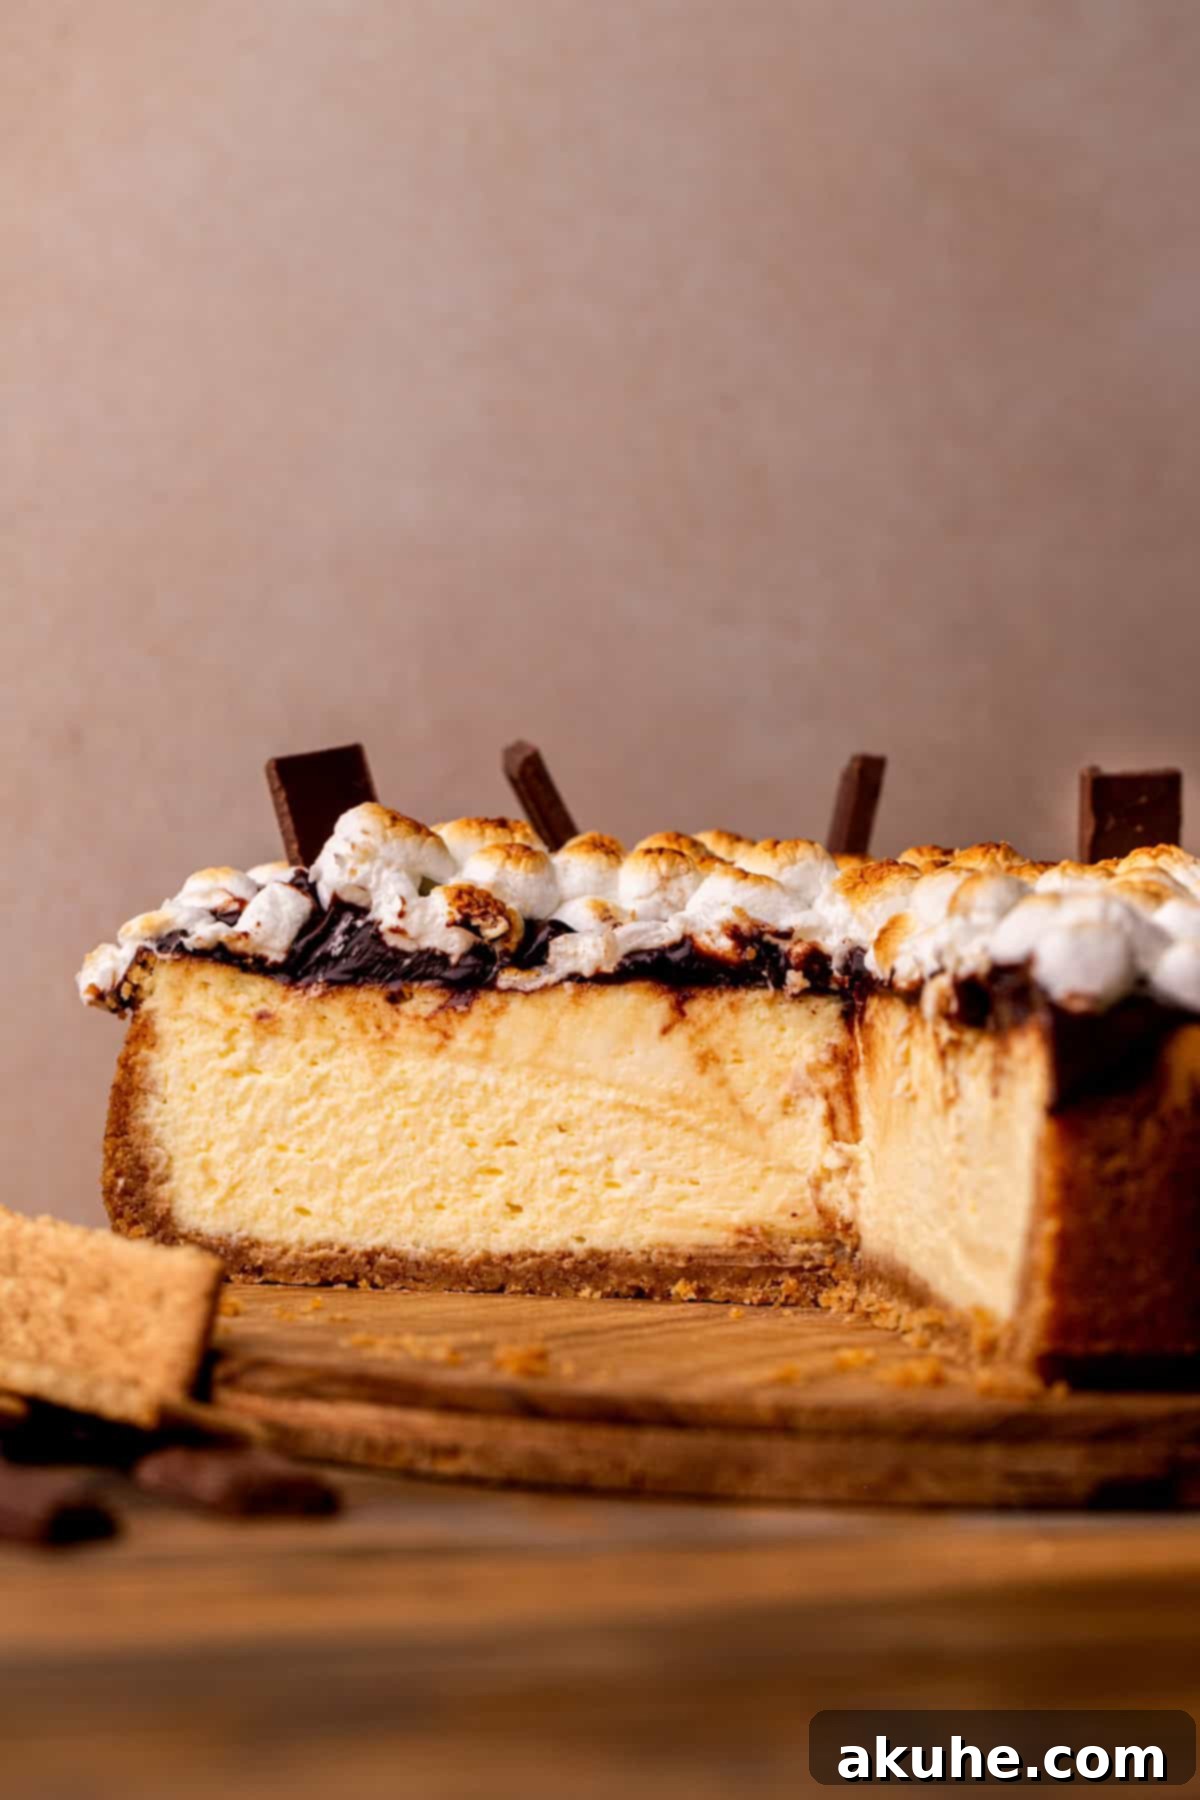
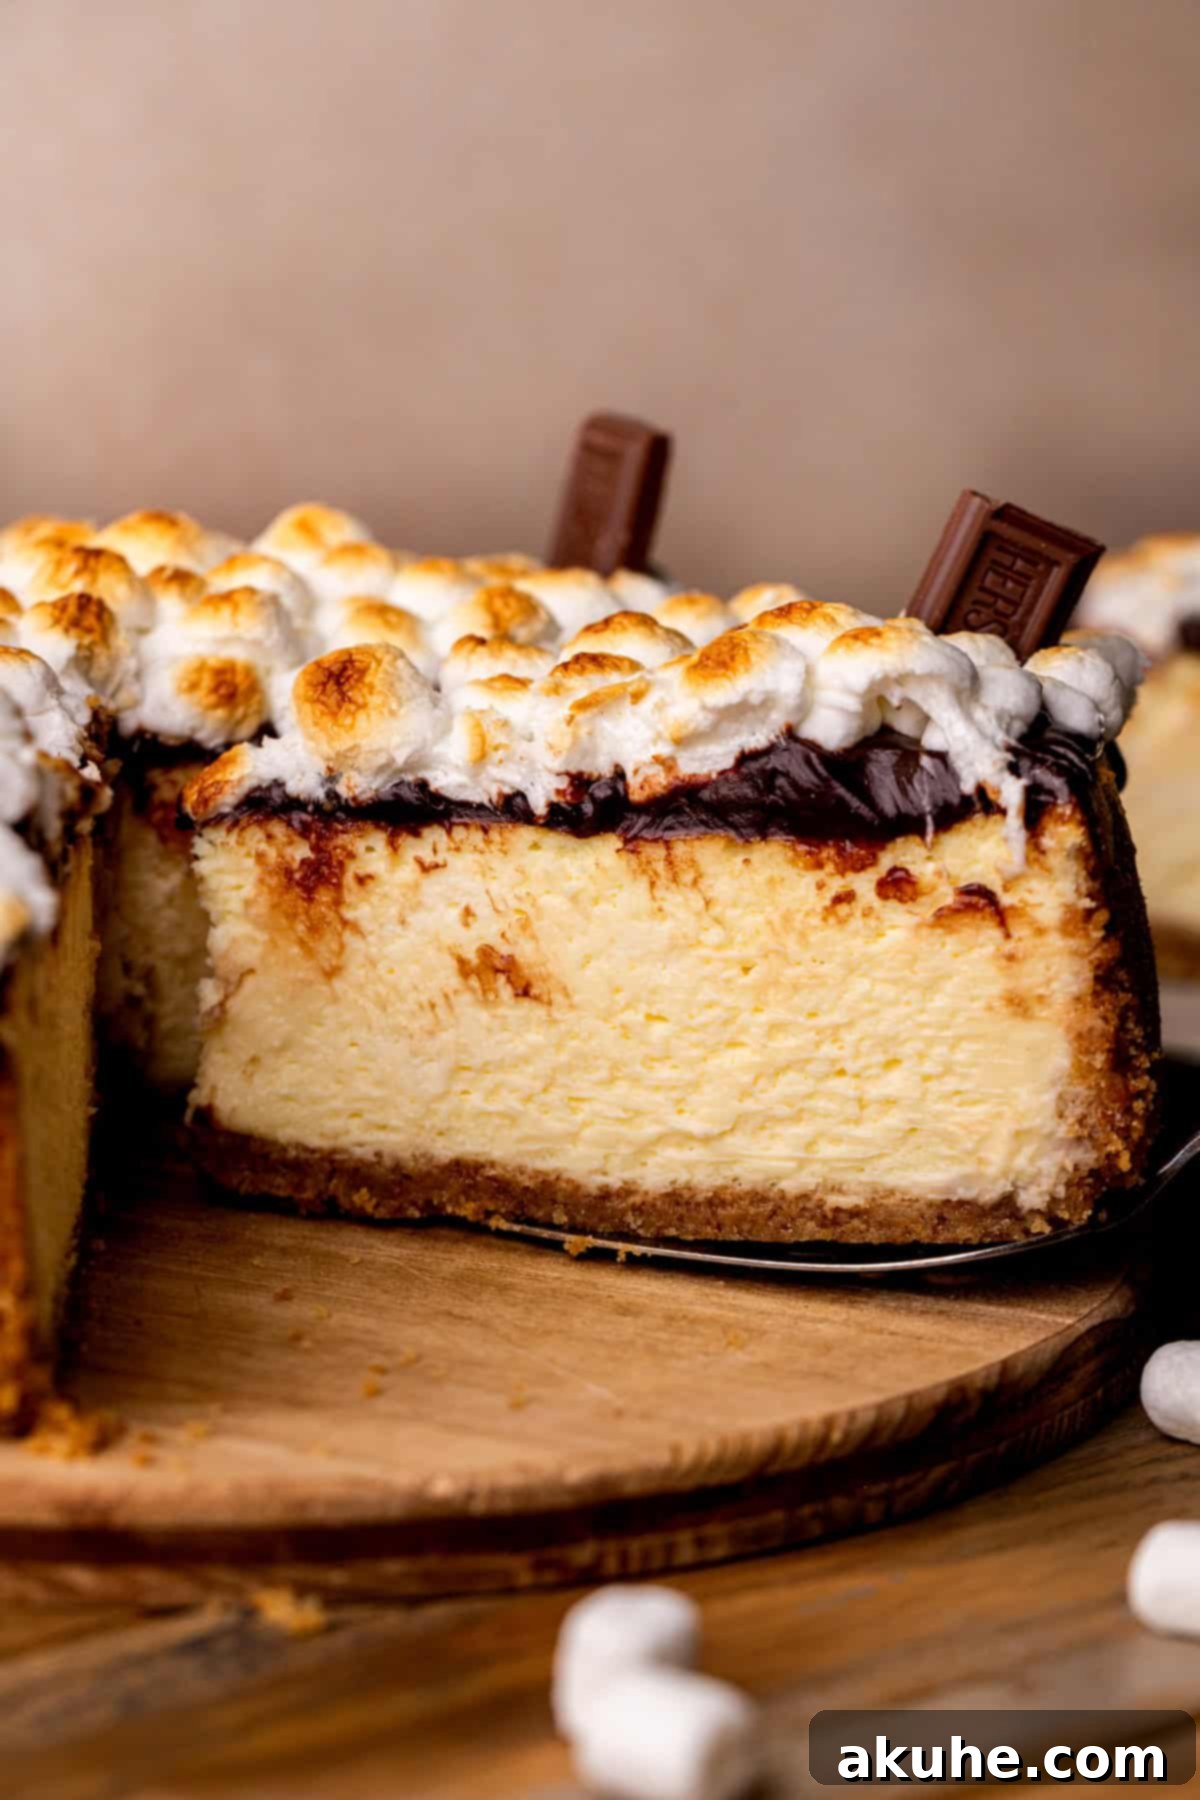
Prepare to elevate your dessert game with this spectacular S’mores Cheesecake. More than just a simple sweet treat, this recipe transforms the beloved campfire classic into an elegant, rich, and utterly irresistible baked cheesecake. Imagine a buttery graham cracker crust, a velvety marshmallow creme cheesecake filling, crowned with a smooth, dark chocolate ganache, and finally, a fluffy layer of golden-brown toasted mini marshmallows. It’s a symphony of textures and flavors that will transport you straight to a cozy fireside evening, all from the comfort of your kitchen.
Forget the mess of traditional s’mores; this cheesecake brings all those nostalgic flavors – the crisp graham cracker, the gooey marshmallow, and the melty chocolate – into a sophisticated dessert that’s perfect for any occasion, from casual family gatherings to elegant dinner parties. Each bite delivers a harmonious blend of sweetness and texture, a true homage to the timeless classic. From its perfectly compacted base to the beautifully browned marshmallows on top, this homemade s’mores cheesecake promises a culinary experience that’s both comforting and luxurious.
The Irresistible Layers: Why Our S’mores Cheesecake Stands Out
What makes this s’mores cheesecake truly exceptional is its thoughtfully constructed layers, each designed to capture the essence of a classic s’more while elevating the flavor profile. We’ve meticulously balanced the core components – graham cracker, marshmallow, and chocolate – to ensure every forkful is a perfect blend of these beloved tastes, making it a standout among baked cheesecake recipes.
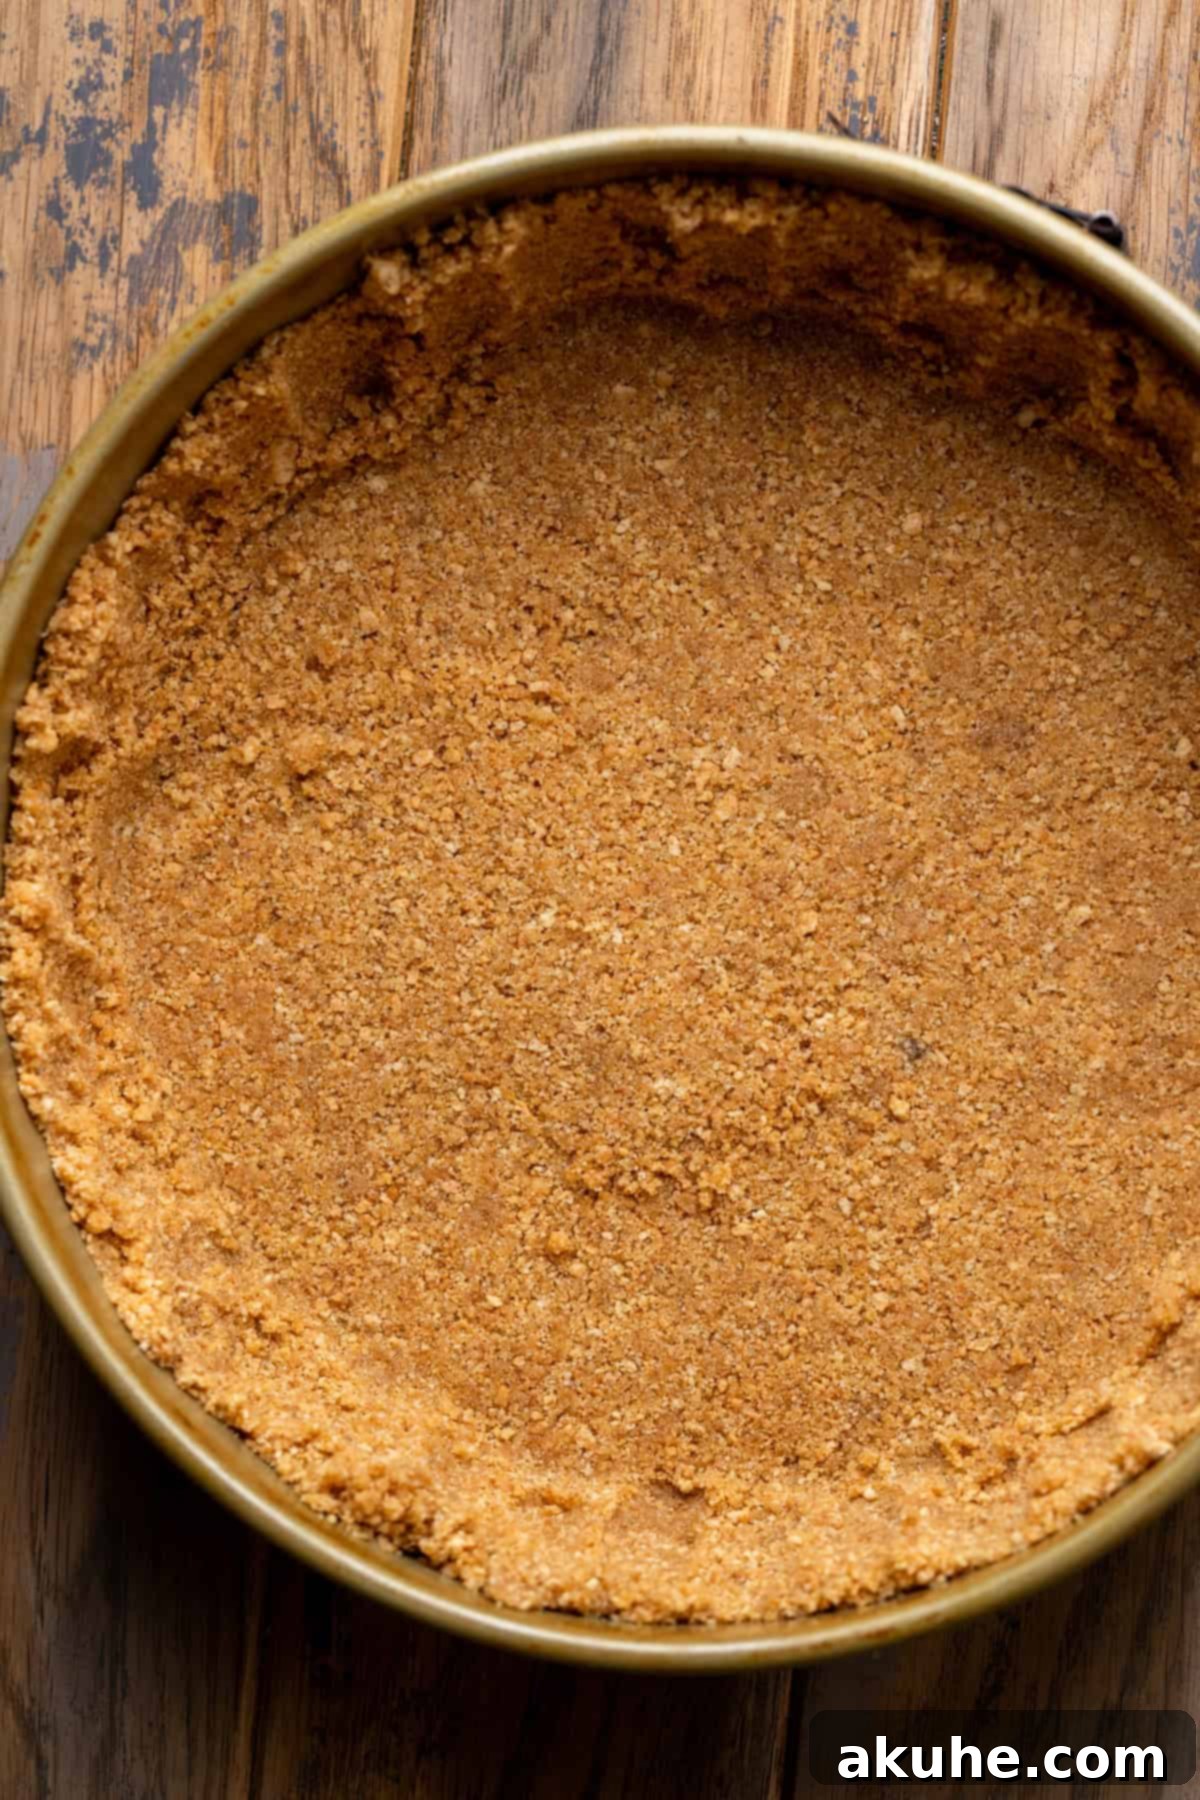
- The Golden Graham Cracker Crust: A cheesecake isn’t complete without its signature crust, and for our S’mores Cheesecake, the graham cracker base is absolutely essential. We start with finely crushed graham crackers, mixed with a hint of brown sugar for added depth and melted butter to bind it all together. This creates a sturdy, flavorful foundation that perfectly mimics the original s’mores cracker, providing a delightful crunch that contrasts beautifully with the creamy marshmallow creme cheesecake filling. Its buttery sweetness makes it the ideal anchor for the layers to come, a testament to a great graham cracker crust recipe.
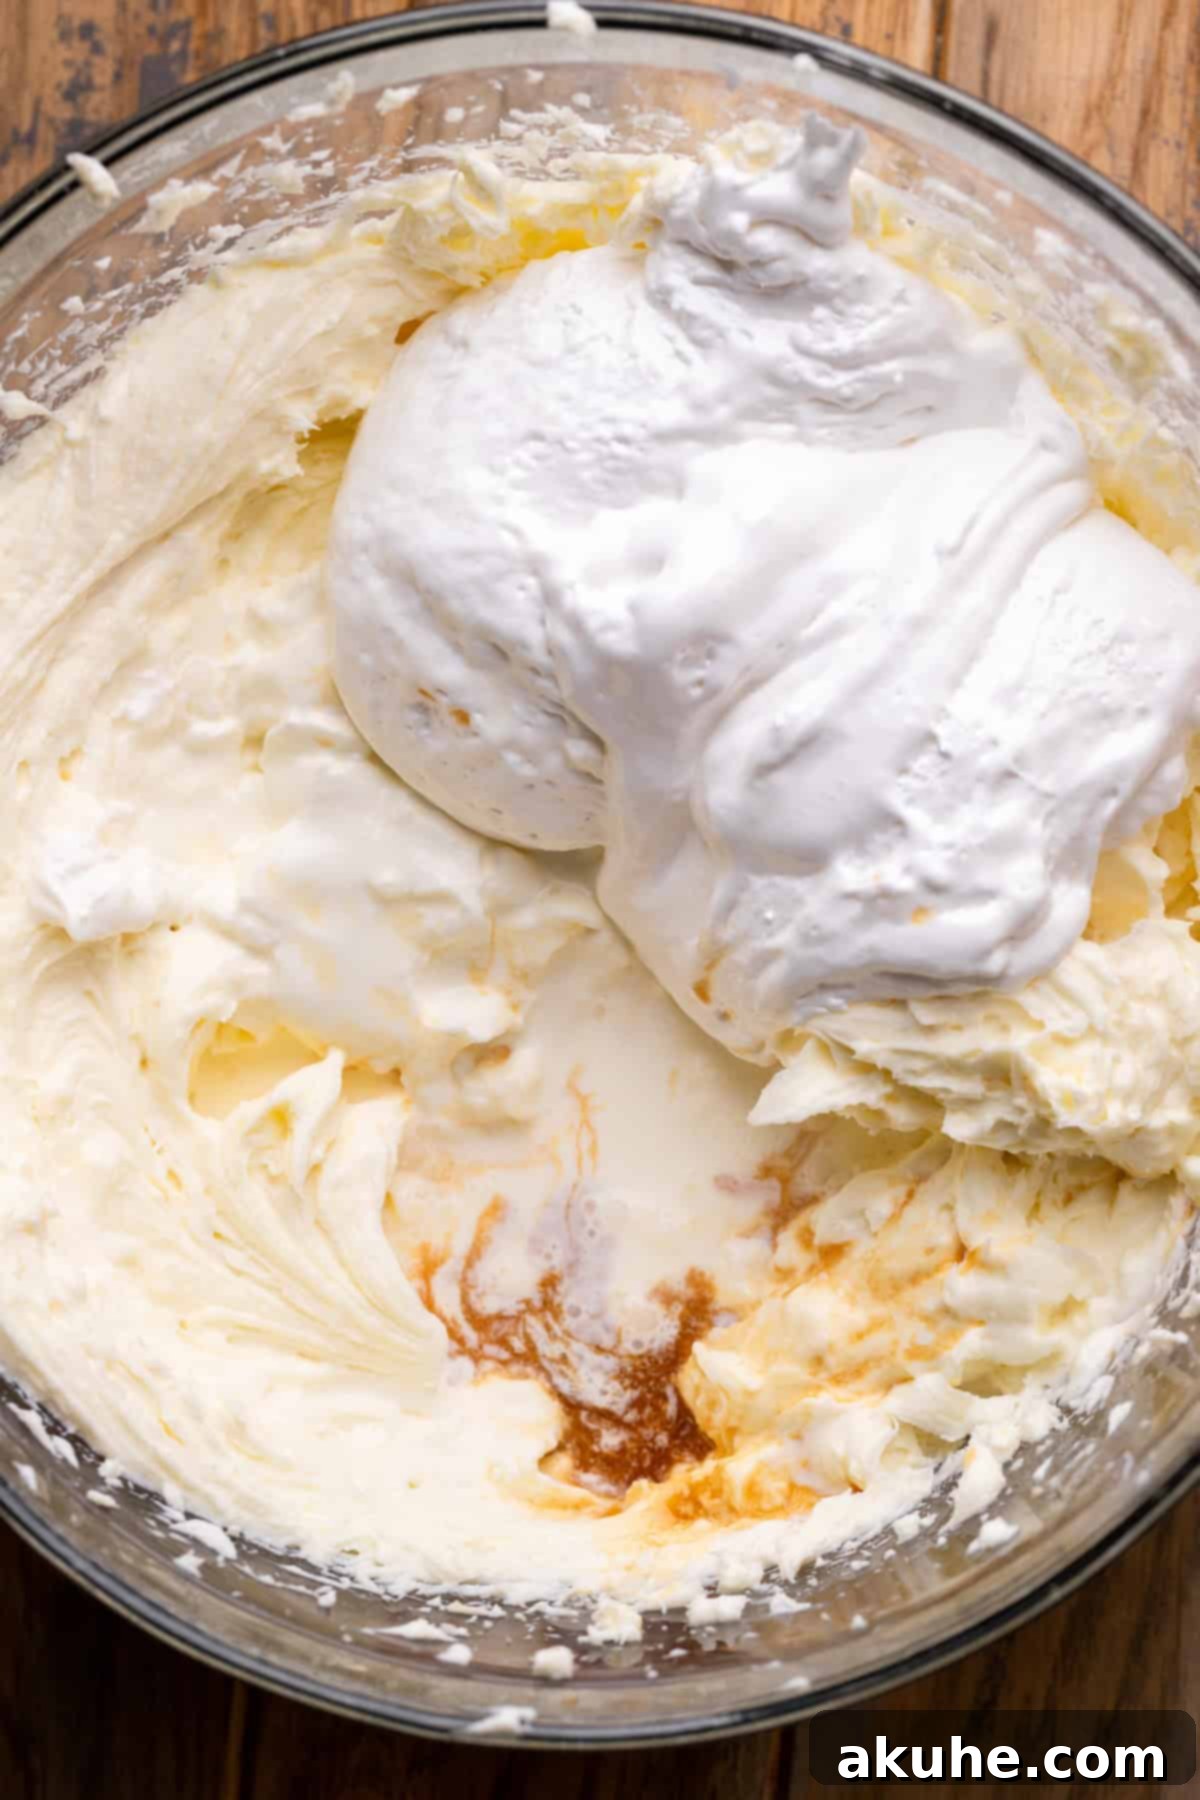
- Luscious Marshmallow Creme Cheesecake Filling: This is where the magic truly happens. Instead of just a simple marshmallow layer, we’ve infused the rich, creamy cheesecake batter with marshmallow creme. This not only gives the cheesecake a wonderfully unique, sweet, and slightly airy texture but also ensures that the marshmallow flavor permeates every bite. It’s the gooey, dreamy heart of the s’mores experience, transformed into a smooth, decadent cheesecake. To ensure you don’t miss that iconic toasted marshmallow edge, we add another layer of mini marshmallows on top, which are then perfectly browned to achieve that authentic toasted marshmallow taste.
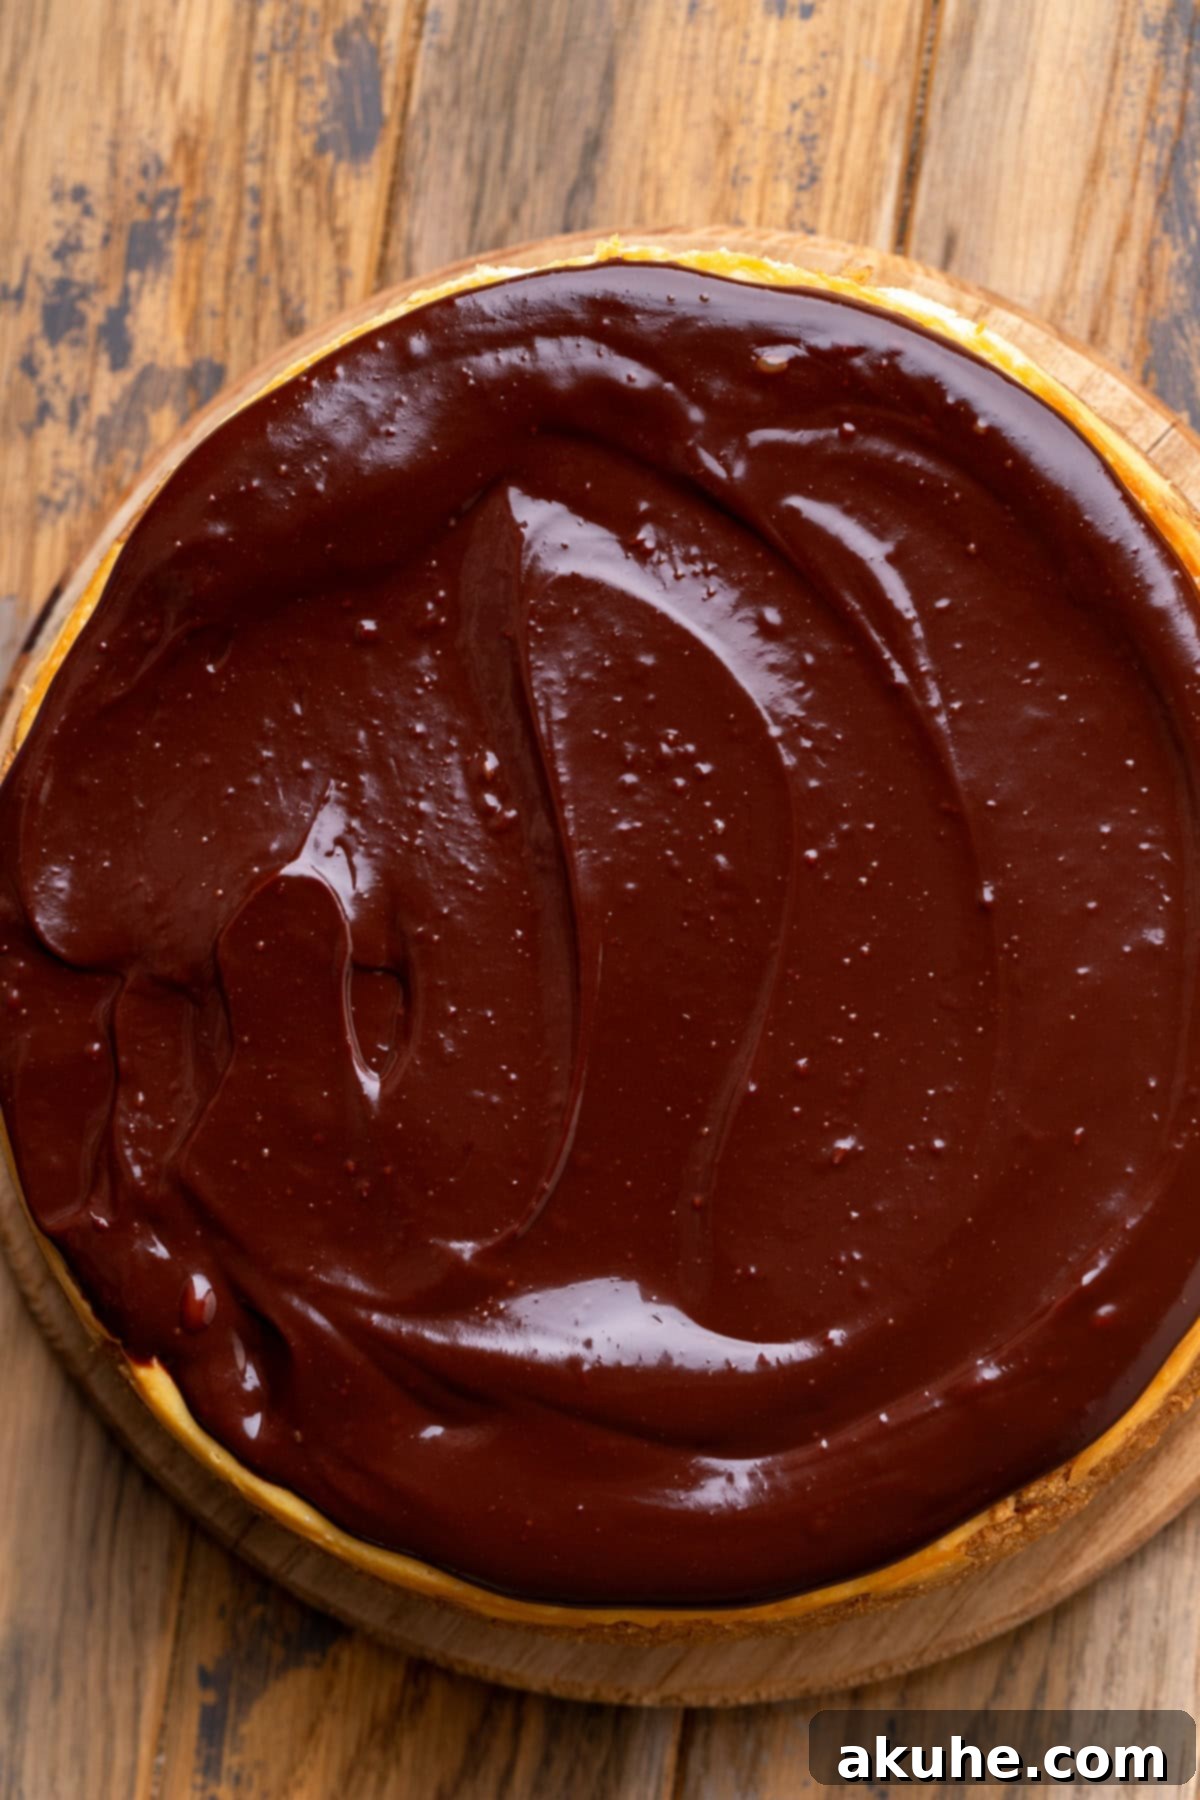
- Decadent Chocolate Ganache Topping: The melted chocolate is arguably the soul of a s’more, and our cheesecake version takes it to an exquisite new level with a silky chocolate ganache. Made from high-quality semi-sweet chocolate chips and heavy cream, this ganache creates a rich, luxurious layer that melts delicately in your mouth. It’s a significant upgrade from a simple chocolate bar, offering a deep, intense chocolate flavor and a smooth texture that complements the marshmallow and graham cracker perfectly, tying all the elements together with sophisticated indulgence. This chocolate ganache recipe is simple yet profoundly flavorful.
This careful layering ensures that each component shines while contributing to a harmonious whole. From the very first bite to the last, you’ll experience a balanced symphony of flavors and textures, making this not just a dessert, but an unforgettable culinary journey. We truly believe this is the BEST way to enjoy the beloved s’mores combination!
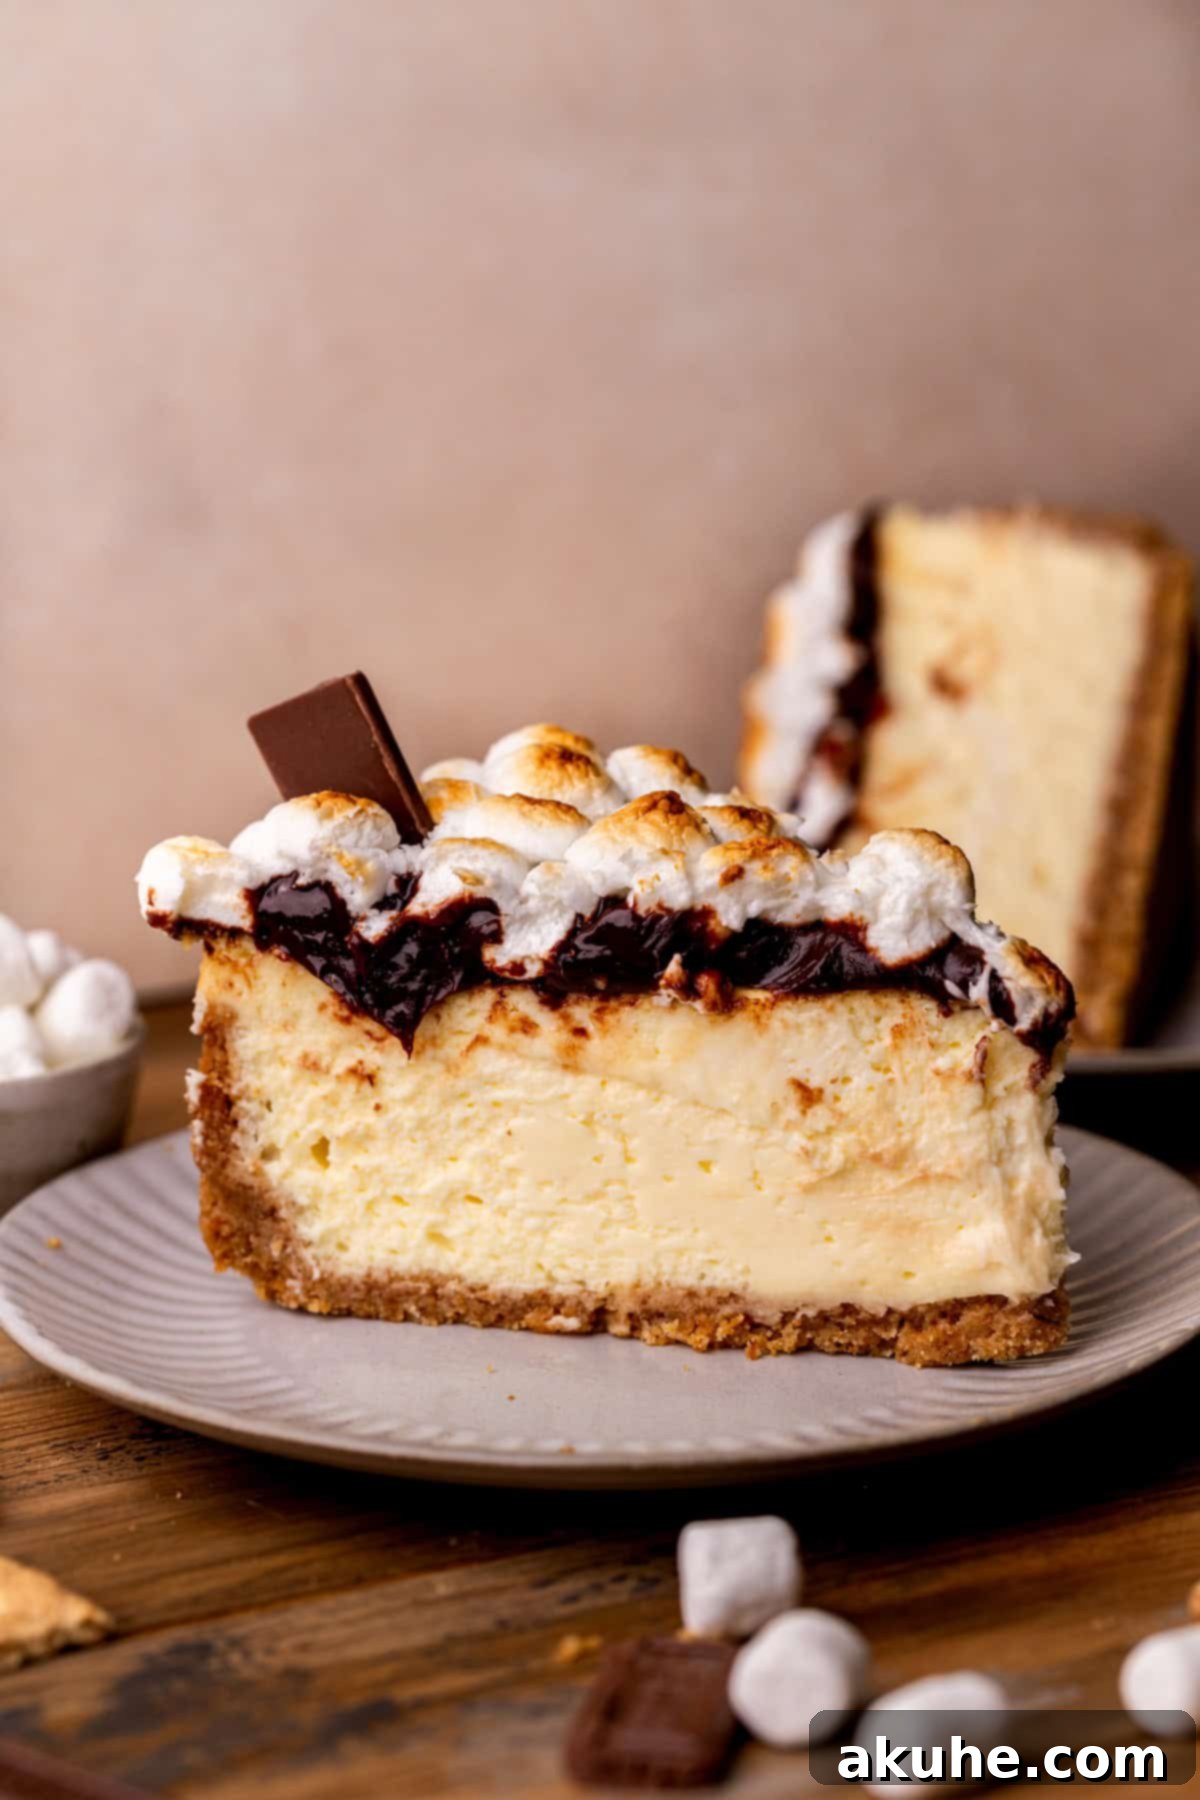
Expert Tips for Baking Your Perfect S’mores Cheesecake
Baking a homemade s’mores cheesecake can seem daunting, but with a few essential baking tips, you can achieve a flawless, bakery-quality dessert right in your own kitchen. These insights will help you avoid common pitfalls and ensure your s’mores cheesecake turns out beautifully light, creamy, and crack-free, just like a professional baker’s creation.
Achieving a Light and Airy Cheesecake Texture
The secret to a truly great cheesecake lies in its texture – it should be exquisitely creamy, light, and almost melt-in-your-mouth, never dense or heavy. There are two critical factors to maintain this coveted airy quality, crucial for any baked cheesecake recipe:
- Gentle Handling of the Batter (Especially After Eggs): Once you’ve incorporated the eggs into your cheesecake batter, it’s crucial to handle it with extreme care. Eggs introduce air, and over-mixing after they are added can incorporate too much, which causes the cheesecake to puff up excessively during baking and then collapse dramatically, resulting in a dense texture and often cracks. Similarly, sudden jolts, like dropping the pan onto the counter, can knock out delicate air bubbles. Mix the eggs in on the lowest speed until just combined, then gently transfer the batter smoothly to the crust.
- Gradual Cooling Process for Cheesecake Stability: Rapid temperature changes are the enemy of a light cheesecake. If you remove the cheesecake from the oven too quickly, the sudden drop in temperature can cause it to contract rapidly, leading to a dense texture or, even worse, unsightly cracks. The ideal method is to turn off the oven once the cheesecake is baked (edges set, center with a slight jiggle), crack the oven door slightly (about an inch or two), and let the cheesecake cool gradually inside for at least 30 minutes, or even an hour. This slow transition helps the cheesecake set properly without shocking it. Avoid placing a still-warm cheesecake in a cold environment like a refrigerator or an open window to speed up cooling; wait until it has fully cooled to room temperature before chilling.
The Importance of Room Temperature Ingredients
This might seem like a small detail, but using room temperature dairy ingredients is absolutely vital for a smooth, homogenous cheesecake batter. Cold cream cheese, sour cream, and heavy cream will not blend together seamlessly. Instead, they can form stubborn lumps and chunks that are difficult to fully incorporate, even with prolonged beating. These unmixed pockets can lead to an uneven texture in your baked cheesecake and even contribute to cracking during the baking and cooling process.
To ensure perfectly smooth batter, pull out all your dairy ingredients from the refrigerator at least 1-2 hours before you plan to start baking. They should be soft to the touch and easily yield when pressed. This allows them to emulsify properly with the sugar and other ingredients, creating that signature silky smooth cheesecake consistency that is the hallmark of a truly great homemade cheesecake.
Mastering the Marshmallow Broil for Perfect Toasted Marshmallows
Broiling marshmallows can be a delicate dance between perfectly golden and disappointingly burnt, especially when creating toasted marshmallows on your S’mores Cheesecake. The key to achieving that ideal toasted finish without mishap is precision and vigilance. Marshmallows toast incredibly quickly under the broiler, so constant attention is non-negotiable.
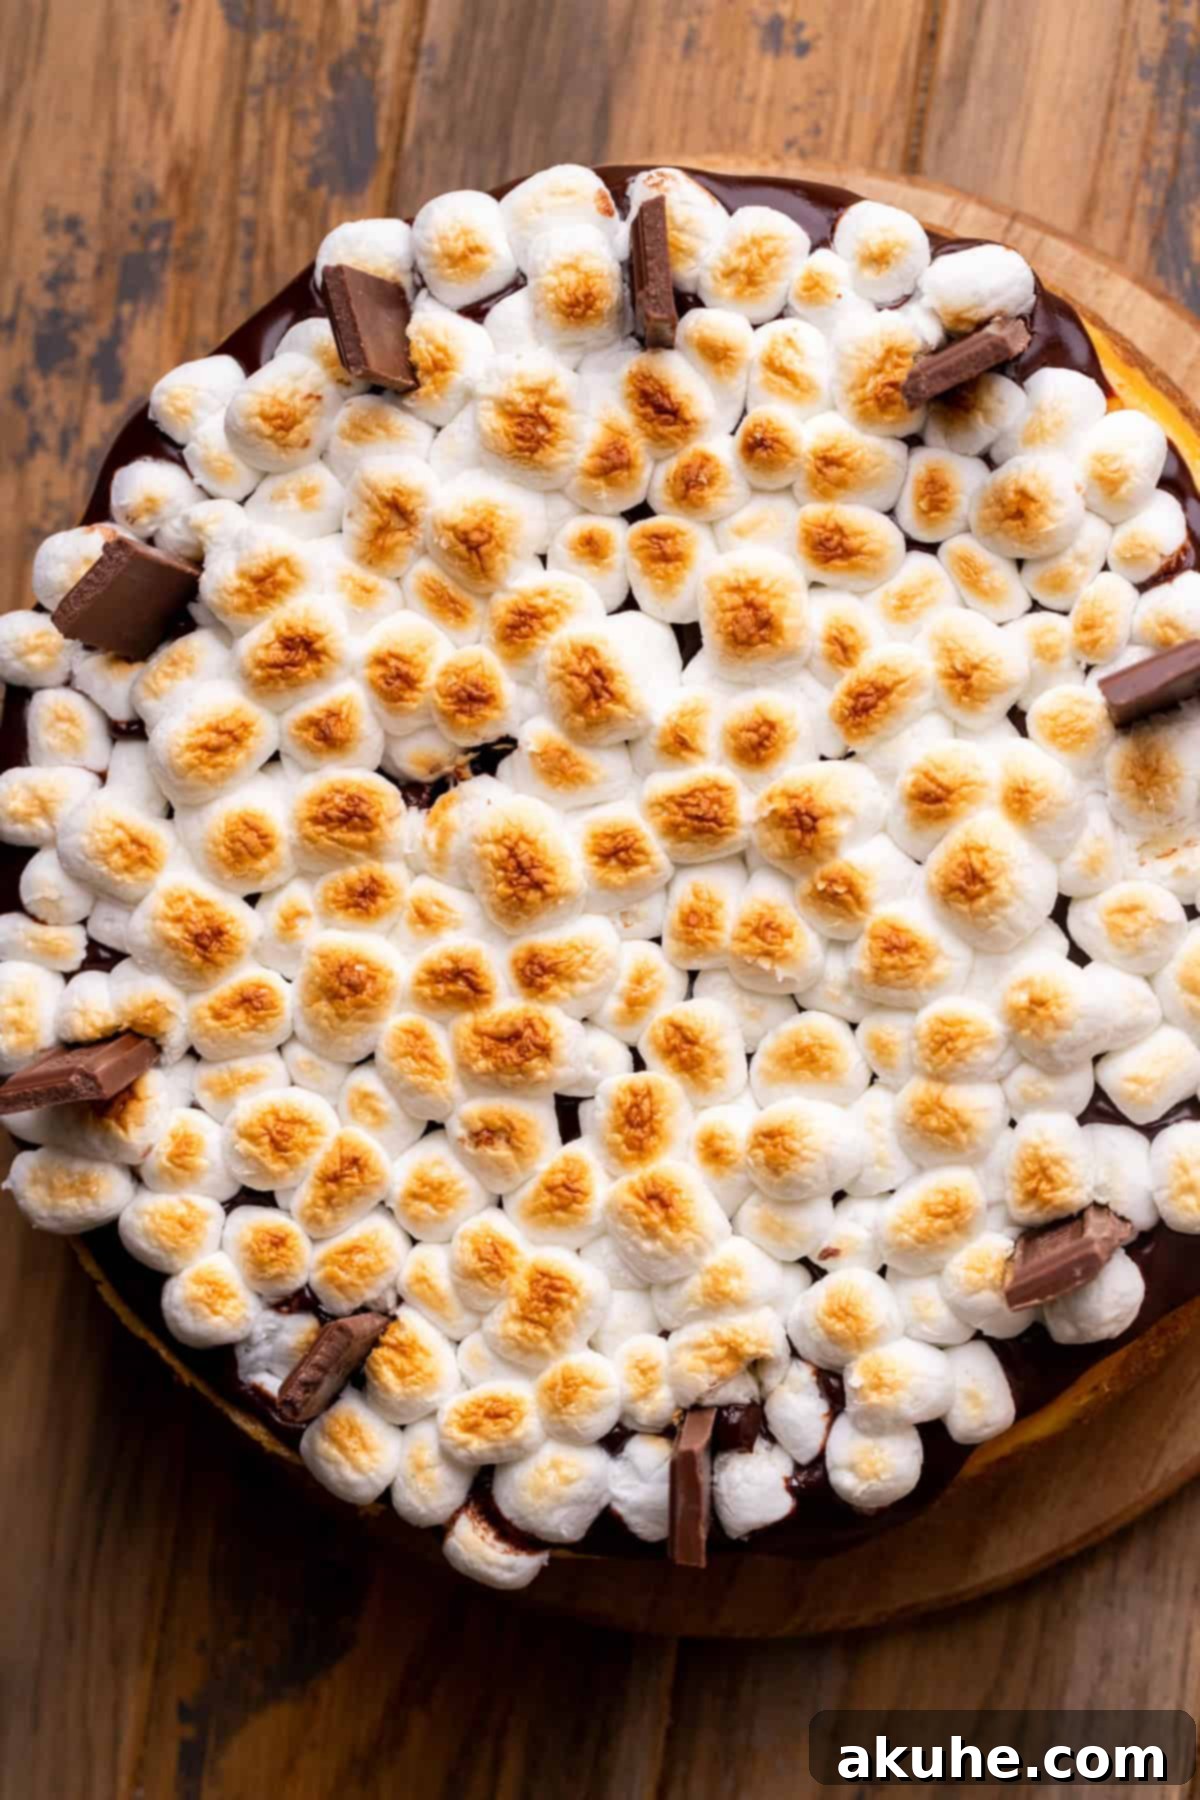
To minimize the risk of burning, always place your cheesecake on a large cookie sheet on the lowest rack available in your oven. This creates a greater distance between the marshmallows and the direct heat source of the broiler element, allowing for more controlled browning. Think of it like toasting marshmallows over a campfire – you want them close enough for a golden glow, but not directly in the flame. Keep the oven door slightly ajar so you can keep a watchful eye. The moment you see a light golden-brown color emerge, turn off the broiler and remove the cheesecake. This process can take anywhere from 1 to 3 minutes, but it can literally change in seconds, so do not walk away from the oven. For an even more controlled toast, especially if you’re nervous about the broiler, a kitchen torch offers excellent precision, allowing you to individually toast each marshmallow to perfection for a gourmet s’mores cheesecake finish.
Common Challenges and How to Overcome Them for a Perfect Cheesecake
Preventing Cheesecake Cracks: A Detailed Guide
Cheesecake cracks are a common baker’s woe, but they are entirely preventable with a few careful techniques. A beautiful, smooth top is the hallmark of a perfectly baked cheesecake. Here’s how to achieve that pristine, crack-free surface:
- Beat Wet Ingredients Thoroughly (Before Eggs): The non-egg wet ingredients (cream cheese, sugar, sour cream, heavy cream, marshmallow creme, vanilla) should be beaten on high speed until they are exceptionally creamy and smooth. This step is crucial for breaking down any cream cheese lumps. Lumps in the batter create inconsistencies that can cause stress points during baking, leading to cracks as the cheesecake cools and contracts. Ensure your cream cheese is at room temperature for the best results.
- Add Eggs on Low Speed and Avoid Over-mixing: Eggs act as a binder and add structure, but incorporating too much air when mixing them in can cause problems. Beat the eggs on the lowest speed possible, just until they are combined with the rest of the batter. Over-mixing introduces excessive air bubbles, which cause the cheesecake to rise rapidly and dramatically during baking. As it cools, this extra air escapes, leading to a significant fall and subsequent cracking. Mix until smooth, then stop – typically within 30 seconds after the last egg is added.
- Utilize a Water Bath (Absolutely Essential!): A water bath, or “bain-marie,” is perhaps the most critical technique for preventing cracks in a baked cheesecake. It provides a moist, humid environment for your cheesecake while it bakes, which helps it cook evenly and slowly. The gentle, consistent heat from the water bath prevents the edges from baking and setting too quickly, which would otherwise pull away from the pan and crack the center. We’ll delve deeper into water bath tips below, but understand that this step significantly contributes to a smooth, uncracked surface.
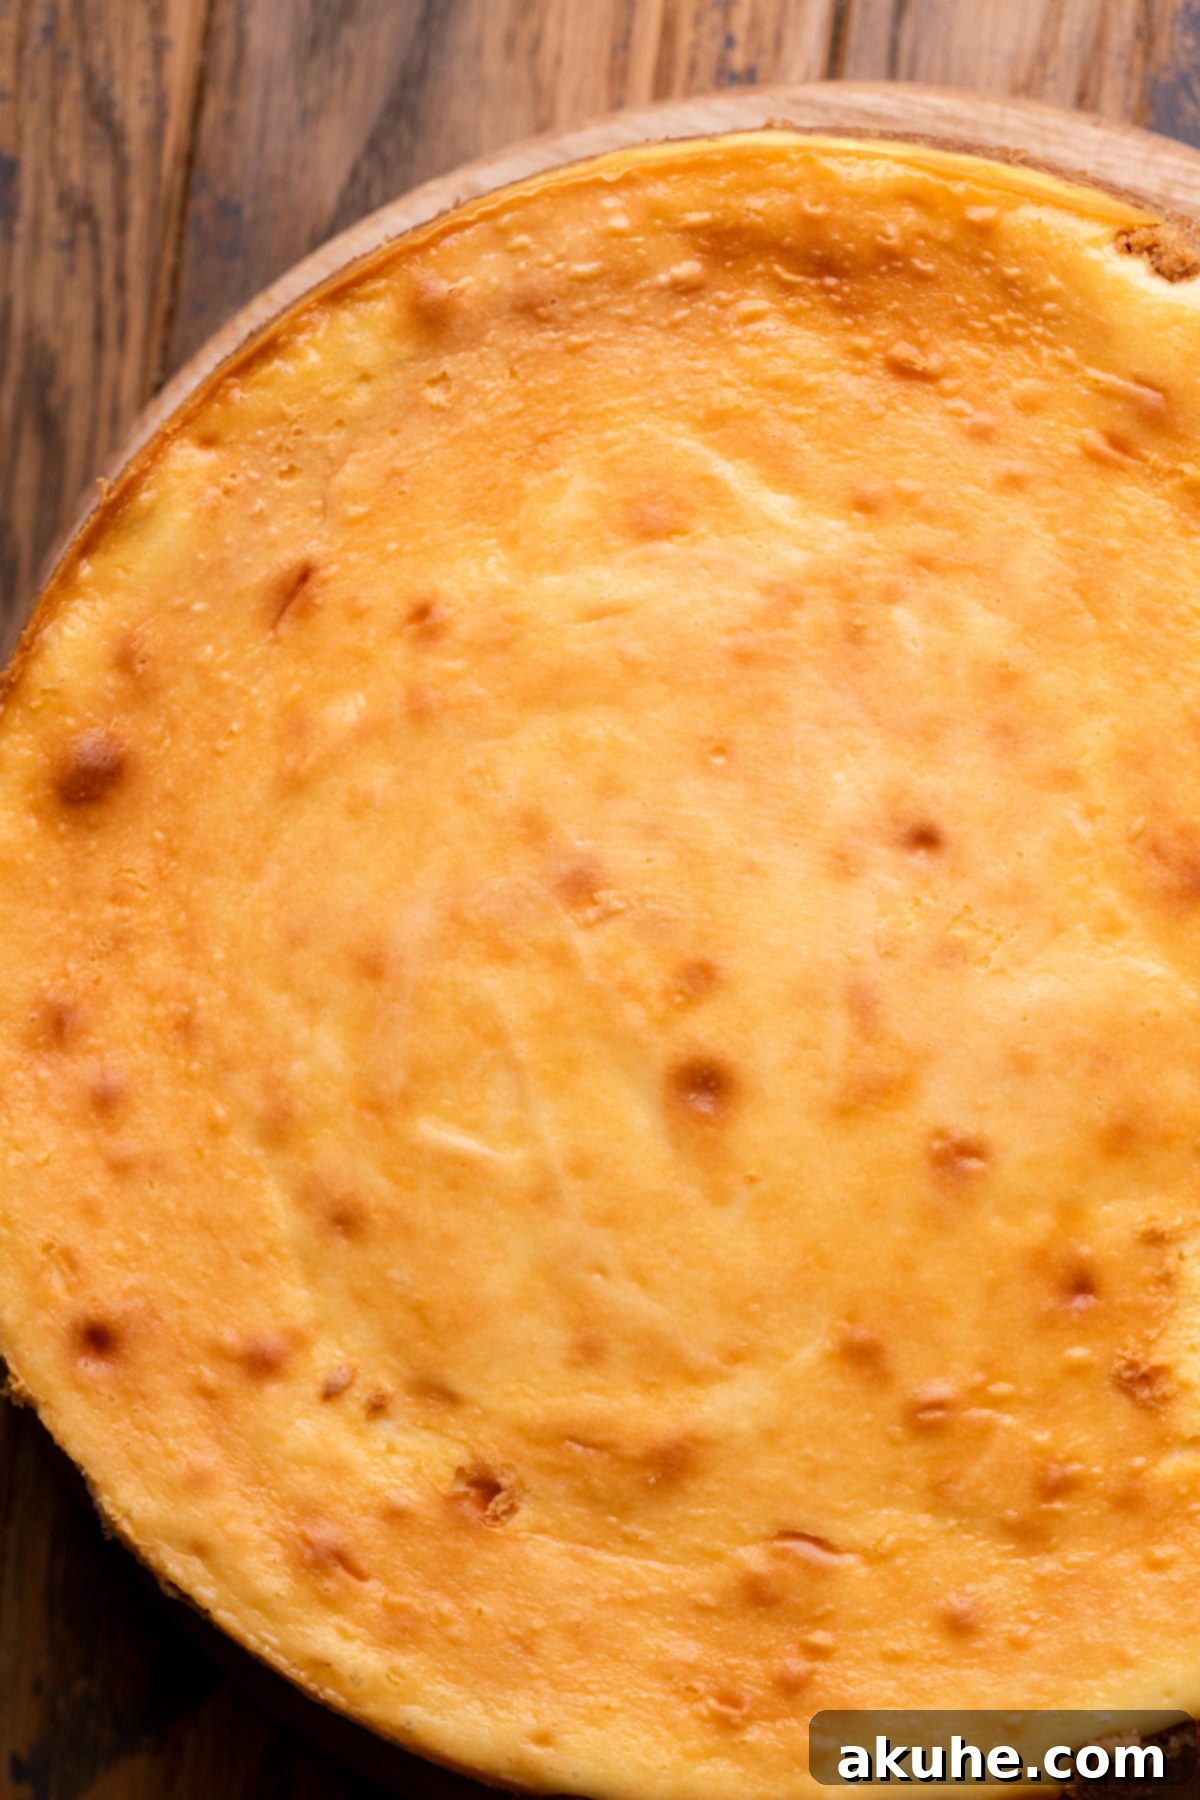
- Implement Gradual Cooling (Post-Bake): As mentioned earlier, sudden temperature changes are detrimental to cheesecake integrity. Once your cheesecake is done baking (edges set, center with a slight jiggle), do not immediately remove it from the oven. Turn off the oven, crack the door open an inch or two, and let the cheesecake sit in the residual warmth for at least 30-60 minutes. This allows for a slow, gentle cooling, preventing rapid contraction that leads to cracks. After this period, transfer it to a wire rack to cool completely to room temperature before chilling in the refrigerator overnight. Patience is key for a truly perfect cheesecake.
How To Easily Remove The Cheesecake From The Pan
Removing a delicate cheesecake from a springform pan without damaging its beautiful crust or sides requires a little preparation and patience. Follow these steps for a flawless release and presentation:
- Prepare the Pan Properly: Before adding any ingredients, thoroughly spray the entire inside of your 9-inch springform pan with a high-quality baking non-stick spray. Next, line the bottom of the pan with a 9-inch parchment paper circle. This creates a non-stick barrier that makes sliding the cheesecake off the bottom a breeze. For extra security, spray the parchment paper circle again.
- Chill Overnight for Firmness: After baking and cooling according to the instructions, ensure the cheesecake has chilled in the refrigerator for at least 6 hours, or ideally, overnight. A well-chilled cheesecake is firm, stable, and much easier to handle without distortion. Attempting to remove a warm or insufficiently chilled cheesecake will almost certainly result in damage.
- Gentle Release from Sides: Once fully chilled, the sides of the springform pan should typically pop right off when you release the latch. If you encounter any resistance, very gently run a thin, sharp knife (dipped in hot water and wiped completely dry) around the inner edge of the cheesecake before releasing the spring mechanism. This helps prevent the delicate crust from sticking.
- Removing the Base: To remove the cheesecake from its metal base, carefully slide a large, thin offset spatula or a very sharp, thin knife underneath the graham cracker crust to separate it from the pan. Then, gently slide the entire cheesecake onto a serving platter. Alternatively, you can carefully lay the cheesecake on its side to peel off the bottom of the pan and the parchment circle, though this requires extra care and a steady hand. Using a specialized cake lifter can also be very helpful here.
The Secret to a Perfect Water Bath (and Why It’s Crucial)
A water bath (also known as a bain-marie) is a professional baker’s secret weapon for achieving a perfectly smooth, uncracked, and evenly cooked cheesecake. Its importance cannot be overstated. The moist, steamy environment created by the hot water bath prevents the cheesecake from drying out around the edges and baking too quickly, which is a primary cause of cracks. It ensures the cheesecake bakes gently and evenly from all sides, resulting in a wonderfully creamy, uniform texture.
Here are two proven techniques for setting up an effective water bath, both using a large roasting pan and hot steaming water:
- The “Double Pan” Method (Highly Recommended for No Soggy Crust): This is my absolute favorite method, as it virtually eliminates any risk of water seeping into your graham cracker crust and making it soggy. Place your springform pan (with the crust and batter) inside a slightly larger, standard 10-inch cake pan. Then, place this cake pan (with the springform inside it) into your large roasting pan. Carefully fill the roasting pan with hot, steaming water, ensuring the water level comes about halfway up the sides of the 10-inch cake pan. The outer cake pan acts as an extra protective barrier, keeping your crust perfectly dry and crisp, making this the best method for a perfect water bath cheesecake.
- The “Foil Wrap” Method: This is a more traditional approach. Wrap your springform pan tightly with two layers of heavy-duty aluminum foil. Ensure the foil extends well up the sides of the pan, creating a robust, waterproof seal. Place the foil-wrapped springform pan directly into the large roasting pan. Then, carefully pour hot, steaming water into the roasting pan, again aiming for the water level to come halfway up the sides of the foil-wrapped springform pan. While this method is widely used, there’s always a slight chance of a tiny leak if the foil isn’t perfectly sealed, which can result in a soggy crust.
Regardless of the method you choose, always use hot or steaming water, as this helps maintain a consistent oven temperature and prevents the cheesecake from cooking unevenly. The steam created by the water bath ensures a gentle, even bake, resulting in a creamy texture and a pristine, unblemished surface – truly the mark of a master baker and a perfect homemade cheesecake.
S’mores Cheesecake Frequently Asked Questions (FAQs)
Can I make this into mini cheesecakes?
Absolutely! This S’mores Cheesecake recipe adapts beautifully to mini cheesecake form, making them perfect for individual servings at parties, dessert buffets, or as delightful bite-sized treats. To create 12 mini cheesecakes, you’ll need to divide the recipe ingredients by approximately one-third. Line a standard muffin pan with paper liners. Fill each liner with a small amount of graham cracker crust, press down firmly, and then pour in the marshmallow creme cheesecake batter. Bake for a shorter duration, typically around 18-20 minutes, or until the edges are set and the centers have a slight jiggle. Allow them to cool completely before topping with a dollop of ganache and a few mini marshmallows, then broil briefly. Always keep a close eye on them as they bake and broil, as smaller portions cook much faster and can burn quickly. For more detailed instructions on baking mini cheesecakes, you can refer to similar recipes like these Mini Oreo Cheesecakes.
What other pans can I use for this S’mores Cheesecake recipe?
This versatile recipe can be adapted to several different pan sizes, giving you flexibility based on your needs and desired presentation:
- 8×8 or 9×9 inch baking pan (for S’mores cheesecake bars): To make decadent S’mores cheesecake bars, halve the entire recipe for all layers (crust, filling, ganache, marshmallows). You will need approximately 16 oz of cream cheese for the filling for this size. Adjust the baking time, as the thinner batter in a larger square pan will cook more quickly. Start checking for doneness after about 35-45 minutes; the edges should be set, and the center should have a slight jiggle.
- 8-inch springform pan: If you prefer a slightly thicker cheesecake in an 8-inch springform pan, you can often use the full recipe as written. The baking time might be slightly longer than for a 9-inch pan due to the increased thickness, so monitor for the characteristic slight jiggle in the center, potentially adding 10-15 minutes to the baking time.
- 6-inch springform pan: For a smaller, taller cheesecake, halve the recipe for the crust and topping, but for a good height and creamy texture in the filling, you might want to use 16 oz of cream cheese. Adjust baking times significantly; it will bake faster than the full recipe due to the smaller diameter but might take longer than a halved 8×8 due to its increased thickness. Check around 45-60 minutes.
Always remember to adjust baking times based on the pan size and thickness of your cheesecake. A toothpick inserted near the edge should come out clean, and the center should have a slight jiggle when gently nudged. The water bath technique remains essential regardless of pan size for a crack-free finish.
How to get the perfect slice of S’mores Cheesecake?
Achieving clean, elegant slices is crucial for presentation, especially with a layered dessert like this s’mores cheesecake. Here’s the trick to getting those picture-perfect slices every time:
- Ensure it’s Very Cold: The cheesecake must be thoroughly chilled, preferably overnight (at least 6-8 hours), before slicing. A warm or even slightly cool cheesecake will be too soft, resulting in messy, distorted slices. Chilling allows all the layers to firm up properly.
- Use a Sharp, Hot Knife: Use a long, thin, sharp knife. For the cleanest cuts, dip the knife in a tall glass of hot water for a few seconds. The heat helps the blade glide through the cheesecake and ganache without sticking.
- Wipe Clean After Every Slice: This is absolutely key for professional-looking slices! After each cut, repeat the process: dip the knife in hot water and wipe it completely dry with a clean cloth. This prevents crumbs, ganache, and marshmallow from clinging to the blade and smudging subsequent slices.
How do I store this S’mores Cheesecake?
Proper storage ensures your S’mores Cheesecake remains fresh and delicious for as long as possible, whether you’re saving leftovers or prepping ahead:
- Refrigeration (Short-Term): Store the entire cheesecake or individual slices in an airtight container, such as a cake carrier, in the refrigerator. This will keep it fresh and delicious for up to 5 days. Ensure it’s well-covered to prevent it from absorbing other food odors and drying out.
- Freezing Whole Cheesecake (Undecorated for Longer Storage): If you want to prepare ahead or save some for later, you can freeze the baked and cooled cheesecake before adding the chocolate ganache and toasted marshmallows. After the cheesecake has chilled in the fridge overnight and is completely firm, wrap it tightly in several layers of plastic wrap, then an additional layer of heavy-duty aluminum foil to prevent freezer burn. Freeze for up to 30 days. To serve, thaw the cheesecake in the refrigerator overnight, or for 1-2 hours at room temperature, before decorating with ganache and toasted marshmallows and then chilling again briefly.
- Freezing Individual Slices (Convenient Servings): For convenient single servings, cut the chilled cheesecake into individual slices. Place them on a baking sheet lined with parchment paper and freeze until solid (about 2-3 hours). Once frozen, wrap each slice tightly in plastic wrap and then place them in an airtight freezer-safe container or freezer bag. Freeze for up to 30 days. To enjoy, thaw individual slices in the refrigerator for 1-2 hours before eating.
The S’mores Cheesecake Recipe
S’mores Cheesecake
Pin Recipe
Leave a Review
40 mins
1 hr 10 mins
6 hrs
7 hrs 50 mins
16 slices
Ingredients
Graham Cracker Crust
- 2 1/2 cups Graham cracker crumbs, fine crumb (approximately 2 sleeves of crackers)
- 2 TBSP Brown sugar, packed (light or dark)
- 10 TBSP Unsalted butter, melted
Marshmallow Creme Cheesecake
- 32 oz Cream cheese, room temperature
- 3/4 cup White granulated sugar
- 1/2 cup Sour cream, room temperature
- 1/2 cup Heavy cream, room temperature
- 7 oz Marshmallow creme (a whole jar)
- 1 tsp Pure vanilla extract
- 4 Large eggs, room temperature
Chocolate Ganache
- 1 cup Semi-sweet chocolate chips
- 1/2 cup Heavy cream
- Mini marshmallows (for topping)
Instructions
Graham Cracker Crust
- Preheat the oven to 325℉ (160°C). Spray a 9-inch springform pan with baking spray. Line the bottom with a parchment paper circle and spray again.
- Using a food processor, blend the graham crackers into a fine crumb. Add the brown sugar and melted butter. Pulse until just combined.
- Pour crumbs into the prepared pan. Use your hands to press the crust halfway up the sides of the pan. Use the bottom of a measuring cup or a flat object to compact the crust firmly and evenly.
- Bake for 11 minutes. Remove from oven and set aside to cool slightly.
Marshmallow Creme Cheesecake
- In a large mixing bowl, using a stand mixer or hand mixer, beat the cream cheese and granulated sugar on high speed for 2 minutes until very smooth and creamy, scraping down the bowl as needed. Start heating water for your water bath.
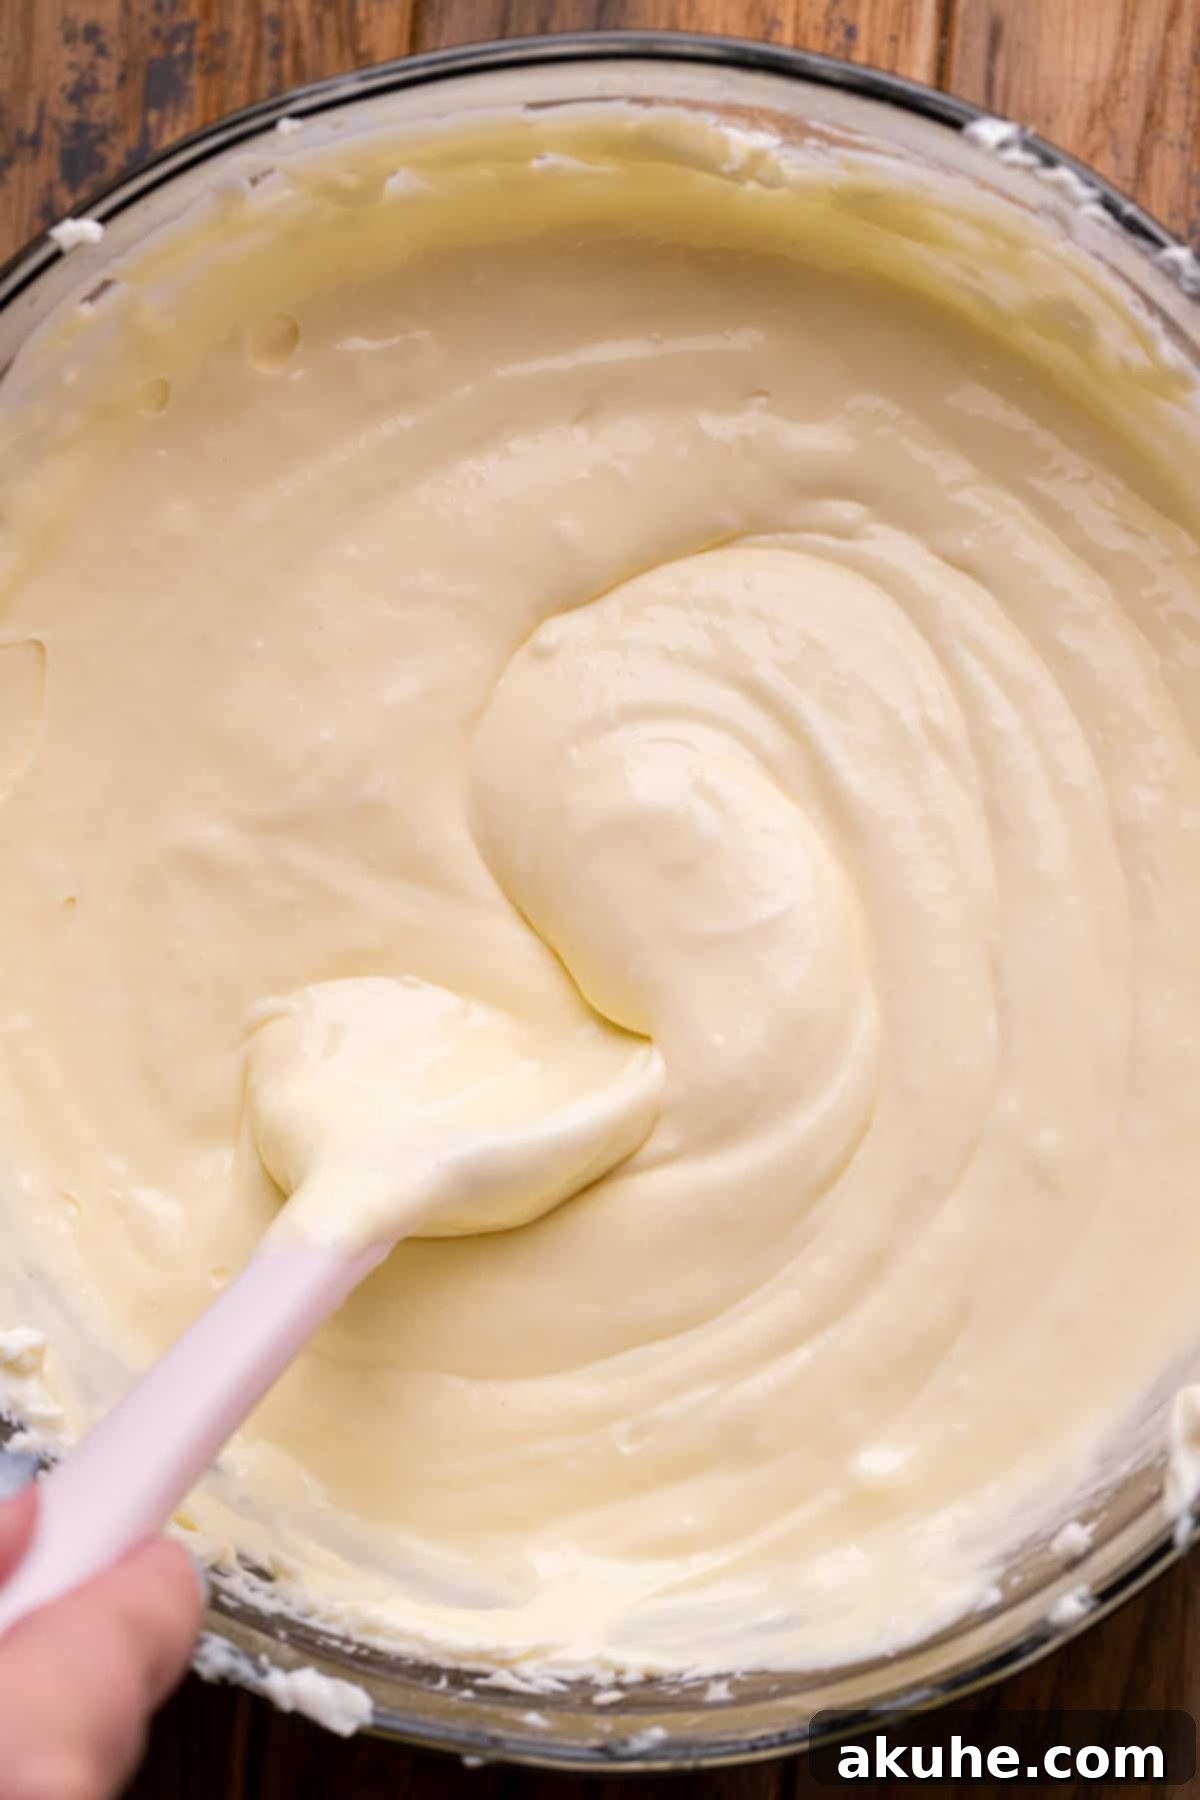
- Scrape down the sides of the bowl with a rubber spatula. Add in the sour cream, heavy cream, marshmallow creme, and vanilla extract. Mix on medium speed until the mixture is fully smooth and lump-free.
- Add in the eggs, one at a time, mixing on low speed only until each is just combined. Do not overmix the eggs once added, as this can introduce too much air. Scrape the bowl once more to ensure everything is incorporated.
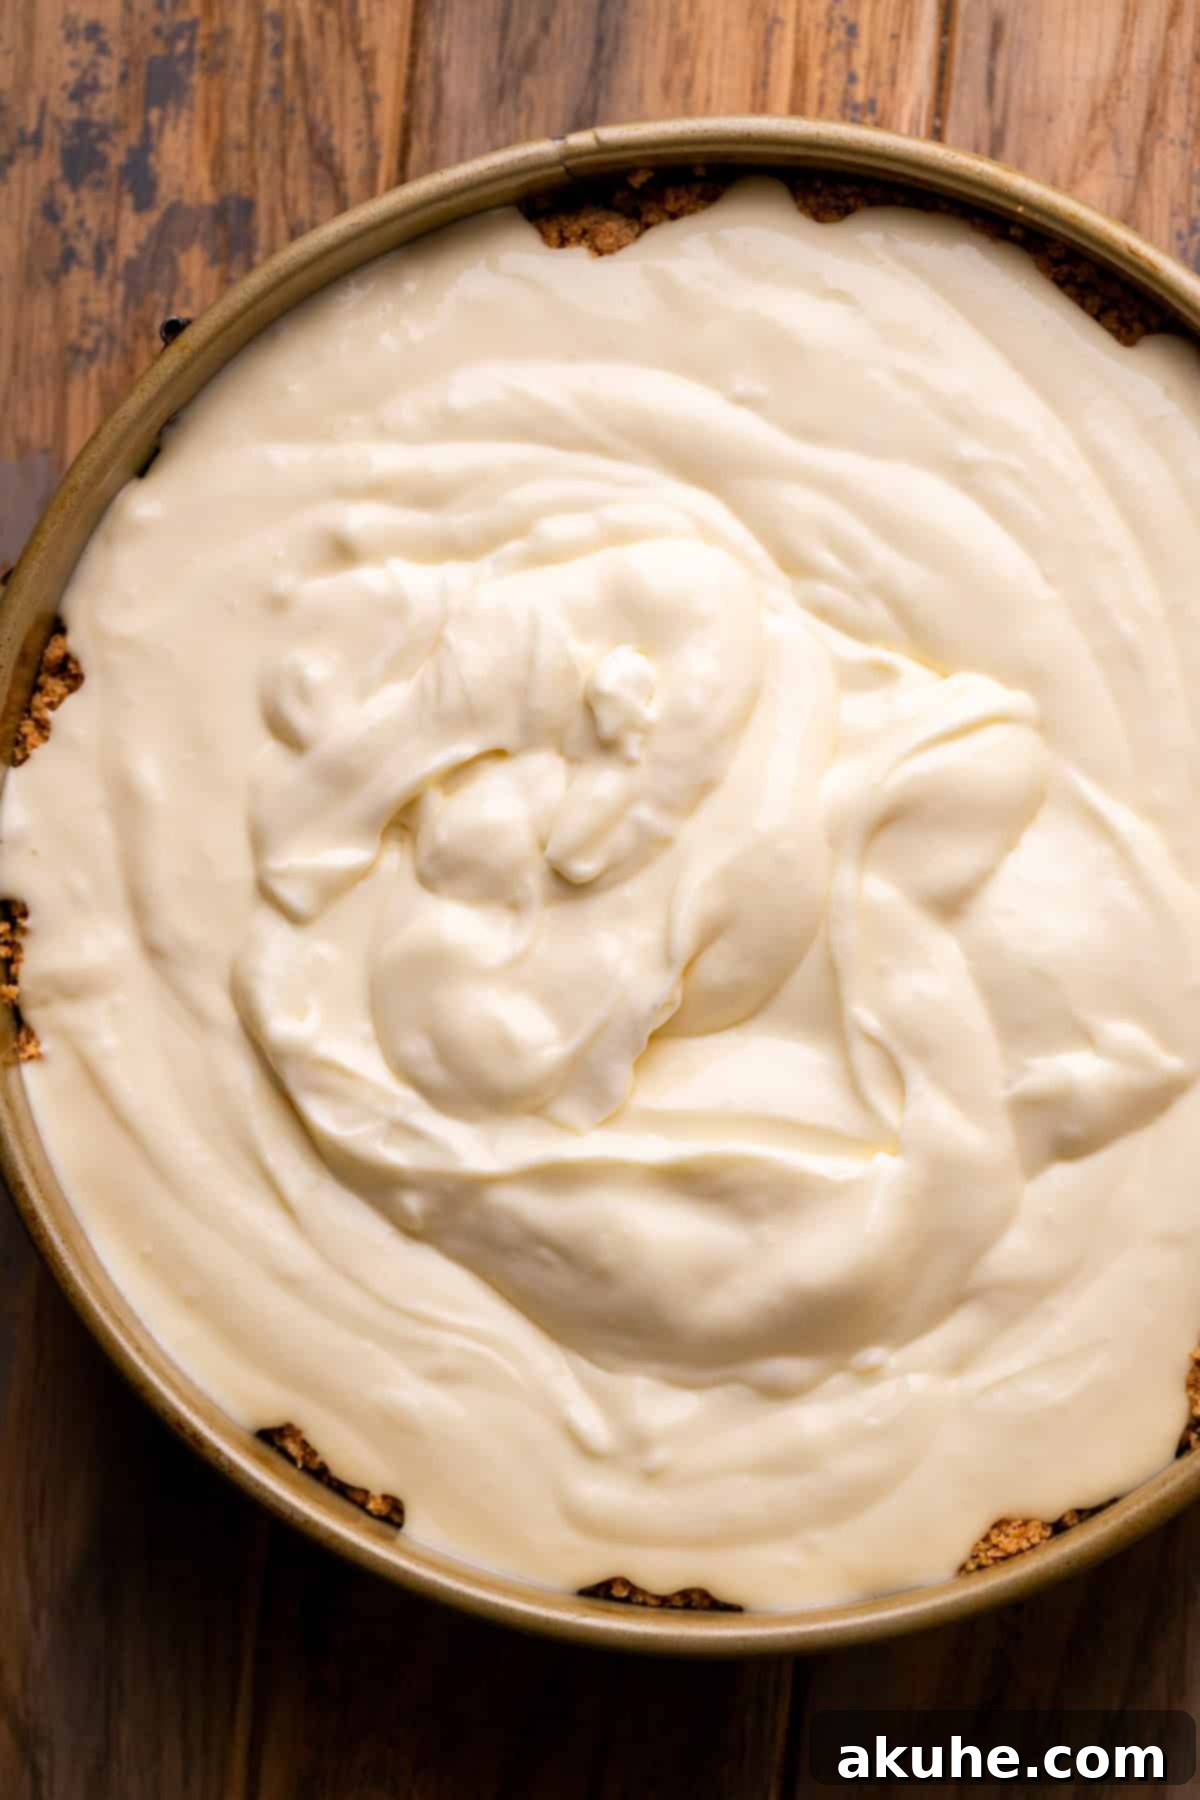
- Carefully pour the cheesecake batter into the pre-baked graham cracker crust.
- Prepare your water bath using one of these methods:
Method 1 (Recommended for no soggy crust): Place the springform pan (with the crust and batter) inside a 10-inch cake pan. Place the cake pan in a large roasting pan. Fill the roasting pan with hot, steaming water (about halfway up the sides of the cake pan). This creates a protective barrier.
Method 2: Tightly wrap the springform pan (with the crust and batter) twice in heavy-duty aluminum foil, ensuring the foil extends well up the sides. Place the wrapped springform pan directly inside the roasting pan. Fill with hot, steaming water halfway up the sides of the foil-wrapped springform pan. - Bake for 65-80 minutes, or until the edges are set and the center has a slight jiggle when gently nudged. The internal temperature should reach about 150°F (65°C).
- Turn off the oven, crack the door open (about 1-2 inches), and let the cheesecake cool slowly in the oven for 30 minutes. Then, carefully remove the springform pan from the water bath and place it on a wire cooling rack to cool completely to room temperature.
- Once at room temperature, wrap the pan tightly in foil or plastic wrap and place it in the fridge for at least 6 hours, or ideally, overnight, to chill and set fully. This chilling period is crucial for texture and ease of slicing.
Chocolate Ganache & Toasted Marshmallows
- For the ganache, place 1 cup semi-sweet chocolate chips in a heatproof bowl. In a small saucepan, heat 1/2 cup heavy cream over medium heat until it just begins to steam and simmer around the edges (do not bring to a rolling boil).
- Pour the hot cream over the chocolate chips. Let it sit undisturbed for 2 minutes to allow the chocolate to melt. Then, whisk gently until the mixture is completely smooth and glossy. Let the ganache cool slightly to a thick, pourable consistency.
- Once the cheesecake is fully chilled, remove it from the springform pan and carefully remove the parchment paper from the bottom. Place the cheesecake on your chosen serving platter. Pour the cooled ganache over the top of the cheesecake and gently spread it evenly using an offset icing spatula or the back of a spoon.
- Generously top the chocolate ganache layer with mini marshmallows, ensuring even coverage.
- Preheat your oven’s broiler. Place the cheesecake on a large cookie sheet on the lowest rack available in the oven. Broil for 1-3 minutes, watching constantly, until the mini marshmallows are lightly golden brown and toasted to your liking. This process is very fast and can go from perfect to burnt in seconds, so do not leave the oven unattended.
- For best serving, place the finished S’mores cheesecake back in the fridge for at least 20 minutes to chill the marshmallows slightly and set the ganache before slicing and serving.
Notes
For best results and a smooth, lump-free batter, ensure all dairy ingredients (cream cheese, sour cream, heavy cream, eggs) are at room temperature. Pull them out of the fridge at least 2 hours before you plan to start baking.
Nutrition Information (per slice, approximate)
- Calories: 527 kcal
- Carbohydrates: 41g
- Protein: 6g
- Fat: 39g
- Saturated Fat: 23g
- Polyunsaturated Fat: 2g
- Monounsaturated Fat: 10g
- Trans Fat: 0.3g
- Cholesterol: 98mg
- Sodium: 273mg
- Potassium: 190mg
- Fiber: 1g
- Sugar: 28g
- Vitamin A: 1,249 IU
- Vitamin C: 0.2mg
- Calcium: 93mg
- Iron: 1mg
Explore More S’mores Inspired Desserts
If you’ve fallen in love with the magic of s’mores transformed into a gourmet dessert, you’re in luck! The classic combination of graham crackers, chocolate, and toasted marshmallows lends itself beautifully to a variety of sweet treats. Don’t stop at this incredible s’mores cheesecake; dive into more s’mores creations that are sure to delight your taste buds and impress your guests. Each recipe offers a unique take on the beloved flavors, perfect for satisfying any s’mores craving beyond the campfire.
- S’mores Cinnamon Rolls: A delightful twist on breakfast or brunch, featuring gooey marshmallow and chocolate swirled into soft cinnamon rolls.
- S’mores Cake: Indulge in layers of rich chocolate cake, fluffy marshmallow frosting, and crunchy graham cracker crumbles, a true celebration cake.
- S’mores Cookies: Enjoy chewy chocolate chip cookies loaded with graham cracker bits, generous chocolate chunks, and delightful toasted marshmallow goodness.
- S’mores Cupcakes: Moist chocolate cupcakes crowned with a luscious marshmallow frosting and a sprinkle of graham cracker for an individual treat.
- S’mores Cookie Bars: An easy-to-make bar dessert featuring a buttery shortbread base, rich chocolate, and beautifully toasted marshmallows, perfect for sharing.
We hope you thoroughly enjoy making and sharing this S’mores Cheesecake. Your feedback is incredibly valuable to us! If you loved this recipe, please make sure to leave a STAR REVIEW below to let us know. We’d also absolutely love to see your beautiful creations – make sure to tag us on Instagram @stephaniesweettreats. For even more delicious baking inspiration, tips, and ideas, be sure to follow us on Pinterest!
