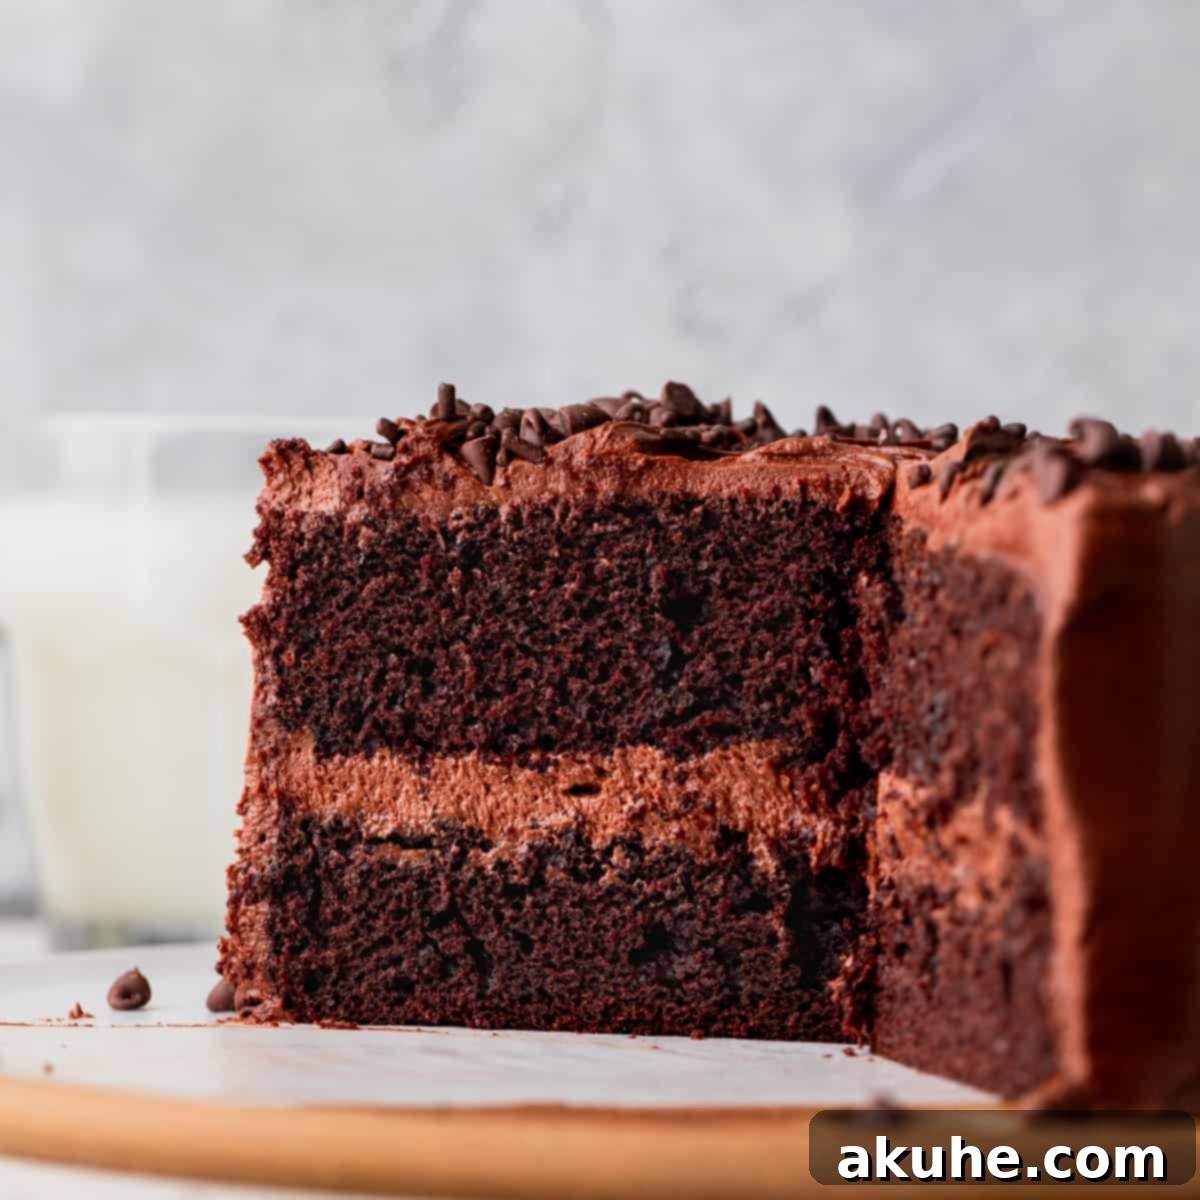
Indulge in the ultimate chocolate experience with this delightful Mini Chocolate Cake, a baking masterpiece that proves good things truly come in small packages. This moist, two-layer, 6-inch chocolate cake is an absolute dream, featuring a luscious chocolate cream cheese frosting, elegantly topped with miniature chocolate chips and delicate chocolate sprinkles. Whether you’re planning an intimate birthday celebration, a romantic date night, a small gathering with loved ones, or simply craving a personal treat, this cake is the perfect choice to satisfy any chocolate lover’s desires.
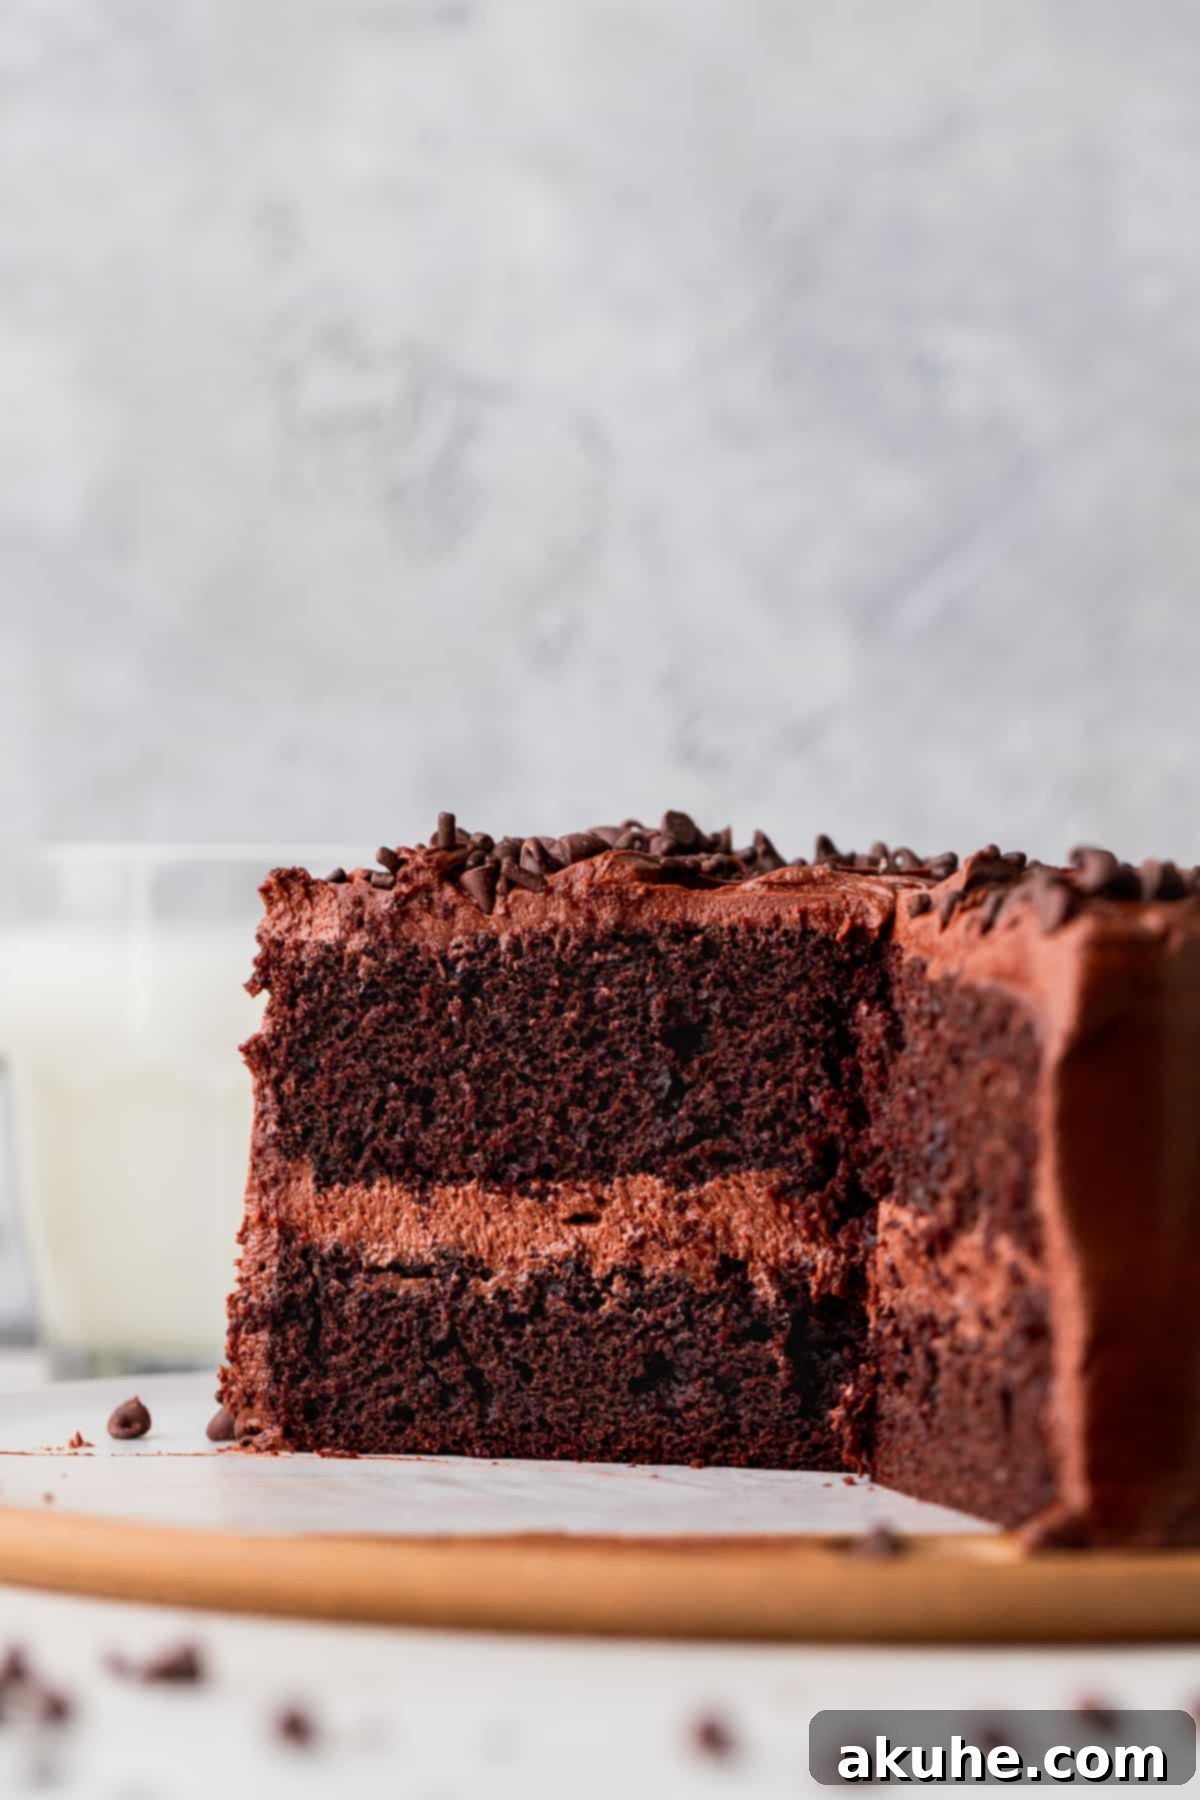
This mini chocolate cake recipe is designed for simplicity without compromising on intense chocolate flavor. The cake layers themselves are incredibly moist, achieved through a strategic combination of Dutch process cocoa powder and hot water. This technique is key to unlocking a deep, rich chocolate taste that permeates every bite, creating a truly decadent experience.
Complementing the moist cake, our revamped chocolate cream cheese frosting strikes a perfect balance between richness and sweetness. By using the same high-quality Dutch process cocoa powder and reducing the amount of powdered sugar, we’ve created a frosting that is wonderfully fudgy and creamy without being overly cloying. It’s a harmonious pairing that makes this cake an unforgettable dessert. Imagine the joy on a friend or family member’s face when you present them with this exquisite creation! It’s the ideal dessert for any small celebration or when you simply want to make someone (or yourself!) feel special.
For those who love miniature desserts, explore our other small-batch cake recipes: discover the delightful Mini Carrot Cake, the classic Mini Vanilla Cake, and the elegant Mini Layered Cake.
Why This Mini Chocolate Cake Recipe is a Must-Try
This isn’t just another chocolate cake; it’s a meticulously crafted recipe designed for optimal flavor and ease. Here’s what makes our mini chocolate cake truly special:
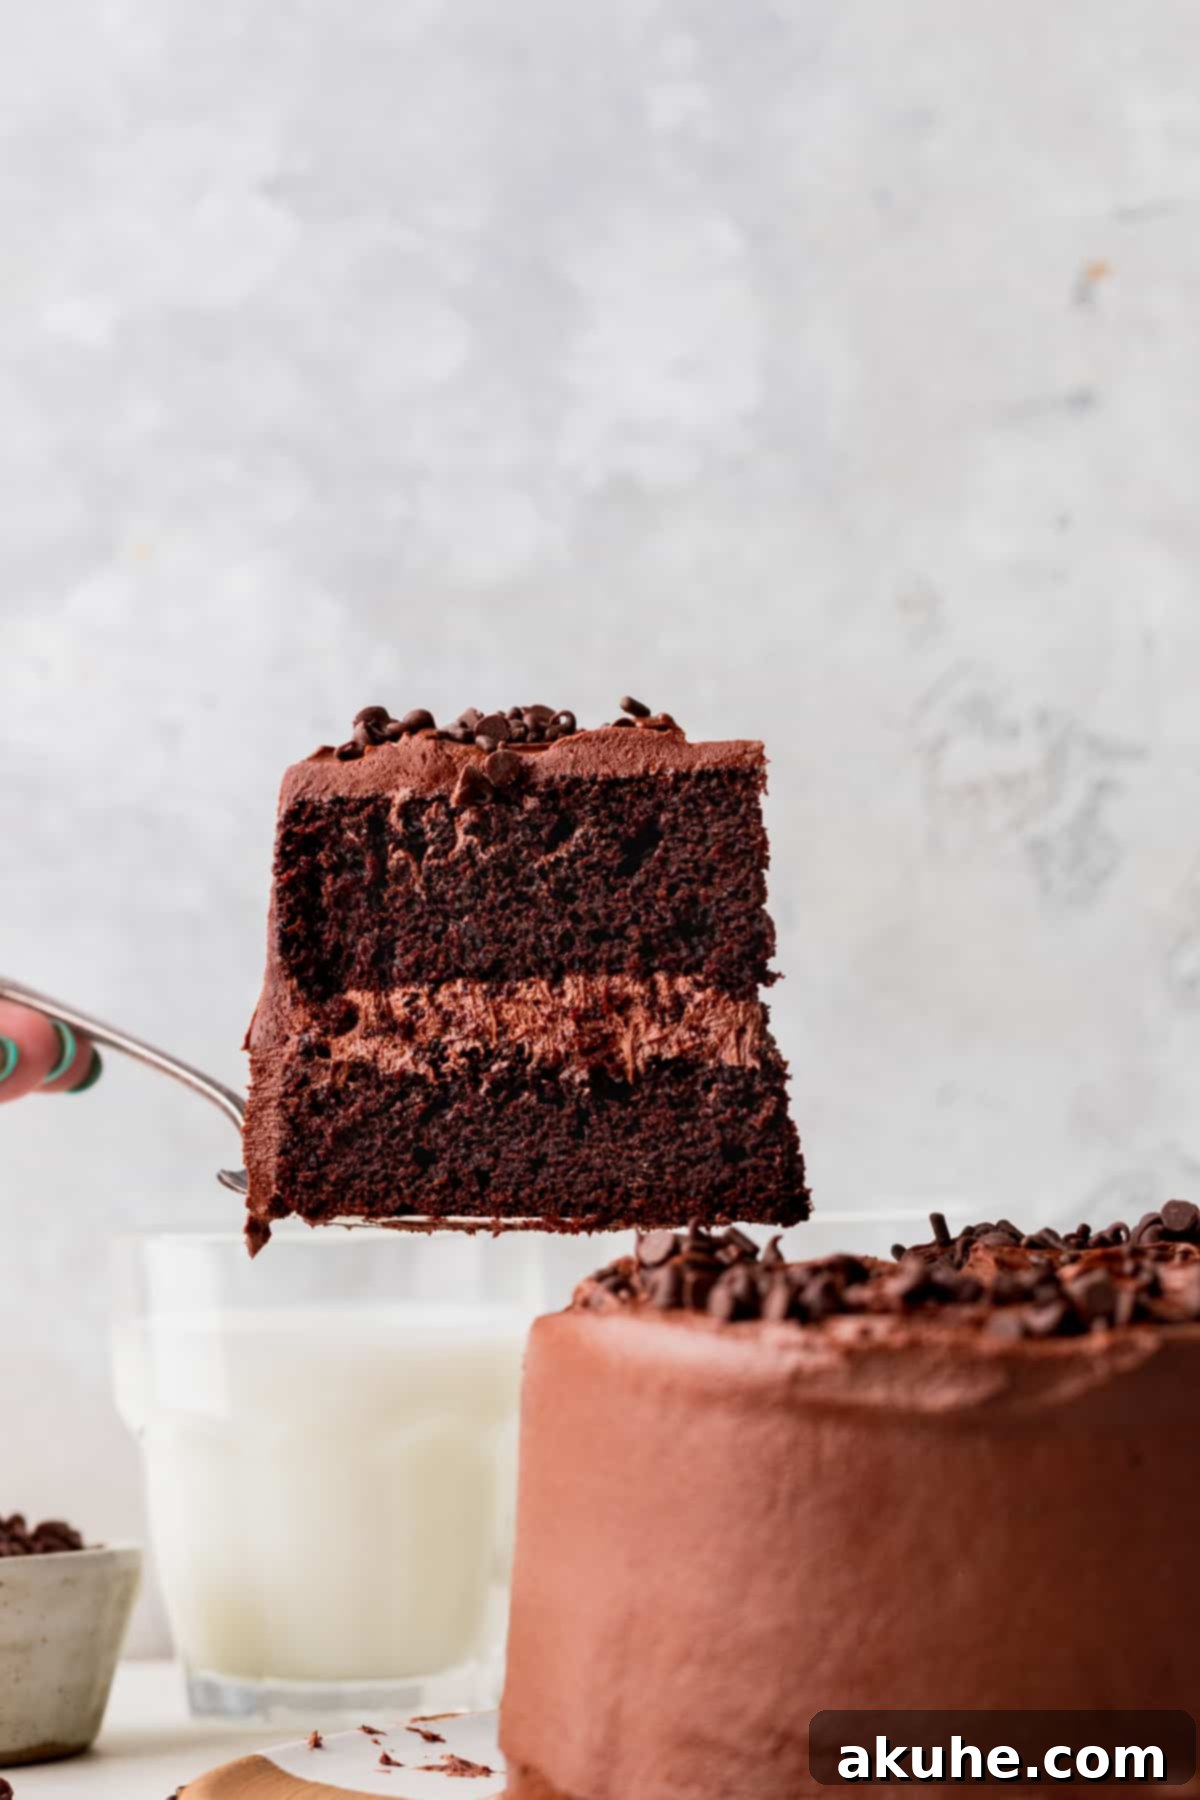
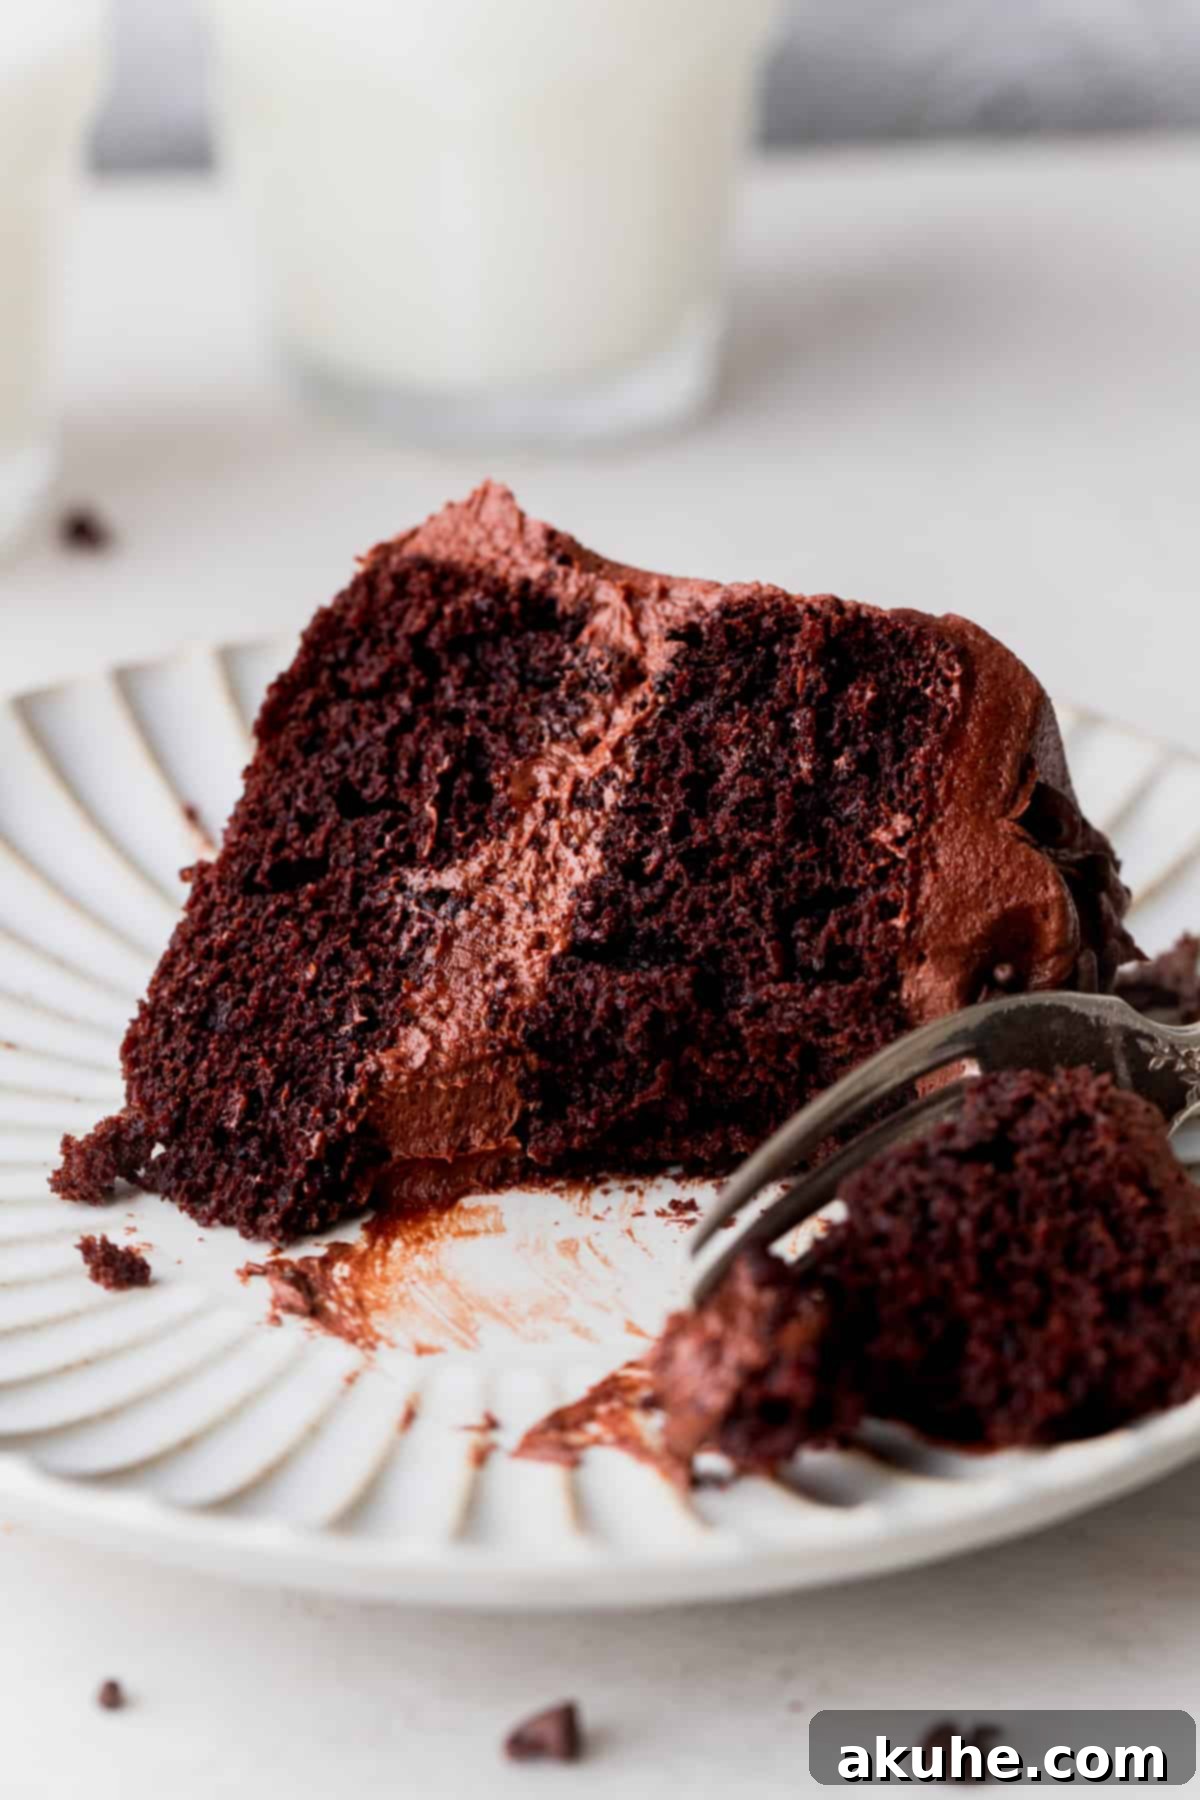
- Extra Moist Chocolate Cake Layers: Our recipe utilizes two 6-inch cake pans, resulting in perfectly proportioned, thicker cake layers that are exceptionally soft and moist. The unique combination of ingredients ensures the cake retains its moisture for days, even when stored in the refrigerator, making it perfect for preparing ahead of time.
- Rich Chocolate Cream Cheese Frosting: The star of this cake is undoubtedly its luxurious frosting. Crafted with a blend of butter and cream cheese, this frosting boasts a fudgy texture and an incredibly rich chocolate flavor. The cream cheese adds a delightful tang that perfectly cuts through the sweetness, creating a balanced and addictive topping.
- Surprisingly Easy to Make and Decorate: Don’t let its elegant appearance fool you; this mini chocolate cake recipe is remarkably straightforward. With only two layers, the assembly and decoration process is significantly simpler than larger, multi-tiered cakes. This makes it an excellent choice for beginner bakers and amateur cake decorators looking to create a show-stopping dessert without the stress.
- Perfect for Any Small Celebration: Its compact size makes this cake ideal for a variety of occasions where a full-sized cake would be too much. It’s perfectly suited for intimate birthday parties, a romantic Valentine’s Day dessert, a cozy date night in, or any special occasion that calls for a personalized, celebratory treat. It serves just enough people without leaving excessive leftovers, ensuring freshness and delight with every slice.
- Deep Chocolate Flavor Profile: We achieve an unparalleled chocolate intensity by using high-quality Dutch process cocoa powder in both the cake and the frosting. This type of cocoa is less acidic, resulting in a darker color and a smoother, mellower chocolate taste that is incredibly satisfying. The addition of hot water to the cake batter further blooms the cocoa, enhancing its rich flavor.
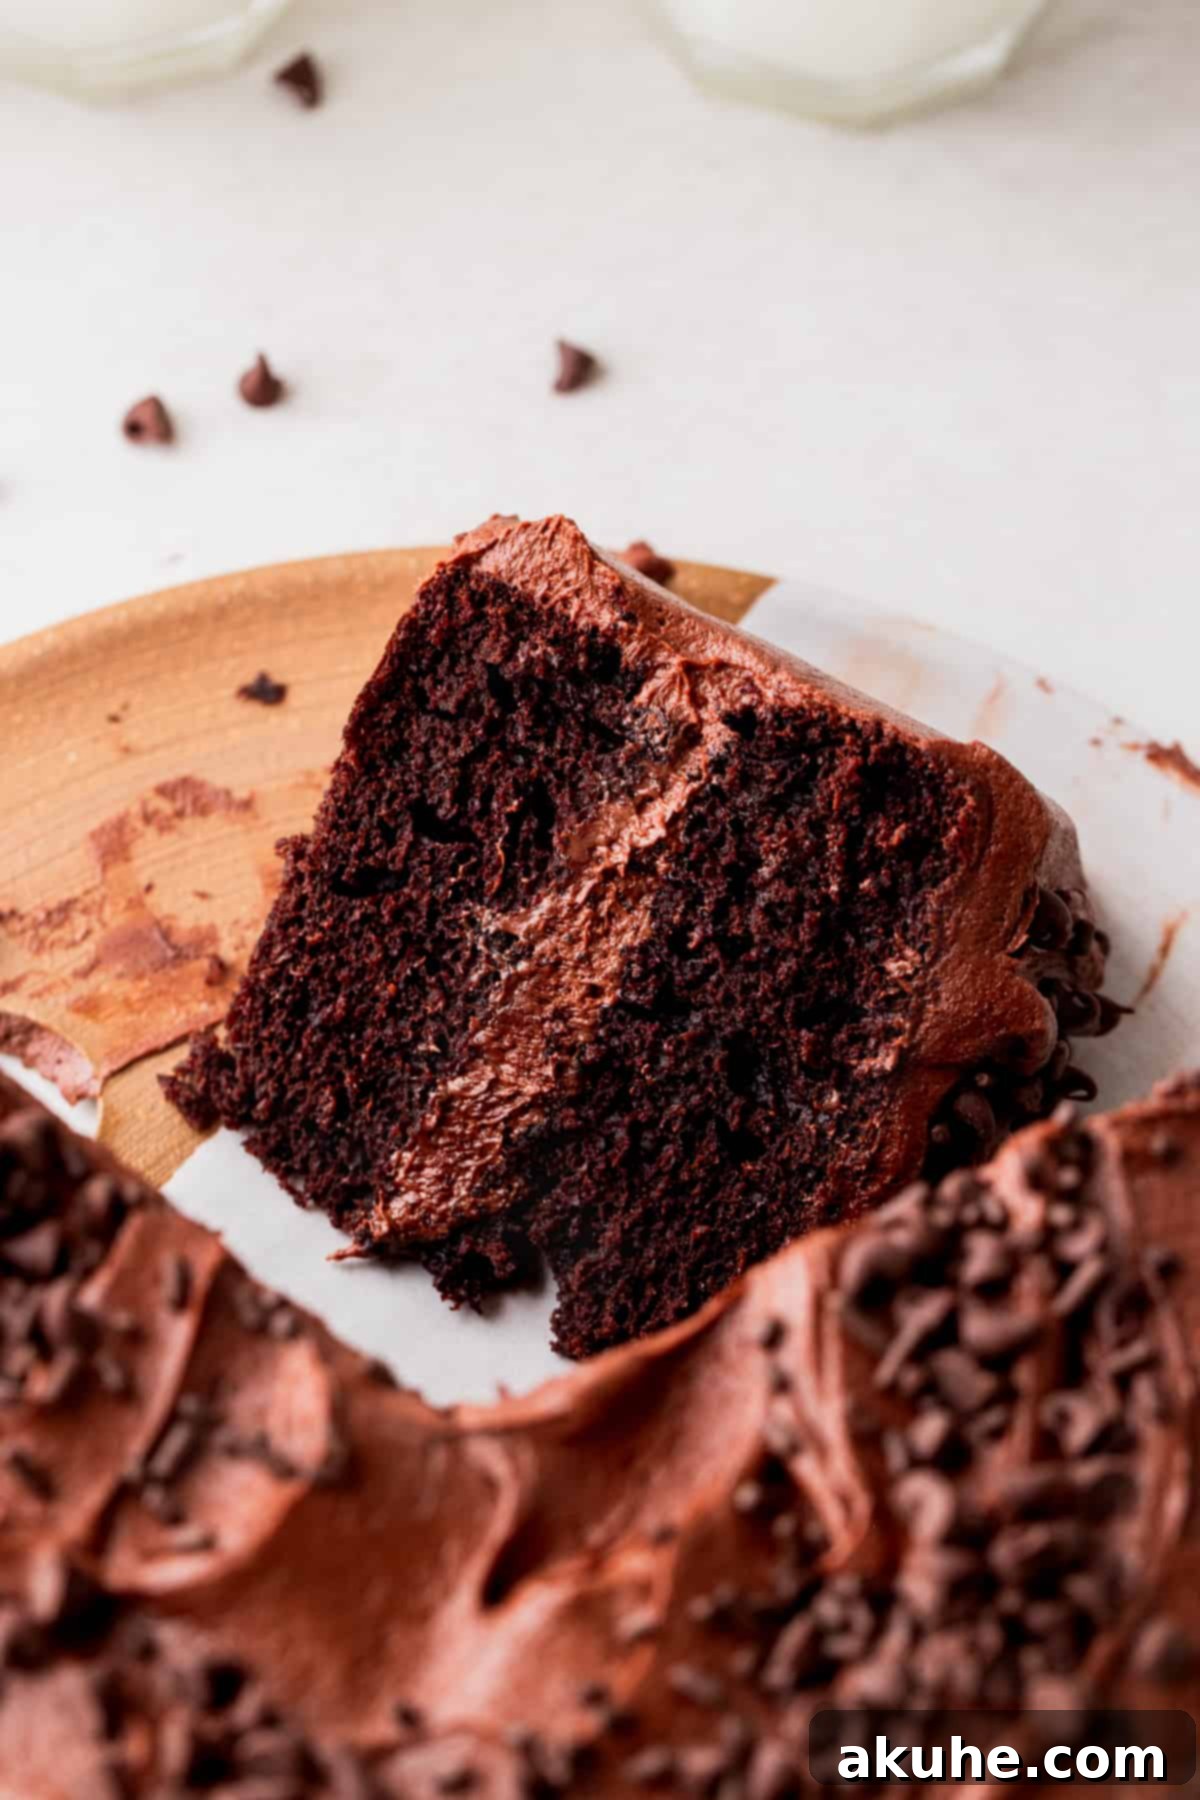
Step-by-Step Instructions: Crafting Your Mini Chocolate Cake and Frosting
Creating this decadent mini chocolate cake is a rewarding experience. Follow these detailed steps for baking the moist chocolate cake layers and preparing the silky chocolate cream cheese frosting. While the cake batter can be easily mixed by hand, we recommend using a stand mixer with a paddle attachment or a hand mixer for the frosting to achieve the perfect fluffy consistency. For more in-depth tips on making the frosting, refer to our comprehensive chocolate cream cheese frosting post.
Before you begin, ensure your two 6-inch cake pans are meticulously prepared. Spray them thoroughly with baking non-stick spray, then line the bottoms with 6-inch parchment paper circles. For extra assurance, spray the parchment-lined pans once more. This prevents sticking and ensures your beautiful cake layers release effortlessly.
STEP 1: Prepare the Dry Ingredients. In a large mixing bowl, begin by sifting together the all-purpose flour and cocoa powder. Sifting is a crucial step that removes lumps and aerates the dry ingredients, resulting in a lighter, more tender cake crumb. Once sifted, add the white granulated sugar, baking powder, baking soda, and salt. Whisk these dry ingredients together thoroughly to ensure they are evenly distributed. Set this bowl aside.
STEP 2: Combine the Wet Ingredients. In a separate medium-sized bowl, whisk together the oil, vanilla extract, large eggs, and buttermilk until well combined. For an intensified chocolate flavor, heat the water in a small saucepan until it is steaming hot, but not boiling. Carefully and slowly whisk this hot water into the egg mixture. The hot water helps to “bloom” the cocoa powder, releasing its full flavor potential and contributing to the cake’s moist texture.
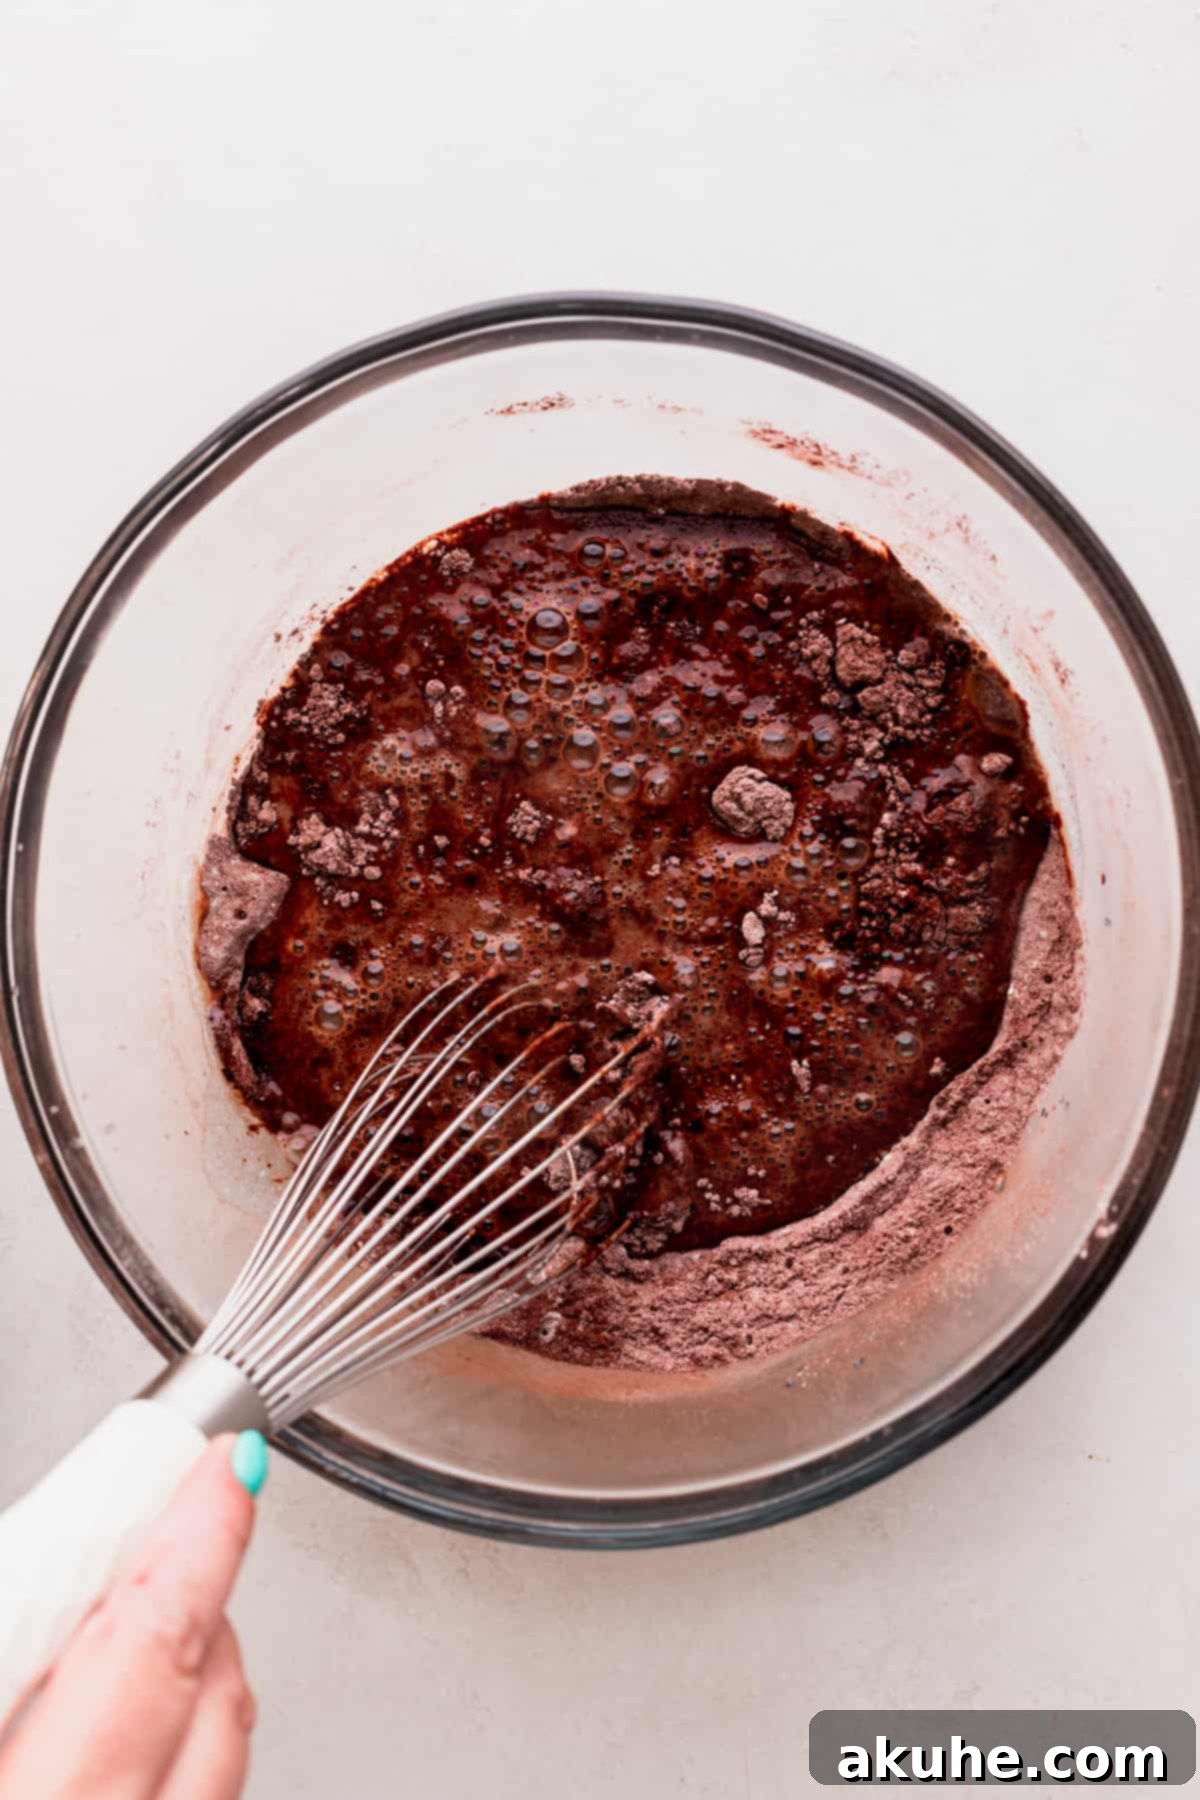
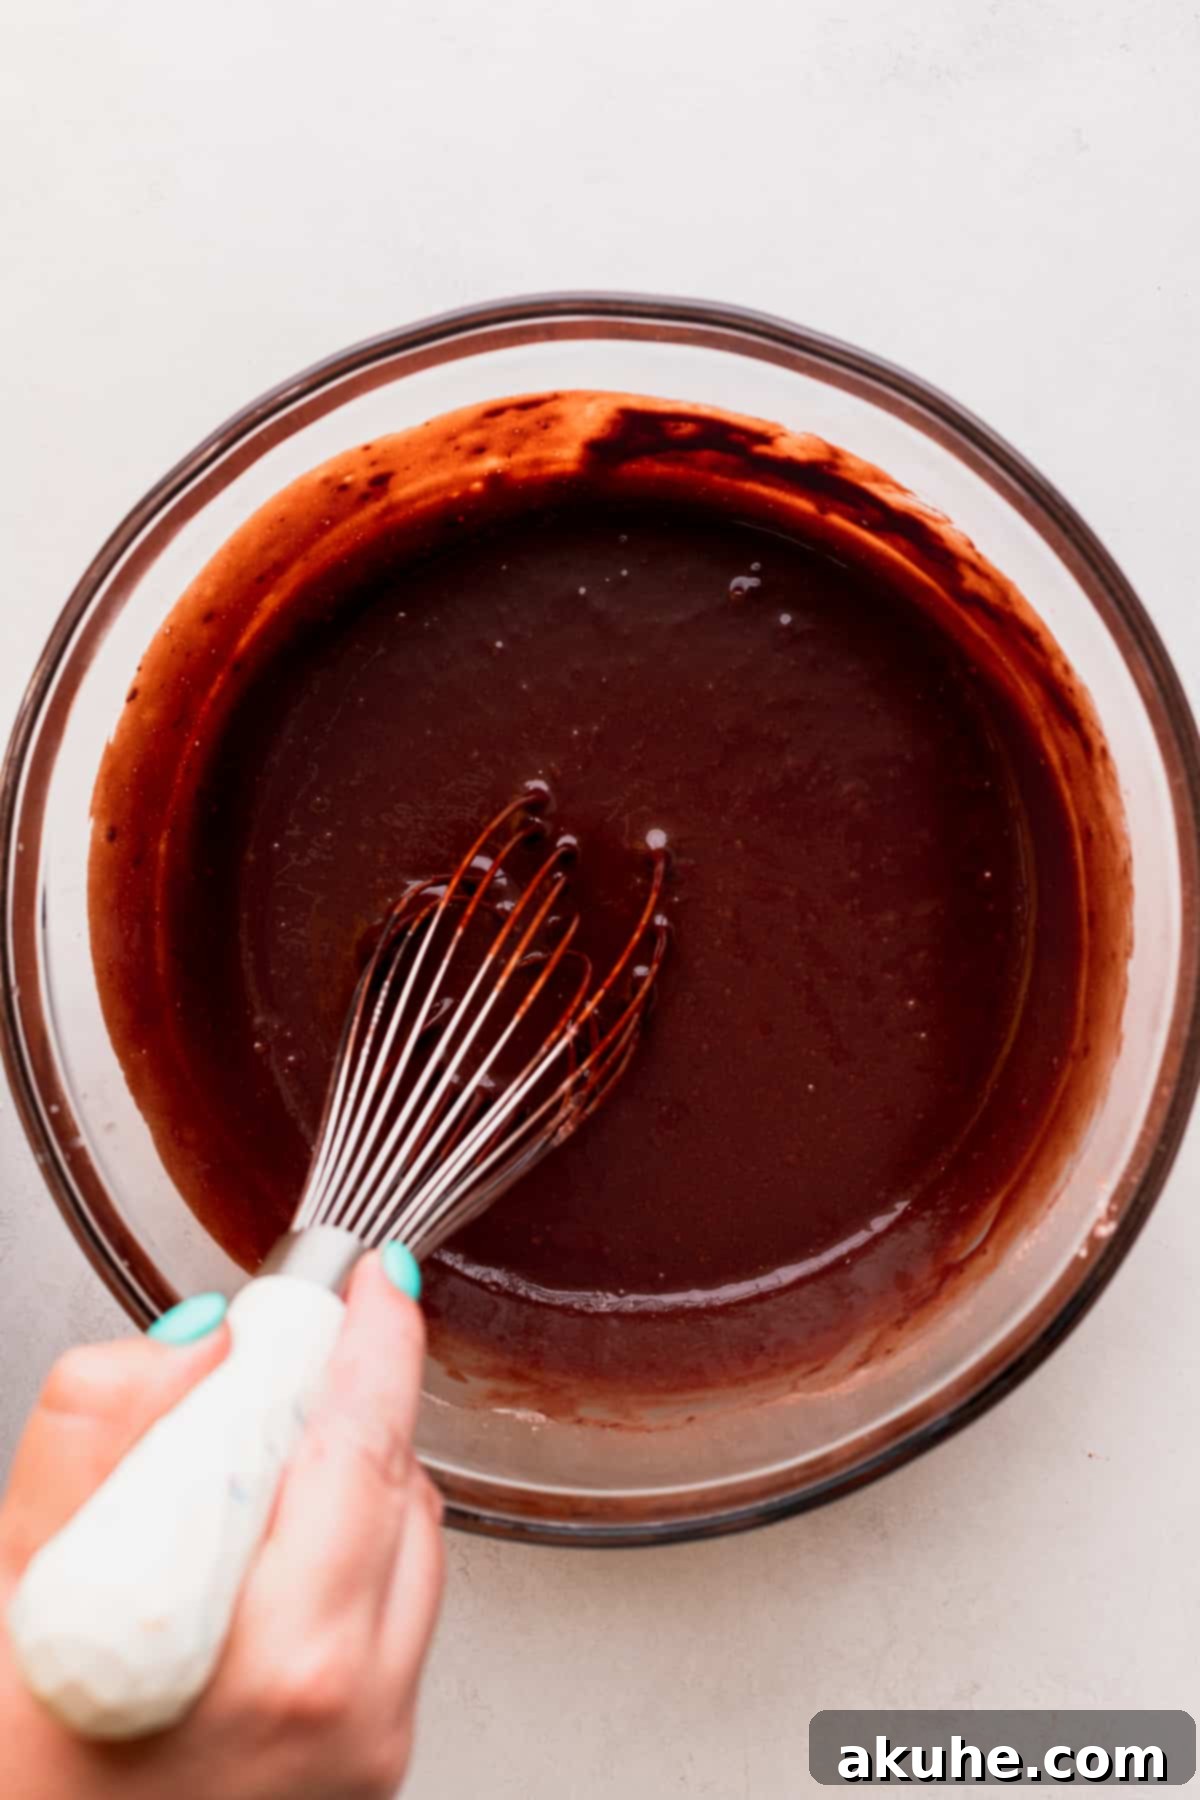
STEP 3: Combine and Pour the Batter. Pour the prepared wet ingredients into the large bowl containing your dry ingredients. Mix gently until the ingredients are just combined. It is vital not to overmix the batter, as excessive mixing can develop the gluten in the flour, leading to a tough and dry cake. Stop mixing as soon as no streaks of dry flour remain. Once mixed, evenly distribute the smooth chocolate cake batter into your two greased and parchment-lined 6-inch cake pans.
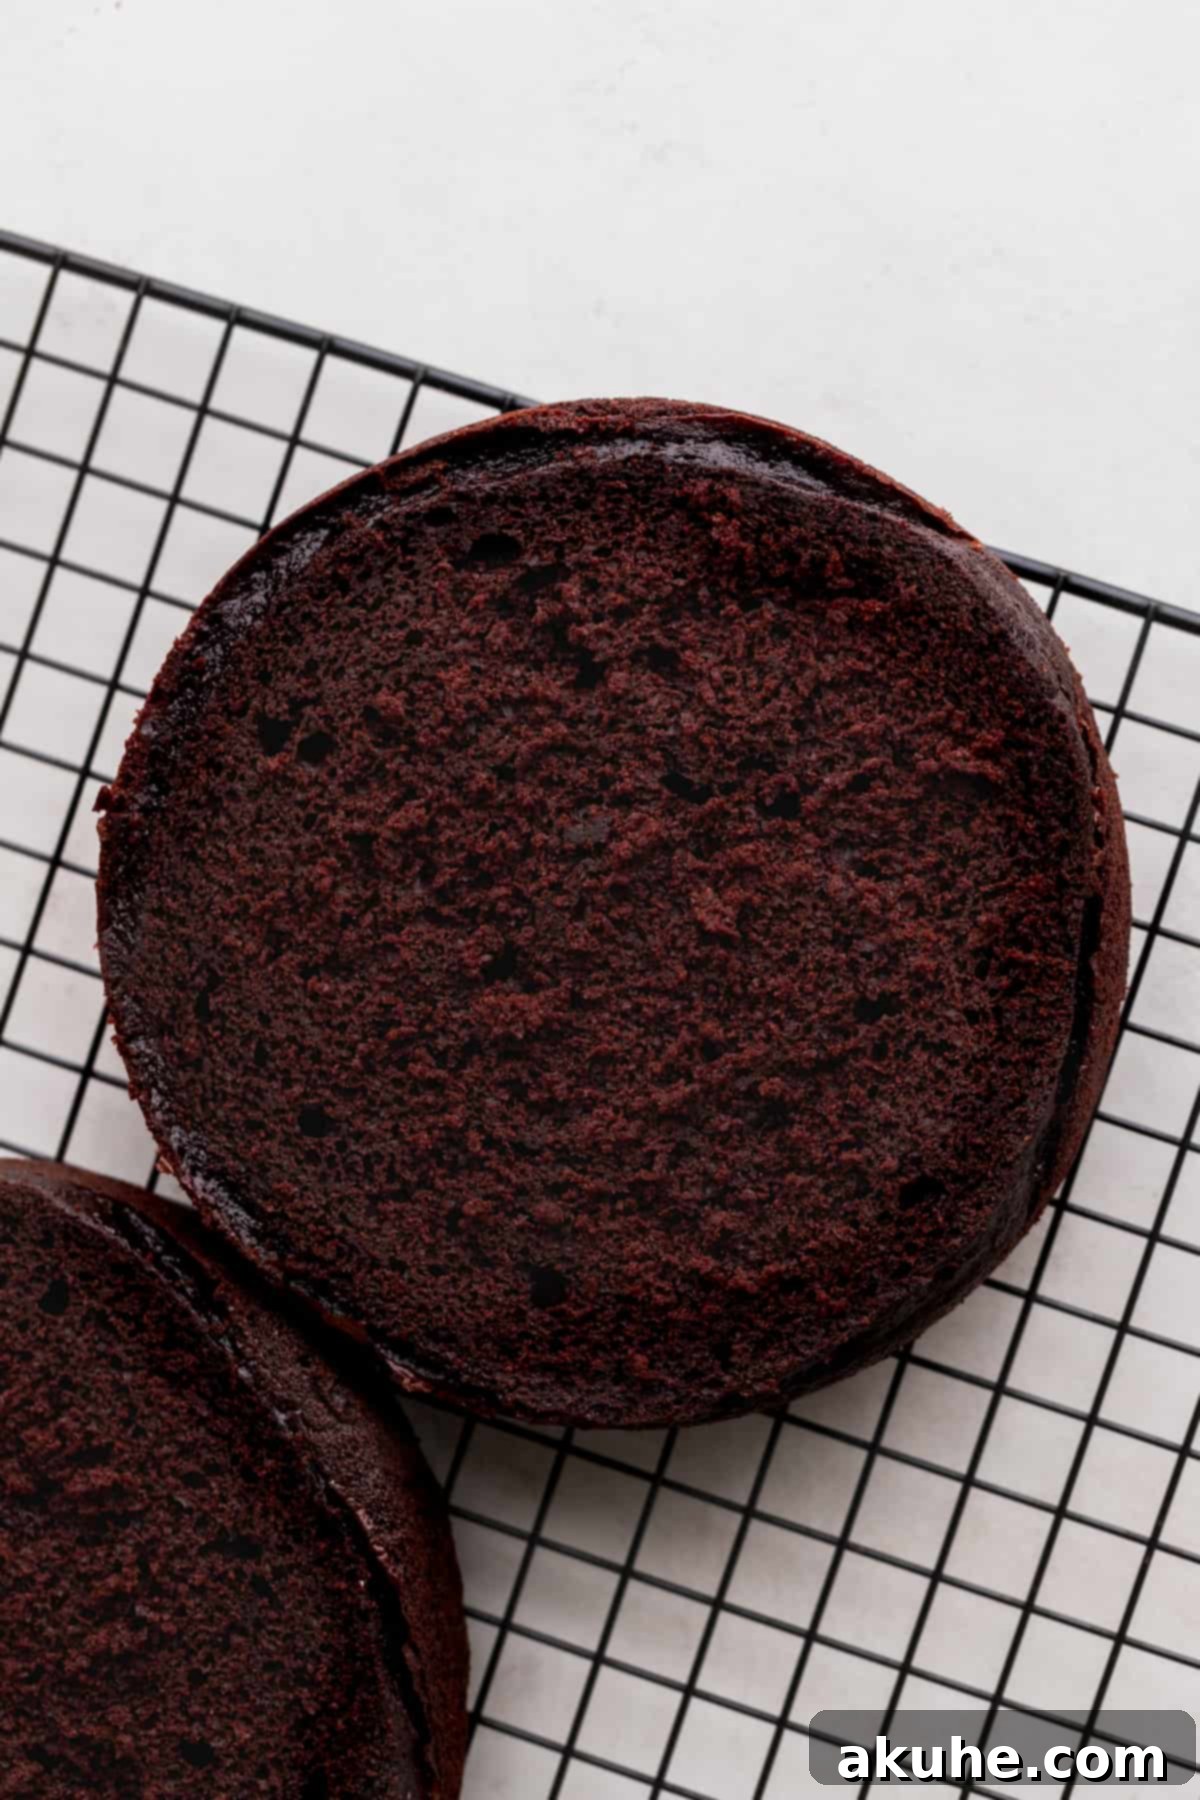
STEP 4: Bake the Cake Layers. Transfer the filled cake pans to your preheated oven and bake for approximately 20-25 minutes. To test for doneness, insert a toothpick into the center of a cake layer; if it comes out clean or with a few moist crumbs attached, the cakes are ready. Avoid overbaking, which can dry out the cake. Once baked, remove the cakes from the oven and let them cool in their pans on a wire cooling rack for about 10-15 minutes. This allows the cakes to firm up slightly before handling. After this initial cooling, carefully invert the cakes onto the wire rack to cool completely. Ensure the cakes are absolutely cool to the touch before attempting to frost them, as warm cakes will melt the frosting.
STEP 5: Prepare the Cream Cheese and Butter. For the chocolate cream cheese frosting, ensure both the unsalted butter and cream cheese are at room temperature. This is critical for achieving a smooth, lump-free frosting. In the bowl of your stand mixer (or a large bowl if using a hand mixer), beat the softened butter and cream cheese on high speed for 2-3 minutes. You want the mixture to become super fluffy, light, and creamy. This aeration step is key to a light and delicious frosting.
TIP: For the smoothest frosting, sift the powdered sugar and cocoa powder together in a separate medium bowl before adding them to the mixer. This prevents lumps and ensures even incorporation.
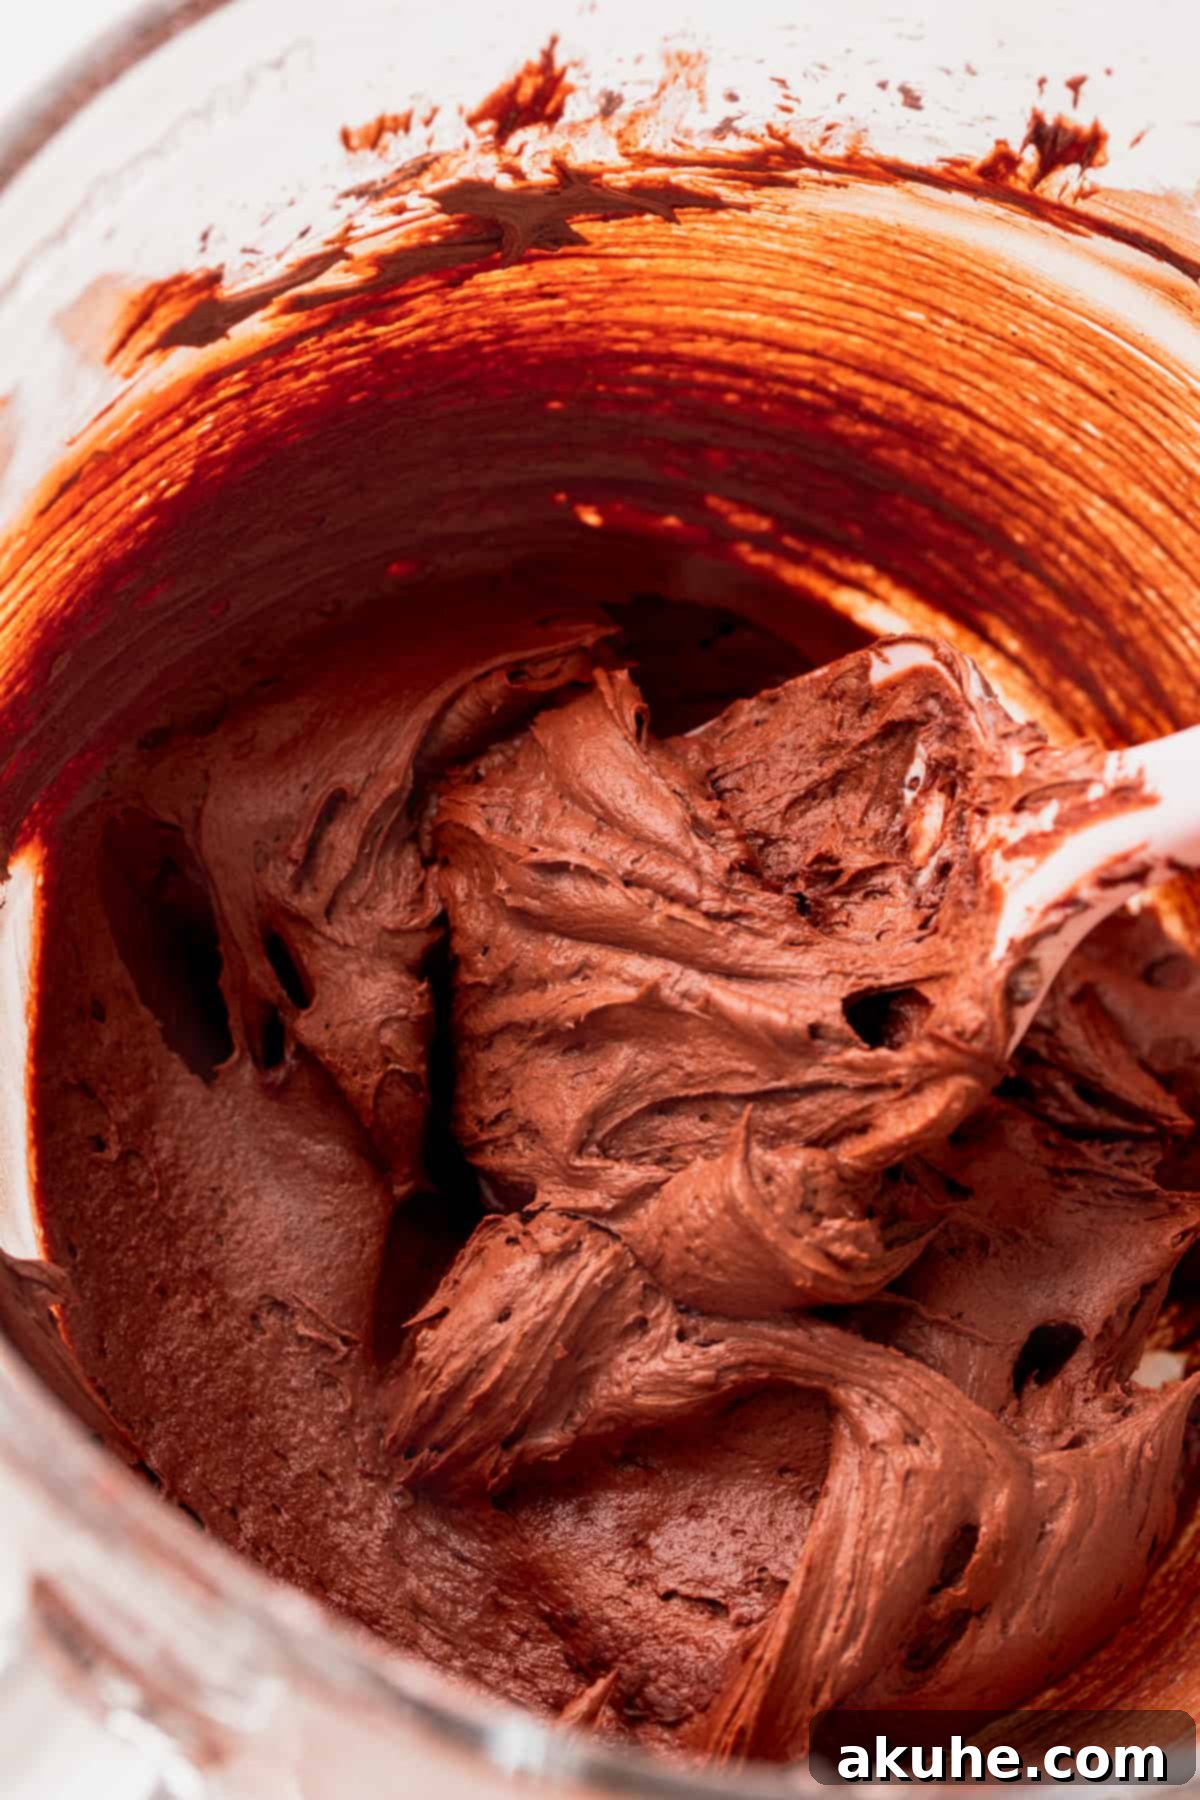
STEP 6: Incorporate Dry and Wet Ingredients into Frosting. Reduce the mixer speed to low and gradually add the sifted powdered sugar and cocoa powder to the butter and cream cheese mixture. Mix on low speed until just combined, scraping down the sides of the bowl frequently to ensure all ingredients are incorporated. Once the dry ingredients are mostly mixed in, add the salt and pure vanilla extract. Increase the mixer speed to high and continue beating until the frosting is light, fluffy, and creamy. This can take another 2-3 minutes. Use a rubber spatula to scrape down the sides and bottom of the bowl at least twice during this process to ensure all ingredients are thoroughly mixed and no butter or cream cheese remains unincorporated. You’ll notice the chocolate frosting will lighten in color as it becomes properly aerated and fluffy.
Assembling Your Masterpiece: The Mini Chocolate Cake
Assembling a two-layer cake like this mini chocolate delight is straightforward, and with a few helpful tools and techniques, you’ll achieve a professional-looking finish. These items can be incredibly helpful for cake decoration: a turntable, various icing offset spatulas, a straight icing spatula, a cake scraper, a cake leveler (or a long, serrated bread knife), and a cake carrier for storage and transport.
- Level the Cake Layers: Once your cake layers are completely cool, gently cut off the domed tops using a cake leveler or a sharp bread knife. This creates flat surfaces, ensuring your cake stacks evenly and looks neat.
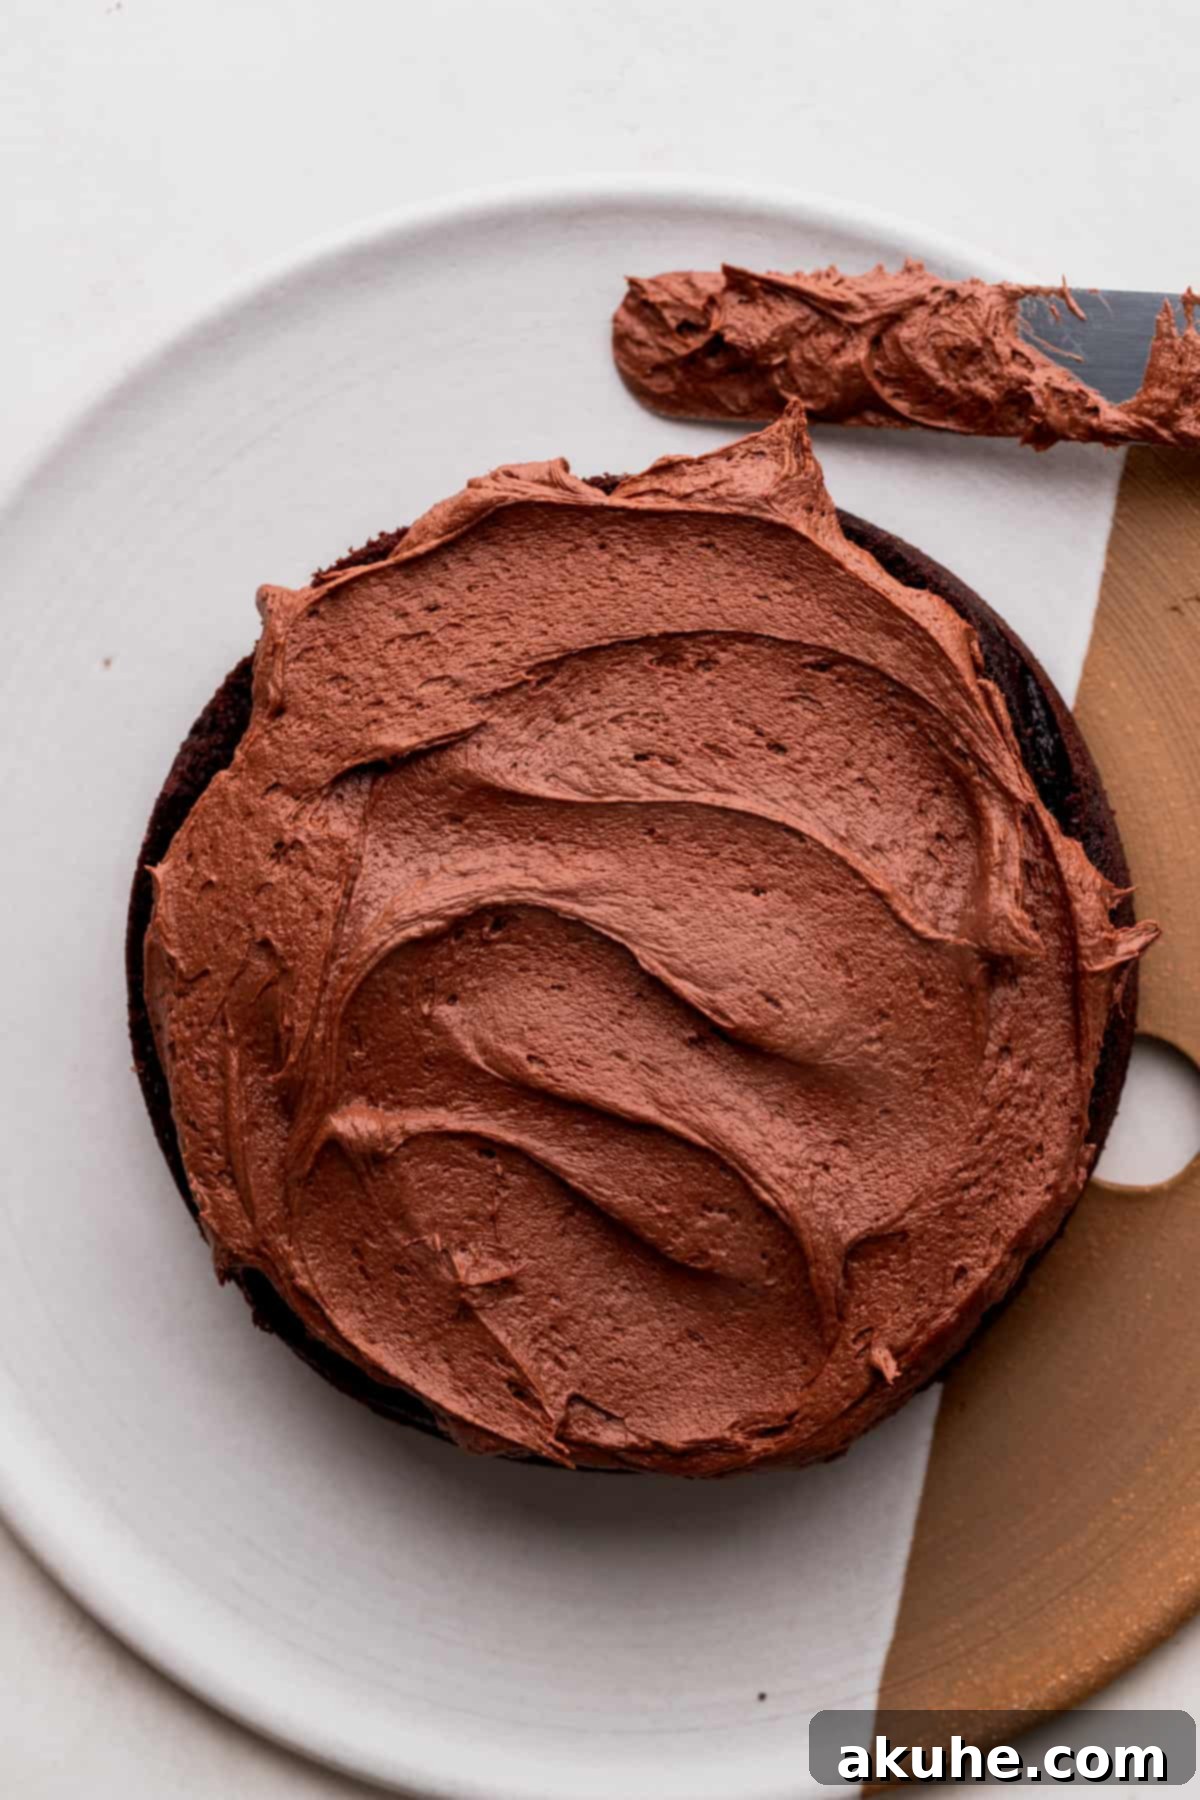
- First Layer and Frosting: Place the first leveled cake layer onto your serving plate or cake stand. Using an offset spatula, spread approximately 3/4 cup of your delectable chocolate cream cheese frosting evenly over the top of this layer. Aim for a consistent thickness across the entire surface.
- Second Layer Placement: Carefully place the second cake layer on top of the frosted first layer. For the smoothest and flattest possible top edge, place this second layer with its bottom side facing up. This trick often provides a perfectly flat surface to work with for your final frosting.
- No Crumb Coat Needed: Due to the small size and moist nature of this mini chocolate cake, a traditional crumb coat (a thin layer of frosting applied to trap crumbs) is often unnecessary. You can proceed directly to frosting the entire cake with your remaining chocolate cream cheese frosting, aiming for a smooth, even application all around the sides and top.
Decorating Your Mini Chocolate Cake
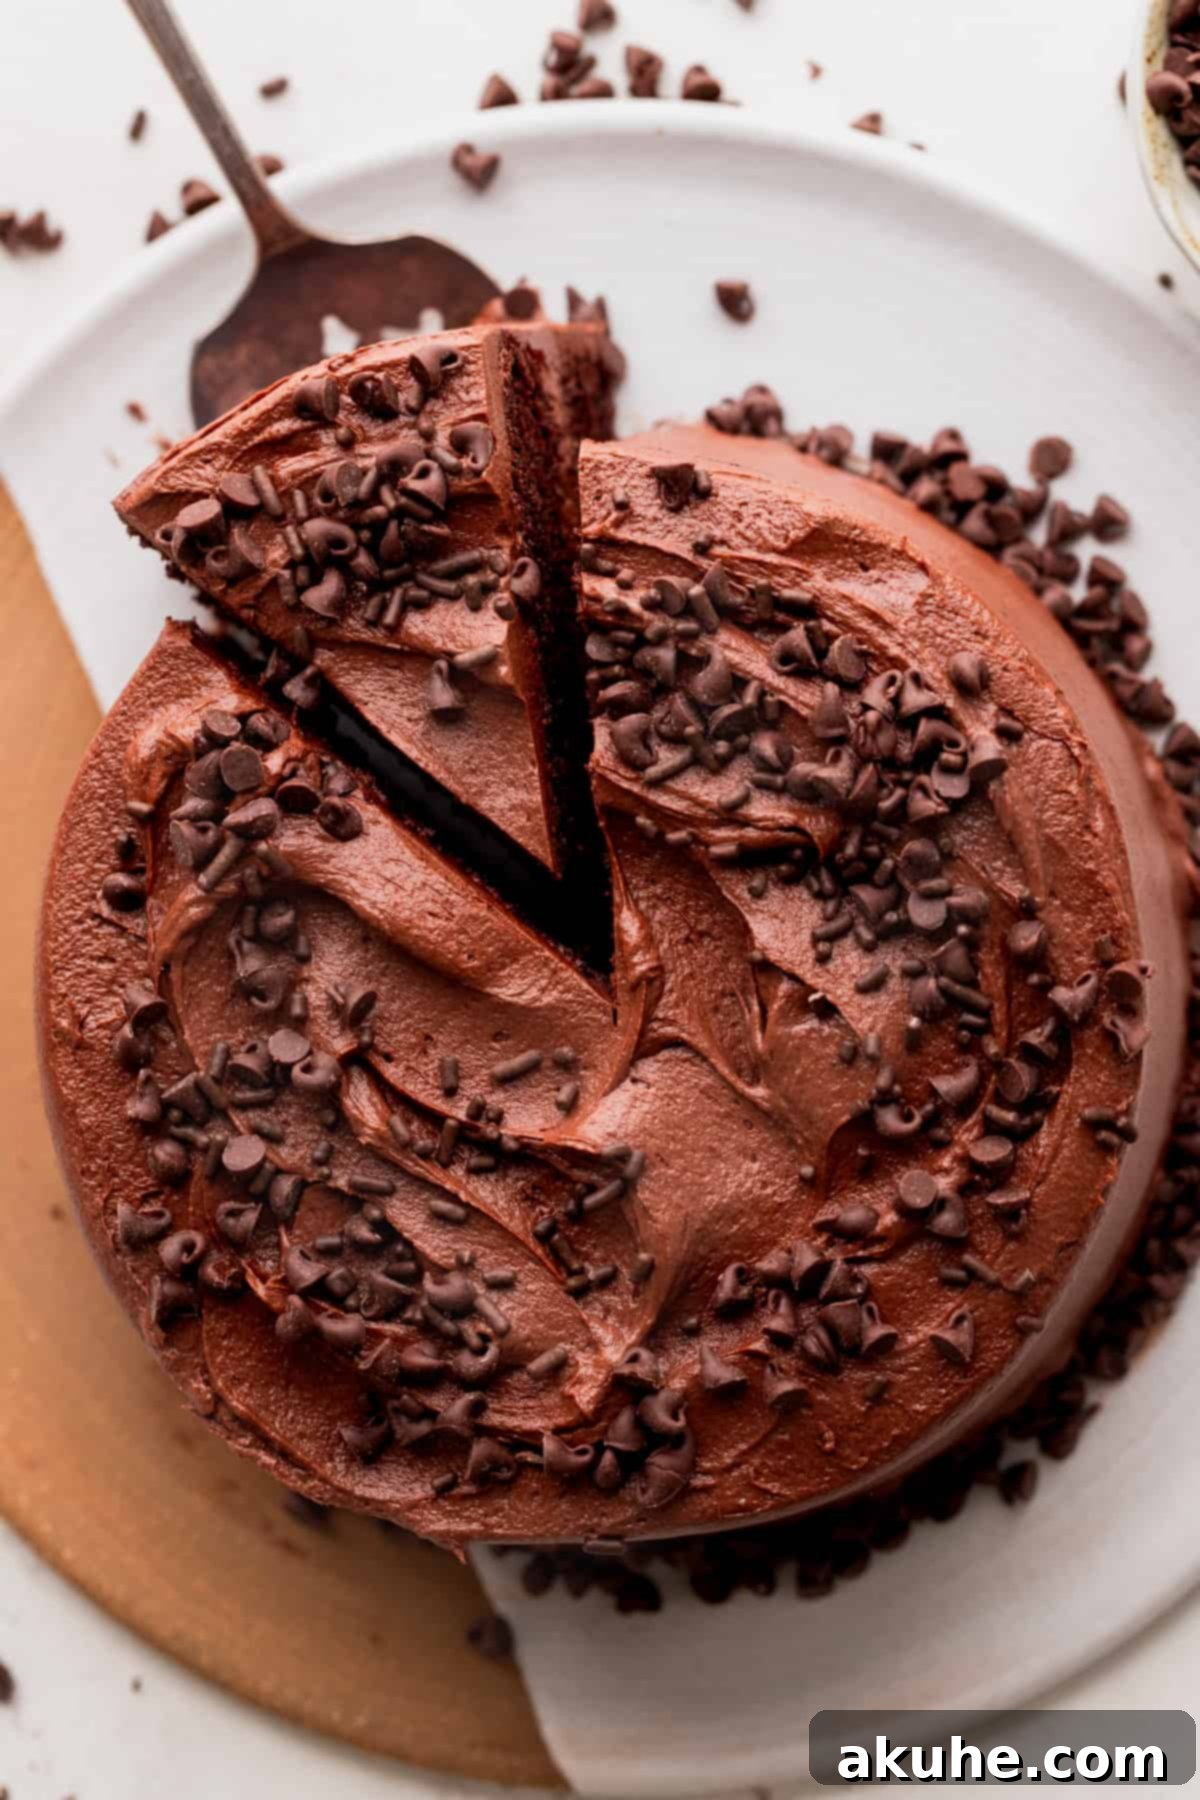
Now comes the fun part – decorating your beautifully frosted mini chocolate cake! There’s plenty of frosting to create a visually appealing finish. For the top of this particular cake, we opted for dramatic swirls using an offset icing spatula. Simply use the tip of the spatula to create artistic peaks and valleys across the surface of the frosting, giving it a rustic yet elegant touch. While there’s enough frosting to pipe decorative swirls if you prefer, the spatula method offers a charming, homemade aesthetic.
To further enhance its appeal, we generously adorned the top of the cake with a sprinkle of mini chocolate chips and chocolate sprinkles. These additions provide a delightful texture contrast and an extra burst of chocolate flavor, making each bite even more enjoyable.
Should you wish to explore other decoration ideas, consider topping your mini chocolate cake with fresh, vibrant berries (like raspberries or strawberries) for a touch of freshness and color. Alternatively, a luscious chocolate ganache drip cascading down the sides would add another layer of indulgence and sophistication.
Important Note for Serving: For clean and precise slices, it’s essential to allow the frosting to set. After decorating, place the cake in the freezer for about 10 minutes. This quick chill will firm up the frosting, making it much easier to cut without smudging. If you are storing the cake in the refrigerator for a longer period before serving, this freezer step is unnecessary, as the frosting will already be perfectly set.
Frequently Asked Questions (FAQ)
We’ve compiled answers to some common questions about this mini chocolate cake recipe to help you achieve baking success!
Can I convert this recipe into chocolate cupcakes? Yes, absolutely! This recipe yields approximately 12 delicious chocolate cupcakes. Simply adjust the baking time to about 18-22 minutes, or until a toothpick inserted into the center comes out clean. If you’re looking for an alternative cupcake recipe, you might also enjoy our dedicated chocolate fudge cupcake recipe.
Can I make this into a three-layer cake? You certainly can create a three-layer cake with this recipe. To do so, you would divide the batter among three 6-inch cake pans. Keep in mind that the layers will be thinner, and you may need to adjust the baking time slightly, typically reducing it by a few minutes.
What other cake pan sizes can I use with this recipe? This recipe is versatile! It can be baked in an 8×8 inch square baking dish or a 9×9 inch square baking dish. The baking time will vary depending on the pan size and depth, so keep an eye on it and use the toothpick test. If you wish to make a larger 9×13 inch sheet cake, we recommend doubling the entire recipe to ensure adequate batter and frosting.
Can I prepare the cake layers ahead of time? Yes, this is a fantastic time-saving tip! You can bake the cake layers a day or two in advance. Once the cakes have completely cooled on a wire rack, wrap each layer tightly in several layers of plastic wrap. This prevents them from drying out and locks in moisture. When you’re ready to decorate, simply unwrap the layers and allow them to come to room temperature for at least an hour before frosting. This makes assembly on the day of serving a breeze.
What if I don’t have Dutch process cocoa powder? Can I use regular unsweetened cocoa? While Dutch process cocoa powder is highly recommended for its darker color and milder, richer chocolate flavor in this recipe, you can substitute it with natural unsweetened cocoa powder. However, because natural cocoa is acidic and reacts differently with baking soda, you might experience a slightly different texture and color. For best results with natural cocoa, consider adding an extra 1/4 teaspoon of baking soda to help with leavening, but be aware the flavor profile might be a little sharper.
My frosting seems too thin/thick. How can I fix it? If your chocolate cream cheese frosting appears too thin, gradually add more sifted powdered sugar, one tablespoon at a time, beating after each addition until the desired consistency is reached. If it’s too thick, add a very small amount (half a teaspoon at a time) of cold milk or cream, mixing until it loosens up. Remember that temperature plays a big role; warmer frosting tends to be softer.
Storing and Freezing Your Mini Chocolate Cake
To keep your mini chocolate cake fresh and delicious, proper storage is key. Store the entire cake or individual slices in an airtight container, such as a cake carrier, to prevent it from drying out and absorbing other refrigerator odors. This cake is best stored in the fridge and will remain fresh for up to 5 days. Remember, the flavors of the cake and frosting are most pronounced and the texture is ideal when served at room temperature. For optimal enjoyment, remove the cake from the refrigerator at least 30-60 minutes before serving to allow it to come to temperature.
Freezing Instructions
This mini chocolate cake freezes beautifully, allowing you to enjoy a delicious treat whenever a craving strikes. You can freeze the entire cake (unfrosted or frosted, though unfrosted is often preferred for freezing) or individual cake slices. For individual slices, wrap each slice tightly in plastic wrap, then place them in an airtight freezer-safe container or a heavy-duty freezer bag. The cake can be frozen for up to 30 days without significant loss of quality. To thaw, simply remove the desired number of slices from the freezer and let them thaw at room temperature for approximately 1 hour before indulging. This makes it perfect for having a single-serving dessert on hand for those moments of spontaneous chocolate craving.
Other Irresistible Cake Recipes To Try
We hope you absolutely adore this mini chocolate cake recipe! If you loved baking and tasting it, please consider leaving a STAR REVIEW below to help other bakers discover this treat. We also love seeing your creations! Make sure to tag us on Instagram @stephaniesweettreats. For more baking inspiration and delicious dessert ideas, follow us on Pinterest.
Mini Chocolate Cake
Author: Stephanie Rutherford
This mini chocolate cake is a two-layer cake that features a super soft chocolate cake filled with a rich chocolate cream cheese frosting. It’s the perfect cake for any small gathering!
Print Recipe | Pin Recipe | Leave a Review
Prep Time: 45 mins | Cook Time: 20 mins | Decorating Time: 45 mins | Total Time: 1 hr 50 mins
Servings: 8 slices
Ingredients
Chocolate Cake
- 1 cup All-purpose flour
- 1/2 cup Unsweetened cocoa powder
- 3/4 cup White granulated sugar
- 1 tsp Baking powder
- 1/4 tsp Baking soda
- 1/2 tsp Salt
- 1/3 cup Oil (canola or vegetable oil)
- 1 tsp Pure vanilla extract
- 2 Large eggs, room temperature
- 1/2 cup Buttermilk, room temperature
- 1/2 cup Hot water, steaming
Chocolate Cream Cheese Frosting
- 3/4 cup Unsalted butter, room temperature
- 4 oz Cream cheese, room temperature
- 2 1/2 cups Powdered sugar
- 1/2 cup Unsweetened cocoa powder
- 1 tsp Pure vanilla extract
- 1/4 tsp Salt
Instructions
Chocolate Cake
- Preheat the oven to 350°F. Spray two 6-inch cake pans with baking nonstick spray. Line the bottom of the pan with 6-inch parchment paper and spray again.
- In a large bowl, sift the flour and cocoa powder. Add the sugar, baking powder, baking soda, and salt. Set aside.
- Heat the water in a saucepan until it is steaming. In a medium bowl, mix the oil, vanilla, eggs, and buttermilk. Slowly add in the hot water. Pour the wet ingredients into the dry ingredients and mix until just combined.
- Pour the cake batter into the cake pans. Bake for 18-20 minutes until a toothpick inserted comes out clean.
- Let the cake sit in the hot pans for 10 minutes before transferring to a cooling rack. Cool completely.
Chocolate Cream Cheese Frosting
- Make sure the butter and cream cheese are at room temperature. In a large bowl, sift the powdered sugar and cocoa powder together.
- Using a mixer, beat the butter and cream cheese on high speed for 2 minutes until fluffy. Scrape the bowl and slowly add the powdered sugar and cocoa powder on low speed.
- Add in the vanilla and salt and mix until combined and fluffy.
Assembling The Cake
- Place the 1st cake layer down. Spread 3/4 cup of frosting over the cake. Place the second cake layer down.
- Frost the rest of the cake.
Notes
Flour: Make sure flour is spooned and leveled or use a kitchen scale. Compacted flour can dry out the cake.
High Altitude Baking: Add an extra 1 TBSP of flour.
Room Temperature Ingredients: Pull out dairy ingredients 2 hours before baking for best results.
Nutrition Facts (per serving):
Calories: 451 kcal, Carbohydrates: 78g, Protein: 5g, Fat: 34g, Saturated Fat: 16g, Polyunsaturated Fat: 4g, Monounsaturated Fat: 12g, Trans Fat: 1g, Cholesterol: 62mg, Sodium: 371mg, Potassium: 226mg, Fiber: 4g, Sugar: 20g, Vitamin A: 747 IU, Calcium: 82mg, Iron: 2mg
