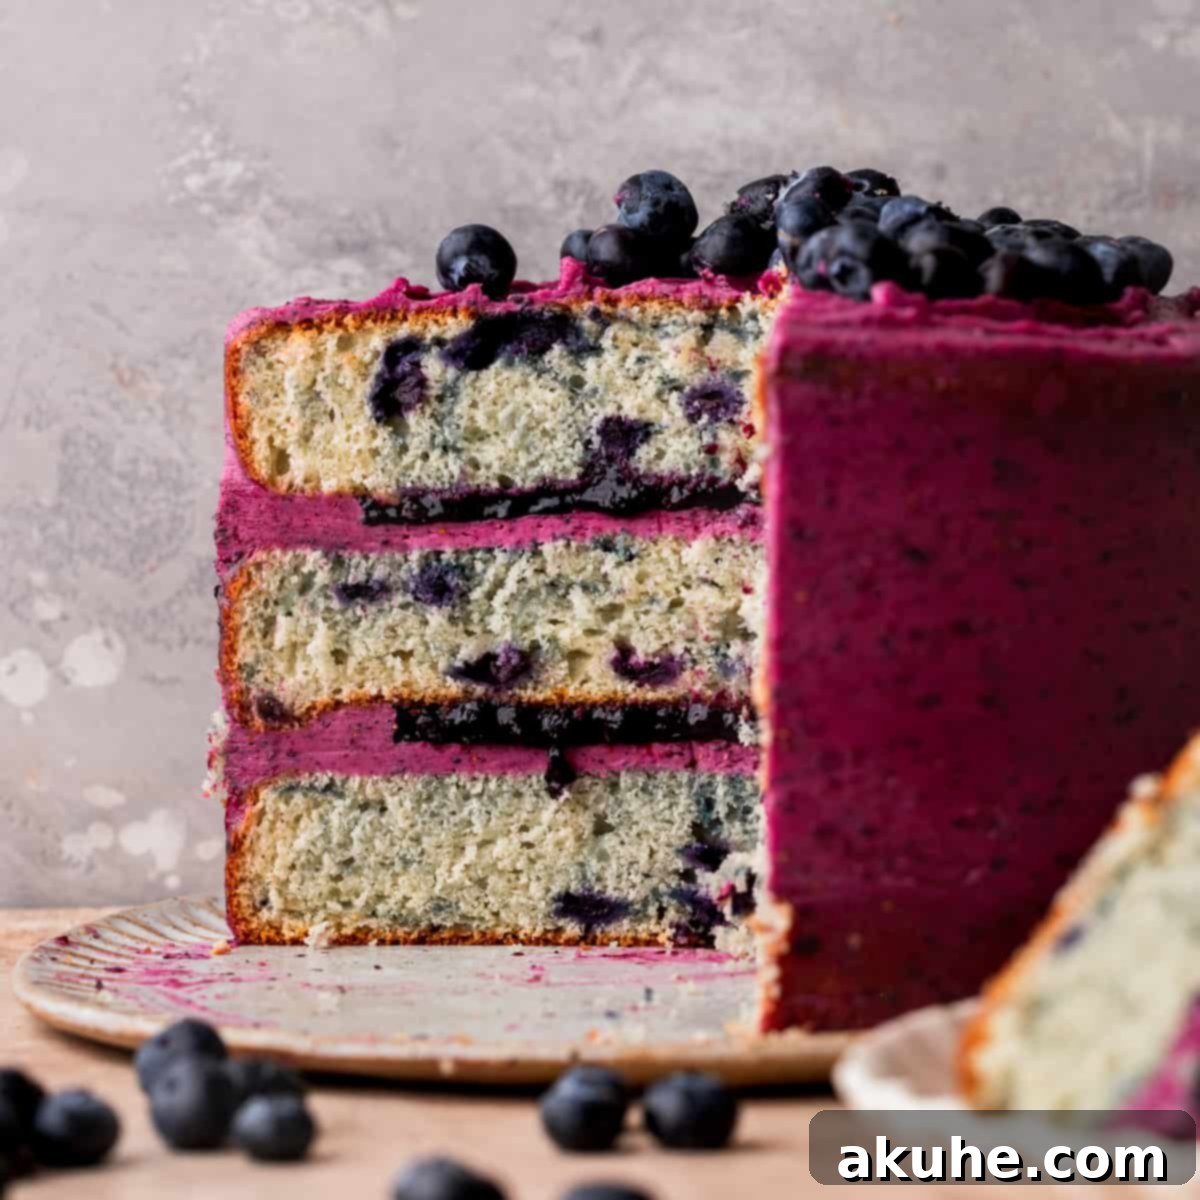
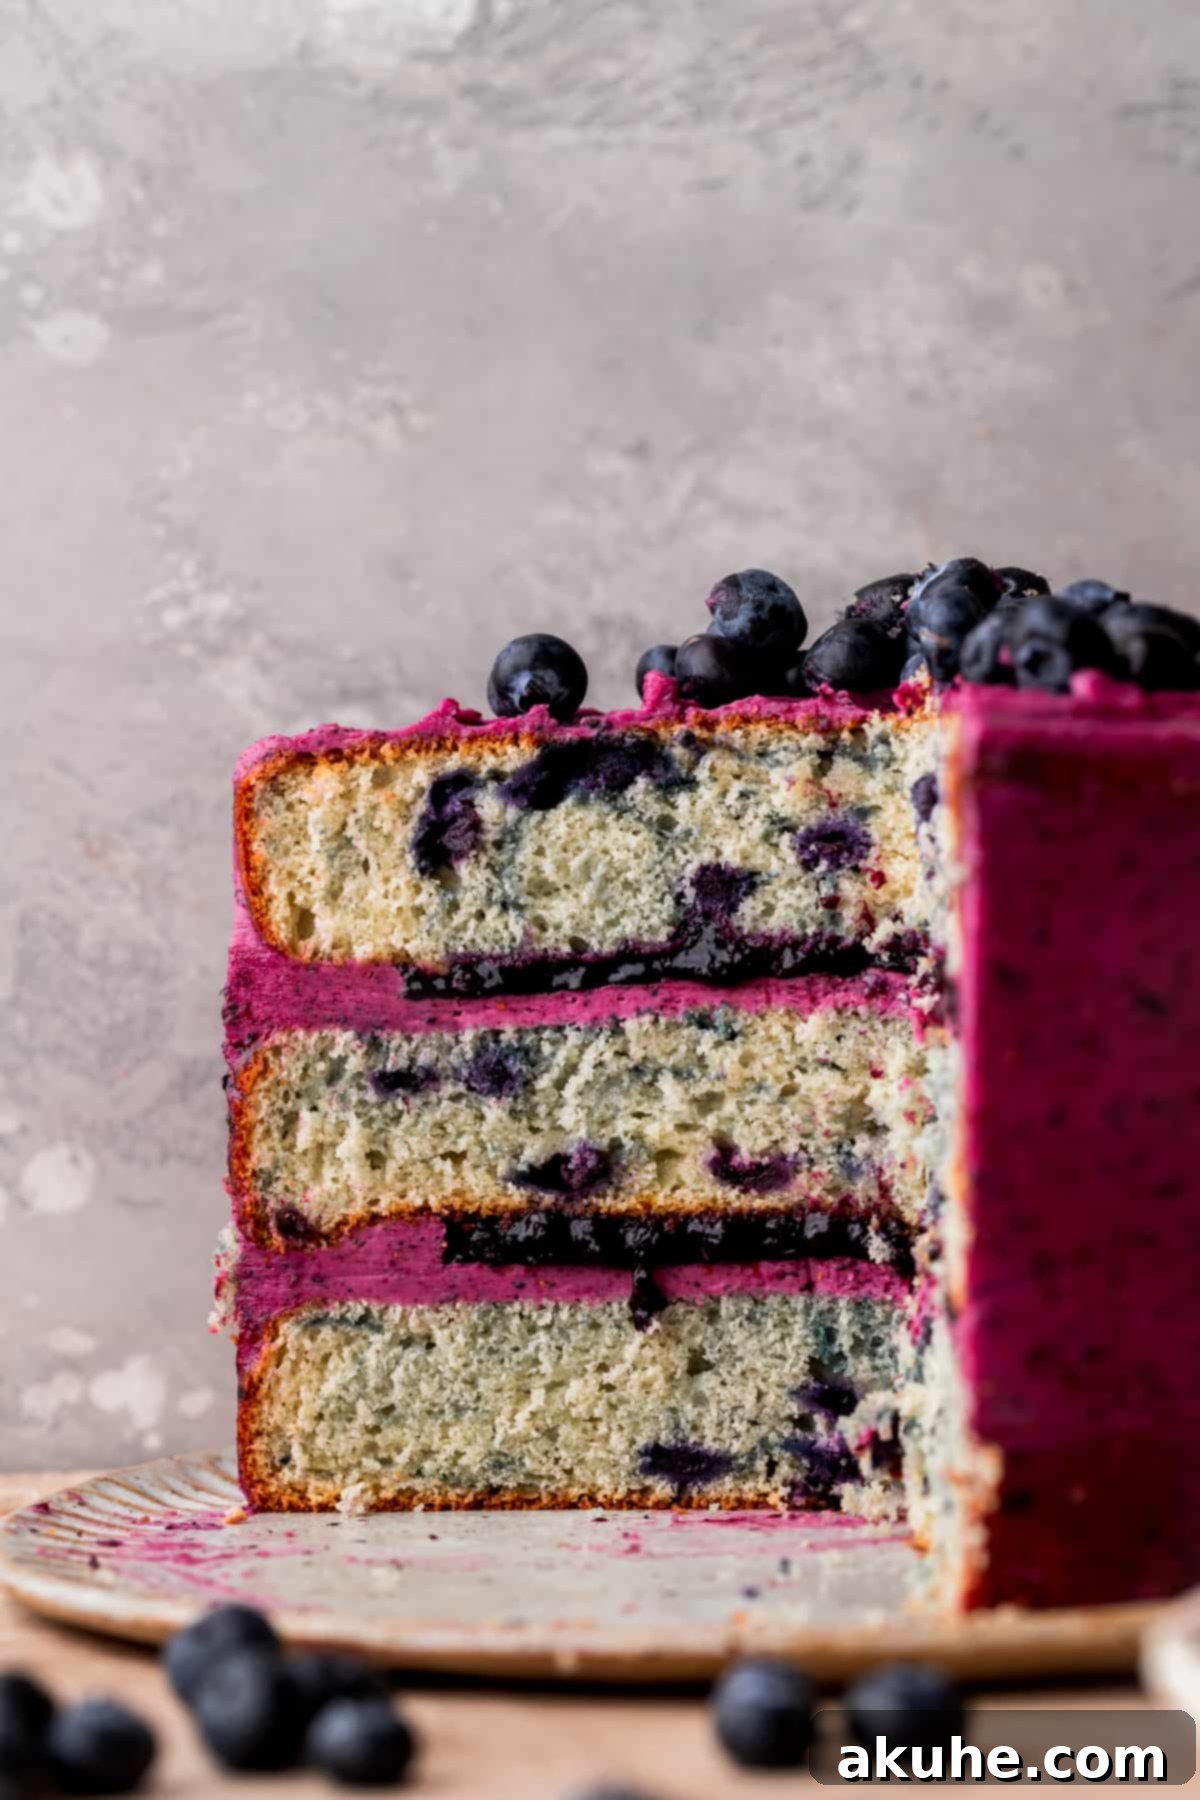
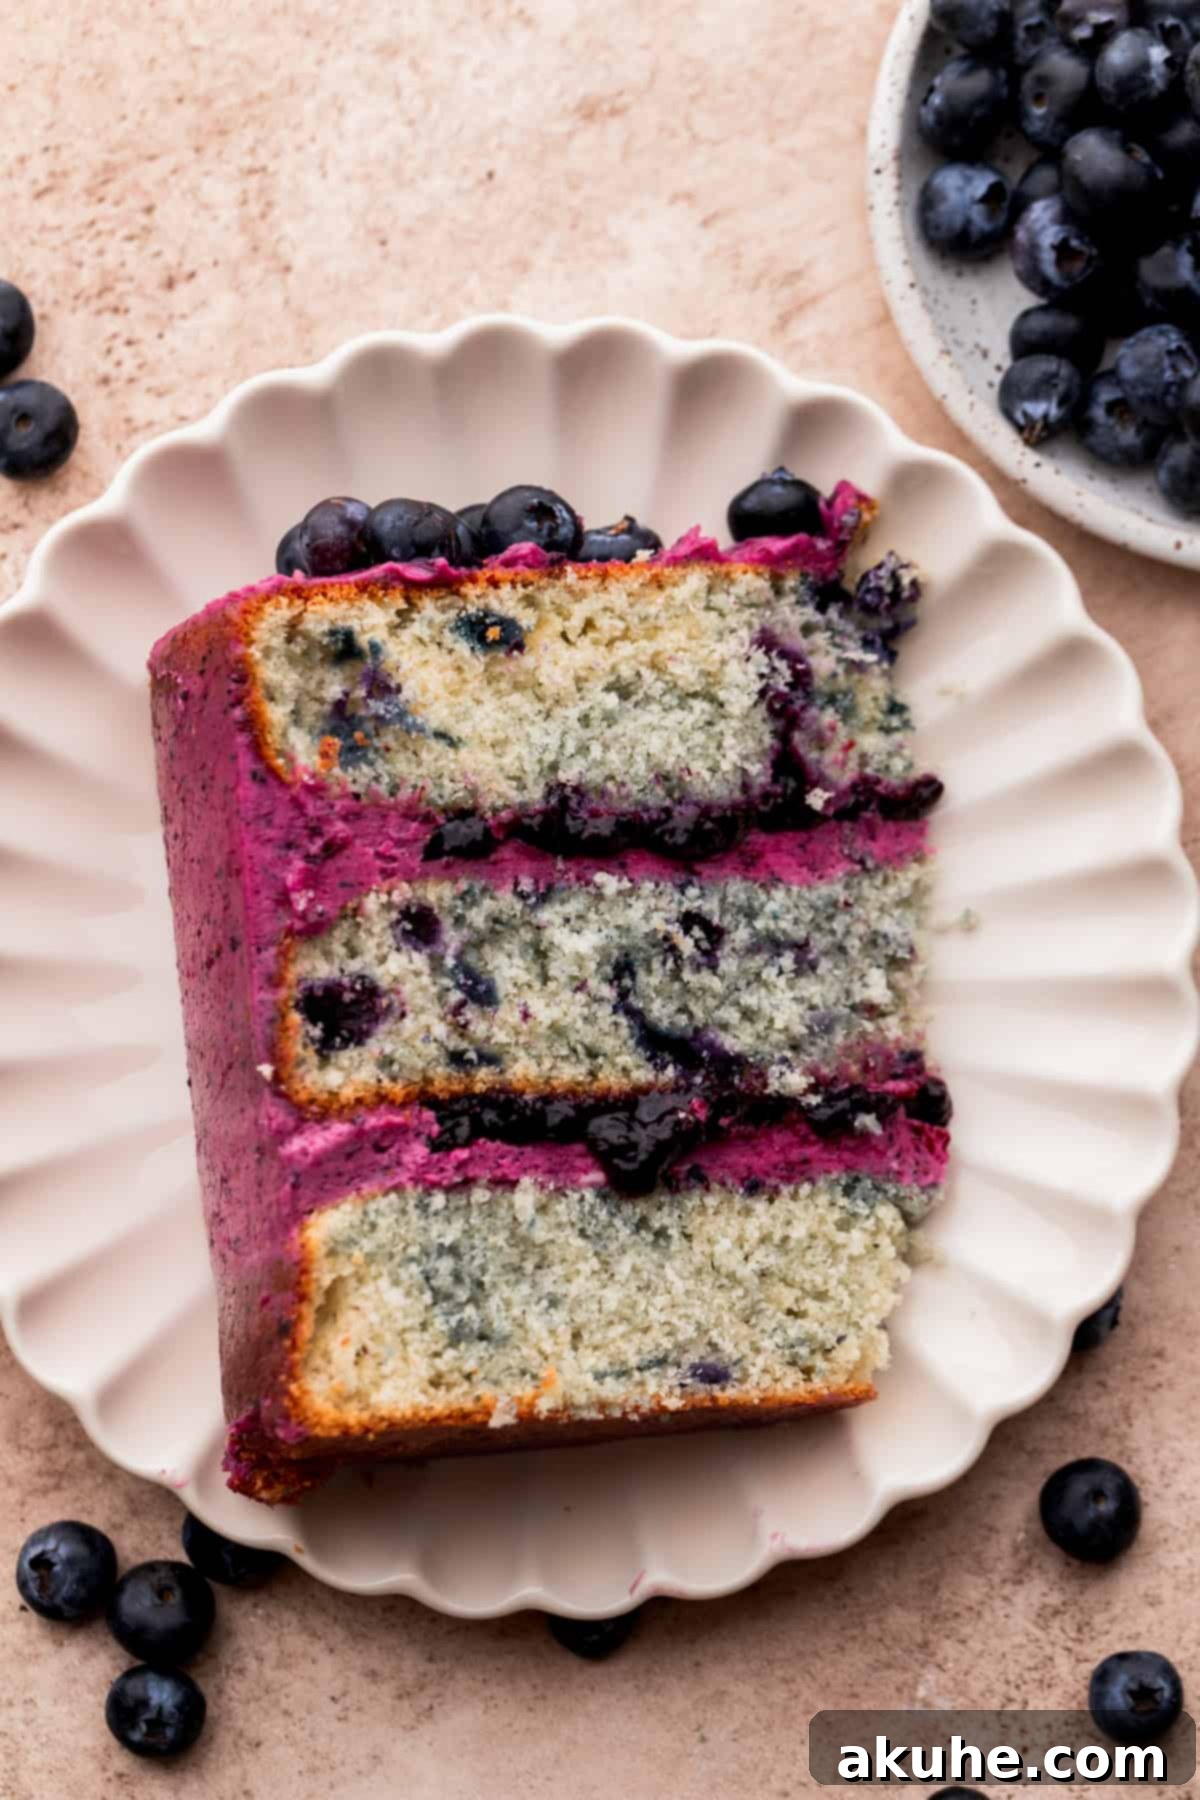
Indulge in the ultimate blueberry experience with this spectacular layered vanilla cake. Boasting an incredible triple blueberry flavor, this cake features moist vanilla cake layers bursting with wild blueberries, a luscious blueberry sauce, and a dreamy blueberry frosting. It’s truly an irresistible masterpiece that will captivate every blueberry enthusiast.
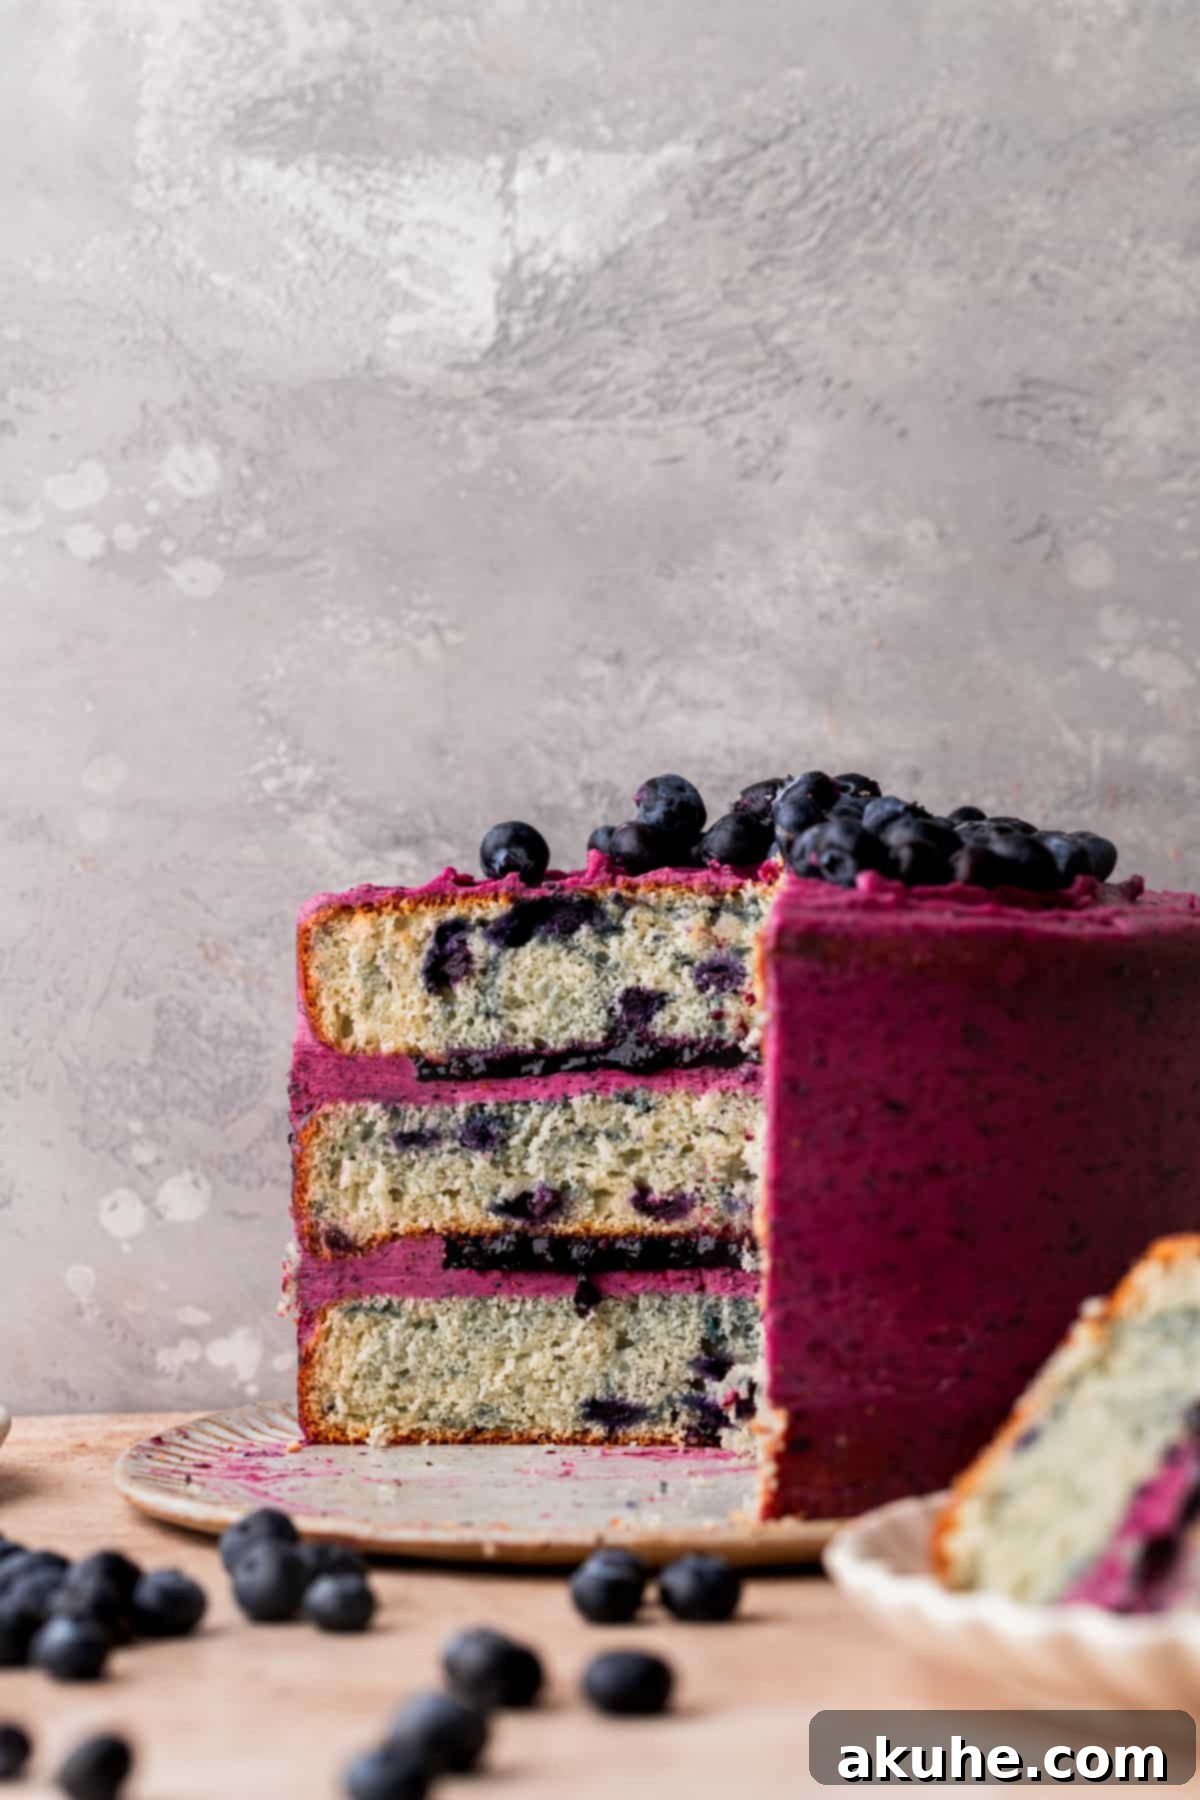
There’s something uniquely special about a homemade cake, and this triple blueberry sensation takes it to an extraordinary level. Imagine tender vanilla cake infused with sweet, tangy blueberries, generously layered with a vibrant, homemade blueberry sauce, and crowned with a light, fluffy blueberry frosting. Each component works in perfect harmony to create a symphony of flavors and textures, making this not just a cake, but a truly memorable dessert experience. It’s the kind of cake that makes any occasion feel more festive, and it’s particularly delightful to bake during the summer months when fresh, ripe berries are at their peak, filling your kitchen with their intoxicating aroma.
If you find yourself craving more delicious blueberry creations, be sure to explore these other fantastic recipes: our comforting Banana Blueberry Muffins, the perfect breakfast or brunch treat Blueberry Coffee Cake, and delightful mini Blueberry Strawberry Pies.
Why This Triple Blueberry Cake Recipe Is a Must-Try
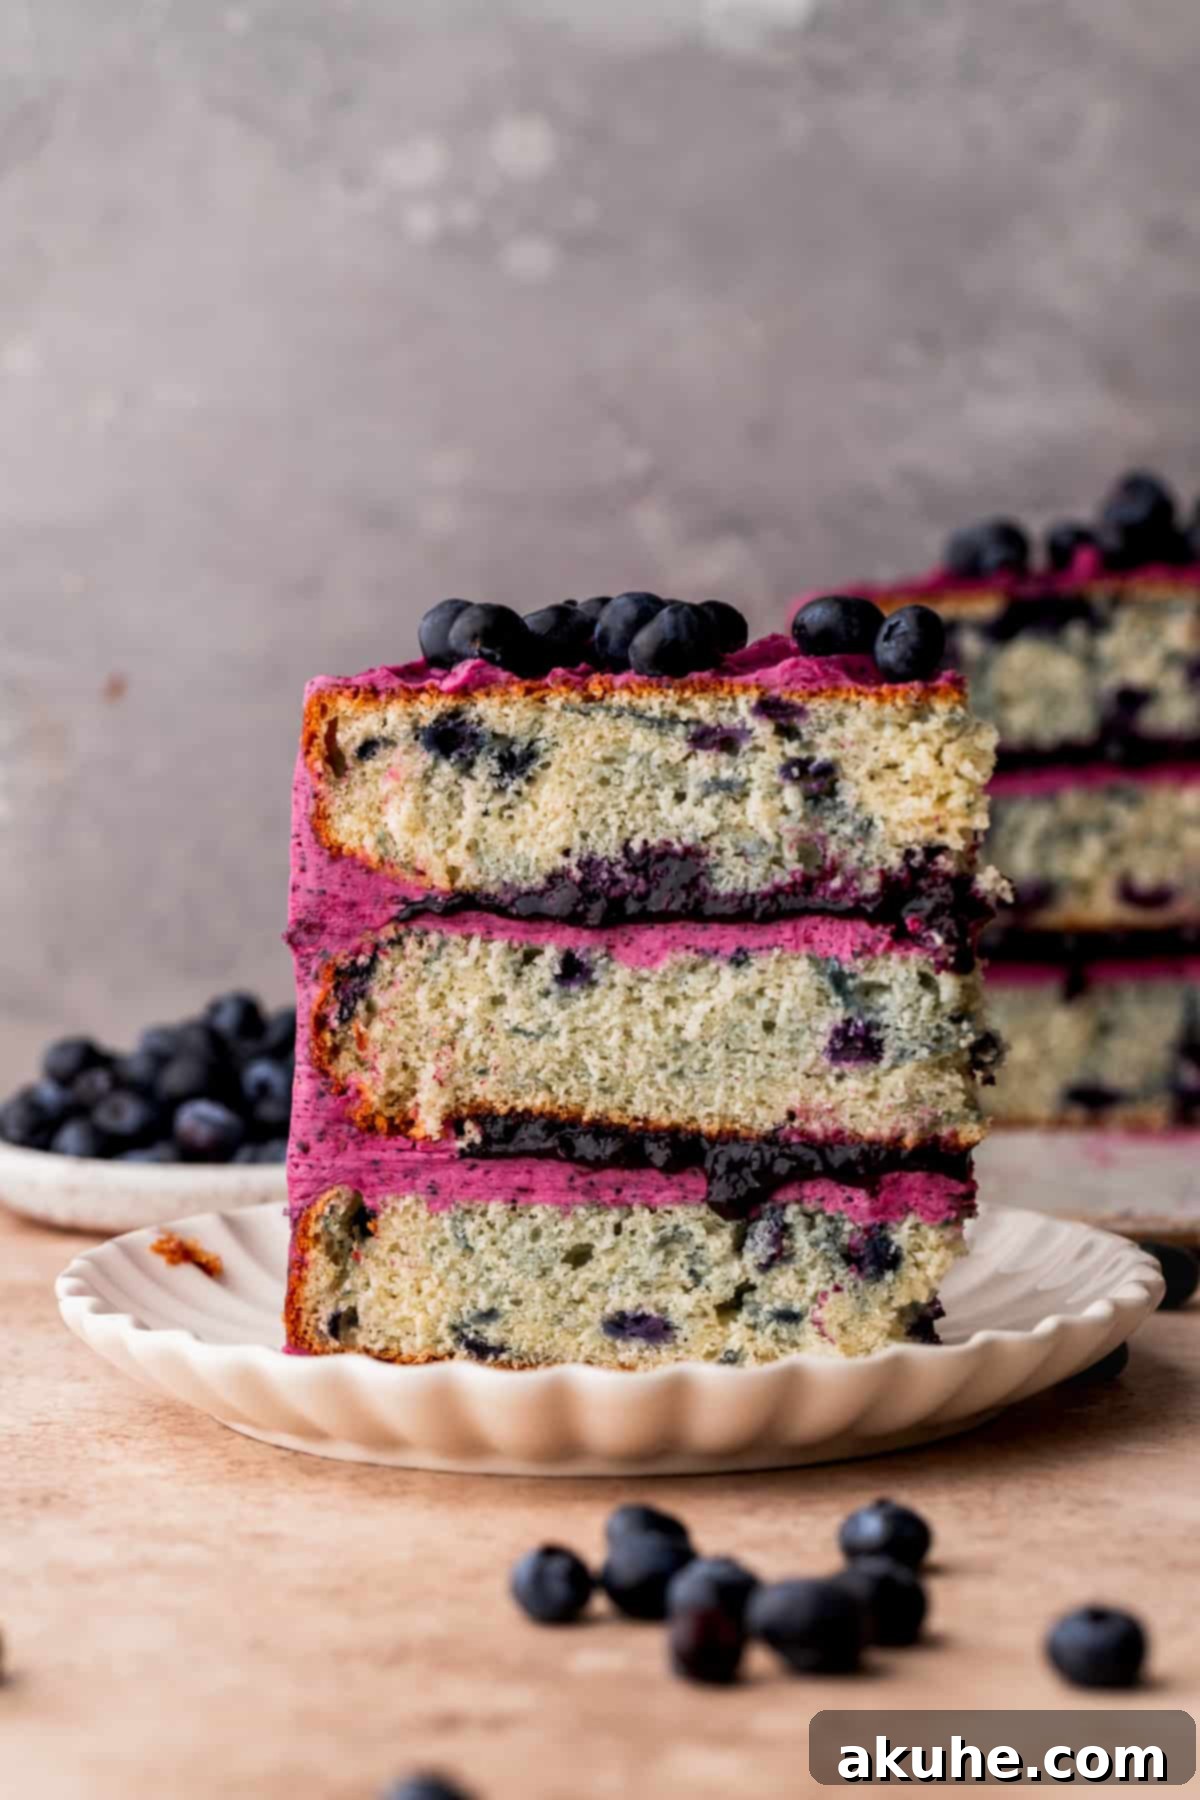
- Unmatched Triple Blueberry Flavor: This isn’t just a blueberry cake; it’s a celebration of blueberries! We incorporate blueberry goodness into three distinct elements: the moist cake layers are studded with plump berries, a vibrant blueberry sauce is nestled between each layer, and a creamy blueberry frosting blankets the entire cake. This multi-layered approach ensures a rich, authentic blueberry taste in every single bite.
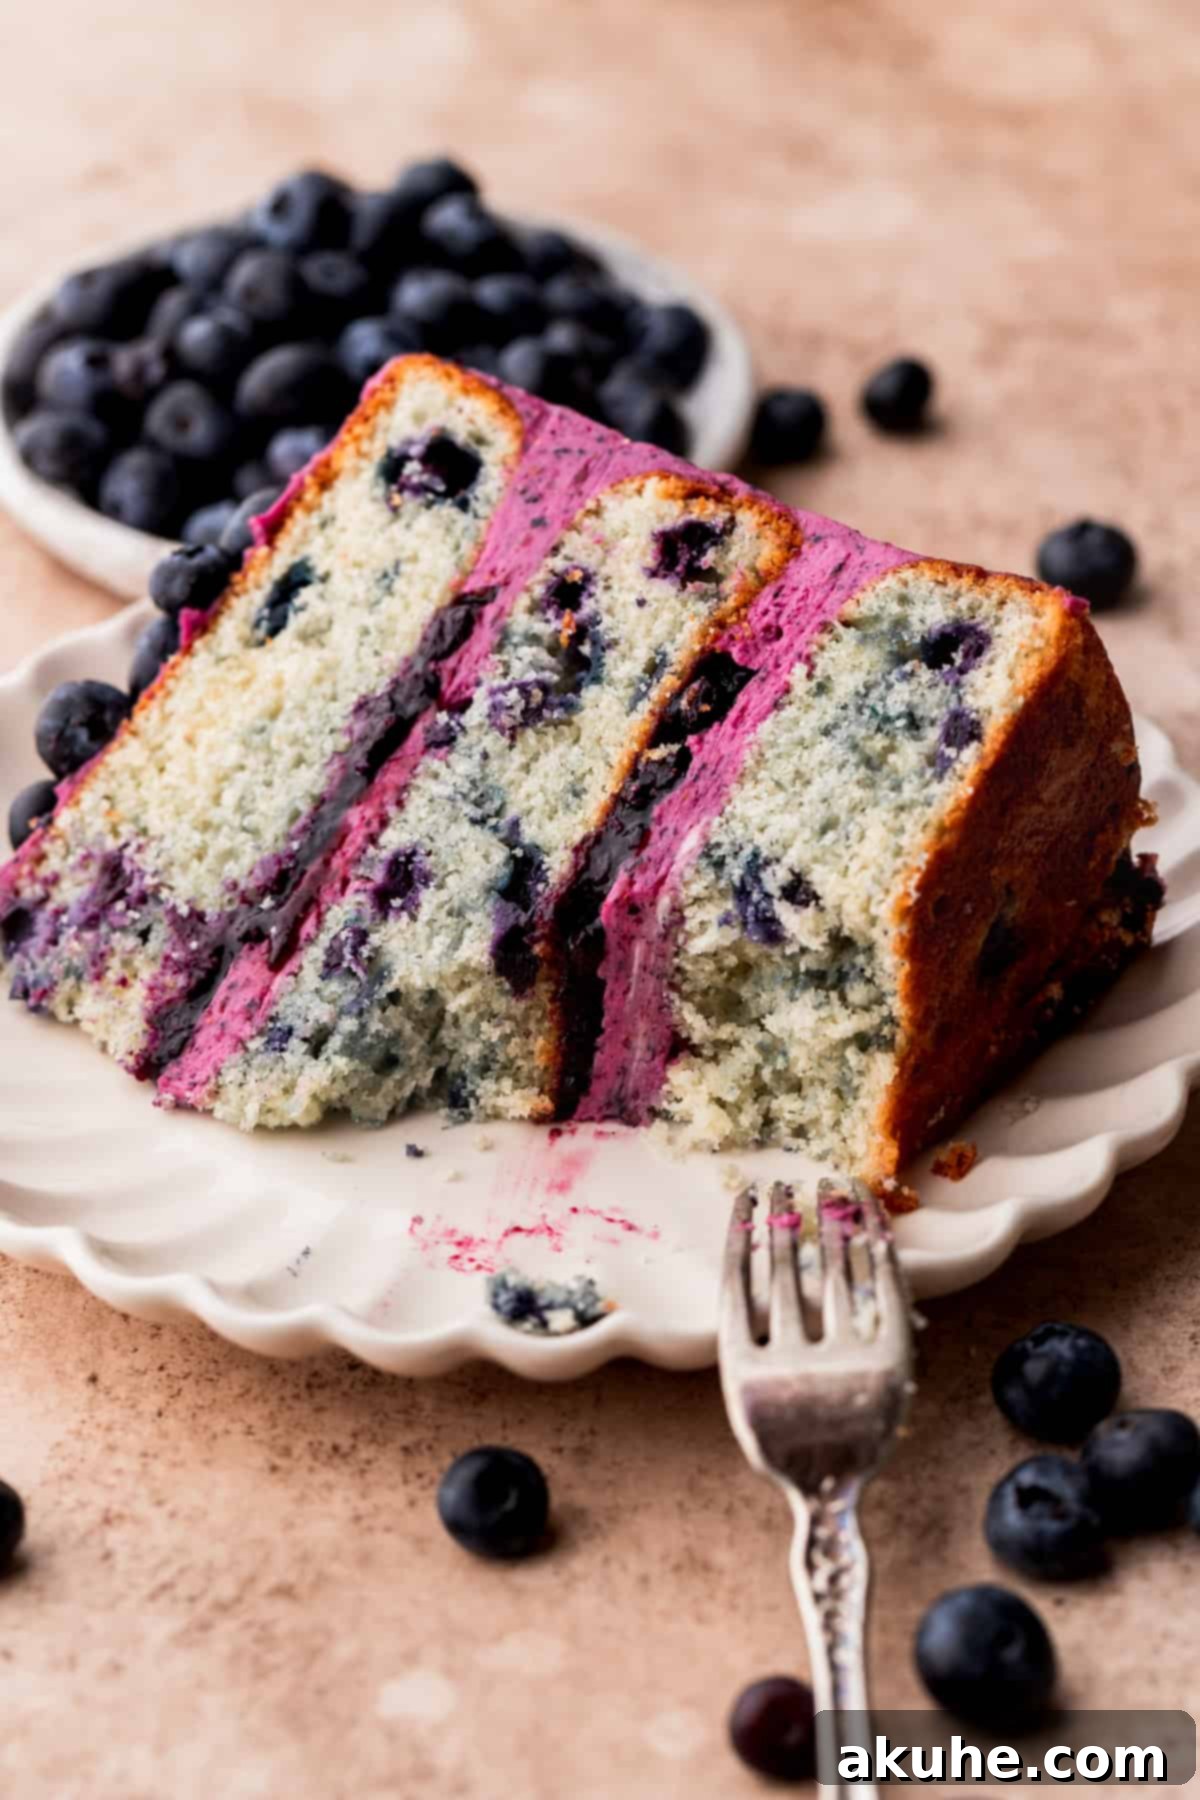
- Incredibly Moist and Tender Crumb: Achieving a perfectly moist cake is paramount, and this recipe delivers. Thanks to carefully selected ingredients like buttermilk and sour cream, along with precise mixing techniques, the vanilla cake layers boast an exceptionally soft, tender crumb that practically melts in your mouth. You won’t find a dry crumb in sight!
- Achievable Layer Cake Perfection: Many home bakers might feel intimidated by the idea of a layer cake, but this recipe is designed to be surprisingly straightforward. We’ve broken down each step into easy-to-follow instructions, ensuring that even those new to baking can create a stunning, professional-looking dessert without any complicated techniques or unnecessary stress.
- Visually Stunning Presentation: Beyond its incredible taste, this blueberry cake is a feast for the eyes. The vibrant purple hues of the blueberries, contrasted with the creamy frosting and golden cake layers, create an enticing visual appeal. It’s a showstopper perfect for birthdays, holidays, or any gathering where you want to impress.
Essential Ingredient Notes for Your Best Blueberry Cake
Success in baking often comes down to understanding your ingredients. Here are some detailed notes to ensure your blueberry cake turns out perfectly. For a complete list of quantities, refer to the recipe card below.
- Eggs: Always aim for large eggs at room temperature. This is crucial because room temperature eggs emulsify better with other ingredients, creating a smoother, more uniform batter and a lighter, fluffier cake texture. Take them out of the refrigerator at least 2 hours before you plan to start baking.
- Buttermilk: Full-fat or reduced-fat buttermilk will both work beautifully. Similar to eggs, buttermilk should be at room temperature. Its acidity reacts with the baking soda, contributing to the cake’s tender crumb and moistness. If you don’t have buttermilk, you can make a substitute by adding 1 tablespoon of white vinegar or lemon juice to a measuring cup, then filling the rest with regular milk to make 1 cup. Let it sit for 5-10 minutes until it slightly curdles.
- Sour Cream: Opt for full-fat sour cream for the best flavor and moisture. Its rich fat content adds an unparalleled tenderness to the cake. If sour cream isn’t available, plain, full-fat Greek yogurt can be used as a direct substitute, offering a similar tang and richness. Ensure it’s also at room temperature.
- Unsalted Butter: Just like the other dairy ingredients, unsalted butter needs to be at room temperature – soft enough to make an indentation with your finger, but not melted. Room temperature butter creams better with sugar, incorporating more air into the batter, which results in a lighter cake structure. Using unsalted butter allows you to control the salt content in your recipe precisely.
- Powdered Sugar: For the silkiest, smoothest blueberry frosting, sifting your powdered sugar is an absolute must. Powdered sugar often contains small lumps, and sifting ensures these are broken up, preventing a gritty texture in your finished frosting. Don’t skip this step!
- Blueberries: While regular blueberries will certainly work, I highly recommend using wild blueberries, especially for the cake layers. Their smaller size prevents them from sinking to the bottom of the cake during baking and allows for more even distribution of flavor throughout each slice. If using frozen berries for the cake, make sure to coat them lightly in flour before adding to the batter; this also helps prevent sinking. For the blueberry sauce, frozen berries can be used directly, but thaw them first for optimal simmering.
- All-Purpose Flour: Proper flour measurement is key to a moist cake. Always spoon your flour into the measuring cup and level it off with a straight edge rather than scooping directly from the bag, which can compact the flour and lead to a dry cake.
Step-by-Step Instructions – Crafting the Perfect Cake Layers
Creating these tender blueberry cake layers is a rewarding process, and with these clear steps, you’ll achieve perfection. You will definitely need an electric mixer, preferably a stand mixer equipped with a paddle attachment, for optimal results.
STEP 1: Prepare Your Baking Environment. Begin by preheating your oven to the precise temperature of 350°F (175°C). Next, take three 8-inch round cake pans and generously spray them with a high-quality nonstick baking spray. To ensure your cakes release effortlessly and maintain their perfect shape, line the bottom of each pan with a circle of parchment paper. Give these parchment-lined bottoms another light spray of nonstick cooking spray. This double protection is your secret weapon against sticking.
STEP 2: Assemble Dry Ingredients. In a medium-sized mixing bowl, combine the all-purpose flour, baking powder, baking soda, and salt. It’s crucial to sift these ingredients together. Sifting not only removes any lumps but also aerates the flour, which contributes to a lighter cake texture, and ensures all the leavening agents are evenly distributed throughout the mixture.
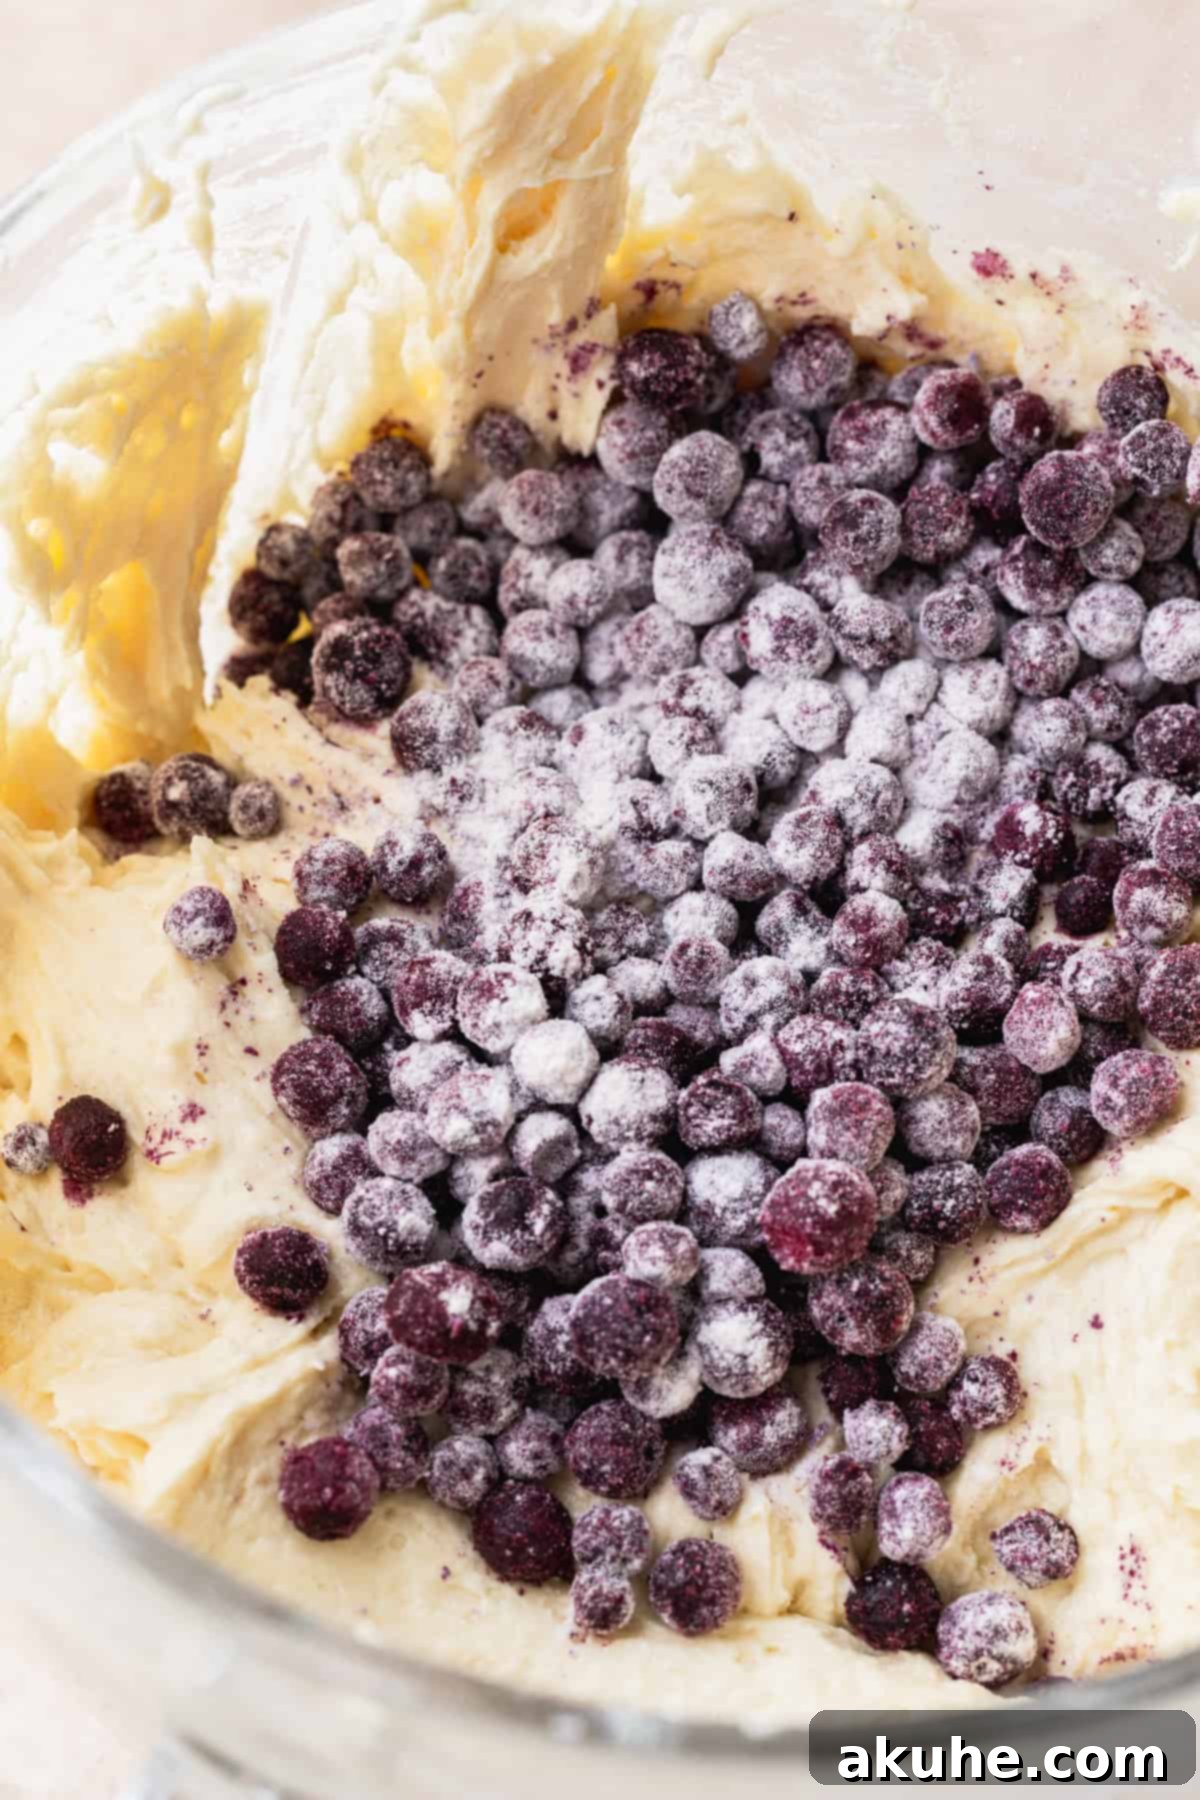
STEP 3: Prepare the Blueberries. To prevent your delicious blueberries from sinking to the bottom of your cake layers during baking, a simple trick is to coat them with a small amount of flour. In a separate small bowl, gently toss the frozen wild blueberries with 1 tablespoon of all-purpose flour until they are lightly dusted. This coating creates a barrier that helps them suspend evenly in the batter. If using fresh blueberries, you can still coat them with flour for extra insurance against sinking.
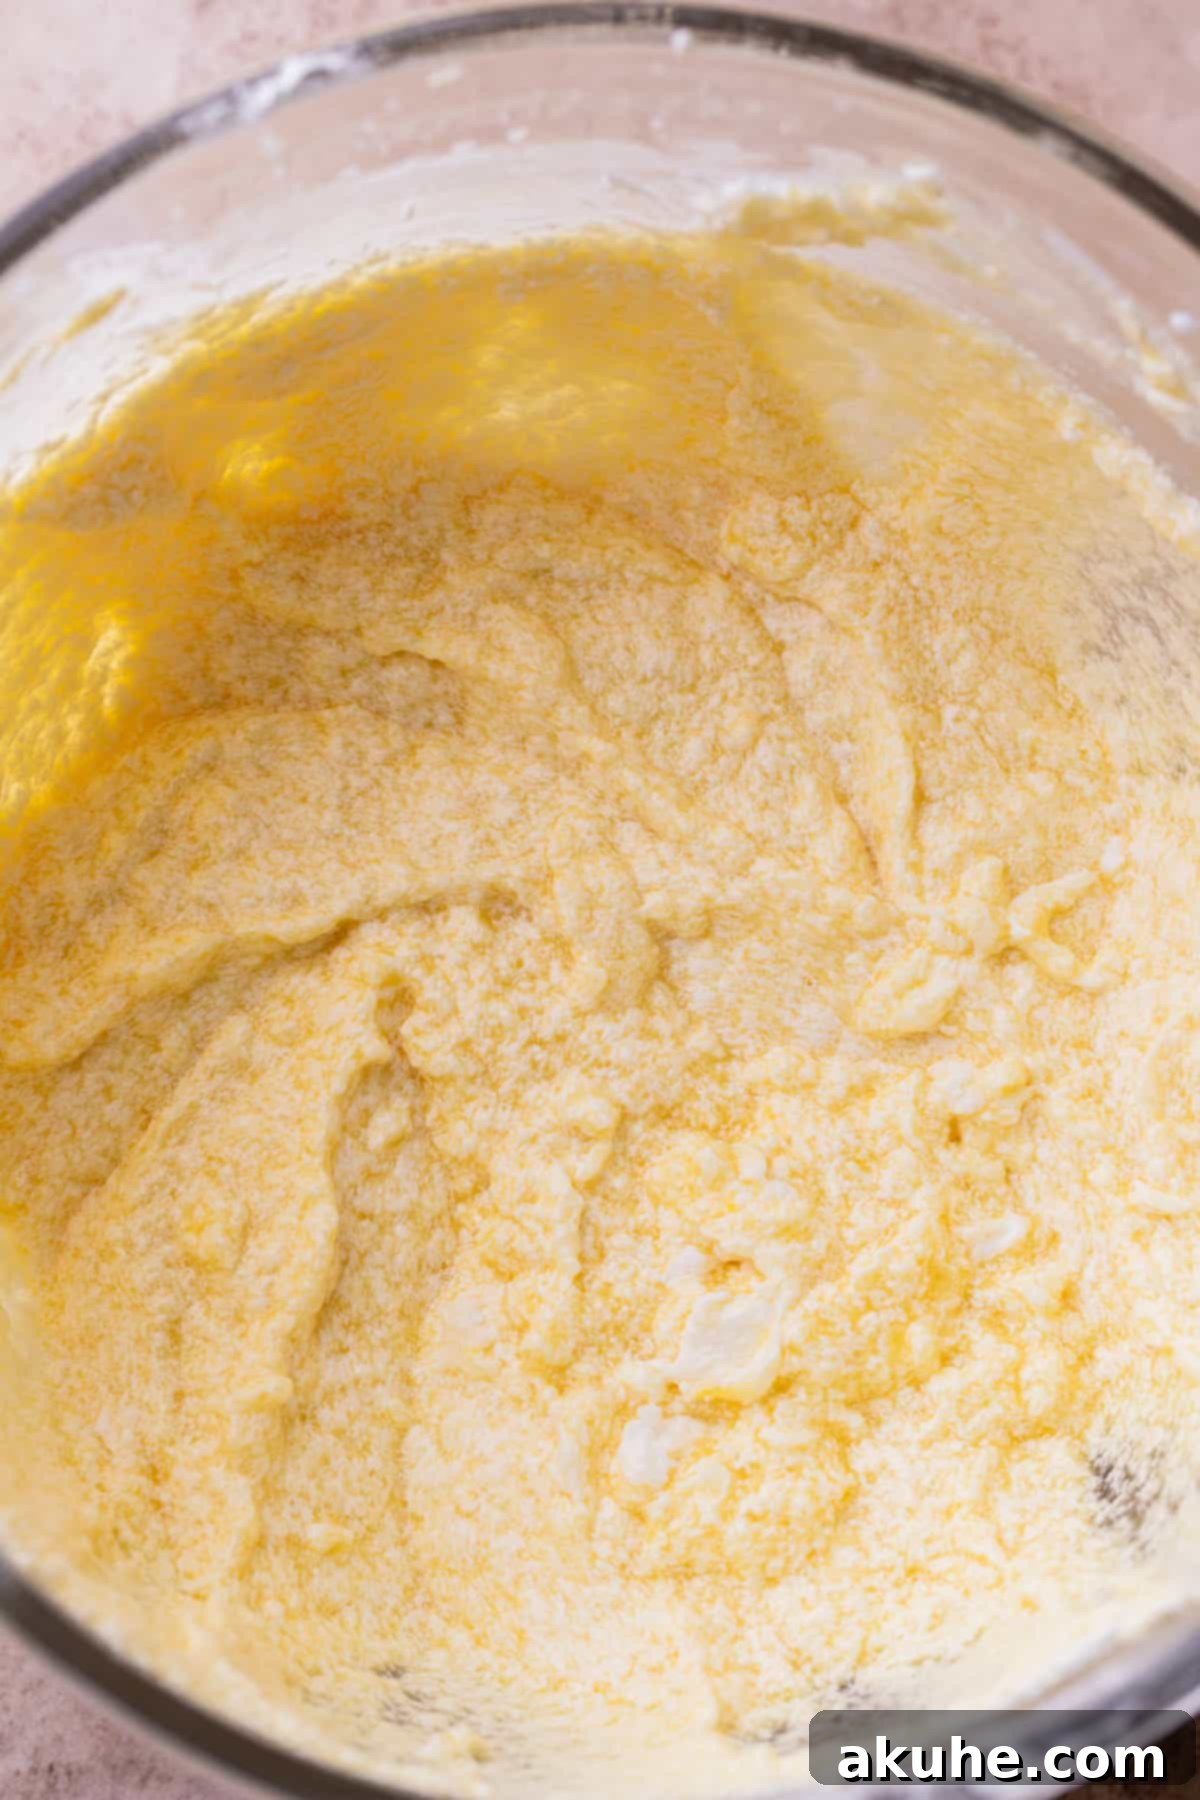
STEP 4: Cream Wet Ingredients. In the bowl of your stand mixer, fitted with the paddle attachment, add the softened unsalted butter and granulated sugar. Beat these two ingredients together on high speed for a full 3 minutes. This creaming process is vital; it incorporates air into the mixture, which is a primary source of leavening and contributes significantly to the cake’s light and fluffy texture. After creaming, stop the mixer and scrape down the sides of the bowl with a rubber spatula to ensure everything is well combined. Then, add the vanilla extract, room temperature sour cream, and room temperature large eggs. Mix on medium speed until all these wet ingredients are just combined. Be careful not to overmix at this stage.
STEP 5: Combine Batter Components. With your mixer on low speed, gradually add 1/3 of the dry ingredient mixture to the wet ingredients, mixing until just combined. Follow this by adding half of the room temperature buttermilk, mixing again until just incorporated. Repeat this process: add another 1/3 of the dry ingredients, then the remaining buttermilk, and finally, the last portion of the dry ingredients. Mix on low speed, stopping as soon as the last streaks of flour disappear. Overmixing develops gluten, which can lead to a tough cake. Remove the bowl from the stand mixer. Using a rubber spatula, gently fold in the floured blueberries. Be delicate here to avoid crushing the berries and to maintain the cake’s tender structure.
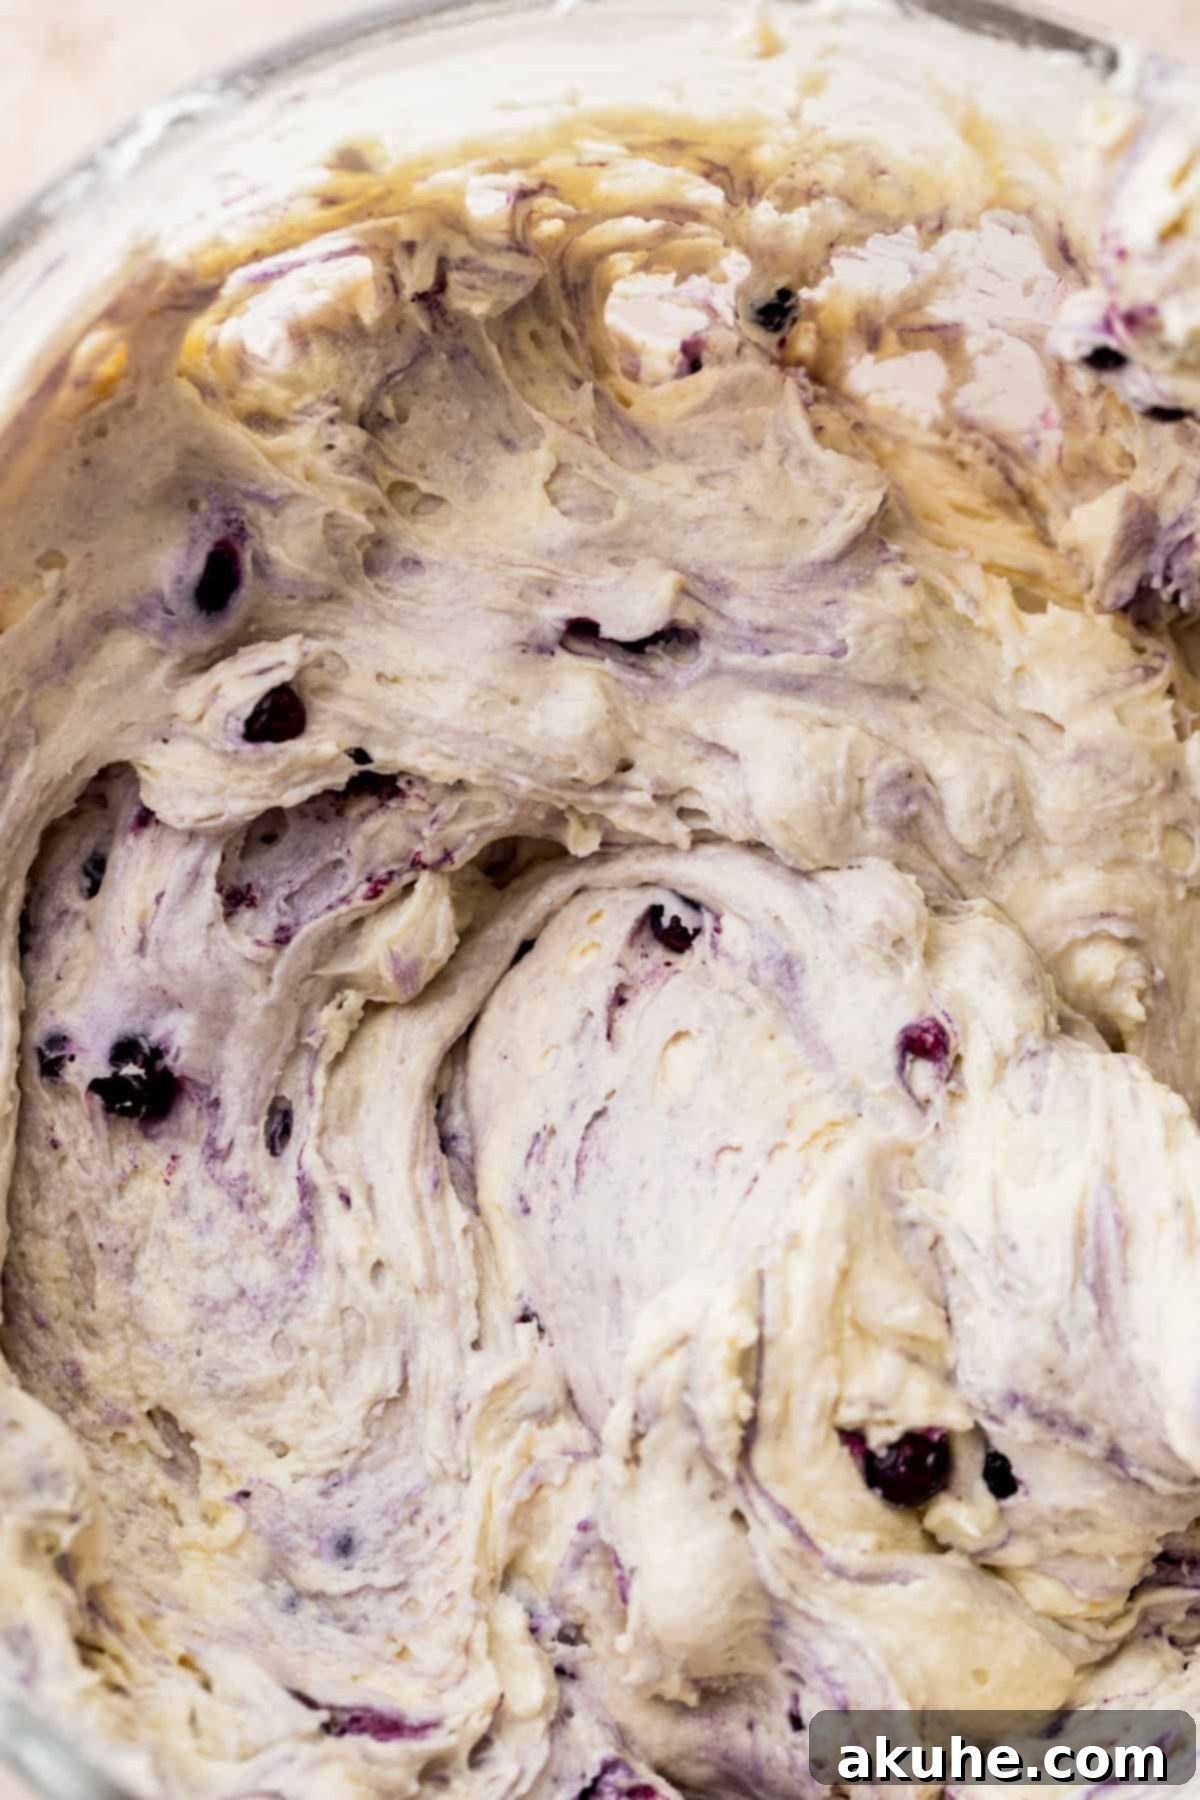
STEP 6: Distribute Cake Batter Evenly. Divide the blueberry cake batter as evenly as possible among your three prepared 8-inch cake pans. You can eyeball it, or for precise layers, use a kitchen scale to ensure each pan receives the exact same amount of batter.
STEP 7: Bake to Perfection. Transfer the filled cake pans to your preheated oven and bake for approximately 22-25 minutes. The precise baking time can vary slightly depending on your oven, so keep an eye on them. You’ll know the cakes are done when a wooden toothpick or cake tester inserted into the very center of a cake layer comes out clean, with no wet batter clinging to it. The edges should be lightly golden, and the center should spring back when gently touched.
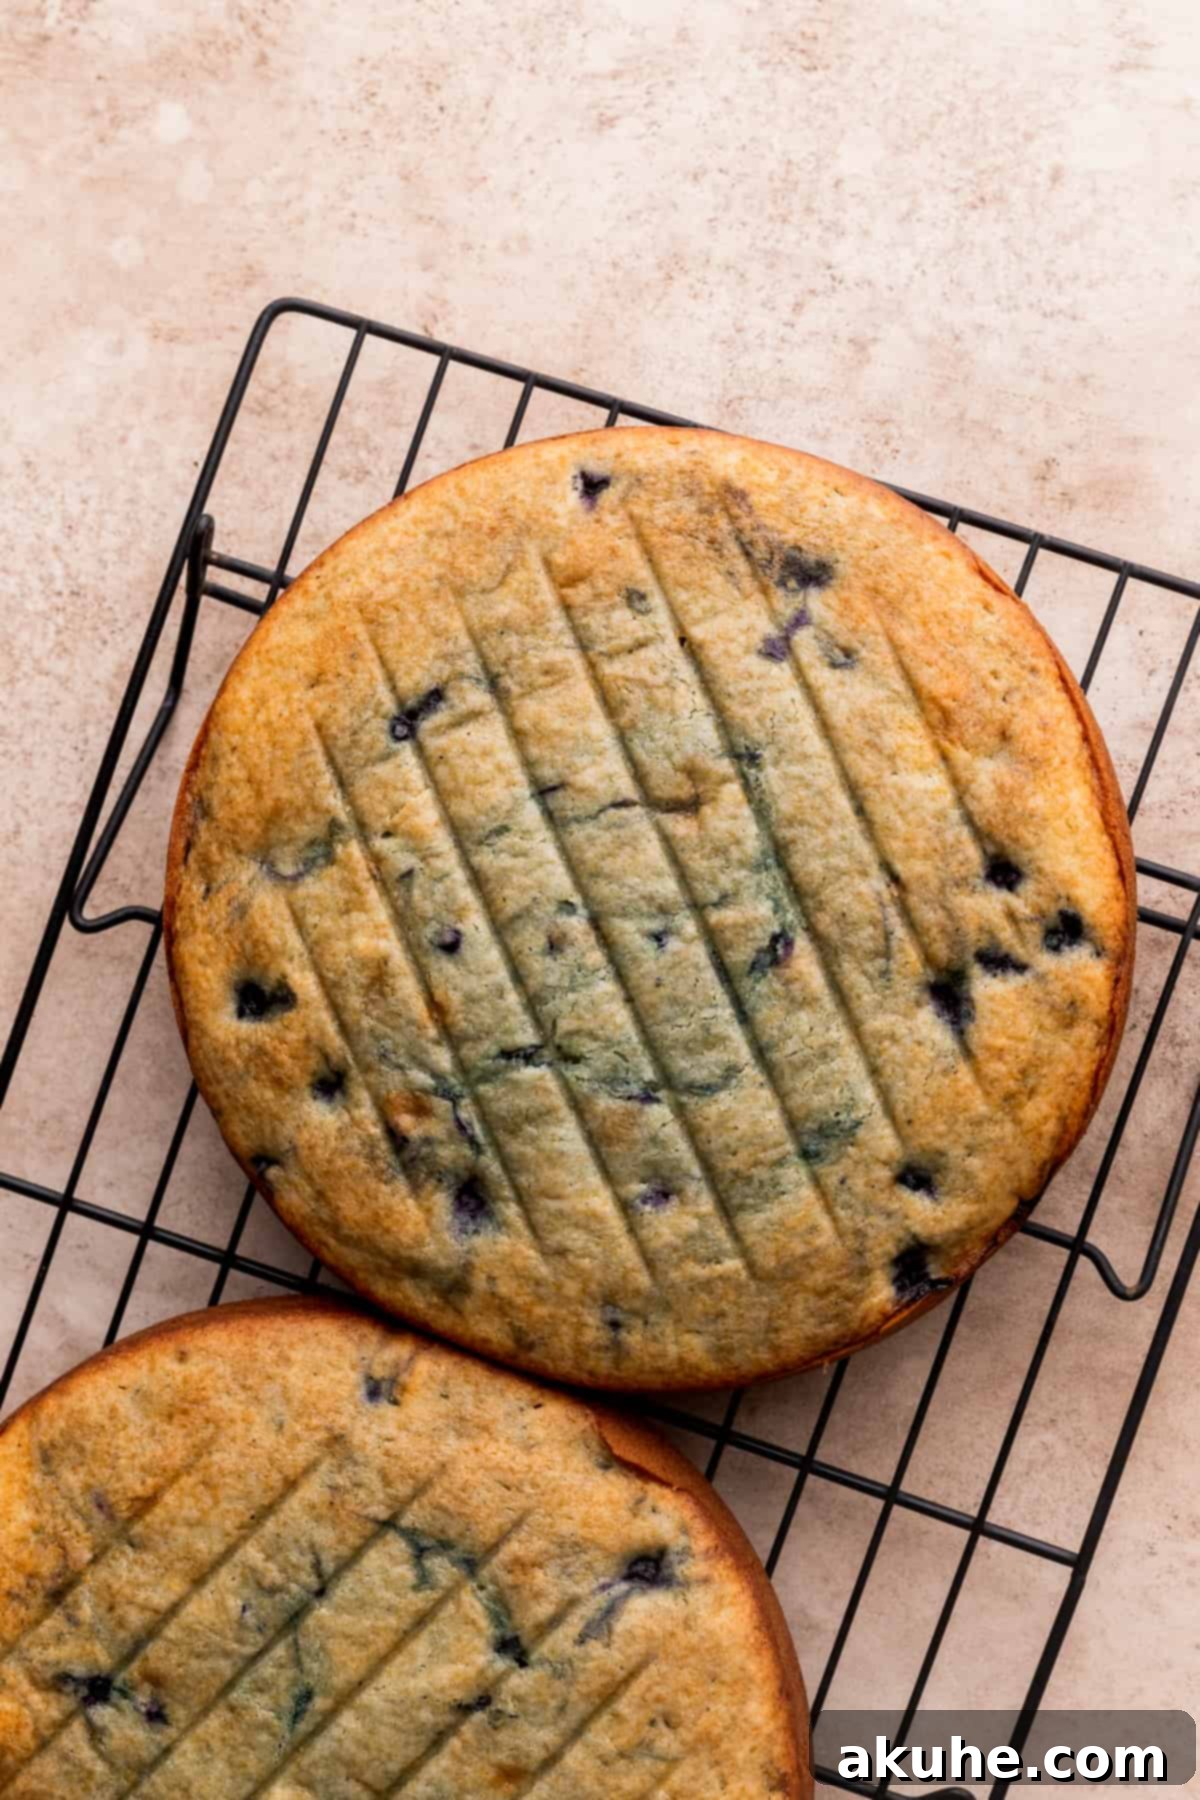
STEP 8: Cool with Care. Once baked, remove the cakes from the oven and let them cool in their pans on a wire rack for exactly 10 minutes. This crucial resting period allows the cake structure to set and prevents it from crumbling when inverted. After 10 minutes, carefully invert the cakes onto the wire rack, remove the parchment paper, and allow them to cool completely. It’s essential that the cake layers are thoroughly cooled before you even think about frosting them, as warm cake will melt your frosting, leading to a messy outcome.
Step-by-Step Instructions – Mastering Blueberry Sauce and Frosting
Now that your cake layers are cooling, let’s prepare the delightful blueberry sauce and the creamy blueberry frosting. Again, an electric mixer, ideally a stand mixer with a paddle attachment, will be your best friend here.
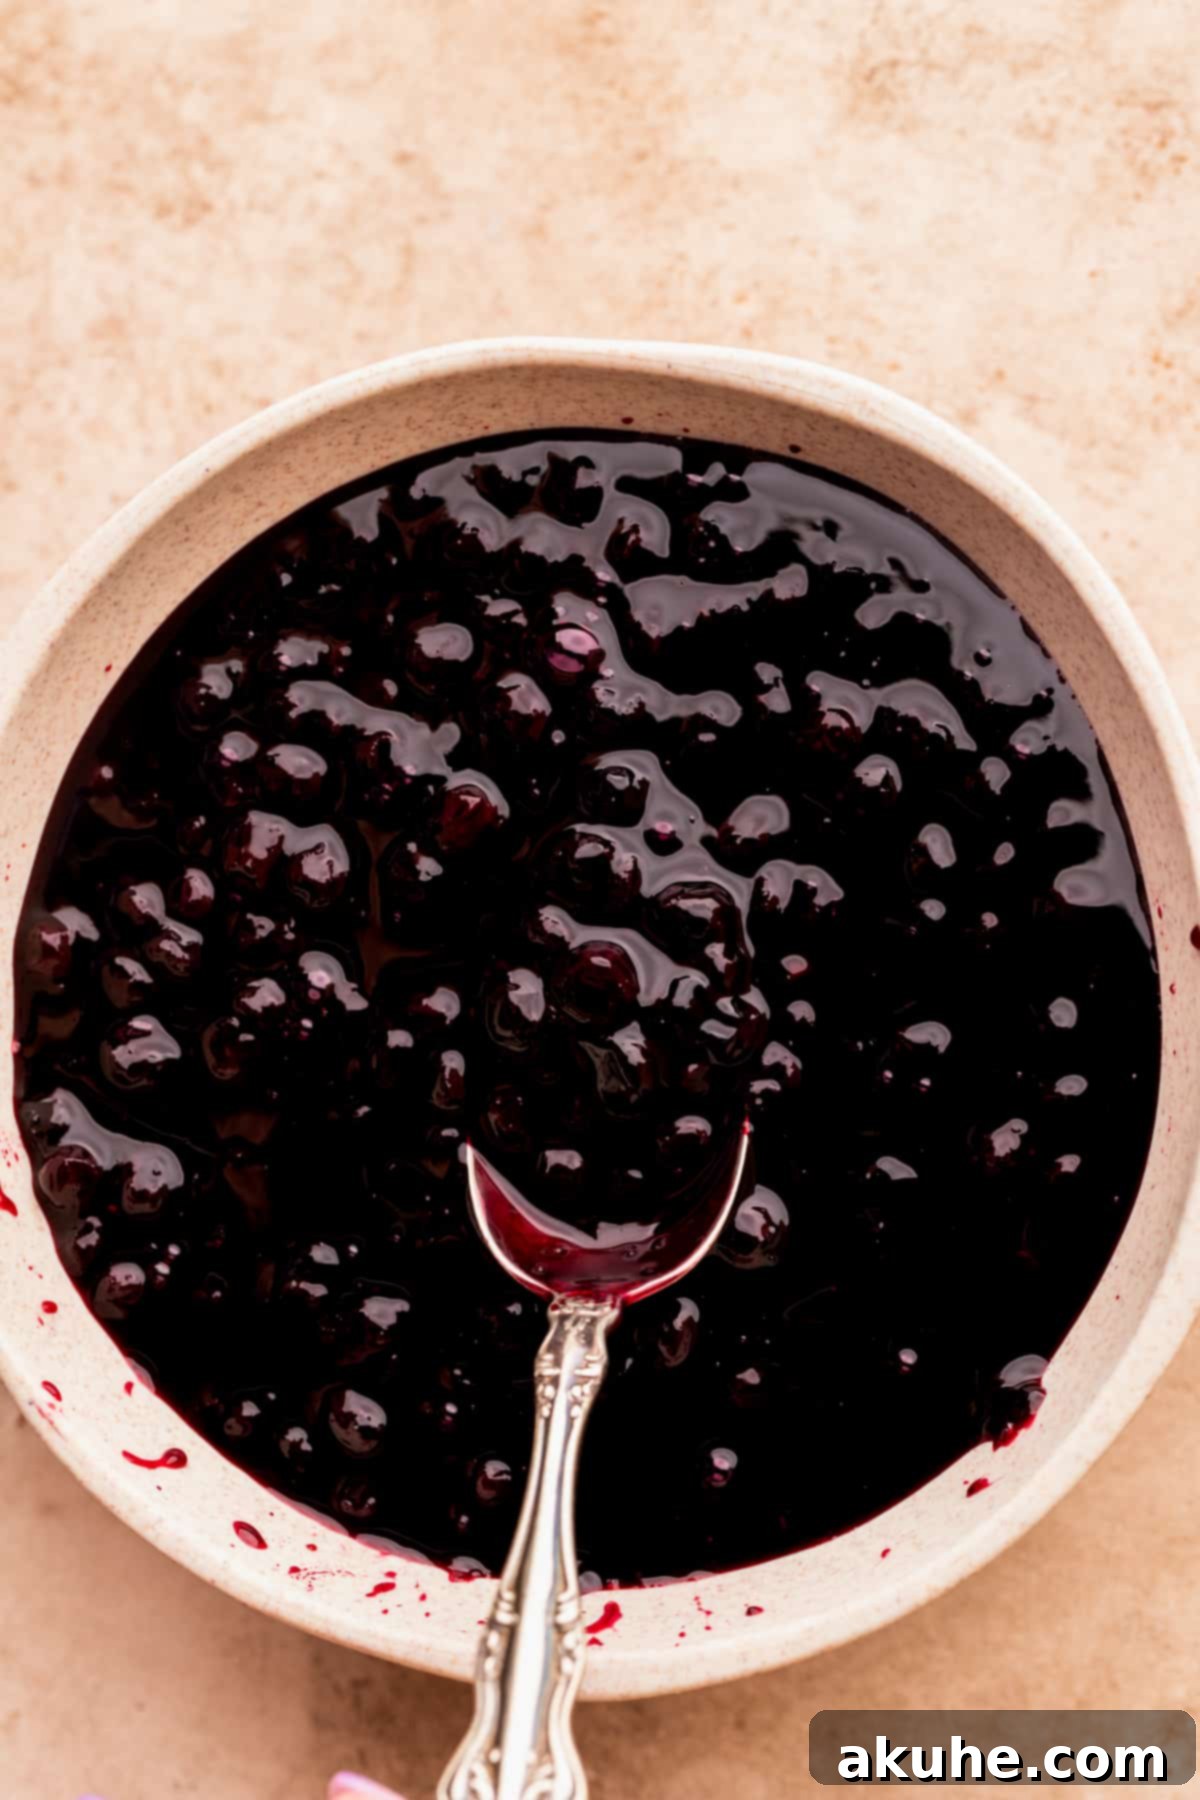
STEP 1: Simmer the Blueberry Sauce. In a medium saucepan, combine the fresh or thawed frozen blueberries, granulated sugar, water, fresh lemon juice, and cornstarch. Whisk these ingredients together until the cornstarch is fully dissolved. Place the saucepan over medium heat. Stir continuously as the mixture heats up. As the blueberries cook, they will release their juices, and the sauce will begin to bubble gently. Bring the mixture to a steady simmer.
STEP 2: Thicken and Cool the Sauce. Continue to cook the sauce, stirring occasionally, for approximately 5 minutes. During this time, the cornstarch will activate, and the sauce will visibly thicken to a glossy, syrupy consistency. Once thickened, immediately remove the saucepan from the heat. Pour the hot blueberry sauce into a heat-safe bowl. To ensure it cools completely and quickly, which is essential for both flavor and texture in the cake assembly, place the bowl in the refrigerator. If you’re pressed for time, a brief stint in the freezer can speed up the cooling process, just be sure to stir it occasionally to prevent freezing solid.
STEP 3: Prepare Frosting Dry Ingredients. In a large, separate bowl, sift the powdered sugar. This step is critical for preventing lumps and achieving a smooth, creamy frosting. Set the sifted sugar aside for later.
STEP 4: Beat the Butter. Place the room temperature unsalted butter into the bowl of your stand mixer, fitted with the paddle attachment. Beat the butter on high speed for a full 3 minutes. During this time, the butter will transform from dense to a light, pale, and incredibly fluffy consistency. This aeration is key to a light, not greasy, buttercream.
STEP 5: Incorporate Powdered Sugar. With the mixer on low speed, add half of the sifted powdered sugar to the whipped butter. Mix slowly until the sugar is fully incorporated and no dry streaks remain. Then, add the remaining powdered sugar and continue mixing on low speed until it’s also fully combined. Start on low speed to avoid a cloud of powdered sugar in your kitchen!
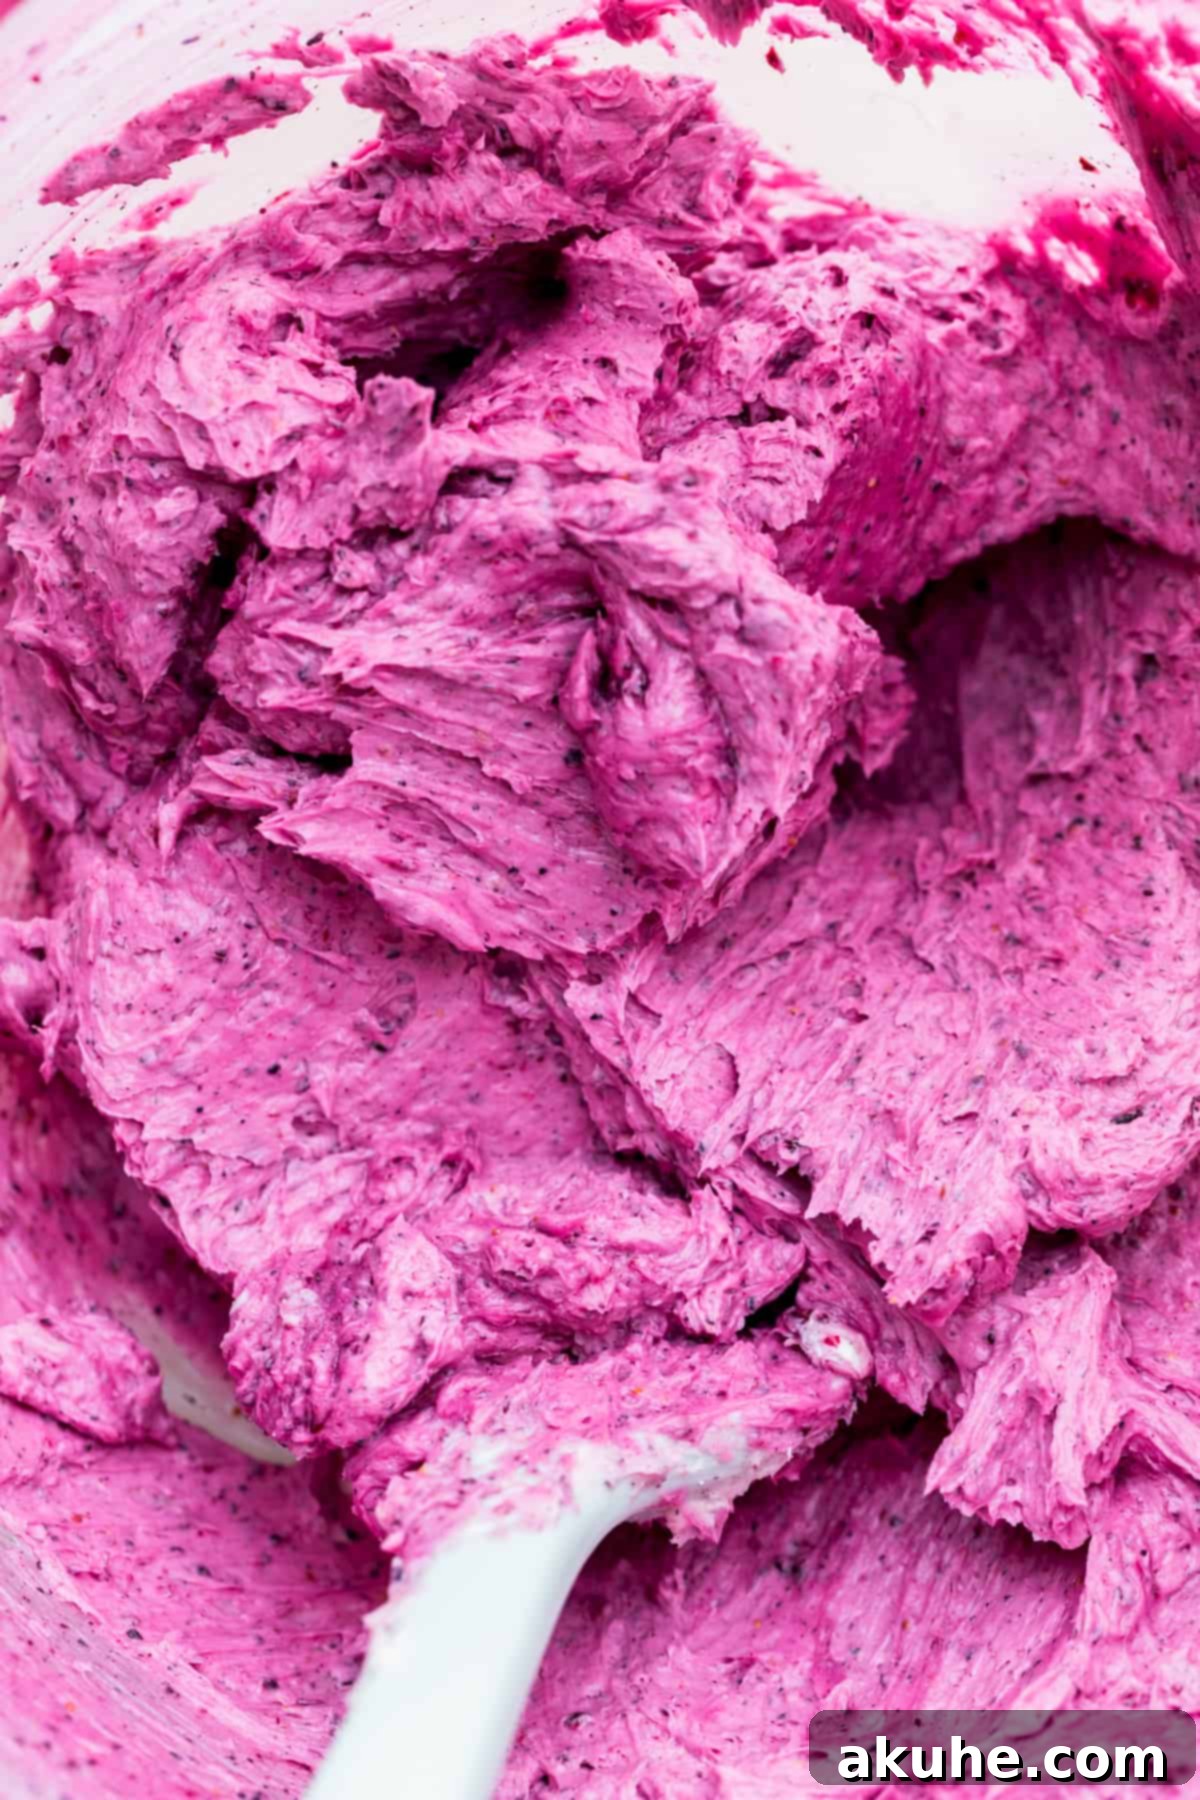
STEP 6: Flavor and Cream the Frosting. Finally, add the pure vanilla extract, a measured amount of your cooled blueberry sauce (as specified in the recipe card), a pinch of salt to balance the sweetness, and the ground freeze-dried blueberries. The freeze-dried blueberries are optional but highly recommended; they significantly enhance both the natural blueberry flavor and provide a beautiful, vibrant color to your frosting without adding excess liquid. Mix on low speed until all the ingredients are just combined. Then, increase the mixer speed to high and beat for another 2-3 minutes until the frosting is incredibly light, creamy, and wonderfully smooth. If your frosting seems too thick, you can add a tiny bit more blueberry sauce (1 teaspoon at a time) or a splash of milk until it reaches your desired consistency. If it’s too thin, add a bit more sifted powdered sugar.
Expert Tips for Assembling Your Blueberry Layer Cake
Assembling a beautiful layer cake can be a fun and satisfying process. Here are some invaluable tips to help you achieve a stunning finish for your triple blueberry masterpiece:
- Helpful Decorating Tools: While not strictly necessary, having a few specialized tools can make cake decorating much easier and yield more professional results. Consider investing in a revolving cake turntable for smooth frosting application, an offset icing spatula for even spreading, a straight icing spatula for smoothing sides, a cake scraper for sharp edges, a cake leveler (or a long, serrated bread knife) for perfectly flat layers, and a cake carrier for safe transportation and storage.
- Level Your Cake Layers: After your cake layers have completely cooled, use a serrated knife or a cake leveler to carefully slice off any domed tops. This creates perfectly flat layers, ensuring your cake stands tall and even, preventing any leaning or uneven frosting distribution.
- Secure the First Layer: To prevent your cake from sliding around during the decorating process, pipe or spread a small dab of frosting onto the center of your cake board or serving platter. This acts as an adhesive, keeping your first cake layer firmly in place.
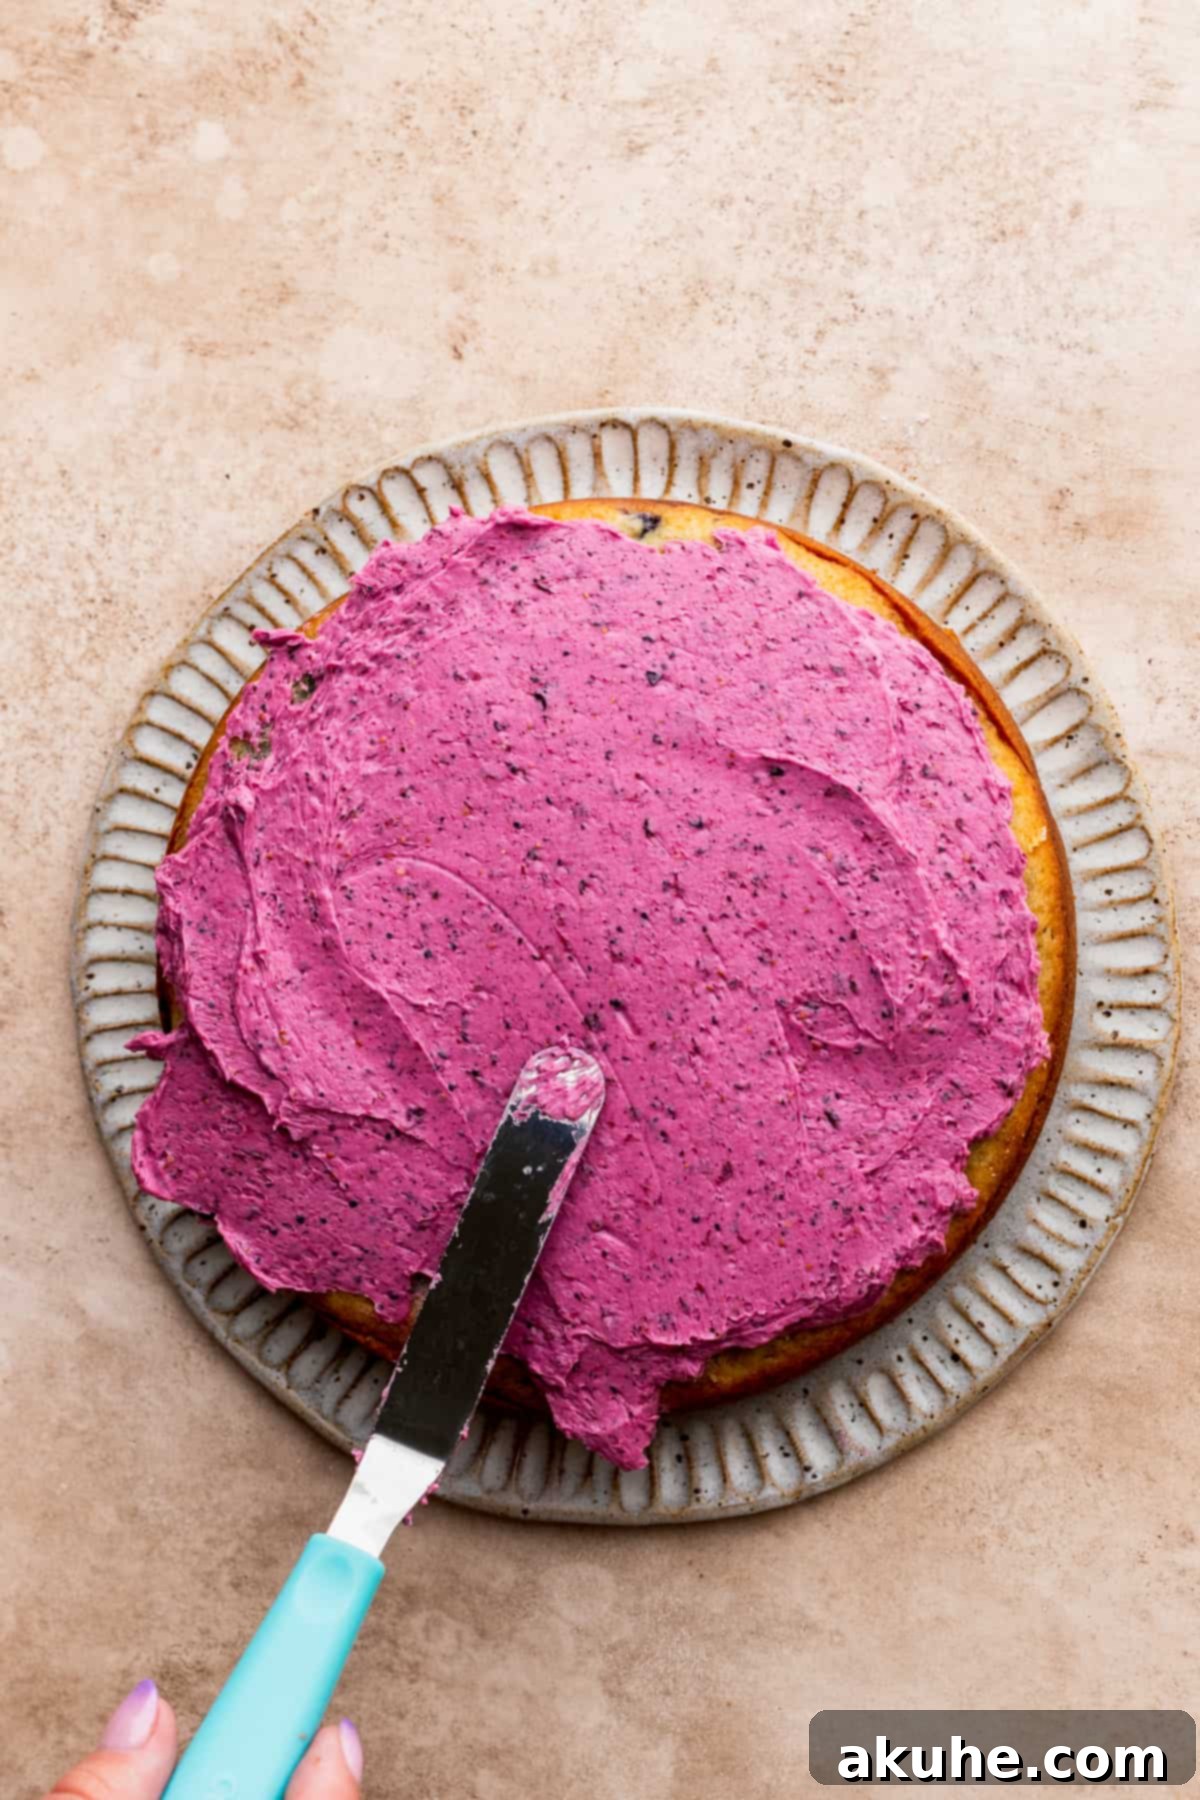
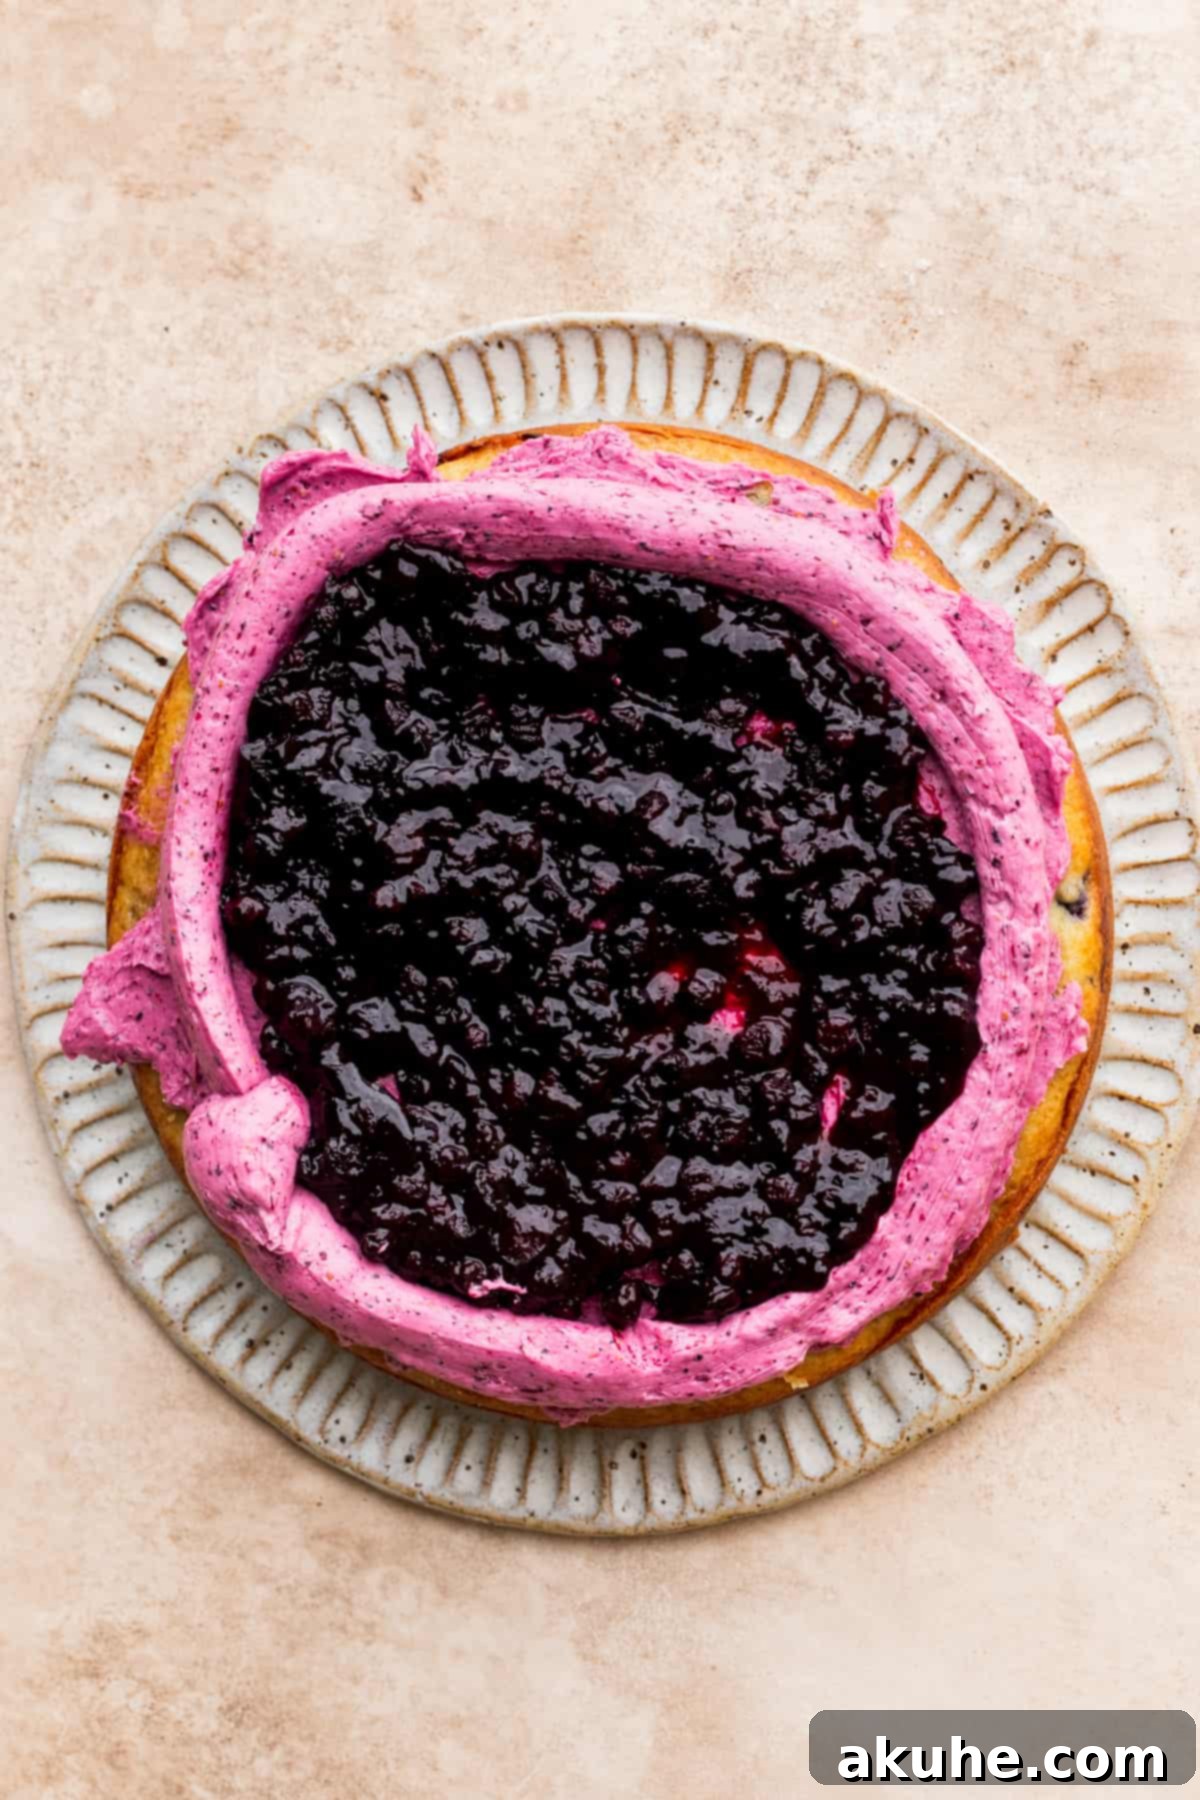
- First Cake Layer and Filling: Place the first leveled cake layer onto the prepared board. Using your offset spatula, spread approximately 3/4 cup of the blueberry frosting evenly over the entire surface of this layer. Next, pipe a small border of frosting around the very edge of the cake. This border acts as a dam, containing the luscious blueberry sauce. Carefully spoon about 1/2 cup of the cooled blueberry sauce into the center of the frosting dam.
- Second Cake Layer and Filling: Gently place the second leveled cake layer directly on top of the first, aligning it carefully. Repeat the frosting process: spread another 3/4 cup of blueberry frosting evenly, pipe a frosting border around the edge, and then fill the center with another 1/2 cup of blueberry sauce.
- Final Cake Layer Placement: For the flattest top surface, position the third cake layer upside down on top of the second. The bottom of the baked cake is typically the flattest, providing an ideal base for your final frosting application.
- The Crumb Coat: This is a vital step for a professional finish. Using an offset spatula, apply a very thin, light layer of blueberry frosting over the entire cake, including the sides. Don’t worry about perfection; this layer is meant to trap any loose crumbs, preventing them from mixing into your final decorative frosting. Fill any visible cracks or gaps in the cake with this thin layer of frosting. Once applied, place the cake in the freezer for about 15 minutes (or refrigerator for 30 minutes) to allow this crumb coat to set firmly. This creates a smooth, stable canvas for your final frosting.
- The Final Frosting Layer: Once the crumb coat is firm, remove the cake from the freezer/refrigerator. Now, apply the remaining blueberry frosting more generously and smoothly over the entire cake, using your spatulas and cake scraper to achieve your desired finish – whether it’s perfectly smooth, textured, or adorned with decorative swirls.
- Chill Before the Grand Finale: After applying the final frosting layer, place the cake back in the freezer for another 10 minutes (or refrigerator for 20-30 minutes). This helps the frosting firm up, making it easier to handle and ensuring the final sauce topping sets beautifully.
- The Drip Sauce Topping: Carefully pour the remaining blueberry sauce over the top of the chilled cake. You can let it naturally drip down the sides for an elegant effect, or carefully spread it to cover the entire top.
Frequently Asked Questions About Our Blueberry Cake
Absolutely! This versatile blueberry cake recipe translates wonderfully into delightful cupcakes. Simply halve the recipe to yield approximately 12 standard-sized cupcakes. Prepare the batter as instructed, then divide it evenly among a muffin tin lined with cupcake liners. Bake for a shorter duration, typically 18-20 minutes, or until a toothpick inserted into the center comes out clean. Once cooled, you can use the homemade blueberry sauce as a delicious filling by coring out the center of each cupcake and spooning it in, then piping the blueberry frosting on top.
This recipe is quite adaptable! For a slightly larger, two-layer cake, you can use two 9-inch cake pans; the baking time might be similar, but keep a close eye on doneness. If you prefer a taller, smaller cake, four 6-inch cake pans work beautifully, which will require slightly less baking time. For a simpler, single-layer sheet cake, a 9×13-inch cake pan can be used; remember to halve the frosting recipe for this size, as you won’t need as much for a single layer. To make three 6-inch cake pans, an 8×8-inch square pan, or a 9×9-inch square pan, you should halve the original recipe.
Yes, definitely! Preparing cake layers ahead of time is a fantastic way to break up the baking process and reduce stress on decorating day. Once your cake layers are completely cooled after baking, wrap each layer tightly in several layers of plastic wrap, ensuring no air can get in. You can then store them at room temperature for up to 2 days, or freeze them for up to 30 days. If freezing, place the wrapped layers in an airtight container or freezer bag for extra protection. When you’re ready to decorate, simply remove the frozen layers from the freezer about 1 hour before you plan to frost, allowing them to thaw at room temperature while still wrapped.
Yes, absolutely! Fresh blueberries work wonderfully in the cake batter. Just like with frozen berries, it’s a good idea to gently toss fresh blueberries with a tablespoon of flour before folding them into the batter. This light coating helps to prevent them from sinking to the bottom of the cake during baking, ensuring even distribution and a beautiful look.
The best way to get a naturally vibrant blue or purple color in your blueberry frosting is by using ground freeze-dried blueberries, as recommended in the recipe. These berries provide concentrated color and flavor without adding excess moisture that could thin out the frosting. If you want an even deeper hue, you can add a tiny drop of purple or blue gel food coloring (not liquid food coloring, which can thin the frosting) at the end, mixing until your desired shade is reached.
Storing and Freezing Your Delicious Blueberry Cake
To keep your blueberry cake fresh and delicious for as long as possible, proper storage is essential.
Store this layered blueberry cake in an airtight container, such as a cake carrier, to protect it from drying out and absorbing other refrigerator odors. Due to its cream cheese frosting and fruit components, it must be stored in the refrigerator. When properly stored, the cake will remain fresh and delightful for up to 5 days. For the best taste and texture, allow slices to come to room temperature for about 15-20 minutes before serving.
Freezing for Future Enjoyment
If you have leftover cake or want to prepare it far in advance, this blueberry cake freezes beautifully. For best results, freeze individual cake slices rather than the whole cake (unless it’s an un-iced cake). Place individual slices in an airtight container, ensuring they are well-wrapped in plastic wrap first, or freeze them uncovered on a tray until solid, then wrap them tightly. Frozen slices can be stored for up to 30 days. To enjoy, simply remove a slice from the freezer and allow it to thaw in the refrigerator overnight, or at room temperature for a few hours. This ensures the cake remains moist and the frosting retains its creamy texture.
Other Fruit Cake Recipes To Try
We truly hope you adore this blueberry cake as much as we do! If you found this recipe delightful, please make sure to leave a STAR REVIEW below to let us know. We love seeing your creations, so don’t forget to tag me on Instagram @stephaniesweettreats. For more baking inspiration and delicious ideas, make sure to follow me on Pinterest.
Blueberry Cake
Print Recipe
Pin Recipe
Leave a Review
Ingredients
Blueberry Cake Layers
- 3 1/2 cups All-purpose flour
- 1 TBSP Baking powder
- 1/2 tsp Baking soda
- 1 tsp Salt
- 1 cup Unsalted butter, room temperature
- 1 3/4 cup White granulated sugar
- 1 tsp Pure vanilla extract
- 1/2 cup Sour cream, room temperature (or plain full-fat yogurt)
- 4 Large eggs, room temperature
- 1 cup Buttermilk, room temperature
- 1 1/4 cup Frozen wild blueberries, or fresh
- 1 TBSP All-purpose flour, for coating blueberries
Blueberry Sauce
- 1 lb Blueberries, fresh or frozen and thawed
- 1/2 cup White granulated sugar
- 1/3 cup Water
- 2 TBSP Lemon juice, freshly squeezed
- 1 TBSP Cornstarch
Blueberry Frosting
- 2 cups Unsalted butter, room temperature
- 2 cups Powdered sugar, sifted
- 1 tsp Pure vanilla extract
- 2 TBSP Blueberry sauce, cooled
- 1/2 tsp Salt
- 1 oz Ground freeze-dried blueberries, optional, for intense flavor and color
Instructions
Blueberry Cake Layers
- Preheat your oven to 350°F (175°C). Prepare three 8-inch round cake pans by spraying them generously with nonstick baking spray. Line the bottoms of the pans with 8-inch parchment paper circles, then spray again.
- In a medium bowl, sift together the all-purpose flour, baking powder, baking soda, and salt. In a separate small bowl, gently toss the frozen wild blueberries with 1 tablespoon of all-purpose flour until coated. Set both aside.3 1/2 cups All-purpose flour, 1 TBSP Baking powder, 1/2 tsp Baking soda, 1 tsp Salt, 1 1/4 cup Frozen wild blueberries, 1 TBSP All-purpose flour
- Using a stand mixer with the paddle attachment, beat the room temperature unsalted butter and granulated sugar on high speed for 3 minutes until light and fluffy. Scrape down the bowl, then add the vanilla extract, room temperature sour cream, and room temperature large eggs. Mix on medium speed until just combined.1 cup Unsalted butter, 1 3/4 cup White granulated sugar, 1 tsp Pure vanilla extract, 1/2 cup Sour cream, 4 Large eggs
- With the mixer on low speed, add 1/3 of the dry ingredients to the wet mixture, mixing until just combined. Then, add half of the room temperature buttermilk and mix. Repeat with another 1/3 of the dry ingredients, followed by the rest of the buttermilk. Finish by adding the last portion of the dry ingredients, mixing until just incorporated.1 cup Buttermilk
- Remove the bowl from the mixer. Using a rubber spatula, gently fold in the floured blueberries until evenly distributed throughout the batter.
- Divide the batter evenly among the three prepared cake pans. Bake for 22-25 minutes, or until a toothpick inserted into the center of a cake layer comes out clean.
- Allow the cakes to cool in their pans on a wire rack for 10 minutes. Then, invert them onto the wire rack to cool completely. Ensure they are fully cooled before decorating.
Blueberry Sauce
- In a medium saucepan, combine the blueberries, granulated sugar, water, lemon juice, and cornstarch. Heat over medium heat, stirring occasionally, until the blueberries release their juices and the mixture comes to a gentle simmer.1 lb Blueberries, 1/2 cup White granulated sugar, 1/3 cup Water, 2 TBSP Lemon juice, 1 TBSP Cornstarch
- Continue to cook, stirring, for about 5 minutes until the sauce has thickened to a syrupy consistency. Pour the hot sauce into a heat-safe bowl and let it cool completely in the refrigerator. For faster cooling, you may place it in the freezer, stirring occasionally.
Blueberry Frosting
- In a large bowl, sift the powdered sugar to ensure a smooth frosting. Set aside.2 cups Powdered sugar
- Using a stand mixer, beat the room temperature unsalted butter on high speed for 3 minutes until it’s light and fluffy. Add in half of the sifted powdered sugar and mix on low speed until combined. Then, add the remaining powdered sugar and mix again on low speed until fully incorporated.2 cups Unsalted butter
- Add the pure vanilla extract, 2 tablespoons of the cooled blueberry sauce, salt, and the optional ground freeze-dried blueberries. Mix on low speed until combined, then increase to high speed and beat for 2-3 minutes until the frosting is creamy and smooth.1 tsp Pure vanilla extract, 2 TBSP Blueberry sauce, 1/2 tsp Salt, 1 oz Ground freeze dried blueberries
Assembly
- Use a serrated knife or cake leveler to carefully trim any uneven domes from your cooled cake layers, creating flat tops. Pipe a small amount of frosting onto the center of your cake board or serving platter to secure the first layer.
- Place the first leveled cake layer onto the board. Spread 3/4 cup of blueberry frosting evenly over the cake. Pipe a small border of frosting around the edge of the cake, then add 1/2 cup of the cooled blueberry sauce into the center of the frosting border.
- Gently place the second cake layer on top and repeat the frosting and sauce steps with another 3/4 cup of frosting and 1/2 cup of blueberry sauce. For the final layer, place the last cake layer on top with its bottom facing upwards (this is usually the flattest side).
- Apply a thin “crumb coat” of frosting over the entire cake, filling any cracks on the sides. This locks in crumbs and creates a smooth base. Freeze the cake for 15 minutes (or refrigerate for 30 minutes) to set the crumb coat.
- Remove the cake from the freezer/refrigerator and apply the remaining blueberry frosting smoothly over the entire cake. Freeze for another 10 minutes to allow the final frosting layer to firm up.
- Finally, pour the rest of the cooled blueberry sauce over the top of the chilled cake, allowing it to drip elegantly down the sides.
Notes
High Altitude Baking: For those baking at higher altitudes, you may need to make slight adjustments. Typically, adding an extra 3 tablespoons of all-purpose flour helps to strengthen the cake’s structure and prevent it from collapsing. Keep an eye on baking times as well, as they can sometimes vary.
Room Temperature Ingredients: This tip cannot be stressed enough! Always pull out all dairy ingredients (butter, eggs, buttermilk, sour cream) at least 2 hours before you plan to start baking. Room temperature ingredients emulsify much better, creating a smoother, more homogenous batter and ultimately a lighter, moister cake with a superior texture.
