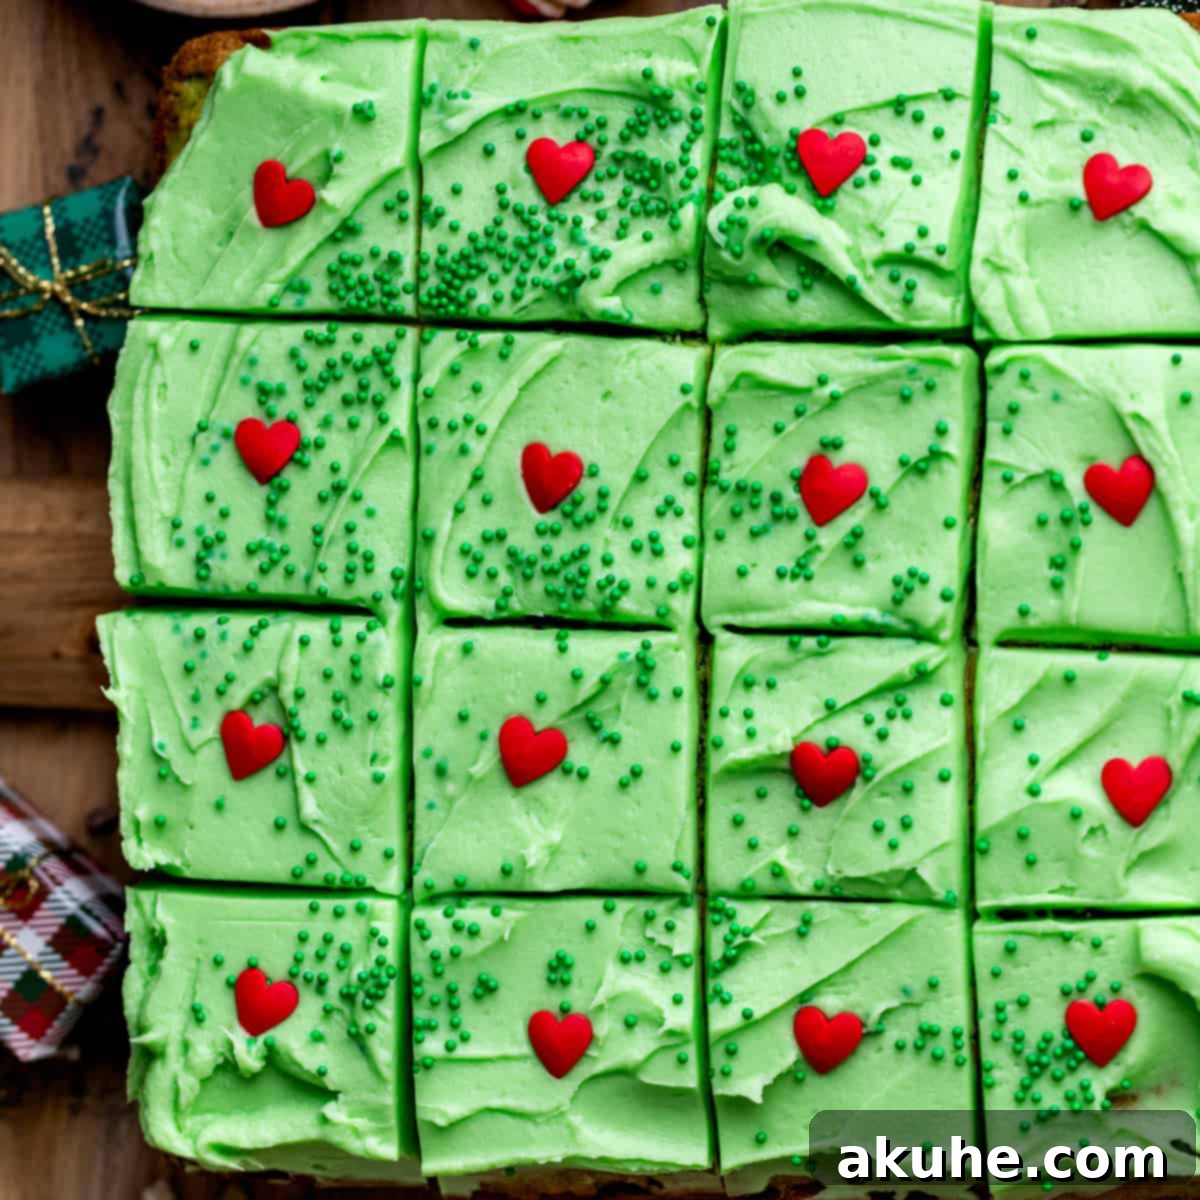
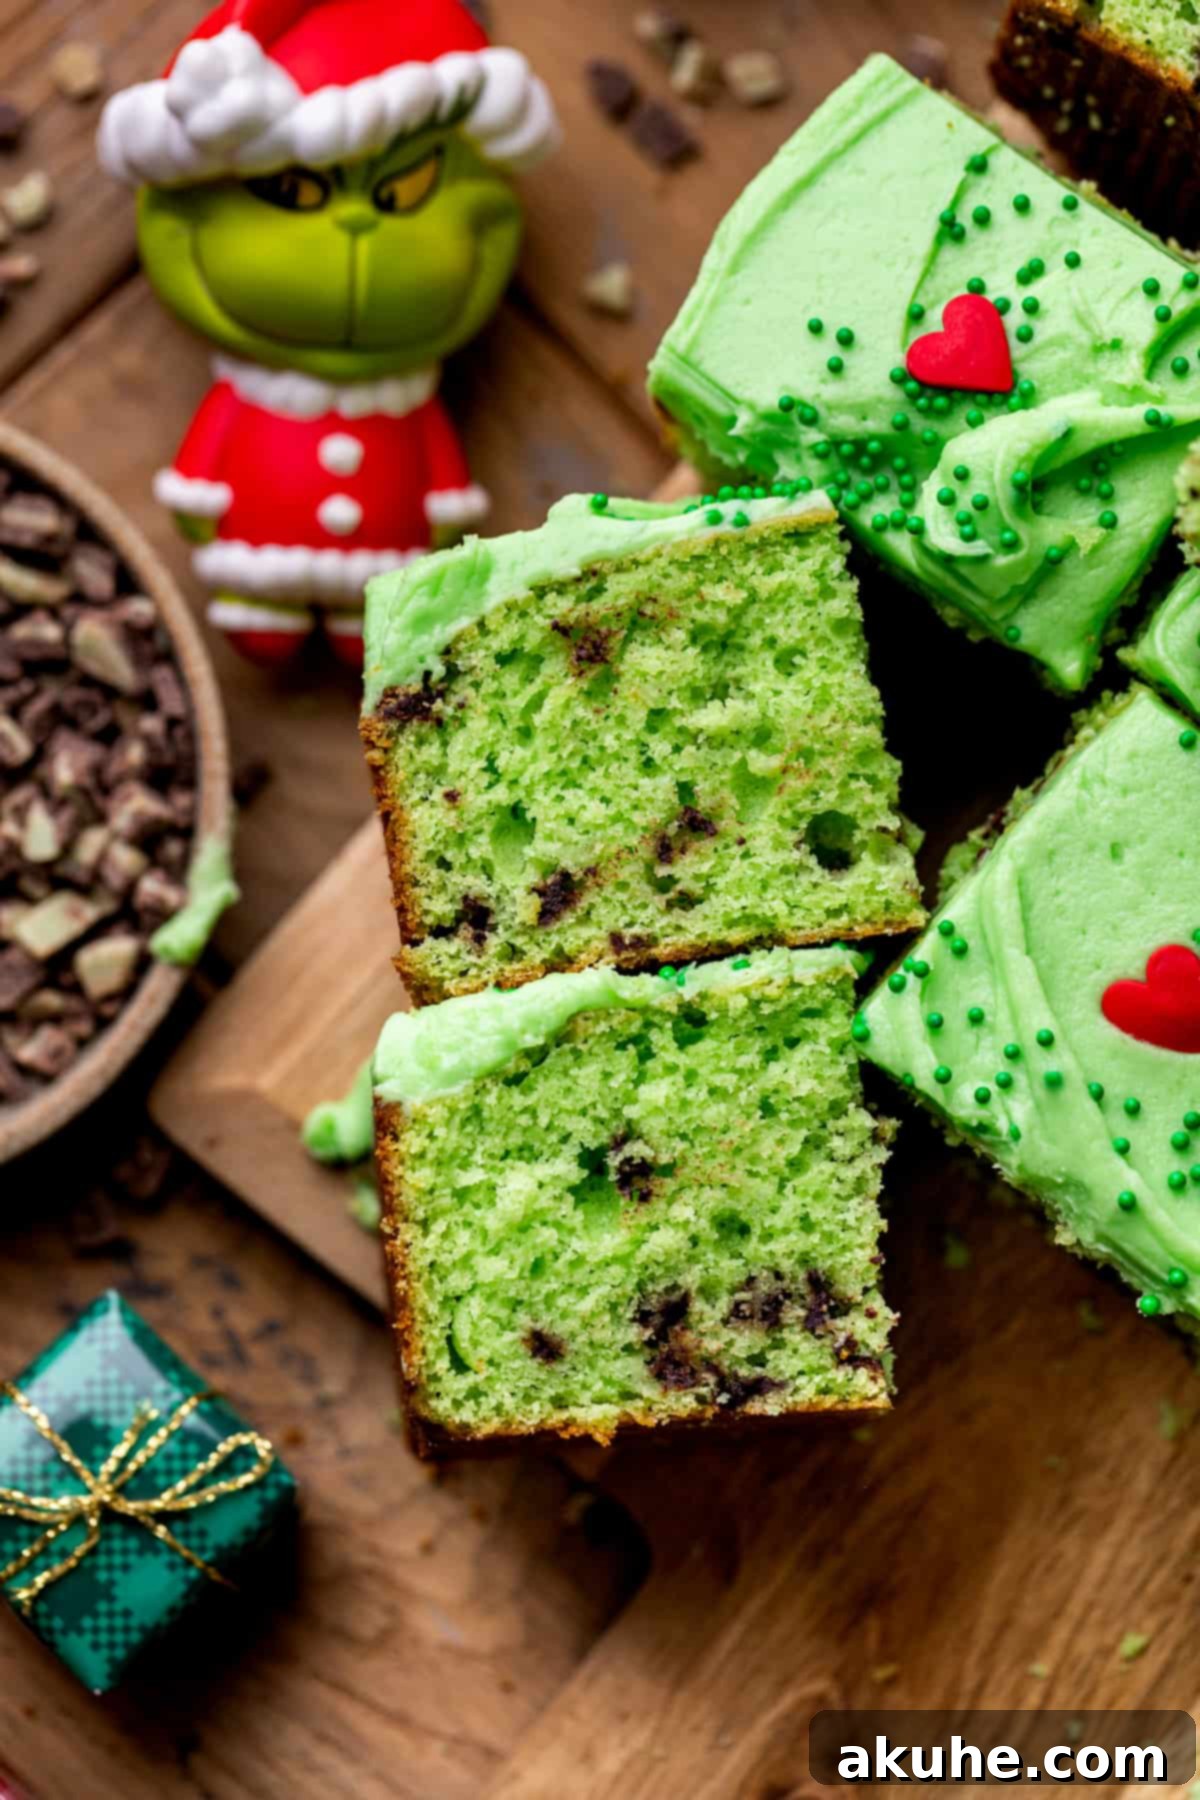
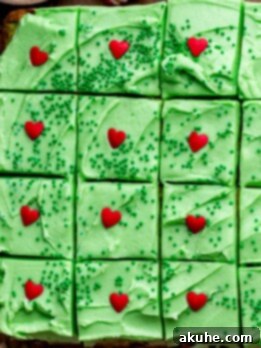
Step into the festive spirit with this enchanting Grinch Cake, a delightful creation that promises to make your heart grow three sizes! This charming dessert features a single layer of vibrant green vanilla cake, generously studded with refreshing Andes mints. Crowned with a swirl of rich, green cream cheese frosting and adorned with a cheerful red heart sprinkle, it’s a visual treat that tastes as magical as it looks. Perfect for holiday gatherings, this easy Grinch cake recipe brings a touch of whimsy and irresistible flavor to any Christmas celebration.
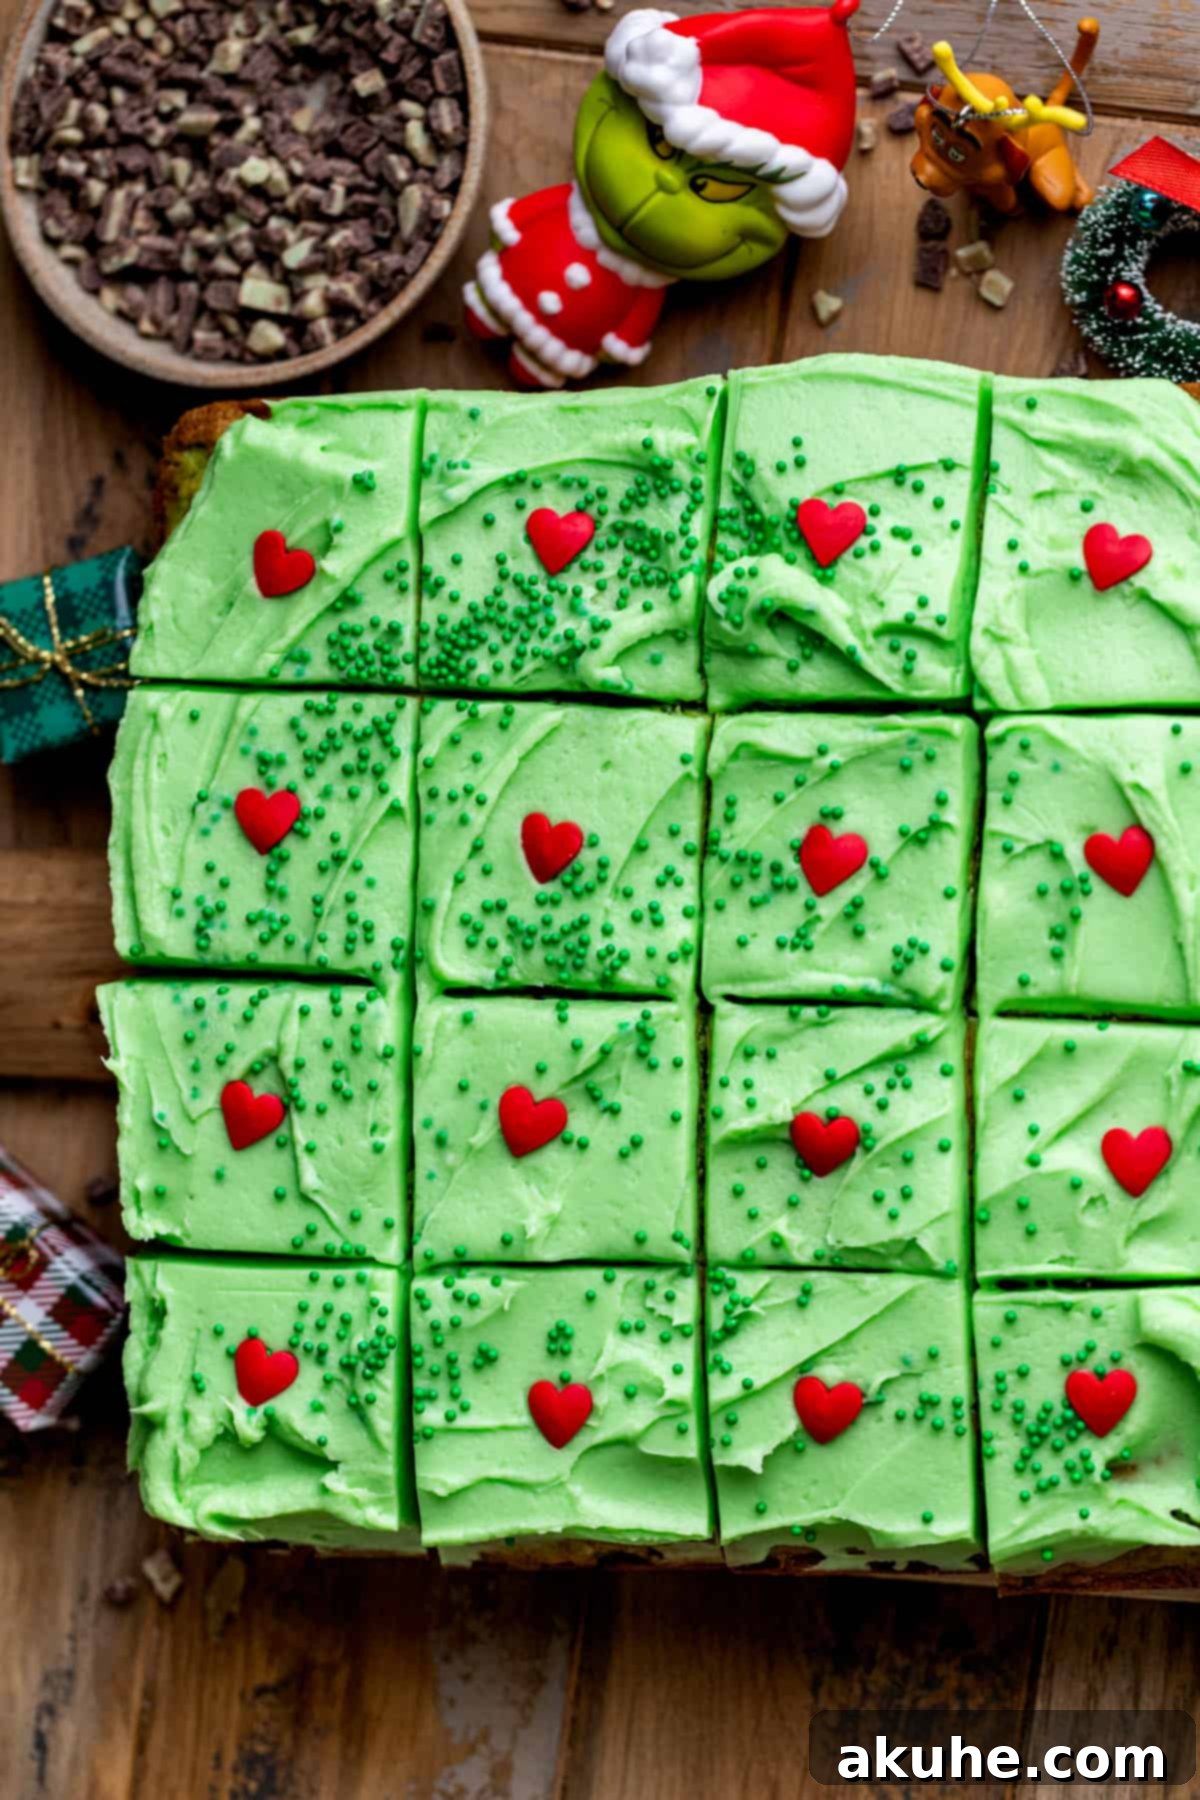
Our Grinch Cake is lovingly inspired by the timeless Dr. Seuss classic, “How the Grinch Stole Christmas.” For many, watching this heartwarming movie is a cherished holiday tradition, and this easy cake recipe is our way of extending that joyful holiday spirit from the screen to your kitchen. Not only does this festive dessert look incredibly cute with its signature green hue and iconic red heart, but it tastes even better, combining the classic comfort of vanilla with the invigorating coolness of mint chocolate. It’s a delicious reminder that perhaps Christmas truly means a little bit more than just presents—it means sharing delightful moments and delicious holiday desserts!
If you’re a fan of elegant vanilla desserts, you might also enjoy our other delightful creations. Explore our Vanilla Raspberry Cake, a perfect blend of sweet vanilla and tart raspberries; the light and airy No Bake Vanilla Cheesecake for a simpler treat; or the charming Strawberry Vanilla Cake, combining two beloved flavors. Each recipe offers a unique take on vanilla, ensuring there’s a perfect dessert for every occasion.
Why This Easy Grinch Cake Recipe is Your Holiday Must-Have
This Grinch-themed vanilla cake isn’t just a dessert; it’s an experience. Its simplicity, combined with its irresistible charm and flavor, makes it a stand-out choice for any festive gathering. Here’s why this easy Grinch cake recipe truly shines:
- Effortless Holiday Spirit: From the moment you present this cake, it instantly evokes the cozy, whimsical feeling of the holiday season. Its vibrant green color and iconic red heart are unmistakable, making it a beloved centerpiece that will make everyone smile. It’s more than just a cake; it’s a conversation starter, a nod to a cherished Christmas story, and a simple way to bring a burst of festive joy into your home. This festive Grinch cake is destined to become a favorite Christmas tradition.
- Irresistibly Delicious Flavor: This isn’t just any vanilla cake; it’s a vanilla cake elevated! The classic, comforting taste of vanilla is perfectly complemented by the refreshing crunch of Andes mints mixed directly into the batter. This unique mint chocolate combination creates a harmonious blend of flavors that is both familiar and exciting. The light, moist cake paired with the creamy, tangy green cream cheese frosting creates a flavor profile that’s truly unforgettable and utterly delicious.
- Remarkably Simple Baking: We understand that the holiday season can be incredibly busy. That’s why this Grinch cake recipe is designed to be as straightforward as possible. It’s a single-layer cake, eliminating the fuss and complexity often associated with multi-tiered baking projects. This means less time in the kitchen and more time enjoying the festivities with your loved ones. You won’t have to worry about complicated steps or difficult decorations, making it the perfect easy holiday cake for your Christmas party this year.
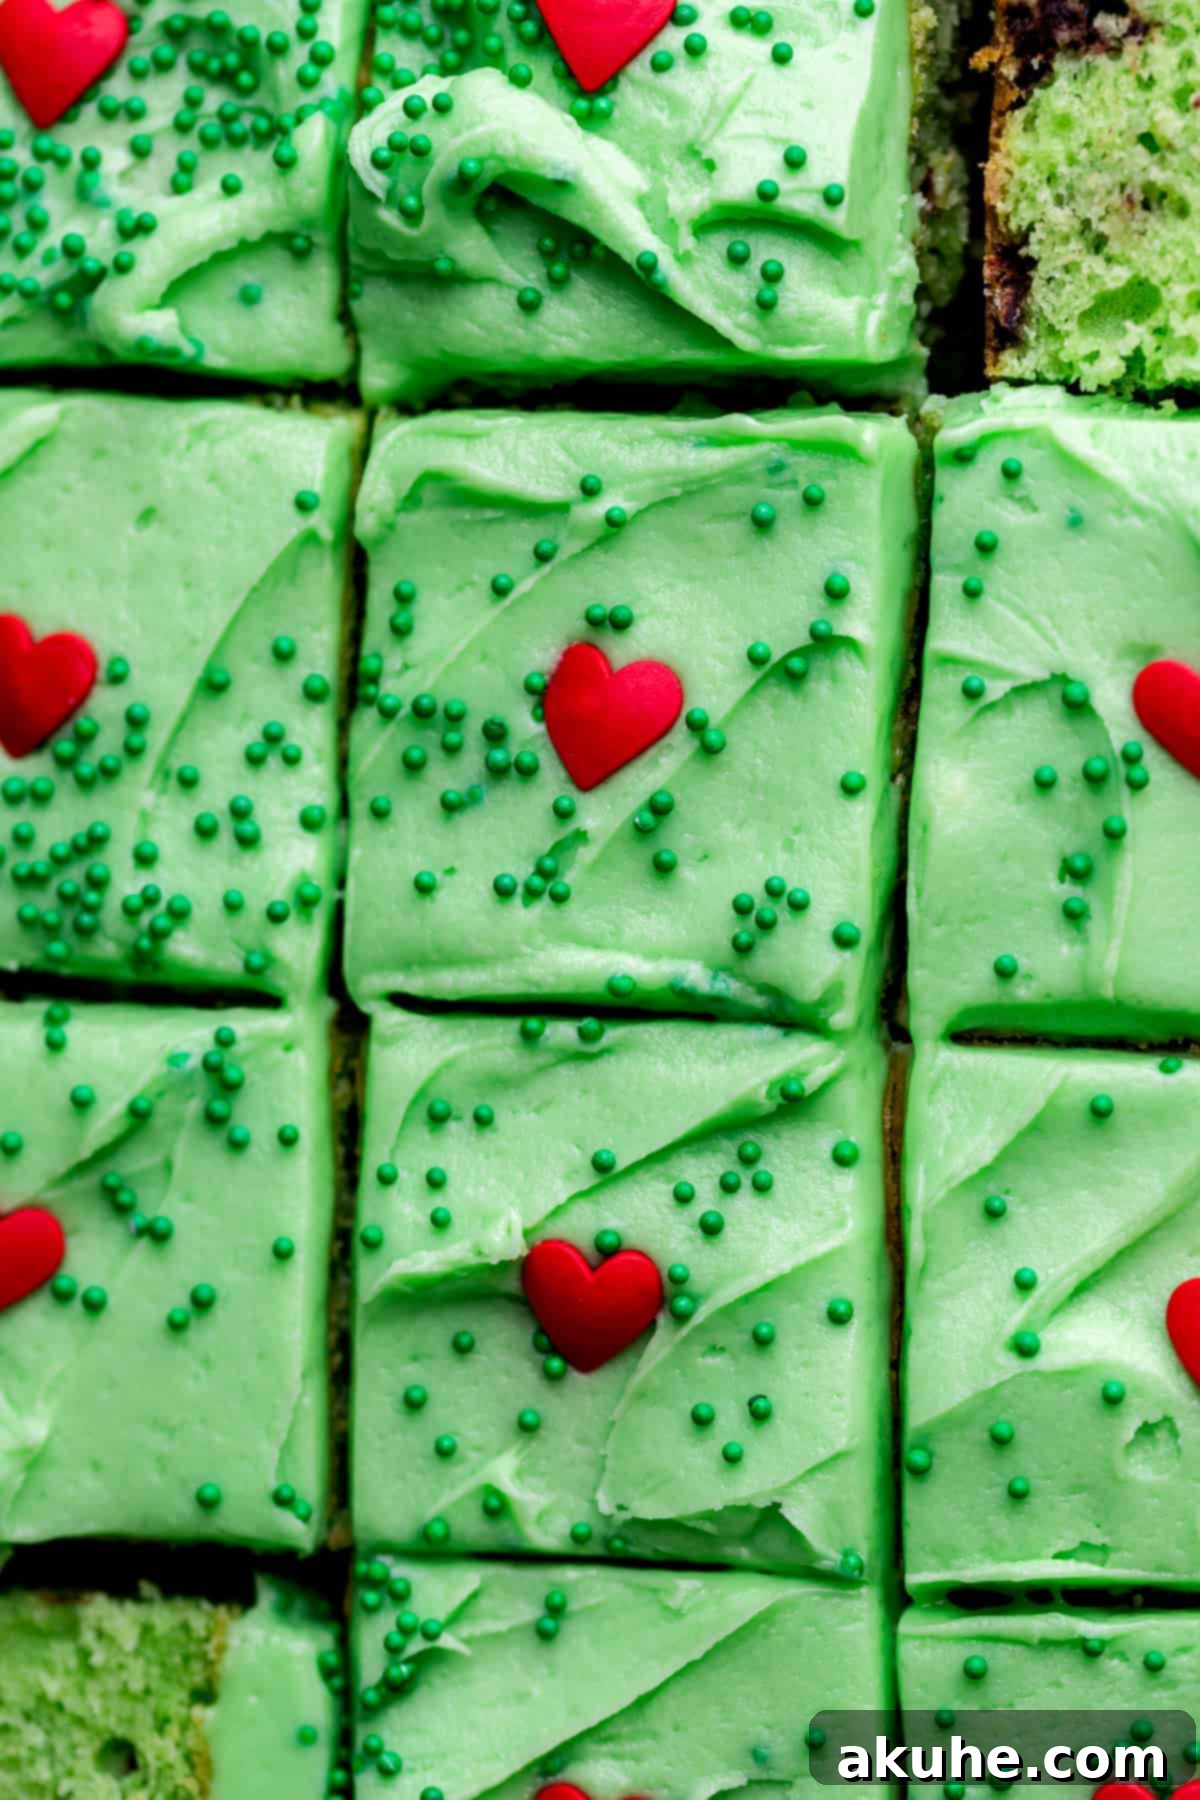
Essential Ingredient Notes for Your Grinch Heart Cake
Achieving the perfect texture and flavor for your festive Grinch cake begins with understanding your ingredients. While a full list is provided in the recipe card below, here are some key notes to help you prepare:
- Unsalted Butter (for Cake & Frosting): Always use unsalted butter for baking unless specified. This gives you control over the salt content in your dessert. For best results in both the cake batter and the cream cheese frosting, ensure your butter is at room temperature. This usually means pulling it out of the fridge at least 2 hours before you plan to start baking, allowing it to soften evenly.
- Sour Cream (for Cake): Just like butter, sour cream should be at room temperature. A warm sour cream incorporates more smoothly into the batter, helping to create a uniform, tender crumb in your vanilla cake. Remove it from the refrigerator about 2 hours before you begin.
- Large Eggs (for Cake): Room temperature eggs are crucial for a well-emulsified batter. They blend more easily with other ingredients, preventing curdling and contributing to a lighter, fluffier cake texture. Take your large eggs out of the fridge approximately 2 hours before you start mixing.
- Powdered Sugar (for Frosting): Sifting your powdered sugar is a non-negotiable step for achieving silky-smooth cream cheese frosting. This removes any lumps, ensuring your frosting is wonderfully light and not gritty. Don’t skip this for a truly professional finish.
- Cream Cheese (for Frosting): For a smooth, lump-free cream cheese frosting, your cream cheese must be softened to room temperature. Cold cream cheese will result in a clumpy frosting that is difficult to spread. Allow it to sit out for at least 2 hours before using.
- Andes Mints: These classic mint chocolate candies are key to the unique flavor of our Grinch cake. They provide a delightful minty freshness and a subtle chocolate note. If Andes mints are unavailable, you can substitute them with another preferred mint chocolate treat or even chopped peppermint patties for a similar effect.
- Jumbo Heart Sprinkles: The red heart sprinkle is the signature Grinch detail! For maximum impact, we highly recommend using large red heart sprinkles, such as these. Smaller hearts might get lost in the frosting, so opt for a jumbo size to make that Grinch heart truly stand out.
- Green Gel Food Coloring: The vibrant green hue is essential for this Grinch-themed dessert. Invest in a high-quality green gel food coloring. Cheaper liquid food dyes often require larger quantities to achieve the desired intense green, which can sometimes alter the taste or consistency of your cake batter. Gel colors provide intense pigmentation with just a few drops, ensuring a brilliant green without compromising flavor.
Ingredient Substitutions for Your Grinch Cake
Life happens, and sometimes you need to adapt a recipe. Here are some common ingredient substitutions you can consider for your Grinch cake, ensuring everyone can enjoy this festive treat:
- Dairy-Free Adaptation: For those with dairy sensitivities or preferences, this recipe can easily be made dairy-free. Simply substitute all dairy ingredients—butter, sour cream, buttermilk, and cream cheese—with your favorite plant-based alternatives. Many excellent dairy-free butter sticks, sour cream alternatives, and cream cheese brands are available that will work wonderfully to achieve a delicious Grinch cake that meets your dietary needs.
- Gluten-Free Version: While this recipe has not been extensively tested with gluten-free flour, it’s often possible to adapt it. If you wish to make a gluten-free Grinch cake, we recommend using a 1:1 gluten-free all-purpose flour blend that contains xanthan gum. Gluten-free flours can absorb liquids differently, so you might need slight adjustments to the liquid content. If you try this, please share your results with us!
- Buttermilk Substitute: If you don’t have buttermilk on hand, don’t worry! You can easily make your own. Simply combine 1 cup of regular milk (dairy or non-dairy) with 1 tablespoon of white vinegar or lemon juice. Stir it gently and let it sit for about 10 minutes. The milk will curdle slightly, forming a perfect buttermilk substitute that adds the necessary tang and moisture to your cake.
Step-By-Step Instructions: Crafting the Grinch Cake Layer
Creating this delightful Grinch cake is a straightforward process, made even easier with the right tools. For the cake layer, you’ll need an electric mixer – either a stand mixer with a paddle attachment or a hand mixer will work perfectly. Follow these steps for a moist, flavorful vanilla mint cake base:
- Preparation is Key: Begin by preheating your oven to 350°F (175°C). While the oven heats, prepare your 9×9-inch cake pan. Generously spray the pan with a baking nonstick spray. To ensure easy release, line the bottom of the pan with parchment paper, then spray the parchment paper again. This double-layer of protection will guarantee your beautiful cake comes out perfectly.
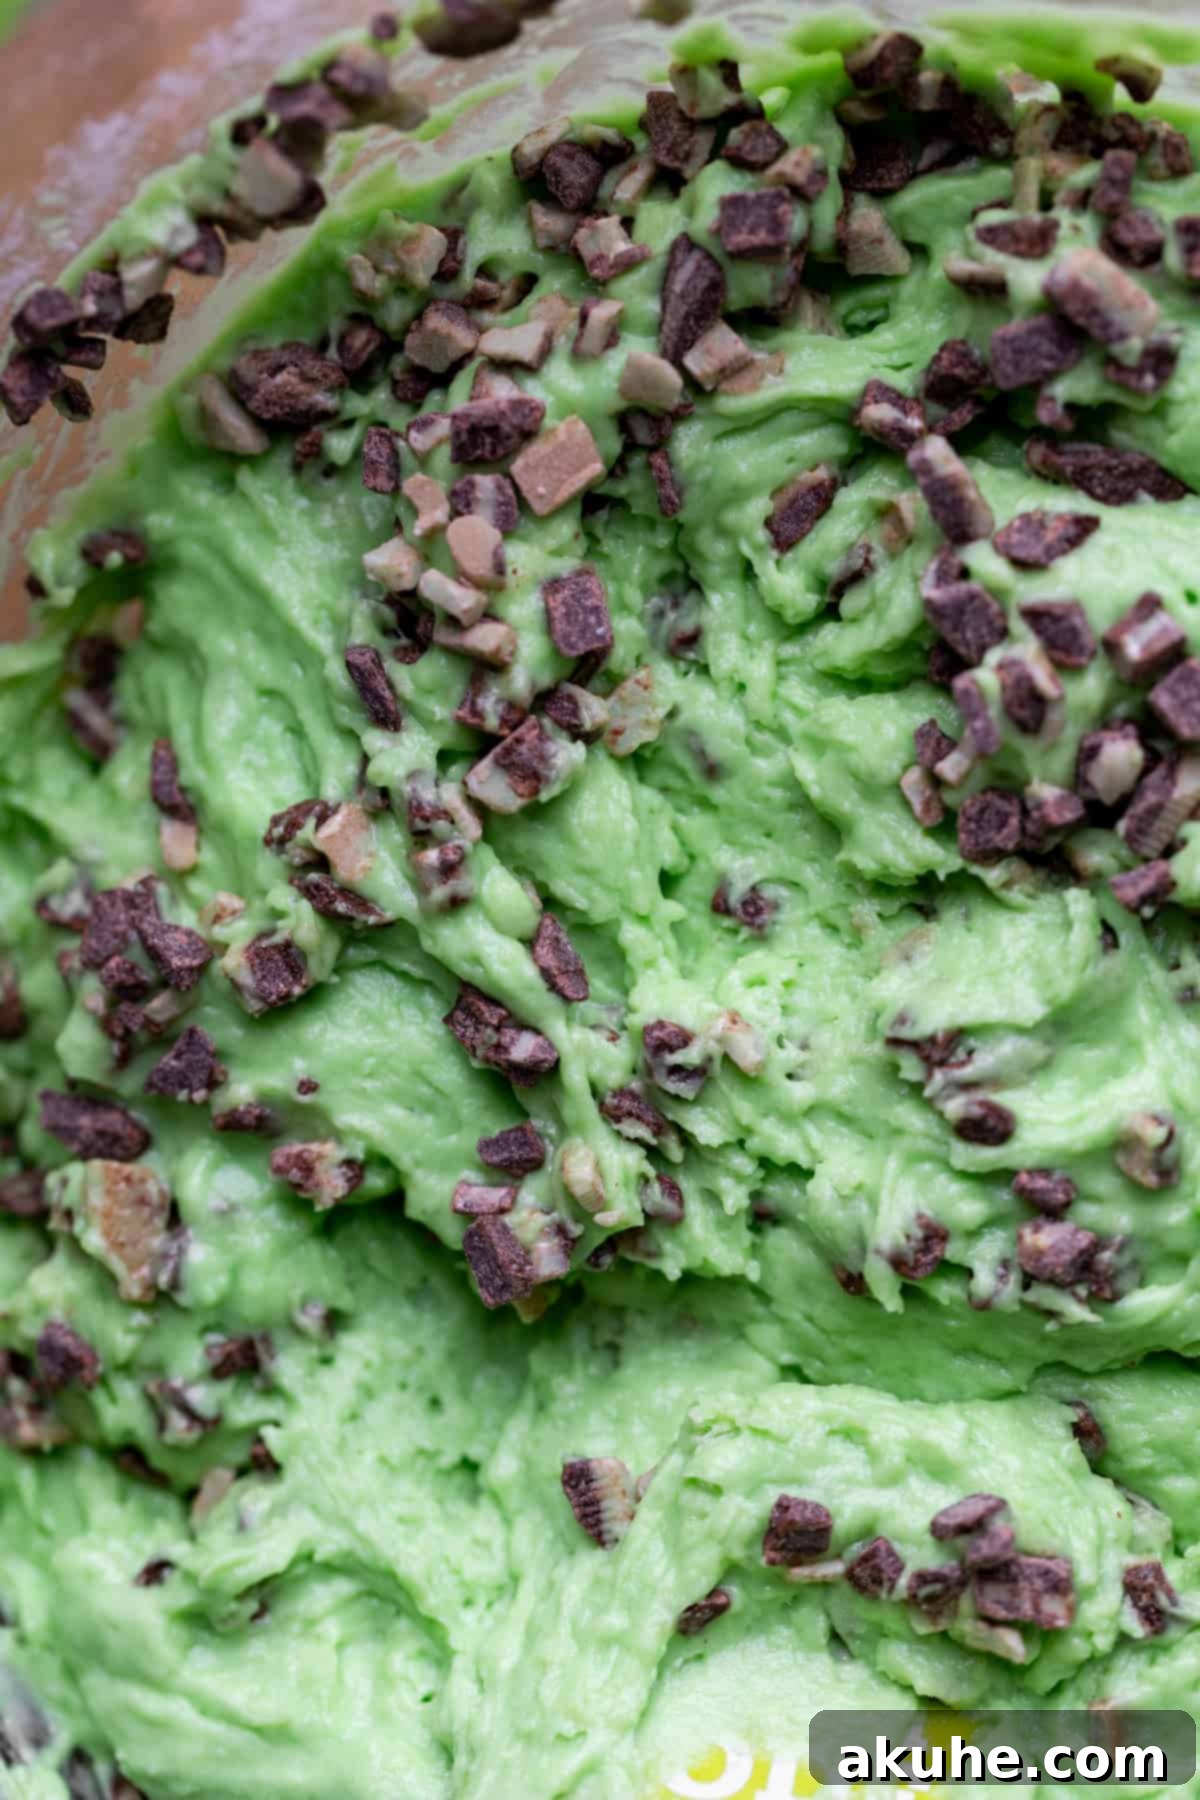
- Combine Dry Ingredients: In a medium-sized mixing bowl, whisk together the all-purpose flour, baking powder, baking soda, and salt. Make sure these dry ingredients are well combined to ensure even leavening throughout the cake. Set this bowl aside. Simultaneously, chop your Andes mints into small pieces, preparing them to be folded into the batter later.
- Cream Butter, Oil, and Sugar: In the bowl of your electric mixer, combine the softened unsalted butter, vegetable oil (or canola oil), and white granulated sugar. Beat these ingredients together on high speed for a full 2 minutes until the mixture is light, fluffy, and pale in color. Stop the mixer occasionally to use a rubber spatula to scrape down the sides and bottom of the bowl, ensuring everything is thoroughly incorporated.
- Incorporate Wet Ingredients: To the creamed butter mixture, add the room temperature sour cream, pure vanilla extract, and a few drops of green gel food coloring. Mix on medium speed until these ingredients are just combined and the batter takes on a vibrant green hue. Next, add the room temperature large eggs, one at a time, mixing on medium speed until the batter is smooth and fully emulsified. Don’t forget to scrape down the sides of the bowl again.
- Gradually Combine Wet and Dry: With your mixer on low speed, begin adding the dry ingredients alternately with the buttermilk. Start by adding 1/3 of the dry ingredient mixture, mixing until just combined. Then, add 1/2 of the buttermilk and mix. Repeat this process: add another 1/3 of the dry ingredients, followed by the remaining 1/2 of the buttermilk. Finally, add the last 1/3 of the dry ingredients, mixing only until everything is just combined. Be careful not to overmix, as this can lead to a tough cake.
- Fold in Andes Mints and Pour: Remove the mixing bowl from the electric mixer. Gently fold in the chopped Andes mints using a rubber spatula. This ensures they are evenly distributed without being crushed by the mixer. Once incorporated, pour the green vanilla mint cake batter evenly into your prepared 9×9-inch cake pan.
- Bake to Perfection: Place the cake pan in the preheated oven and bake for 33-36 minutes. The cake is done when a wooden toothpick inserted into the center comes out clean or with a few moist crumbs attached. Avoid opening the oven door too frequently during baking to prevent the cake from sinking.
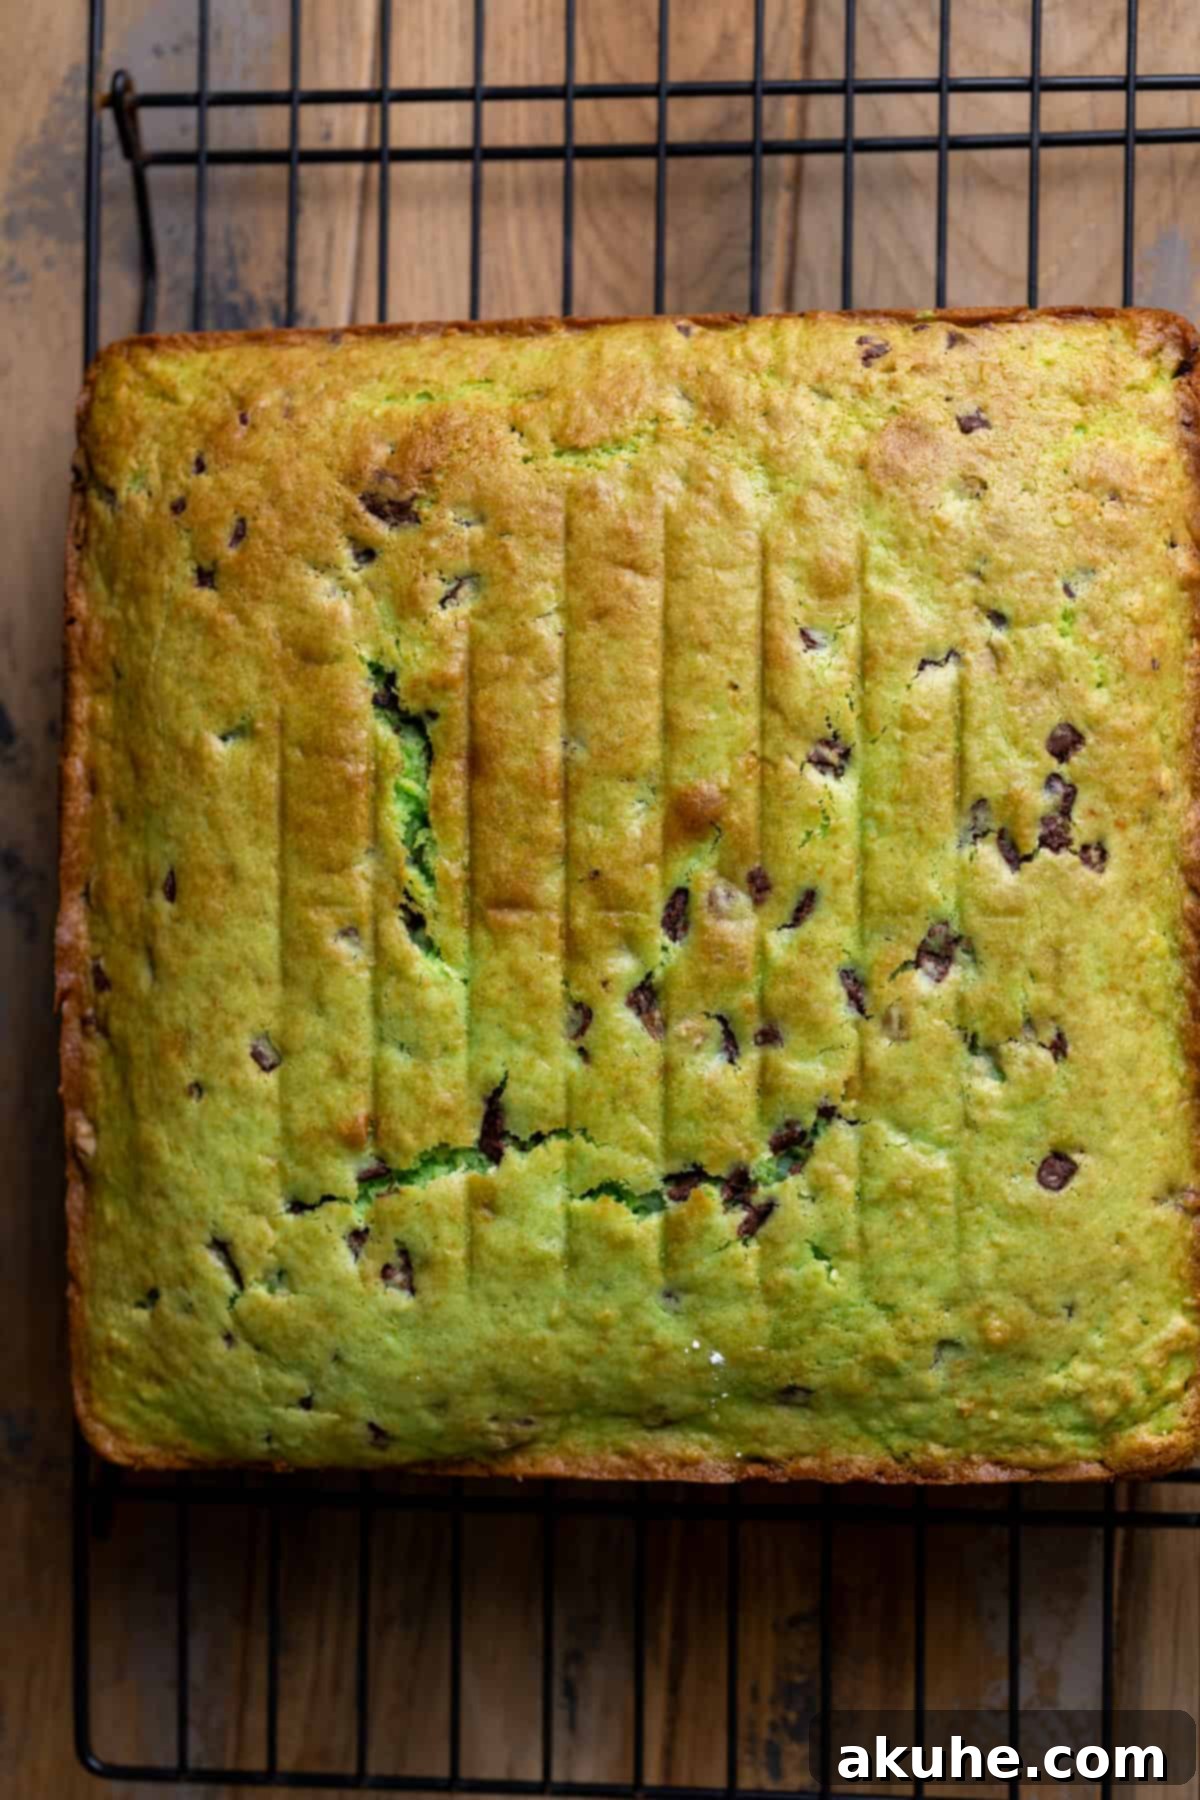
- Cooling Process: Once baked, remove the cake from the oven and let it cool in the hot pan for 10 minutes. This allows the cake to set and prevents it from tearing when moved. After 10 minutes, carefully invert the cake onto a wire rack to cool completely. Ensure the cake is fully cooled before attempting to frost it; otherwise, your green cream cheese frosting will melt.
Step-By-Step Instructions: Preparing the Green Cream Cheese Frosting and Decorating
Once your Grinch cake layer is perfectly cooled, it’s time to create the iconic green cream cheese frosting and add that special touch. This creamy, tangy frosting is the ideal complement to the mint chocolate vanilla cake.
- Sift Powdered Sugar: In a medium bowl, sift the powdered sugar. This crucial step ensures a smooth, lump-free frosting. Set the sifted sugar aside.
- Beat Cream Cheese and Butter: In the bowl of your electric mixer, combine the softened cream cheese and softened unsalted butter. Beat them together on high speed for 2 minutes until the mixture is light, fluffy, and thoroughly combined. Scrape down the sides of the bowl to ensure even mixing.
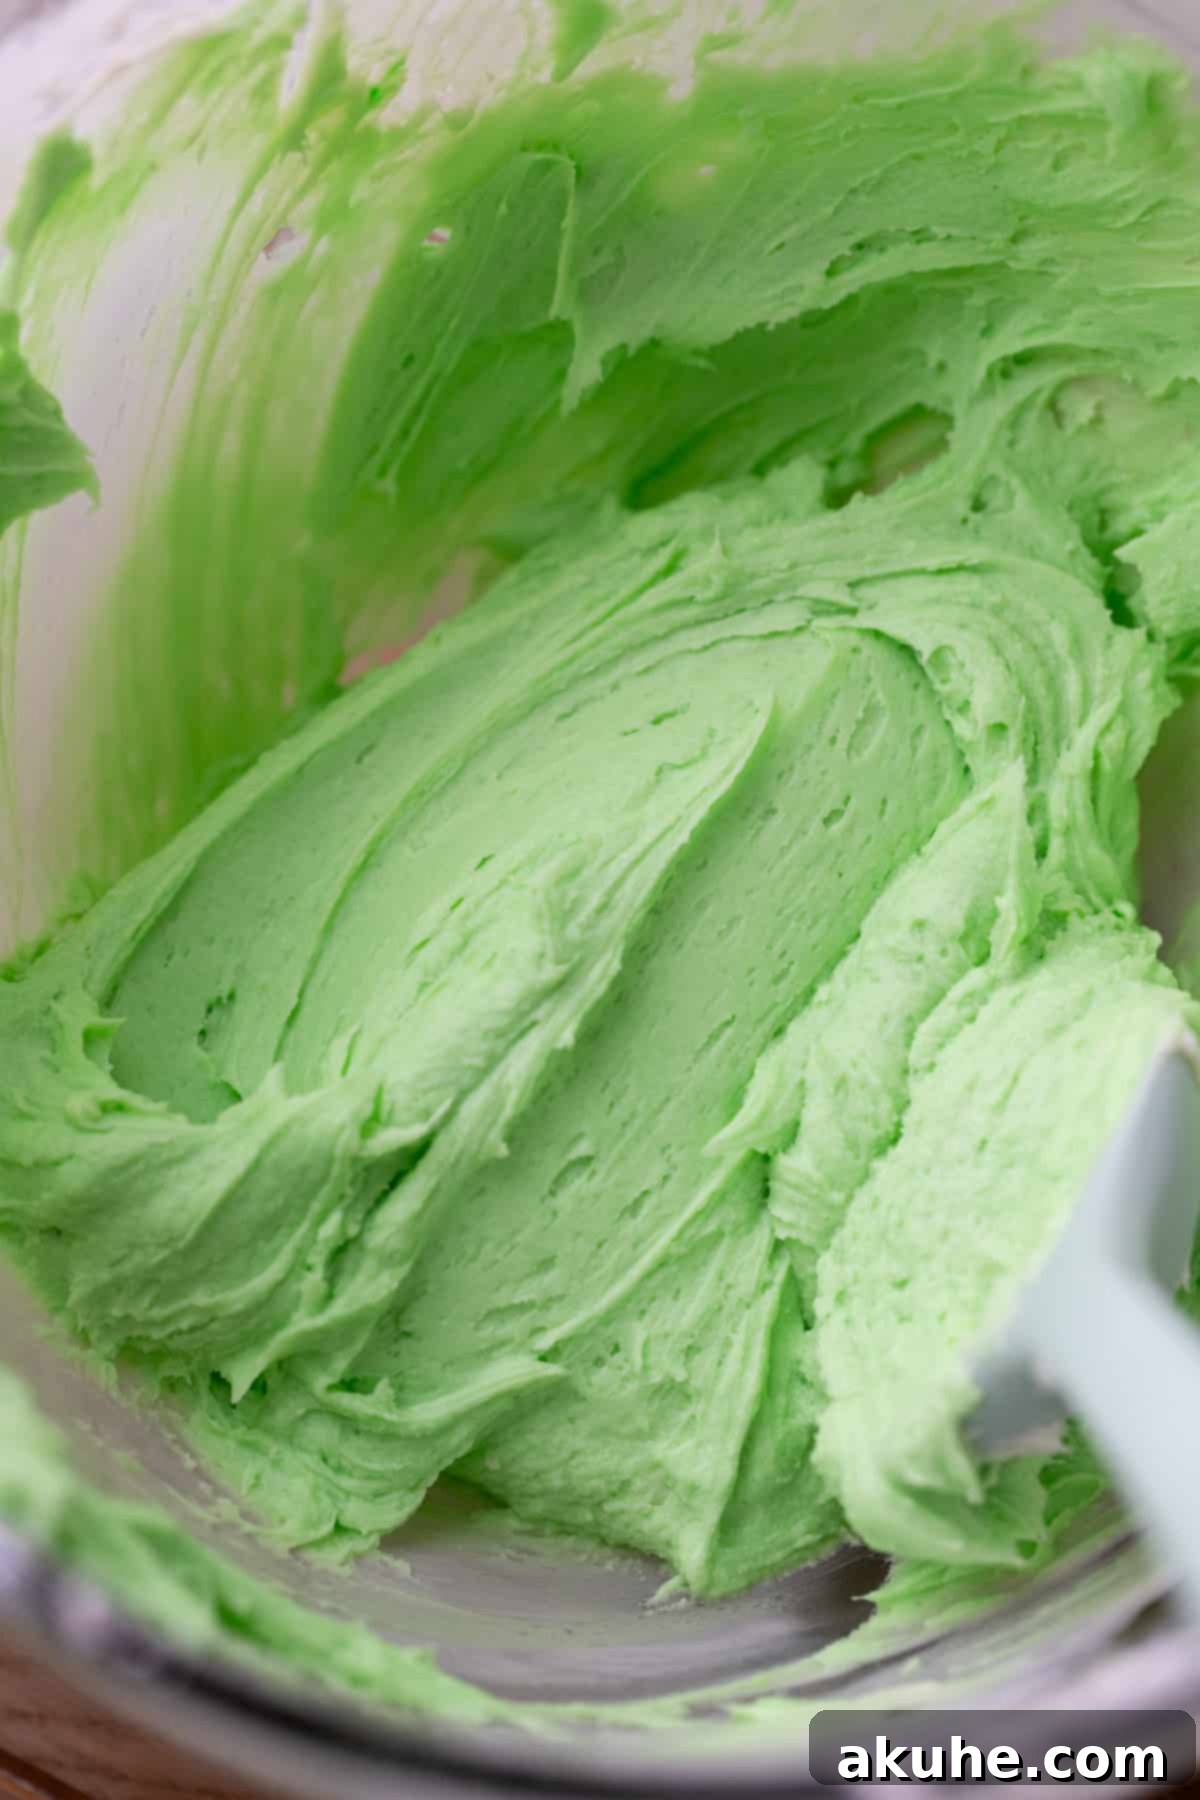
- Mix the Frosting: Add half of the sifted powdered sugar to the cream cheese and butter mixture. Mix on low speed until it is just combined and no dry pockets of sugar remain. Then, add the remaining powdered sugar and continue mixing on low speed until fully incorporated. Finally, add the pure vanilla extract, about 3 drops of green gel food coloring (or more to achieve your desired Grinch green), and the salt. Increase the speed to high and beat the frosting until it is perfectly smooth, light, and fluffy.
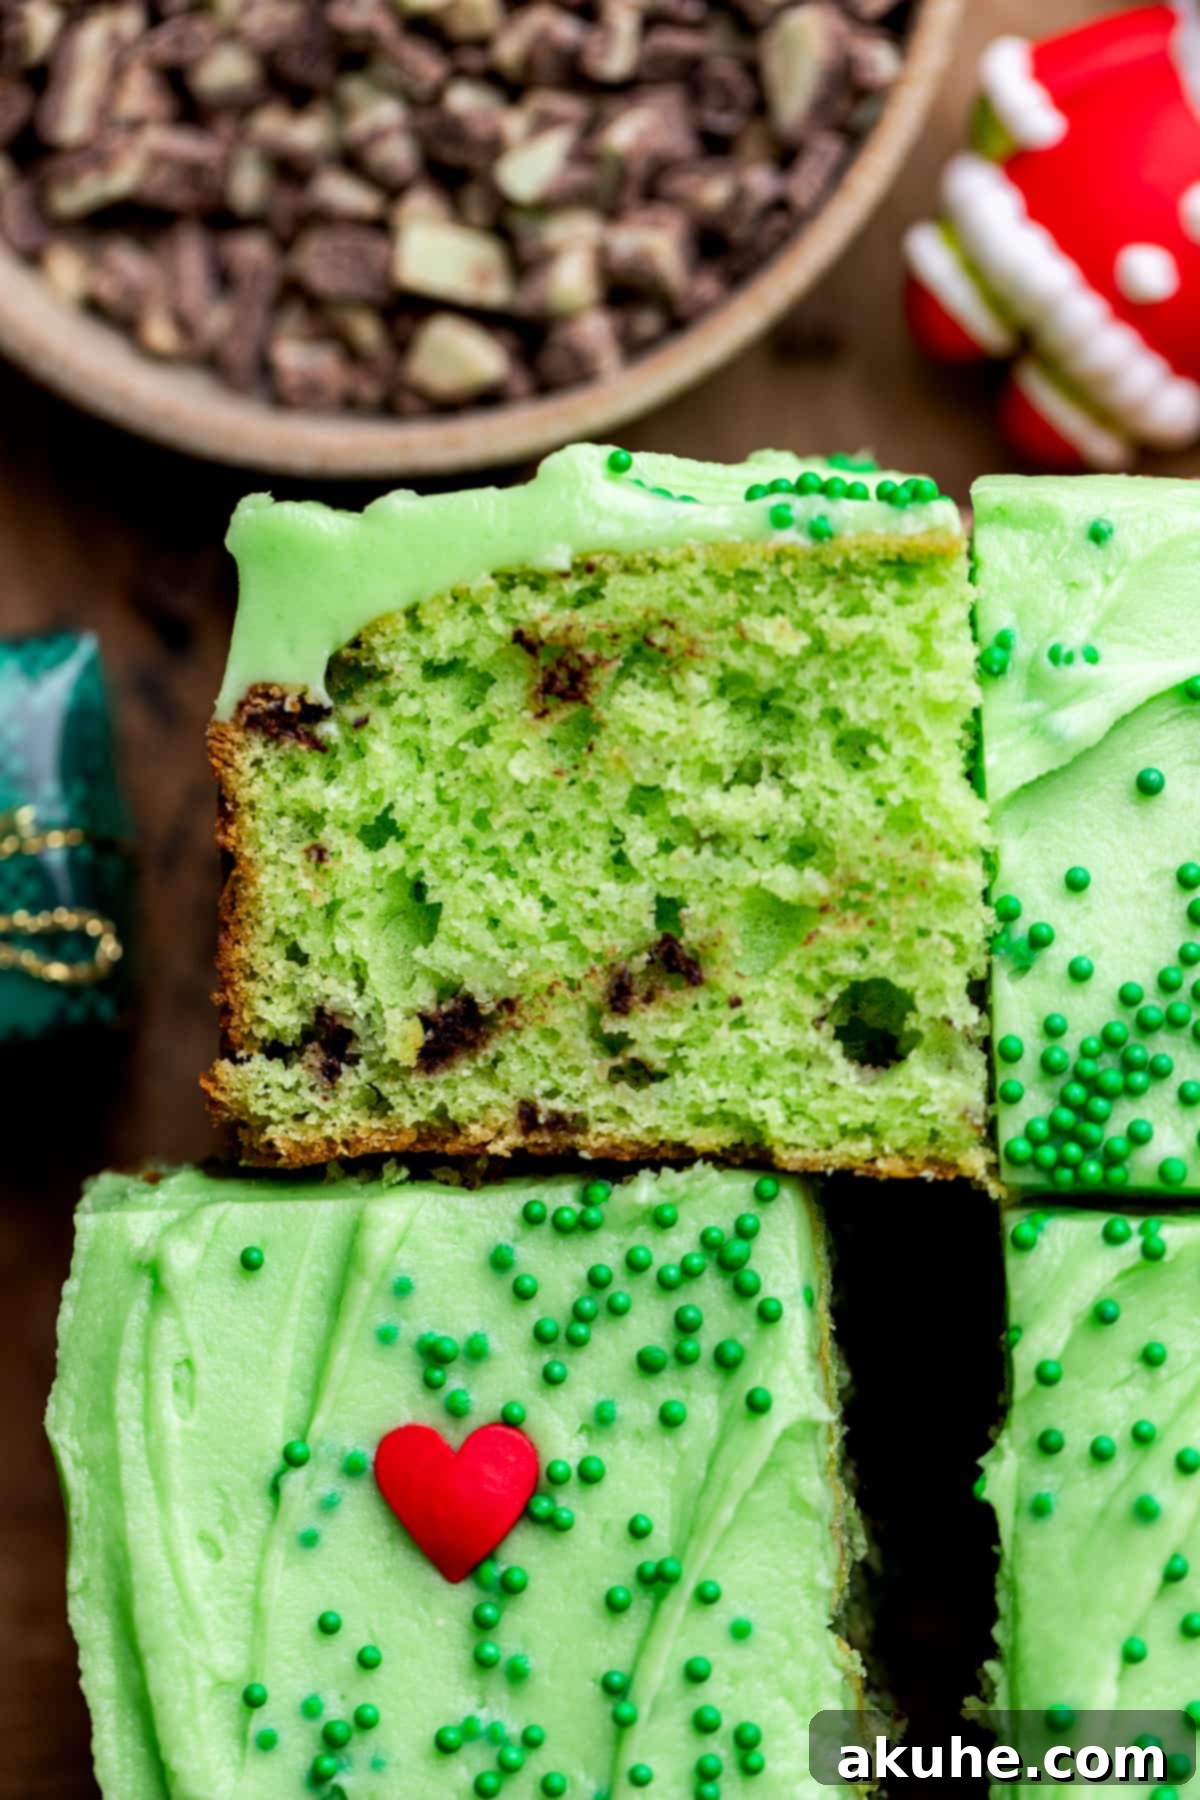
- Decorate the Grinch Cake: Using an offset spatula or a knife, spread the vibrant green cream cheese frosting evenly over the top of your completely cooled Grinch cake. Create swirls or peaks for an appealing texture. For the finishing touch, carefully place a jumbo red heart sprinkle directly in the center of the cake, symbolizing the Grinch’s magically growing heart.
Expert Baking Tips for a Flawless Grinch Cake
Even simple recipes benefit from a few expert insights to ensure perfect results every time. Here are some pro tips to help you bake the most delicious and beautiful Grinch cake:
- Proper Flour Measurement is Crucial: The most common baking mistake is incorrectly measuring flour. Do not scoop the measuring cup directly into the flour bag, as this compacts the flour, leading to an excess amount. Instead, spoon the flour into your measuring cup until it overflows, then level it off with a straight edge (like the back of a knife). This method ensures you have the correct amount, preventing your Grinch cake from becoming dense and dry.
- Effortless Cake Removal: To guarantee your cake releases cleanly from the pan without sticking or tearing, follow these steps meticulously: first, generously spray your baking pan with a high-quality nonstick baking spray. Then, line the bottom with a piece of parchment paper cut to fit, and spray the parchment paper again. Be thorough and ensure no spots are missed, as any bare patch can cause sticking and damage your beautiful cake.
- High-Altitude Baking Adjustments: If you live in a high-altitude area, baking can present unique challenges. The lower atmospheric pressure causes baked goods to rise more quickly and dry out faster. To counteract this in our Grinch cake recipe, simply add an extra 2 tablespoons of all-purpose flour to the cake batter. This small adjustment helps to strengthen the cake’s structure, preventing it from collapsing and maintaining its moisture.
- Strategic Heart Placement: For special occasions where you want each guest to receive a heart sprinkle with their slice, consider a thoughtful approach. Instead of randomly sprinkling them, cut the cake into individual servings first. Then, carefully place one jumbo red heart sprinkle on top of each slice. This ensures an even distribution of the iconic Grinch detail and makes for a charming presentation.
Frequently Asked Questions About the Grinch Cake
Absolutely! Preparing the cake layer in advance is a fantastic time-saver, especially during the busy holiday season. Once your cake layer has completely cooled, wrap it tightly in several layers of plastic wrap to prevent freezer burn. You can then freeze it for up to 30 days. When you’re ready to decorate, simply pull the frozen cake out of the freezer approximately 1 hour beforehand to allow it to thaw slightly before frosting.
Yes, you can certainly adapt the recipe to different pan sizes, though it will affect the thickness and baking time of your Grinch cake. If you use an 8×8-inch square pan, your cake will be notably thicker, potentially requiring a longer baking time. A 9-inch round pan will also work well, yielding a cake that is slightly thicker than one baked in a 9-inch square pan. Always perform the toothpick test to ensure the cake is fully baked in the center when adjusting pan sizes.
Yes, this versatile Grinch cake recipe is perfect for making festive cupcakes! Simply divide the batter among lined cupcake molds. This recipe will yield approximately 12 delightful Grinch cupcakes. Reduce the baking time significantly, typically to about 18-22 minutes, or until a toothpick inserted into the center of a cupcake comes out clean. Cupcakes are a fun, individual serving option for parties!
Delightful Grinch Cake Recipe Variations
While the classic Grinch cake is perfect as is, you can easily customize it to suit your taste or occasion with these simple variations:
- Mint-Enhanced Frosting: If you’re a true mint lover, elevate the minty flavor by adding finely chopped Andes mints or a few drops of peppermint extract to your green cream cheese frosting. This adds an extra layer of refreshing coolness and texture, making the frosting even more exciting.
- No Mint Chocolate Option: If mint isn’t your preference, don’t worry! You can easily omit the Andes mints. Simply replace them with an equal amount of your favorite chopped chocolate (milk chocolate, semi-sweet, or white chocolate chips work great). This variation creates a delicious vanilla chocolate chip cake with a festive green appearance.
- Pure Vanilla Cake Experience: For those who adore the simple elegance of vanilla, you can skip mixing in the Andes mints altogether. This results in a classic, moist green vanilla cake that still captures the festive spirit with its color and red heart, but without the added mint flavor. It’s a versatile base that can be enjoyed by everyone.
Special Tools for Baking Your Grinch Cake
Having the right tools can make all the difference in your baking experience, especially when aiming for perfection. Here are a few recommended items that will simplify the creation of your festive Grinch cake:
- 9×9-inch Metal Square Pan: For consistent baking and even heat distribution, we highly recommend using metal square pans. Unlike glass pans, metal heats up and cools down more quickly, which is ideal for achieving a perfectly baked cake with a golden crust and tender interior.
- Pre-cut Parchment Paper Sheets: Say goodbye to struggling with curling rolls of parchment paper! Investing in premade sheets of parchment paper is a game-changer. They lie flat in your pan, making lining much easier and ensuring your cake never sticks, streamlining your baking process significantly.
- Baking Nonstick Spray with Flour: For ultimate nonstick insurance, especially when baking a delicate cake like our Grinch cake, opt for a nonstick baking spray that contains flour. This combination creates an extra barrier, ensuring your cake releases flawlessly from the pan every single time, preserving its perfect shape.
- Offset Spatula: An offset spatula is an indispensable tool for frosting and decorating cakes. Its angled blade allows for smooth, even spreading of frosting or fillings across the top and sides of your cake, making it easy to achieve a professional-looking finish with minimal effort.
Storing and Freezing Your Grinch Cake
To enjoy your delicious Grinch cake for as long as possible, proper storage is key. The cream cheese frosting means it requires refrigeration.
Storing: Store the Grinch cake in an airtight container, such as a cake carrier, in the refrigerator. This will keep the cake fresh, moist, and prevent the frosting from drying out. When stored correctly, your Grinch cake will remain delightful for up to 5 days.
Freezing: If you want to savor your Grinch cake beyond a few days or prepare it far in advance, it freezes beautifully. For best results, freeze individual slices. Place the cake slices in an airtight container, separating layers with parchment paper if stacking. You can freeze the cake for up to 30 days. When ready to enjoy, simply thaw a slice in the refrigerator or at room temperature until soft.
Other Holiday Recipes To Try
Beyond this delightful Grinch cake, the holiday season offers an abundance of festive baking opportunities. Explore more seasonal treats that are perfect for sharing with family and friends:
- Gingerbread Cookies: A classic holiday staple, these spiced cookies are fun to decorate and fill your home with a wonderful aroma.
- Peppermint Bark: A simple yet elegant treat combining dark chocolate, white chocolate, and crushed candy canes.
- Eggnog Cheesecake: A creamy, rich dessert that perfectly captures the flavors of the season.
- Hot Chocolate Bombs: A fun, interactive treat that makes for a magical hot chocolate experience.
Don’t Miss These Other Incredible Cake Recipes!
If you’ve enjoyed baking the Grinch cake, you’re sure to love our other fantastic cake recipes designed for every taste and occasion. Expand your baking repertoire with these crowd-pleasing delights:
- Banana Snack Cake: A wonderfully moist and easy cake perfect for a casual treat or unexpected guests.
- Funfetti Cake: Bright, colorful, and utterly joyful, this cake is perfect for celebrations and birthdays.
- S’mores Cake: Recreate the beloved campfire classic in cake form, complete with gooey marshmallow, chocolate, and peanut butter.
- Key Lime Pie Cake: A zesty, refreshing cake that brings the tangy flavors of key lime pie into a delightful dessert.
- Strawberry Shortcake: A timeless classic featuring tender cake, fresh strawberries, and whipped cream, perfect for summer.
We hope you love this festive Grinch cake recipe! If you enjoyed making and tasting it, please consider leaving a STAR REVIEW and sharing your thoughts below. Your feedback truly helps us create more delicious content! Don’t forget to tag us on Instagram @stephaniesweettreats with your beautiful creations. For more inspiration and sweet ideas, make sure to follow us on Pinterest. Happy baking!
Grinch Cake
Print Recipe | Pin Recipe | Leave a Review
Ingredients
Grinch Cake
- 2 3/4 cups All-purpose flour
- 2 tsp Baking powder
- 1/2 tsp Baking soda
- 1/2 tsp Salt
- 1/2 cup Unsalted butter, room temperature
- 2 TBSP Oil, canola or vegetable
- 1 cup White granulated sugar
- 1/3 cup Sour cream, room temperature
- 1 TBSP Pure vanilla extract
- 3 Large eggs, room temperature
- 3/4 cup Buttermilk, room temperature
- 3/4 cup Andes mints, chopped *optional
- Green food dye
Green Cream Cheese Frosting
- 4 oz Cream cheese, room temperature
- 3/4 cup Unsalted butter, room temperature
- 3 cups Powdered sugar, sifted
- 1 tsp Pure vanilla extract
- 1/4 tsp Salt
- Green food dye
- Red heart jumbo sprinkles
Instructions
Grinch Cake
- Preheat the oven to 350℉. Spray a 9X9-inch cake pan with baking nonstick spray. Line the bottom with parchment paper and spray again. Set aside.
- In a medium bowl, mix the flour, baking powder, baking soda, and salt. Set aside. Chop the Andes mints.
- Using a mixer, beat the butter, oil, and sugar on high speed for 2 minutes. Use a rubber spatula to scrape the bowl.
- Add in the sour cream, vanilla, and green food dye (3 drops), mix until combined. Add in the eggs and mix on medium speed until smooth. Make sure to scrape the bowl.
- Add 1/3rd of the dry ingredients and half of the buttermilk and mix on low speed. Add another 1/3rd of the dry ingredients and the rest of the buttermilk. Then, finish with the rest of the dry ingredients.
- Take the batter off the mixer, add in the chopped Andes mints. Mix until combined. Pour the batter into the pan.
- Bake for 33-36 minutes. Bake until a toothpick inserted comes out clean.
- Let the cake sit in the hot pan for 10 minutes. Transfer the cake to a cooling rack. Cool completely before decorating.
Green Cream Cheese Frosting
- In a medium bowl, sift the powdered sugar.
- Using a mixer, beat the cream cheese and butter on high speed for 2 minutes.
- Add in half of the powdered sugar and mix on low speed until just combined. Repeat with the rest of the powdered sugar. Add in the vanilla, green food dye (3 drops), and salt and beat on high speed until smooth.
- Spread the frosting over the cake. Add the heart sprinkles on top.
Notes
High altitude baking- Add an extra 2 TBSP of flour.
Pull out dairy ingredients 2 hours before baking.
