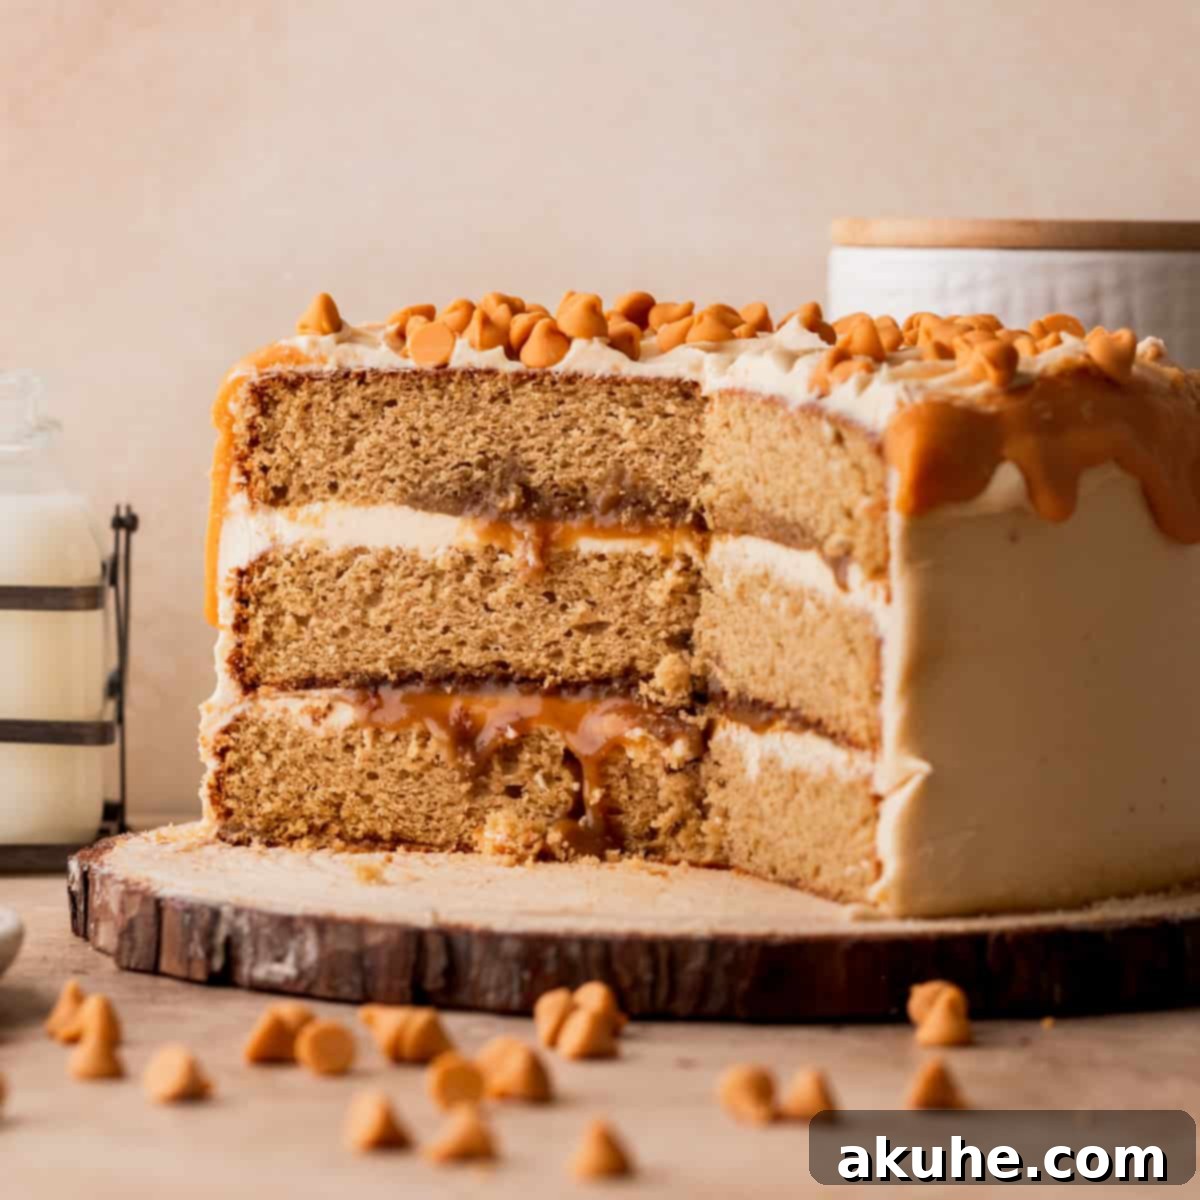
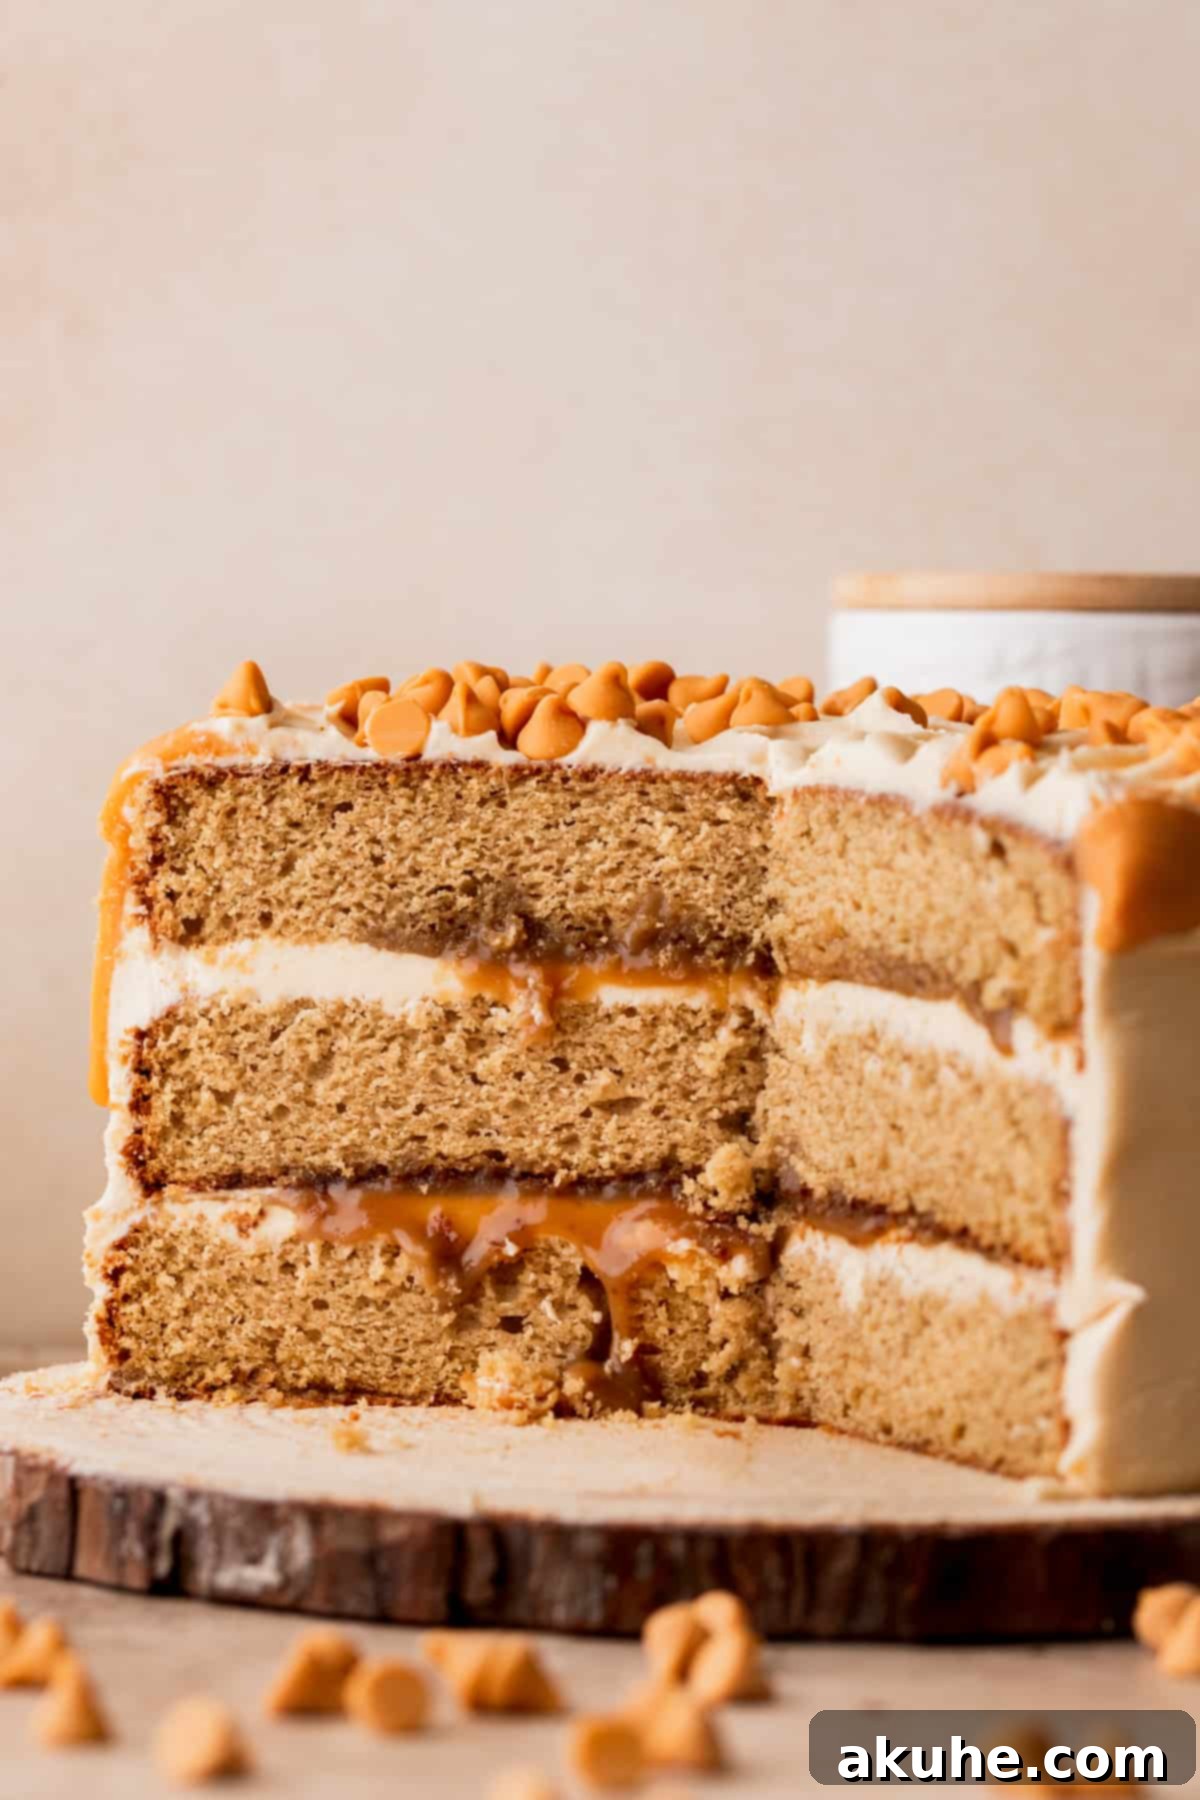
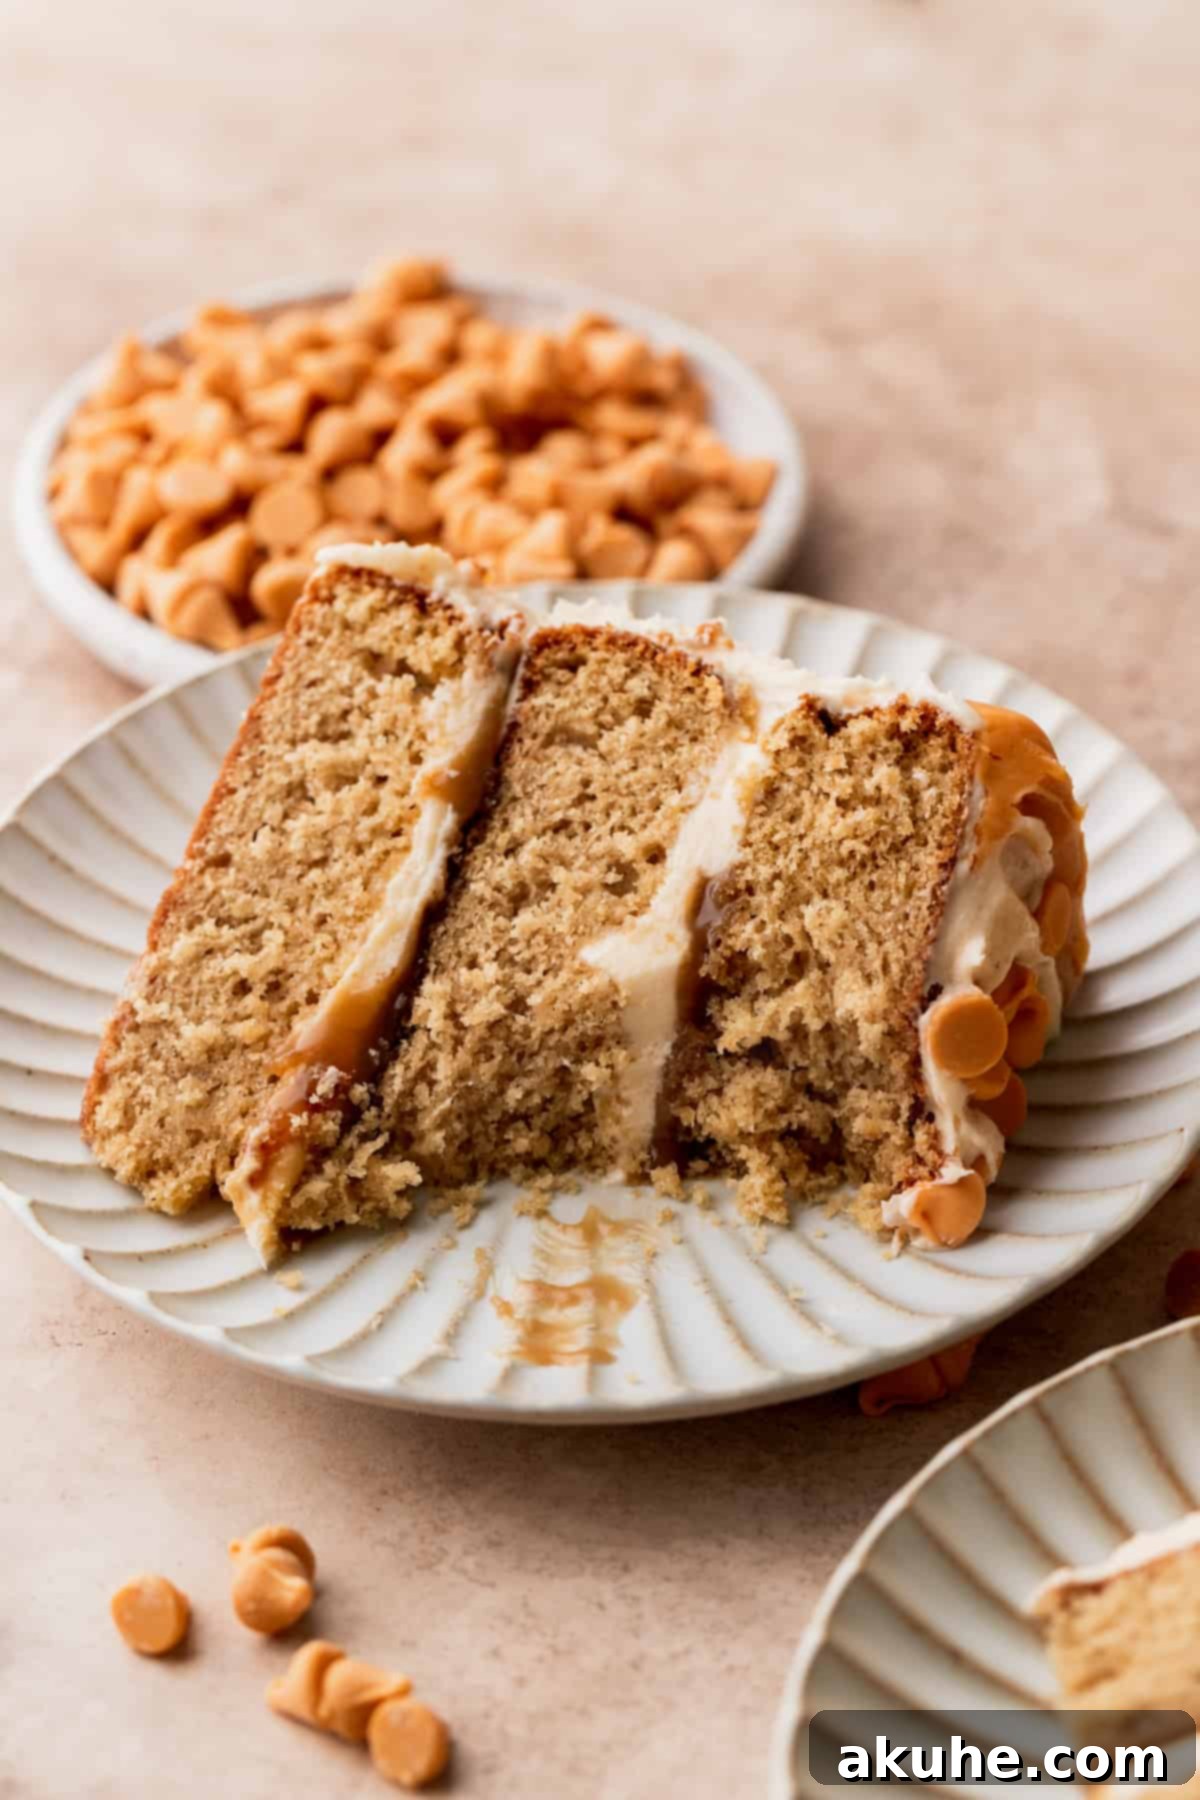
Indulge in the ultimate butterscotch experience with this truly extraordinary layered cake. Far beyond a simple dessert, this creation is a symphony of rich butterscotch flavors meticulously woven into every single component. From the moist, tender cake layers infused with homemade butterscotch sauce, to the luscious butterscotch frosting, an extra drizzle of velvety sauce for filling, and a decadent butterscotch ganache drip, this cake promises an unforgettable journey for your taste buds. It’s a celebration of both classic, deep caramel notes from scratch-made sauce and the familiar, delightful taste of butterscotch chips, creating a multi-dimensional flavor profile that will captivate all who try it.
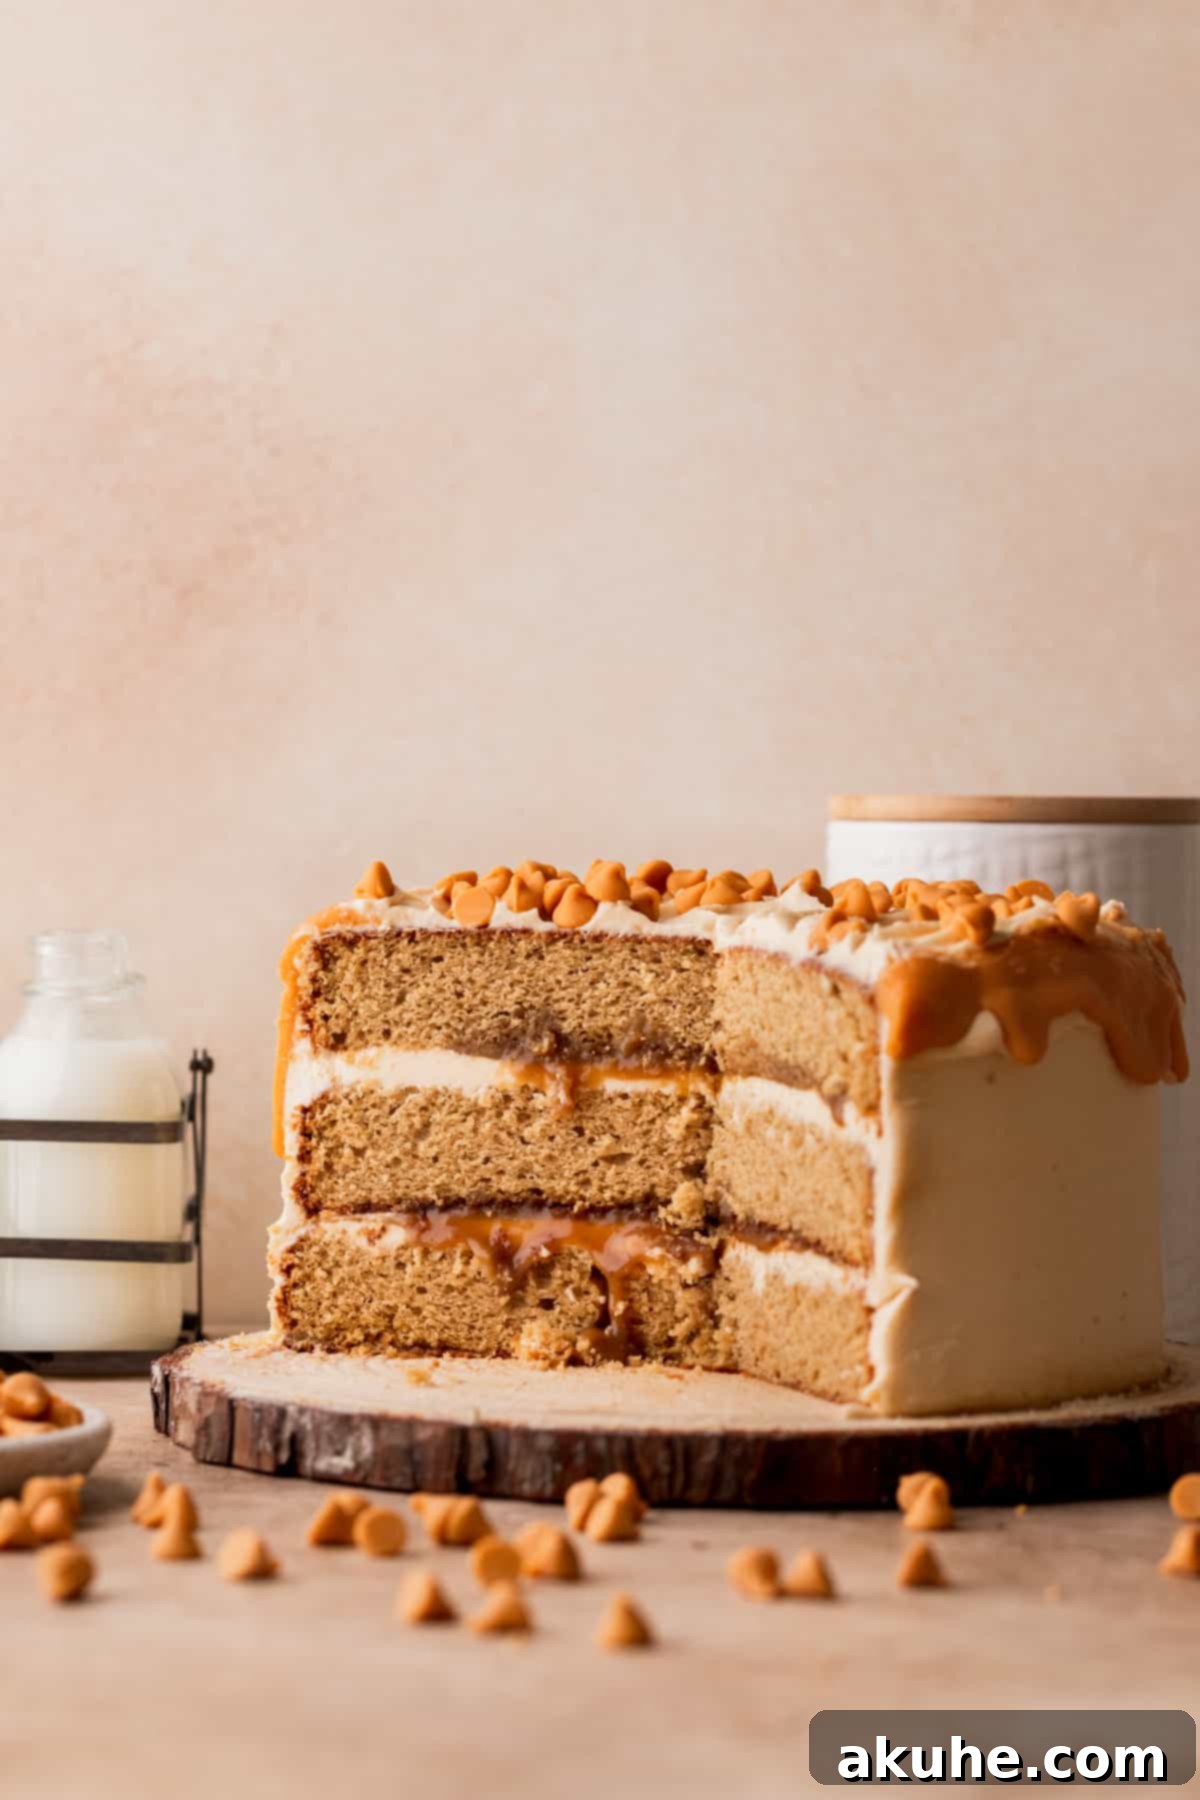
Crafted to deliver a powerful butterscotch punch, this cake is an absolute showstopper, perfect for any special occasion or simply to satisfy a serious craving. Each slice offers a harmonious blend of textures and tastes, making it an irresistible treat. You’ll find the rich, buttery sweetness of butterscotch chips mingling with the deep, complex notes of homemade brown sugar sauce. This isn’t just a cake; it’s an experience designed for true butterscotch lovers, promising flavor in every glorious bite.
Looking for more delightful cake recipes to try? Be sure to explore our Chocolate Butterscotch Cake, a perfect blend of two beloved flavors; our charming Mini Chocolate Cake, ideal for individual servings; and the luxurious Ferrero Rocher Cake for a truly decadent treat.
Why This Butterscotch Cake Recipe Stands Out
This butterscotch cake isn’t just another dessert; it’s a meticulously crafted masterpiece designed for maximum flavor and enjoyment. Here’s what makes this recipe truly exceptional and a must-try for any baking enthusiast:
- Exquisite Homemade Butterscotch Sauce: The foundation of this cake’s incredible flavor lies in its homemade butterscotch sauce. This sauce is not only incredibly easy to prepare but boasts a velvety smooth texture and a deeply rich, authentic butterscotch taste that store-bought alternatives simply cannot replicate. It’s the secret weapon that elevates every layer.
- Butterscotch-Infused Cake Layers: We take our three cake layers beyond basic brown sugar by incorporating the homemade butterscotch sauce directly into the batter. This ensures that the delightful butterscotch flavor permeates every crumb, creating a moist, tender, and intensely flavorful cake base that truly sings.
- Silky Smooth Butterscotch Frosting: Forget gritty or overly sweet frostings. Our butterscotch frosting is a dream, achieving its luxurious texture and profound flavor through a unique method. We start by crafting a smooth butterscotch ganache, which is then skillfully folded into a classic American buttercream. The result is an incredibly light, airy, and richly flavored frosting that perfectly complements the cake.
- Decadent Butterscotch Drip: The final touch of elegance and flavor comes from the luscious butterscotch drip. Made from a simple combination of melted butterscotch chips and heavy cream, this drip not only adds visual appeal but also provides an extra layer of concentrated butterscotch goodness, cascading beautifully down the sides of the cake.
Essential Ingredient Notes for Your Butterscotch Cake
Achieving baking perfection often comes down to understanding your ingredients. Here are some detailed notes to guide you in selecting and preparing the components for this delightful butterscotch cake. For a comprehensive list of quantities, please refer to the recipe card below.
- Unsalted Butter: This recipe utilizes unsalted butter in both the cake and frosting to give you complete control over the salt content. For the cake batter and frosting, it’s crucial that your butter is at room temperature – typically, this means pulling it out of the refrigerator at least two hours before you begin baking. Room temperature butter creams better with sugar, incorporating more air and leading to a lighter, fluffier cake and frosting. However, for the butterscotch sauce, cold butter is perfectly acceptable as it will be melted down.
- Brown Sugar: The choice of brown sugar significantly impacts the depth of flavor. For the richest, most pronounced butterscotch taste, we highly recommend using dark brown sugar. Its higher molasses content contributes a more complex, caramel-like sweetness. While light brown sugar can be used in a pinch, expect a slightly milder flavor profile. Always pack the brown sugar firmly into your measuring cup for accurate results.
- Eggs: Large eggs are specified for this recipe. Similar to butter, eggs should be at room temperature. Room temperature eggs emulsify more easily with other ingredients, creating a smoother batter and a more uniform crumb. Take them out of the fridge approximately two hours before you plan to start baking.
- Buttermilk: Full-fat or reduced-fat buttermilk will work beautifully in this recipe. Buttermilk’s acidity reacts with the baking soda, contributing to the cake’s tender texture and moist crumb. Like other dairy components, buttermilk should also be brought to room temperature before use to ensure better emulsification with the other wet ingredients.
- Heavy Cream: Essential for both the butterscotch sauce and the ganache drip, heavy cream adds richness and a luxurious texture. Unlike butter and eggs, heavy cream can be used straight from the refrigerator.
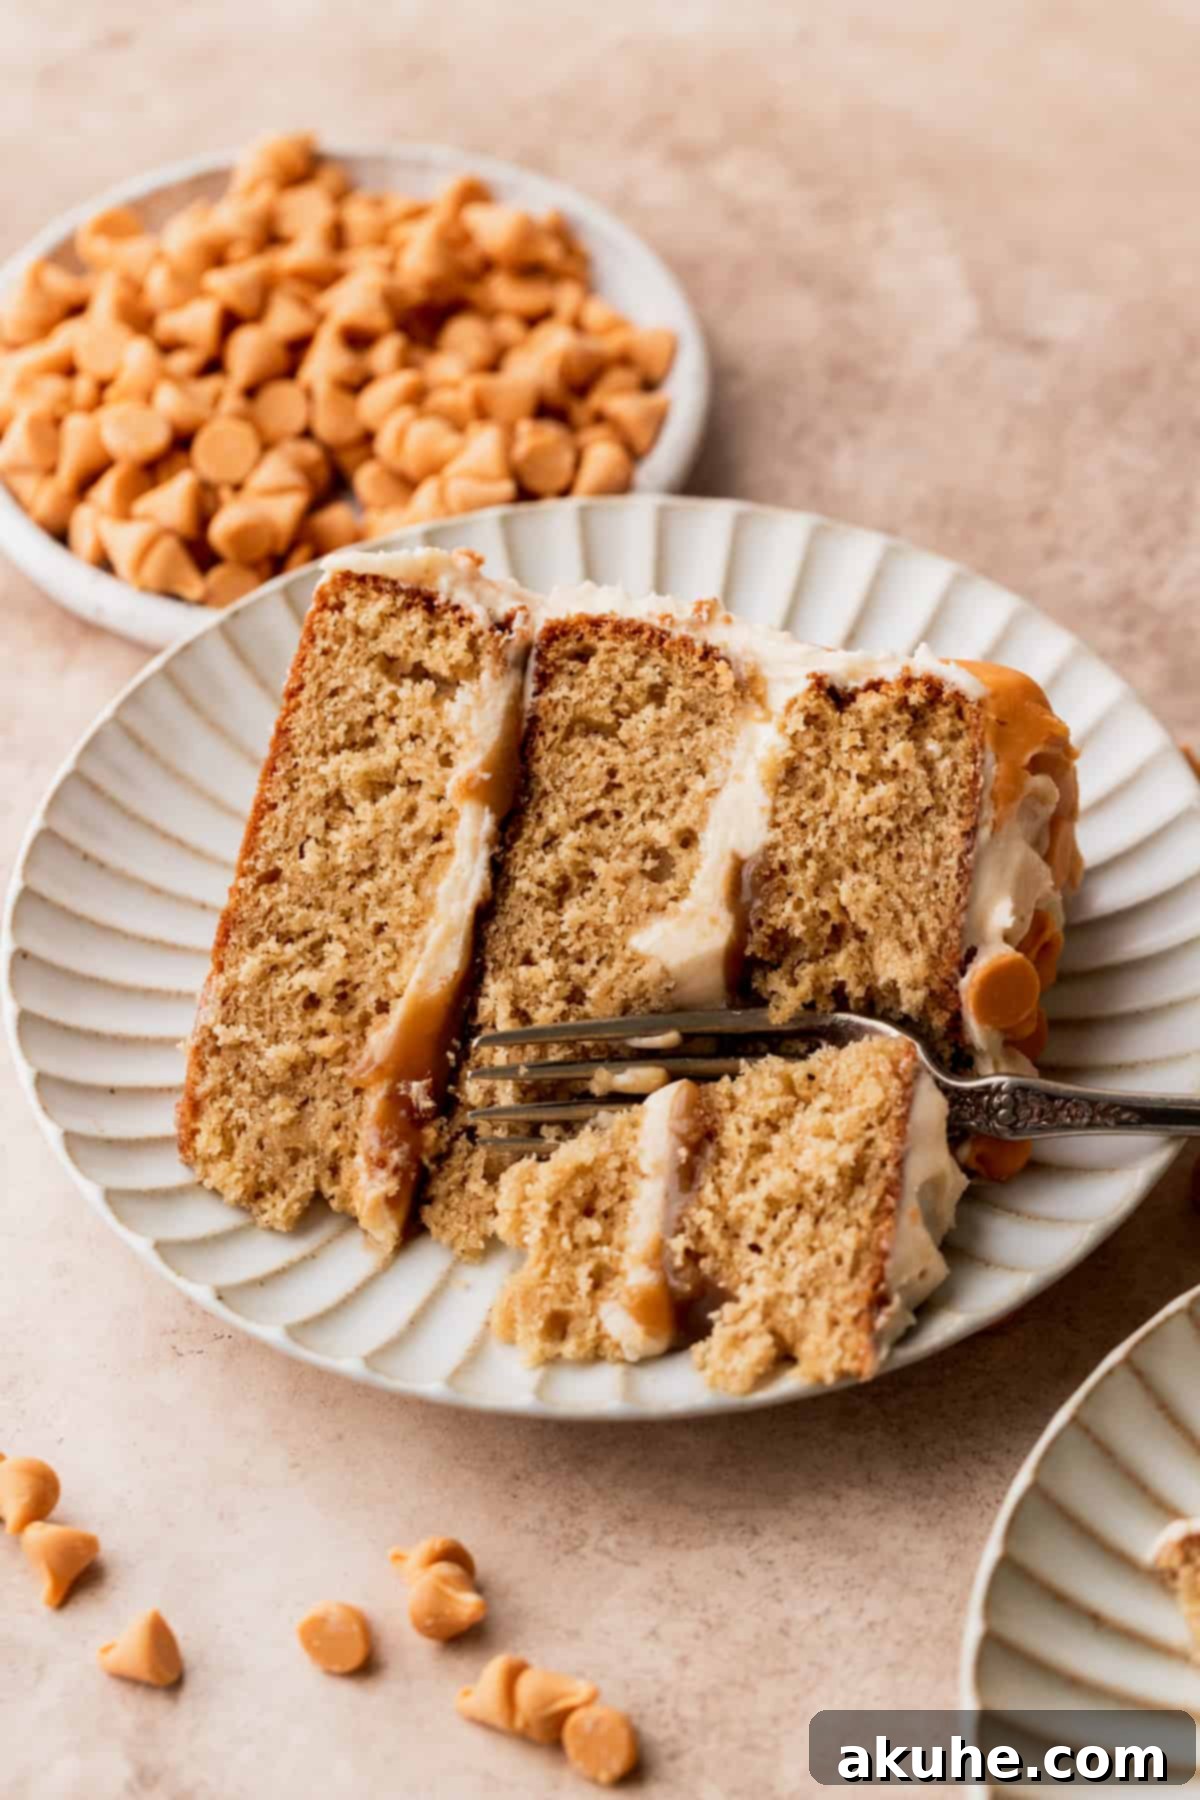
- Butterscotch Chips: These chips provide that classic, recognizable butterscotch flavor that complements the homemade sauce. If you plan to use them for decorating the top of your cake in addition to the ganache, it’s a good idea to purchase two bags to ensure you have plenty.
- Powdered Sugar: Also known as confectioners’ sugar, this ingredient is vital for a smooth, lump-free frosting. It is imperative to sift the powdered sugar before incorporating it into the buttercream. Skipping this step can result in a gritty texture in your frosting, which can detract from the overall enjoyment of the cake.
Handy Ingredient Substitutions for Your Butterscotch Cake
While this recipe is optimized for the ingredients listed, we understand that sometimes substitutions are necessary. Here are some common alternatives you can consider, along with important tips for each:
- Dairy-Free Alternatives: For those with dairy sensitivities or preferences, this recipe can generally be adapted using your favorite dairy-free substitutes. Opt for plant-based butters, milks, and heavy cream alternatives that are designed for baking and cooking. Ensure your chosen dairy-free milk has a neutral flavor that won’t overpower the butterscotch.
- Gluten-Free Flour: I have not personally tested this recipe with gluten-free flour, so I cannot guarantee the results. However, many bakers have success substituting an all-purpose gluten-free flour blend (preferably one that contains xanthan gum) on a 1:1 basis. If you do try it, please share your experience; your feedback can be incredibly helpful to others!
- Buttermilk Substitute: If you don’t have buttermilk on hand, you can easily create a homemade substitute. Simply combine 1 cup of regular milk (dairy or non-dairy) with 1 tablespoon of white vinegar or lemon juice. Stir it gently and let it sit for about 10 minutes. The milk will curdle slightly, mimicking the acidity and texture of buttermilk.
- Store-Bought Butterscotch Sauce: While our homemade butterscotch sauce is highly recommended for its superior flavor and texture, you can certainly use a good quality store-bought butterscotch sauce if you’re short on time. Be aware that the flavor profile might be slightly different, and you might want to adjust the sweetness of the frosting slightly if your store-bought sauce is particularly sweet.
Step-by-Step Instructions: Crafting Your Ultimate Butterscotch Cake
Embark on the journey of creating this magnificent butterscotch cake, featuring homemade butterscotch sauce, moist cake layers, a luscious buttercream, and a tempting drip. You’ll need a reliable stand mixer with a paddle attachment or a robust hand mixer to make the process smoother.
STEP 1: Prepare the Velvety Butterscotch Sauce
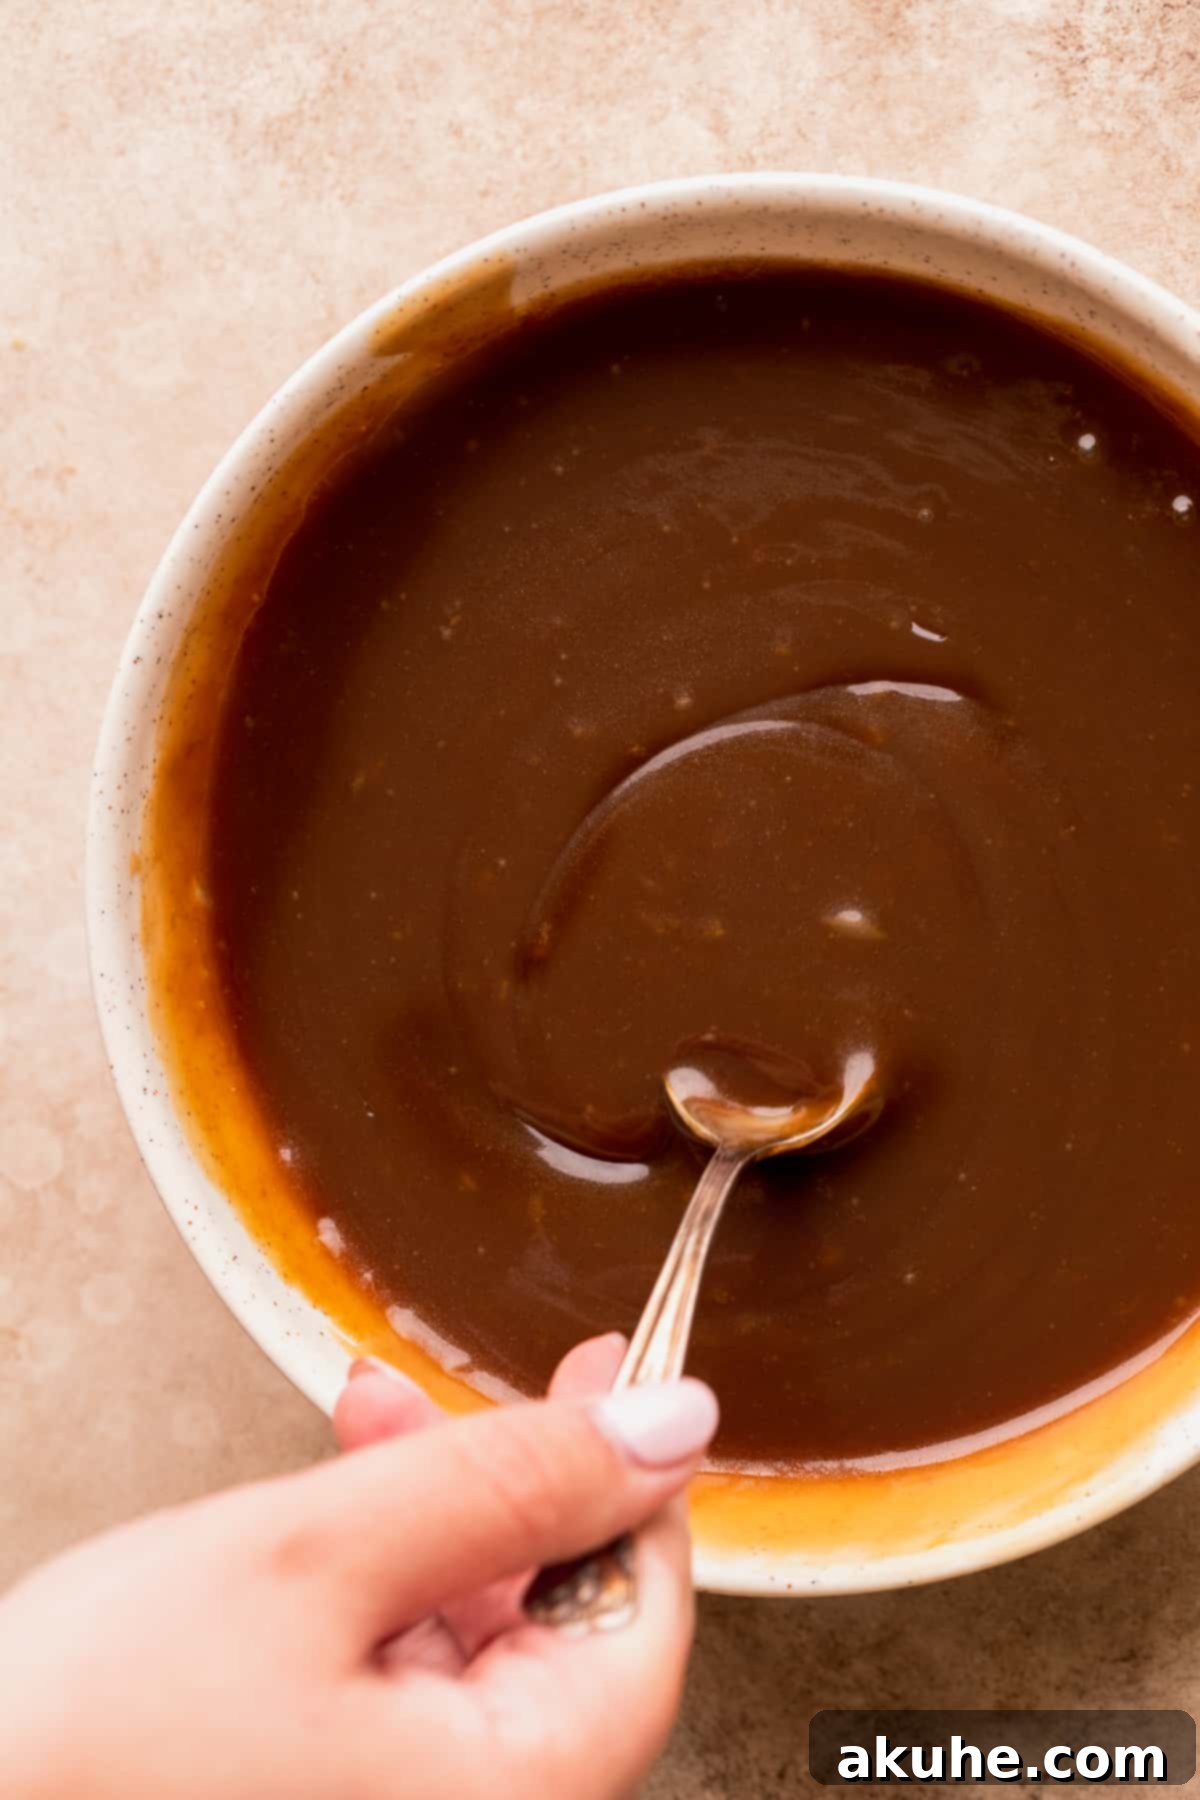
Begin by making the homemade butterscotch sauce, which is central to the cake’s flavor. In a medium saucepan, melt the unsalted butter over medium heat until fully liquid. Once melted, add the brown sugar, heavy cream, and salt. Use a whisk to gently combine all the ingredients until they are thoroughly mixed and the sugar begins to dissolve.
Bring the mixture to a rolling boil. At this critical stage, it is incredibly important to **resist the urge to stir the sauce at all.** Stirring during the boiling process can encourage sugar crystallization, resulting in a grainy rather than smooth sauce. Set a timer and let the sauce boil undisturbed for precisely 5 minutes. After 5 minutes, remove the saucepan from the heat immediately. Stir in the pure vanilla extract. Pour the finished butterscotch sauce into a heatproof bowl and allow it to cool completely to room temperature before using it in the cake batter or as a filling.
STEP 2: Combine the Dry Ingredients for the Cake
While your butterscotch sauce cools, prepare the dry ingredients for the cake layers. In a medium-sized bowl, whisk together the all-purpose flour, baking powder, baking soda, and salt. Ensure these ingredients are well combined to distribute the leavening agents evenly throughout the batter. Set this bowl aside for later use.
STEP 3: Prepare the Wet Ingredients and Creaming Method
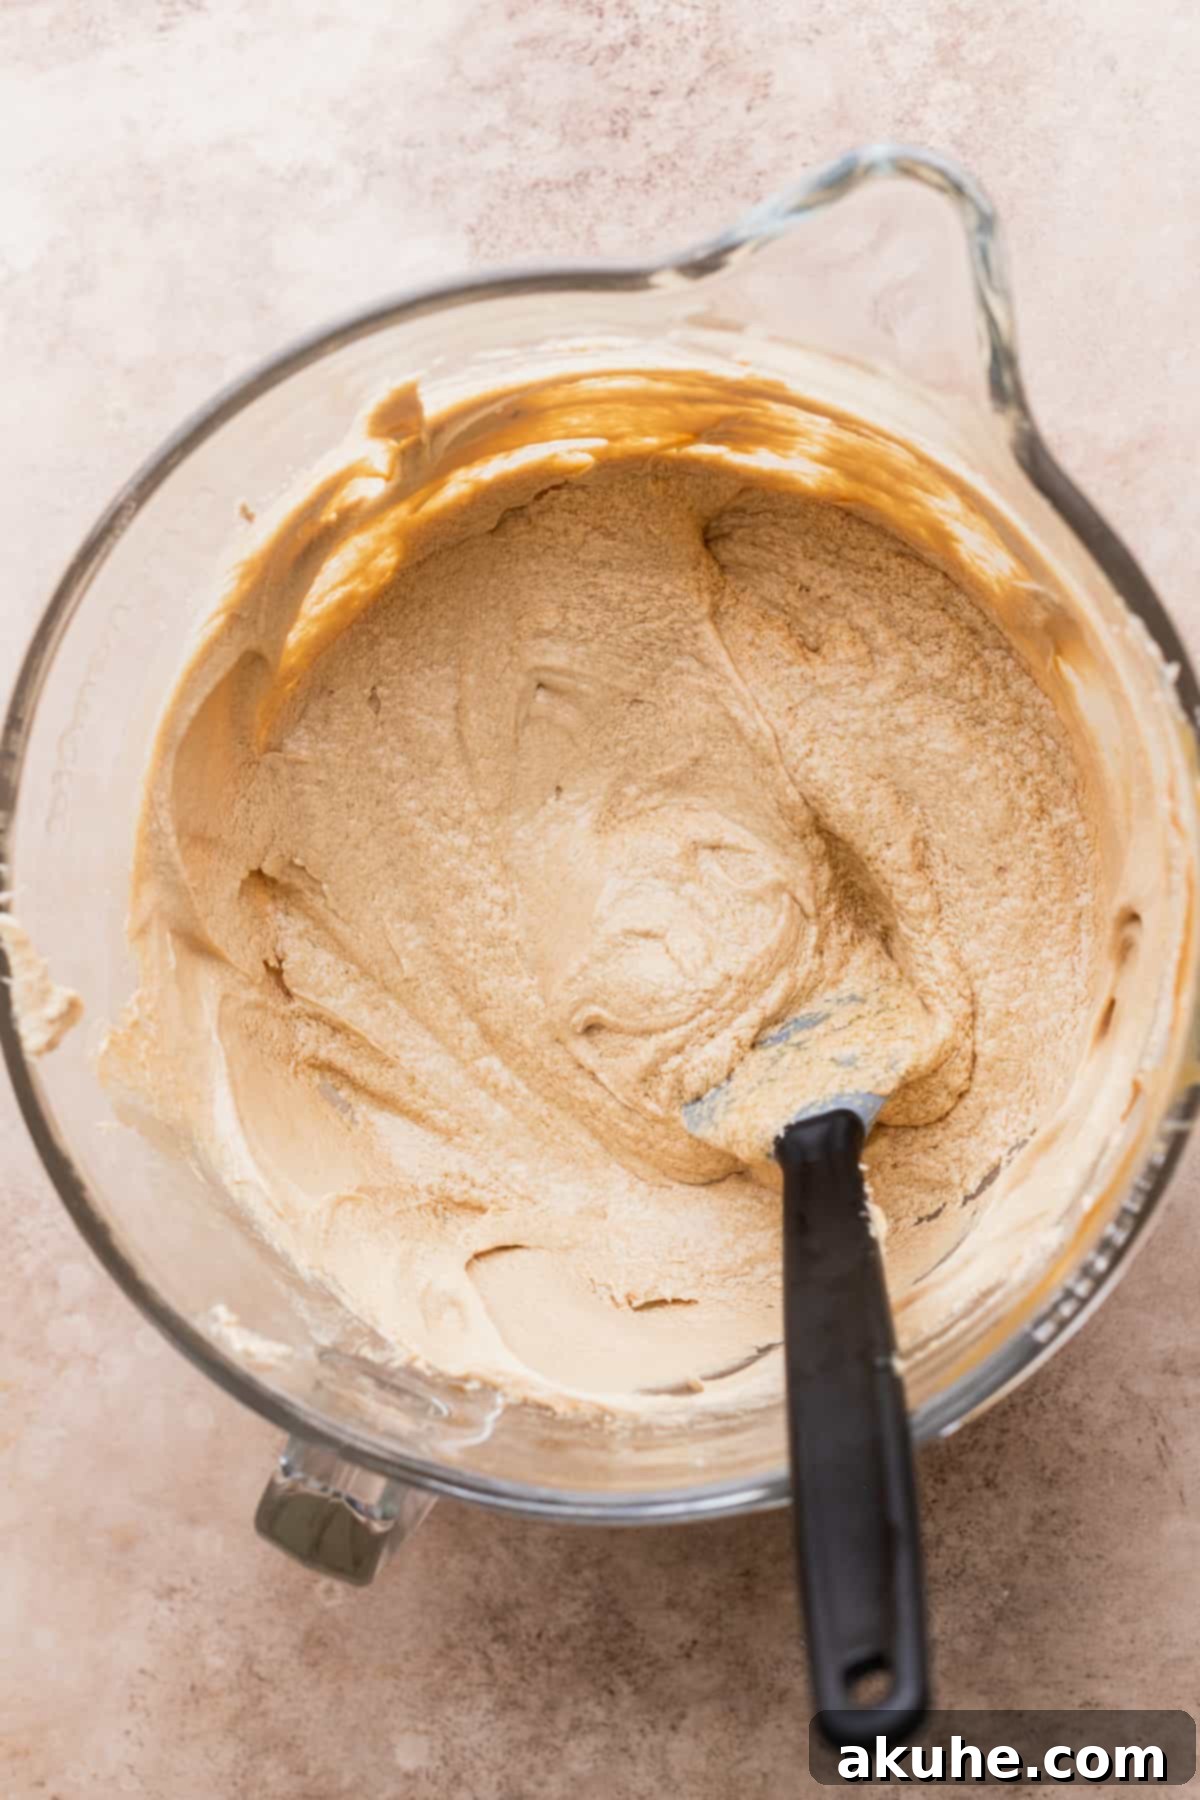
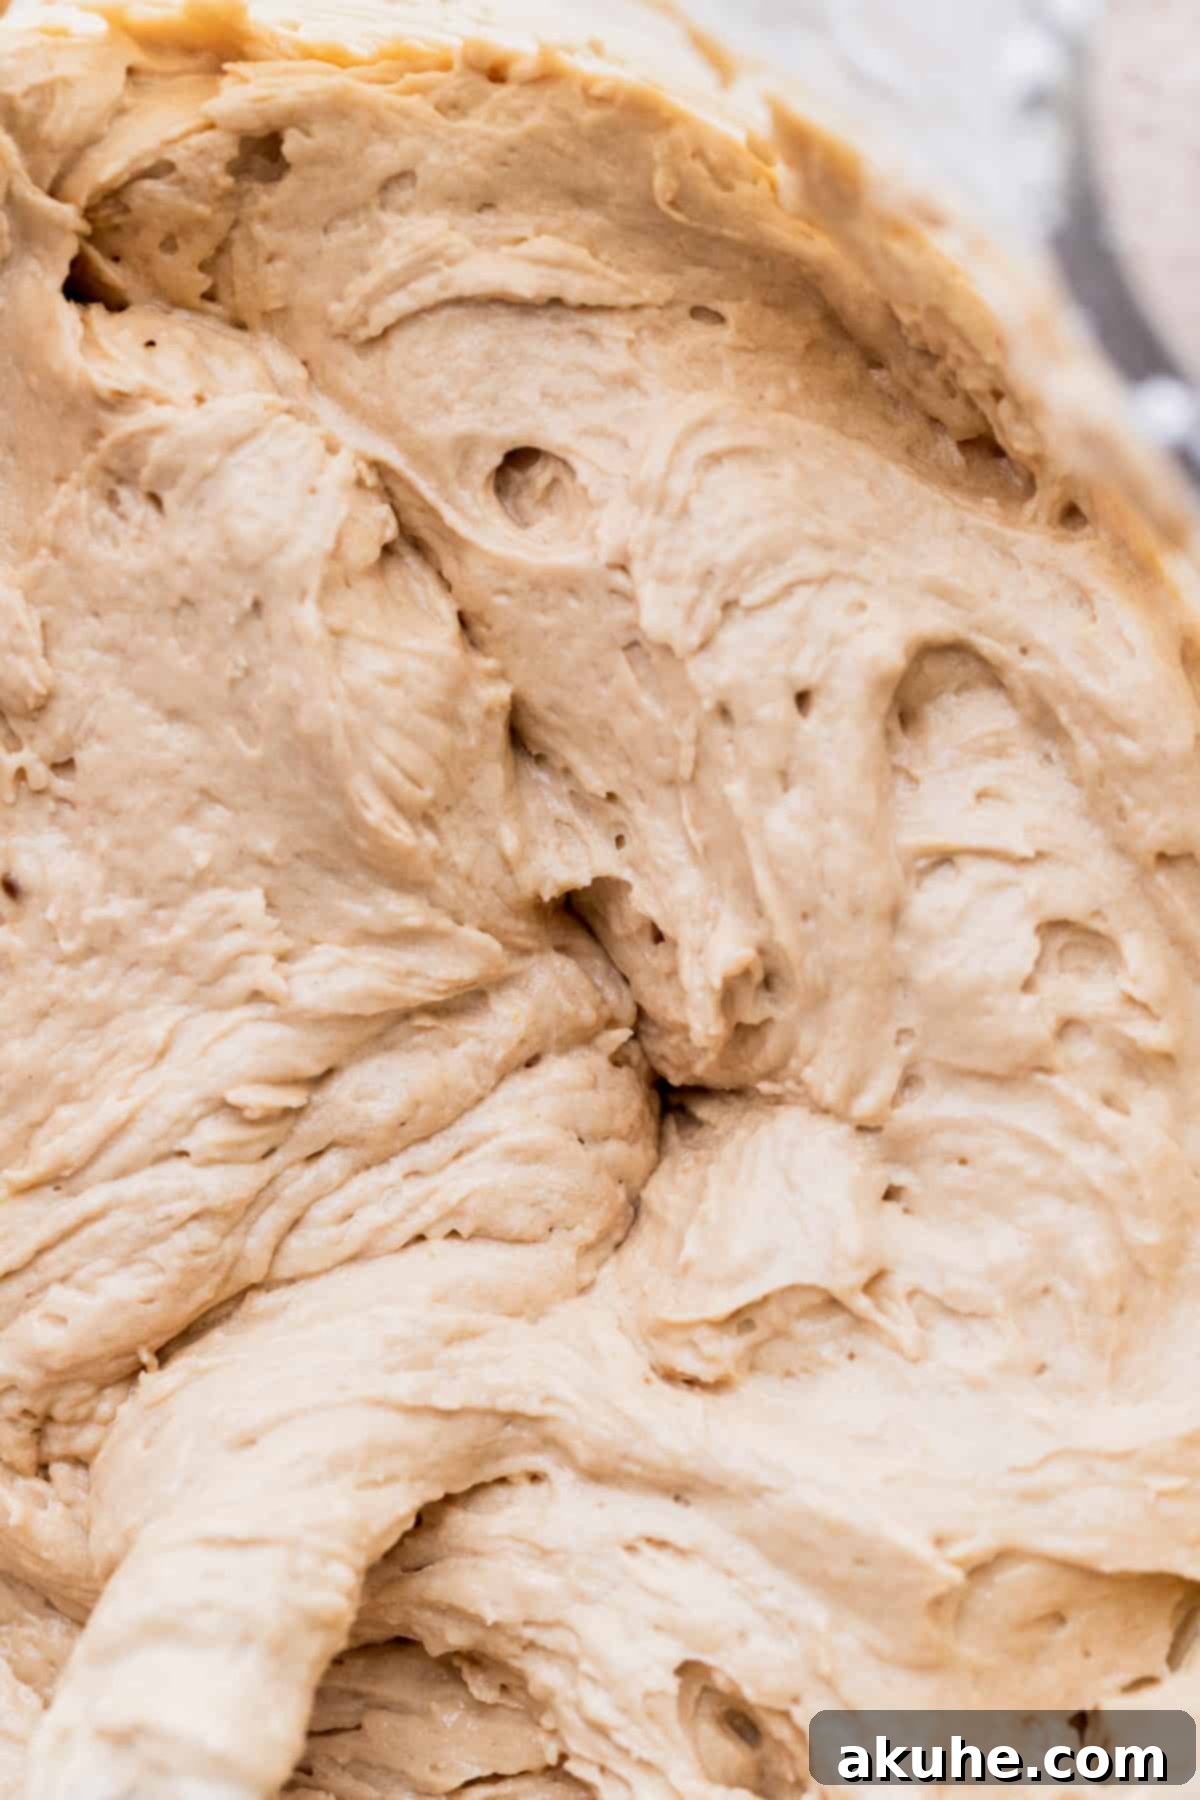
In a large mixing bowl, using your stand mixer fitted with the paddle attachment (or a hand mixer), beat the room temperature unsalted butter and brown sugar together on high speed for a full 3 minutes. This creaming process is crucial for incorporating air, which will contribute to the cake’s light and fluffy texture. The mixture should become pale and fluffy. Next, reduce the mixer speed to medium and add the vanilla extract and 1/2 cup of the cooled homemade butterscotch sauce, mixing until just combined. Finally, add the large eggs one at a time, mixing only until each egg is fully incorporated before adding the next. Be careful not to overmix at this stage.
STEP 4: Alternate Dry Ingredients and Buttermilk for Cake Batter
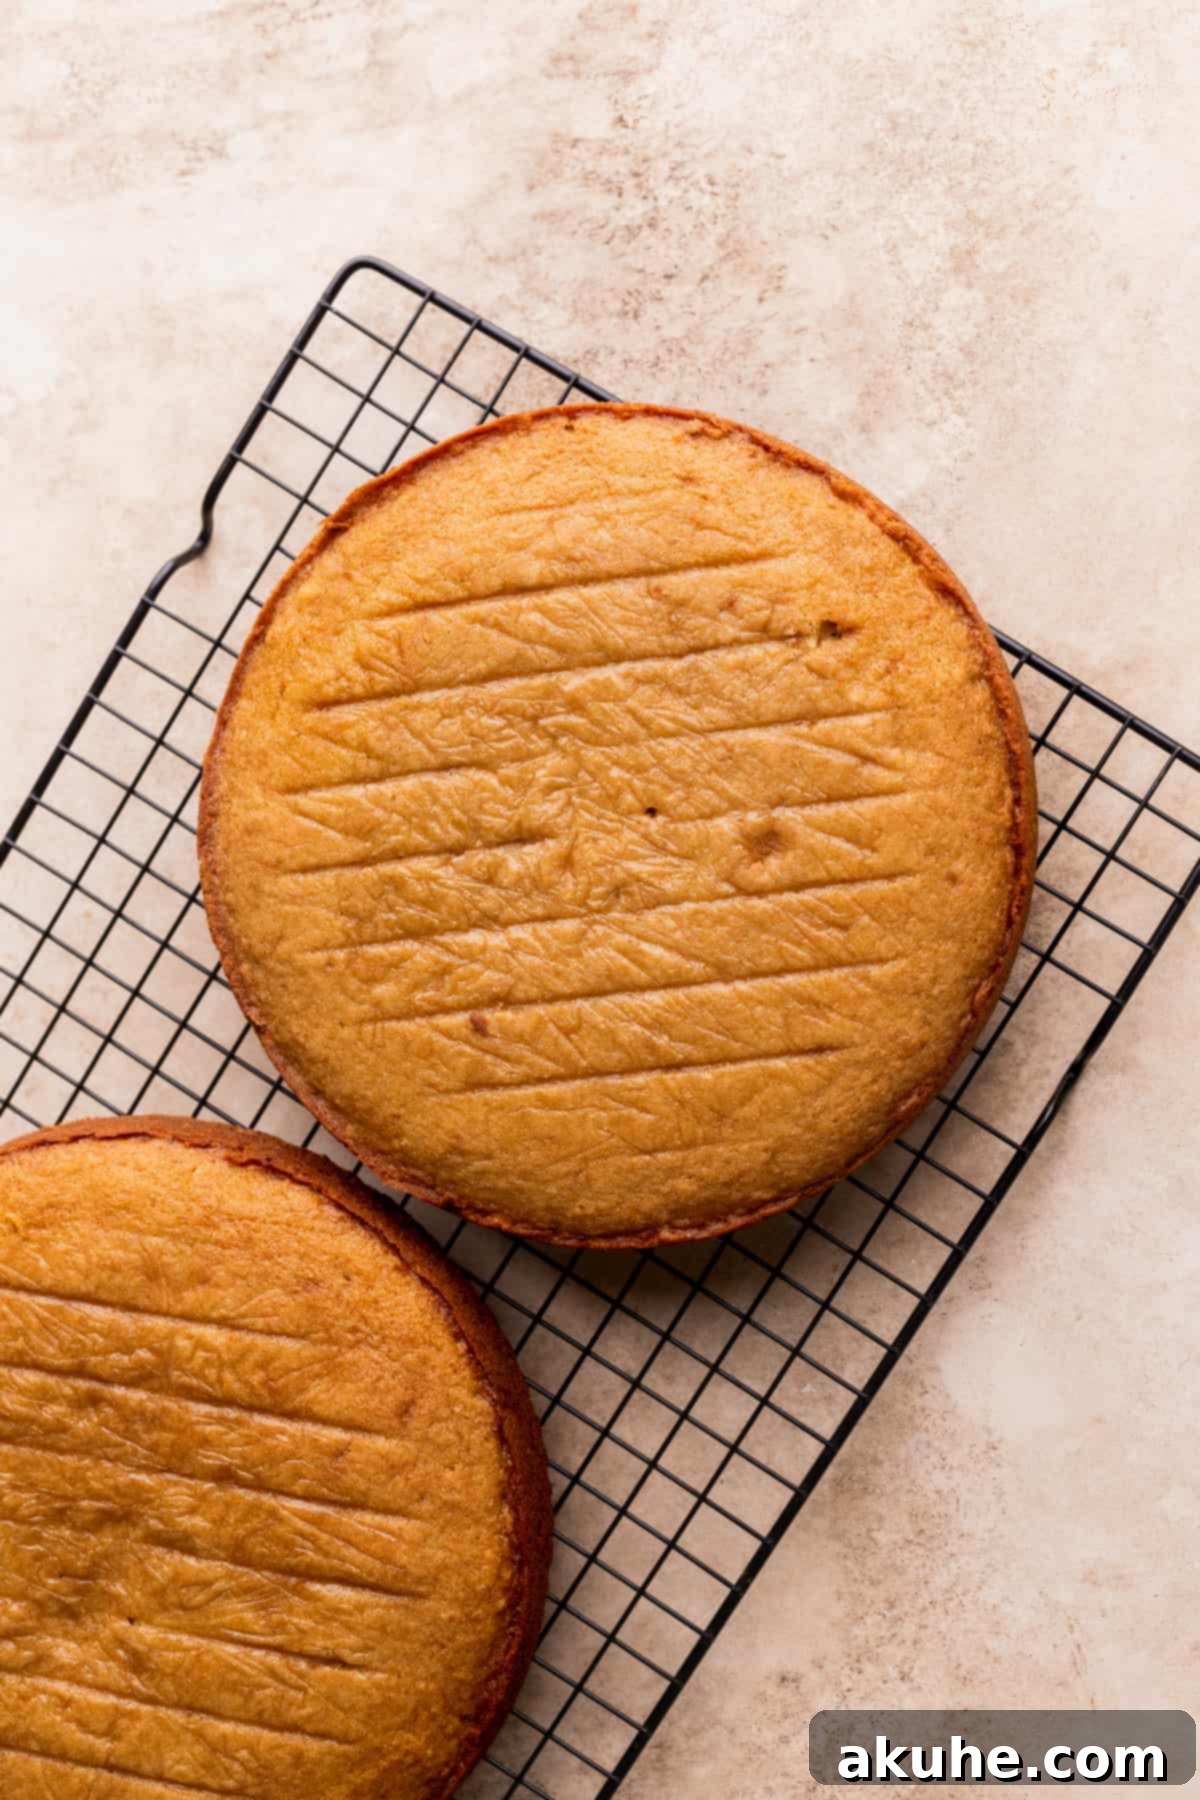
With the mixer on low speed, begin adding the dry ingredient mixture and the room temperature buttermilk in alternating additions, starting and ending with the dry ingredients. Add approximately one-third of the dry ingredients, mix until just combined, then add half of the buttermilk, mixing until just combined. Repeat with another third of the dry ingredients, followed by the remaining buttermilk. Finish by adding the last third of the dry ingredients. Mix only until no streaks of flour remain to avoid overworking the gluten, which can lead to a tough cake. Divide the finished cake batter evenly among three prepared 8-inch cake pans. Bake for 24-28 minutes, or until a wooden skewer inserted into the center of a cake comes out clean. Once baked, let the cakes cool in their pans on a wire rack for 10-15 minutes before inverting them onto the rack to cool completely. Ensuring the cakes are fully cooled is crucial before frosting to prevent melting.
STEP 5: Prepare the Silky Butterscotch Ganache
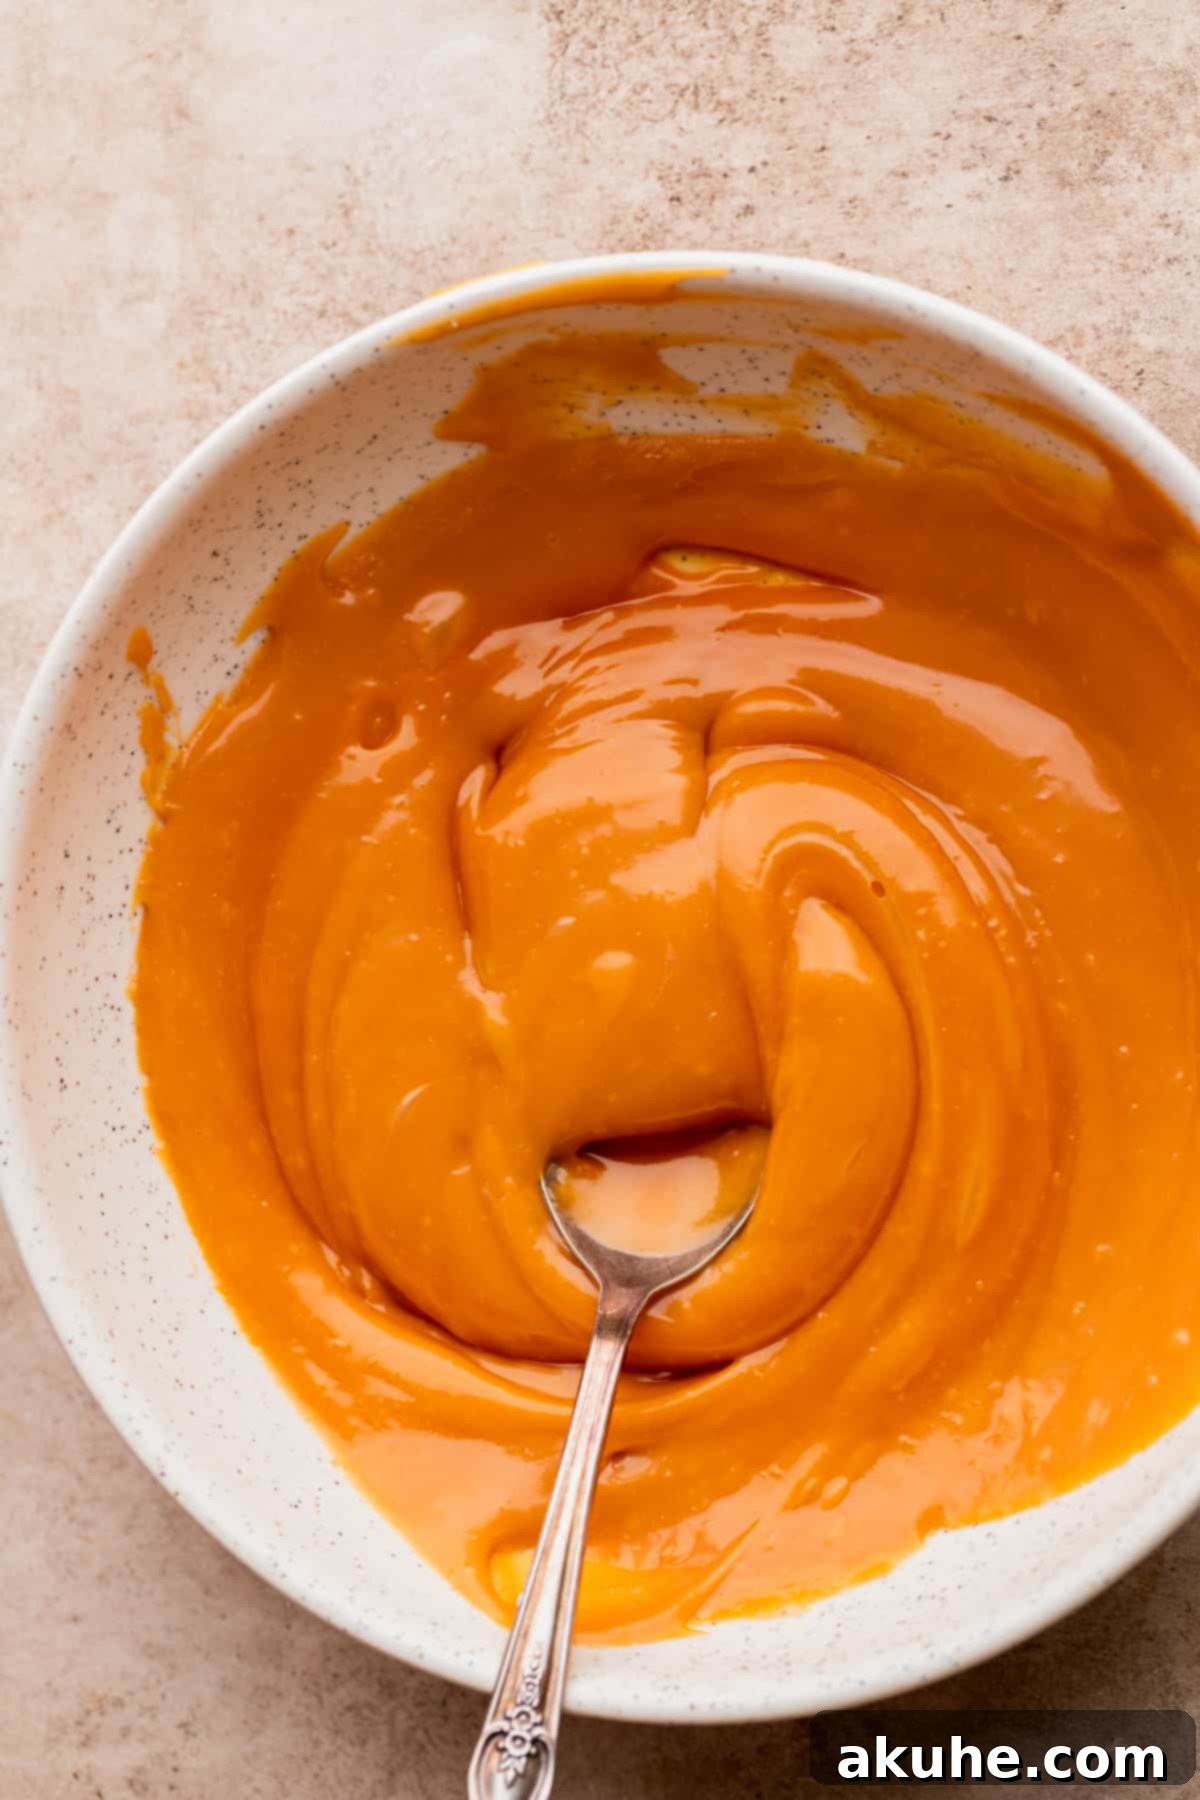
The butterscotch ganache serves a dual purpose in this recipe: enriching the frosting and creating a beautiful drip. This step is incredibly straightforward. In a small saucepan, gently heat the heavy cream until it just begins to simmer around the edges – do not let it come to a rolling boil. Remove from heat and pour the hot cream over the butterscotch chips in a heatproof bowl. Let the mixture sit undisturbed for 2 minutes to allow the heat from the cream to melt the chips. After 2 minutes, stir gently with a spatula until the chips are completely melted and the ganache is smooth and glossy. If any small butterscotch chunks remain, you can microwave the ganache in 10-second intervals, stirring after each, until perfectly smooth.
Important Note: It is absolutely crucial that the ganache is cooled to room temperature before you incorporate it into the frosting or use it for the drip. If the ganache is warm or hot, it will melt your buttercream and cause a messy, uncontrolled drip. For best results, prepare this ganache just before you are ready to make the frosting and assemble the cake.
STEP 6: Create the Fluffy Butterscotch Frosting
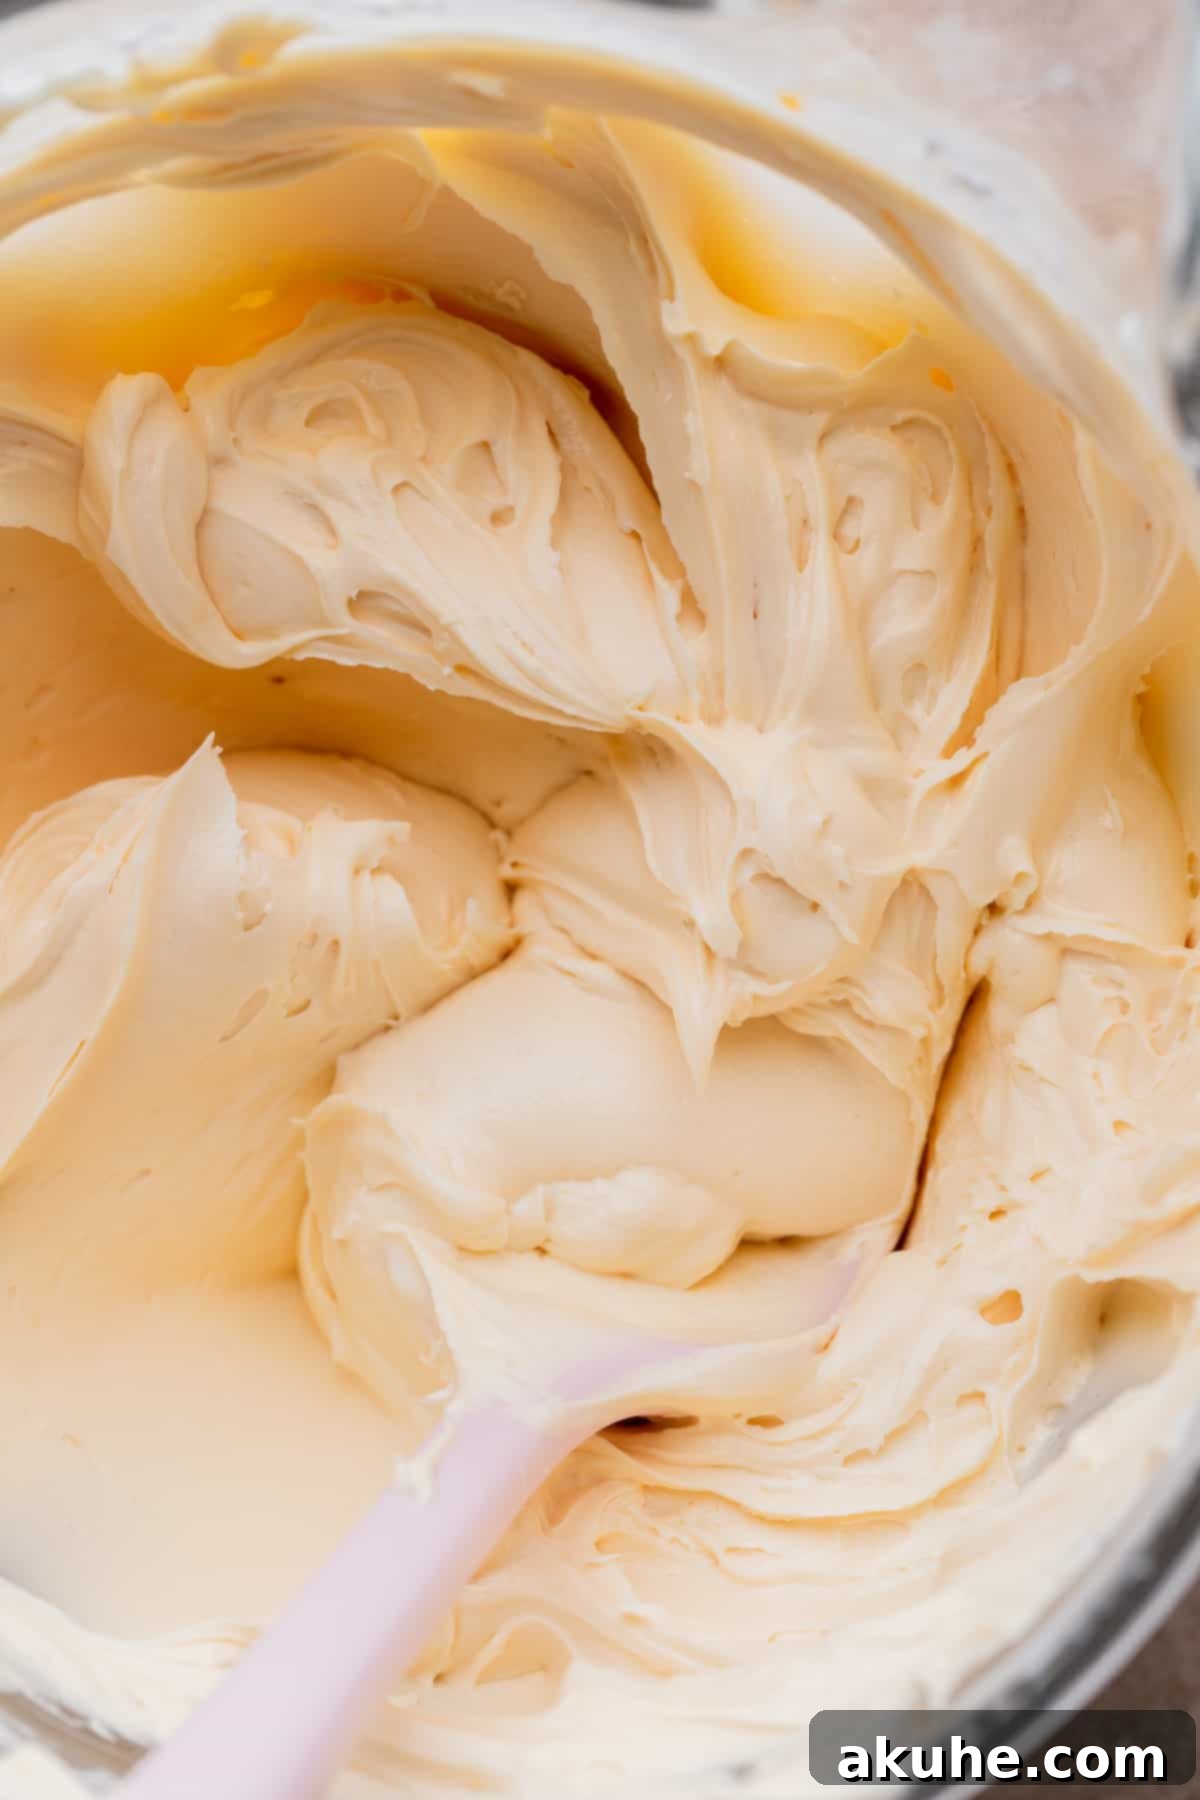
Now, let’s make the star of the show – the butterscotch frosting. In a large mixing bowl, beat the room temperature unsalted butter on high speed for a full 4 minutes. This extended creaming time is essential for whipping air into the butter, resulting in an incredibly light and fluffy frosting. After 4 minutes, reduce the mixer speed to low and gradually add the sifted powdered sugar, one cup at a time, mixing until fully incorporated after each addition. Once all the powdered sugar is in, add the vanilla extract, salt, and 1/4 cup of the cooled butterscotch ganache. Mix on low speed until everything is just combined, then increase the speed to high and beat for another 2-3 minutes until the frosting is super fluffy, smooth, and light. The ganache will infuse the buttercream with a wonderful butterscotch flavor and a silky texture.
Recipe Variation: Simplified Butterscotch Flavor
- Using Butterscotch Ganache for Cake Batter: If you wish to streamline the process or prefer a slightly different flavor profile, you can substitute the homemade butterscotch sauce in the cake batter with some of the butterscotch ganache. This will impart a delightful butterscotch chip flavor directly into your cake layers. Ensure the ganache is completely cooled before adding it to the batter.
Expert Tips for Assembling Your Butterscotch Cake
Assembling a beautiful layer cake can seem daunting, but with these expert tips and tools, you’ll achieve professional-looking results. Patience and planning are your best allies!
- Helpful Cake Decorating Tools: Investing in a few key tools can make a significant difference. Consider having a turntable for even frosting application, offset spatulas and a straight icing spatula for smooth spreading, a cake scraper for sharp sides, a cake leveler (or a long serrated bread knife) for even layers, and a cake carrier for safe transportation and storage.
- Leveling Your Cake Layers: For a stable and aesthetically pleasing cake, ensure your layers are perfectly flat. If your cake layers have domes, use a serrated knife or a dedicated cake leveler to carefully trim the tops, creating even surfaces. This prevents your cake from leaning and makes frosting much easier.
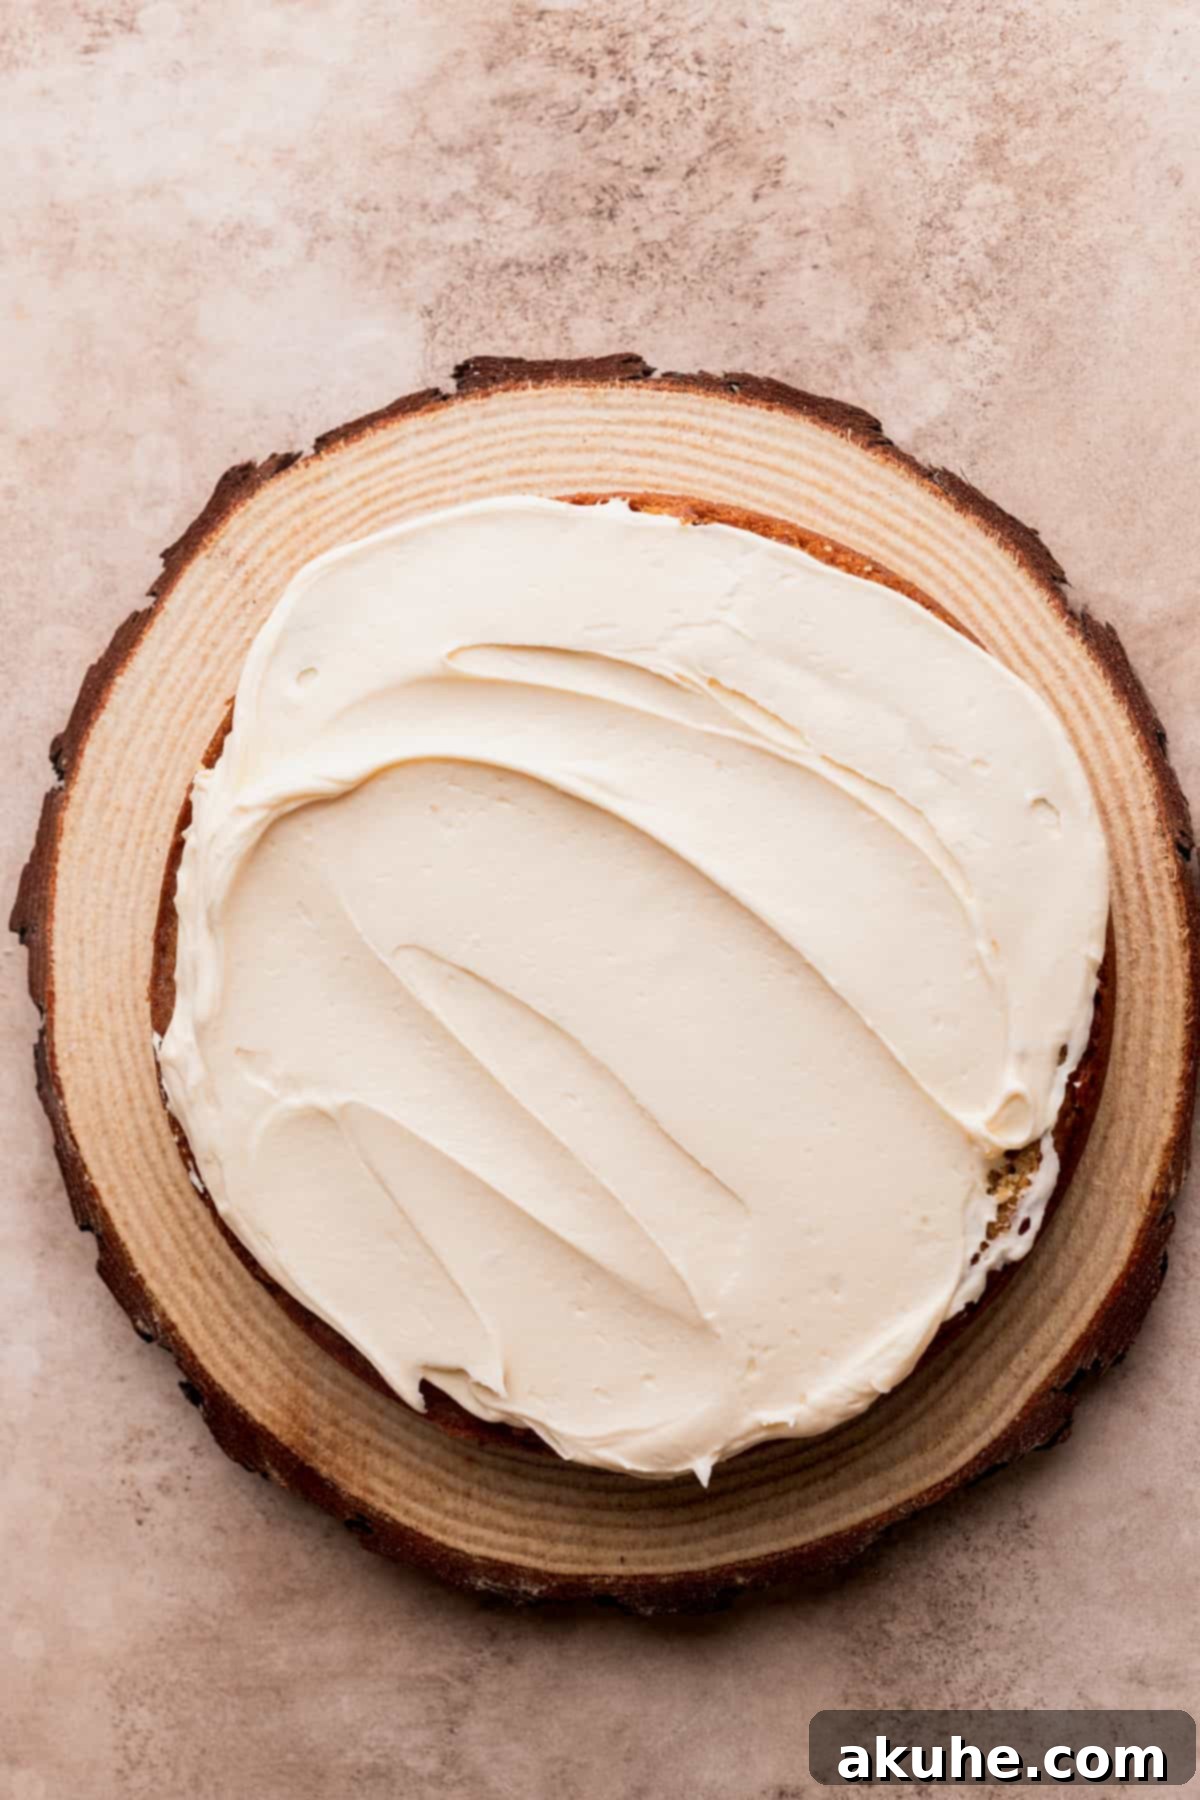
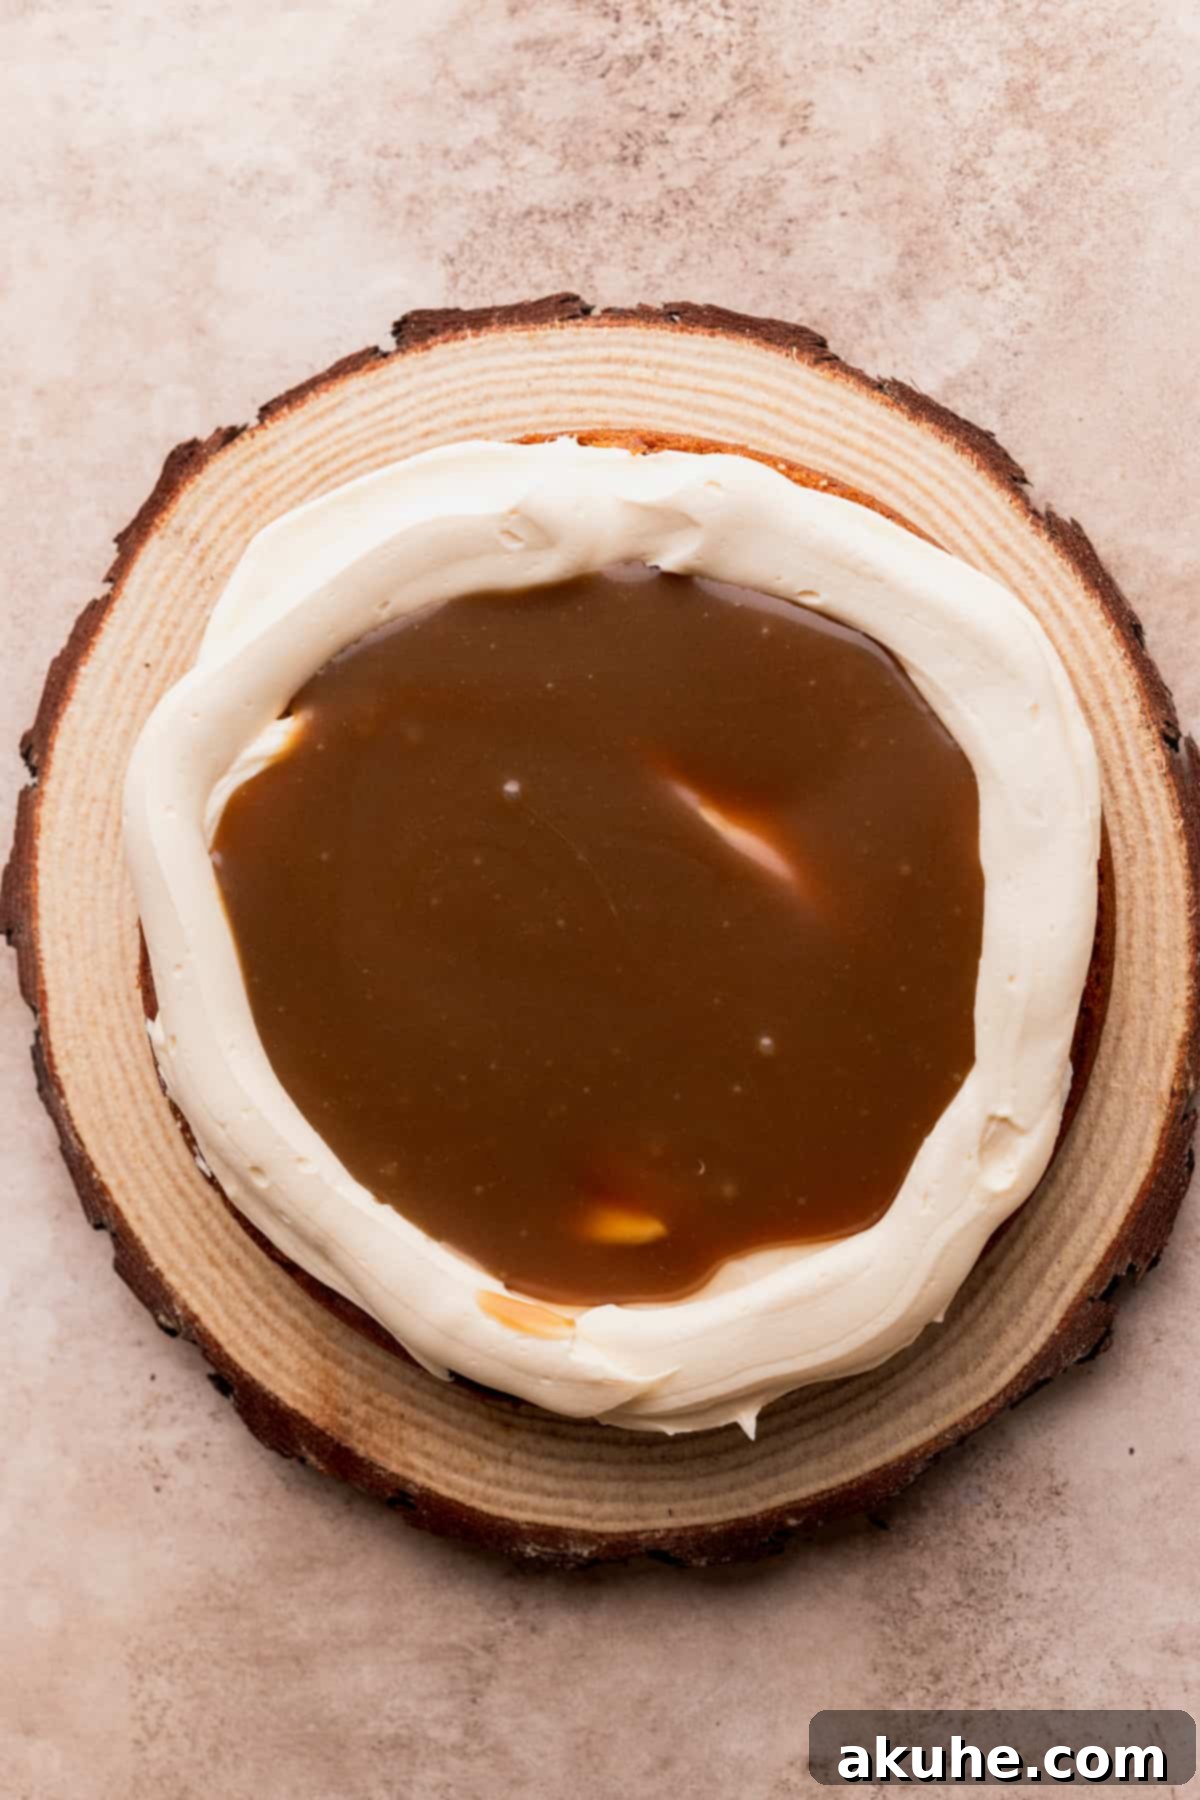
- Creating a Frosting Dam: Before adding your filling, pipe a generous border of frosting around the edge of the first cake layer. Use approximately 3/4 cup of frosting for this. This creates a “dam” that will effectively contain the butterscotch sauce filling and prevent it from oozing out the sides once the top layer is added.
- Adding the Butterscotch Sauce Filling: Once your frosting dam is in place, carefully spread 1/2 cup of the reserved homemade butterscotch sauce (ensure it’s completely cool) evenly within the frosting border on the first layer.
- Layering and Repeating: Gently place the second cake layer on top, aligning it carefully. Repeat the process: spread 3/4 cup of frosting, pipe a dam, and then spread 1/2 cup of butterscotch sauce. For the final layer, place it with the bottom side facing up. This often provides the flattest, most even top surface for your cake.
- Quick Freezing for Stability: This step is critical! After filling your cake layers, work quickly, then immediately place the entire cake in the freezer for about 10 minutes. This chilling period will firm up the frosting dam and butterscotch sauce, preventing any leakage when you begin the crumb coat.
- The Essential Crumb Coat: Apply a very thin, light layer of frosting all over the cake – this is called a “crumb coat.” Its purpose is to trap any loose crumbs, ensuring a smooth, crumb-free final frosting layer. Once applied, return the cake to the freezer for another 15 minutes to allow the crumb coat to set completely. The freezer is truly your best friend throughout the assembly process, providing stability and preventing mishaps.
- Applying the Final Frosting Layer: Once the crumb coat is firm, you can apply the remaining frosting to the cake. Use your spatulas and cake scraper to create a smooth, even finish. For a semi-naked look, use a metal cake scraper to gently scrape away some of the frosting, revealing glimpses of the cake layers.
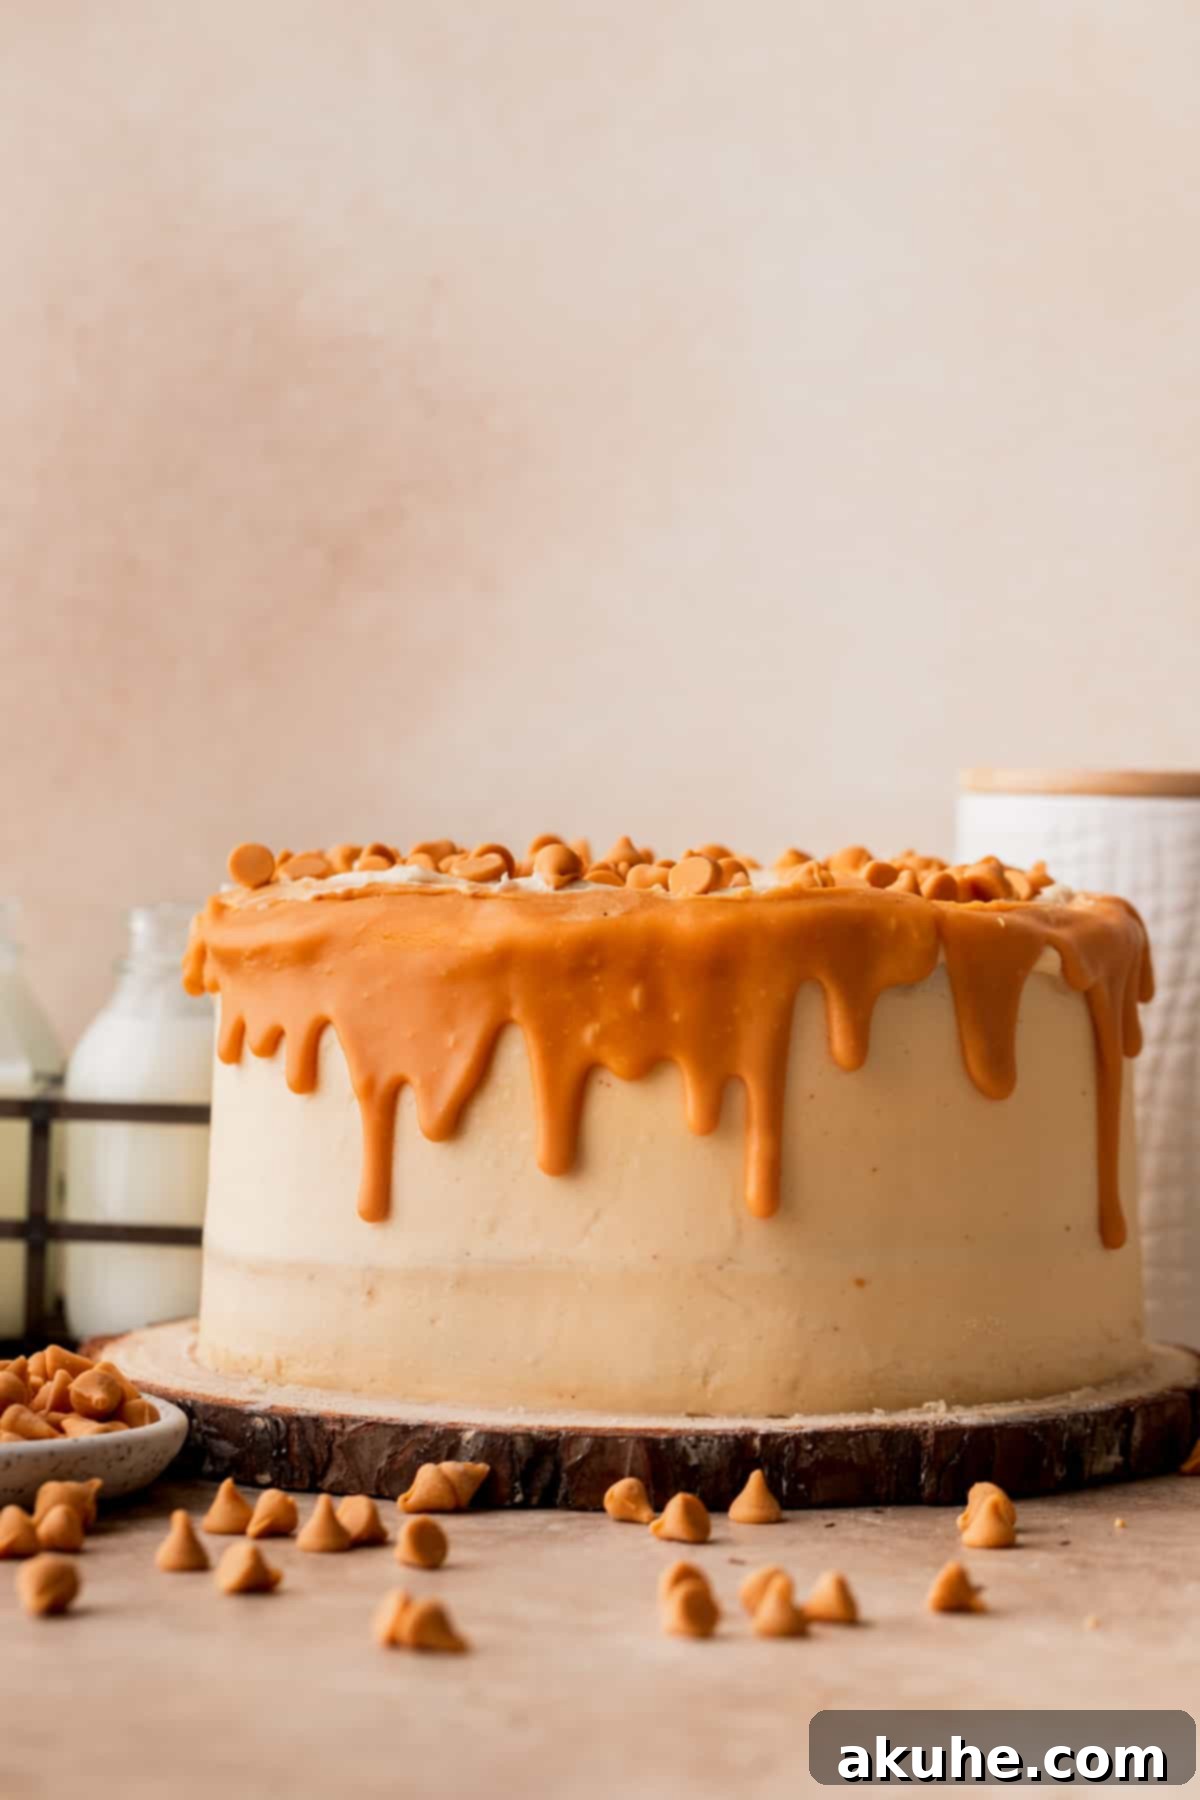
- Preparing the Butterscotch Drip: If your butterscotch ganache has cooled too much and become too thick to pour, gently reheat it in the microwave for 10-15 seconds. Stir it until it reaches a pourable but not hot consistency. Remember, it should be at room temperature or slightly warm, never hot, before applying to the cake to avoid melting the frosting.
- Creating the Perfect Drip: You can apply the ganache drip in two ways: either carefully pour it directly onto the top edge of the cake, allowing it to naturally cascade down the sides, or for more control, transfer about one-third of the ganache into a piping bag with a small hole snipped at the end. Use the piping bag to create controlled drips around the perimeter of the cake, then pour the remaining ganache over the center of the cake and spread it gently with an offset spatula.
Frequently Asked Questions (FAQ) About Butterscotch Cake
Don’t panic! This can happen if the filling isn’t fully set. The best solution is to apply a light layer of frosting (a crumb coat) around the sides where the sauce is oozing. Then, immediately place the cake back into the freezer until the frosting is completely firm and set. Once the crumb coat is stable, you can proceed with frosting the rest of the cake with confidence.
Absolutely! This versatile recipe works wonderfully for cupcakes. You can expect to yield approximately 24 delicious butterscotch cupcakes from the full recipe. If you only need a smaller batch, simply halve all the ingredients to make 12 cupcakes. When baking, reduce the baking time to 18-20 minutes, or until a toothpick inserted into the center of a cupcake comes out clean.
Yes, this recipe is adaptable to various pan sizes! You can use two 9-inch cake pans instead of three 8-inch pans (note that baking time might vary slightly). Alternatively, for a taller, more elegant presentation, you can use four 6-inch cake pans. If you prefer a sheet cake, a 9×13-inch cake pan will also work, but be aware that for this size, you’ll want to halve the frosting recipe, as you won’t need as much for a single layer.
Yes, and in fact, I highly recommend it to make your baking day much smoother! I often prepare the cake layers ahead of time. Once they have cooled completely, wrap each layer tightly in plastic wrap to prevent them from drying out. You can then store them at room temperature for a day or two, or freeze them for longer storage. When you’re ready to decorate, simply pull the layers out at least an hour beforehand to allow them to come to room temperature.
The most important tip is to absolutely avoid stirring the sauce once it comes to a boil. Stirring can cause sugar crystals to form, leading to a grainy texture. Let it boil undisturbed for the specified 5 minutes. Also, ensure your saucepan is clean, as any residual sugar crystals can jump-start crystallization.
Recommended Special Tools for Perfect Baking
While some tools are optional, these specialized items can significantly enhance your baking experience and help you achieve professional-level results, especially when working with layer cakes:
- Quality Cake Pans: I personally rely on Wilton 8-inch cake pans. Their sturdy construction and even heat distribution help ensure uniformly baked cake layers.
- Parchment Paper Circles: Save time and frustration by using pre-cut 8-inch parchment paper circles for the bottom of your pans. They guarantee easy release and perfectly flat bottoms, eliminating the need to meticulously cut circles from a roll.
- Baking Spray with Flour: To ensure your cakes never stick, use a nonstick baking spray that contains flour. This provides an extra layer of protection compared to plain cooking spray.
- Offset Spatula: An offset spatula is invaluable for spreading frosting and fillings smoothly and evenly across your cake layers, especially when working with delicate crumb coats.
- Cake Turntable: A high-quality Ateco cast iron turntable is a game-changer for frosting. Its smooth, effortless spin allows for continuous motion, making it much easier to achieve even frosting coverage and perfectly straight sides without jerky movements.
- Cake Scraper: For beautifully smooth sides and sharp edges, a metal cake scraper is essential. It helps you achieve that polished, professional look with minimal effort.
- Piping Bags: Using 18-inch piping bags allows you to hold more frosting, reducing the need for frequent refills during decoration, which keeps your workflow smooth.
- Piping Tip (Wilton 1M): The Wilton 1M star tip is a versatile and beloved piping tip. It’s perfect for creating beautiful swirls, borders, rosettes, and other decorative elements on top of your cake.
Storing and Freezing Your Butterscotch Cake
Proper storage is key to keeping your delicious butterscotch cake fresh and enjoyable for as long as possible. Here’s how to do it:
Storage Instructions
To maintain its freshness and moisture, store this butterscotch cake in an airtight container, such as a specialized cake carrier, in the refrigerator. When stored correctly, the cake will remain fresh and delightful for up to 5 days. For the best flavor and texture experience, allow the cake to come to room temperature for at least 30 minutes before serving. This allows the frosting and cake to soften slightly, enhancing their delicious qualities.
Freezing Instructions
If you have leftover cake or wish to prepare it well in advance, this butterscotch cake freezes beautifully. For optimal results, it’s best to freeze individual cake slices rather than the entire cake. Wrap each slice tightly in plastic wrap, ensuring no air can get in to prevent freezer burn. Place the wrapped slices into a freezer-safe container or a heavy-duty freezer bag. The cake slices can be frozen for up to 30 days without significant loss of quality. To enjoy a frozen slice, simply thaw it at room temperature for approximately 1 hour before eating. You’ll be amazed at how fresh and delicious it tastes!
Other Delightful Cake Recipes to Explore
More Seasonal Fall Recipes to Savor
- Irresistible Pumpkin Chocolate Chip Cookies
- Cozy Apple Cider Muffins
- Decadent Apple Cider Cheesecake
- Spiced Pumpkin Cream Cheese Muffins
- Luxurious Caramel Apple Spice Cake
Did you fall in love with this recipe? Please consider leaving a STAR REVIEW to let us know! We adore seeing your creations, so don’t forget to tag us on Instagram @stephaniesweettreats. For endless baking inspiration and more sweet ideas, be sure to follow us on Pinterest!
Butterscotch Cake
By Stephanie Rutherford
This butterscotch cake is a brown sugar layered cake full of homemade butterscotch sauce inside the cake batter. It is full of butterscotch frosting, drizzled with extra butterscotch sauce, and topped with a butterscotch drip.
Prep Time: 1 hr
Cook Time: 25 mins
Decorating Time: 1 hr
Servings: 16 slices
Ingredients
Homemade Butterscotch Sauce
- 1/2 cup Unsalted butter
- 1 cup Brown sugar, dark is best
- 1 cup Heavy cream
- 1/2 tsp Salt
- 1 TBSP Pure vanilla extract
Brown Sugar Cake
- 1 cup Unsalted butter, room temperature
- 1 1/2 cups Brown sugar, packed light or dark
- 1 tsp Pure vanilla extract
- 1/2 cup Butterscotch sauce, cooled before using
- 4 Large eggs, room temperature
- 3 1/2 cups All-purpose flour
- 2 tsp Baking powder
- 1 tsp Baking soda
- 1 tsp Salt
- 1 cup Buttermilk, room temperature
Butterscotch Ganache
- 1 1/2 cups Butterscotch chips
- 1/2 cup Heavy cream
- 1/8 tsp Salt
Butterscotch Frosting
- 2 cups Unsalted butter, room temperature
- 5 cups Powdered sugar, sifted
- 1/4 cup Butterscotch ganache
- 1 tsp Pure vanilla extract
- 1/2 tsp Salt
Instructions
Homemade Butterscotch Sauce
- In a medium saucepan over medium heat, melt the butter. Then, add the brown sugar, heavy cream and salt. Mix together using a rubber spatula.
- Let it come to boil, do not stir it at all during this point. Let it boil for 5 minutes. If you stir it, it will become grainy. Remove from heat and stir in the vanilla. Pour the sauce into a bowl and let it cool completely.
Brown Sugar Cake
- Preheat the oven to 350°F. Spray three 8-inch cake pans with baking nonstick spray. Line the bottoms of the cake pans with 8-inch parchment paper circles and spray again.
- In a medium bowl, mix the flour, baking powder, baking soda, and salt. Set aside.
- In a large bowl, using a mixer, beat the butter and brown sugar on high speed for 3 minutes. Add in the vanilla and butterscotch sauce. Mix on medium until combined. Add the eggs one a time and mix until just combined.
- Add 1/3rd of the dry ingredients and half of the buttermilk and mix on low speed. Mix until they just start combining before adding the next. Add another 1/3rd of the dry ingredients and the rest of the buttermilk. Finish with the rest of the dry ingredients.
- Pour the cake batter evenly into each cake pan. Bake for 24-28 minutes. Bake until a toothpick inserted comes out clean.
- Let the cakes sit in the hot pans for 10 minutes. Transfer the cakes onto a cooling rack. Cool completely.
Butterscotch Ganache
- In a small saucepan over medium low heat, add the heavy cream and salt and heat until it starts to bubble. Add the butterscotch chips. Turn to low heat. Mix using a rubber spatula until the chips are melted and it is creamy.
- Pour the ganache into a bowl and let it cool to room temperature.
Butterscotch Frosting
- In a medium bowl, sift the powdered sugar. Using a mixer, beat the butter on high speed for 3 minutes.
- Add in half of the powdered sugar and mix on low speed until combined. Add in the rest of the powdered sugar and mix until combined.
- Add in butterscotch ganache, vanilla, and salt. Mix on low until combined. Then, switch to high speed and beat until creamy.
Assembly
- Use a serrated knife or a cake leveler to cut the domes off the cakes so they are even.
- Place the 1st cake layer down and spread 3/4th cup of frosting. Pipe a border of frosting around the edge of the cake. Spread 1/2 cup of butterscotch sauce over the cake.
- Repeat with the second layer. Place the last layer of cake down with the bottom of the side of the cake facing up. Do this part quickly and freeze for 10 minutes.
- Spread a light layer of frosting over the cake and freeze for 15 minutes.
- Frost the rest of the cake. I used a cake scrapper to decorate the cake as a semi-naked look. Freeze for 10 minutes.
- Heat the ganache back in the microwave, so it is melty. Make sure it is room temperature before applying to the cake. If it is too hot, it will drip everywhere. Place the 1/3rd of the ganache into a piping bag, and pour the drip on the edge of the cake.
- Pour the rest of the ganache on top of the cake.
Notes
- NOTE: Make the butterscotch sauce and the cake layers ahead of time. This will make things so much easier for you!
- Flour- Make sure flour is spooned and leveled or use a kitchen scale. Compacted flour can dry out the cake.
- High altitude baking- Add an extra 3 TBSP of flour.
- Pull out dairy ingredients 2 hours before baking.
Nutrition Information
Calories: 738kcal, Carbohydrates: 110g, Protein: 4g, Fat: 50g, Saturated Fat: 31g, Polyunsaturated Fat: 2g, Monounsaturated Fat: 13g, Trans Fat: 2g, Cholesterol: 135mg, Sodium: 530mg, Potassium: 131mg, Fiber: 1g, Sugar: 48g, Vitamin A: 1610IU, Vitamin C: 0.1mg, Calcium: 107mg, Iron: 2mg
