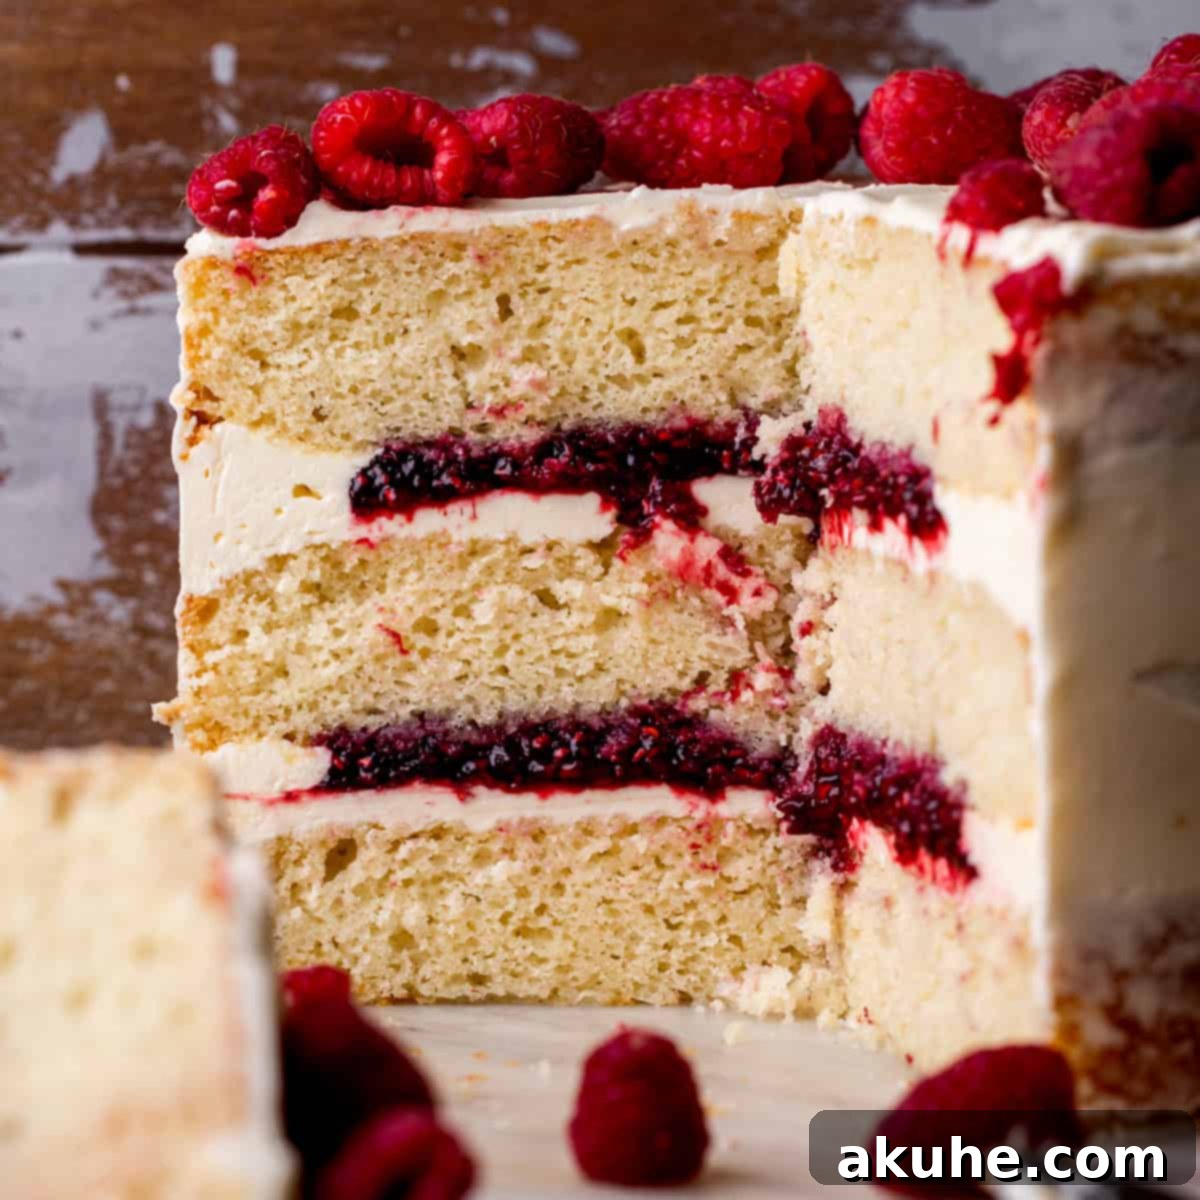
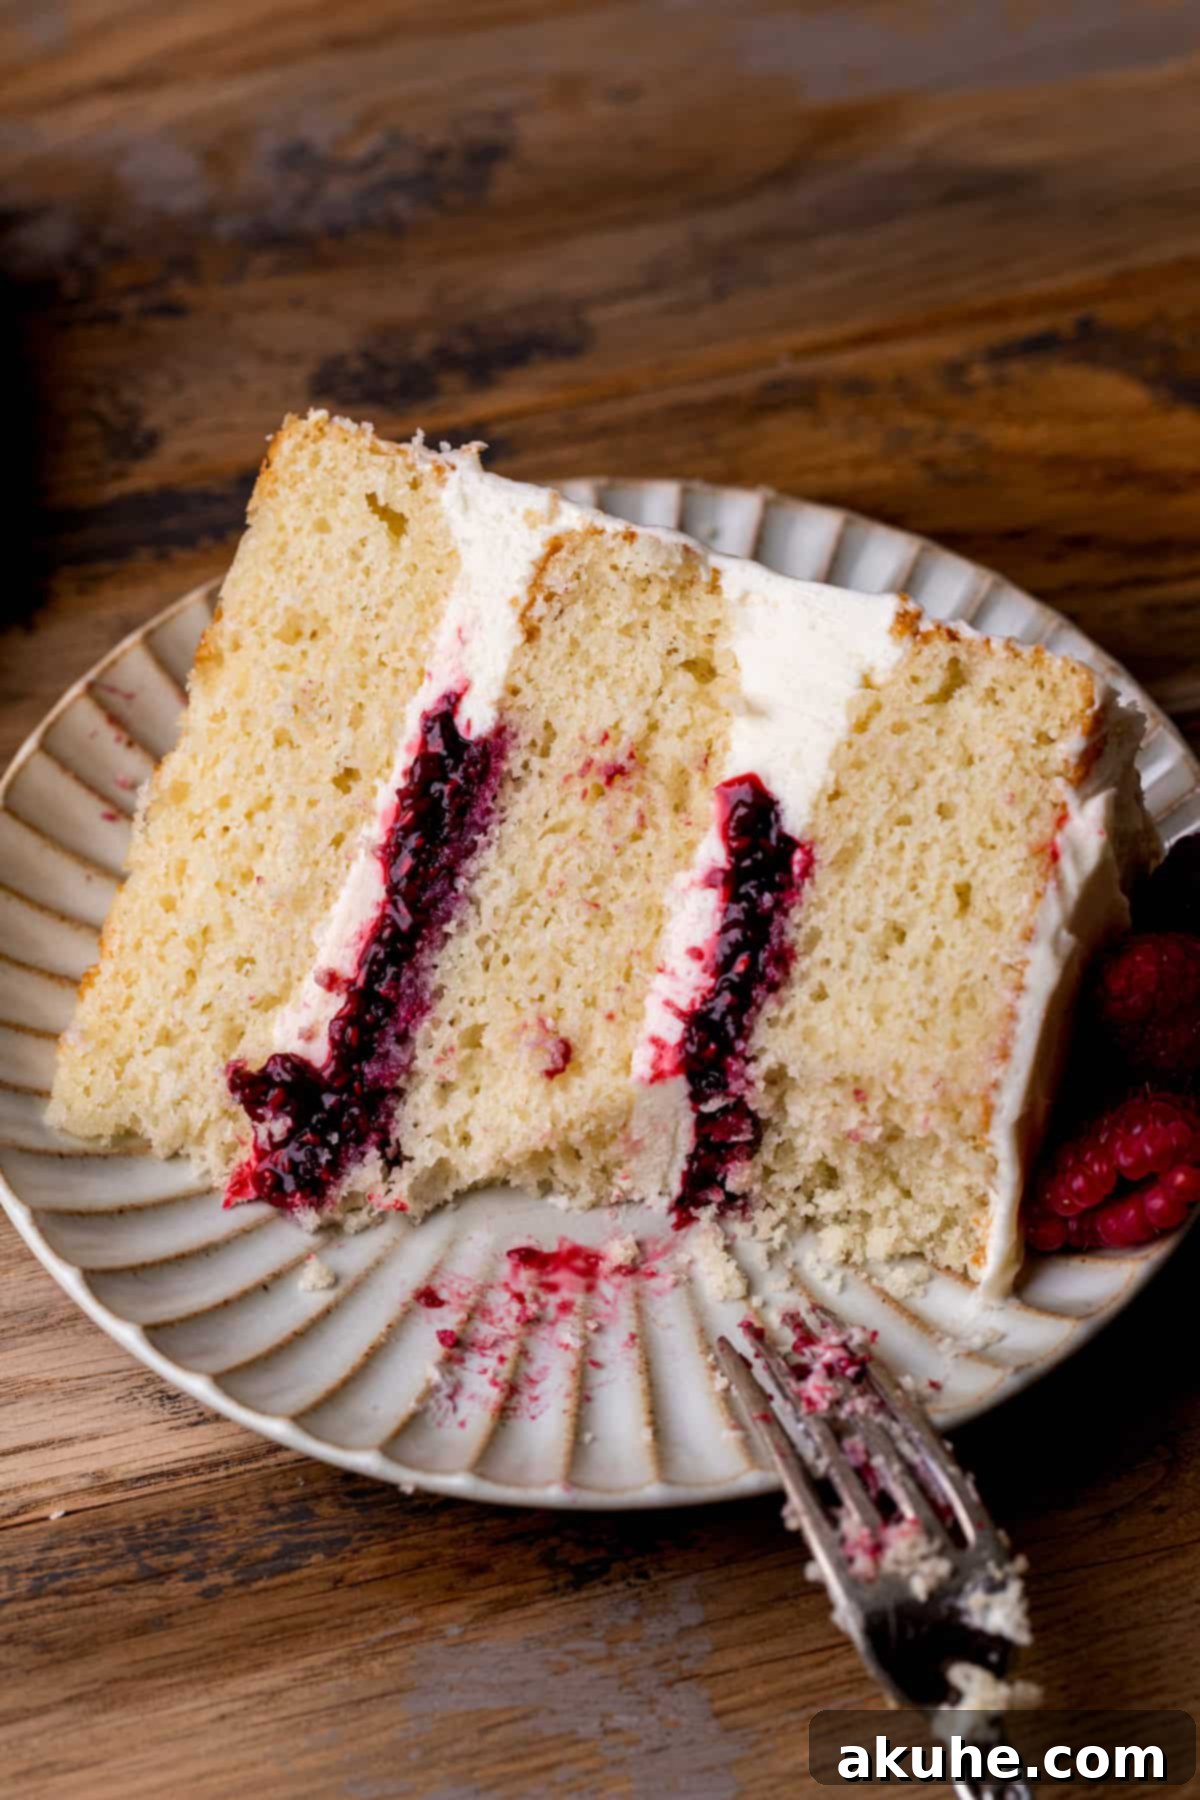
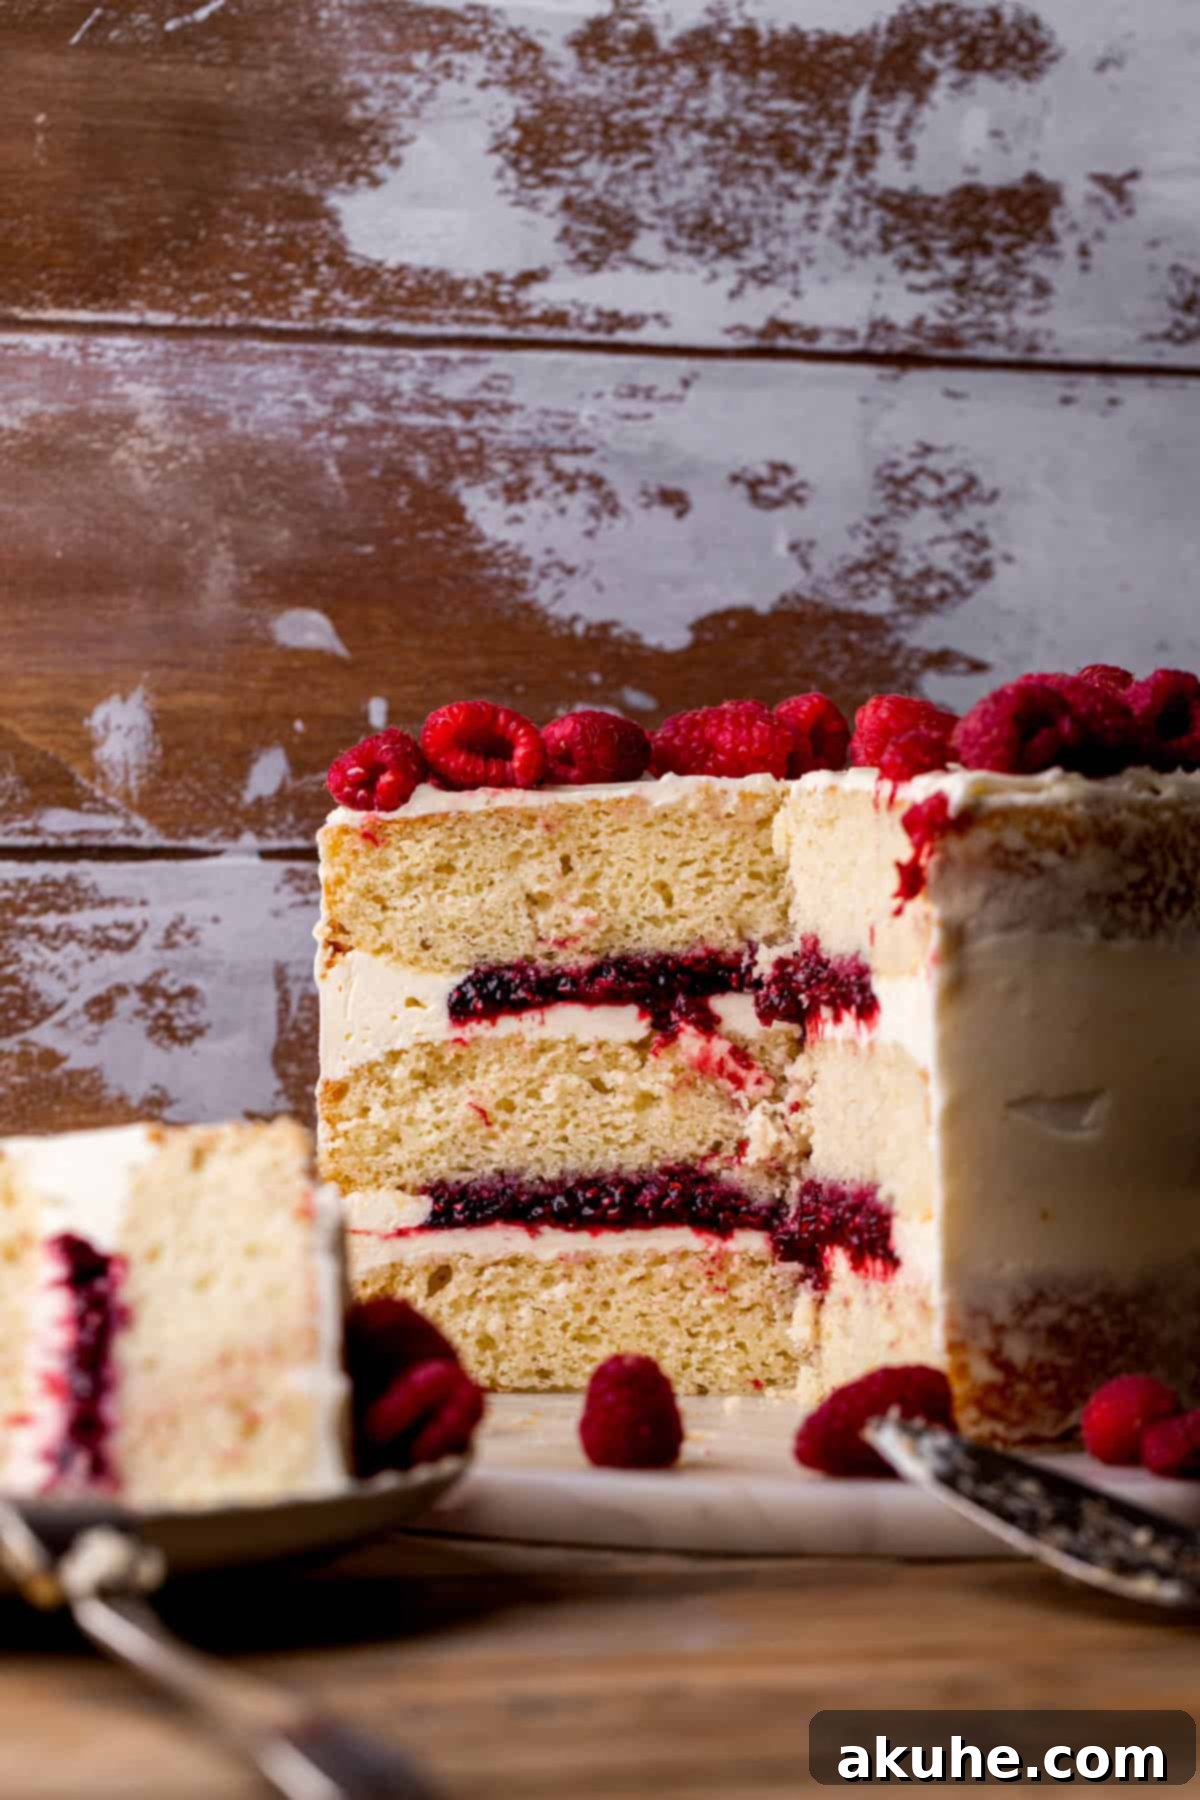
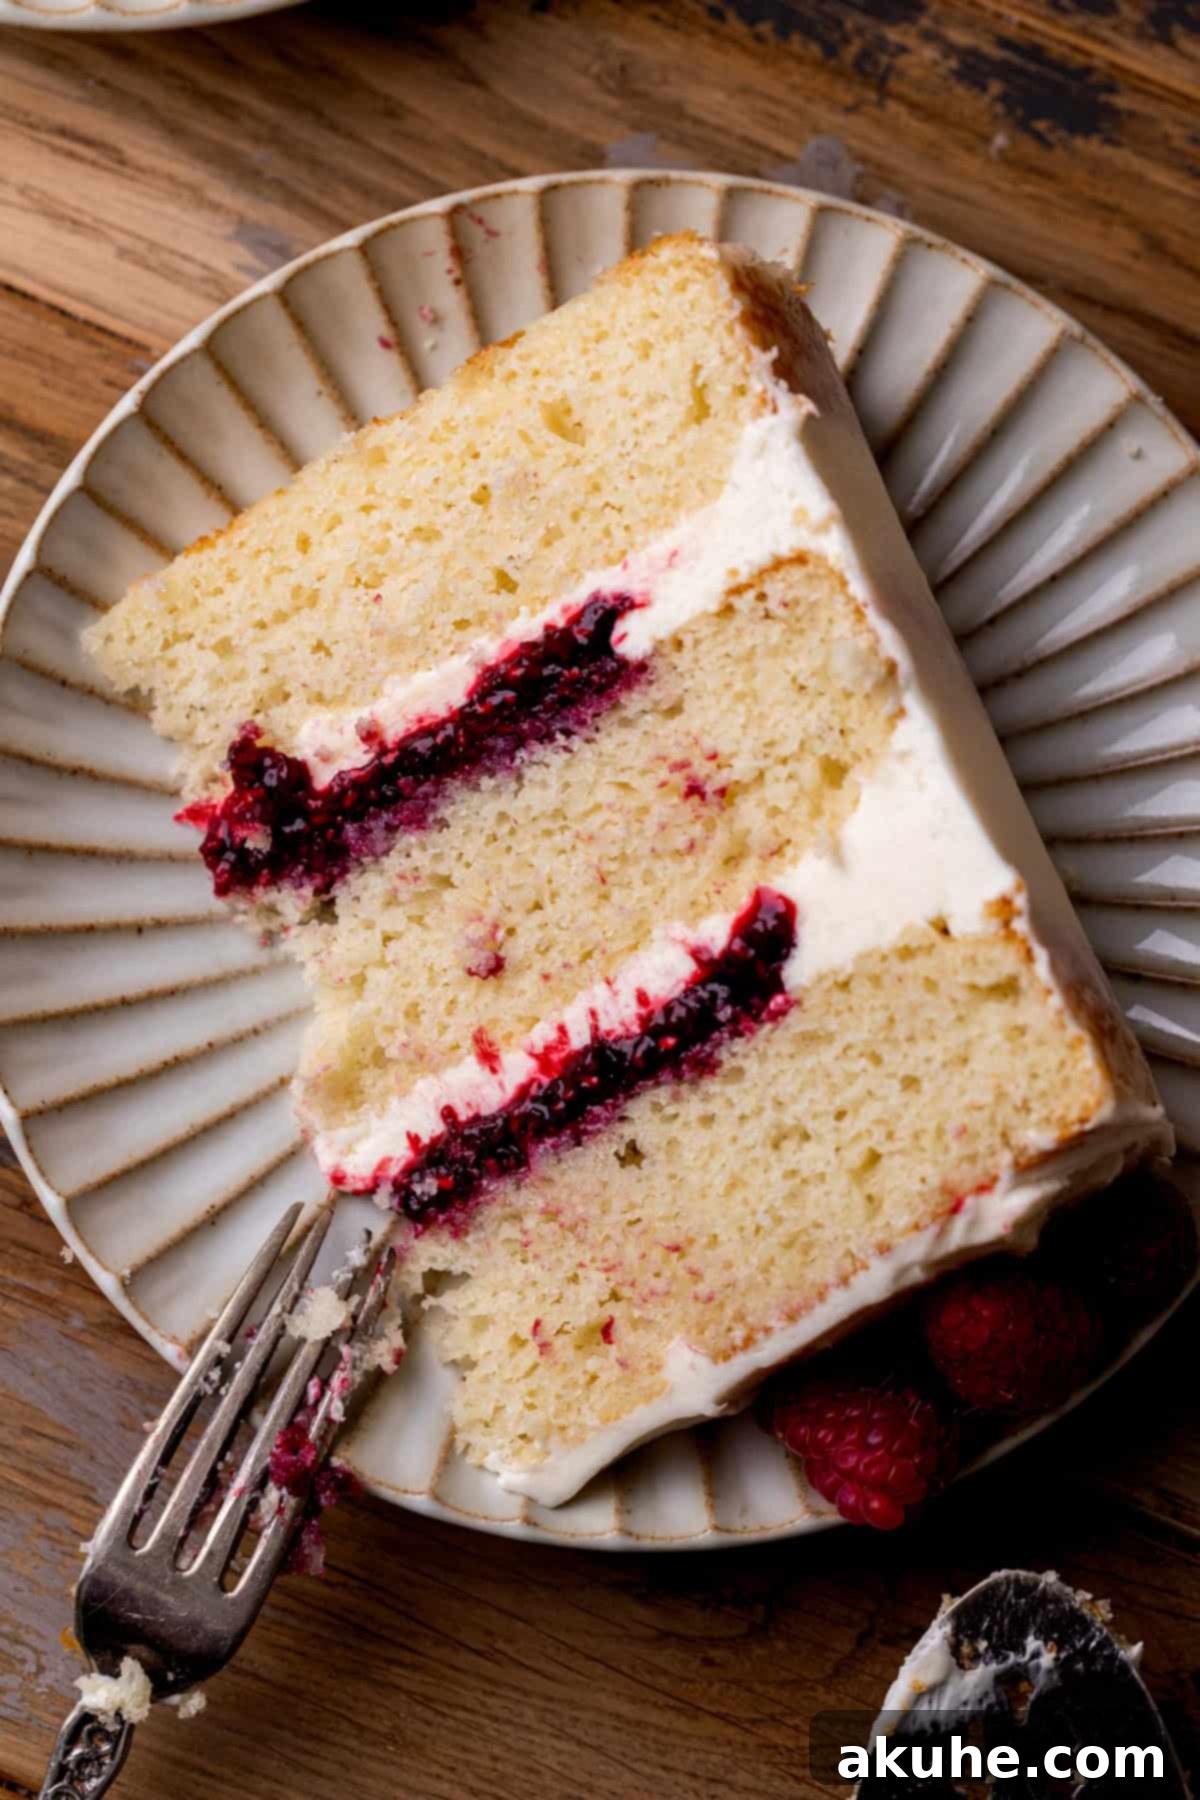
Indulge in the exquisite delight of our White Chocolate Raspberry Cake, a masterpiece designed to captivate your senses and elevate any celebration. This stunning three-layer vanilla cake features a harmonious blend of creamy white chocolate frosting and vibrant, tart raspberry jam, creating an unforgettable dessert experience. It’s a symphony of flavors and textures, where the sweetness of white chocolate perfectly complements the bright, fruity tang of fresh raspberries, all nestled within a moist and tender vanilla cake base.
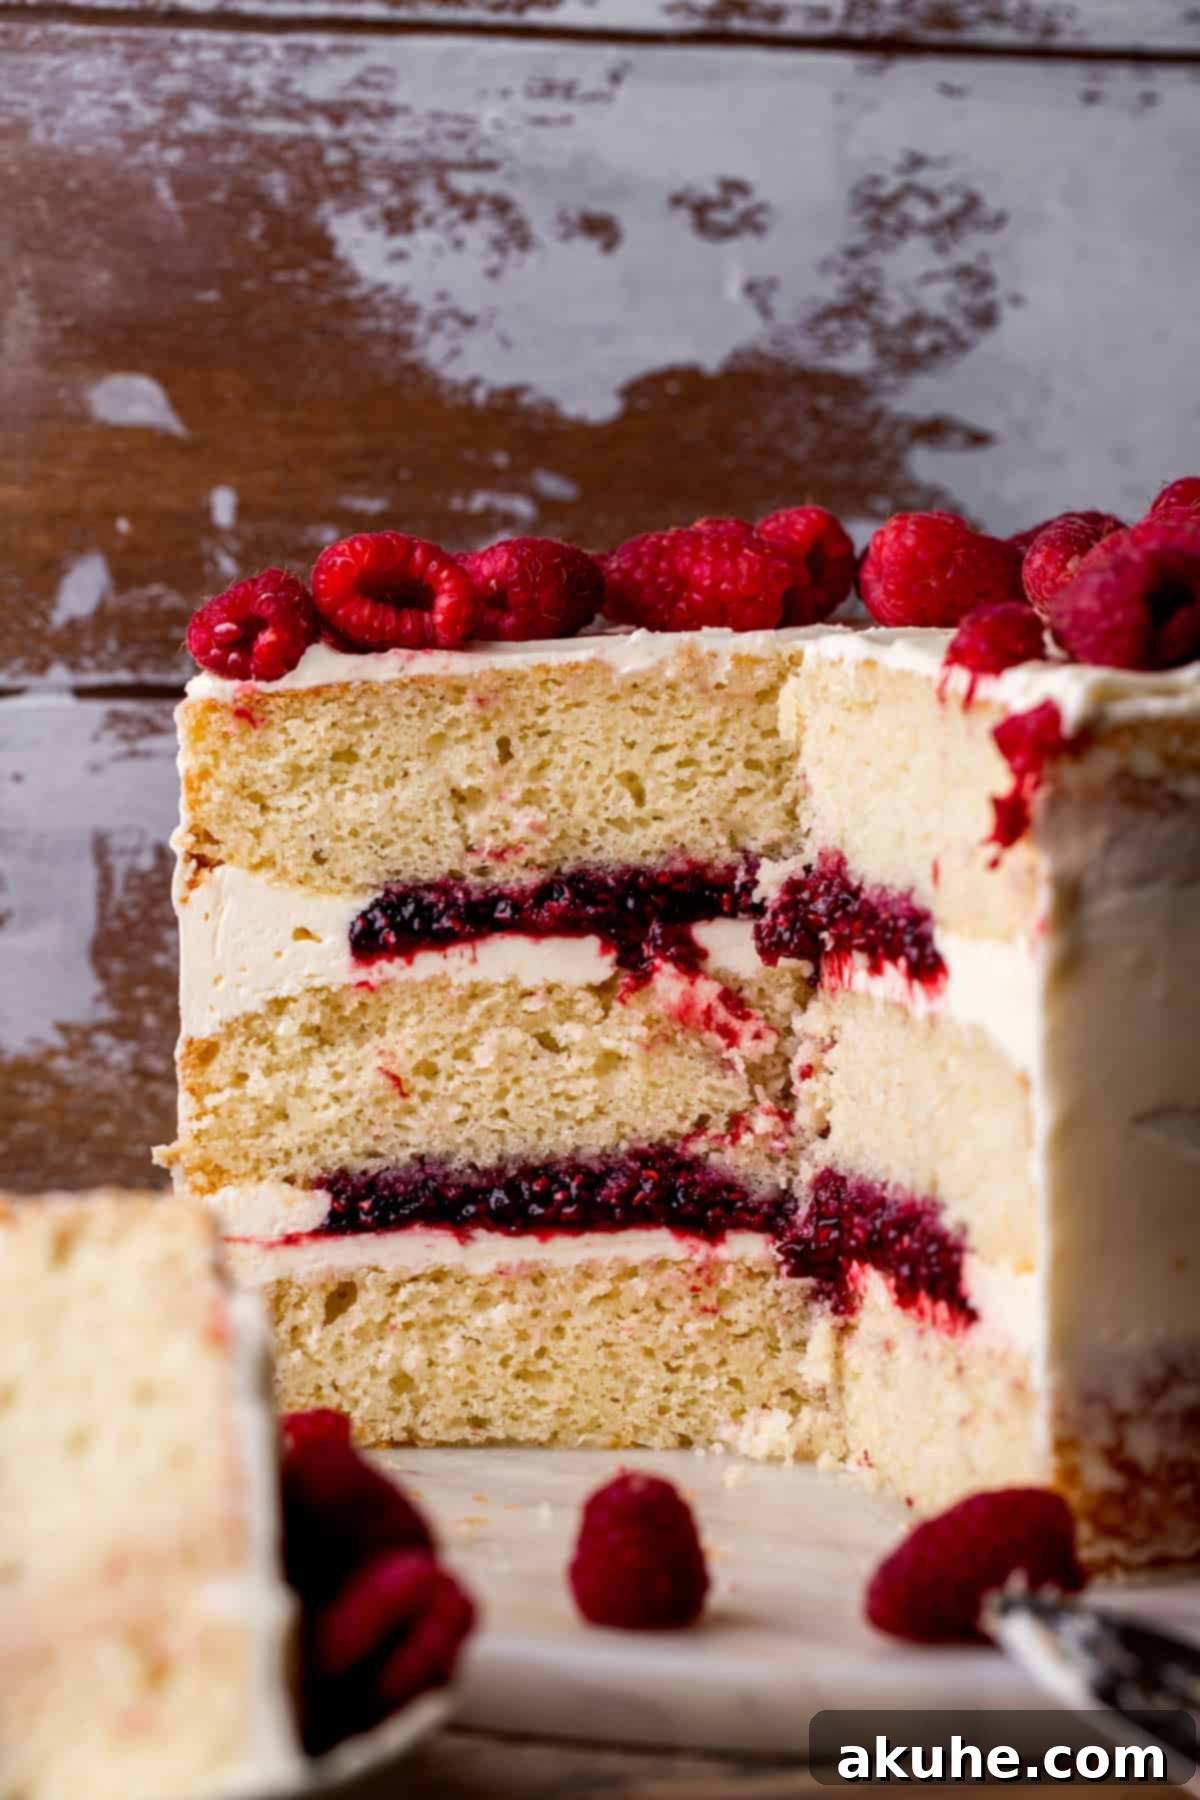
Whether you’re celebrating a milestone, hosting a special gathering, or simply craving an exceptional treat, this white chocolate raspberry cake is engineered to impress. Its elegant appearance and incredible taste make it the ideal centerpiece for bridal showers, baby showers, birthdays, or any event where a touch of sophistication and deliciousness is desired. Fans of rich white chocolate and refreshing fruit will find this dessert utterly irresistible. It’s more than just a cake; it’s a memorable moment waiting to be shared.
For those who love to explore delightful cake creations, be sure to also try our Best Carrot Cake, the decadent Nutella Cake, and our incredibly Moist Chocolate Cake.
Why This White Chocolate Raspberry Cake Recipe Is a Must-Bake
Every element of this white chocolate raspberry cake recipe has been carefully crafted to ensure a perfect outcome, delivering a dessert that is both stunning and supremely delicious. Here’s what makes it truly special:
- Explosive Raspberry Flavor: The star of the show, our homemade raspberry jam, bursts with intense, natural raspberry flavor. It provides a delightful tart contrast that cuts through the richness of the white chocolate, creating a beautifully balanced taste profile. The fresh, fruity notes are truly invigorating.
- Luxurious White Chocolate Frosting: This isn’t just any frosting; it’s a silky, decadent white chocolate buttercream that melts in your mouth. The sweet, delicate notes of premium white chocolate are the perfect creamy counterpart to the vibrant raspberries, tying all the flavors together in a luscious embrace.
- Effortless Homemade Jam: Don’t be intimidated by homemade jam! Our recipe is incredibly simple to follow, requiring just a few ingredients and minimal effort. The reward is a jam with a superior texture and unparalleled fresh taste that far surpasses any store-bought alternative. You might even find yourself making extra batches to enjoy on toast or pastries!
- Perfectly Moist Vanilla Cake Base: The foundation of this spectacular dessert is a tender, fluffy vanilla cake. Crafted with care, it provides the ideal canvas for the bold flavors of raspberry and white chocolate, ensuring every bite is a harmonious blend of moist cake, creamy frosting, and fruity jam.
Baking the Fluffy Vanilla Cake Layers: Step-by-Step Instructions
Creating the perfect foundation for our white chocolate raspberry cake begins with baking three tender, moist vanilla cake layers. Follow these detailed steps for success:
STEP 1: Prepare Your Baking Environment. Preheat your oven to 350°F (175°C). This ensures the oven is at a consistent temperature when your batter goes in, crucial for even baking. Next, generously spray three 8-inch round cake pans with a high-quality baking spray. For an extra measure of non-stick security, line the bottoms of the pans with parchment paper circles. Then, spray the parchment paper again. This double layer of protection guarantees your cakes will release cleanly, preventing any tears or sticking.
STEP 2: Combine Dry Ingredients. In a medium-sized bowl, sift together the cake flour, baking powder, baking soda, and salt. Sifting is a vital step that removes any lumps from the flour and aerates the mixture, resulting in a lighter, more tender cake crumb. Set this dry mixture aside.
STEP 3: Cream Butter, Oil, and Sugar. In a separate, larger mixing bowl, combine the softened unsalted butter, vegetable oil, and granulated sugar. Using an electric mixer, beat these ingredients together on high speed for at least 2 minutes. The mixture should become light, pale, and fluffy, a process known as creaming. This incorporates air, which is essential for a light cake texture.
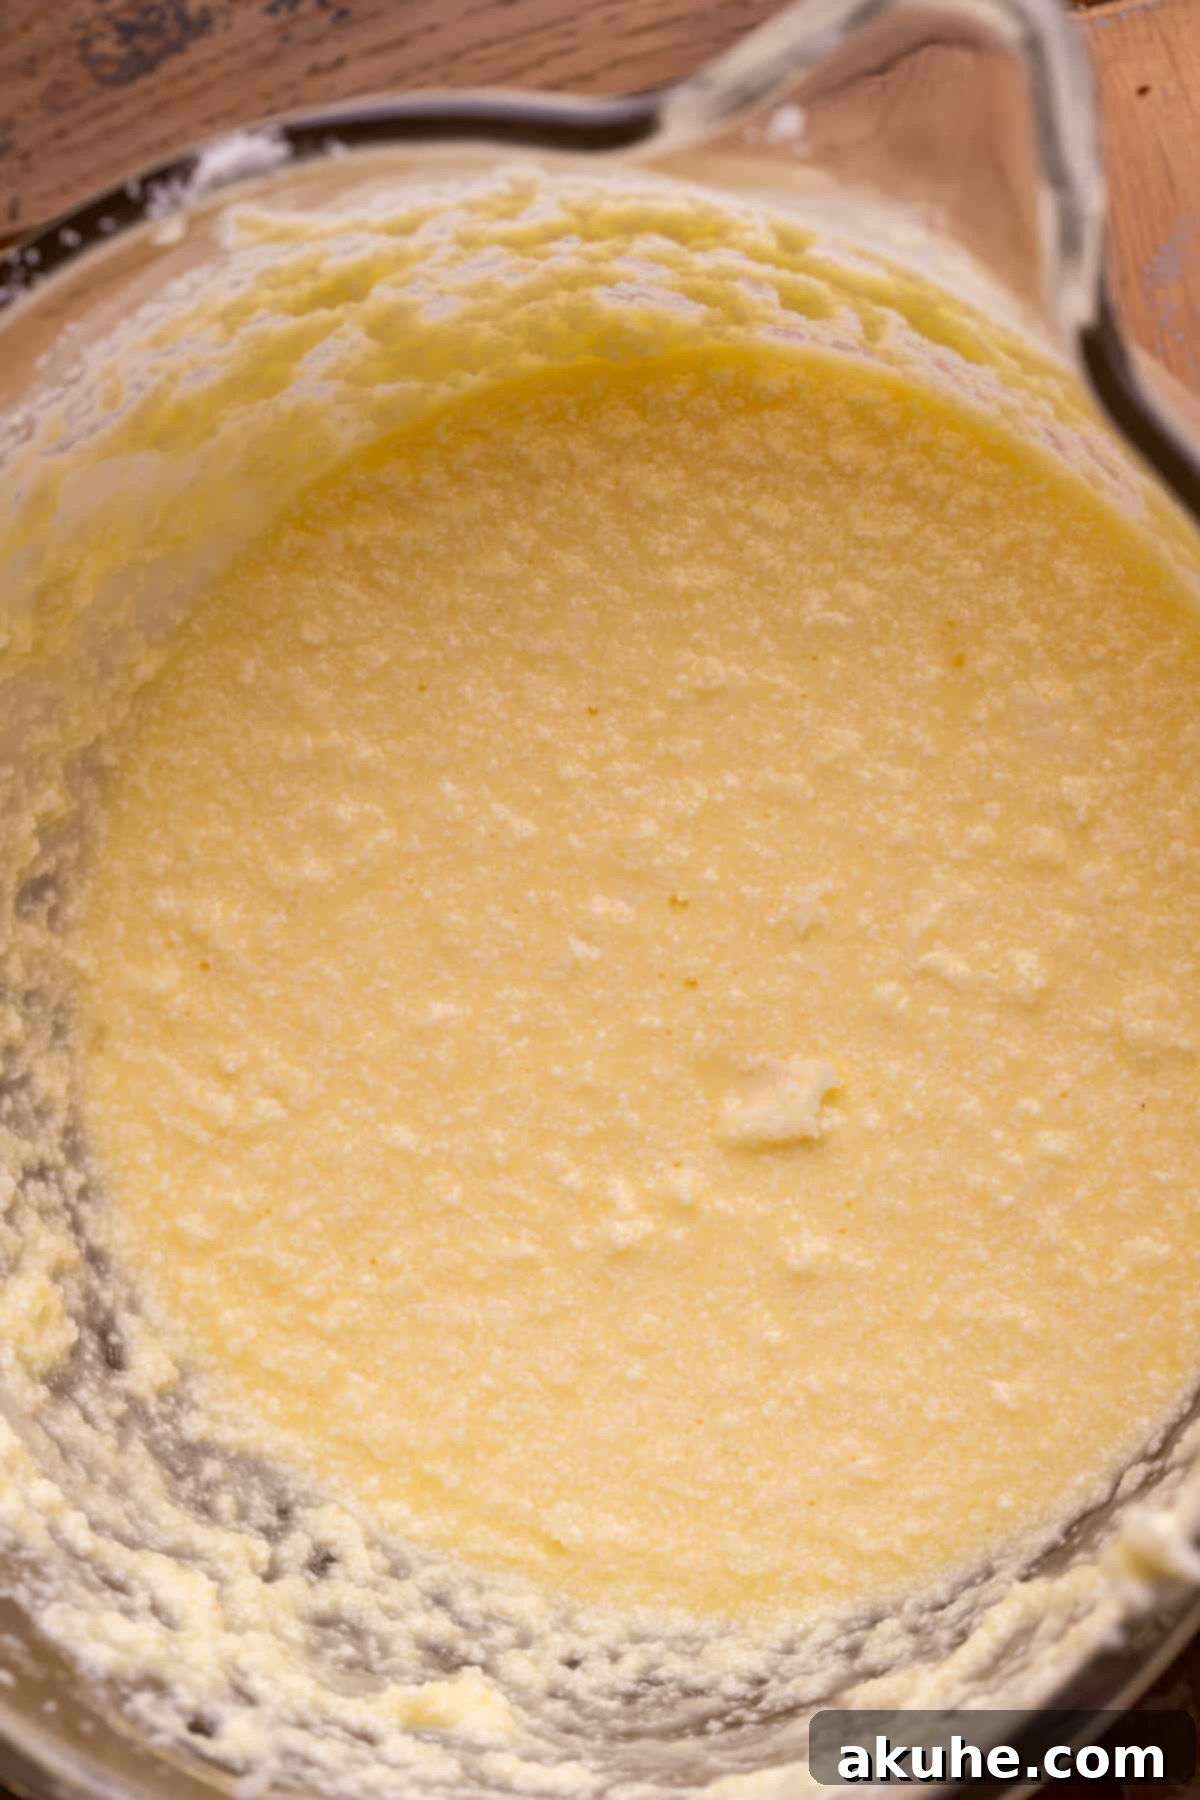
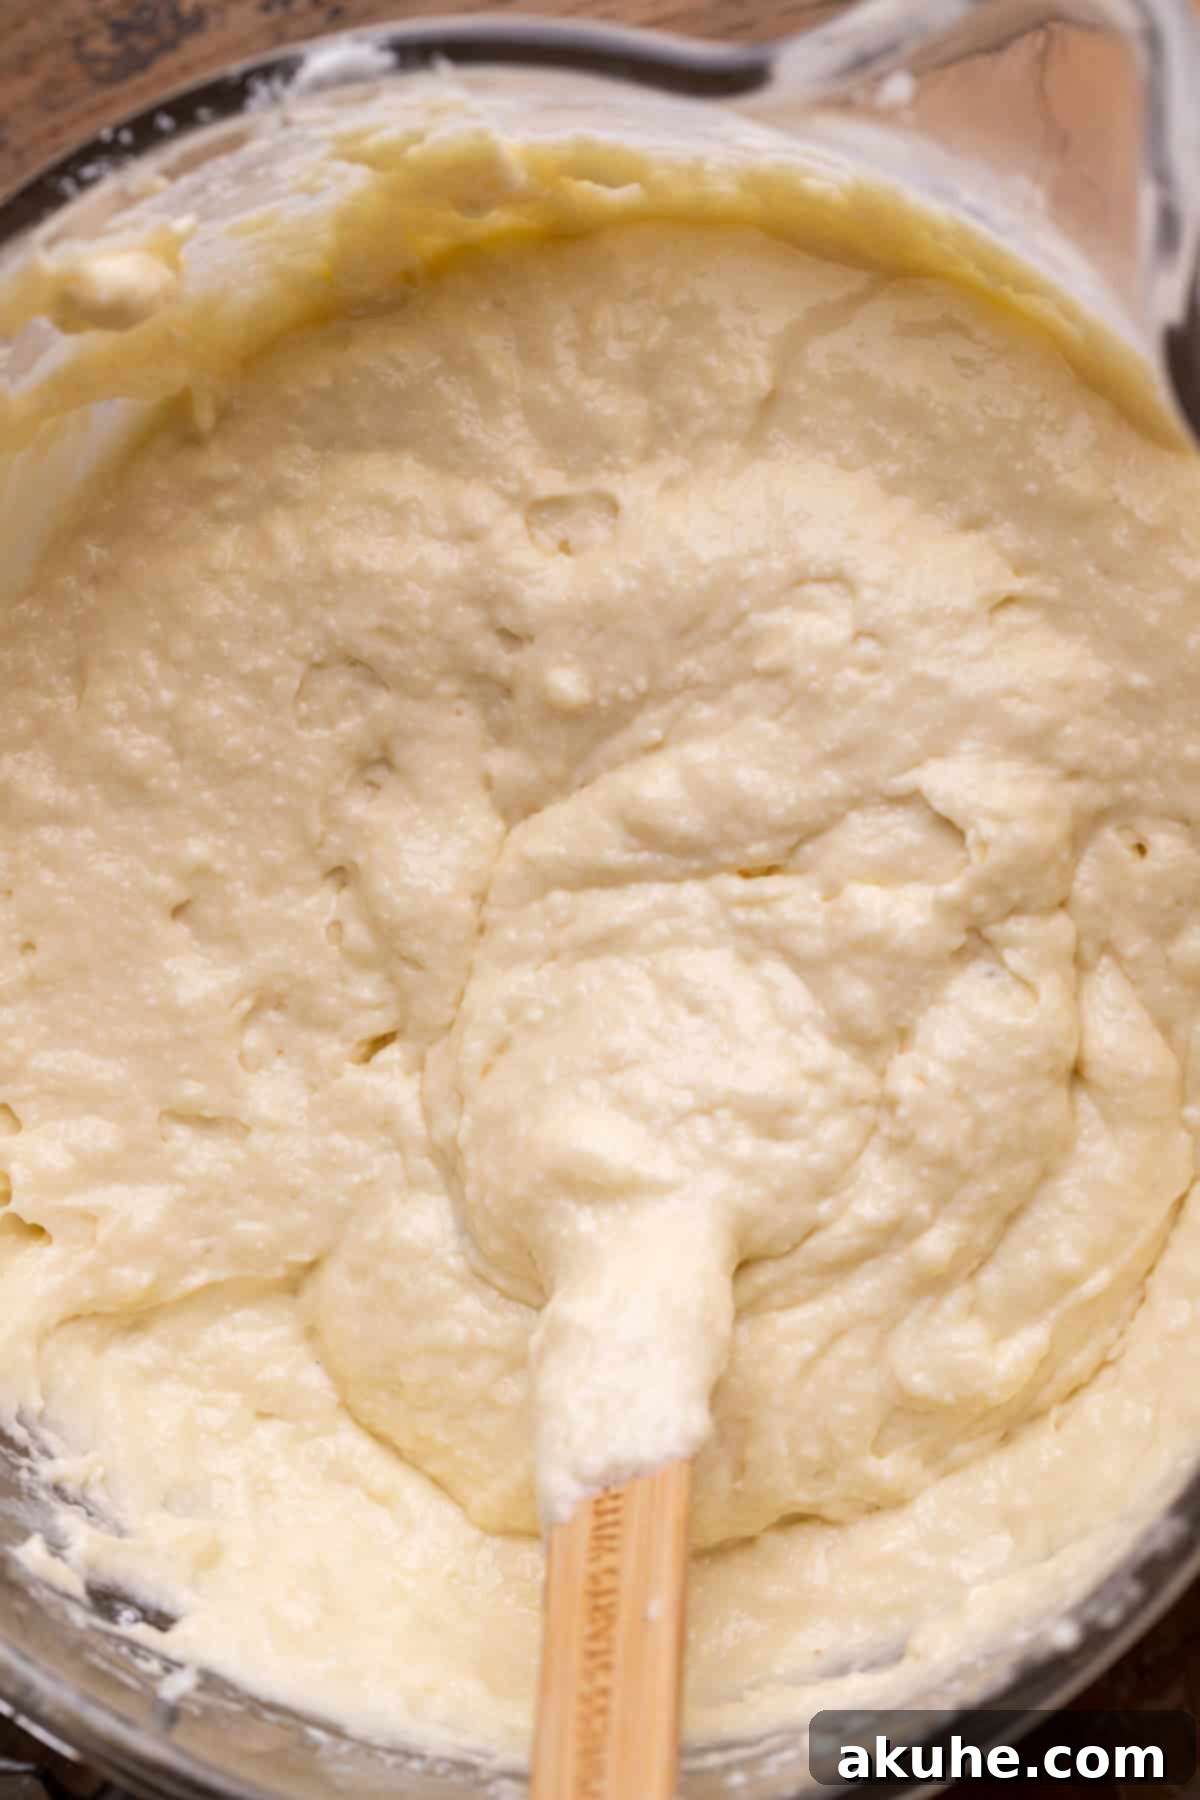
STEP 4: Incorporate Wet Ingredients. Reduce the mixer speed to medium. Add the eggs one at a time, ensuring each is fully incorporated before adding the next. Then, stir in the pure vanilla extract and room-temperature sour cream. Mix until just combined. Don’t worry if the mixture appears slightly chunky; this is normal due to the sour cream and will smooth out as the dry ingredients are added.
STEP 5: Alternate Dry and Wet Additions. This method helps to create a stable emulsion and a tender cake. With the mixer on low speed, add about one-third of the sifted flour mixture to the wet ingredients, mixing until just barely combined. Follow this with half of the buttermilk, mixing again on low speed until integrated. Repeat this process: add another third of the flour mixture, then the remaining buttermilk. Finish by adding the last portion of the dry ingredients, mixing on low speed only until no dry streaks remain. Be careful not to overmix, as this can lead to a tough cake.
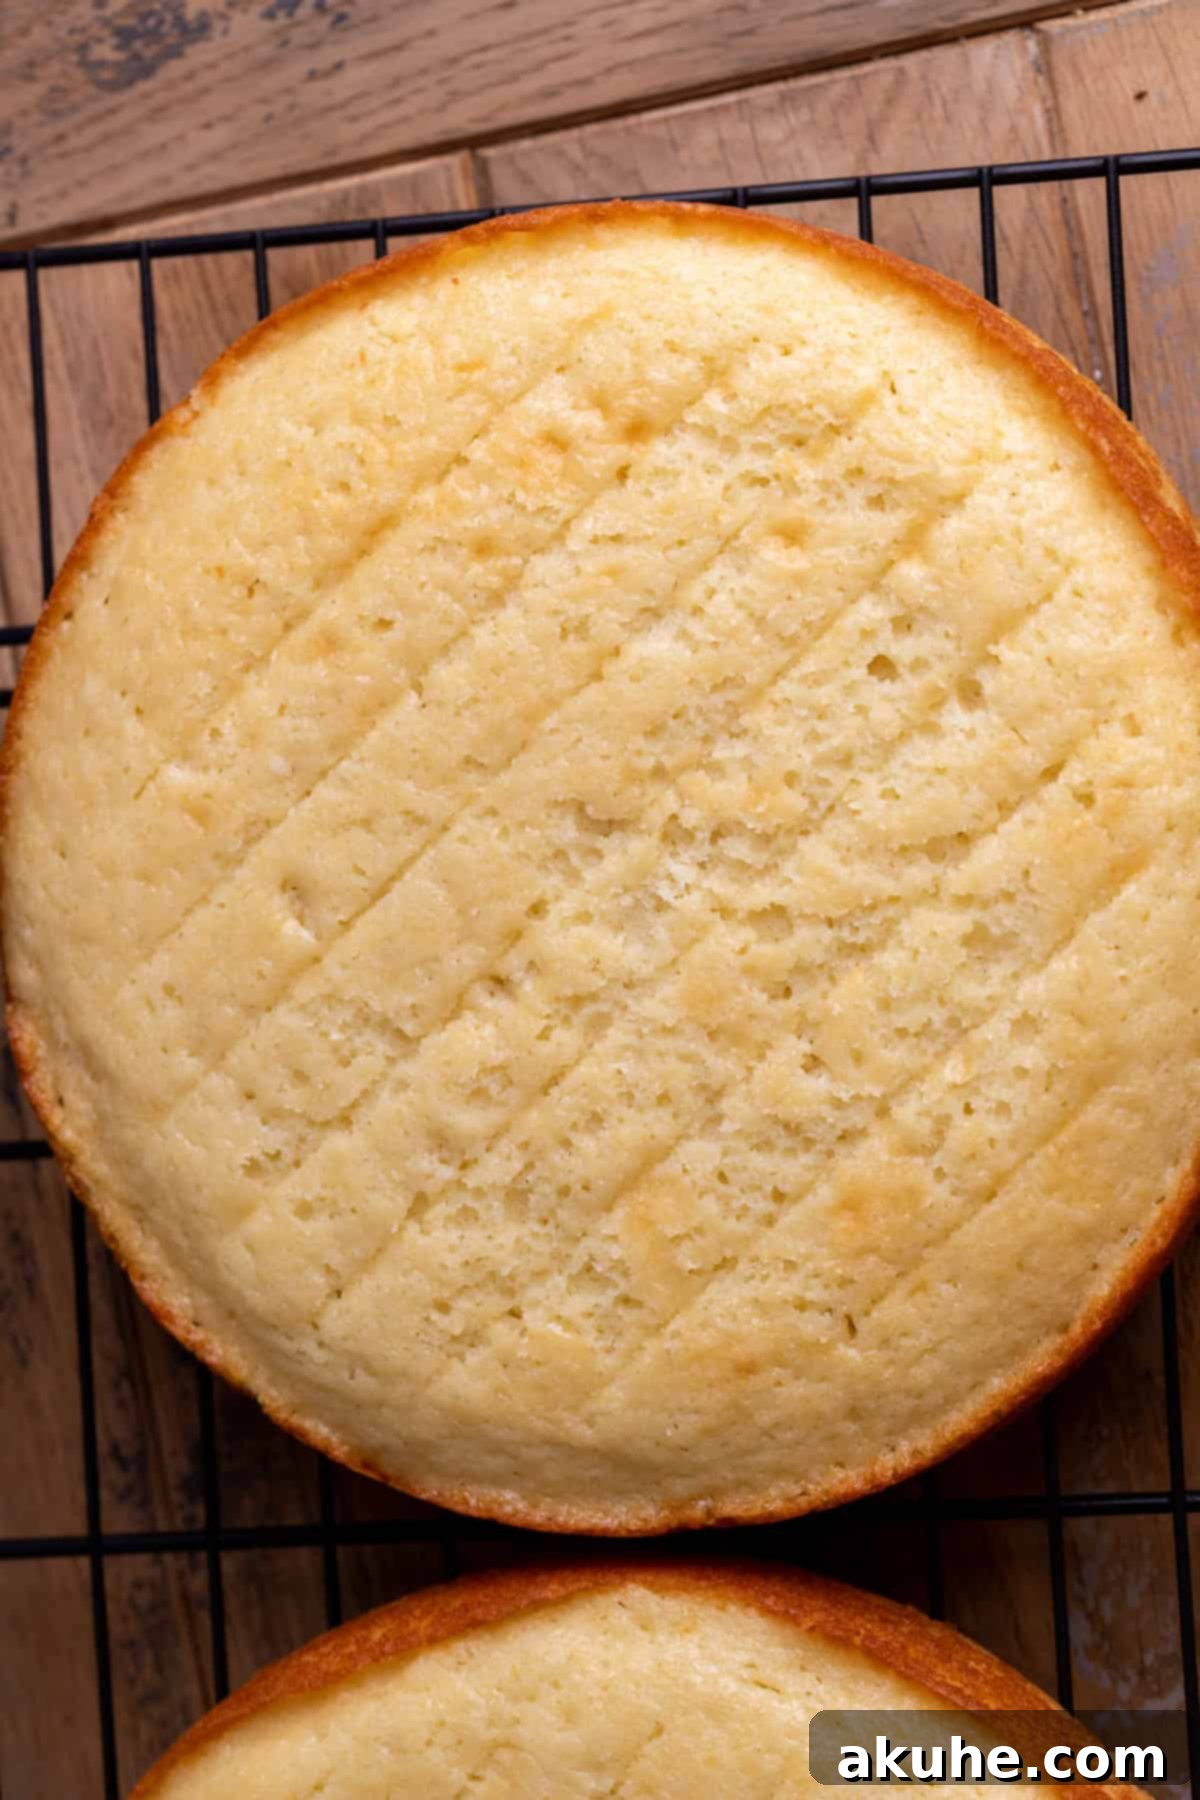
STEP 6: Bake to Golden Perfection. Divide the cake batter equally among the three prepared 8-inch cake pans. Place them in the preheated oven and bake for approximately 22-25 minutes. To check for doneness, insert a toothpick into the center of a cake; if it comes out clean, the cakes are ready. While the cakes are baking, you can begin preparing your raspberry jam and white chocolate frosting to save time.
STEP 7: Cool Completely. Once baked, remove the cakes from the oven and allow them to cool in their pans for 10 minutes. This crucial resting period allows the cakes to set properly, preventing them from crumbling when transferred. After 10 minutes, carefully invert the cakes onto a wire cooling rack and allow them to cool completely. Ensure they are entirely cool before attempting to frost or assemble, as warm cakes will melt your frosting.
Crafting the Irresistible Raspberry Jam and Velvety White Chocolate Frosting
These two components are what truly elevate our white chocolate raspberry cake. Learning to make them perfectly will ensure a show-stopping dessert. For more detailed tips on crafting the perfect preserves, check out my simple raspberry jam post.
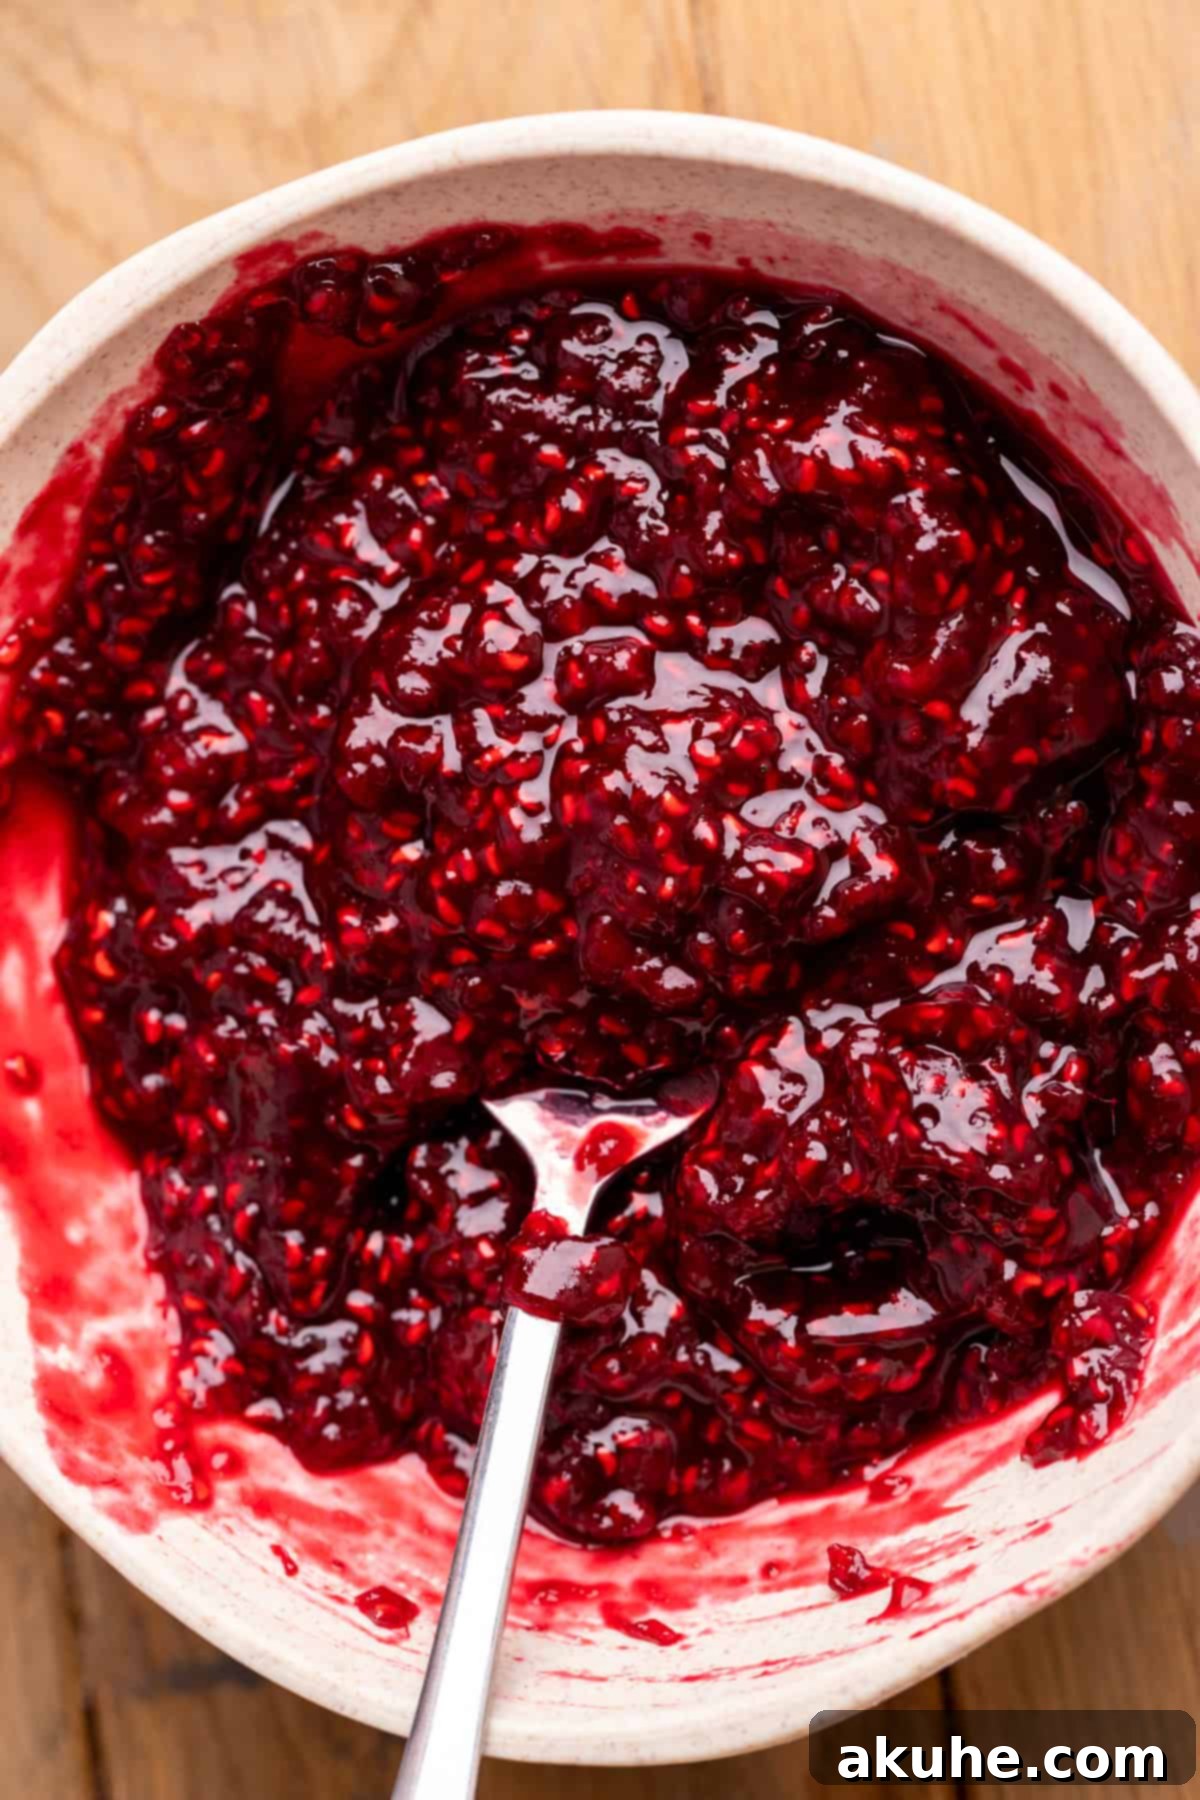
STEP 1: Cook the Raspberry Jam. In a medium saucepan, combine the fresh or frozen raspberries and granulated sugar. Place the saucepan over medium heat. As the berries warm, they will begin to soften and release their vibrant juices. Continue to cook, stirring occasionally, until the mixture thickens into a jam-like consistency. The goal is to yield approximately 1 cup of jam. If you find you have more, continue cooking for a few extra minutes until it reduces slightly. The jam should coat the back of a spoon.
STEP 2: Cool the Jam. Once the jam has reached the desired thickness, carefully pour it into a heat-resistant container. Allow it to cool completely at room temperature before using. For faster cooling, you can place it in the refrigerator once it has reached a safe handling temperature. Proper cooling is essential to prevent it from melting your frosting during assembly.
STEP 3: Prepare White Chocolate and Sift Sugar. In preparation for the frosting, begin by melting your white chocolate chips. Place them in a microwave-safe bowl and heat in 20-second intervals, stirring thoroughly after each interval, until the chocolate is smooth and fully melted. Be cautious not to overheat, as white chocolate can seize. While the chocolate cools slightly, sift your powdered sugar into a medium bowl. Sifting ensures a lump-free, silky smooth frosting.
STEP 4: Beat the Butter. In a large mixing bowl, using an electric mixer, beat the room-temperature unsalted butter on high speed for 3 minutes. The butter should become very light, pale, and incredibly fluffy. This step incorporates air, creating a truly light and airy buttercream. Remember to scrape down the sides of the bowl periodically with a rubber spatula to ensure even beating.
STEP 5: Combine with Powdered Sugar. Reduce the mixer speed to low. Gradually add the sifted powdered sugar to the beaten butter. Mix on low speed until the sugar is fully incorporated and the mixture starts to come together. Starting on low speed prevents a cloud of powdered sugar from escaping your bowl!
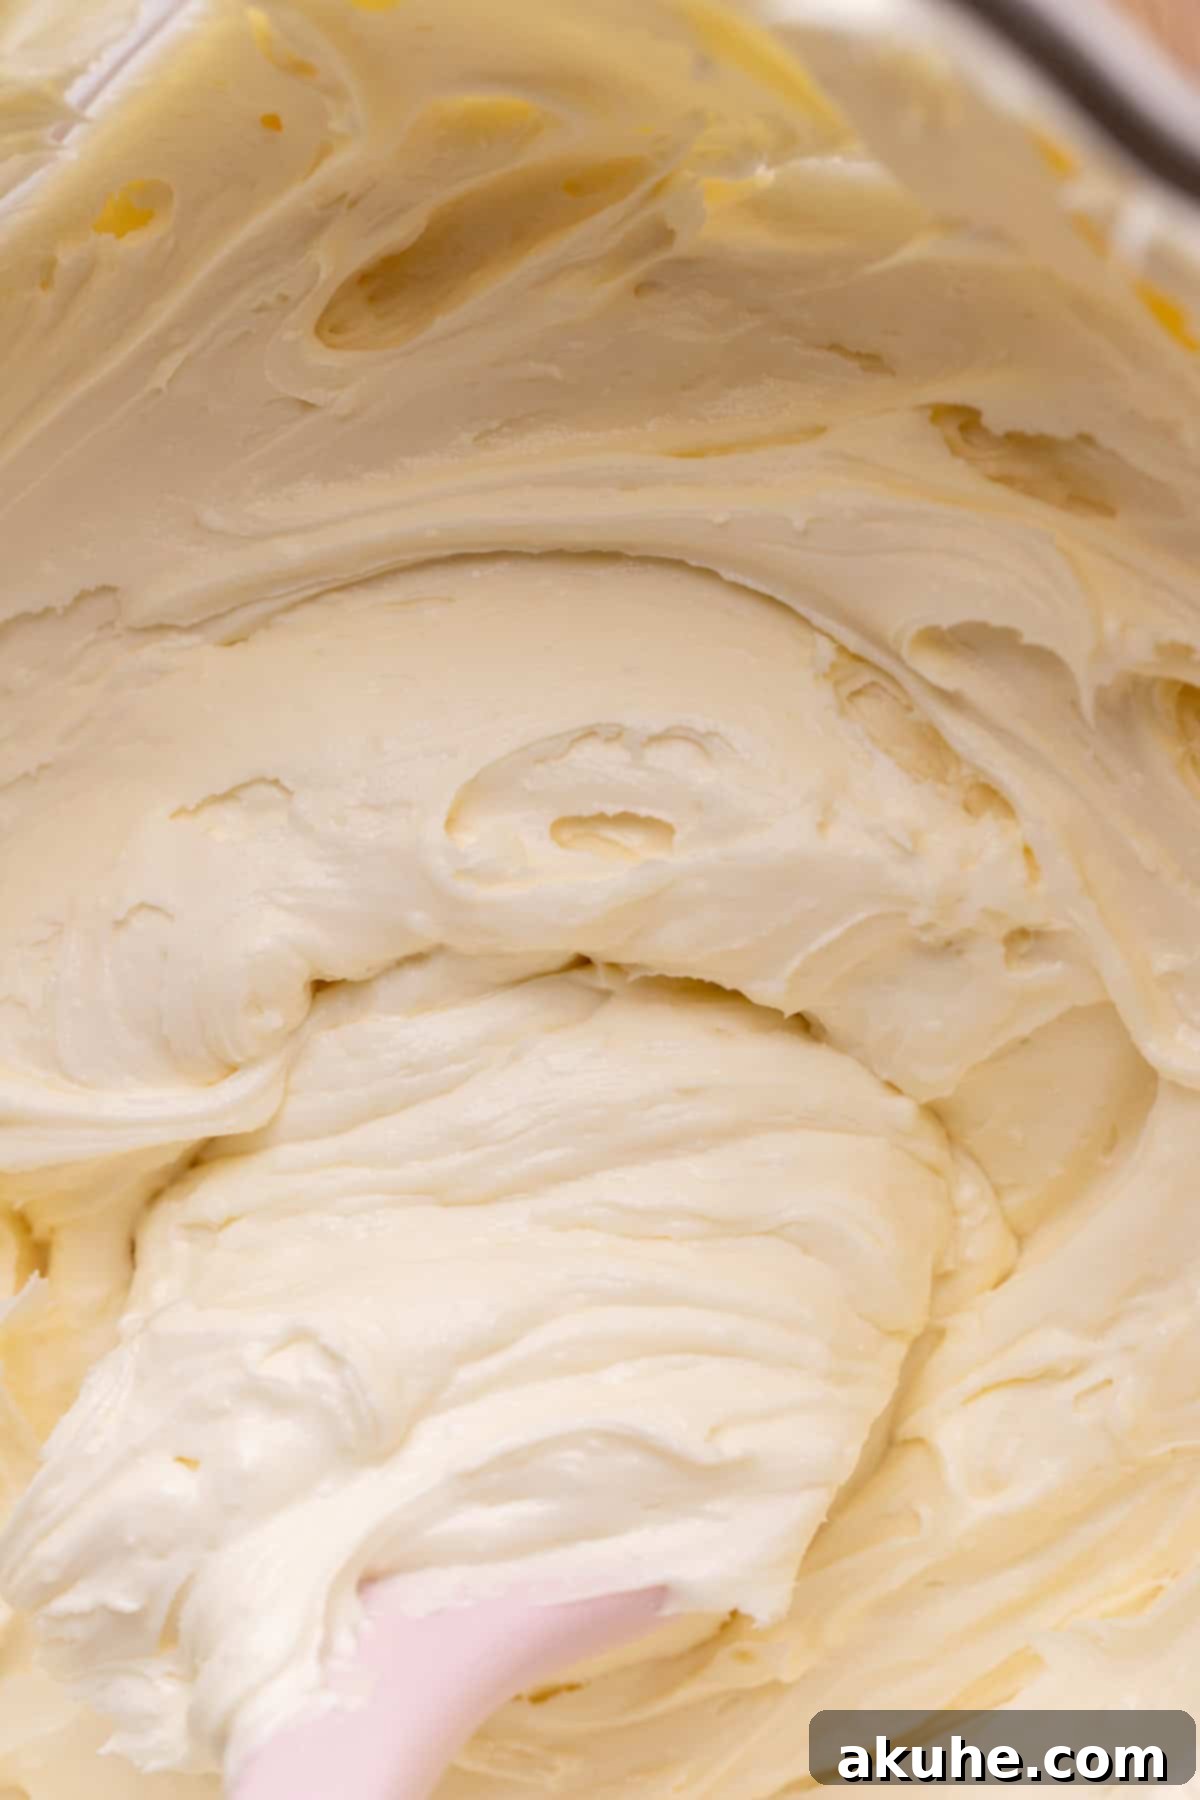
STEP 6: Achieve Creamy Frosting. Add the pure vanilla extract, a pinch of salt (to balance the sweetness), and the slightly cooled melted white chocolate to the butter and sugar mixture. Mix on low speed until all ingredients are just combined. Then, increase the mixer speed to high and beat the frosting for another 2-3 minutes. This final beating whips air into the frosting, transforming it into a wonderfully creamy, smooth, and spreadable white chocolate buttercream.
Assembling Your Masterpiece: The White Chocolate Raspberry Cake
The final step in creating this show-stopping dessert is careful assembly. Follow these instructions to build a beautiful and stable layer cake:
STEP 1: Prepare Cake Layers and Base. Ensure your cake layers are completely cool. Using a serrated knife, carefully level each cake layer by slicing off any uneven domes on top. This creates flat surfaces, allowing your cake to stack neatly. Place a small dollop of frosting in the center of your cake decorating board or serving plate. This acts as an adhesive, securing the first cake layer in place and preventing it from sliding during decoration.
STEP 2: First Layer and Filling. Place one leveled cake layer onto the frosted spot on your board. Generously spread about ¾ cup of white chocolate frosting evenly over the top of this layer. Next, using a piping bag fitted with a round tip (or simply a Ziploc bag with the corner snipped off), pipe a border of frosting around the outer edge of the frosted cake layer. This creates a dam to hold the raspberry jam in place. Carefully spoon half of the cooled raspberry jam into the center of the frosting border, spreading it gently.
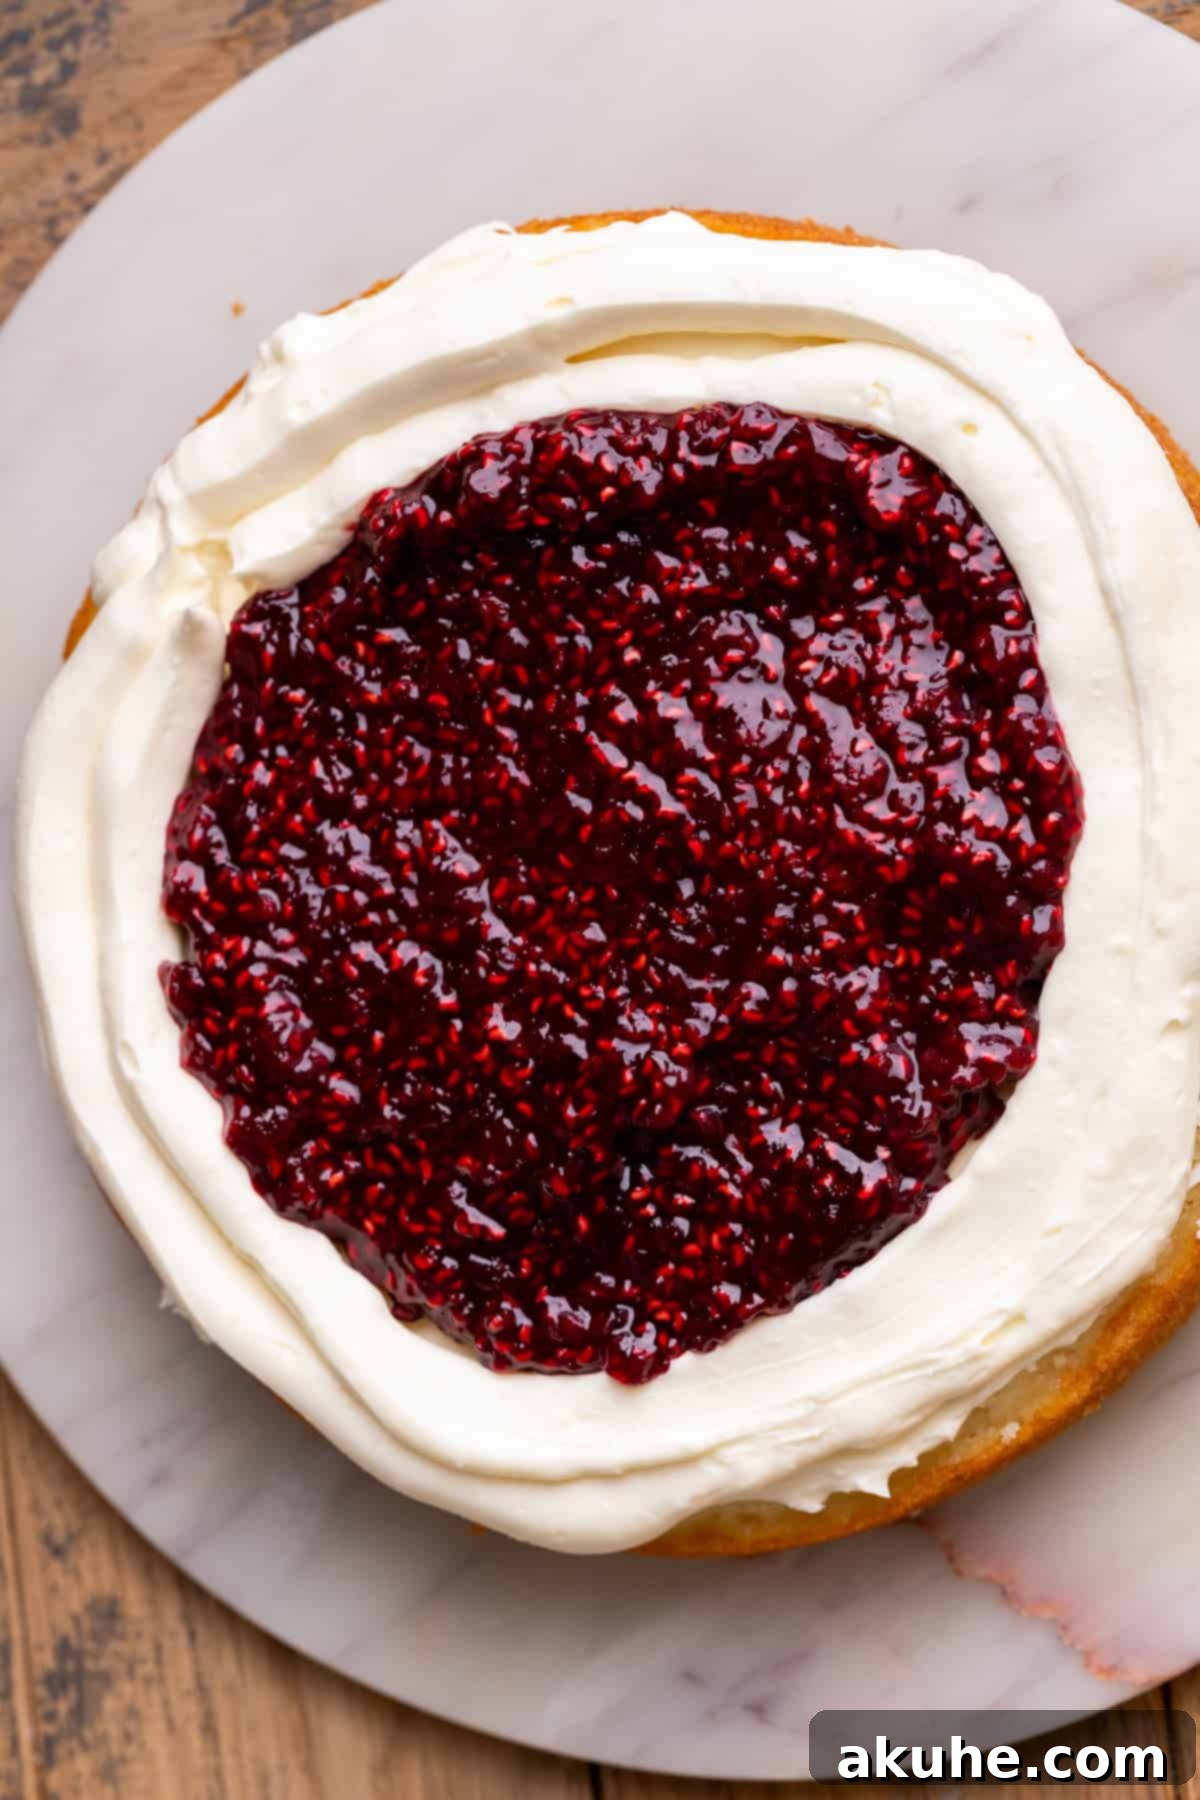
STEP 3: Second Layer. Carefully place the second leveled cake layer directly on top of the first, aligning it as evenly as possible. Gently press down to secure it. Repeat STEP 2, frosting the top with ¾ cup of white chocolate frosting, piping a border, and filling it with the remaining half of the raspberry jam.
STEP 4: Position the Final Layer. For the top layer, place the third cake layer upside down. This uses the perfectly flat bottom of the cake as your top surface, ensuring a smooth and professional finish for your cake.
STEP 5: Apply a Crumb Coat. Using an offset spatula, apply a very thin, light layer of white chocolate frosting over the entire outside of the cake (top and sides). This is called a crumb coat, and its purpose is to trap any loose cake crumbs, preventing them from mixing into your final layer of frosting. Once coated, place the cake in the freezer for about 15 minutes. This chilling time allows the crumb coat to set firmly, effectively “locking in” all the crumbs.
STEP 6: Final Frosting and Chill. Remove the cake from the freezer. Now, apply the remaining white chocolate frosting generously over the entire cake, smoothing it out with your offset spatula or a cake scraper to achieve your desired finish. Once fully frosted, return the cake to the freezer for another 10 minutes. This final chill helps the frosting to set, making it easier to transport and slice, and gives it a wonderfully firm outer layer.
Expert Baking Tips for a Flawless White Chocolate Raspberry Cake
Achieving bakery-quality results at home is easier than you think with these expert tips:
- Mastering Flour Measurement: Accurate flour measurement is paramount for a tender cake. Avoid scooping directly into the flour bag with your measuring cup, as this compacts the flour, leading to an excess amount. Instead, spoon the flour lightly into your measuring cup until it overflows, then level it off with the back of a knife. Better yet, use a kitchen scale for precise measurement (1 cup cake flour is typically 113 grams). Too much flour will result in a dry, dense cake.
- Flawless Pan Preparation: To ensure your cake layers release effortlessly, proper pan preparation is key. First, thoroughly spray your cake pans with a nonstick baking spray, ensuring full coverage. Next, cut parchment paper circles to fit the bottoms of your pans perfectly and place them inside. Then, spray the parchment paper again. This double layer of nonstick protection guarantees your cakes won’t stick and tear, preserving their beautiful structure.
- Room Temperature Ingredients are Non-Negotiable: For both the cake batter and the frosting, ensure all dairy ingredients (butter, eggs, sour cream, buttermilk) are at room temperature. This allows them to emulsify properly, creating a smooth, cohesive batter and a light, airy frosting. Cold ingredients will result in a lumpy batter and a curdled-looking frosting. Plan ahead by taking them out of the refrigerator 1-2 hours before you start baking.
- Do Not Overmix: After adding the dry ingredients to your wet mixture, mix only until just combined. Overmixing develops the gluten in the flour, leading to a tough, chewy cake rather than a tender, delicate one. A few small streaks of flour are acceptable; a quick final stir by hand can ensure everything is just incorporated.
- High Altitude Baking Adjustments: If you live at a high altitude, baking can be tricky. To prevent your cake from collapsing or drying out, consider adding an extra 2-3 tablespoons of cake flour to the batter. This helps to strengthen the cake’s structure. You might also need to slightly increase the liquid or decrease the leavening agents.
Frequently Asked Questions (FAQ)
Absolutely! Preparing cake layers in advance is a fantastic way to streamline your baking process, especially when entertaining. Once your cake layers have cooled completely, wrap each individual layer tightly in several layers of plastic wrap. You can then store them at room temperature for up to 2 days, or freeze them for up to 30 days. If frozen, thaw them in the refrigerator overnight, then bring them to room temperature for about an hour before you plan to decorate. This method keeps them incredibly moist and fresh.
Yes, you certainly can adjust the pan size, but it will impact the thickness and baking time of your layers. If using three 9-inch cake pans, your layers will be slightly thinner, and the baking time may decrease by a few minutes. Conversely, if you opt for three 6-inch cake pans, your layers will be significantly thicker, requiring a longer baking time (likely 30-40 minutes) and potentially a slightly lower oven temperature to ensure even cooking without over-browning the edges. Always keep an eye on doneness by using the toothpick test.
Yes, this versatile recipe adapts beautifully to cupcakes! This recipe will yield approximately 24 delightful white chocolate raspberry cupcakes. If you only need a smaller batch, simply halve the recipe for about 12 cupcakes. To infuse them with that signature raspberry flavor, you can core a small hole in the center of each cooled cupcake using an apple corer or small knife, then fill it generously with the raspberry jam before frosting. Frost with the white chocolate buttercream and garnish with a fresh raspberry for an elegant touch.
Delicious Recipe Variations to Explore
Feel free to get creative with this recipe and tailor it to your personal taste or available ingredients:
- White Chocolate Strawberry Cake: If raspberries aren’t your preference or are out of season, fresh or frozen strawberries make an excellent substitute for the jam. Simply follow the same jam-making process with an equal amount of strawberries for a delightful white chocolate strawberry cake.
- Cream Cheese Frosting Alternative: For those who adore the tangy sweetness of cream cheese frosting, you can absolutely swap out the white chocolate buttercream. Use the luscious cream cheese frosting recipe from this blueberry jam and cream cake recipe for a different, yet equally delicious, flavor profile.
- Convenient Store-Bought Jam: While our homemade raspberry jam offers superior flavor and texture, we understand that sometimes time is of the essence. If you’re short on time, a high-quality store-bought raspberry jam can be used as a convenient alternative. Look for a brand with a good fruit content and natural flavor for the best results.
- Add Fresh Berries: For an extra burst of freshness and visual appeal, consider folding a handful of fresh raspberries into your cake batter before baking, or scattering them over the frosting layers before adding the next cake layer.
Essential Tools for Baking and Decorating Like a Pro
Having the right tools can make all the difference in your baking and decorating journey:
- Quality Cake Pans: Investing in good quality cake pans ensures even baking and easy release. I highly recommend using Wilton 8-inch cake pans, as they consistently deliver excellent results.
- Parchment Paper Circles: Save yourself time and effort with pre-cut 8-inch parchment paper circles. These fit perfectly into your pans, eliminating the need for tedious cutting from a roll and providing a foolproof non-stick surface.
- Effective Baking Spray: A reliable nonstick spray is crucial. I prefer using a nonstick baking spray with flour, which offers superior release compared to plain cooking sprays, especially for delicate cakes.
- Offset Spatula: An offset spatula is an indispensable tool for smoothly spreading frosting and fillings. Its angled blade allows you to work with precision and avoid dipping your fingers into the frosting.
- Cake Turntable: For truly professional-looking frosting, a cake turntable is a game-changer. I use this robust Ateco cast iron turntable because of its exceptional quality and incredibly smooth, seamless spin, which is essential for even frosting application. Inferior turntables can be jerky, making decoration more challenging.
- Cake Scraper: To achieve impeccably smooth sides on your frosted cake, a metal cake scraper is a must-have. It helps create sharp edges and a polished finish.
- Piping Bags: For precise frosting borders and decorations, high-quality 18-inch piping bags are ideal. Their larger size means you can hold more frosting, reducing the need for frequent refills.
- Piping Tip: The Wilton 1M piping tip is a classic for a reason. It’s incredibly versatile for piping beautiful swirls, rosettes, and elegant borders on your cakes and cupcakes.
Storing and Freezing Your White Chocolate Raspberry Cake
To keep your white chocolate raspberry cake fresh and delicious for as long as possible, proper storage is essential:
Storage: Once assembled and frosted, this cake should be stored in an airtight container, such as a specialized cake carrier, to prevent it from drying out or absorbing refrigerator odors. Place it in the refrigerator, where it will remain fresh and delightful for up to 5 days. For best flavor and texture, allow slices to come to room temperature for about 15-20 minutes before serving.
Freezing: For longer storage, you can freeze individual slices of the white chocolate raspberry cake. Wrap each slice tightly in plastic wrap, then place them in an airtight freezer-safe container. This method helps prevent freezer burn and keeps the cake fresh for up to 30 days. When ready to enjoy, simply remove a slice from the freezer and let it thaw at room temperature for several hours, or overnight in the refrigerator.
Discover More Fruity Cake Recipes
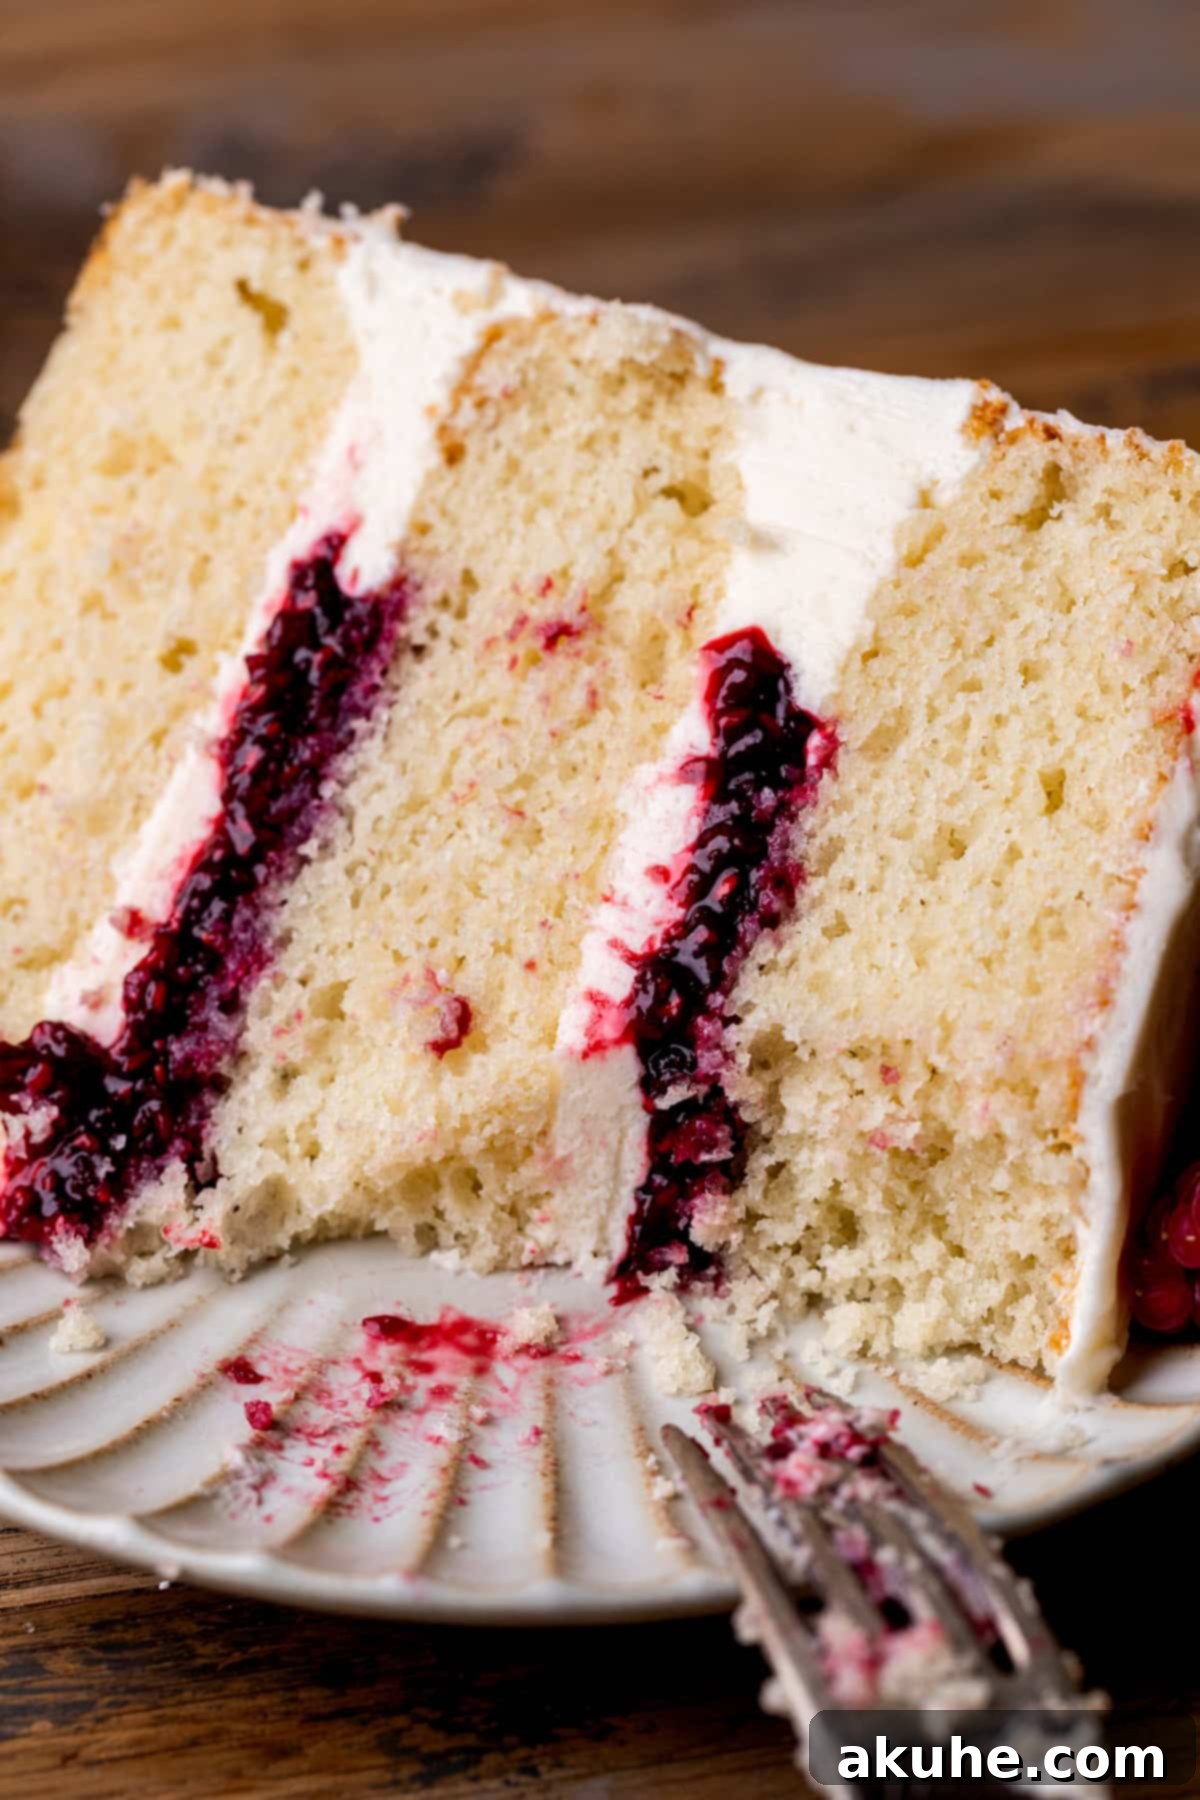
If you loved this fruity cake, you’ll adore these other delightful creations:
- Lemon Raspberry Rolls
- Chocolate Raspberry Cake
- Raspberry Muffins
- Vanilla Raspberry Cake
- Raspberry White Chocolate Cookies
We hope you enjoyed crafting and savoring this magnificent White Chocolate Raspberry Cake! If you loved this recipe, please make sure to leave a STAR REVIEW below. We’d also love to see your creations! Tag us on Instagram @stephaniesweettreats. For more delicious baking ideas and inspiration, be sure to follow us on Pinterest. Happy baking!
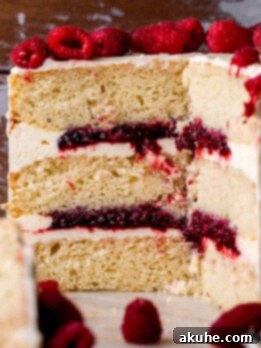
White Chocolate Raspberry Cake
Stephanie Rutherford
1 hr
23 mins
1 hr
2 hrs 23 mins
16 pieces
Ingredients
Vanilla Cake
- 3 1/4 cups Cake flour
- 2 tsp Baking powder
- 1 tsp Baking soda
- 1 tsp Salt
- 1 cup Unsalted butter, room temperature
- 3 TBSP Oil, canola or vegetable
- 1 1/2 cups White granulated sugar
- 4 Large eggs, room temperature
- 1 tsp Pure vanilla extract
- 1 cup Sour cream, room temperature or greek yogurt
- 1 cup Buttermilk, room temperature
Raspberry Jam
- 3 cups Raspberries, fresh or frozen
- 3/4 cup White granulated sugar
White Chocolate Frosting
- 2 1/2 cups Unsalted butter, room temperature
- 2 cups Powdered sugar, sifted
- 1 tsp Pure vanilla extract
- Pinch of salt
- 2 cups White chocolate chips, or a whole bag
Instructions
Vanilla Cake
- Preheat the oven to 350℉ (175°C). Spray three 8-inch cake pans with baking nonstick spray. Line the bottoms with 8-inch parchment paper circles and spray again.
- In a medium bowl, sift the cake flour, baking powder, baking soda, and salt. Set aside.
- Using a mixer, beat the butter, oil, and sugar on high speed for 2 minutes until pale and fluffy.
- Add in eggs, vanilla, and sour cream. Mix on medium speed until combined. It will appear a little chunky due to the sour cream.
- Add 1/3rd of the dry ingredients and half of the buttermilk and mix on low speed. Add another 1/3rd of the dry ingredients and the rest of the buttermilk. Then, finish with the rest of the dry ingredients, mixing until just combined.
- Pour evenly between the three cake pans. Bake for 22-25 minutes until a toothpick inserted into the center comes out clean.
- Let the cakes sit in the hot pans for 10 minutes. Then, transfer to a cooling rack. Cool completely before decorating.
Raspberry Jam
- Start this ahead of time or while the cakes are in the oven.
- In a medium saucepan over medium heat, mix the raspberries and the sugar. Heat until berries start to soften and leak juices. Continue heating until the jam is thickened to about 1 cup. If more than that, cook for a few more minutes.
- Cool the jam completely before using.
White Chocolate Frosting
- In a medium bowl, sift the powdered sugar. Set aside. Melt the white chocolate chips in a microwave-safe bowl. Heat for 20-second intervals until melted, stirring well after each.
- Using a mixer, beat the room-temperature butter on high speed for 3 minutes until light and fluffy. Scrape the bowl using a rubber spatula.
- Add in the powdered sugar gradually and mix on low speed until combined.
- Add in the vanilla, salt, and melted white chocolate. Mix on low until combined, then switch to high speed and beat until the frosting is creamy and smooth.
Assembly
- Use a serrated knife to cut off any uneven domes on the cakes to create flat layers. Pipe a small amount of frosting on the center of your decorating board to secure the cake.
- Place the 1st cake layer down on the board. Frost ¾ cups of white chocolate frosting evenly over the cake. Pipe a border of frosting around the edges of the cake to create a dam. Add in 1/2 of the cooled raspberry jam within the border.
- Repeat with the second cake layer. Place the last layer of cake with its bottom (flattest side) facing up on top.
- Fill any gaps or cracks on the sides of the cake with frosting. Then, apply a very light, thin layer of frosting over the entire outside of the cake (crumb coat). Place in the freezer for 15 minutes to set and lock in crumbs.
- Remove from the freezer and frost the rest of the cake smoothly. For a firmer finish, freeze for another 10 minutes before serving.
Notes
High Altitude Baking: For higher altitudes, add an extra 3 tablespoons of cake flour to help stabilize the cake structure.
Room Temperature Ingredients: Pull out all dairy ingredients (butter, eggs, sour cream, buttermilk) at least 2 hours before baking to ensure they reach room temperature. This is crucial for a smooth batter and creamy frosting.
Calories:
752
kcal
,
Carbohydrates:
80
g
,
Protein:
6
g
,
Fat:
54
g
,
Saturated Fat:
32
g
,
Polyunsaturated Fat:
3
g
,
Monounsaturated Fat:
15
g
,
Trans Fat:
2
g
,
Cholesterol:
122
mg
,
Sodium:
314
mg
,
Potassium:
175
mg
,
Fiber:
2
g
,
Sugar:
44
g
,
Vitamin A:
1370
IU
,
Vitamin C:
6
mg
,
Calcium:
128
mg
,
Iron:
1
mg
