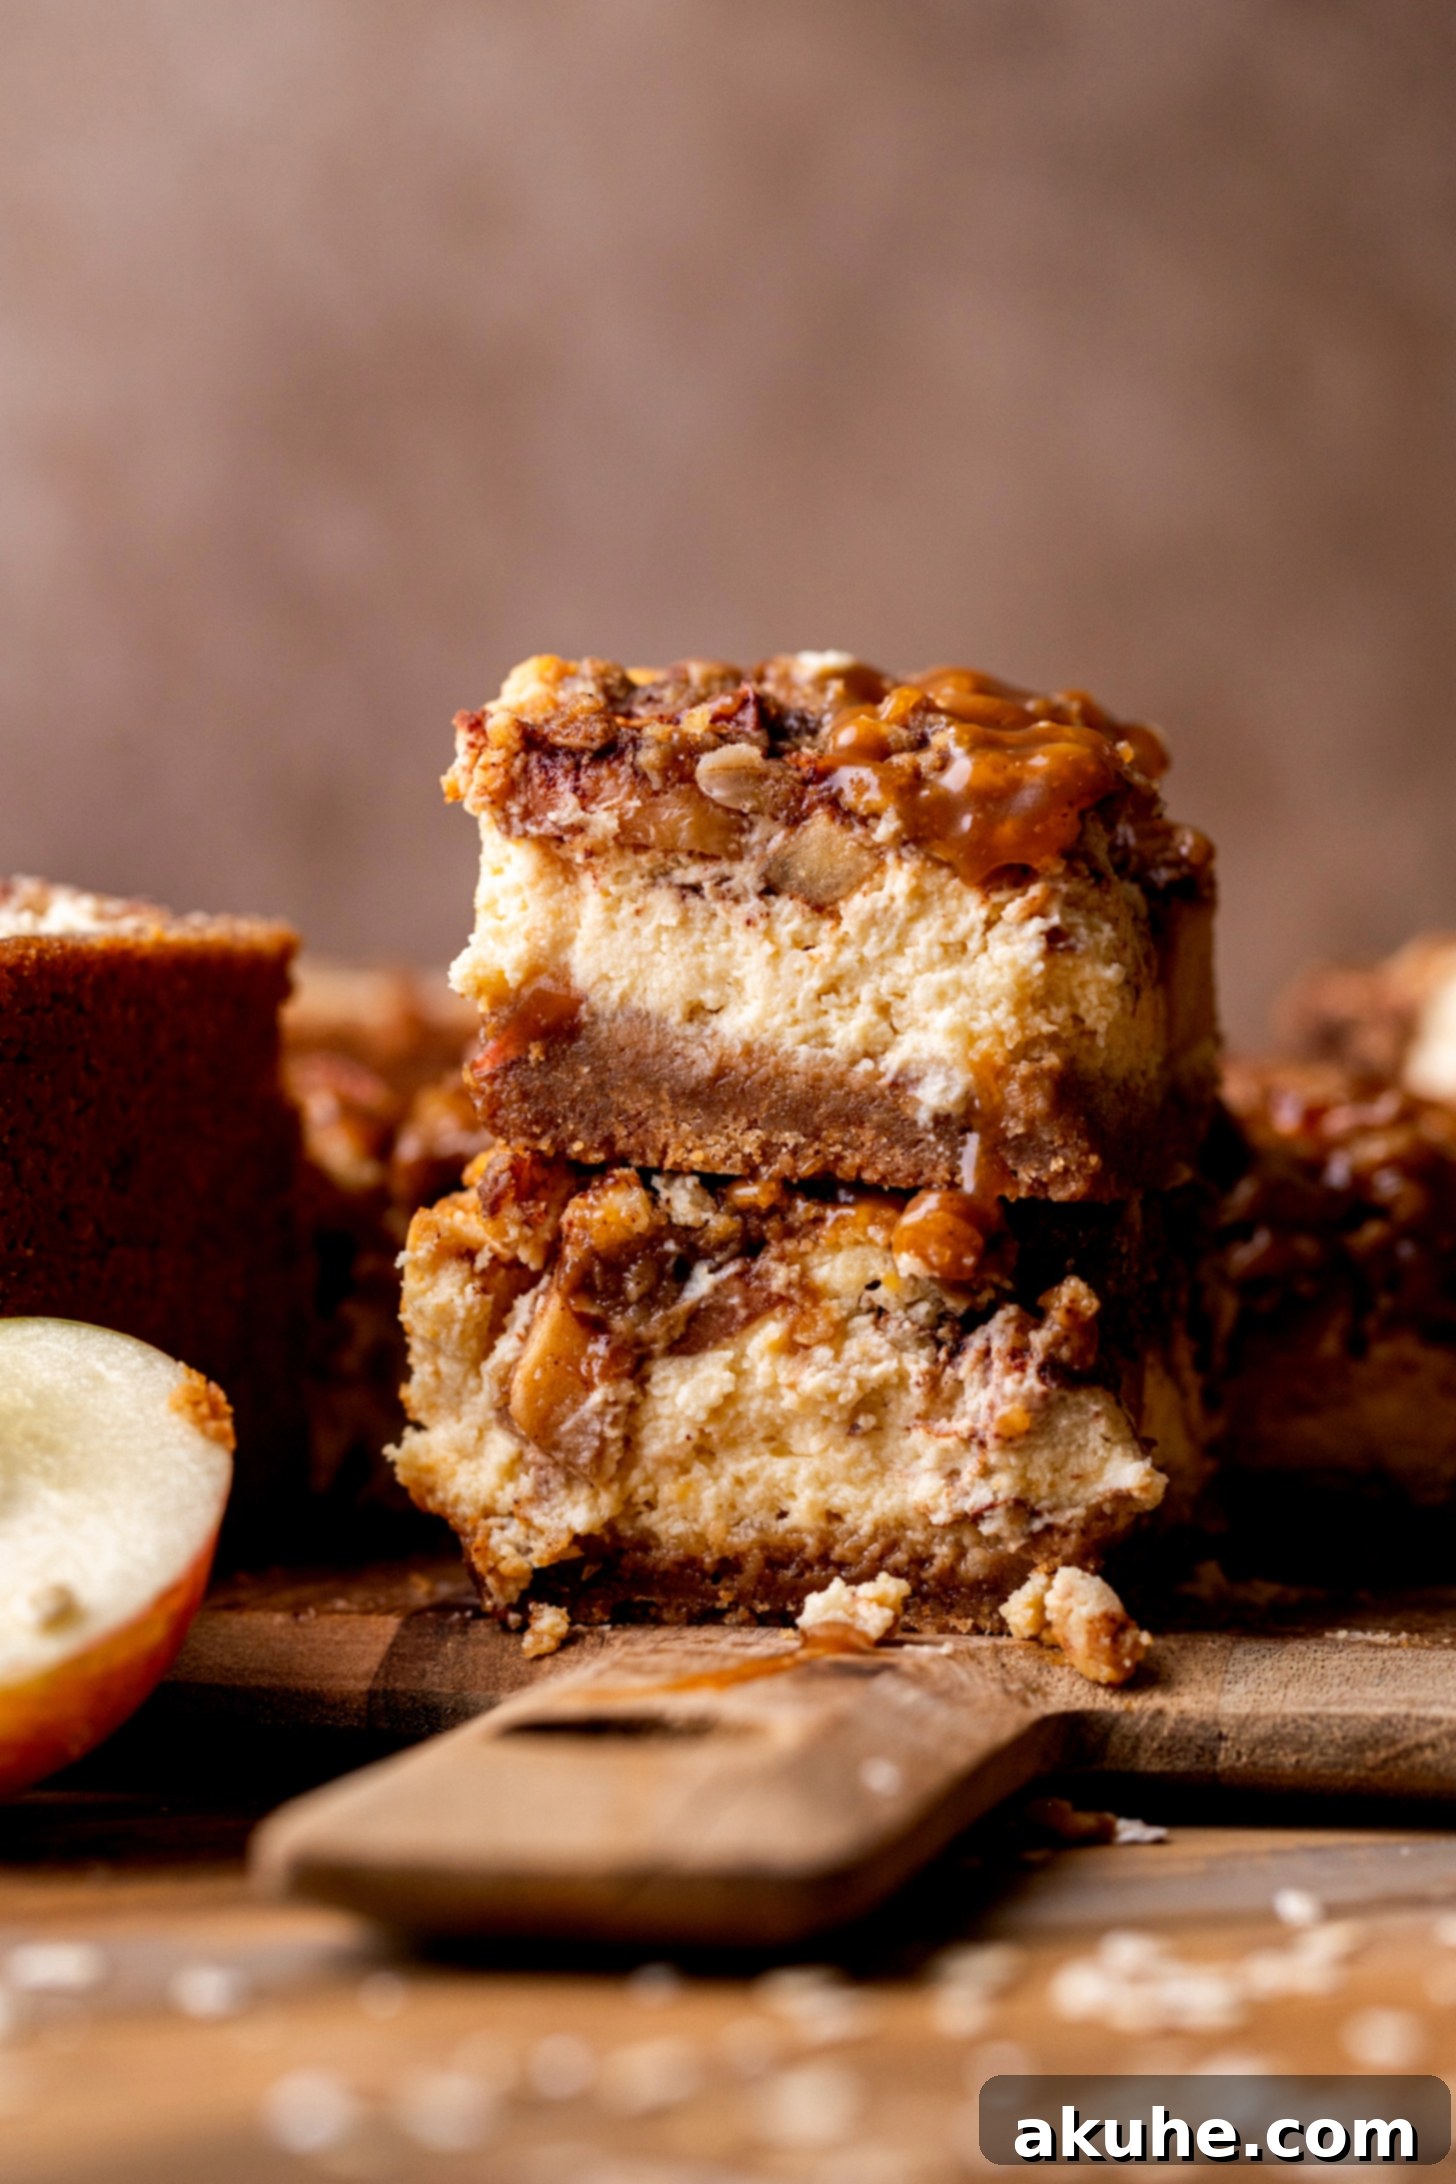
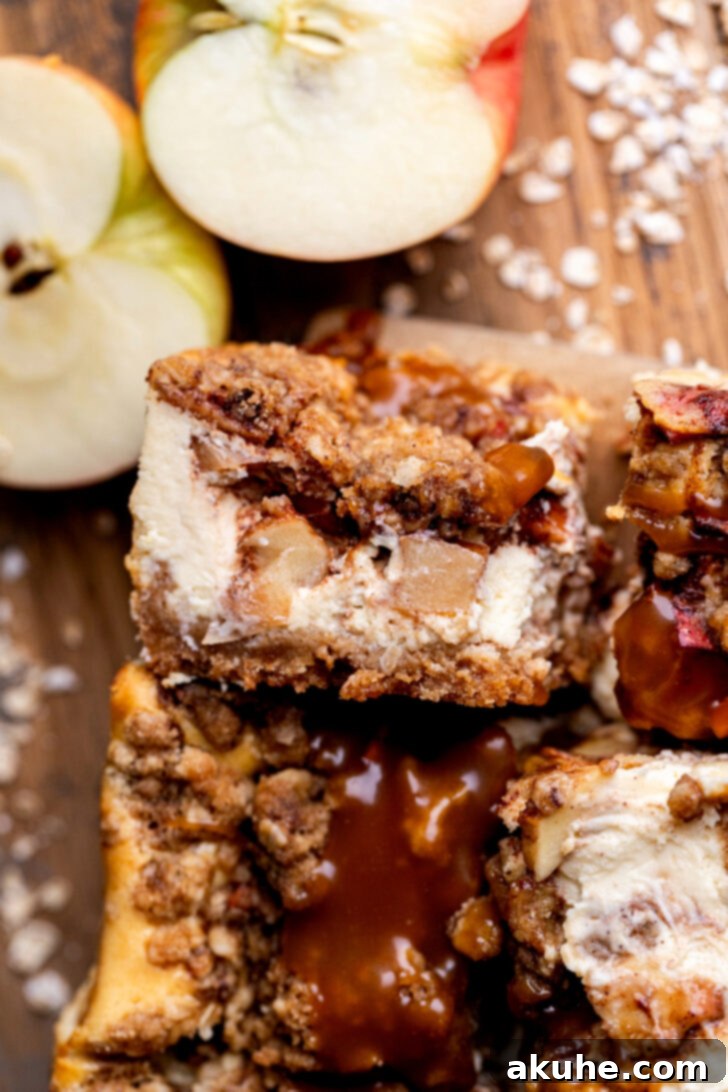
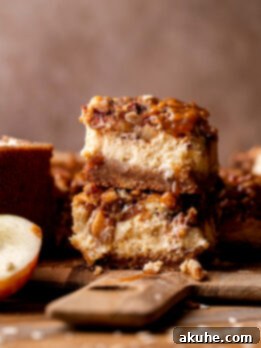
As the leaves begin to change and a crispness fills the air, there’s nothing quite like the comforting aroma of fall baking to warm your home and heart. These Caramel Apple Cheesecake Bars are the quintessential autumnal indulgence, capturing all the beloved flavors of the season in one irresistible dessert. Imagine a sturdy, buttery graham cracker crust, a layer of velvety smooth cheesecake, tender apples spiced with cinnamon, a delightful oat streusel, and a decadent drizzle of rich, salted caramel. Each bite is a symphony of textures and tastes, making these bars an absolute must-bake for your fall repertoire.
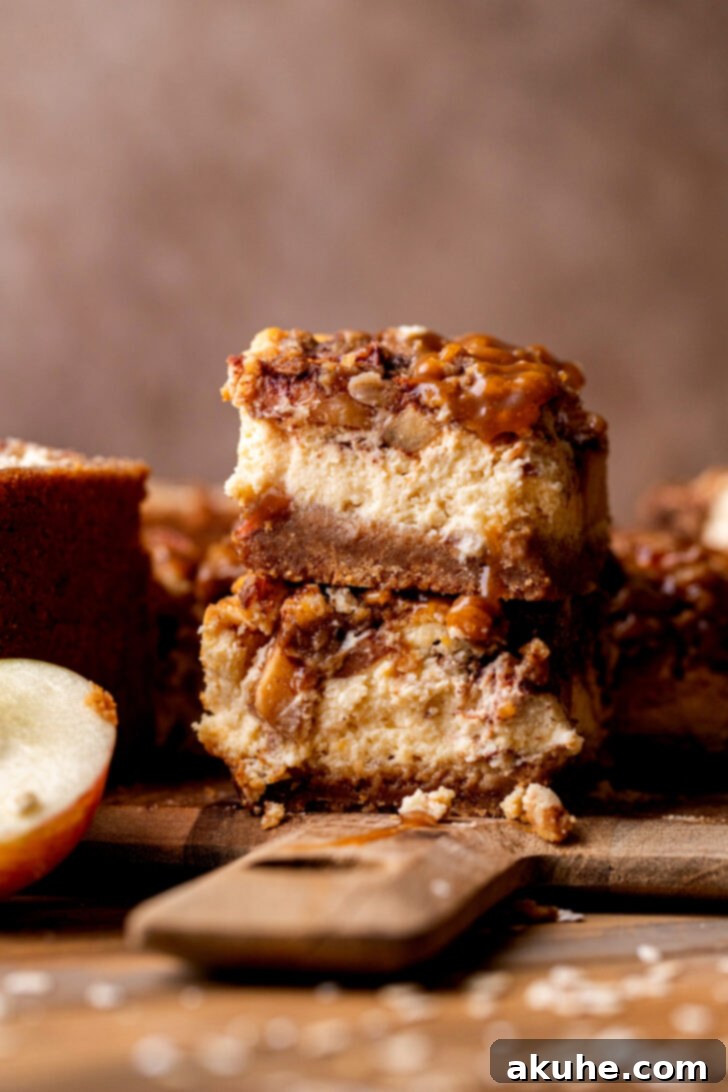
These Caramel Apple Cheesecake Bars aren’t just a dessert; they’re a celebration of fall in every forkful. The harmonious layers create a truly magical experience: the slight crunch of the spiced graham cracker base, the luxurious creaminess of the cheesecake, the soft, warmly spiced apples, and the satisfying crumbly texture of the oat streusel, all brought together by the glorious ribbons of salted caramel. It’s truly one of my all-time favorite fall desserts, offering both elegance and comforting familiarity. With my detailed tips, tricks, and step-by-step process photos, you’ll find this recipe surprisingly easy to master. If your heart sings for caramel apple desserts, you absolutely must try my Caramel Apple Spice Cake for another delightful treat.
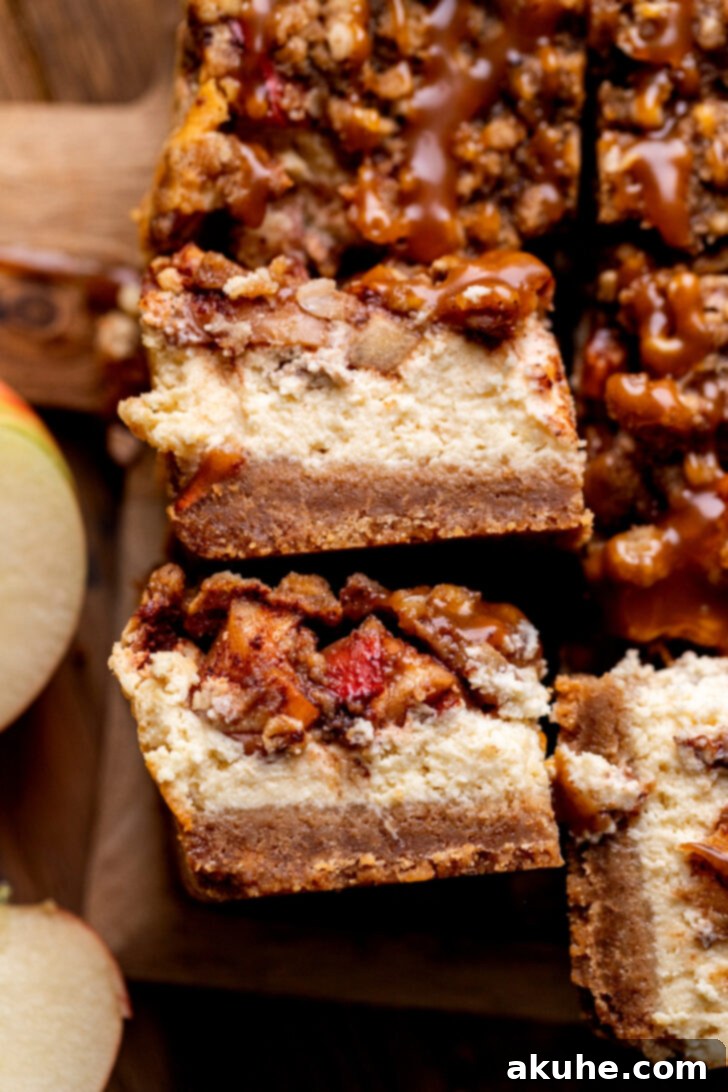
Why You’ll Fall in Love with These Caramel Apple Cheesecake Bars
There are countless reasons why these caramel apple cheesecake bars deserve a top spot on your autumn baking list. Beyond their undeniable deliciousness, they offer a perfect blend of convenience, impressive presentation, and comforting flavors. Unlike a traditional round cheesecake, these bars are incredibly easy to slice and serve, making them ideal for potlucks, family gatherings, or simply a cozy evening dessert. Their handheld nature means less fuss and more enjoyment for your guests.
The flavor profile is impeccably balanced. The sweetness of the caramel and apples is wonderfully cut by the subtle tang of the cream cheese, while the warming spices of cinnamon and nutmeg tie everything together with an inviting autumn embrace. The interplay of textures – the crisp crust, the smooth cheesecake, the soft apples, and the crunchy streusel – provides an exciting experience with every single bite. Plus, the visual appeal of these layered bars is simply stunning, promising a show-stopping dessert that tastes as good as it looks.
Expert Tips for Crafting Perfect Caramel Apple Cheesecake Bars
Achieving bakery-quality cheesecake bars at home is entirely within reach, especially when you follow a few key guidelines. These expert tips are designed to ensure your bars turn out beautifully smooth, rich, and utterly delicious every single time. For even more insights into creating the perfect gooey topping, consider exploring my recipe for homemade salted caramel.
- Tip 1: Embrace Room Temperature Dairy for Supreme Creaminess. This is arguably the most crucial tip for any cheesecake recipe. Cold cream cheese, sour cream, and eggs do not blend smoothly; they’re prone to lumps and can lead to overmixing as you try to incorporate them. By allowing these ingredients to come to a full room temperature (ideally for at least 2 hours), they will blend effortlessly into a silky, homogenous batter, guaranteeing that luxuriously smooth cheesecake texture we all crave.
- Tip 2: Plan Your Caramel Wisely. Salted caramel is a star in this recipe, adding a layer of depth and decadence. You have two excellent options: making your own homemade salted caramel or using a high-quality store-bought version. Homemade caramel often offers a richer, more nuanced flavor, but if you’re short on time, a good quality store-bought caramel is a perfectly acceptable and delicious shortcut. Feel free to prepare your caramel a day or two in advance to streamline your baking process.
- Tip 3: Master the Baking Sequence for Efficiency. To ensure a smooth and organized baking experience, follow this strategic order: begin by preparing and pre-baking your graham cracker crust. While the crust is in the oven, use that valuable time to prepare your cinnamon-spiced apples and create the crumbly oat streusel topping. Only after these elements are ready should you move on to mixing your cheesecake batter. This method maximizes your time and ensures all components are prepared fresh and ready for assembly.
- Tip 4: Gentle Egg Incorporation Prevents Cracks. When it comes to adding the eggs to your cheesecake batter, a light hand is essential. Overmixing eggs can introduce too much air into the batter, which then expands rapidly during baking and contracts during cooling, often leading to unsightly cracks on the surface of your cheesecake. To avoid this, mix the eggs in on the lowest speed possible, just until they are barely combined. Since these are cheesecake bars and not a large, delicate whole cheesecake, there’s no need for a water bath, simplifying the process while still yielding a perfect texture.
- Tip 5: Choose the Right Apples for Flavor and Texture. For these bars, a firm, slightly tart apple works best. Gala apples are called for in the recipe and are an excellent choice, as they hold their shape well during baking and offer a balanced sweetness. Honeycrisp or Granny Smith apples are also fantastic options; Granny Smith will add a nice tart counterpoint to the sweet caramel and cheesecake. Peeling the apples is optional, as shown in the process photos, but it often results in a more refined texture in the finished bars.
- Tip 6: Don’t Rush the Cooling and Chilling Process. Patience is a virtue when making cheesecake. After baking, allow the bars to cool gradually in the turned-off oven with the door slightly ajar. This slow cooling helps prevent sudden temperature changes that can lead to cracks. Once at room temperature, the cheesecake bars need ample time to chill in the refrigerator—at least 6 hours, or ideally overnight. This chilling period is crucial for the cheesecake to fully set, firm up, and allow its flavors to meld beautifully, resulting in clean, perfect slices.
Serving and Storage Suggestions
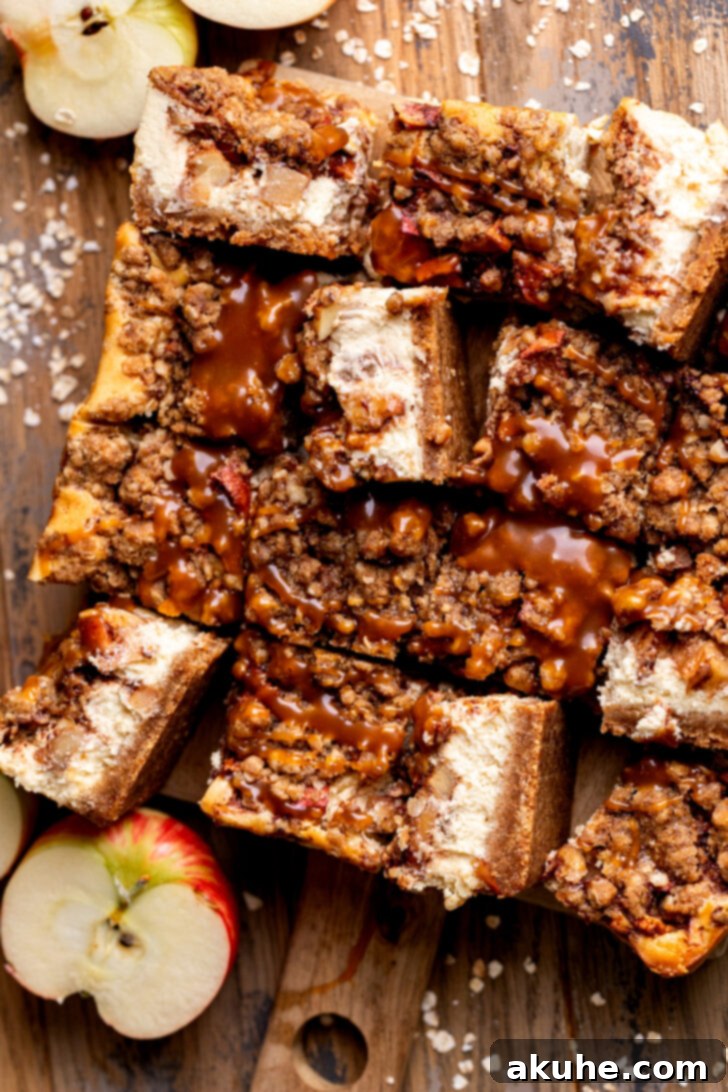
Once your Caramel Apple Cheesecake Bars have been properly chilled, cutting them into neat squares is simple. For the cleanest cuts, use a sharp, warm knife. Run the knife under hot water and wipe it clean between each slice. This technique ensures smooth edges and a professional finish, showcasing the beautiful layers of your hard work. These bars are delicious served chilled, allowing the flavors to truly shine. For an extra touch of indulgence, you can gently warm individual bars for a few seconds in the microwave before serving, making the caramel slightly gooey.
To store any leftover bars, place them in an airtight container in the refrigerator. They will maintain their deliciousness and fresh texture for up to 3-4 days. For longer storage, you can freeze the bars. Wrap individual bars tightly in plastic wrap, then place them in a freezer-safe bag or container. They can be frozen for up to 2-3 months. When you’re ready to enjoy, simply thaw them in the refrigerator overnight or at room temperature for a couple of hours.
Craving more delightful apple creations? Be sure to try my Apple Pie Cheesecake and my comforting Apple Bread for more seasonal joy!
If you absolutely adored this recipe, please make sure to leave astar review and share your thoughts! Don’t forget to tag me on Instagram @stephaniesweettreats so I can see your beautiful creations. For even more delicious baking inspiration and ideas, be sure to follow me on Pinterest.
Recipe Video
Caramel Apple Cheesecake Bars
Print Recipe
Pin Recipe
Leave a Review
Ingredients
Cinnamon Graham Cracker Crust
- 2 1/2 cups Graham crackers, 2 packets crumbled into fine crumbs
- 1/4 cup Brown sugar, packed light or dark
- 10 TBSP Unsalted butter, melted
Cheesecake
- 24 oz Cream cheese, room temperature
- 3/4 cup White granulated sugar
- 1/2 cup Sour cream, room temperature
- 1/4 cup Salted caramel
- 1 tsp Pure vanilla extract
- 3 Large eggs, room temperature
Cinnamon Apples
- 3 Large gala apples, cut into cubes
- 1/4 cup Brown sugar, packed light or dark
- 2 tsp Ground cinnamon
- 1/4 tsp Ground nutmeg
Streusel
- 1/2 cup Brown sugar, packed light or dark
- 1/2 cup All-purpose flour
- 1 tsp Ground cinnamon
- 1/4 cup Quick oats
- 1/4 cup Unsalted butter, melted
- Salted caramel, drizzled on top
Instructions
Graham Cracker Crust
- Preheat your oven to 325°F (160°C). Prepare a 9×9 inch (23×23 cm) baking pan by spraying it thoroughly with non-stick baking spray. Line the bottom and two opposite sides of the pan with parchment paper, leaving an overhang to easily lift the bars later. Spray the parchment paper again for extra non-stick insurance.
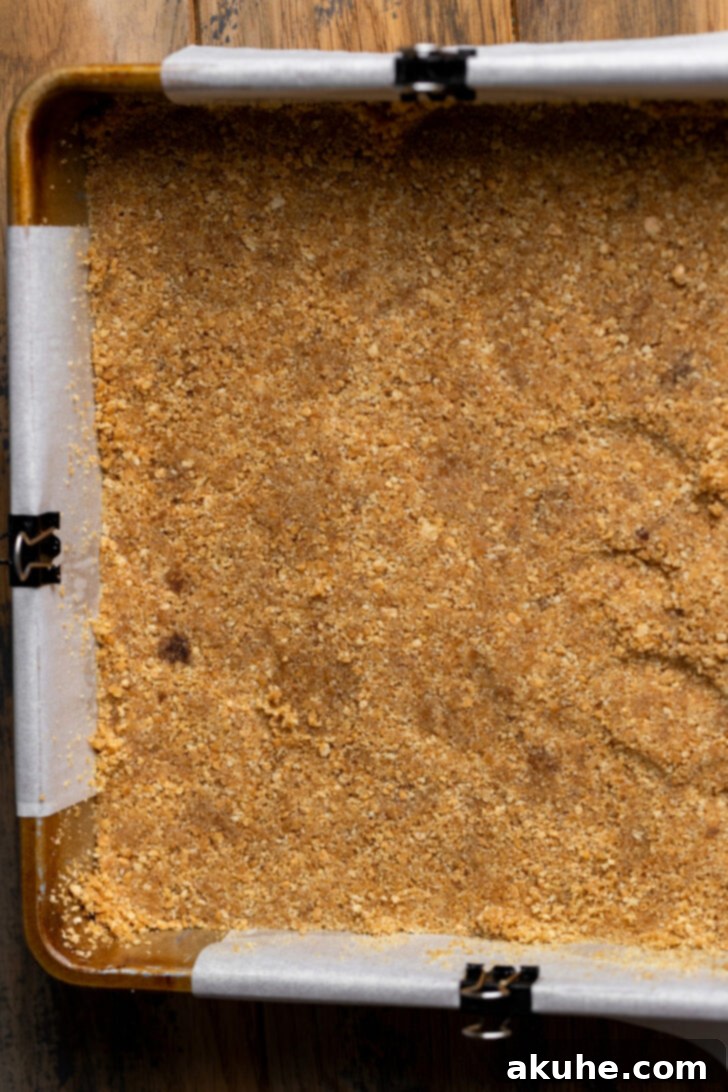
- In a food processor or blender, finely crumble the graham crackers until they resemble fine sand-like crumbs. Alternatively, place them in a zip-top bag and crush with a rolling pin. In a small bowl, combine these graham cracker crumbs with the brown sugar and melted butter. Mix well with a fork until all the crumbs are moistened and hold together when pressed.
- Pour the crust mixture into the prepared pan. Using the back of a measuring cup or your fingers, firmly press the crumbs evenly across the bottom of the pan, making sure not to extend them up the sides. Compact it well to create a solid base. Bake for 12 minutes until lightly golden and fragrant. Remove from oven and let cool slightly.
Streusel
- While the graham cracker crust is baking, prepare the streusel topping. In a medium bowl, combine the brown sugar, all-purpose flour, ground cinnamon, quick oats, and melted butter. Mix these ingredients together with a fork until a wet, crumbly mixture forms. The texture should be moist enough to clump together slightly. Place this bowl in the refrigerator to allow the butter to firm up while you prepare the remaining components of the cheesecake.
Cinnamon Apples
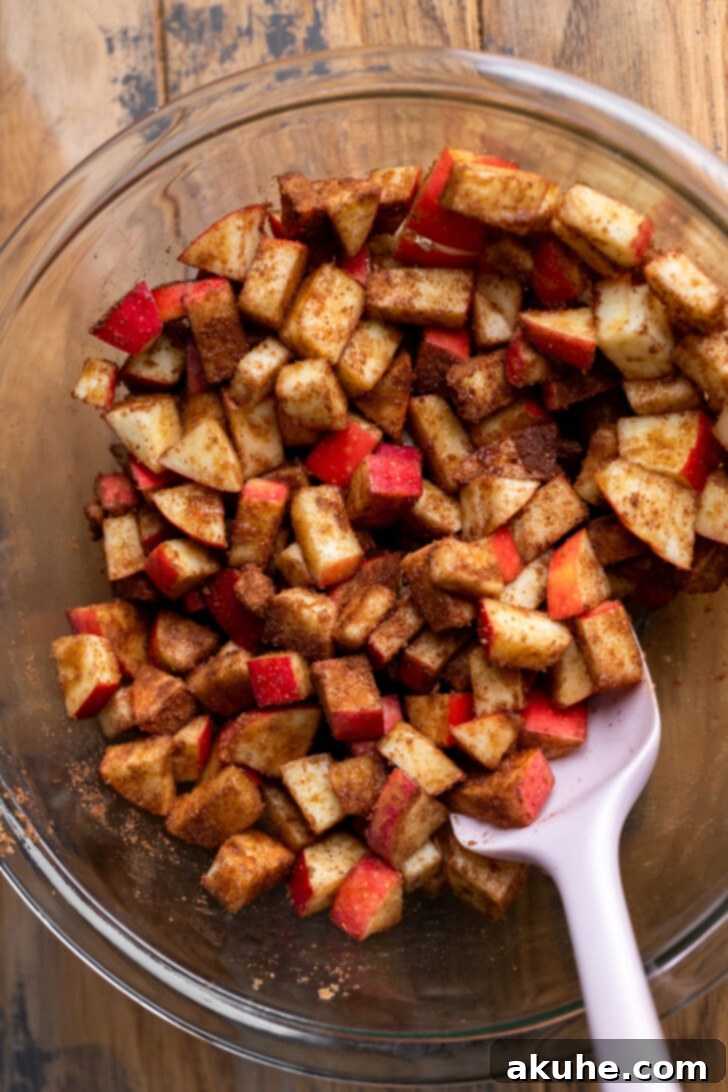
- As the crust bakes, move on to preparing the cinnamon apples. Peel (if desired) and cut the Gala apples into small, uniform cubes. Transfer the cubed apples to a large mixing bowl. Add the brown sugar, ground cinnamon, and ground nutmeg to the apples. Stir gently with a spoon or spatula until all the apple pieces are thoroughly coated with the spice mixture. Set aside.
Cheesecake
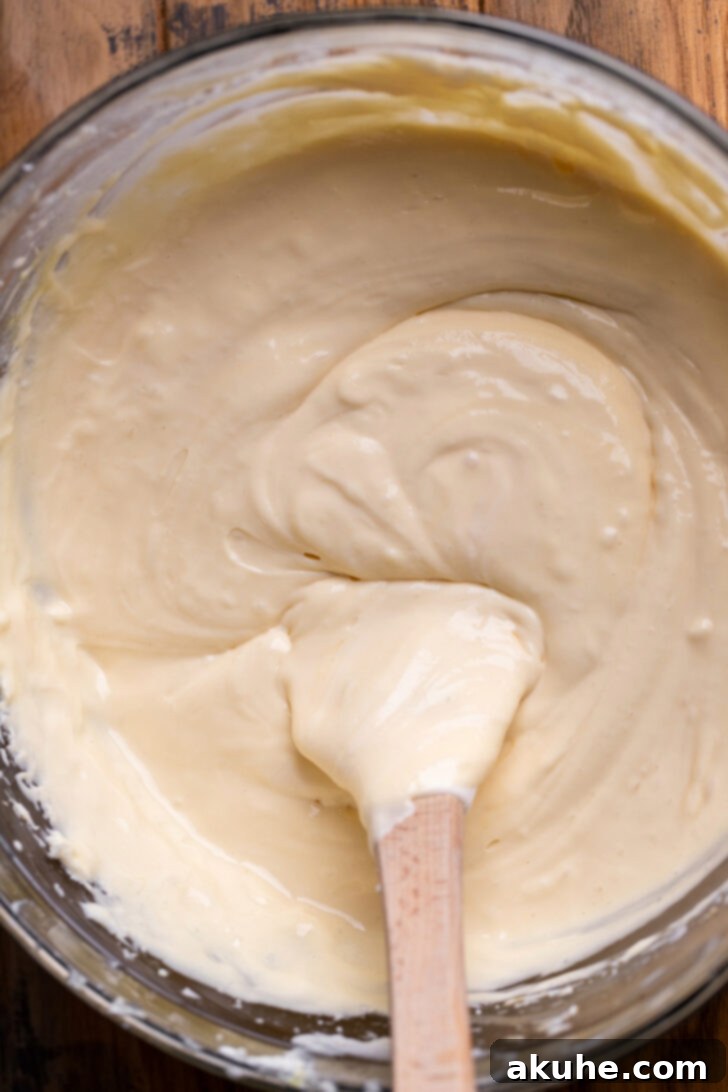
- Once your crust has finished pre-baking and is cooling, begin preparing the cheesecake batter. In a large mixing bowl, using an electric mixer, beat the room temperature cream cheese and white granulated sugar on high speed for about 2 minutes, until the mixture is light, fluffy, and completely smooth. Stop the mixer and scrape down the sides and bottom of the bowl with a rubber spatula to ensure everything is well combined.
- Add the room temperature sour cream, salted caramel, and pure vanilla extract to the cream cheese mixture. Mix on medium speed for about 1 minute until just combined. Again, stop and scrape down the bowl. Finally, add the large eggs, one at a time, mixing on the lowest speed possible just until each egg is incorporated. Be careful not to overmix the eggs, as this can introduce too much air and lead to cracks. Scrape the bowl one last time.
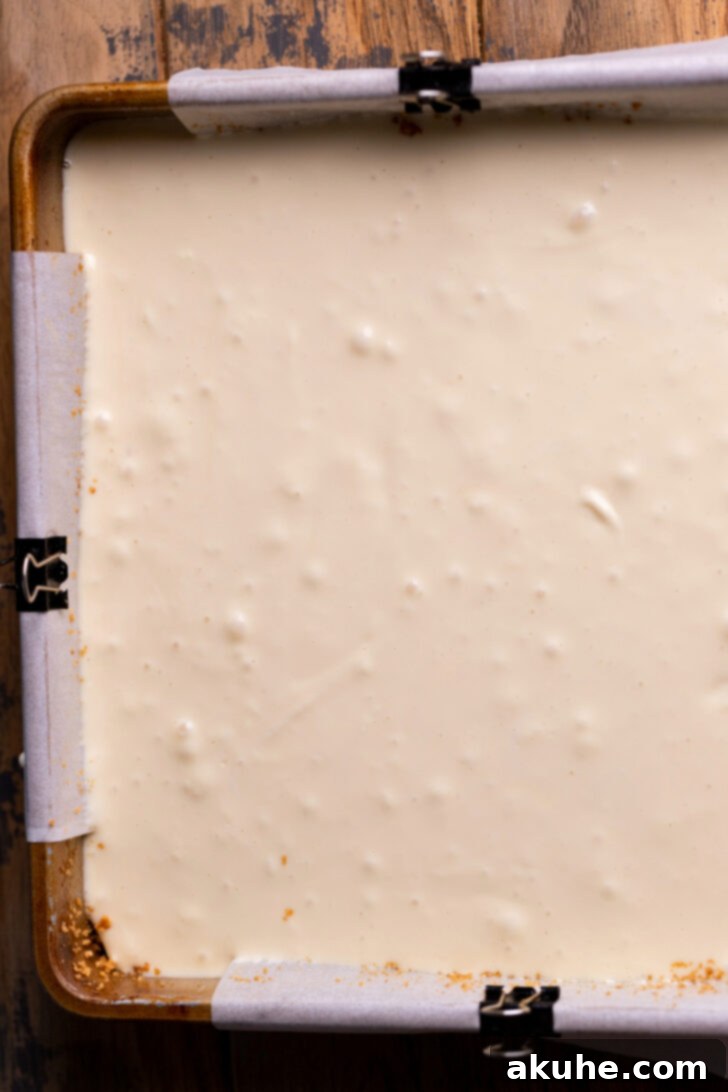
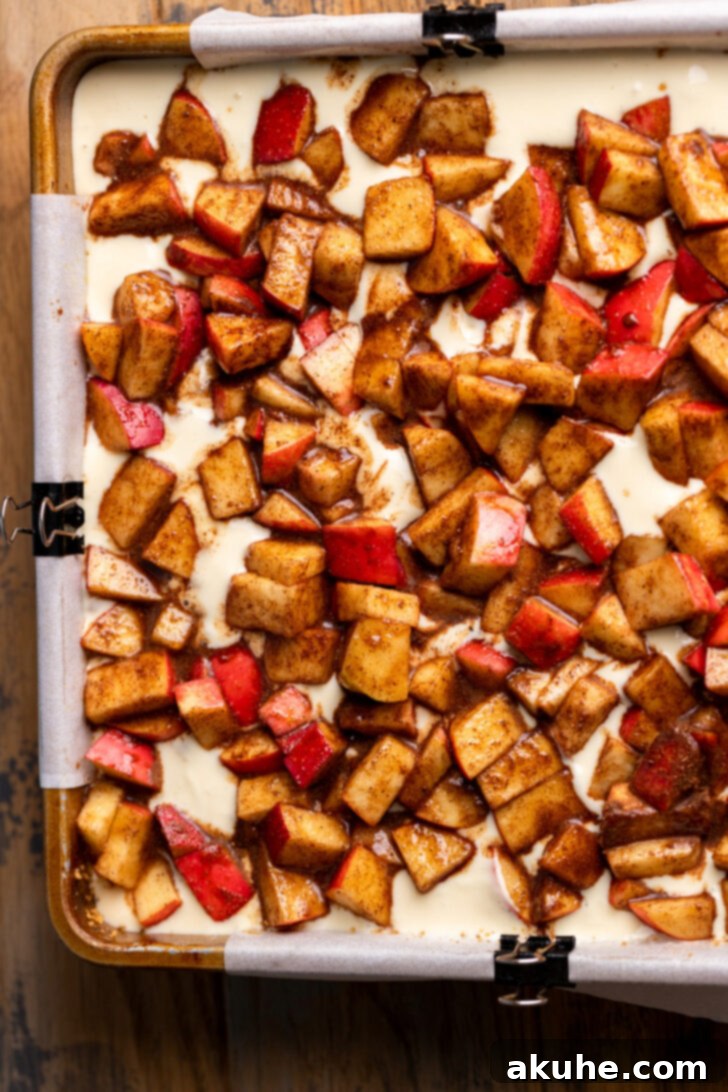
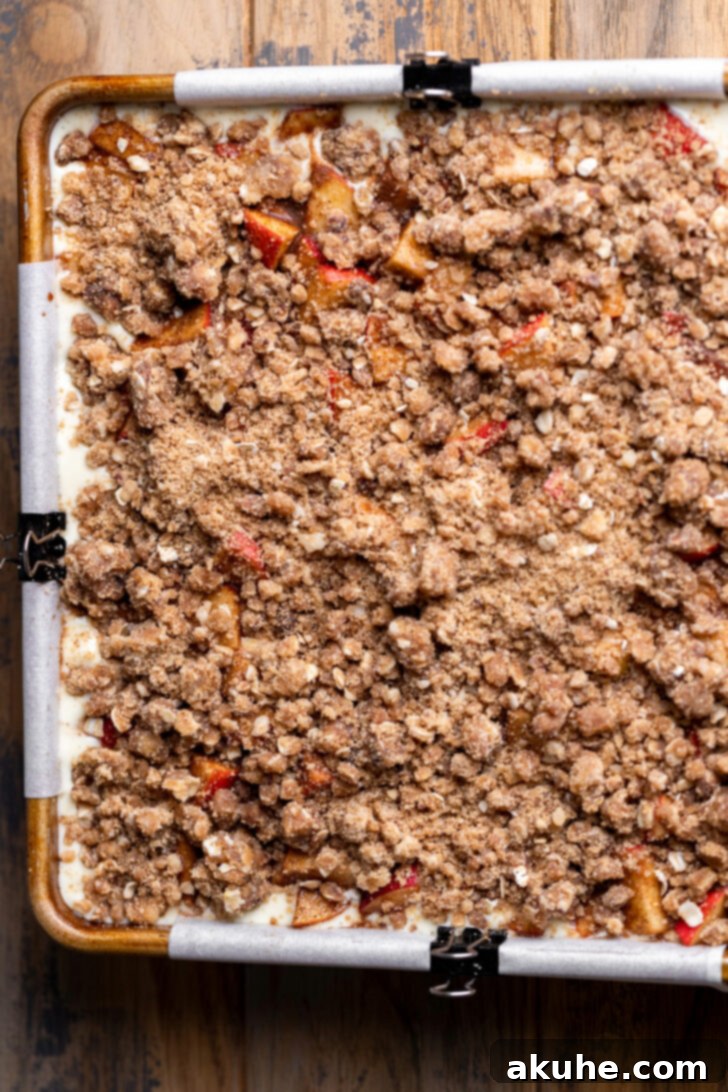
- Carefully pour the creamy cheesecake batter over the cooled graham cracker crust in the prepared pan. Use a rubber spatula to gently smooth the top of the batter into an even layer. Evenly sprinkle the cinnamon-spiced apples over the cheesecake batter, spreading them out so each bar gets a generous portion. Then, retrieve your chilled streusel from the fridge and crumble it generously over the layer of apples, breaking up any large clumps with your fingers.
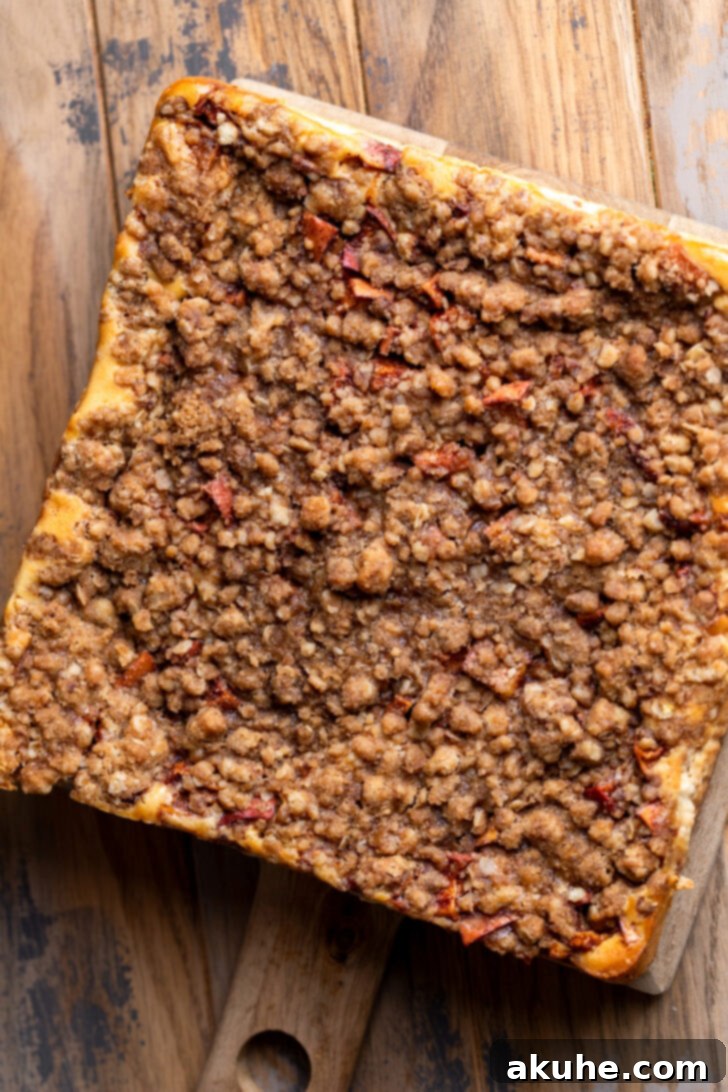
- Bake the cheesecake bars in the preheated 325°F (160°C) oven for 50-60 minutes. Remember, no water bath is needed for these bars. The cheesecake is done when the edges are set and appear slightly golden, but the very center still has a slight jiggle when the pan is gently nudged.
- Once baked, turn off the oven but leave the cheesecake bars inside. Prop the oven door open slightly and allow the bars to cool gradually in the cooling oven for 30 minutes. This slow cooling helps prevent cracks. After 30 minutes, remove the pan from the oven and transfer it to a wire cooling rack. Let the cheesecake bars cool completely at room temperature. Once fully cooled, cover the pan with plastic wrap and chill in the refrigerator for a minimum of 6 hours, or ideally overnight, for the best texture and flavor.
- After the cheesecake bars have thoroughly chilled for 6 hours or overnight, carefully remove them from the pan using the parchment paper overhang. Place the slab on a cutting board and slice into 16 even bars. Just before serving, drizzle generously with extra salted caramel. Serve immediately, or store any remaining bars in an airtight container in the refrigerator. Enjoy your exquisite fall treat!
