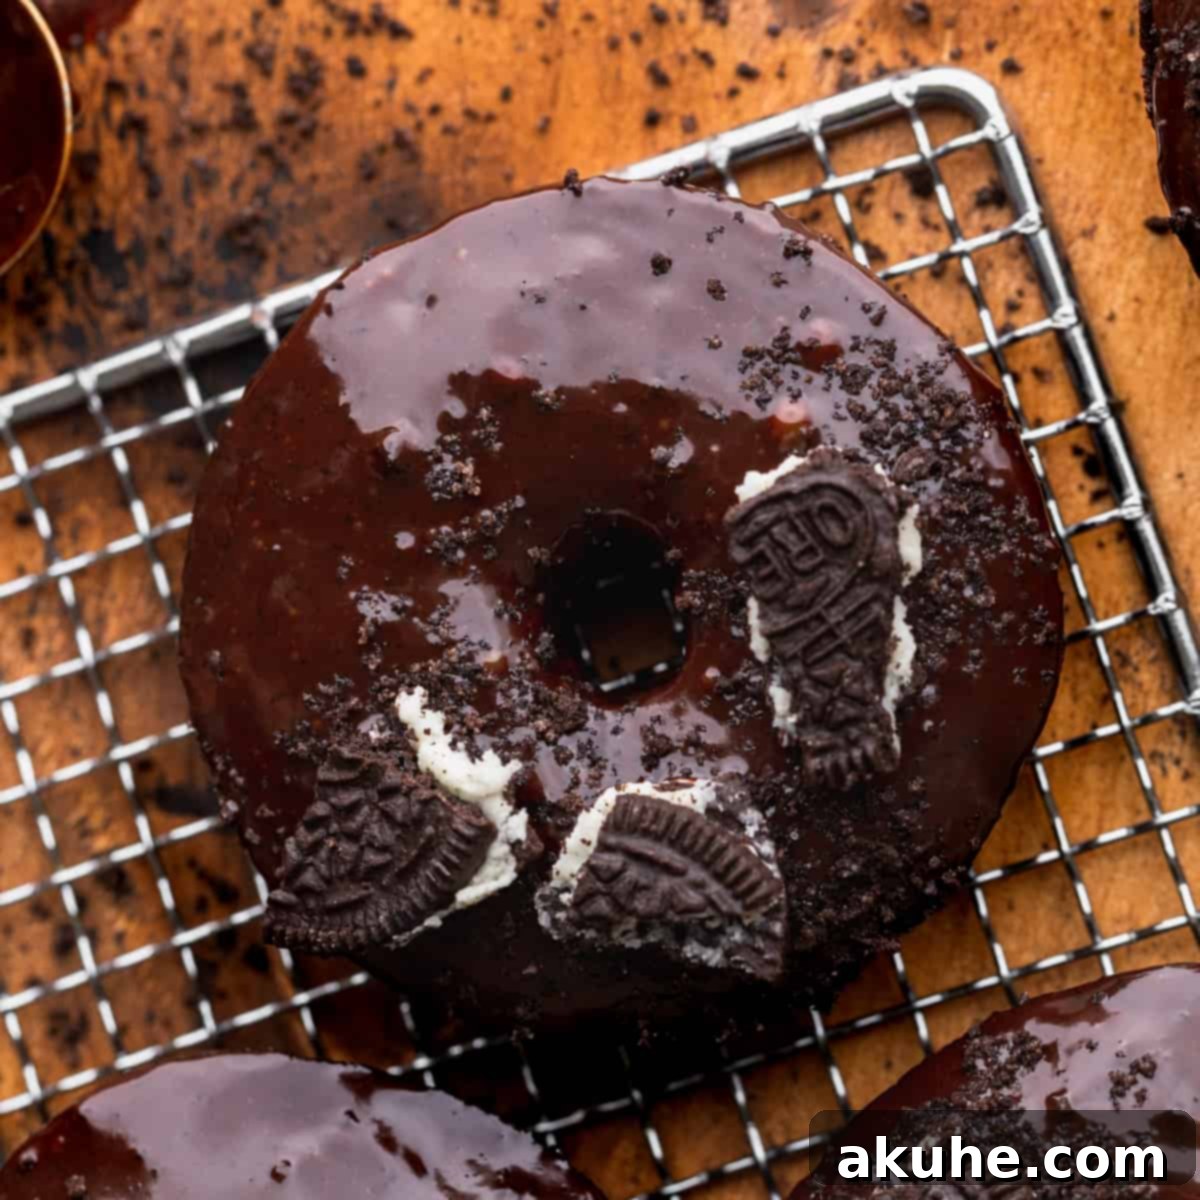
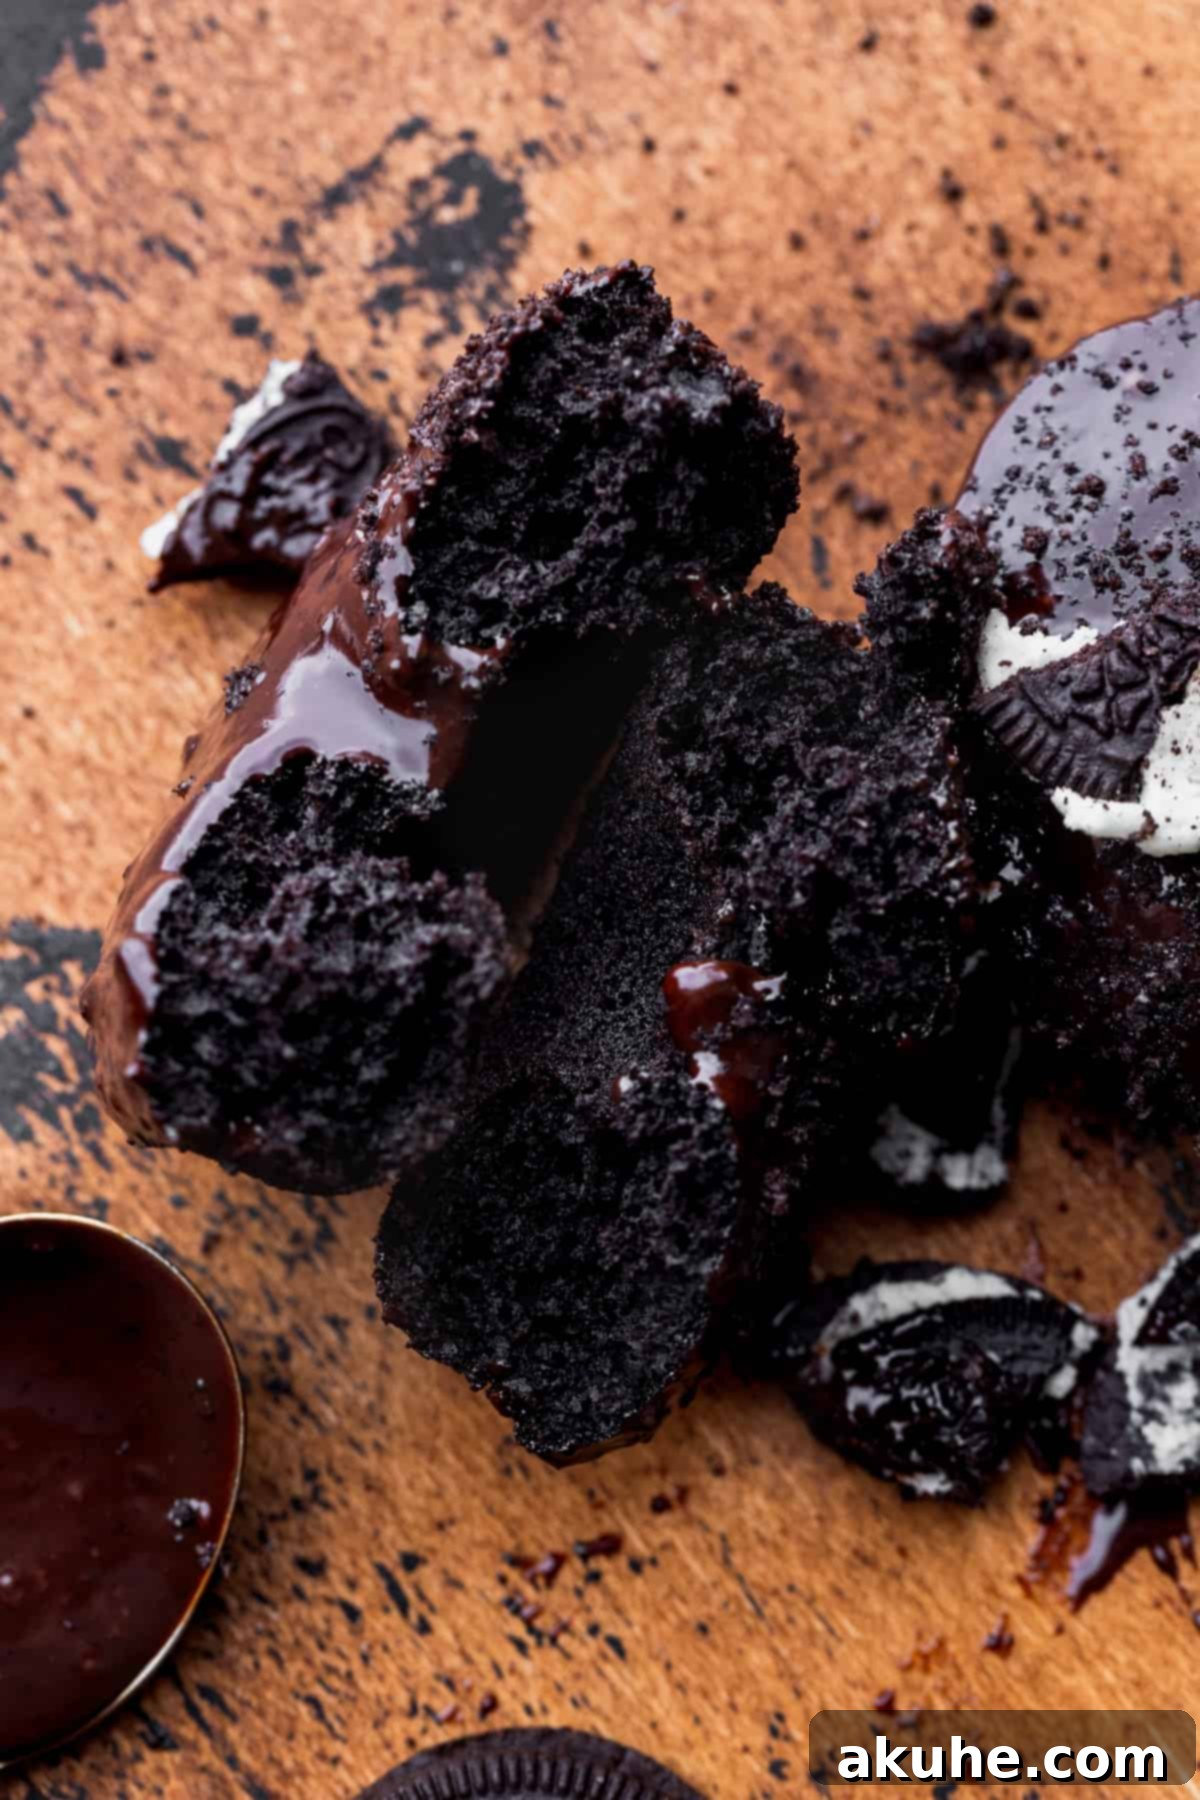
Indulge your sweet tooth with these incredibly fluffy, baked Oreo donuts, a delightful treat that perfectly marries the rich flavor of chocolate with the iconic crunch of Oreo cookies. Crafted with dark black cocoa for an intense chocolate base and generously studded with crushed Oreo crumbs, these donuts offer a depth of flavor and texture that sets them apart. Each tender donut is then lovingly topped with a decadent chocolate Oreo glaze, ensuring an explosion of cookie-and-cream goodness in every bite. Forget the hassle of deep-frying; this recipe makes achieving bakery-quality donuts remarkably easy, requiring nothing more than a whisk and a donut pan. Perfect for a special breakfast, an afternoon pick-me-up, or a fun baking project with loved ones, these Oreo donuts are guaranteed to become a new favorite in your repertoire.
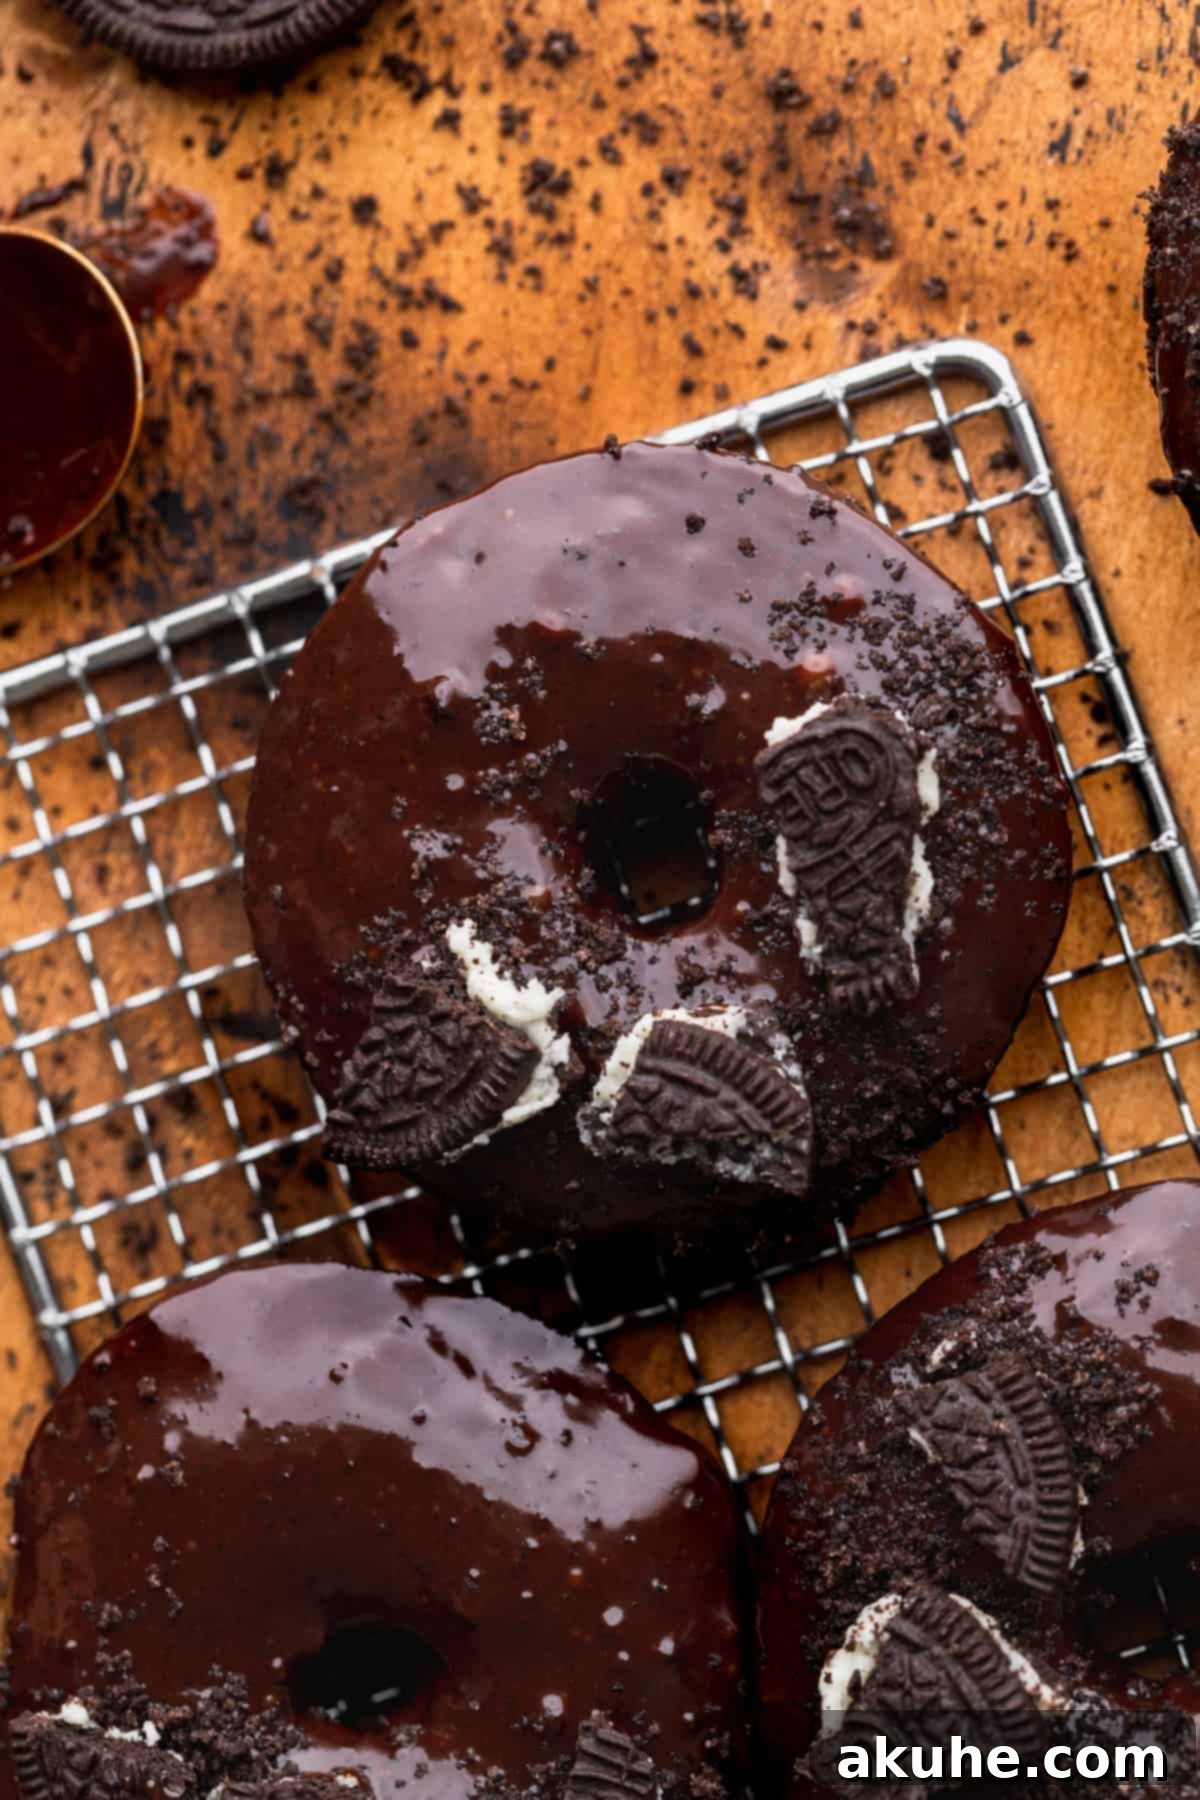
Why settle for ordinary chocolate donuts when you can elevate your baking with the irresistible charm of America’s favorite cookie? These baked Oreo doughnuts surpass traditional recipes thanks to the clever incorporation of crushed Oreo cookies, both within the tender donut batter and swirled into the luscious glaze. This thoughtful addition creates a multidimensional flavor profile and an appealing textural contrast that is simply addictive. Whether you’re planning a fun kitchen adventure with your children or searching for the ultimate treat for the Oreo enthusiasts in your life, this recipe delivers. It’s not just a donut; it’s an experience, making it arguably the best baked donut recipe you’ll ever try. Prepare to delight taste buds and create cherished memories with every delicious batch.
If your heart beats for all things Oreo, you’re in for a treat! Explore more delightful Oreo creations like these chewy and delightful Oreo Chocolate Chip Cookies, the rich and creamy Oreo Cheesecake, or the perfectly portioned and indulgent Oreo Cupcakes. Each recipe promises a unique way to enjoy the classic cookie flavor you adore.
Why You Will Love These Irresistible Oreo Donuts
- The Ultimate Oreo Donut Experience: These aren’t just any chocolate donuts; they’re an extraordinary fusion that takes the classic baked chocolate donut to an entirely new level. By infusing both the donut batter and the decadent glaze with crushed Oreos, we’ve created a symphony of rich chocolate and creamy cookie flavors that is truly unparalleled. Every bite offers a delightful crumbly texture and that distinct Oreo taste that cookie lovers crave, making them far superior to any plain chocolate donut.
- Effortlessly Easy Baking: Bid farewell to complicated baking techniques! This recipe is designed for simplicity, meaning you won’t need an electric mixer, a deep fryer, or the hazards of hot oil. All you require is a trusty whisk and a donut pan to create these incredible treats. It’s a perfect recipe for beginner bakers, busy parents looking for a fun activity with their kids, or anyone who wants a delicious homemade dessert without the fuss and extensive cleanup.
- A Versatile Treat for Any Time of Day: While traditionally a breakfast staple, these delightful donuts transcend morning meals. With their rich chocolate and Oreo flavor, they are equally perfect as an indulgent dessert, a comforting afternoon snack, or a crowd-pleasing addition to any brunch spread. Enjoy them with your morning coffee, as a sweet finish to dinner, or share them at your next gathering. Consider this your official permission to enjoy these heavenly donuts whenever the craving strikes!
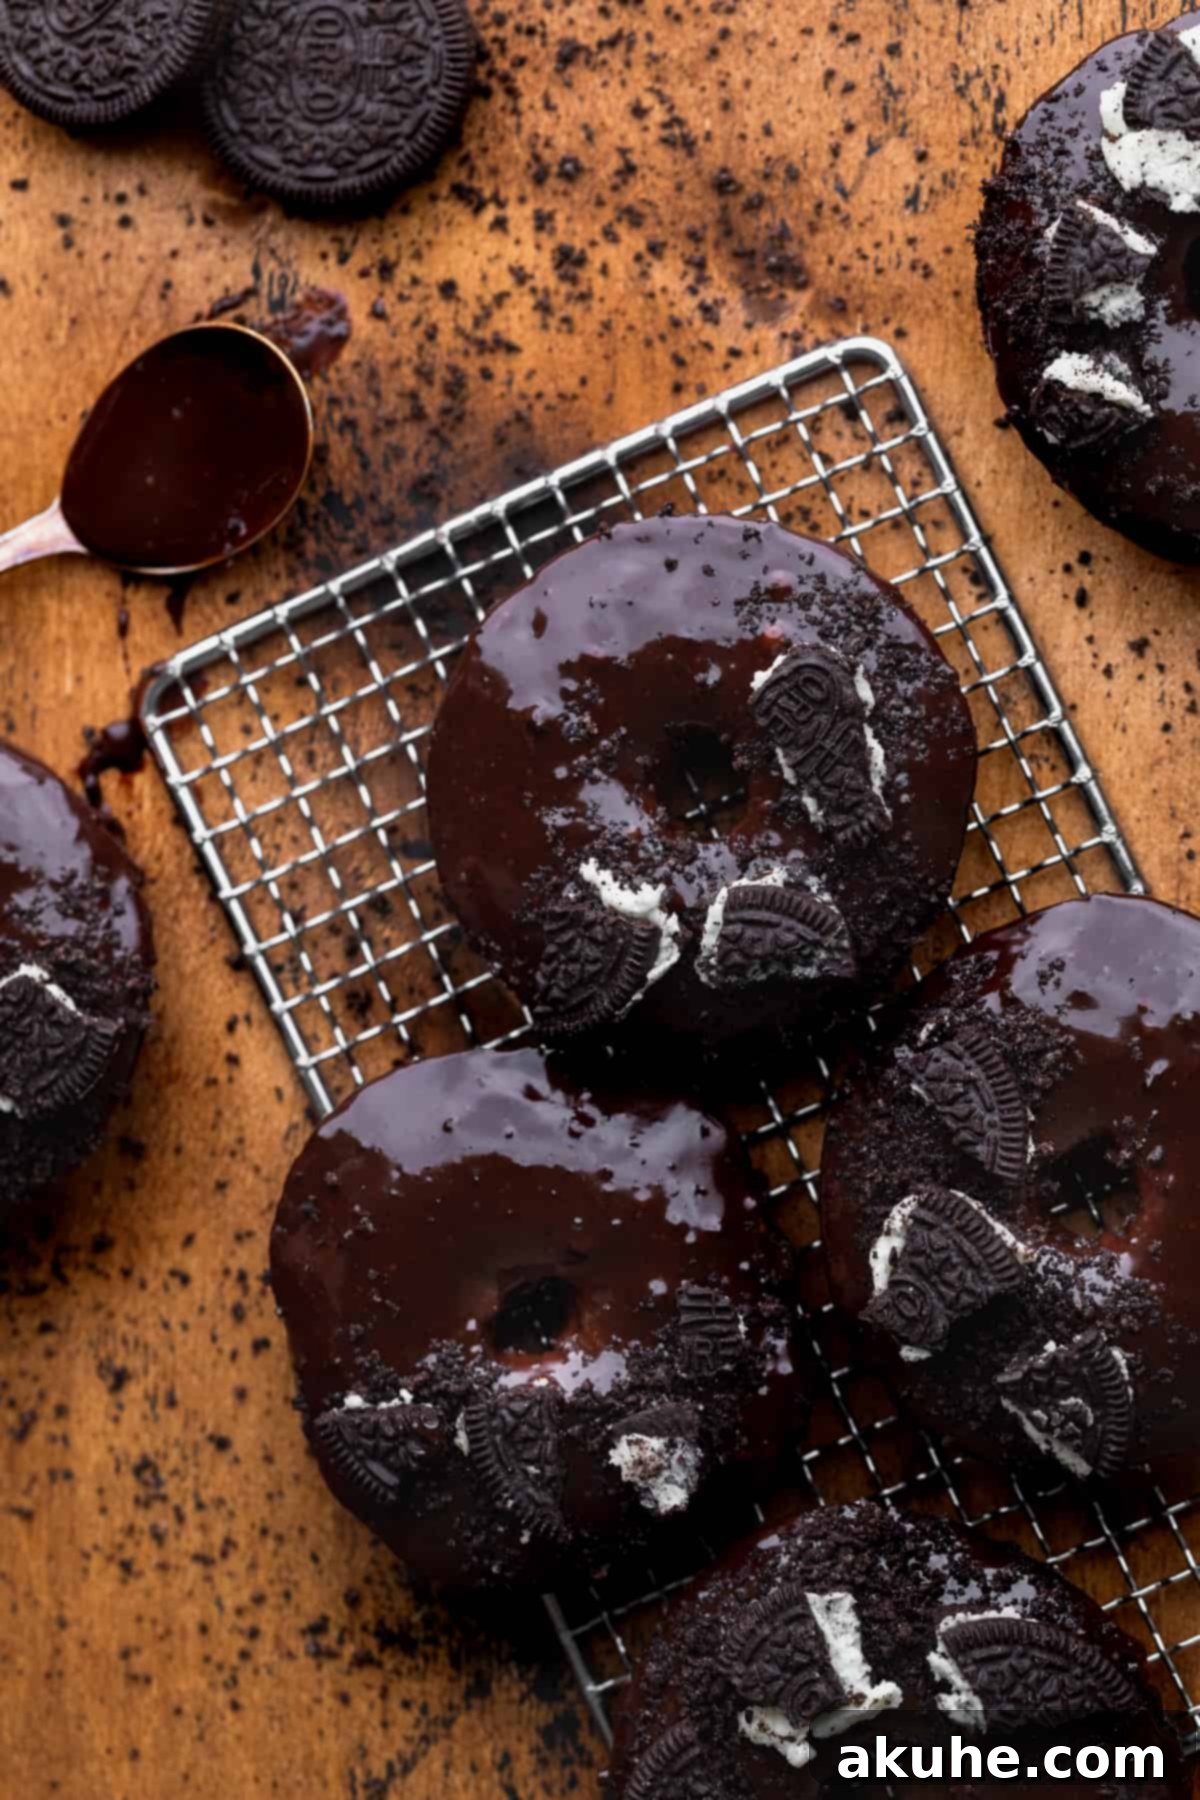
Essential Ingredient Notes for Perfect Oreo Donuts
Understanding your ingredients is key to successful baking. Here are some detailed notes to ensure your Oreo donuts turn out perfectly fluffy and flavorful. For the complete list of quantities, refer to the recipe card further down this page.
- Eggs: For optimal results, it’s crucial that your large eggs are at room temperature. This isn’t just a minor detail; room temperature eggs incorporate more easily and evenly into the batter, creating a smoother, more emulsified mixture. This emulsion traps air more effectively, leading to a lighter, fluffier donut texture. Remember to take them out of the refrigerator at least 2 hours before you plan to start baking.
- Unsalted Butter: Using unsalted butter allows you to control the exact amount of salt in your recipe, ensuring a balanced flavor profile. For this recipe, the butter needs to be melted, but equally important, it must be cooled before being added to the wet ingredients. Adding hot butter could potentially cook the eggs or negatively impact the buttermilk’s texture, leading to a less desirable donut consistency. Allow it to cool until it’s just warm or at room temperature.
- Chocolate Chips: We recommend using high-quality semi-sweet chocolate chips or dark chocolate chips for the glaze. These varieties offer a rich, deep chocolate flavor that beautifully complements the sweetness of the Oreos without being overpowering. Milk chocolate chips, while delicious in other contexts, tend to be excessively sweet when paired with the already sugary Oreos and donut base, which can throw off the overall balance of the treat.
- Buttermilk: Buttermilk plays a vital role in baked goods, contributing to both tenderness and activating the baking soda, which aids in leavening. Like the eggs, buttermilk should be at room temperature for the best incorporation and batter consistency. If you don’t have buttermilk on hand, don’t worry! You can easily substitute it with full-fat sour cream or plain Greek yogurt. Both alternatives provide the necessary acidity and moisture for a wonderfully tender crumb. Just make sure your chosen substitute is also at room temperature.
- Oreos: The star of the show! For the best texture within the donut batter and glaze, finely crushed Oreo crumbs are essential. The most efficient way to achieve this is by pulsing whole Oreos (cream filling included!) in a food processor until they form fine crumbs. If you don’t have a food processor, a Ziplock bag and a rolling pin will also do the trick, though it may require a bit more effort to get them finely crushed. Don’t forget to reserve some larger Oreo pieces or chop extra cookies to use as a decorative topping for that extra visual appeal and satisfying crunch.
Step-By-Step Instructions for Your Homemade Oreo Donuts
Creating these delightful Oreo donuts is a straightforward and enjoyable process, and the best part is, you won’t need an electric mixer! Just follow these simple steps to achieve perfectly baked, fluffy donuts.
STEP 1: Prepare Your Dry Ingredients. Begin by preheating your oven to 350°F (175°C) and lightly spray two standard donut pans with a nonstick baking spray, ensuring every crevice is coated to prevent sticking. In a large mixing bowl, meticulously sift together the all-purpose flour, black cocoa powder (or Dutch process cocoa), finely crushed Oreo crumbs, baking powder, baking soda, and a pinch of salt. Sifting is crucial here as it helps to aerate the flour and ensures all the dry ingredients are evenly distributed, preventing lumps and promoting a consistent texture in your final donuts. Give them a quick whisk to fully combine and set this bowl aside.
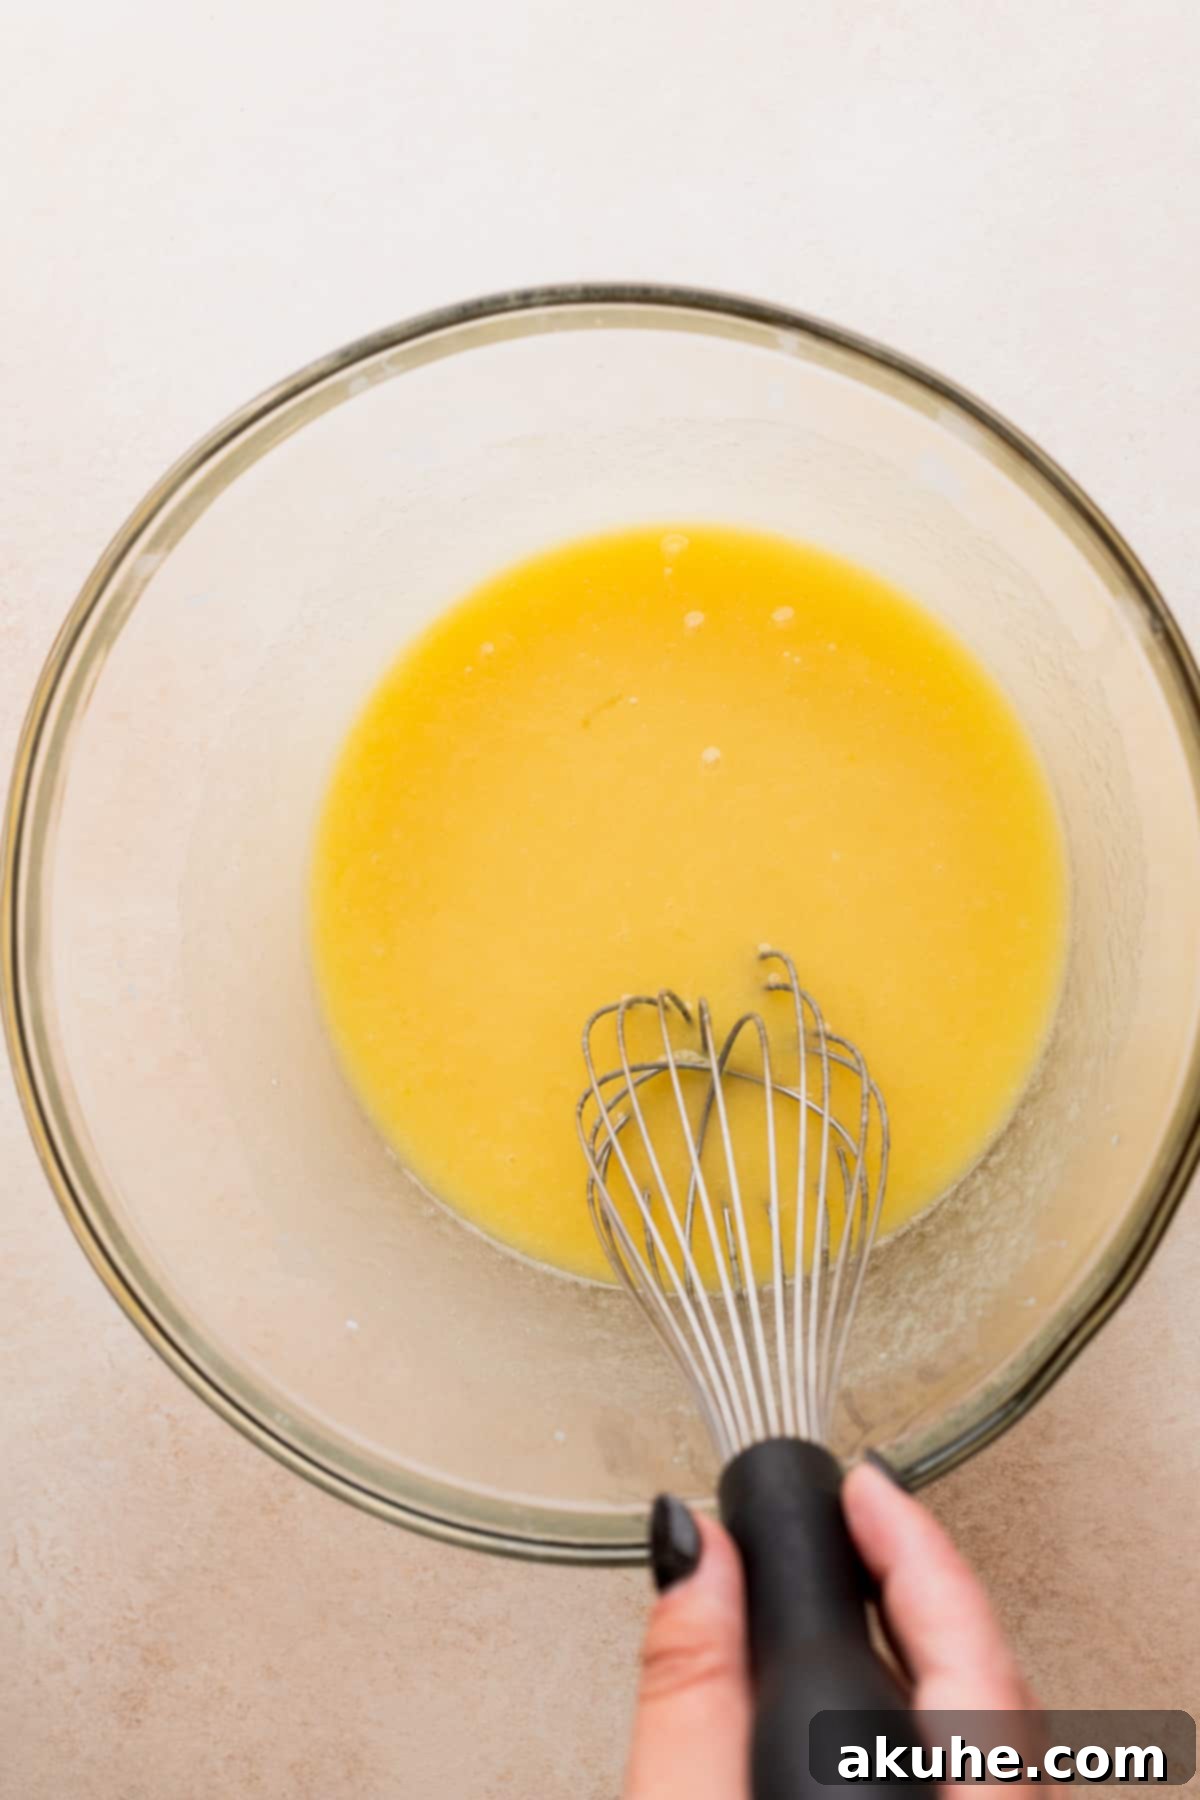
STEP 2: Combine the Wet Ingredients. In a separate, medium-sized bowl, whisk together the room temperature large eggs, pure vanilla extract, white granulated sugar, room temperature buttermilk (or your chosen substitute), and the melted and cooled unsalted butter. Whisk until all these wet ingredients are thoroughly combined and the sugar has largely dissolved. This ensures a homogenous mixture before combining with the dry components.
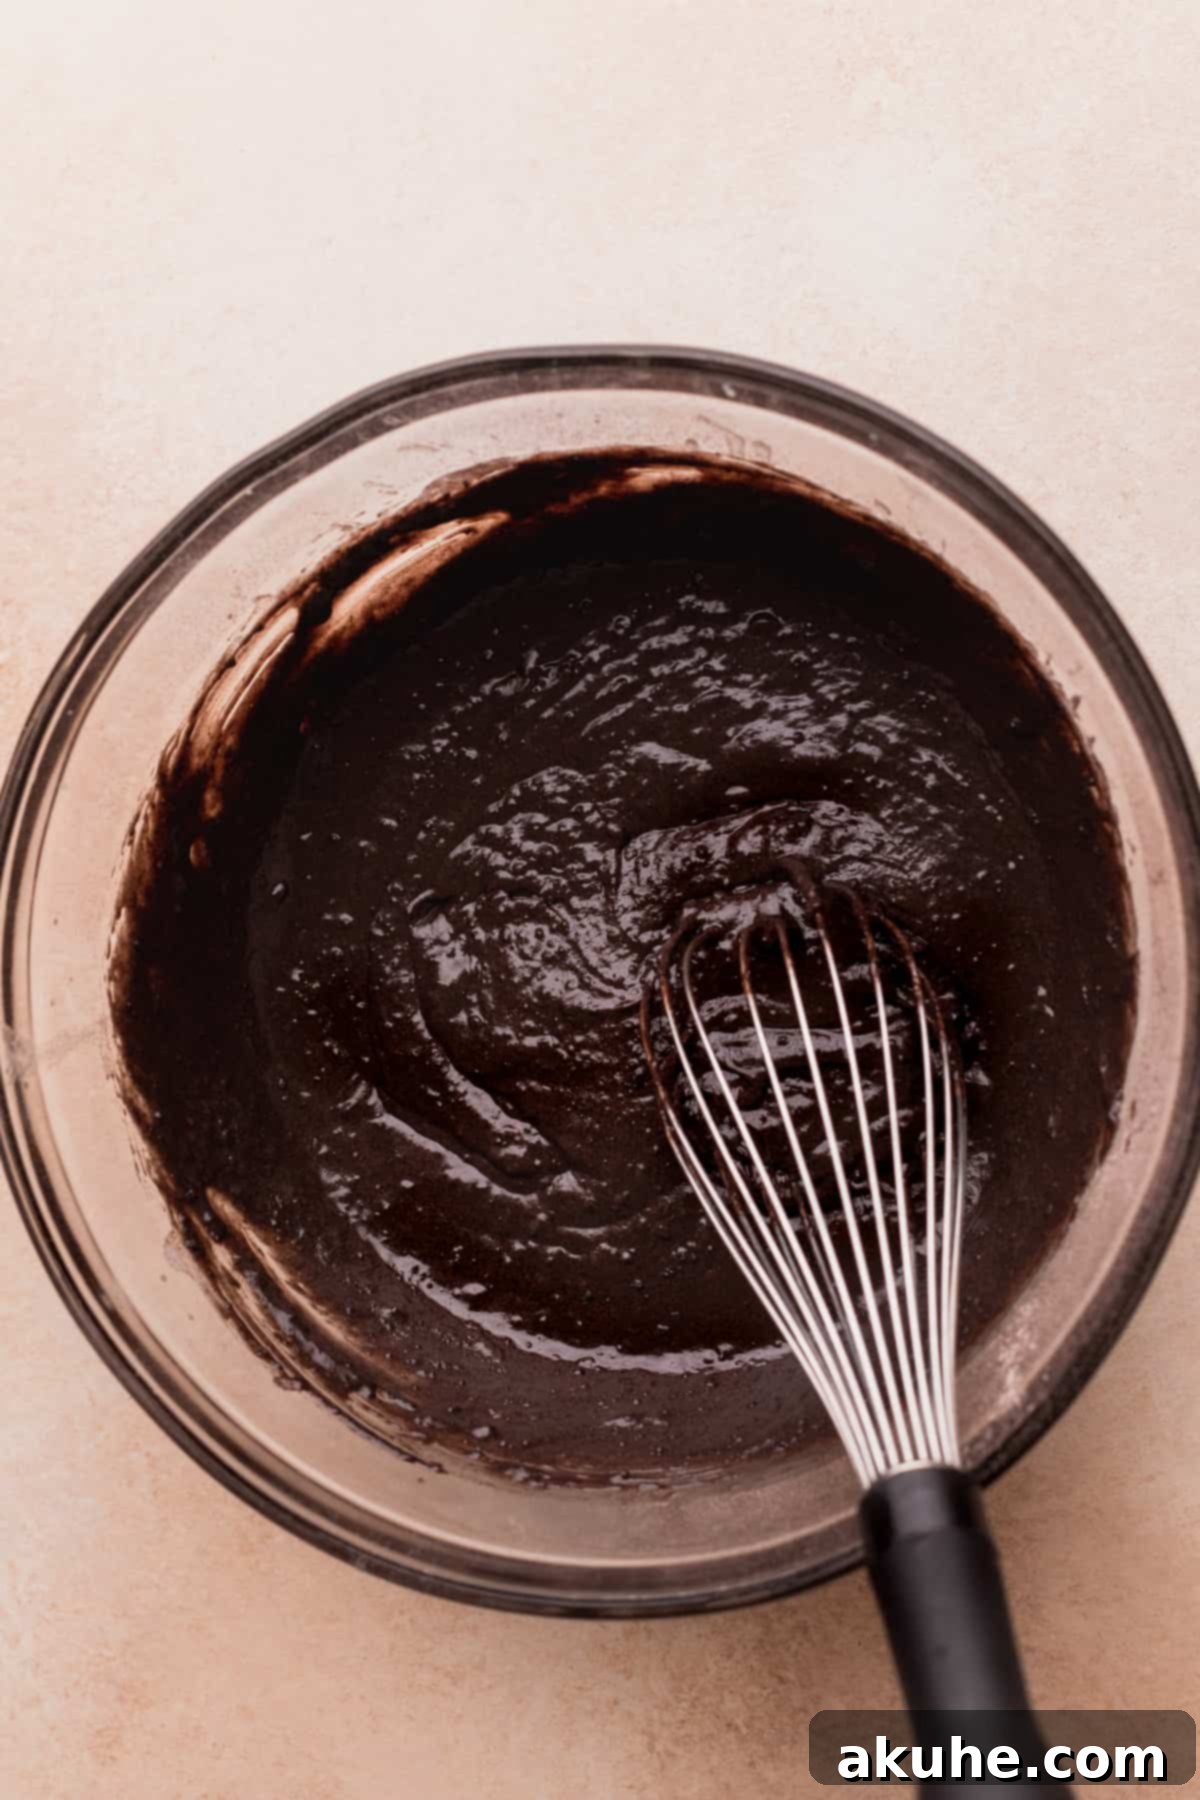
STEP 3: Gently Combine and Prepare for Piping. Carefully pour the wet ingredient mixture into the large bowl containing your sifted dry ingredients. Using a whisk, gently mix the ingredients together until they are just combined. It’s incredibly important not to overmix the batter at this stage, as overmixing can develop the gluten in the flour too much, leading to tough, dense donuts instead of the desired light and fluffy texture. A few small lumps are perfectly acceptable. Once the batter is ready, scoop it into a large piping bag. I personally found an 18-inch piping bag to be ideal for holding the entire batch of batter comfortably, making the piping process much smoother and less messy.
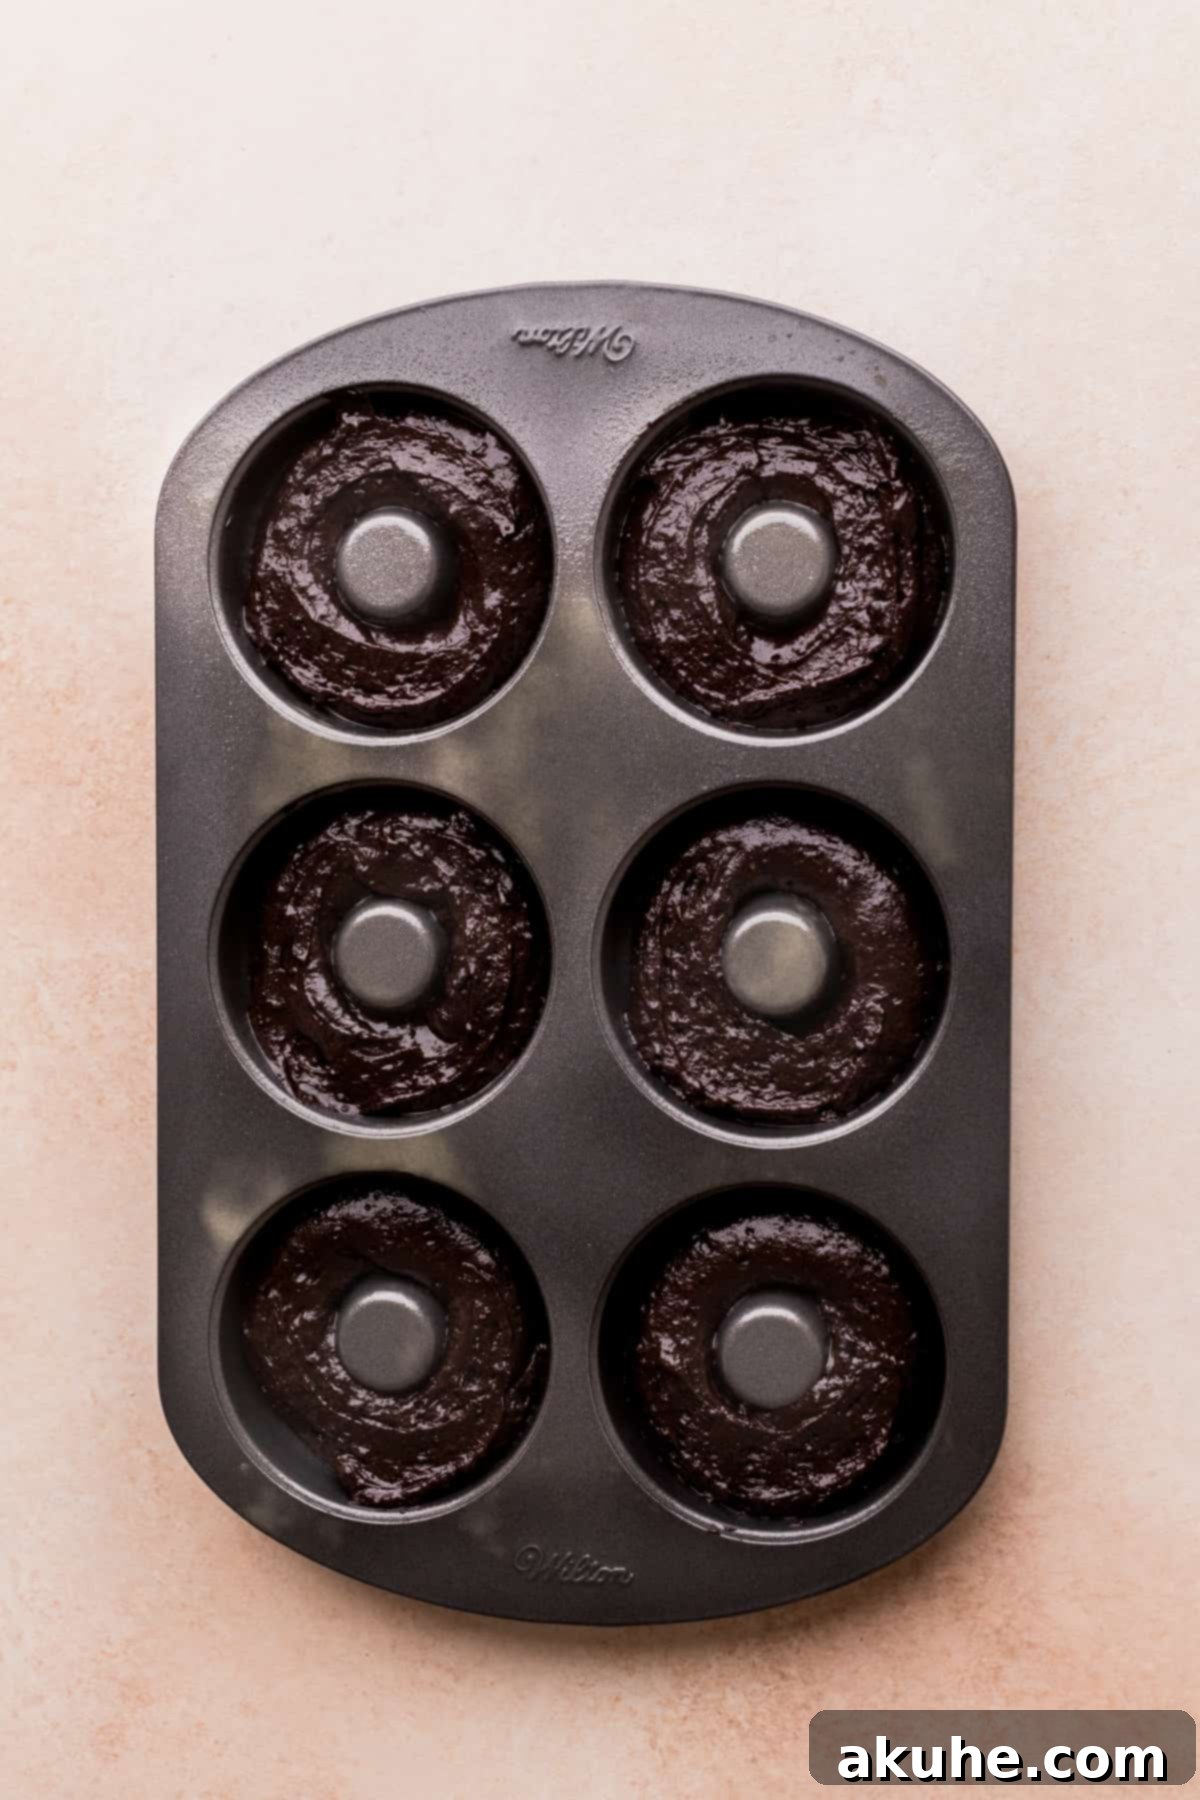
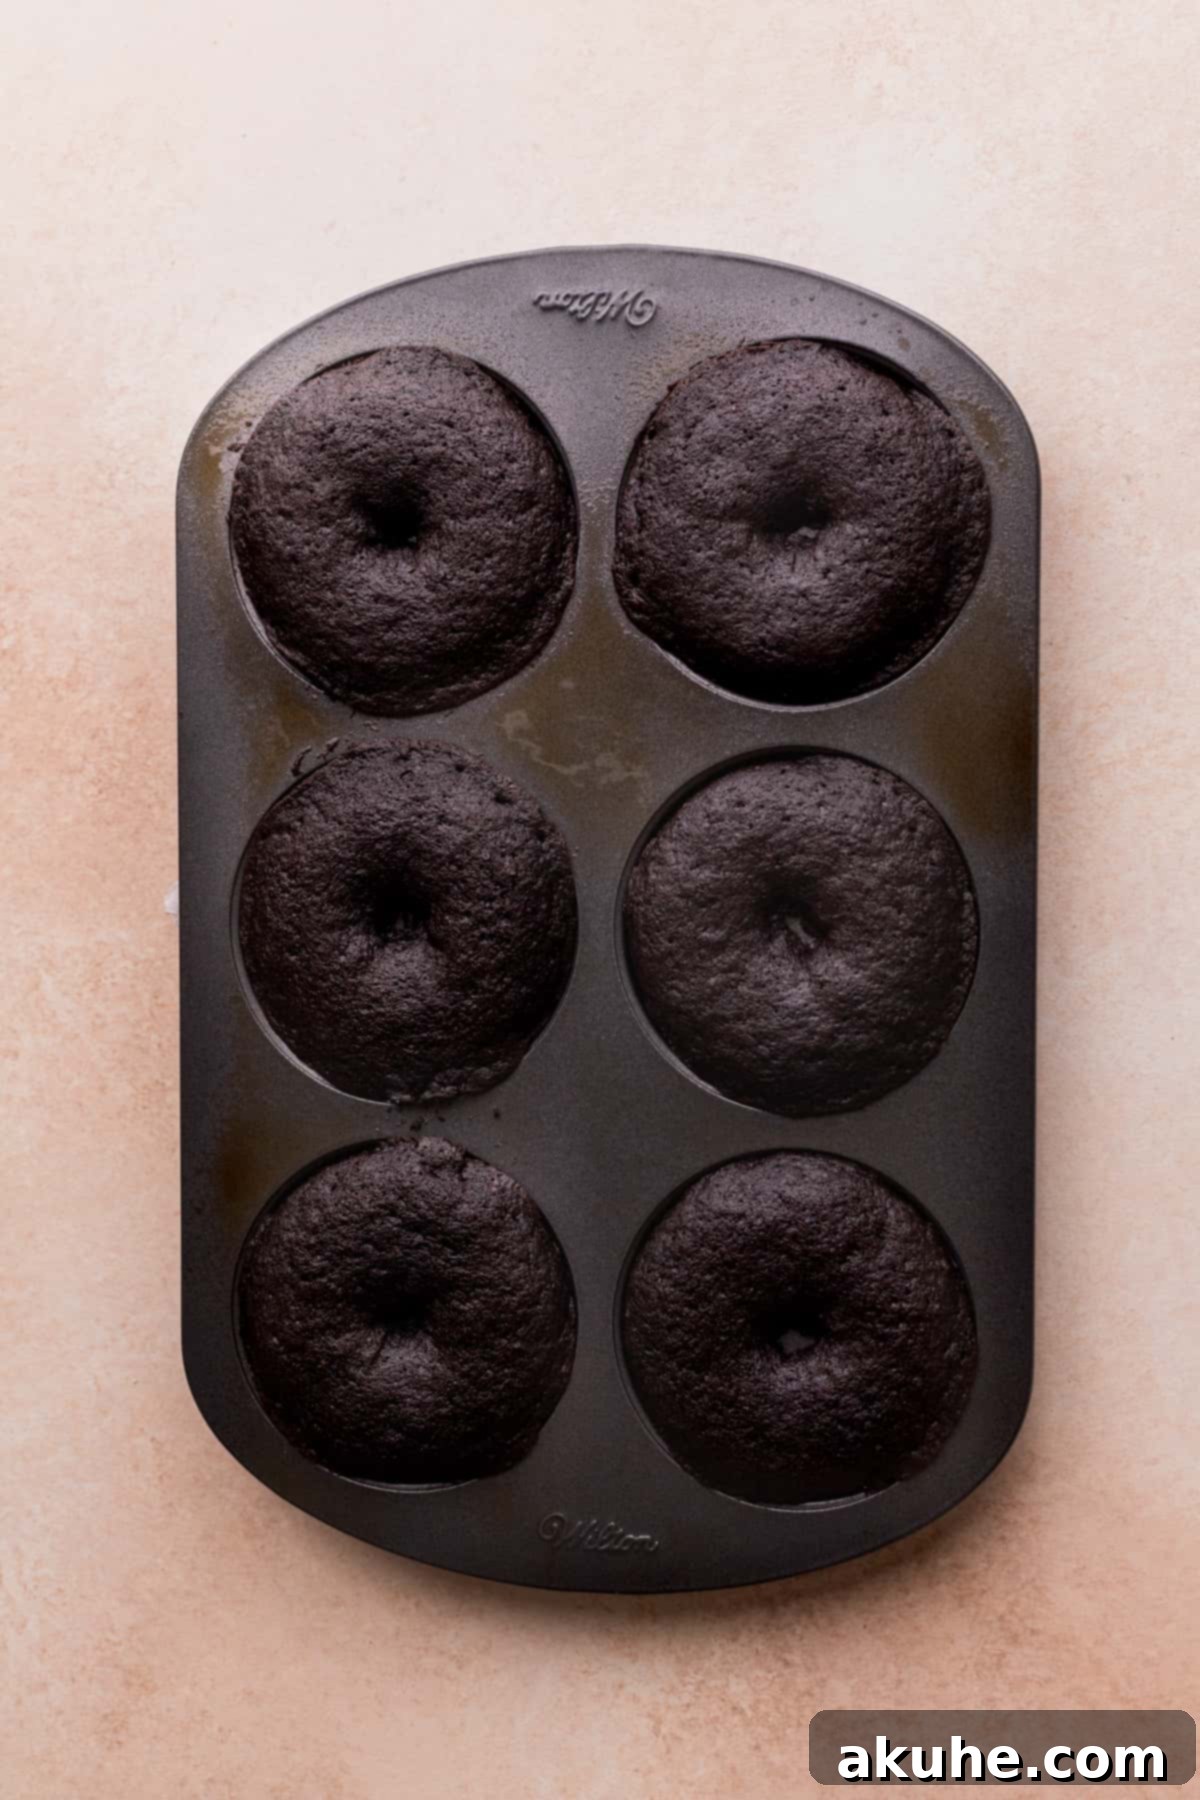
STEP 4: Pipe and Bake to Perfection. Snip off the end of your piping bag to create an opening that allows for a steady flow of batter. Carefully pipe the donut batter into the prepared donut pan cavities, filling each one approximately two-thirds full. This allows room for the donuts to rise without overflowing. Place the donut pans into your preheated oven and bake for 10-15 minutes. Baking times can vary slightly depending on your oven, so keep an eye on them. The donuts are done when they spring back lightly to the touch, and a toothpick inserted into the thickest part comes out clean, indicating no wet batter remains. Once baked, remove the pans from the oven and let the donuts cool in the hot pan for about 10 minutes. This crucial resting period allows them to firm up slightly before you transfer them to a wire cooling rack to cool completely. Handling them too soon might cause them to break.
STEP 5: Craft the Dreamy Chocolate Oreo Glaze. While your donuts are cooling, it’s time to prepare the star of the topping: the chocolate Oreo glaze. In a microwave-safe small bowl or a glass measuring cup, combine the semi-sweet chocolate chips and 4 tablespoons of milk (or heavy cream for a richer glaze). Heat this mixture in the microwave in short 20-second intervals, stirring thoroughly after each interval. Continue this process until the chocolate chips are completely melted and the mixture is smooth and glossy. Avoid overheating, as this can cause the chocolate to seize. Once melted, stir in 2 tablespoons of finely crushed Oreo crumbs. Next, add the extra 3 tablespoons of milk, one tablespoon at a time, mixing until your glaze reaches a smooth, pourable, and slightly thinner consistency that will beautifully coat your donuts without being too thick or too runny.
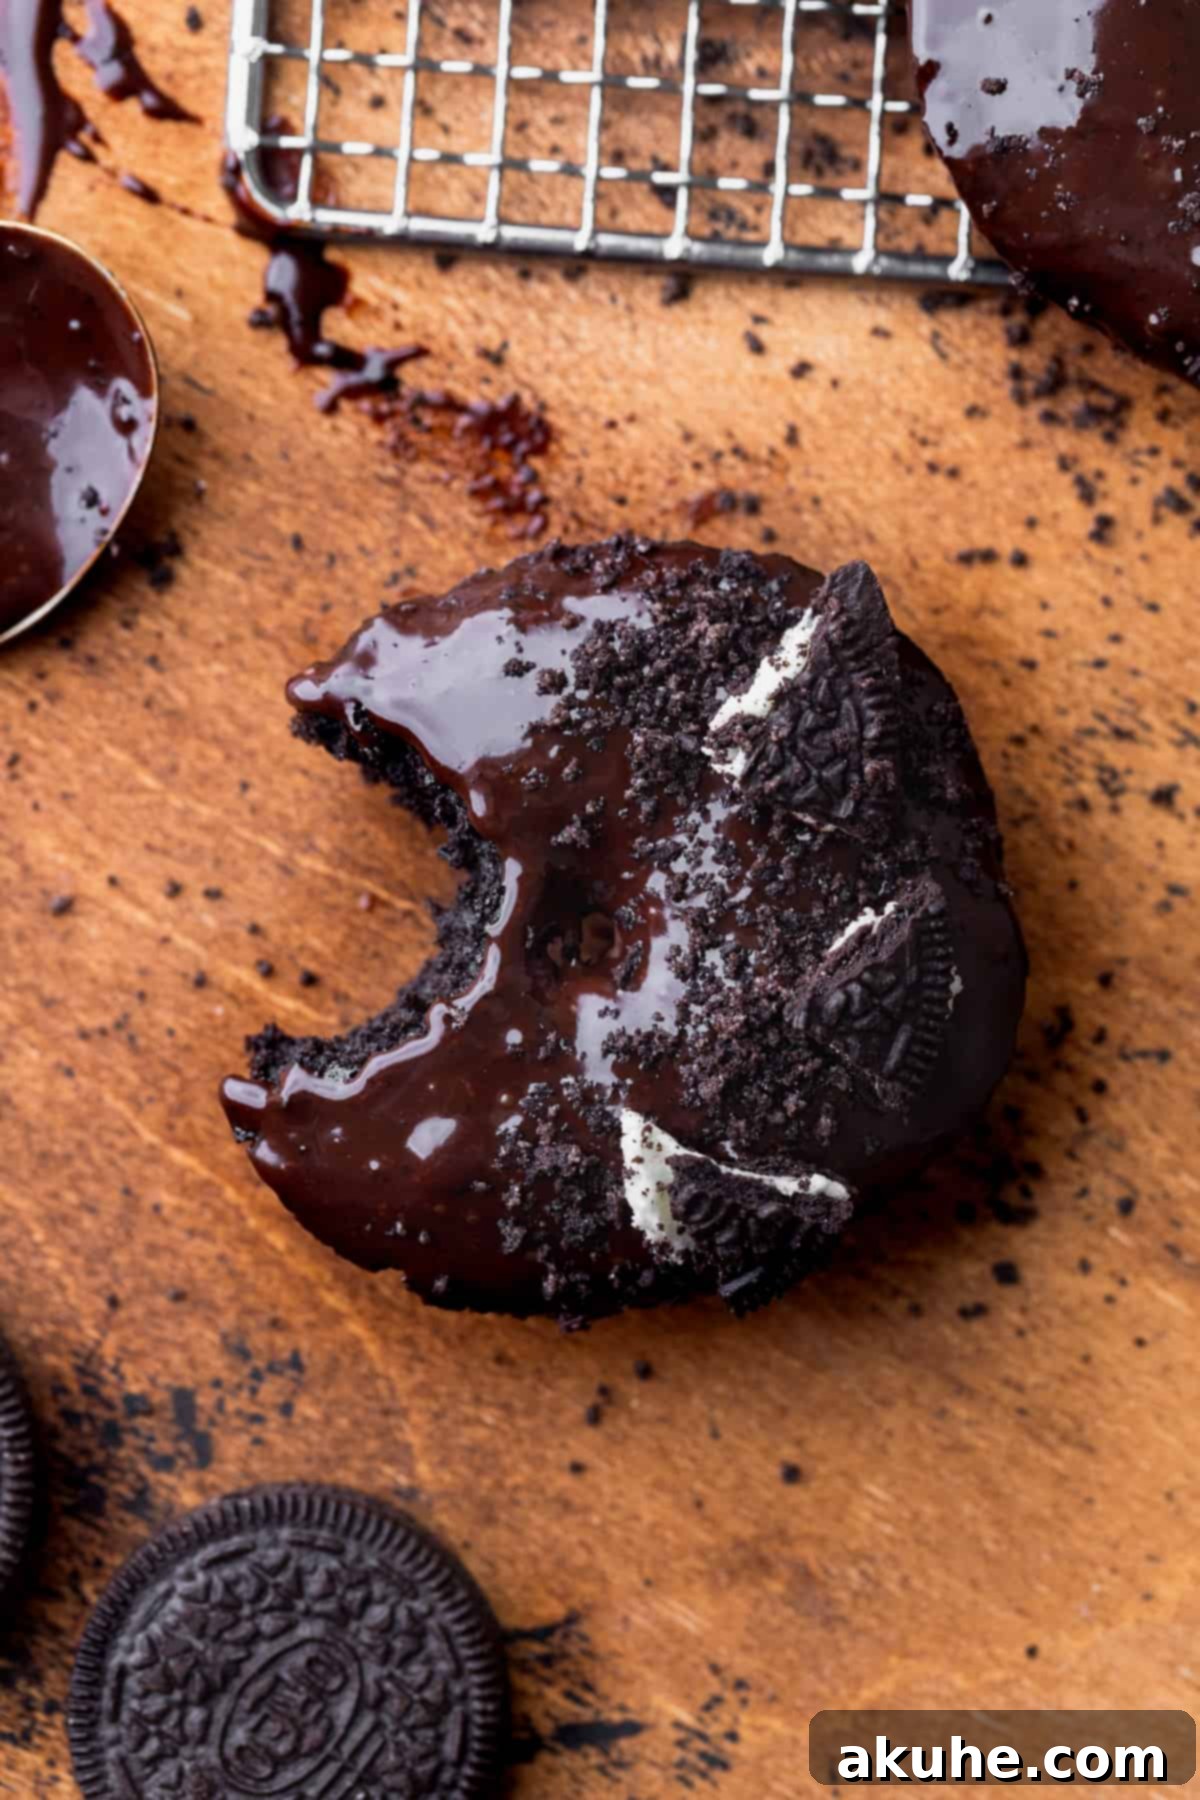
STEP 6: Glaze and Decorate. Once your donuts have cooled completely, it’s time for the grand finale! Pour your prepared chocolate Oreo glaze into a shallow bowl that is wide enough to comfortably dip the entire top of a donut. Take each cooled donut and gently dunk its top surface into the luscious glaze, twisting slightly to ensure an even coating. Lift the donut, allowing any excess glaze to drip back into the bowl. Immediately after dipping, place the glazed donut onto a clean wire cooling rack. While the glaze is still wet, generously sprinkle each donut with additional Oreo cookie pieces or more crushed crumbs for extra texture and an undeniably appetizing look. Allow the glazed donuts to sit on the cooling rack for at least 15-30 minutes, giving the glaze ample time to set and harden slightly. Once set, they are ready to be devoured!
Expert Baking Tips for Flawless Donuts
- Accurate Flour Measurement is Key: The most common baking mistake is incorrectly measuring flour. Always use the “spoon and level” method: spoon flour lightly into your measuring cup until it overflows, then level it off with the back of a straight knife or a straight edge. Never scoop your measuring cup directly into the flour container, as this compacts the flour, adding too much to your recipe. Excess flour can lead to a dry, dense, and crumbly donut texture, far from the fluffy ideal. Consider investing in a kitchen scale for the most precise measurement.
- Ensure Proper Pan Preparation: Before you even think about piping batter, ensure your donut pans are thoroughly sprayed with a good quality nonstick baking spray. Even if your pans are labeled “nonstick,” this extra step provides a crucial layer of protection, guaranteeing that your beautifully baked donuts will release effortlessly without sticking or tearing. This makes cleanup a breeze and prevents any heartbreak over broken donuts.
- Achieve Evenly Shaped Donuts: When piping the donut batter into the pan, it’s natural for the batter to settle unevenly, sometimes creating peaks or gaps. To achieve perfectly round and uniformly shaped donuts, use a clean finger or the back of a small spoon to gently smooth out the batter within each cavity, as demonstrated in the image above. This simple step ensures an even rise and a more professional-looking finish.
- Protect Your Countertops from Glaze Drips: Glazing can be a bit messy, but it’s easily managed. To catch any delicious drips and keep your kitchen clean, simply place a large cookie sheet or a sheet of parchment paper directly underneath your wire cooling rack before you start dipping the donuts. This will collect any excess glaze, making cleanup quick and hassle-free, allowing you to focus on enjoying your creations.
- Avoid Overmixing the Batter: As mentioned in the step-by-step guide, once you combine the wet and dry ingredients, mix only until they are just incorporated. Overmixing develops the gluten in the flour, resulting in donuts that are tough and chewy rather than light and tender. A few small lumps in the batter are perfectly fine and will bake out.
- Don’t Overbake Your Donuts: Baked donuts can go from perfectly moist to dry and crumbly very quickly. Start checking for doneness at the lower end of the recommended baking time (around 10 minutes). A toothpick inserted into a donut should come out clean. If it’s still wet, bake for another minute or two and recheck. Trust the toothpick test and your instincts!
- Allow for Complete Cooling Before Glazing: It’s tempting to glaze warm donuts, but patience is a virtue here. If you glaze donuts that are still warm, the heat will melt the glaze, causing it to run off rather than set into a beautiful, smooth coating. Ensure your donuts are completely cool to the touch before dipping them for the best glazed finish.
Frequently Asked Questions About Oreo Donuts
While a donut pan is ideal for achieving the classic ring shape, it’s not strictly necessary. You can easily adapt this recipe to make delicious Oreo muffins instead! Simply use a standard muffin pan lined with paper muffin liners. Fill each liner about two-thirds full with the batter. Bake for approximately the same amount of time (10-15 minutes), or until a toothpick inserted into the center comes out clean. Once cooled, you can dip the muffin tops into the chocolate Oreo glaze for a fun, donut-inspired treat.
Absolutely! These donuts are excellent for making ahead, especially if you plan to serve them for a special occasion. For best results, bake the donuts as directed and allow them to cool completely. Once cooled, you can wrap them individually in plastic cling wrap and then place them in an airtight freezer-safe bag or container. They will freeze beautifully for up to 30 days. When you’re ready to enjoy them, simply thaw the frozen donuts at room temperature for about an hour before preparing and applying the glaze. This method ensures they taste wonderfully fresh when served.
I haven’t personally tested this specific recipe with egg substitutes, so I can’t guarantee the exact results. However, many baked goods can successfully use alternatives like a flax egg (1 tbsp ground flaxseed meal + 3 tbsp water, let sit for 5 minutes), applesauce (1/4 cup per egg), or commercial egg replacers. If you decide to experiment with an egg-free version, I would love to hear about your experience and how they turn out!
This recipe specifically calls for black cocoa powder, which gives these donuts their signature dark color and a distinct, slightly less bitter chocolate flavor that pairs perfectly with Oreos (as black cocoa is used in actual Oreos!). If you can’t find black cocoa powder, Dutch-processed cocoa powder is an excellent substitute. It also has a darker color and a smoother, less acidic chocolate flavor than natural cocoa powder, making it suitable for recipes that use baking soda and buttermilk, as its alkalinity helps with leavening.
Absolutely! The beauty of homemade glaze is its adjustability. If you prefer a thinner glaze that creates a more transparent, delicate coating, simply add an additional tablespoon of milk (or heavy cream) at a time to your prepared glaze, stirring well after each addition, until you reach your desired consistency. For a thicker glaze that offers a more opaque and substantial coating, you can add a tiny bit more powdered sugar (if using a powdered sugar base, which isn’t specified in the original glaze but is a common adjustment) or a few more chocolate chips and re-melt them gently, then adjust with milk as needed. Always add liquids slowly to avoid making it too thin.
Storing and Freezing Your Delicious Oreo Donuts
To keep your freshly baked Oreo donuts at their best, store them in an airtight container. They will last for up to 5 days in the refrigerator. However, it’s worth noting that these delightful treats truly taste their absolute best when enjoyed fresh on the day they are made. Over time, the glaze, especially one made with chocolate and milk, might soften or melt slightly within an airtight container due to moisture, affecting its crispness, but the flavor will remain wonderful.
Freezing Instructions
Freezing is an excellent option for long-term storage, especially if you’ve baked a large batch. For optimal quality, it’s best to freeze the baked Oreo donuts before you decorate them. Once your donuts have completely cooled to room temperature after baking, wrap each individual donut tightly in plastic cling film. Then, place the wrapped donuts into an airtight, freezer-safe container or a heavy-duty freezer bag to prevent freezer burn. They can be frozen for up to one month. When you’re ready to enjoy them, simply remove them from the freezer and allow them to thaw at room temperature for approximately 1 hour. Once thawed, you can proceed with preparing and applying the chocolate Oreo glaze as per the recipe instructions. This ensures a fresh-tasting donut with perfectly set glaze every time.
Other Irresistible Oreo Recipes To Try
Don’t forget to leave a STAR REVIEW if you absolutely loved this recipe! Your feedback means the world. Make sure to tag me on Instagram @stephaniesweettreats so I can see your beautiful creations. To discover more delightful baking ideas and inspiration, make sure to follow me on Pinterest. Happy baking!

Oreo Donuts
Print Recipe
Pin Recipe
Leave a Review
Ingredients
Chocolate Cake Donuts
- 1 cup All-purpose flour
- 1/2 cup Black cocoa powder, or use dutch process cocoa powder
- 1/2 cup Oreo crumbs, 4 oreos blended into a fine crumb
- 1/2 tsp Baking powder
- 1/2 tsp Baking soda
- 1/2 tsp Salt
- 2 Large eggs, room temperature
- 1 tsp Pure vanilla extract
- 3/4 cup White granulated sugar
- 1/2 cup Buttermilk, room temperature. Or sour cream or greek yogurt.
- 5 TBSP Unsalted butter, melted and cooled.
Chocolate Glaze
- 1 cup Semi-sweet chocolate chips
- 4 TBSP Milk, or heavy cream
- 3 TBSP Milk
- 2 TBSP Oreo crumbs, plus extra to top the donuts
- Oreo pieces, for topping the donuts.
Instructions
Chocolate Cake Donuts
- Preheat the oven to 350°F (175°C). Spray two donut pans thoroughly with baking nonstick spray.
- In a large bowl, sift and mix the flour, black cocoa powder, Oreo crumbs, baking powder, baking soda, and salt. Set aside.1 cup All-purpose flour, 1/2 cup Black cocoa powder, 1/2 cup Oreo crumbs, 1/2 tsp Baking powder, 1/2 tsp Baking soda, 1/2 tsp Salt
- In a medium bowl, whisk together the eggs, vanilla, sugar, buttermilk, and melted butter (ensure it’s cooled to room temperature first). Pour this wet mixture on top of the dry ingredients and mix gently until just combined.2 Large eggs, 1 tsp Pure vanilla extract, 3/4 cup White granulated sugar, 1/2 cup Buttermilk, 5 TBSP Unsalted butter
- Scoop the batter into a piping bag and snip off the end. Pipe the cake batter into the donut pan cavities, filling each about 2/3 full. Smooth the tops with a finger if needed for even baking.
- Bake for 10-15 minutes, or until a toothpick inserted into a donut comes out clean. Let them sit in the hot pans for 10 minutes before transferring to a wire cooling rack to cool completely.
Chocolate Glaze
- In a microwave-safe small bowl, add the chocolate chips and 4 TBSP milk. Heat in the microwave for 20-second intervals, stirring well between each, until completely melted and smooth.1 cup Semi-sweet chocolate chips, 4 TBSP Milk
- Once the chocolate glaze is melted, stir in 2 TBSP Oreo crumbs. Then, gradually add the extra 3 TBSP milk, one tablespoon at a time, mixing until the glaze is smooth and reaches a desired consistency for dipping.2 TBSP Oreo crumbs, 3 TBSP Milk
- Dip the completely cooled donuts into the glaze, letting excess drip off. Place on a wire cooling rack over a baking sheet. Top immediately with extra Oreo pieces or crumbs. Let the glaze set before serving.Oreo pieces
Notes
High Altitude Baking: For those baking at higher altitudes, you may need to make a slight adjustment to your dry ingredients. Try adding an extra 1 tablespoon of all-purpose flour to help with the structure.
Room Temperature Ingredients: Remember to pull out all dairy ingredients, such as eggs and buttermilk, at least 2 hours before you plan to start baking. This allows them to reach room temperature, which is essential for proper emulsification and a smooth, consistent batter.
