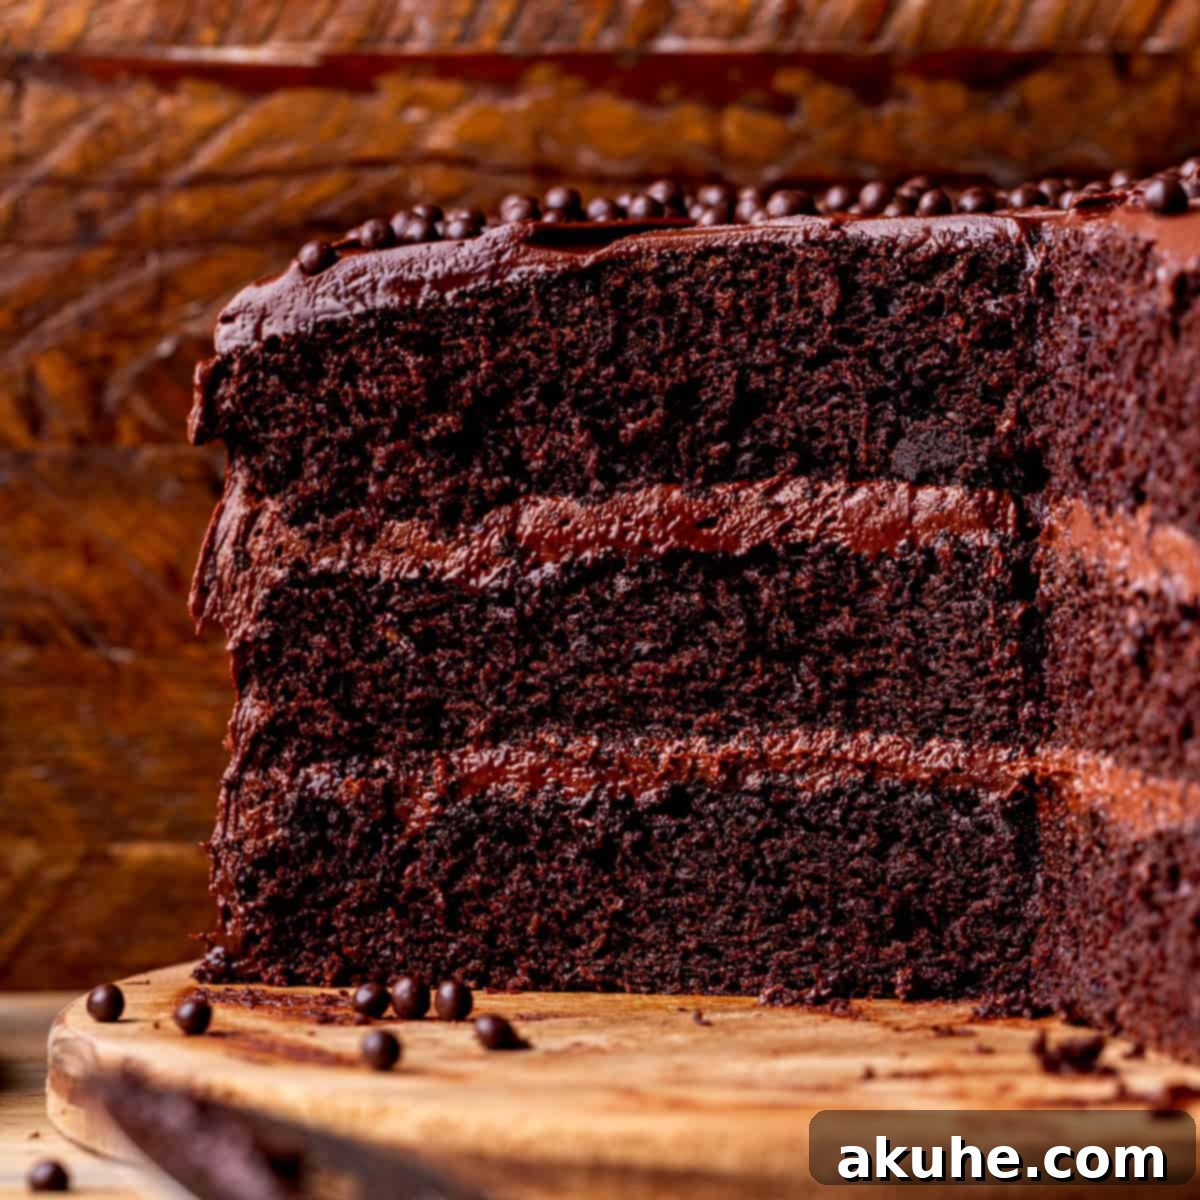
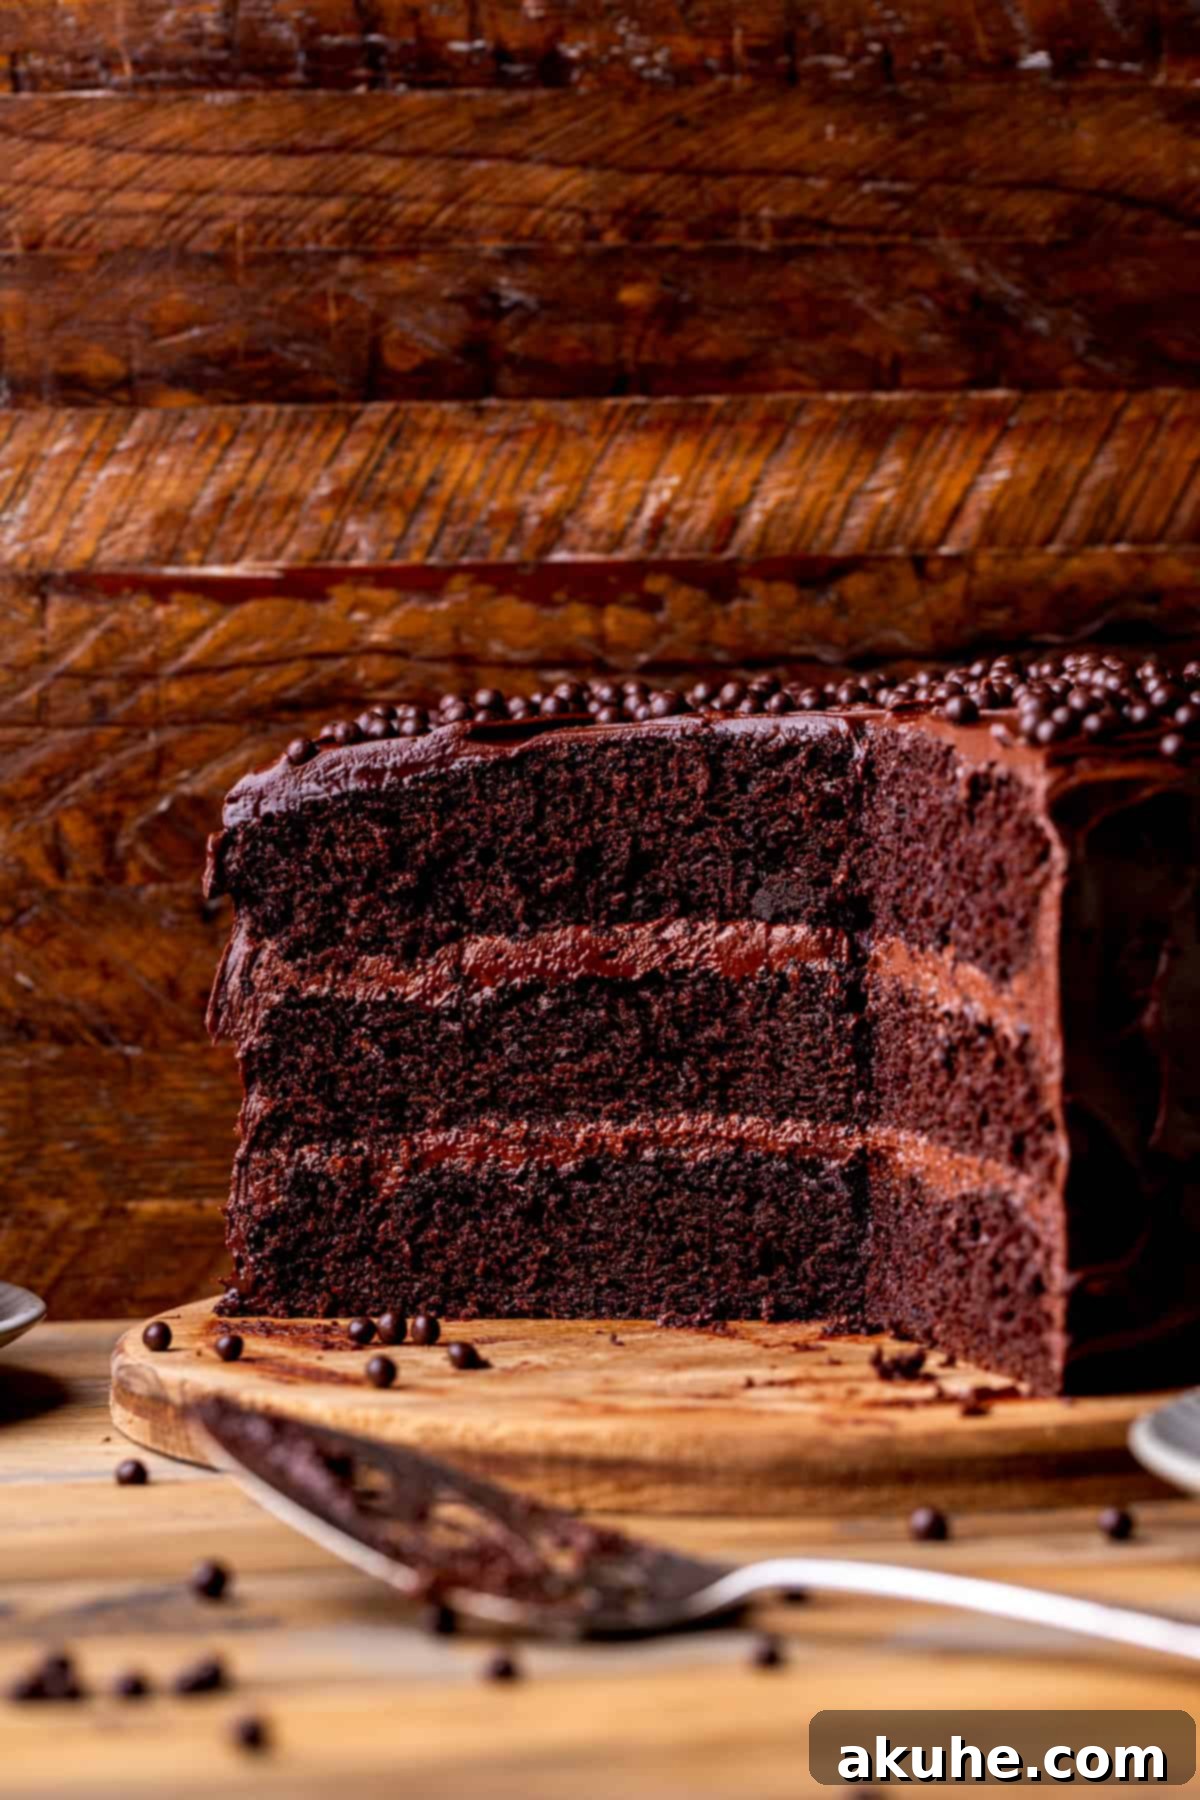
Prepare to embark on a delightful culinary journey with this truly exceptional moist chocolate cake recipe. Drawing inspiration from the legendary chocolate cake featured in Roald Dahl’s “Matilda,” this isn’t just any dessert; it’s a rich, fudgy, and utterly decadent experience designed to leave you speechless. Each bite promises a super soft crumb, an intense chocolate flavor, and a luscious, silky chocolate frosting that melts in your mouth. This isn’t merely a cake; it’s a celebration of all things chocolate, setting the benchmark against which all other chocolate desserts are measured. Get ready to discover your new favorite homemade chocolate cake – a recipe so good, you’ll never consider a box mix again.
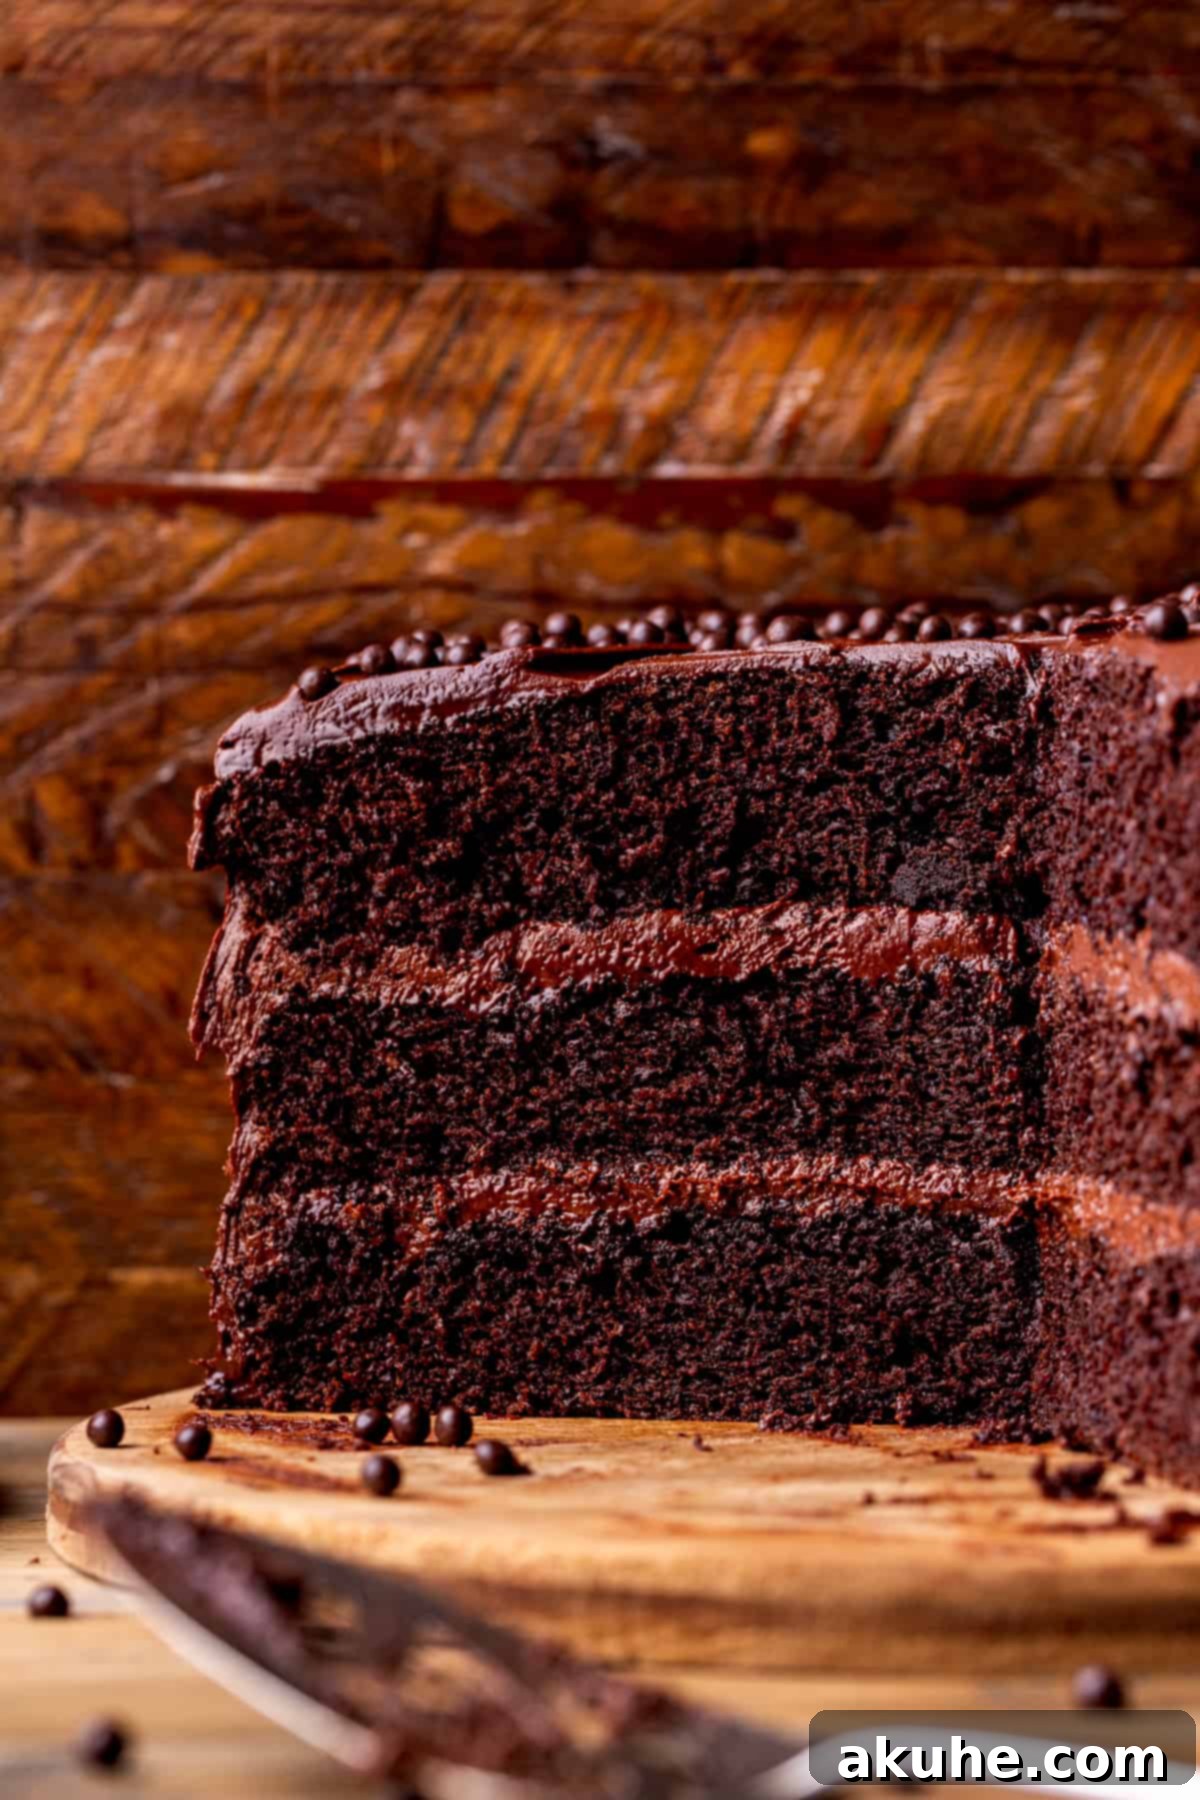
In the vast world of desserts, chocolate cake holds a special, almost revered status. It’s a classic for a reason, offering comfort, indulgence, and pure bliss with every forkful. This particular homemade chocolate cake stands out with its unparalleled softness and moisture, a testament to carefully selected ingredients and precise baking techniques. It’s the kind of cake that evokes childhood memories while creating new, cherished ones. Forget complicated steps or elusive ingredients; this easy-to-follow recipe ensures that even novice bakers can achieve a show-stopping dessert that tastes profoundly amazing. It truly is the BEST chocolate cake recipe you’ll ever bake, delivering an indulgent experience that rivals any professional bakery.
If you’re a devoted fan of chocolate, you might also enjoy exploring these other delightful chocolate dessert recipes: Chocolate Crinkle Cookies, a wonderfully chewy and festive treat; Chocolate Peppermint Cheesecake, a refreshing twist on a classic; and Chocolate Cheesecake Bars, perfect for sharing or savoring solo. Each offers a unique way to enjoy the rich, satisfying taste of chocolate.
Why This Classic Chocolate Cake Recipe Works Wonders
Our decadent chocolate cake recipe consistently delivers outstanding results, making it a favorite for home bakers. Here’s why this recipe shines and guarantees a perfect cake every time:
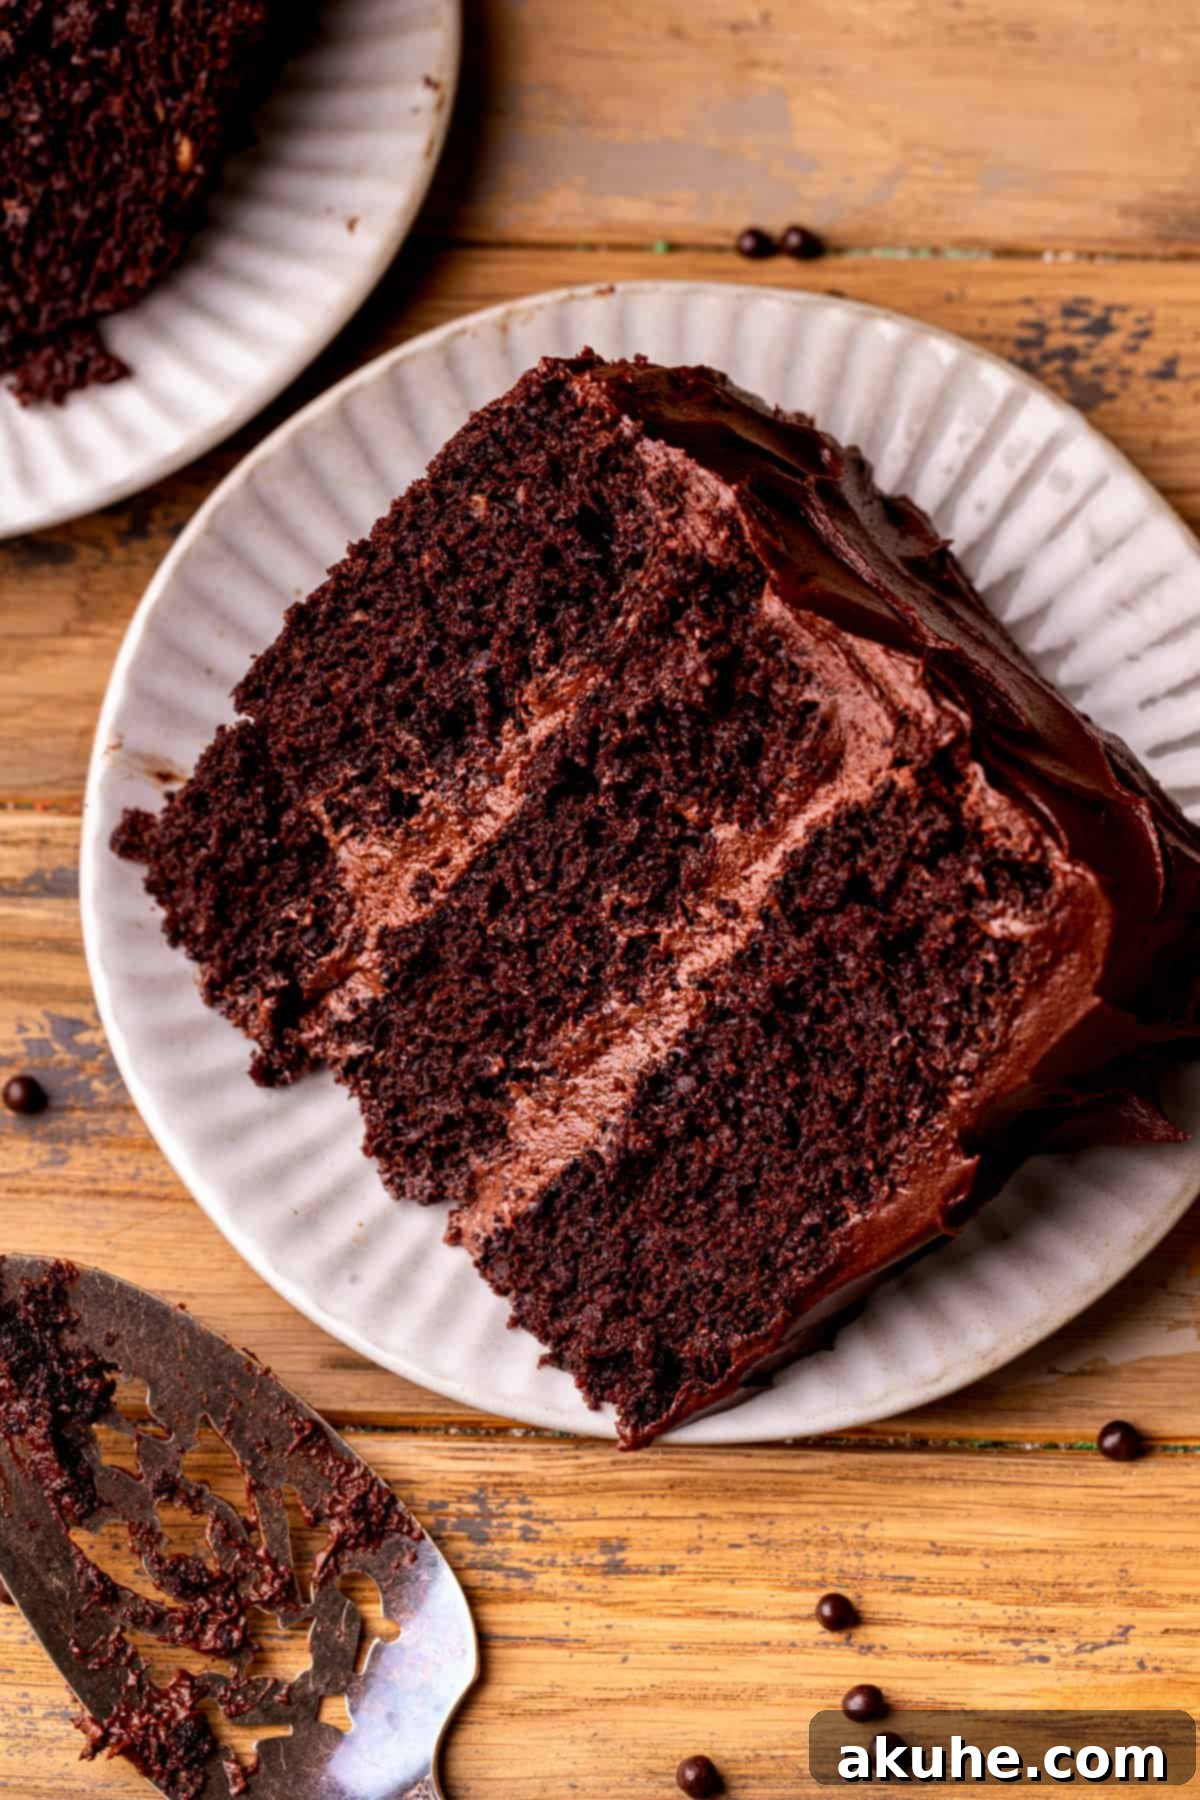
- Unrivaled Soft Texture: The hallmark of an truly exceptional chocolate cake lies in its incredibly soft and moist texture. We’ve meticulously tested and refined this moist chocolate cake recipe to ensure it boasts the most tender, melt-in-your-mouth crumb imaginable. The careful balance of wet and dry ingredients, combined with specific baking methods, prevents dryness and ensures a consistently delicate texture that will impress every palate.
- Rich and Intense Chocolate Flavor: Prepare for an explosion of chocolate! This cake delivers a deep, luxurious chocolate flavor that will leave you craving more. We’ve used a generous amount of high-quality unsweetened cocoa powder to create a profound chocolate base that is both sophisticated and deeply satisfying. This isn’t just a sweet cake; it’s a rich chocolate experience that solidifies why chocolate cake remains the ultimate dessert.
- Remarkably Easy to Follow: Don’t let its gourmet taste fool you – this easy moist chocolate cake recipe is designed with simplicity in mind. We’ve broken down every step into clear, concise instructions, making the baking process as straightforward and enjoyable as possible. Whether you’re a seasoned baker or just starting, you’ll find this recipe manageable and rewarding, resulting in a stunning homemade chocolate cake with minimal fuss.
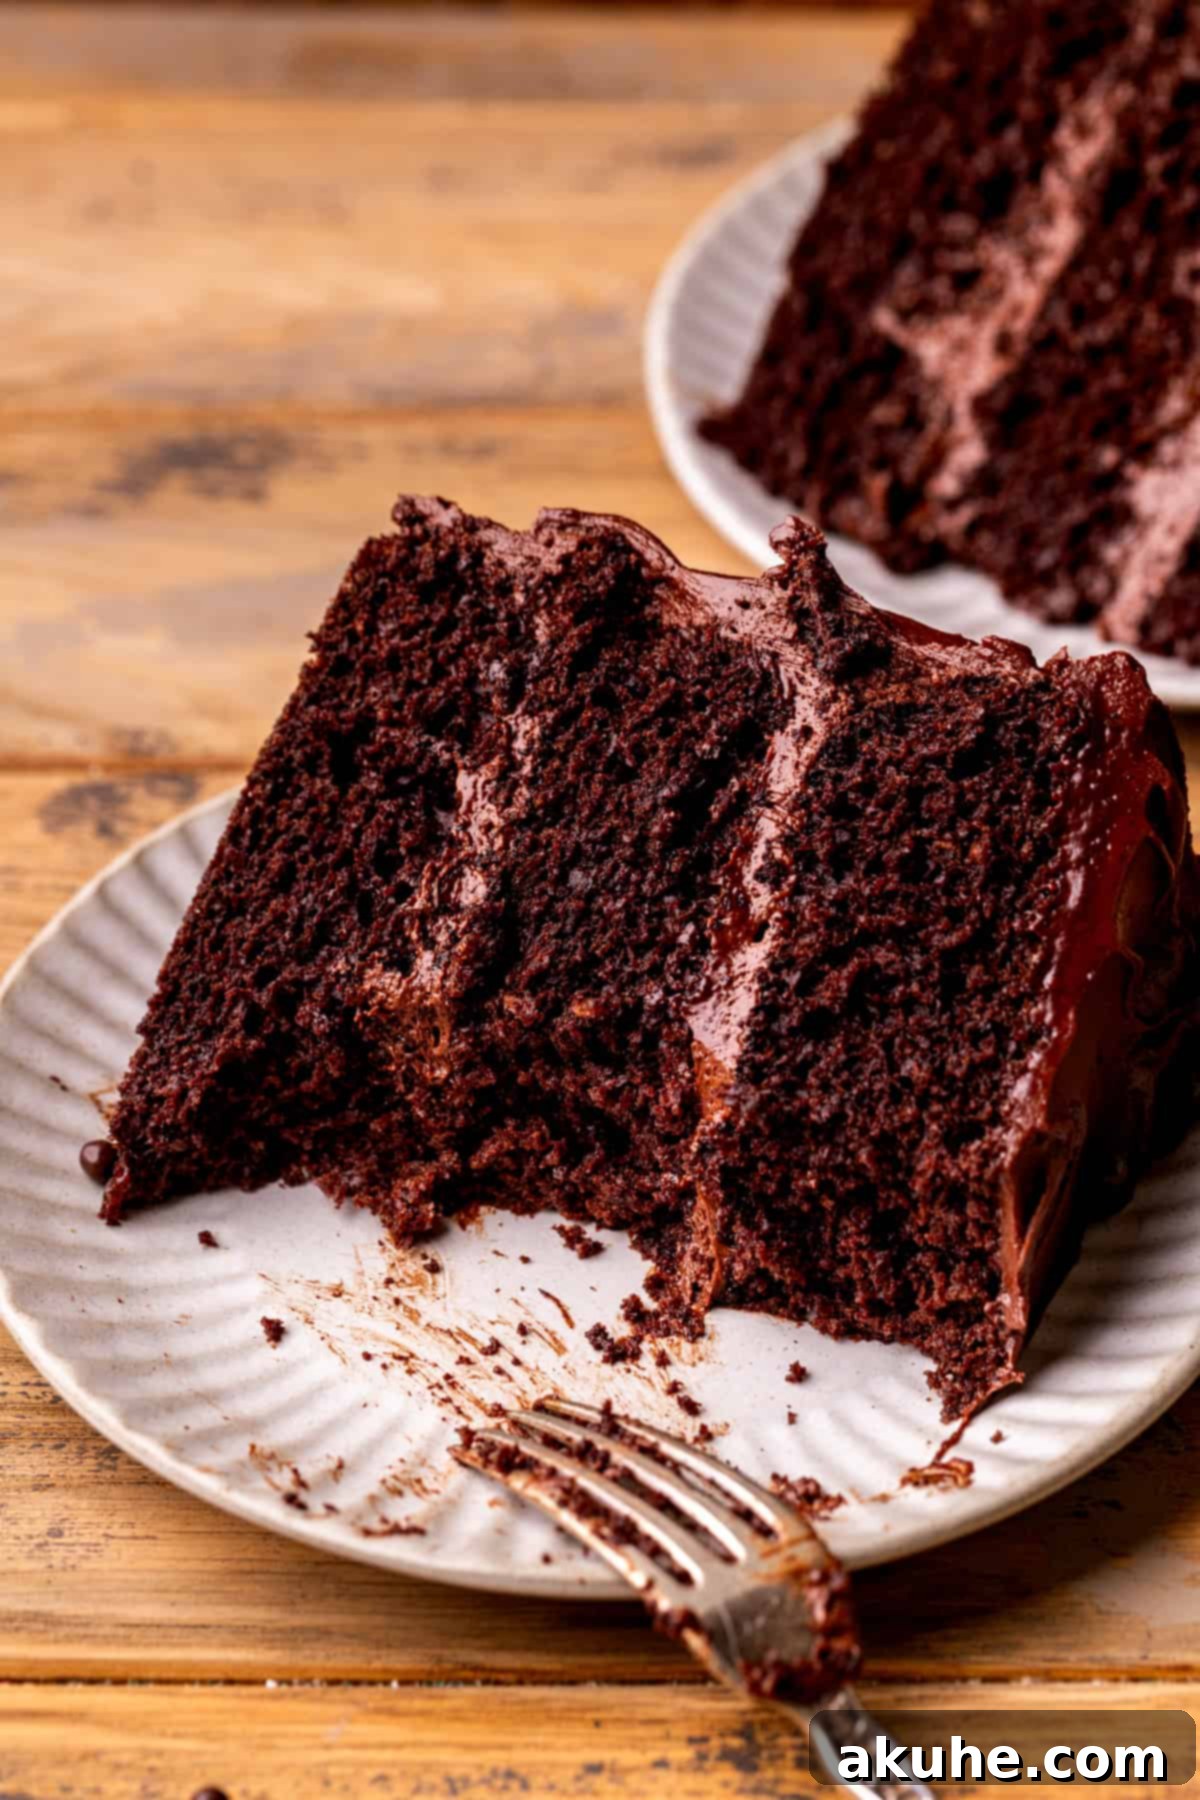
Essential Ingredient Notes for Your Homemade Chocolate Cake
Achieving the perfect fudgy chocolate cake starts with understanding your ingredients. Here are some crucial notes to ensure the best results for your homemade masterpiece. For a complete list of quantities, please refer to the recipe card below.
- Unsalted Butter: Always use unsalted butter to control the overall salt content in your recipe. It’s essential that your butter is at room temperature – pull it out of the refrigerator at least 2 hours before you plan to start baking. Room temperature butter creams better with sugar, incorporating more air for a lighter cake.
- Oil: The addition of oil is key to the cake’s extraordinary moisture. Unlike butter, which is solid at room temperature, oil remains liquid, contributing to a more tender and moist crumb that stays fresh longer. Canola oil, vegetable oil, or a light olive oil are all excellent choices for this recipe, providing richness without overpowering the chocolate flavor.
- Sour Cream: This ingredient is a secret weapon for an incredibly moist and rich cake. Sour cream adds extra fat and acidity, which tenderizes the gluten in the flour, resulting in a softer crumb. Like butter, it should be at room temperature when added to the batter for seamless incorporation.
- Eggs: Use large eggs, and ensure they are at room temperature. Room temperature eggs emulsify more effectively with other ingredients, creating a smoother, more uniform batter and contributing to the cake’s structure and rise. Take them out of the fridge at least 2 hours prior to baking.
- Buttermilk: Buttermilk is another powerhouse for moisture and tenderness. Its acidity reacts with baking soda to create a lighter texture and also breaks down gluten strands, making the cake incredibly soft. Full-fat or reduced-fat buttermilk will work equally well. Remember to bring it to room temperature before incorporating it into your batter.
- Powdered Sugar: For the silky-smooth chocolate frosting, sifting your powdered sugar is non-negotiable. This crucial step removes any lumps, ensuring a flawlessly smooth and non-gritty frosting that glides effortlessly onto your cake.
- Brown Sugar: We recommend using light brown sugar for its delicate caramel notes that complement the rich chocolate beautifully. However, dark brown sugar can also be used if you prefer a more pronounced molasses flavor in your cake. Ensure it’s packed when measuring to get the correct amount.
- Chocolate Chips: For the frosting, semi-sweet chocolate chips provide the perfect balance of sweetness and deep chocolate flavor. If you prefer a more intense, less sweet frosting, dark chocolate chips can be used. Avoid milk chocolate chips, as they tend to be too sweet for this rich frosting and might upset the balance of flavors.
Smart Ingredient Substitutions for Your Chocolate Cake
Life happens, and sometimes you need to adapt a recipe. Here are some helpful ingredient substitutions for our decadent chocolate cake:
- Dairy-Free Options: While this recipe is designed with traditional dairy, many successful dairy-free substitutions can be made. For butter, use your favorite plant-based butter sticks. For buttermilk, use a dairy-free milk alternative (like almond or soy milk) with a tablespoon of white vinegar or lemon juice. For sour cream, a dairy-free sour cream alternative or even a thick dairy-free yogurt can work. Always ensure your chosen substitutes are at room temperature.
- Gluten-Free Baking: I have not personally tested this particular recipe with gluten-free flour. However, many bakers have success substituting all-purpose flour with a high-quality 1:1 gluten-free baking blend that contains xanthan gum. If you try a gluten-free version, please let me know your results – your feedback helps other bakers!
- Buttermilk Substitute: No buttermilk on hand? No problem! You can easily create a homemade version. Simply measure 1 cup of regular milk (dairy or non-dairy) and stir in 1 tablespoon of white vinegar or lemon juice. Let the mixture sit for about 10 minutes until it slightly curdles and thickens. This acidic mixture will function similarly to store-bought buttermilk in your recipe.
Step-By-Step Instructions: Crafting Your Decadent Chocolate Cake Layers
Creating the perfect moist chocolate cake layers is easier than you think. Follow these detailed steps for a flawless foundation:
STEP 1: Prepare Your Baking Environment. Begin by preheating your oven to a precise 350°F (175°C). While the oven heats, take three 8-inch round cake pans and thoroughly spray them with a high-quality baking spray, ensuring every surface is coated. For extra non-stick insurance and easy removal, line the bottoms of each pan with parchment paper circles, then spray the parchment paper again. This prevents any sticking and makes transferring your delicate cake layers a breeze.
STEP 2: Combine the Dry Ingredients. In a large mixing bowl, meticulously sift together the all-purpose flour, cornstarch, unsweetened cocoa powder, baking powder, baking soda, and salt. Sifting is crucial here as it aerates the dry ingredients and removes any lumps, ensuring a smooth batter and an even texture in your finished cake. Whisk them gently to ensure they are well combined.
STEP 3: Mix the Wet Ingredients. In a separate, generously sized bowl, combine the oil, granulated sugar, light brown sugar, room temperature large eggs, pure vanilla extract, white vinegar, sour cream, and room temperature buttermilk. Use a sturdy whisk to thoroughly mix these ingredients until they are well emulsified and smooth. Next, slowly and carefully pour in the hot water while continuously whisking. The hot water helps to bloom the cocoa powder, intensifying the chocolate flavor, and ensures a super moist cake.
STEP 4: Gently Combine Wet and Dry. Pour the entire wet ingredient mixture into the bowl containing the sifted dry ingredients. Using your whisk, gently mix the batter until just combined. Be careful not to overmix; overmixing can develop the gluten too much, leading to a tough cake. Mix only until no visible lumps of flour remain, and the batter is smooth and uniform.
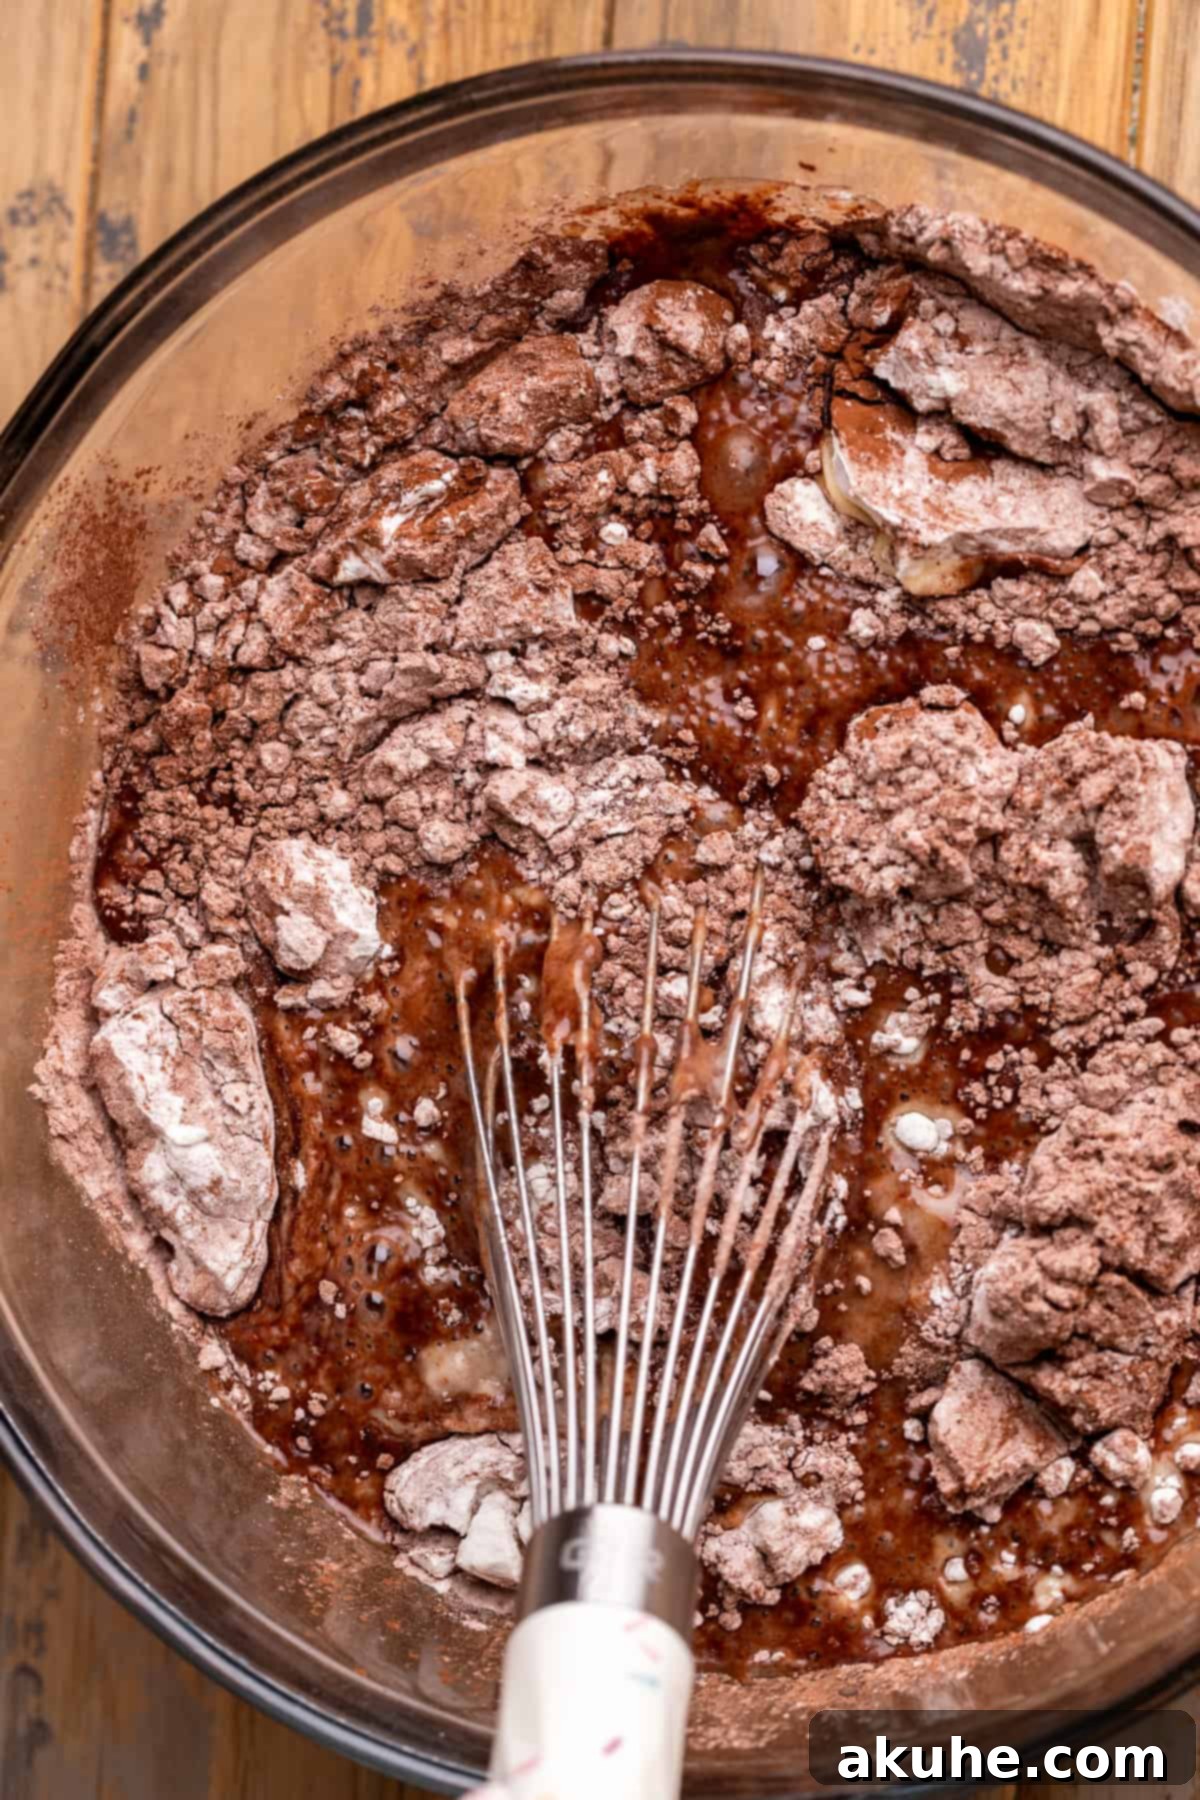
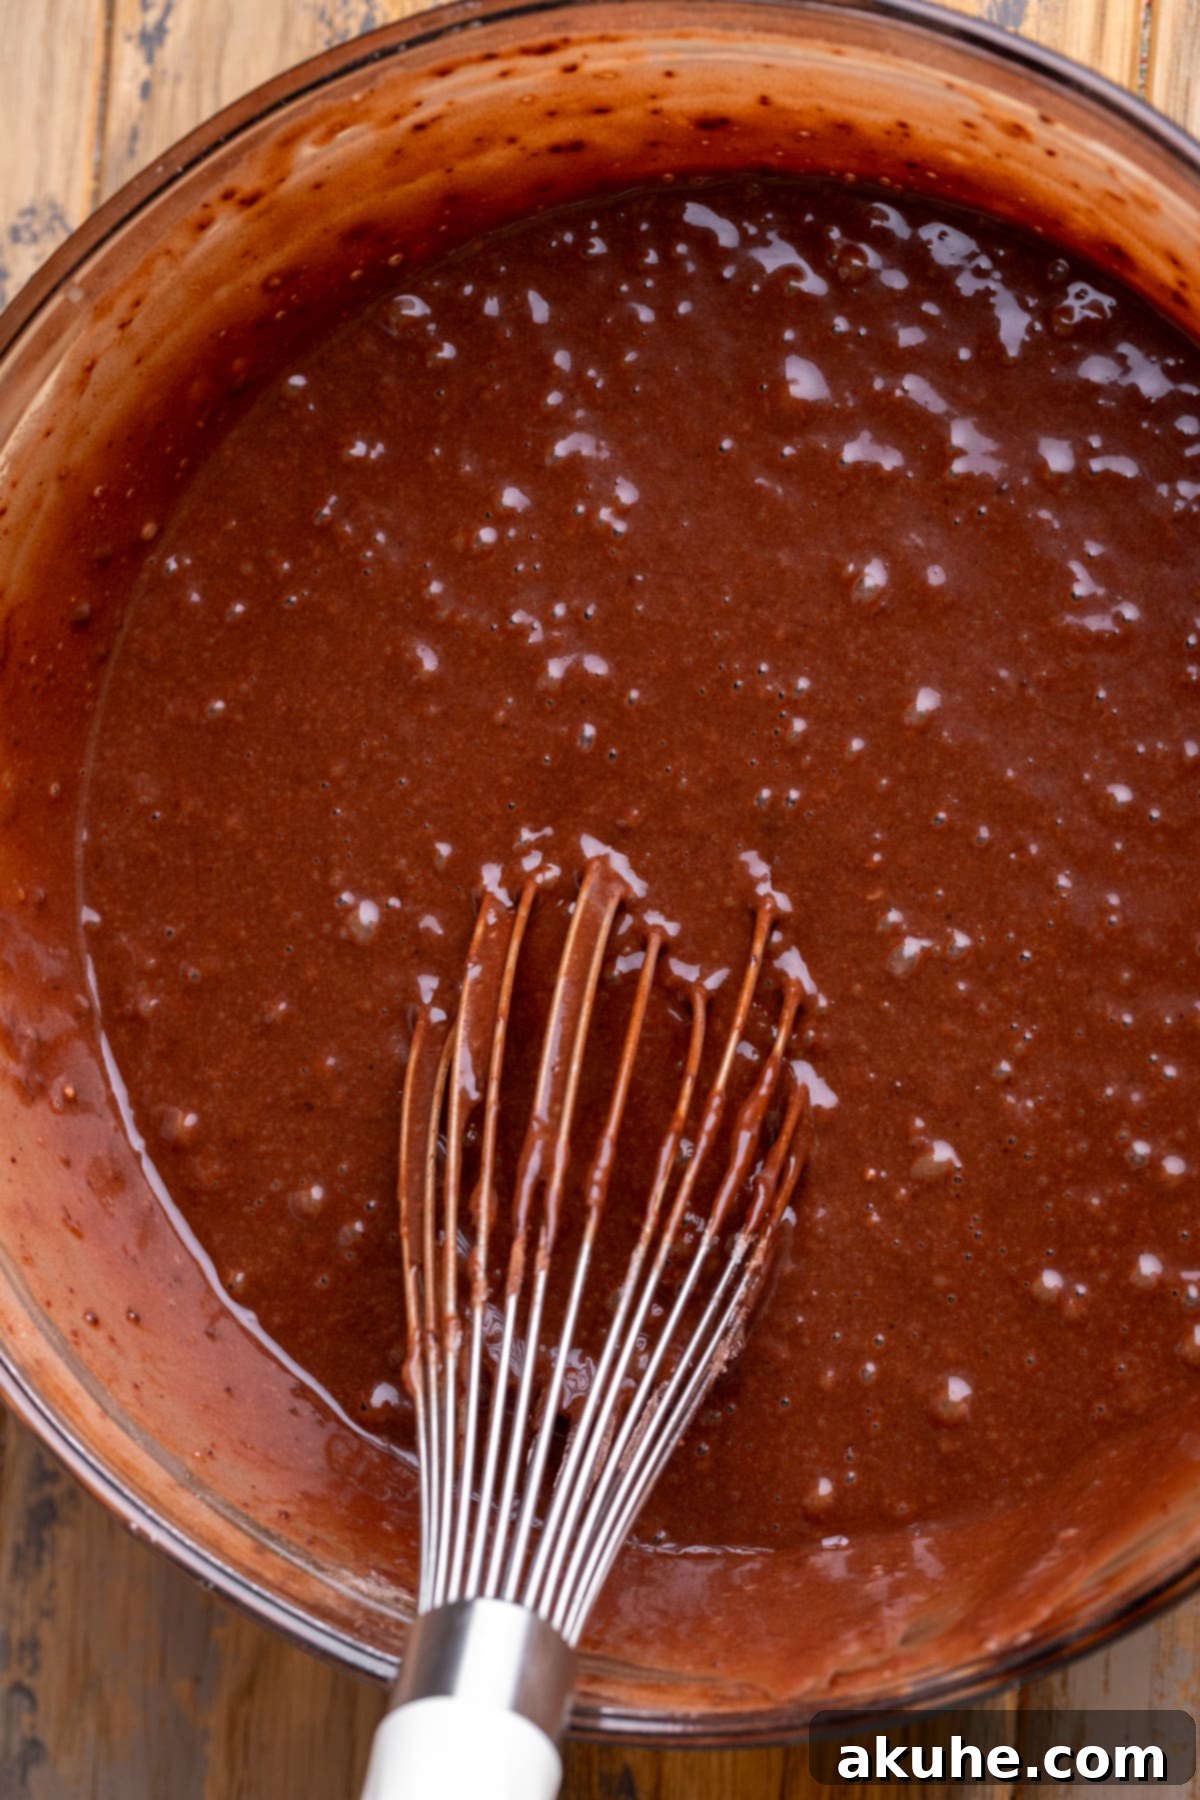
STEP 5: Distribute the Batter. Evenly divide the prepared chocolate cake batter among your three greased and parchment-lined 8-inch cake pans. You can use a kitchen scale for precise distribution to ensure each layer bakes uniformly.
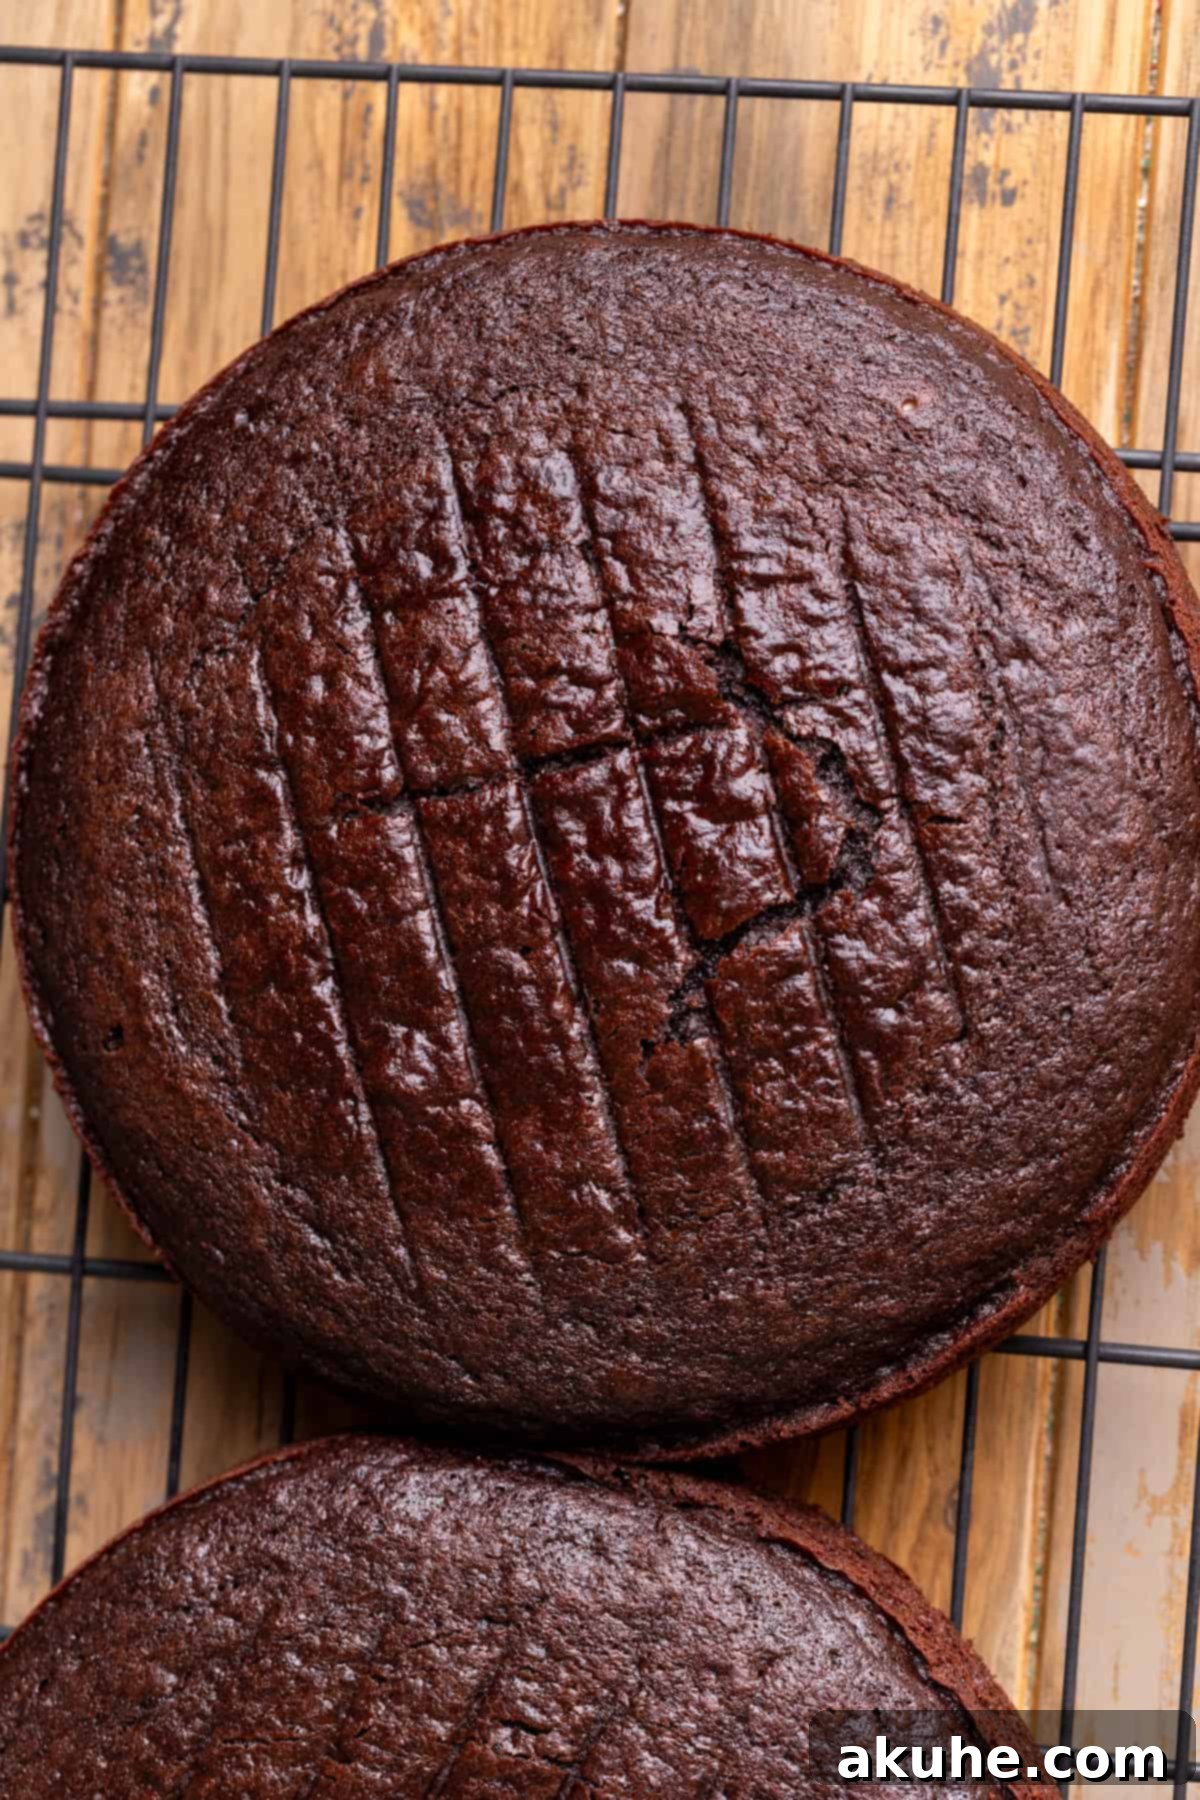
STEP 6: Bake to Perfection. Transfer the cake pans to your preheated oven and bake for approximately 22-25 minutes. Baking times can vary slightly depending on your oven, so start checking at the 22-minute mark. The cakes are perfectly done when a wooden toothpick or cake tester inserted into the center comes out clean or with just a few moist crumbs attached.
STEP 7: Cool the Layers. Once baked, remove the cakes from the oven and let them cool in their pans on a wire rack for a crucial 10 minutes. This allows the delicate cakes to firm up slightly before you attempt to move them. After 10 minutes, carefully invert the cakes onto the wire rack, remove the pans and parchment paper, and allow them to cool completely before even thinking about frosting. Rushing this step can lead to a melted, messy frosting and a ruined cake.
Step-By-Step Instructions: Whipping Up Silky Chocolate Frosting
No rich chocolate cake is complete without an equally luxurious frosting. Here’s how to create the silky-smooth chocolate frosting that perfectly complements this moist masterpiece:
STEP 1: Prepare Dry Ingredients and Melt Chocolate. In a medium-sized bowl, sift together the powdered sugar and unsweetened cocoa powder. Sifting is essential here to prevent any lumps, ensuring your frosting is perfectly smooth. Meanwhile, place your semi-sweet chocolate chips into a heat-safe bowl. Microwave them in 20-second intervals, stirring vigorously after each interval, until the chocolate is completely melted and smooth. Be careful not to overheat the chocolate, as it can seize.
STEP 2: Cream the Butter. In the bowl of a stand mixer fitted with the paddle attachment (or using a hand mixer), beat the room temperature unsalted butter on high speed for a full 2 minutes. The butter should become visibly lighter in color and fluffy. Stop the mixer, scrape down the sides of the bowl with a rubber spatula, and continue beating for another minute to ensure maximum aeration.
STEP 3: Incorporate Powdered Sugar. With the mixer on low speed, gradually add half of the sifted powdered sugar mixture to the creamed butter. Mix until just combined, then scrape down the bowl. Add the remaining half of the powdered sugar mixture and continue mixing on low speed until fully incorporated and smooth.
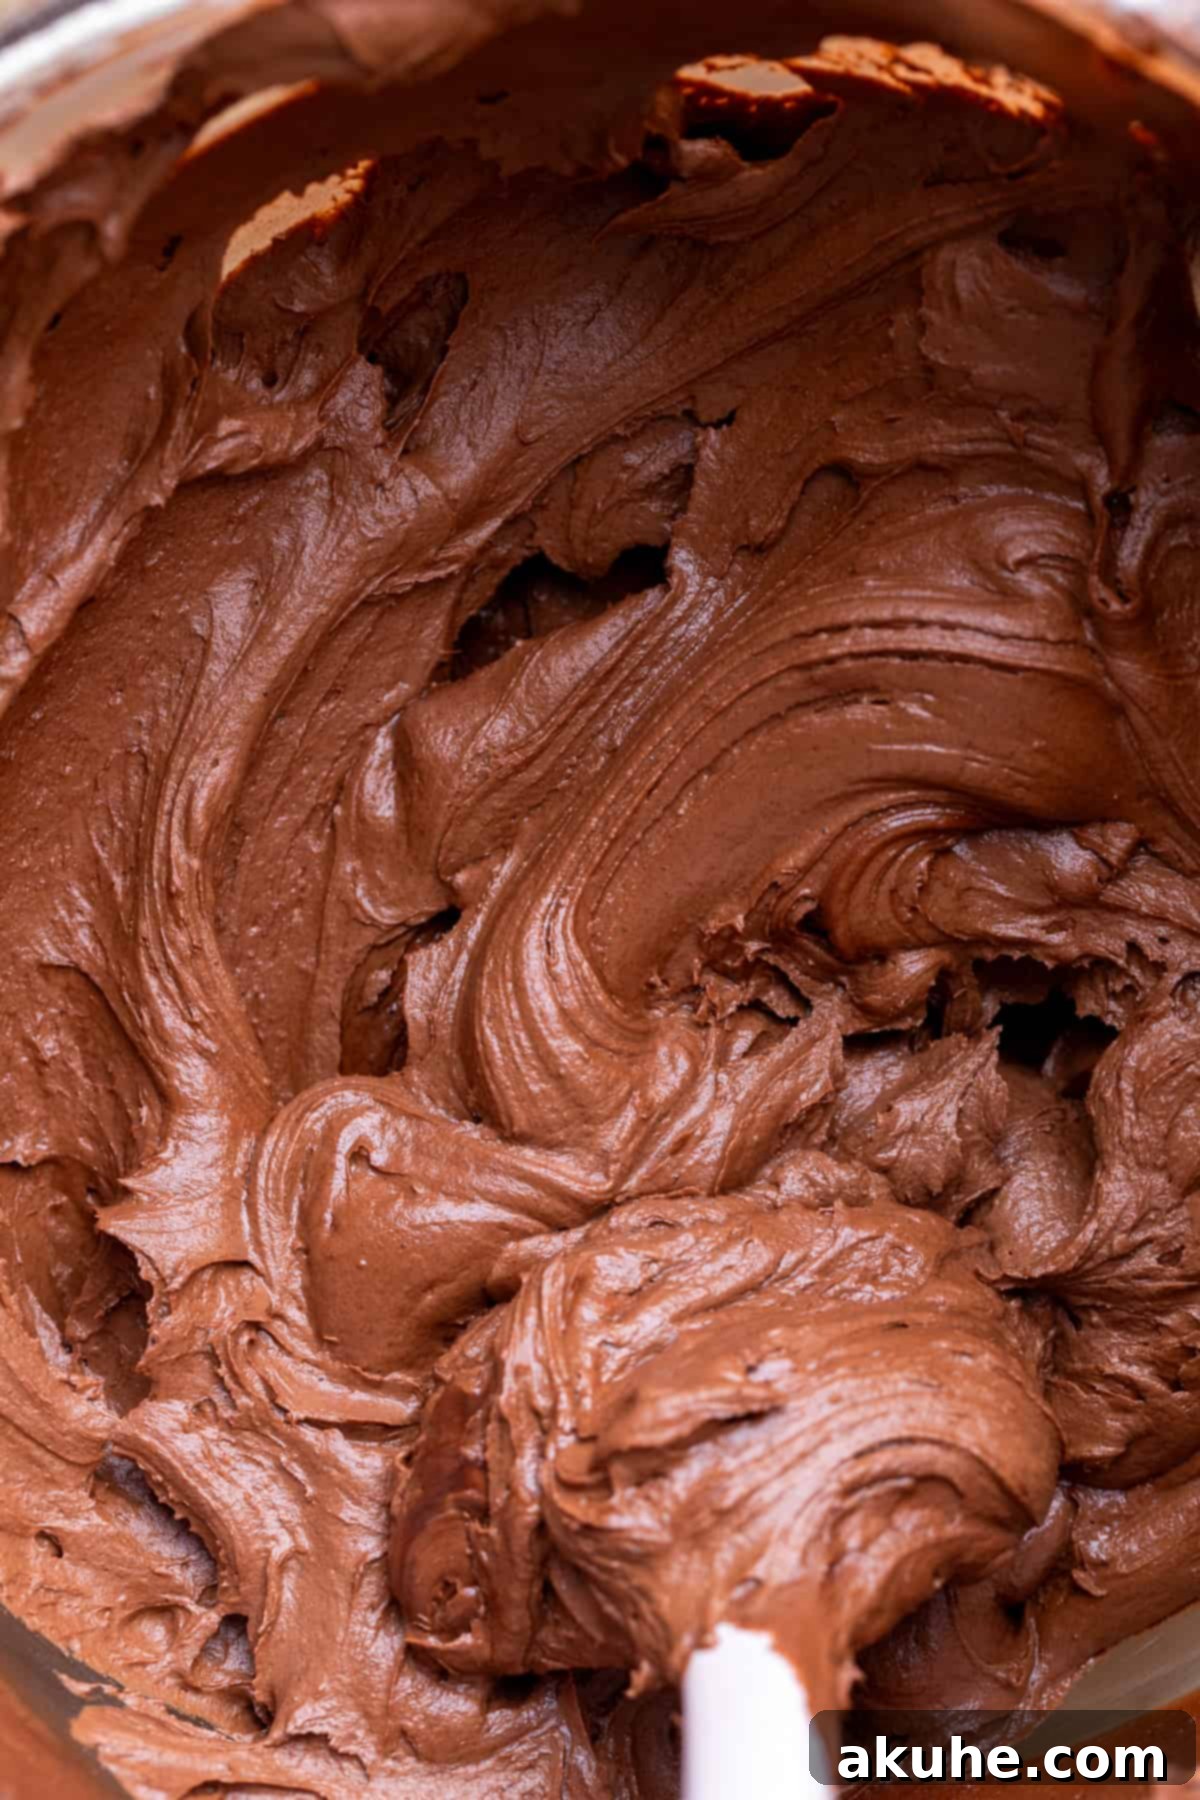
STEP 4: Add Wet Flavorings and Melted Chocolate. Finally, add the light corn syrup, pure vanilla extract, and salt to the frosting mixture. Pour in the slightly cooled melted chocolate chips. Increase the mixer speed to high and beat for 2-3 minutes until the frosting is incredibly smooth, light, and wonderfully fluffy. The corn syrup adds a beautiful sheen and helps stabilize the frosting, giving it that perfect bakery-style consistency.
Assembling Your Masterpiece: The Moist Chocolate Cake
Now for the exciting part – bringing all the components together to create your stunning fudgy chocolate cake! Follow these steps for professional-looking assembly and decoration:
STEP 1: Prepare Your Work Surface. Place your first completely cooled cake layer flat side down on your cake stand or serving plate. For easier cleanup and frosting, you might want to place strips of parchment paper under the edges of the cake. This way, you can remove them later to reveal a clean presentation.
STEP 2: Frost the First Layer. Using an offset spatula, spread approximately 3/4 cup of the silky chocolate frosting evenly over the top of the first cake layer, extending it almost to the edges.
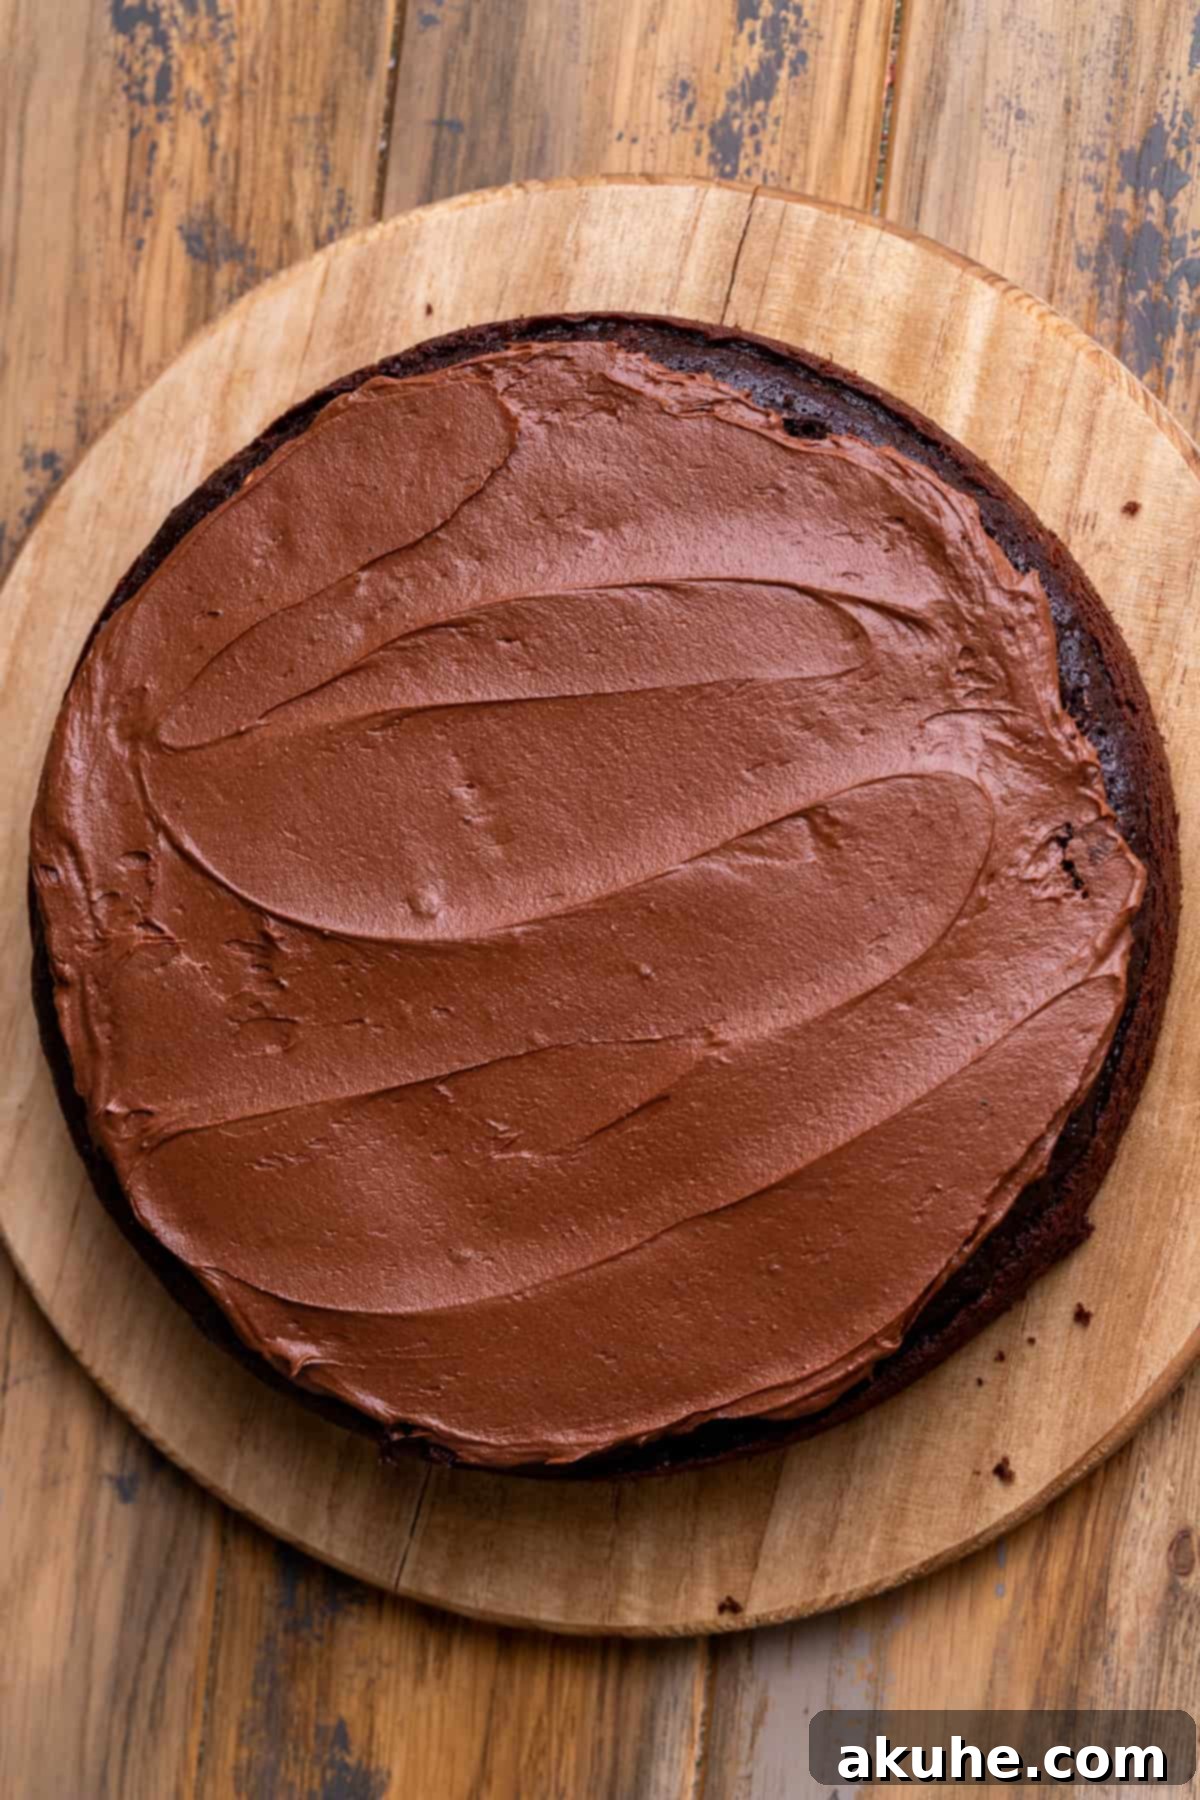
STEP 3: Add the Second Layer. Carefully place the second cake layer directly on top of the frosted first layer, again ensuring the flat side is down. Gently press down to secure it. Repeat the frosting process, spreading another 3/4 cup of frosting evenly over this second layer.
STEP 4: Position the Top Layer. For the final layer, place it flat side up (the bottom of the cake facing up). This creates a perfectly flat top surface for easy frosting and a polished finish.
STEP 5: Apply a Crumb Coat. With a small amount of frosting (about 1/2 to 3/4 cup), apply a very thin, even layer over the entire cake – top and sides. This is known as a crumb coat. Its purpose is to trap any loose crumbs, preventing them from mixing into your final layer of frosting. Once applied, place the cake in the freezer for about 15-20 minutes, or in the refrigerator for 30 minutes, until the crumb coat is firm to the touch. This step is essential for a smooth, crumb-free exterior.
STEP 6: Final Frosting and Decoration. Remove the cake from the freezer or fridge. Now, apply the remaining chocolate frosting generously over the entire cake, covering the top and sides completely. You can use an offset spatula to create beautiful swirls and textures, or use a cake scraper for a perfectly smooth finish. Don’t be shy – this frosting is designed to be abundant and decadent!
Expert Baking Tips for the Perfect Homemade Chocolate Cake
Achieving a bakery-worthy rich chocolate cake at home is within your reach with these expert tips:
- Master Proper Flour Measurement: This is perhaps one of the most critical steps for a tender cake. Always “spoon and level” your flour. Instead of scooping your measuring cup directly into the flour bag (which compacts it and results in too much flour), gently spoon the flour into your measuring cup until it overflows. Then, use the back of a knife or a straight edge to level off the top. Excess flour can lead to a dense, dry, and crumbly cake. A kitchen scale provides the most accurate measurement, if available.
- Ensure Easy Cake Removal from Pans: Nothing is more frustrating than a cake sticking to the pan. To guarantee effortless release, follow this technique: first, generously spray the inside of your cake pans with a high-quality nonstick baking spray (preferably one that contains flour). Next, place a parchment paper circle precisely cut to fit the bottom of the pan. Finally, spray the parchment paper and the sides of the pan again. Be thorough with your spraying, as any missed spots can cause the cake to tear upon removal. This triple-layer of protection ensures your beautiful cake layers come out intact.
- Adjustments for High Altitudes: Baking at higher altitudes can affect cake structure due to lower atmospheric pressure. Air pockets in the cake expand more rapidly, causing cakes to rise too quickly and then collapse. To counteract this, add an extra 2 tablespoons of all-purpose flour to your cake batter. This additional flour helps strengthen the cake’s structure, allowing it to hold its rise better and preventing it from becoming too fragile or dry.
- Room Temperature Ingredients are Key: As noted in the ingredient section, ensure all dairy products (butter, eggs, sour cream, buttermilk) are at room temperature. This allows them to emulsify properly, creating a smooth, uniform batter that traps air more effectively, leading to a lighter, more tender, and evenly textured cake. Plan ahead by taking them out of the fridge a couple of hours before you start mixing.
Frequently Asked Questions About This Moist Chocolate Cake
Absolutely! This moist chocolate cake is perfect for making ahead. Once your cake layers have cooled completely, wrap each layer tightly in several layers of plastic wrap, ensuring no air can get in. You can then freeze them for up to 30 days. When you’re ready to decorate, simply pull them out of the freezer about 1 hour before you plan to frost, allowing them to thaw at room temperature. This is a fantastic time-saver for busy schedules!
Yes, you can adjust the pan size, but it will affect the height and baking time of your layers. If you opt for two 9-inch cake pans instead of three 8-inch pans, your cake layers will be thinner. Conversely, if you prefer thicker, more dramatic layers, you can use two 6-inch cake pans. Just be sure to monitor the baking time carefully, as larger or smaller pans will require adjustments. Always do the toothpick test to confirm doneness.
The secret to this cake’s unparalleled moisture and tenderness lies in a strategic combination of ingredients and techniques that enhance richness and soften gluten. We don’t just add more liquids, which can ruin texture. Instead, we incorporate ingredients that specifically tenderize the cake:
- Increased Fats: Ingredients like oil and sour cream add significant fat content. Fat tenderizes the cake by coating gluten strands, preventing them from forming too strong a network, resulting in a softer, more delicate crumb.
- Cornstarch: A small amount of cornstarch is added to the dry ingredients. Cornstarch is a pure starch that further inhibits gluten development and contributes to a super soft, almost velvety texture.
- Acidic Ingredients: Buttermilk and white vinegar are crucial. Their acidity reacts with the baking soda, creating air pockets that make the cake light and fluffy. More importantly, the acid also breaks down protein bonds in the flour, which again helps to soften the gluten, similar to how it works in a classic red velvet cake.
- Hot Water: The hot water blooms the cocoa powder, intensifying its flavor and creating a liquid batter that results in a wonderfully moist cake.
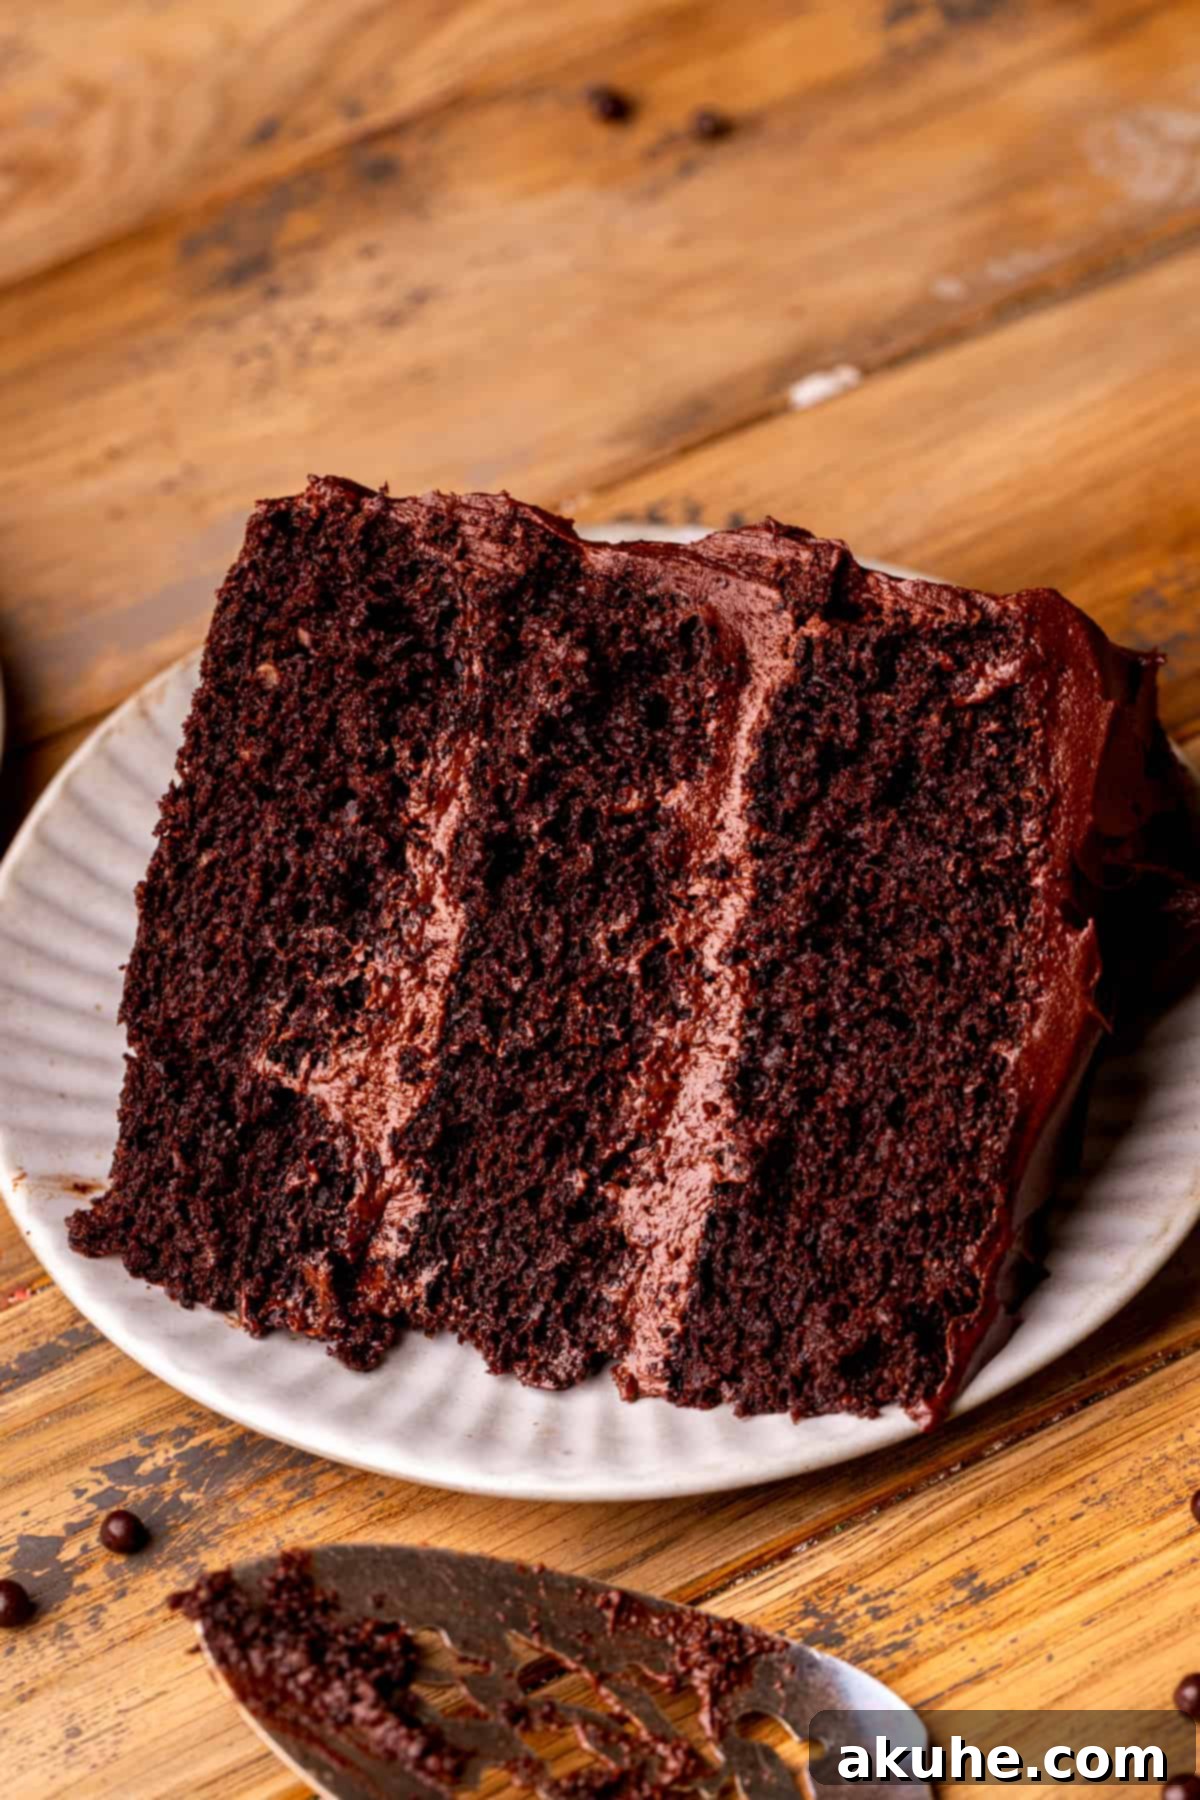
This carefully balanced approach ensures every slice of this fudgy chocolate cake is incredibly moist and melts in your mouth.
Delicious Recipe Variations for Your Chocolate Cake
While our classic chocolate cake recipe is perfect as is, it also serves as an excellent base for exciting variations to suit different tastes:
- Chocolate Cream Cheese Frosting: For those who adore the tangy sweetness of cream cheese frosting, this cake pairs wonderfully with a rich chocolate cream cheese variation. Instead of our standard chocolate buttercream, try adapting the frosting recipe from this delightful s’mores cake recipe for a truly decadent twist.
- Chocolate Ganache Frosting: If you’re looking for an ultra-glossy, intensely chocolatey finish, a smooth chocolate ganache is the way to go. Ganache provides a sophisticated look and an incredible depth of flavor. For a reliable recipe, refer to the chocolate ganache instructions found in this chocolate ganache cake recipe.
- Moist Chocolate Cupcakes: This versatile batter is also perfect for making individual portions. To transform this recipe into moist chocolate cupcakes, simply fill cupcake liners about two-thirds full and adjust the baking time. The full batch of batter will yield approximately 24 standard-sized cupcakes. If you only need a dozen, you can easily halve the entire recipe. Bake cupcakes for 18-22 minutes or until a toothpick inserted comes out clean.
Essential Baking Tools for Your Decadent Chocolate Cake
Having the right tools can make all the difference in your baking experience, especially when crafting a stunning homemade chocolate cake. Here are some indispensable items we recommend:
- Cake Pans: We highly recommend using sturdy 8-inch Wilton cake pans. Their even heat distribution helps ensure your cake layers bake uniformly and rise perfectly.
- Parchment Paper Circles: Save yourself time and effort! Pre-cut 8-inch parchment paper circles are a game-changer. They fit perfectly into your pans, guaranteeing easy release and preventing any sticking without the hassle of cutting your own.
- Baking Spray: A good quality nonstick baking spray with flour is crucial. It creates an excellent nonstick surface, ensuring your delicate cake layers release cleanly from the pan every time.
- Offset Spatula: An offset spatula is an indispensable tool for spreading frosting and fillings smoothly and evenly across cake layers. Its angled blade makes it much easier to maneuver and achieve a professional finish.
- Cake Turntable: For effortless frosting and decorating, a high-quality Ateco cast iron turntable is a dream come true. Its smooth, seamless spin allows you to frost your cake with precision and ease, making the process much more enjoyable and yielding better results than decorating on a stationary surface.
- Cake Scraper: To achieve those perfectly smooth, sharp edges on your frosted cake, a metal cake scraper is essential. It helps you level and smooth the frosting on the sides of the cake for a professional bakery look.
- Piping Bags: These 18-inch piping bags are ideal as they hold a generous amount of frosting, reducing the need for frequent refills during decoration.
- Piping Tip: For beautiful swirls, borders, or decorative touches, the Wilton 1M piping tip is a versatile and popular choice that creates stunning effects with minimal effort.
Storage and Freezing Guidelines for Your Moist Chocolate Cake
To keep your moist chocolate cake tasting fresh and delicious, proper storage is key. Here’s how to ensure it stays perfect for as long as possible:
Storing Your Cake: Once frosted, the cake should be stored in an airtight container, such as a cake carrier, at room temperature for up to 2 days. For longer freshness, place the airtight container in the refrigerator, where the cake will remain fresh and moist for up to 5 days. Be sure to bring slices to room temperature for about 30 minutes before serving for the best texture and flavor.
Freezing Your Cake: This cake freezes beautifully! For best results, freeze individual slices. Place the slices in an airtight container or wrap them individually in plastic wrap followed by aluminum foil to prevent freezer burn. You can freeze slices of this fudgy chocolate cake for up to 30 days. Thaw frozen slices in the refrigerator overnight or at room temperature for a few hours before enjoying. This method is perfect for having a treat on hand whenever a chocolate craving strikes!
More Irresistible Cake Recipes to Try
If you loved this homemade chocolate cake, be sure to explore these other fantastic cake recipes:
- Gingerbread Cake: A warm and spicy delight, perfect for the holidays.
- Banana Snack Cake: A simple, comforting cake that’s great for any time of day.
- Mint Chocolate Chip Ice Cream Cake: A cool, refreshing, and indulgent frozen treat.
- Key Lime Pie Cake: A zesty and tropical cake that’s bursting with flavor.
- Strawberry Shortcake: A classic springtime dessert, light, fresh, and utterly delicious.
Did you fall in love with this moist chocolate cake recipe? We’d be thrilled if you could leave a STAR REVIEW below! Your feedback helps us share these delicious recipes with more home bakers. Don’t forget to tag me on Instagram @stephaniesweettreats with your stunning creations. For more baking inspiration and sweet ideas, make sure to follow me on Pinterest!
Moist Chocolate Cake
Print Recipe
Pin Recipe
Leave a Review
Ingredients
Chocolate Cake
- 2 cups All-purpose flour
- 1/4 cup Cornstarch
- 1 cup Unsweetened cocoa powder
- 2 tsp Baking powder
- 1 tsp Baking soda
- 1 tsp Salt
- 1 cup Oil, canola or vegetable oil
- 1 cup White granulated sugar
- 3/4 cup Brown sugar, packed light or dark
- 4 Large eggs, room temperature
- 1 tsp Pure vanilla extract
- 1 tsp White vinegar
- 1 cup Buttermilk, room temperature
- 1/2 cup Sour cream, or greek yogurt. room temperature
- 1 cup Hot water
Chocolate Frosting
- 2 cups Unsalted butter, room temperature
- 1 1/2 cups Powdered sugar, sifted
- 3/4 cup Unsweetened cocoa powder, sifted
- 3 TBSP Light corn syrup
- 1 tsp Pure vanilla extract
- 1/4 tsp Salt
- 2 cups Semi-sweet chocolate chips, melted
Instructions
Chocolate Cake
- Preheat the oven to 350℉. Line three 8-inch cake pan with baking nonstick spray. Line the bottoms with parchment paper circles. Spray again.
- In a large bowl, sift the flour, cornstarch, cocoa powder, baking powder, baking soda, and salt.
- In a separate bowl, mix the oil, sugar, brown sugar, eggs, vanilla, vinegar, sour cream, and buttermilk. Use a whisk to mix it. Slowly whisk in the hot water.
- Pour the wet ingredients into the dry ingredients. Whisk until smooth and no flour lumps.
- Pour the cake batter evenly into the three cake pans. Bake for 22-25 minutes. Bake until a toothpick inserted comes out clean.
- Let the cakes sit in the hot pans for 10 minutes before transferring to cooling racks. Cool completely before decorating.
Chocolate Frosting
- In a medium bowl, sift the powdered sugar and cocoa powder together. In a small bowl, add the chocolate chips and heat in the microwave for 20 second intervals. Mix well in between. Heat and mix until melted.
- Using a mixer, beat the butter on high speed for 2 minutes. Scrape the bowl using a rubber spatula. Beat for another minute.
- Add in half of the powdered sugar on low speed until combined. Add the rest of the powdered sugar and mix.
- Add in the corn syrup, vanilla, salt, and melted chocolate chips. Mix on high speed until smooth.
Assembly
- Place the first cake layer down. Spread 3/4ths cup of frosting over the cake. Top with the second cake layer and spread another 3/4ths cup of frosting.
- Place the last layer of cake upside down (the bottom of the cake facing up). Spread a light layer of frosting over the cake. Freeze for 15 minutes to lock in the crumbs.
- Frost the rest of the cake. I used all of the frosting. I used an offset icing spatula to create the swirls in the frosting.
Notes
High altitude baking- Add an extra 2 TBSP of flour.
Pull out dairy ingredients 2 hours before baking.
