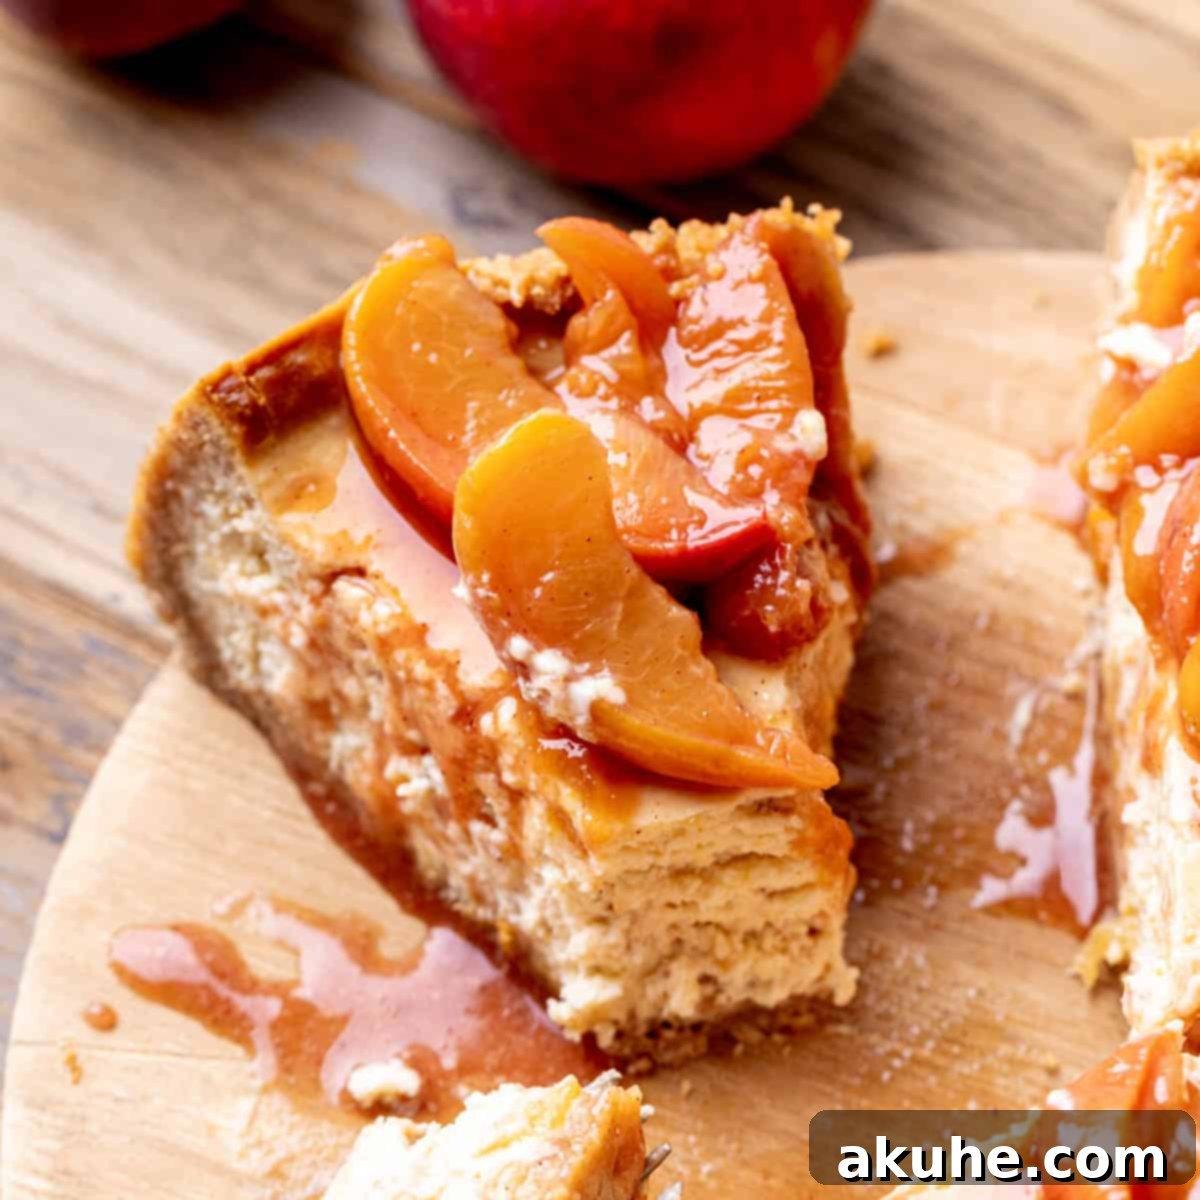
Indulge in the Ultimate Homemade Peach Cheesecake: A Seasonal Delight
Welcome to the ultimate guide for crafting the most exquisite peach cheesecake! As the warmth of peach season envelops us, there’s no better way to celebrate nature’s bounty than with this sensational dessert. Imagine a rich, buttery graham cracker crust, a velvety smooth peach-infused cheesecake filling, and a crowning layer of luscious peach cobbler. This isn’t just any cheesecake; it’s a celebration of fresh, juicy peaches transformed into a truly unforgettable culinary experience. If you’re a devoted fan of peaches and crave a dessert that perfectly balances fruity freshness with creamy indulgence, then this homemade peach cheesecake recipe is an absolute must-try. It promises to be a huge hit, delighting everyone with its vibrant flavors and irresistible texture.
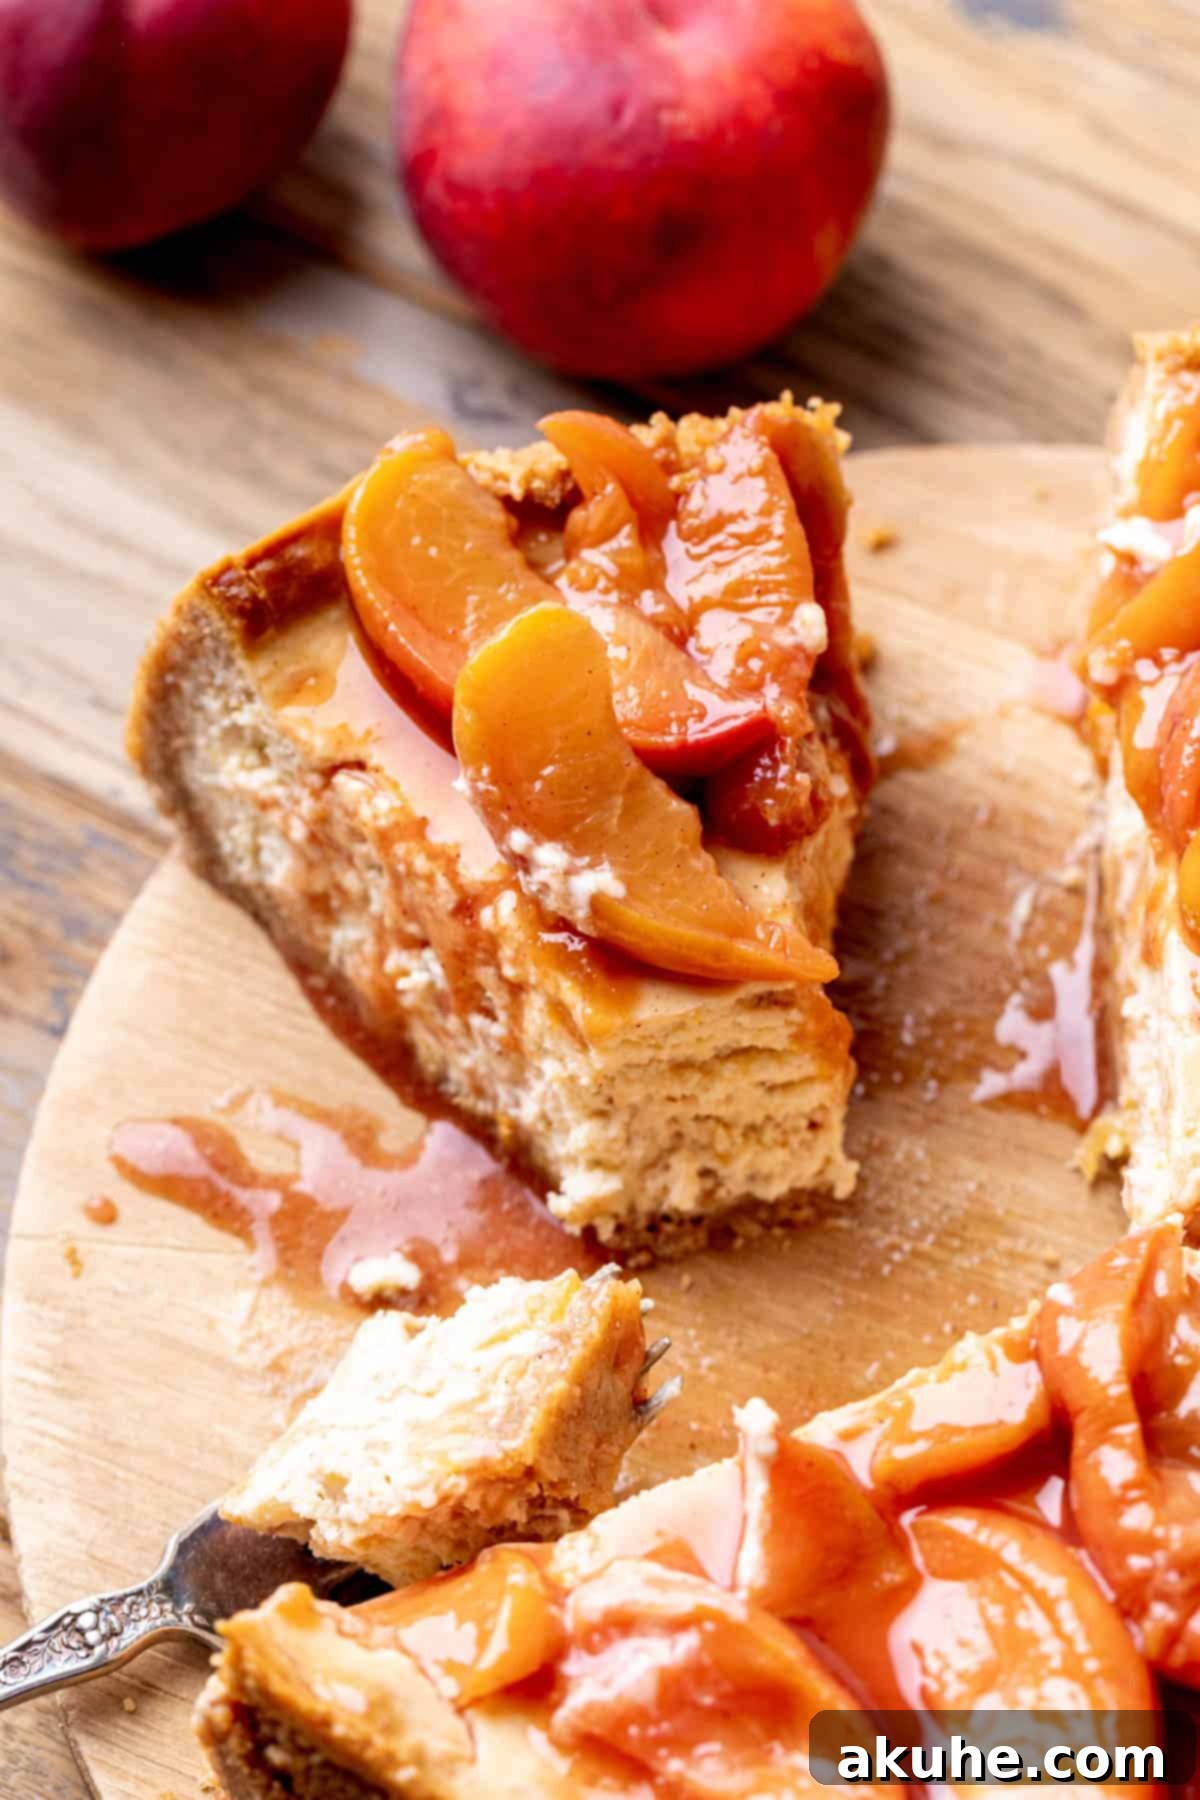
This creamy peach cheesecake stands out as one of my all-time favorite dessert creations. It masterfully blends the sweet, tangy essence of ripe peaches with the classic, comforting richness of cheesecake. Whether you have an abundance of fresh, ripe peaches from your local market or your own backyard, this recipe provides the perfect opportunity to transform them into a truly spectacular treat. Each bite offers a harmonious symphony of textures and flavors, making it an ideal dessert for summer gatherings, special occasions, or simply a delightful evening at home. Get ready to impress your family and friends with a dessert that’s as beautiful as it is delicious.
If you’re eager to explore more fruit-flavored dessert recipes, be sure to check out these other fantastic options: Strawberry Cheesecake Cookies, offering a delightful bite-sized twist; refreshingly zesty Lemon Donuts; and the wonderfully tangy Key Lime Pie Cake.
Why This Homemade Peach Cheesecake Recipe is a Must-Try
There are countless reasons why this peach cobbler cheesecake will quickly become your new favorite dessert. We’ve meticulously crafted this recipe to ensure a truly exceptional outcome every single time, even for novice bakers. Here’s what makes this recipe truly special:
- Unforgettable Peach Flavor: This recipe leverages the peak ripeness of fresh peaches to deliver an intense, authentic peach flavor that shines through every layer. The peaches are not just an afterthought; they are central to the cheesecake’s identity, featuring prominently in both the creamy filling and the delightful cobbler topping. The natural sweetness and slight tartness of the fruit perfectly complement the rich cheesecake base, creating a balanced and incredibly satisfying taste experience.
- Perfectly Fluffy and Creamy Cheesecake Texture: For many, cheesecake was their first true love in baking, and this recipe honors that passion. Achieving the perfect cheesecake texture—smooth, dense, yet wonderfully fluffy—can sometimes be challenging. However, with our detailed instructions, you are guaranteed a consistently dreamy, creamy texture that melts in your mouth. We focus on precise mixing techniques and the essential water bath method to ensure your homemade peach cheesecake is free of cracks and boasts that iconic, irresistible richness.
- Surprisingly Easy to Follow: Don’t let the gourmet appearance of this peach cheesecake intimidate you. We’ve designed this recipe to be straightforward and approachable, even if you don’t frequently bake elaborate desserts. Each step is clearly outlined, from preparing the peach cobbler layer to creating the silky cheesecake batter. We also provide invaluable tips, including the foolproof method for setting up a water bath, ensuring that you can achieve a professional-quality peach cheesecake with confidence and ease.
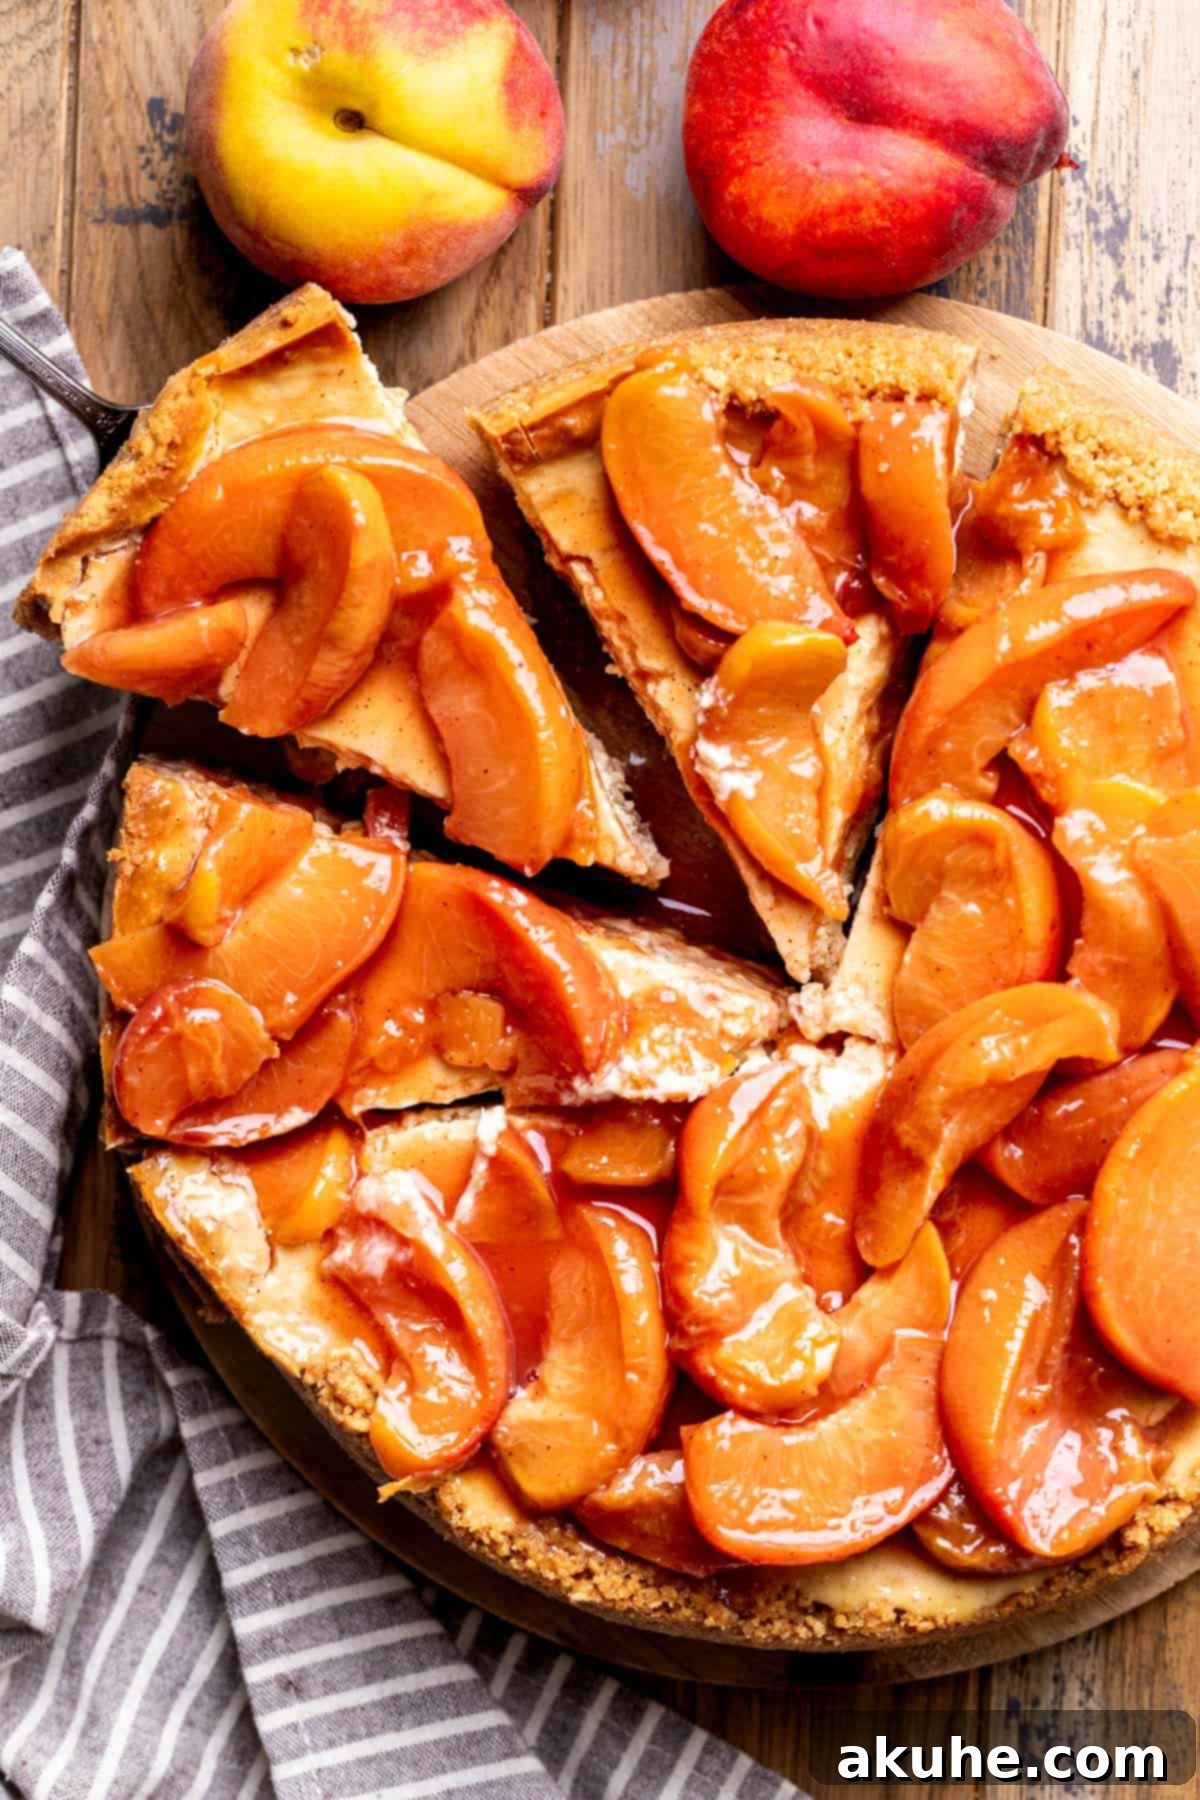
Essential Ingredient Notes for Your Peach Cheesecake
Selecting and preparing your ingredients correctly is crucial for the success of this creamy peach cheesecake. Below are important notes for key components. For a comprehensive list of all ingredients and precise measurements, please refer to the detailed recipe card at the end of this article.
- Unsalted Butter: Melted unsalted butter forms the binding agent for our crunchy graham cracker crust. Using unsalted butter allows you to control the overall saltiness of the dessert. You can easily melt it in the microwave in short bursts, stirring frequently, or gently over low heat on the stovetop.
- Sour Cream: For the cheesecake batter, always opt for full-fat sour cream. Its higher fat content contributes to the incredibly rich, smooth, and creamy texture of the cheesecake. If sour cream isn’t readily available, full-fat Greek yogurt can serve as an excellent substitute, offering a similar tang and richness. Remember to pull both sour cream and cream cheese out of the refrigerator at least 2 hours before you plan to start mixing, allowing them to reach room temperature. This ensures a lump-free, perfectly blended batter.
- Cream Cheese: The backbone of any great cheesecake! Just like sour cream, using full-fat block cream cheese is paramount. Avoid spreadable cream cheese in tubs, as it has a different consistency and often contains stabilizers that can alter the final texture. Bringing your cream cheese to room temperature for at least 2 hours before mixing is absolutely critical. Cold cream cheese will result in a lumpy batter, which can lead to cracks and an uneven texture in your baked cheesecake.
- Eggs: Large eggs are essential for the structure and richness of the cheesecake. It’s important to use whole eggs, as the fatty yolk contributes significantly to the creamy mouthfeel and golden hue of the cheesecake. Just like your dairy products, eggs should also be at room temperature. Cold eggs can cause the batter to seize and make it harder to achieve that smooth, homogeneous mixture, potentially leading to overmixing later on.
- Fresh Peaches: The star of the show! Ripe, juicy peaches are undoubtedly the best choice for both the filling and the topping. They offer the most intense flavor and natural sweetness. To check for ripeness, gently press on the peach; it should yield slightly. If your peaches are a bit firm, don’t worry too much, as they will soften beautifully during the cooking process for the cobbler filling. However, avoid overly hard or green peaches for the best flavor outcome.
- Brown Sugar (Light or Dark): Used in both the peach cobbler filling and the graham cracker crust, brown sugar adds a deep, molasses-rich sweetness and a subtle chewiness. Both light and dark brown sugar work well; dark brown sugar will impart a slightly stronger, more caramel-like flavor.
- Cornstarch: This acts as a thickening agent for the peach cobbler filling, ensuring it achieves the perfect jam-like consistency that holds up beautifully as a topping and within the cheesecake batter.
- Ground Cinnamon: A touch of ground cinnamon in the peach cobbler filling enhances the natural warmth and sweetness of the peaches, adding a classic, comforting spice note that elevates the entire dessert.
- White Granulated Sugar: Essential for sweetening the creamy cheesecake batter, providing that classic cheesecake taste.
- Pure Vanilla Extract: A staple in almost all dessert recipes, pure vanilla extract adds a layer of aromatic depth and warmth, complementing the peach and cream cheese flavors beautifully.
- Graham Cracker Crumbs: The foundation of our crust! You can purchase pre-crushed graham cracker crumbs or easily make your own by blending whole graham crackers in a food processor until a fine crumb is achieved.
Step-by-Step Instructions: Crafting the Irresistible Peach Cobbler Filling and Graham Cracker Crust
Let’s begin by preparing the flavorful peach cobbler filling and the perfectly crisp graham cracker crust, which will form the foundation and a key topping for our peach cobbler cheesecake.
Preparing the Peach Cobbler Filling
- STEP 1: Prepare the Peaches. Start by thoroughly washing your fresh peaches. Carefully cut the peaches into even slices, removing the pits. Place these peach slices into a large, heavy-bottomed saucepan. Add the specified amounts of brown sugar, cornstarch, and ground cinnamon to the pan with the peaches. Toss gently to ensure the peaches are evenly coated with the sugar and spices.
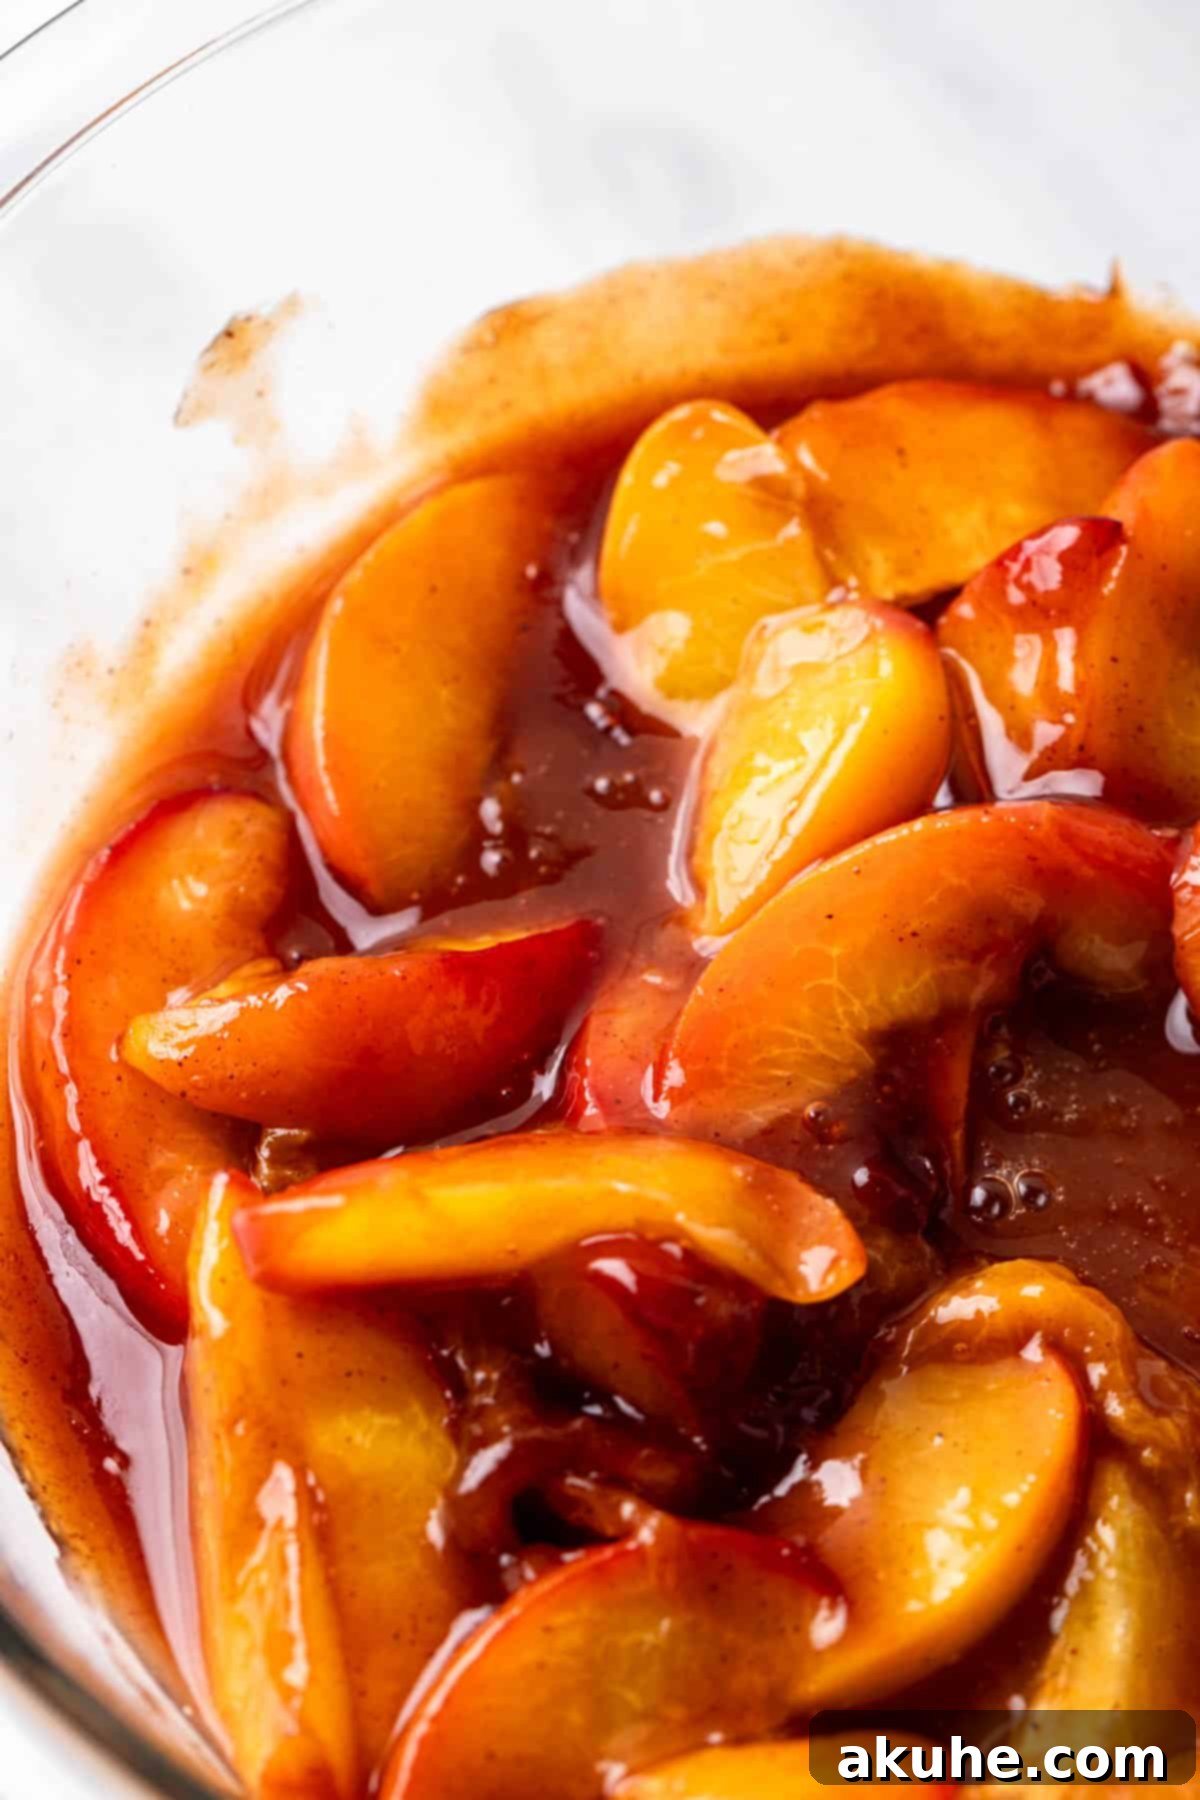
- STEP 2: Cook the Peach Mixture. Place the saucepan over medium-high heat on your stovetop. Stir occasionally as the mixture begins to heat. You’ll observe the brown sugar melting and the liquid starting to bubble. Continue to cook, stirring regularly, for an additional 8-10 minutes. During this time, the peaches will soften, and the mixture will thicken considerably, reaching a jam-like consistency. Once thickened to your liking, remove the saucepan from the heat.
- STEP 3: Separate Filling and Topping. Carefully scoop out 2 cups of the cooked peach mixture. Transfer these 2 cups to a blender or food processor and blend until the peaches are broken down into small, fine pieces, creating a smoother peach filling that will be incorporated into the cheesecake batter. The remaining cooked peaches in the saucepan will serve as your delectable peach cobbler topping. Transfer these remaining peaches into an airtight container (like a Tupperware) and place them in the refrigerator to cool completely. Chilling the topping is essential before adding it to the baked cheesecake.
- STEP 4: Blot the Cheesecake Filling. Spoon the blended peach filling (the 2 cups you processed) onto a plate lined with several layers of paper towels. Gently but firmly press additional paper towels down onto the peaches to absorb excess moisture. Repeat this blotting process with fresh paper towels about 3-4 times, or until a significant amount of moisture has been removed. Reducing the moisture content in the peach filling is vital to prevent it from thinning the cheesecake batter and affecting its texture.
Crafting the Graham Cracker Crust
- STEP 5: Prepare the Crust Mixture. If you’re using whole graham crackers, place them into a food processor and pulse until they are finely ground into crumbs. Aim for a texture similar to fine sand. Transfer the graham cracker crumbs to a medium-sized mixing bowl. Add the brown sugar and the melted unsalted butter. Mix thoroughly with a spoon or your hands until all the crumbs are evenly moistened and the mixture resembles wet sand. It should hold together when pressed.
- STEP 6: Prepare the Pan for Baking. Preheat your oven to 325°F (160°C). Prepare a 9-inch springform pan by spraying the interior sides and bottom generously with baking spray or non-stick cooking spray. Next, line the bottom of the pan with a circle of parchment paper. This step is crucial for easy removal of the cheesecake later. Spray the parchment paper again for extra non-stick insurance.
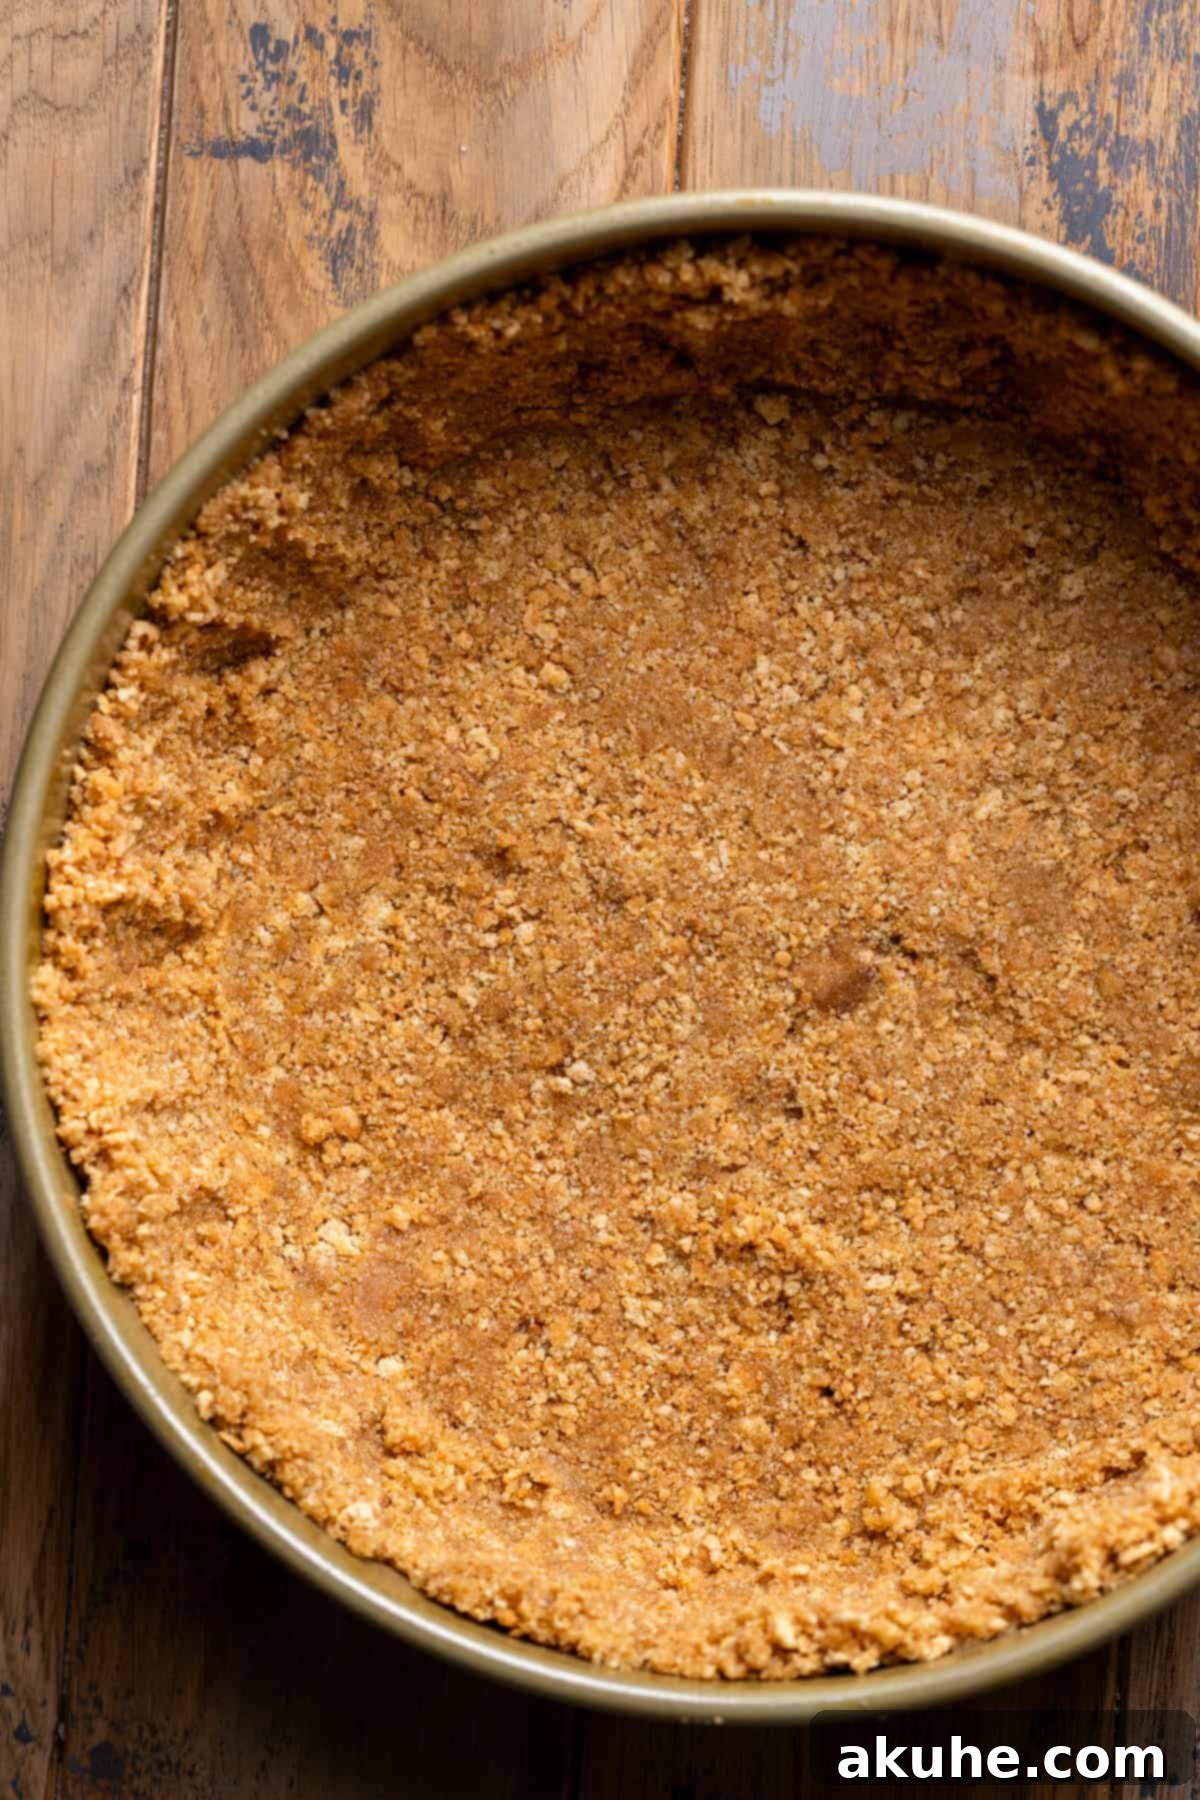
- STEP 7: Form the Crust. Pour the prepared graham cracker crumb mixture into the lined springform pan. Using your hands, carefully press the crumbs evenly across the bottom and halfway up the sides of the pan. Pay attention to creating a firm, compact layer. To ensure an even and flat bottom crust, use the flat bottom of a measuring cup or a glass to firmly press down and compact the crumbs. This creates a sturdy base that won’t crumble when sliced.
- STEP 8: Partially Bake the Crust. Place the springform pan with the formed crust into your preheated oven. Bake for precisely 11 minutes. This short baking time helps to set the crust, making it less likely to become soggy once the cheesecake filling is added. After 11 minutes, remove the crust from the oven and allow it to cool slightly while you prepare the cheesecake batter.
Step-by-Step Instructions: Crafting the Perfect Peach Cheesecake
Now that our crust and peach filling are ready, let’s move on to preparing and baking the creamy peach cheesecake batter.
- STEP 1: Beat Cream Cheese and Sugar. In a large mixing bowl, using an electric stand mixer fitted with the paddle attachment (or a hand mixer), combine the room-temperature cream cheese and white granulated sugar. Beat on high speed for approximately 2 minutes, or until the mixture is incredibly smooth, light, and free of any lumps. It should appear airy and well-combined. Stop the mixer occasionally to scrape down the sides and bottom of the bowl with a rubber spatula to ensure everything is fully incorporated. This initial beating is vital for a smooth cheesecake.
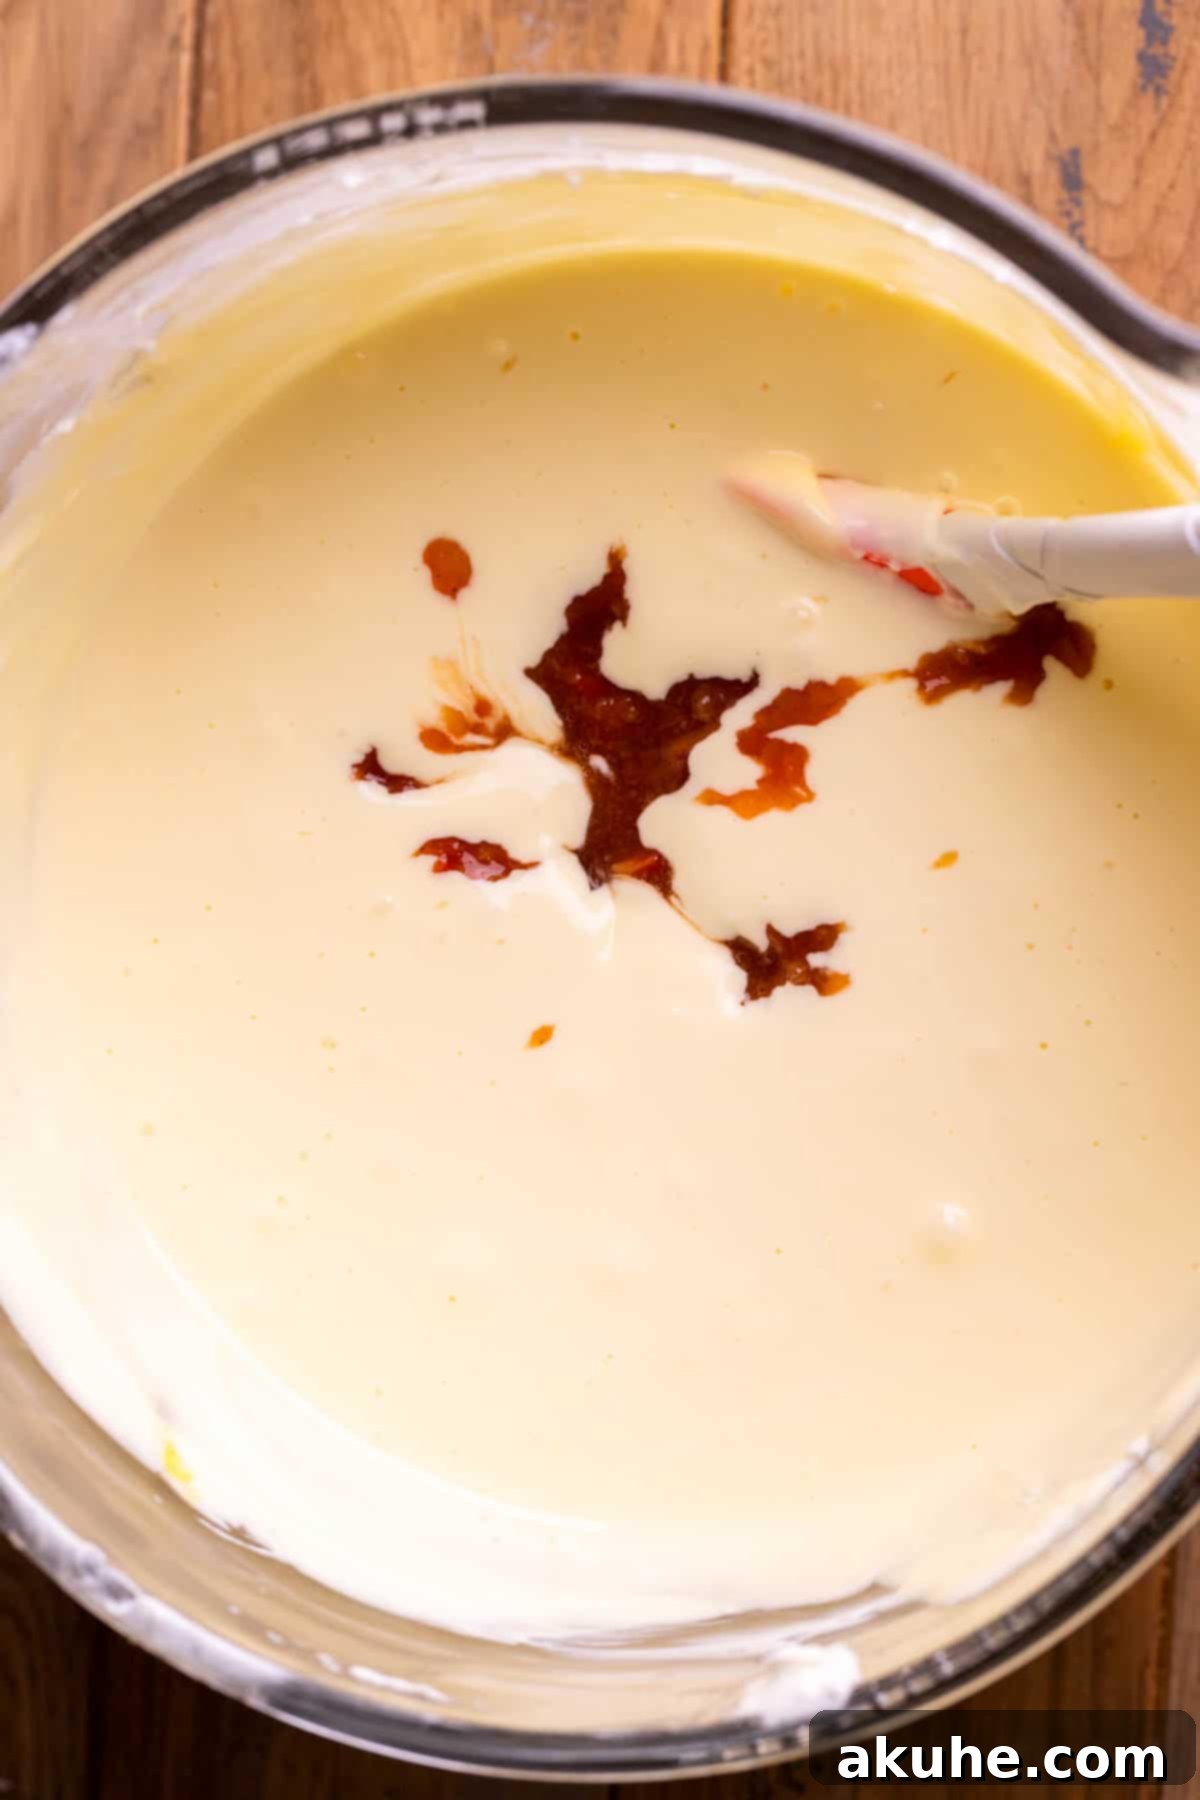
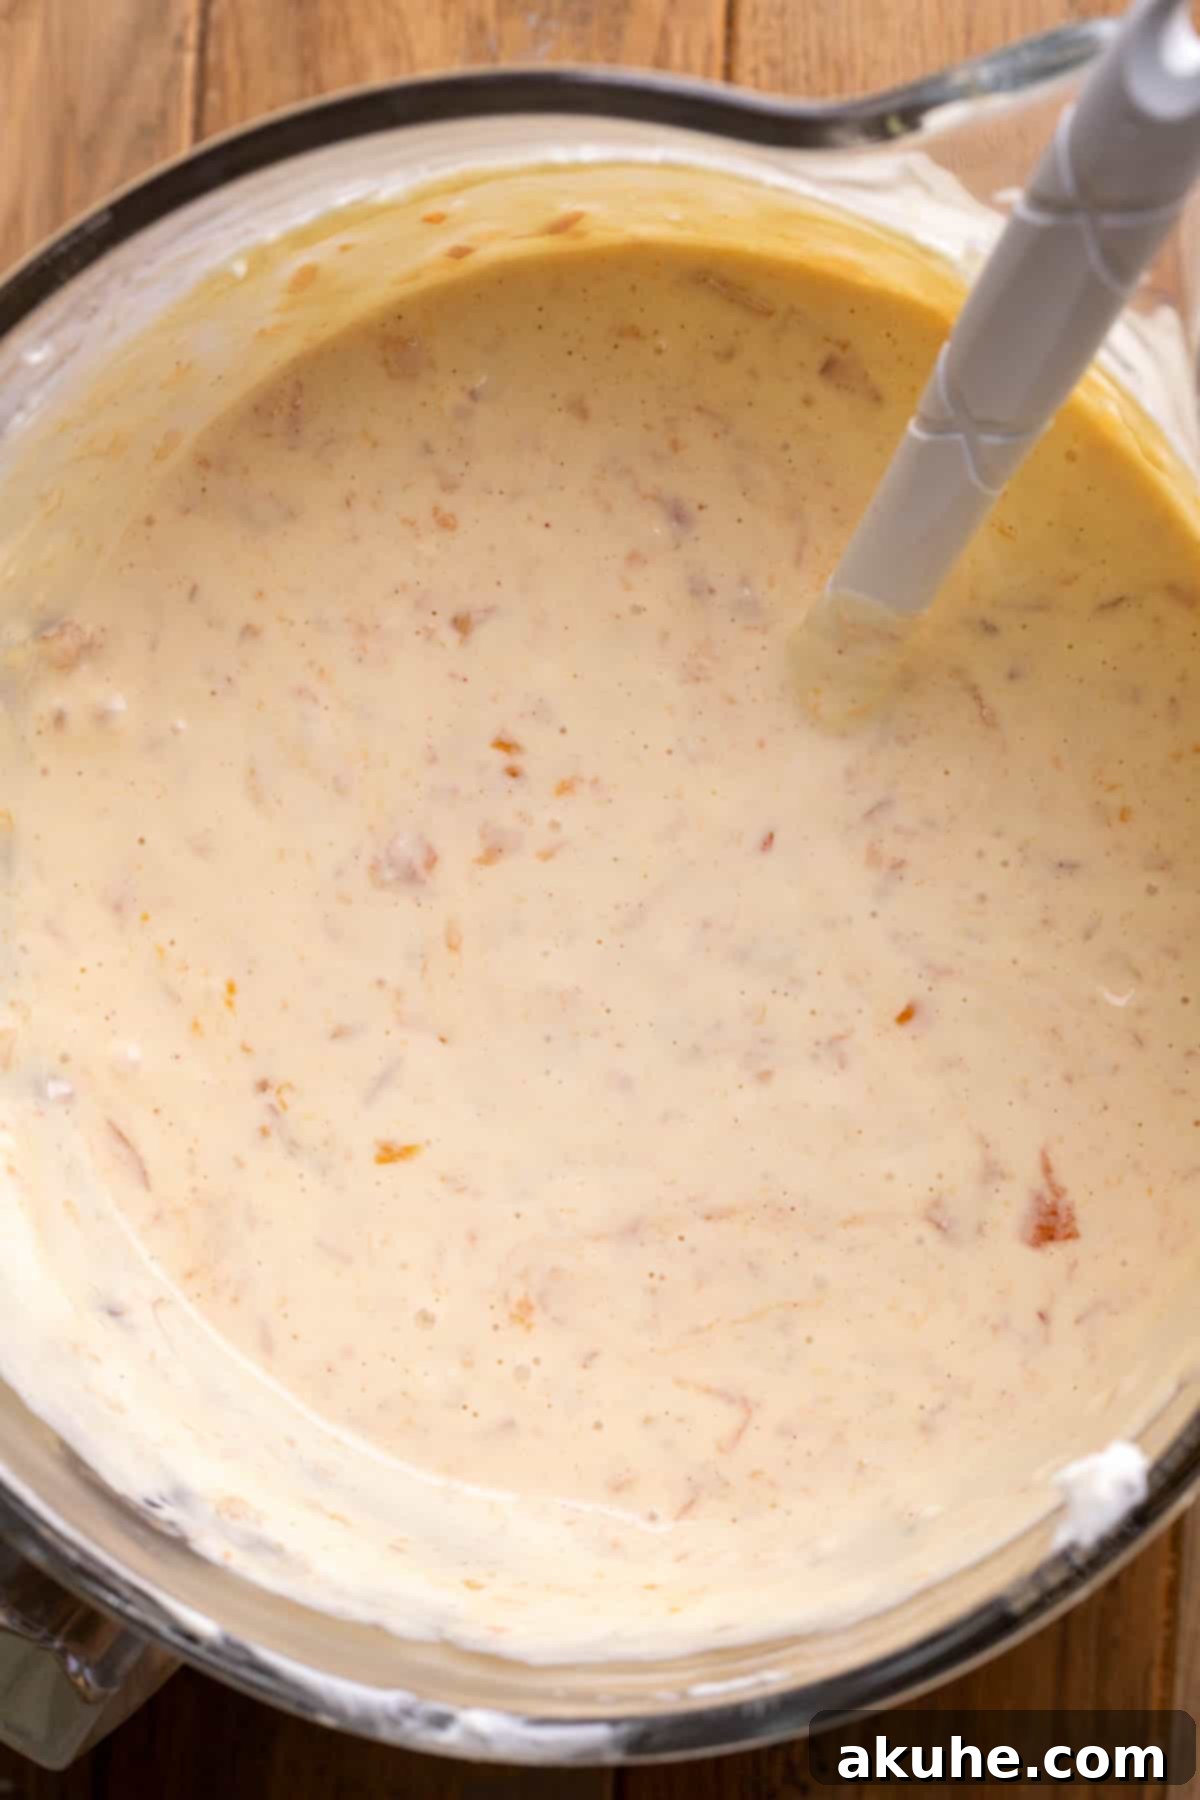
- STEP 2: Combine Wet Ingredients and Peach Filling. Reduce the mixer speed to medium. Add the room-temperature sour cream and pure vanilla extract to the cream cheese mixture. Continue mixing until the ingredients are just combined and the batter appears smooth. Next, crack in the large, room-temperature eggs, one at a time. Mix on the lowest speed possible, just until each egg is incorporated. Be careful not to overmix the eggs, as introducing too much air at this stage can lead to cracks in your baked cheesecake. Finally, remove the bowl from the mixer and, using a rubber spatula, gently fold in the blotted, blended peach filling by hand. Stir until it is evenly distributed throughout the cheesecake batter without overmixing.
- STEP 3: Prepare the Water Bath. Before pouring your batter, set up your water bath. Refer to the “Water Bath Tips” section below for detailed instructions on two effective methods. The water bath is a critical step for preventing cracks and ensuring a perfectly creamy texture.
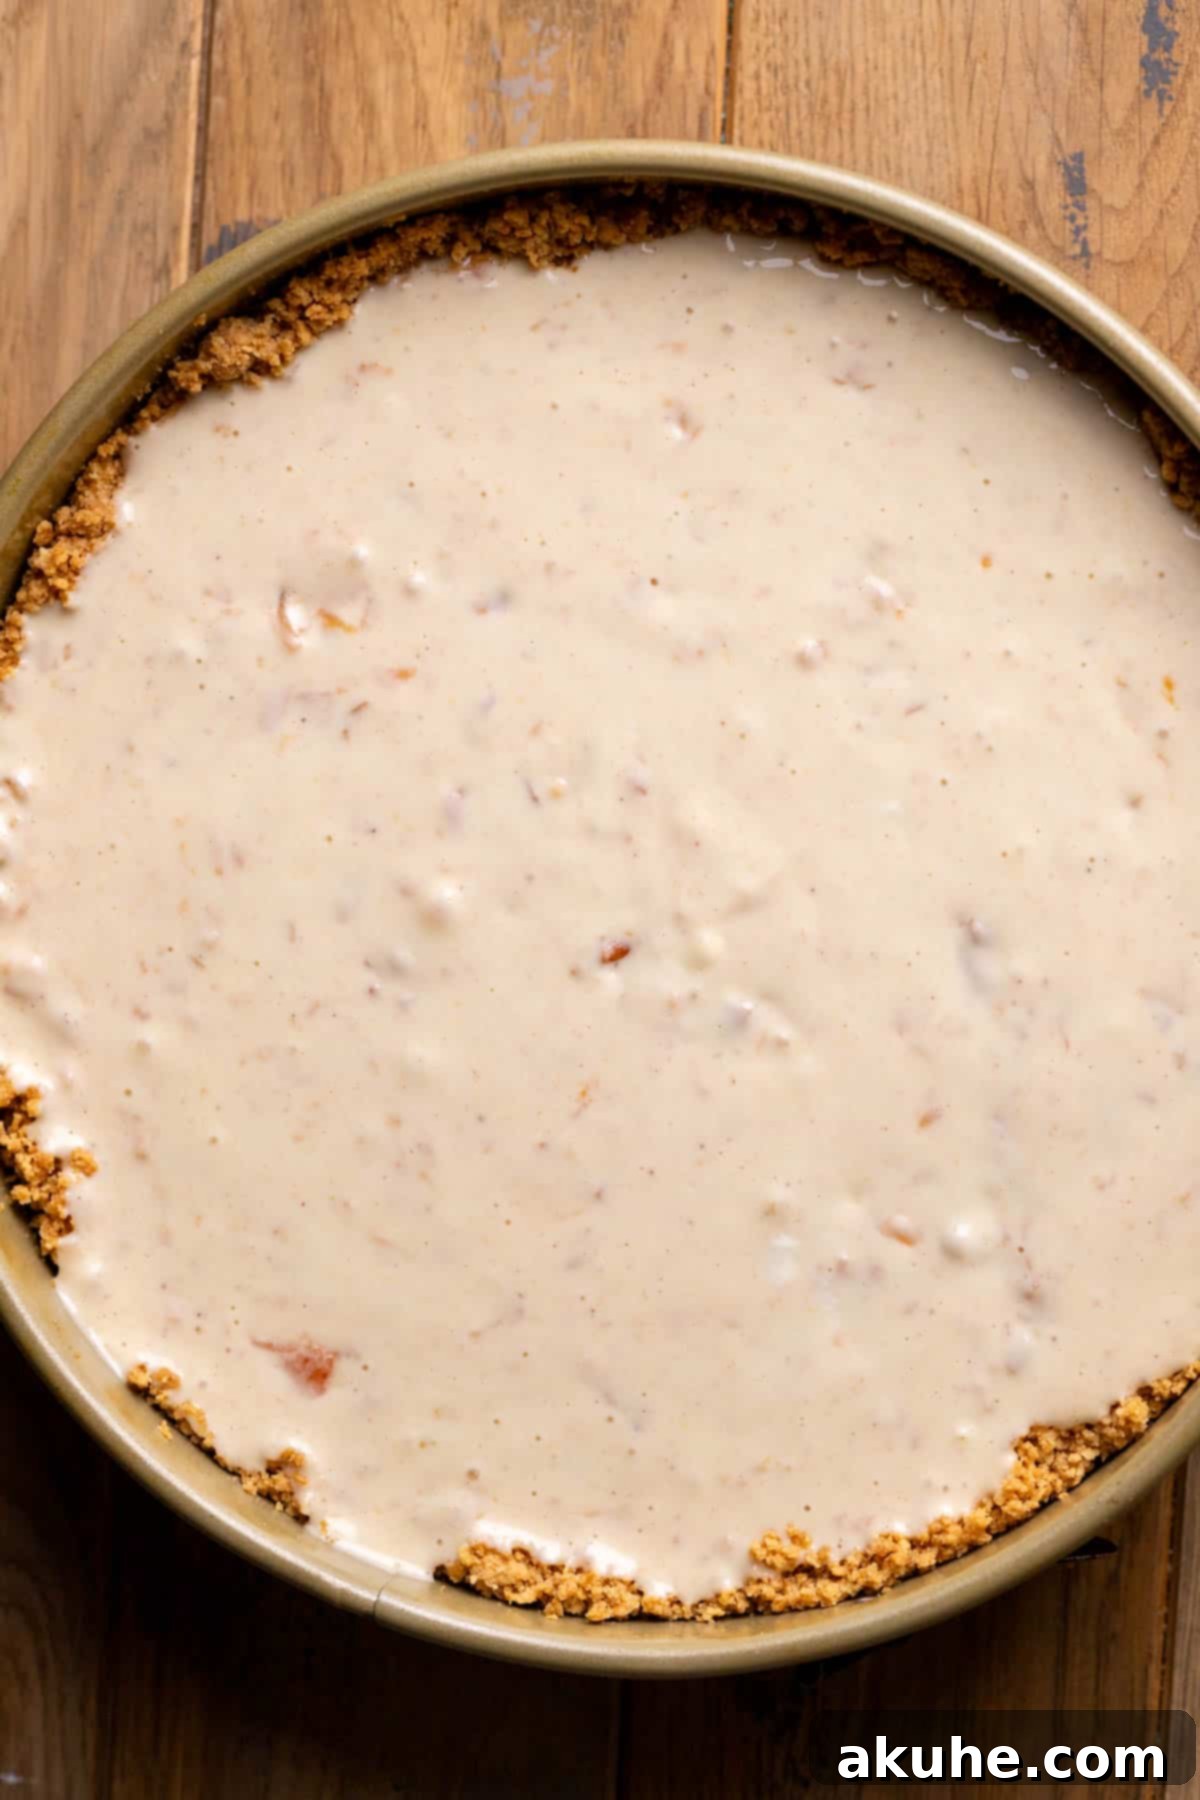
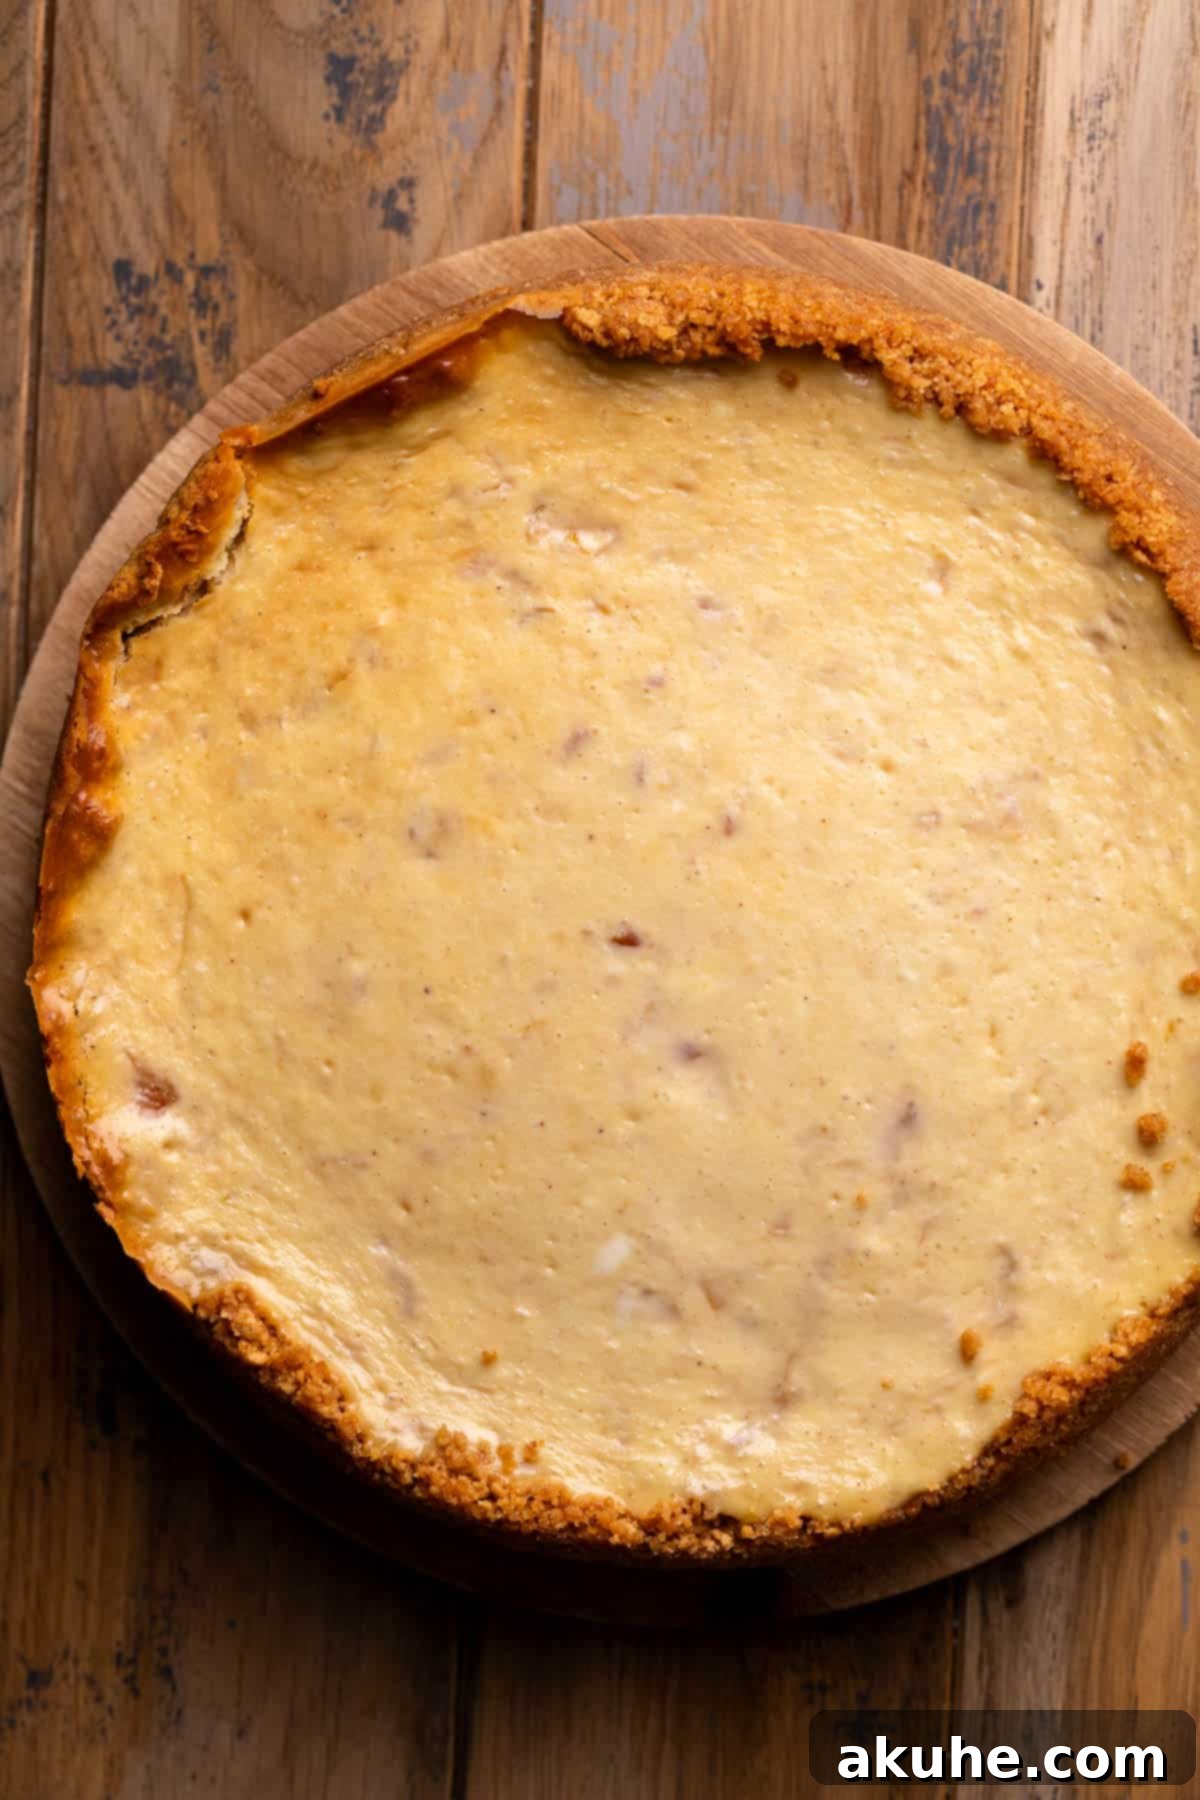
- STEP 4: Bake the Cheesecake. Carefully pour the prepared peach cheesecake batter into your par-baked graham cracker crust in the springform pan. Gently tap the pan on the counter a few times to release any large air bubbles. Place the springform pan (secured in its water bath setup) into your preheated oven. Bake for approximately 80-90 minutes. The cheesecake is done when the edges appear set and slightly puffed, but the very center still has a slight, delicate jiggle when you gently nudge the pan. Avoid overbaking, as this can lead to a dry texture and cracks.
- STEP 5: Gradual Cool Down. Once the baking time is complete, turn off your oven. Leave the cheesecake inside the oven with the door cracked open by about 2-3 inches. Allow the cheesecake to cool slowly in this environment for 30 minutes. This gradual temperature change is crucial for preventing sudden contraction and cracking. After 30 minutes, carefully remove the cheesecake from the oven and transfer it (still in its springform pan) to a wire cooling rack to cool completely to room temperature.
- STEP 6: Chill Thoroughly. Once the cheesecake has reached room temperature (this can take several hours), gently wrap the entire springform pan with aluminum foil. Place the wrapped cheesecake in the refrigerator to chill for a minimum of 6 hours, or ideally, overnight. This chilling period is essential for the cheesecake to firm up, develop its full flavor, and achieve its characteristic dense and creamy texture. Do not rush this step!
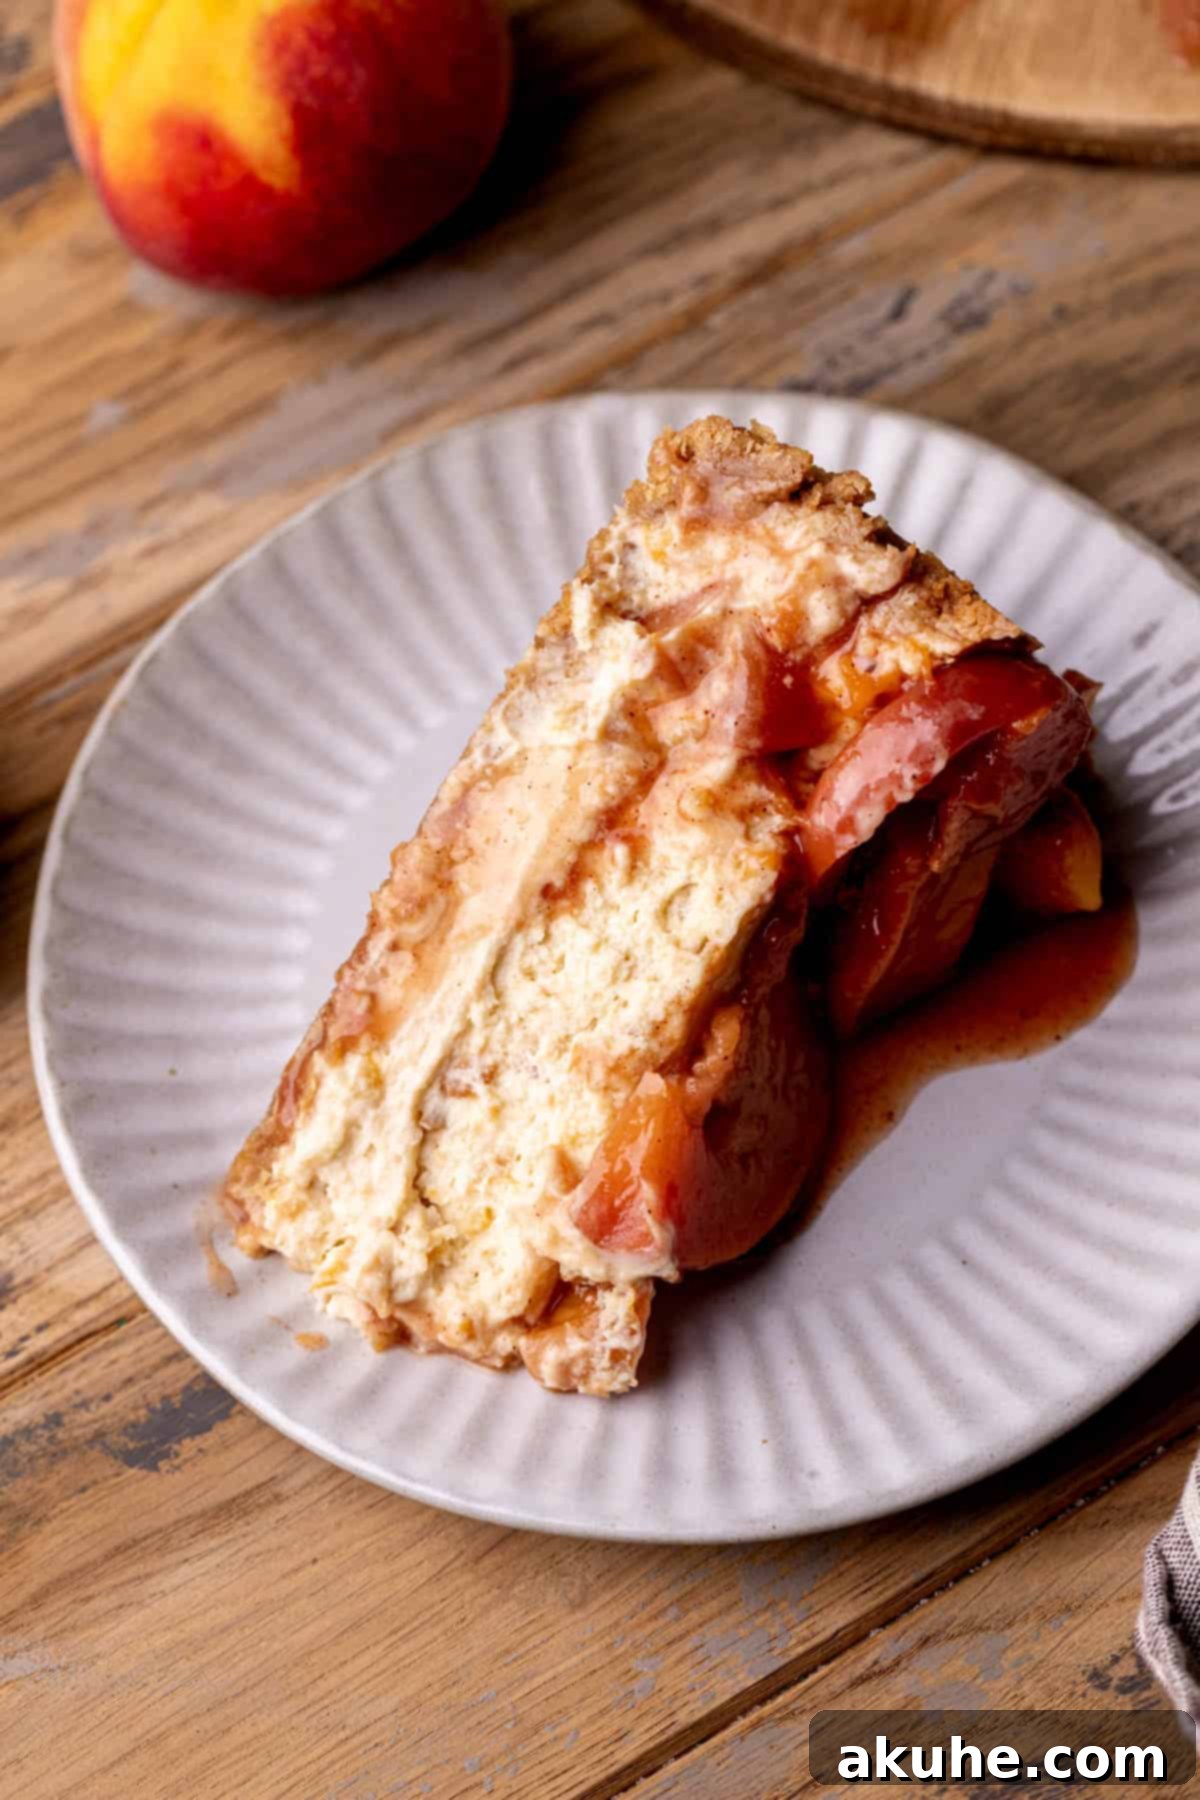
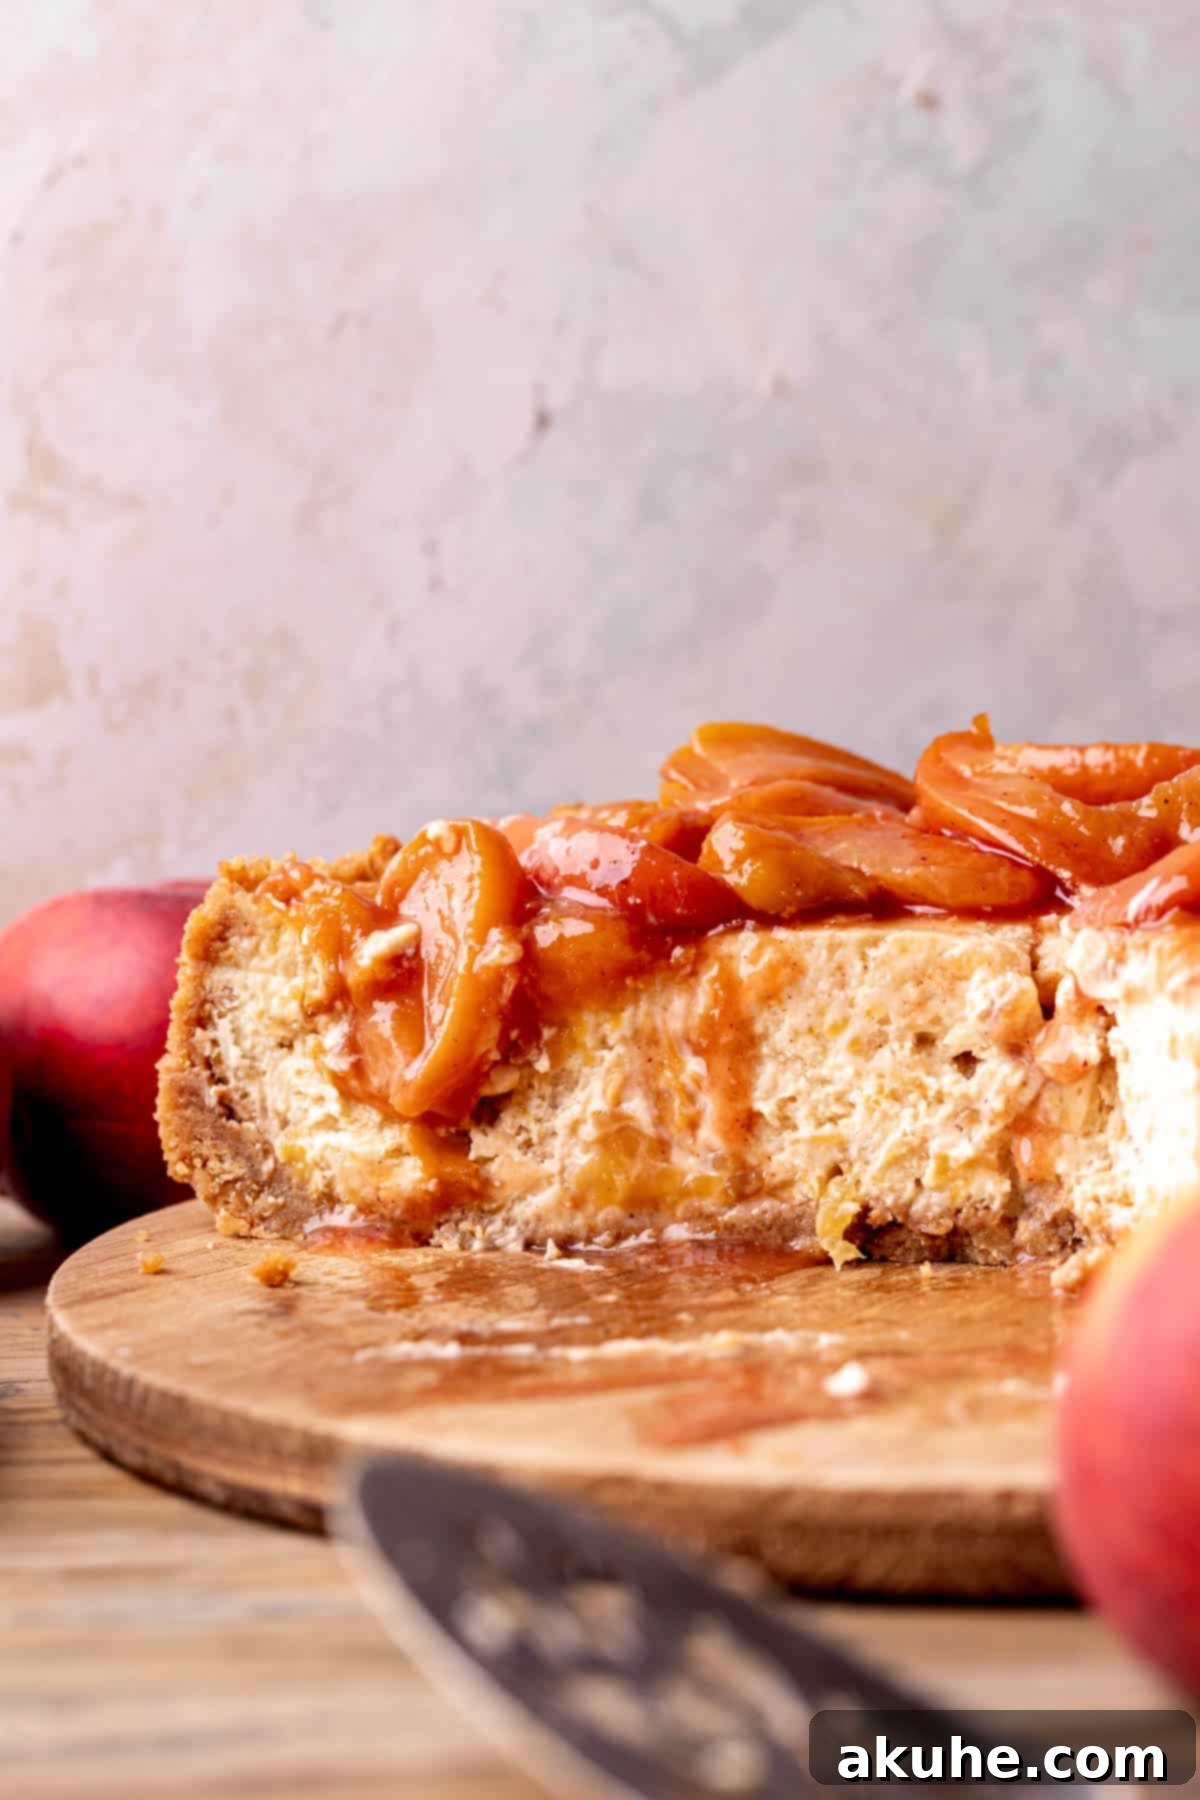
- STEP 7: Add the Peach Cobbler Topping. Once your cheesecake is thoroughly chilled, carefully remove it from the refrigerator. Unlock and remove the sides of the springform pan, and gently slide the cheesecake off the bottom of the pan (see “How To Easily Remove The Cheesecake From The Pan” below). Retrieve the chilled peach cobbler topping from the fridge. Spoon the peach topping generously and evenly over the top surface of the cheesecake. Slice and serve your magnificent homemade peach cheesecake!
Mastering the Water Bath for Perfect Cheesecake
The water bath, often referred to as a “bain-marie,” is a secret weapon for baking cheesecakes. It provides a consistently moist and gentle cooking environment, which is paramount for preventing the dreaded cracks that can sometimes appear on the surface of cheesecakes. The steam created by the hot water bath helps the cheesecake bake evenly and slowly, preventing the outer edges from setting too quickly while the center remains undercooked. When a cheesecake bakes in a dry, hot oven, the drastic temperature change and uneven cooking often lead to unsightly cracks.
Here are two reliable techniques to effectively utilize a water bath, both employing a large roasting pan filled with hot, steaming water:
- Method 1: The Double Pan Technique (Recommended). This is my preferred method and offers superior protection against water seeping into the crust. Place your 9-inch springform pan (containing the cheesecake batter) inside a slightly larger 10-inch cake pan. Then, place this assembly (the 10-inch cake pan with the springform inside) into your large roasting pan. Carefully fill the roasting pan with hot, steaming water, ensuring the water level comes about halfway up the sides of the 10-inch cake pan. This double-layer approach creates an impenetrable barrier, guaranteeing that not a single drop of water will reach your delicate graham cracker crust, preventing any sogginess. This makes baking cheesecake incredibly easy and stress-free!
- Method 2: The Foil Wrap Technique. This method is also effective but requires meticulous wrapping to prevent leaks. Begin by wrapping your 9-inch springform pan (with the cheesecake batter) tightly and thoroughly with two layers of heavy-duty aluminum foil. Ensure the foil extends well up the sides of the pan and is crimped securely, leaving no gaps. Place the foil-wrapped springform pan directly into the large roasting pan. Carefully fill the roasting pan with hot water, again bringing the water level about halfway up the sides of the foil-wrapped springform pan. While this method generally works well, there’s a slight chance that water could still find its way through a tiny crease in the foil, potentially leading to a slightly soggy crust. This is why Method 1 is often recommended for peace of mind.
Expert Tips for Preventing Cheesecake Cracks
Achieving a perfectly smooth, unblemished cheesecake surface is the goal of every baker. Cracks can be frustrating, but with a few key techniques, you can significantly reduce their likelihood. Here are crucial tips to ensure your peach cheesecake emerges from the oven flawless:
- Ensure Smooth Wet Ingredients (Excluding Eggs): The initial beating of cream cheese and sugar is vital. Make sure these ingredients are at room temperature and beat them on high speed until the mixture is exceptionally creamy, light, and completely smooth. Any small chunks of cream cheese remaining in the batter can create inconsistencies that lead to structural weaknesses and, ultimately, cracks during baking. Scrape down the bowl frequently to ensure even mixing.
- Incorporate Eggs Gently and on Low Speed: When adding the eggs, switch your mixer to the lowest speed setting and add them one at a time, mixing just until each egg is barely incorporated into the batter. The primary goal here is to introduce as little air as possible into the cheesecake batter once the eggs are added. Too much air creates large bubbles within the batter, causing the cheesecake to puff up too quickly and dramatically during baking. This rapid rise followed by an inevitable fall as it cools puts stress on the cheesecake’s structure, almost guaranteeing cracks.
- Always Use a Water Bath: As emphasized above, a water bath is not optional for a crack-free cheesecake; it’s essential! The moist, steamy environment of the water bath ensures that the cheesecake bakes gently and evenly, preventing the outer edges from drying out and setting faster than the center. This uniform baking minimizes stress on the delicate structure, significantly reducing the chance of cracks. Refer to our “Water Bath Tips” section for the best techniques.
- Implement a Gradual Cooling Process: The way a cheesecake cools is just as important as how it bakes. Once your cheesecake is done baking (when the edges are set and the center has a slight jiggle), do not immediately remove it from the oven. Instead, turn off the oven and crack the oven door open by a few inches. Allow the cheesecake to slowly cool down within the still-warm oven for at least 30 minutes. This controlled, gradual temperature change prevents the cheesecake from experiencing a sudden thermal shock, which causes it to contract rapidly and leads to severe cracking. Moving the hot cheesecake directly to a cool counter immediately after baking is a common mistake that almost always results in cracks.
Effortlessly Removing Your Cheesecake From the Springform Pan
Once your peach cheesecake has fully chilled and set, removing it from the springform pan should be a smooth and easy process, especially if you followed the prep steps carefully. Here’s how to ensure a pristine presentation:
- Initial Pan Preparation: As mentioned in the crust instructions, begin by spraying your springform pan generously with baking non-stick spray. Then, line the bottom of the pan with a 9-inch parchment paper circle. It’s good practice to spray the parchment paper again after placing it. This creates a non-stick barrier from all angles.
- After Overnight Chilling: The key to easy removal is thorough chilling. After your cheesecake has chilled in the refrigerator for at least 6 hours, or preferably overnight, it should be firm enough to handle. Unlock the latch on the side of the springform pan and gently lift the side ring upwards. With adequate pan preparation and chilling, the ring should pop right off, cleanly separating from the cheesecake edges.
- Dealing with Stubborn Edges (If Needed): In the rare event that the sides of the cheesecake are slightly sticking to the pan, very gently run a thin, sharp knife or an offset spatula around the perimeter of the cheesecake before unlocking the springform latch. Use a light touch to avoid damaging the sides of your beautiful dessert.
- Removing the Bottom and Parchment: Once the side ring is removed, you’ll be left with the cheesecake resting on the metal bottom of the springform pan and the parchment paper. To transfer it to a serving platter, gently slide a thin, wide spatula or a cake lifter underneath the cheesecake. Alternatively, you can carefully lay the cheesecake on its side on a clean surface. This allows you to easily peel away the parchment paper circle from the bottom of the cheesecake. Then, carefully slide the cheesecake onto your desired serving plate.
Frequently Asked Questions About Peach Cheesecake
Here are answers to some common questions about making and serving this delightful peach cheesecake:
Absolutely! This recipe is wonderfully versatile. To create delightful mini peach cheesecakes, you can divide the recipe into thirds to yield approximately 12 individual cheesecakes. Bake them in a standard muffin pan lined with paper liners for 18-20 minutes. For more detailed instructions and specific tips on baking mini cheesecakes, you can refer to our Mini Oreo Cheesecakes recipe, which provides a comprehensive guide for small-batch versions.
While a 9-inch springform pan is ideal, you have other options. If you prefer cheesecake bars, you can halve the entire recipe and bake it in an 8×8 or 9×9 inch baking pan. When halving, use 16 oz (two 8-oz blocks) of cream cheese. An 8-inch springform pan is also a suitable alternative for the full recipe, though baking times might vary slightly. If you wish to use a smaller 6-inch springform pan, you should also halve the recipe, but still maintain 16 oz of cream cheese to ensure sufficient batter for a good height.
Achieving perfectly clean and elegant slices is all about temperature and technique. First and foremost, ensure your peach cheesecake is very cold, preferably chilled overnight. A well-chilled cheesecake holds its shape much better. Before slicing, have a tall glass of hot water and a sharp, thin-bladed knife ready. Dip the knife into the hot water, then wipe it completely clean with a paper towel. Make one clean cut through the cheesecake. After each slice, repeat the process: dip the knife in hot water and wipe it clean. This prevents the knife from dragging crumbs and cream cheese, resulting in beautifully neat slices every time.
Storing and Freezing Your Peach Cheesecake
Proper storage is essential to maintain the freshness and deliciousness of your homemade peach cheesecake.
Store this peach cheesecake in the refrigerator. The best way to keep it fresh is in an airtight container, such as a specialized cake carrier, to protect it from absorbing other odors and to prevent it from drying out. When stored correctly, your creamy peach cheesecake will remain delightful for up to 5 days.
Freezing Instructions
Cheesecake freezes remarkably well, allowing you to enjoy this delightful dessert long after peach season ends or to save portions for future cravings. Here are two methods for freezing:
- Freezing Individual Slices: If you anticipate wanting single servings, freezing the peach cheesecake in individual slices is a convenient option. Once the cheesecake is fully chilled and topped with the cobbler, cut it into desired slices. Place each slice on a small piece of parchment paper, then wrap each slice tightly in plastic wrap, followed by a layer of aluminum foil. Store the individually wrapped slices in an airtight freezer-safe container to prevent freezer burn. They can be frozen for up to 30 days. To enjoy, simply thaw a slice in the refrigerator for 1-2 hours before serving.
- Freezing the Whole Cheesecake (Before Topping): You can also freeze the entire cheesecake before decorating it with the peach cobbler topping. Ensure the cheesecake has been baked, cooled completely to room temperature, and then chilled in the refrigerator overnight to firm up. Once thoroughly chilled, wrap the entire cheesecake (still on its springform pan base, if desired, or carefully transferred to a cardboard cake round) very tightly in multiple layers of plastic wrap, followed by a layer of aluminum foil. This double wrapping is key to preventing freezer burn. The cheesecake can be frozen for up to 30 days. When ready to serve, thaw the wrapped cheesecake in the refrigerator overnight. Once thawed, unwrap it and add the peach cobbler topping (which can be made fresh or thawed if previously frozen) 1-2 hours before serving.
Discover More Delicious Cheesecake Recipes
If you’ve fallen in love with the art of cheesecake, don’t stop here! Explore our collection of other incredible cheesecake creations to expand your baking repertoire and satisfy your sweet tooth year-round.
We truly hope you enjoy making and savoring this incredible peach cheesecake! If you loved this recipe, please take a moment to leave a STAR REVIEW below. Your feedback helps us and other bakers. And don’t forget to tag us on Instagram @stephaniesweettreats with your beautiful creations! For more delightful baking ideas and inspiration, be sure to follow us on Pinterest. Happy baking!

Peach Cheesecake
By Stephanie Rutherford
This peach cheesecake is perfect for peach season. It has a graham cracker crust, a peach cheesecake batter, and is topped with peach cobbler.
Print Recipe
Pin Recipe
Leave a Review
Ingredients
Peach Cobbler Filling
- 6 Peaches, Large peaches preferred
- 3/4 cup Brown sugar, packed light or dark
- 2 TBSP Cornstarch
- 1/2 tsp Ground cinnamon
Graham Cracker Crust
- 2 1/2 cups Graham cracker crumbs, 2 sleeves of graham crackers
- 1/4 cup Brown sugar, packed light or dark
- 10 TBSP Unsalted butter, melted
Peach Cheesecake
- 24 oz Cream cheese, room temperature
- 3/4 cup White granulated sugar
- 1/2 cup Sour cream, room temperature
- 3/4 cup Blended peach cobbler filling
- 1 tsp Pure vanilla extract
- 4 Large eggs, room temperature
Instructions
Peach Cobbler Filling
- Cut the peaches into slices. Place the peaches in a large saucepan. Add the brown sugar, cornstarch, and cinnamon.
- Heat on medium-high heat. Once the brown sugar melts and starts to bubble. Then, let it cook for 8-10 minutes. The mixture should thicken. Once it thickens, then take off the heat.
- Scoop out 2 cups of the peaches. The rest of the peaches, pour into a Tupperware and let it cool completely before storing into the fridge.
- Pour the 2 cups of peaches into a blender. Blend the peaches into small pieces.
- Place the peach filling on a plate. Use 4 pieces of paper towel (1 at a time) and press the towel down on the peaches to absorb some moisture.
Graham Cracker Crust
- Using a food processor, blend the graham crackers into a fine crumb. Add the brown sugar and melted butter and mix until combined.
- Preheat the oven to 325℉. Spray a 9-inch springform pan using baking nonstick spray. Line the bottom with a parchment paper circle. Spray again.
- Pour the crumbs into the pan. Use your hands to press the crust halfway up the sides of the pan. Use the bottom of a measuring cup to compact the bottom of the crust down.
- Bake for 11 minutes.
Peach Cheesecake
- Using a mixer in mixing bowl, beat the cream cheese and sugar on high speed for 2 minutes. Scrape the bowl using a rubber spatula.
- Add in the sour cream, and vanilla. Mix on medium speed until smooth. Add in the eggs and mix on low speed until just combined. Mix the peach filling in by hand.
- Start the water bath. Use one of these methods for a water bath. Both methods use a large roasting pan and hot steaming water.
1. Place the springform pan in a 10 inch cake pan. Place the cake pan in the roasting pan and fill with hot water halfway up the cake pan. This method prevents water getting into the crust.
2. Wrap the springform pan tightly twice in aluminum foil. Place the springform pan inside the roasting pan. Fill with hot water halfway up the springform pan. This method works great, but can sometimes leak water into the crust.
- Pour the cheesecake batter into the pan. Place the cheesecake into the water bath. Bake for 80-90 minutes. Bake until the edges are set and the middle is has a little jiggle.
- Turn off the oven, crack open the door, and let the cheesecake slowly cool for 30 minutes. Then, take the pan out of the oven and transfer to a cooling rack.
- Cool the cheesecake (in the pan!) completely. Then, wrap in foil and place in the fridge for at least 6 hours or overnight.
- Take the cheesecake out of the fridge. Take off the pan and parchment paper. Place the rest of the peach topping over the cheesecake.
Notes
Pull out dairy ingredients 2 hours before baking.
Carbohydrates: 46g,
Protein: 5g,
Fat: 26g,
Saturated Fat: 15g,
Polyunsaturated Fat: 1g,
Monounsaturated Fat: 7g,
Trans Fat: 0.3g,
Cholesterol: 70mg,
Sodium: 235mg,
Potassium: 183mg,
Fiber: 1g,
Sugar: 35g,
Vitamin A: 1062IU,
Vitamin C: 2mg,
Calcium: 78mg,
Iron: 1mg
Please leave a star rating and review below!
