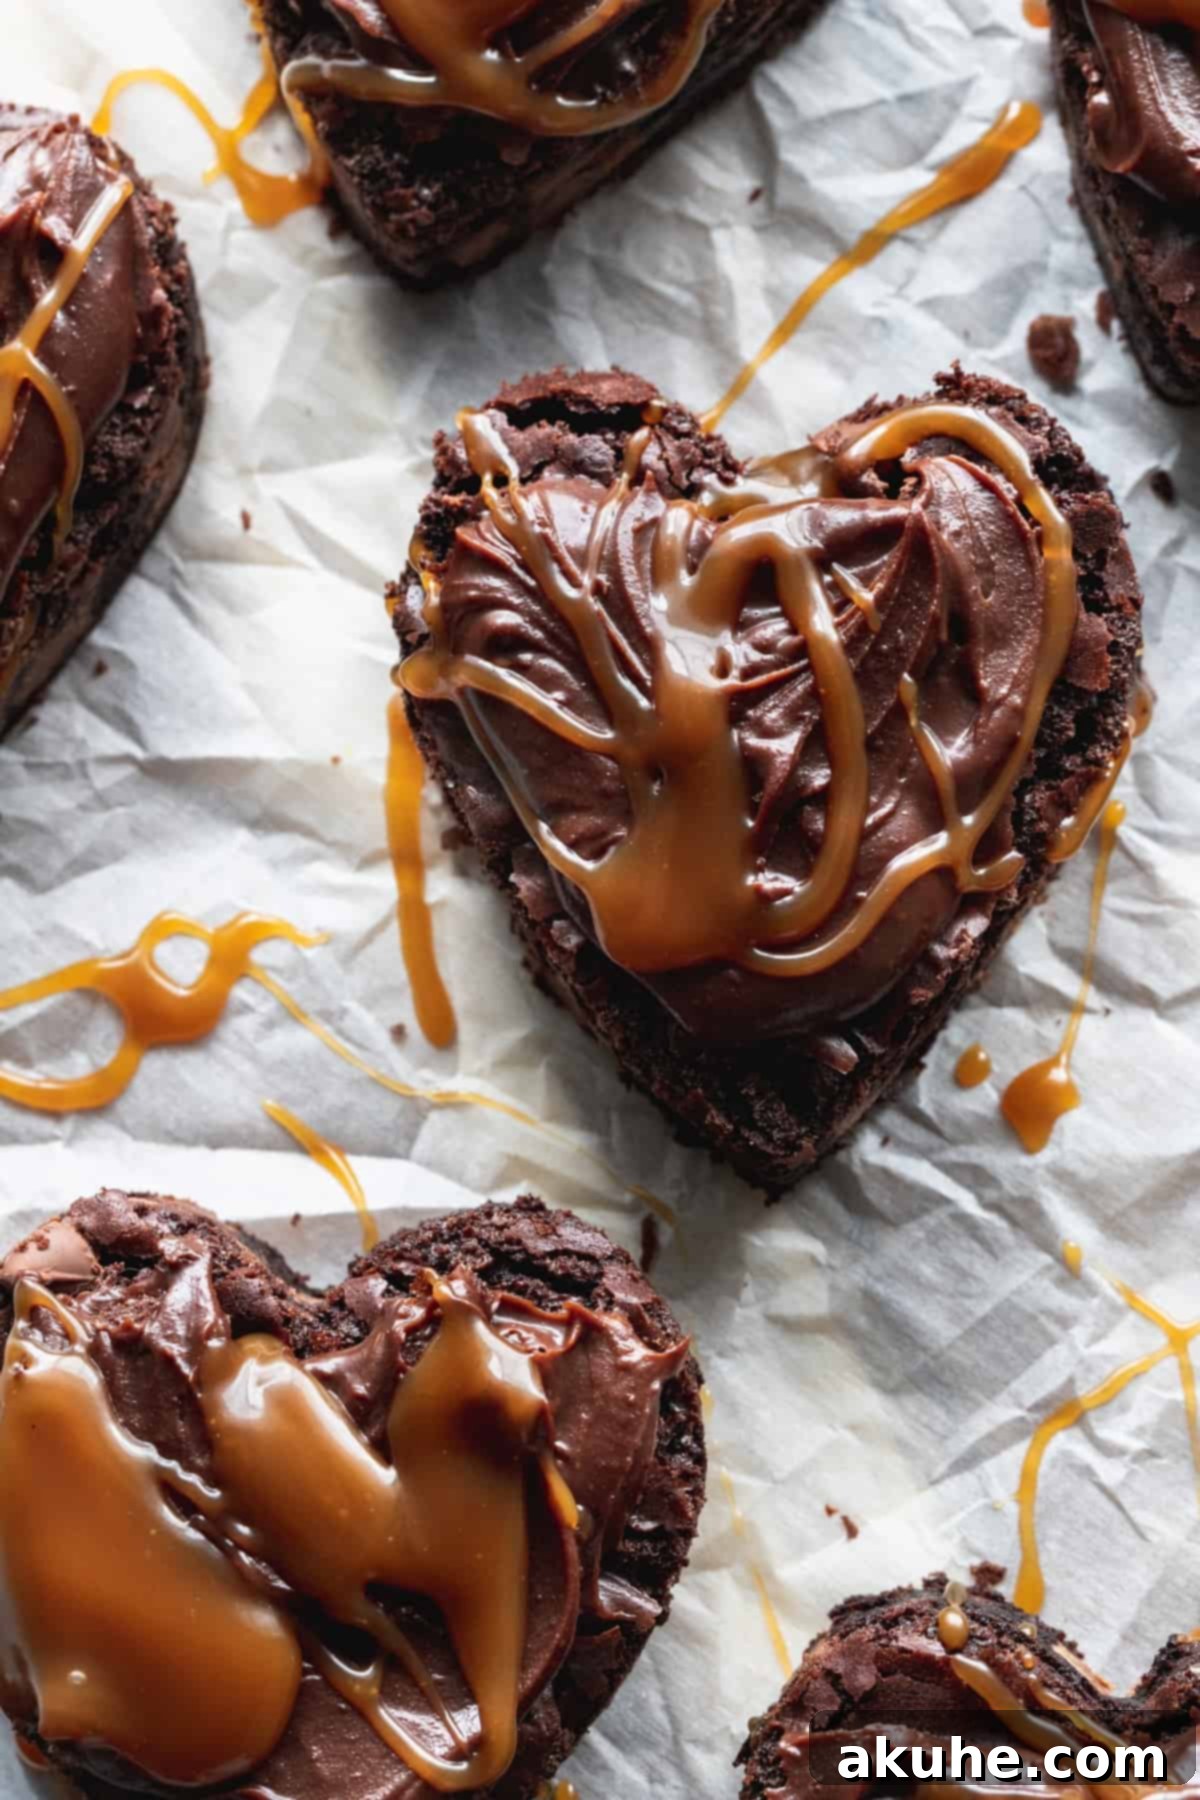
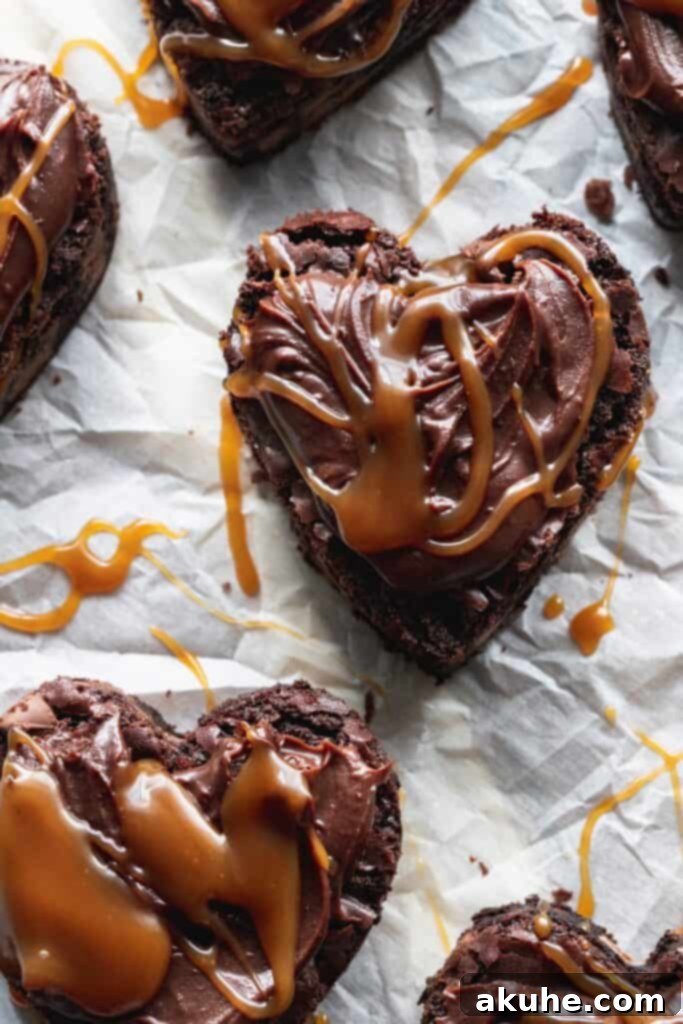
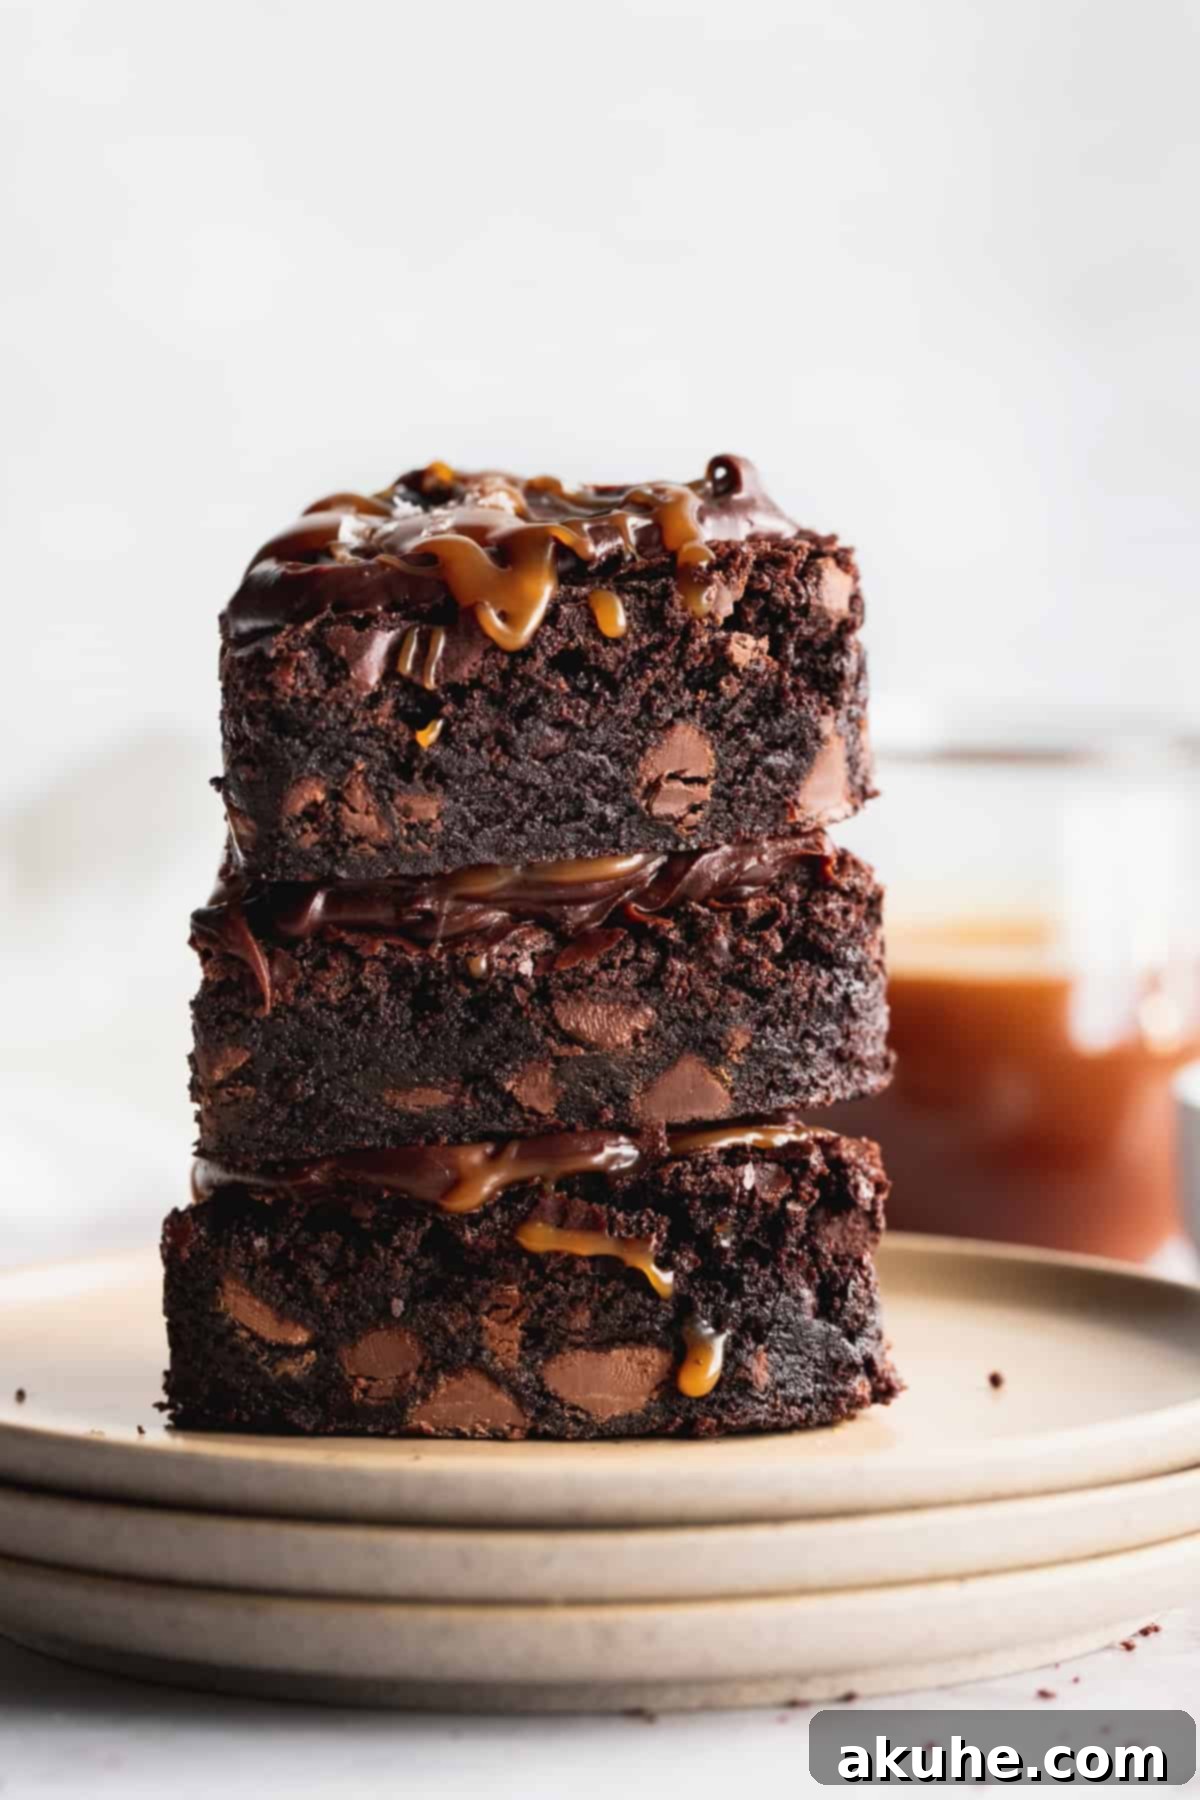
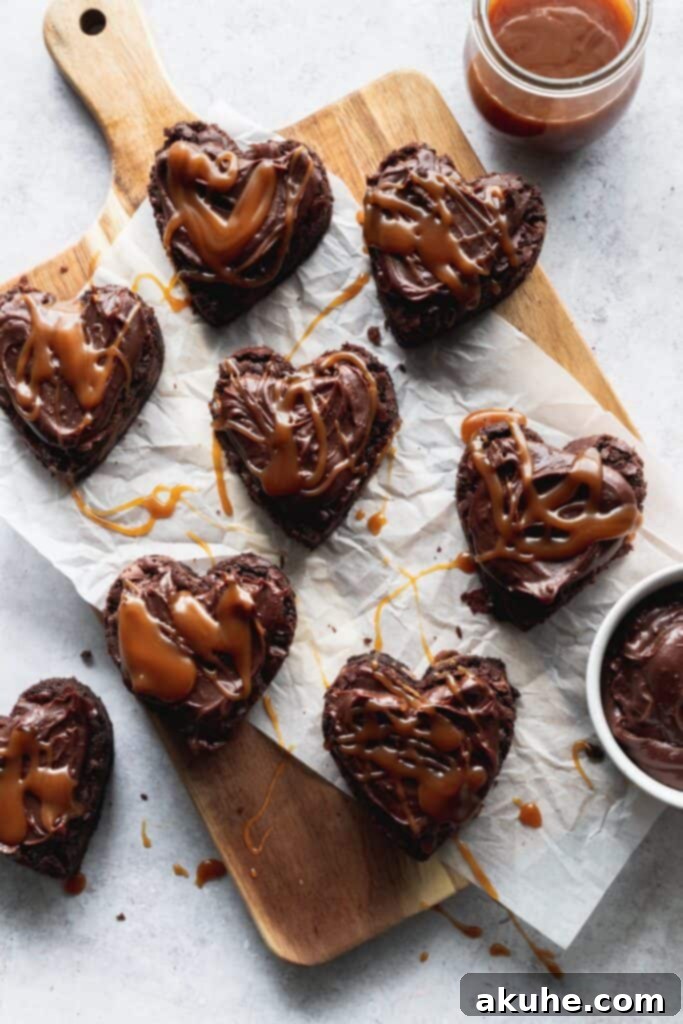
Indulge in the ultimate treat for any special occasion, especially Valentine’s Day, with these exquisitely fudgy heart-shaped brownies! Far from your average chocolate squares, these brownies are a symphony of rich flavors and decadent textures. Each bite delivers an intense chocolate experience, packed with a generous amount of various chocolate chips, ensuring maximum satisfaction for every chocolate lover. But the magic doesn’t stop there. These delightful brownies are crowned with a smooth, luxurious chocolate ganache frosting and then drizzled with a luscious, homemade salted caramel that adds a touch of sophisticated sweetness and a hint of savory bliss. They are more than just a dessert; they are a heartfelt gesture, guaranteed to be a crowd-pleaser and a memorable addition to any celebration, particularly when shaped into charming hearts to express your affection.
Crafting the Perfect Fudgy Brownies: A Step-by-Step Guide to Irresistible Texture
Achieving that coveted, intensely fudgy brownie texture is an art, and this recipe delivers nothing less than perfection. These brownies are engineered for maximum richness, combining high-quality cocoa powder with a generous blend of three distinct types of chocolate chips, ensuring a deep, complex chocolate flavor in every square. Follow these essential steps to create brownies that are truly beyond compare, complete with that desirable shiny, crinkly top.
- Embrace Cold Eggs and Yolks: The secret to an exceptionally fudgy interior lies in using cold eggs and egg yolks directly from the refrigerator. The lower temperature of the eggs, when introduced to the batter, helps to create a denser, more moist crumb structure, preventing a cake-like dryness and locking in that desirable chewiness.
- Whip Eggs and Sugar to Perfection: This crucial step is key to both texture and appearance. Using a stand mixer with a whisk attachment, whip the cold eggs, egg yolks, and granulated sugar vigorously for at least five minutes. This process incorporates a significant amount of air, resulting in a remarkably light and fluffy mixture. This aeration is what creates the signature thin, crackly, crinkle top that all great brownies possess, adding a delightful textural contrast.
- Carefully Incorporate Fats and Flavor: Once your egg mixture is light and voluminous, gently fold in the melted butter, oil (canola or vegetable work best), and pure vanilla extract. Ensure the melted butter has cooled slightly before adding it to avoid cooking the eggs prematurely. The oil contributes to the brownies’ moistness and tenderness, while vanilla extract enhances the overall chocolate flavor.
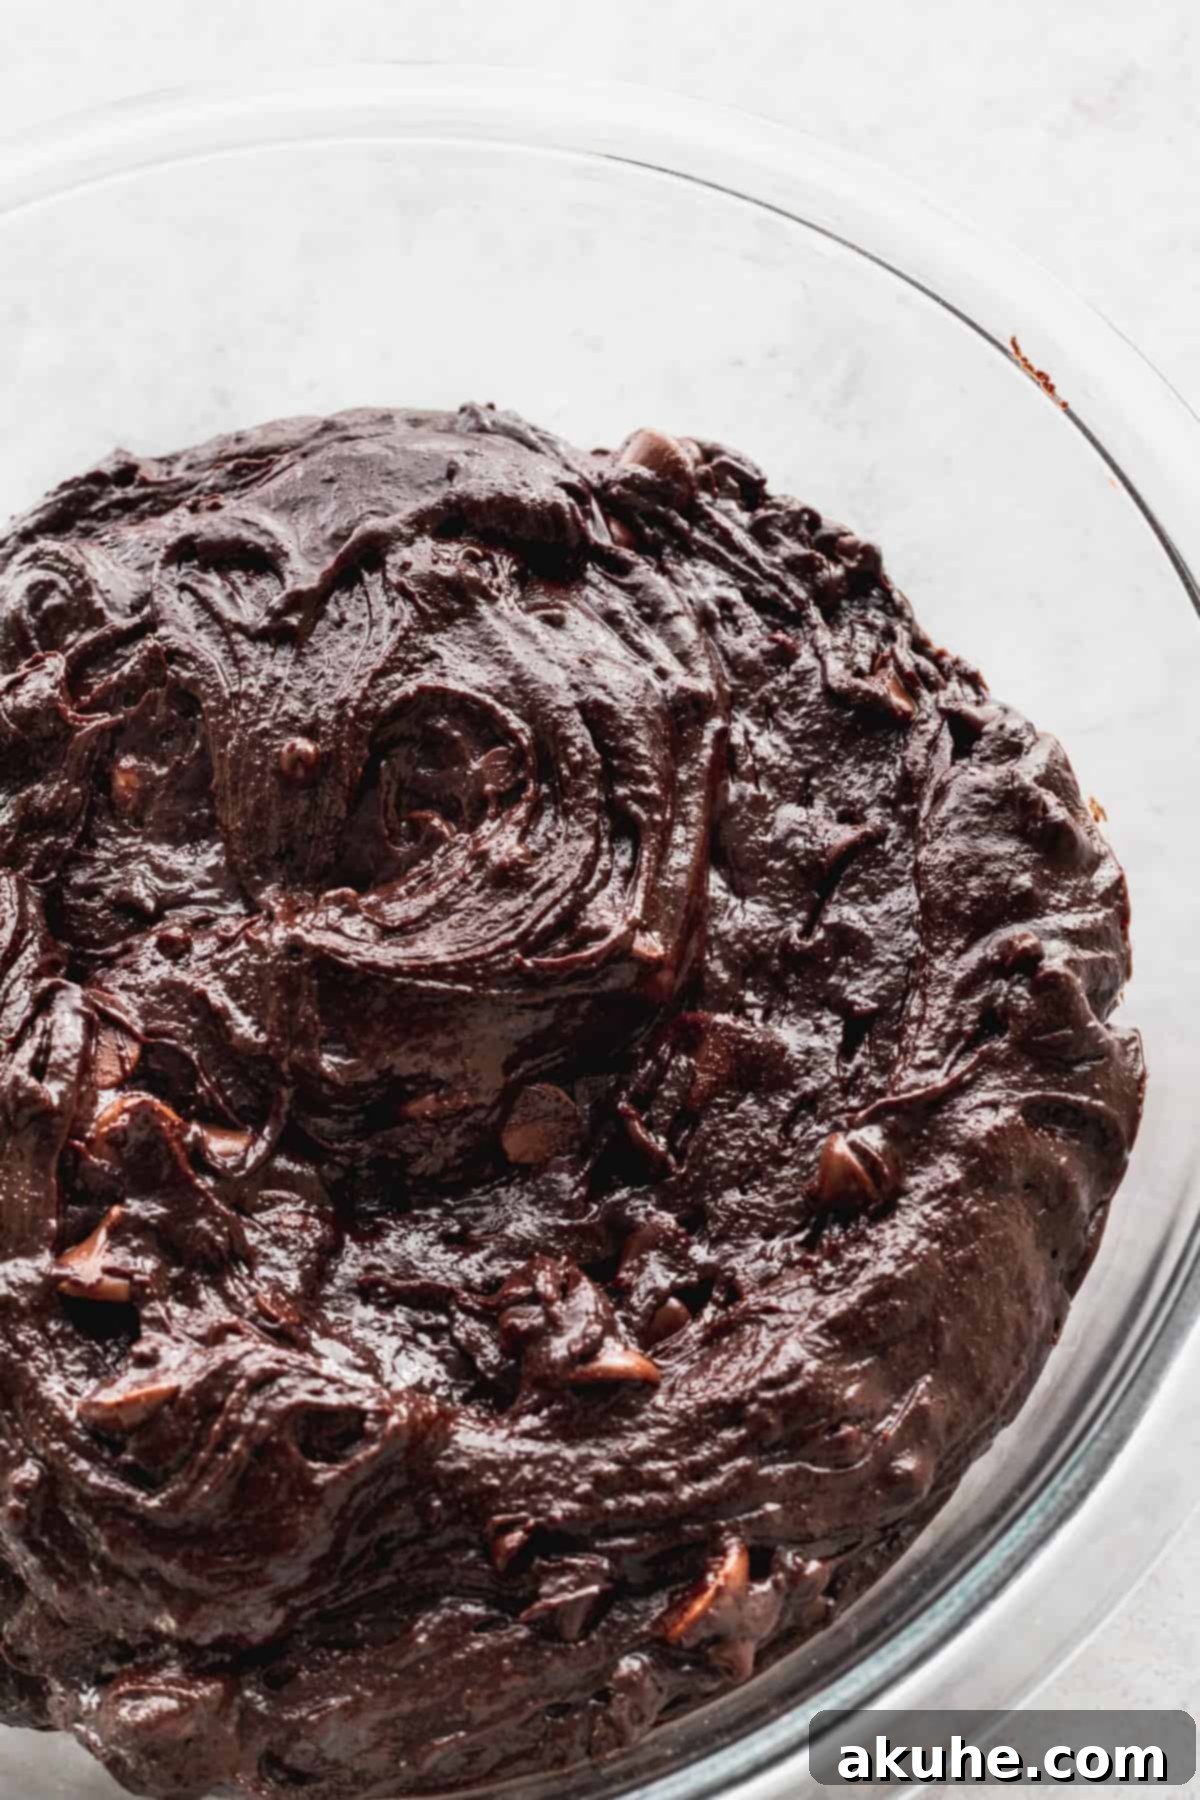
- Delicate Folding of Dry Ingredients: The key to maintaining the airy structure you built in the previous step is gentle handling of the dry ingredients. Use a rubber spatula to carefully fold in the sifted flour, cocoa powder, cornstarch, and salt. Overmixing at this stage will develop the gluten in the flour, leading to tough, cakey brownies. Fold just until no streaks of dry ingredients remain.
- Triple Chocolate Chip Heaven: Elevate the chocolate experience by incorporating three types of chocolate chips: semi-sweet, milk, and mini chocolate chips. This combination adds layers of chocolate flavor and varying melt points, creating pockets of gooey chocolate throughout the brownies. Don’t be shy; use all three for the richest, most decadent result!
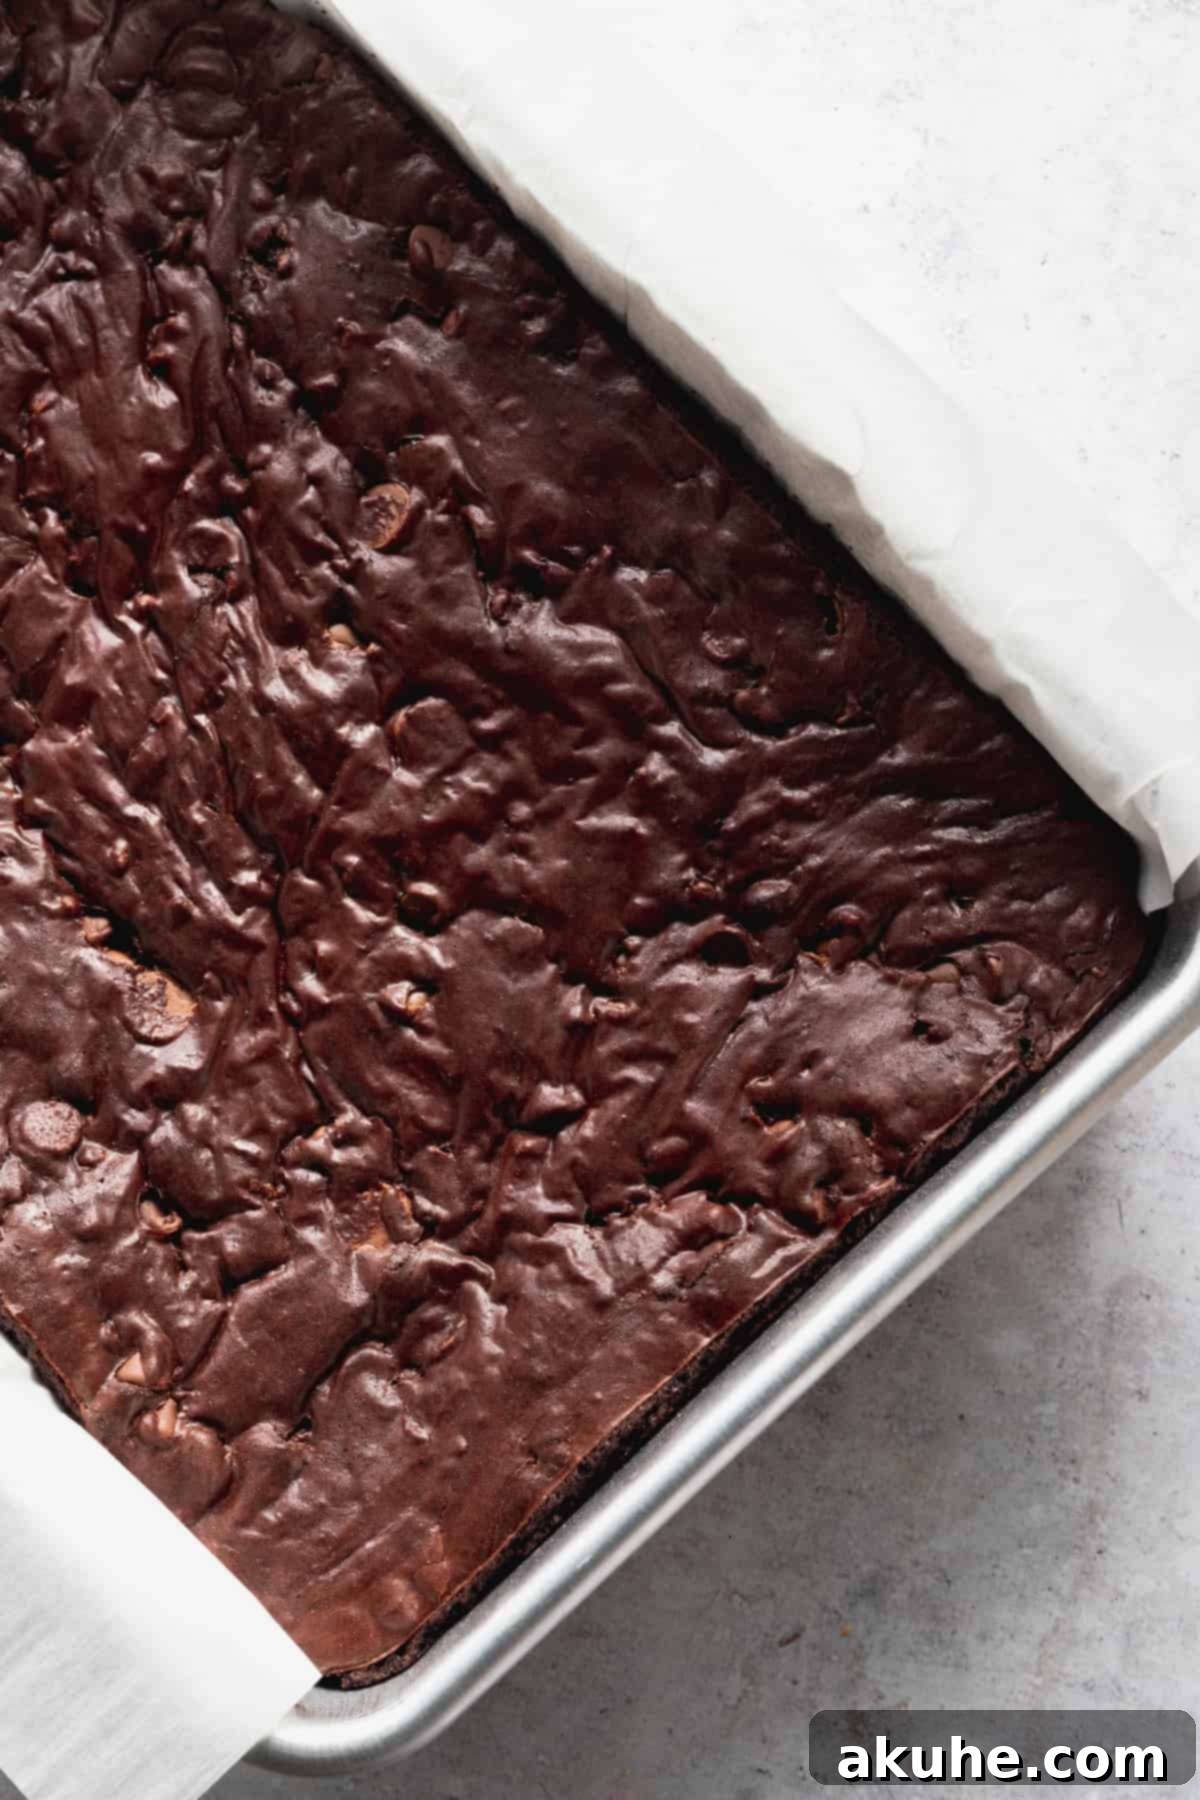
- Prepare and Pour with Precision: Grease a 9×13 inch baking pan thoroughly with non-stick baking spray. For easy removal and clean edges, line the bottom and two sides of the pan with parchment paper, leaving an overhang to act as “handles.” Spray the parchment again. Pour the prepared batter evenly into the pan. Opt for a lighter-colored pan, such as silver, as darker pans can cause the edges of the brownies to over-bake and become dry while the center is still cooking.
Bake these brownies for approximately 45-55 minutes. The ideal doneness means the edges are set, but the center still appears slightly underdone and might have a gentle jiggle if lightly shaken. This slight under-baking is what guarantees that irresistible gooey and ultra-fudgy texture. Once removed from the oven, allow the brownies to cool completely in the pan on a wire rack. This step is crucial, as the residual heat will continue to cook them gently, and cooling completely ensures they set properly, making them easier to cut and preventing a crumbly mess.
Selecting the Perfect Cookie Cutter for Your Heart-Shaped Brownies
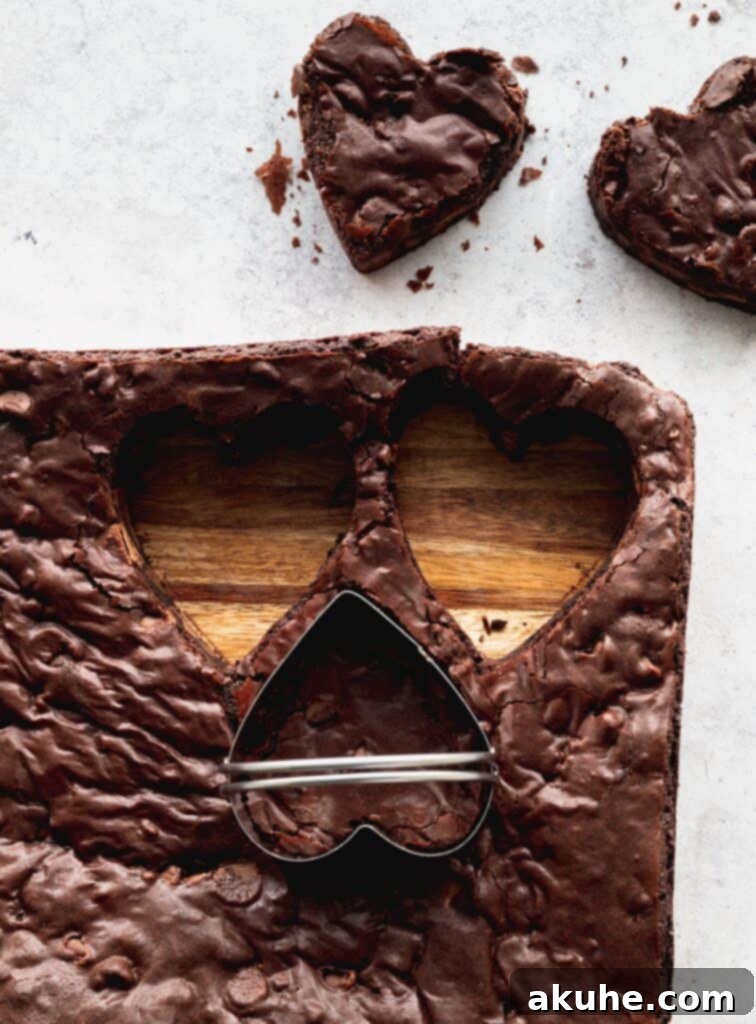
Once your brownies are completely cooled and set, it’s time to transform them into charming heart shapes. I highly recommend using sturdy, high-quality stainless steel cookie cutters, such as these heart cookie cutters from Williams Sonoma. Their robust construction ensures clean, sharp cuts without bending or warping, even through thick, fudgy brownies. These sets often come in various sizes, offering versatility for different occasions. While heart shapes are perfect for Valentine’s Day, feel free to unleash your creativity and use any shape that suits your celebration—stars, flowers, or even simple circles are excellent alternatives.
To cut your brownies, gently transfer the cooled slab onto a clean cutting board. For this recipe, a 3-inch heart cookie cutter works wonderfully, providing a substantial, satisfying treat. Press the cutter firmly and evenly through the brownies, wiggling it slightly to ensure a clean separation. Repeat this process, arranging the cuts as closely as possible to minimize scraps (which, of course, are perfect for the baker’s snack!). This technique allows for beautifully presented individual portions, making them ideal for gifting or a festive dessert spread.
Decadent Chocolate Ganache Frosting: A Simple Yet Luxurious Topping
Prepare to be amazed by the sheer simplicity and unparalleled richness of this chocolate ganache frosting. It requires just two ingredients—heavy cream and chocolate chips—and comes together with minimal effort, yielding a frosting that tastes incredibly luxurious and professional. This ganache acts as the perfect velvety blanket for your fudgy brownies, adding another layer of intense chocolate flavor and a smooth, elegant finish.
To make the chocolate ganache, begin by placing your semi-sweet chocolate chips in a heatproof bowl. In a small saucepan, heat the heavy cream over medium-low heat until it’s steaming hot and just begins to simmer around the edges, but do not let it boil vigorously. Pour the hot cream directly over the chocolate chips. Resist the urge to stir immediately; instead, let the mixture sit undisturbed for about 1 to 1.5 minutes. This allows the hot cream to melt the chocolate chips thoroughly. After this resting period, gently stir the mixture with a rubber spatula, starting from the center and working your way outwards, until it transforms into a smooth, glossy, and uniform chocolate sauce.
Once the ganache is smooth and silky, place the bowl in the refrigerator. Allow it to chill for approximately 45 minutes to 1 hour. This chilling process is essential to thicken the ganache to a spreadable frosting consistency. To ensure even cooling and prevent the edges from hardening faster than the center, make sure to stir the ganache every 10-15 minutes during this chilling period. The finished ganache should have a thick, pudding-like consistency that is firm enough to spread yet still wonderfully smooth and creamy, making it feel just like a rich frosting.
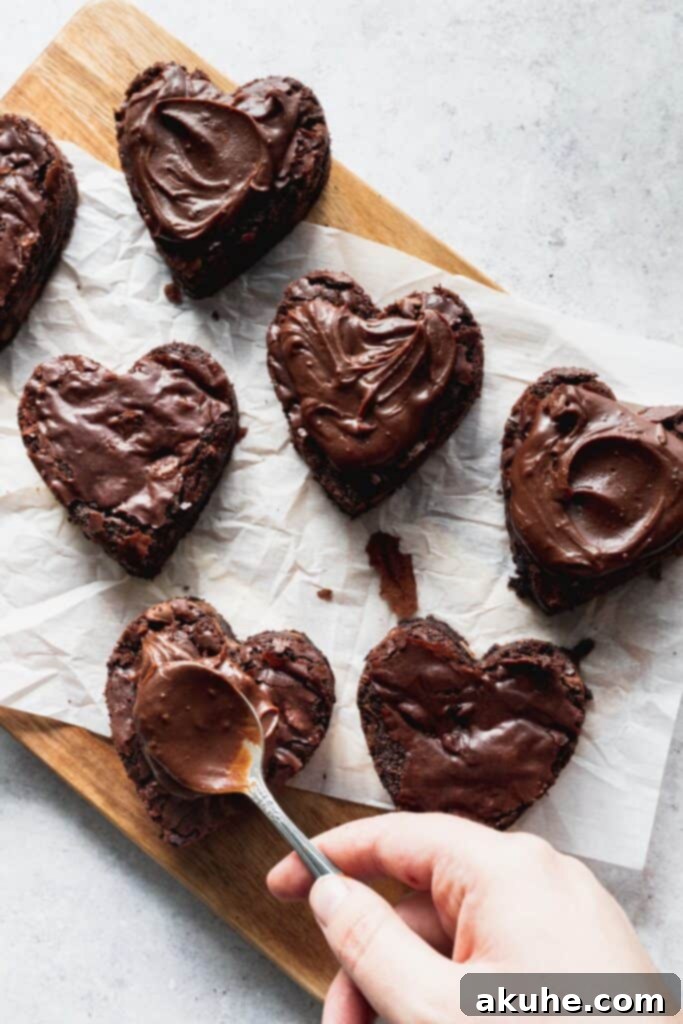
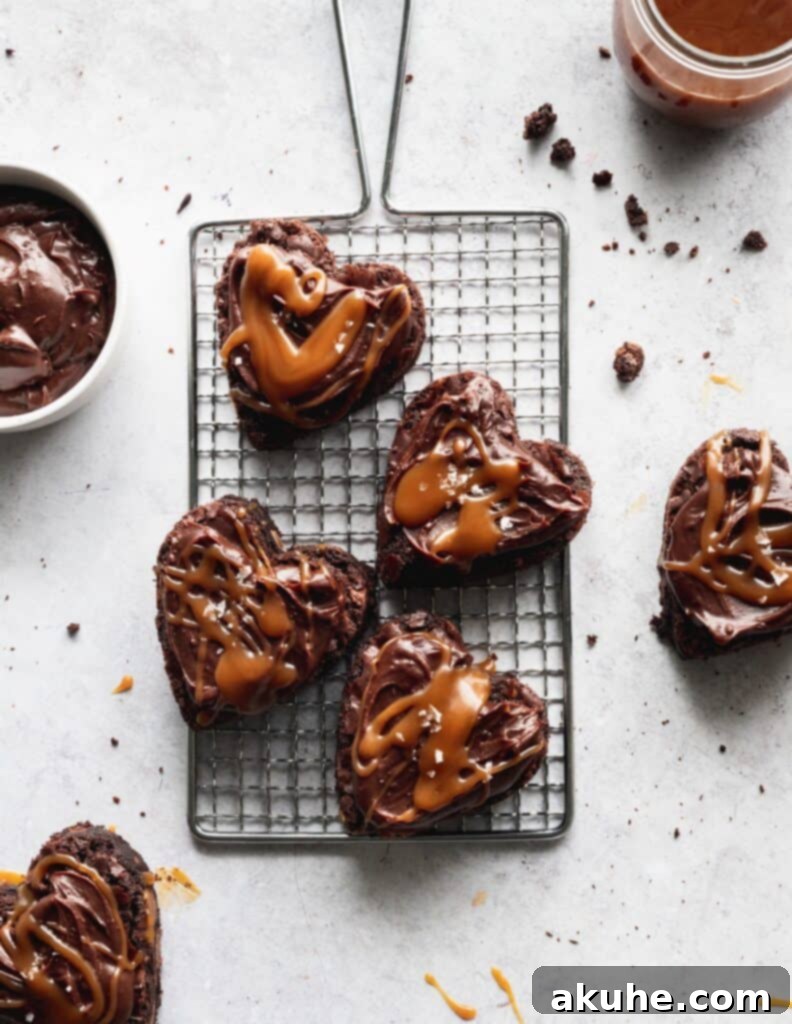
Carefully spread this luscious chocolate ganache on top of your heart-shaped brownies. I find that a spoon works perfectly for dolloping and spreading the frosting, creating a rustic yet elegant swirl. A little tip: always frost your brownies after they have been cut into shapes. Attempting to frost the entire slab before cutting can result in smudged edges and a less refined appearance when the shapes are cut out. Frosting individual hearts ensures each one looks picture-perfect.
Crafting Irresistible Homemade Salted Caramel: Elevating Your Brownies
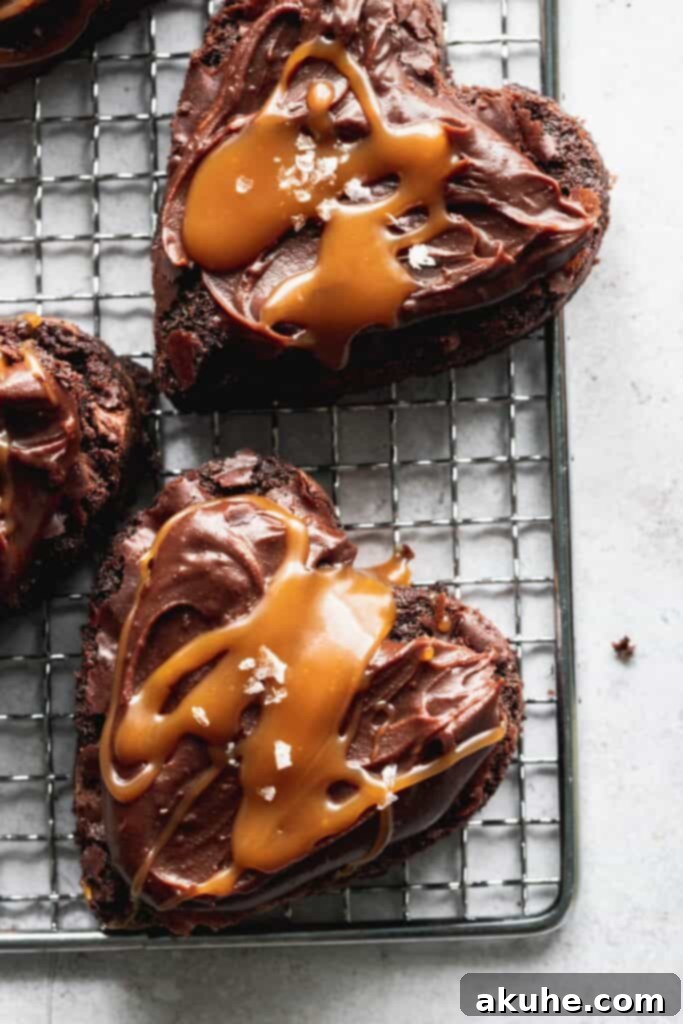
While store-bought salted caramel can be convenient, nothing compares to the rich, buttery, and deeply flavored notes of homemade salted caramel. As my mother famously quoted, “I could just eat this with a spoon!” and I assure you, you’ll feel the same. This recipe is designed for a small batch, providing just the right amount of decadent caramel for drizzling over your brownies, ensuring every bite is a perfect balance of sweet and savory.
My secret to an exceptionally delicious salted caramel lies in two key additions: a touch of pure vanilla extract and a generous sprinkle of sea salt, complemented by extra butter for unparalleled richness. To begin, pour white granulated sugar into a clean, heavy-bottomed saucepan. Heat it over medium heat, continuously stirring with a metal whisk. Initially, the sugar will clump, but persist, and it will eventually melt into a clear liquid. Continue cooking, without stirring once melted, until it reaches a beautiful amber color. This usually takes about 30 seconds after melting, so watch it intently, as caramel can go from perfect to burnt in a matter of seconds!
Immediately remove the saucepan from the heat once the amber color is achieved. This stops the cooking process and prevents burning. Now, add the unsalted butter in two stages, mixing thoroughly with your whisk until each addition is completely melted and incorporated before adding the next. The mixture will bubble and steam vigorously, which is normal. Next, gradually add the room temperature heavy cream, again in two increments, stirring constantly. It is absolutely crucial that both your butter and heavy cream are at room temperature. Cold ingredients can cause the caramel to seize, turning it into a hard, crystalline mass. If this happens, gently heat the mixture over very low heat, stirring continuously, until it re-melts and becomes smooth again.
Once the butter and cream are fully incorporated and the caramel is smooth, stir in the pure vanilla extract and the salt. The salt is essential for balancing the sweetness and enhancing all the flavors. Pour the finished caramel into a heatproof glass container and allow it to cool completely before using it on your brownies. As it cools, it will thicken to a wonderfully rich, pourable consistency. For more in-depth tips and troubleshooting for perfect caramel every time, be sure to check out my full Homemade Salted Caramel recipe.
Optimal Storage for Your Heart-Shaped Brownies
To maintain their exquisite fudgy texture and fresh flavor, these heart-shaped brownies are best stored at room temperature. Place them in an airtight container to protect them from drying out. When stored properly, they will remain wonderfully fresh and delicious for up to 5 days. Keeping them sealed prevents air exposure, which can lead to stale or hard brownies.
Freezing Your Brownies for Future Indulgences
Yes, these decadent brownies are perfectly suitable for freezing, allowing you to enjoy them long after baking! To freeze, first cut the brownies into their individual heart shapes. Wrap each brownie tightly and individually with plastic cling wrap to prevent freezer burn. Then, place the wrapped brownies in a freezer-safe, airtight container or a heavy-duty freezer bag. Stored this way, they will maintain their quality in the freezer for up to 30 days. When you’re ready to enjoy them, simply remove the desired number of brownies from the freezer and let them thaw on the counter for at least 2 hours before serving, or until they reach your preferred temperature.
Discover More Irresistible Brownie Recipes
If you’re a fan of these rich and fudgy delights, you’ll love exploring other creative brownie variations. Expand your baking repertoire with these fantastic recipes:
- Monster Cookie Fudgy Brownies
- Salted Caramel Fudge Brownies
- Salted Caramel Turtle Brownies
- Easy Brownie Bottom Nutella Pie
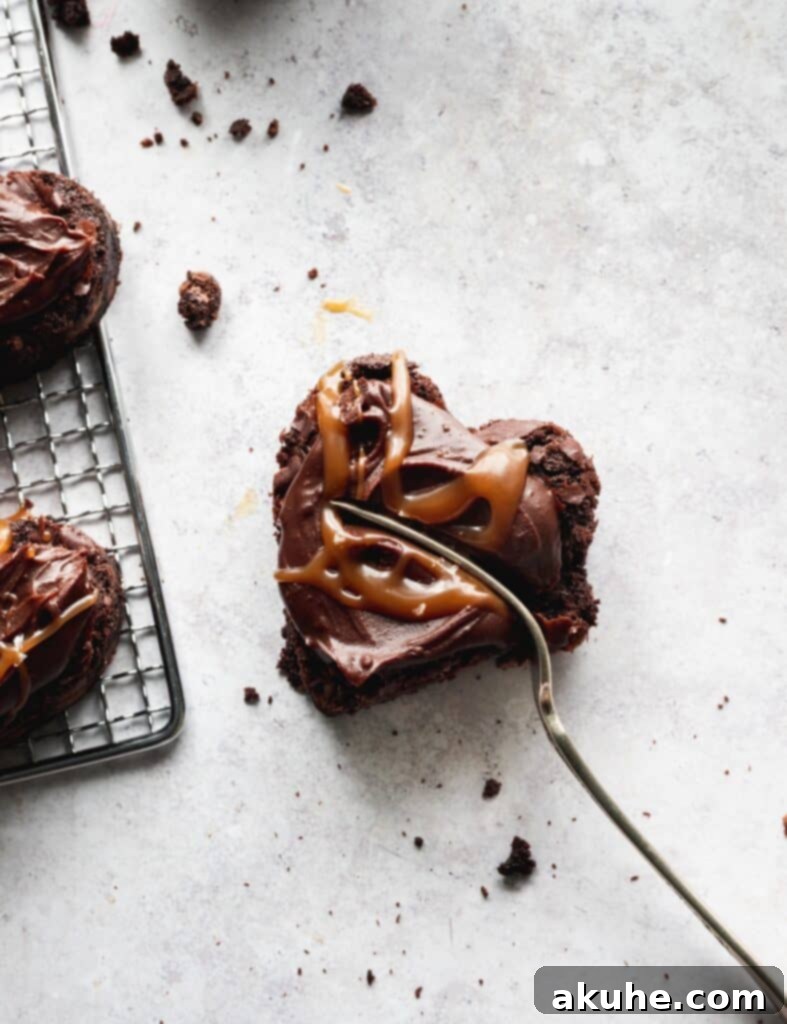
I hope you loved making and devouring these heart-shaped brownies! If you recreate this recipe, be sure to tag me on Instagram @stephaniesweettreats and leave a review below to let me know what you thought. For more delightful baking ideas and inspiration, follow me on Pinterest!
5 from 3 reviews
Heart Shaped Brownies
Stephanie Rutherford
Print Recipe
Pin Recipe
Leave a Review
1 hr 20 mins
50 mins
2 hrs 10 mins
8
brownies
Ingredients
Brownies
- 2 2/3 cups White granulated sugar
- 4 Large eggs, cold
- 2 Egg yolks, cold
- 10 TBSP Unsalted butter , melted
- 2/3 cup Oil, canola or vegetable
- 2 tsp Pure vanilla extract
- 1 cup All-purpose flour
- 1 1/2 cups Unsweetened cocoa powder
- 2 TBSP Cornstarch
- 1/2 tsp Salt
- 1 cup Semi-sweet chocolate chips
- 1 cup Milk chocolate chips
- 1/4 cup Mini chocolate chips
Chocolate Ganache
- 1 cup Semi-sweet chocolate chips
- 3/4 cup Heavy cream
Salted Caramel
- 1/2 cup White granulated sugar
- 2 1/2 TBSP Unsalted butter, room temperature and cubed
- 1/4 cup Heavy cream, room temperature
- 1/2 tsp Salt
- 1/4 tsp Pure vanilla extract
Instructions
Brownies
- Preheat oven to 325°F. Spray a 9X13 inch pan with baking non-stick spray. Line the bottom and 2 sides of the pan with parchment paper. Spray again.
- In a mixing bowl, sift the flour, cocoa powder, cornstarch, and salt. Set aside. Using a mixer, combine sugar, eggs, and egg yolks. Turn to high and beat for 5 minutes. The eggs will become very light in color and fluffy.
- While the eggs are mixing, melt the butter in the microwave. It will cool slightly as the eggs mix. Once the eggs are done mixing, add in melted butter, oil and vanilla. Mix until combined on low. Take off mixer.
- Add in half of the dry ingredients. Use a rubber spatula to fold in the flour. Once slightly mixed in, add the rest of the dry ingredients. Keep folding until all combined. Be gentle so you don’t knock out the air. Mix in all of the chocolate chips.
- Pour batter into the pan. Bake for 45-55 minutes. The edges should be set and the middle slightly under done. If you shake the brownies it shouldn’t jiggle. Set brownies on cooling rack to cool completely. They will cook more in the pan as it cools.
Salted Caramel
- Pour sugar into sauce pan and heat over medium heat. Use a whisk to mix the sugar. It will clump up at first, then it will melt. Keep stirring until every sugar crystal is melted.
- Let it sit for 30 seconds- 1 minute. It should turn an amber color. Pull off heat immediately. Add in half of the butter at a time. Mix until butter is melted before adding more. It will bubble as it melts. Repeat with the heavy cream by adding half at a time.
- Add in vanilla and salt. Pour caramel into a glass container. Let it cool completely.
Chocolate Ganache
- Pour chocolate chips into a bowl. Heat heavy cream in a sauce pan over medium-low heat. Heat until hot and steaming. Pour over chocolate chips. Let it sit for 1 minute and 30 seconds. Stir with a rubber spatula until smooth.
- Place chocolate in the fridge for 45 minutes – 1 hour. Stir every 10-15 minutes. The consistency should be like pudding and be thick like frosting.
- Place brownies on a cutting board. Cut into heart shapes. Use a 2-3 inch heart cookie cutter. Use a spoon to frost the cupcakes. Drizzle salted caramel on top. Sprinkle with flaky sea salt.
Notes
Make brownies and caramel a day before you need them.
Calories:
1139
kcal
,
Carbohydrates:
131
g
,
Protein:
9
g
,
Fat:
70
g
,
Saturated Fat:
32
g
,
Trans Fat:
1
g
,
Cholesterol:
140
mg
,
Sodium:
320
mg
,
Potassium:
553
mg
,
Fiber:
10
g
,
Sugar:
100
g
,
Vitamin A:
1084
IU
,
Vitamin C:
1
mg
,
Calcium:
89
mg
,
Iron:
6
mg
Did you make this recipe?
Please leave a star rating and review below!
