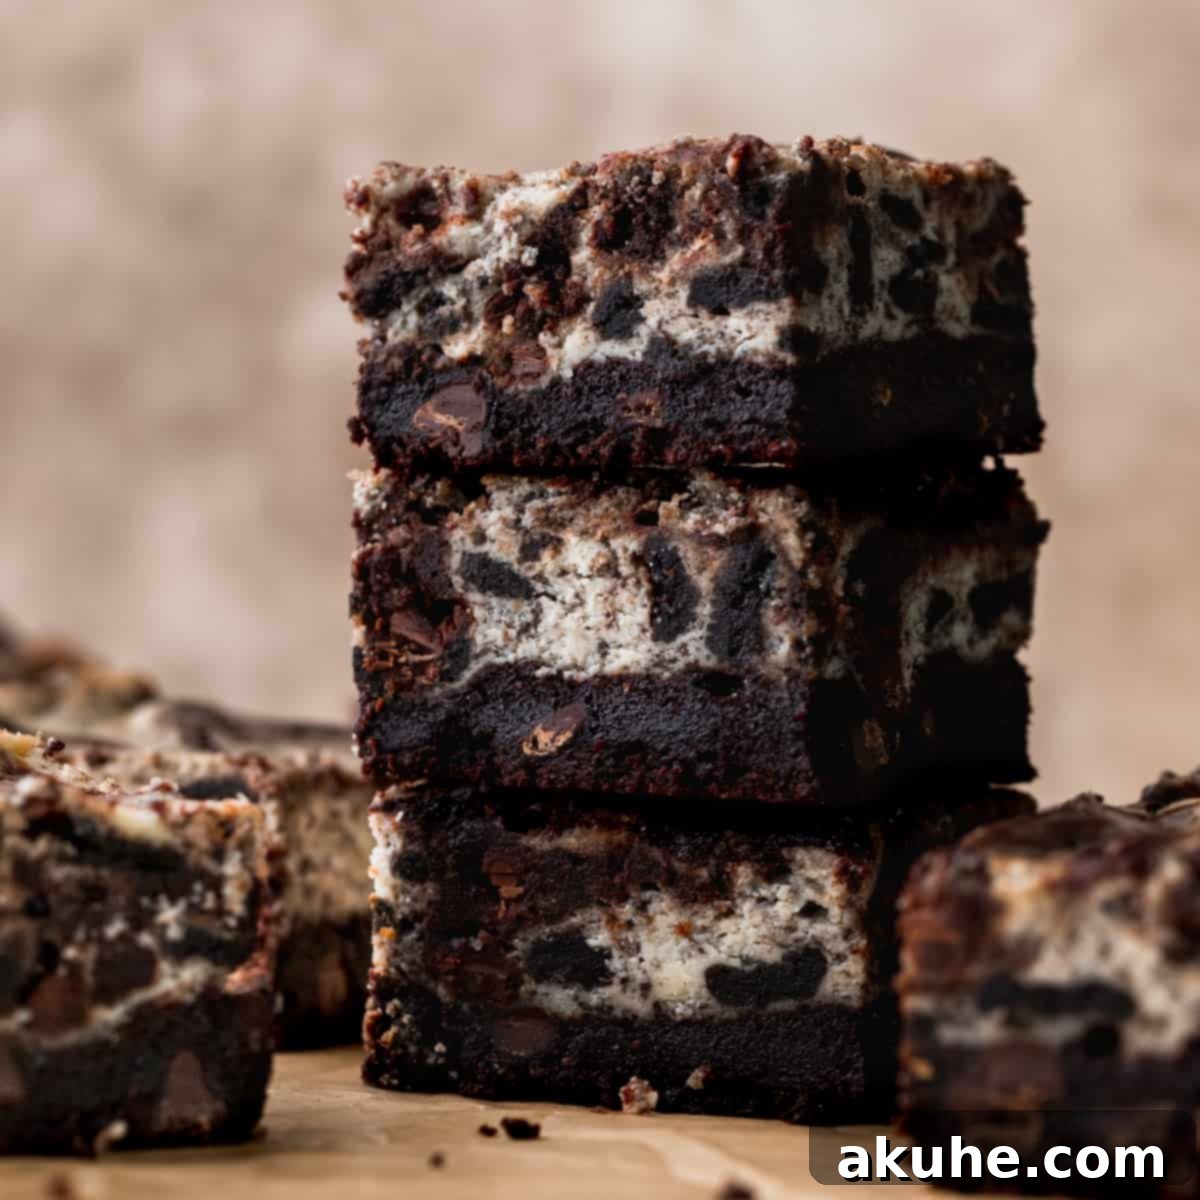
Prepare to elevate your baking game with these incredible Oreo Cheesecake Brownies! Imagine a deeply fudgy brownie base, crowned with a luscious, creamy cheesecake layer bursting with real Oreo cookies, all artfully swirled with more rich brownie batter. This isn’t just a dessert; it’s a symphony of textures and flavors that will delight any chocolate and cheesecake enthusiast. Perfect for sharing at parties, holiday gatherings, or simply indulging in a well-deserved treat, these bars offer a bakery-quality experience right from your home kitchen.
The journey to perfecting this recipe involved a bit of experimentation. Initially, the idea was to thoroughly swirl the cheesecake and brownie batters together. However, through trial and error, it became clear that creating two distinct, yet harmonious, layers yielded the most impressive result. This ensures that each bite delivers a balanced taste of intense chocolate brownie and light, creamy Oreo cheesecake. Furthermore, achieving that stunning brownie swirl on top required a clever trick: thinning a portion of the brownie batter to match the consistency of the cheesecake, preventing it from sinking and instead allowing it to dance beautifully on the surface.
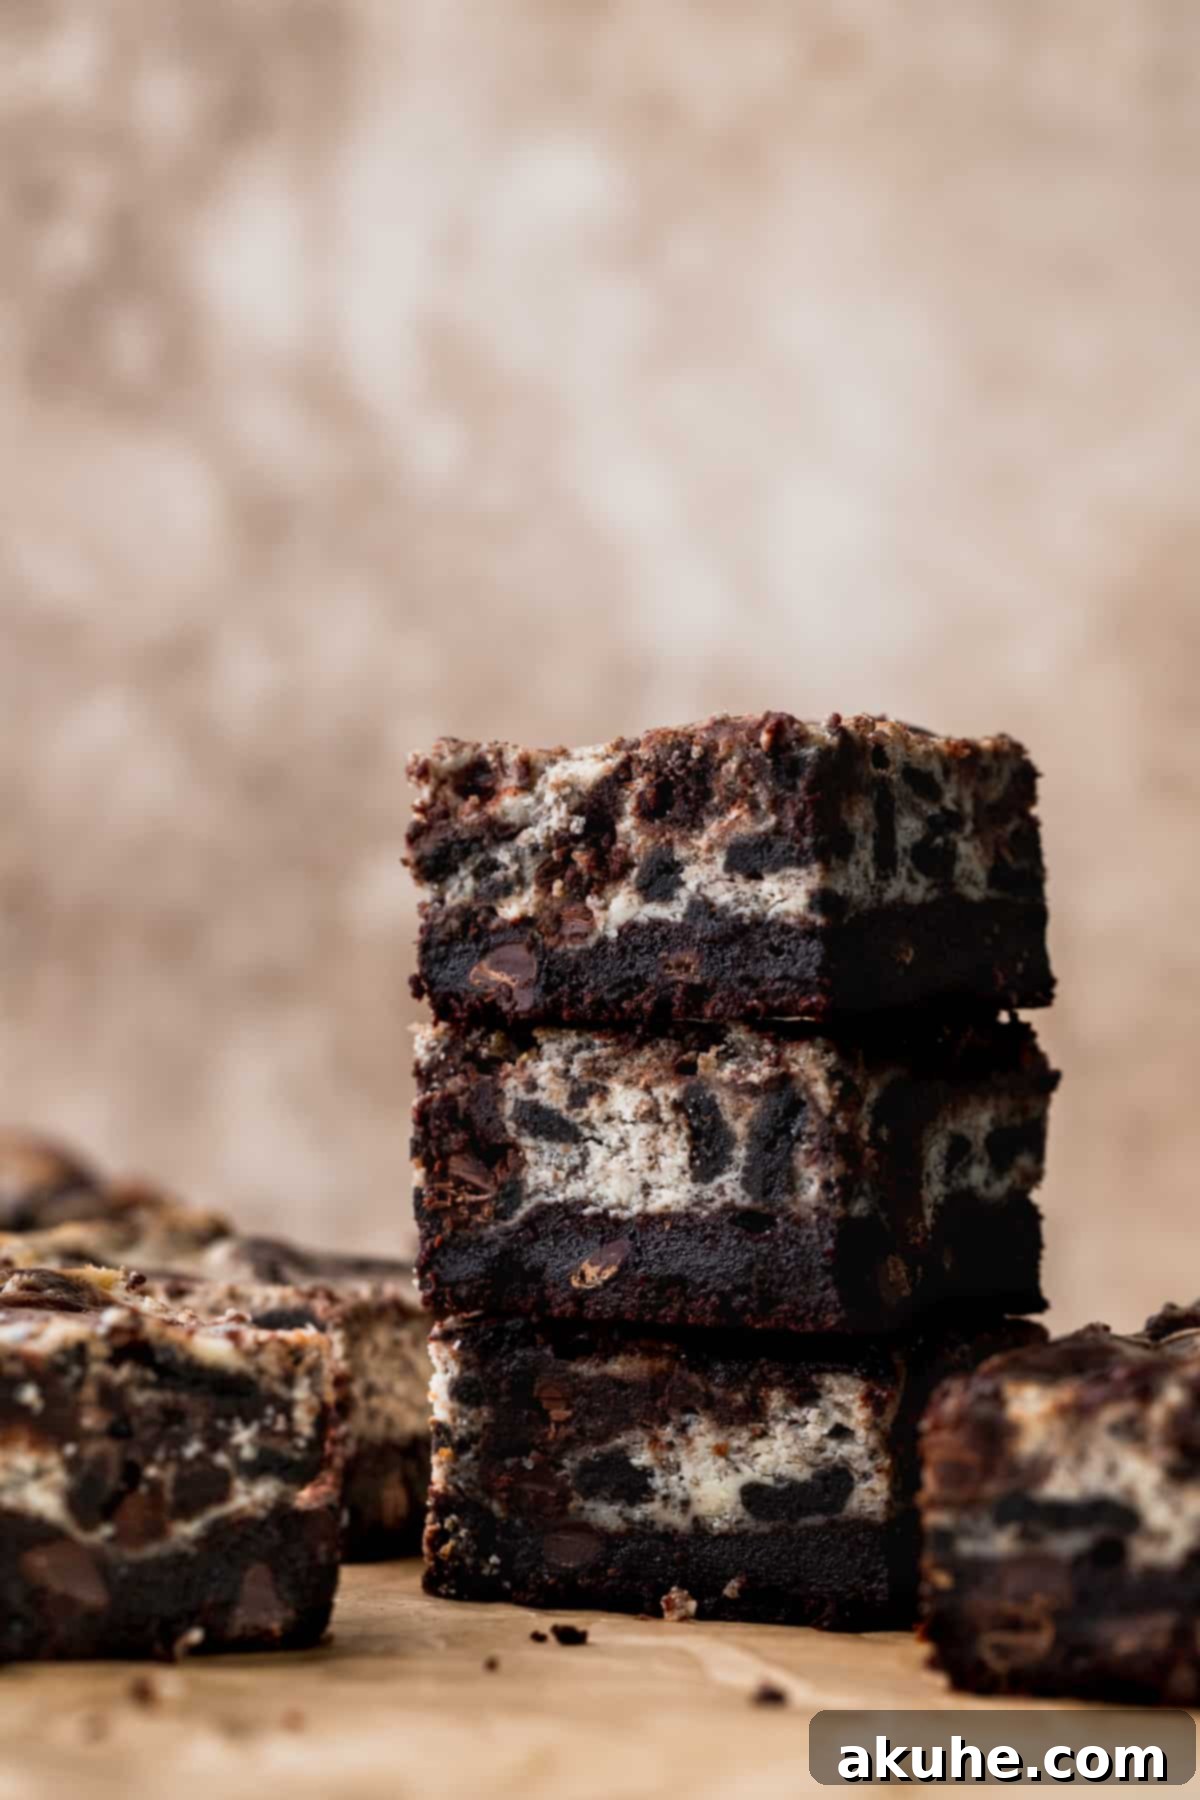
These brownies are more than just a sweet treat; they’re a testament to the magic that happens when two beloved desserts unite. For those who adore chocolate, the rich, fudgy brownie layer provides a robust foundation. Coupled with the iconic crunch and creaminess of Oreo cheesecake, it’s a match made in dessert heaven. If you’re a fan of classic Oreo-infused delights, be sure to explore more of our recipes like Oreo Brookies, Mini Oreo Cheesecakes, and Oreo Cupcakes.
Why This Recipe Is a Must-Try
Our Oreo Cheesecake Brownies stand out for several compelling reasons, making them a consistently popular choice for bakers and dessert lovers alike:
- Unbelievably Fudgy Brownies: The foundation of these bars is our signature brownie recipe, adapted from our acclaimed Better Than Boxed Brownies. This base is renowned for its intense chocolate flavor and incredibly moist, dense, and chewy texture. We achieve this profound fudginess through a precise combination of melted butter, a touch of oil, and a secret ingredient – cornstarch – which ensures every bite is rich and satisfying without being cakey.
- Luxuriously Creamy Oreo Cheesecake: The middle layer offers a delightful contrast to the brownie. It’s a baked cheesecake that’s light, smooth, and wonderfully creamy, infused with the unmistakable flavor of Oreo cookies. We incorporate both finely crushed Oreo crumbs for integrated flavor and larger Oreo pieces, providing delightful textural pockets throughout the cheesecake. This creates an inviting balance between the richness of the cheesecake and the beloved crunch of the cookies.
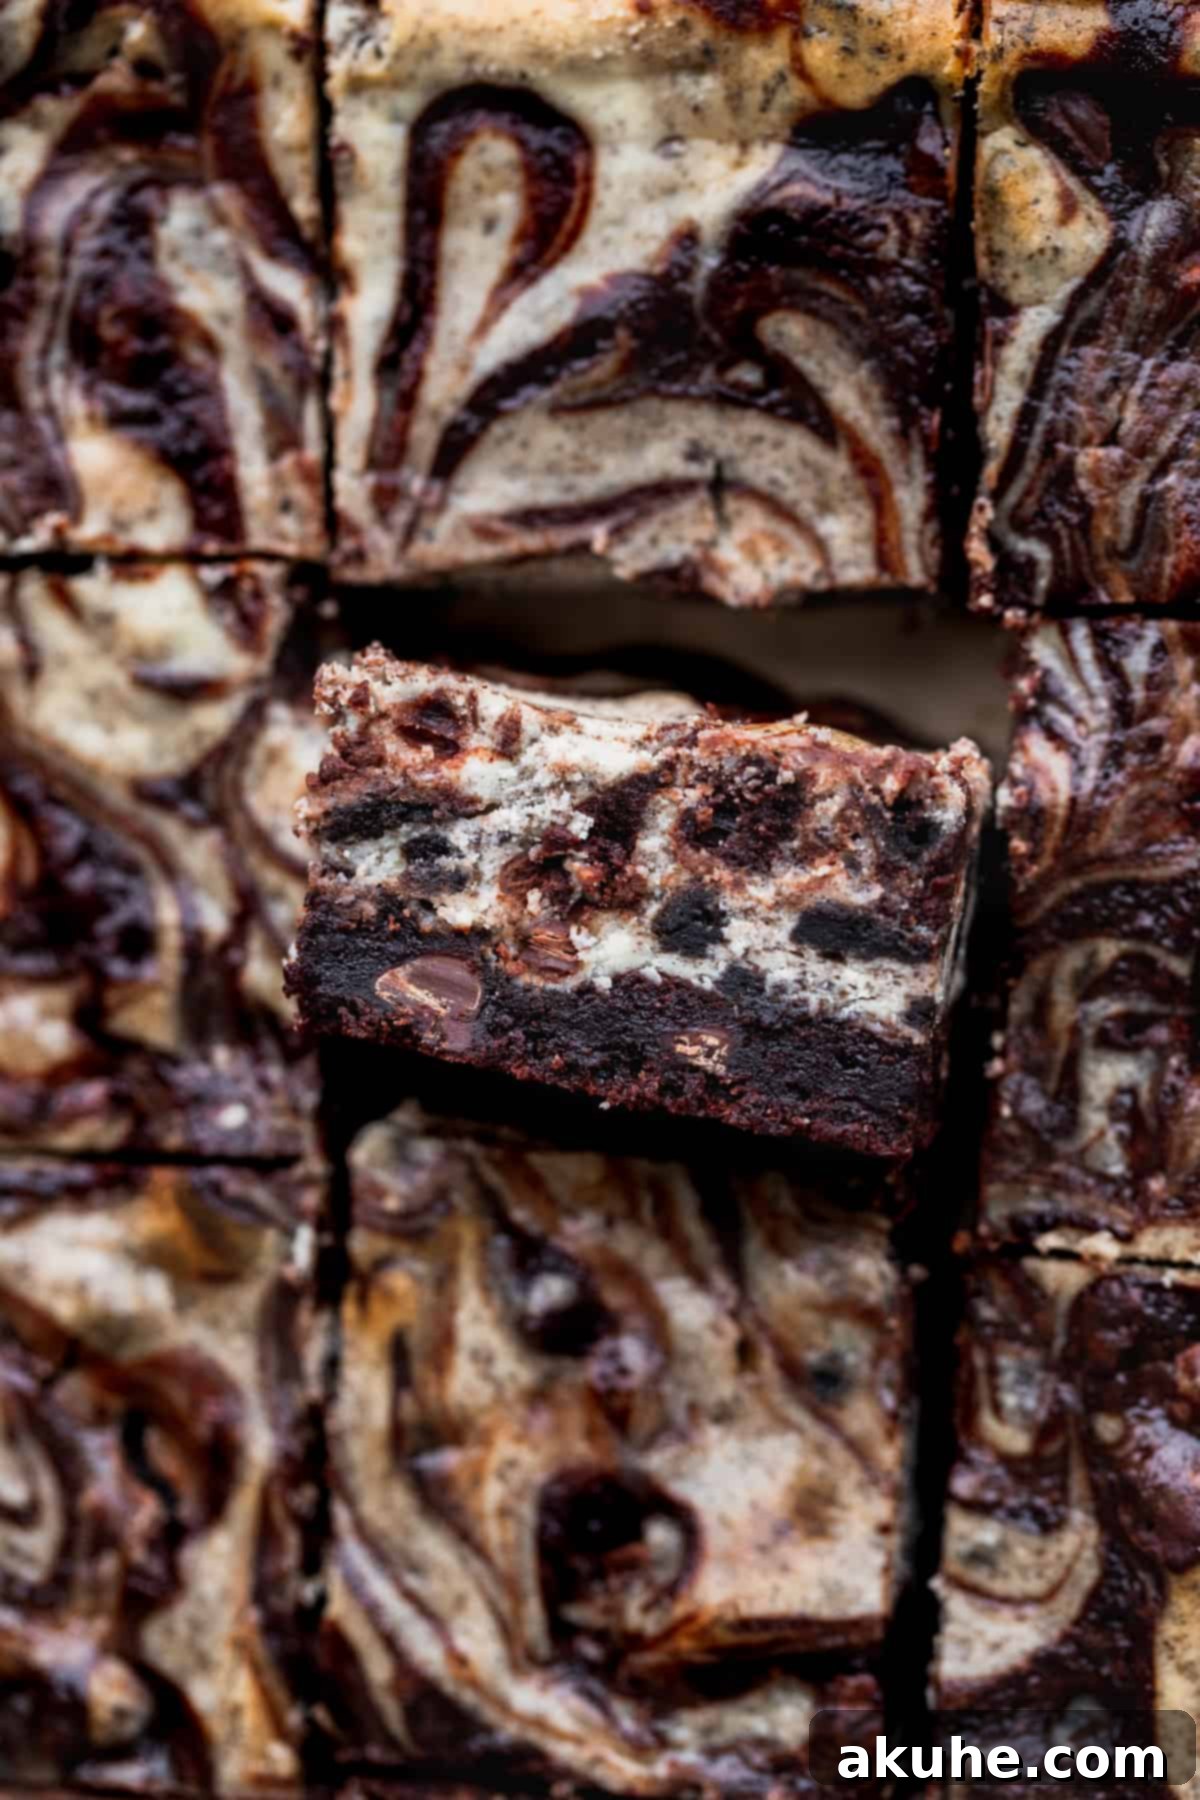
- Visually Stunning Brownie Swirls: Beyond the distinct layers, the top of these bars is adorned with elegant swirls of brownie batter. This isn’t just for aesthetics; these swirls bake into pockets of intense chocolate, adding another dimension of flavor and ensuring that every slice is as beautiful as it is delicious. The technique to achieve this perfect swirl is surprisingly simple yet incredibly effective.
- Effortless Baking Experience: One of the biggest advantages of this recipe is its straightforward approach. There’s no need for a complicated water bath, a common requirement for many cheesecake recipes. This significantly simplifies the baking process, making it accessible even for novice bakers, while still delivering a perfectly baked, crack-free cheesecake layer.
Essential Ingredient Insights
Understanding the role of each ingredient is key to successful baking. Here’s a closer look at what you’ll need and why:
- Eggs: We use large eggs and an additional egg yolk. For best results, ensure your eggs are at room temperature. This allows them to incorporate more smoothly into batters, creating a more uniform texture and a lighter, airier cheesecake. Remember to pull them out of the fridge at least two hours before you plan to bake.
- Unsalted Butter: The butter needs to be melted and then slightly cooled. Using unsalted butter gives you complete control over the salt content in your brownies. Melting it helps create that desirable fudgy texture, while cooling it prevents it from “scrambling” the eggs when combined.
- Oil: Incorporating canola or vegetable oil alongside butter adds an extra layer of moisture and richness, contributing significantly to the brownies’ signature fudgy consistency and helping them stay soft for longer.
- Dutch Process Cocoa Powder: For an exceptionally rich and dark chocolate flavor, Dutch process cocoa powder is highly recommended. Unlike natural cocoa powder, it’s been treated to reduce its acidity, resulting in a smoother, less bitter chocolate taste and a deeper, more appealing color in your brownies.
- Cornstarch: This seemingly small addition plays a crucial role in enhancing the fudginess of the brownies. It interferes with gluten development, which prevents the brownies from becoming overly cakey and instead promotes that dense, chewy texture everyone loves.
- Chocolate Chips: Semi-sweet or dark chocolate chips are ideal for this recipe, providing a perfect balance against the sweetness of the other components. Milk chocolate chips can make the brownies excessively sweet, masking the rich cocoa flavor. For a delightful twist, consider adding white chocolate chips to the brownie batter for an extra pop of sweetness and color.
- Cream Cheese: Opt for full-fat cream cheese to achieve the ultimate creamy texture in your cheesecake layer. Just like the eggs, make sure your cream cheese is softened to room temperature for at least two hours before mixing. This ensures it beats smoothly without lumps, resulting in a silken, homogenous cheesecake batter.
- Oreos: You’ll need about two sleeves of regular Oreo cookies. We specifically recommend regular Oreos over double-stuffed varieties because the extra cream filling in double-stuffed can introduce too much moisture into the cheesecake, potentially affecting its texture. You’ll use some for fine crumbs and others for larger pieces to add both flavor and crunch.
- Hot Water: A small amount of hot water is essential for thinning out a portion of the brownie batter. This step is critical for achieving the perfect consistency for swirling, ensuring the brownie batter artfully floats and integrates into the cheesecake layer without sinking to the bottom during baking.
Step-by-Step Baking Instructions
Get ready to create these magnificent cheesecake bars! You’ll need either a stand mixer with both whisk and paddle attachments, or a reliable electric hand mixer.
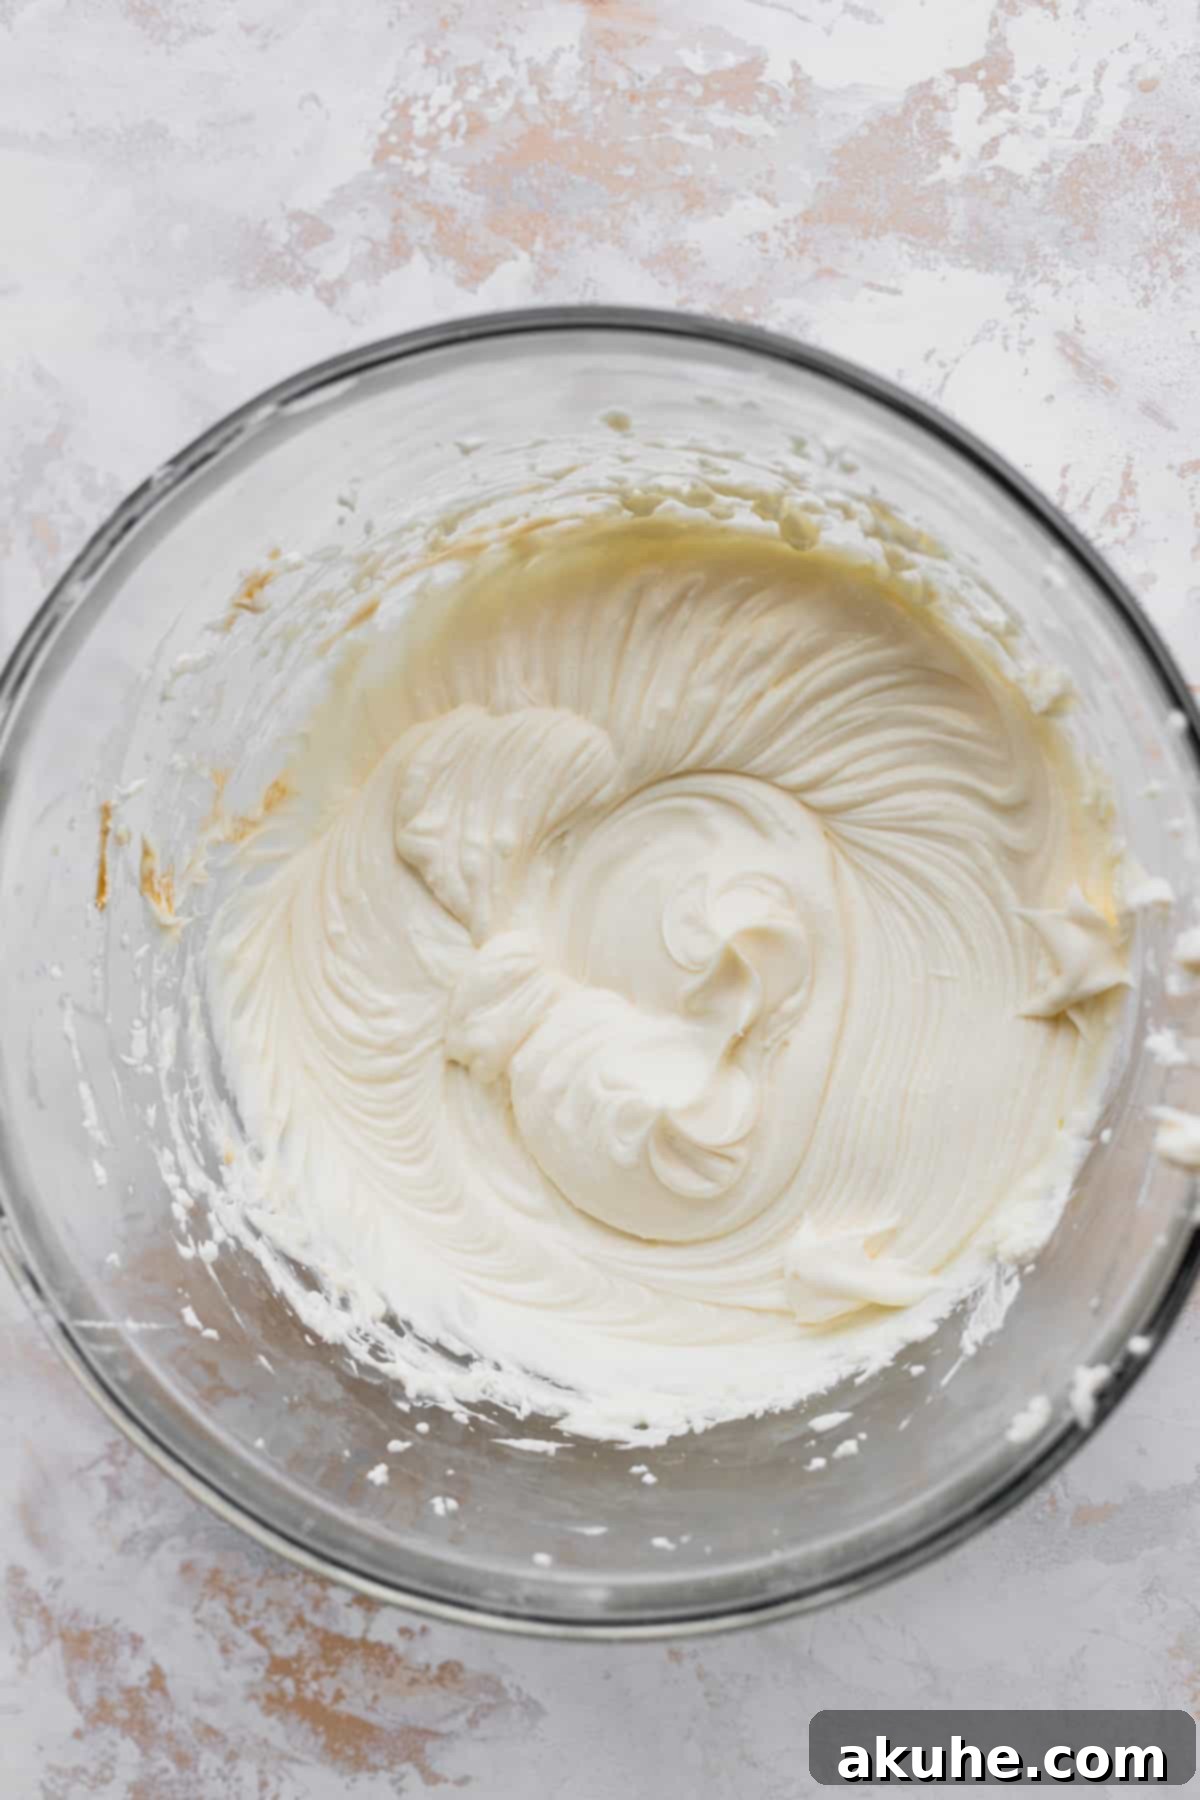
STEP 1: Prepare the Oven and Pan & Begin Cheesecake Batter. First, preheat your oven to 325°F (160°C). Prepare a 9×9 inch square baking pan by spraying it generously with baking nonstick spray. To ensure easy removal of your finished bars, line the bottom and two opposing sides of the pan with parchment paper, leaving an overhang on the sides to use as “handles.” Spray the parchment paper again. For the cheesecake layer, use a food processor to blend 4 Oreos into a fine crumb and set aside. Then, lightly blend another 10 Oreos into larger, chunky pieces. In a large mixing bowl, beat the softened cream cheese on high speed for one minute until smooth and creamy. Scrape down the sides of the bowl, then add the white granulated sugar and continue beating on high for another minute until well combined and fluffy. Scrape the bowl again to ensure everything is incorporated.
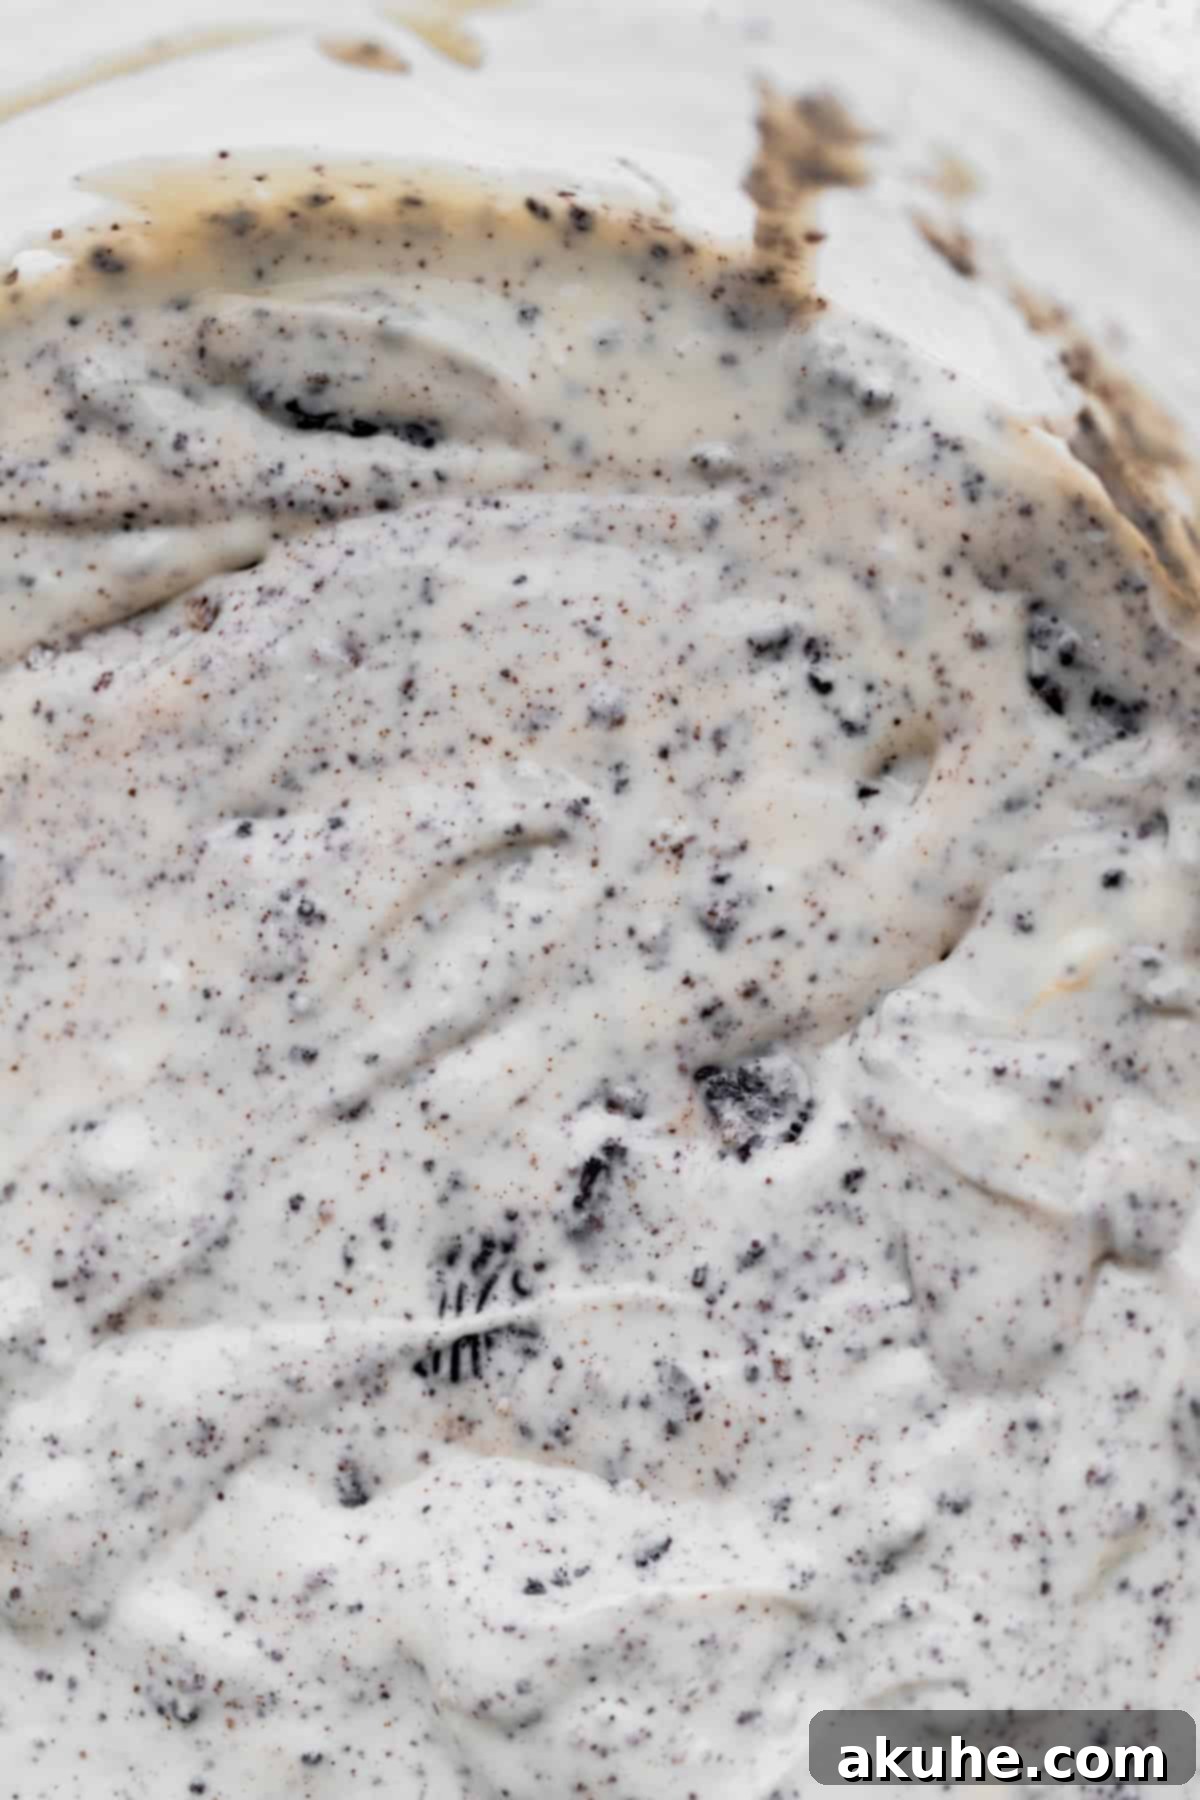
STEP 2: Add Wet Ingredients and Oreos to Cheesecake Batter. Reduce the mixer speed to medium and add the pure vanilla extract, mixing until just combined. Next, incorporate the large eggs one at a time, mixing on low speed only until each egg is just combined into the batter. Overmixing at this stage can incorporate too much air, which can cause the cheesecake to crack. Be sure to scrape down the bowl after adding the eggs. Finally, gently fold in the reserved Oreo crumbs and larger Oreo pieces using a rubber spatula until evenly distributed throughout the cheesecake mixture. Set this bowl aside.
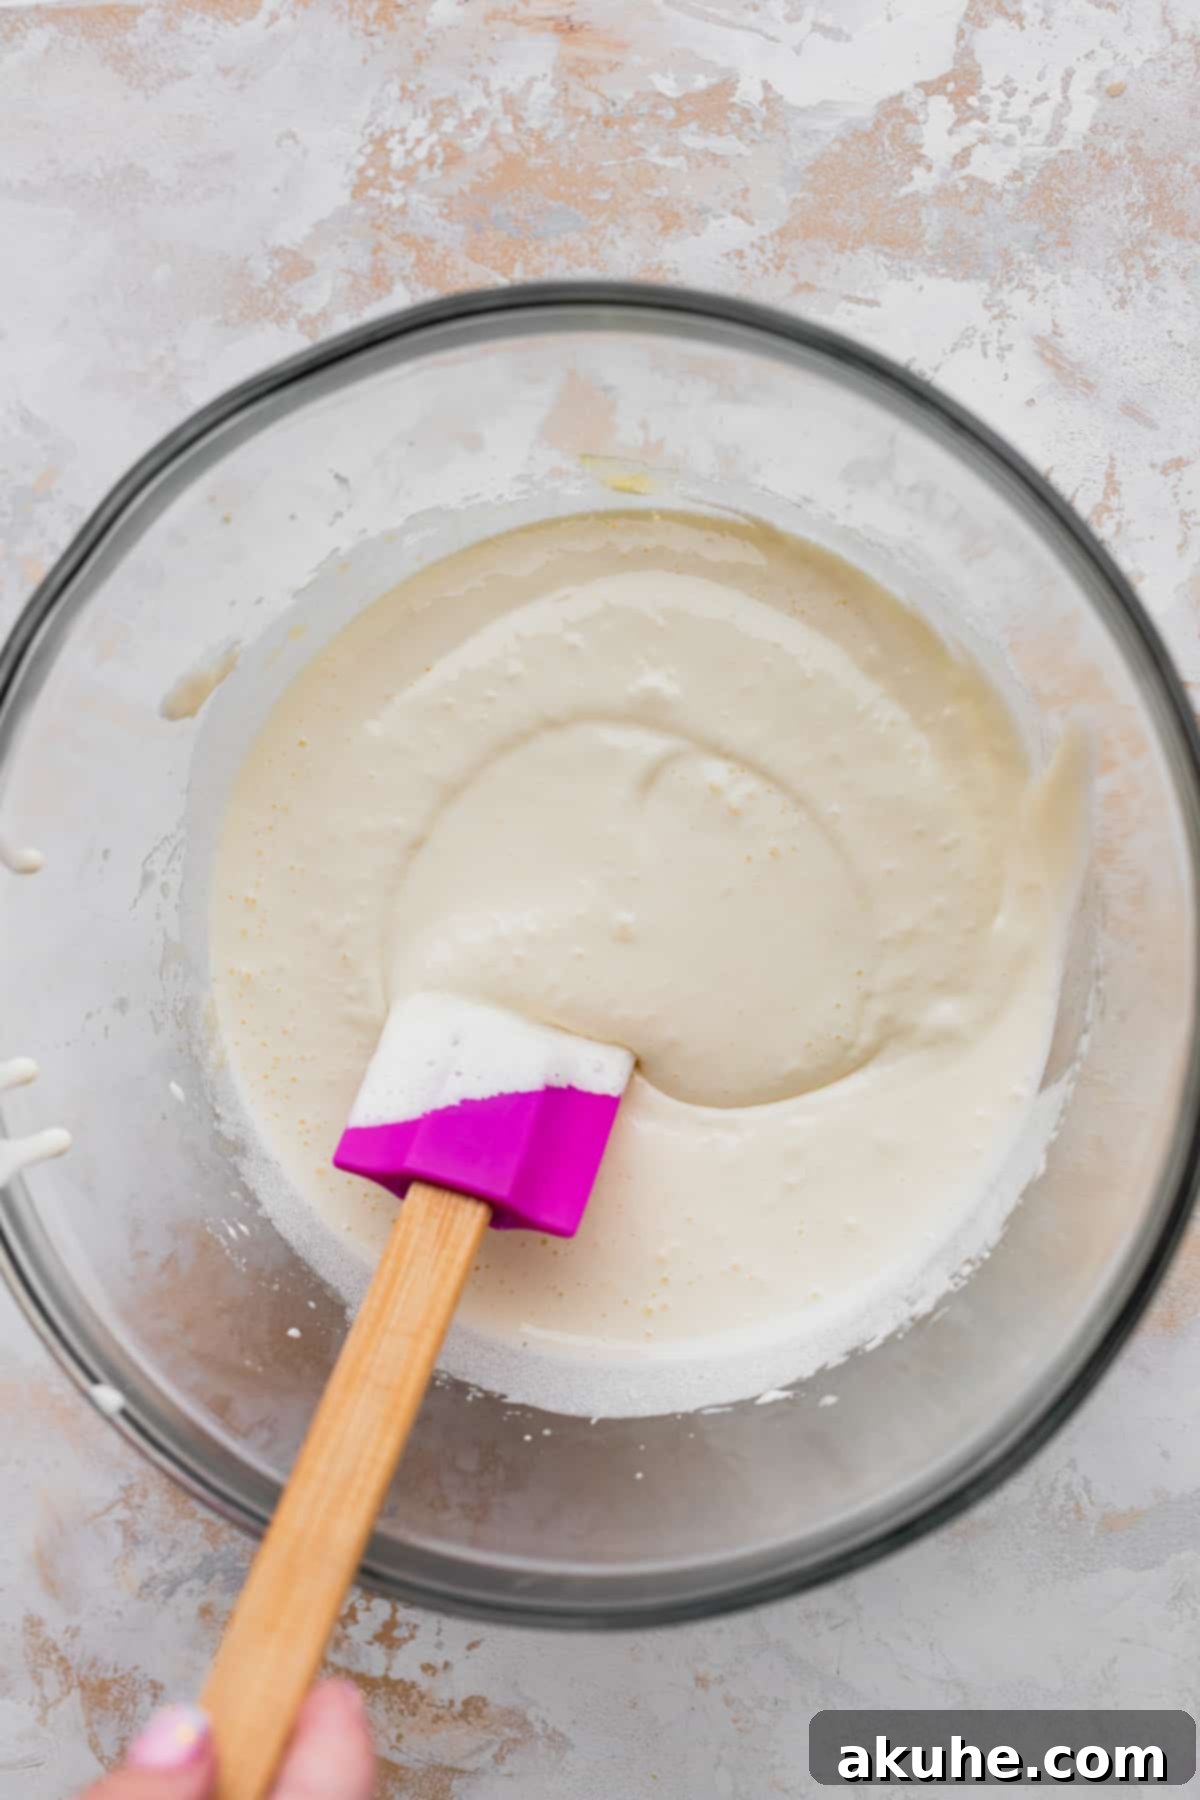
STEP 3: Prepare the Dry Brownie Ingredients and Beat Sugar & Eggs. In a separate medium mixing bowl, sift together the all-purpose flour and Dutch process cocoa powder. Sifting ensures there are no lumps and helps aerate the dry ingredients. Then, stir in the cornstarch and salt. In another large mixing bowl (or using the cleaned bowl from the cheesecake if you only have one), attach the whisk attachment to your mixer. Add the white granulated sugar, large eggs, and the extra egg yolk. Beat this mixture on high speed for a full 5 minutes. This extended beating time is crucial for incorporating air, which contributes to the brownies’ crackly top and overall texture. While this mixes, melt your unsalted butter and allow it to cool slightly.
STEP 4: Incorporate Wet Ingredients into Brownie Batter. After the 5 minutes of beating, reduce the mixer speed to low. Gradually add the oil, the slightly cooled melted butter, and the pure vanilla extract. Mix on low speed until these wet ingredients are just combined. Avoid overmixing to maintain the air incorporated in the previous step.
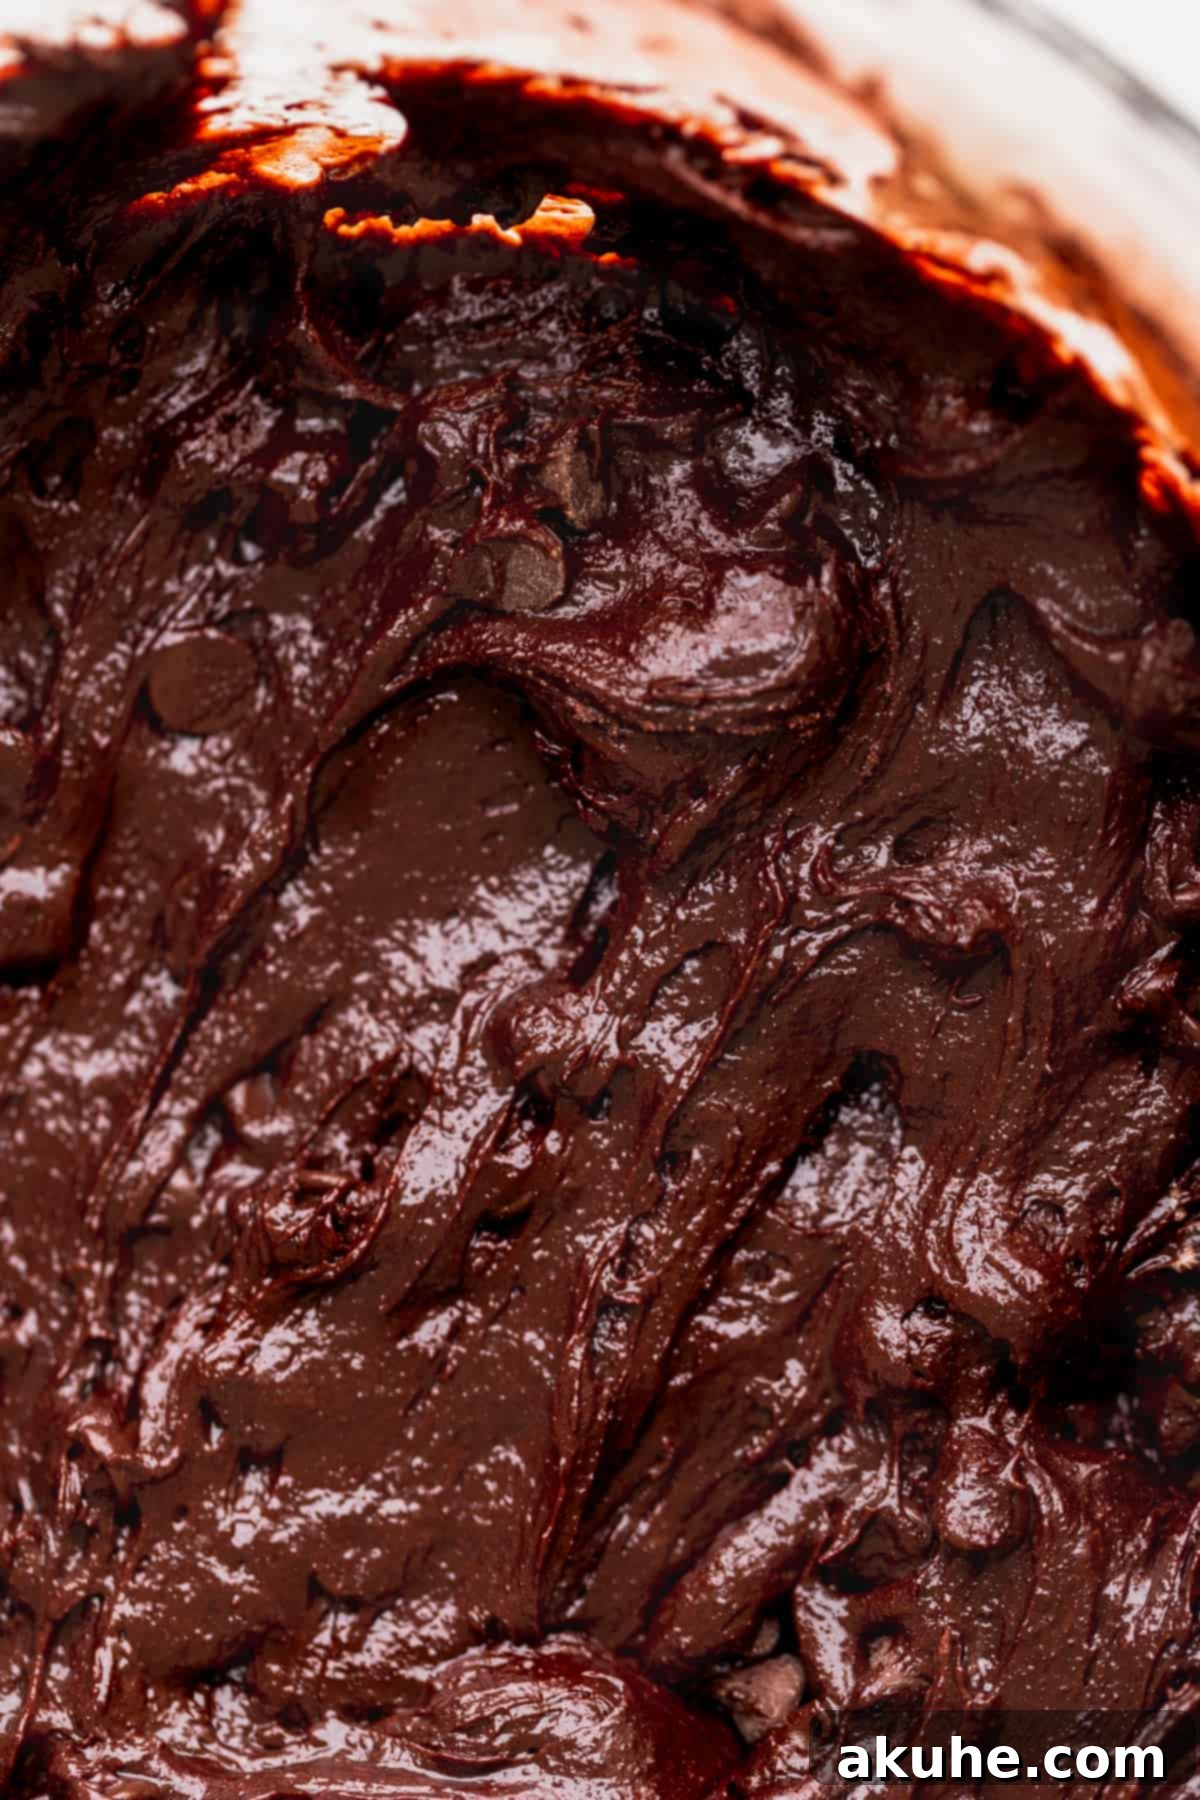
STEP 5: Add Dry Ingredients and Chocolate Chips to Brownie Batter. With the mixer still on low speed, slowly add the sifted dry ingredients (flour, cocoa powder, cornstarch, salt) to the wet mixture. Mix only until the ingredients are mostly combined, and a few streaks of flour remain. Remove the bowl from the mixer and switch to a rubber spatula. Gently fold the batter together until all dry ingredients are just incorporated. Be careful not to overmix, as this can develop gluten and lead to tougher, cakey brownies. Finally, fold in the semi-sweet chocolate chips until they are evenly distributed. To prepare for the swirl, separate out approximately 1/4 of this brownie batter into a small bowl. Add 1-2 tablespoons of hot water to this separated batter, mixing until it reaches a consistency similar to cake batter – thinner than the main brownie batter but still thick enough to hold its shape when dolloped.
Assembling Your Decadent Bars
Now comes the exciting part – bringing the layers together to create your masterpiece!
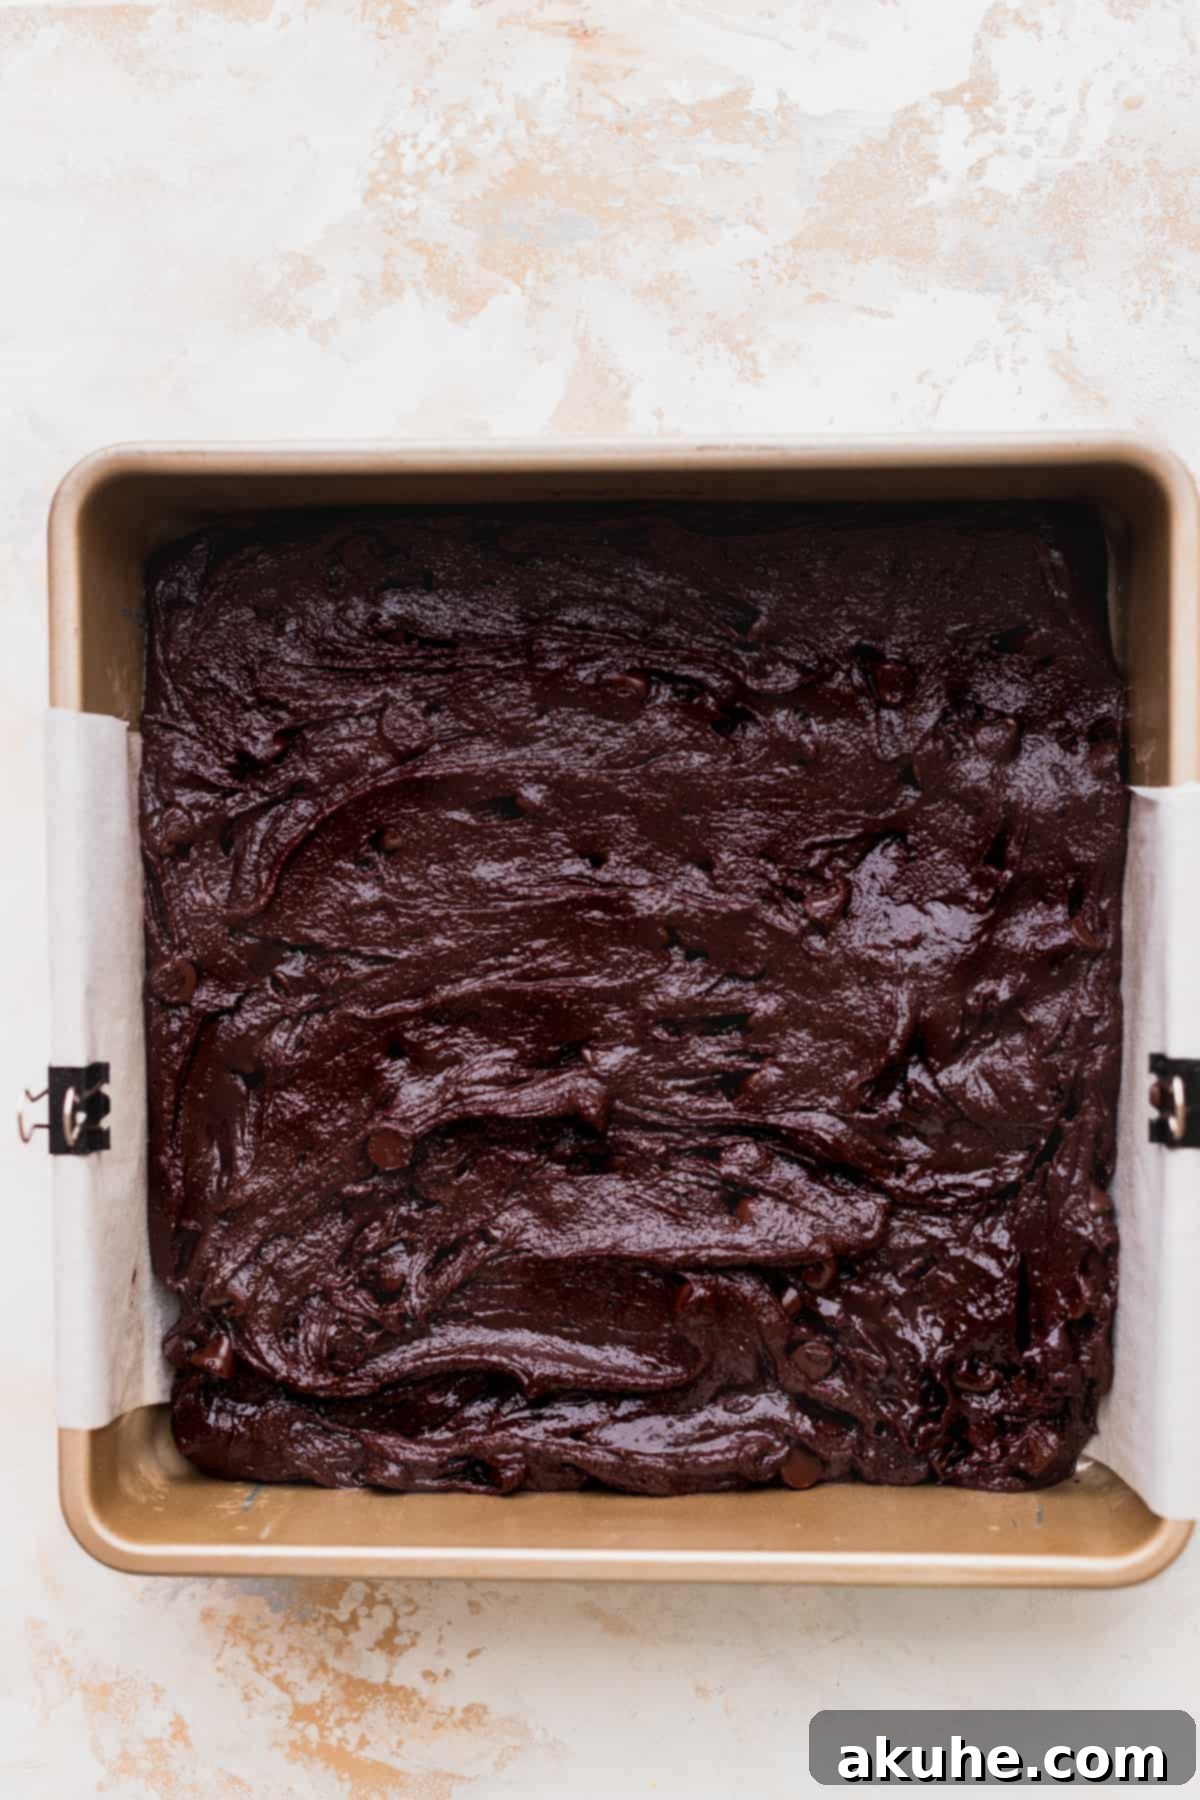
First, take the prepared 9×9 inch square pan. Spread approximately 3/4 of the main, thicker brownie batter evenly across the bottom of the pan. This will form your rich, fudgy base layer. Next, carefully pour the creamy Oreo cheesecake batter directly on top of the brownie layer, gently spreading it with an offset spatula or the back of a spoon to create an even surface. Finally, take the thinned brownie batter reserved for swirling. Using a 1/2 tablespoon measuring spoon, drop small dollops of this thinned brownie batter randomly over the surface of the cheesecake layer. Once all the dollops are placed, use a butter knife or a skewer to gently swirl the brownie dollops into the cheesecake. Create elegant, organic patterns, being careful not to drag the knife too deeply into the cheesecake or disturb the bottom brownie layer. This will create beautiful, marbled swirls that bake into a stunning design.

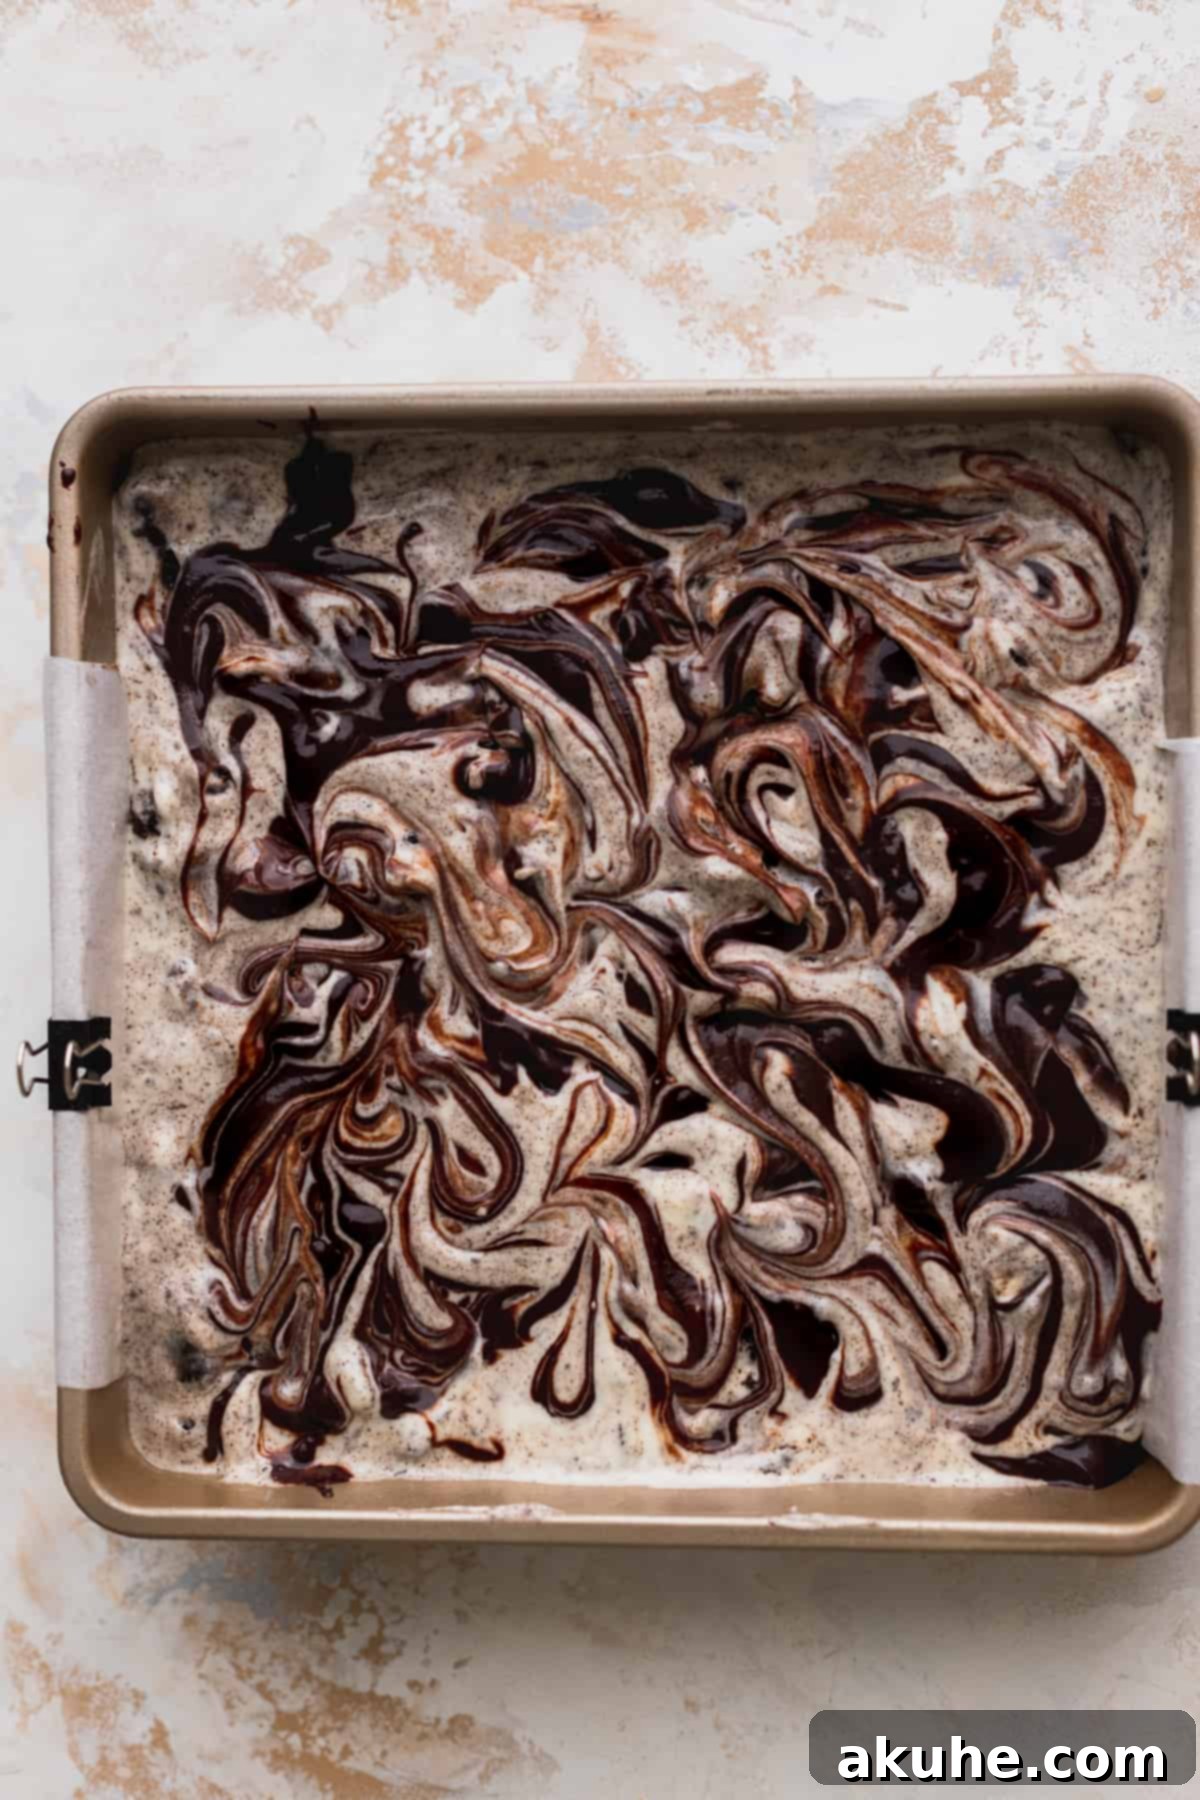
Bake the assembled bars in your preheated oven for 45-55 minutes. You’ll know they’re ready when the edges appear golden and set, and the center has only a slight jiggle. This slight jiggle indicates the cheesecake is cooked through but still moist and creamy. Once baked, turn off the oven and prop the oven door open slightly, allowing the bars to cool gradually inside for about 15 minutes. This gentle cooling helps prevent cracking in the cheesecake layer. After 15 minutes, transfer the pan to a wire rack or cooling rack and let it cool completely at room temperature.
The crucial final step for these Oreo cheesecake bars is chilling. For optimal texture and ease of slicing, they need to be chilled for a minimum of 6 hours, or preferably overnight, before you attempt to remove them from the pan and cut them. This allows the cheesecake to fully set and the flavors to meld beautifully.
Achieving Picture-Perfect Slices
To get those clean, professional-looking slices that will impress everyone, follow these simple but essential tips:
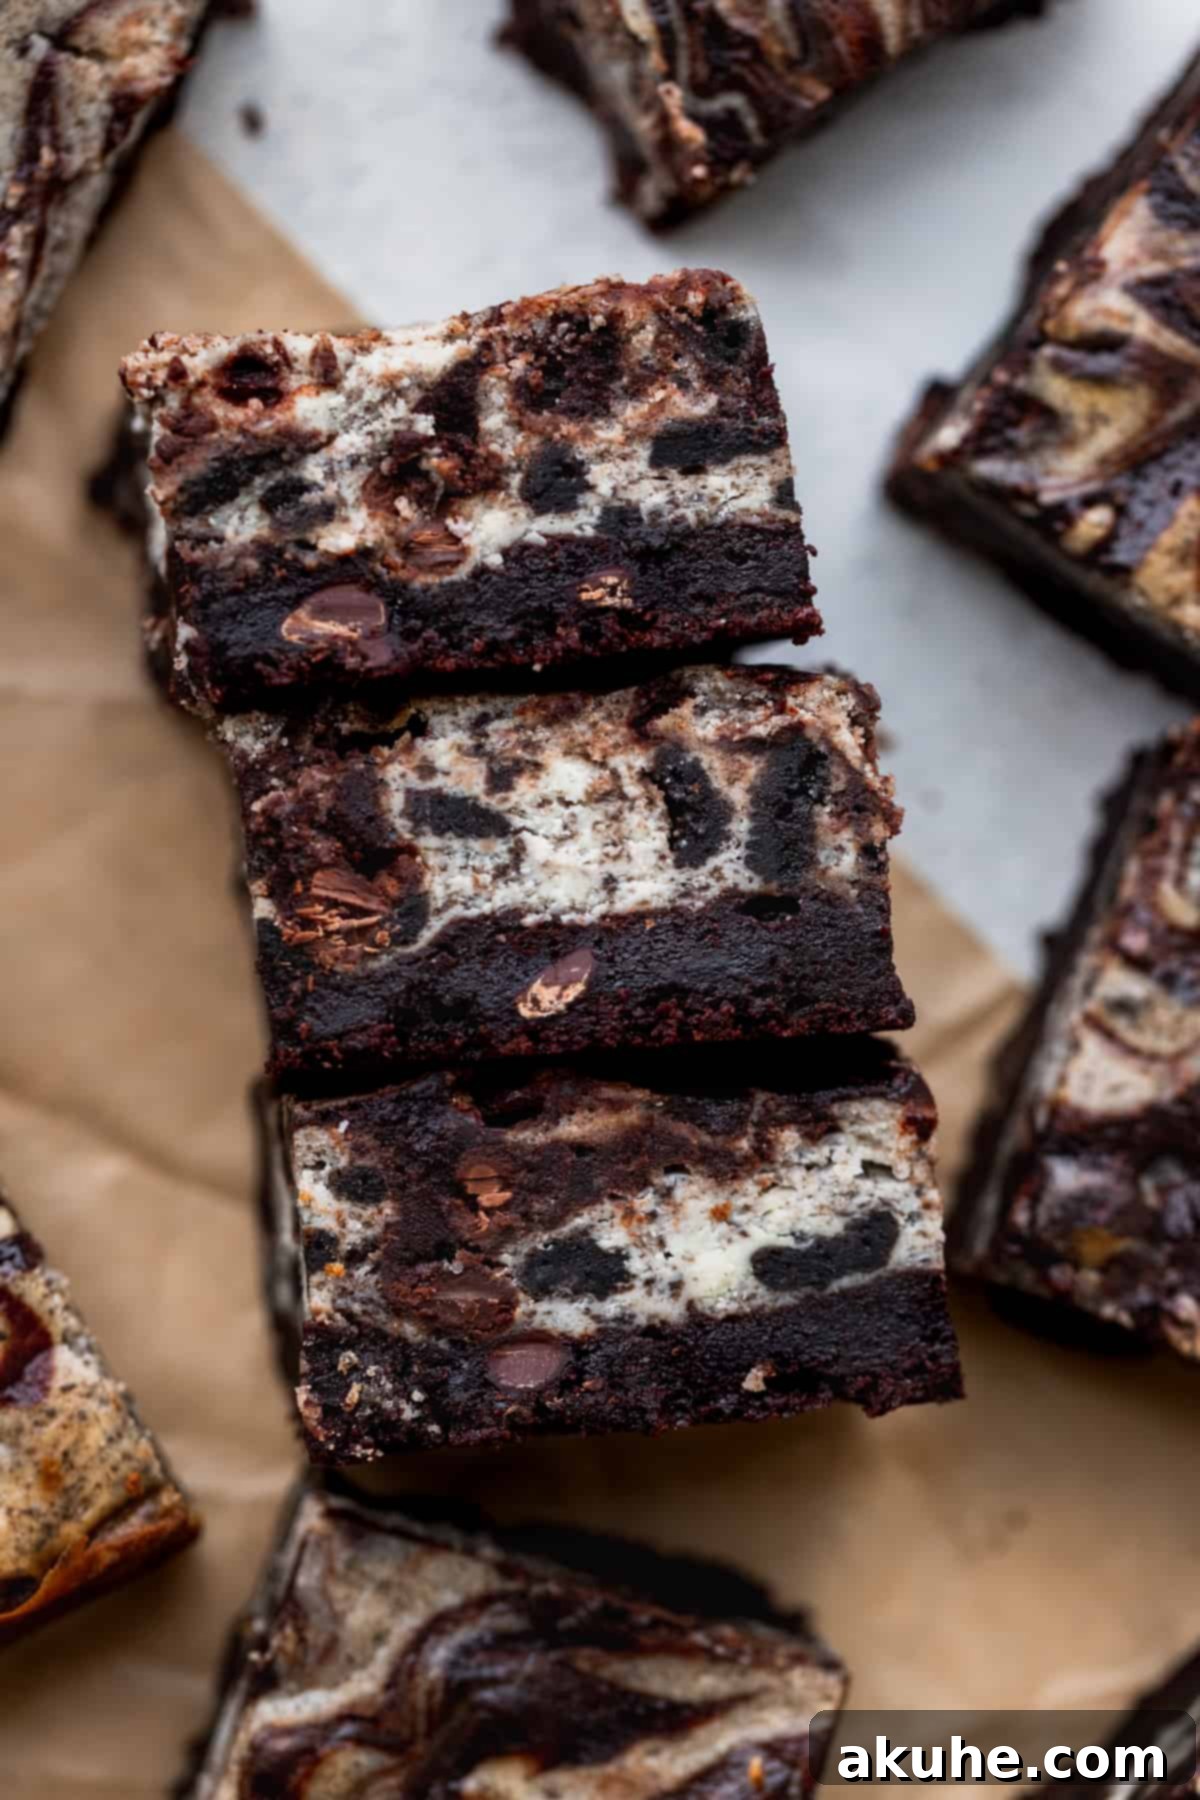
First and foremost, your brownie bottom cheesecake bars must be thoroughly chilled. As mentioned, wrap the cooled baked brownies tightly in aluminum foil or plastic wrap and refrigerate them for at least 6 hours, or ideally, overnight. This prolonged chilling time is not just for setting the cheesecake; it firms up the entire bar, preventing crumbling when cut. Once thoroughly chilled, use a sharp, thin knife to cut the bars. For each cut, gently press down and slice cleanly. The secret to pristine slices is to wipe the knife clean with a damp cloth or paper towel after *every single cut*. This removes any sticky residue, ensuring each subsequent slice is perfectly neat and defined.
Expert Baking Tips for Success
Even experienced bakers can benefit from these insights to ensure your Oreo Cheesecake Brownies turn out perfectly every time:
- Accurate Flour Measurement: The way you measure flour significantly impacts the texture of your brownies. Always “spoon and level” your flour: use a spoon to lightly scoop flour into your measuring cup, then level off the top with a straight edge (like a knife). If you simply scoop your measuring cup directly into the flour bag, you risk compacting the flour, resulting in too much flour by weight. This excess flour will absorb too much moisture, leading to dry, cakey brownies rather than the desired fudgy ones.
- Beating Eggs and Sugar for the Crackle Top: The step where you beat the sugar, eggs, and egg yolk on high speed for 5 minutes is critical. This extended beating incorporates a significant amount of air, creating a stable foam. As the brownies bake, this air expands and then sets, forming that characteristic shiny, crackly crust on top of a truly fudgy brownie. Don’t skip or shorten this step!
- Gentle Mixing of Dry Ingredients: Once your flour mixture is almost fully incorporated into the brownie batter, switch from the mixer to a rubber spatula to gently fold in the remaining dry ingredients. Overmixing the batter after the flour has been added develops gluten, leading to a tougher, more cake-like texture. It can also cause the air bubbles created in the previous step to pop, resulting in a less crackly top and reduced rise. Aim to mix just until no dry streaks of flour are visible.
- Perfect Pan Preparation for Easy Release: For effortless removal of your baked bars, especially after chilling, ensure proper pan preparation. In addition to nonstick spray, always line the bottom of your 9×9 inch pan with parchment paper. Extend the parchment paper up two opposing sides, creating “handles.” This simple trick allows you to easily lift the entire slab of chilled brownies out of the pan, making cutting and serving a breeze without any sticking.
Frequently Asked Questions (FAQ)
Absolutely! This recipe adapts beautifully to mini cheesecakes. Simply use a standard cupcake tin lined with cupcake liners. Fill each liner about two-thirds full with the brownie batter, then top with the cheesecake mixture and a dollop of swirled brownie batter. Bake for approximately 20 minutes, or until the edges are set and the center of the cheesecake has a slight jiggle. Remember to still chill them thoroughly for easy removal and best texture.
While a 9×9 inch pan is specified for these bars, you have other options. For thicker, taller bars, you can use an 8×8 inch pan, though baking time might need to be slightly adjusted (increased by 5-10 minutes, so keep an eye on them). Alternatively, you can use a 6-inch or 8-inch springform pan for a round cheesecake-style presentation. If using a springform pan, be sure to line the bottom with parchment paper and consider wrapping the outside with foil to prevent any potential leaks, although a water bath is not required for this particular cheesecake recipe.
No, you do not need a water bath for this recipe! We specifically designed this cheesecake to be baked without one, simplifying the process without compromising on the creamy texture. The gradual cooling method (leaving it in the turned-off oven with the door ajar) helps prevent cracking.
Storing and Freezing Your Delicious Bars
To maintain their exquisite taste and texture, proper storage is essential for your Oreo Cheesecake Brownies.
Store these brownies in an airtight container in the refrigerator. They will remain fresh and delicious for up to 5 days. For the best experience, allow them to sit at room temperature for about 10-15 minutes before serving, which slightly softens the cheesecake and enhances the flavors.
Freezing Instructions
These bars are also fantastic for freezing, allowing you to enjoy them at a later date. To freeze, ensure the bars are completely cooled and chilled. Cut them into individual slices, then wrap each slice tightly in plastic wrap and place them in an airtight freezer-safe container or a heavy-duty freezer bag. They can be frozen for up to 30 days. When you’re ready to enjoy, simply thaw them at room temperature for 1-2 hours. Freezing them in individual slices makes thawing incredibly convenient, as you can take out just what you need without thawing the entire batch.
Discover More Cheesecake Bar Recipes
If you’ve fallen in love with these layered delights, explore our collection of other irresistible cheesecake bar recipes to expand your baking repertoire!
We love hearing from you! Make sure to leave us a star review below after you’ve tried this recipe!
Don’t forget to tag us on Instagram @stephaniesweettreats with your creations. We hope you absolutely loved making and enjoying these! For more inspired baking ideas, make sure to follow us on Pinterest.
Oreo Cheesecake Brownies
Print Recipe
Pin Recipe
Leave a Review
IngredientsUSMetric½x1x2x
Oreo Cheesecake
- 16 oz Cream Cheese, room temperature
- 1/2 cup White granulated sugar
- 1 tsp Pure vanilla extract
- 2 Large eggs, room temperature
- 1/4 cup Oreo crumbs, from 4 Oreos
- 1 cup Oreo pieces, from 10 Oreos
Brownies
- 1 1/3 cup White granulated sugar
- 2 Large eggs
- 1 Egg yolk
- 5 TBSP Unsalted butter, melted and slightly cooled
- 1/3 cup Oil, canola or vegetable oil
- 1 tsp Pure vanilla extract
- 2/3 cup All-purpose flour
- 3/4 cup Dutch process cocoa powder
- 1 TBSP Cornstarch
- 1/2 tsp Salt
- 1 cup Semi-sweet chocolate chips
- 1-2 TBSP Hot Water
Instructions
Oreo Cheesecake Layer
- Preheat oven to 325°F (160°C). Spray a 9×9 inch pan with baking nonstick spray. Line the bottom and two opposing sides of the pan with parchment paper, leaving an overhang. Spray again. Use a food processor to blend 4 Oreos into fine crumbs. Set aside. Then, lightly blend 10 Oreos into large, chunky pieces.
- Using a mixer, beat the room temperature cream cheese on high speed for 1 minute until smooth. Scrape the bowl. Add in the white sugar and beat on high for another 1 minute until fluffy. Scrape the bowl again.16 oz Cream Cheese, 1/2 cup White granulated sugar
- Add in the pure vanilla extract and mix on medium until just combined. Reduce to low speed and mix in the large eggs one at a time, mixing only until each is just incorporated. Scrape the bowl.1 tsp Pure vanilla extract, 2 Large eggs
- Gently fold in the prepared Oreo crumbs and Oreo pieces using a rubber spatula. Set aside.1/4 cup Oreo crumbs, 1 cup Oreo pieces
Brownie Layer & Assembly
- In a medium mixing bowl, sift together the all-purpose flour and Dutch process cocoa powder. Stir in the cornstarch and salt.2/3 cup All-purpose flour, 3/4 cup Dutch process cocoa powder, 1 TBSP Cornstarch, 1/2 tsp Salt
- In a separate large mixing bowl, using a whisk attachment, beat the white granulated sugar, large eggs, and egg yolk on high speed for 5 minutes. While it beats, melt the butter and allow it to cool slightly.1 1/3 cup White granulated sugar, 2 Large eggs, 1 Egg yolk, 5 TBSP Unsalted butter
- Reduce mixer speed to low. Add the oil, cooled melted butter, and pure vanilla extract. Mix until just combined. Then, add the dry ingredients and mix on low speed until mostly combined, with a few streaks of flour remaining.1/3 cup Oil, 1 tsp Pure vanilla extract
- Remove the bowl from the mixer. Use a rubber spatula to gently fold the batter until fully combined. Fold in the semi-sweet chocolate chips. Separate 1/4 of this brownie batter into a small bowl and mix in 1-2 tablespoons of hot water until it has a cake batter-like consistency for swirling.1 cup Semi-sweet chocolate chips
- Spread the remaining 3/4 of the thicker brownie batter evenly on the bottom of the prepared 9×9 inch pan. Carefully pour the Oreo cheesecake batter on top of the brownie layer and spread gently. Use a 1/2 tablespoon to drop dollops of the thinned brownie batter on top of the cheesecake. Using a knife or skewer, gently swirl the brownie dollops into the cheesecake batter to create an elegant marbled pattern.
- Bake for 45-55 minutes, or until the edges are golden and set, and the middle of the cheesecake has only a slight jiggle.
- Turn off the oven, prop the oven door slightly ajar, and let the bars sit inside for 15 minutes to cool gradually. Then, transfer the pan to a wire rack to cool completely at room temperature.
- Cover the cooled bars tightly with foil or plastic wrap and chill in the fridge for at least 6 hours, or ideally overnight. Once thoroughly chilled, use the parchment paper overhangs to lift them out of the pan. Cut into squares with a sharp, clean knife, wiping the knife after each cut for neat slices.
Notes
High Altitude Baking: If baking at high altitude, consider adding an extra 1 tablespoon of all-purpose flour to the brownie batter to help with structure.
Room Temperature Ingredients: Remember to pull out all dairy ingredients (eggs, cream cheese) at least 2 hours before baking to ensure they are at room temperature. This is crucial for smooth batters and proper texture.
