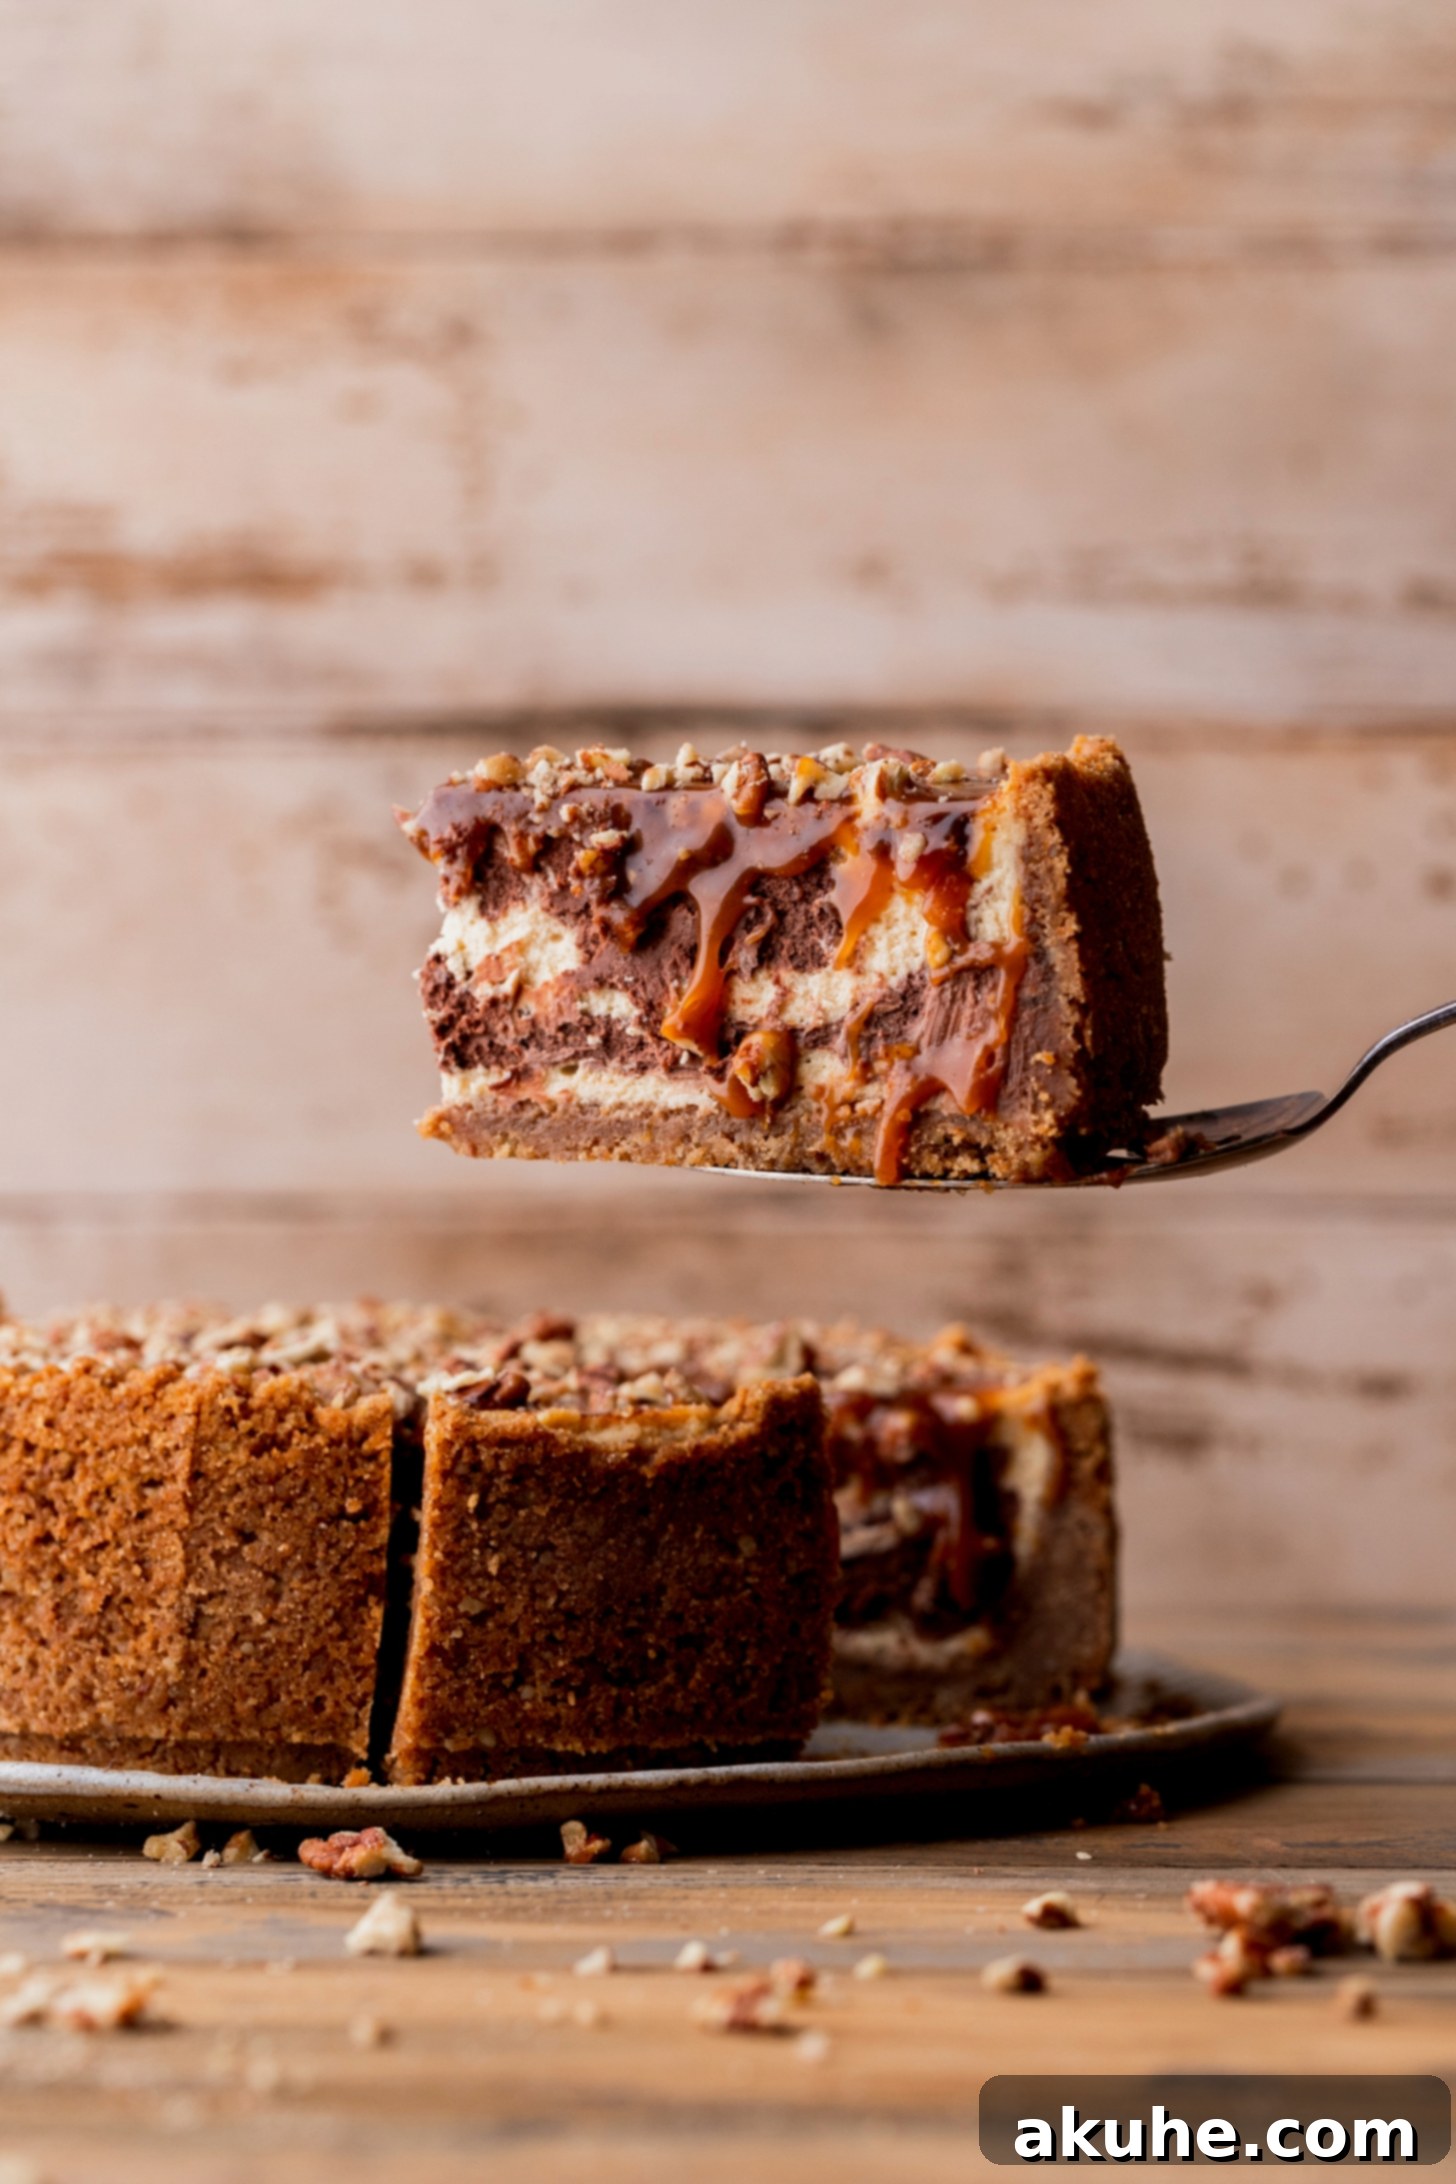
Prepare to impress with this show-stopping Turtle Cheesecake, a dessert sensation that perfectly blends rich flavors and satisfying textures. This cheesecake isn’t just a treat; it’s an experience, making it an ideal centerpiece for any holiday gathering, especially Thanksgiving, or any special occasion demanding a truly decadent dessert. Imagine a buttery, crunchy graham cracker and pecan crust, embracing a creamy, dreamy brown sugar cheesecake. But the magic doesn’t stop there – a luscious chocolate cheesecake swirl dances through the brown sugar base, creating a visually stunning and incredibly flavorful mosaic. Each slice is then generously crowned with glistening salted caramel and a sprinkle of toasted pecans, delivering that iconic turtle candy profile in an elevated, sophisticated form. This recipe guides you through every step to achieve cheesecake perfection, ensuring a flawless bake and an unforgettable dessert.
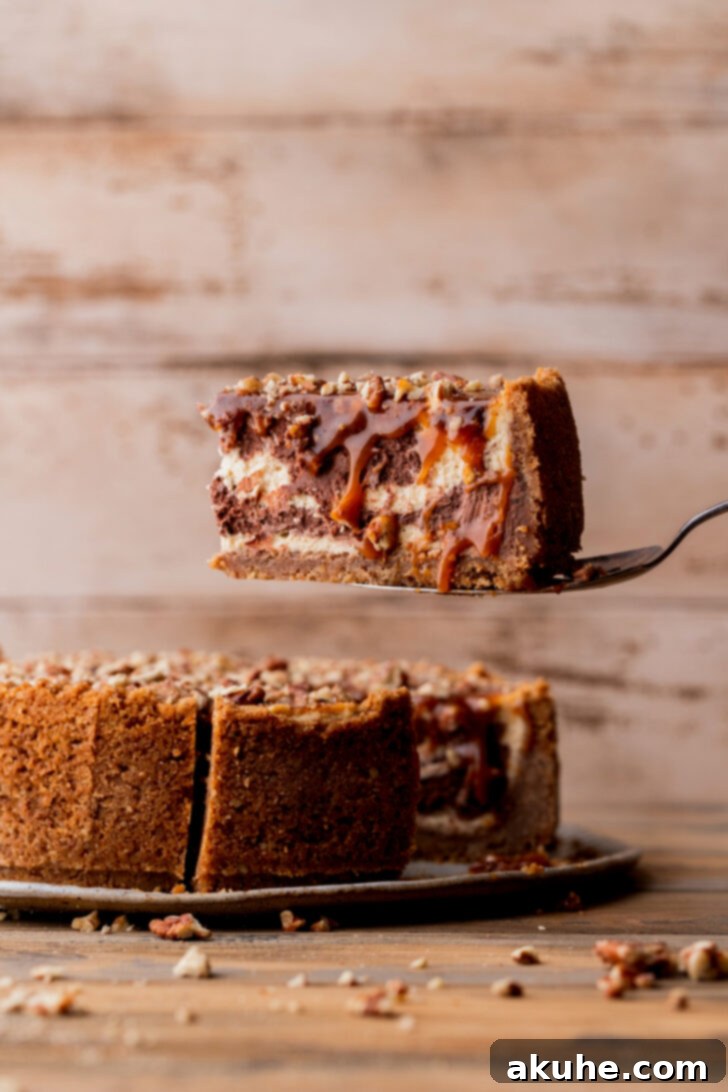
This Turtle Cheesecake truly hits all the right notes, offering an exquisite harmony of sweet and savory, rich and nutty. It’s designed to be a standout dessert, destined to be the star of any special occasion. The expertly balanced combination of a velvety chocolate cheesecake swirl, the deep, warm notes of brown sugar cheesecake, the earthy crunch of pecans, and the luxurious drizzle of salted caramel creates a symphony of flavors and textures in every bite. The mesmerizing chocolate swirl not only adds visual appeal but also introduces an extra layer of chocolatey delight that makes this cheesecake truly irresistible. We’ve compiled essential tips, tricks, and step-by-step process photos to ensure you can easily create this stunning recipe at home, even if you’re a beginner cheesecake baker. If you’re a passionate fan of turtle-inspired desserts, you absolutely must try our delightful Salted Caramel Turtle Brownies for another taste of this classic combination.
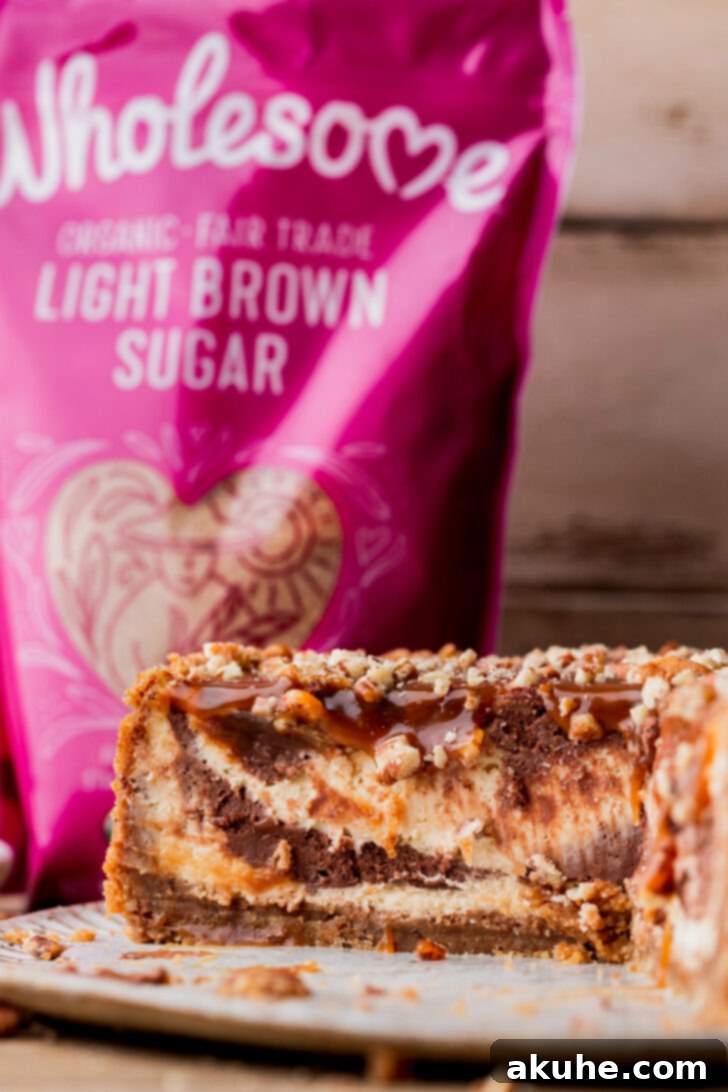
Expert Tips for Crafting the Perfect Turtle Cheesecake
Achieving a flawless, crack-free, and sumptuously creamy cheesecake might seem daunting, but with these proven techniques, your homemade Turtle Cheesecake will rival any professional bakery creation. These insights are designed to help you avoid common cheesecake pitfalls and ensure a smooth, delicious result every time. For even more detailed guidance on making delectable toppings, be sure to explore our comprehensive post on Homemade Salted Caramel.
- Tip 1: Room Temperature Ingredients are Key. Ensuring all dairy ingredients – cream cheese, sour cream, and heavy cream – are at room temperature before you begin mixing is absolutely crucial. Cold ingredients don’t emulsify properly, leading to a lumpy batter and potentially overmixing, which introduces too much air. Room temperature ingredients blend into a wonderfully smooth, cohesive batter, which is vital for preventing cracks in your finished cheesecake. Take them out of the refrigerator at least two hours before you plan to bake.
- Tip 2: Gentle Egg Incorporation. When it comes time to add the eggs, always mix them in on the lowest speed possible, and only until they are just combined. Overmixing the eggs incorporates excess air into the batter. While a little air helps the cheesecake rise, too much air will cause it to puff up rapidly during baking and then dramatically collapse as it cools, resulting in unsightly cracks across the surface. A slow, gentle mix ensures the eggs are fully integrated without aerating the batter excessively.
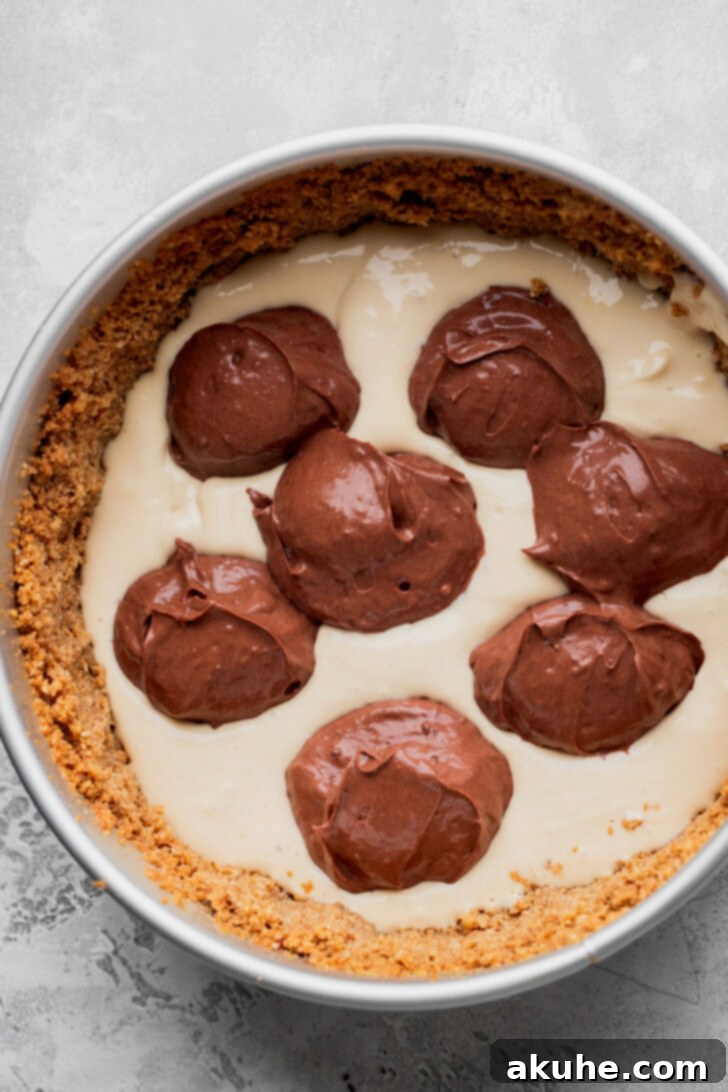
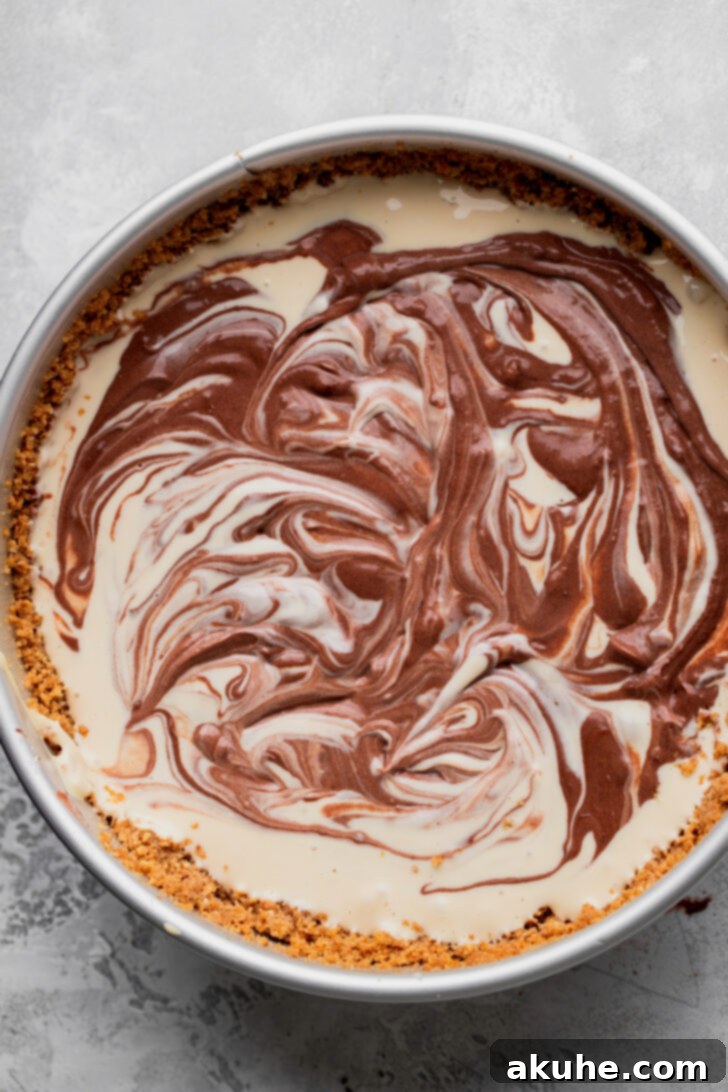
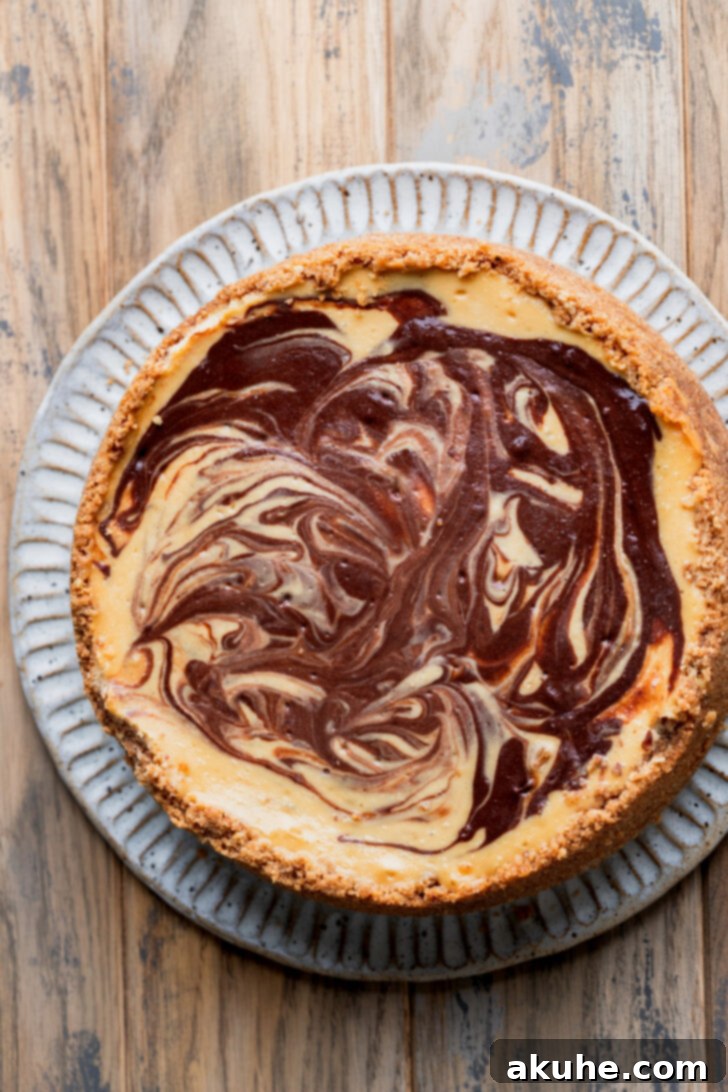
- Tip 3: Mastering the Swirl Technique. To create that beautiful, defined chocolate swirl, use a large cookie scoop or a spoon to dollop generous portions of the chocolate cheesecake batter over the top of the brown sugar cheesecake base. Once the dollops are placed, take a butter knife and gently drag it through the batters, creating elegant swirls. Avoid overmixing with the knife; just a few graceful passes are enough to achieve a lovely marbled effect without completely blending the two flavors.
- Tip 4: The Essential Water Bath. For the silkiest texture and to prevent cracking, a water bath (or bain-marie) is highly recommended. The gentle, even heat from the water bath helps the cheesecake bake slowly and uniformly, preventing the edges from cooking too quickly and drying out. I prefer to use a large roasting pan and a 10-inch cake pan. By placing the springform pan inside the 10-inch cake pan before setting it in the roasting pan filled with water, you create an extra layer of protection, ensuring no water seeps into your precious crust – a common frustration with standard foil wrapping methods.
- Tip 5: Gradual Cooling Prevents Cracks. Once your cheesecake is baked, do not remove it from the oven immediately. Instead, turn off the oven and prop the door open slightly (about an inch or two). Allow the cheesecake to cool slowly in the diminishing heat for about 30-60 minutes. This gradual temperature change helps prevent the cheesecake from shrinking too rapidly and developing cracks. After this period, transfer it to a wire rack to cool completely at room temperature before chilling.
If you’re looking for more exquisite fall-inspired cheesecake recipes to delight your taste buds, don’t miss our indulgent Double Layer Pumpkin Cheesecake and our lusciously rich Caramel Cheesecake. These seasonal favorites are perfect for adding a touch of cozy sweetness to your autumn celebrations.
Serving Suggestions and Storage
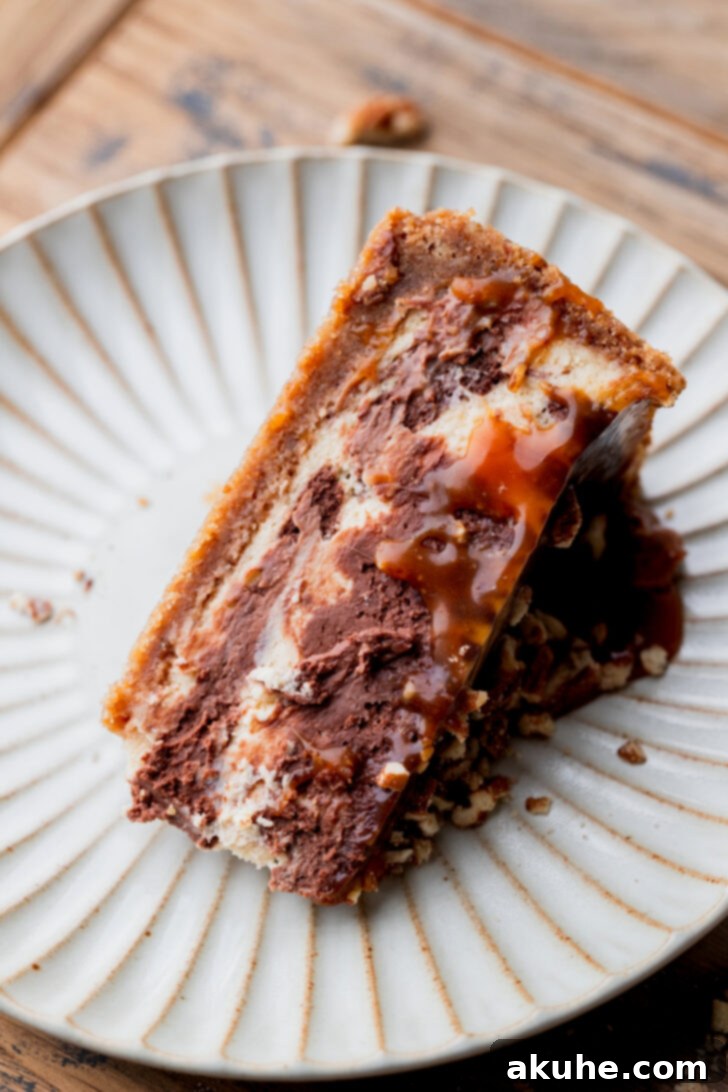
Once your glorious Turtle Cheesecake is thoroughly chilled, it’s ready to be the star of your dessert table. For the cleanest slices, use a sharp, thin knife dipped in hot water and wiped clean between each cut. This creates perfectly defined slices that showcase the beautiful layers and swirls within. Serve it as is, or with an extra drizzle of warm salted caramel or a scoop of vanilla bean ice cream for an ultimate indulgence.
Storage: Leftover cheesecake should be covered loosely with plastic wrap or placed in an airtight container and stored in the refrigerator for up to 4-5 days. For longer storage, slices can be individually wrapped in plastic wrap and then aluminum foil, then frozen for up to 1-2 months. Thaw frozen cheesecake overnight in the refrigerator before serving.
We’d love to hear about your experience! If you enjoyed creating and tasting this incredible recipe, please leave astar review below. Don’t forget to share your stunning creations on Instagram and tag us @stephaniesweettreats. For endless baking inspiration and more delicious ideas, make sure to follow me on Pinterest.
Recipe Video
Decadent Turtle Cheesecake
Print Recipe
Pin Recipe
Leave a Review
Ingredients
Graham Cracker and Pecan Crust
- 2 cups Crushed graham crackers, approximately 1 1/2 standard packets
- 1/2 cup Chopped pecans
- 1/4 cup Brown Sugar, packed (light or dark)
- 10 TBSP Melted unsalted butter
Brown Sugar & Chocolate Cheesecake Filling
- 24 oz Cream cheese, full-fat, softened to room temperature
- 3/4 cup Brown Sugar, packed (light or dark)
- 1/2 cup Sour cream, full-fat, room temperature
- 1/4 cup Heavy cream, room temperature
- 1 tsp Pure vanilla extract
- 4 Large eggs, room temperature
- 3 TBSP Unsweetened cocoa powder
- 2 TBSP White granulated sugar
Homemade Salted Caramel Topping
- 1 cup White granulated sugar
- 4 TBSP Unsalted Butter, softened to room temperature and cut into cubes
- 1/2 cup Heavy cream, warmed slightly
- 1 tsp Pure vanilla extract
- 1 tsp Fine sea salt
- 1/2 cup Chopped pecans, for topping
Instructions
Preparing the Graham Cracker and Pecan Crust
- Preheat your oven to 325°F (160°C). Prepare a 9-inch springform pan by thoroughly spraying it with a non-stick baking spray. To ensure easy removal and a clean base, place a 9-inch parchment paper circle on the bottom of the pan and spray it again lightly. This double layer of protection is vital for a perfect crust release.
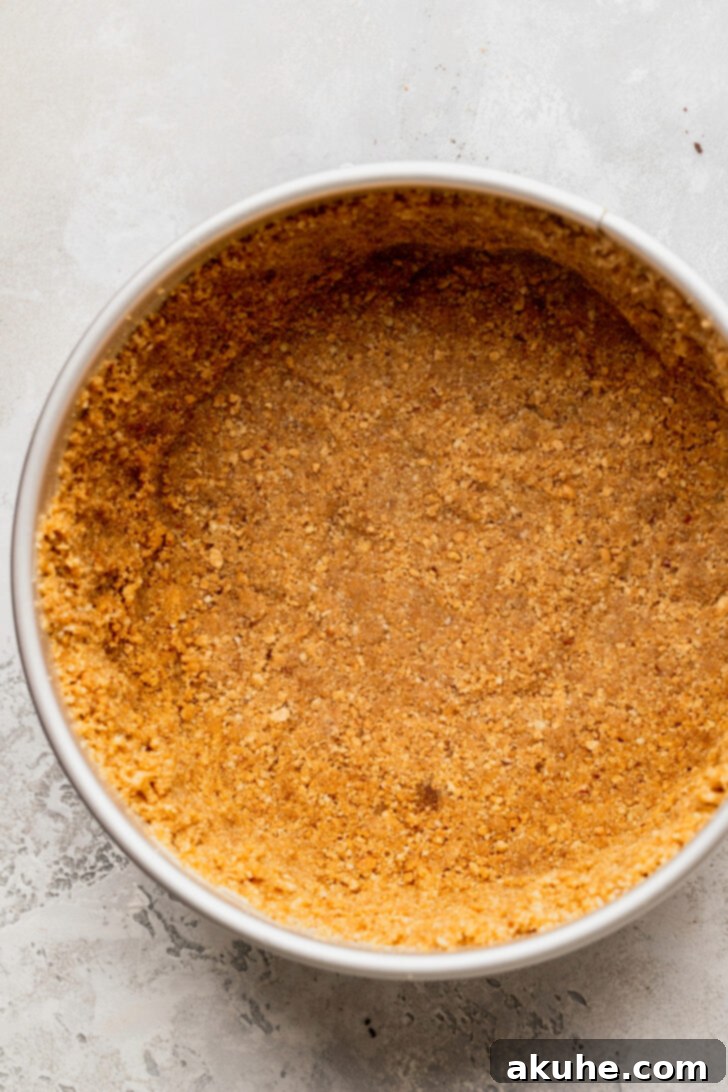
- Using a food processor, finely crush the graham crackers until they resemble fine crumbs. In a medium bowl, combine these graham cracker crumbs with the chopped pecans, packed brown sugar, and melted butter. Mix well until all ingredients are thoroughly moistened and resemble wet sand. Pour this mixture into the prepared springform pan. Use your hands to evenly press the mixture up the sides of the pan, creating a crust that extends approximately halfway up. Then, use the flat bottom of a measuring cup or a glass to firmly compact the crust, ensuring it’s dense and even.2 cups Crushed graham crackers, 1/2 cup Chopped pecans, 1/4 cup Brown Sugar, 10 TBSP Melted unsalted butter
- Bake the crust in the preheated oven for 11 minutes. This short bake helps to set the crust and prevents it from becoming soggy once the cheesecake filling is added. Once baked, remove it from the oven and let it cool slightly while you prepare the filling.
Crafting the Brown Sugar & Chocolate Cheesecake Filling
- Begin preparing the cheesecake filling once the crust is cooling. In the bowl of a stand mixer fitted with the paddle attachment, or using a large bowl with a hand mixer, beat the softened cream cheese and packed brown sugar on high speed for about 2 minutes. Scrape down the sides of the bowl to ensure everything is thoroughly combined and smooth. Then, add in the sour cream, heavy cream, and pure vanilla extract, mixing on medium speed until just combined. The mixture should be perfectly smooth and free of lumps.24 oz Cream cheese, 3/4 cup Brown Sugar, 1/2 cup Sour cream, 1/4 cup Heavy cream, 1 tsp Pure vanilla extract
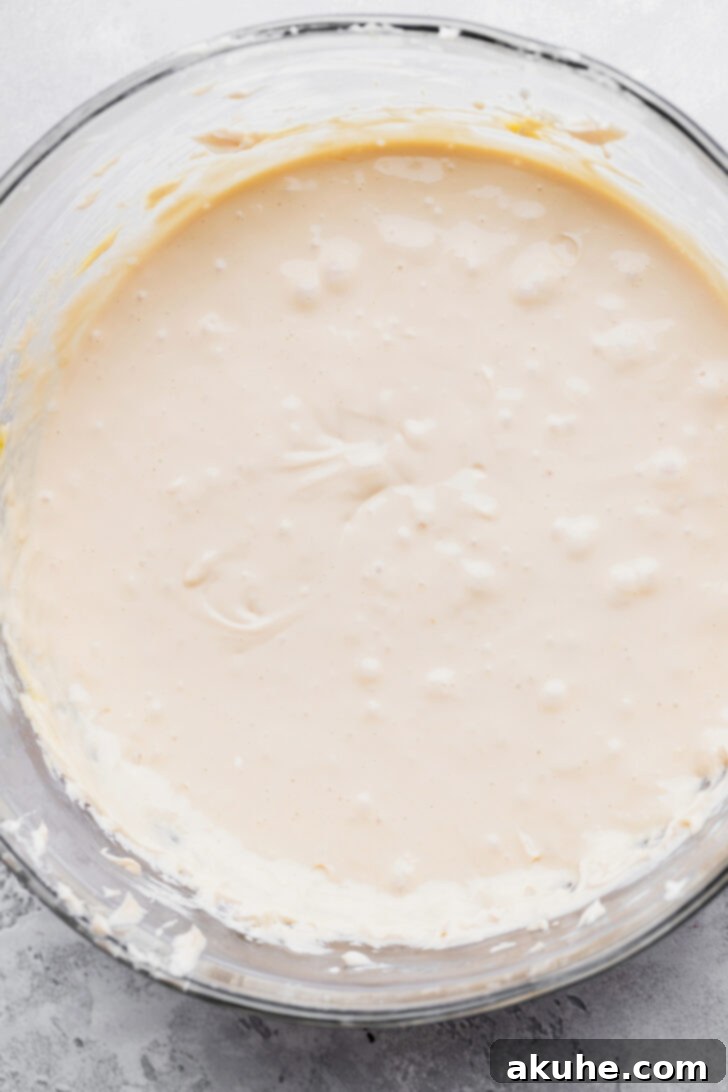
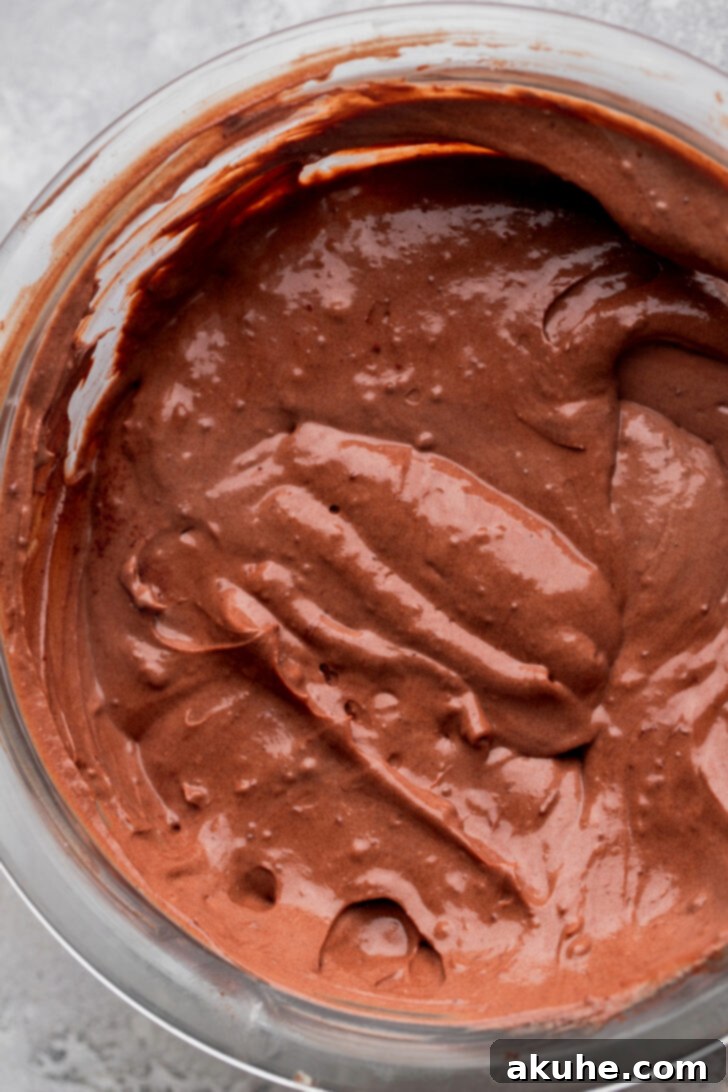
- Next, add the large eggs, one at a time, mixing on low speed until each egg is just fully incorporated. Be careful not to overmix at this stage, as excessive air can lead to cracks. Once the base batter is ready, separate approximately one-third of this batter into a separate, smaller bowl. Into this smaller portion, gently fold in the unsweetened cocoa powder and the white granulated sugar using a rubber spatula until there are no streaks of cocoa powder remaining. The extra sugar is vital to balance the cocoa’s bitterness, creating a harmonious chocolate cheesecake.4 Large eggs, 3 TBSP Unsweetened cocoa powder, 2 TBSP White granulated sugar
- Pour half of the plain brown sugar cheesecake batter into the pre-baked crust, spreading it evenly. Then, take half of the chocolate cheesecake batter and dollop it randomly over the brown sugar layer. Use a butter knife to gently swirl the chocolate into the brown sugar batter, creating elegant patterns. Avoid over-swirling; fewer, deliberate passes yield better results. Repeat this process: pour the remaining brown sugar cheesecake batter on top, then dollop the rest of the chocolate batter, and swirl again with a clean butter knife, ensuring the top has a visually appealing pattern.
- Prepare your water bath (bain-marie). This crucial step helps bake the cheesecake gently and prevents cracks. You will need a large roasting pan and hot steaming water. Choose one of the following methods for your water bath:
Method 1 (Recommended for No Leaks): Place your 9-inch springform pan inside a slightly larger 10-inch cake pan. Then, place the entire cake pan assembly into the large roasting pan. Carefully fill the roasting pan with hot steaming water until it reaches halfway up the sides of the 10-inch cake pan. This method effectively prevents any water from seeping into your crust.
Method 2 (Standard Foil Method): Tightly wrap the outside of your 9-inch springform pan twice with heavy-duty aluminum foil, ensuring no seams where water could enter. Place this wrapped springform pan directly into the large roasting pan. Fill the roasting pan with hot steaming water until it reaches halfway up the sides of the springform pan. While this method works well, there’s a slight chance of water leakage into the crust if not wrapped perfectly.
- Carefully transfer the roasting pan with the cheesecake to your preheated oven. Bake for 70-80 minutes, or until the edges of the cheesecake are set and appear firm, while the very center still has a slight, delicate jiggle when gently nudged. Overbaking can lead to a dry texture and cracks, so err on the side of underbaking slightly.
- Once the cheesecake is done baking, turn off the oven completely. Prop the oven door open slightly (about 1-2 inches) with a wooden spoon. Allow the cheesecake to cool slowly inside the oven for 30 minutes. This gradual cooling prevents thermal shock, which can cause cracking. After 30 minutes, remove the springform pan from the water bath and place it on a wire cooling rack to cool completely to room temperature. This can take several hours.
- Once cooled to room temperature, cover the springform pan tightly with aluminum foil or plastic wrap. Transfer the cheesecake to the refrigerator and chill overnight, or for a minimum of 6 hours. Proper chilling is essential for the cheesecake to fully set, develop its rich flavor, and achieve that signature creamy texture. Do not rush this step!
Creating the Luscious Salted Caramel Topping
- In a medium, heavy-bottomed saucepan over medium heat, slowly melt the white granulated sugar. Initially, you can gently whisk the sugar to help break up any clumps, but once it starts to melt, avoid stirring. Let it cook undisturbed until all the sugar crystals have completely melted and transformed into a beautiful amber color. This process is quick, often taking less than 30 seconds once melting begins, so watch it closely to prevent burning. Immediately remove the saucepan from the heat once the desired color is achieved.1 cup White granulated sugar
- Carefully add half of the cubed unsalted butter to the hot sugar. Whisk vigorously until the butter is fully combined and melted into the caramel. Be aware that the mixture will bubble up quite a bit at this stage. Once the first half is incorporated, add the remaining butter and whisk again until smooth. Separately, gently warm the heavy cream in the microwave for about 30 seconds; it should be warm, not boiling. Slowly and carefully pour the warmed heavy cream into the caramel mixture while continuously whisking. Again, expect vigorous bubbling. Continue whisking until the mixture is uniform and smooth.4 TBSP Unsalted Butter, 1/2 cup Heavy cream
- Finally, stir in the fine sea salt and pure vanilla extract until fully combined. Pour the finished salted caramel into a heatproof glass container and allow it to cool completely to room temperature. As it cools, it will thicken to a luscious, pourable consistency.1 tsp Pure vanilla extract, 1 tsp Fine sea salt
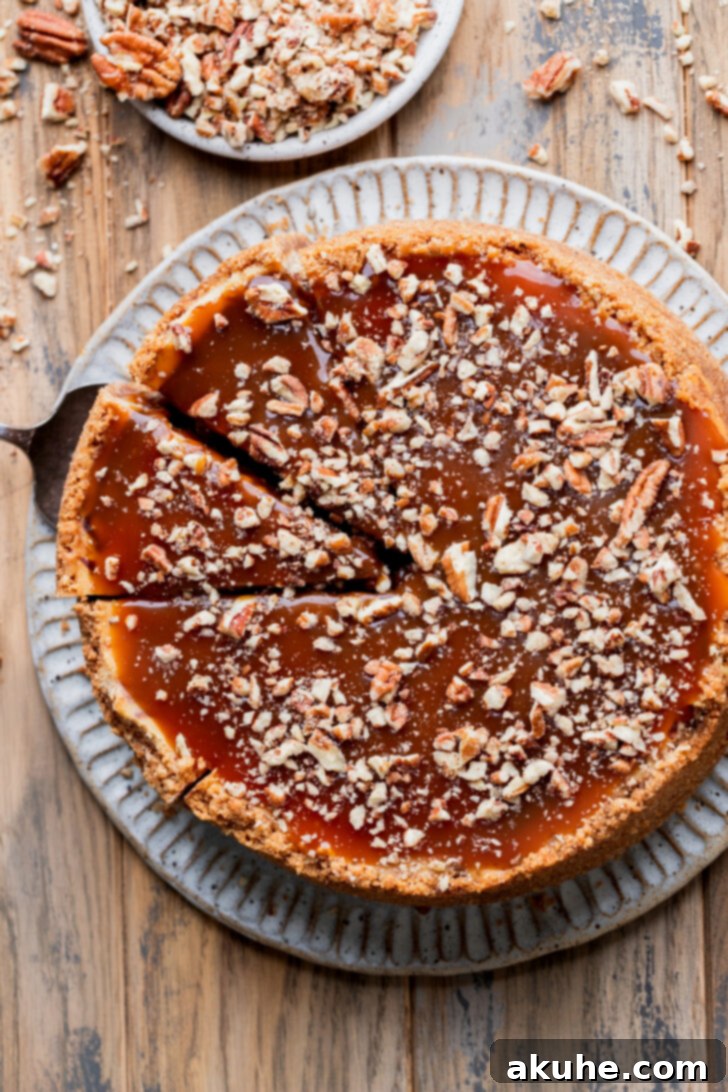
- Once the cheesecake is thoroughly chilled and the caramel has cooled and thickened, it’s time to assemble! Carefully remove the springform pan and the parchment paper from around the cheesecake. Place the cheesecake on your chosen serving platter. Generously pour the cooled salted caramel over the top of the cheesecake, spreading it gently to the edges. You can use as much or as little caramel as you desire. If the caramel has become too thick to pour easily, gently warm it in the microwave for 10-15 seconds, stirring until it reaches a pourable consistency.
- For the ultimate Turtle Cheesecake experience, finish by scattering a generous amount of chopped pecans over the caramel layer. For an extra touch of indulgence, a sprinkle of mini chocolate chips can also be added. Slice and serve immediately, or return to the refrigerator until ready to enjoy!1/2 cup Chopped pecans
