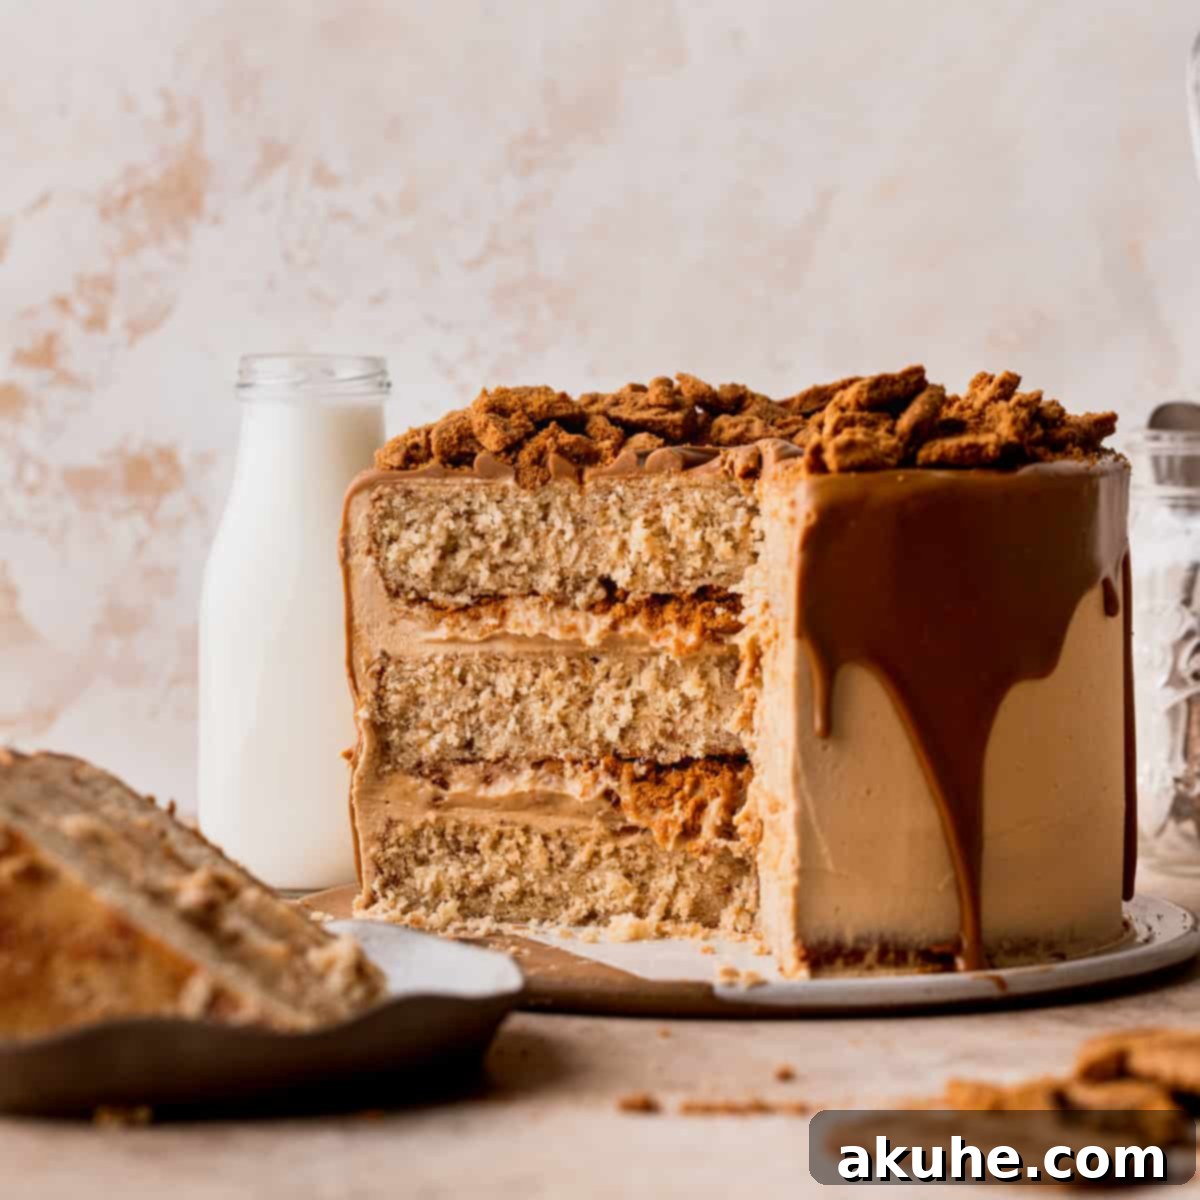
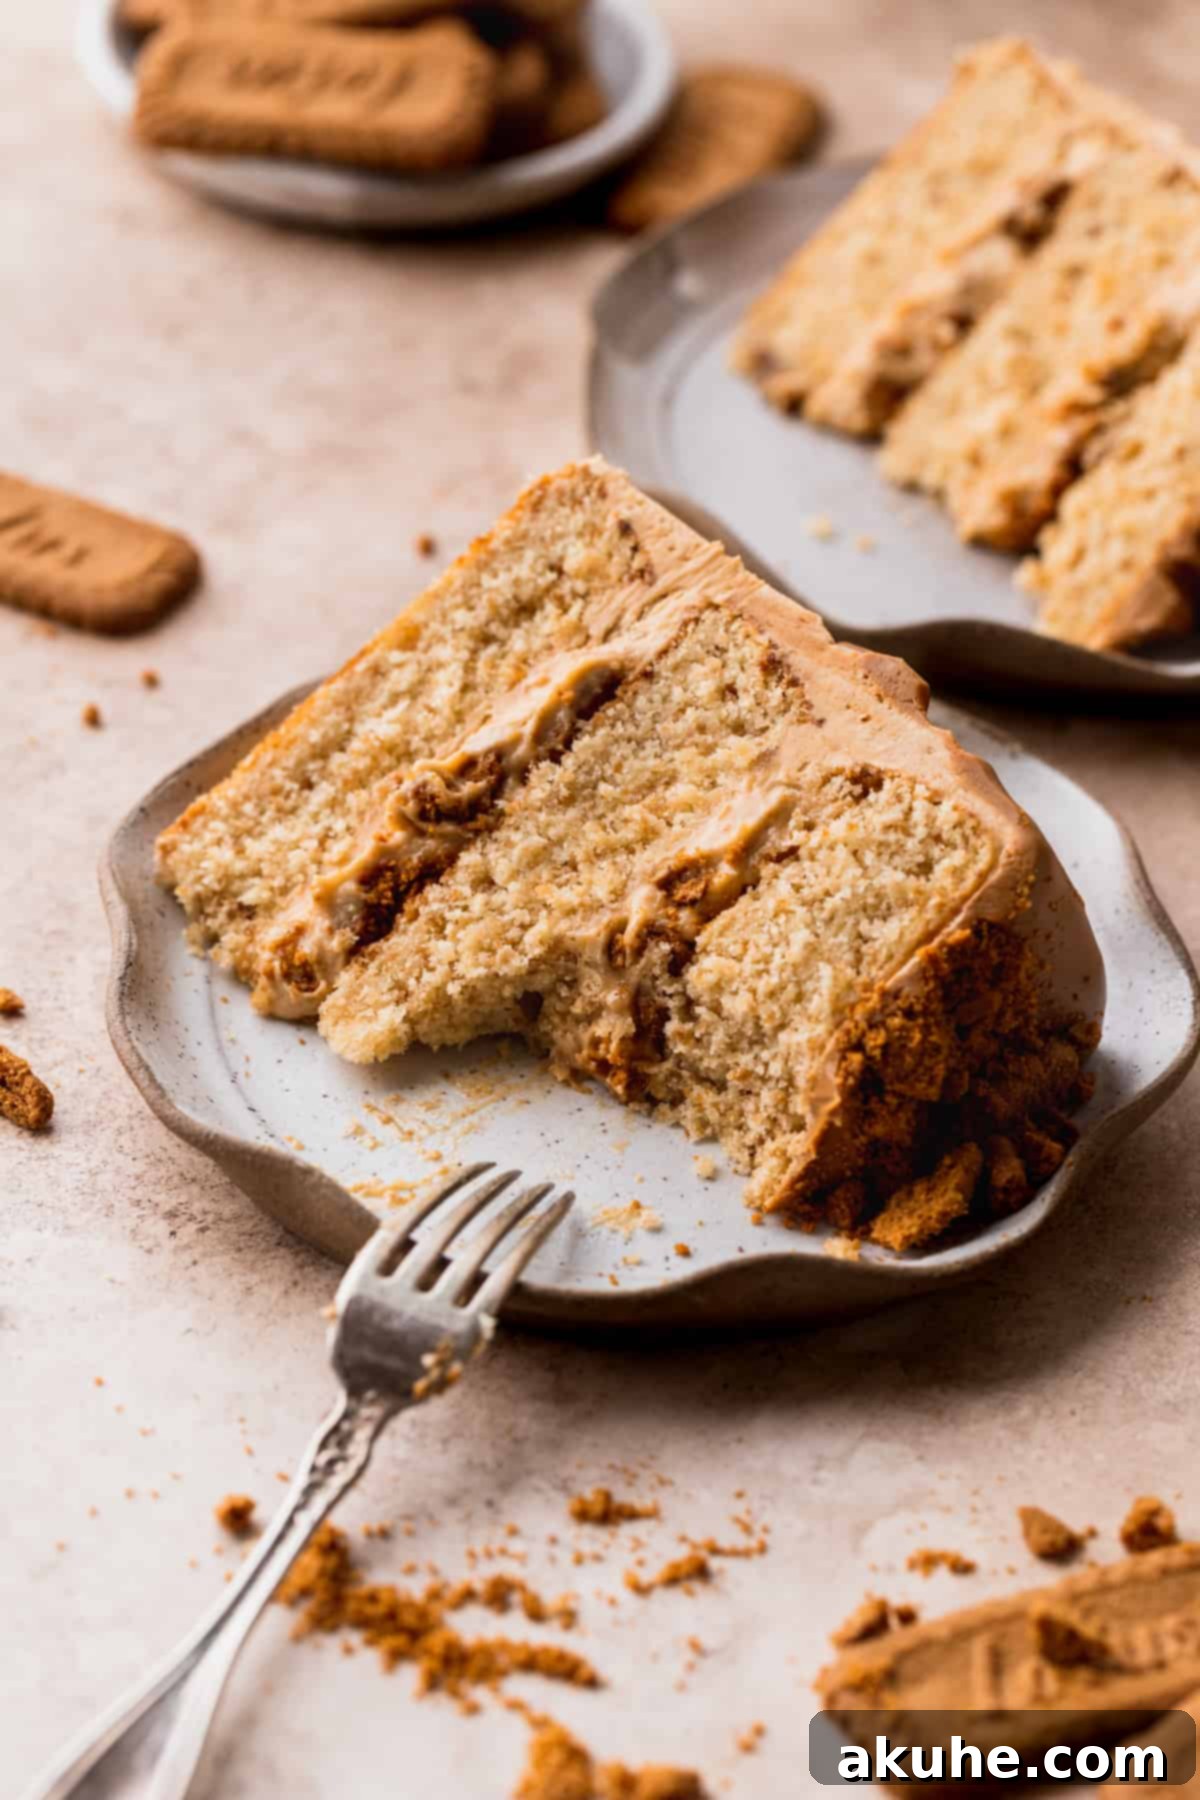
Welcome to the ultimate indulgence for every Biscoff enthusiast! This exceptional three-layer Lotus Biscoff cake is a symphony of flavors and textures, with the iconic speculoos cookie integrated into every delectable component. Imagine moist cake layers infused with crunchy Biscoff crumbs, generously filled with a rich, velvety cookie butter cream cheese, and crowned with a smooth cookie butter buttercream frosting. The grand finale? A luscious cookie butter drip that cascades down the sides, making this dessert not just a treat for the palate, but a feast for the eyes. Designed for those who truly adore the distinctive caramelized biscuit flavor, this cake promises an unforgettable experience that goes beyond a simple dessert – it’s a celebration of Biscoff in its purest, most decadent form.
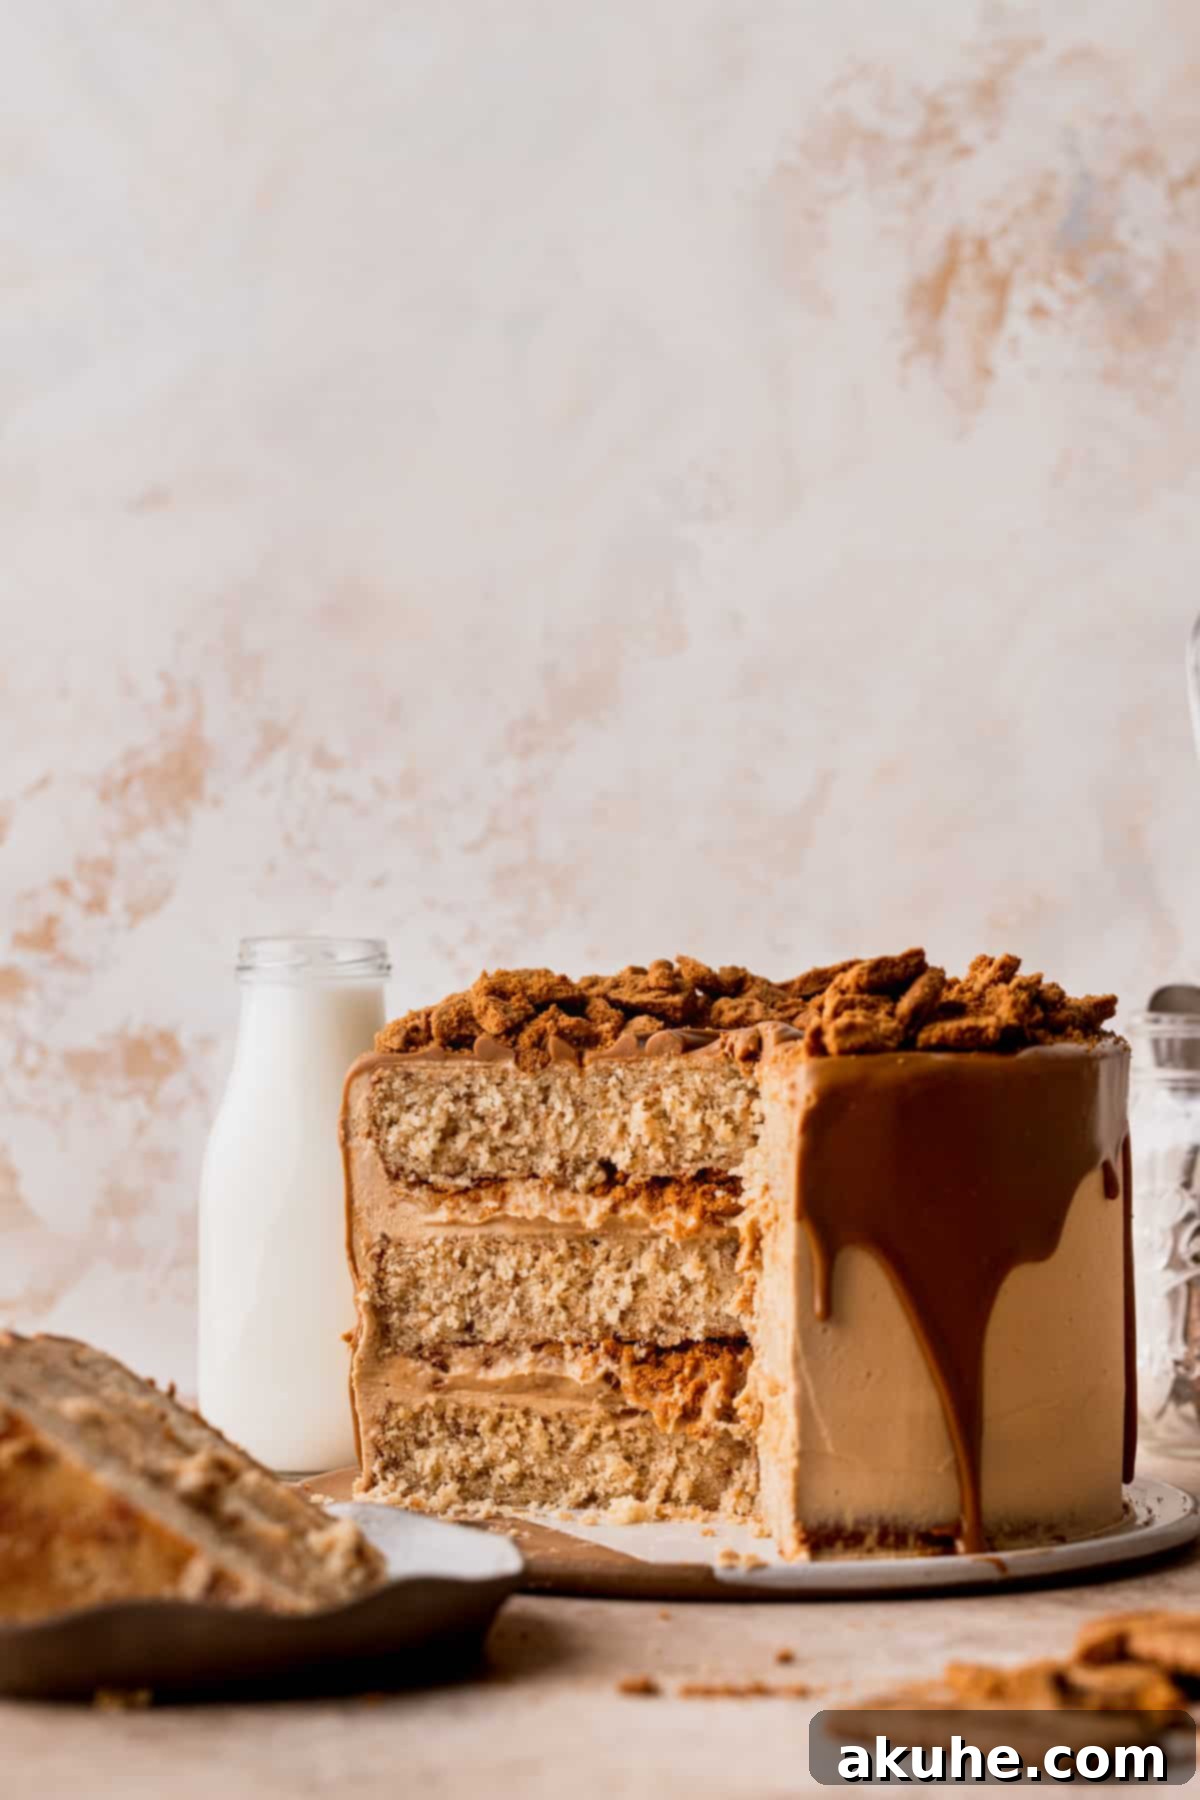
Our goal with this recipe was to craft a Lotus Biscoff cake that truly delivers an intense flavor in every single bite. From the tender crumb of the cake to the luxurious filling and frosting, each element is thoughtfully designed to highlight the unique, sweet-spicy notes of speculoos. This isn’t just a cake; it’s a meticulously constructed dessert that guarantees a profound Biscoff experience from the first forkful to the last. If you’re on the hunt for other extraordinary cake recipes to delight your taste buds, we highly recommend exploring our Apple Toffee Layered Cake, the decadent Chocolate Cookie Brownie Cake, or the fun and flavorful Butterfinger Cake.
Why You Will Adore This Lotus Biscoff Cake
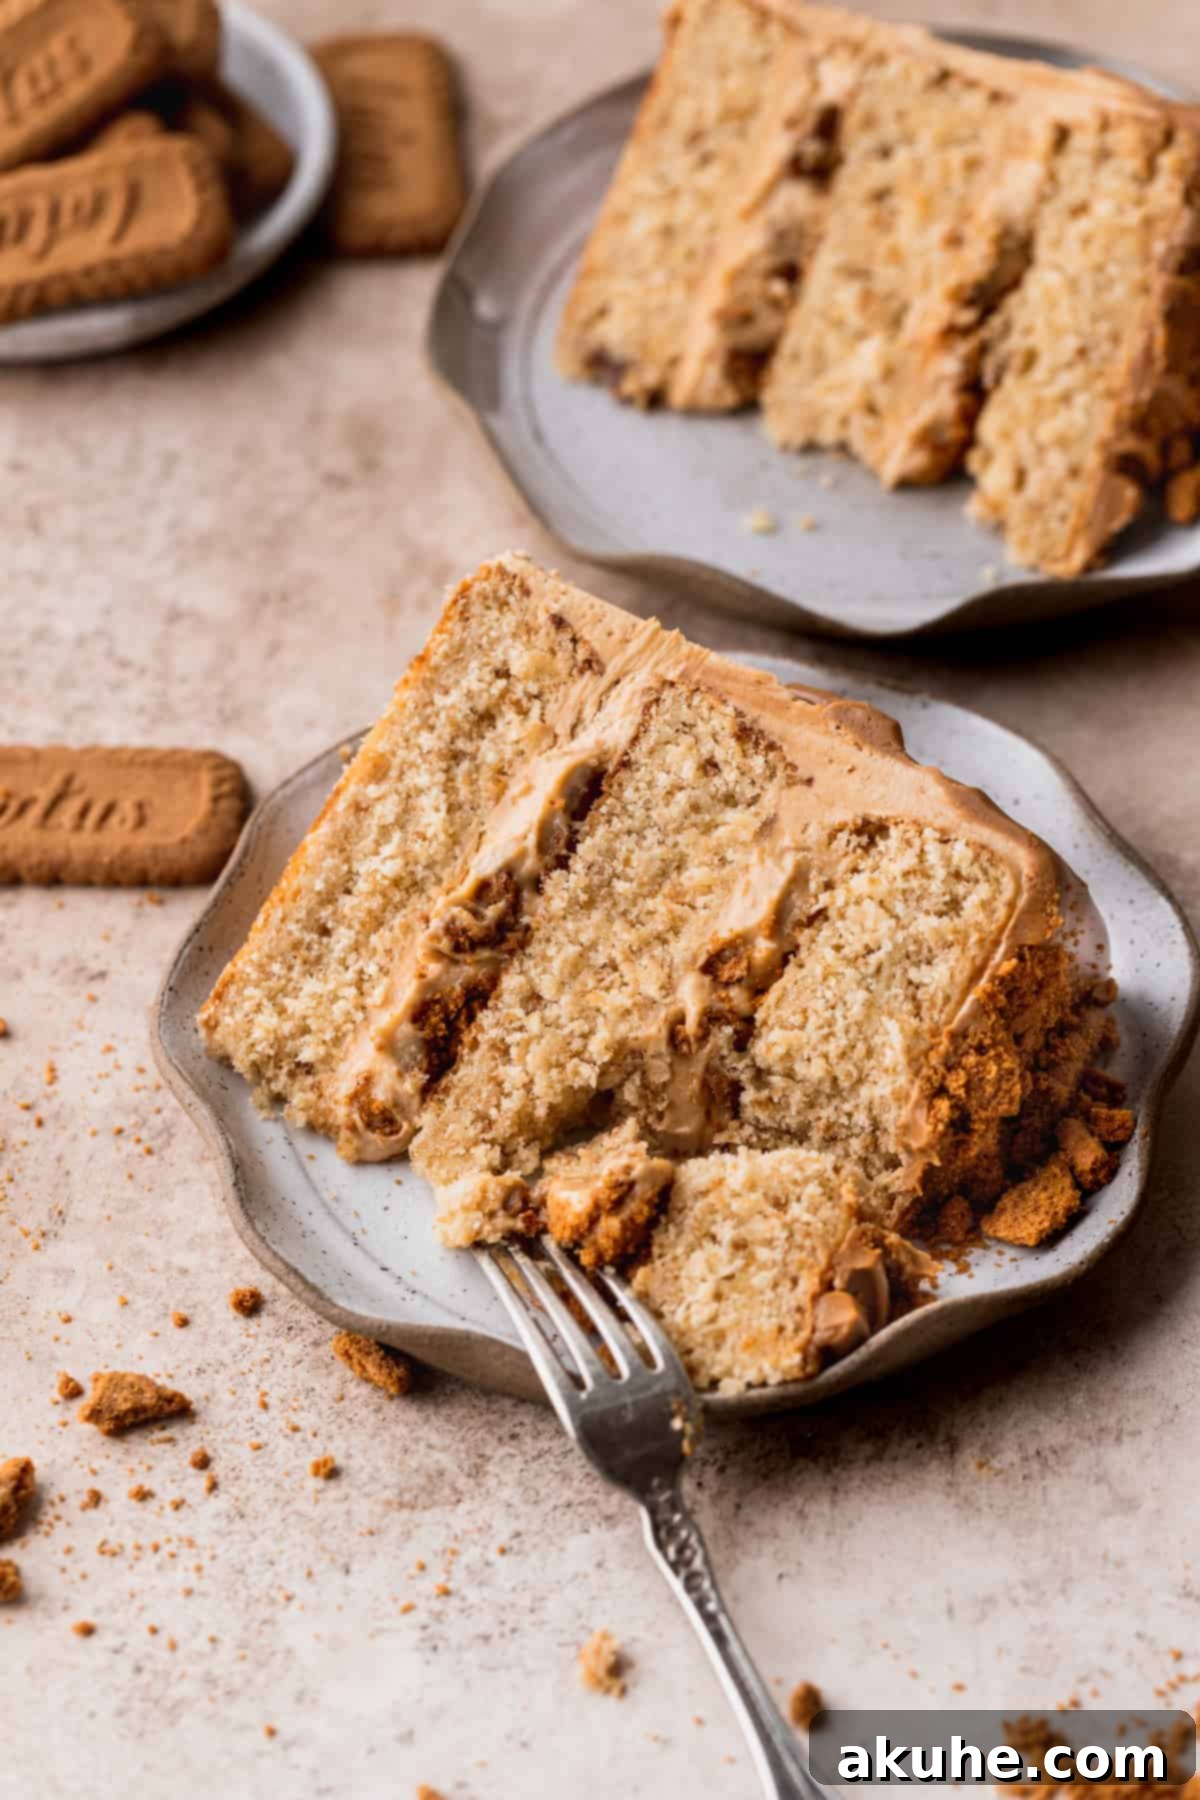
- Biscoff Cookie Cake Layers: The foundation of this spectacular dessert lies in its tender, moist cake layers, which are generously studded with finely crushed Biscoff cookie crumbs. These crumbs don’t just add a subtle, delicate cookie flavor; they also introduce a delightful, slightly textured element that perfectly complements the cake’s soft crumb. It’s a genius way to infuse that beloved speculoos essence right into the heart of the cake.
- Irresistible Biscoff Cookie Butter Filling: Prepare for a truly luscious experience with our signature filling. This heavenly blend features a light and airy whipped cream cheese, expertly combined with smooth, caramelized cookie butter. The tanginess of the cream cheese perfectly balances the sweetness of the cookie butter, creating a filling that is incredibly rich yet wonderfully balanced. For an extra pop of texture and flavor, we crown this creamy concoction with a sprinkle of additional Biscoff cookie crumbs, ensuring every layer is a textural delight.
- Velvety Cookie Butter Frosting: Encasing this magnificent cake is a decadent vanilla buttercream, elevated by a generous infusion of cookie butter. This frosting is a dream come true – it’s impossibly smooth, easy to work with, and boasts a deep, comforting Biscoff flavor that melts in your mouth. It provides the perfect creamy canvas for the entire creation, tying all the layers together with its luxurious taste.
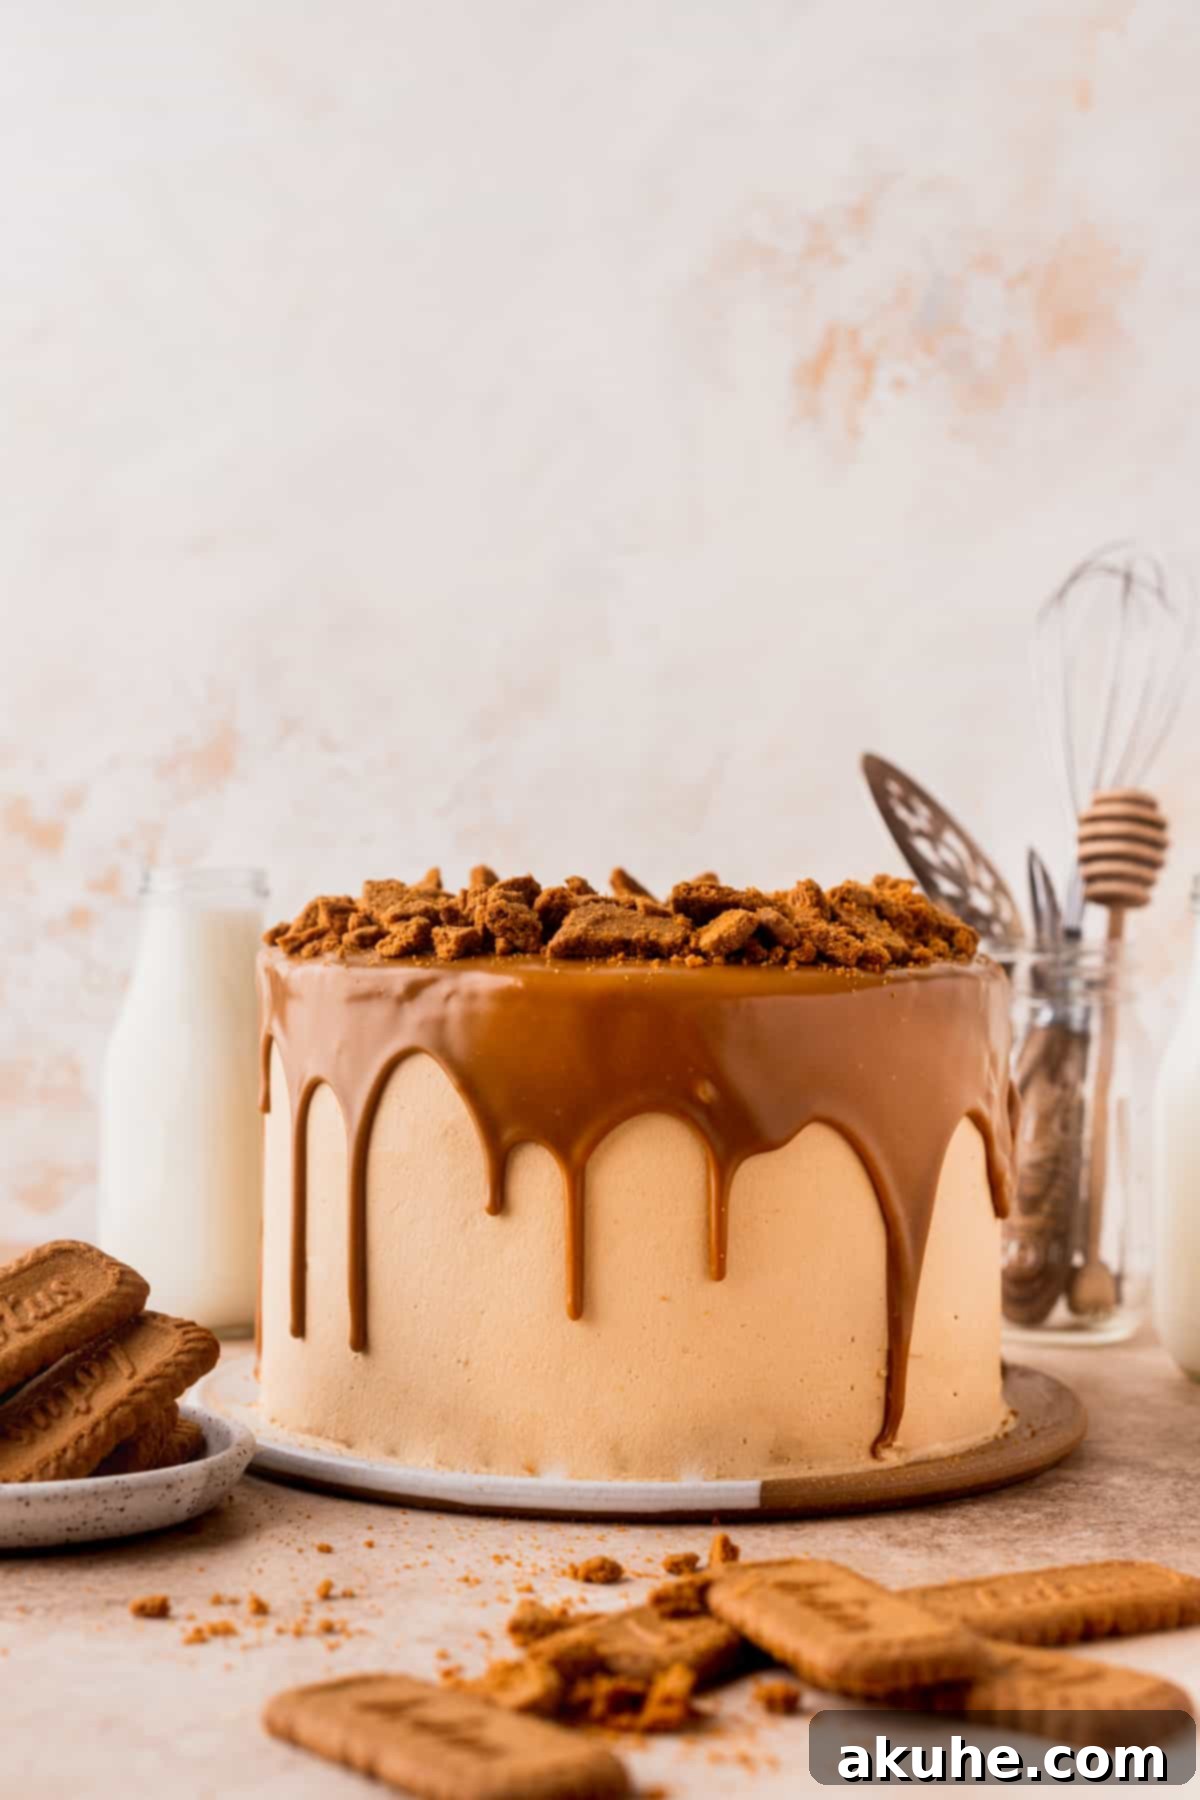
- Signature Cookie Butter Drip: The final flourish on this masterpiece is a glistening, golden cookie butter drip. Made from gently melted cookie butter, this drip adds not only an elegant visual appeal but also an intensified burst of caramelized flavor with every slice. It’s the ultimate detail that transforms a delicious cake into a truly show-stopping dessert, signaling to all Biscoff lovers that they are in for an extraordinary treat.
Essential Ingredient Notes for Your Biscoff Cake
Understanding your ingredients is key to baking success. Here are some important notes to ensure your Lotus Biscoff cake turns out perfectly every time:
- Lotus Biscoff Cookies: These iconic caramelized biscuits are the star! For the entire cake, including the decorative elements, you’ll need approximately 1½ packages of Lotus Biscoff biscuits. Ensure they are finely crushed for the cake layers and roughly chopped for the filling, providing both integrated flavor and delightful crunch.
- Lotus Biscoff Spread (Cookie Butter): This rich, creamy spread is crucial for the filling, frosting, and signature drip. We recommend having two full jars of Biscoff spread on hand to ensure you have enough for all components and any extra cravings! Its smooth texture and intense flavor are irreplaceable.
- Unsalted Butter: For both the cake and the frosting, unsalted butter is specified to allow precise control over the salt content. It’s vital that your butter for the cake is at room temperature – pull it out of the refrigerator at least 2 hours before you plan to start baking. Room temperature butter creams beautifully with sugar, creating a light and airy cake batter. For the frosting, slightly cold butter is preferred to achieve the perfect consistency.
- Oil: A neutral-flavored oil such as vegetable oil or canola oil is used in the cake batter. Oil contributes to a wonderfully moist crumb and helps keep the cake tender for longer, complementing the butter’s flavor.
- Sour Cream: Full-fat sour cream is essential for the cake’s moisture and tender texture. Like butter and eggs, it should be at room temperature for optimal incorporation into the batter. Remove it from the fridge at least 2 hours before baking.
- Eggs: Large eggs, also at room temperature, are crucial for emulsifying the batter, adding richness, and providing structure. Cold eggs can cause the batter to curdle, so allow them to warm up for at least 2 hours before mixing.
- Buttermilk: We use low-fat buttermilk from the grocery store for its acidic properties, which react with baking powder to create a light and fluffy cake. Its acidity also tenderizes the gluten, resulting in a softer crumb. Ensure it’s at room temperature for smooth incorporation.
- Cream Cheese: For the filling, use full-fat cream cheese. The higher fat content ensures a rich, creamy, and stable filling. Make sure it’s softened to room temperature for a lump-free mixture.
- Powdered Sugar (Confectioners’ Sugar): Always sift your powdered sugar, especially for the filling and frosting. This step is critical to prevent any grittiness and ensure a perfectly smooth, silky texture in your finished components.
- Baking Powder: This leavening agent is key for the cake’s rise and light texture. Always check the expiration date on your baking powder; expired leaveners can lead to a dense, flat cake.
Smart Ingredient Substitutions and Tips
While this recipe is crafted for a specific outcome, we understand that sometimes substitutions are necessary. Here are some options and considerations:
- Dairy-Free Alternatives: For those with dairy sensitivities or preferences, many excellent dairy-free options are available today. You can experiment with your favorite dairy-free butter substitutes, plant-based milk (like almond or oat milk with a touch of vinegar for buttermilk), and dairy-free cream cheese alternatives. Keep in mind that results may vary slightly in texture and flavor, so choose high-quality products designed for baking.
- Gluten-Free Adaptation: While we haven’t personally tested a gluten-free version of this specific recipe, many bakers have found success converting traditional recipes. If you’re keen to try, we recommend using a high-quality 1:1 gluten-free all-purpose flour blend that contains xanthan gum. Be prepared for potential slight adjustments in liquid or baking time. Please let us know if you attempt it and how it turns out!
- Homemade Buttermilk: No buttermilk on hand? No problem! You can easily make a substitute by adding 1 tablespoon of white vinegar or lemon juice to a liquid measuring cup. Then, fill the rest of the cup with regular milk (any fat percentage) until it reaches the 1-cup mark. Give it a gentle stir and let it sit for about 10 minutes. The milk will curdle slightly, producing a fantastic buttermilk substitute perfect for baking. Remember to use 1¼ cups of milk for the recipe.
- Greek Yogurt for Sour Cream: If sour cream isn’t available, full-fat plain Greek yogurt can be an excellent substitute. Its thick consistency and tangy flavor are very similar to sour cream, contributing to a moist and tender cake. Ensure it’s full-fat for the best results and always bring it to room temperature before adding to the batter.
- Peanut Butter Instead of Cookie Butter: For a delicious twist, you can certainly substitute peanut butter for the Biscoff cookie spread in the filling, frosting, and drip. This will transform the cake into a rich peanut butter layer cake, offering a different but equally delightful flavor profile. Just be aware that the distinct caramelized notes of Biscoff will be replaced by nutty peanut butter flavors.
Step-by-Step Guide to Crafting Your Lotus Biscoff Cake
Let’s walk through the process of creating this magnificent Lotus Biscoff cake, from preparing the batter to baking it to golden perfection. Precision and patience are your best friends here!
STEP 1: Cream Together Butter, Sugar, and Oil. Begin by ensuring your unsalted butter is at perfect room temperature. In the bowl of a stand mixer fitted with the paddle attachment (a hand mixer works well too), combine the softened butter, granulated sugar, and neutral oil. Beat these ingredients together on high speed for a full 3 minutes. The mixture should transform into a remarkably light, fluffy, and pale consistency. This creaming step incorporates air, which is crucial for a tender cake. Next, reduce the speed to low and gradually add the vanilla extract, room temperature sour cream, and the eggs, one at a time, ensuring each is fully incorporated before adding the next. Once all are added, beat on high for another 2 minutes until the batter is truly light, airy, and uniform.
STEP 2: Gently Fold in Dry Ingredients, Speculoos Cookie Crumbs, and Buttermilk. First, prepare your Biscoff cookie crumbs by pulsing about 15 cookies in a food processor until they form a fine, sand-like texture. In a separate bowl, whisk together your all-purpose flour, the Biscoff cookie crumbs, baking powder, and salt. Now, with the mixer on low speed, begin alternating additions: add approximately one-third of the dry ingredient mixture, mix just until combined, then add half of the buttermilk. Repeat this process, ending with the final one-third of the dry ingredients. Be careful not to overmix the batter at this stage; overmixing can develop gluten too much, leading to a tough cake. Once combined, remove the bowl from the mixer and use a rubber spatula to gently scrape down the sides and bottom, ensuring no dry pockets remain.
STEP 3: Prepare and Fill Your Cake Pans. Divide the impeccably smooth cake batter evenly among three 8-inch round cake pans. For best results and easy release, prepare your pans meticulously: spray them thoroughly with baking nonstick spray (preferably one with flour in it), then line the bottoms with an 8-inch parchment paper circle. Spray over the parchment paper again to guarantee a flawless release. This double-spray method, combined with parchment paper, prevents sticking and helps you achieve beautifully clean cake layers.
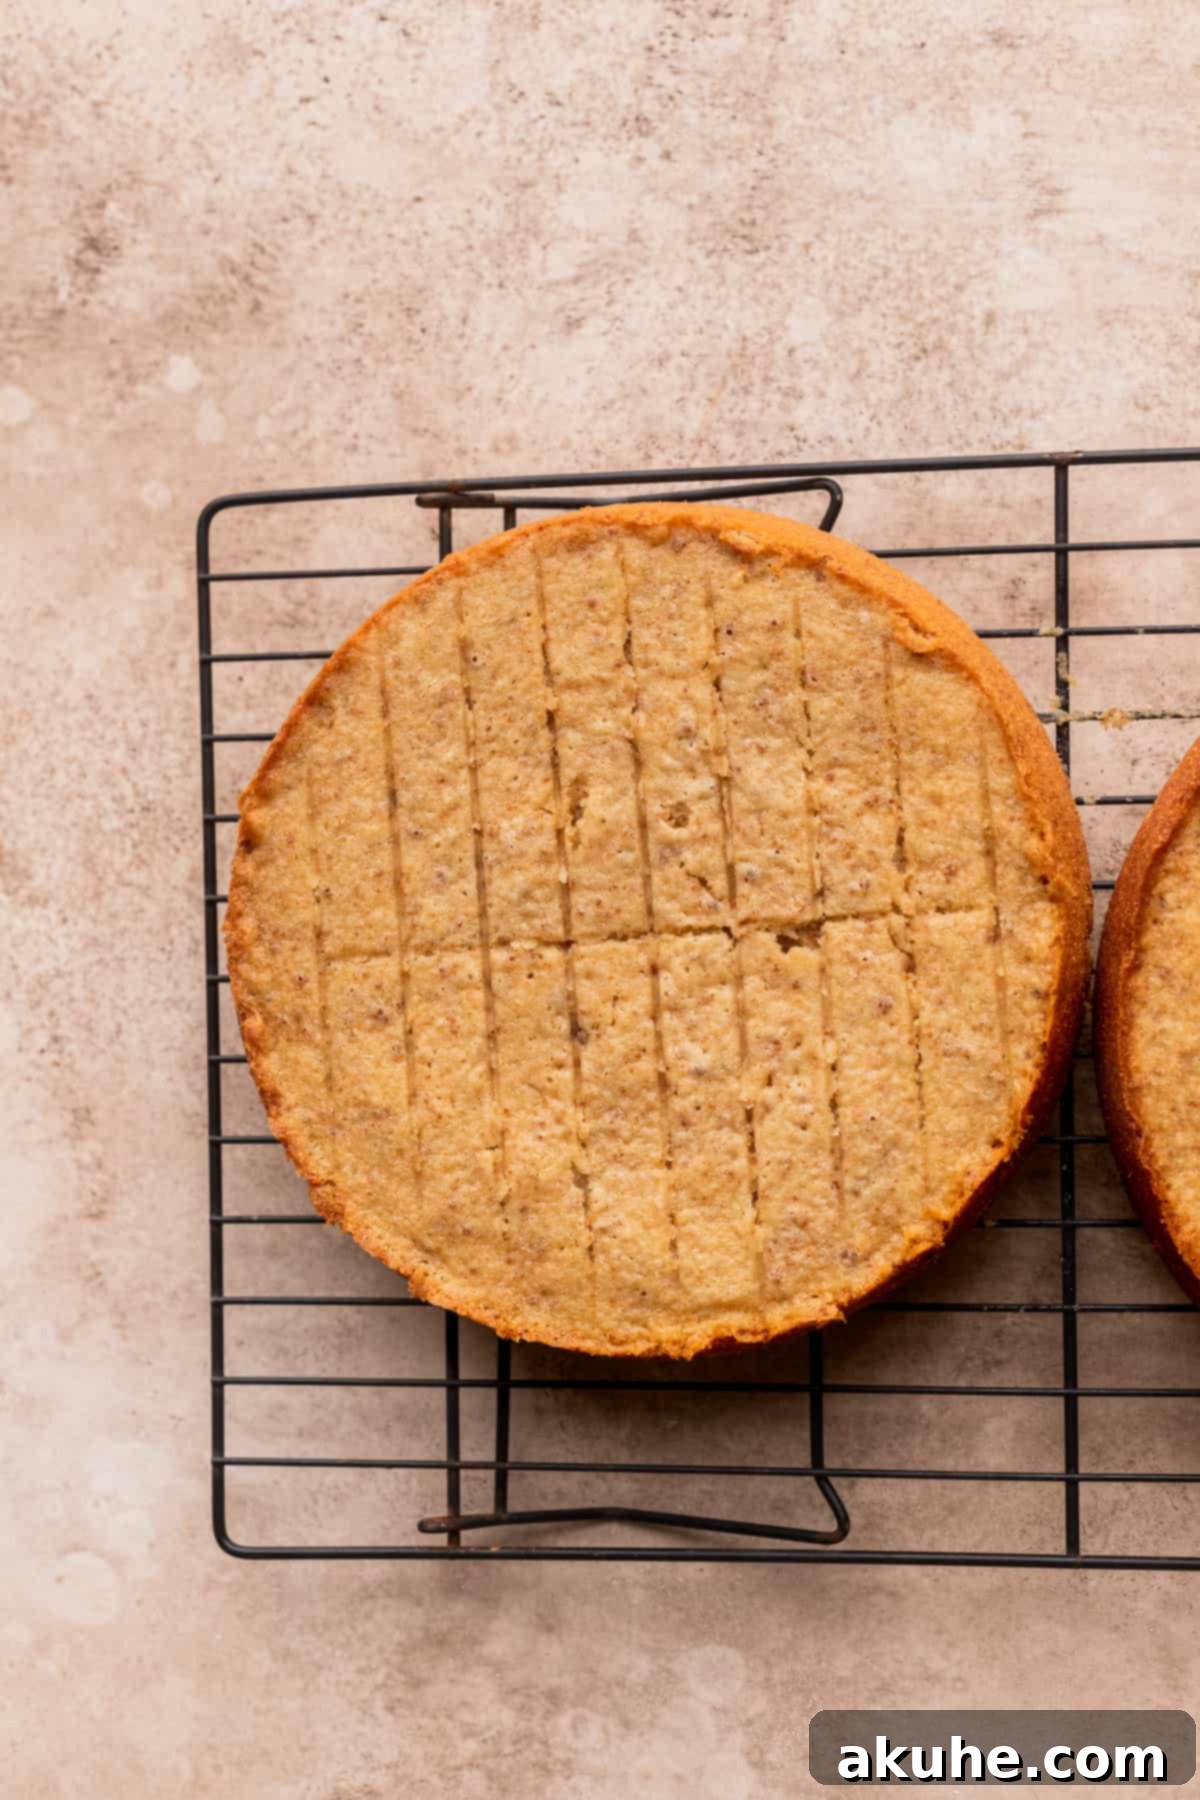
STEP 4: Bake the Cake to Perfection. Preheat your oven to 350°F (175°C). Carefully place the filled cake pans into the preheated oven and bake for approximately 28 to 35 minutes. Baking times can vary slightly depending on your oven, so keep a close eye. The cake layers are done when a wooden skewer or toothpick inserted into the center comes out clean or with just a few moist crumbs attached. Avoid overbaking, as this can lead to dry cake. Once baked, remove the pans from the oven and allow the cakes to cool in their pans for about 10-15 minutes. This resting period helps them firm up slightly before you attempt to remove them. Then, invert them onto a wire cooling rack and let them cool completely to room temperature before you even think about decorating. A fully cooled cake is crucial for stable assembly.
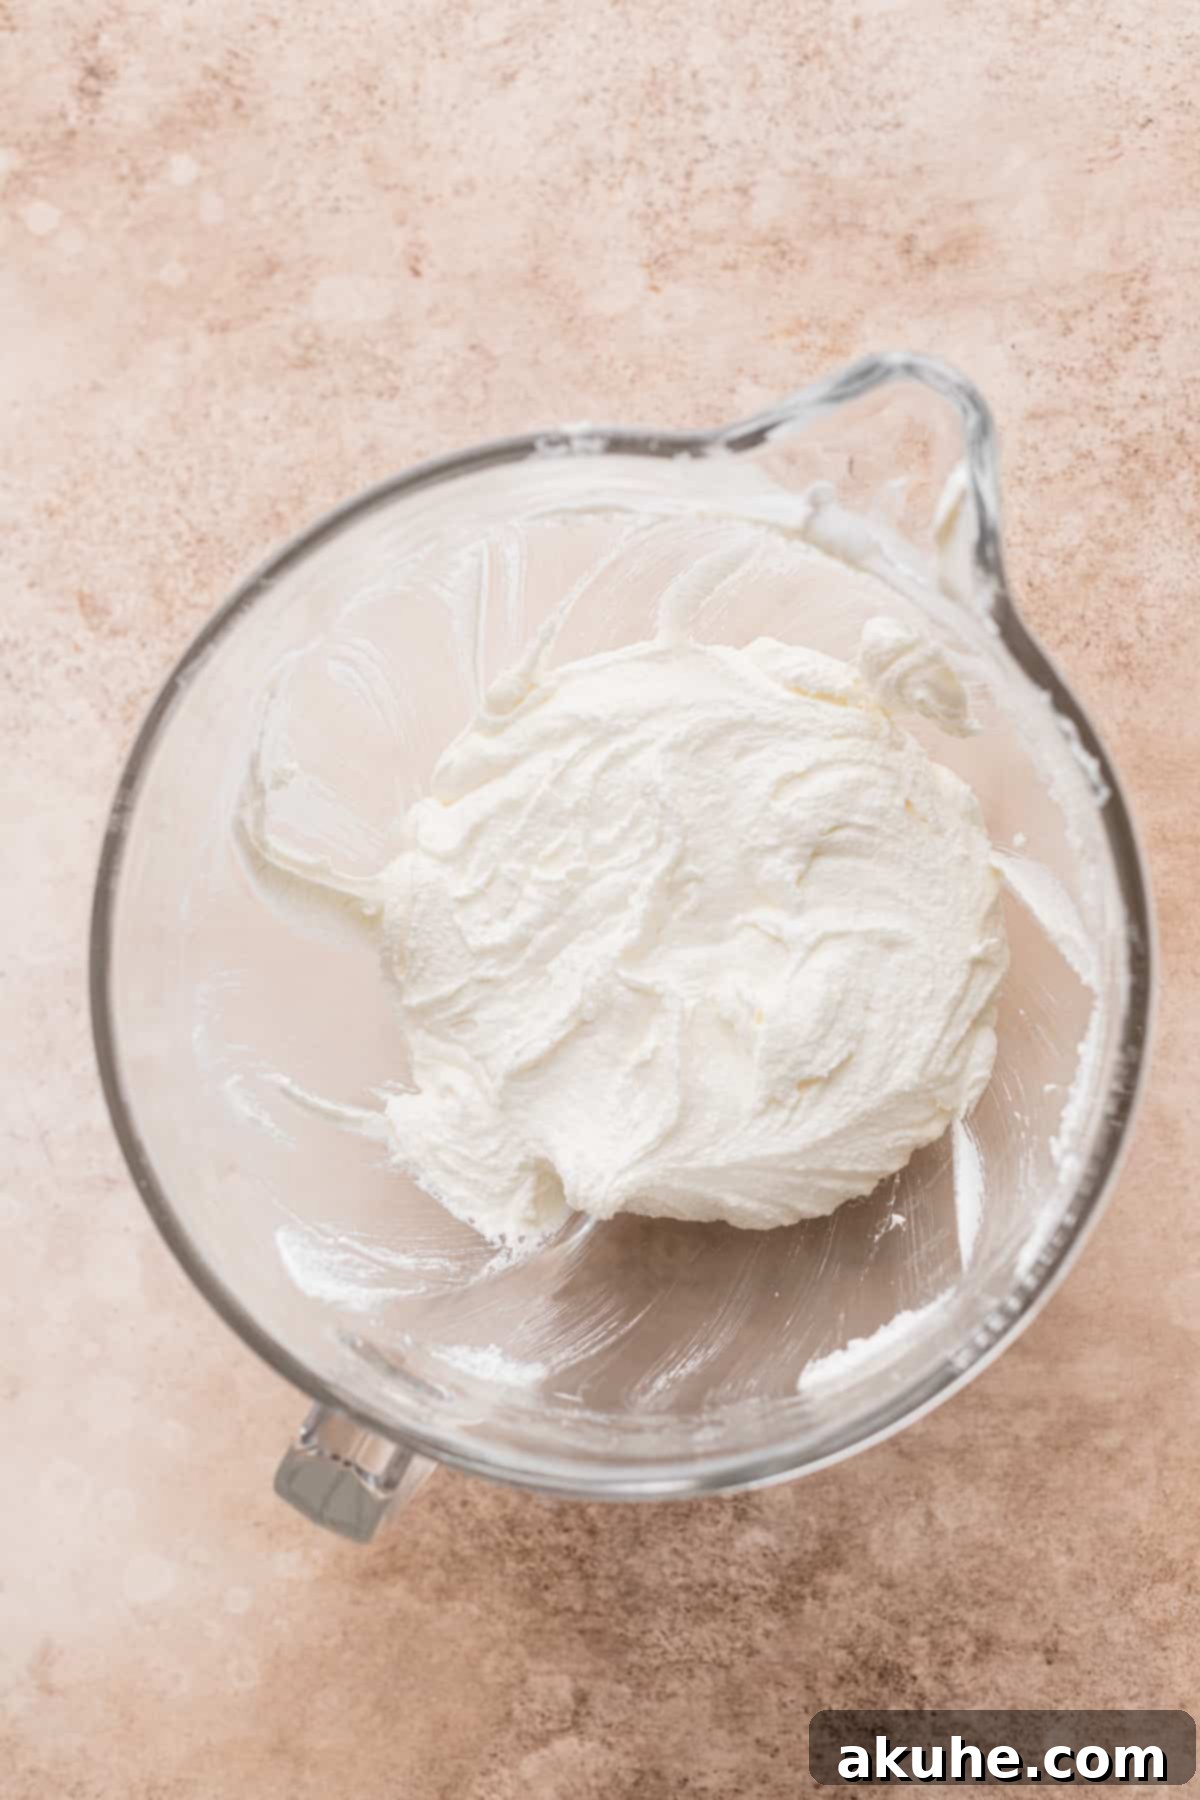
STEP 5: Craft the Luxurious Cookie Butter Filling. For the lightest, fluffiest whipped cream, start by placing a metal mixing bowl and your whisk attachment into the freezer for at least 10 minutes. While those chill, in a large mixing bowl, beat your softened full-fat cream cheese on high speed for about a minute until it’s light and smooth. Add the Biscoff cookie butter, vanilla extract, and sifted powdered sugar. Beat these ingredients together until thoroughly combined and smooth; it might appear crumbly at first, but keep mixing until it’s beautifully uniform. Now, retrieve your chilled bowl and whisk. Pour the heavy cream into the cold bowl and beat on high speed until stiff peaks form, indicating a perfectly whipped cream.
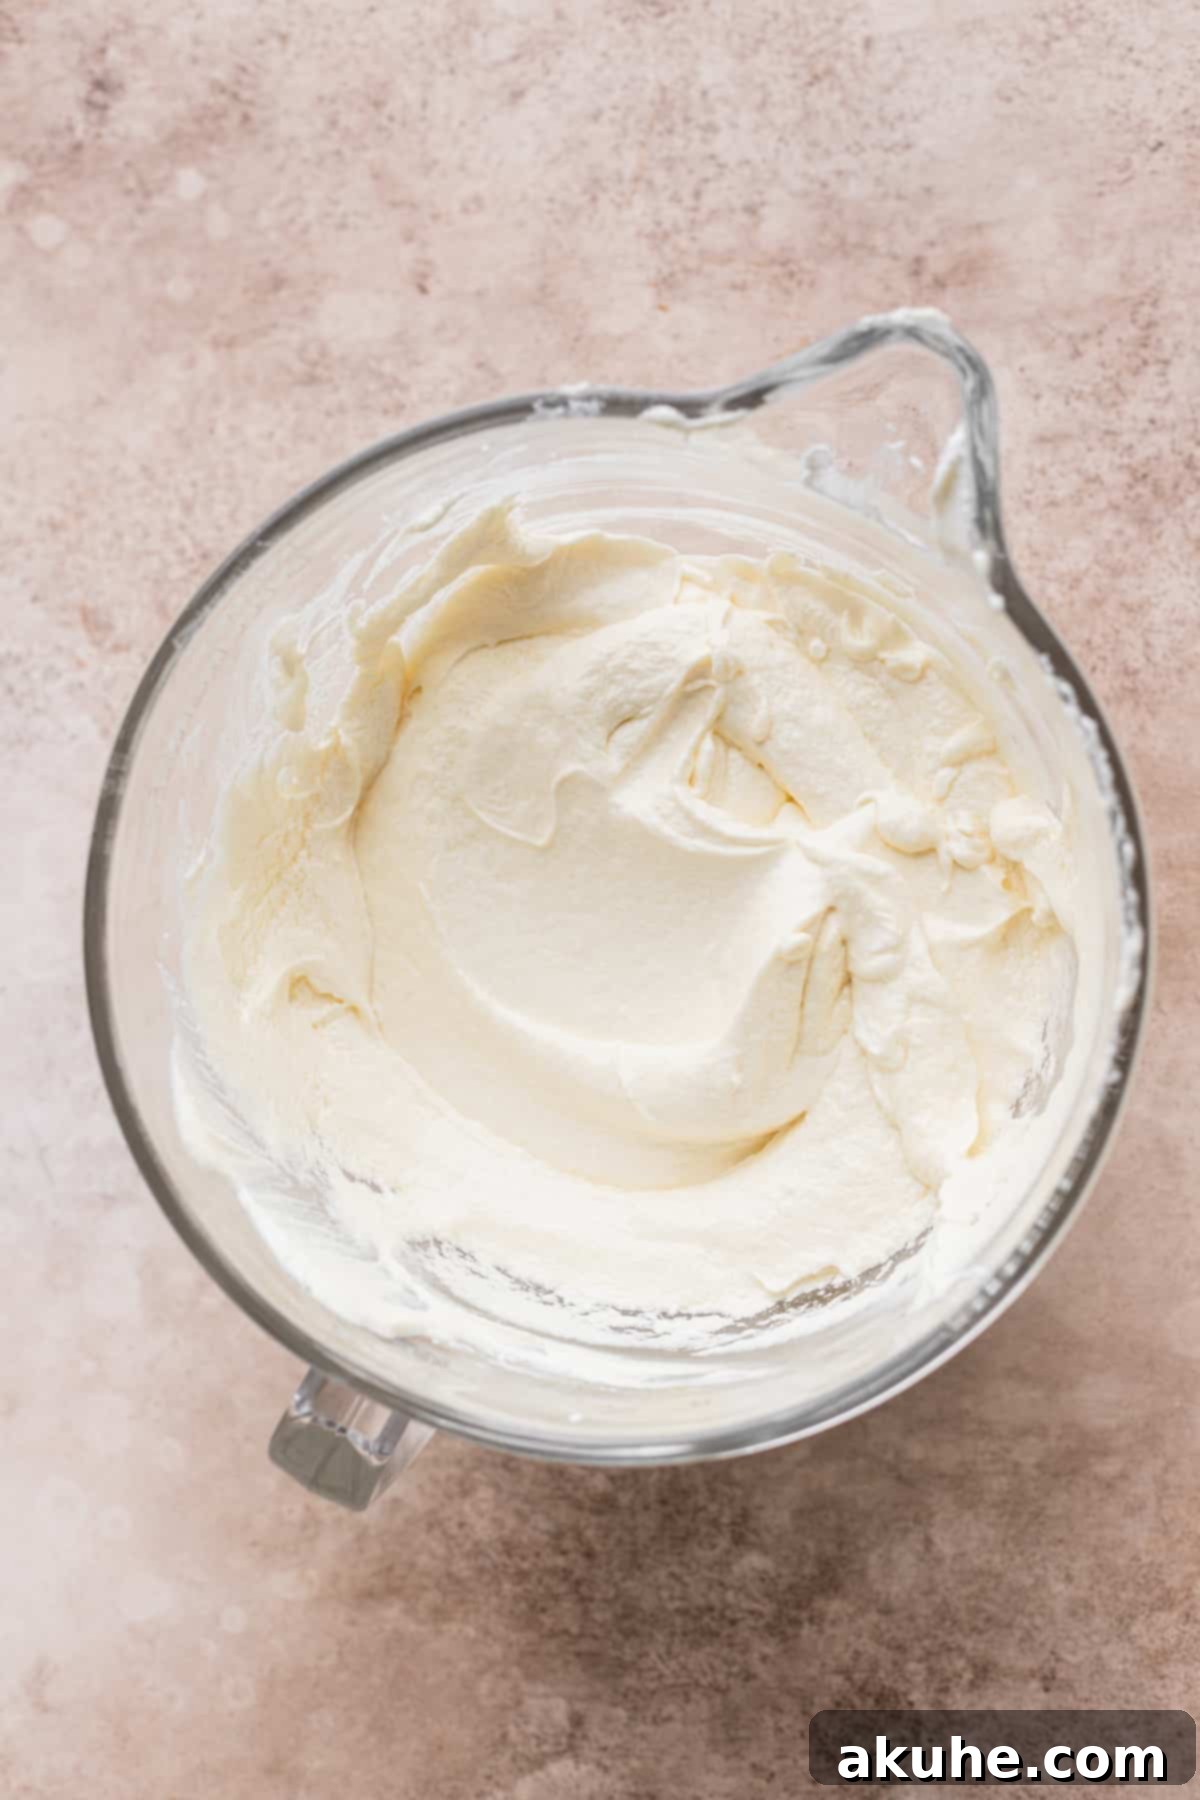
STEP 6: Gently Fold and Chill the Filling. Carefully transfer the freshly whipped cream into the cream cheese and cookie butter mixture. Using a rubber spatula, gently fold the whipped cream into the Biscoff mixture until it’s completely smooth and no streaks of either component remain. The key here is to fold gently to preserve the airiness of the whipped cream. Once combined, cover the bowl and chill the filling in the refrigerator for at least one hour, or ideally, overnight. This chilling time is crucial; it allows the filling to firm up and set, making it much easier to spread and work with when you assemble your cake, preventing any unwanted oozing.
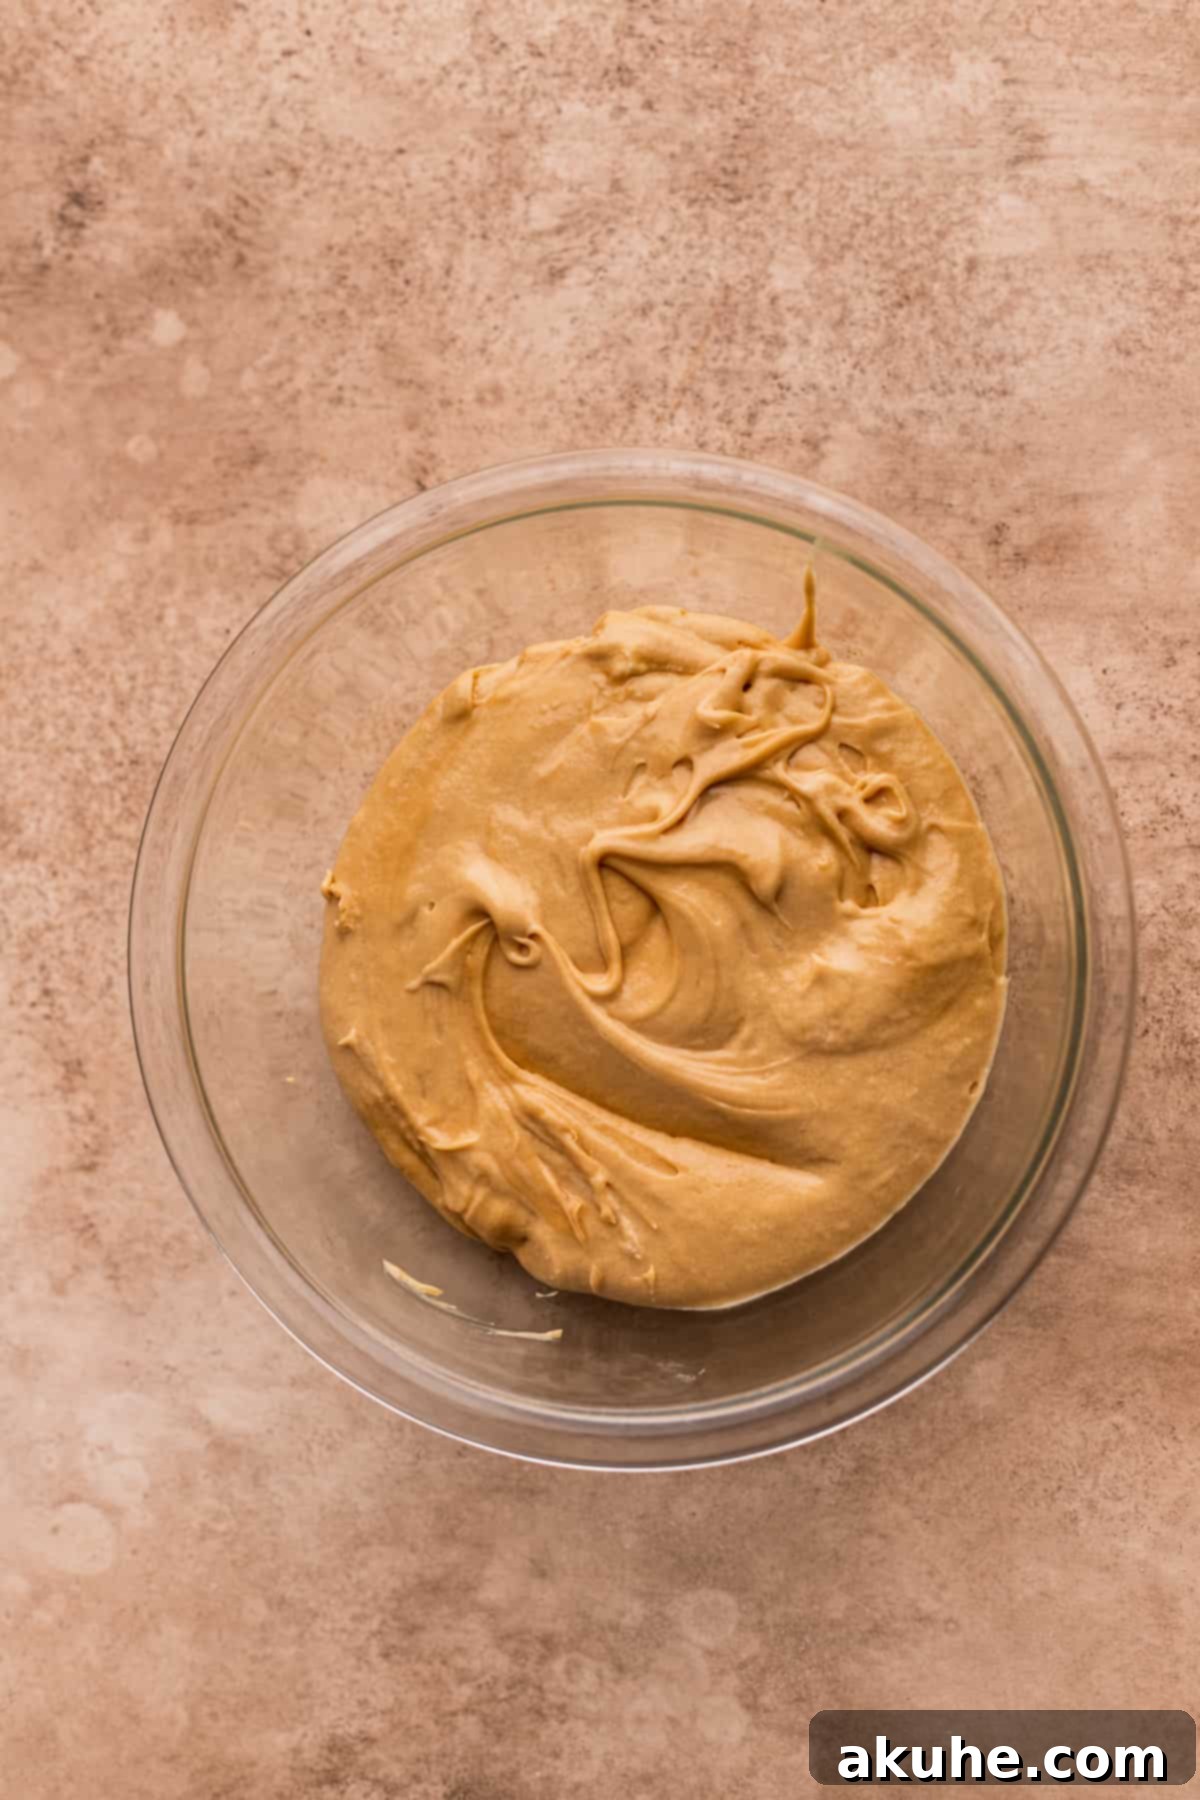
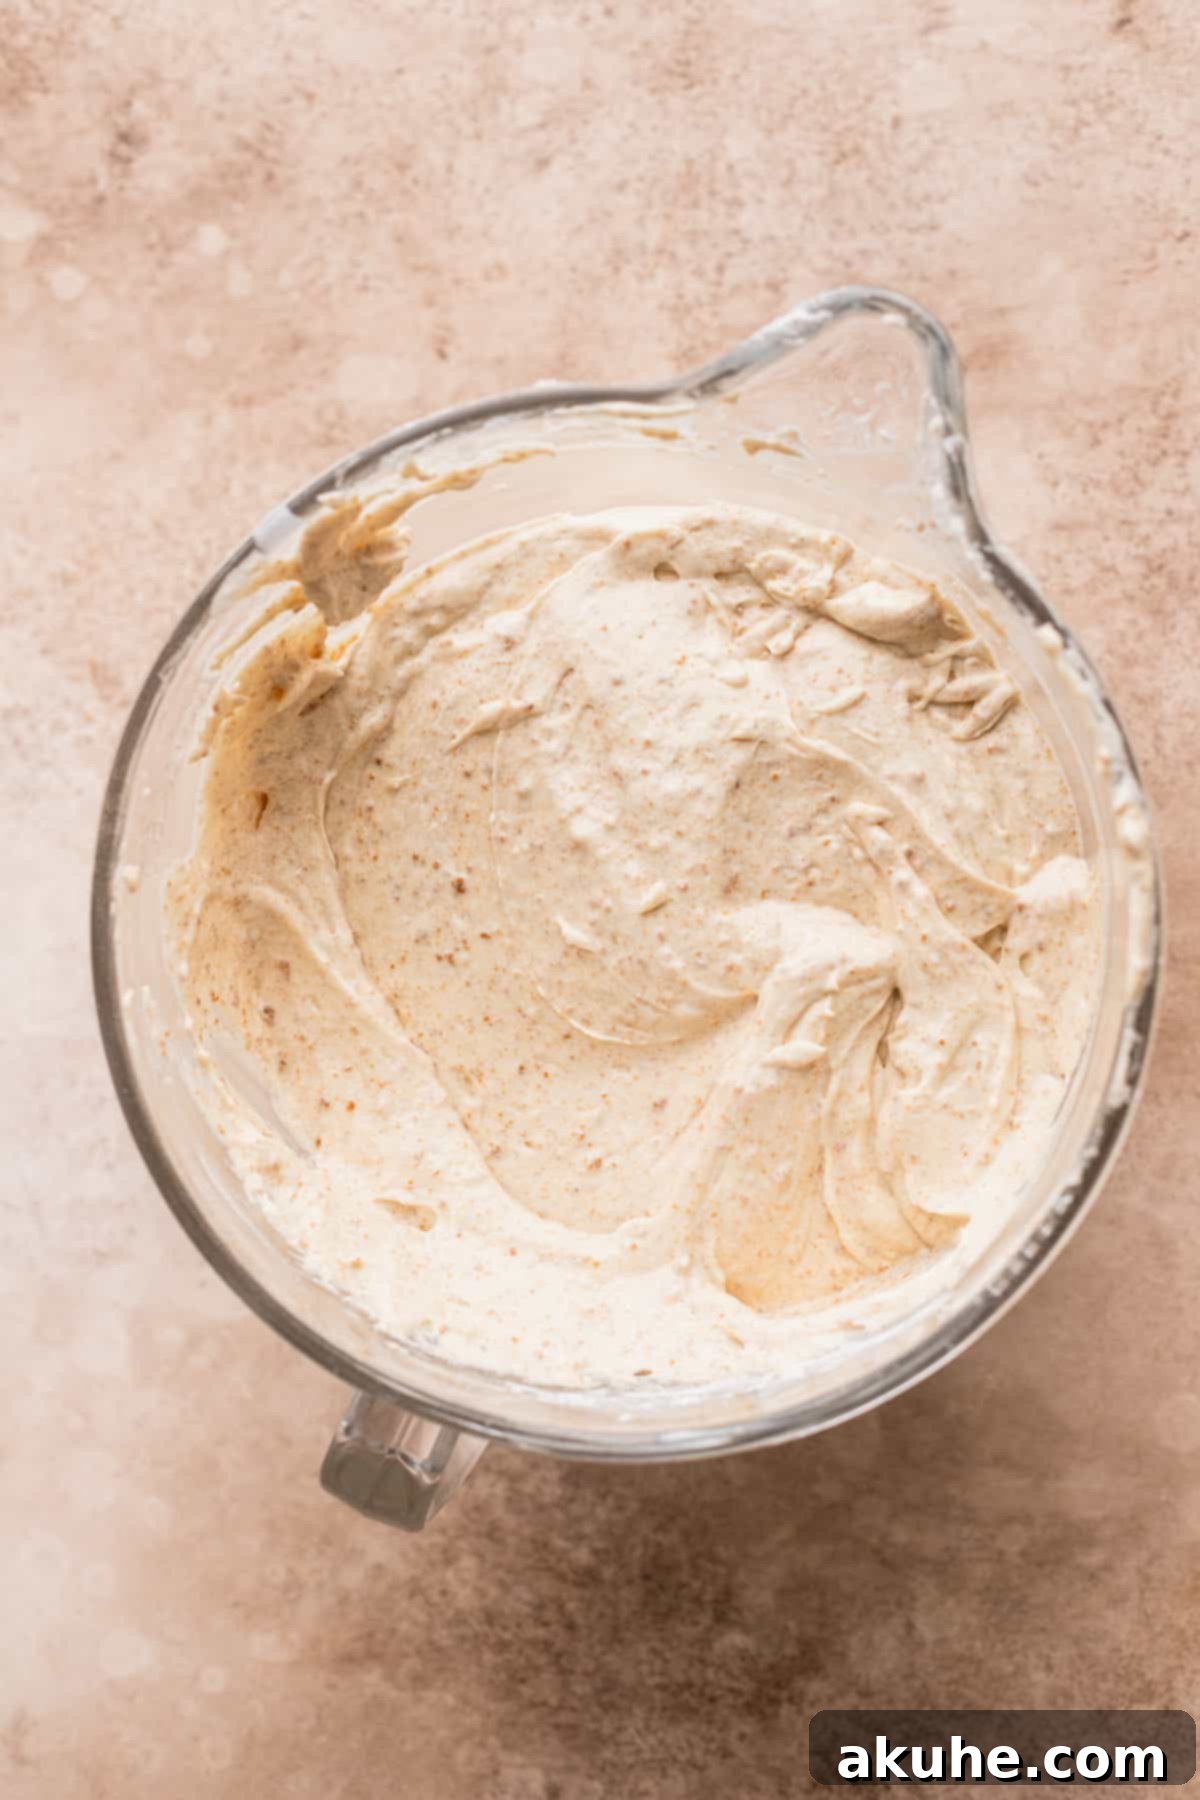
STEP 7: Prepare the Silky Cookie Butter Buttercream. Begin by taking your unsalted butter out of the refrigerator about 30 minutes before you start, allowing it to become slightly cold but still pliable. Sift your powdered sugar thoroughly while you wait. In a large mixing bowl, using a stand mixer with the paddle attachment, beat the slightly cold butter on high speed for about 1 minute until it’s smooth. Scrape down the sides of the bowl, then add the Biscoff cookie butter. Beat on high for another 2 minutes until the mixture is fully combined and fluffy. Scrape the bowl again. Now, gradually add the sifted powdered sugar, a cup at a time, mixing on low speed until mostly combined. Finally, pour in the vanilla extract, heavy cream, and a pinch of salt. Mix on low speed until everything is incorporated, then increase the speed to high and beat for 1 minute. This final beat ensures the buttercream is light, fluffy, and perfectly smooth, ready for frosting your masterpiece.
Expert Tips for Assembling Your Biscoff Cake Like a Pro
Assembling a beautiful layer cake requires a few crucial steps and a bit of patience. Follow these tips to ensure your Lotus Biscoff cake looks as incredible as it tastes:
First and foremost, **ensure your cake layers are thoroughly chilled** before you begin decorating. Place the completely cooled cake layers in the freezer for about 30 minutes. A cold cake is significantly firmer and much easier to handle, slice, and frost without crumbling or shifting. This is a game-changer for smooth, professional-looking results.
To secure your cake, **apply a small dab of creamy Biscoff buttercream** onto the center of your cake board or serving platter. This acts as a “glue,” preventing the bottom cake layer from sliding around while you work. It’s a simple step that provides immense stability.
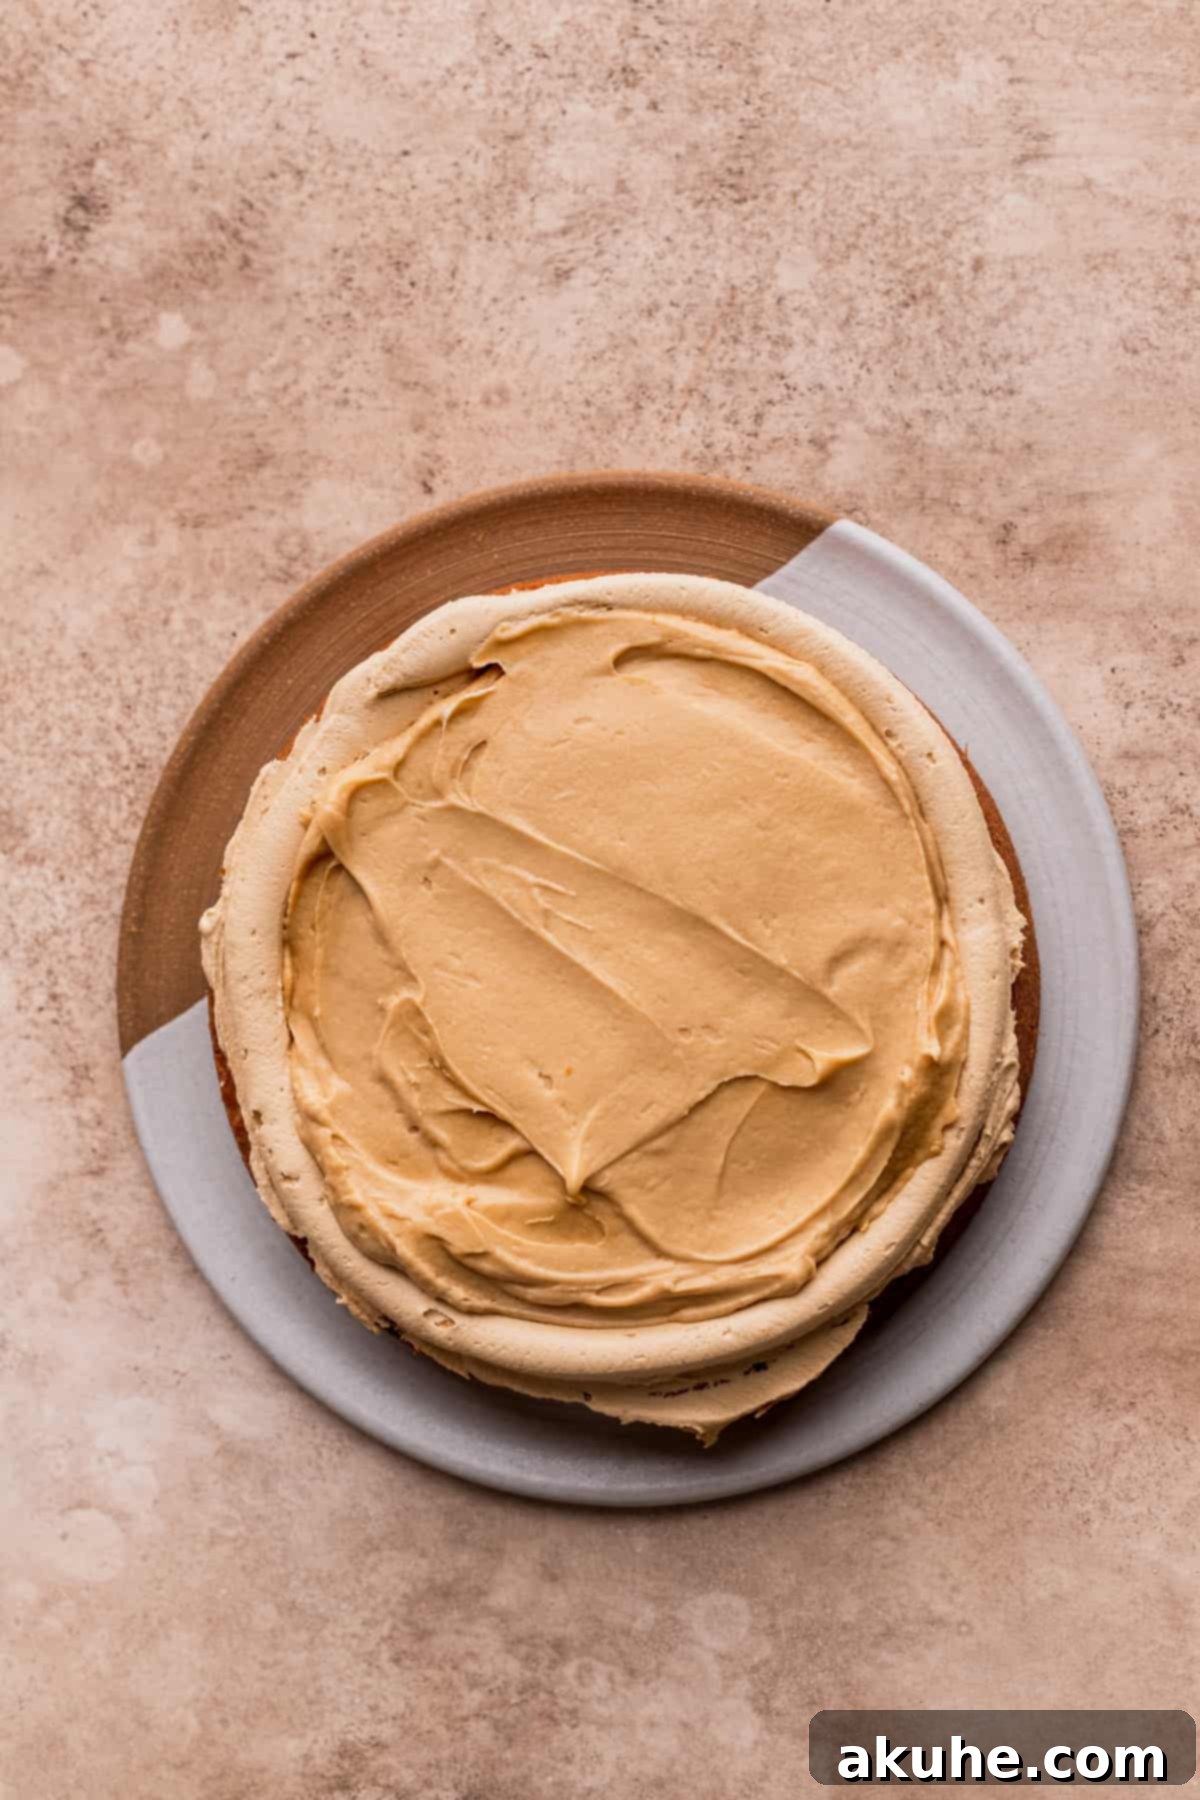
When applying the filling, **pipe a sturdy border of frosting** around the edge of each cake layer first. This creates a protective dam that encapsulates the softer cookie butter filling within the boundaries of the cake. This technique is essential for keeping the filling from leaking out, especially with the rich, creamy consistency of our Biscoff filling.
After you’ve stacked and filled your cake layers, it’s vital to **chill the cake again**. Place the cake, with its fillings, in the freezer for about 10-15 minutes. Since the filling is “wet” and soft, chilling it allows it to firm up. Without this step, the layers might slide or compress under the weight of the frosting, making it challenging to achieve a clean finish.
Next, apply a **thin, even layer of frosting over the entire cake – this is your crumb coat**. The crumb coat is crucial for trapping any loose cake crumbs, preventing them from mixing into your final, decorative layer of frosting. Once applied, freeze the cake for another 15 minutes. This locks in the crumbs and creates a firm, smooth base for your final frosting application.
Once the crumb coat is firm, you can confidently **frost the entire cake** with a thicker, smooth layer of the cookie butter buttercream. Take your time, use an offset spatula or cake scraper to achieve a beautifully even and smooth finish. Don’t worry if it’s not absolutely perfect; the Biscoff drip will add extra charm!
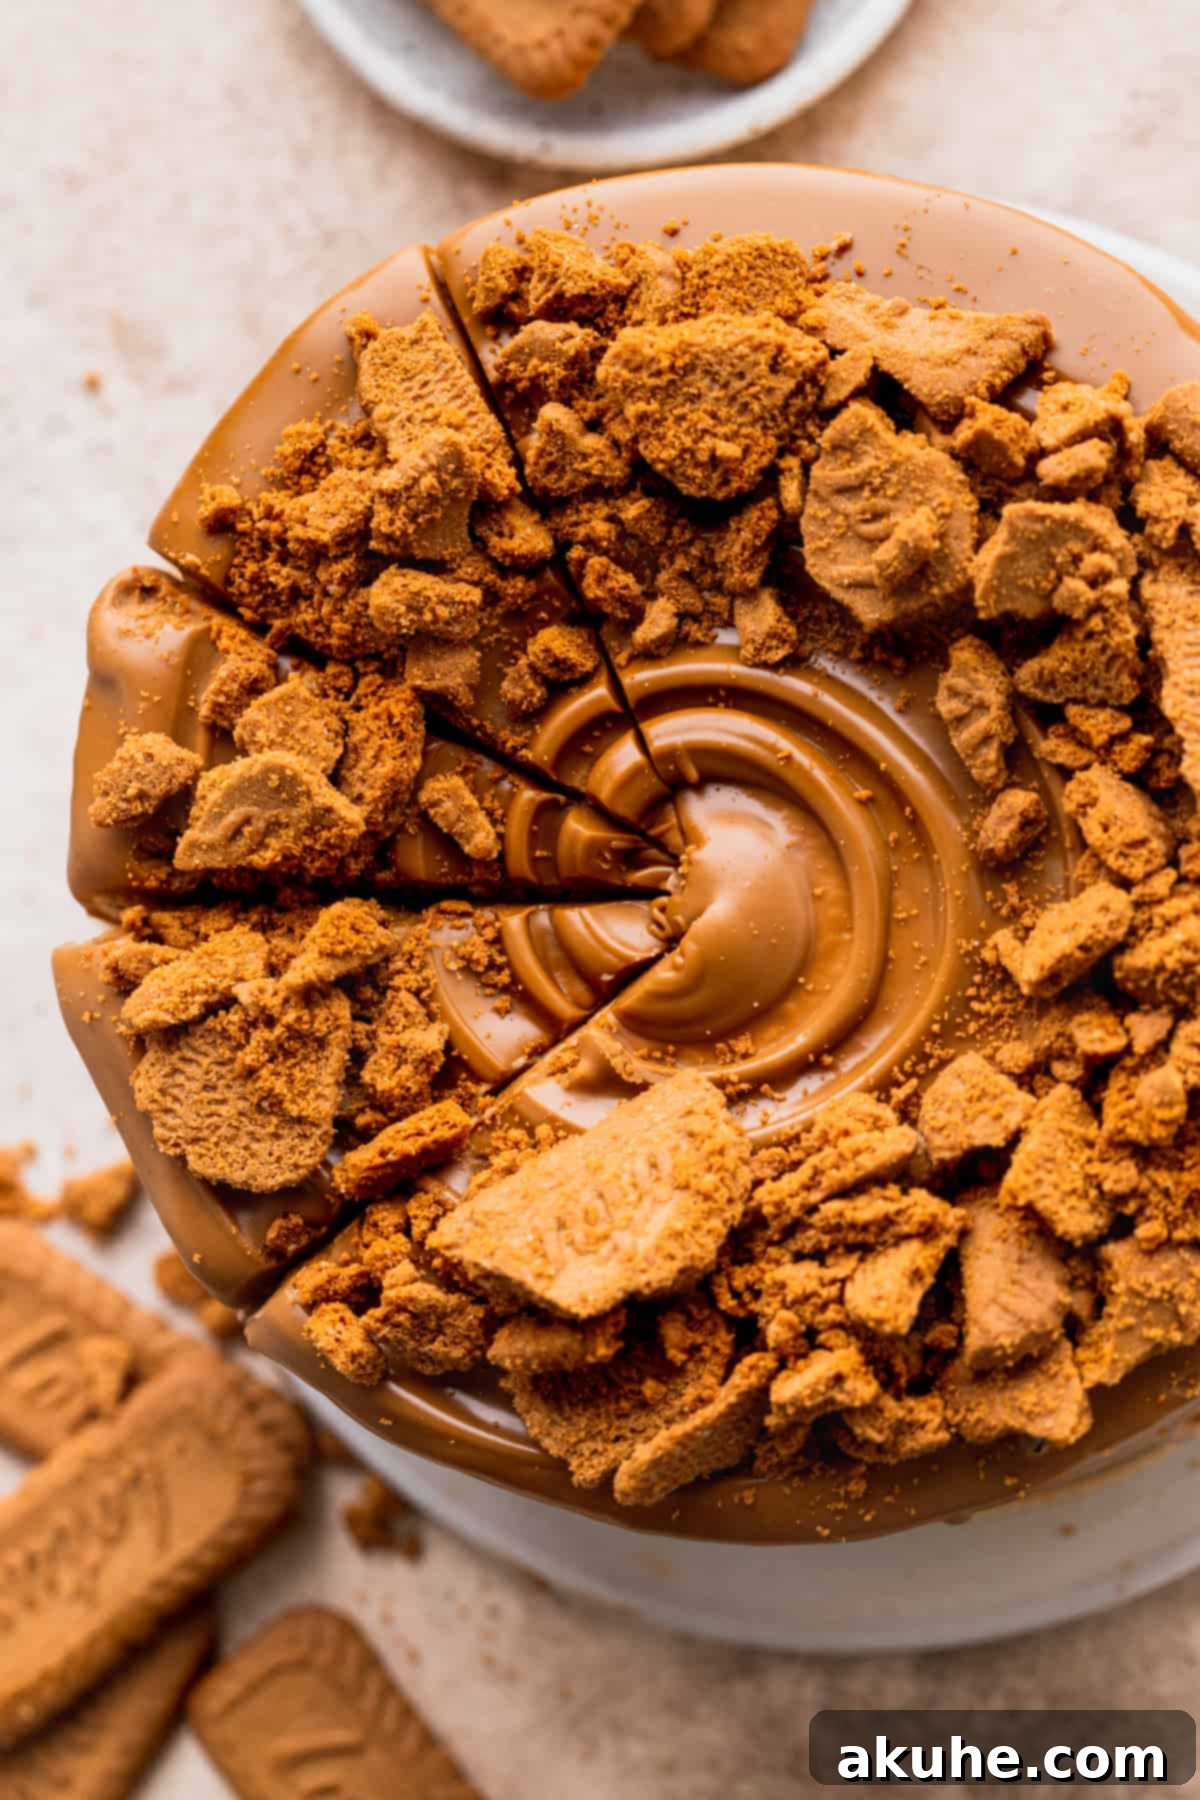
Finally, for that signature **cookie butter drip**, melt the cookie butter gently until it’s pourable but not hot. Before applying the drip, **freeze the frosted cake for an additional 10 minutes**. A cold cake surface is key; it causes the melted cookie butter to cool and set almost immediately upon contact, creating those beautifully controlled drips rather than an uncontrolled mess all over your platter. Carefully pour the melted cookie butter onto the center of the cake, then gently push it towards the edge with an offset spatula, allowing it to gracefully cascade down the sides. Finish with a few extra Biscoff cookies for decoration.
Frequently Asked Questions (FAQ) About Your Biscoff Cake
Absolutely, this versatile Biscoff cake recipe can be easily adapted to make delightful cupcakes! To achieve the perfect batch, we recommend halving both the cake batter and the cookie butter filling recipes. The frosting recipe, however, can remain the same as you’ll want ample to decorate. When halved, this recipe will yield approximately 12 standard-sized Biscoff cupcakes, perfect for individual servings. Baking times will also need adjustment; cupcakes typically bake much faster, so start checking for doneness around 18-22 minutes.
Yes, you can certainly convert this recipe into a sheet cake, though adjustments will be needed based on your pan size. For a standard 9×13-inch sheet cake, you can keep the original cake batter recipe as is, as it provides enough volume. For a simpler approach, you might consider omitting the specific cookie butter filling. If you do, we suggest halving the cookie butter frosting recipe, as you won’t need as much to cover a single layer. For smaller sheet cakes, such as an 8×8-inch or 9×9-inch pan, you’ll want to halve both the cake recipe and the frosting recipe to prevent overflow and ensure proper baking.
Indeed! This recipe is adaptable to various cake pan sizes, which will affect the thickness and number of layers. If you opt for 6-inch cake pans, you’ll end up with thicker, taller cake layers, potentially yielding more than three. For a slightly thicker cake in a two-layer format, a 7-inch cake pan would work well. Alternatively, if you prefer a classic two-layer cake, you can use 9-inch cake pans; the layers will be thinner but still delightful. Always adjust baking times accordingly when changing pan sizes, as thinner layers will bake faster and thicker ones will require more time.
Yes, if you’re a fan of peanut butter or simply don’t have Biscoff spread on hand, you can absolutely use peanut butter as a substitute for the cookie spread in both the filling and the frosting. This will, of course, completely change the flavor profile from a caramelized speculoos taste to a rich, nutty peanut butter flavor. Ensure you use a smooth, creamy peanut butter for the best consistency in your filling and frosting to avoid any grittiness.
Creative Recipe Variations to Explore
While our Lotus Biscoff cake recipe is perfected, feel free to get creative and customize it to your liking. Here are a couple of popular variations:
- Simplified Frosting-Only Cake: If you’re looking to streamline the baking process or prefer a less complex flavor profile, you can certainly fill the cake layers with just the cookie butter frosting instead of the cream cheese filling. To ensure you have plenty of frosting for both filling and covering the cake, simply multiply the frosting recipe by 1.5. This variation still offers plenty of rich Biscoff flavor with less prep time.
- Skip the Biscoff Drip for Time Savings: The cookie butter drip adds a beautiful visual element and an extra layer of flavor, but if you’re short on time or prefer a cleaner look, feel free to skip it. The cake will still be incredibly delicious and visually appealing with just the generous layer of cookie butter frosting. This minor adjustment can significantly reduce the overall decorating time.
Recommended Special Tools for Baking Success
Having the right tools can make a significant difference in your baking experience and the final outcome of your cake. Here are some of our recommended special tools:
- Cake Pans: For perfectly even and consistently baked layers, we highly recommend using high-quality Wilton 8-inch cake pans. Their even heat distribution helps prevent hot spots and ensures your cakes rise beautifully.
- Parchment Paper Circles: Save yourself time and hassle with pre-cut 8-inch parchment paper circles for the bottom of your pans. These eliminate the need for tracing and cutting from a roll, making pan preparation quick and efficient.
- Baking Spray: A reliable nonstick baking spray is crucial for easy cake release. We prefer using a nonstick spray that contains flour, which creates a better barrier and ensures your cakes slide out perfectly every time.
- Offset Spatula: This versatile tool is indispensable for spreading frosting and fillings smoothly and evenly. A good offset spatula allows for precise control and helps achieve professional-looking finishes.
- Cake Turntable: For effortless frosting and decorating, a high-quality cake turntable is a game-changer. We love the sturdy Ateco cast iron turntable because of its smooth, seamless spin, which prevents jerky movements common with lighter turntables, making frosting much easier.
- Cake Scraper: To achieve impeccably smooth sides on your frosted cake, a metal cake scraper is essential. It helps you get those sharp edges and a polished finish that elevates the overall appearance of your dessert.
- Piping Bags: For piping borders, fillings, or decorative elements, robust piping bags are a must. We prefer these 18-inch piping bags as they hold a generous amount of frosting, reducing the need for frequent refills during decoration.
- Piping Tip: To create beautiful and consistent frosting decorations, a classic piping tip is key. The Wilton 1M star tip is a versatile choice, perfect for elegant borders, rosettes, and other popular designs.
Storing and Freezing Your Biscoff Masterpiece
To keep your Biscoff layered cake fresh and delicious, proper storage is essential. Once fully assembled, store the cake in an airtight container in the refrigerator. This helps maintain its moisture and prevents it from absorbing odors from other foods. The cake will remain fresh for up to 5 days, though it truly tastes best when served at room temperature. For optimal enjoyment, remove it from the fridge about 30-60 minutes before serving.
Freezing Your Biscoff Cake
This Biscoff drip cake is also freezer-friendly, allowing you to enjoy slices whenever a craving strikes! For individual servings, cut the cake into desired slices. Wrap each slice tightly in cling film (plastic wrap), then place them in an airtight freezer-safe container or a heavy-duty freezer bag. Frozen slices can be stored for up to 30 days. To thaw, simply remove a slice from the freezer and let it sit at room temperature for approximately 1 hour before indulging.
You can also prepare the fluffy Biscoff cookie cake layers ahead of time. Once the baked cake layers have cooled completely, wrap each layer individually and very tightly in plastic wrap, then place them in an airtight container or freezer bag. They can be frozen for up to 30 days. When you’re ready to decorate, simply thaw the frozen cake layers at room temperature for about 1 hour before unwrapping and assembling your cake. This is a fantastic time-saving tip for busy bakers!
Other Delicious Recipes to Try
Explore These Irresistible Cakes
- S’mores Cake
- Ding Dong Cake
- Brownie Cake
- Chocolate Raspberry Cake
- Chocolate Peanut Butter Cake
We hope you truly enjoyed baking and savoring this incredible Lotus Biscoff Layered Cake! Your feedback means the world to us. Please take a moment to leave a star review below and share your experience. We love seeing your creations, so don’t forget to tag us on Instagram @stephaniesweettreats. For more delicious recipe ideas and baking inspiration, be sure to follow us on Pinterest!
Layered Lotus Biscoff Cake
Print Recipe
Pin Recipe
Leave a Review
Ingredients
Cake
- 15 Biscoff cookies, fine crumb equal to 1 cup.
- 2 3/4 cup All-purpose flour
- 2 1/4 tsp Baking powder
- 1 1/2 tsp Salt
- 1 cup Unsalted butter, room temperature
- 1/3 cup Oil, canola or vegetable
- 1 3/4 cup White granulated sugar
- 1 TBSP Pure vanilla extract
- 1/3 cup Sour cream, room temperature
- 4 Large eggs, room temperature
- 1 1/4 cup Buttermilk, room temperature
Cookie Butter Filling
- 4 oz Cream cheese, room temperature
- 1/2 cup Biscoff cookie butter
- 1 1/2 cup Powdered sugar, sifted
- 1 tsp Pure vanilla extract
- 1/2 cup Heavy cream
- 1 1/2 cups Biscoff cookies, chopped
Cookie Butter Frosting
- 1 cup Unsalted butter, slightly cold
- 3/4 cup Biscoff cookie butter
- 3 cups Powdered sugar, sifted
- 1 tsp Pure vanilla extract
- 1/4 cup Heavy cream
- 1/2 tsp Salt
- 3/4 cup Biscoff cookie butter, melted for drip
- Biscoff cookies, for decoration
Instructions
Cake
- Preheat oven to 350°F (175°C). Prepare three 8-inch cake pans by spraying them generously with nonstick baking spray. Place an 8-inch parchment paper circle at the bottom of each pan, then spray again.
- Using a blender or food processor, blend 15 Biscoff cookies until they form a very fine crumb. In a separate mixing bowl, combine the all-purpose flour, fine Biscoff crumbs, baking powder, and salt. Whisk until well combined.15 Biscoff cookies, 2 3/4 cup All-purpose flour, 2 1/4 tsp Baking powder, 1 1/2 tsp Salt
- In a large mixing bowl with a stand mixer (or using a hand mixer), beat the room temperature unsalted butter, oil, and granulated sugar on high speed for 3 minutes until the mixture is very light, pale, and fluffy. Reduce speed to low, then add the pure vanilla extract, room temperature sour cream, and eggs. Beat on high speed for another 2 minutes until the mixture is light and well emulsified.1 cup Unsalted butter, 1/3 cup Oil, 1 3/4 cup White granulated sugar, 1 TBSP Pure vanilla extract, 1/3 cup Sour cream, 4 Large eggs
- With the mixer on low speed, gradually add one-third of the dry ingredients to the wet mixture, mixing just until almost combined. Next, add half of the room temperature buttermilk and mix until just incorporated. Repeat with another one-third of the dry ingredients, then the remaining buttermilk. Finish by adding the last of the dry ingredients. Once the mixture is nearly uniform, remove the bowl from the mixer and use a rubber spatula to gently scrape down the sides and bottom, ensuring all ingredients are fully blended without overmixing.1 1/4 cup Buttermilk
- Divide the cake batter evenly among the three prepared cake pans. Bake for 28-35 minutes, or until a wooden skewer inserted into the center of a cake comes out clean.
- Allow the cakes to cool in their pans for 10-15 minutes before carefully inverting them onto a wire cooling rack. Let them cool completely to room temperature before attempting to decorate or stack. This prevents the cake from falling apart.
Cookie Butter Filling
- In a large mixing bowl, beat the room temperature full-fat cream cheese on high speed for 1 minute until light and smooth. Add the Biscoff cookie butter and continue beating until fully incorporated and smooth. Gradually add the sifted powdered sugar and mix until smooth; initially, it may appear crumbly, but it will smooth out. Finally, mix in the pure vanilla extract.4 oz Cream cheese, 1/2 cup Biscoff cookie butter, 1 1/2 cup Powdered sugar, 1 tsp Pure vanilla extract
- Place a metal mixing bowl and whisk attachments in the freezer for 10 minutes. Once chilled, pour the heavy cream into the cold bowl. Beat on high speed until stiff peaks form, indicating a perfectly whipped cream.1/2 cup Heavy cream
- Gently fold the whipped cream into the Biscoff cream cheese mixture using a rubber spatula. Fold carefully to maintain the airiness, continuing until the mixture is completely smooth and uniform. Cover and chill the filling in the refrigerator for at least one hour (or preferably overnight) until it sets. This will make it much easier to pipe and spread during assembly.
Cookie Butter Frosting
- Remove the unsalted butter from the refrigerator 30 minutes before you begin, allowing it to become slightly cold but still pliable. While waiting, sift the powdered sugar to ensure a smooth frosting.1 cup Unsalted butter, 3 cups Powdered sugar
- In a large mixing bowl, beat the slightly cold butter on high speed for 1 minute until smooth. Scrape down the sides of the bowl, then add the Biscoff cookie butter. Beat on high speed for 2 minutes until fully combined and fluffy. Scrape the bowl again to ensure everything is incorporated.3/4 cup Biscoff cookie butter
- Slowly add the sifted powdered sugar to the mixture, starting on low speed until combined. Next, add the heavy cream, pure vanilla extract, and salt. Mix on low speed until all ingredients are incorporated. Increase the speed to high and beat for 1 minute to achieve a light, fluffy, and smooth buttercream.1/4 cup Heavy cream, 1/2 tsp Salt, 1 tsp Pure vanilla extract
Assembly
- Ensure your cooled cake layers are firm by placing them in the freezer for 30 minutes before assembly. This makes them easier to handle.
- Dab a small amount of cookie butter frosting onto your chosen cake board or serving platter. This will help secure the bottom cake layer in place during decoration.
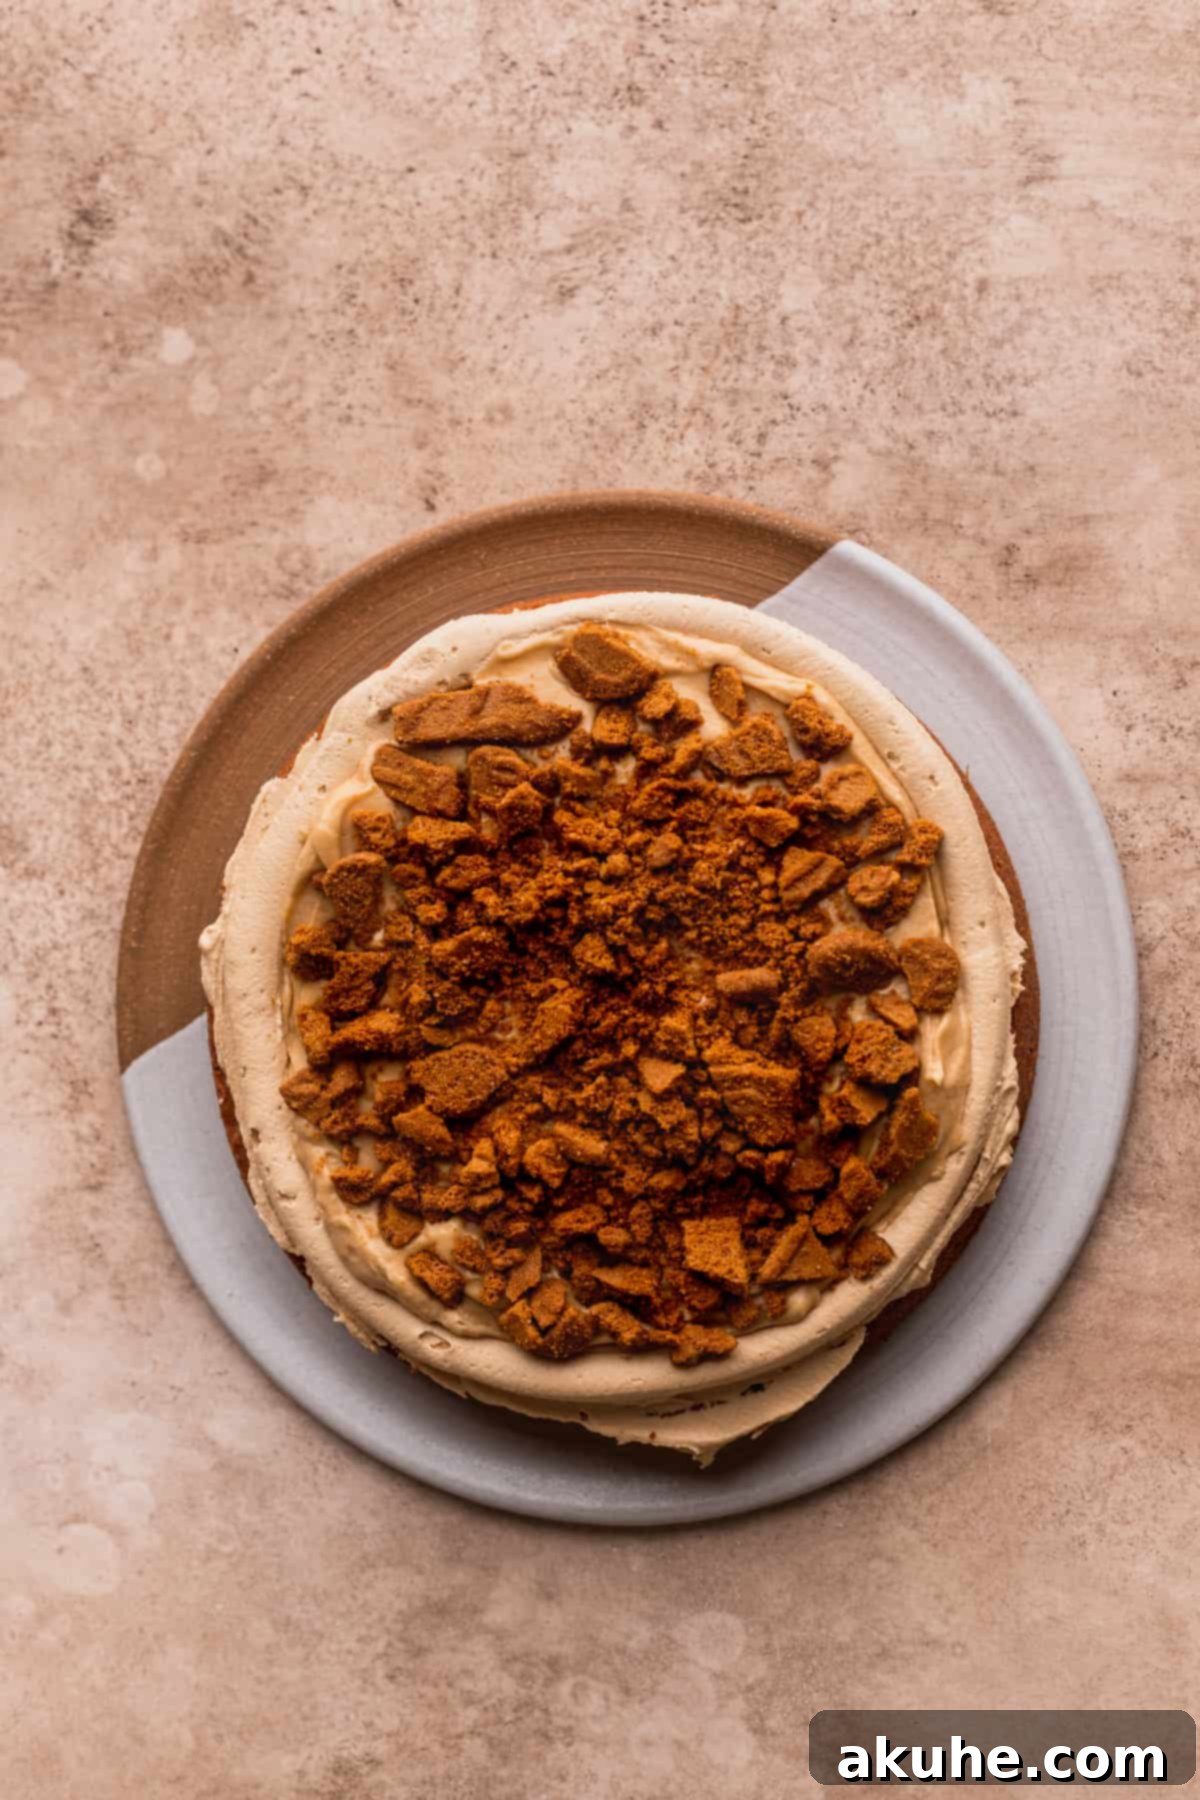
- Place the first cake layer on the board. Spread about ½ cup of the cookie butter frosting evenly over the top. Then, using a piping bag, pipe a sturdy border of frosting around the very edge of this layer. This creates a dam for the filling. Spread half of the chilled cookie butter cream cheese filling inside the frosting border, smoothing it out. Sprinkle generously with half of the chopped Biscoff cookies. Repeat this process with the second cake layer.1 1/2 cups Biscoff cookies
- Place the final cake layer on top, with the bottom side facing upwards. This technique creates the flattest possible surface for the top of your cake. Once stacked, place the entire cake in the freezer for 10 minutes to chill and firm up the filling.
- Remove the cake from the freezer and apply a thin, even layer of cookie butter frosting all over the cake – this is your crumb coat. It locks in any loose crumbs. Return the cake to the freezer for 15 minutes to allow the crumb coat to set. Once firm, apply the remaining cookie butter frosting, smoothing it to achieve a polished finish.
- Gently melt the ¾ cup of Biscoff cookie butter in the microwave until pourable, then let it cool slightly (it should still be warm but not hot). Place the frosted cake in the freezer for another 10 minutes to ensure it’s very cold. This is crucial for creating perfect drips. Pour the melted cookie butter over the top of the chilled cake and gently push it towards the edges, allowing it to naturally drip down the sides. Decorate the top with additional Biscoff cookies as desired.3/4 cup Biscoff cookie butter, Biscoff cookies
Notes
High Altitude Baking: If you are baking at a high altitude, you may need to make a slight adjustment. We recommend adding an extra 2 tablespoons of all-purpose flour to the cake batter to help maintain its structure and moisture.
