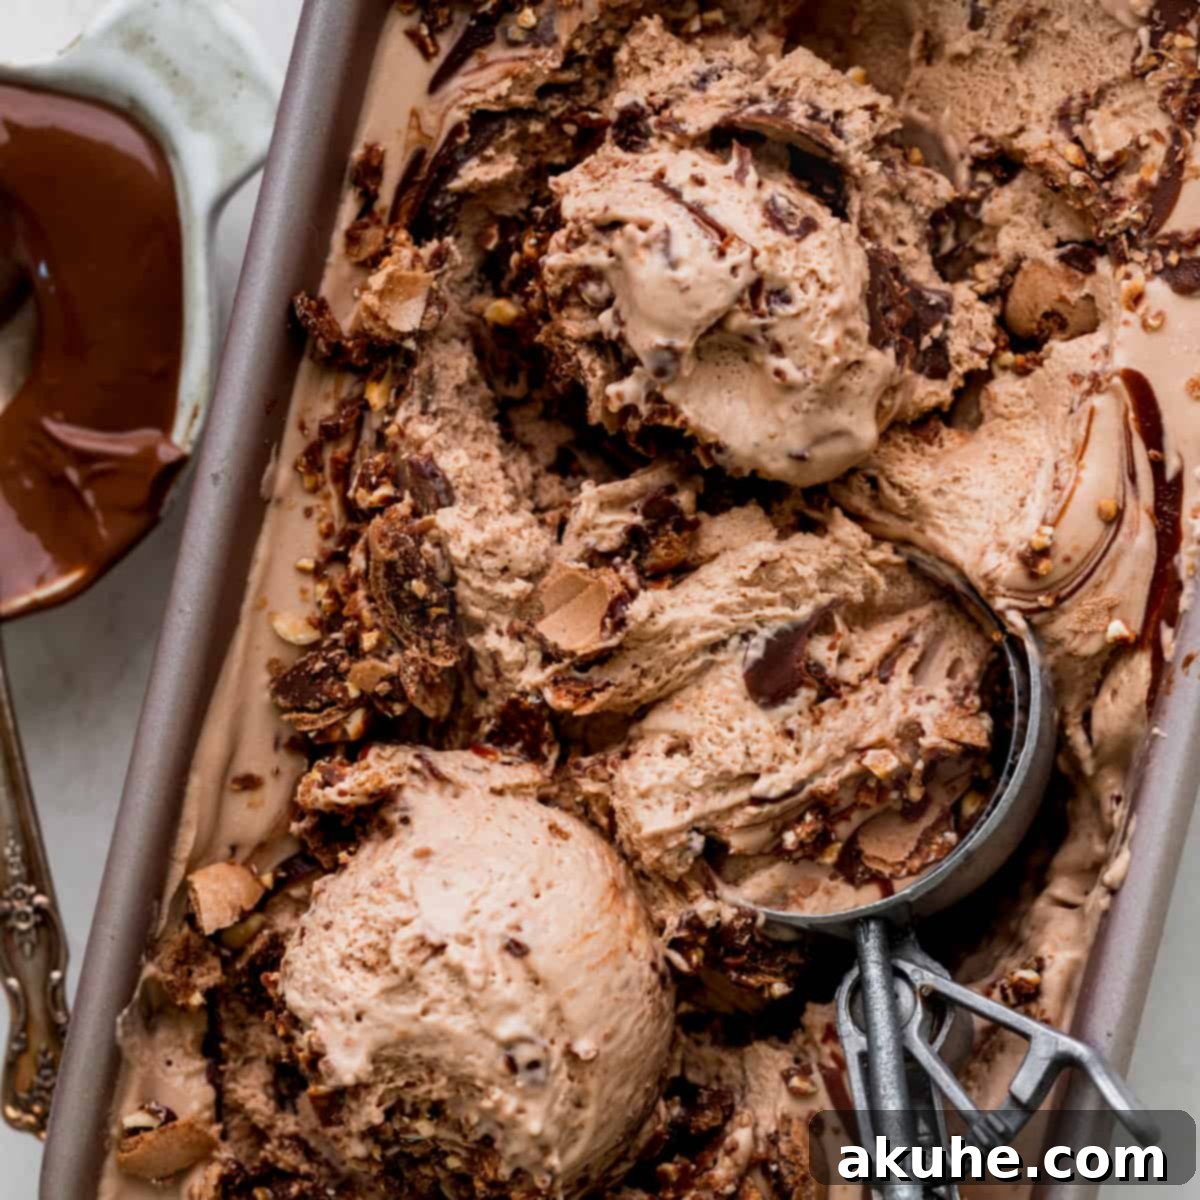
Indulge your sweet tooth with a dessert that’s truly a dream come true for chocolate-hazelnut lovers: homemade Nutella Ice Cream. This incredibly easy, no-churn recipe delivers a rich, creamy texture without the need for an ice cream machine, making it accessible to any home cook. Imagine luscious Nutella-infused ice cream, generously swirled with extra ribbons of melted Nutella, and studded throughout with crunchy pieces of decadent Ferrero Rocher truffles. It’s a symphony of flavors and textures designed to captivate your palate and elevate any occasion.
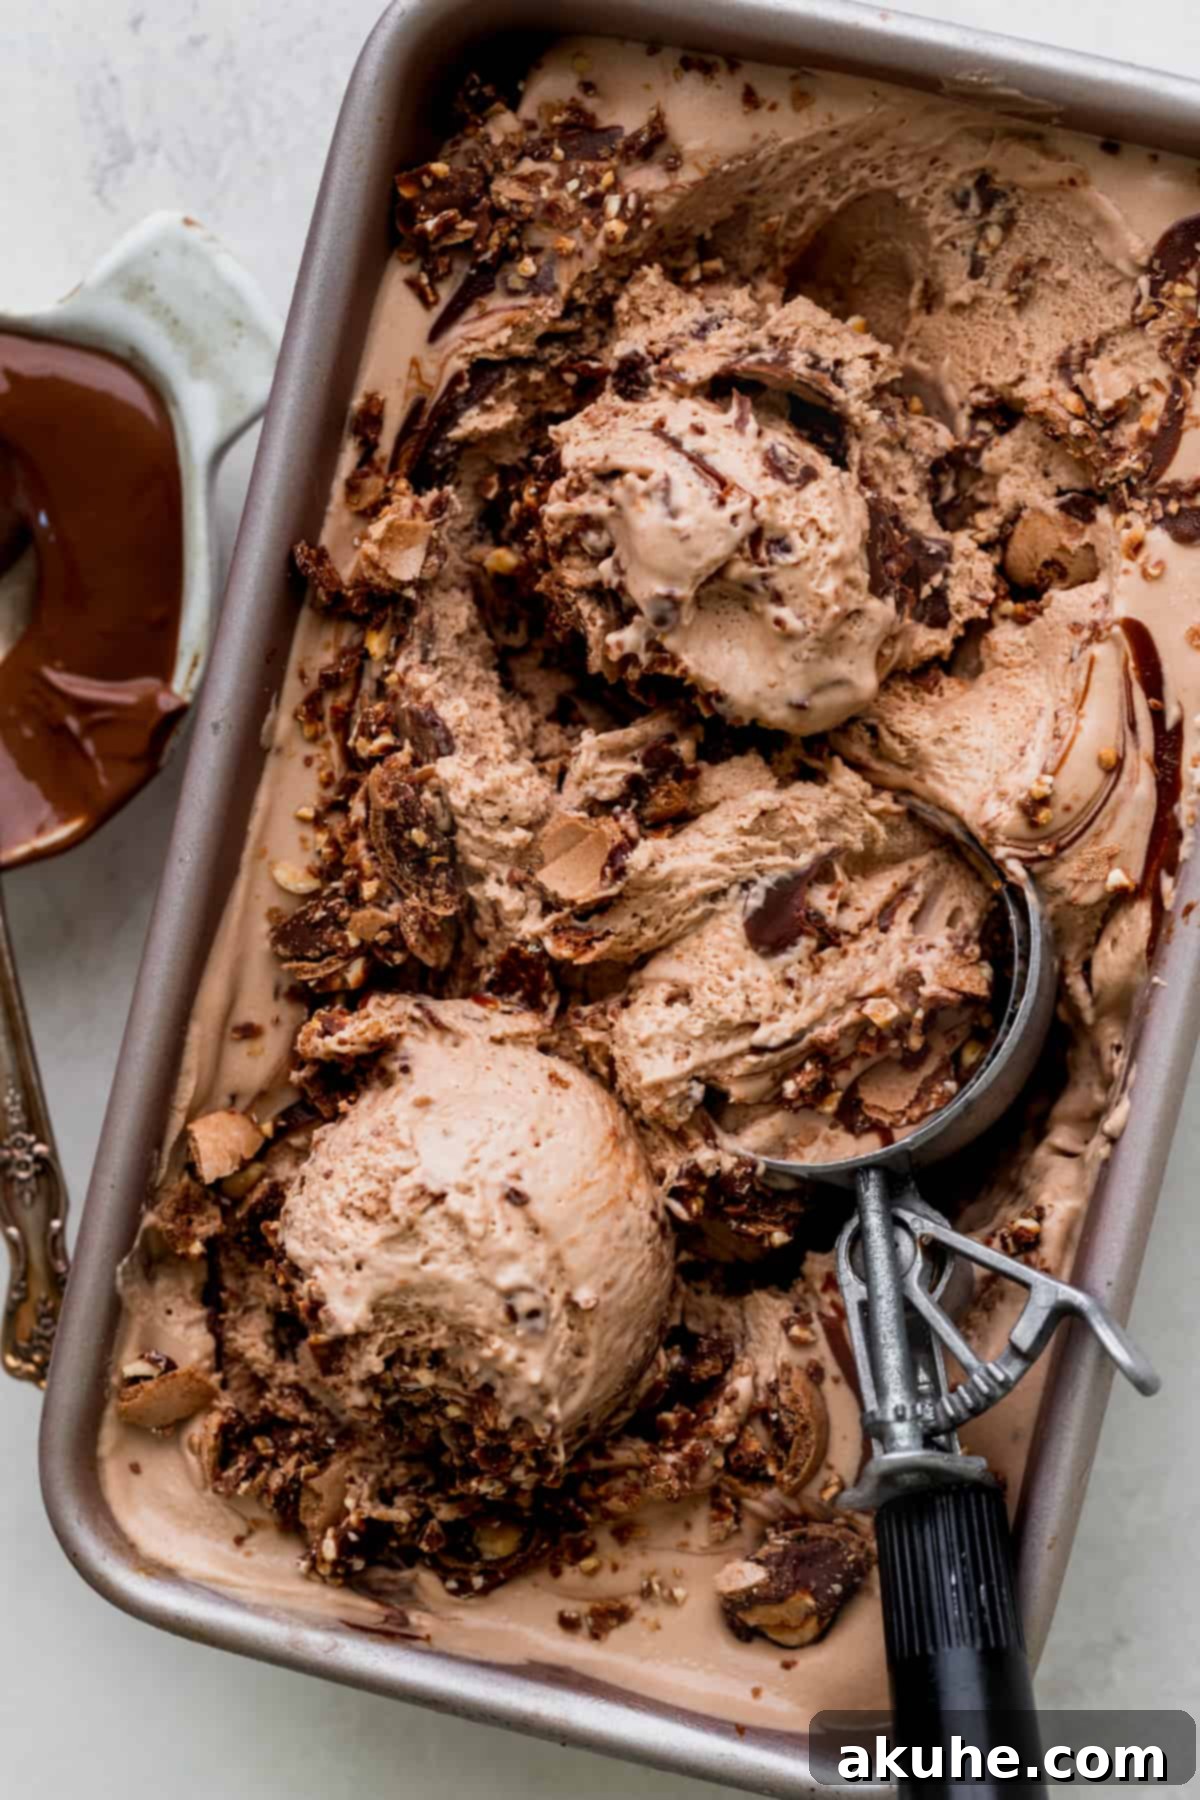
This isn’t just any ice cream; it’s an experience. The magic lies in its simplicity and the irresistible combination of high-quality ingredients. For those who adore the iconic hazelnut spread, this recipe takes your appreciation to a whole new level. The no-churn method ensures a velvety smooth base, while the addition of Ferrero Rocher truffles provides a delightful crunch that perfectly contrasts the creamy ice cream. Each spoonful offers a harmonious blend of rich chocolate, nutty hazelnut, and that satisfying crispness that makes this dessert truly unforgettable. Prepare to impress your family and friends with this surprisingly simple yet utterly sophisticated treat.
Craving more frozen delights? Explore other sensational ice cream recipes to expand your dessert repertoire. Discover the playful Ice Cream Cookie Sandwich for a fun twist, delve into the decadent Cookie Dough Ice Cream Cake for a show-stopping dessert, or savor the refreshing layers of a Strawberry Ice Cream Cheesecake.
Why This No-Churn Nutella Ice Cream Recipe is a Must-Try
There are countless reasons why this particular Nutella ice cream recipe stands out. It combines ease of preparation with incredible flavor and texture, making it a favorite for both novice and experienced bakers alike. Here’s why this recipe works so wonderfully:
- Effortless No-Churn Method: Forget about bulky ice cream makers! This recipe eliminates the need for any specialized equipment, relying on a simple mixing and freezing process. It’s perfect for anyone looking for homemade ice cream without the fuss. The straightforward steps mean less time in the kitchen and more time enjoying your delicious creation.
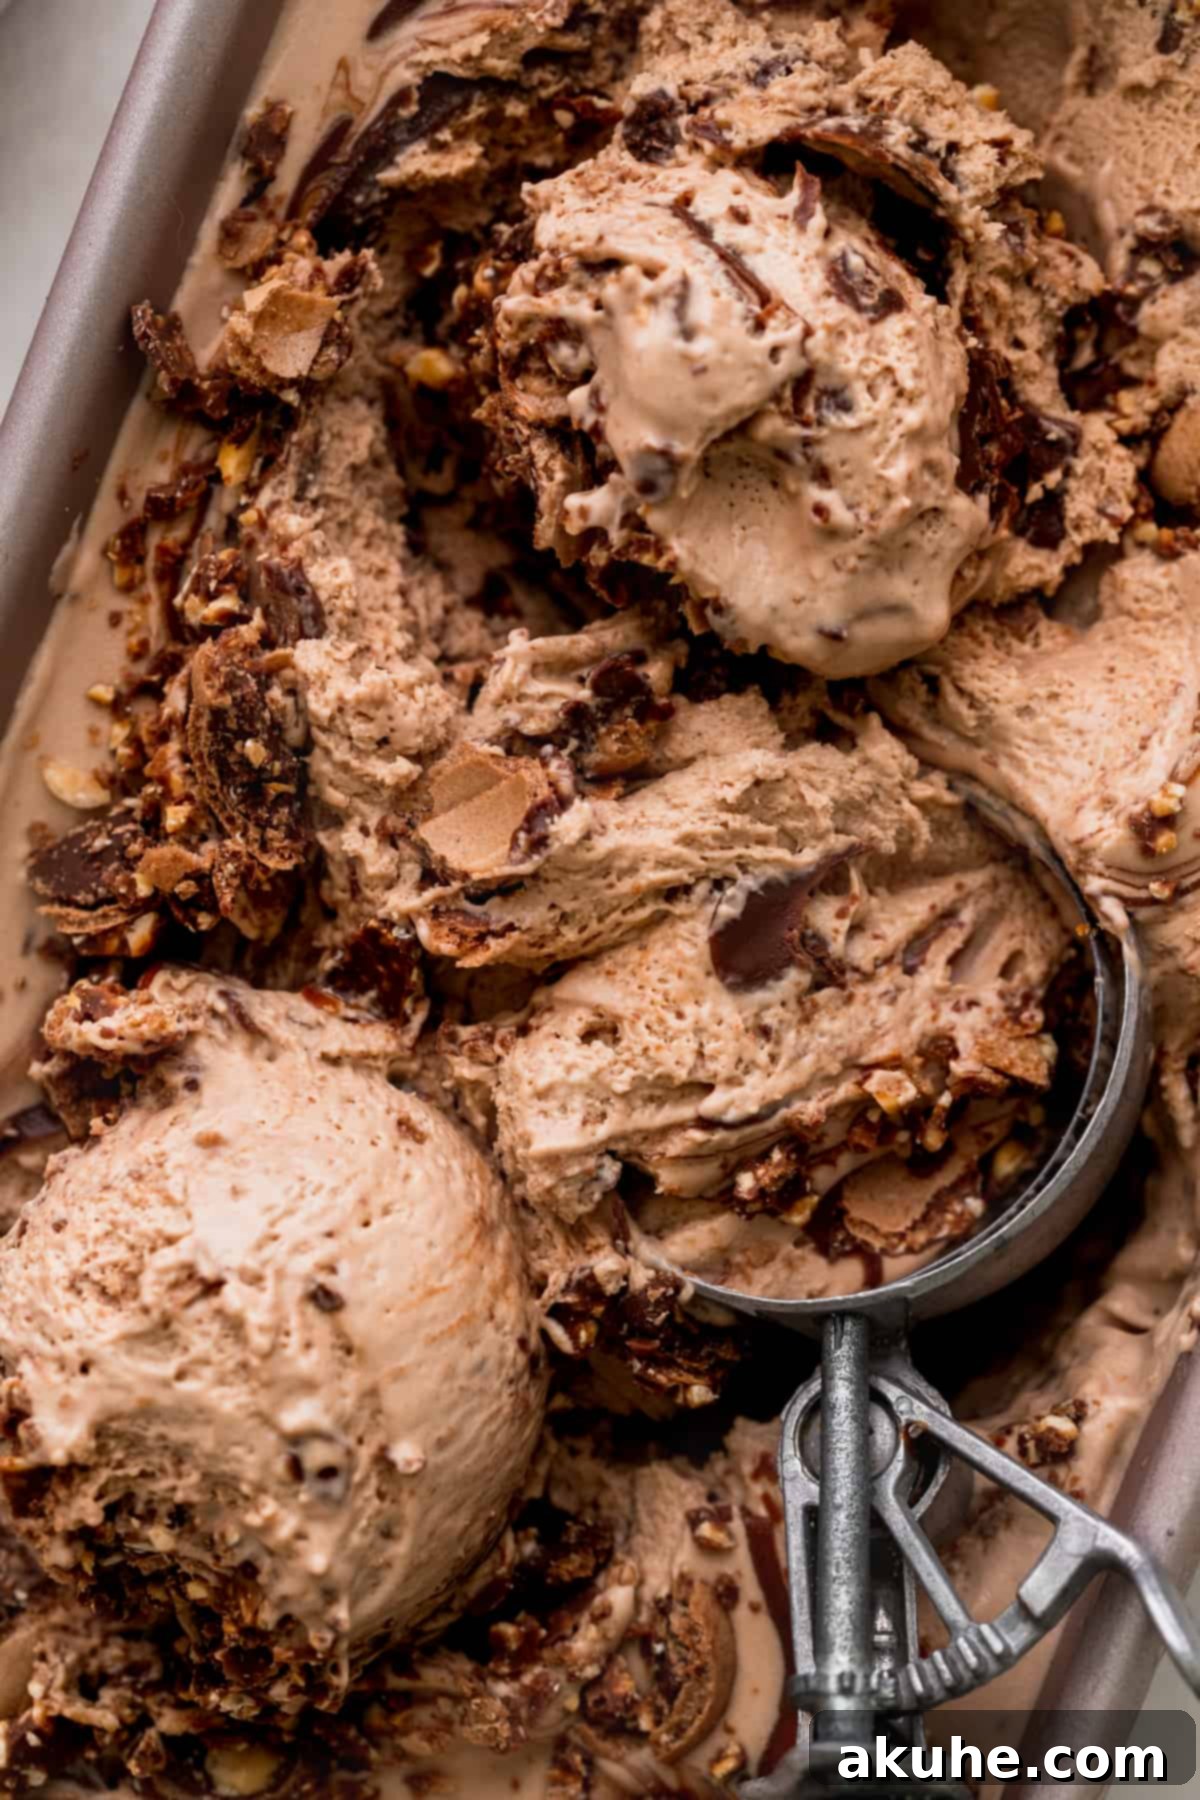
- Irresistible Nutella Swirl: Nutella isn’t just an ingredient in the ice cream base; it’s a star player in the final presentation. We incorporate Nutella directly into the creamy mixture, and then swirl generous ribbons of melted Nutella throughout each layer. This ensures a consistent, rich hazelnut-chocolate flavor in every bite, along with visually appealing streaks of goodness.
- Luxurious Ferrero Rocher Inclusion: Elevate your ice cream with the delightful crunch and exquisite taste of chopped Ferrero Rocher candies. These iconic hazelnut truffles are sprinkled between layers, adding a sophisticated textural contrast and an extra layer of hazelnut-chocolate bliss. The crispy wafer and whole hazelnut inside the truffles make for an exciting surprise in the smooth ice cream.
- Perfect for Any Occasion: Whether you’re hosting a dinner party, celebrating a special event, or simply craving a sweet treat on a hot day, this Nutella ice cream is always a crowd-pleaser. Its rich flavor and elegant appearance make it suitable for any gathering, big or small.
- Customizable Fun: While the recipe is fantastic as is, it also offers room for personalization. Add a sprinkle of toasted hazelnuts, a drizzle of chocolate fudge, or even a different type of chopped candy to make it uniquely yours.
Essential Ingredient Notes for Perfect Nutella Ice Cream
The success of this decadent no-churn Nutella ice cream hinges on a few key ingredients. Understanding their role and preparing them correctly will ensure a beautifully creamy and flavorful result. Below are detailed notes on each component. For a comprehensive list of all quantities, please refer to the full recipe card at the end of this article.
- Heavy Cream (Cold): This is the foundation of our no-churn ice cream, providing its signature richness and airy texture. It’s crucial that your heavy cream is very cold, ideally having been refrigerated for at least 12 hours. Cold cream whips up faster and achieves stiffer, more stable peaks, which are essential for incorporating air and creating a light, fluffy base that freezes into a wonderfully smooth ice cream. Do not substitute with lighter creams or half-and-half, as they lack the fat content necessary for proper whipping and a creamy consistency.
- Sweetened Condensed Milk (1 Can): This magical ingredient provides the sweetness and creamy body that would typically come from sugar and churning in traditional ice cream. It’s thick, sweet, and helps prevent ice crystals from forming, contributing significantly to the smooth, dense texture characteristic of no-churn ice cream. Use a standard 14-ounce can; no need to adjust for sweetness as it’s perfectly balanced for this recipe.
- Nutella (Regular): The star flavor of our ice cream! Use authentic, regular Nutella for the best results. The consistency of store-bought Nutella is ideal for both mixing into the base and drizzling as a swirl. Homemade Nutella, while delicious, can sometimes be too runny or have a different fat content, which might alter the final texture of the ice cream. For the melted Nutella swirls, you’ll want to gently warm it just enough to make it pourable, but not hot.
- Ferrero Rocher (Chopped): These exquisite hazelnut truffles are the ultimate complement to the Nutella. Their crispy wafer, creamy hazelnut filling, and whole roasted hazelnut provide a fantastic textural contrast and an intensified hazelnut-chocolate flavor. Chopping them ensures they are distributed evenly and add a delightful crunch in every spoonful. While highly recommended for their unique contribution, you can certainly make the ice cream without them or experiment with other chocolate truffles or chopped nuts if you prefer. Consider freezing them briefly before chopping to make the process easier and prevent them from melting too quickly when added to the ice cream.
- Vanilla Extract: A touch of pure vanilla extract enhances all the other flavors, especially the chocolate and hazelnut notes. Use good quality vanilla for the best aromatic depth.
Step-by-Step Instructions: Crafting Your Dream Nutella Ice Cream
Creating this magnificent Nutella ice cream is a straightforward process, requiring minimal equipment and no ice cream maker. Follow these detailed steps to achieve a rich, creamy, and utterly delicious dessert. You’ll need either a stand mixer with a whisk attachment or a hand mixer, along with a 9×5-inch loaf pan for freezing.
STEP 1: Prepare Your Tools and Initial Ingredients. Begin by placing a large metal mixing bowl (or your stand mixer bowl) and the whisk attachment in the freezer for at least 10-15 minutes. This chilling step is crucial for achieving perfectly whipped cream. While they chill, melt 1/2 cup of Nutella in a microwave-safe bowl. Heat it in 15-second intervals, stirring after each, until it’s smooth and pourable but not hot. Place your Ferrero Rocher truffles in the freezer to firm up, which will make them easier to chop later.
STEP 2: Combine the Wet Ingredients. In a separate medium-sized mixing bowl, pour in the entire can of sweetened condensed milk. Add the pure vanilla extract and the 1/2 cup of melted Nutella that you prepared earlier. Whisk these ingredients together until they are thoroughly combined and smooth. This creates a rich, sweet, and flavorful base for your ice cream.
STEP 3: Whip the Heavy Cream to Perfection. Remove the chilled metal bowl and whisk attachment from the freezer. Pour the very cold heavy cream into the chilled bowl. Using your stand mixer or hand mixer on high speed, beat the heavy cream until soft peaks form. Soft peaks hold their shape but gently curl over at the tip when the whisk is lifted. Be careful not to over-whip into stiff peaks, as this can result in a denser ice cream. Once soft peaks are achieved, remove the mixer.
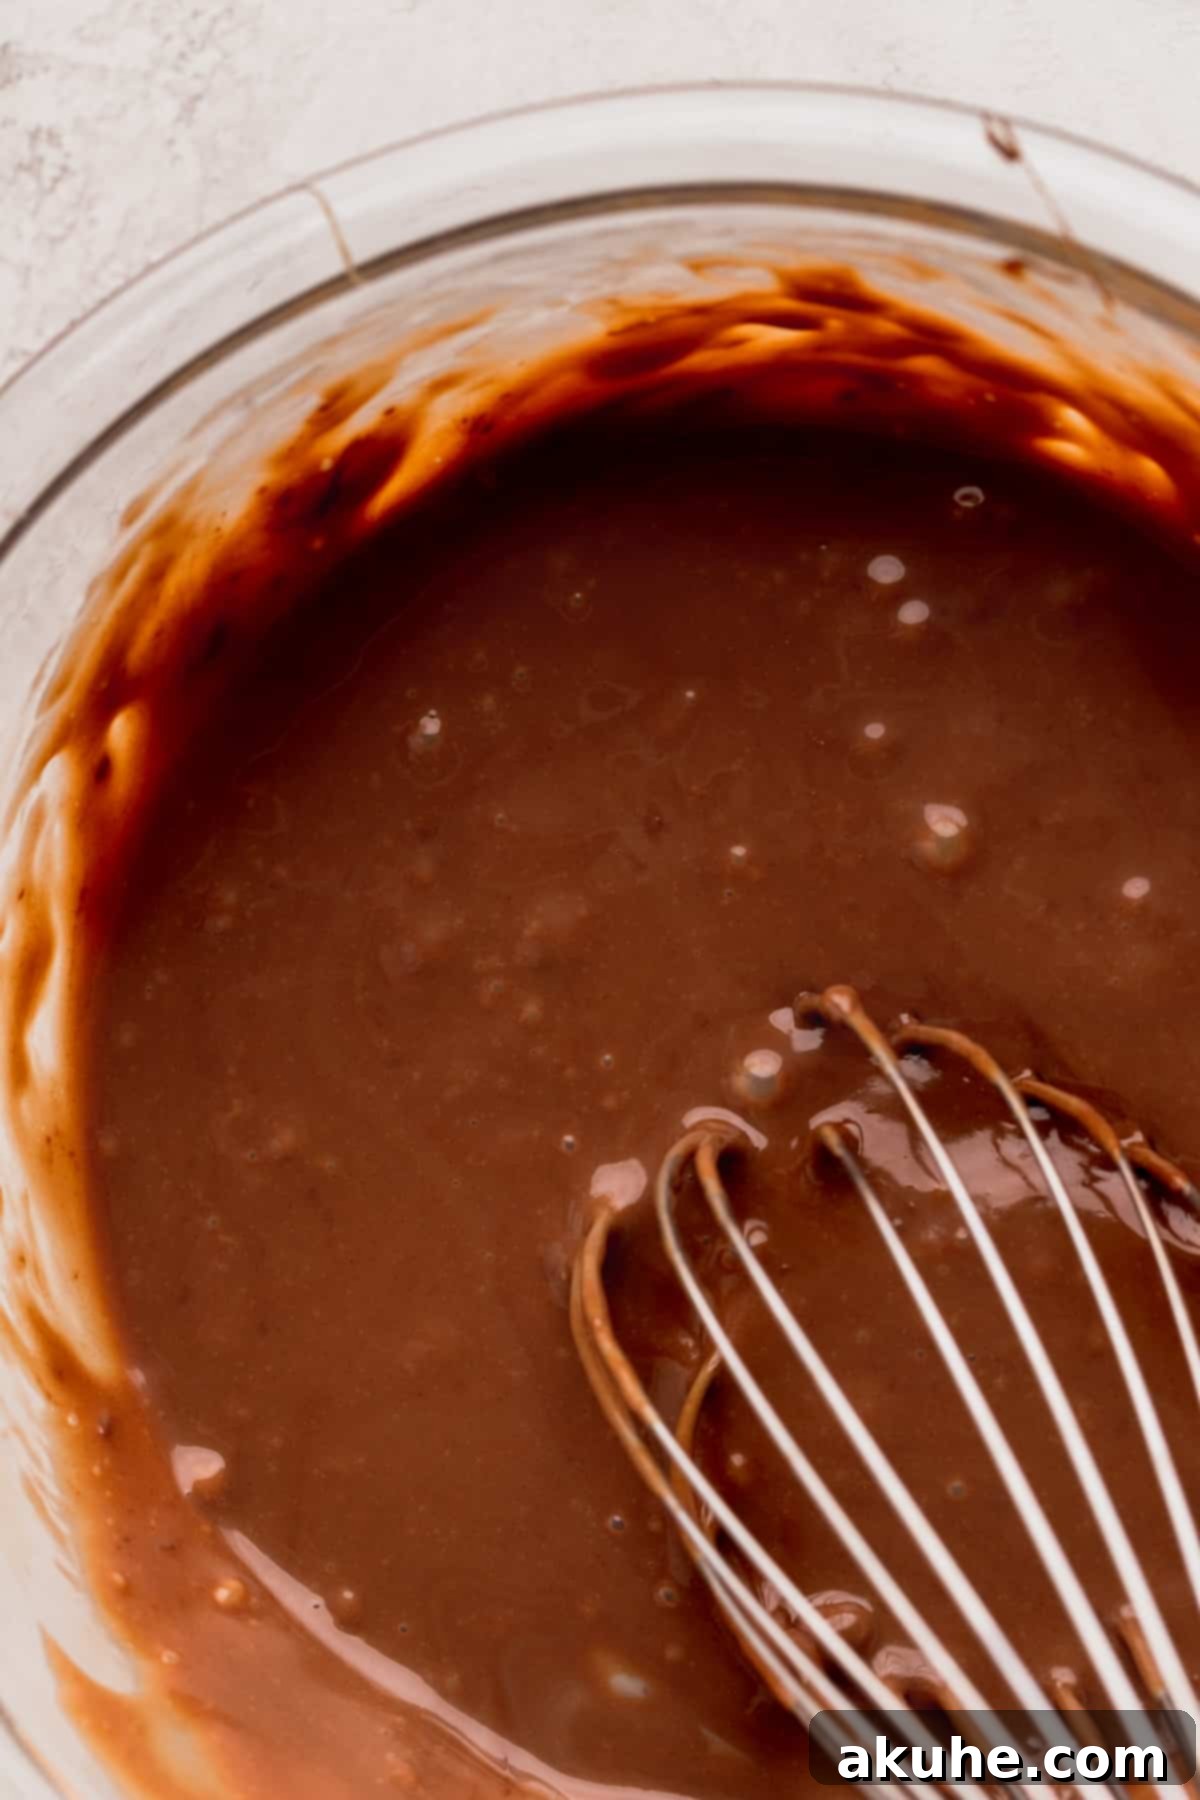
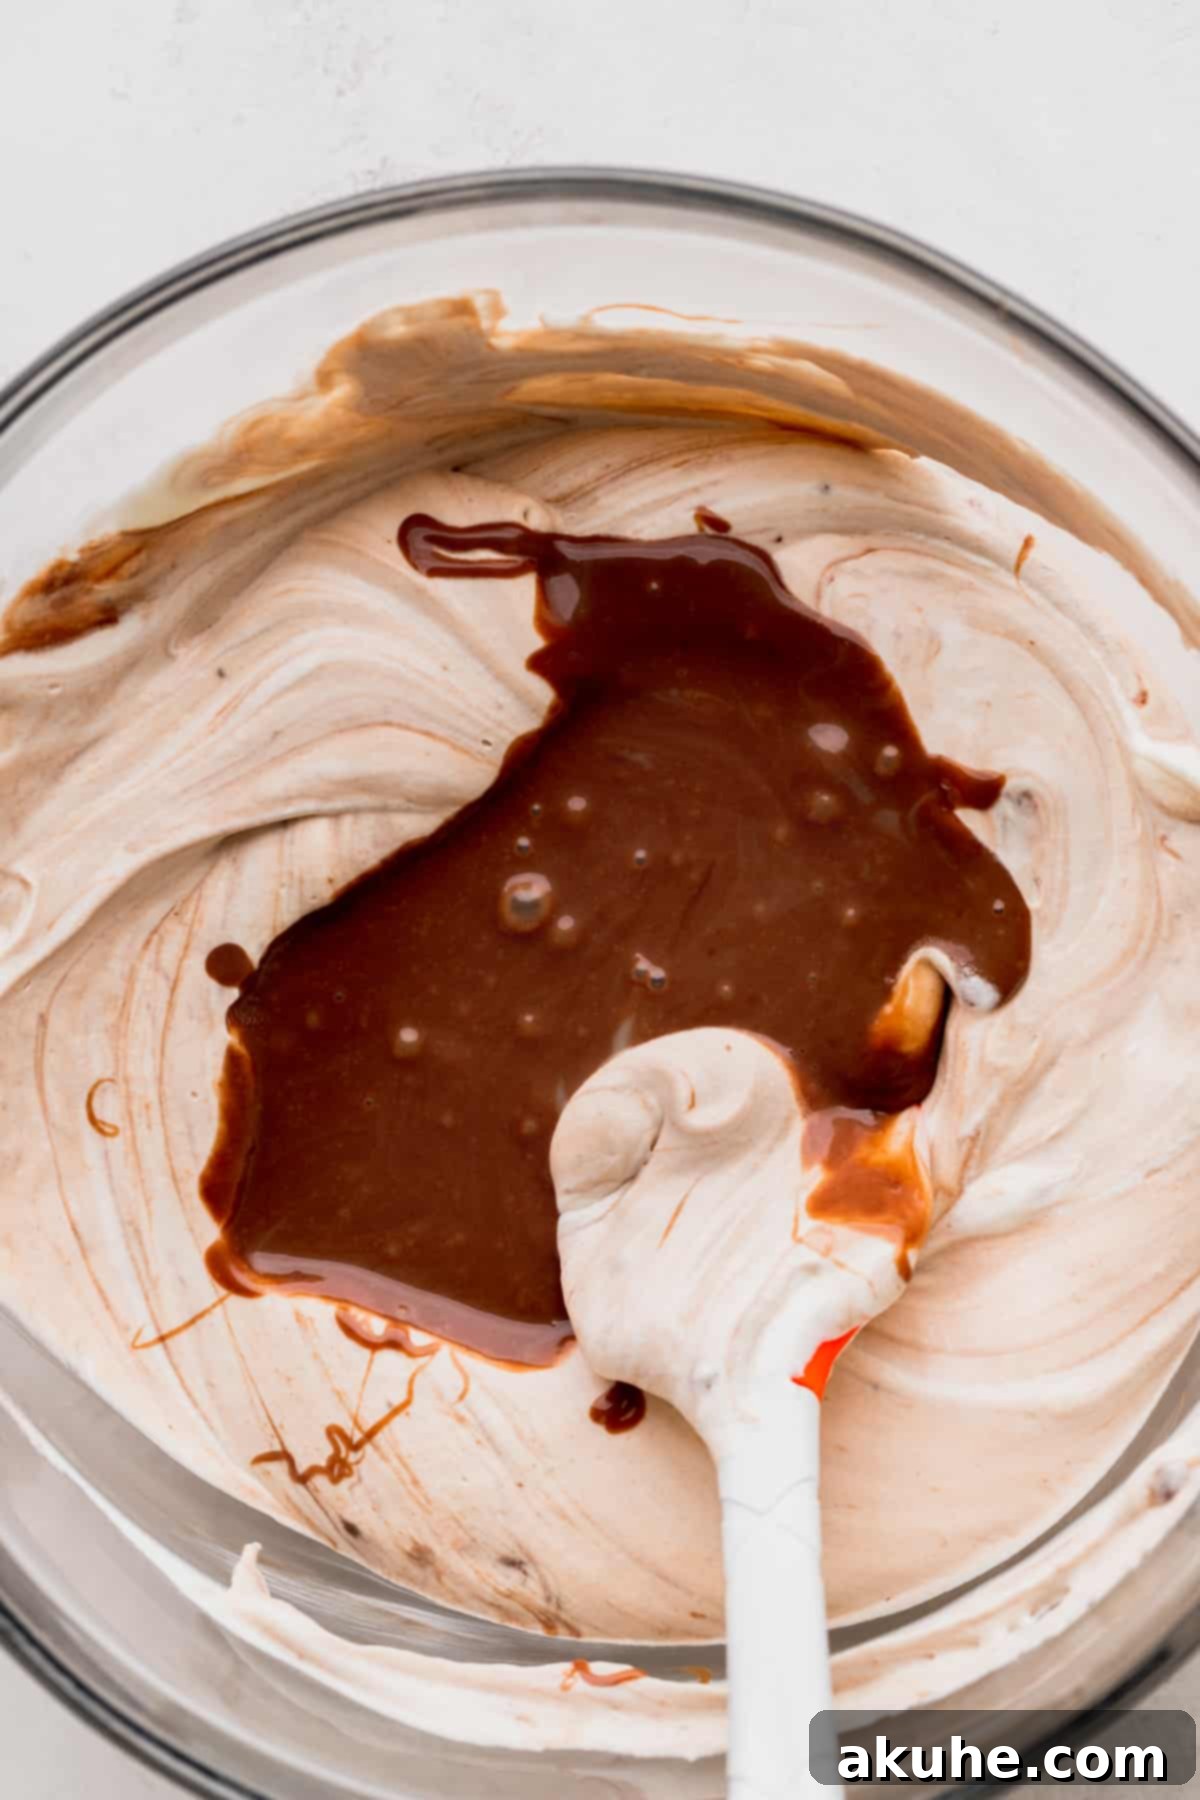
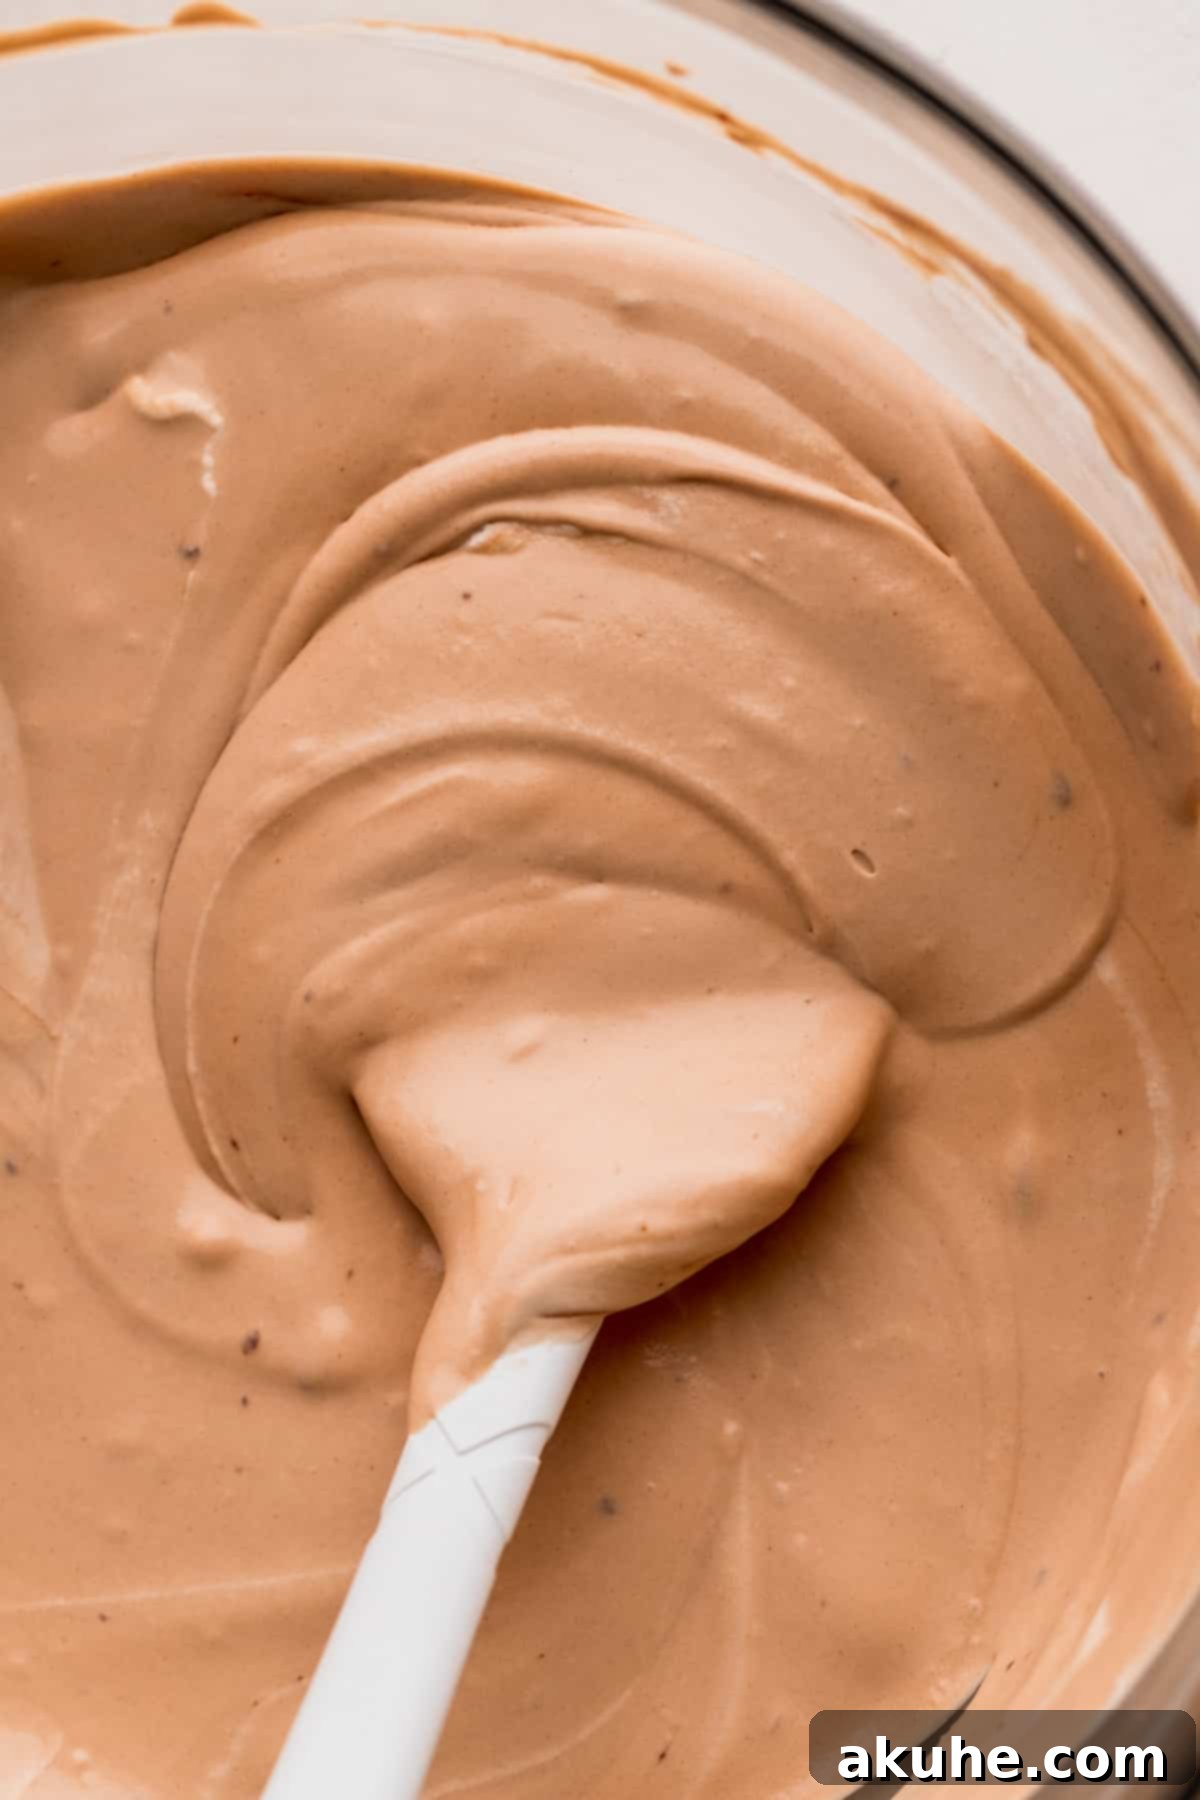
STEP 4: Gently Fold in the Nutella Mixture. This step requires a delicate touch to maintain the airiness of the whipped cream. Pour about half of your Nutella and sweetened condensed milk mixture into the whipped cream. Using a rubber spatula, gently fold it in with an upward motion, turning the bowl as you go. Continue folding until it’s almost fully combined, with a few streaks remaining. Then, add the remaining Nutella mixture and continue to gently fold until everything is just incorporated. Be careful not to deflate the whipped cream; this is key to a light and creamy ice cream.
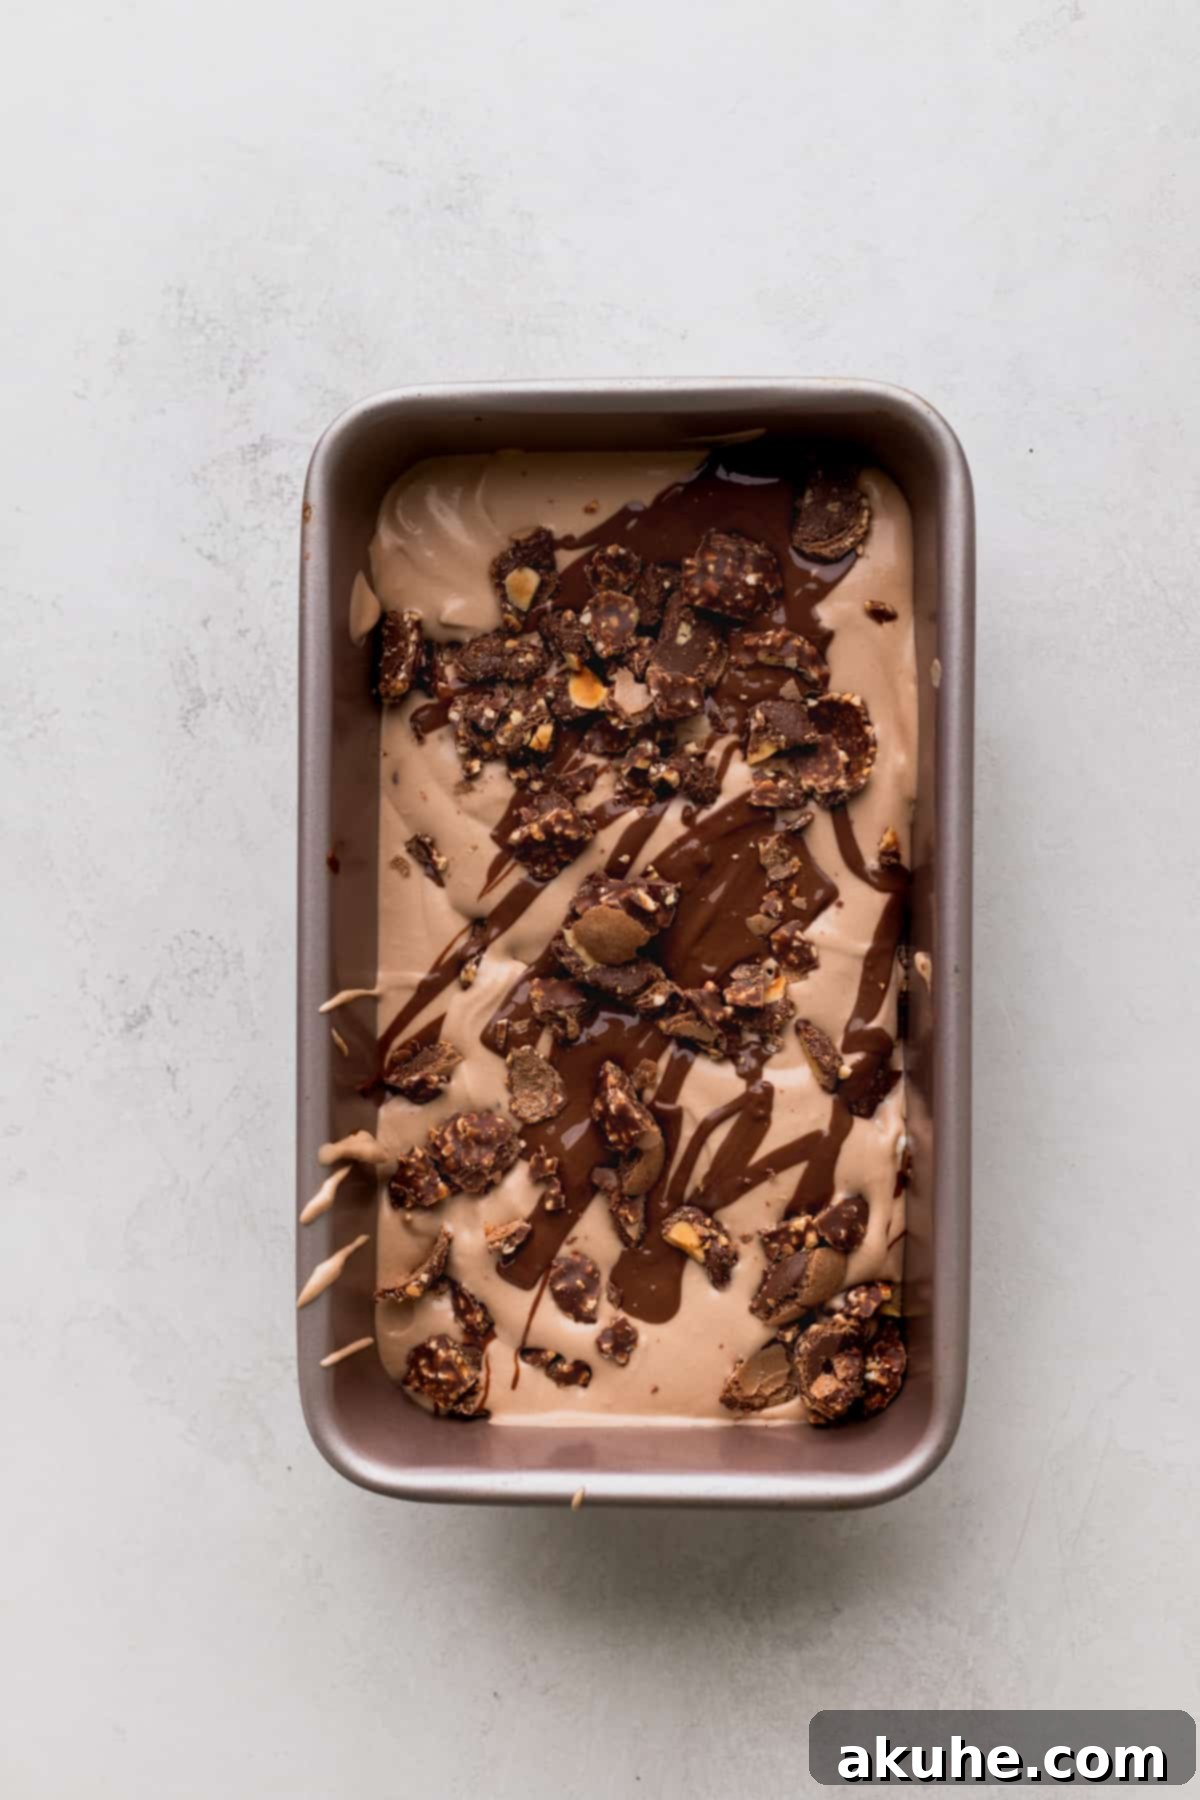
STEP 5: Layer the Ice Cream with Swirls and Crunch. Melt the remaining 1/4 cup of Nutella in the microwave for about 15-20 seconds until it’s easily pourable. Remove the chilled Ferrero Rocher truffles from the freezer and roughly chop them into small pieces. Now, it’s time to build your layers in the loaf pan. Pour approximately one-third of the Nutella ice cream mixture into the prepared pan. Drizzle about one-third of the melted Nutella over this layer, creating ribbons. Then, sprinkle one-third of the chopped Ferrero Rochers evenly over the top.
Repeat this layering process for the second layer: add another third of the ice cream mixture, followed by a drizzle of melted Nutella and another sprinkle of chopped Ferrero Rochers. For the final layer, pour in the remaining ice cream mixture. Drizzle the rest of the melted Nutella generously over the top. Use a butter knife or a skewer to gently swirl the top layer of Nutella into the ice cream, creating beautiful patterns. Finally, scatter the last of the chopped Ferrero Rocher pieces on top for a delightful garnish and extra crunch.
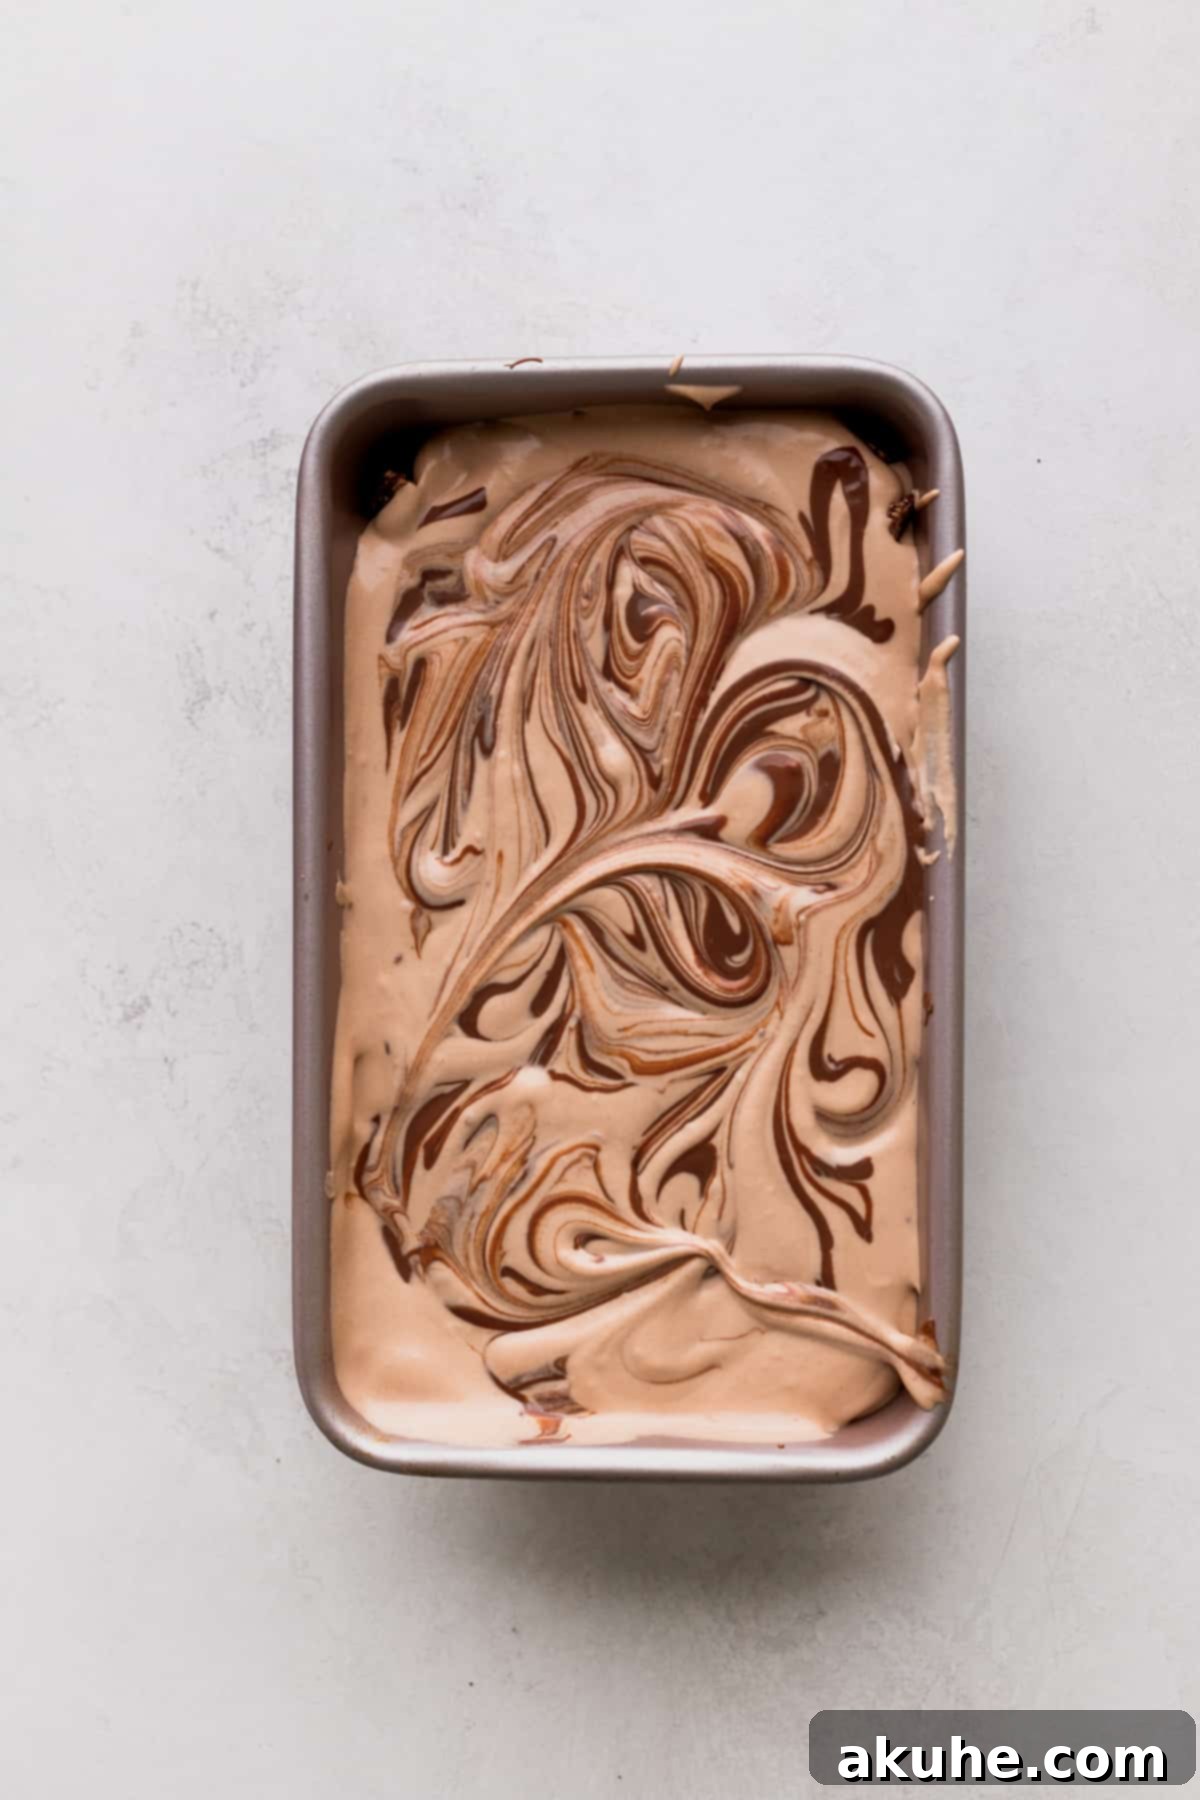
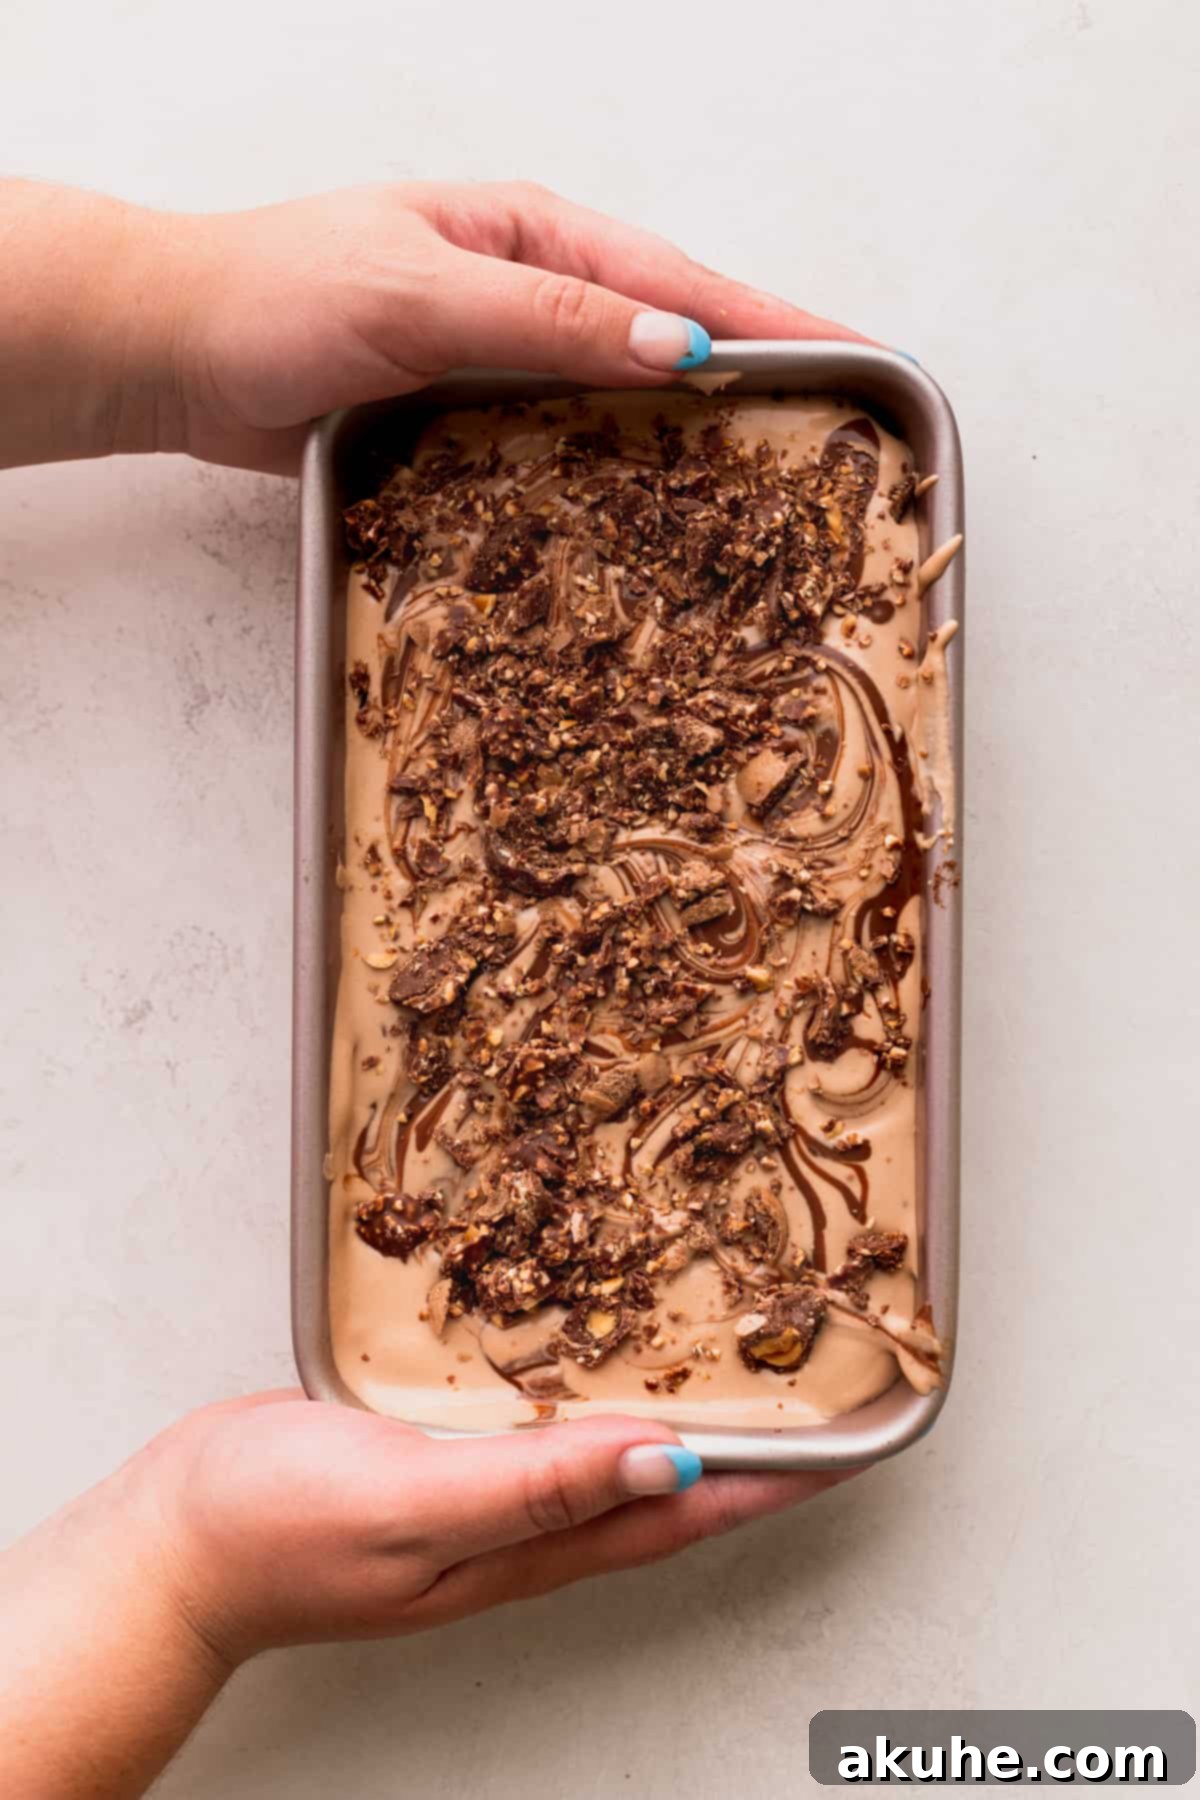
STEP 6: Freeze Overnight for Optimal Setting. To ensure your ice cream sets perfectly and achieves its ideal creamy texture, cover the loaf pan securely. First, use a layer of plastic wrap, pressing it directly onto the surface of the ice cream to prevent ice crystals from forming. Then, cover the entire pan tightly with aluminum foil. Place the covered pan in the freezer and allow it to freeze overnight, or for a minimum of 12 hours. This extended chill time is essential for the ice cream to firm up completely and develop its luxurious consistency.
Expert Tips for the Perfect No-Churn Nutella Ice Cream
Achieving a truly exceptional no-churn ice cream is simple when you know a few tricks of the trade. These expert baking tips will help you create the creamiest, most delightful Nutella ice cream every single time, ensuring a flawless dessert that will impress everyone.
- Chill Your Equipment: For optimal whipped cream, always use a very cold metal mixing bowl and whisk attachment. Place them in the freezer for at least 10-15 minutes before you start whipping the heavy cream. This dramatically helps the cream whip up faster and more efficiently, resulting in a stable, airy base.
- Aim for Soft Peaks: When whipping the heavy cream, stop as soon as soft peaks form. These peaks will hold their shape but still have a slight curl at the tip. Over-whipping to stiff peaks can lead to a denser, less creamy ice cream, as it incorporates too much air that can then collapse. A softer whipped cream results in a more melt-in-your-mouth texture.
- Fold Gently and Delicately: The key to light and airy no-churn ice cream is to preserve as much of the air in the whipped cream as possible. When combining the Nutella mixture with the whipped cream, use a rubber spatula and a gentle folding technique. Scoop from the bottom of the bowl and fold over the top, turning the bowl as you go. Avoid vigorous stirring or beating, which will knock the air out of the whipped cream and prevent the ice cream from setting correctly or being as creamy.
- Pre-Chill Ferrero Rochers: To prevent your Ferrero Rocher pieces from melting or becoming too soft when mixed into the ice cream, place them in the freezer for about 30 minutes before chopping. Once chopped, return them to the freezer briefly. This ensures they remain firm and provide that delightful crunch when you layer them into the ice cream.
- Crucial Overnight Freeze: Patience is paramount! The ice cream absolutely needs to be chilled overnight, or for a minimum of 12 hours. This extended freezing period allows the mixture to fully set and solidify, developing its characteristic smooth and dense texture. Trying to scoop it too early will result in a soft, unset dessert.
- Cover Properly for Crystal-Free Ice Cream: To prevent unsightly and unappetizing ice crystals from forming on the surface of your ice cream, cover the pan correctly. Press plastic wrap directly onto the surface of the ice cream, ensuring no air pockets. Then, cover the entire loaf pan tightly with aluminum foil for an extra layer of protection.
- Melt Nutella Carefully: When melting Nutella for swirling, do so in short bursts (15-20 seconds) in the microwave, stirring well after each. You want it warm enough to be pourable, but not hot, as excessive heat can impact the texture and melt the ice cream base prematurely during layering.
Frequently Asked Questions About No-Churn Nutella Ice Cream
While a 9×5-inch loaf pan is ideal, you can absolutely use other metal pans. An 8 or 9-inch square cake pan, or even a round cake pan of similar size, will work well. The key is to use a metal pan, as it conducts cold more efficiently, helping the ice cream freeze evenly and thoroughly. Avoid glass or ceramic for faster freezing.
There are a couple of common reasons why your no-churn ice cream might not set properly. First, ensure it has been in the freezer for at least 12 hours. No-churn recipes require a longer chilling time to firm up completely. If it still hasn’t set after adequate freezing, the most likely culprit is being too rough when folding the sweetened condensed milk and Nutella mixture into the whipped cream. Over-mixing can deflate the air from the whipped cream, which is crucial for the ice cream’s structure and ability to set. Always fold gently and sparingly.
Absolutely! While no-churn ice cream has a slightly denser, richer, and often creamier texture than traditionally churned ice cream (which tends to be lighter and airier due to more incorporated air), it tastes incredible. Many people even prefer the more substantial mouthfeel of no-churn. The intense flavor from the Nutella and Ferrero Rocher truly shines through, offering a luxurious dessert experience.
The sweetened condensed milk is fundamental to the no-churn method’s texture and also provides much of the sweetness. Reducing it significantly would affect the ice cream’s ability to set and its creaminess. However, you could consider using unsweetened heavy cream or adjusting the amount of additional Nutella (if you find it too sweet). The Ferrero Rocher also adds sweetness, so be mindful of that.
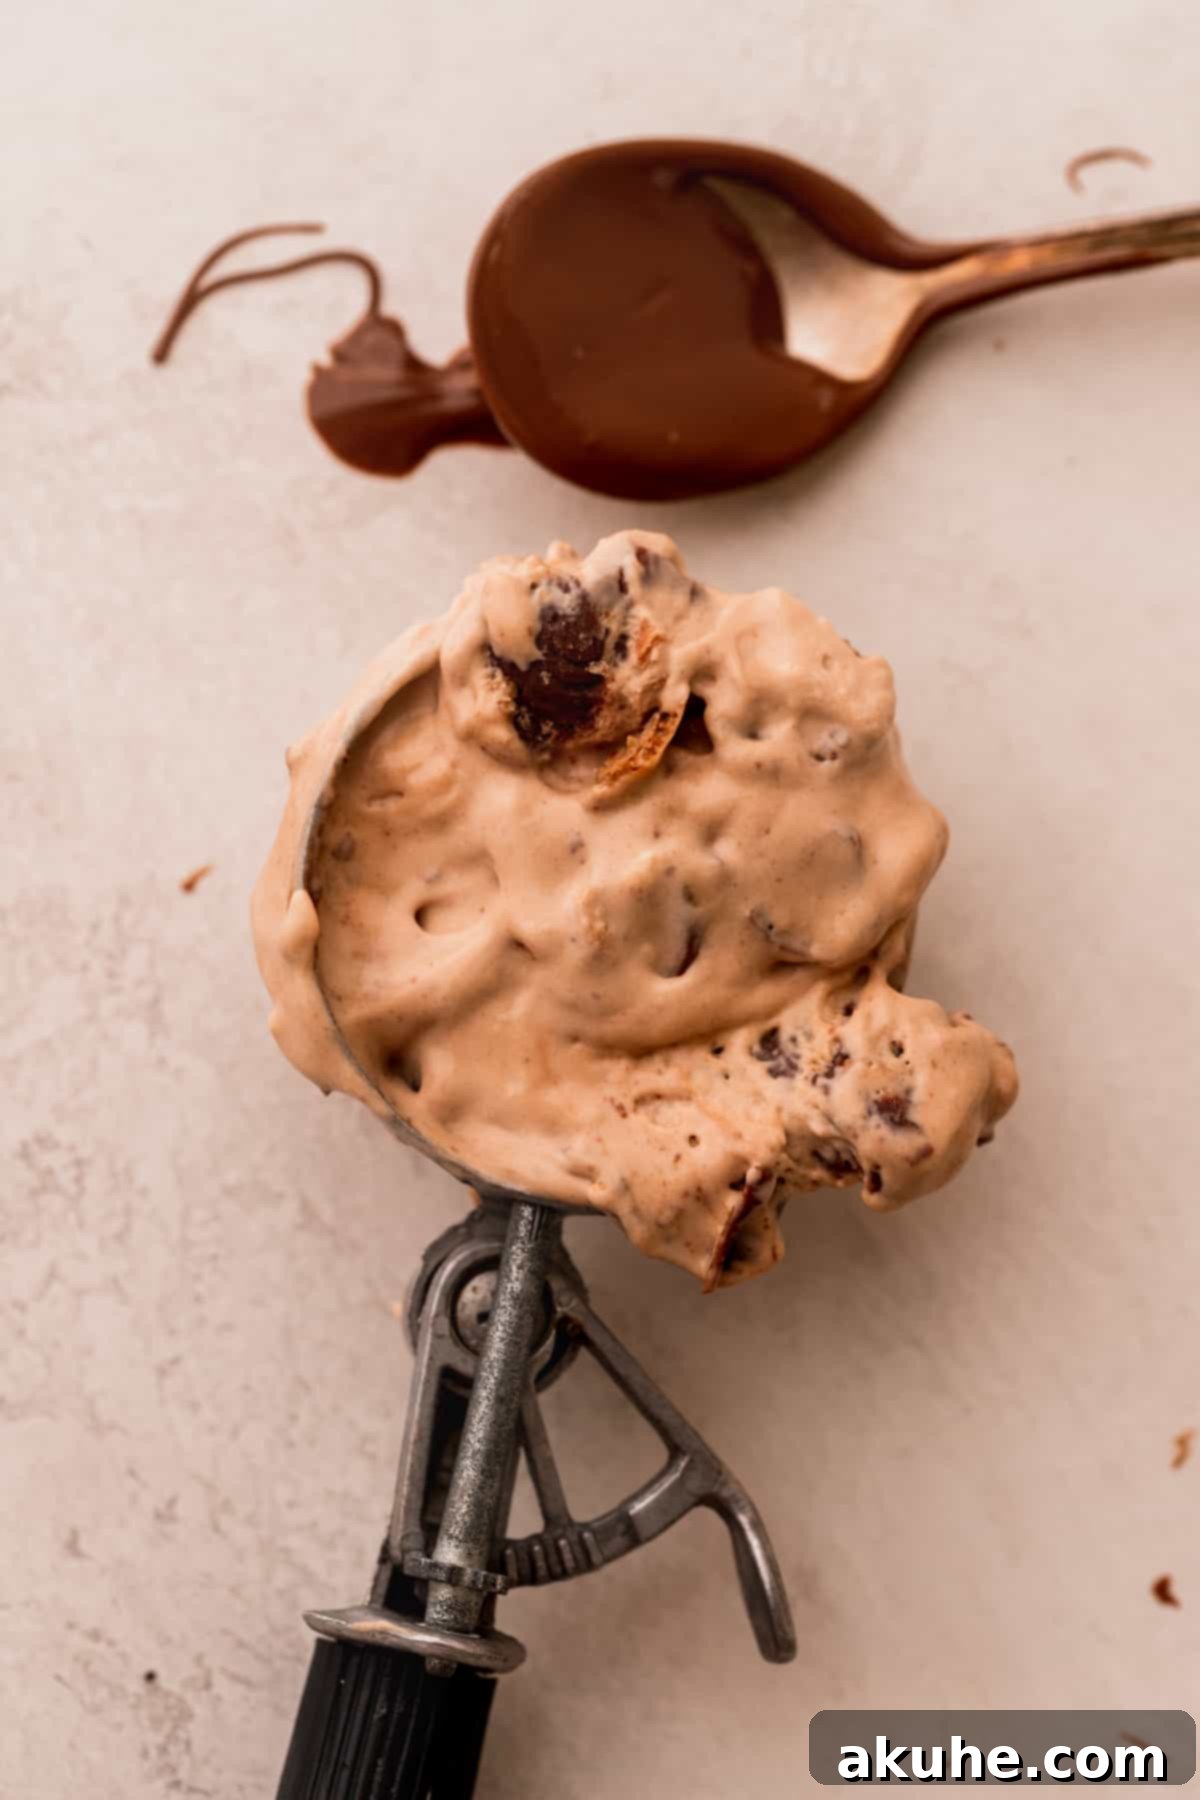
For optimal freshness and texture, keep the Nutella ice cream stored in an airtight container in the freezer. It will be ready to scoop right away and maintains its best quality for up to 30 days. Beyond that, it may start to develop ice crystals or lose some of its creamy texture, though it will still be safe to eat.
Storing Your Homemade Nutella Ice Cream
Proper storage is essential to maintain the delicious creamy texture and rich flavor of your homemade Nutella ice cream. Once fully frozen, transfer the ice cream from the loaf pan into an airtight freezer-safe container. This helps prevent freezer burn and keeps unwanted odors from seeping in. Ensure the lid is sealed tightly. Your Nutella ice cream will keep beautifully in the freezer for up to 30 days. It will remain perfectly scoopable and ready to enjoy whenever a craving strikes!
More Irresistible Ice Cream Recipes To Try
If you loved making this recipe, we’d be thrilled if you left a STAR REVIEW below to share your experience! Don’t forget to tag us on Instagram @stephaniesweettreats with your delicious creations. For even more culinary inspiration and sweet ideas, be sure to follow us on Pinterest.
Nutella Ice Cream
By Stephanie Rutherford
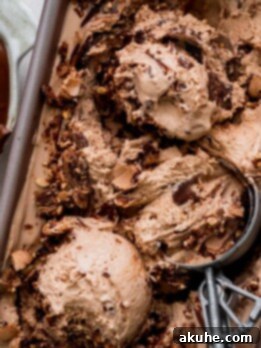
This Nutella ice cream is a no-churn, easy-to-make recipe. The ice cream is full of Nutella and features layers of melted Nutella and chopped Ferrero Rocher for an ultimate indulgence.
Print Recipe | Pin Recipe | Leave a Review
Prep Time: 20 mins
Chilling Time: 12 hrs
Total Time: 12 hrs 20 mins
Servings: 12
Ingredients
- 2 cups Heavy cream, cold
- 14 oz Sweetened condensed milk, 1 can
- 1 TBSP Pure vanilla extract
- 3/4 cup Nutella, divided
- 1 Package of Ferrero Rocher, chopped
Instructions
- Place a metal bowl and whisk attachment in the freezer for 10 minutes to chill thoroughly. In a microwave-safe bowl, gently melt 1/2 cup of Nutella in 15-second intervals, stirring until smooth. Place the Ferrero Rochers in the freezer to firm up.
- Using your chilled bowl and whisk, beat the heavy cream on high speed until soft peaks form. Do not over-whip. In a separate bowl, combine the sweetened condensed milk, vanilla extract, and the 1/2 cup of melted Nutella, mixing until smooth.
- Carefully remove the whipped cream from the mixer. Pour half of the Nutella mixture into the whipped cream. Using a rubber spatula, gently fold it in with an upward motion until just combined, being careful not to deflate the cream. Add the remaining Nutella mixture and continue to fold gently until no streaks remain.
- Melt the remaining 1/4 cup of Nutella in the microwave for approximately 15-20 seconds until pourable. Remove the chilled Ferrero Rochers and chop them into small pieces. Pour one-third of the ice cream mixture into a 9×5-inch loaf pan. Drizzle with one-third of the melted Nutella and sprinkle with one-third of the chopped truffles.
- Repeat the layering process: add another third of the ice cream, a drizzle of Nutella, and a sprinkle of chopped truffles. For the final layer, pour in the rest of the ice cream. Drizzle the remaining Nutella on top and use a butter knife to gently swirl it into the surface. Finish by sprinkling the rest of the chopped Ferrero Rochers over the top.
- Cover the loaf pan tightly with plastic wrap (pressing it onto the ice cream surface) and then with aluminum foil. Place in the freezer overnight (at least 12 hours) to ensure it sets completely and develops the perfect creamy texture.
Nutrition Information (per serving)
- Calories: 345kcal
- Carbohydrates: 31g
- Protein: 5g
- Fat: 23g
- Saturated Fat: 16g
- Polyunsaturated Fat: 1g
- Monounsaturated Fat: 4g
- Cholesterol: 56mg
- Sodium: 60mg
- Potassium: 238mg
- Fiber: 1g
- Sugar: 29g
- Vitamin A: 672IU
- Vitamin C: 1mg
- Calcium: 140mg
- Iron: 1mg
Did you make this recipe? Please leave a star rating and review below!
