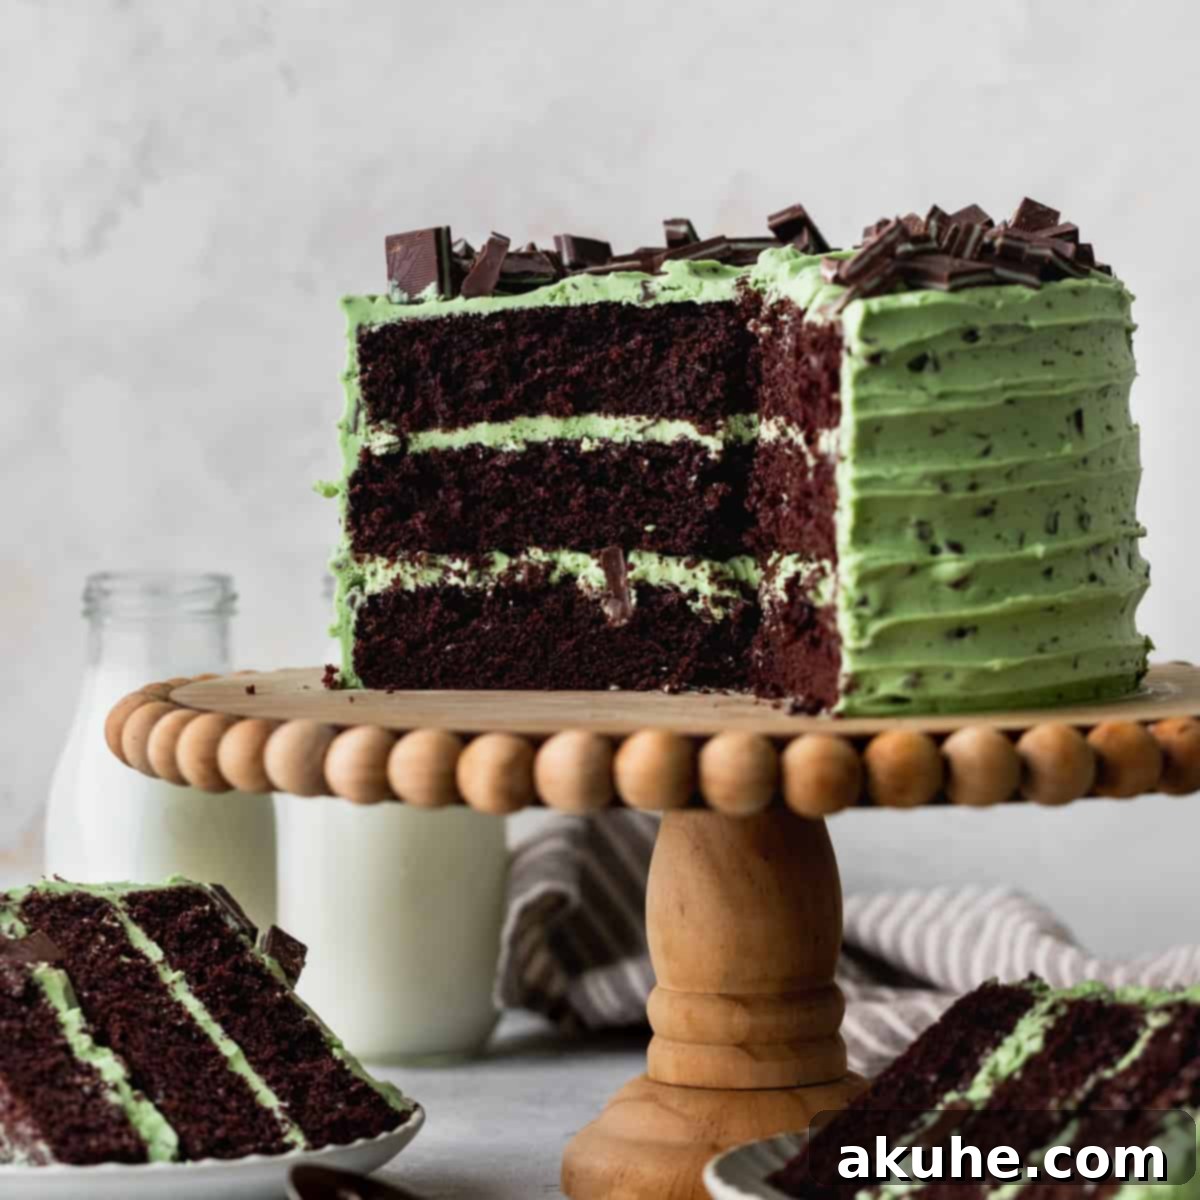
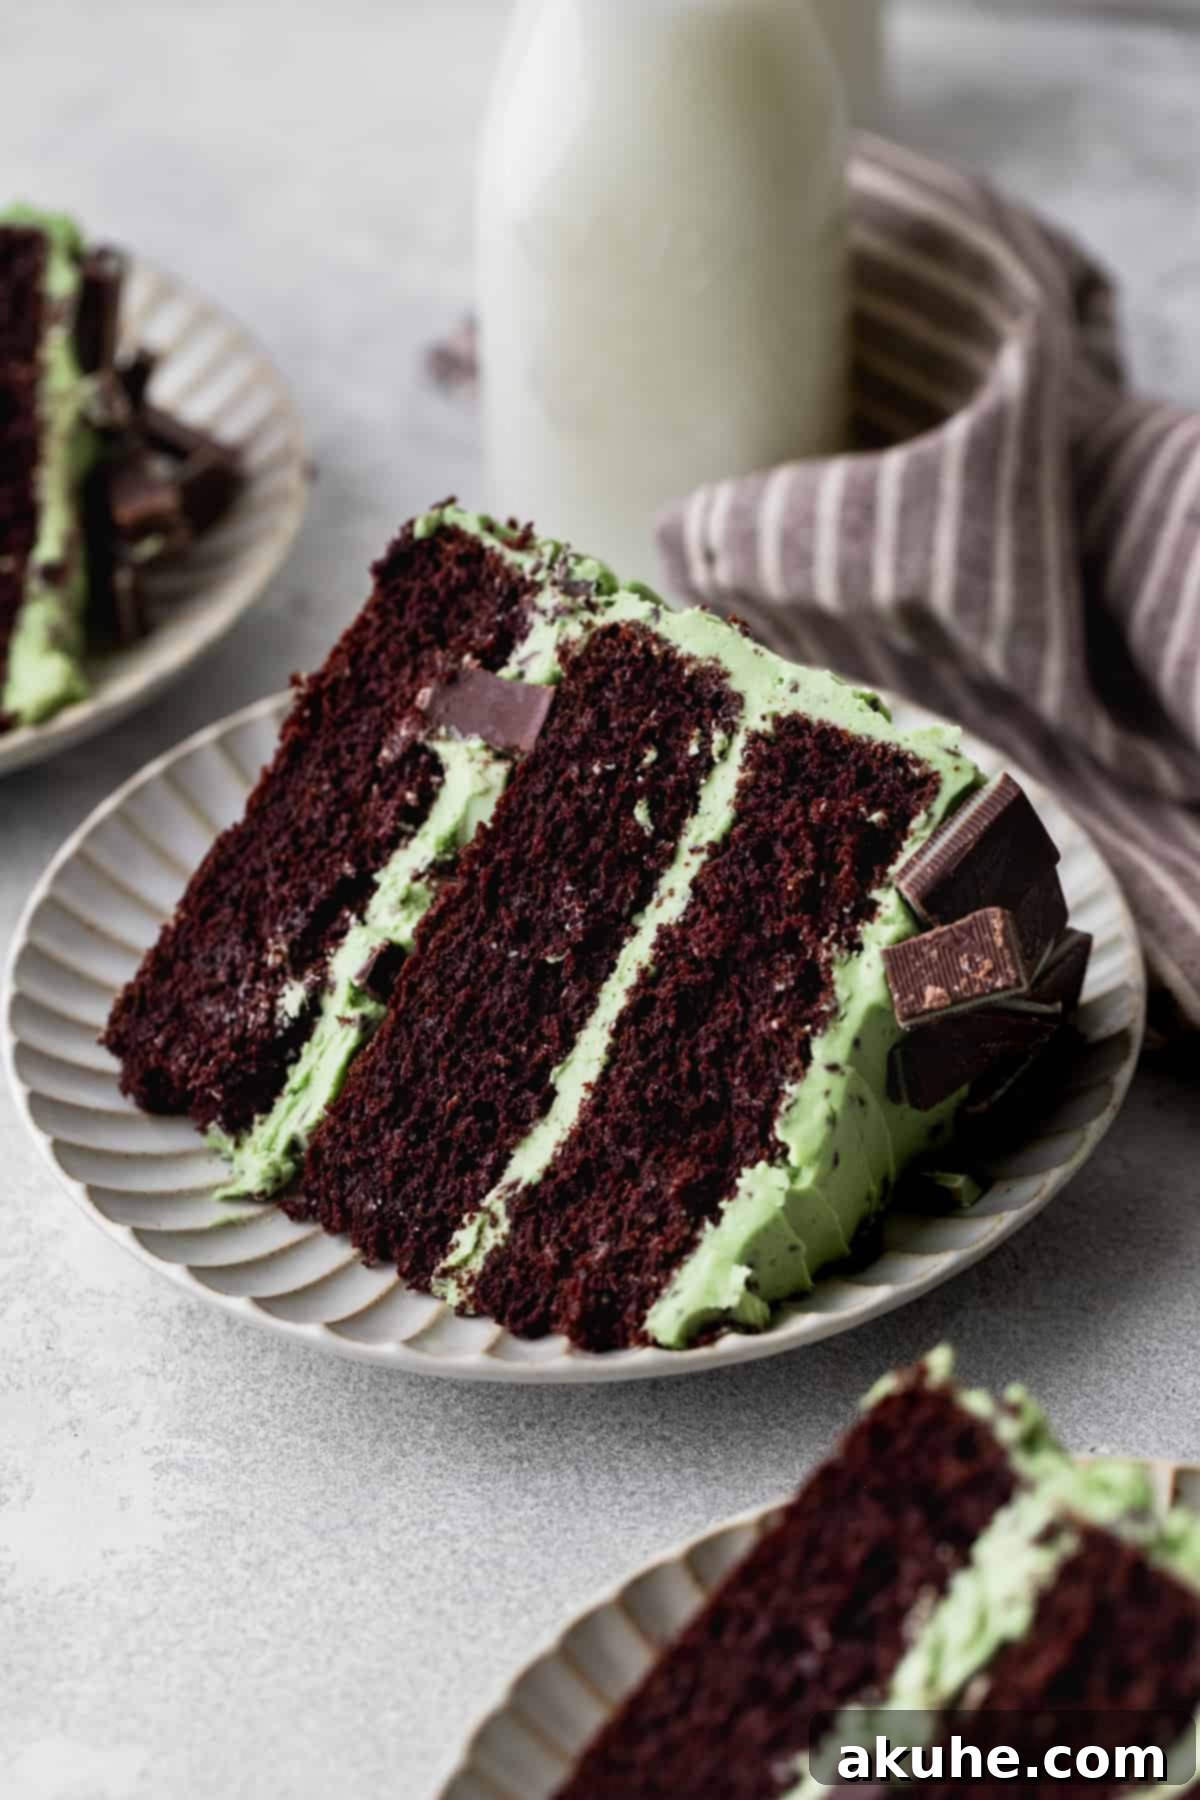
Welcome to the ultimate guide for creating a truly unforgettable **Chocolate Mint Cake**! Imagine the refreshing taste of your favorite mint chocolate chip ice cream, transformed into a moist, decadent layered cake. This isn’t just any cake; it’s a celebration of rich chocolate, cool peppermint, and the delightful crunch of Andes mints, all harmoniously blended into a dessert that’s as beautiful to behold as it is delicious to devour. Get ready to impress with this show-stopping recipe that promises to be the highlight of any gathering.
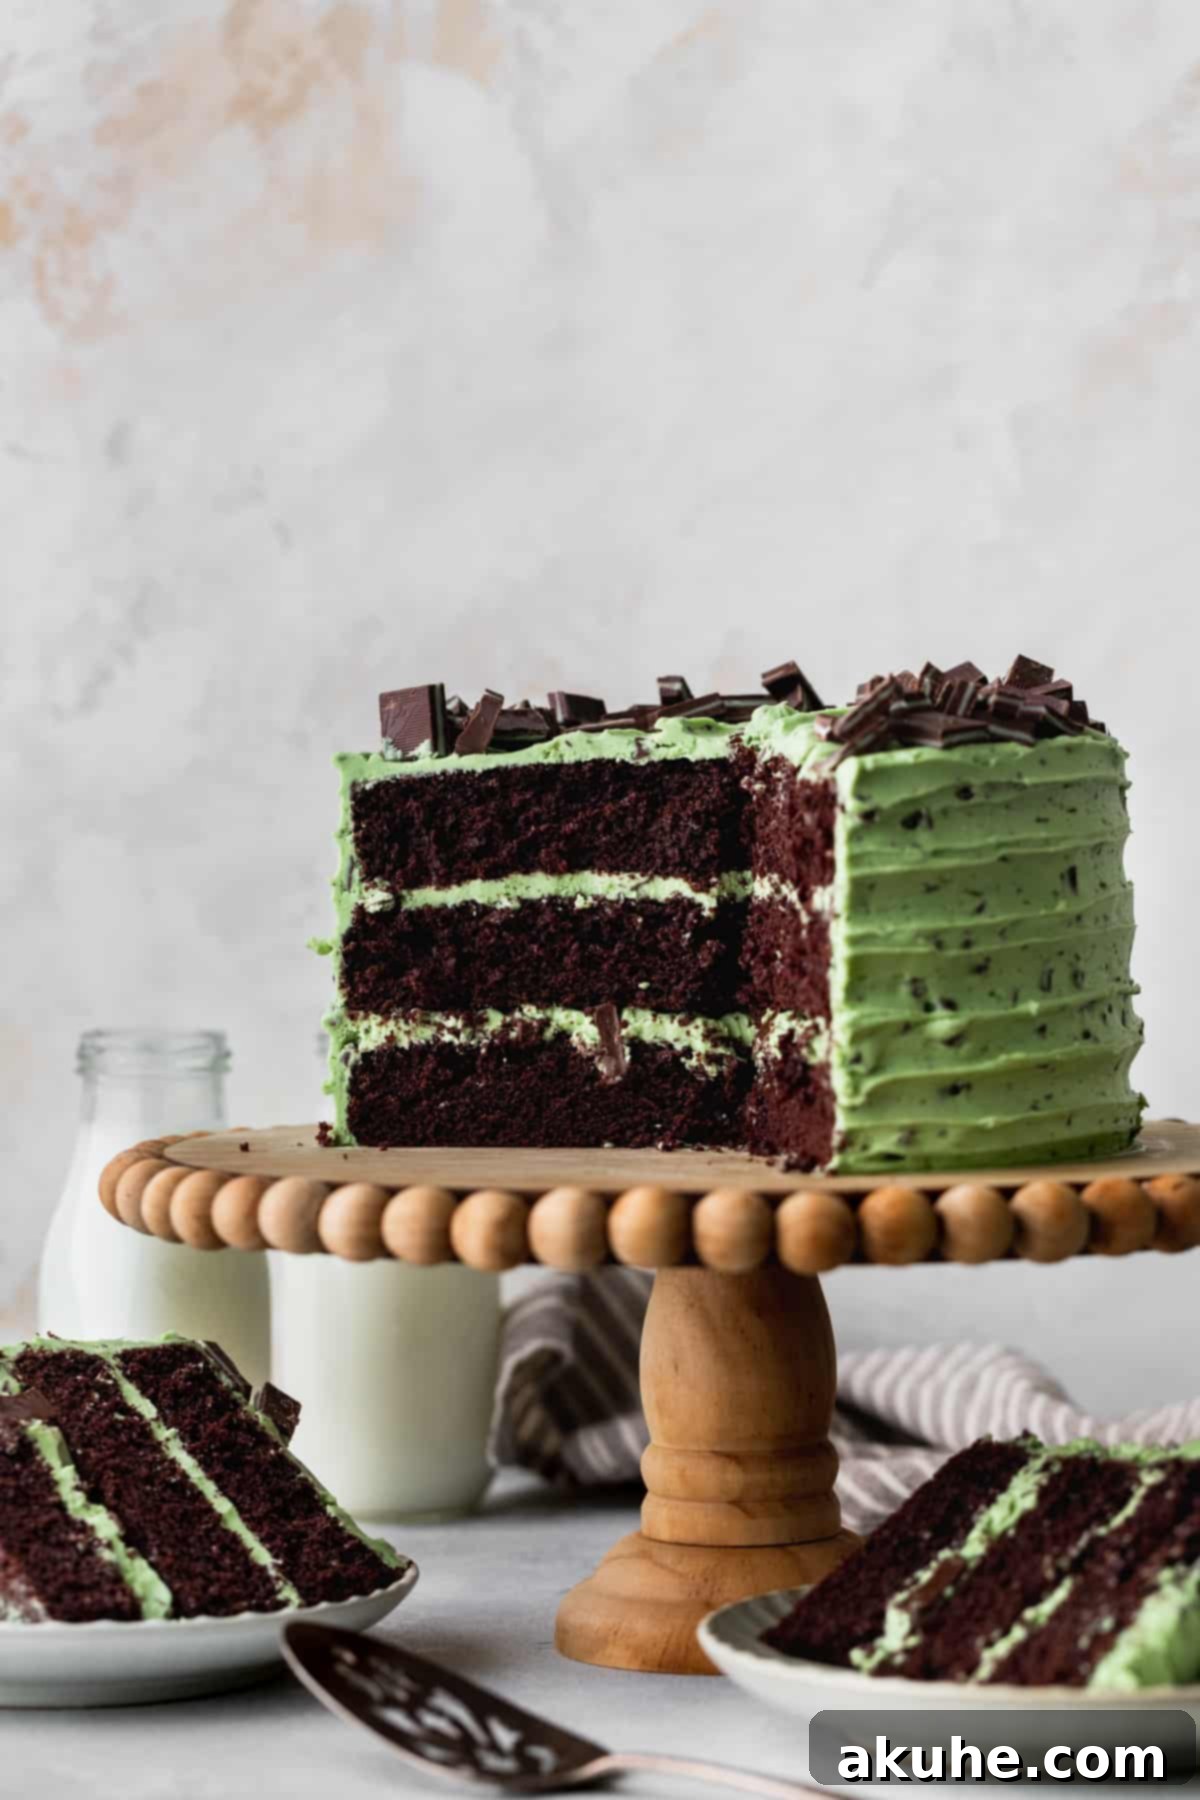
The heart and soul of this spectacular creation lie within its velvety **chocolate chip mint frosting**. Crafted to mimic the beloved classic ice cream, this frosting is so lusciously creamy and perfectly balanced in flavor that you might just find yourself sneaking spoonfuls straight from the bowl. It’s an ethereal blend of butter, powdered sugar, and a hint of heavy cream, infused with vibrant peppermint and studded with tiny chocolate pieces, making every bite an absolute dream.
My inspiration for this particular recipe stems from a lifelong love affair with mint chocolate chip ice cream. That nostalgic flavor, the perfect marriage of cool mint and deep chocolate, is what I aimed to capture in cake form – and I believe this **layered chocolate mint cake** delivers exactly that. It’s a taste of pure bliss, bringing childhood memories to life with every slice.
If your quest for extraordinary chocolate cake recipes continues, I highly recommend exploring other delights like the Moist Triple Chocolate Cake, the vibrant Layered Blueberry Chocolate Cake, and the adorable Mini Chocolate Cake. Each offers a unique chocolate experience, but none quite capture the refreshing magic of this minty marvel.
Why This Chocolate Mint Cake Recipe Is a Must-Try
This isn’t just another cake recipe; it’s a meticulously crafted experience designed to deliver maximum flavor and ease of preparation. Here’s what makes our **Chocolate Mint Cake** truly exceptional:
- Incredibly Moist Chocolate Cake Layers: Our foundational chocolate cake is exceptionally soft, rich, and moist. What’s even better? It requires no electric mixer for the cake batter and can be ready for the oven in as little as 10 minutes! This means less fuss and more time to enjoy the delightful aroma filling your kitchen. The secret lies in a carefully balanced blend of wet and dry ingredients, including hot water (or coffee) that blooms the cocoa powder, intensifying its chocolate flavor.
- Irresistible Chocolate Chip Mint Frosting: Prepare to be amazed by this frosting! It boasts an incredibly fluffy and creamy texture, achieved by incorporating a generous half-cup of heavy cream that is beaten to perfection. The peppermint extract provides that signature cool mint flavor, perfectly complemented by finely chopped chocolate for an authentic “chocolate chip” experience. This frosting truly tastes like a scoop of premium mint chocolate chip ice cream, making it a standout feature of the cake.
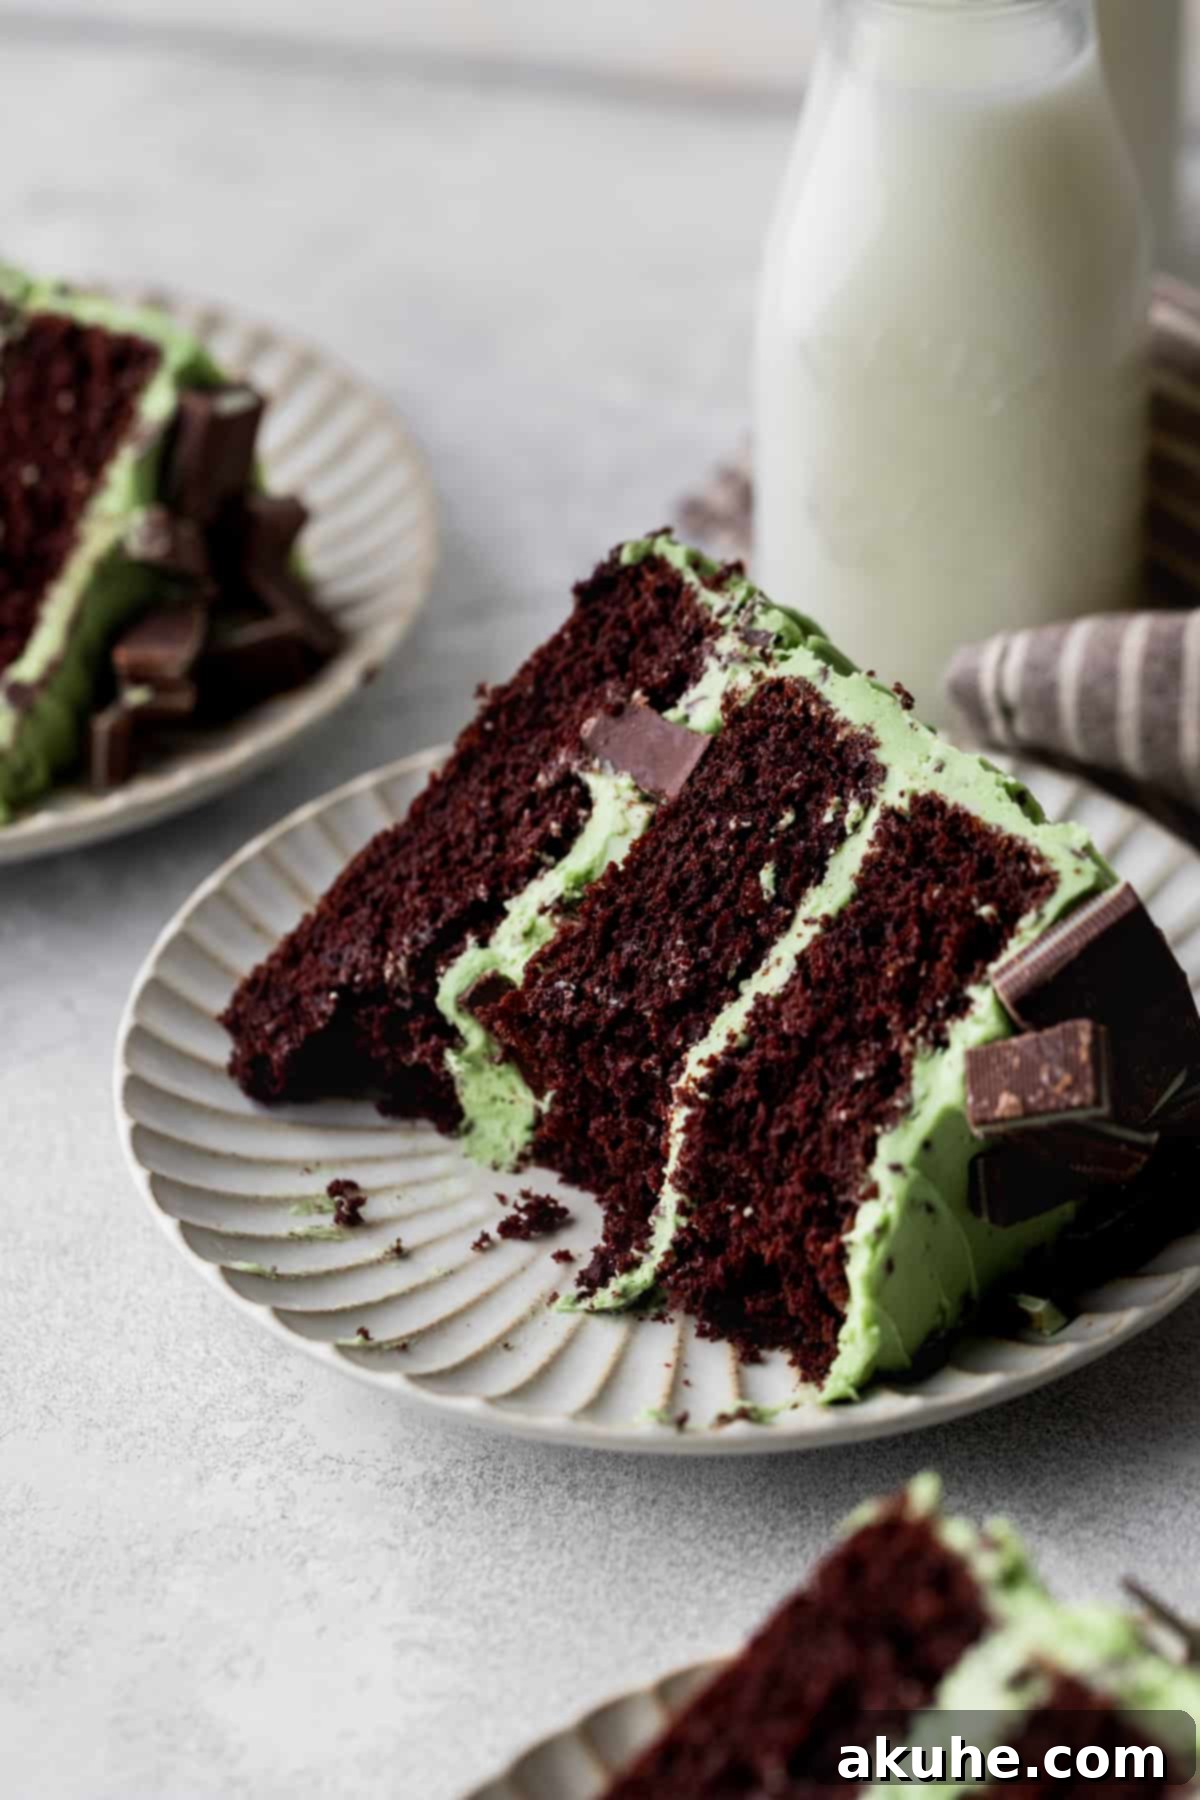
- Decadent Andes Mints Infusion: We’ve elevated the minty goodness by incorporating chopped Andes mints not only within the cake layers as a delightful filling but also as an elegant decoration on top. These iconic chocolates melt beautifully, adding a subtle, creamy mint layer that perfectly ties the entire flavor profile together, offering both texture and an extra burst of refreshing mint in every bite.
Essential Ingredient Notes for the Perfect Chocolate Mint Cake
Achieving the perfect texture and flavor for your **chocolate mint cake** begins with understanding the role of each ingredient. Here are some detailed notes to guide you:
- Dutch Process Cocoa Powder: This is a key player in achieving a rich, deep chocolate flavor and a beautiful dark color in your cake. Unlike natural cocoa powder, Dutch process cocoa has been treated with an alkali to neutralize its acidity, resulting in a smoother, less bitter taste. This is the specific cocoa powder I recommend for its superior quality. While natural cocoa powder can be used, your cake won’t achieve the same intensity of color or depth of flavor.
- Oil (Canola, Vegetable, or Light Olive Oil): Oil contributes significantly to the cake’s moistness and tender crumb. It helps keep the cake fresh for longer. Canola or vegetable oil are excellent choices due to their neutral flavor. Light olive oil can also be used, but avoid stronger-flavored oils like extra virgin olive oil or coconut oil, as they can impart unwanted tastes.
- Large Eggs (Room Temperature): Bringing eggs to room temperature before baking is crucial. Room temperature eggs emulsify better with other ingredients, creating a smoother, more uniform batter. This results in a lighter, fluffier cake texture. Plan to take them out of the fridge at least 2 hours before you start baking.
- Buttermilk (Room Temperature): Buttermilk is a superhero ingredient for moist cakes. Its acidity tenderizes the cake crumb by breaking down gluten and reacts with baking soda to create a light, airy texture. Like eggs, buttermilk should be at room temperature for optimal mixing. If you don’t have buttermilk on hand, a simple substitute is 1 1/4 cups whole milk mixed with 1 tablespoon of lemon juice or white vinegar. Let it sit for 10 minutes until it slightly curdles before using.
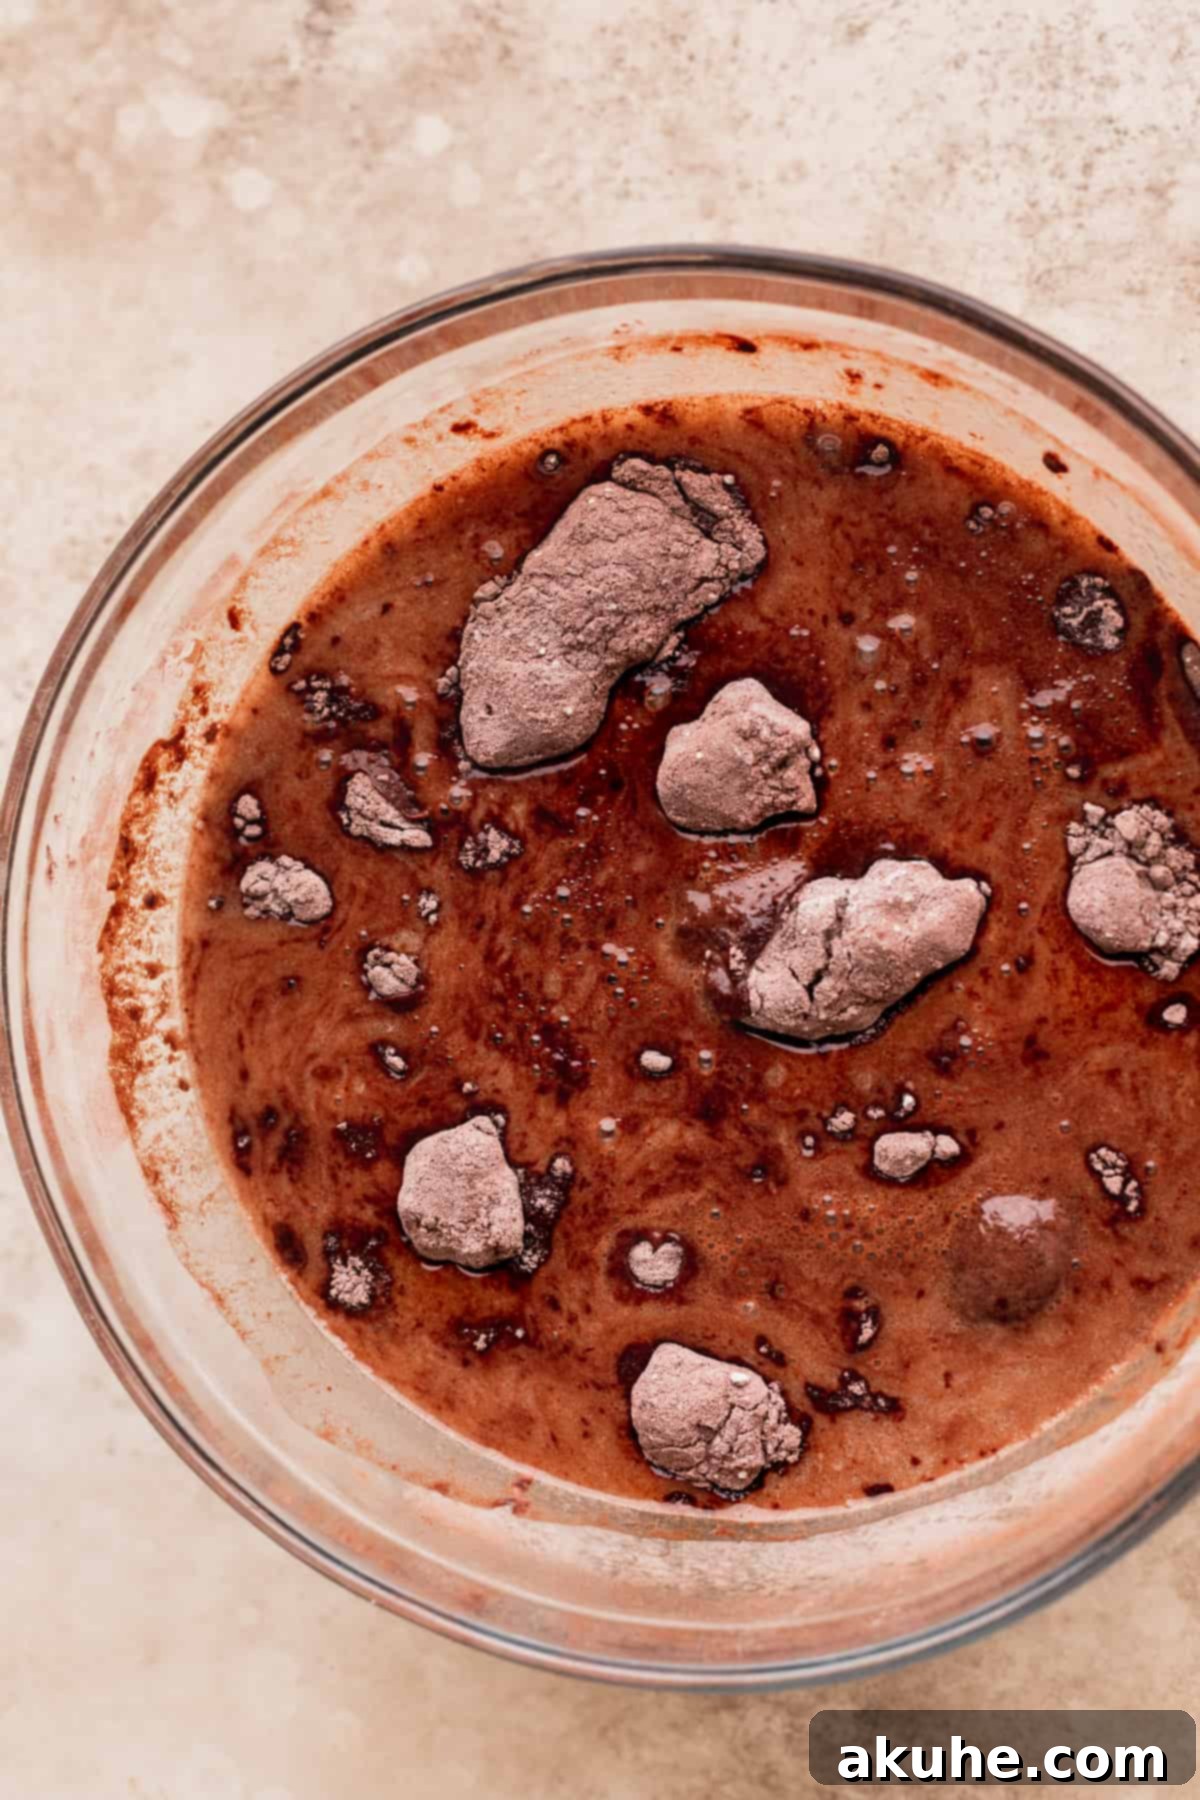
- Hot Water (or Hot Coffee): This ingredient is essential for “blooming” the cocoa powder, which means it helps dissolve the cocoa particles and brings out a more intense chocolate flavor. Ensure the water is steaming hot, not just warm, before adding it to the wet ingredients. Using hot coffee instead of water will further enhance the chocolate notes without making the cake taste like coffee.
- Unsalted Butter (Slightly Cold for Frosting): For the frosting, using butter that is slightly colder than room temperature helps achieve a stable, fluffy buttercream that holds its shape beautifully for piping and spreading. Allow it to sit on the counter for about 30 minutes, so it’s firm but still pliable. This distinct temperature helps create a light and airy texture, preventing a greasy or overly soft frosting.
- Powdered Sugar (Sifted): Sifting powdered sugar is non-negotiable for a silky-smooth frosting. It removes any lumps, ensuring your buttercream is perfectly uniform and free from a gritty texture.
- Peppermint Extract: The star of the mint flavor! Use exactly 1 teaspoon for a balanced, refreshing mint taste. Adding more can make the frosting overly intense or even taste like toothpaste, so precise measurement is key. I typically find quality peppermint extract at most grocery stores.
- Andes Mints: These classic mint chocolate candies are perfect for this recipe. You’ll need two packages: approximately 40 of the individual bars will be chopped for the cake’s filling, and the remainder can be used for a beautiful topping decoration, adding an extra layer of flavor and visual appeal.
- Semisweet Chocolate Bar (Finely Chopped): For the “chocolate chip” aspect of the frosting, a good quality semisweet chocolate bar (such as Lindt 70%) finely chopped offers superior flavor and texture compared to pre-made chocolate chips. Chop it into very small pieces to ensure an even distribution and delightful melt-in-your-mouth experience in the frosting.
Can I Use Girl Scout Thin Mints for My Chocolate Mint Cake?
Absolutely! Girl Scout Thin Mints are a fantastic and creative alternative or addition to Andes mints for this **chocolate mint cake**. Their crisp texture and distinct mint-chocolate flavor would be an incredible complement to the soft cake and creamy frosting. You could use them exclusively for the filling, chop them and mix them into the frosting, or for a truly indulgent experience, go crazy and use both Andes mints and Thin Mint cookies for a layered flavor and textural delight!
Step-by-Step Instructions for Your Decadent Chocolate Mint Cake
Follow these detailed steps to create a show-stopping, moist chocolate mint cake that will earn you rave reviews.
Crafting the Moist Chocolate Cake Layers
- Prepare Your Pans and Preheat Oven: Begin by preheating your oven to 350°F (175°C). Generously spray three 8-inch round cake pans with baking nonstick spray. To ensure easy release, line the bottom of each pan with an 8-inch parchment paper circle, then spray the parchment again. This prevents sticking and guarantees pristine cake layers.
- Combine Dry Ingredients: In a large mixing bowl, meticulously sift together the all-purpose flour and Dutch process cocoa powder. Sifting is vital for a lump-free cake batter and helps to aerate the flour. Next, add the white granulated sugar, baking powder, baking soda, and salt. Whisk these dry ingredients together thoroughly until well combined. Set this mixture aside.
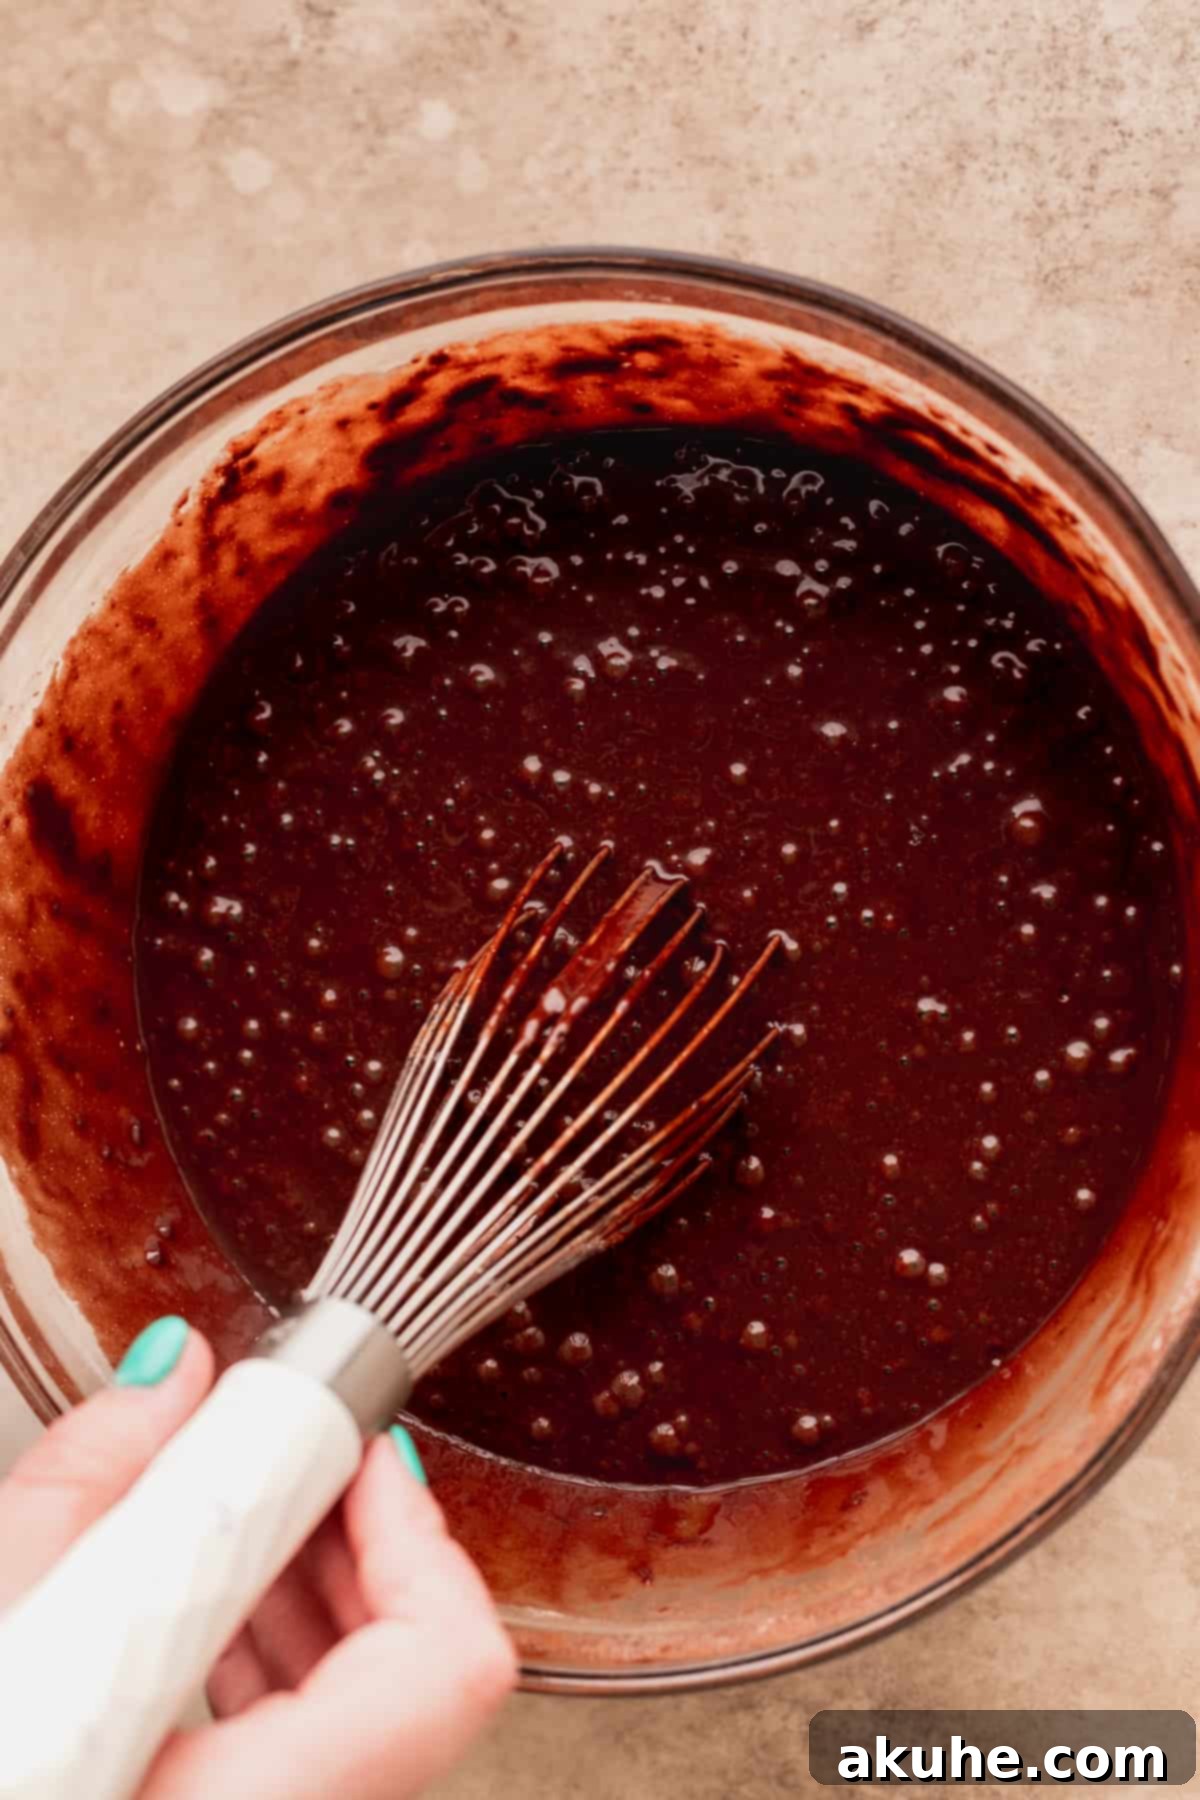
- Prepare Wet Ingredients: In a separate medium bowl, whisk together the room temperature buttermilk, oil (canola or vegetable), room temperature large eggs, and pure vanilla extract until smooth. Meanwhile, heat 1 cup of water on the stove until it’s steaming hot (you can use hot coffee for a deeper chocolate flavor). Slowly and carefully whisk the hot water into the wet ingredient mixture.
- Combine Wet and Dry Mixtures: Pour the entire wet ingredient mixture into the bowl containing your dry ingredients. Using a spatula or whisk, mix until *just* combined. Be careful not to overmix; overmixing can develop too much gluten, leading to a tough cake. A few small lumps are perfectly fine.
- Bake the Cake Layers: Divide the luscious cake batter evenly among your three prepared 8-inch cake pans. Bake for 24-27 minutes, or until a toothpick inserted into the center of a cake layer comes out with moist crumbs attached, or clean. The precise baking time may vary depending on your oven.
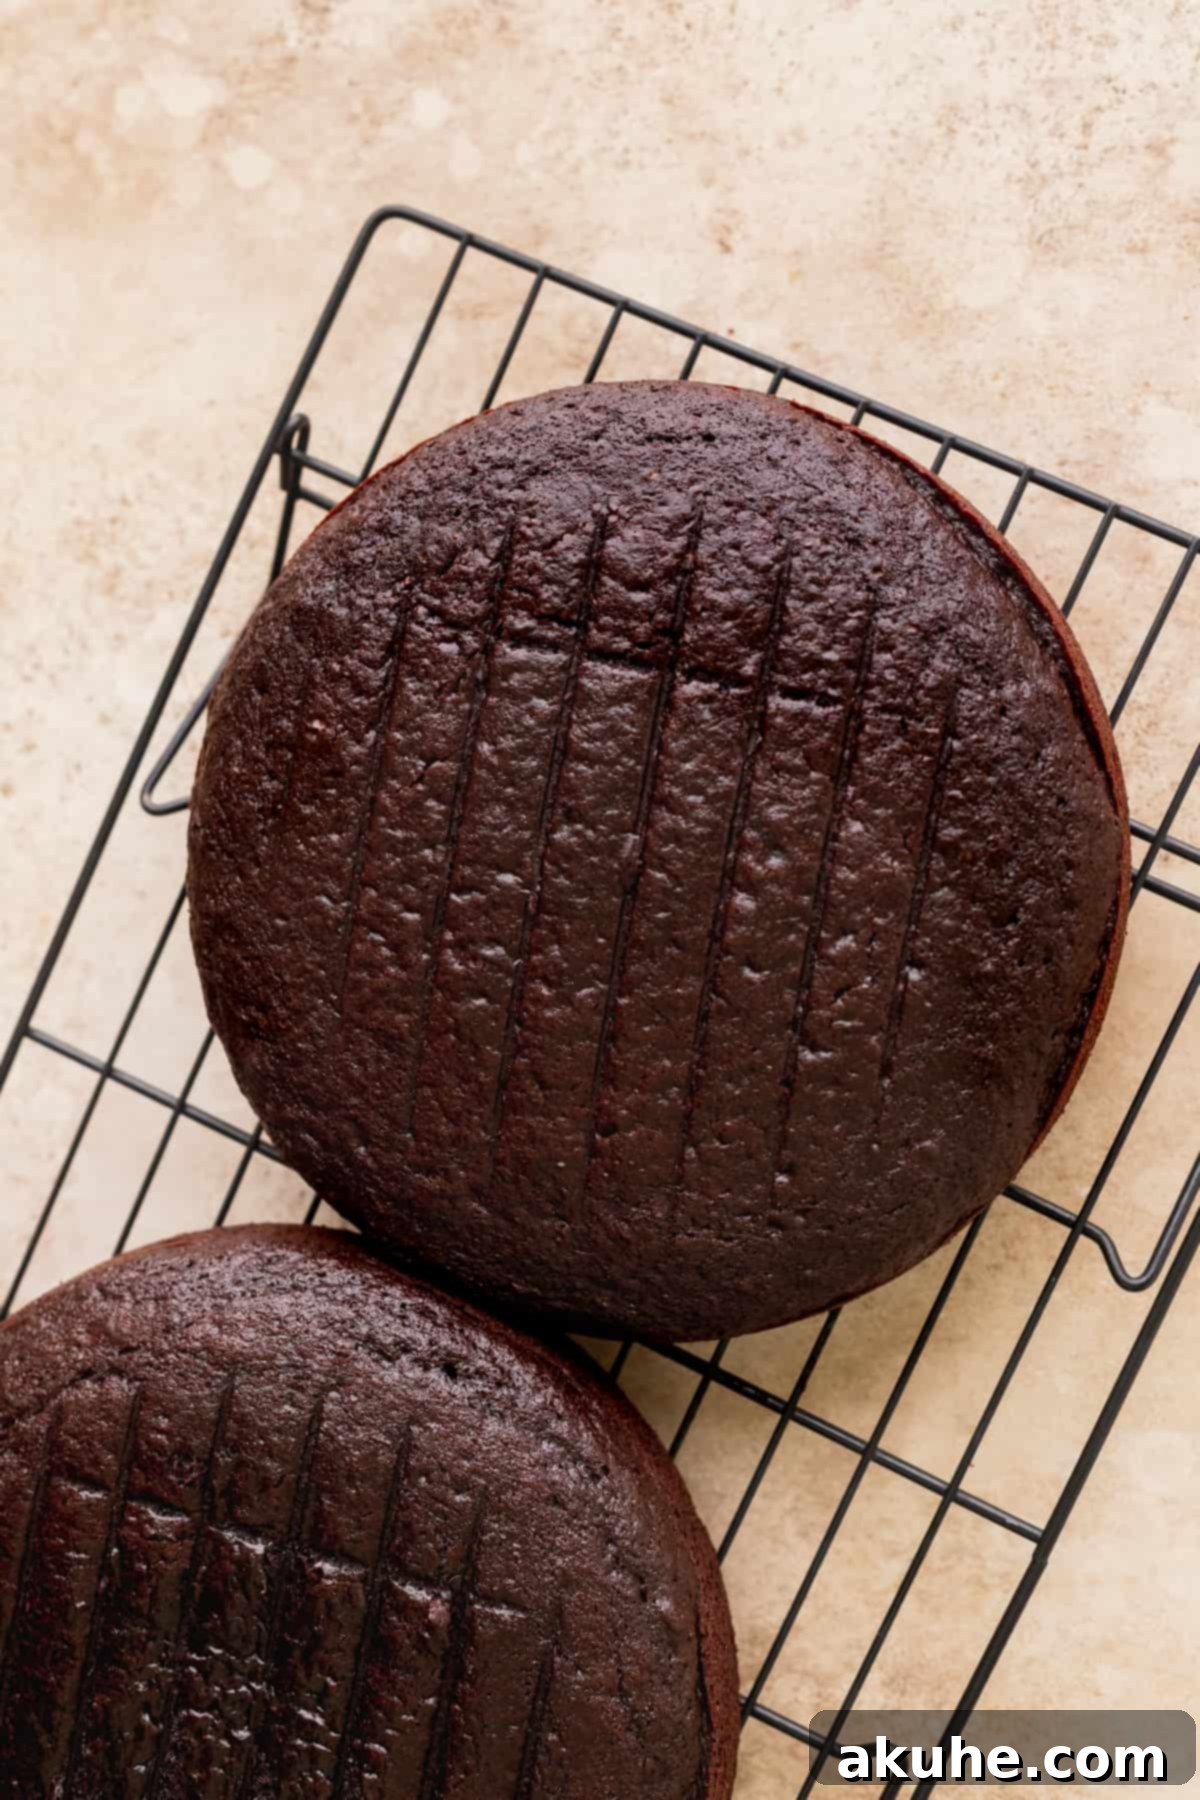
- Cooling Process: Once baked, allow the cakes to rest in their hot pans for exactly 10 minutes. This crucial step helps the cakes firm up and prevents them from sticking when removed. After 10 minutes, carefully invert the cakes onto a wire cooling rack to cool completely. Ensure they are entirely cool before attempting to frost them.
Crafting the Silky Chocolate Chip Mint Buttercream
- Prepare Butter and Sugar: Ensure your unsalted butter has softened slightly by letting it sit on the counter for about 30 minutes. It should still be cool to the touch but pliable. Sift your powdered sugar thoroughly to remove any lumps, which is critical for a smooth frosting. Finely chop the semisweet chocolate bar into tiny pieces. Crucially, discard any chocolate dust generated during chopping, as this can dull the vibrant mint color of your frosting. Refer to the image provided in the original content for the ideal size of the chocolate pieces.
- Whip the Butter: Using an electric mixer (stand mixer with paddle attachment or a hand mixer), beat the slightly cold butter on high speed for 3 minutes until it becomes exceptionally light, fluffy, and pale in color. This aeration is key to a light buttercream.
- Incorporate Powdered Sugar: Gradually add the sifted powdered sugar to the whipped butter, starting on low speed to prevent a sugar cloud, then increasing to medium. Continue beating until the mixture is very thick and well combined.
- Add Flavorings and Cream: Introduce the peppermint extract, pure vanilla extract, and salt. Pour in the heavy cream. Beat on low speed until all ingredients are just incorporated, then increase the speed to high and beat for an additional 2 minutes. Stop halfway through to scrape down the sides and bottom of the bowl with a rubber spatula to ensure everything is evenly mixed. The frosting should transform into a wonderfully fluffy, creamy consistency.
- Achieve the Signature Mint Color: To get that classic mint ice cream hue, you’ll need blue, green, and a tiny bit of brown gel food coloring (gel colors are recommended for their intensity without adding too much liquid). Start by adding two drops of green food dye to the frosting and beat on high until the color is uniform. It will likely appear quite bright. Next, add one drop of blue food coloring and mix again. This combination should yield a vibrant, neon mint shade. To mellow out the brightness and achieve a more natural, subtle mint color, add a very, very small dot of brown food coloring and mix until desired shade is reached.
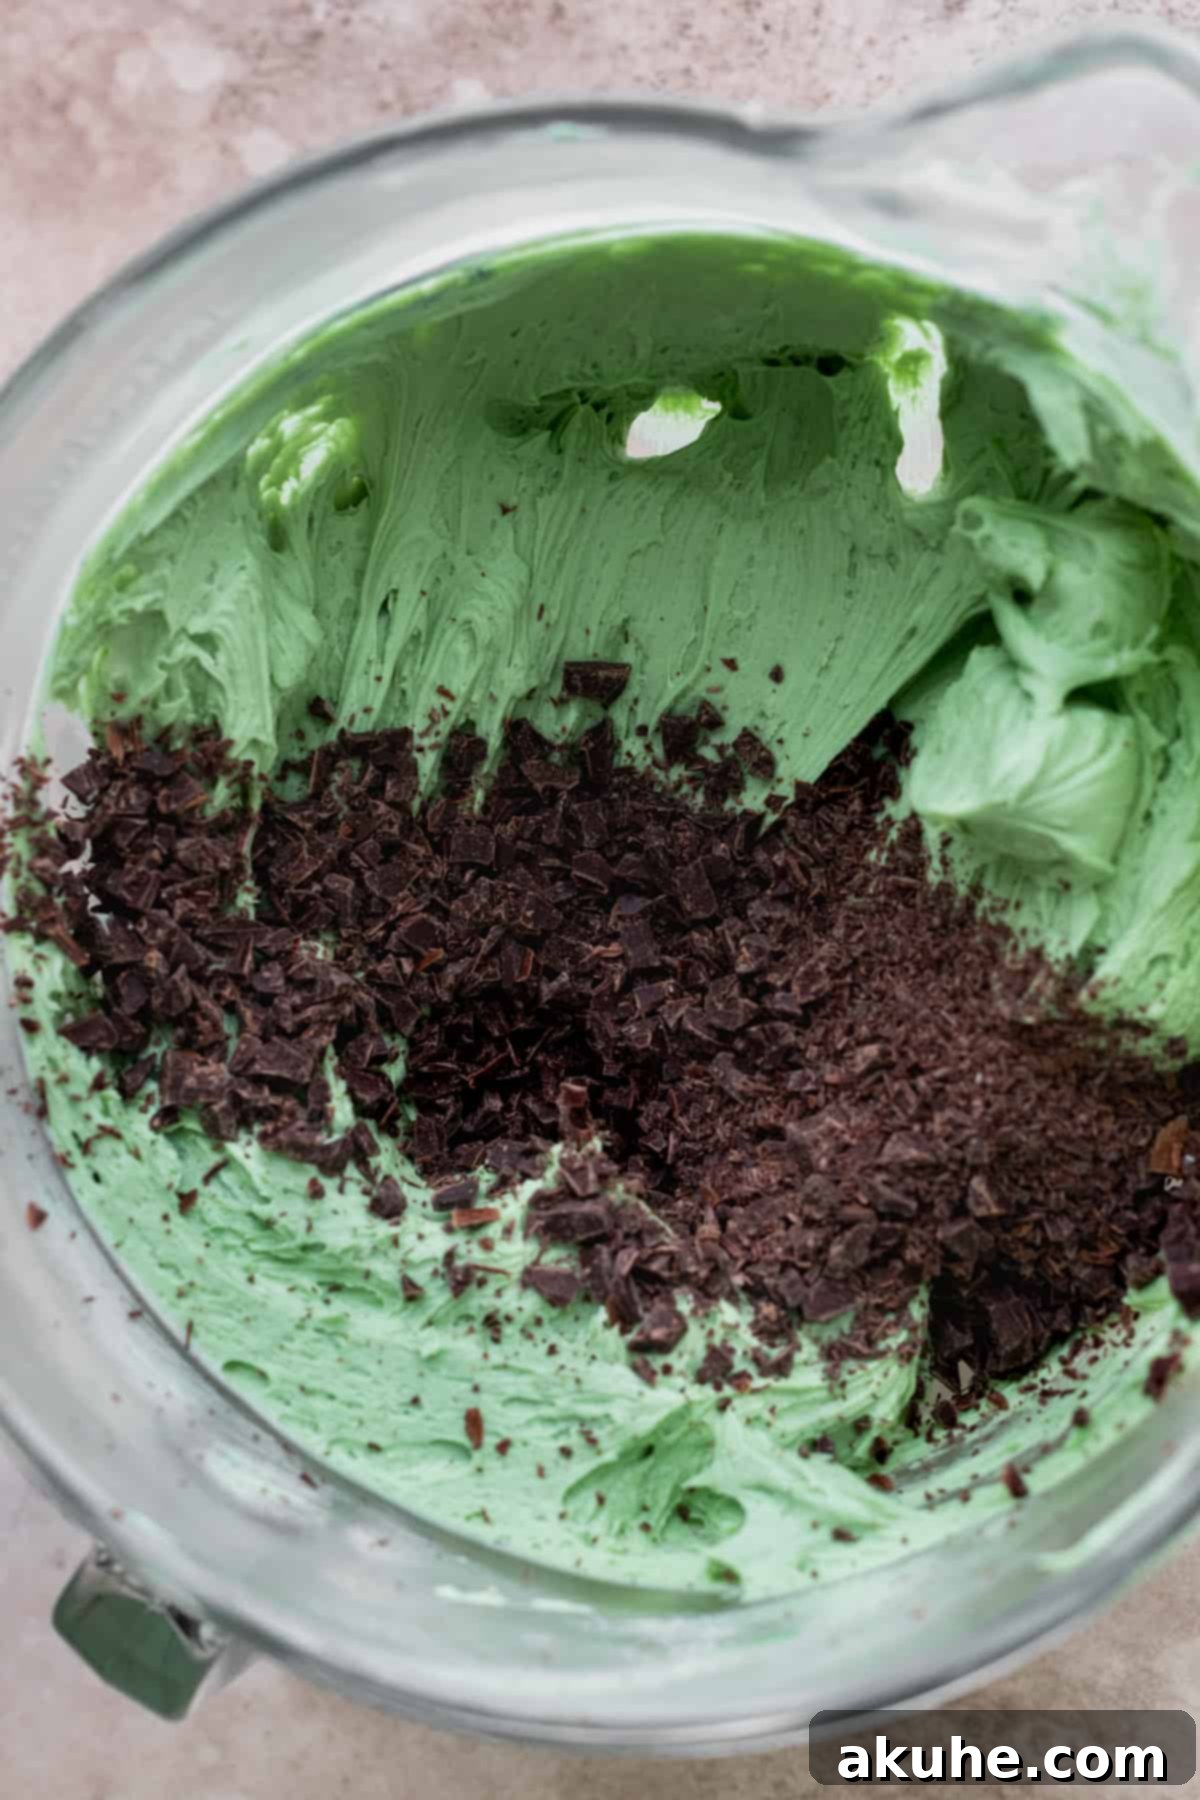
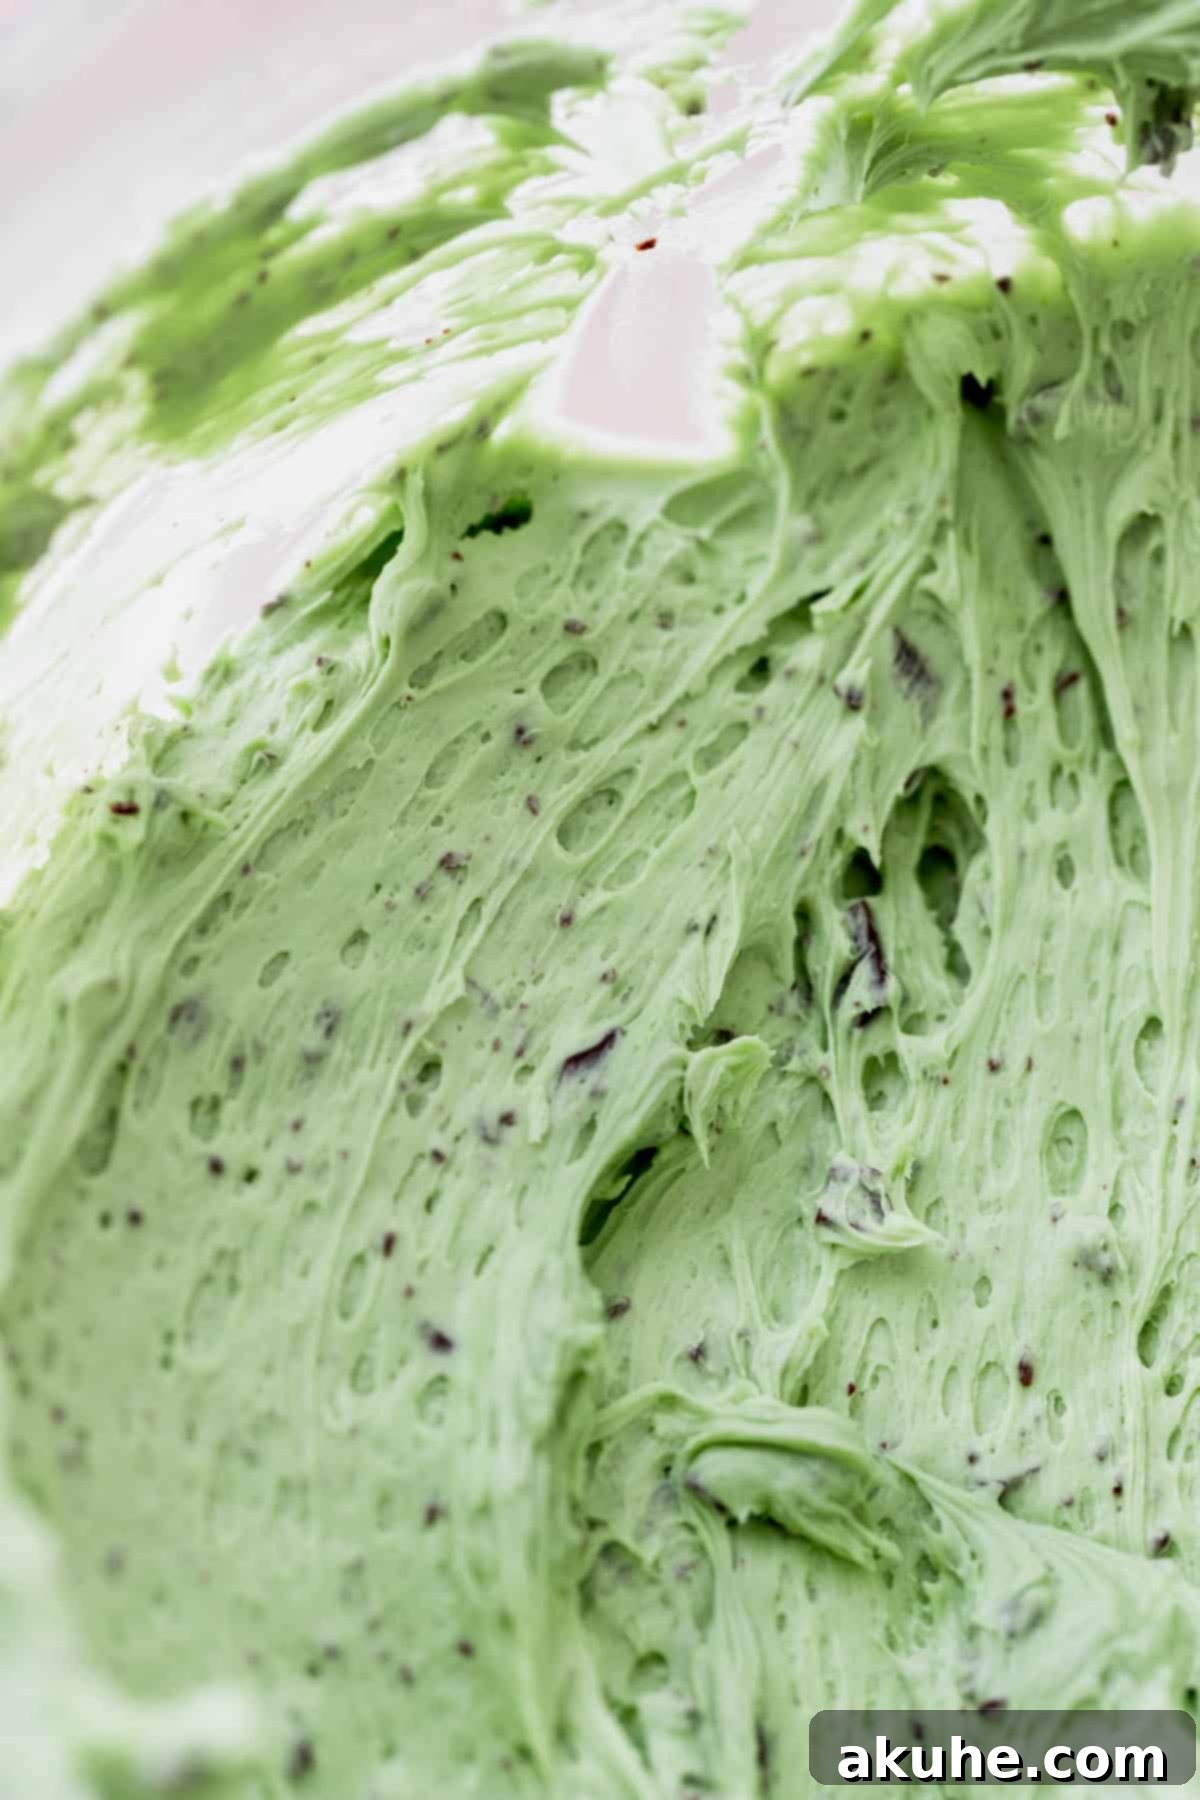
- Fold in Chocolate Chips: Remove the bowl from the mixer. Using a rubber spatula, gently fold the finely chopped semisweet chocolate pieces into the mint frosting. Distribute them evenly throughout the buttercream.
Expert Tips for Assembling Your Chocolate Mint Masterpiece
Assembling a layered cake can seem daunting, but with these tips, you’ll create a professional-looking **chocolate mint cake** with ease:
- Prep Everything Ahead: Before you even think about decorating, ensure all your components are ready. This means your cake layers are completely cooled (preferably chilled), your frosting is mixed and colored, and your Andes mints are chopped. This organized approach significantly streamlines the assembly process.
- Level Your Cake Layers: If your baked cake layers have domes (a slight rise in the center), use a serrated knife or a cake leveler to carefully trim the tops, creating flat, even layers. This ensures your cake stacks neatly and doesn’t lean.
- Chill Your Cake Layers: For the best results and to minimize crumbs, freeze your cooled cake layers for at least 15-30 minutes before frosting. Cold cake layers are much easier to handle, and they produce fewer crumbs that can get into your frosting.
- Secure the First Layer: Place a small dollop of frosting on your cake board or serving plate before placing the first cake layer down. This acts as “glue” to prevent the cake from sliding during decoration.
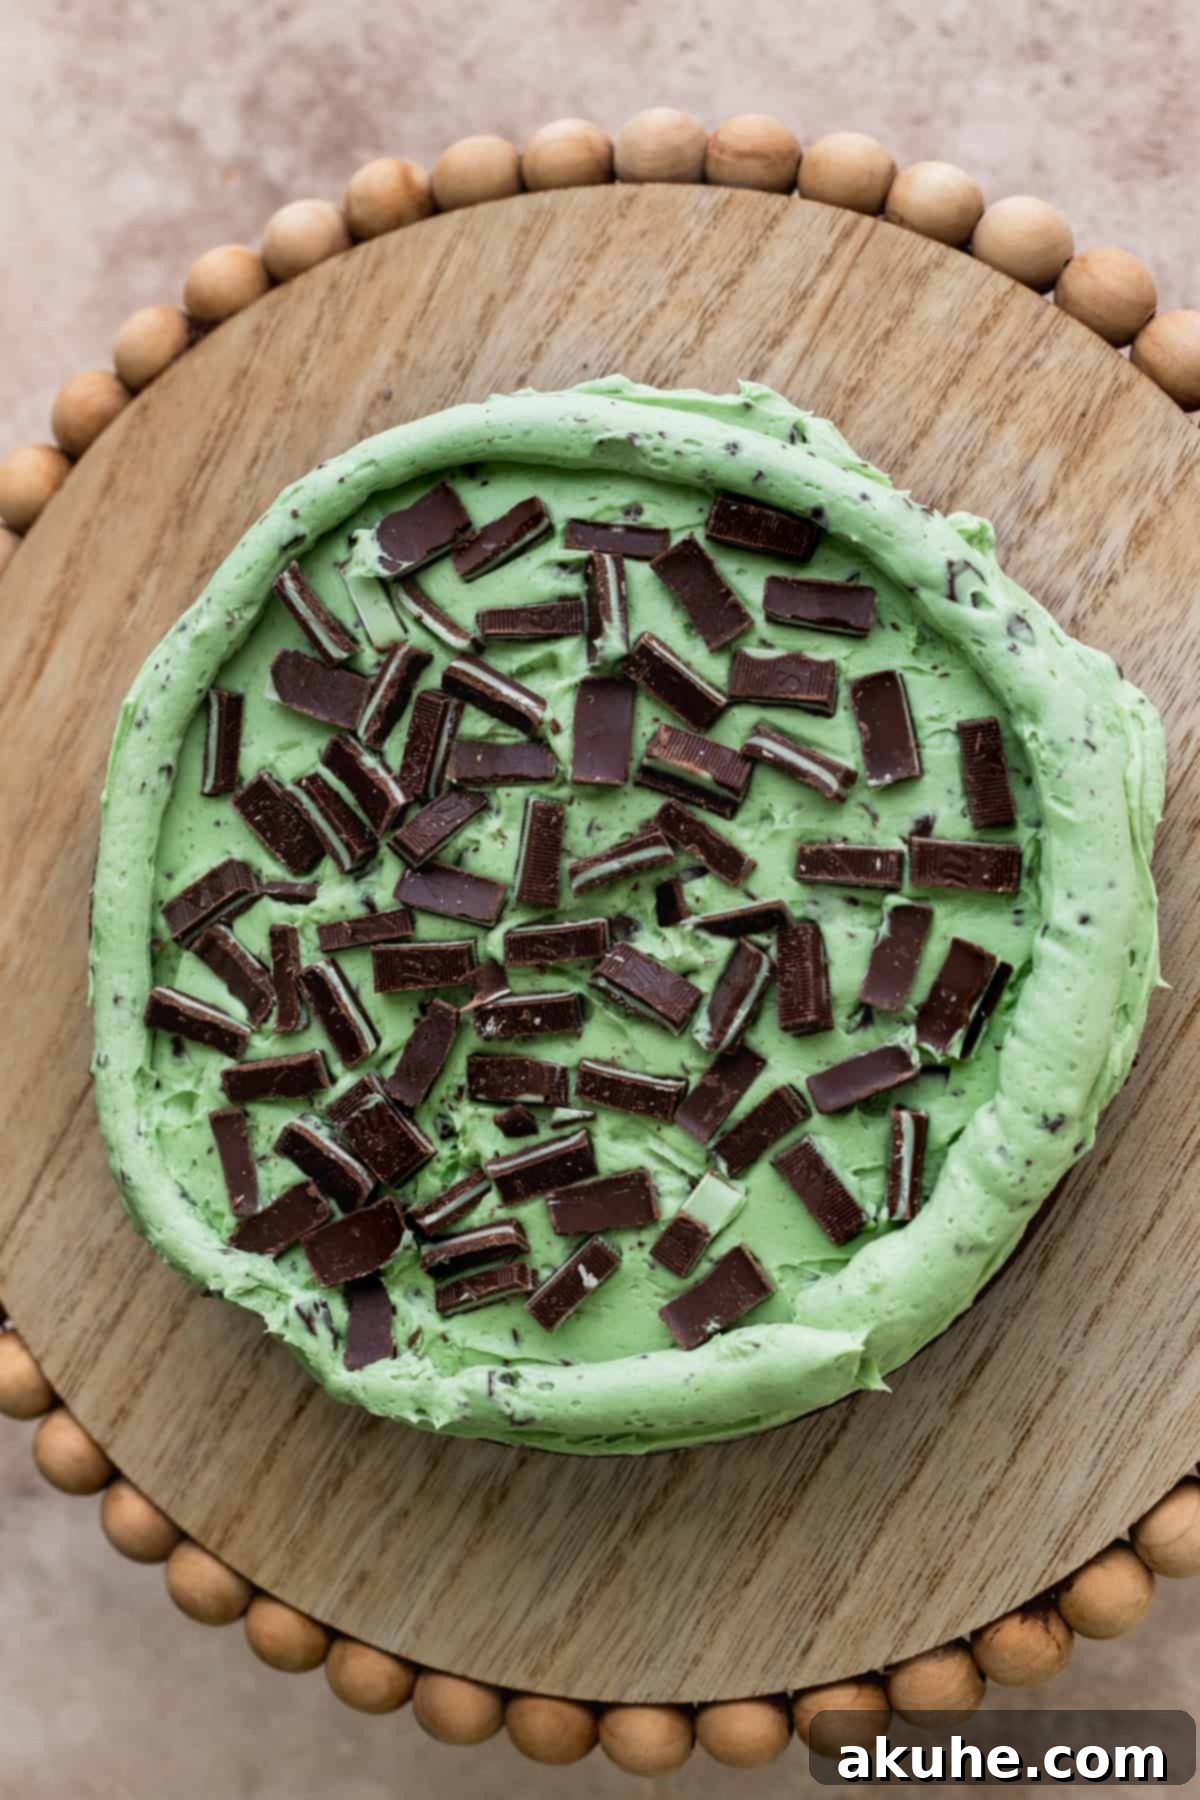
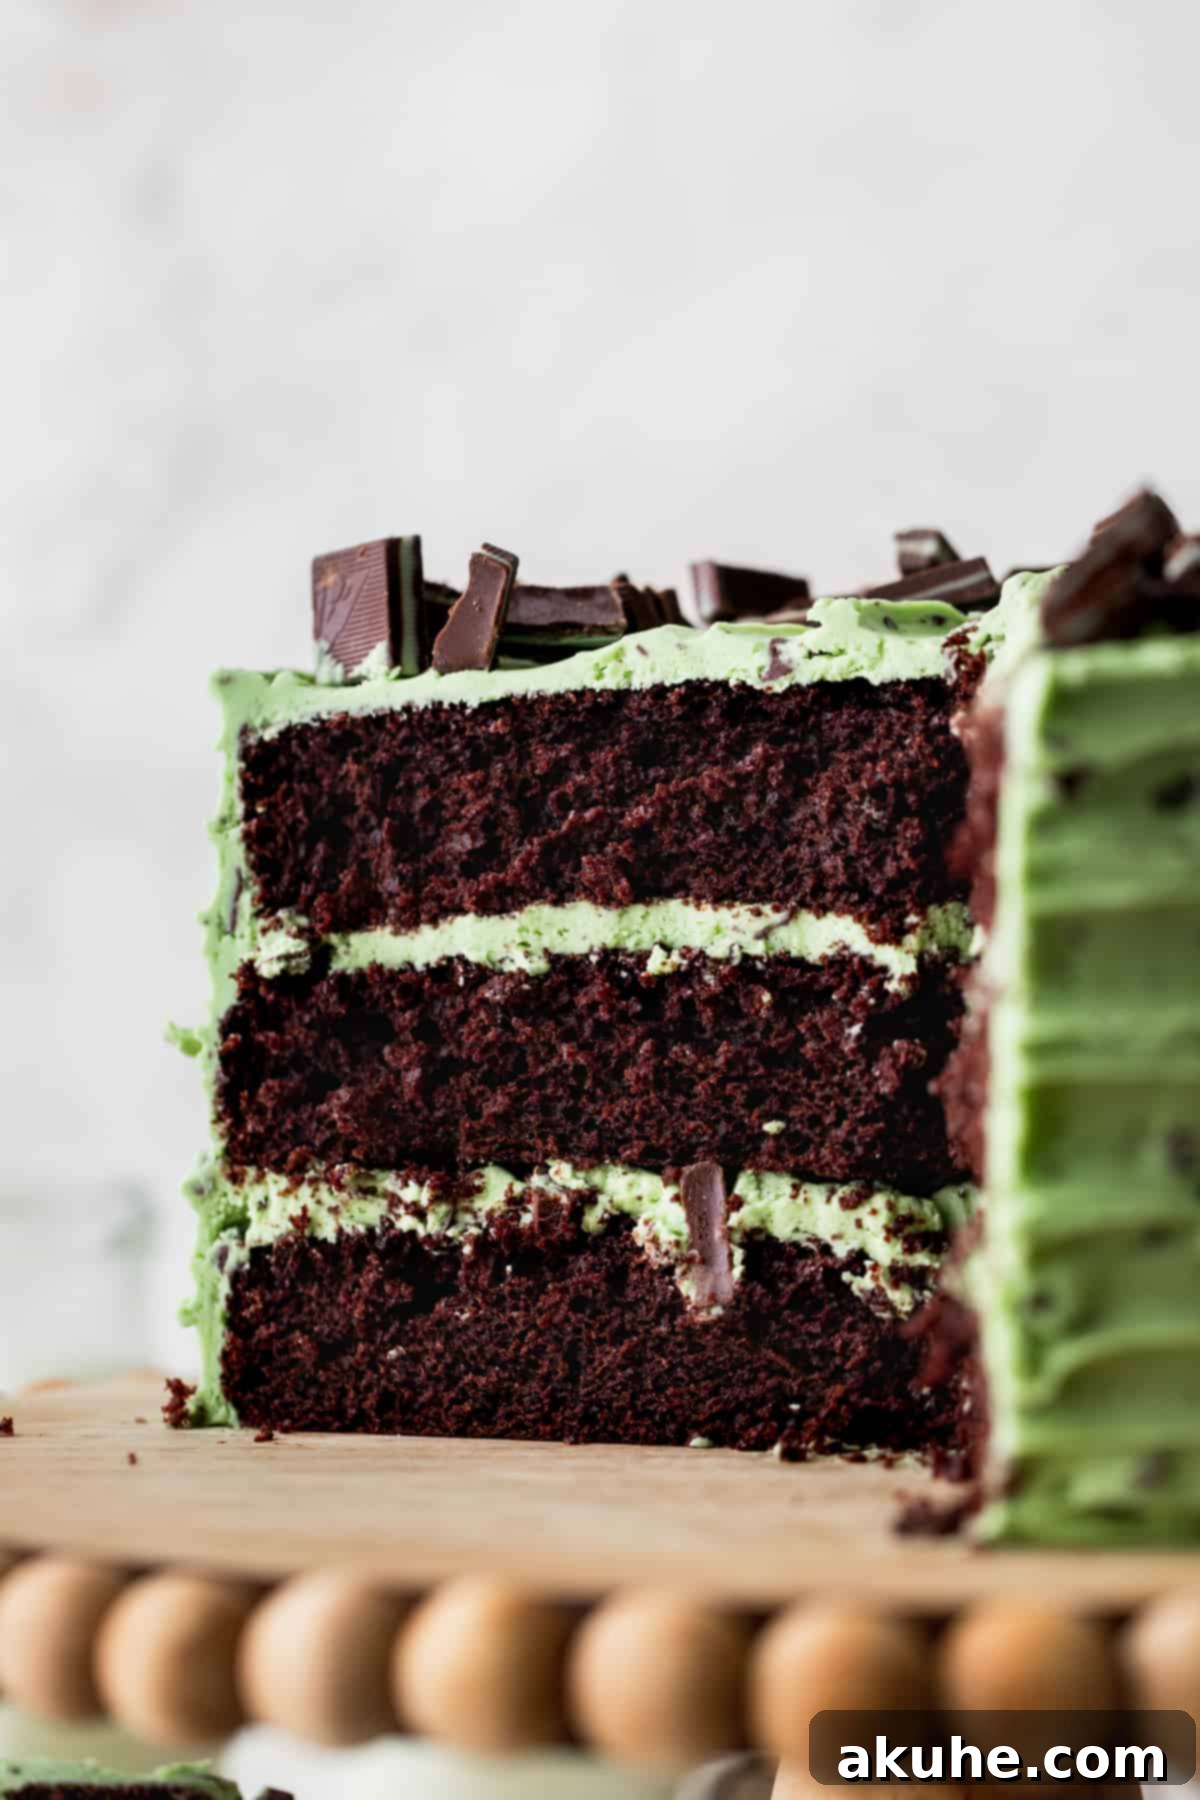
- Filling Each Layer: For each cake layer, use approximately 1 cup of the delicious chocolate chip mint frosting. Spread it evenly using an offset spatula. Then, pipe a sturdy border of frosting around the very edge of the cake layer. This “dam” will contain your chopped Andes mint filling, preventing it from oozing out when you place the next cake layer on top. Sprinkle half of your chopped Andes mints within this piped border.
- The Crumb Coat Secret: If you find too many cake crumbs mixing into your frosting as you decorate, don’t despair! Apply a very thin, light layer of frosting (this is called a “crumb coat”) all around the sides and top of the cake. This traps any loose crumbs. Then, transfer the cake to the freezer for 15-20 minutes to set this crumb coat. Once firm, you can apply your final, thicker layer of frosting without any crumb contamination.
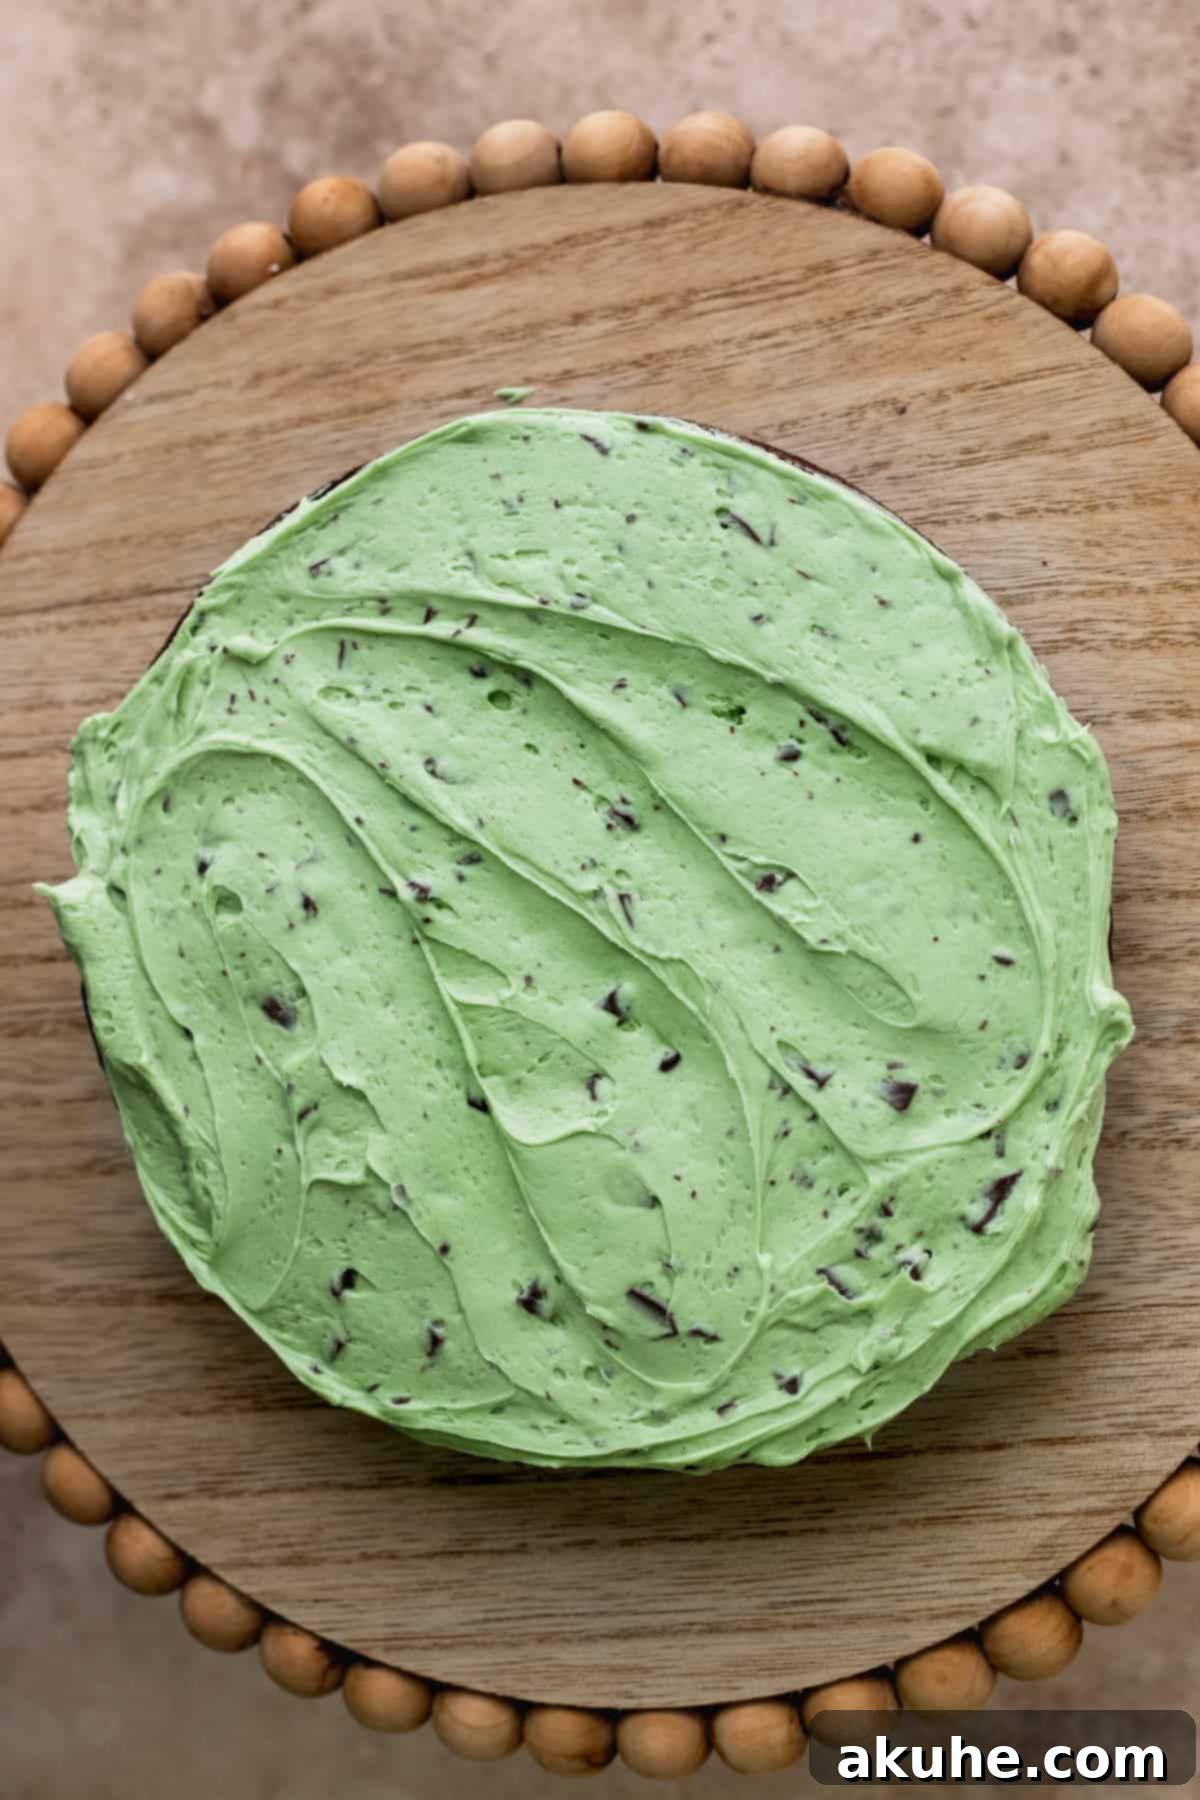
- Smooth Frosting Application: For frosting the cake, a common technique is to place a generous amount of frosting on the very top of the cake. Then, using a large offset spatula or a cake scraper, spread the frosting outwards from the center to the edges, allowing it to spill over the sides. Use the cake scraper to smooth the sides by holding it vertically against the cake while rotating your turntable.
- The Upside-Down Top Layer Trick: For a perfectly flat and professional-looking top, place your final cake layer upside down. The bottom of the cake, which was against the flat pan, will now be your perfectly level top surface.
Artful Decorating for Your Chocolate Mint Cake
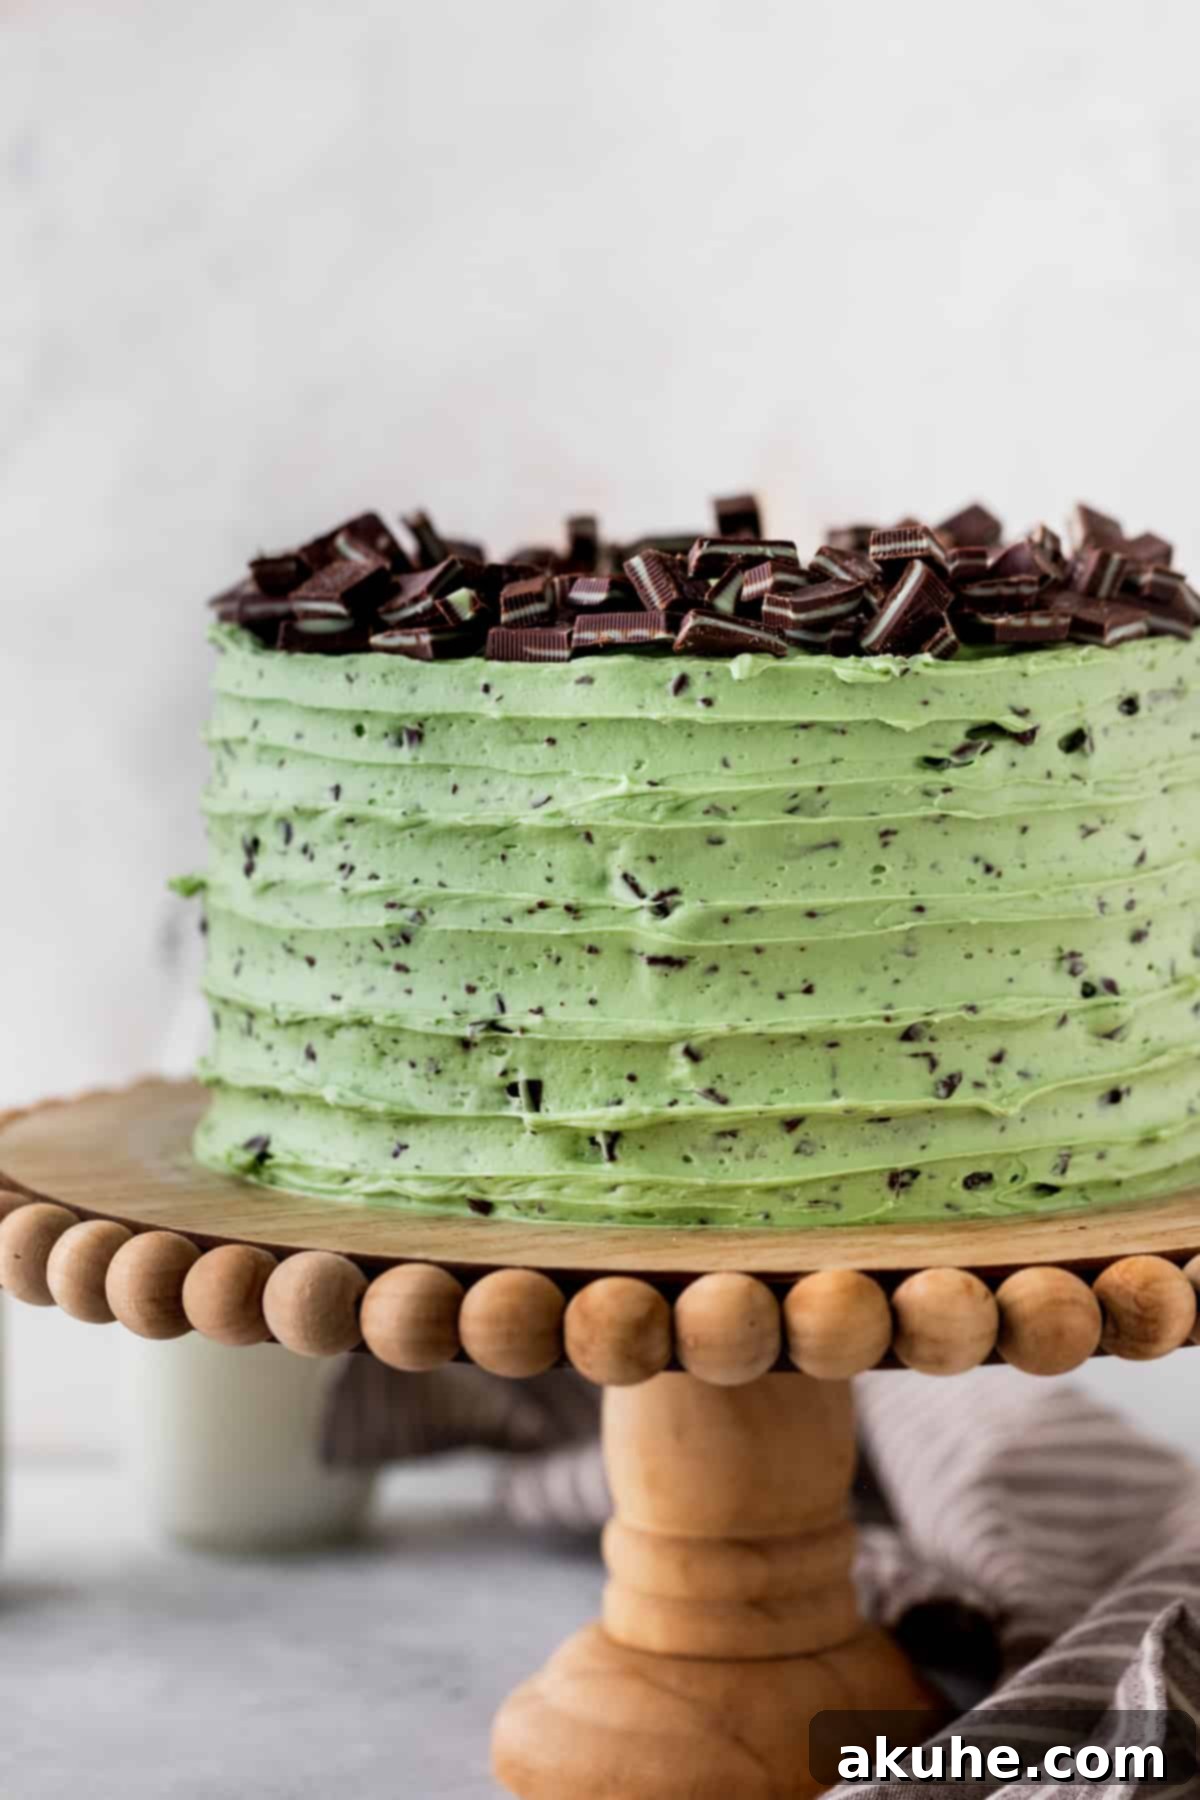
To achieve the beautiful swirled effect seen in the photos of this **chocolate mint cake**, you’ll need a simple offset spatula and a cake turntable. Here’s how to do it:
With a light and steady touch, position the edge of your offset spatula against the bottom side of your frosted cake. As you gently apply slight pressure, slowly spin the cake turntable. As the cake rotates, gradually raise the spatula upwards towards the top edge of the cake. This continuous motion and subtle pressure will create elegant, textured swirls around the entire circumference of your cake, giving it a truly professional and inviting finish.
After perfecting the swirls, I opted to generously top the cake with extra chopped Andes mints. While I initially considered piping additional frosting on top with a piping bag for more intricate decoration, the small chocolate chip pieces within the frosting proved to be a bit too large and consistently clogged the piping tip. Sprinkling the chopped mints directly on top offered a delightful textural contrast and a beautiful, effortless presentation, allowing the rich green frosting to shine.
Frequently Asked Questions About This Chocolate Mint Cake
Absolutely! This versatile recipe can easily be converted into delicious **chocolate mint cupcakes**. Simply halve the original recipe, and it should yield approximately 12 standard-sized cupcakes. Adjust the baking time to about 18 minutes, or until a toothpick inserted into the center comes out clean or with moist crumbs.
This recipe is quite adaptable! If you prefer a simpler, single-layer dessert, you can bake it in a 13×9 inch cake pan to create a delightful sheet cake. If you halve the recipe as you would for cupcakes, it can also fit perfectly into an 8×8 or 9×9 inch square pan. Generally, the baking times should remain similar to the layered cake, but always perform a toothpick test to ensure doneness.
Yes, you absolutely can! To save time, bake the chocolate cake layers ahead of time. Once they are completely cooled, wrap each layer individually and tightly in plastic wrap, then place them in an airtight container or a freezer bag. They can be frozen for up to 30 days. When you’re ready to assemble and decorate your **chocolate mint cake**, simply pull the frozen layers out about 1 hour before you plan to frost, allowing them to thaw slightly at room temperature. For the freshest and fluffiest results, I highly recommend making the chocolate chip mint frosting fresh on the day of assembly.
Dry cake layers are often the result of over-baking or incorrect flour measurement. Always use the “spoon and level” method when measuring flour: spoon flour into your measuring cup until it overflows, then level off the excess with a straight edge. Never scoop directly from the bag, as this compacts the flour, leading to too much dry ingredient. Also, keep a close eye on your oven and bake only until a toothpick comes out with moist crumbs, not completely clean, which indicates a perfectly baked, moist cake.
If you find the chocolate chip mint frosting overly sweet, you can make a few adjustments. First, ensure you’re using unsalted butter, as salted butter can alter the flavor balance. You can also try adding an extra pinch of salt to the frosting, which helps to cut through the sweetness. Another option is to gradually reduce the amount of powdered sugar slightly, adding it in smaller increments until you reach your desired level of sweetness and consistency. Remember that the heavy cream also helps to balance the sweetness.
Storing and Freezing Your Delicious Chocolate Mint Cake
To keep your **mint chocolate chip layer cake** tasting fresh and delightful for as long as possible, proper storage is key. Here’s how to ensure every slice remains a treat:
Storing the Cake
This exquisite chocolate mint cake should be stored in an airtight cake carrier or a similar container in the refrigerator. This method will help maintain its moistness and prevent the frosting from melting or becoming too soft. When properly stored, the cake will remain fresh and delicious for up to 5 days. While the cake tastes wonderfully refreshing even when cold, for the absolute best flavor and texture experience, allow it to come to room temperature for about 1 hour before serving. This allows the cake layers to soften slightly and the flavors of the chocolate and mint frosting to fully blossom.
Freezing the Cake
If you have leftovers or wish to prepare parts of this **chocolate mint cake** ahead of time, it freezes beautifully. For individual servings, slice the cake into desired portions. Wrap each slice tightly in plastic wrap, ensuring no air is exposed, and then place them in a freezer-safe bag or airtight container. These individual cake slices can be frozen for up to 30 days without compromising quality. When you’re ready to enjoy a frozen slice, simply thaw it at room temperature for approximately 1 hour. This makes it a perfect make-ahead dessert or a delightful treat whenever a craving strikes.
Explore More Divine Cake Recipes
If you’ve loved creating this sensational **chocolate mint cake**, I encourage you to explore more delightful baking adventures. Be sure to leave me a star review below and share your creations! I love seeing your beautiful bakes on Instagram—tag me @stephaniesweettreats. For endless baking inspiration and more sweet ideas, make sure to follow me on Pinterest!
Chocolate Mint Cake
Print Recipe
Pin Recipe
Leave a Review
Ingredients
Chocolate Cake
- 2 1/2 cups All-purpose flour
- 1 cup Dutch process cocoa powder
- 1 3/4 cup White granulated sugar
- 2 1/2 tsp Baking powder
- 1 1/2 tsp Baking soda
- 1 tsp Salt
- 3/4 cup Oil, canola or vegetable
- 2 tsp Pure vanilla extract
- 4 Large eggs, room temperature
- 1 1/4 cup Buttermilk, room temperature
- 1 cup Hot water
Chocolate Chip Mint Frosting
- 2 1/2 cups Unsalted butter, slightly cold
- 7 1/2 cups Powdered sugar
- 1 tsp Peppermint extract
- 1 tsp Pure vanilla extract
- 1/2 tsp Salt
- 1/2 cup Heavy cream
- Food dye, blue, green, brown
- 4 oz Semisweet chocolate bar, chopped small pieces. I used Lindt 70%.
- 2 Packages of Andes Mints, 40 of the bars will be for the filling, the rest for decoration.
Instructions
Chocolate Cake
- Preheat the oven to 350°F. Spray three 8-inch cake pans with baking nonstick spray. Line the bottom of the pan with 8-inch parchment circles. Spray again.
- In a large mixing bowl, sift the flour and cocoa powder. Whisk in the sugar, baking powder, baking soda, and salt. Set aside.2 1/2 cups All-purpose flour, 1 cup Dutch process cocoa powder, 1 3/4 cup White granulated sugar, 2 1/2 tsp Baking powder, 1 1/2 tsp Baking soda, 1 tsp Salt
- Start heating the water on the stove until steaming. In a separate bowl, mix oil, vanilla, buttermilk, and eggs together. Slowly whisk in the hot water.3/4 cup Oil, 2 tsp Pure vanilla extract, 4 Large eggs, 1 1/4 cup Buttermilk, 1 cup Hot water
- Pour the wet ingredients into the dry. Mix until just combined.
- Pour the cake batter evenly amount the three cake pans. Bake for 24-27 minutes. Bake until a toothpick inserted comes out with moist crumbs or clean.
- Let the cakes sit in the hot pans for 10 minutes. Then, transfer to a cooling rack to cool completely.
Chocolate Chip Mint Frosting
- Let the butter sit on the counter for 30 minutes to get slightly cold. Sift the powdered sugar. Chop the chocolate into small pieces. Discard any dust from chopping the chocolate. See picture to see how big the chocolate pieces should be.2 1/2 cups Unsalted butter, 7 1/2 cups Powdered sugar, 4 oz Semisweet chocolate bar
- Using a mixer, beat the butter on high for 3 minutes. It will be super fluffy. Slowly add in the powdered sugar. It will be very thick.
- Add in the mint extract, vanilla extract, salt, and heavy cream. Beat on low until combined. Then, beat on high for 2 minutes. Scrape the bowl halfway through. It should be very fluffy.1 tsp Peppermint extract, 1 tsp Pure vanilla extract, 1/2 tsp Salt, 1/2 cup Heavy cream
- Add in 2 drops of green and beat the frosting on high until combined. Add in one drop of blue and beat on high. Scrape the bowl and beat until it is all combined. To make the color not as brightly green, add a very very small drop of brown. Then, mix again.Food dye
- Take off the mixer and use a rubber spatula to fold the chocolate chip bits into the frosting.
Assembly
- Place the cake layers in the freezer for 15 minutes to get cold. If the cakes have a dome, use a serrated knife to make the cakes even. While the cakes are in the freezer, chop 40 of the Andes mints. It will equal to 1 cup.2 Packages of Andes Mints
- Place a small amount of frosting on the board you are decorating on. This will lock the cake in place.
- Place the 1st layer of cake down. Use 1 cup of frosting and use an offset spatula to smooth it evenly on the cake. Place frosting in a piping and cut off the tip. Pipe a border around the edges of the cake. Sprinkle half of the chopped mints on top of the frosting.
- Place the second layer of cake down and repeat. Place the last layer of cake upside down (the bottom of the cake is facing up). This will give the flattest layer possible for the top of the cake.
- Frost the cake. If the cake is getting crumbs into the frosting, frost the cake in a light layer and freeze for 15 minutes. Then, frost the rest of the cake.
- To get the swirl look, use an offset spatula and a turntable. Light press on the cake with the spatula and spin it. The goal is make it swirl and go up as you spin the cake.
- Top the cake with extra chopped Andes mints. *optional
Notes
High altitude baking: Add an extra 2 TBSP of flour.
Room Temperature Ingredients: Pull out dairy ingredients (eggs, buttermilk) 2 hours before baking for best results.
Did you make this recipe?
Please leave a star rating and review below!
