Unlock Culinary Magic: Your Ultimate Guide to Making Perfect Brown Butter (Beurre Noisette)
Discover the simple secret to transforming ordinary butter into a rich, nutty, and fragrant ingredient that will elevate all your baking and cooking. This comprehensive guide provides everything you need to know, from the science behind its incredible flavor to expert tips for flawless results every single time.
What Exactly is Brown Butter? The Secret Ingredient Explained
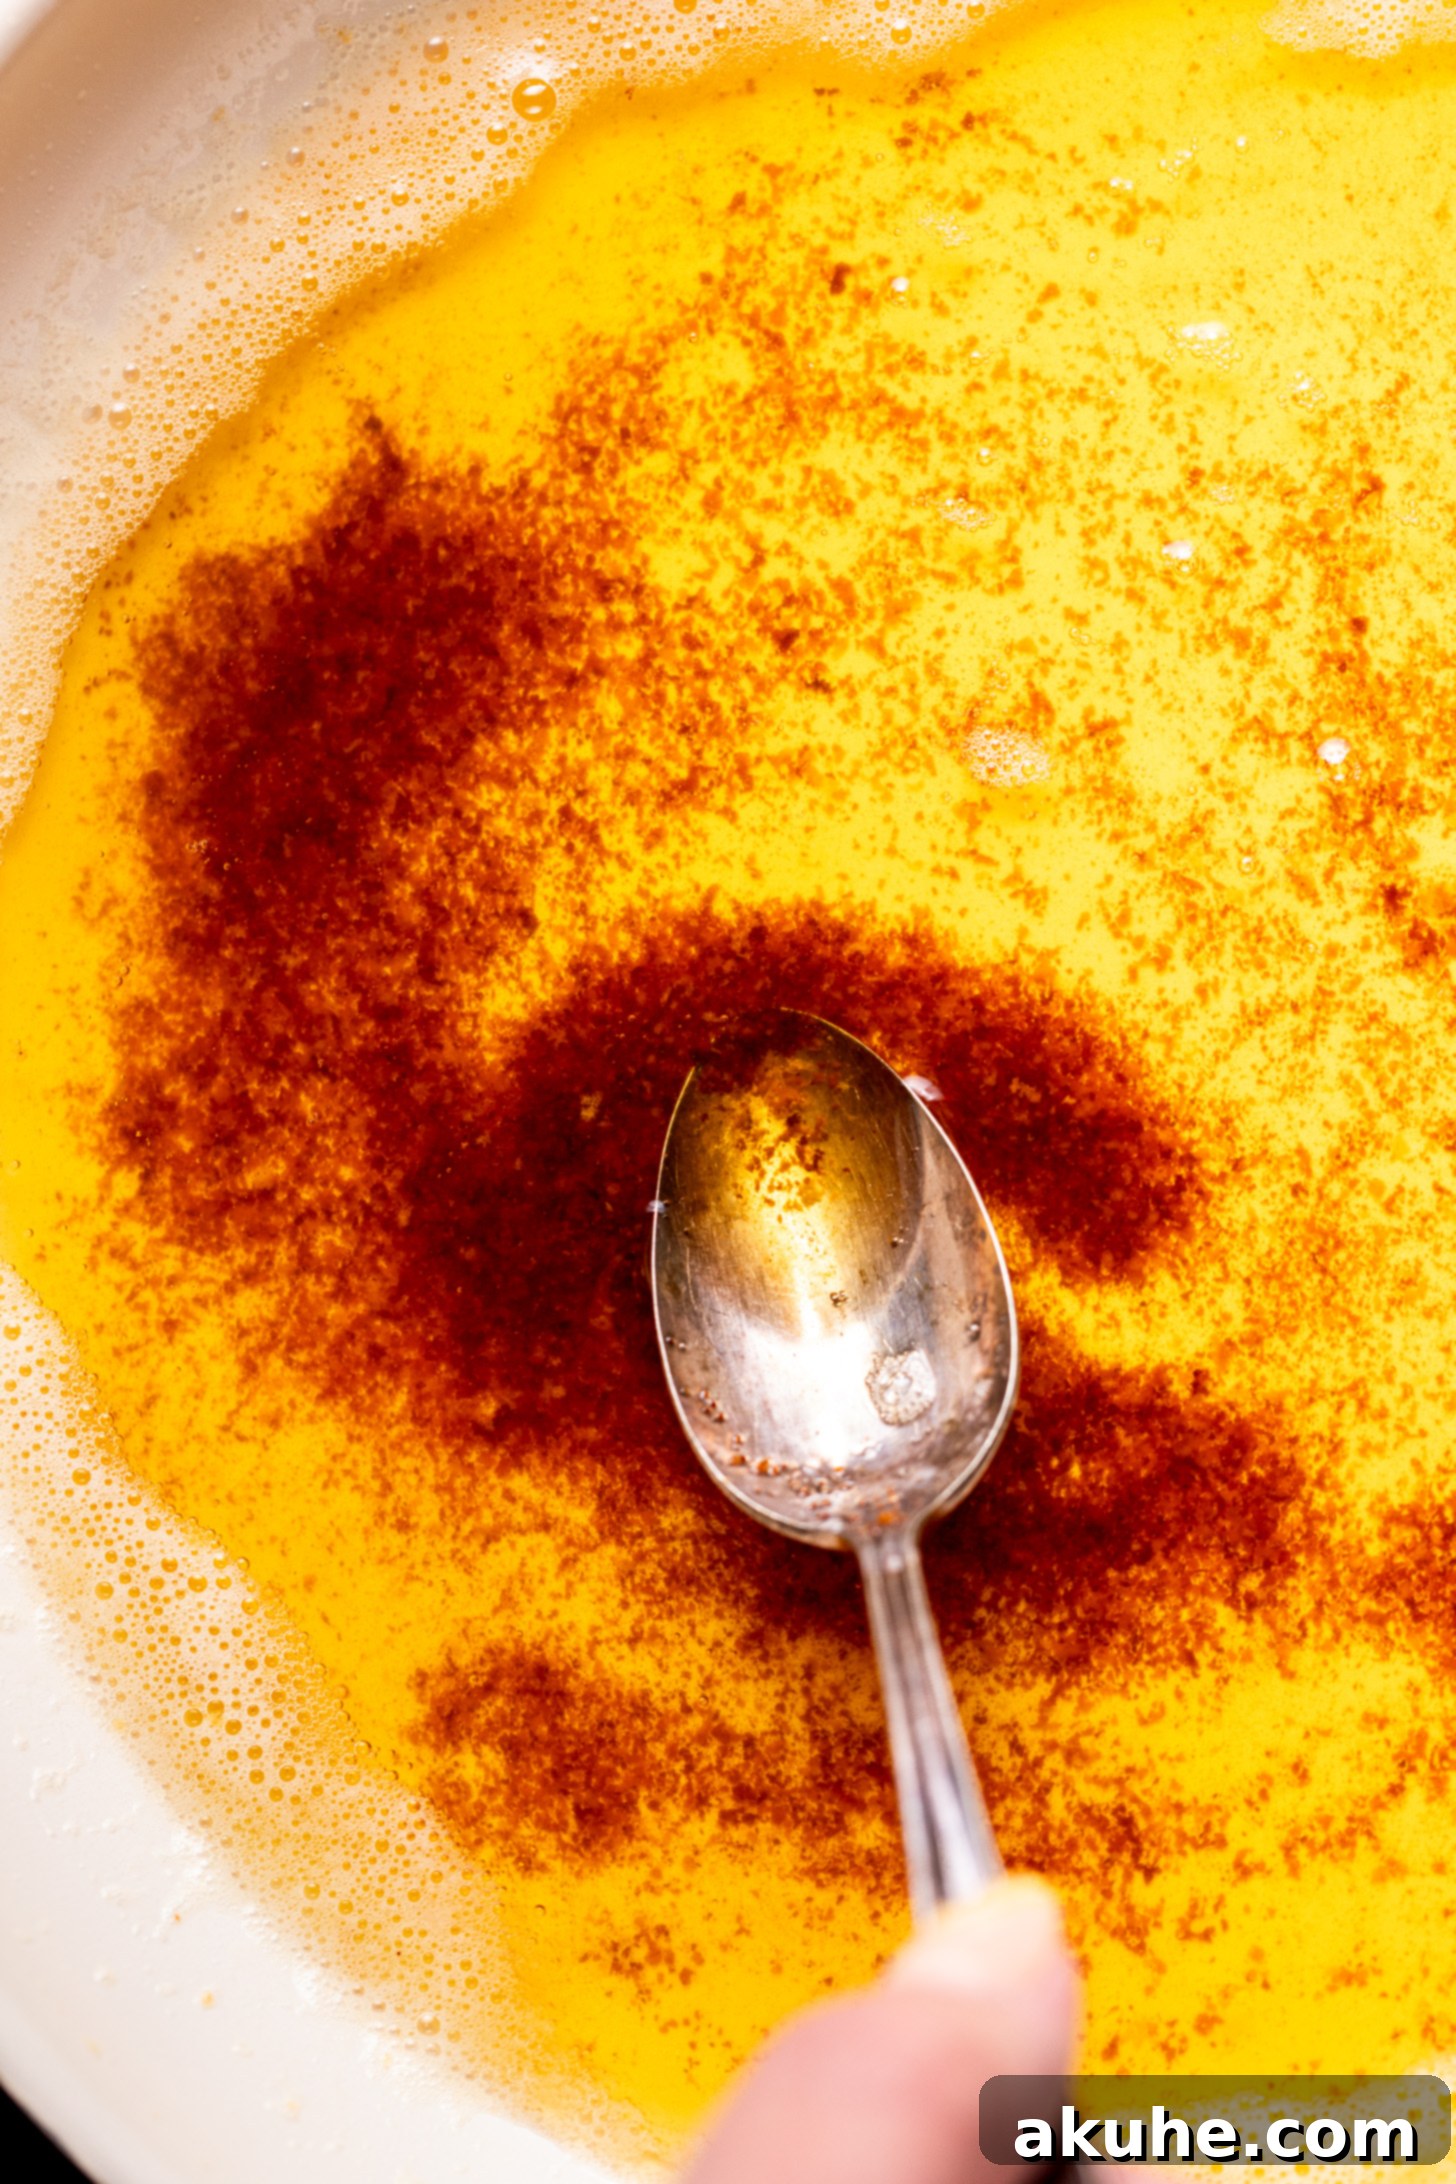
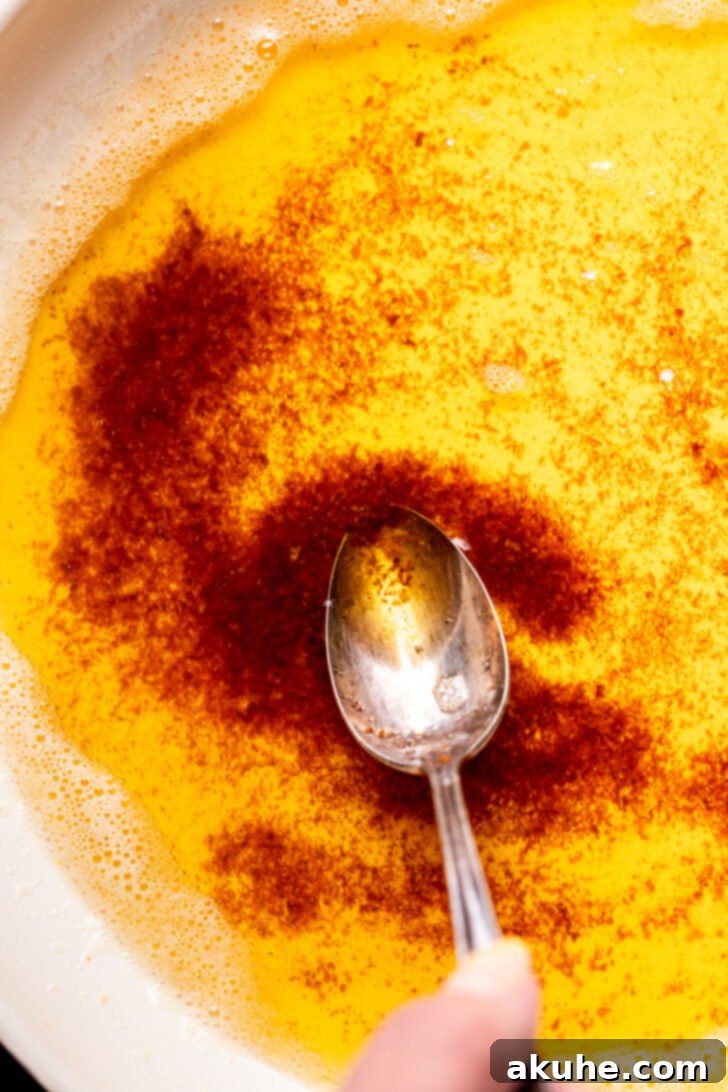
Brown butter, known in French as “beurre noisette” (meaning hazelnut butter), is a culinary marvel that begins its life as humble butter. Through a slow and controlled heating process, the milk solids within the butter separate, toast, and transform into beautiful amber specks. This simple yet profound change imbues the butter with a deeply complex, nutty, and subtly caramel-like flavor, making it a powerful secret weapon in any kitchen.
It’s an incredibly versatile ingredient, capable of enhancing both sweet and savory dishes, from delicate cookies and rich cakes to perfectly seared scallops and roasted vegetables. The beauty of brown butter lies in its simplicity – it requires just one ingredient, butter – and a keen eye during preparation.
The Science of Flavor: What Gives Brown Butter Its Unique Taste?
The distinctive, irresistible flavor of brown butter primarily stems from the Maillard reaction. This is the same chemical process responsible for the delectable browning of seared steaks, toasted bread, and roasted coffee beans. When butter is slowly heated, the water content evaporates, leaving behind butterfat and milk solids. As these milk solids continue to cook in the hot butterfat, they undergo the Maillard reaction.
This reaction involves amino acids and reducing sugars in the milk solids, creating hundreds of new flavor compounds. These compounds are what give brown butter its signature nutty, toasted, and slightly sweet aroma, reminiscent of toasted hazelnuts or caramel. It’s a complex interplay that adds incredible depth and sophistication to any recipe.
Essential Tools and Ingredients for Making Brown Butter
Making brown butter is remarkably straightforward, requiring minimal equipment. Here’s what you’ll need:
- High-Quality Unsalted Butter: The star of the show! Unsalted butter allows you to control the salt content in your final dish. Choose a good quality butter for the best flavor.
- Light-Colored Pan: A saucepan with a light-colored bottom is crucial. This allows you to easily observe the color change of the milk solids as they brown, preventing accidental burning. Stainless steel is ideal.
- Heat-Proof Spatula or Whisk: For continuous stirring, which is key to even browning and preventing scorching. A silicone spatula is perfect.
- Heat-Proof Bowl or Jar: To immediately transfer the brown butter once it’s done cooking, stopping the browning process.
- Fine-Mesh Sieve (Optional): If you prefer a completely clear brown butter, a sieve can filter out the browned milk solids. However, many chefs and home cooks prefer to keep them in for added texture and intense flavor.
Step-by-Step Guide to Perfect Brown Butter
Mastering brown butter is simple with these detailed steps. Remember, patience and a watchful eye are your best allies!
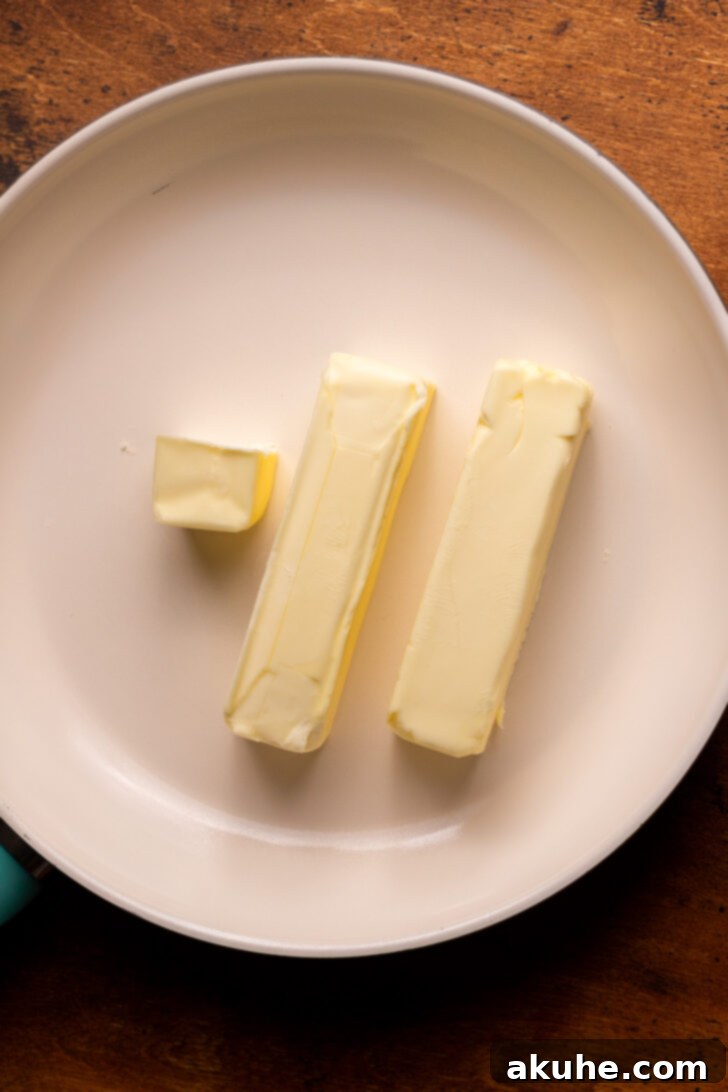
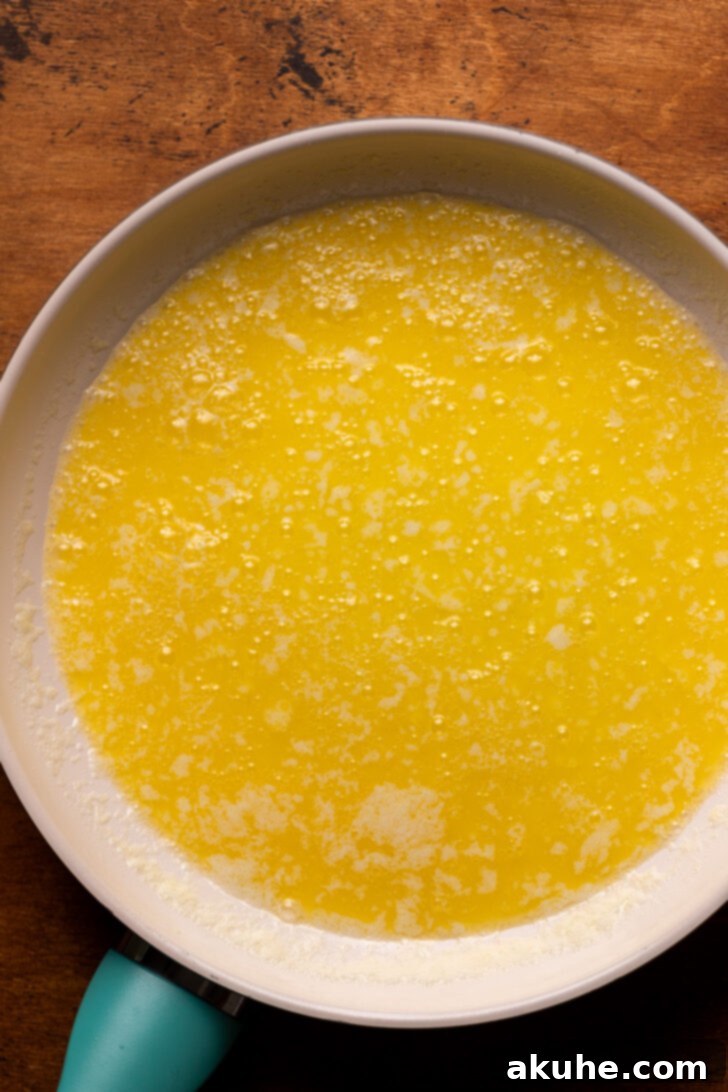
- Melt the Butter: Begin by placing your unsalted butter (cubed or whole, it makes no significant difference to the final result) into a light-colored saucepan. Set the heat to medium. The butter will slowly melt and begin to simmer.
- The Evaporation Phase: As the butter melts, it will start to bubble vigorously. This is the water content in the butter evaporating. This is often the longest part of the process. Stir occasionally with your heat-proof spatula to ensure even heating and prevent solids from sticking to the bottom. You will notice the bubbling becoming less aggressive as more water evaporates.
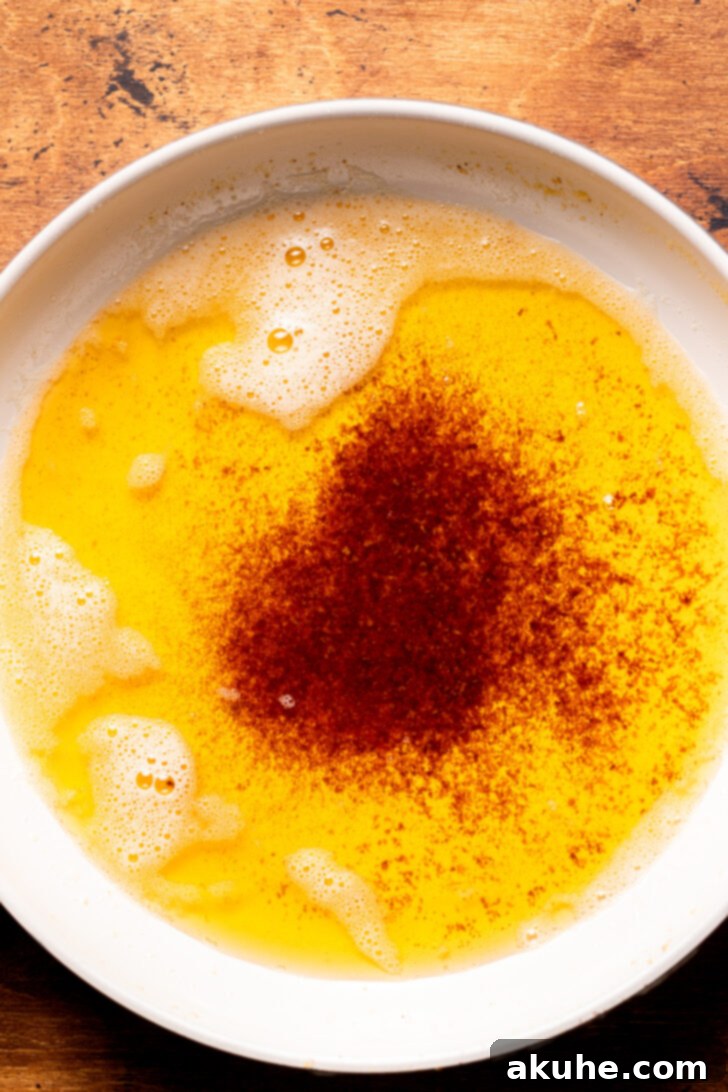
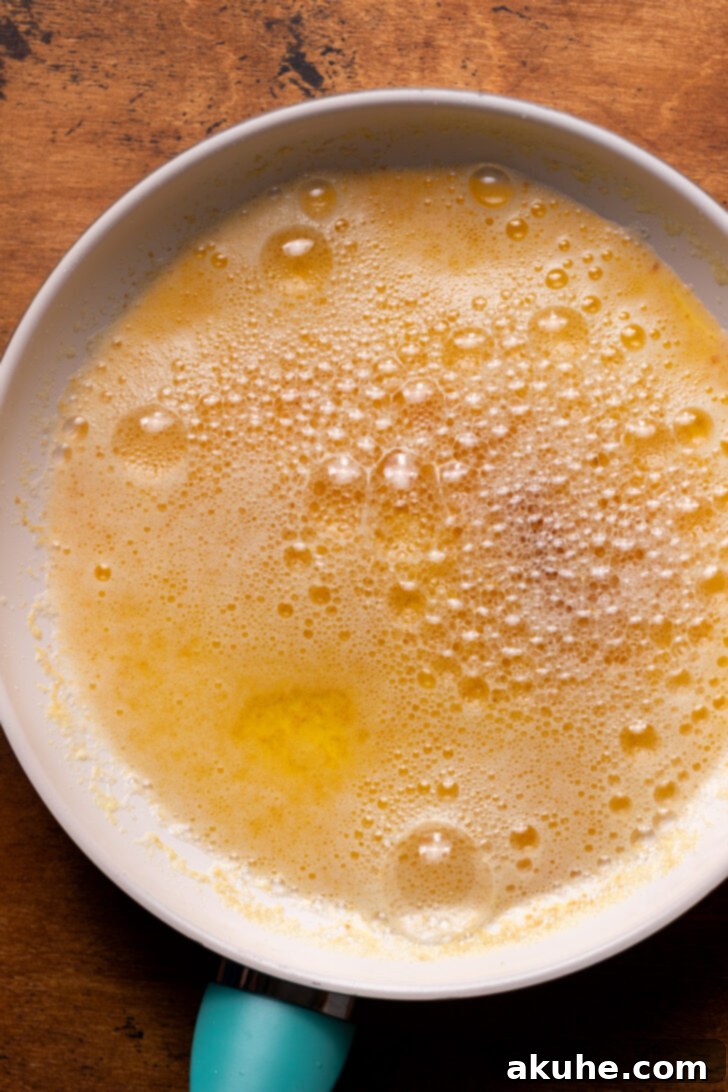
- Foaming and Transition: After most of the water has evaporated, the butter will begin to foam up on the surface. This signifies that the water evaporation is nearly complete, and the milk solids are now directly exposed to the heat. It’s time to pay very close attention!
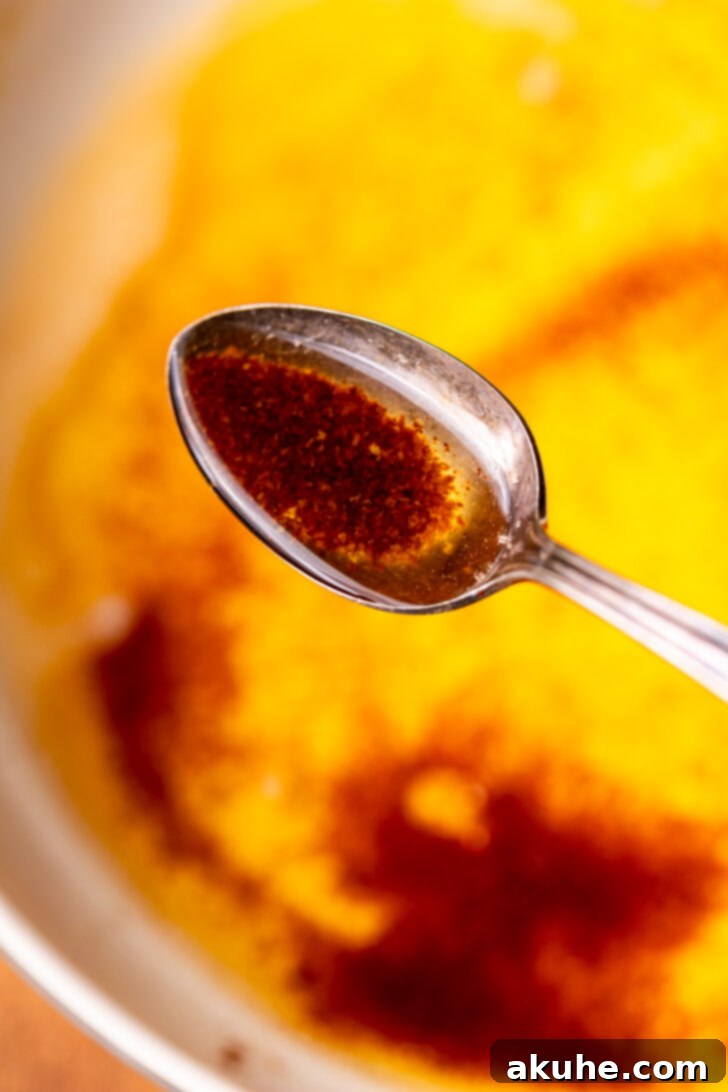
- The Browning Stage: Continue stirring gently, keeping an eye on the bottom of the pan. Through the foam, you will start to see tiny golden specks forming at the bottom. These are your milk solids beginning to toast. They will quickly deepen in color from pale gold to a rich, amber brown, reminiscent of hazelnuts. You’ll also begin to smell a distinct nutty, fragrant aroma filling your kitchen.
- Remove from Heat Immediately: The moment those milk solids turn a beautiful golden-brown color and the aroma is pronounced, remove the pan from the heat *immediately*. The residual heat in the pan can quickly take the butter from perfectly browned to burnt in a matter of seconds.
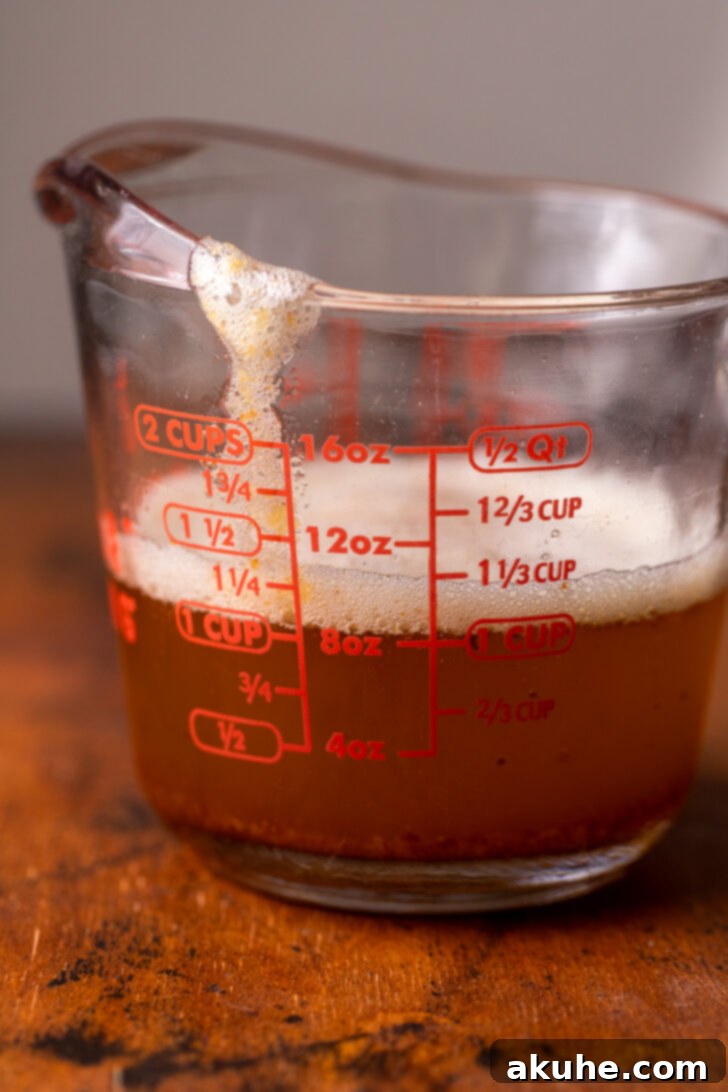
- Transfer and Cool: Pour the hot brown butter into a separate heat-proof bowl or jar to stop the cooking process. It will be very foamy initially, but the foam will settle as it cools. Allow it to cool completely before incorporating it into your recipes, especially for baking where temperature is crucial.
Expert Tips for Consistently Perfect Brown Butter
- Stay Vigilant: Once the water has evaporated and the milk solids begin to separate and brown, the process accelerates dramatically. Never step away from the pan, even for a moment. It can go from perfectly nutty to burnt very quickly.
- Use a Light-Colored Pan: This tip is paramount! A stainless steel or other light-colored pan allows you to clearly see the color development of the milk solids. Dark pans can obscure these visual cues, making it easier to overcook.
- Stir Regularly: Frequent stirring helps the butter melt evenly, promotes consistent water evaporation, and ensures the milk solids brown uniformly without sticking and burning to the bottom of the pan.
- Don’t Rush the Melt: While the browning stage is quick, the initial melting and bubbling phase is slower. Allow the butter to take its time evaporating water over medium heat. Rushing it with high heat increases the risk of scorching the butterfat before the milk solids have a chance to properly toast.
- Listen and Smell: Beyond visual cues, use your senses. A gentle crackling sound indicates water evaporating. As the butter browns, you’ll notice a distinct nutty, almost caramel-like aroma. If it starts smelling burnt, it likely is!
- Have a Landing Spot Ready: Always have your heat-proof bowl or jar ready beside the stove. The moment the butter reaches your desired color and aroma, immediately pour it out of the hot pan to halt the cooking process.
- Consider Straining (Optional): If you want a smoother brown butter without the specks, pour it through a fine-mesh sieve lined with cheesecloth. However, most people enjoy the tiny, flavorful browned bits.
- Adjust for Recipes: Keep in mind that as butter cooks, some water evaporates, meaning 1 cup of butter will yield slightly less than 1 cup of brown butterfat by volume. For most baking recipes, this slight reduction is negligible, but for precise applications, you might start with a little extra butter.
Common Mistakes and How to Avoid Them
- Burning the Butter: This is the most common mistake. It happens when you don’t remove the butter from the heat quickly enough. Burnt butter has a harsh, acrid smell and taste. Always use a light-colored pan and stay by the stove. If it burns, unfortunately, there’s no saving it; you’ll have to start over.
- Not Browning Enough: If you stop too early, your brown butter will still be yellowish and lack the deep nutty flavor. Look for those distinct amber specks and the fragrant aroma before taking it off the heat.
- Too Much Splatter: High heat can cause the butter to splatter excessively, especially during the water evaporation phase. Keep the heat at a steady medium and use a slightly larger pan than you think you need to contain any splashes.
- Using Salted Butter: While you *can* brown salted butter, it’s generally recommended to use unsalted. This gives you greater control over the salt content in your final dish and prevents any unpleasant salty undertones from developing during the browning process.
Creative Culinary Uses for Brown Butter
Once you’ve mastered the art of making brown butter, a world of flavor possibilities opens up. Here are just a few ideas:
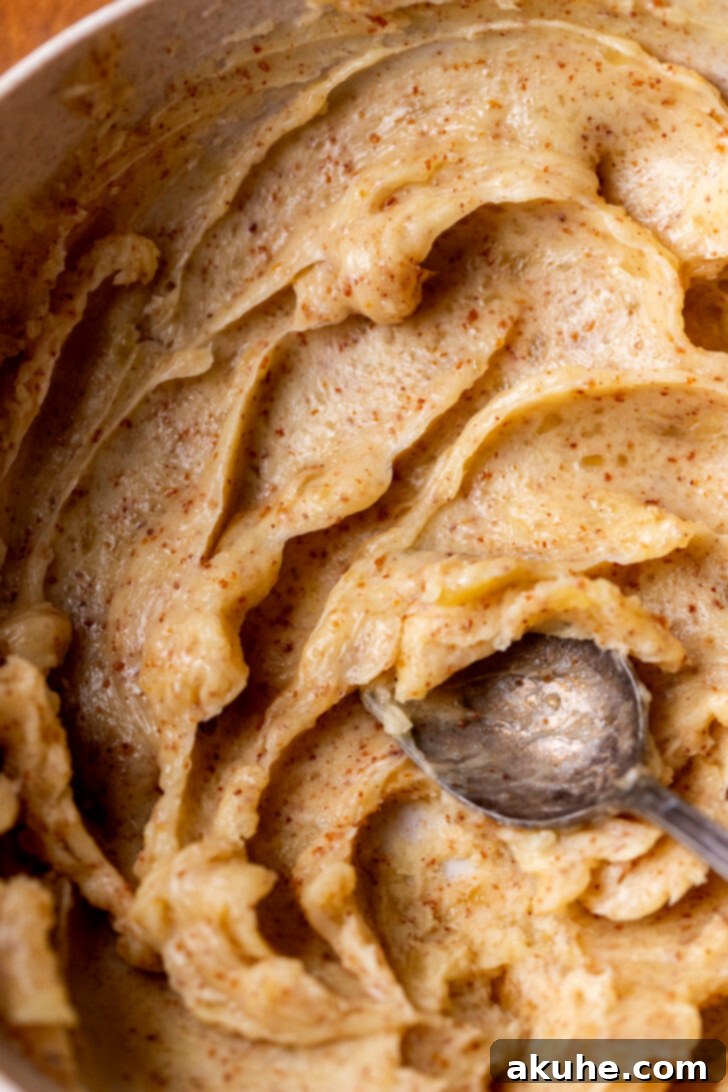
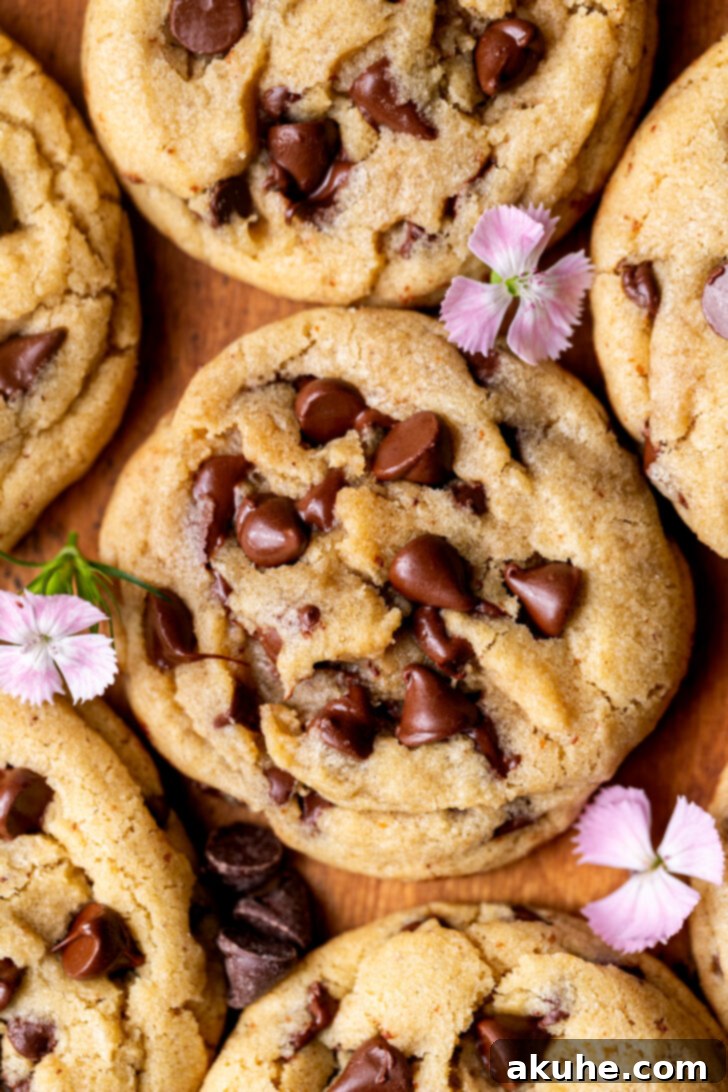
- Baking: This is where brown butter truly shines! Substitute it for regular melted butter in cookies (like my famous brown butter chocolate chip cookies), brownies, cakes, muffins, and even pie crusts. The nutty notes add incredible depth.
- Pancakes & Waffles: Add a tablespoon or two to your pancake or waffle batter for an instant upgrade. Drizzle warm brown butter over them instead of plain melted butter for an extra treat.
- Pasta Sauces: Toss freshly cooked pasta with brown butter, sage, and a sprinkle of Parmesan cheese for a simple yet elegant meal. It pairs beautifully with ravioli or gnocchi.
- Vegetables: Drizzle roasted asparagus, green beans, Brussels sprouts, or mashed potatoes with warm brown butter for a rich, savory finish.
- Fish & Seafood: Brown butter sauce with a squeeze of lemon juice is heavenly over pan-seared scallops, white fish, or shrimp.
- Popcorn: Elevate movie night popcorn by drizzling it with warm brown butter instead of regular melted butter. A pinch of sea salt completes the experience.
Storing Brown Butter for Future Use
Brown butter can be prepared in advance and stored, making it a convenient ingredient to have on hand. Once cooled, transfer it to an airtight container. It can be stored in the refrigerator for up to two weeks, or frozen for several months. When ready to use, simply thaw it in the refrigerator or gently melt it on the stovetop or in the microwave. If you freeze it, you might want to portion it out into ice cube trays for easy access to smaller amounts.
Recipe: How To Make Brown Butter (Beurre Noisette)
How To Brown Butter
Learn the simple steps to create rich, nutty brown butter for all your favorite recipes. This guide provides essential tips for perfect results.
By: Stephanie Rutherford
Prep Time: 1 min
Cook Time: 10 mins
Total Time: 11 mins
Yields: 16 tablespoons (approx. 1 cup)
Ingredients
- 1 cup Unsalted butter, plus 2 Tablespoons (total 18 tablespoons of butter)
Instructions
- Using a large, light-colored frying pan over medium heat, add the unsalted butter. You can cube it or add it in whole; the form makes no difference. Stir occasionally with a heat-proof rubber spatula. Once the butter melts, it can quickly progress from cooking to burnt, so do not leave the kitchen unattended.
- Continue to heat until the butter is fully melted and begins to bubble. Allow the butter to simmer, stirring occasionally as it bubbles and crackles; this indicates the water content is evaporating. Next, the butter will begin to foam up on the surface. Keep stirring and watch the bottom of the pan closely. The milk solids will separate and transform into an amber-golden color. As soon as these milk solids are golden brown and a nutty aroma develops, remove the pan from the heat immediately. This step is critical as it’s very easy to burn the butter at this stage. The entire process typically takes between 5-10 minutes.
- Carefully pour the brown butter into a heat-proof measuring cup. It should yield approximately 1 cup. It will appear very foamy at first, but the foam will quickly melt back into the butter as it cools. Allow the brown butter to cool completely before using it in your recipes.
Nutrition Facts (per 1 tablespoon serving)
- Calories: 102 kcal
- Carbohydrates: 0.01g
- Protein: 0.1g
- Fat: 12g
- Saturated Fat: 7g
- Polyunsaturated Fat: 0.4g
- Monounsaturated Fat: 3g
- Trans Fat: 0.5g
- Cholesterol: 31mg
- Sodium: 2mg
- Potassium: 3mg
- Sugar: 0.01g
- Vitamin A: 355 IU
- Calcium: 3mg
- Iron: 0.003mg
