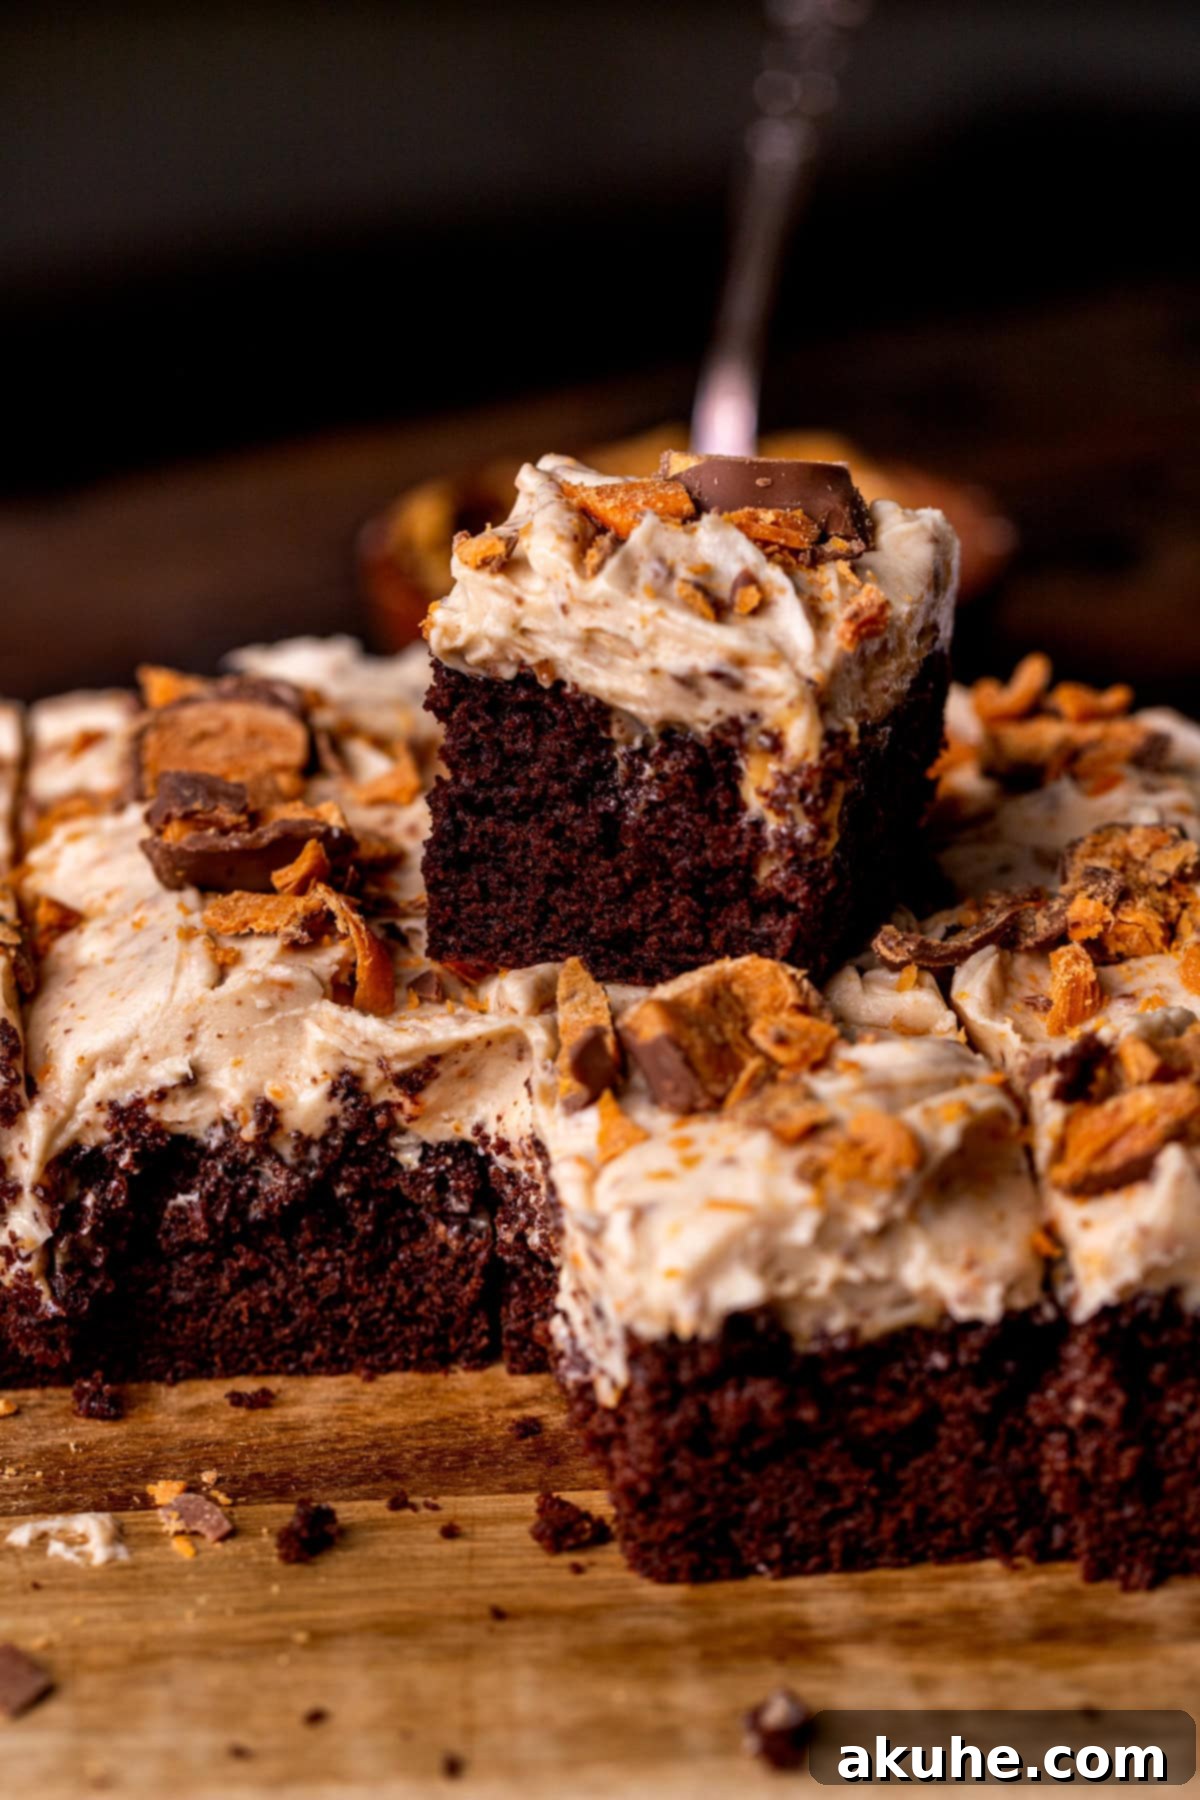
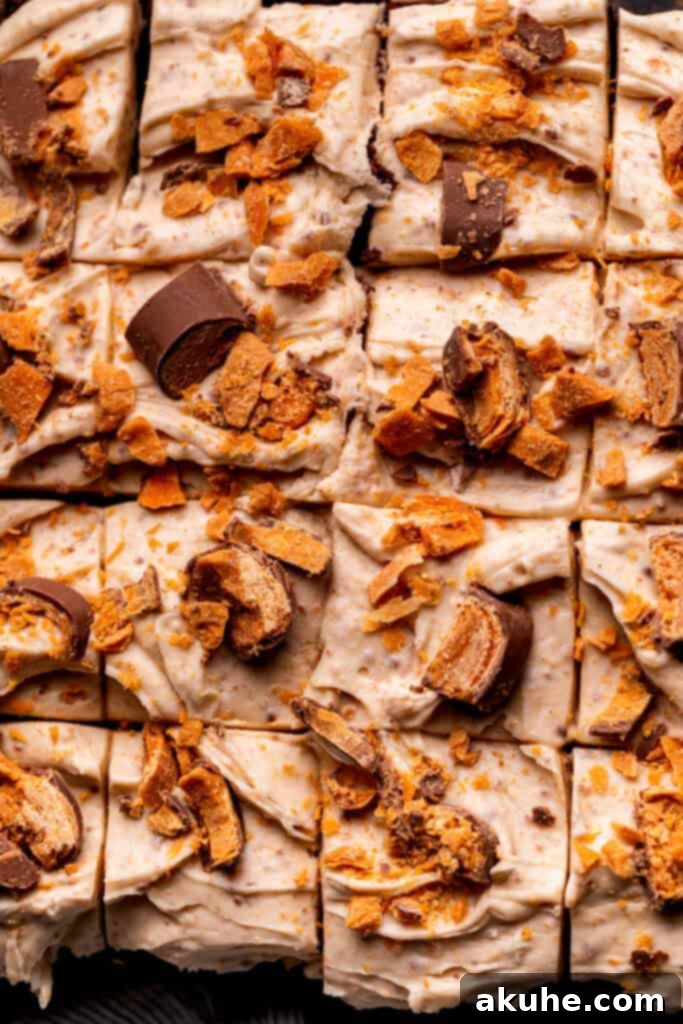
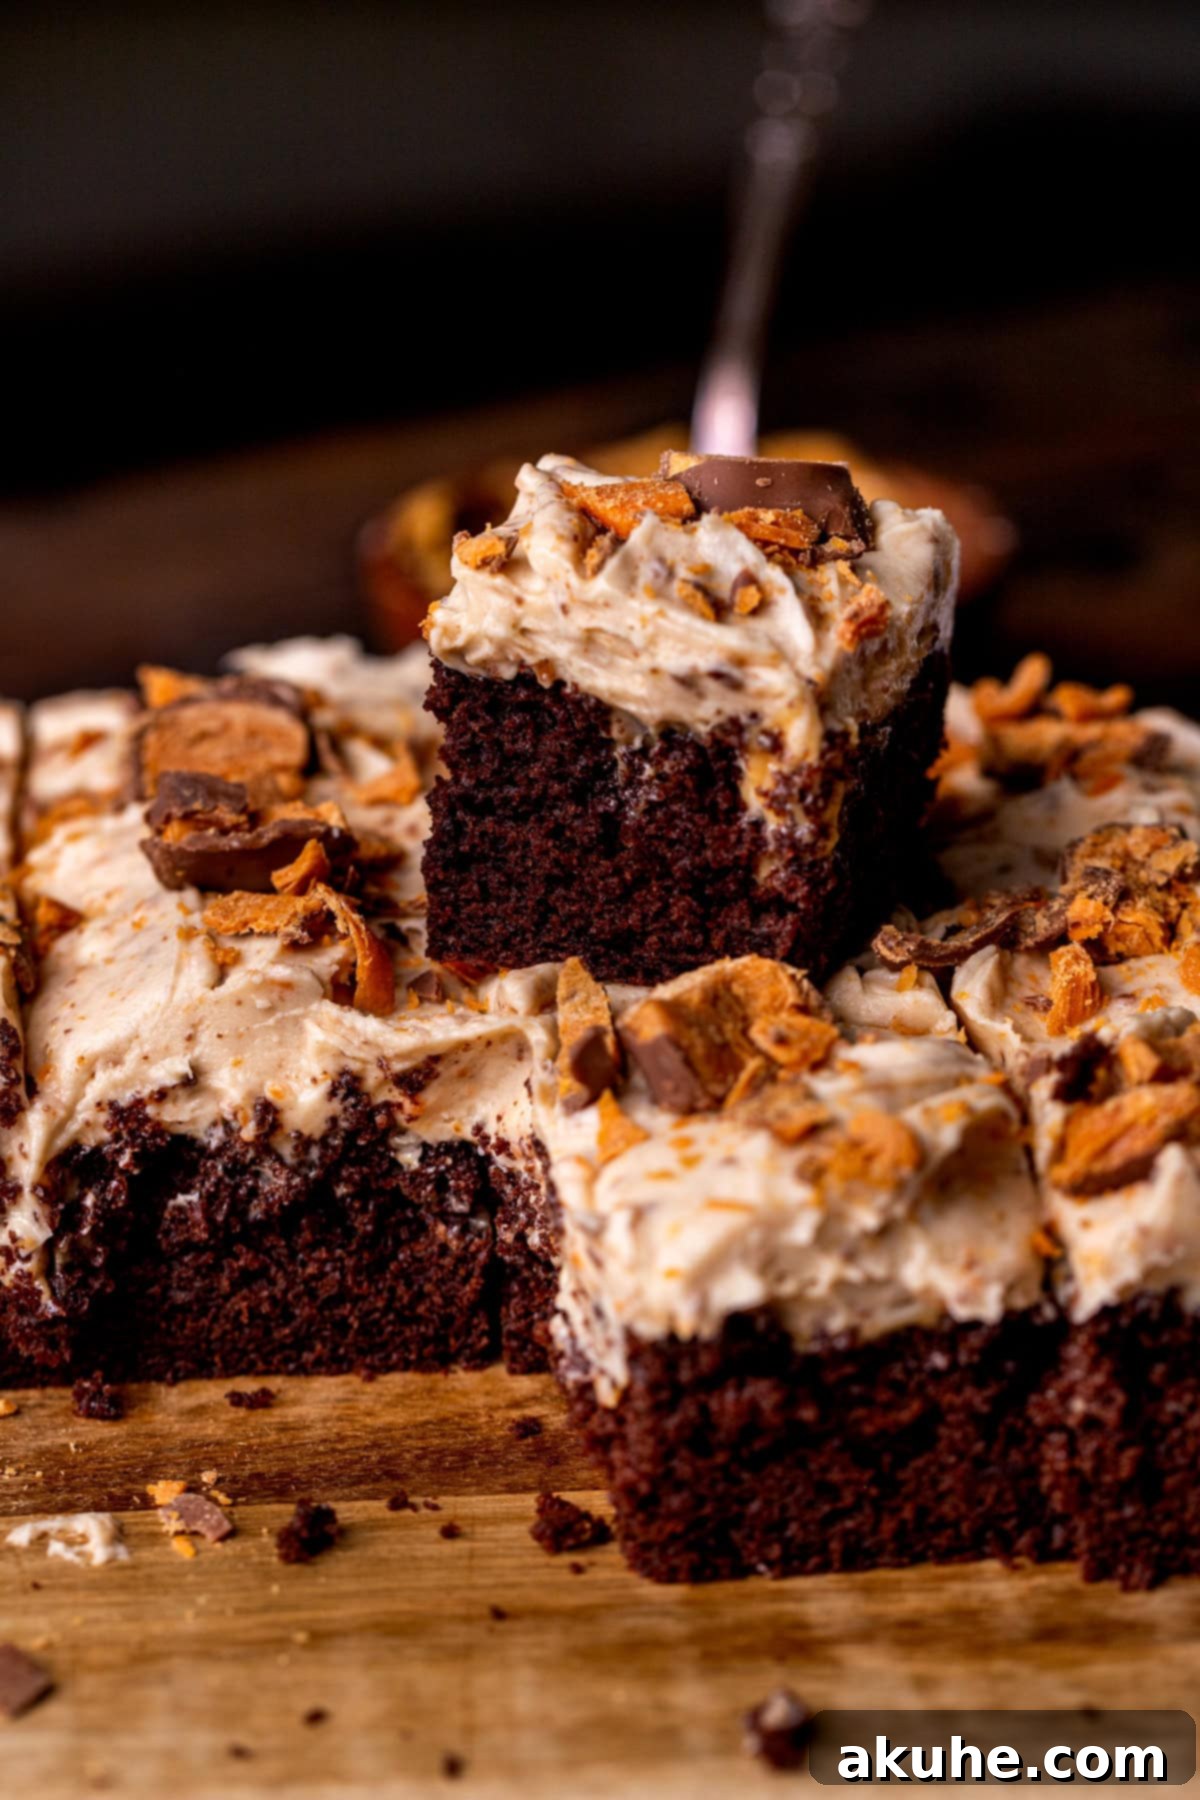
Prepare to tantalize your taste buds with this incredible **Butterfinger cake**, a dessert that perfectly marries the classic crunch of Butterfinger candy bars with the decadent delight of a homemade chocolate cake. Imagine a profoundly moist chocolate cake, generously poked and filled with a luscious, creamy peanut butter filling. Each slice is then crowned with a rich Butterfinger cream cheese frosting, artfully topped with even more crushed Butterfingers for an irresistible crunch and an explosion of flavor in every bite.
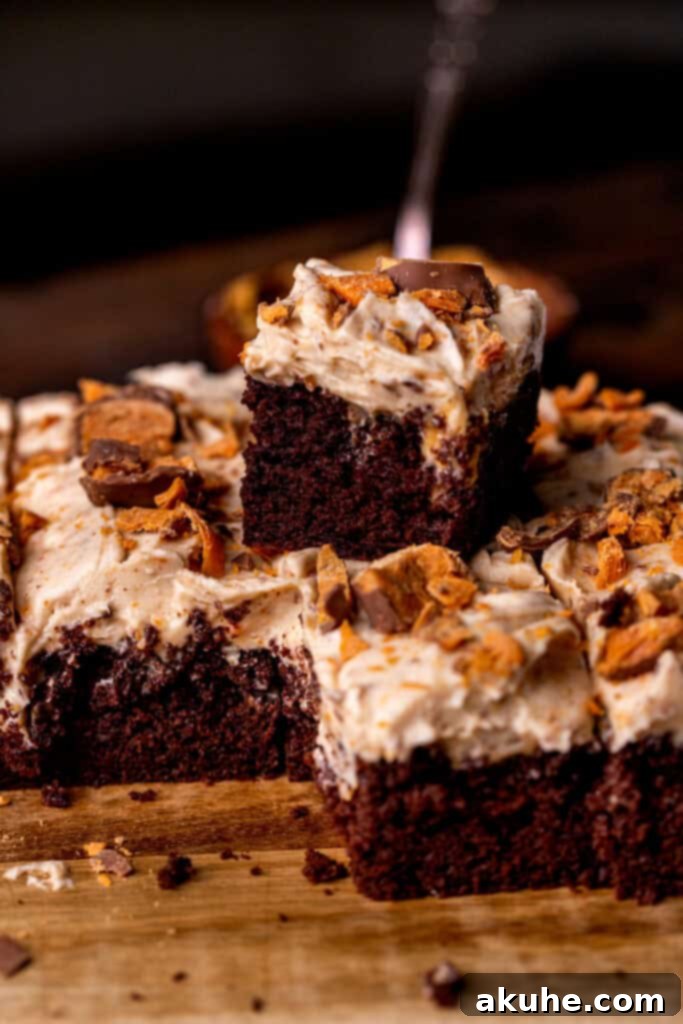
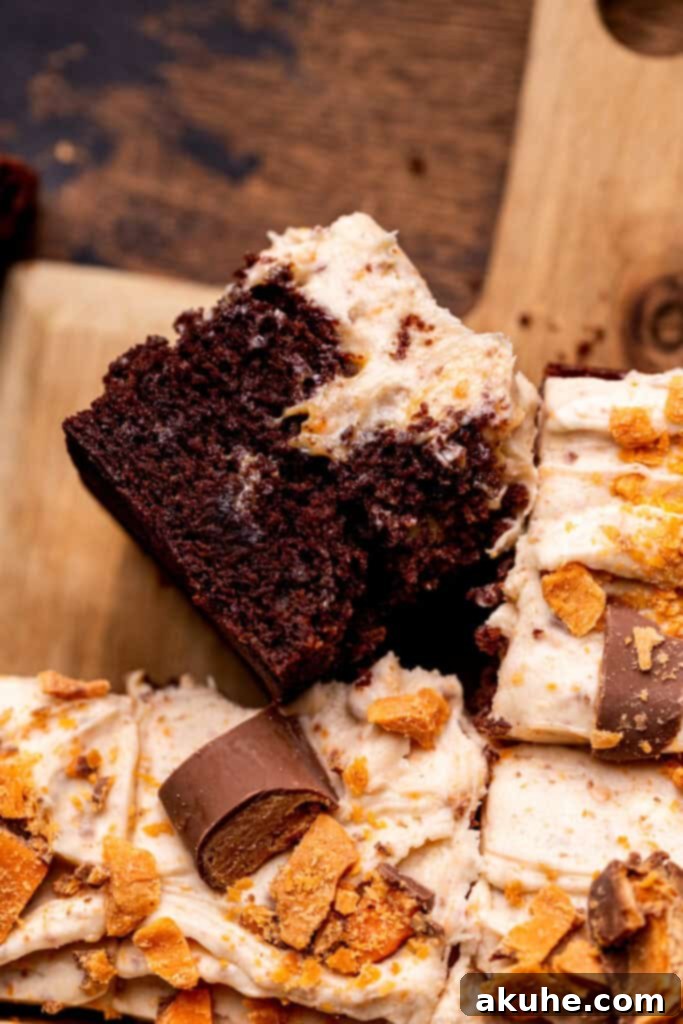
This isn’t just any cake; it’s a celebration of that iconic peanut butter and chocolate pairing that so many of us adore. We’ve transformed the beloved Butterfinger candy bar into an exquisite cake form, delivering a dessert that’s both nostalgic and incredibly satisfying. The rich, deep chocolate cake serves as the perfect canvas, its moist crumb absorbing the delightful peanut butter filling that seeps into every crevice. The signature Butterfinger cream cheese frosting adds a layer of creamy indulgence, while the generous scattering of crushed Butterfingers on top ensures every bite delivers that unmistakable crispy, buttery, and peanut-packed flavor. This comprehensive guide, complete with essential tips and step-by-step process photos, ensures you can recreate this masterpiece in your own kitchen with ease. If you’re a devoted fan of candy-inspired desserts, be sure to explore our Snickers Cake for another delightful treat that promises to impress.
Unlock the Secrets to Baking the Perfect Butterfinger Cake
Achieving a bakery-quality Butterfinger cake at home is entirely possible with a few key techniques and a little attention to detail. These expert tips will guide you through the process, ensuring your cake is exceptionally moist, bursting with flavor, and a true delight for everyone who tastes it. From precise measurements to perfect frosting, we’ve got you covered.
- Tip 1: Measure Flour Accurately for Optimal Moisture. The way you measure flour significantly impacts the final texture of your cake. For a perfectly moist crumb, it’s crucial to avoid compressing the flour. Instead of scooping directly with your measuring cup, gently spoon the flour into the cup until it overflows, then level it off with a straight edge like the back of a knife. This method prevents over-packing, which can add too much flour and result in a dense, dry cake. For ultimate accuracy and consistent results, using a kitchen scale to measure ingredients by weight is always recommended.
- Tip 2: Embrace Room Temperature Dairy and Eggs. This tip is paramount for achieving a smooth, well-emulsified batter and frosting. Ensure your eggs, buttermilk, sour cream, cream cheese, and butter are all at room temperature before you begin. Ingredients at room temperature combine much more readily, creating a homogeneous batter without lumps. Cold ingredients can cause the batter to curdle or separate, affecting the final texture of your cake and making it less uniform. Plan ahead by taking them out of the refrigerator at least an hour or two before you start baking.
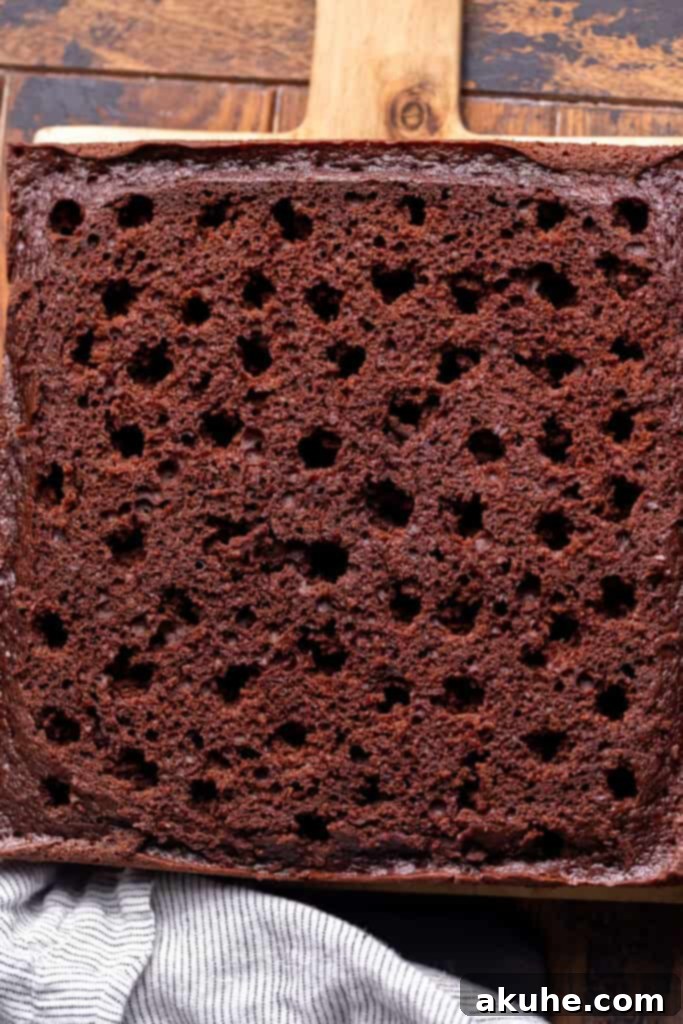
- Tip 3: Master the Art of Poking for Maximum Filling Absorption. The “poke cake” technique is what allows that rich peanut butter filling to seep deep into the chocolate layers, ensuring a flavorful surprise in every forkful. The handle of a wooden spoon is often ideal for creating uniform holes – aim for holes that are about 1/2 to 3/4 inch in diameter and spaced relatively evenly across the cake surface. These holes should penetrate about two-thirds of the way through the cake. However, don’t limit yourself! The shaft of a hand mixer attachment or even the wider end of a honey dipper can work wonders for slightly smaller, yet equally effective, holes. Just ensure the holes aren’t too close together to maintain the cake’s structural integrity.
- Tip 4: Crafting Flawless Cream Cheese Frosting. Cream cheese frosting can sometimes be tricky to get right, but this method ensures a silky-smooth, stable result. Begin by beating your softened unsalted butter on high speed for at least 2 minutes until it’s light, fluffy, and noticeably pale in color. This process aerates the butter, creating a stable base for the frosting. Then, add the room-temperature cream cheese and beat for another minute until thoroughly combined and perfectly smooth. Beating them separately initially helps prevent the frosting from splitting or becoming grainy, giving you that perfect, spreadable consistency that holds its shape beautifully.
- Tip 5: Avoid Overmixing Your Cake Batter. Once you’ve added the dry ingredients to the wet mixture, it’s essential to mix just until everything is combined and no streaks of flour remain. Overmixing develops the gluten in the flour too much, which can lead to a tough, chewy, and less tender cake. A few small lumps in the batter are generally acceptable and will typically bake out, resulting in a tender crumb.
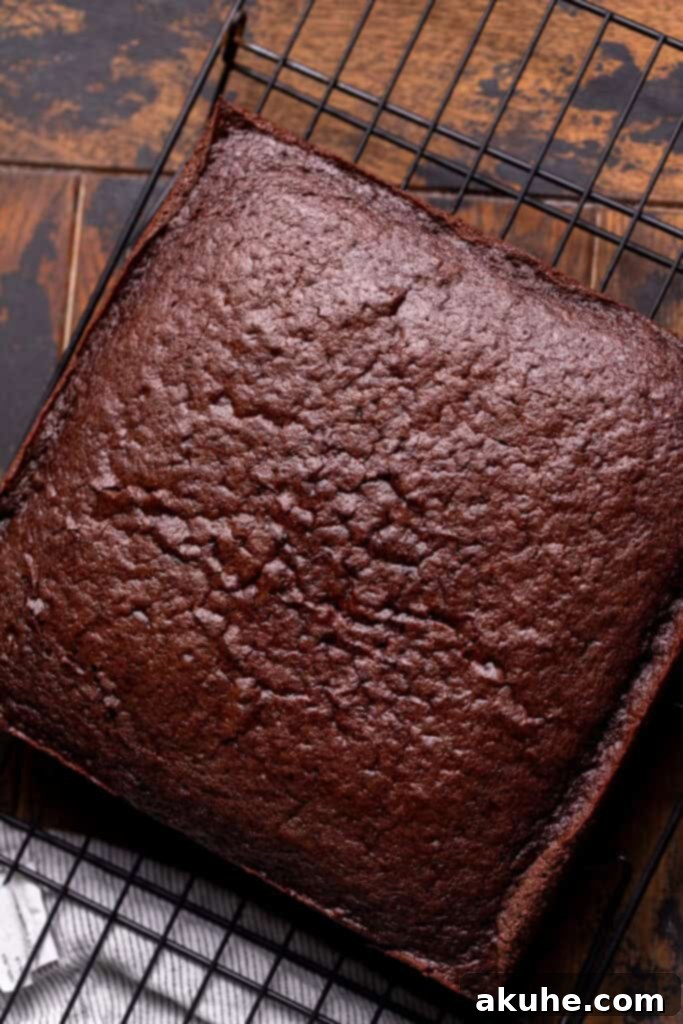
- Tip 6: Cool Completely Before Frosting. Patience truly is a virtue when it comes to decorating cakes. Attempting to frost a warm cake is a recipe for disaster, as the heat will simply melt the frosting, causing it to slide right off and make a sticky mess. Allow your cake to cool completely on a wire rack – usually for at least 2-3 hours. For best results, especially with thick frostings, you can even cool it overnight. A fully cooled cake ensures your frosting stays put, sets beautifully, and looks professionally done.
Assembling Your Butterfinger Masterpiece
Bringing all the elements together is the most exciting part of creating this phenomenal cake! Follow these straightforward steps to assemble your poke cake, ensuring every bite is packed with chocolatey, peanut buttery goodness and that signature Butterfinger crunch.
Why This Butterfinger Cake Will Be Your New Favorite Indulgence
Beyond its undeniable deliciousness, this Butterfinger cake holds a special place in the hearts of dessert lovers. It’s not just a cake; it’s an experience. This cake is a fantastic choice for any occasion – from casual family dinners to elaborate birthday celebrations, or simply when you need to satisfy a serious sweet tooth. The intricate combination of textures – the moist, tender cake, the gooey, rich peanut butter filling, the smooth and tangy cream cheese frosting, and the crunchy candy bar pieces – creates an unforgettable culinary journey. It’s a dessert that truly has it all: the deep, comforting flavor of chocolate, the creamy, nutty essence of peanut butter, and that iconic, distinctively crispy Butterfinger flavor that keeps you coming back for more. Plus, making it from scratch allows you to control the quality of ingredients, ensuring a fresh, superior, and homemade taste that store-bought alternatives simply can’t match.
Serving Suggestions and Storage Tips for Your Butterfinger Cake
This magnificent Butterfinger cake is best served at room temperature, allowing the frosting to soften slightly and the complex flavors to truly meld and shine. Cut into generous slices, and prepare for it to disappear quickly! For an extra touch of indulgence, consider serving each slice with a scoop of premium vanilla bean ice cream, a drizzle of warm chocolate fudge sauce, or even a sprinkle of extra crushed Butterfingers. A freshly brewed cup of coffee or a glass of cold milk makes the perfect accompaniment.
Storage: To keep your Butterfinger cake fresh and delicious, it’s essential to store it in an airtight container in the refrigerator for up to 3-4 days. Due to the cream cheese in the frosting, refrigeration is crucial for both food safety and maintaining its texture. Before serving, allow individual slices to come to room temperature for about 15-20 minutes for the absolute best flavor and texture experience. This cake also freezes beautifully! For longer storage, wrap individual slices or the entire cake (unfrosted or carefully frosted) tightly in plastic wrap, then in a layer of aluminum foil. It can be frozen for up to 1-2 months. When ready to enjoy, thaw the cake in the refrigerator overnight before bringing it to room temperature for serving.
Loved creating this irresistible treat? We’d be thrilled if you could leave a star rating and review below to share your experience with other bakers! Don’t forget to tag us on Instagram @stephaniesweettreats so we can admire your delicious creations. For even more baking inspiration and sweet ideas, be sure to follow us on Pinterest.
Recipe Video Guide
Watch our comprehensive step-by-step recipe video to see just how easy it is to make this incredible Butterfinger cake from start to finish. Visual guidance makes every step clearer and more enjoyable, ensuring your baking success!
Butterfinger Cake
By Stephanie Rutherford
This Butterfinger cake is a moist chocolate cake poked and filled with peanut butter filling, topped with Butterfinger cream cheese frosting and more Butterfingers! A truly decadent treat for any occasion, combining rich chocolate and crunchy peanut butter flavors.
Pin Recipe
Leave a Review
Ingredients
For the Moist Chocolate Cake
- 1 1/2 cups All-purpose flour
- 2 TBSP Cornstarch
- 3/4 cup Dutch process cocoa powder
- 1 tsp Baking powder
- 1/2 tsp Baking soda
- 1/2 tsp Salt
- 3/4 cup Oil (canola or vegetable)
- 1 1/4 cup White granulated sugar
- 1 tsp Pure vanilla extract
- 3 Large eggs, room temperature
- 1/3 cup Sour cream, room temperature (or plain Greek yogurt)
- 3/4 cup Buttermilk, room temperature
- 3/4 cup Hot water
For the Creamy Peanut Butter Filling
- 1/2 cup Creamy Peanut butter
- 6 oz Sweetened condensed milk (half of a standard 14 oz can)
- 1 TBSP Milk
For the Butterfinger Cream Cheese Frosting
- 8 oz Cream cheese, room temperature
- 1 cup Unsalted butter, room temperature
- 3 cups Powdered sugar, sifted
- 1 tsp Pure vanilla extract
- 3/4 cup Butterfinger crumbs (finely ground from about 5 fun-size Butterfingers)
- Extra Butterfingers, for decoration
Instructions
Chocolate Cake Preparation Steps
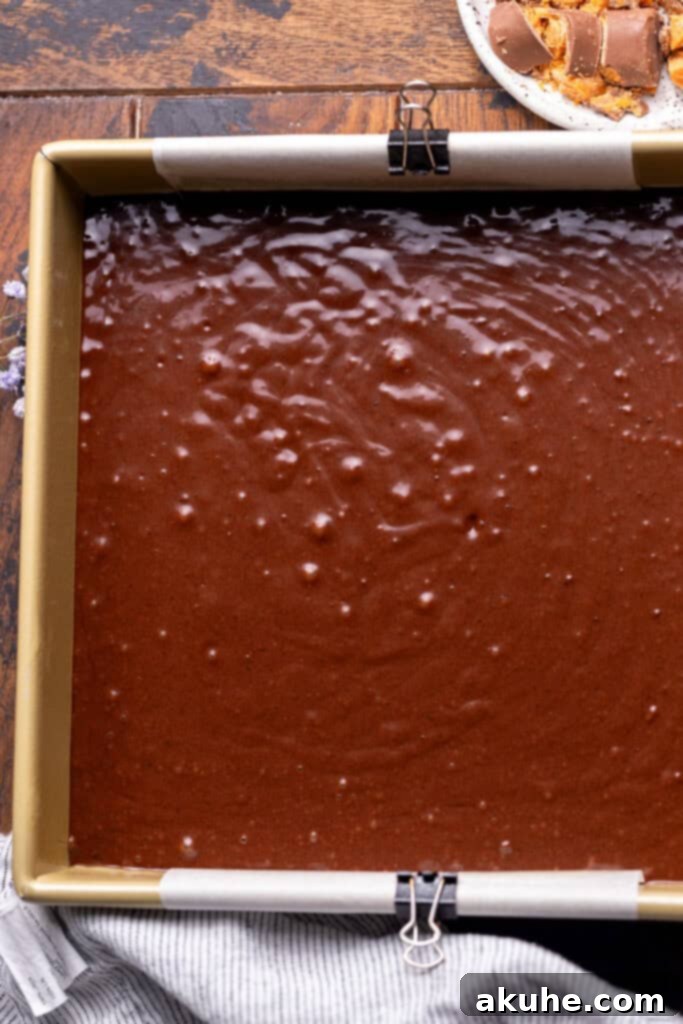
- Preheat your oven to 350°F (175°C). Lightly spray a 9×9-inch baking pan with nonstick baking spray. Line the bottom of the pan with parchment paper, then spray the parchment again. Set the prepared pan aside.
- In a medium-sized mixing bowl, sift together the all-purpose flour, cornstarch, Dutch process cocoa powder, baking powder, baking soda, and salt. Sifting helps to aerate the dry ingredients and prevent lumps, ensuring a smooth, uniform cake batter.
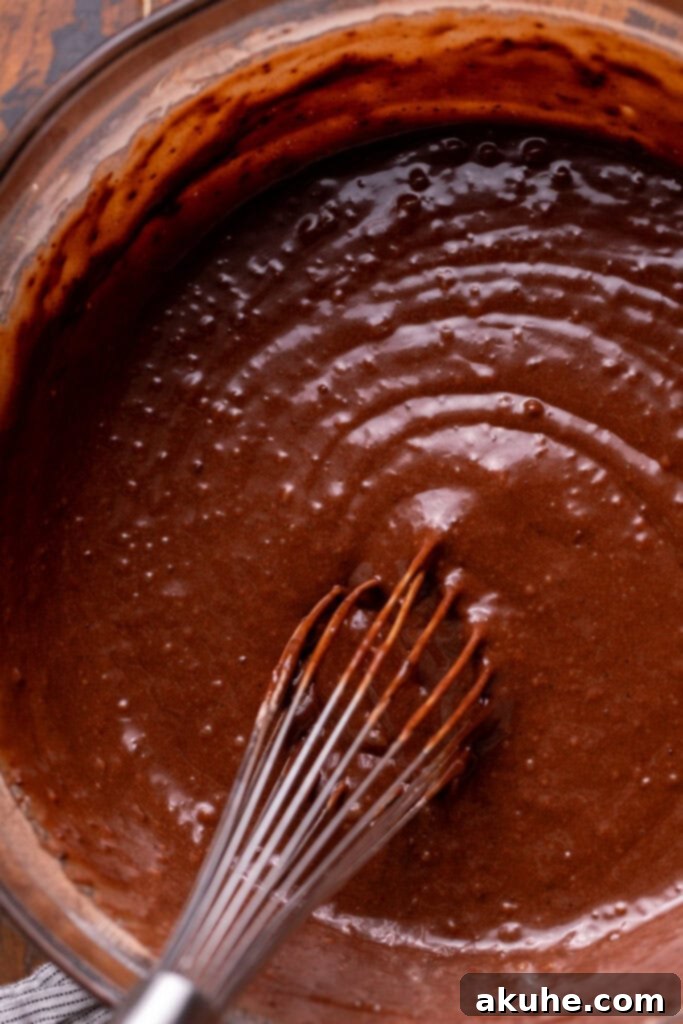
- In a separate, large bowl, combine the oil, white granulated sugar, large eggs, pure vanilla extract, room-temperature sour cream, and room-temperature buttermilk. Whisk these wet ingredients together until well combined and smooth. In a small saucepan or microwave-safe bowl, heat the water until it is steaming hot but not boiling. Slowly pour the hot water into the wet ingredient mixture while continuously mixing, ensuring everything is thoroughly incorporated.
- Gradually add the sifted dry ingredients into the wet mixture. Whisk gently until the batter is smooth and just combined. Be careful not to overmix, as this can lead to a tough, dense cake.
- Pour the prepared chocolate cake batter evenly into your greased and floured 9×9-inch baking pan. Bake for 33-38 minutes. To check for doneness, insert a toothpick into the center of the cake; if it comes out clean with no wet batter, the cake is ready.
- Once baked, remove the cake from the oven and let it sit in the hot pan for 10 minutes. This allows the cake to set and prevents it from sticking. After 10 minutes, carefully invert the cake onto a wire cooling rack and allow it to cool completely before proceeding with decoration. This cooling process could take 2-3 hours or more.
Peanut Butter Filling Preparation Steps
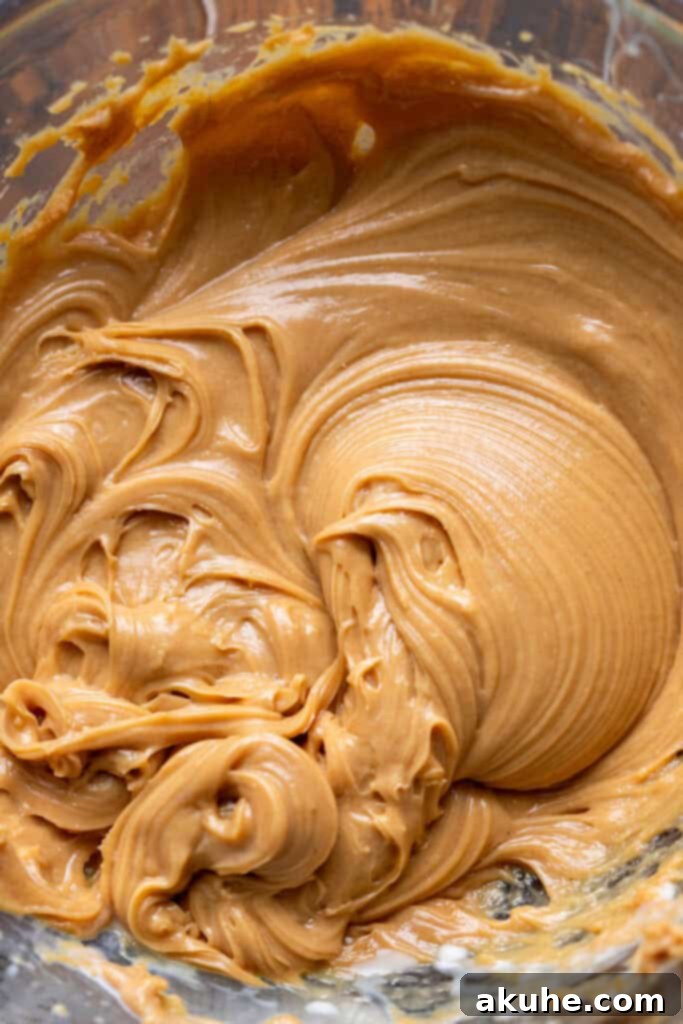
- In a medium bowl, add the creamy peanut butter, sweetened condensed milk, and milk.
- Using a hand mixer, beat the mixture on high speed until it becomes wonderfully creamy, smooth, and well combined. This typically takes 1-2 minutes. Set the filling aside until you are ready to assemble the cake.
Butterfinger Cream Cheese Frosting Preparation Steps
- In a medium bowl, sift the powdered sugar. This step is essential for achieving a smooth, lump-free frosting. Separately, using a food processor, blend the Butterfinger candy bars into very fine crumbs. Once finely ground, add these Butterfinger crumbs to the sifted powdered sugar and mix them lightly until evenly distributed.
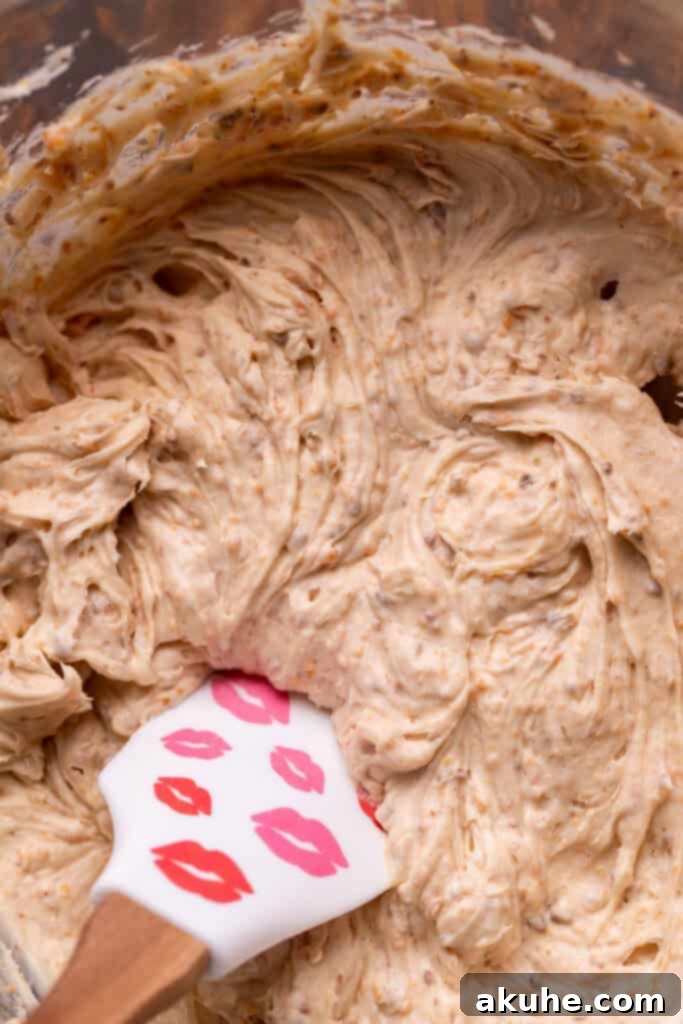
- In a large mixing bowl, using an electric mixer, beat the softened unsalted butter on high speed for 2 minutes until it’s light, fluffy, and noticeably pale. Stop to scrape down the sides of the bowl with a rubber spatula. Add the room-temperature cream cheese and beat on high speed for another minute until the mixture is completely smooth with no lumps.
- Gradually add half of the powdered sugar and Butterfinger crumb mixture to the butter and cream cheese mixture. Mix on low speed until just combined. Then, add the remaining powdered sugar mixture and continue mixing on low speed until fully incorporated. Finally, add the pure vanilla extract and beat on high speed for 1-2 minutes until the frosting is light, creamy, and wonderfully fluffy.
Cake Assembly Steps
- Once the cake is completely cool, use a serrated knife to carefully slice off any domed top, creating a flat and even surface. This makes frosting much easier and gives your cake a professional, polished look. Place the leveled cake on your desired serving platter or cake stand.
- Using the handle of a wooden spoon (or a similar clean, round instrument), poke holes evenly throughout the entire surface of the cake. These holes should go about two-thirds of the way through the cake and be spaced about 1 inch apart to allow for maximum filling.
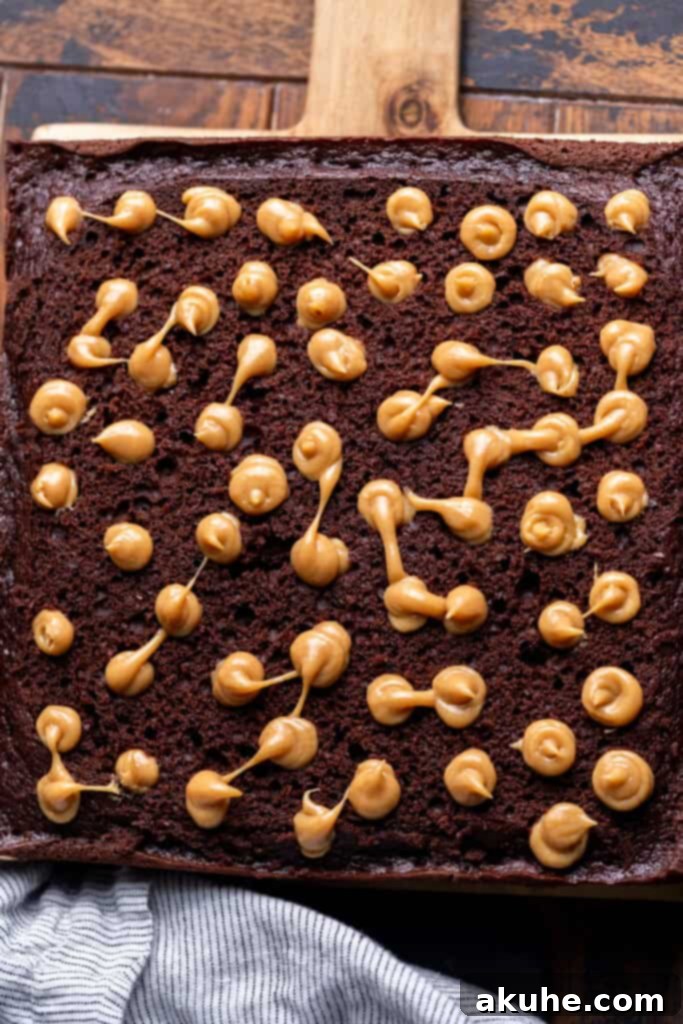
- Transfer the prepared peanut butter filling into a piping bag. Snip a small hole (about 1/4 inch) at the bottom tip of the piping bag. Carefully pipe the peanut butter filling into each of the poked holes, ensuring they are adequately filled. Once all holes are filled, use an offset icing spatula or the back of a spoon to gently spread any excess filling evenly across the top of the cake, creating a smooth layer.
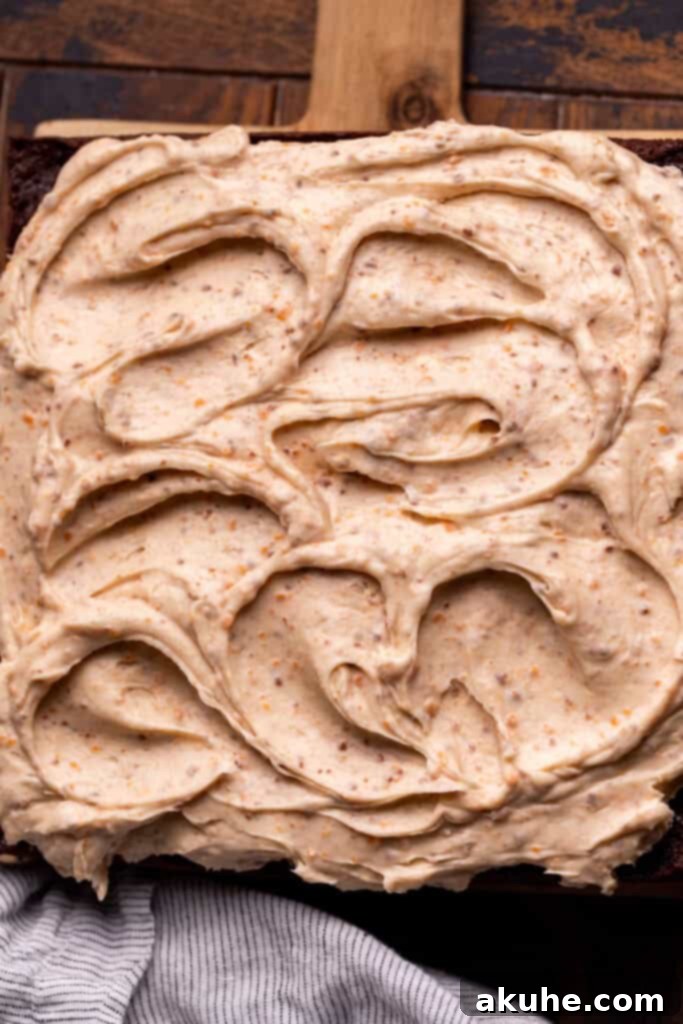
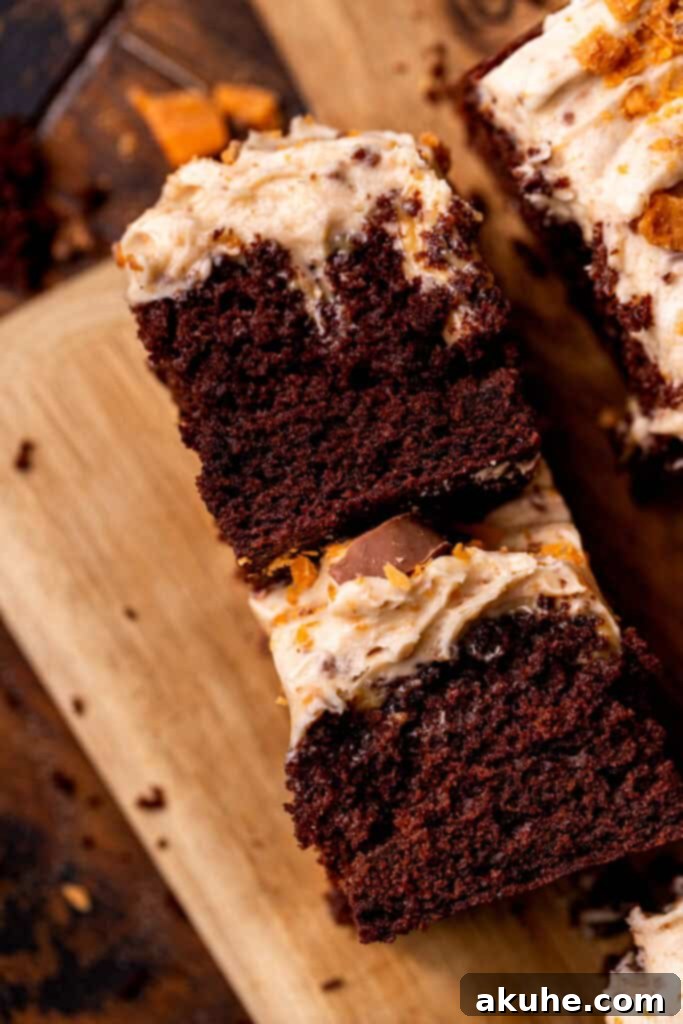
- Finally, top the cake with your decadent Butterfinger cream cheese frosting. Spread it evenly over the peanut butter layer using an offset spatula, creating a smooth or swirled finish. For the grand finale, generously scatter extra crushed Butterfinger candy pieces over the entire frosted cake for added texture, visual appeal, and an undeniable explosion of Butterfinger flavor. Serve immediately or refrigerate until ready to enjoy!
Notes & Expert Tips for Success
Flour Measurement: Always use the “spoon and level” method for flour measurement, or preferably, use a kitchen scale for precise results. Compacted flour can easily lead to a dry, dense cake, so this step is critical for a moist crumb.
High Altitude Baking: If you are baking at a high altitude (typically above 3,500 feet), you may need to make slight adjustments. Consider adding an extra 2 tablespoons of all-purpose flour to the cake batter to help stabilize the cake structure in lower air pressure.
Room Temperature Ingredients: For optimal mixing and emulsification, ensure all dairy ingredients (eggs, sour cream, buttermilk, butter, and cream cheese) are pulled out of the refrigerator at least 2 hours before you plan to start baking. This ensures a smooth batter and creamy frosting without curdling.
Nutrition Information (per serving)
Calories: 461 kcal, Carbohydrates: 61g, Protein: 6g, Fat: 34g, Saturated Fat: 13g, Polyunsaturated Fat: 5g, Monounsaturated Fat: 14g, Trans Fat: 1g, Cholesterol: 53mg, Sodium: 243mg, Potassium: 205mg, Fiber: 2g, Sugar: 24g, Vitamin A: 623IU, Vitamin C: 0.3mg, Calcium: 92mg, Iron: 1mg
Share Your Experience!
Did you make this delicious Butterfinger cake? We’d absolutely love to hear from you! Please consider leaving a star rating and sharing your feedback in the comments section below. Your reviews help other aspiring bakers and inspire us to create even more fantastic recipes for you to enjoy!
(Note: Actual rating submission functionality would typically be implemented with backend code and a database, not pure HTML.)
