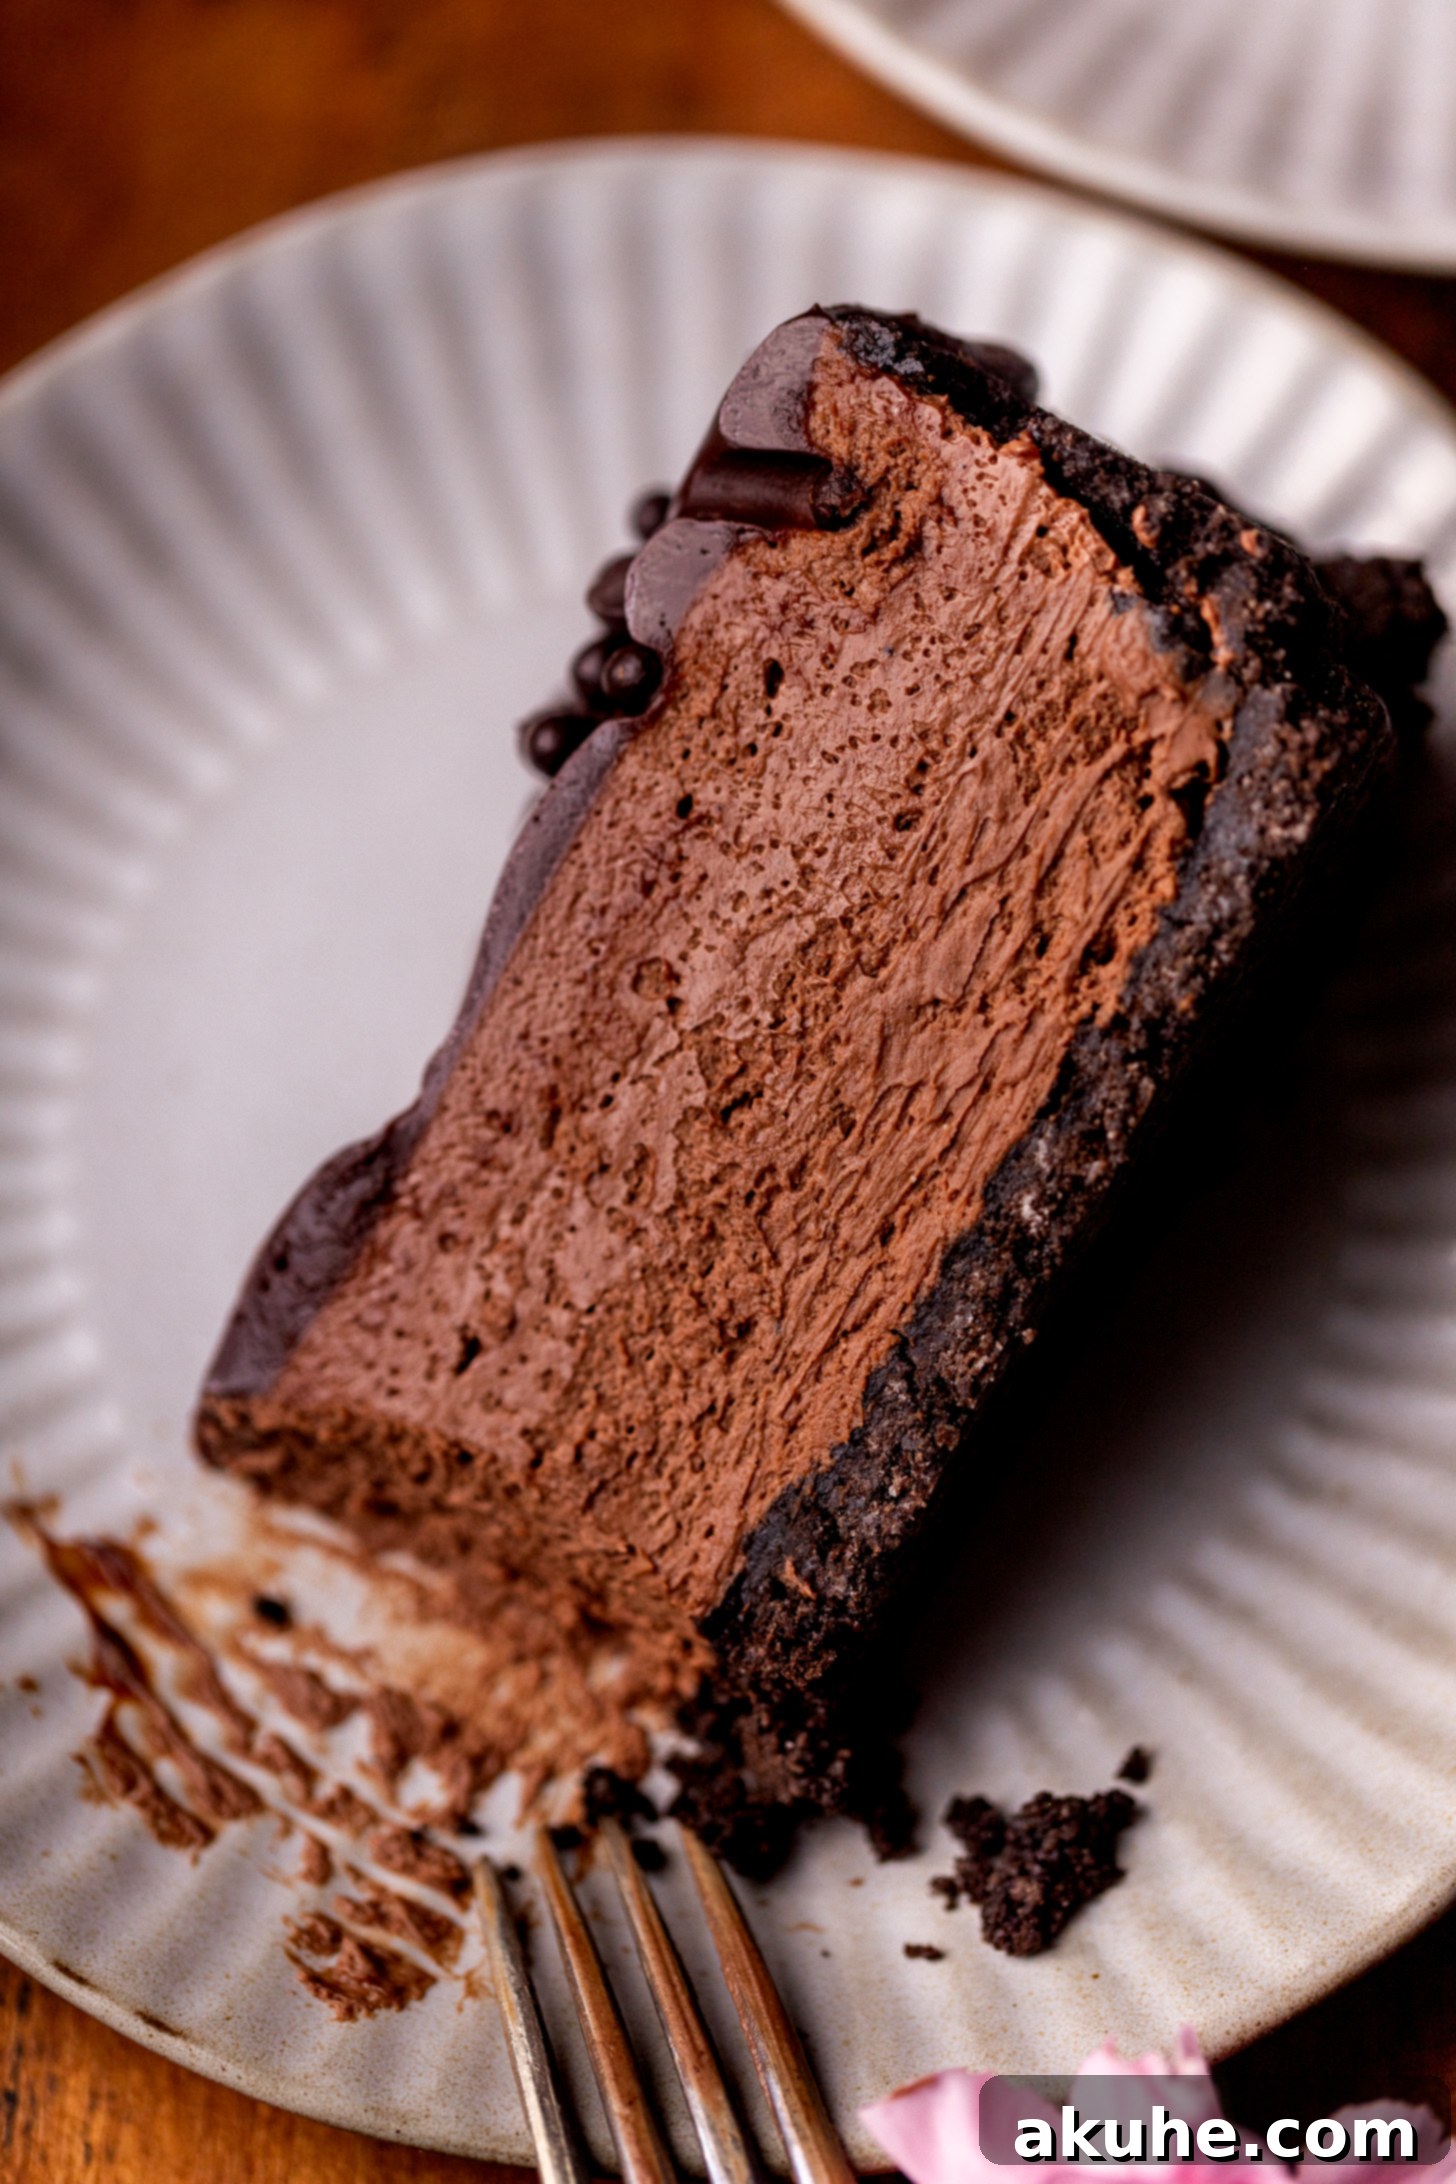
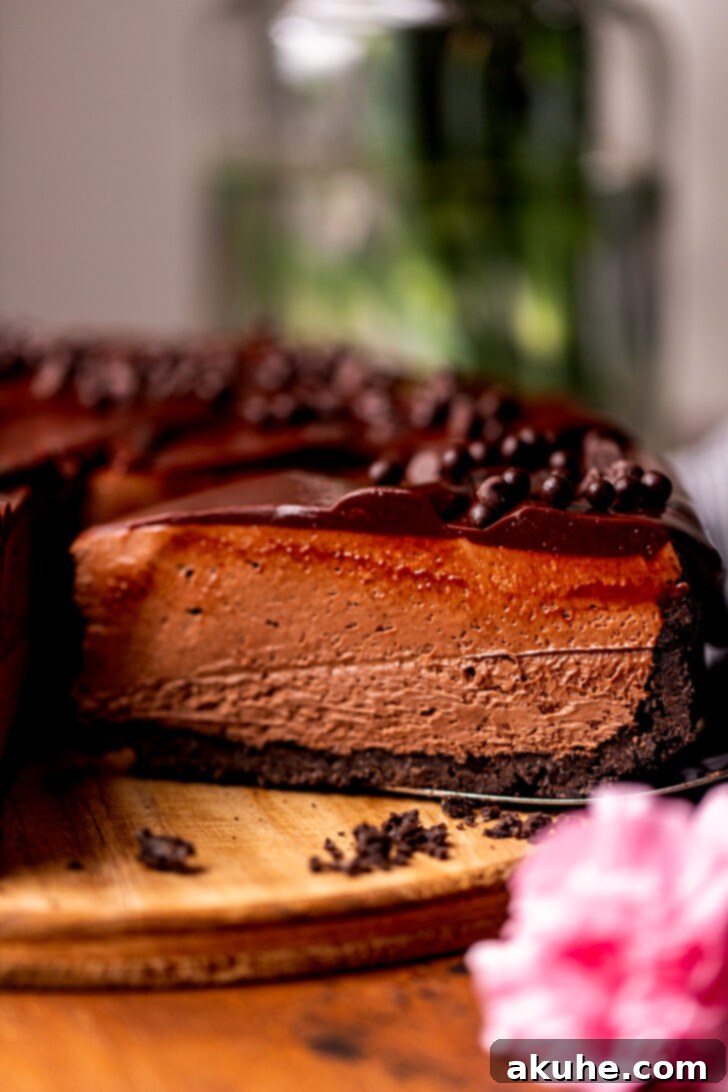
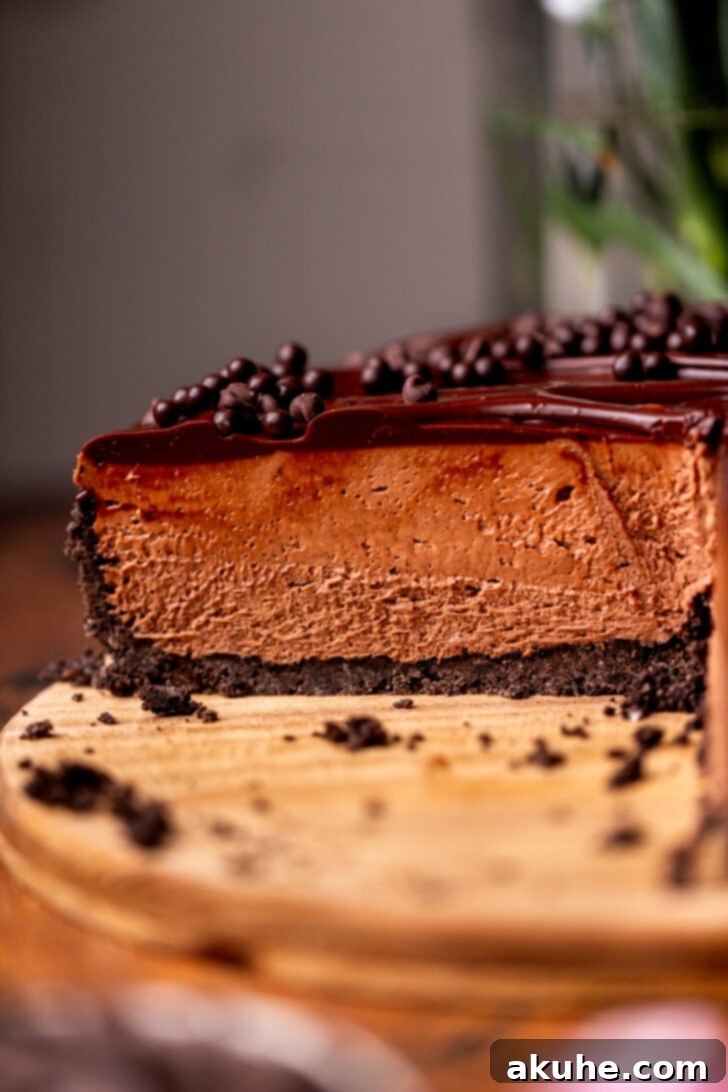
Indulge in the ultimate chocolate fantasy with our truly spectacular No-Bake Chocolate Cheesecake! This dessert is a dream come true for any chocolate lover, featuring a rich, dark Oreo crust, a luscious no-bake chocolate cheesecake filling, and a decadent blanket of chocolate ganache on top. Every bite promises an ethereal melt-in-your-mouth experience that will leave you craving more. Forget the oven – this impressive dessert comes together with surprising ease, making it perfect for entertaining or a special treat at home.
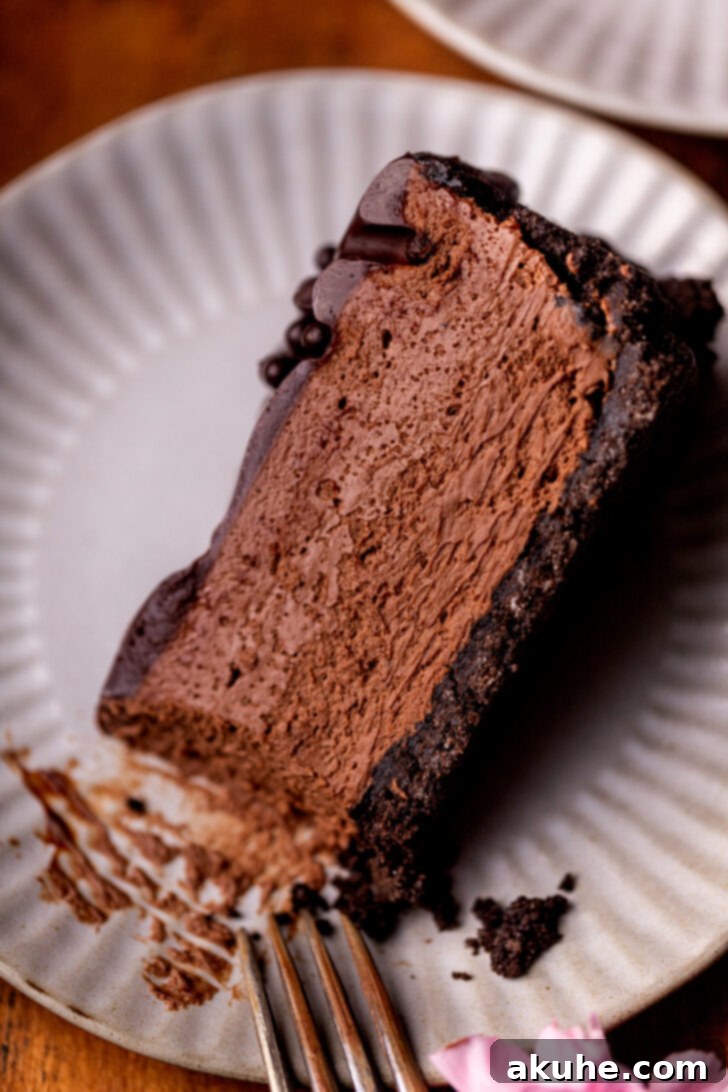
What sets this no-bake chocolate cheesecake apart is its profound chocolate flavor. We achieve this deep, complex taste by incorporating high-quality cocoa powder directly into the creamy cheesecake batter, alongside a smaller batch of freshly made chocolate ganache. This double dose of chocolate creates an incredibly rich foundation. To elevate the texture and lighten the filling, we then gently fold in fluffy chocolate whipped cream. The result is an unbelievably smooth, intensely chocolatey cheesecake that is so rich and satisfying, you might just need a tall glass of cold milk to accompany it! This recipe is crafted with easy-to-follow tips, tricks, and process photos to guide you every step of the way, ensuring a flawless dessert even for novice bakers. If you’re a connoisseur of chocolate cheesecake desserts, you absolutely must try this recipe. For another delightful indulgence, be sure to check out our triple chocolate cheesecake for even more cocoa bliss.
Unlocking Cheesecake Perfection: Expert Tips for No-Bake Success
Creating a flawless no-bake chocolate cheesecake is simpler than you might think, especially when you follow these insider tips. We’ve compiled our best advice to help you achieve a dessert that’s not only delicious but also beautifully presented, ensuring your cheesecake turns out just as stunning and scrumptious as ours!
- Tip 1: The Ganache Timing is Key. Always prepare the smaller amount of chocolate ganache (for the cheesecake batter) first. This allows it ample time to cool down to room temperature before you incorporate it into your cream cheese mixture. Adding warm ganache can prematurely melt the cream cheese or deflate the batter, compromising the texture and preventing a proper set. Patience here pays off immensely in achieving that silky-smooth filling.
- Tip 2: Achieve Ultimate Smoothness with Cream Cheese. Before adding any other wet ingredients, thoroughly beat your cream cheese and granulated sugar together on high speed. This crucial step ensures that all sugar crystals dissolve completely and that the cream cheese becomes incredibly light and lump-free. Once you start folding in the whipped cream, it becomes very difficult to smooth out any remaining lumps, so get it perfect from the start. A smooth cream cheese base is the secret to a velvety cheesecake filling.
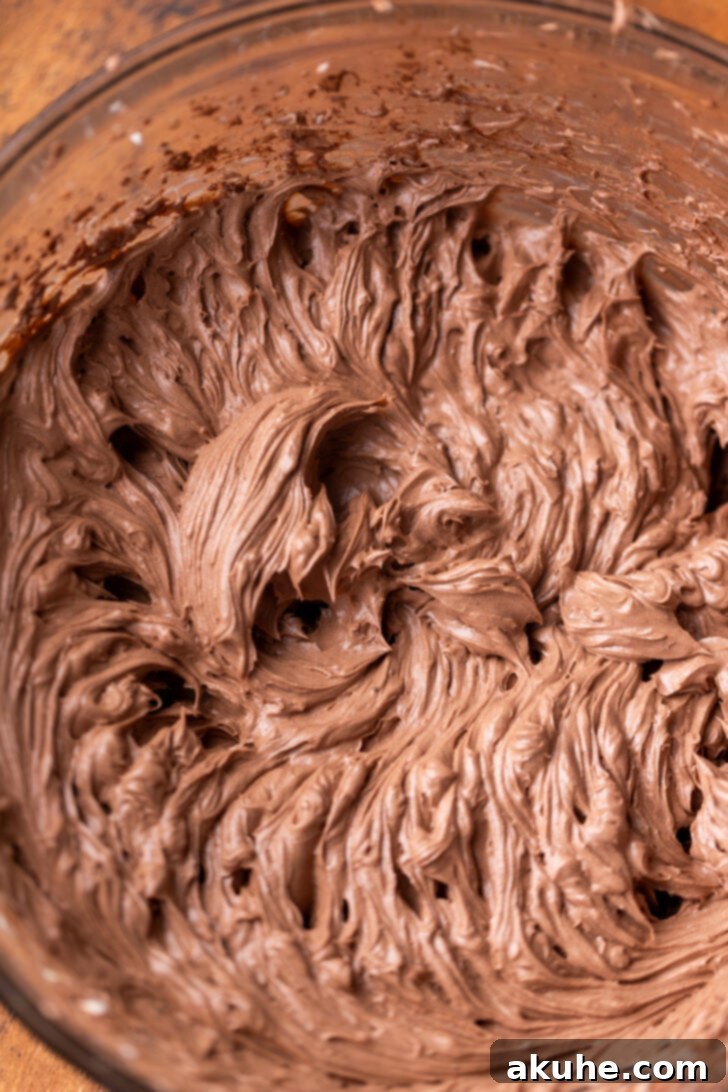
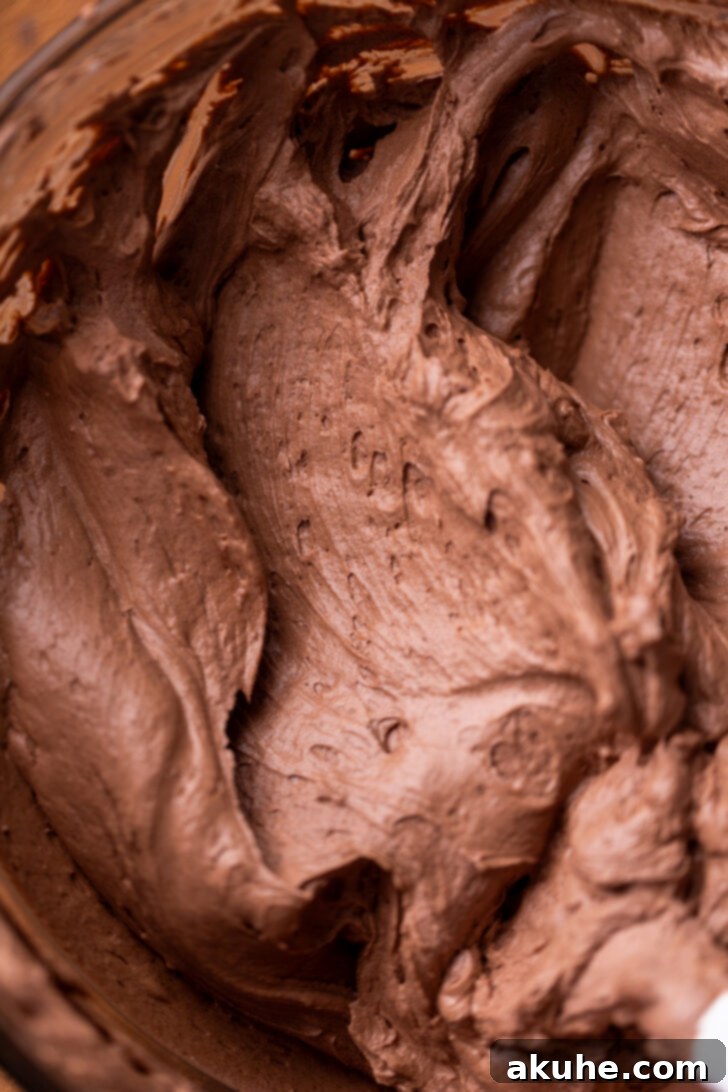
- Tip 3: The Gentle Art of Folding Chocolate Whipped Cream. When it’s time to add the chocolate whipped cream to your cheesecake batter, approach it with utmost gentleness. Use a rubber spatula to delicately fold the whipped cream into the cream cheese mixture in slow, sweeping motions. The goal is to combine everything thoroughly without deflating the air you’ve worked hard to incorporate into the whipped cream. Aggressive mixing can cause the whipped cream to lose its volume, effectively turning it back into liquid heavy cream. If this happens, your cheesecake may not set properly and will likely be runny, losing that signature creamy, airy texture we’re aiming for.
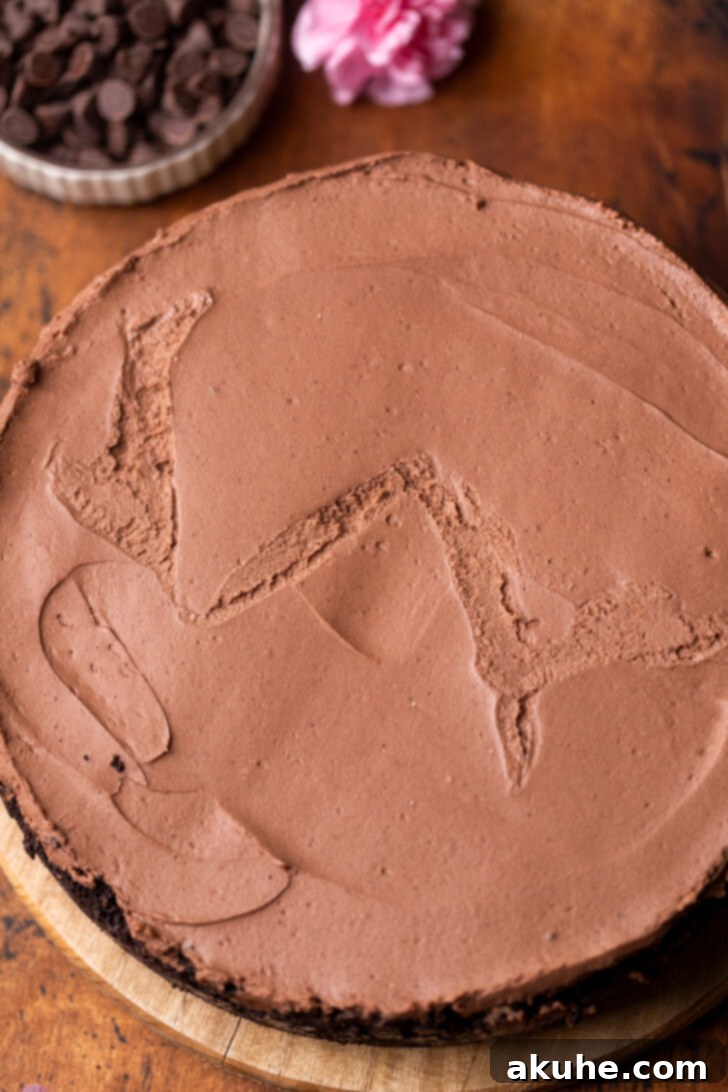
- Tip 4: Overnight Chilling for Optimal Set and Flavor. While it might be tempting to slice into your masterpiece sooner, chilling your cheesecake overnight (for a minimum of 6-8 hours) yields the absolute best results. This extended chilling time allows all the flavors to meld beautifully and, more importantly, ensures the cheesecake sets completely, giving you perfectly firm and clean slices. When you’re ready to serve, carefully run a thin butter knife around the edge of the springform pan before releasing the sides. Then, gently tilt the cheesecake onto its side to carefully remove the parchment paper from the bottom, preserving the integrity of your beautiful crust.
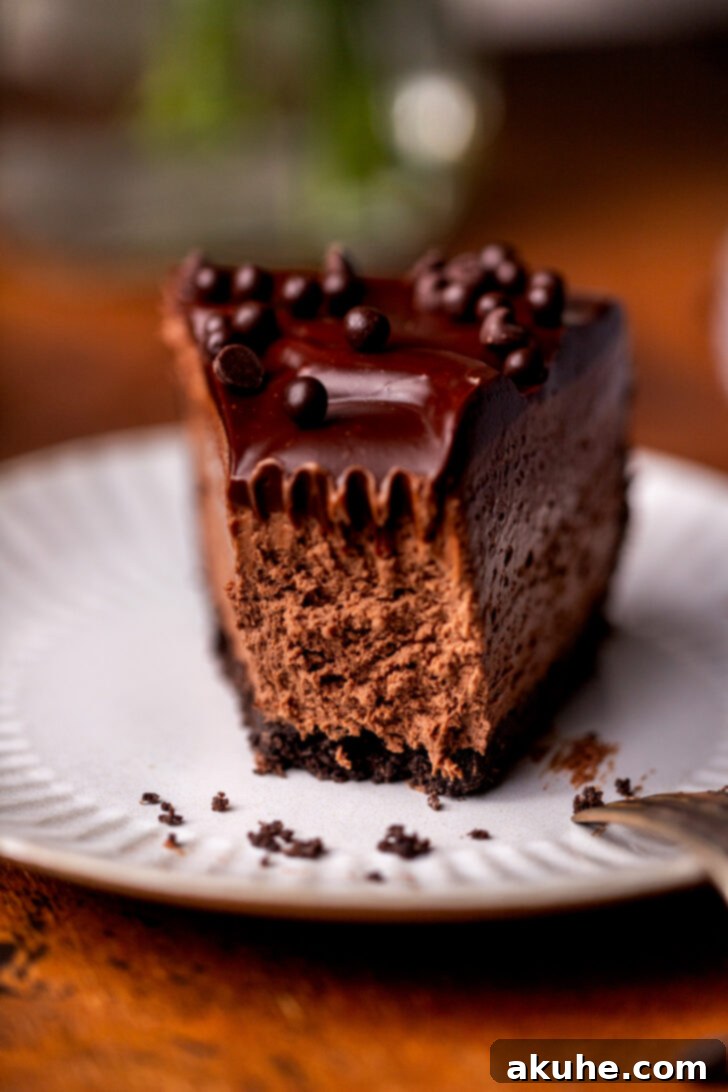
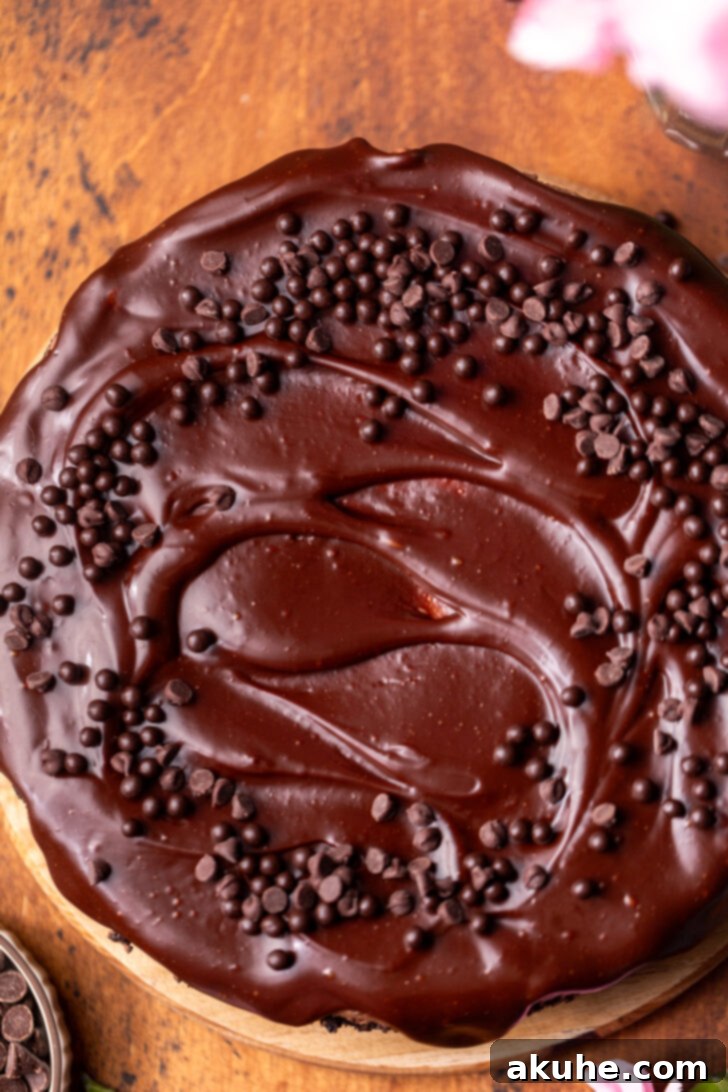
- Tip 5: Crafting Perfect Ganache Drips. For that professional, aesthetically pleasing finish, pour the prepared chocolate ganache evenly over the top of the chilled cheesecake. Immediately after pouring, use an offset spatula to gently coax the ganache over the edges of the cheesecake. This creates those elegant, luscious drips that cascade down the sides, making your dessert look even more enticing. Work quickly but precisely, as the ganache will begin to set as it cools.
- Tip 6: Room Temperature Ingredients Matter. For the creamiest, lump-free cheesecake batter, ensure your cream cheese and sour cream are at proper room temperature. Cold ingredients are harder to blend smoothly and can lead to a lumpy texture. Take them out of the refrigerator at least 30-60 minutes before you begin mixing.
- Tip 7: The Power of a Springform Pan. Using a 9-inch springform pan is essential for this recipe. Its removable sides make it incredibly easy to release the cheesecake without damaging its structure, allowing for a pristine presentation. Don’t forget to prepare it by spraying with nonstick spray and lining the bottom with parchment paper for effortless removal.
Craving more hassle-free desserts? For more incredible no-bake recipes that are sure to impress, explore our delicious biscoff no-bake cheesecake and the classic favorite, our oreo no-bake cheesecake. Each offers a unique flavor profile without ever needing to turn on your oven!
Frequently Asked Questions (FAQ) About No-Bake Chocolate Cheesecake
We know you might have a few questions when diving into a new recipe, especially one as tempting as this chocolate cheesecake. Here are answers to some common queries to help you achieve perfect results and enjoy your dessert to the fullest.
- Can I use different cookies for the crust? Absolutely! While Oreos provide a classic and beloved chocolate base, you can get creative. Graham crackers, chocolate digestive biscuits, or even Biscoff cookies would make fantastic alternatives. Just ensure they are finely crushed and mixed with melted butter to form a cohesive crust.
- How long does this no-bake cheesecake last? When stored properly in an airtight container in the refrigerator, your no-bake chocolate cheesecake will stay fresh and delicious for 3-5 days. Be sure to cover it well to prevent it from absorbing any odors from other foods in the fridge.
- Can I freeze the cheesecake? Yes, you can! No-bake cheesecakes freeze beautifully. For best results, chill the cheesecake completely first. Then, place it in the freezer uncovered for about an hour until firm. Once firm, wrap it tightly in several layers of plastic wrap, followed by a layer of aluminum foil. It can be stored in the freezer for up to 1 month. To serve, thaw it overnight in the refrigerator.
- What if my cheesecake doesn’t set? The most common reason a no-bake cheesecake doesn’t set is insufficient chilling time or over-mixing the whipped cream, causing it to lose its airiness. Ensure you’ve followed the chilling instructions (preferably overnight) and were gentle when folding in the whipped cream. If it’s still too soft after ample chilling, you can try placing it in the freezer for an hour or two before serving, which can help firm it up.
- Can I reduce the sweetness? You can slightly reduce the amount of granulated sugar in the cream cheese filling or the powdered sugar in the whipped cream. However, keep in mind that sugar plays a role not only in taste but also in the texture and stability of the cheesecake. Start with a small reduction, perhaps 1-2 tablespoons, if you prefer a less sweet dessert.
We love hearing from you! If you adored this recipe and found it a delightful addition to your dessert repertoire, please remember to leave astar review and share your experience. Don’t forget to tag us on Instagram @stephaniesweettreats so we can see your beautiful creations! For even more baking inspiration and delicious ideas, be sure to follow us on Pinterest.
Recipe Video Tutorial
Watch our step-by-step video tutorial to guide you through making this decadent No-Bake Chocolate Cheesecake. Learn all the techniques to achieve a perfect crust, a silky-smooth filling, and a glossy ganache topping!
No Bake Chocolate Cheesecake
Author: Stephanie Rutherford
This irresistible no-bake chocolate cheesecake is a celebration of chocolate in every layer! It features a classic Oreo crust, a incredibly creamy no-bake cheesecake filling infused with cocoa powder and chocolate ganache, and topped with a luxurious layer of chocolate whipped cream and glossy ganache. It’s the perfect easy dessert for any occasion.
Print Recipe |
Pin Recipe |
Leave a Review
Prep Time: 20 mins |
Chilling Time: 6 hrs |
Total Time: 6 hrs 20 mins
Servings: 16 slices
Ingredients
Oreo Crust
- 2 1/2 cups Oreo crumbs, finely crushed
- 5 TBSP Unsalted butter, melted
No Bake Chocolate Cheesecake Filling
- 1/2 cup Semisweet chocolate chips
- 1/4 cup Heavy cream (for small ganache in filling)
- 24 oz Cream cheese, softened to room temperature
- 1/2 cup White granulated sugar
- 1/3 cup Unsweetened cocoa powder (Dutch process recommended for deep color)
- 1/2 cup Sour cream, at room temperature (or Greek yogurt for a lighter option)
- 1 tsp Pure vanilla extract
- 1 1/2 cups Heavy cream (for chocolate whipped cream)
- 3/4 cup Powdered sugar, sifted
- 1/4 cup Unsweetened cocoa powder (for chocolate whipped cream)
Chocolate Ganache Topping
- 1 cup Semisweet chocolate chips
- 1/2 cup Heavy cream
Instructions
For the Oreo Crust
- Lightly spray a 9-inch springform pan with a nonstick baking spray. Line the bottom of the pan with a parchment paper circle, then spray the parchment paper again. This ensures easy removal. Set the prepared pan aside.
- In a food processor, blend the whole Oreos until they form very fine crumbs. Transfer the crumbs to a small mixing bowl. Add the melted unsalted butter and stir thoroughly with a fork until all the crumbs are moistened and resemble wet sand.
- Pour the buttered Oreo crumbs into the prepared springform pan. Use your hands to press the crumbs evenly across the bottom and halfway up the sides of the pan. For a firmly packed crust, use the bottom of a measuring cup or a flat-bottomed glass to compact the bottom layer. Place the crust in the freezer to chill while you prepare the cheesecake batter.
For the No-Bake Chocolate Cheesecake Filling
- To make the small ganache for the filling: Place 1/2 cup semisweet chocolate chips in a small heatproof bowl. In a small saucepan, heat 1/4 cup heavy cream over medium heat until it just begins to steam and simmer around the edges (do not boil). Pour the hot cream over the chocolate chips and let it sit undisturbed for 2 minutes to allow the chocolate to melt. Then, stir gently with a spatula until the mixture is completely smooth and glossy. Set this ganache aside to cool to room temperature.
- In a large mixing bowl, using an electric mixer, beat the room temperature cream cheese and granulated sugar together on high speed for about 2 minutes. Continue beating until the mixture is incredibly smooth, creamy, and completely free of any lumps. Scrape down the sides of the bowl as needed.
- Add the sour cream (or Greek yogurt), 1/3 cup unsweetened cocoa powder, pure vanilla extract, and the cooled chocolate ganache (from step 1 of this section) to the cream cheese mixture. Mix on medium speed until all ingredients are thoroughly combined and the batter is uniform in color and texture.
- In a separate, very clean metal bowl (preferably chilled for best results), combine the 1 1/2 cups heavy cream, 3/4 cup sifted powdered sugar, and 1/4 cup unsweetened cocoa powder. Using an electric mixer, beat on high speed until stiff peaks form. Be careful not to over-beat, or the cream will become grainy.
- Add the prepared chocolate whipped cream to the cream cheese mixture. Using a rubber spatula, gently fold the whipped cream into the cream cheese batter. Use slow, deliberate motions to incorporate the whipped cream without deflating the air, which is crucial for the cheesecake’s light and airy texture. Continue folding until no streaks of white whipped cream remain.
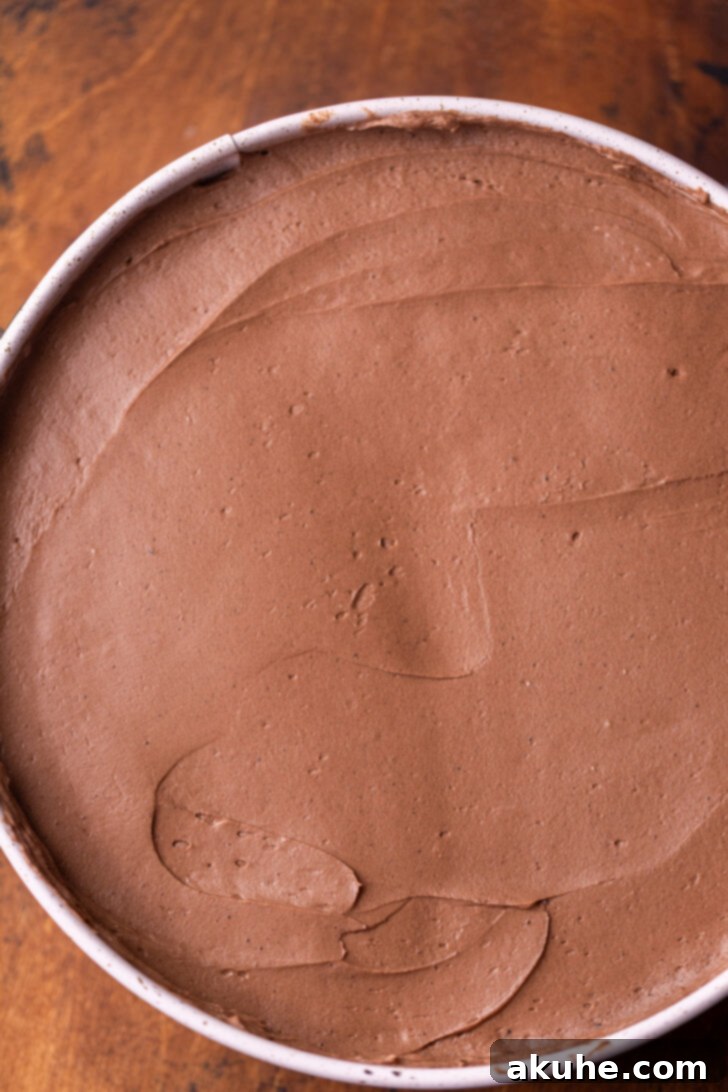
- Retrieve the chilled Oreo crust from the freezer. Evenly spread the cheesecake batter on top of the crust, smoothing the top with your spatula.
- Cover the springform pan loosely with plastic wrap or aluminum foil. Transfer the cheesecake to the refrigerator and chill for a minimum of 6 hours, or preferably overnight, to allow it to set completely.
For the Chocolate Ganache Topping
- To prepare the topping ganache: Place 1 cup semisweet chocolate chips in a small heatproof bowl. In a small saucepan, heat 1/2 cup heavy cream over medium heat until steaming. Pour the hot cream over the chocolate chips and let it sit for 2 minutes. Stir until completely smooth. If any small chunks remain, microwave in 15-second intervals, stirring after each, until fully melted and smooth. Let the ganache cool slightly before pouring, it should be warm enough to pour but not hot.
- Once the cheesecake is fully chilled and set, carefully remove the sides of the springform pan and gently slide the cheesecake off the base and parchment paper onto a serving platter. Pour the cooled chocolate ganache over the top of the cheesecake, then use an offset spatula to gently spread it and guide it over the edges, creating elegant drips. Allow the ganache to set for about 15-30 minutes at room temperature or briefly in the refrigerator before serving.
Nutritional Information (per slice, estimated)
Calories: 438kcal, Carbohydrates: 26g, Protein: 5g, Fat: 39g, Saturated Fat: 23g, Polyunsaturated Fat: 2g, Monounsaturated Fat: 10g, Trans Fat: 0.2g, Cholesterol: 95mg, Sodium: 148mg, Potassium: 242mg, Fiber: 3g, Sugar: 15g, Vitamin A: 1226IU, Vitamin C: 0.3mg, Calcium: 86mg, Iron: 2mg
(Nutritional values are estimates and may vary based on specific ingredients and preparation methods.)
Did you make this recipe? Please leave a star rating and review below! Your feedback helps other home bakers discover and enjoy this delicious recipe.
