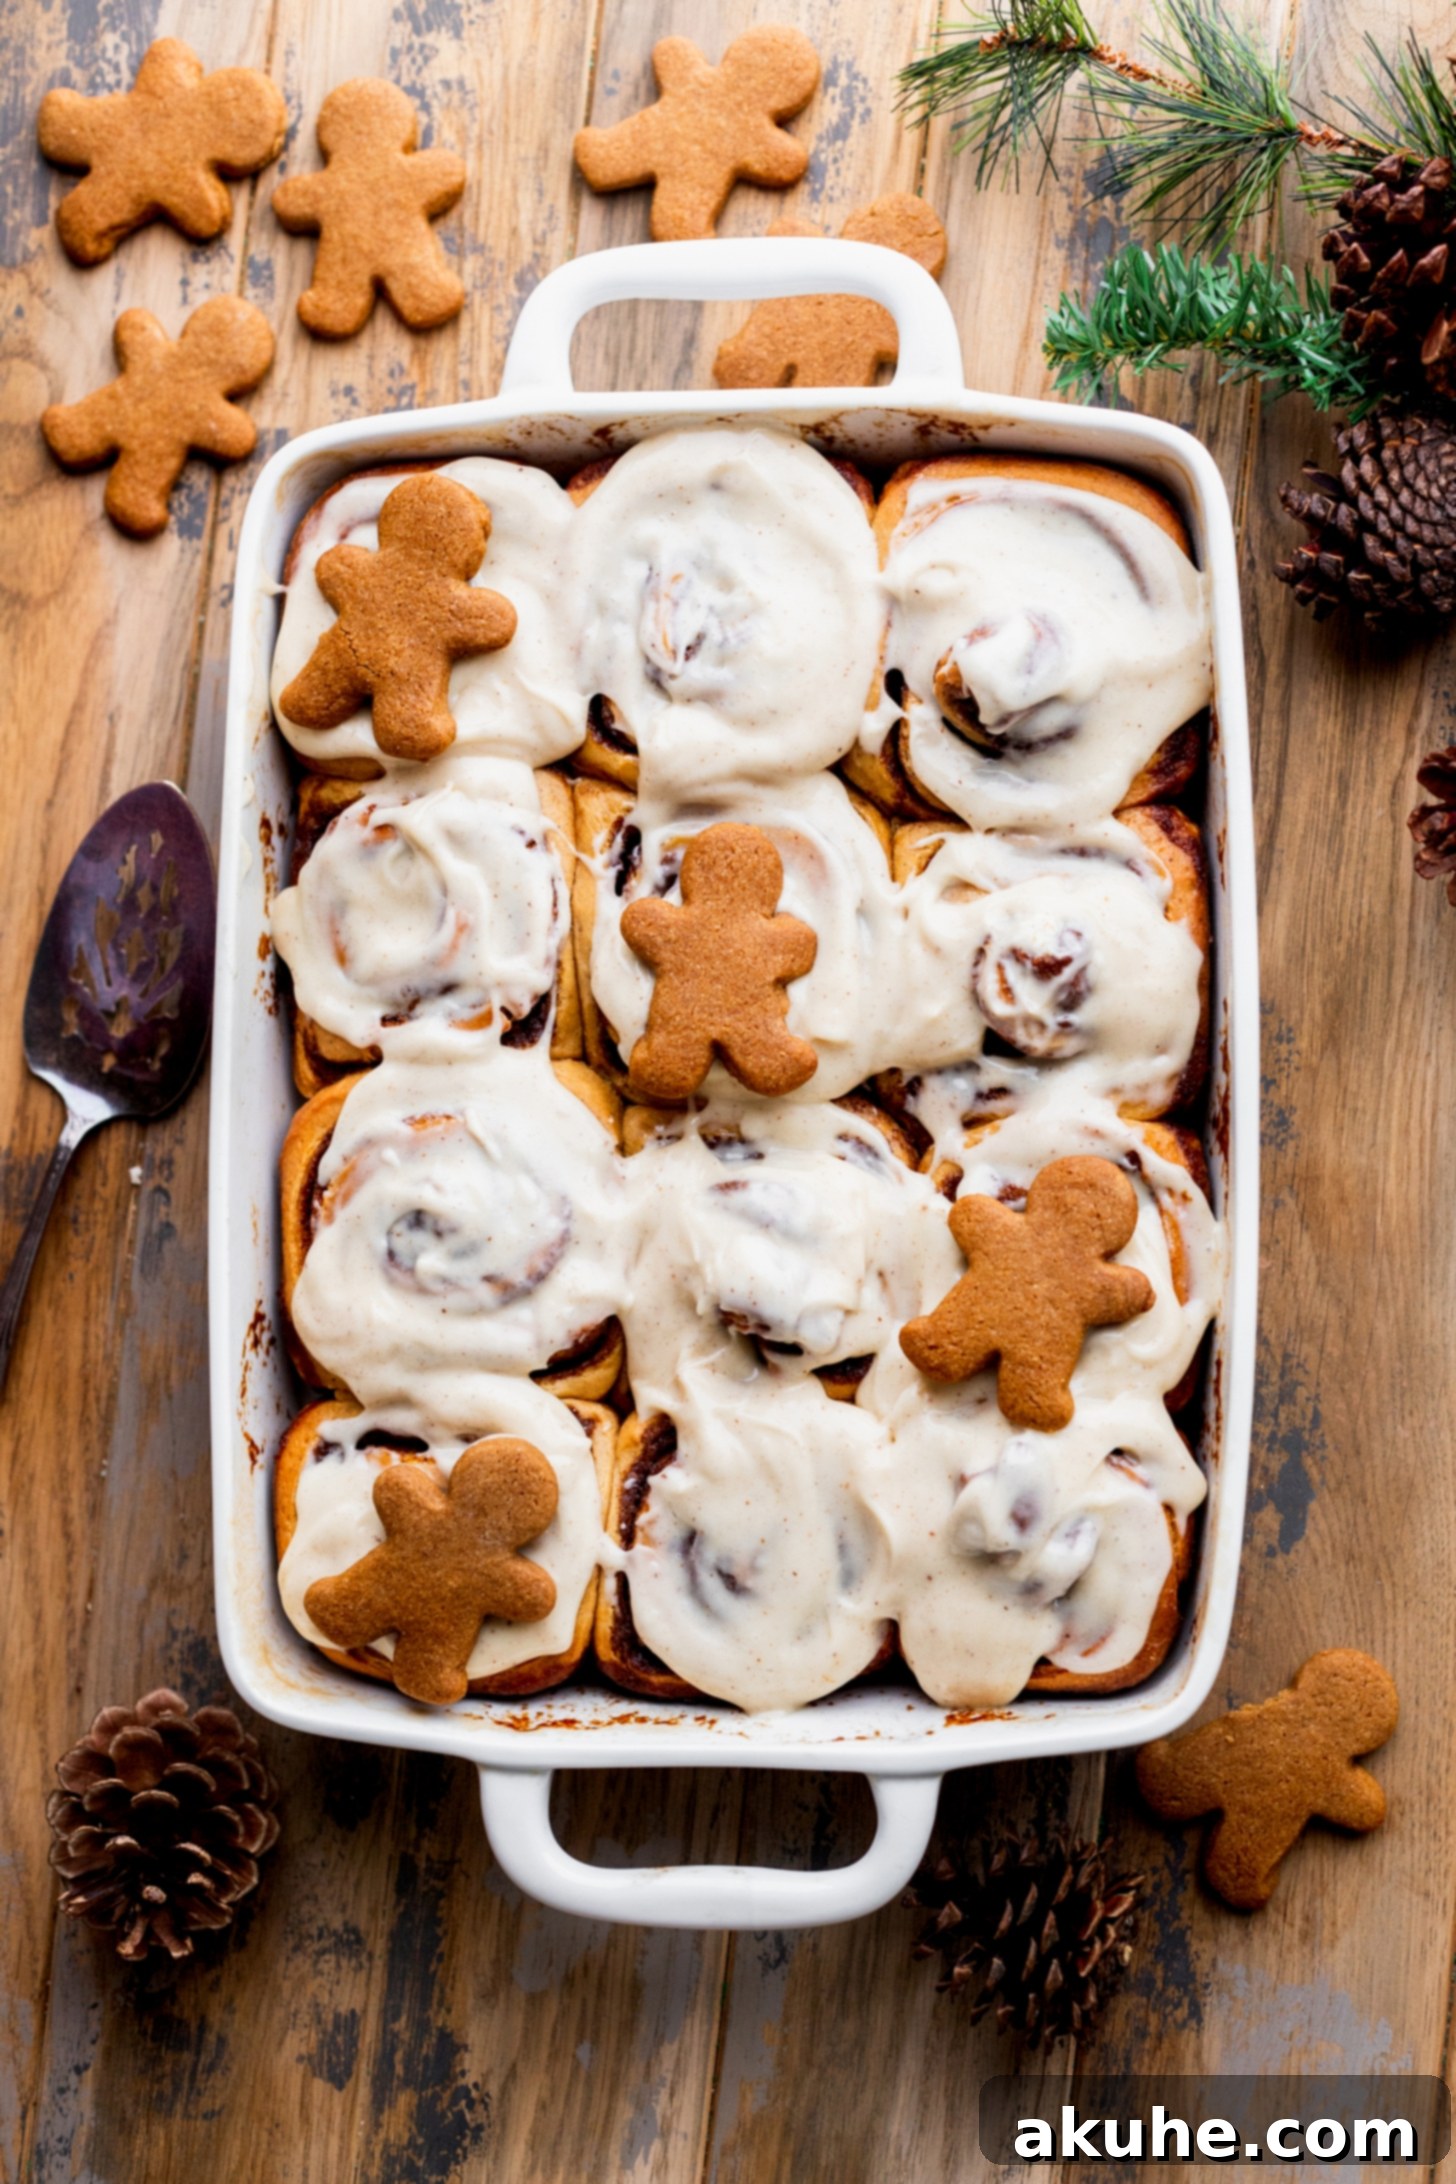
Homemade Gingerbread Cinnamon Rolls with Brown Butter Cream Cheese Icing
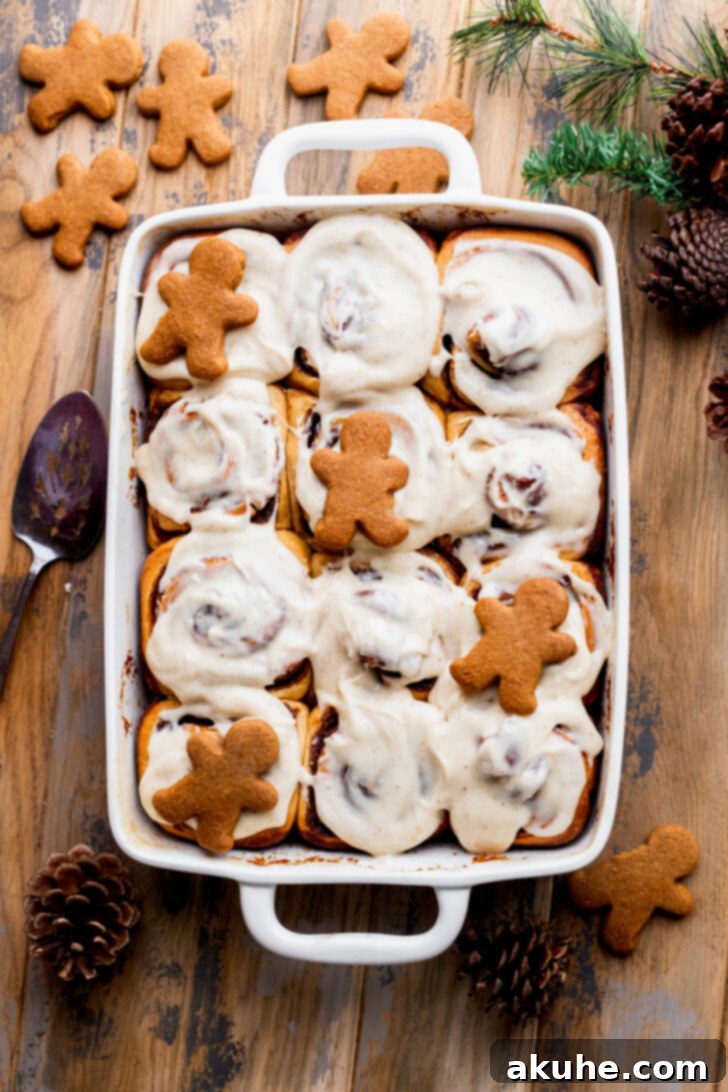
Dive into the enchanting spirit of the holidays with these irresistibly soft and aromatic Homemade Gingerbread Cinnamon Rolls. Imagine a breakfast that not only tantalizes your taste buds but also fills your home with the warm, comforting scent of gingerbread, cinnamon, and spices – that’s exactly what this recipe delivers! Perfectly crafted for festive mornings, these rolls feature a delightfully tender, gingerbread-infused dough, a rich, spiced cinnamon filling, and are generously crowned with a luxurious brown butter cream cheese icing that elevates them to pure perfection.
There’s something truly magical about waking up to the aroma of freshly baked cinnamon rolls, especially during the holiday season. In our family, it’s a cherished tradition to kick off Christmas morning with these very rolls. The distinct yet perfectly balanced gingerbread flavor instantly sets a joyous and festive mood for the entire day. What makes this recipe particularly special is its thoughtful approach to flavor: while the dough and filling are packed with genuine gingerbread essence, we use a lighter hand with molasses. This ensures a strong, authentic gingerbread profile without being overly intense, making these rolls appealing to even those who might typically find molasses too dominant. The result is a comforting, deeply flavorful, and wonderfully soft cinnamon roll that tastes like a warm hug on a cold winter day.
Why These Gingerbread Cinnamon Rolls Will Be Your New Holiday Favorite
These aren’t just any cinnamon rolls; they are a festive masterpiece designed to capture the essence of holiday joy in every bite. What truly sets our gingerbread cinnamon rolls apart and makes them a must-try for your holiday baking repertoire is the harmonious blend of unique flavors and textures. The foundation is a remarkably soft and fluffy dough, delicately spiced with gingerbread flavors, ensuring a consistent and delightful taste experience from the very first nibble to the last. This isn’t merely a plain dough with a spiced filling; the gingerbread flavor is woven directly into the fabric of the dough, creating a more cohesive and deeply satisfying profile.
The gingerbread filling is where the magic truly unfolds, combining rich brown sugar with fragrant ground cinnamon and spicy ginger, all complemented by a hint of molasses. This creates a warm, inviting flavor that perfectly balances sweetness with a gentle kick of spice. However, the pièce de résistance is undoubtedly the brown butter cream cheese icing. By browning the butter, we introduce an incredible depth of nutty, caramelized notes that transform a simple cream cheese frosting into a gourmet indulgence. This rich, tangy, and subtly sweet icing provides the ultimate counterpoint to the spiced rolls, making each mouthful a celebration of comforting holiday cheer. These rolls are more than just a sweet treat; they are an experience. They embody the warmth, comfort, and joy of the festive season, making them ideal for a special holiday breakfast, a luxurious brunch spread, or even as a delightful dessert to share with loved ones. Prepare to impress your family and friends with these show-stopping, homemade gingerbread cinnamon rolls that will surely become a cherished part of your holiday traditions.
Expert Tips for Crafting the Perfect Gingerbread Cinnamon Rolls
Achieving bakery-quality gingerbread cinnamon rolls at home is entirely within reach with a few foundational techniques. By following these expert tips, you can ensure your rolls are consistently soft, fluffy, and bursting with flavor, turning out perfectly every single time you bake them.
- Tip 1: Measure Flour Accurately – The “Spoon and Level” Method. The most frequent culprit behind dry, dense baked goods is excessive flour. To avoid this common pitfall, always employ the “spoon and level” method: gently spoon your all-purpose flour into your measuring cup until it overflows, then use the back of a straight edge (like a knife) to level off the excess. Never scoop flour directly from the bag or container, as this compacts the flour, adding up to 25% more than the recipe intends. For the utmost precision, investing in a kitchen scale and measuring your flour by weight is highly recommended.
- Tip 2: Optimal Yeast Activation is Key. Yeast is a delicate, living organism, and its proper activation is paramount for a light, airy, and well-risen dough. The temperature of your milk is critical: it must be precisely between 110°F and 115°F (43°C-46°C). Milk that is too hot will kill the yeast, rendering it inactive, while milk that is too cold will prevent the yeast from activating effectively, resulting in a poor or non-existent rise. After warming the milk to the correct temperature, gently sprinkle the active dry yeast and a generous pinch of granulated sugar over the surface. Resist the urge to stir it in immediately. Allow it to sit undisturbed for approximately 10 minutes. You’ll know your yeast is healthy and thriving when a visible layer of foam and bubbles forms on the surface, indicating it’s alive and ready to leaven your dough.
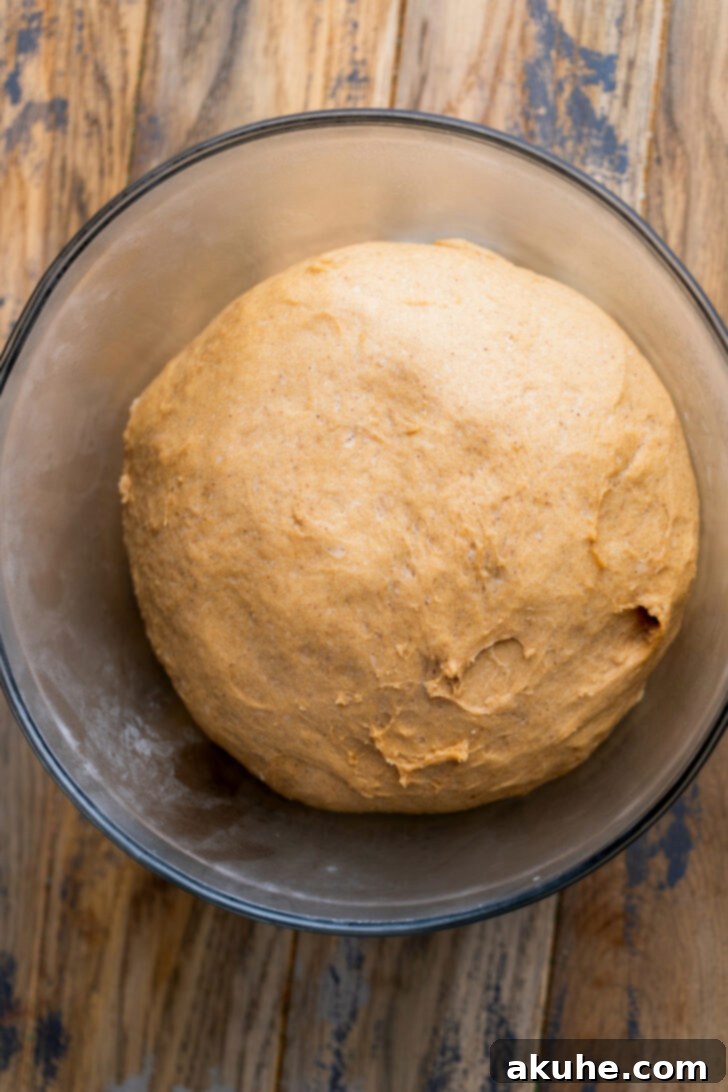
- Tip 3: Create the Ideal Warm, Draft-Free Rising Environment. Yeast flourishes in warm, consistent, and draft-free conditions. For an optimal and reliable rise, I recommend a simple yet effective trick: preheat your oven to its lowest setting (typically 200°F or 90°C), then immediately turn it off. Lightly spray a large mixing bowl with nonstick baking spray. Place your dough ball into this prepared bowl and cover it snugly with a clean kitchen towel. Now, place the covered bowl into your slightly warmed, turned-off oven. Crucially, leave the oven door cracked open slightly (about an inch or two). This small opening allows for gentle air circulation and prevents the environment from becoming too hot, which could inadvertently over-proof or even kill the yeast. This method creates a consistently warm and cozy haven for your dough to double beautifully in size.
- Tip 4: Kneading for the Perfect Elastic Dough. Whether you’re using a stand mixer equipped with a dough hook or kneading the dough by hand, proper kneading is fundamental to developing the gluten structure. This gluten network is what gives your cinnamon rolls their desirable chewy yet tender texture and enables them to rise gracefully. Knead the dough until it transforms into a soft, smooth, and elastic mass. It should feel slightly tacky to the touch but should not stick excessively to your hands or the sides of the mixing bowl. A classic test for sufficient kneading is the “windowpane test”: tear off a small, walnut-sized piece of dough and gently stretch it between your fingers. If you can stretch it thin enough to see light pass through it without the dough tearing, your gluten is perfectly developed and ready for its first rise.
- Tip 5: Embrace Room Temperature Ingredients. For the very best results across your entire recipe, ensure that all your dairy ingredients – this includes milk, eggs, unsalted butter, and cream cheese – are brought to room temperature before you begin the mixing process. Room temperature ingredients emulsify much more effectively, leading to a smoother, more homogenous dough, a more consistent and spreadable filling, and an impeccably smooth icing. Cold ingredients can cause ingredients to seize up, create lumps in your dough, and prevent the various components from blending seamlessly. Plan ahead by taking these ingredients out of the refrigerator at least one to two hours before you intend to start baking.
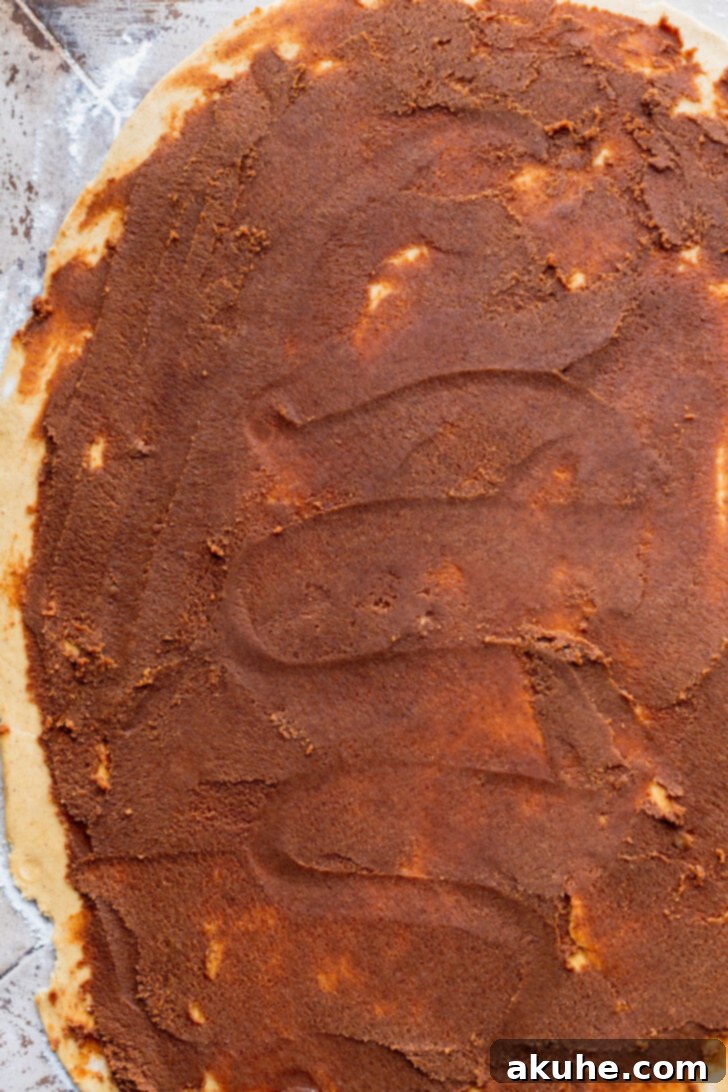
The Art of Shaping, Proofing, and Baking Your Gingerbread Rolls
Creating those iconic, beautifully swirled cinnamon rolls is not just a crucial step but also a deeply satisfying part of the baking journey. Here’s a detailed guide on how to shape, proof, and bake your gingerbread masterpieces to perfection, ensuring a visually appealing and utterly delicious final product.
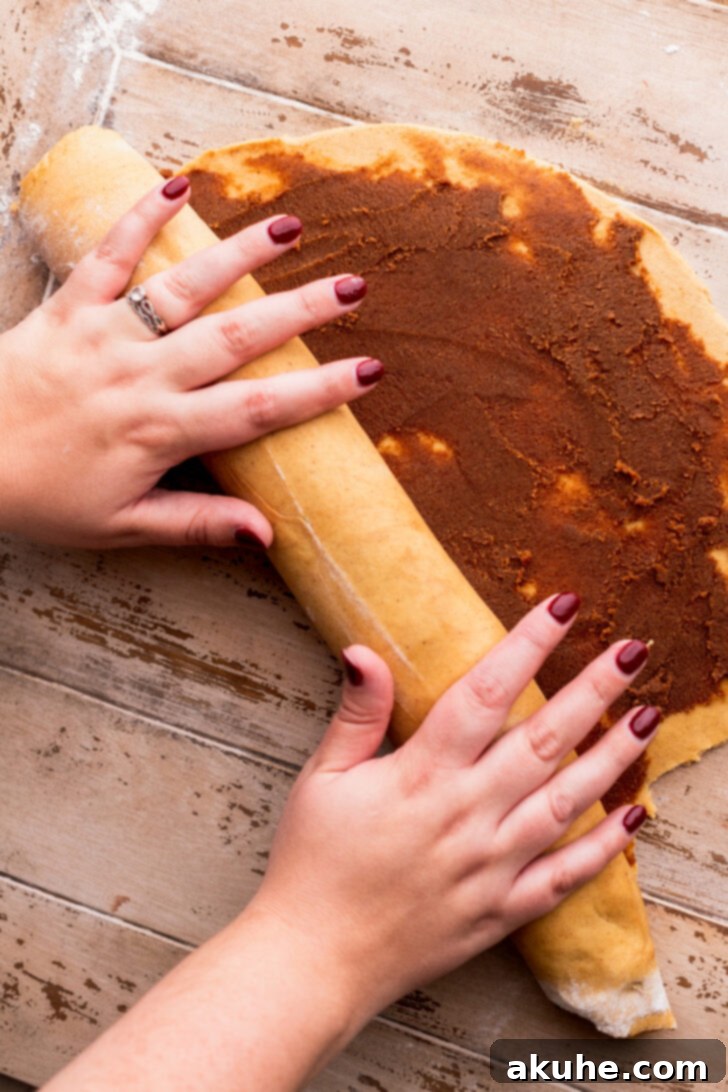
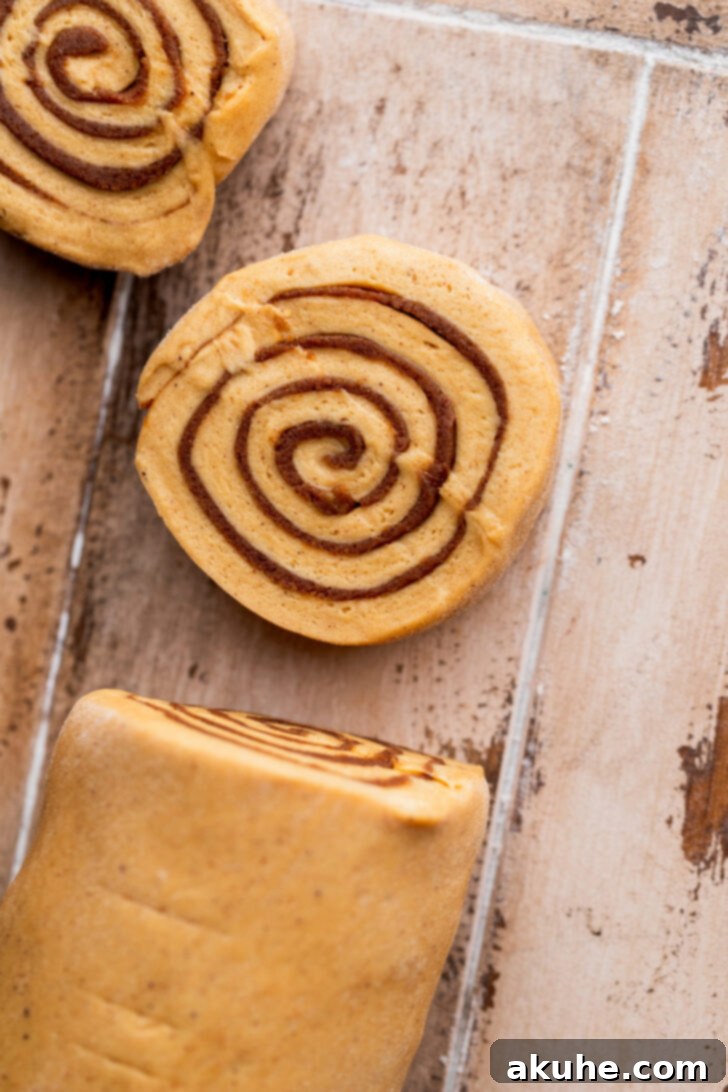
After your rolls are expertly shaped and neatly nestled in their baking pan, they undergo a second, shorter proofing period. This crucial step allows them to puff up even further, creating that signature fluffy texture and preparing them for their final transformation in the oven. A secret weapon for achieving incredibly moist and tender results is the addition of heavy cream, gently poured around the rolls before they go into the oven. This creates a delightful custardy bottom and ensures every bite is infused with richness, making them absolutely irresistible.
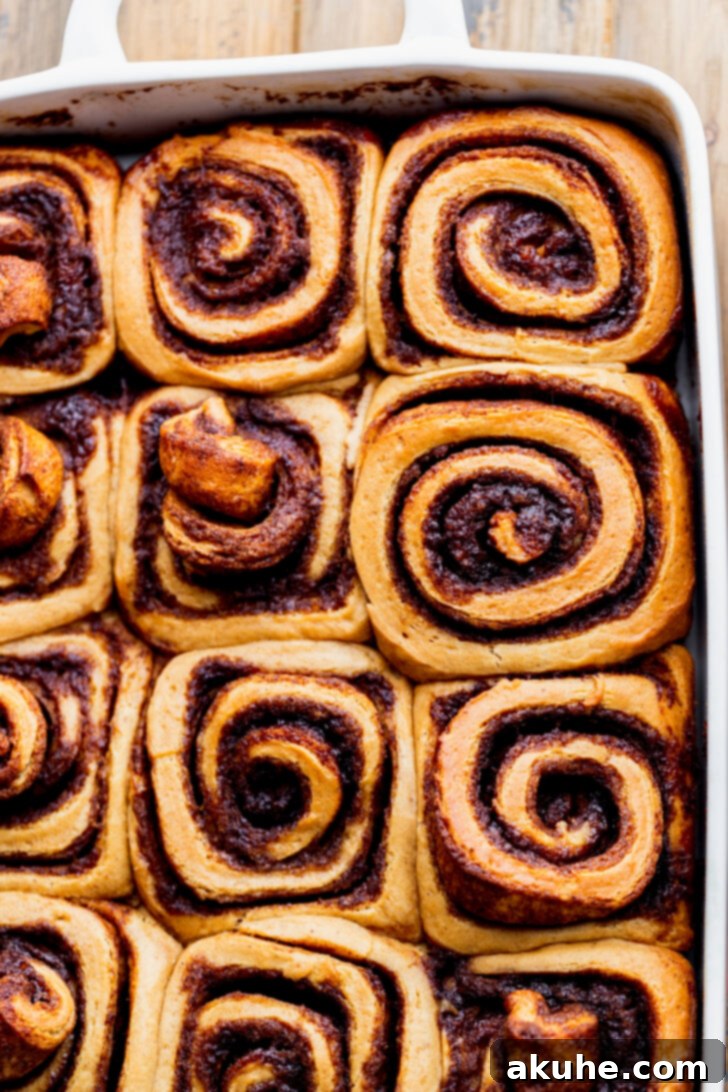
The Irresistible Brown Butter Cream Cheese Icing: A Culinary Crown
While the gingerbread rolls themselves are a testament to exquisite baking, the brown butter cream cheese icing is truly the crown jewel that elevates them from simply delicious to absolutely divine. Browning butter is a culinary technique that, despite its simplicity, yields a complex, nutty, and intensely flavorful butter. When this browned butter is thoughtfully incorporated into a classic cream cheese frosting, it creates an unparalleled richness and depth of flavor that is truly unforgettable.
To embark on the journey of browning butter, gently melt the specified amount of butter in a light-colored frying pan over medium heat. It’s essential to use a light-colored pan so you can easily observe the color changes. Continuously stir the butter as it melts and begins to foam. As it cooks, the milk solids within the butter will separate and slowly transform, taking on a beautiful amber-brown color and releasing a distinct, wonderfully nutty aroma. This transformation happens quite rapidly, so remain vigilant and remove the pan from the heat as soon as you see those coveted golden-brown flecks. Immediately pour the entire contents of the pan – including all those precious, flavor-packed brown specks at the bottom – into a separate heatproof bowl to halt the cooking process. Allow the browned butter to cool completely before proceeding with the icing recipe. For a quicker chilling process, you can place it in the freezer for a few minutes, stirring occasionally to ensure even cooling.
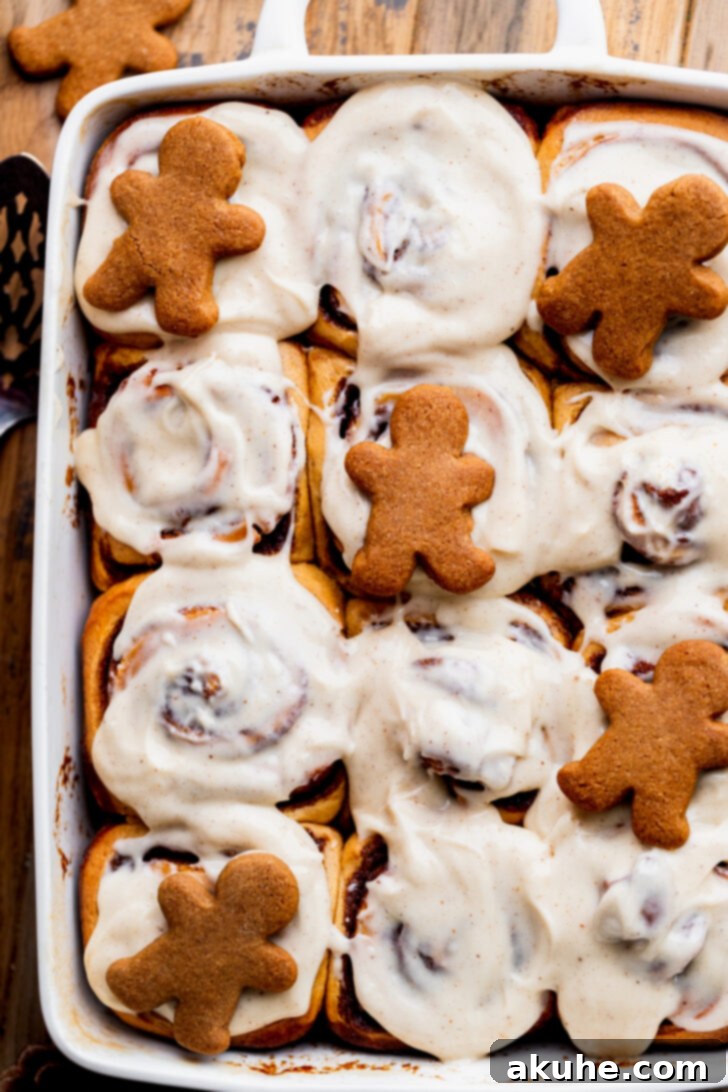
Once your browned butter is completely cool, combine it with softened cream cheese, powdered sugar, and a generous splash of pure vanilla extract in a small bowl. Using a hand mixer, beat these ingredients together on high speed until the mixture is light, fluffy, and impeccably smooth. The result is a frosting that perfectly balances tanginess, sweetness, and a deep, caramelized undertone – the absolute ideal complement to the warm, spicy notes of the gingerbread rolls. Spread this luxurious icing generously over the warm rolls as soon as they emerge from the oven. The residual warmth of the rolls will allow the icing to slightly melt and gracefully seep into every crack and crevice, creating an unforgettably gooey, luscious, and utterly irresistible treat that will be the highlight of any holiday gathering.
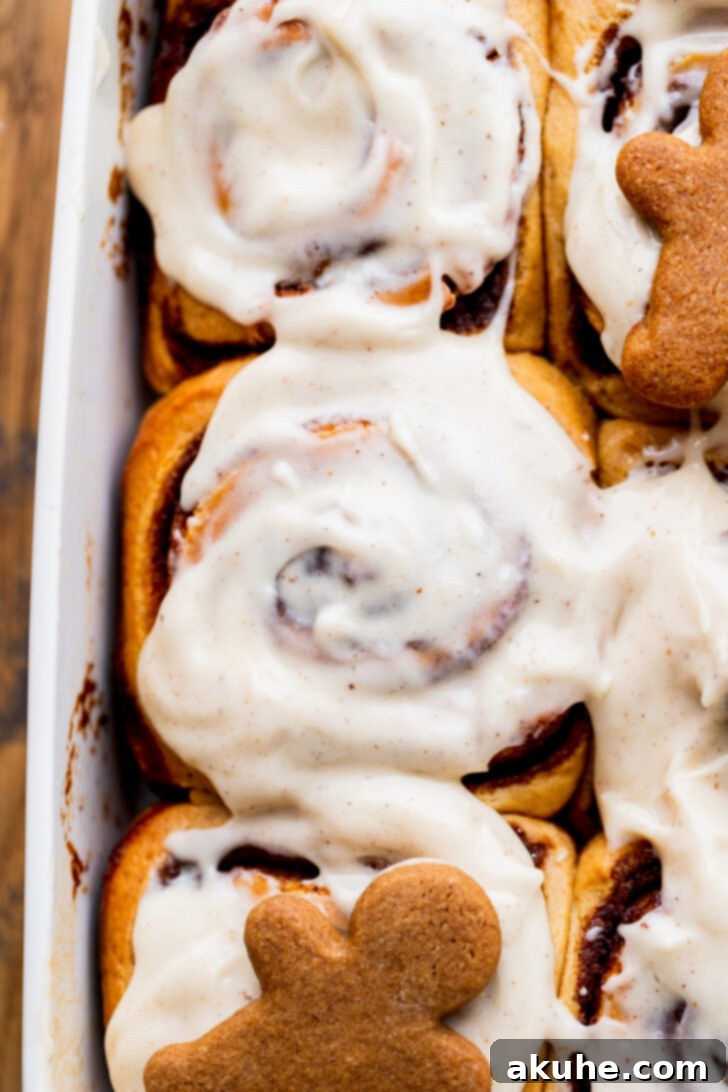
Looking for more delightful Christmas breakfast ideas to complete your festive spread? Be sure to explore our other cherished recipes for fluffy Sweet Cream Pancakes and classic, gooey Homemade Cinnamon Rolls. They make perfect companions to these gingerbread treats, ensuring a truly memorable holiday feast!
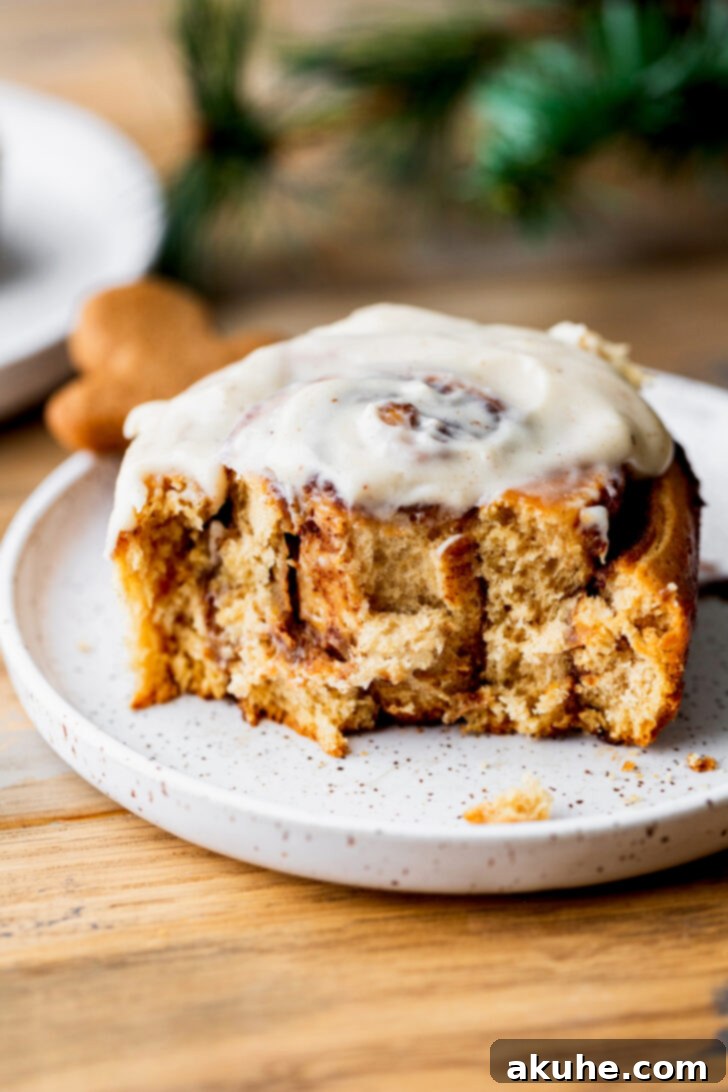
We truly hope you adore this festive recipe for gingerbread cinnamon rolls! If you loved making and devouring these delicious treats, we encourage you to share your experience with us. Don’t forget to tag us on Instagram @stephaniesweettreats to show off your beautiful creations. For more baking inspiration, sweet ideas, and delicious recipes, make sure to follow us on Pinterest.
Recipe Video
Gingerbread Cinnamon Rolls
Print Recipe
Pin Recipe
Leave a Review
15
25
1 20
2 0
12 cinnamon rolls
Ingredients
For the Gingerbread Dough
- 1 cup Milk, warmed to 110°F (43°C)
- 2 1/4 tsp Active dry yeast (1 packet or 11 grams)
- Generous sprinkle of white granulated sugar
- 2 Large eggs, room temperature
- 4 3/4 cups All-purpose flour
- 1 tsp Salt
- 1/4 cup White granulated sugar
- 10 TBSP Unsalted butter, room temperature and cubed
- 1/4 cup Molasses, Grandma’s molasses recommended, not blackstrap
- 1 1/2 tsp Ground cinnamon
- 1 1/2 tsp Ground ginger
For the Gingerbread Filling
- 1/2 cup Unsalted butter, room temperature
- 3/4 cup Brown sugar, packed light or dark
- 1 TBSP Ground cinnamon
- 2 tsp Ground ginger
- 1 TBSP Molasses
- 1/2 cup Heavy cream
For the Brown Butter Cream Cheese Icing
- 4 oz Cream cheese, room temperature
- 4 TBSP Browned butter, measured from 4 TBSP of butter, then browned and cooled
- 1 cup Powdered sugar
- 1 tsp Pure vanilla extract
Instructions
Gingerbread Dough Preparation
- In a microwave-safe bowl, gently heat the milk until it reaches 110°F (43°C). Pour in the active dry yeast and a generous sprinkle of white granulated sugar. Let this mixture sit undisturbed for 10 minutes until it becomes foamy and bubbly, indicating the yeast is active. In a separate small bowl, lightly beat the eggs and set them aside.
- For a stand mixer with a dough hook: In a large mixing bowl, combine the all-purpose flour, salt, white granulated sugar, ground cinnamon, and ground ginger. If making by hand, please refer to the recipe notes section below for specific instructions.
- To the dry ingredients, add the activated milk/yeast mixture, the lightly beaten eggs, cubed unsalted butter, and molasses. Attach the dough hook to your stand mixer and begin mixing on low speed until the ingredients start to come together and form a cohesive dough. Increase the speed to medium and continue kneading for 5 minutes. The dough should be soft and slightly tacky to the touch, but it should not stick excessively to your fingers or the sides of the bowl.
- Prepare your rising environment: Preheat your oven to 200°F (90°C), then immediately turn it off. Lightly spray a large mixing bowl with nonstick baking spray. Place the dough ball into the prepared bowl and cover it with a clean kitchen towel. Place the bowl in the turned-off oven, leaving the door cracked open slightly (about an inch). Allow the dough to rise in this warm, draft-free environment for 1 hour, or until it has visibly doubled in size.
Gingerbread Filling & Roll Assembly
- While the dough is undergoing its first rise, prepare the gingerbread filling. In a small bowl, using a hand mixer, beat the room temperature unsalted butter, brown sugar, ground cinnamon, and ground ginger on high speed for a full 2 minutes. The mixture should become noticeably lighter in color and have a smooth, easily spreadable consistency. Stir in the molasses until it is fully combined.
- Once the dough has risen, gently punch it down to release the air and turn it out onto a lightly floured surface. Using a rolling pin, roll the dough into a large rectangle, aiming for a consistent thickness of approximately 1/4 inch (about 0.6 cm).
- Evenly spread the prepared gingerbread filling over the entire surface of the rolled dough, ensuring it extends all the way to the very edges. An offset icing spatula works wonderfully for this task, guaranteeing a smooth and consistent layer of filling.
- Carefully roll the dough into a tight log. Begin rolling from one of the short sides of the rectangle, taking meticulous care to keep the roll as tight as possible from the very first turn. Once rolled into a firm log, use unflavored dental floss or a sharp serrated knife to cut the log into 12 individual rolls. If using a serrated knife, employ gentle sawing motions to avoid squishing the delicate layers of the rolls. After cutting, gently reshape any slightly distorted rolls back into a neat circle with your hands.
- Lightly spray a 9×13 inch (23×33 cm) rectangular casserole pan with nonstick baking spray. Arrange the cut rolls evenly in the prepared pan, leaving a small space between them to allow for expansion during the second rise and baking. Cover the pan with a clean kitchen towel and let the rolls rise for a second time for 20 minutes in a warm spot. After this second rise, gently pour the heavy cream around the sides and over the tops of the rolls in the pan. This step is a key technique for achieving incredibly moist and tender results.
- Preheat your oven to 350°F (175°C). Bake the rolls for 23-27 minutes, or until the tops are beautifully golden brown and the internal temperature of the center rolls reaches at least 160°F (71°C). Avoid overbaking to maintain maximum moisture and tenderness.
Brown Butter Cream Cheese Icing Instructions
- If you haven’t already, begin preparing the brown butter. This can be done while the rolls are rising for the second time or even earlier in the baking process.
- In a light-colored frying pan, melt the 4 tablespoons of unsalted butter over medium heat. Stir continuously as the butter melts and begins to foam. Continue cooking, stirring occasionally, until the milk solids separate and turn a rich amber-brown color, giving off a wonderfully nutty aroma. Immediately remove the pan from the heat and pour the browned butter (including all the flavorful brown specks at the bottom!) into a separate heatproof bowl. Allow it to cool completely before using. For faster chilling, you can place it in the freezer for a few minutes, stirring occasionally to ensure even cooling.
- In a small bowl, using a hand mixer, beat the room temperature cream cheese and the completely cooled browned butter on high speed until the mixture is smooth and lump-free. Gradually add in the powdered sugar and mix until smooth. Finally, stir in the pure vanilla extract until everything is well combined and the icing is wonderfully creamy.
- As soon as the baked rolls come out of the oven and stop bubbling, spread the luscious brown butter cream cheese icing generously over the top of each warm roll using a spoon or an offset spatula. The warmth of the rolls will allow the icing to slightly melt and seep into every crevice, creating an absolutely irresistible finish. Serve warm and enjoy!
Notes
High Altitude Baking: If you are baking at high altitudes, consider adding an extra 4 tablespoons of all-purpose flour to the dough mixture to compensate for the lower atmospheric pressure.
Room Temperature Dairy Ingredients: For optimal mixing and a smoother dough, ensure all your dairy ingredients (milk, eggs, butter, cream cheese) are pulled out of the refrigerator at least 2 hours before you begin the baking process.
Making Dough By Hand:
To make the gingerbread dough without a stand mixer, first mix the wet ingredients into the dry ingredients using a sturdy rubber spatula. Once a shaggy dough starts to form, switch to using your hands to fully combine everything into a cohesive mass.
Turn the dough out onto a lightly floured surface. Knead the dough vigorously with your hands for 5-8 minutes.
The dough is properly kneaded when it feels smooth, elastic, and less sticky. You can perform the “windowpane test”: take a small, golf-ball-sized piece of dough and gently stretch it with your fingers. If you can stretch it thin enough to see light through it without it tearing, then your dough’s gluten is well-developed and it is ready for its first rise.
Carbohydrates: 76g,
Protein: 8g,
Fat: 22g,
Saturated Fat: 13g,
Polyunsaturated Fat: 1g,
Monounsaturated Fat: 6g,
Trans Fat: 1g,
Cholesterol: 58mg,
Sodium: 244mg,
Potassium: 282mg,
Fiber: 3g,
Sugar: 26g,
Vitamin A: 693IU,
Vitamin C: 0.05mg,
Calcium: 88mg,
Iron: 3mg
Did you make this recipe?
We’d love to hear about your experience! Please share your thoughts below.
