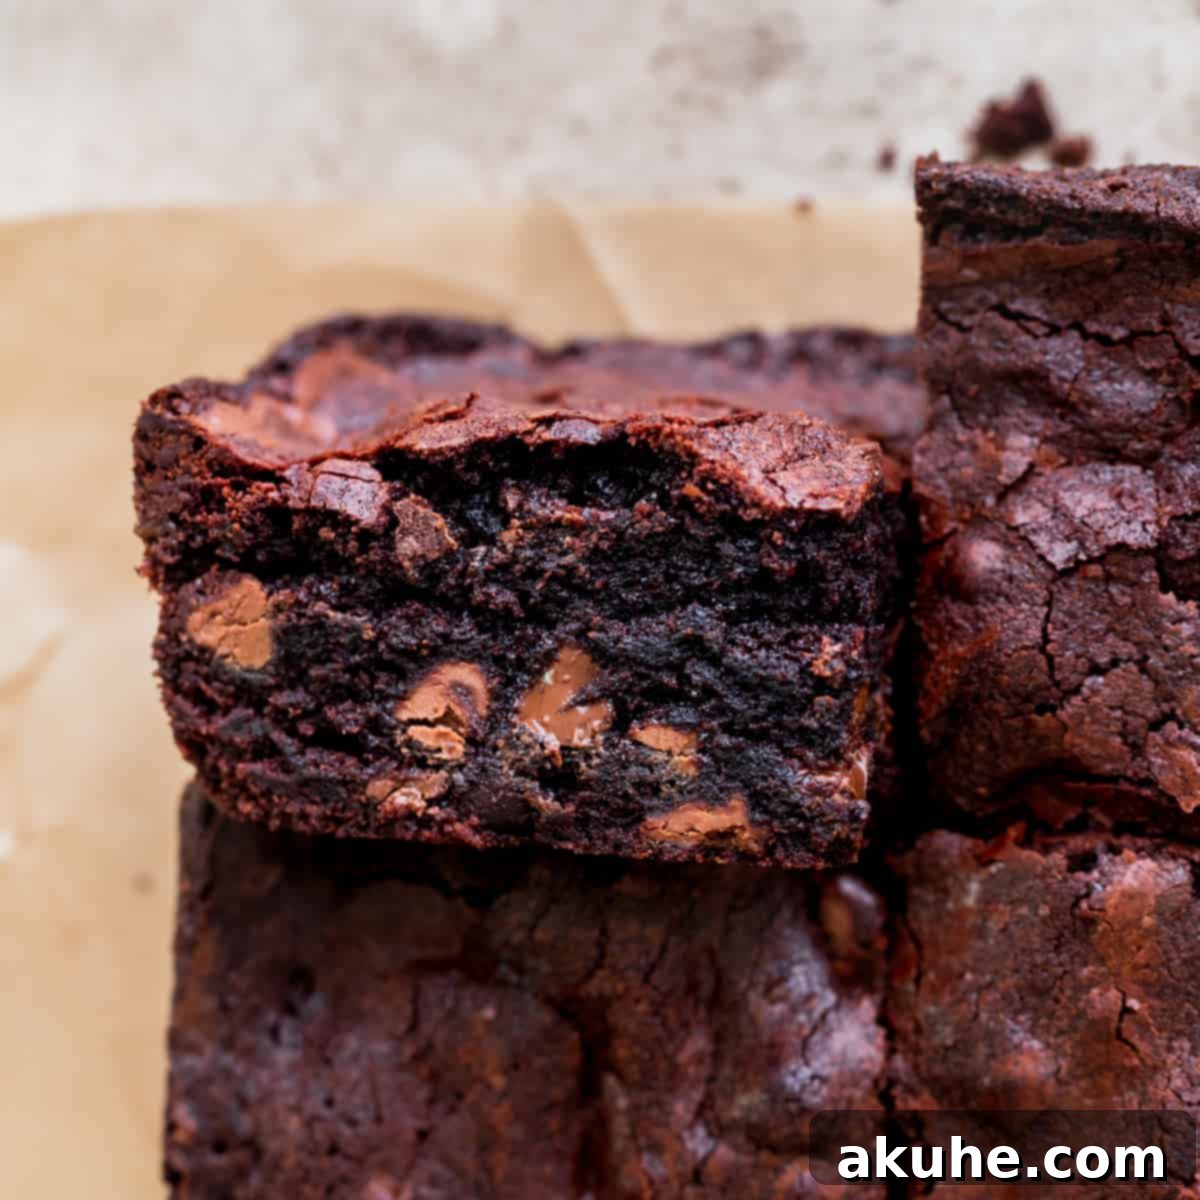
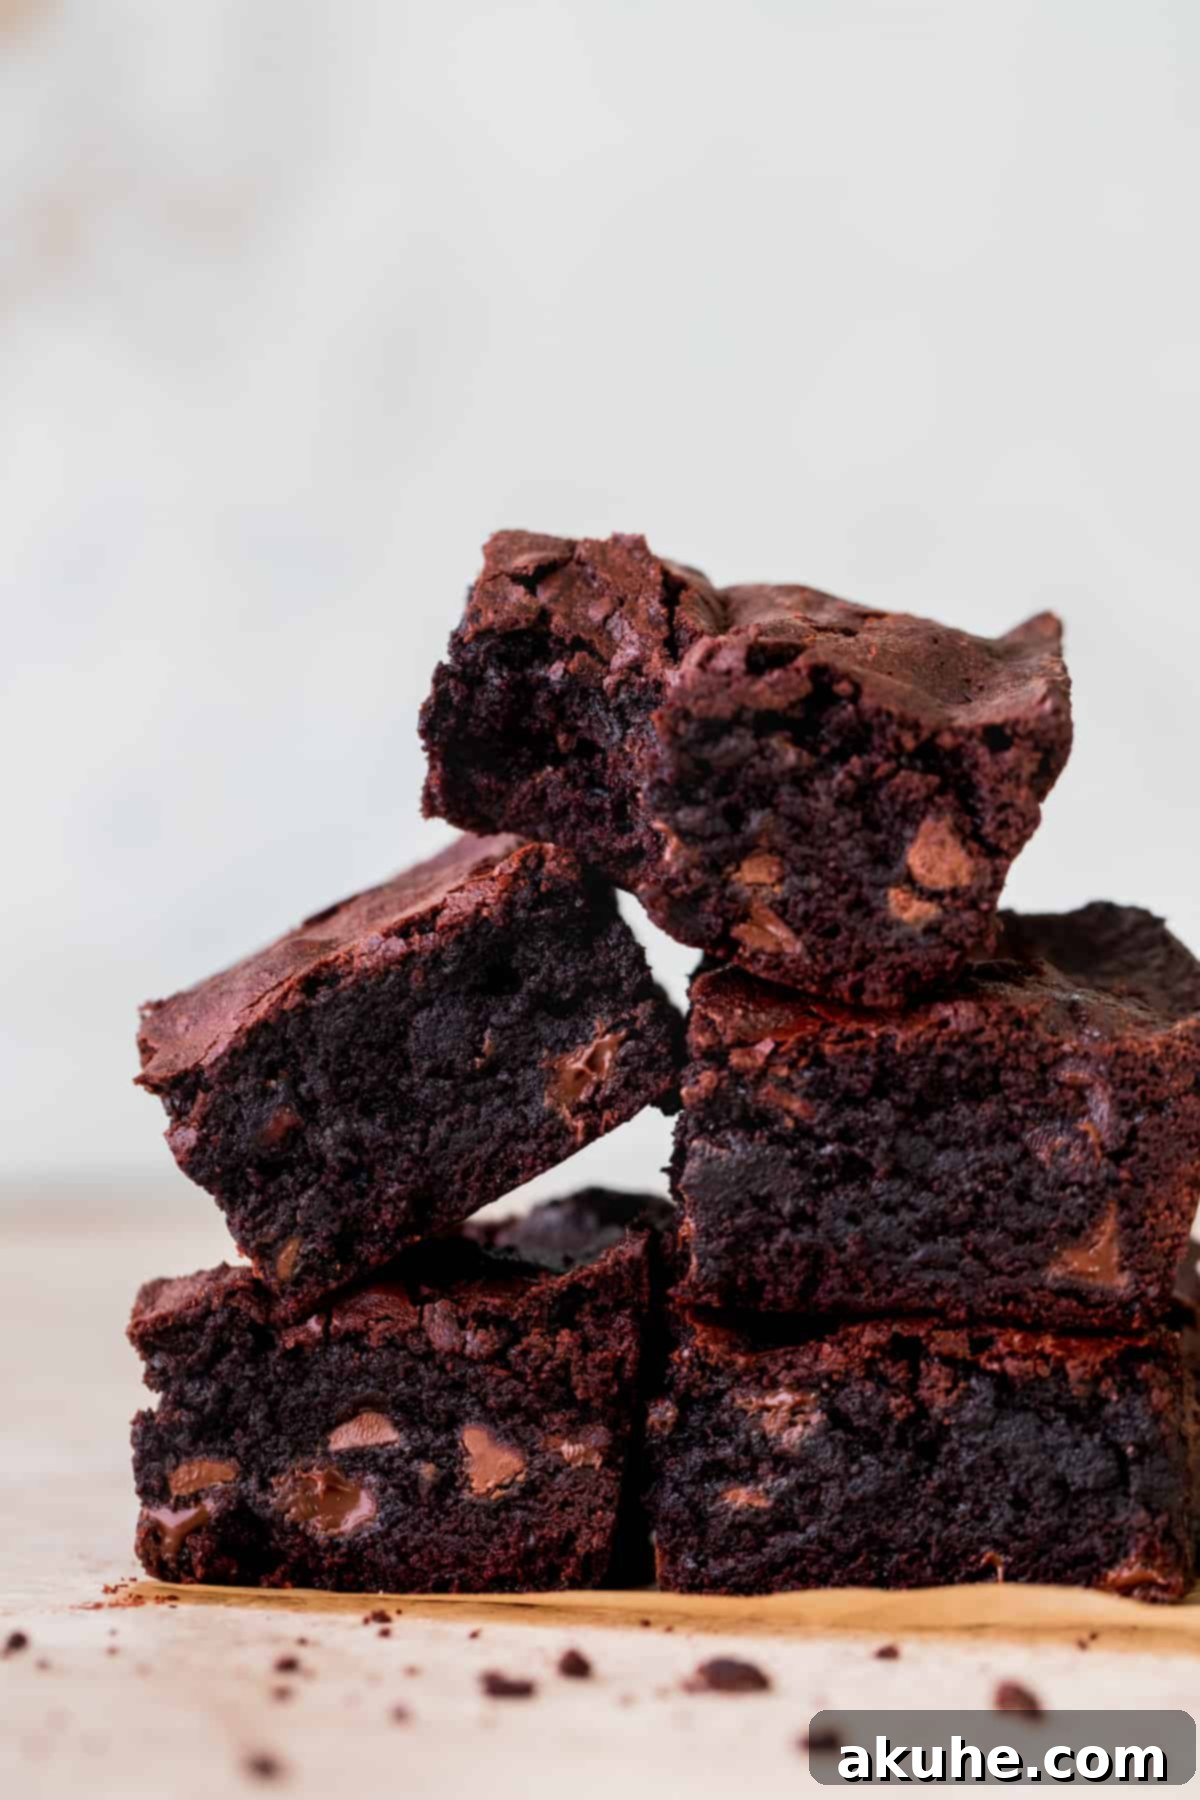
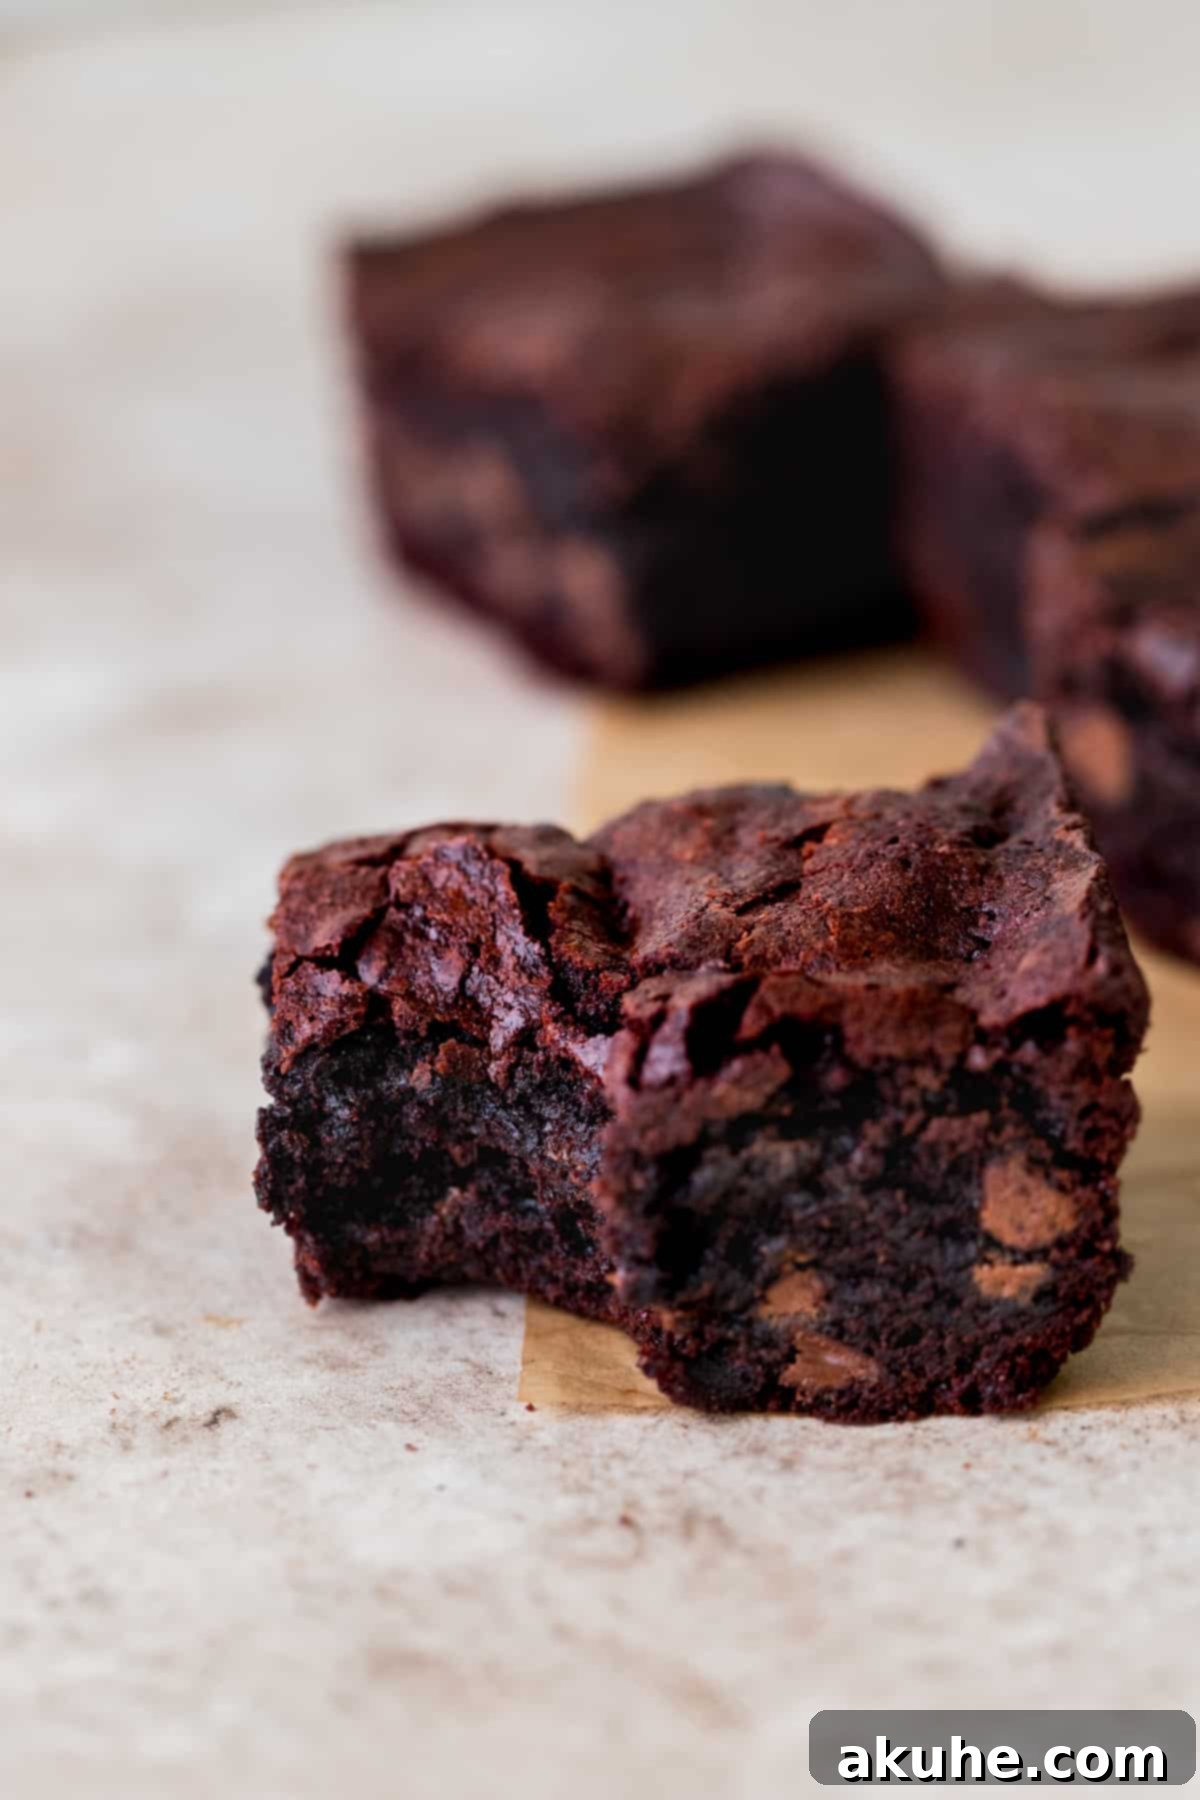
Craving a rich, chocolatey treat but don’t want to bake an entire tray of brownies? Look no further! Our recipe for Small Batch Fudgy Brownies baked in a Loaf Pan is your perfect solution. This delightful recipe yields 8 incredibly thick, dense, and deeply fudgy brownies, ideal for satisfying a sweet tooth without overindulging or having too many leftovers. Forget dry, cakey brownies; these are pure chocolate bliss, designed for an intense fudgy experience in every bite.
Whether you’re baking for yourself, a loved one, or a small gathering, these brownies strike the perfect balance between convenience and decadence. They are an absolute dream come true for any chocolate lover, packed with both rich cocoa powder and a generous blend of two different types of chocolate chips, ensuring an unparalleled depth of flavor. Get ready to embark on a simple yet immensely rewarding baking journey that promises to deliver exceptional results every time.
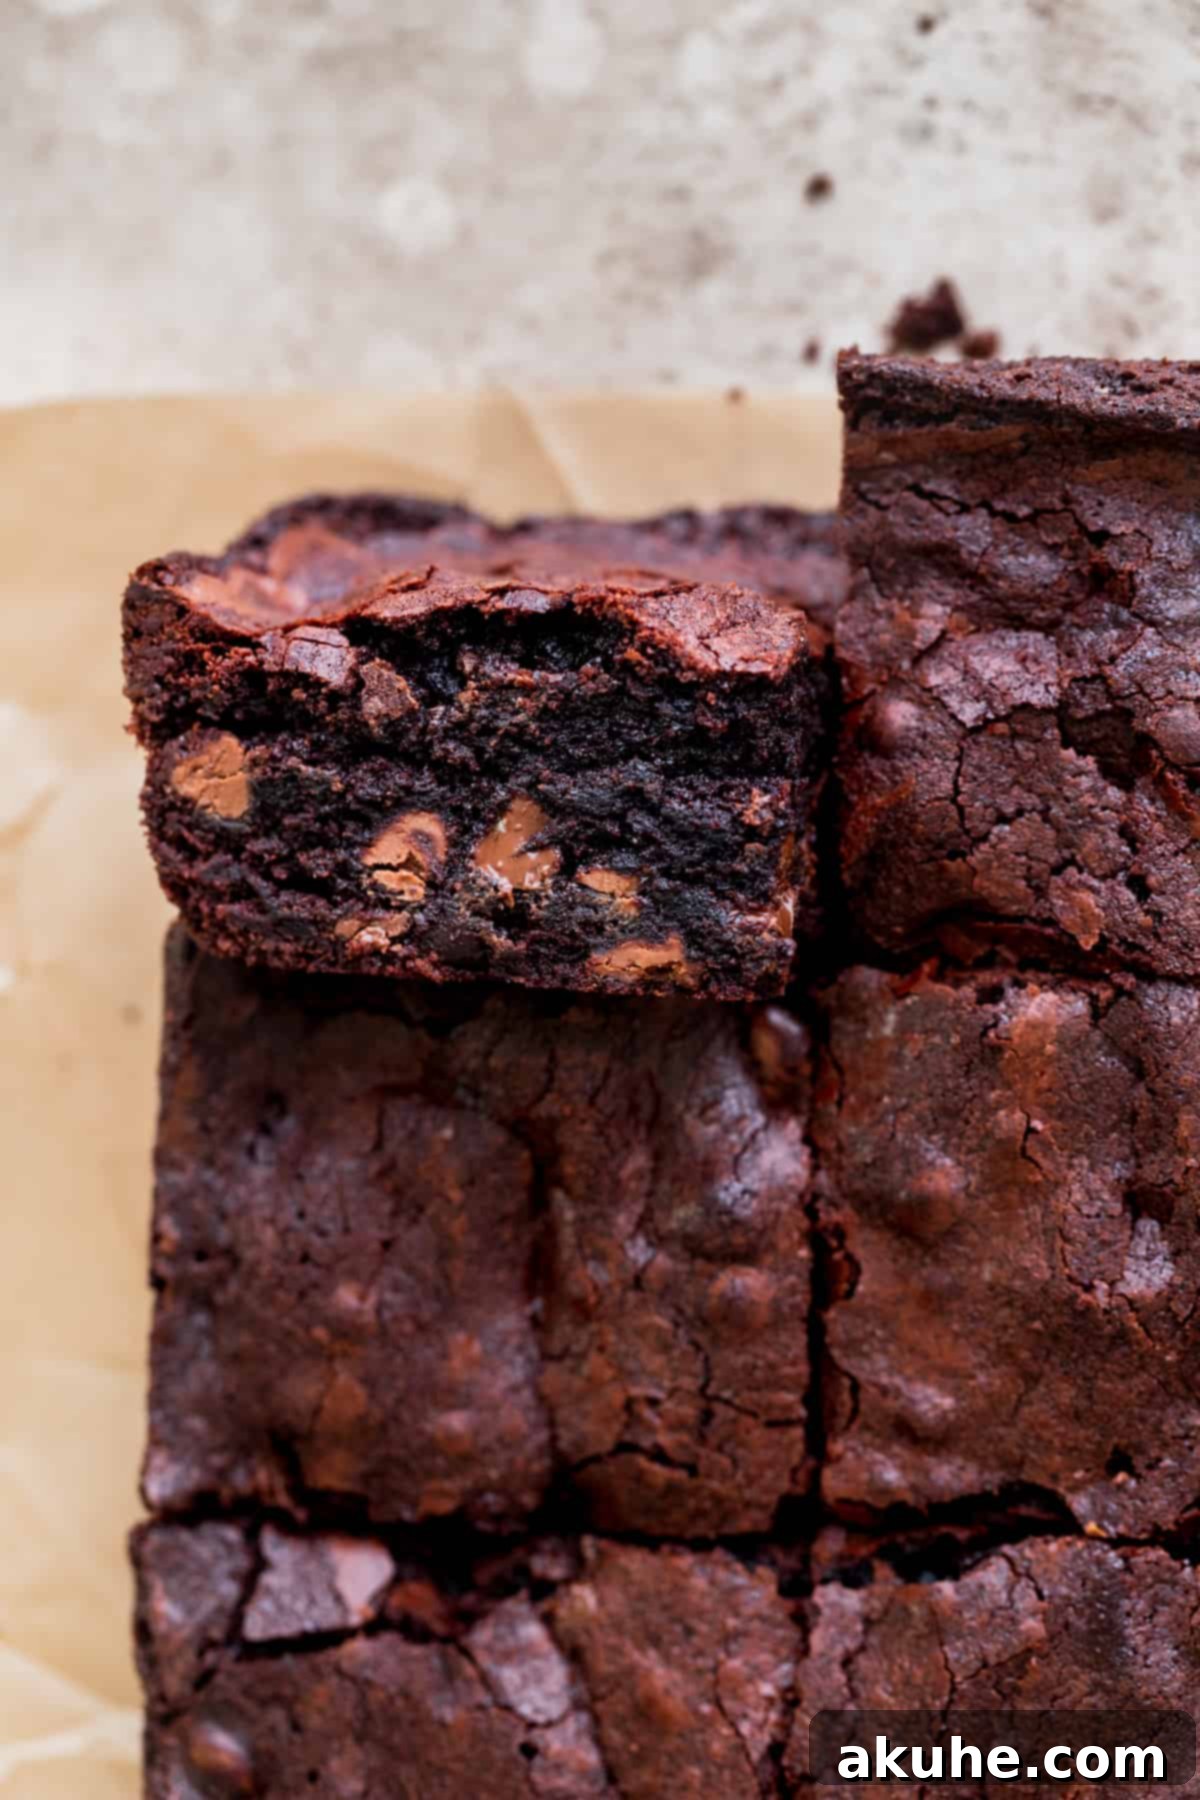
The beauty of this recipe lies in its simplicity and the controlled portion size. By utilizing a standard loaf pan, we achieve brownies that are wonderfully thick and chewy, with that coveted crackled top and gooey center. It’s an ideal baking project for a cozy weekend afternoon or whenever a serious chocolate craving strikes. And the best part? The luxurious combination of semi-sweet and milk chocolate chips guarantees an extra layer of richness and melt-in-your-mouth texture.
If you’re a fan of scaling down your favorite treats, you might also enjoy exploring other small batch recipes. Consider trying our Small Batch Chocolate Chip Cookies for a classic comfort, whip up some delightful Mini Oreo Cheesecakes, or create an elegant Mini Layered Cake. Each offers the joy of baking without the overwhelming quantities.
Why You’ll Love This Small Batch Brownie Recipe
This isn’t just another brownie recipe; it’s a meticulously crafted formula designed for optimal results and convenience. Here’s what makes these brownies truly stand out:
- Perfect Loaf Pan Portions: Baking in a loaf pan is a game-changer for small-batch desserts. Instead of a large, tempting tray, you get precisely 8 perfectly sized brownies. This method ensures each brownie is thick and substantial, offering a satisfying chewiness and an irresistible fudgy core, making it easier to manage portions and reduce waste.
- Unrivaled Fudgy Texture: We prioritize fudginess above all else! This recipe achieves its signature dense and moist texture through a precise balance of ingredients. The inclusion of an extra egg, combined with a carefully measured low amount of dry ingredients, contributes to that melt-in-your-mouth consistency that true brownie connoisseurs adore. No cakey imposters here – just pure, unadulterated fudge.
- Deeply Rich Chocolate Flavor: Prepare for a serious chocolate experience. These brownies boast a decadent flavor profile, stemming from the thoughtful inclusion of both high-quality Dutch process cocoa powder and a dynamic duo of chocolate chips. This combination ensures a complex, intensely chocolatey taste that satisfies even the most demanding sweet cravings, proving you truly can’t go wrong with more chocolate!
- Simple & Accessible: Despite their gourmet taste, these brownies are incredibly easy to make. With straightforward steps and common pantry ingredients, even novice bakers can achieve spectacular results. The process is designed to be enjoyable, making it a perfect weekend baking activity.
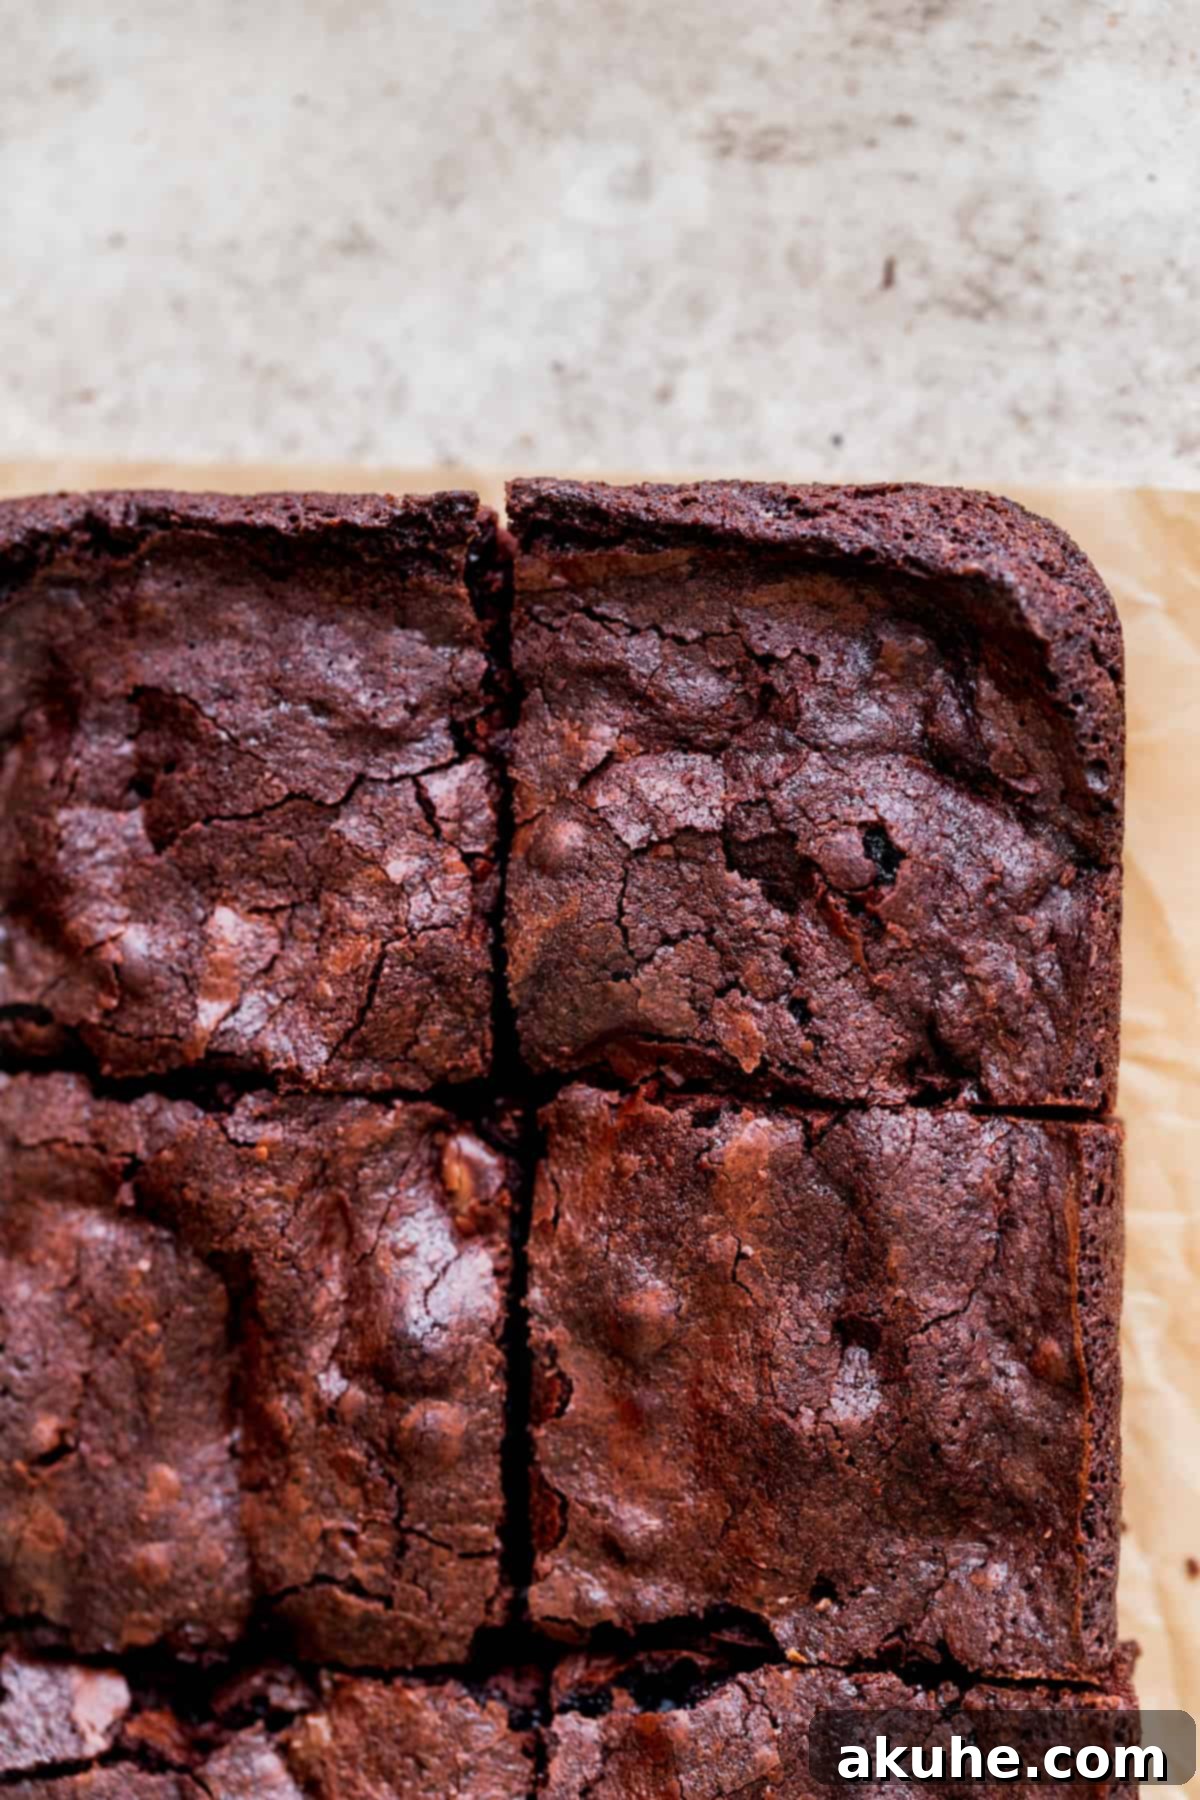
Essential Ingredient Notes for Perfect Brownies
Understanding the role of each ingredient is key to achieving brownie perfection. Here’s what you need to know about the components of these fudgy delights:
- Granulated Sugar: A whole cup of granulated sugar isn’t just for sweetness; it plays a crucial role in creating that desirable shiny, crackly top on your brownies. When beaten vigorously with eggs, the sugar crystals dissolve slightly, contributing to the glossy crust and a tender crumb.
- Large Eggs: The secret to the ultimate fudgy texture lies partly in the eggs. This recipe calls for two large eggs. For an even more fudgy result, consider using cold eggs directly from the refrigerator, as the cooler temperature can contribute to a denser, chewier brownie.
- Unsalted Butter: Melted unsalted butter adds richness and moisture. Ensure your butter is melted and then allowed to cool slightly before incorporating it into the batter. Adding hot butter can scramble the eggs and negatively impact the texture.
- Oil (Canola or Vegetable): The addition of oil, such as canola or vegetable oil, provides extra moisture and ensures the brownies remain incredibly tender and fudgy, even after cooling. Oil also contributes to that desirable chewy consistency without making the brownies greasy.
- Dutch Process Cocoa Powder: For a truly deep, dark, and rich chocolate flavor, Dutch process cocoa powder is highly recommended. Unlike natural cocoa, Dutch process cocoa has been treated with an alkali to neutralize its acidity, resulting in a smoother, less bitter chocolate taste. While natural cocoa powder can be used, expect a slightly lighter color and a tangier flavor profile. This is a great option.
- Cornstarch: A secret weapon for fudginess! Just half a tablespoon of cornstarch works wonders by helping to inhibit gluten development in the flour. This results in a softer, more tender, and decidedly fudgier brownie, preventing any hint of cakiness.
- Chocolate Chips (Semi-sweet & Milk): The dual-chocolate chip approach is what elevates these brownies. Using a combination of good quality semi-sweet chocolate chips and milk chocolate chips delivers a balanced sweetness and a complex chocolate flavor that melts beautifully within the brownie. For the best taste and texture, opt for high-quality brands. If necessary, you can use only semi-sweet or dark chocolate chips, but the blend is highly recommended.
- All-Purpose Flour: The backbone of our dry ingredients. Accurate measurement is crucial here. See expert tips for proper flour measurement to avoid dense or dry brownies.
- Salt: A pinch of salt enhances all the chocolate flavors, balancing the sweetness and adding depth to the overall taste profile.
Step-by-Step Guide to Baking Small Batch Brownies
Follow these detailed instructions to create your perfect batch of fudgy brownies:
STEP 1: Prepare Your Pan and Preheat Oven. Begin by preheating your oven to 325°F (160°C). This lower temperature helps ensure a fudgier texture and prevents overbaking. Next, prepare a 9×4 or 9×5-inch loaf pan by lightly spraying it with nonstick baking spray. Line the bottom and two long sides of the pan with parchment paper, leaving an overhang on the sides. This “sling” will allow you to easily lift the cooled brownies out of the pan. Spray the parchment paper again for extra nonstick insurance.
STEP 2: Beat Sugar and Eggs for That Perfect Crinkle Top. In a large mixing bowl, combine the granulated sugar and large eggs. Using either a stand mixer fitted with the whisk attachment or an electric hand mixer, beat these ingredients together on high speed for a full 5 minutes. This extended beating process is essential for incorporating air, dissolving sugar crystals, and ultimately creating that signature shiny, crinkled top on your brownies. The mixture should become pale in color and significantly increased in volume.
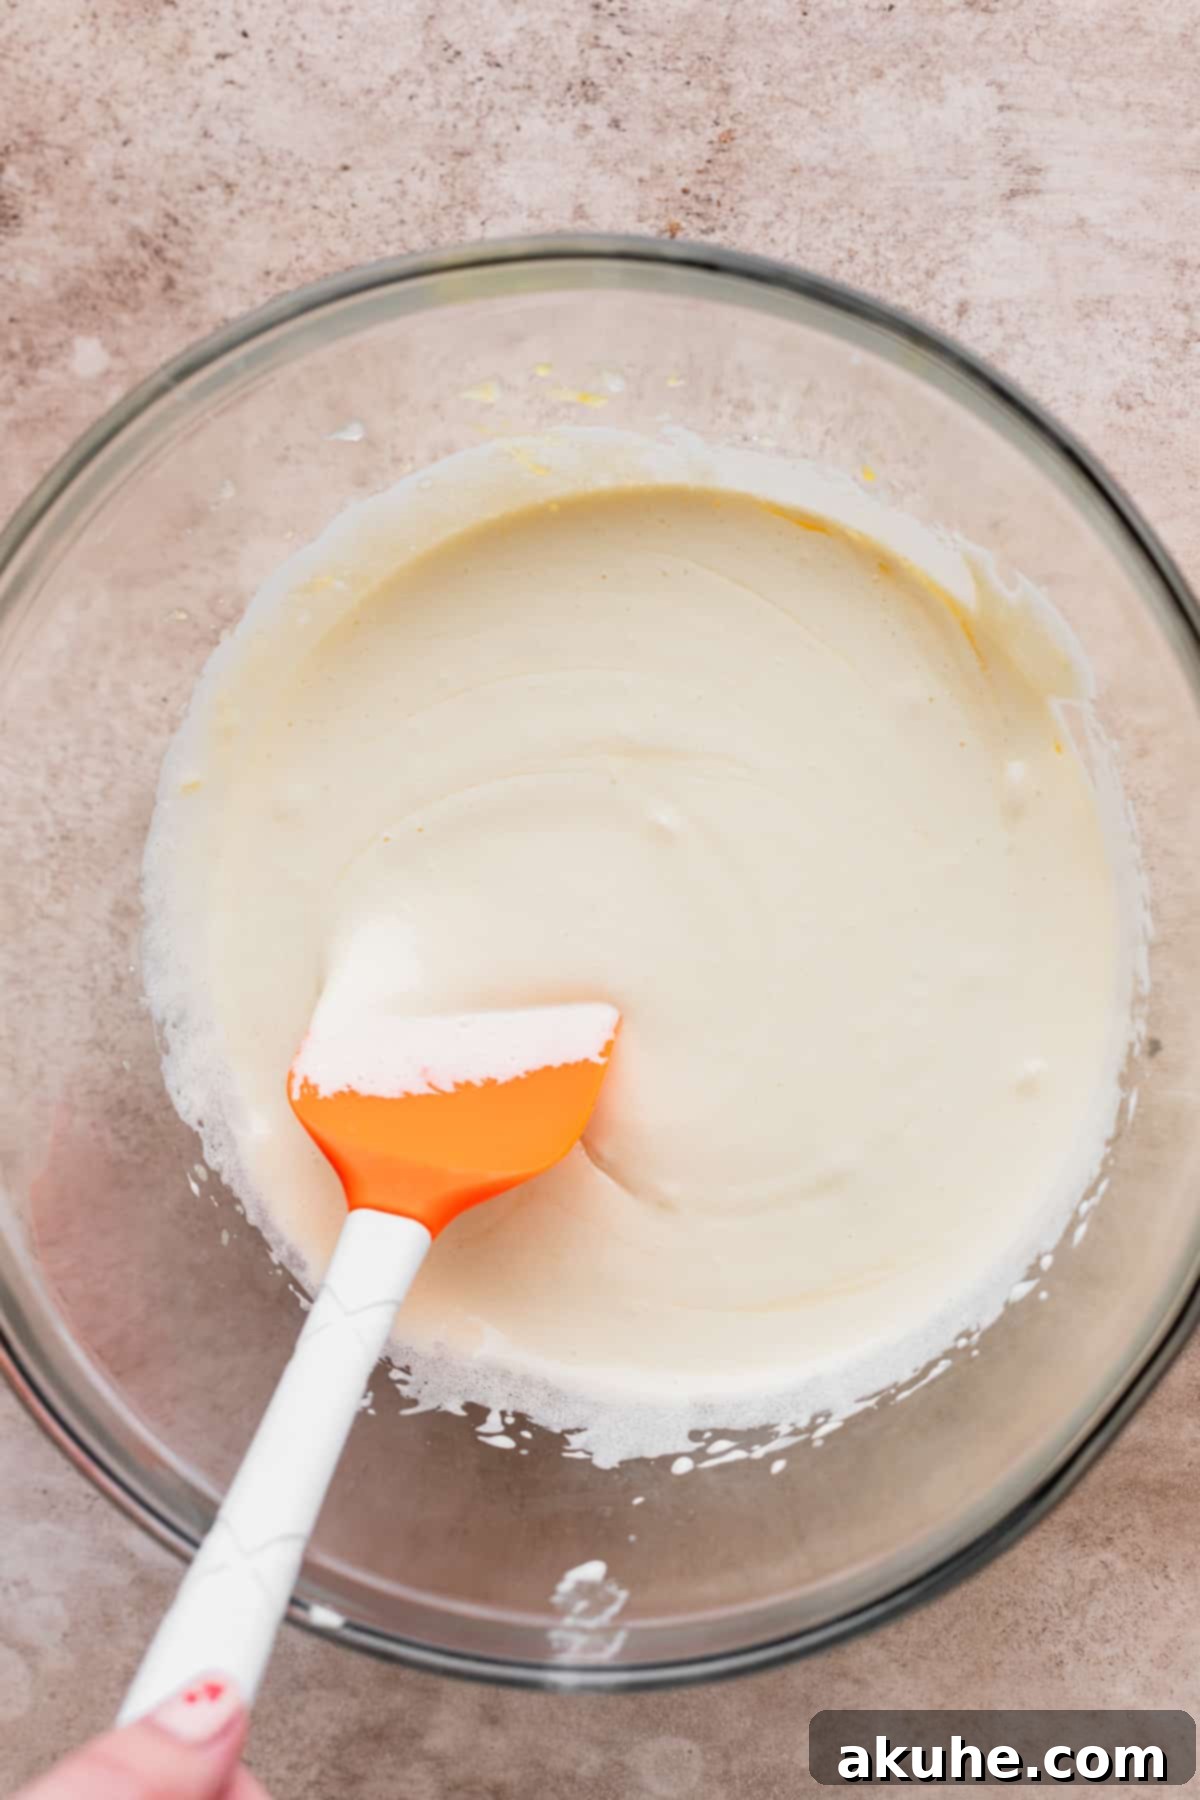
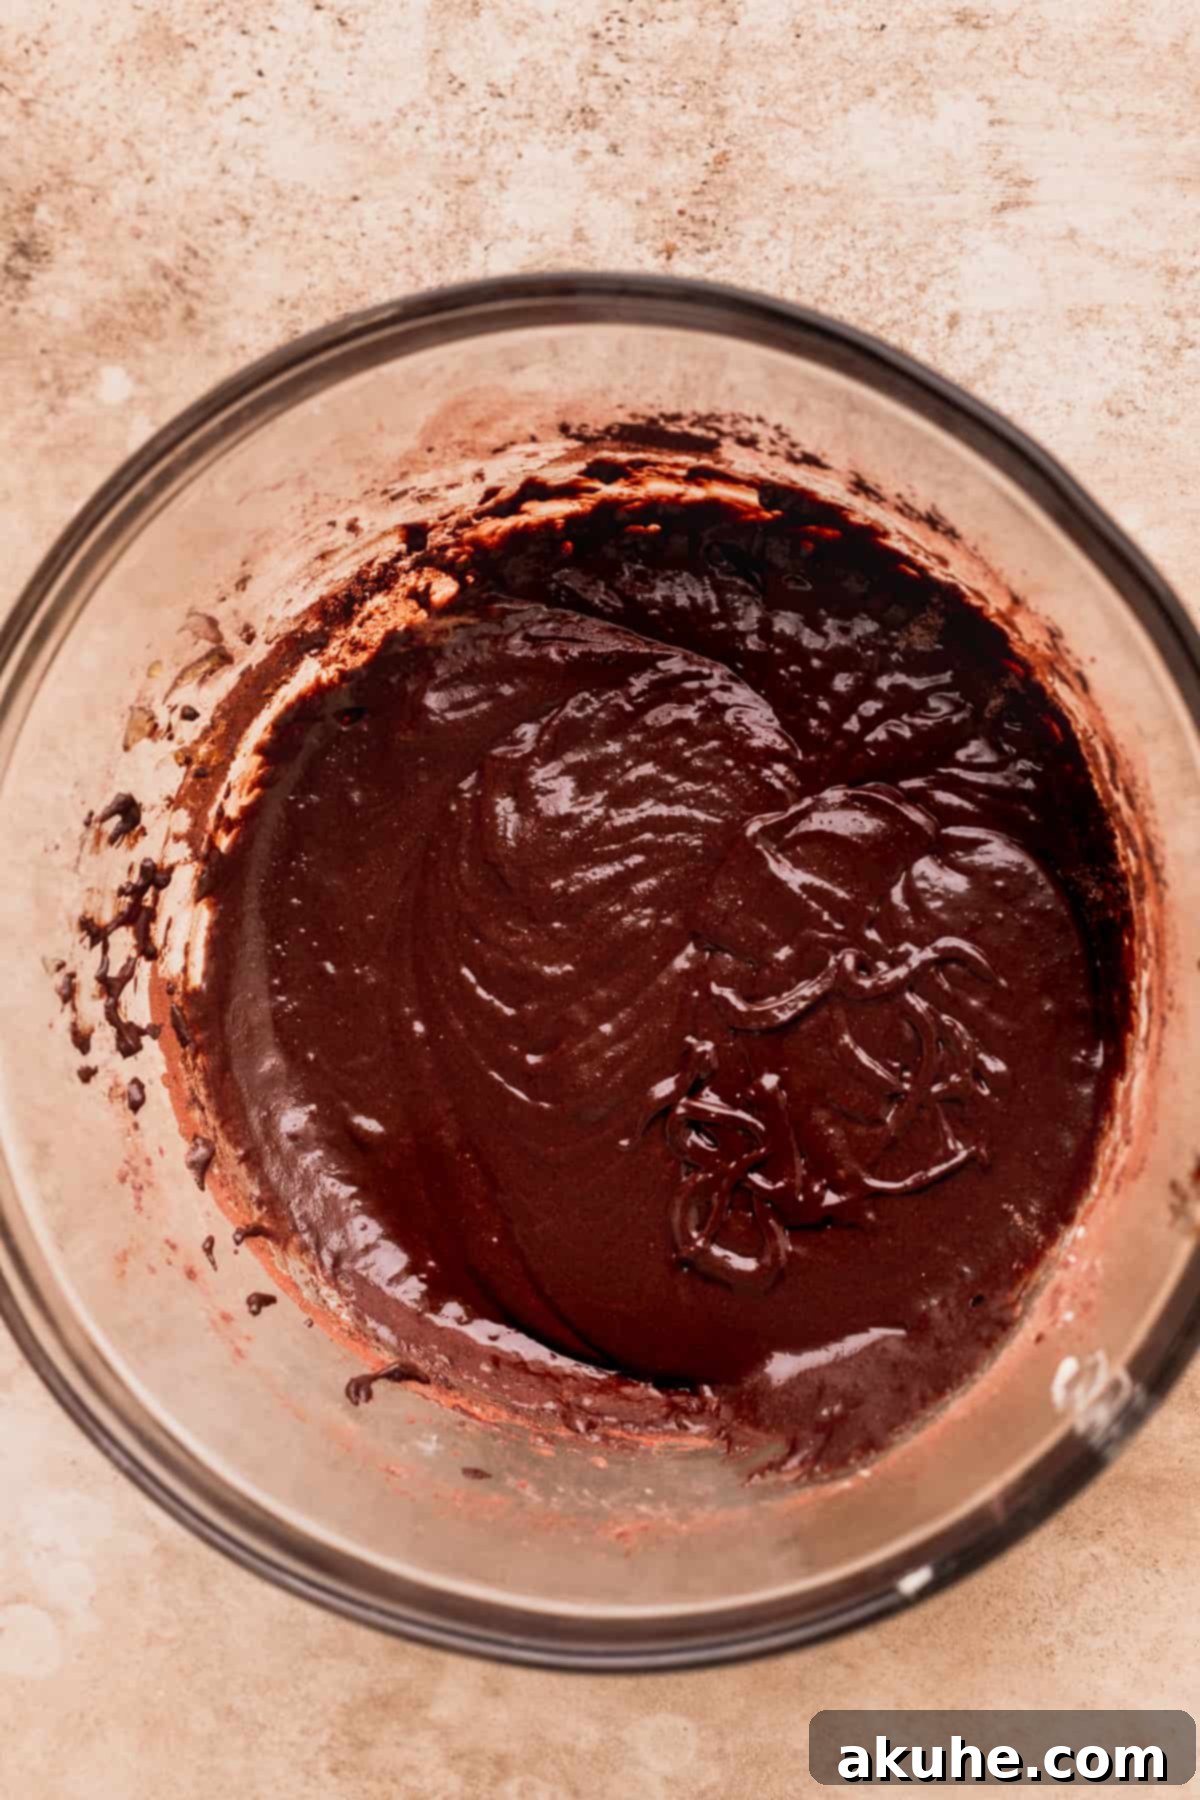
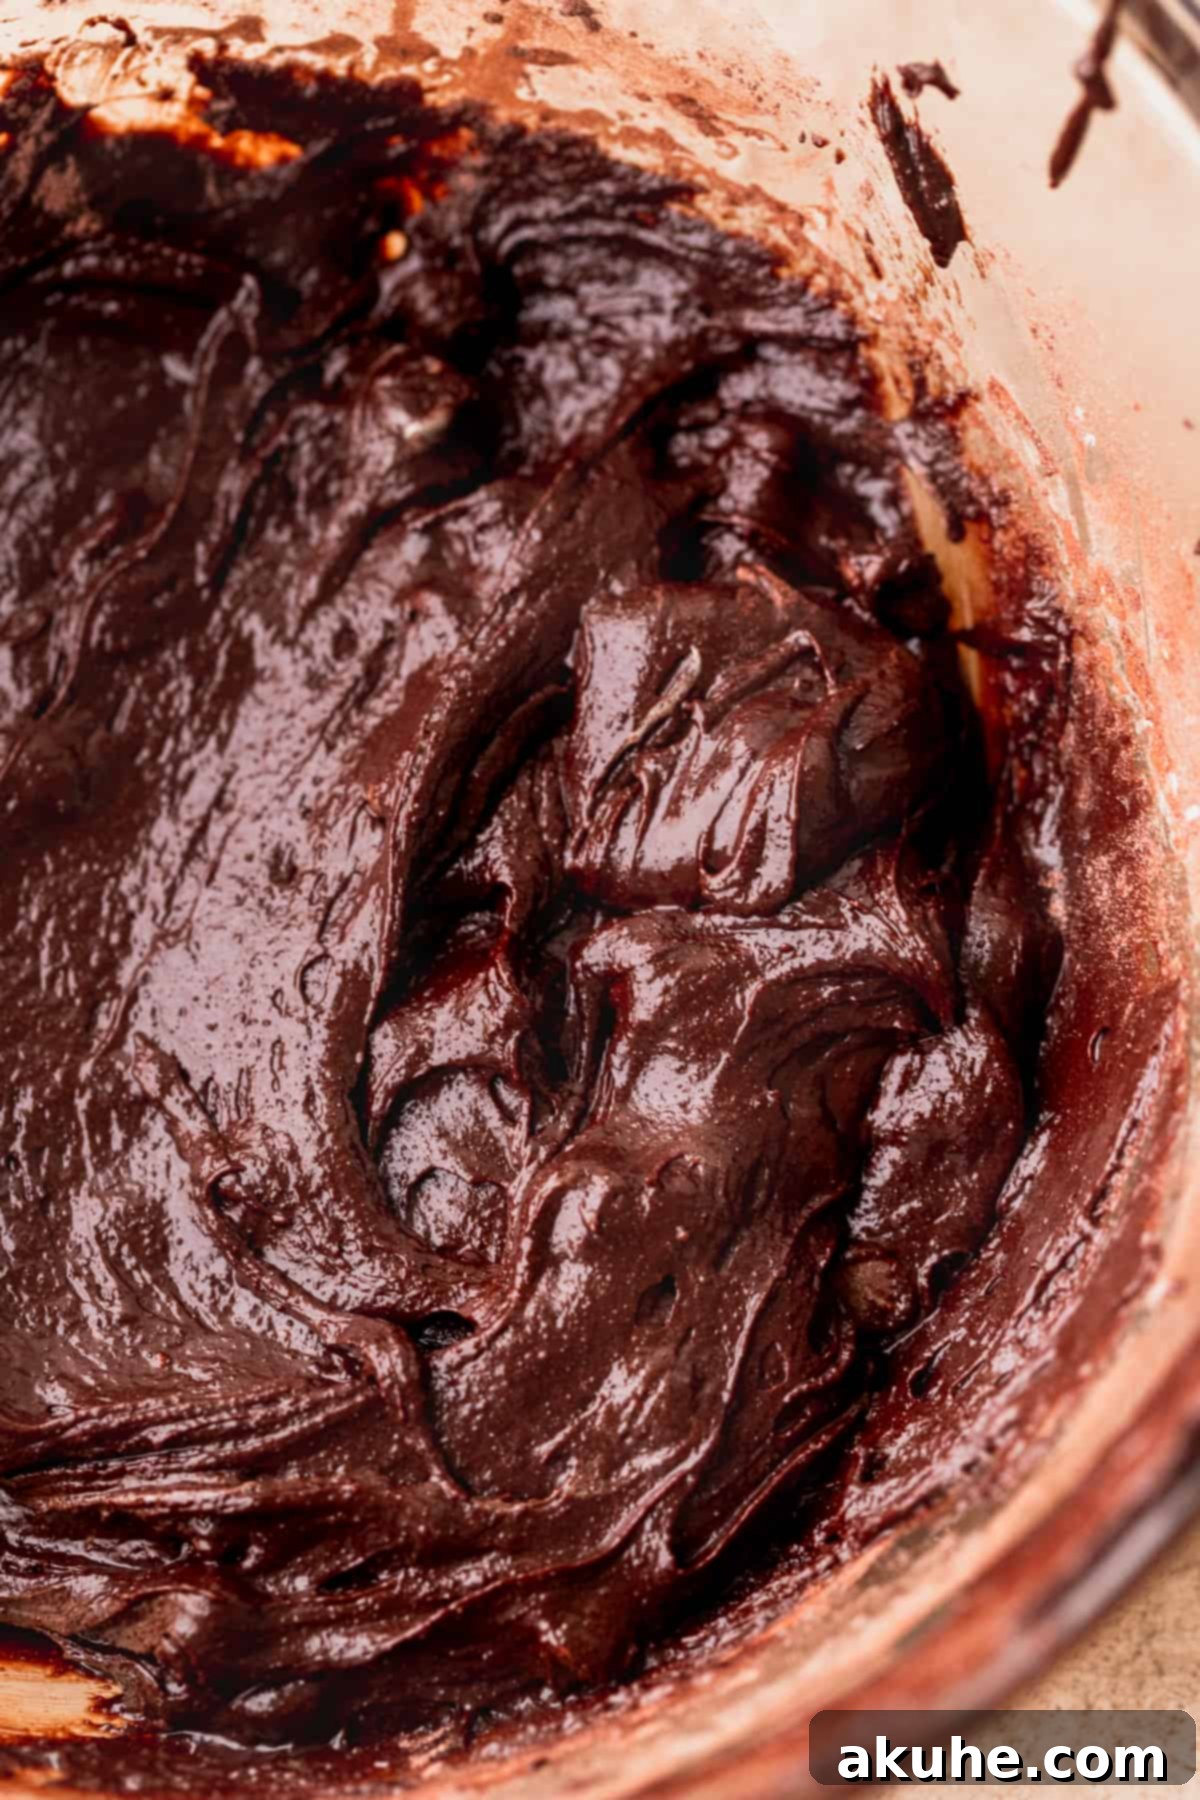
STEP 3: Incorporate Wet Ingredients. Once the sugar and eggs are light and fluffy, reduce the mixer speed to low. Gently add the slightly cooled melted unsalted butter, oil (canola or vegetable), and pure vanilla extract. Mix just until combined, being careful not to overmix and deflate the air you’ve incorporated into the eggs. Overmixing at this stage can lead to tougher brownies.
STEP 4: Gently Mix in Dry Ingredients. Sift together the all-purpose flour, Dutch process cocoa powder, cornstarch, and salt into a separate bowl. Sifting is crucial for preventing lumps and ensuring a smooth batter. With the mixer still on low speed, gradually add the sifted dry ingredients to the wet mixture. Mix until *just* combined. As soon as you see no more streaks of dry flour, stop the mixer. Remove the bowl from the mixer and use a rubber spatula to give the batter a final, gentle fold by hand, ensuring everything is fully incorporated without overworking the gluten.
STEP 5: Fold in Chocolate Chips. Add both the semi-sweet and milk chocolate chips to the batter. Using your rubber spatula, very gently fold the chocolate chips into the batter. The key here is to be as gentle as possible to maintain the airy structure created in the earlier steps. Evenly distribute the chips throughout the batter.
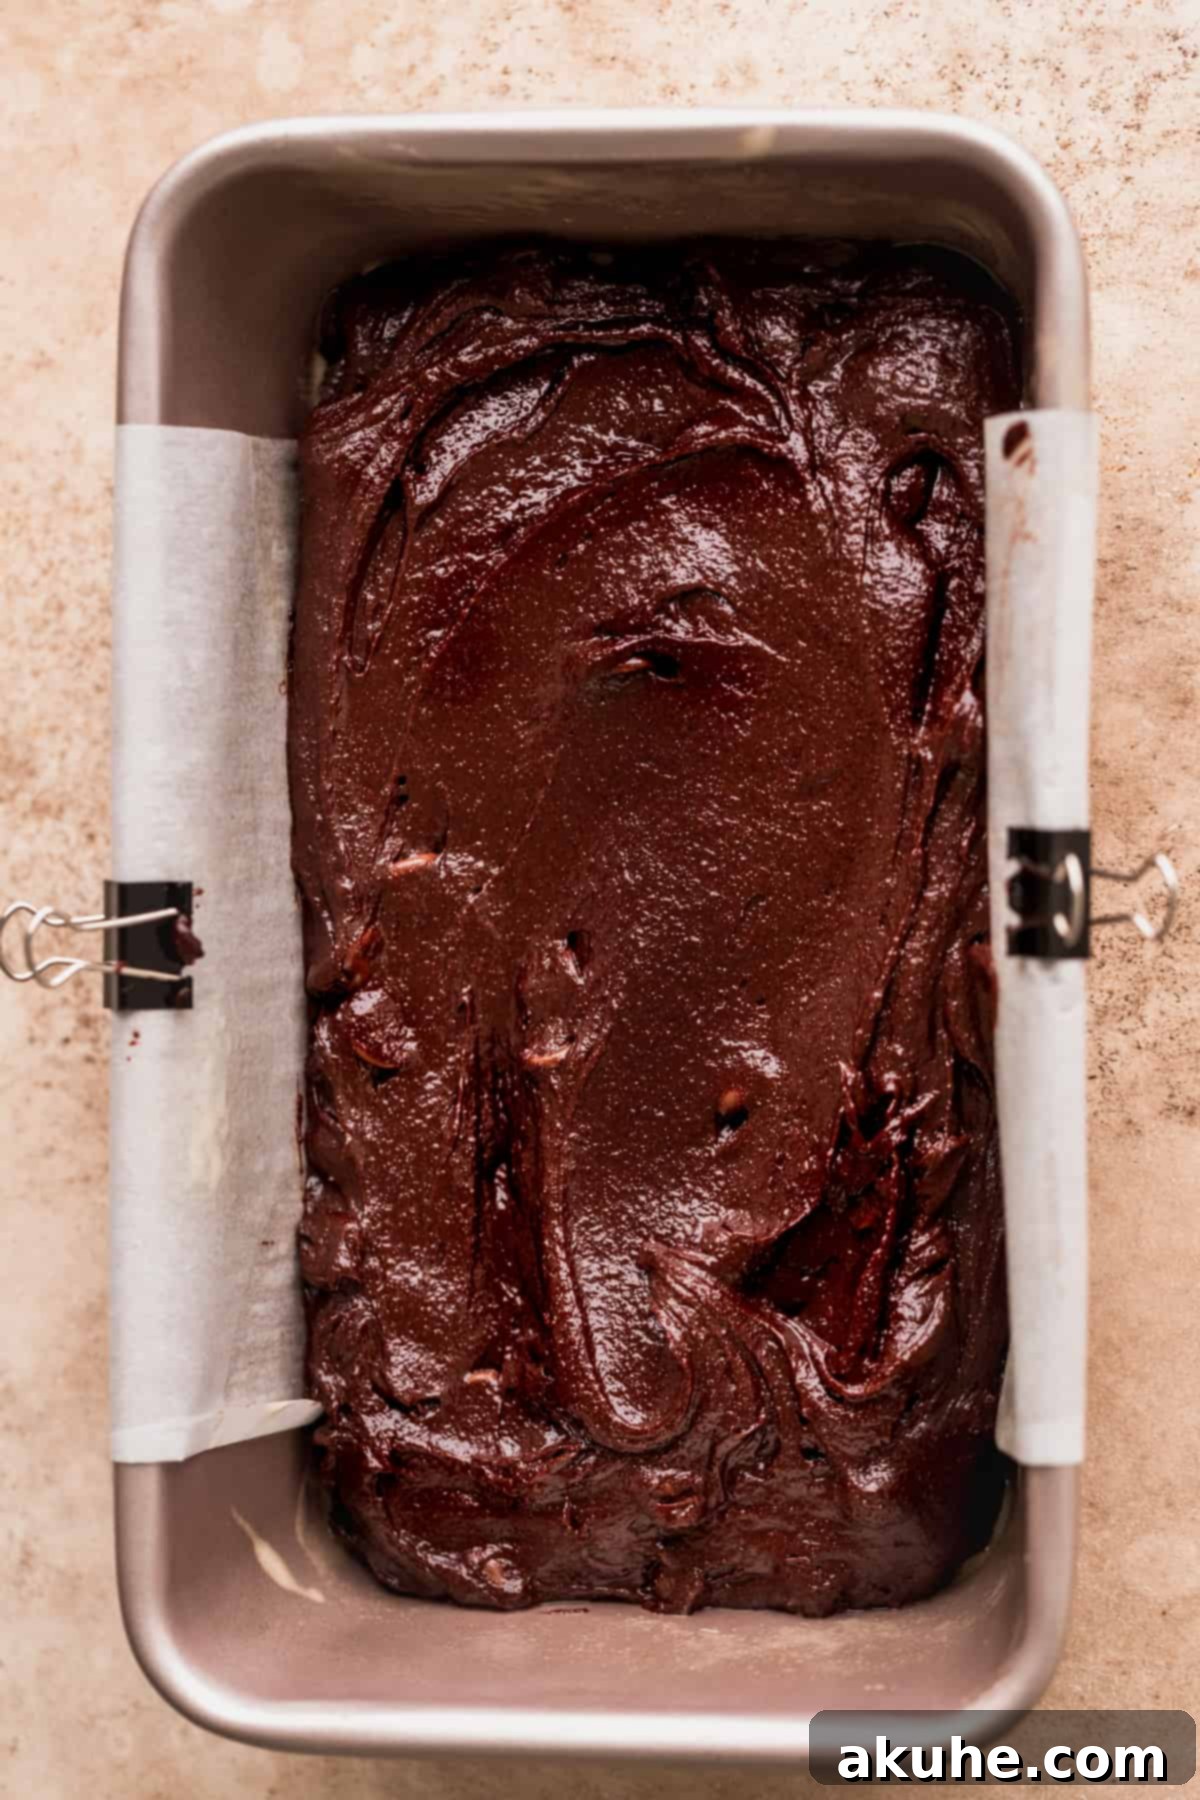
STEP 6: Pour Batter into Pan. Carefully pour the prepared brownie batter into your lined 9X5-inch loaf pan. Use the back of your spatula to gently spread the batter evenly into the pan, ensuring it reaches all corners.
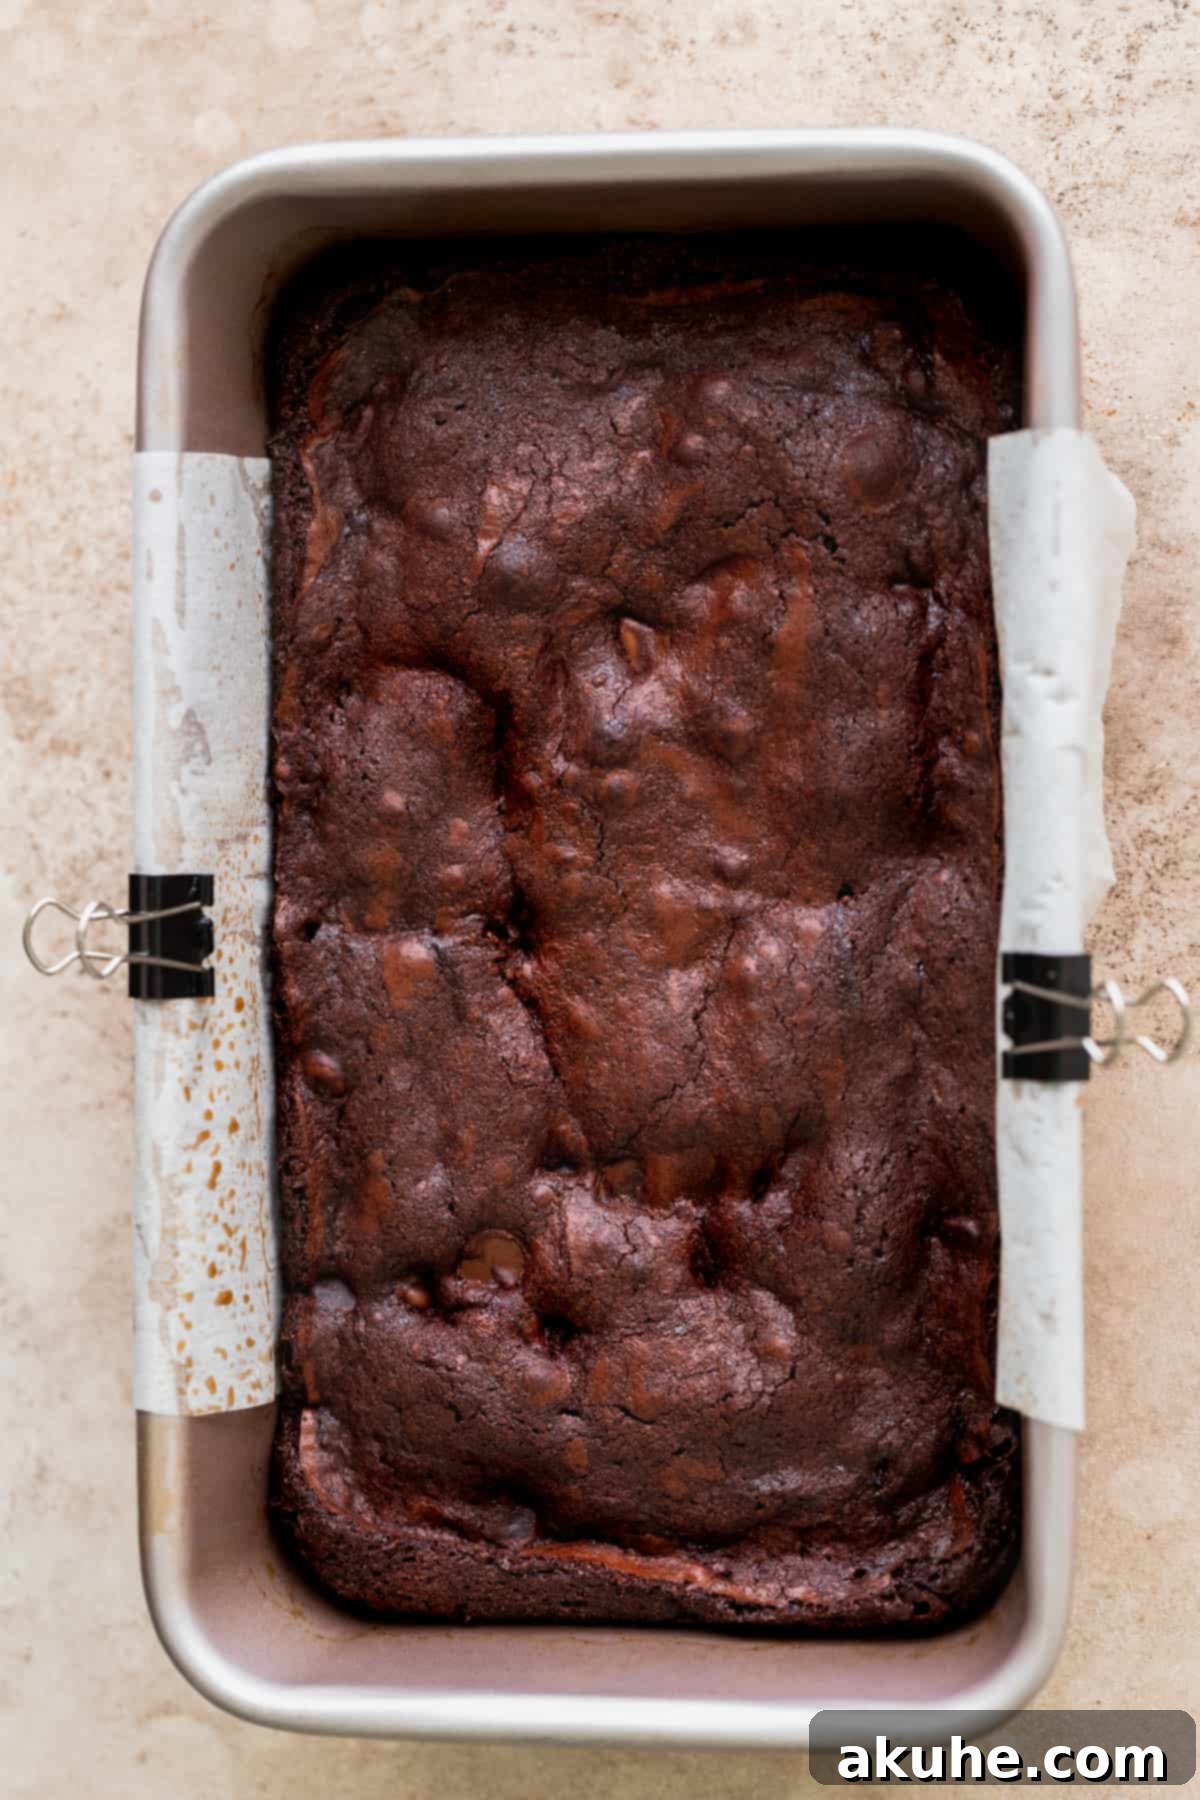
STEP 7: Bake to Fudgy Perfection. Transfer the loaf pan to the preheated oven and bake for approximately 45-50 minutes. Brownies are notoriously tricky to tell when done, as they continue to cook as they cool. To test for doneness, insert a toothpick into the very center of the brownies. It should come out with moist crumbs attached, or a little bit of fudgy batter, but not wet, raw batter. If the toothpick comes out completely clean, your brownies might be overbaked and less fudgy. If it’s too wet, bake for another 5 minutes and recheck.
STEP 8: Cool Completely Before Slicing. This step is critical for achieving perfectly set, fudgy brownies. Once baked, remove the loaf pan from the oven and place it on a wire rack to cool completely. Resist the urge to slice them while warm! Allowing them to cool fully in the pan, typically for several hours or even overnight, allows the brownies to finish setting and firm up, ensuring clean slices and an ideal fudgy texture. Once cool, use the parchment paper overhangs to lift the entire brownie slab out of the pan. Place it on a cutting board and slice into 8 equal, decadent squares. These will be the perfect size for a satisfying treat!
Expert Baking Tips for Ultimate Brownie Perfection
- Accurate Flour Measurement: This is perhaps one of the most common pitfalls in baking! To ensure your brownies are fudgy and not cakey, always measure flour by spooning it into your measuring cup and then leveling it off with a straight edge. Never dunk your measuring cup directly into the flour container, as this compacts the flour, leading to an excess amount and a drier, more cake-like brownie. For the most precise results, using a kitchen scale to weigh your ingredients is highly recommended.
- Sift Dry Ingredients: For the smoothest batter and to prevent any dreaded flour lumps in your final brownies, always sift your flour and cocoa powder together before adding them to the wet ingredients. This simple step ensures an even distribution and lighter texture.
- Don’t Skip the Mixer: This recipe truly benefits from the power of a mixer. The initial beating of sugar and eggs on high speed for 5 minutes is crucial for incorporating enough air to achieve that beautiful crackle top and airy texture, which is difficult to replicate by hand. Either a stand mixer or a powerful electric hand mixer will work wonders.
- Easy Removal with Parchment Paper: To effortlessly lift your gooey brownies from the pan, always use a nonstick baking spray AND line the pan. After spraying, place a strip of parchment paper along the bottom and up the two longer sides of the loaf pan, leaving an overhang. This creates a “sling” that allows you to easily pull the entire baked brownie slab out once cooled, preventing sticking and breaking.
- Avoid Overmixing: Once you add the dry ingredients, mix only until they are just combined. Overmixing develops the gluten in the flour, which can lead to tougher, chewier (and not in a good way), or even dry brownies. Stop as soon as the last streaks of flour disappear.
- Know Your Oven: Oven temperatures can vary significantly. If your brownies aren’t baking evenly or seem to take longer/shorter than expected, consider investing in an oven thermometer to ensure your oven is truly at the temperature you set.
Frequently Asked Questions (FAQ)
While this recipe is specifically designed for a 9×4 or 9×5-inch loaf pan to achieve thick, fudgy slices, you can adapt it. An 8×4 inch or a 1 lb loaf pan would also work, though baking times might vary slightly. If you’re looking to bake a larger batch of brownies in a standard square or rectangular pan, we recommend checking out our Better Than Boxed Brownies recipe, which is scaled for larger quantities.
The fudgy texture of these brownies comes from a carefully engineered ratio of ingredients. We use a higher proportion of fat (from eggs, melted butter, and oil) to dry ingredients (flour and cocoa powder). This creates a dense, moist, and rich crumb. Additionally, the inclusion of a small amount of cornstarch is a secret weapon; it helps to soften the gluten strands in the flour, further enhancing that desirable fudgy consistency and preventing any cakiness.
There are two primary reasons brownies turn out cakey or dry: overbaking and over-measuring flour. Brownies should be slightly underbaked when you pull them from the oven, as they continue to cook from residual heat as they cool. If a toothpick comes out completely clean, they are likely overdone. Secondly, compacting flour into a measuring cup can lead to using too much, which dries out the batter. Always spoon and level your flour or use a kitchen scale for accuracy. Following our precise ingredient measurements and baking times will help ensure a perfectly fudgy result.
Storing and Freezing Your Small Batch Brownies
Proper storage is essential to keep your fudgy brownies fresh and delicious for as long as possible. Place the cooled brownie squares in an airtight container at room temperature. They will maintain their incredible taste and texture for up to 5 days. For an extra special treat, try warming a brownie slightly in the microwave for a few seconds and serving it with a generous scoop of vanilla ice cream – a truly indulgent experience!
Freezing Instructions
These small batch brownie squares are perfect for freezing, allowing you to enjoy a homemade treat whenever the craving strikes. To freeze, individually wrap each cooled brownie tightly in plastic wrap, then place them in a freezer-safe bag or airtight container. They can be frozen for up to 30 days. When you’re ready to enjoy, simply thaw them at room temperature for 1-2 hours. You can also briefly warm them in the microwave for a just-baked feel.
Explore More Decadent Brownie Recipes
If you’ve fallen in love with these small batch brownies, be sure to explore our other fantastic brownie creations. From classic fudgy recipes to unique flavor combinations, there’s always something new to discover to satisfy your chocolate cravings.
We absolutely adore hearing from you! If you tried this recipe and loved it, please take a moment to leave a star review below. Your feedback helps us and other bakers! Don’t forget to tag me on Instagram @stephaniesweettreats when you share your delicious creations. I can’t wait to see them! For more baking inspiration and sweet ideas, make sure to follow me on Pinterest.
Small Batch Brownies
Print Recipe
Pin Recipe
Leave a Review
Ingredients
- 1 cup White granulated sugar
- 2 Large eggs
- 1/4 cup Unsalted butter, melted
- 1/4 cup Oil, canola or vegetable oil
- 1 tsp Pure vanilla extract
- 1/2 cup All-purpose flour
- 1/2 cup Dutch process cocoa powder
- 1/2 TBSP Cornstarch
- 1/4 tsp Salt
- 1/4 cup Semi-sweet chocolate chips
- 1/4 cup Milk chocolate chips
Instructions
- Preheat the oven to 325°F (160°C). Spray a 9X4 or 9X5 inch loaf pan with baking nonstick spray. Line the bottom and 2 long sides of the pan with parchment paper, leaving an overhang to create a sling. Spray the parchment again.
- Using a mixer (stand or electric hand mixer) and a large bowl, add the sugar and eggs. Beat on high speed for 5 minutes until light and fluffy. Melt the butter while this beats and allow it to cool slightly.
- Reduce mixer speed to low. Add the cooled melted butter, oil, and vanilla extract to the batter. Mix just until combined. In a separate bowl, sift together the all-purpose flour, Dutch process cocoa powder, cornstarch, and salt. Add these dry ingredients to the wet mixture and mix on low speed until just combined, being careful not to overmix.
- Remove the bowl from the mixer. Add the semi-sweet and milk chocolate chips. Using a rubber spatula, gently fold the chips into the batter until evenly distributed. Be careful not to deflate the batter.
- Pour the batter into the prepared loaf pan. Spread until smooth and even using the back of your spatula.
- Bake for 45-50 minutes, or until slightly underbaked in the middle. A toothpick inserted into the center should come out with moist crumbs or a little fudgy batter, but not wet. Remember, the brownies will continue to set as they cool.
- Cool the brownies completely in the pan on a wire rack. This is crucial for a fudgy texture and clean slices. Once completely cool, use the parchment paper overhang to lift the brownies out of the pan and cut into 8 equal squares.
Notes
High Altitude Baking: For those baking at higher altitudes, consider adding an extra 1/2 TBSP of flour to the recipe to account for differences in atmospheric pressure.
Carbohydrates: 40g,
Protein: 2g,
Fat: 17g,
Saturated Fat: 6g,
Polyunsaturated Fat: 2g,
Monounsaturated Fat: 7g,
Trans Fat: 1g,
Cholesterol: 17mg,
Sodium: 77mg,
Potassium: 125mg,
Fiber: 2g,
Sugar: 29g,
Vitamin A: 180IU,
Calcium: 14mg,
Iron: 1mg
