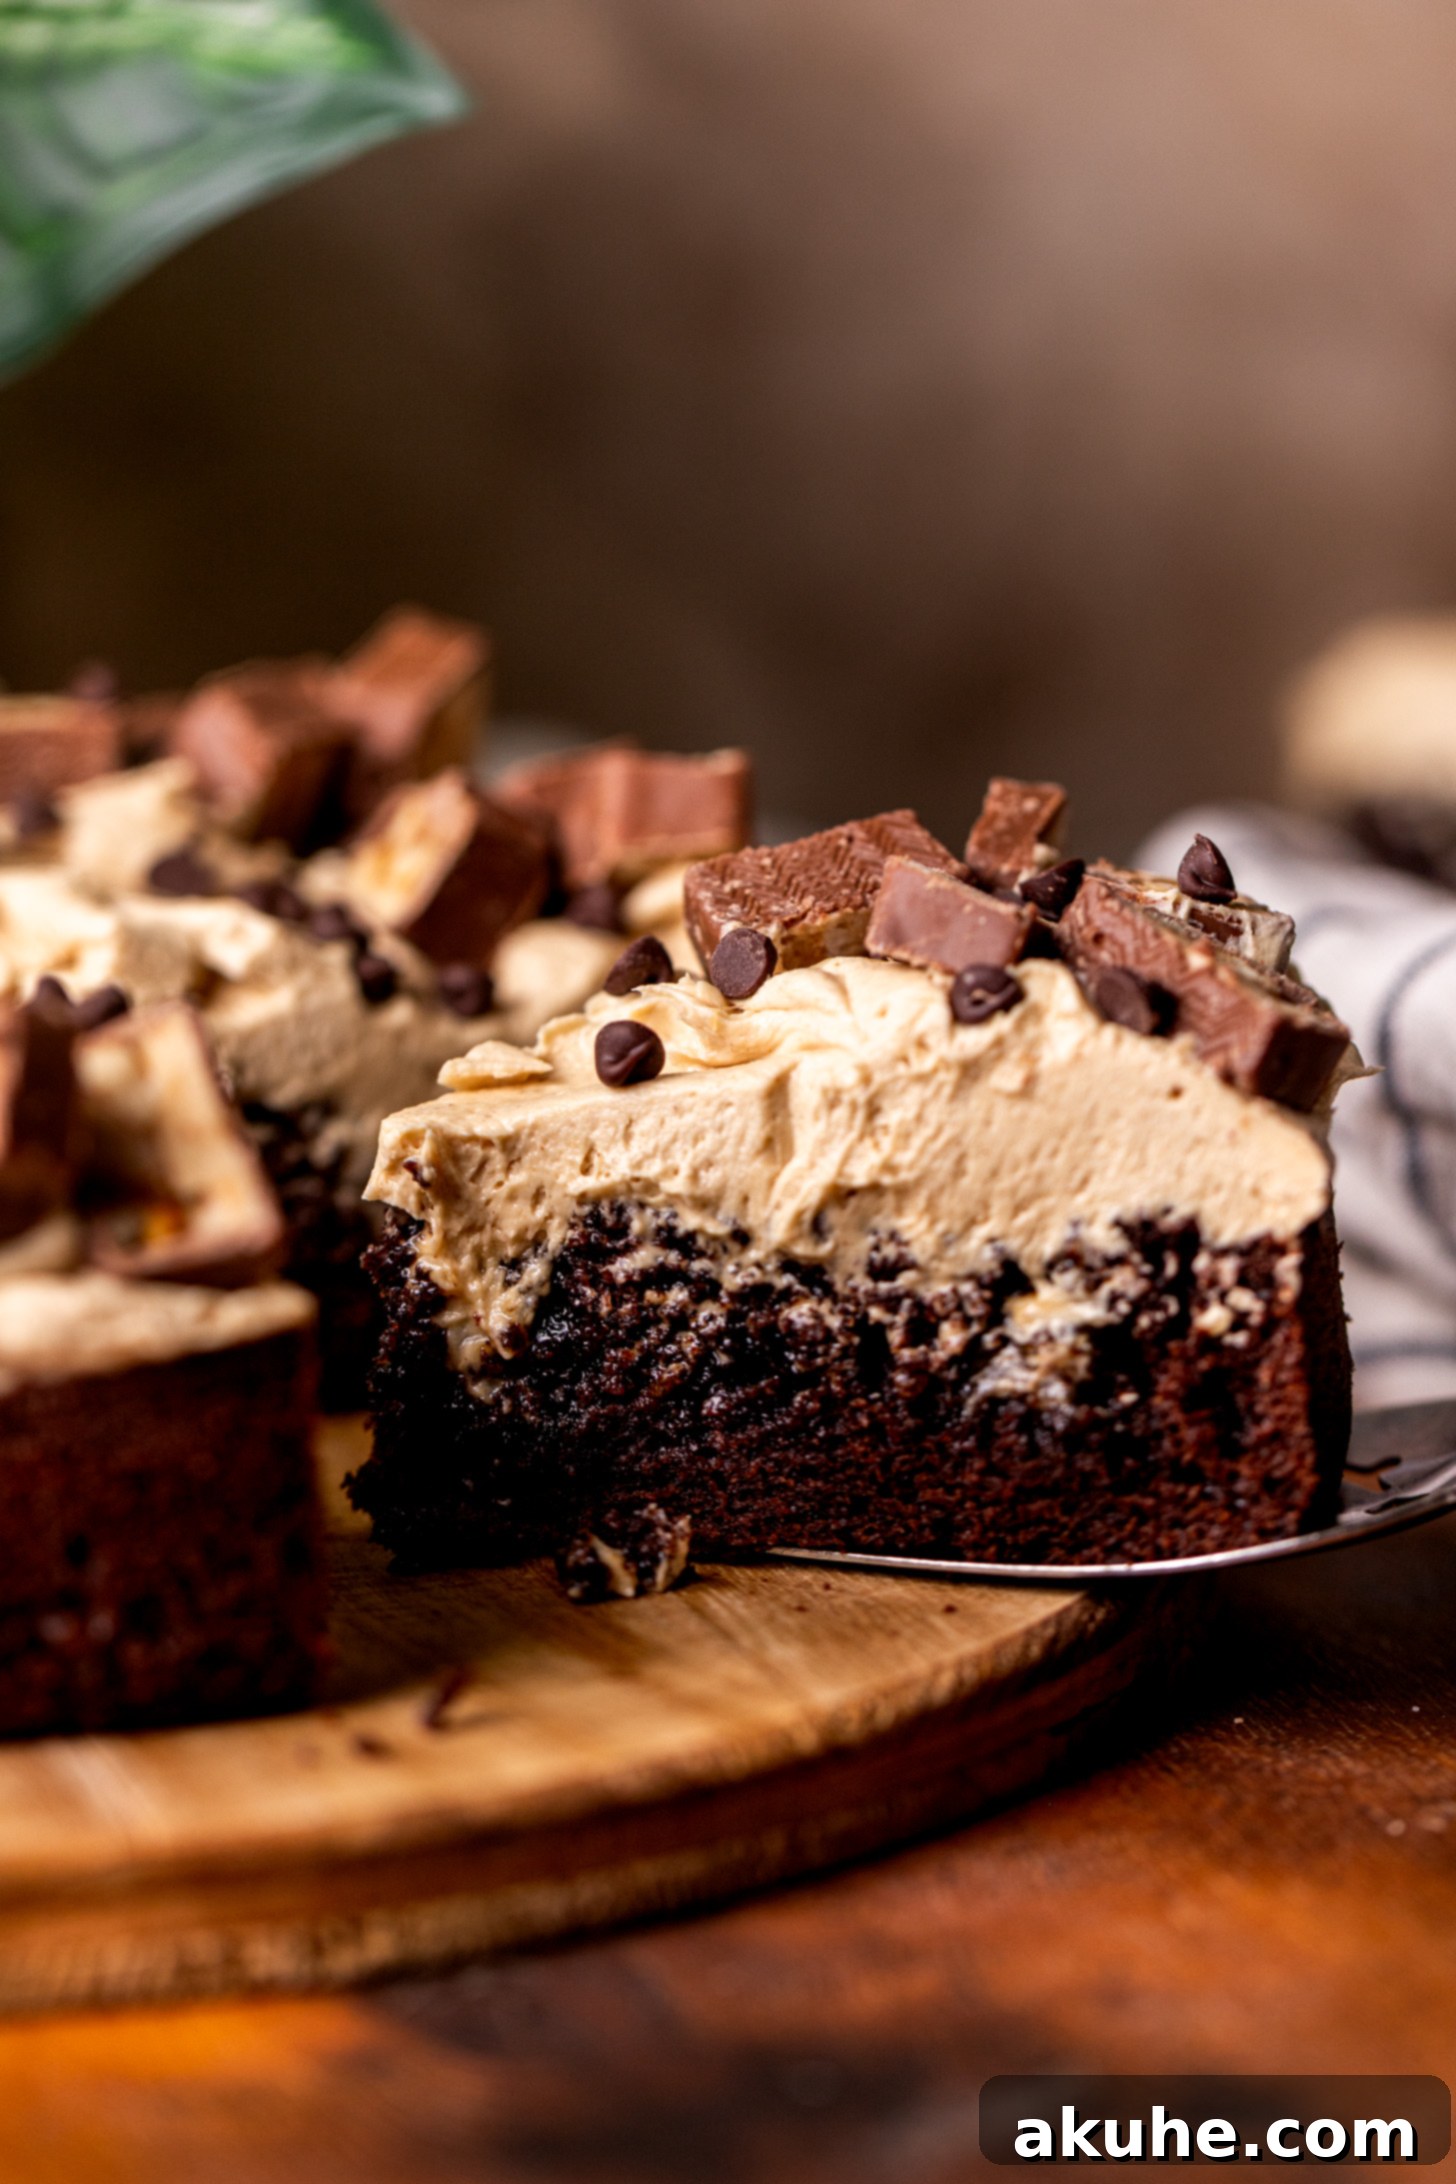
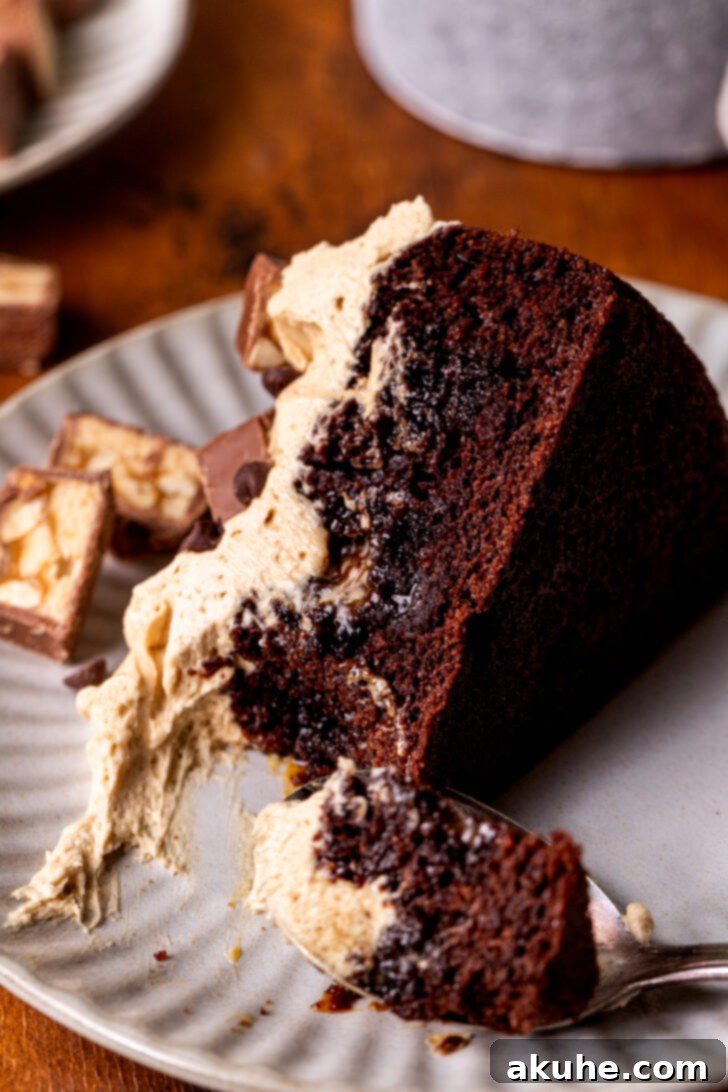
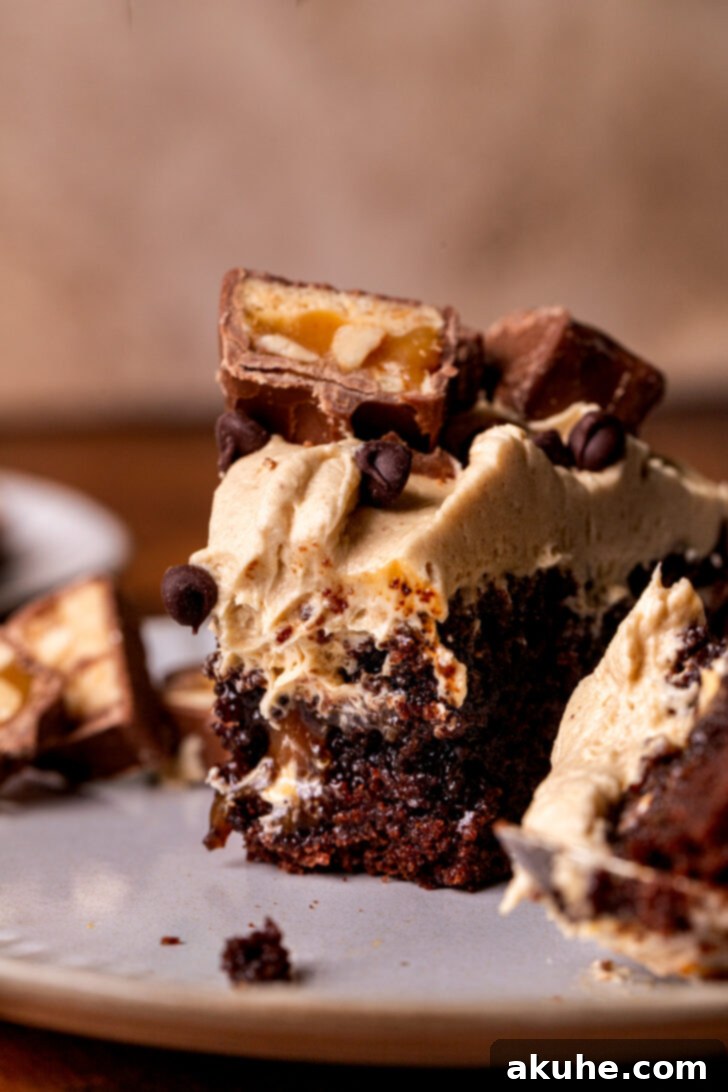
Welcome to the ultimate indulgence for any sweet tooth – our incredibly decadent **Snickers Cake**! This isn’t just any chocolate cake; it’s a meticulously crafted dessert designed to capture the iconic flavors of your favorite Snickers bar in every luxurious bite. Imagine a soft, moist chocolate cake, generously poked and filled with rich, homemade salted caramel, then crowned with a smooth, creamy peanut butter frosting and an abundance of chopped Snickers candy. It’s a symphony of chocolate, caramel, nougat, and peanut flavors that will undoubtedly become a showstopper at any gathering or a beloved treat for your family.
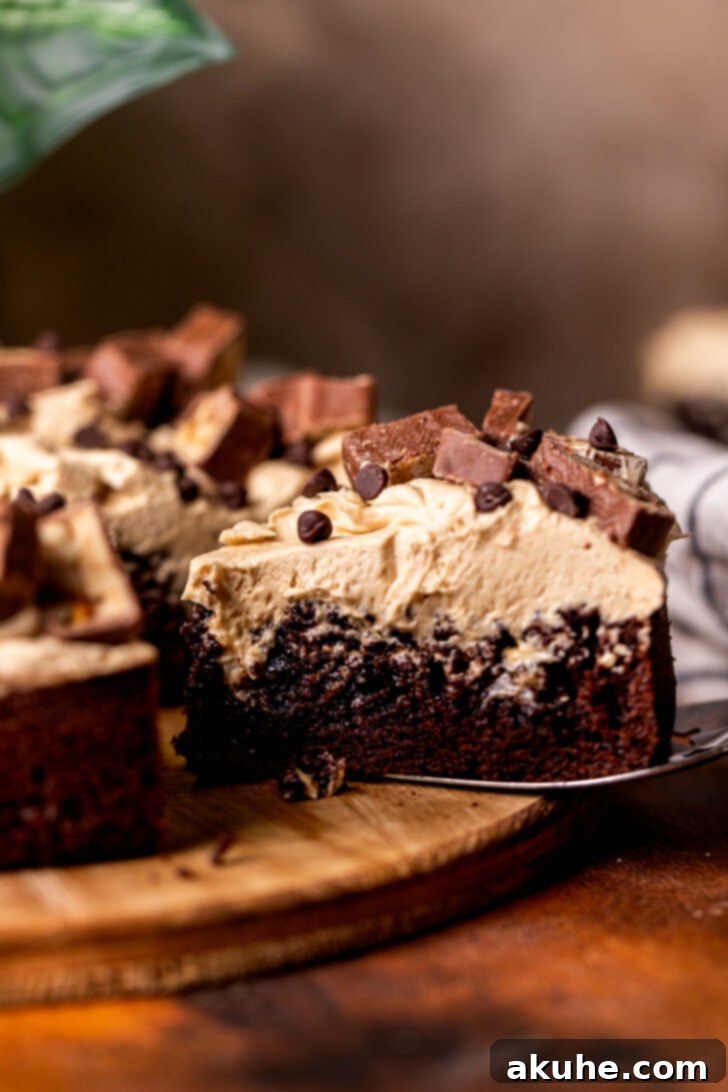
Our mission was to create a Snickers cake that delivers an intensely decadent experience without being overly complicated to assemble. The magic truly begins with the tender chocolate cake base, which serves as the perfect canvas for the luscious additions. What truly elevates this cake is the ingenious method of poking it with homemade caramel, allowing that golden liquid to seep into every crevice, ensuring a burst of gooey sweetness in each forkful. Paired with a dreamy peanut butter frosting that balances the richness, and of course, real Snickers pieces scattered on top, every single bite offers that classic combination of chocolate, caramel, and peanut butter that we all adore. Whether you’re a seasoned baker or new to the kitchen, our detailed tips, tricks, and process photos are here to guide you effortlessly through creating this spectacular dessert. If you’re passionate about Snickers-inspired treats, you’ll also love our Snickers Brownies for another delightful experience.
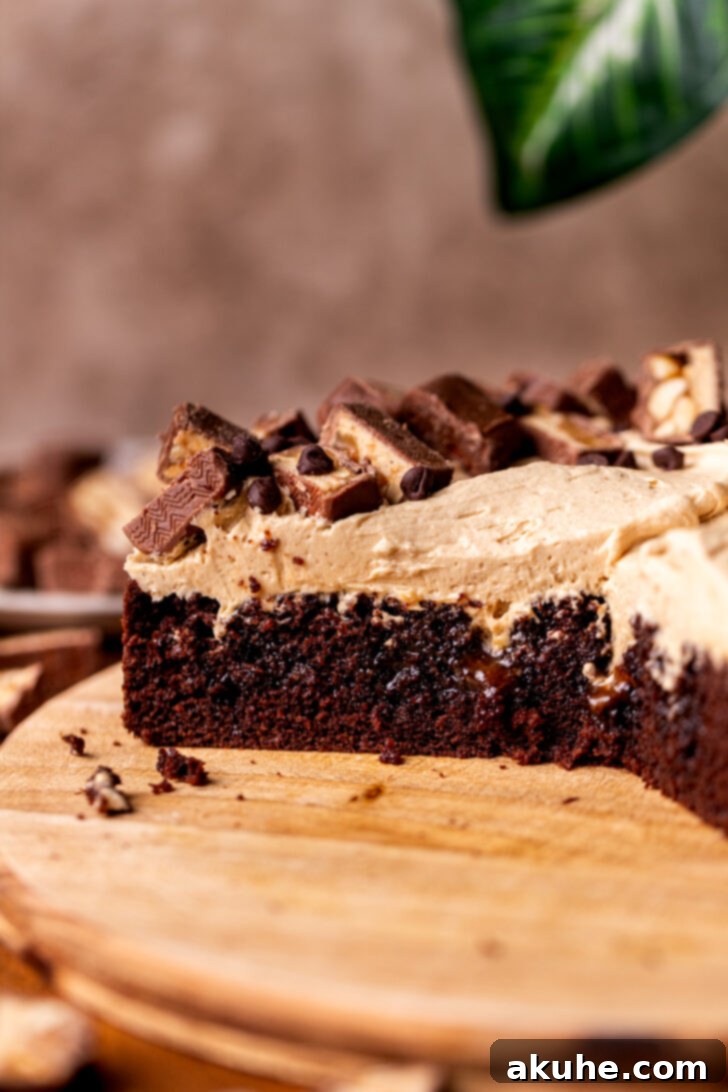
Why You’ll Fall in Love with This Snickers Cake
This Snickers cake isn’t just a dessert; it’s an experience. Here’s why it’s guaranteed to become a new favorite:
- Unmatched Flavor Profile: It perfectly replicates the beloved Snickers candy bar, combining rich chocolate, gooey caramel, and creamy peanut butter in cake form.
- Moist and Tender Texture: The chocolate cake base is incredibly soft and moist, thanks to the thoughtful combination of oil, buttermilk, and sour cream.
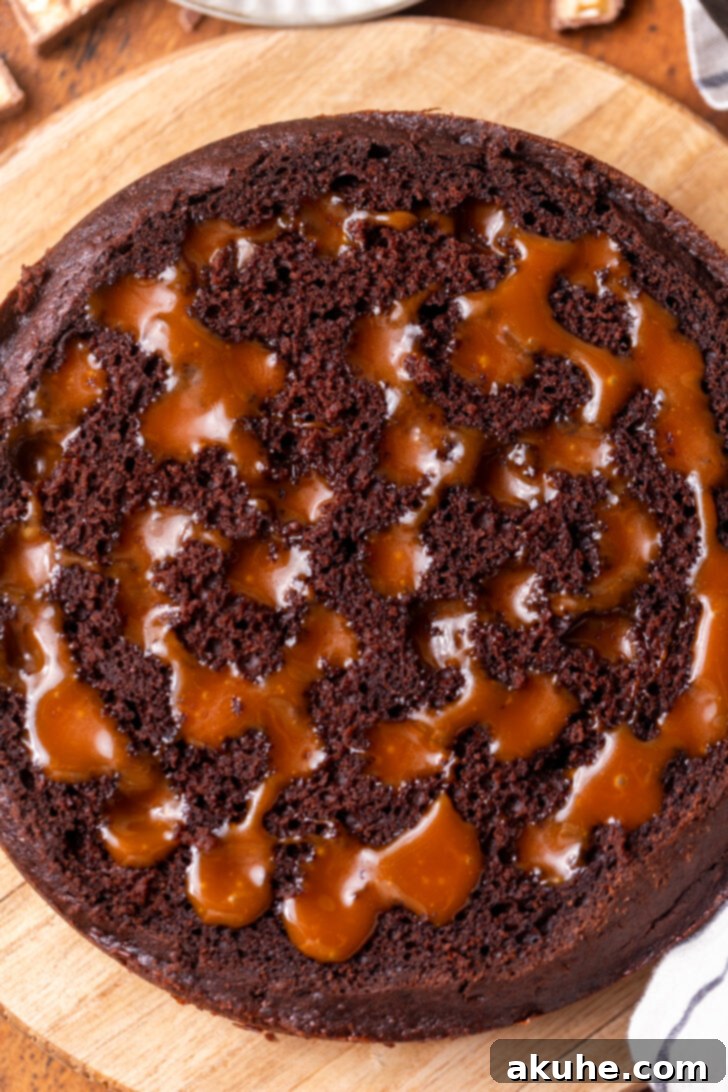
- Irresistible Caramel Pockets: Poking the warm caramel directly into the cake ensures every slice has pockets of delicious, sticky sweetness that truly sets this recipe apart.
- Simple Yet Impressive: While it looks like a masterpiece, we’ve broken down each step to make it achievable for home bakers of all skill levels.
- Crowd-Pleasing Decadence: It’s the ideal dessert for birthdays, holidays, or any occasion where you want to impress and delight your guests with something truly special.
Essential Tips for Baking Your Perfect Snickers Cake
Achieving a cake that’s as flawless and delicious as the one pictured requires attention to a few key details. Here are our top tips to ensure your Snickers cake turns out perfectly every time:
- Accurate Flour Measurement is Key: When measuring all-purpose flour, avoid scooping it directly from the bag with your measuring cup, as this can compact the flour and lead to a dry, dense cake. Instead, spoon the flour into your measuring cup and then level it off with a straight edge. For even greater precision, we highly recommend using a kitchen scale to measure by weight.
- Embrace Room Temperature Ingredients: For both your cake batter and frosting, ensuring dairy ingredients like eggs, buttermilk, sour cream, and butter are at room temperature is crucial. This allows them to emulsify better, creating a smoother, more uniform batter and a creamier, more consistent frosting. Plan ahead by taking them out of the refrigerator an hour or two before you begin baking.
- Caramel Ahead for Ease: Don’t feel pressured to make everything at once! The homemade salted caramel can be prepared up to two weeks in advance. Store it in an airtight container in the refrigerator and gently warm it before use to make it pourable. If you’re short on time, a high-quality store-bought caramel sauce can also be a convenient substitute, though homemade offers an unparalleled depth of flavor. For more detailed insights, refer to our comprehensive guide on homemade salted caramel.
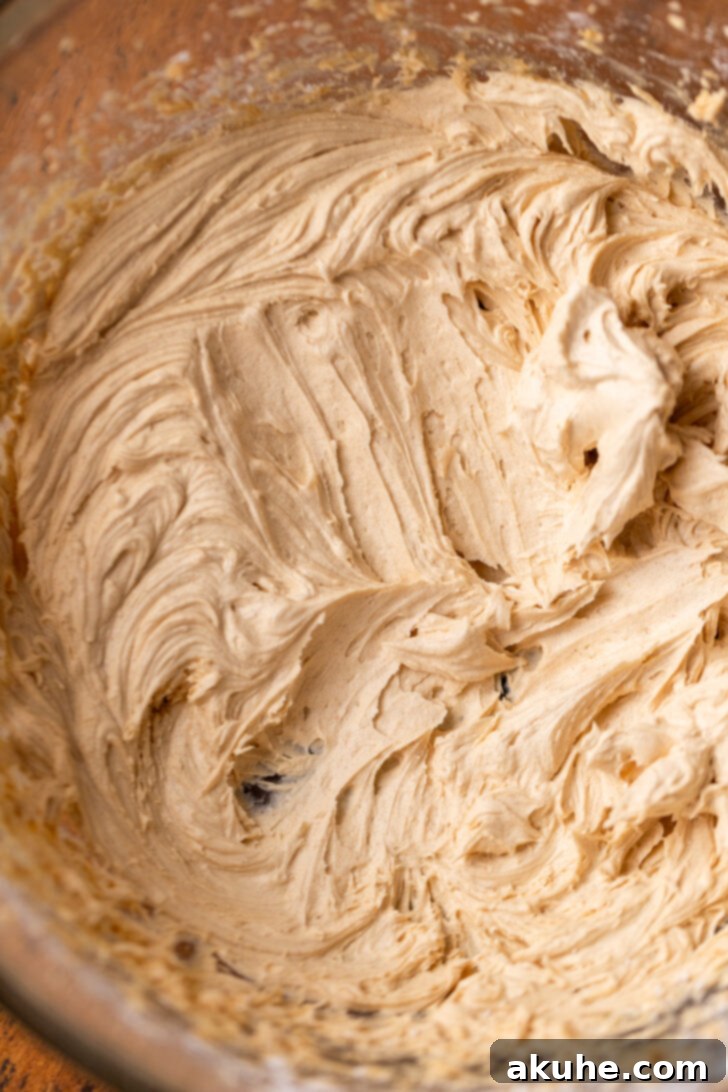
- Timing Your Peanut Butter Buttercream: Prepare your peanut butter buttercream frosting just before you plan to decorate the cake. This ensures it’s at the ideal consistency for spreading and piping. We found that a hand mixer often works better than a stand mixer for this particular frosting, providing more control over its texture and preventing it from becoming over-whipped.
- Don’t Overmix the Batter: Once you’ve combined the wet and dry ingredients for the chocolate cake, mix only until just combined and any flour lumps have disappeared. Overmixing develops the gluten in the flour, leading to a tough and rubbery cake texture. A few small lumps are perfectly fine.
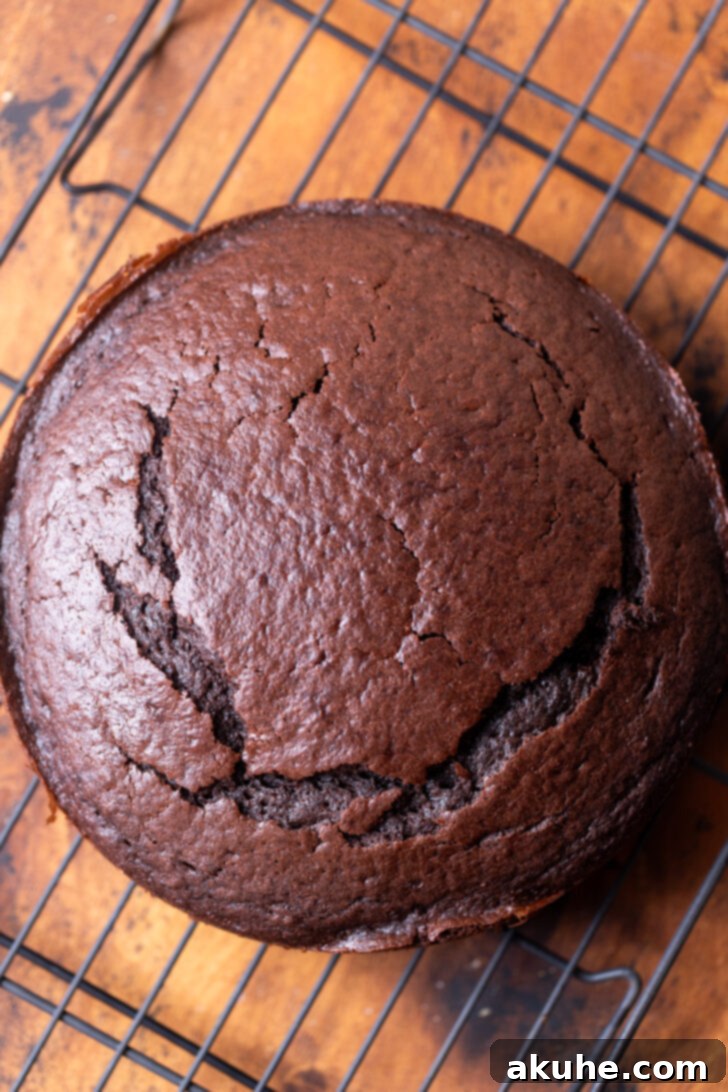
- Leveling Your Cake: For an even top layer for your frosting and toppings, use a serrated knife to carefully slice off any domed top from your cooled cake. This creates a flat surface that’s much easier to work with and gives your finished cake a professional appearance.
- Patience with Cooling: Resist the urge to decorate a warm cake. Ensure your cake layers are completely cooled before applying frosting or caramel. A warm cake will melt your frosting and make the caramel too runny, leading to a messy and disappointing result. Allow ample time for cooling, preferably on a wire rack.
Decorating Your Snickers Cake
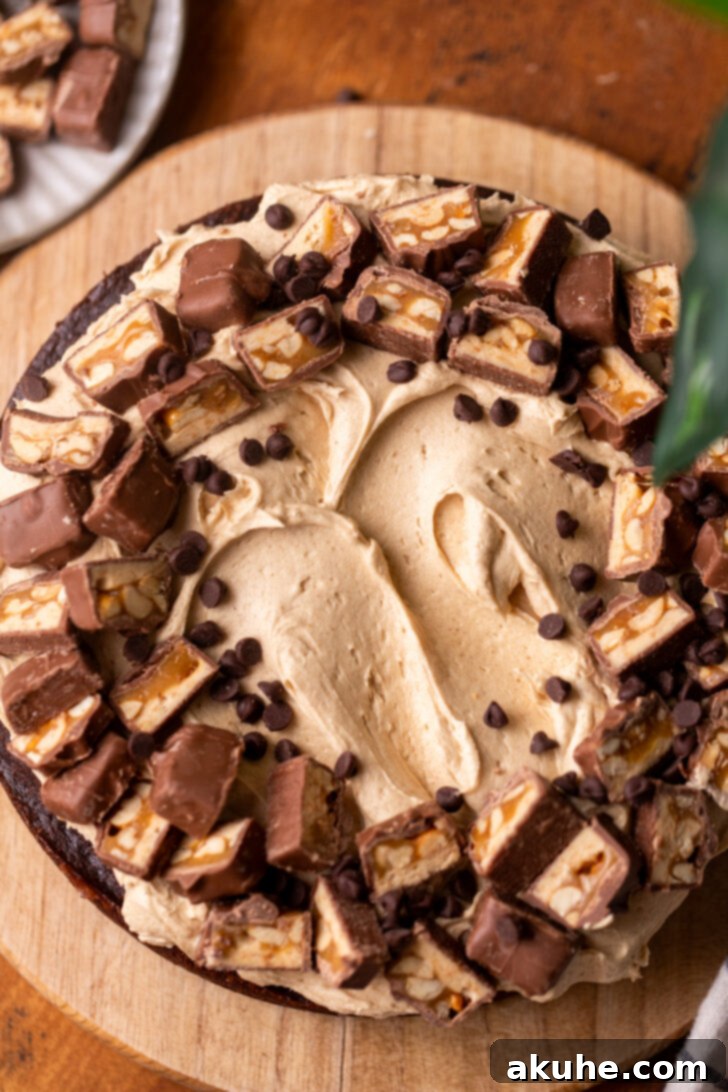
The final step is where your Snickers cake truly comes to life. Decorating is a fun and creative process that allows you to add your personal touch, turning a delicious cake into a visual feast. Here’s how to create that signature Snickers appeal:
If you have a passion for candy-inspired recipes and crave more delightful creations, be sure to explore our indulgent Snickers Cheesecake and the deliciously unique Butterfinger Cake. These recipes offer similar layers of flavor and texture that will satisfy any sweet craving.
We truly hope you enjoy baking and devouring this spectacular Snickers cake! If you loved this recipe, please consider leaving a star review below to let us know. Your feedback is incredibly valuable! Don’t forget to share your creations with us on Instagram by tagging @stephaniesweettreats. For more delicious inspiration and baking ideas, make sure to follow us on Pinterest.
The Ultimate Snickers Cake Recipe
Snickers Cake
Print Recipe
Pin Recipe
Leave a Review
Ingredients
Chocolate Cake
- 1 cup All-purpose flour
- 1/2 cup Dutch process cocoa powder
- 1 tsp Baking powder
- 1/2 tsp Baking soda
- 1/2 tsp Salt
- 1/2 cup Oil, canola or vegetable
- 3/4 cup White granulated sugar
- 1 tsp Pure vanilla extract
- 2 Large eggs, room temperature
- 1/4 cup Sour cream, room temperature or greek yogurt
- 1/2 cup Buttermilk, room temperature
- 1/2 cup Hot water
Salted Caramel
- 1 cup White granulated sugar
- 4 TBSP Unsalted butter, room temperature
- 1/2 cup Heavy cream, room temperature
- 1/2 tsp Salt
- 1 tsp Pure vanilla extract
Peanut Butter Frosting
- 1/2 cup Unsalted butter, room temperature
- 1/2 cup Peanut butter, creamy
- 1 cup Powdered sugar, sifted
- 1 tsp Pure vanilla extract
- 1 TBSP Heavy cream
- Fun size Snickers, for decorating
Instructions
Chocolate Cake
- Preheat your oven to 350°F (175°C). Prepare one 8-inch cake pan by spraying it thoroughly with nonstick baking spray. Line the bottom of the pan with a parchment paper circle, then spray again to ensure easy release.
- In a large mixing bowl, sift together the all-purpose flour, Dutch process cocoa powder, baking soda, baking powder, and salt. Whisk these dry ingredients until they are well combined and no lumps remain.
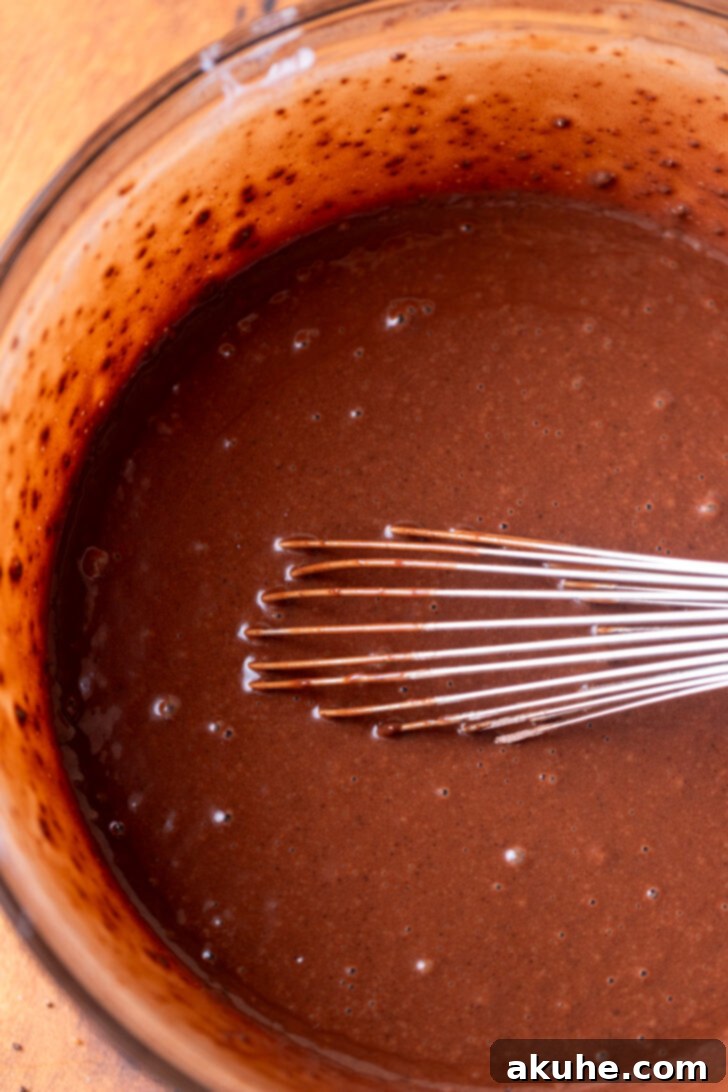
- In a separate, medium-sized bowl, combine the oil, white granulated sugar, pure vanilla extract, large eggs, sour cream, and buttermilk. Mix until smooth. Gently heat the water on the stove until it’s steamy but not boiling. Slowly pour the hot water into the wet ingredient mixture while whisking. Finally, pour the wet ingredients into the dry ingredients and whisk until just combined. The batter will be quite runny, which is expected for a moist cake.
- Carefully pour the cake batter into your prepared 8-inch cake pan. Bake for 38-43 minutes, or until a wooden skewer or toothpick inserted into the center comes out clean with no wet batter attached.
- Once baked, let the cake cool in the pan for about 10 minutes. Then, invert it onto a wire rack to cool completely. Ensure the cake is fully cooled before proceeding with decorating.
Salted Caramel
- In a medium, heavy-bottomed saucepan over medium heat, melt the white granulated sugar. Allow the sugar to sit untouched until it begins to melt around the edges. Once melting starts, use a metal whisk to gently stir and dissolve all sugar crystals. Continue cooking, stirring occasionally, until the caramel turns a rich amber color. This process requires close attention; avoid overcooking to prevent bitterness. Immediately remove the saucepan from the heat.
- Carefully add half of the room temperature unsalted butter to the hot caramel, mixing vigorously. Be cautious as the mixture will bubble and steam intensely. Once the first half of the butter is incorporated, add the remaining butter and mix until smooth. Next, gradually pour in half of the room temperature heavy cream, stirring constantly, then add the rest. Finally, stir in the pure vanilla extract and salt.
- Pour the finished salted caramel into a heatproof glass measuring cup or jar. Let it cool completely to room temperature before using it for the cake. As it cools, it will thicken significantly.
Peanut Butter Frosting & Assembly
- Sift the powdered sugar into a medium bowl to remove any lumps, ensuring a smooth frosting.
- In a large mixing bowl, using an electric mixer (handheld or stand mixer), beat the room temperature unsalted butter and creamy peanut butter on high speed for about 2 minutes. Continue beating until the mixture is light, creamy, and completely smooth with no butter chunks visible.
- Gradually add the sifted powdered sugar to the butter and peanut butter mixture, mixing on low speed until just combined. The frosting will be very thick at this stage. Incorporate the pure vanilla extract and heavy cream, then increase the mixer speed and beat until the frosting is creamy, light, and fluffy. Set aside.
- Once your chocolate cake is completely cooled, use a serrated knife to carefully level the top, creating a flat surface. Using the blunt end of a wooden spoon or a similar round object, poke holes evenly across the entire top surface of the cake. Ensure these holes go down about two-thirds of the way into the cake without going through the bottom.
- Transfer your cooled salted caramel into a piping bag fitted with a round tip (or simply snip off the corner of the bag). Pipe the caramel generously into each of the holes you created in the cake, allowing it to soak in.
- Spread the prepared peanut butter frosting evenly over the top of the caramel-poked cake. For the ultimate Snickers experience, generously top the frosted cake with chopped fun-size Snickers candy bars. You can also add a sprinkle of mini chocolate chips for extra texture and visual appeal. Slice and serve!
Notes
High-altitude baking: For those baking at higher altitudes, consider adding an extra 1 tablespoon of all-purpose flour to the cake batter to help with structure.
Caramel prep: The homemade salted caramel can be made up to two weeks in advance and stored in the refrigerator in an airtight container. Gently rewarm it before use.
Nutrition Information (per slice)
Carbohydrates: 40g,
Protein: 4g,
Fat: 24g,
Saturated Fat: 9g,
Polyunsaturated Fat: 4g,
Monounsaturated Fat: 10g,
Trans Fat: 0.4g,
Cholesterol: 35mg,
Sodium: 254mg,
Potassium: 121mg,
Fiber: 2g,
Sugar: 24g,
Vitamin A: 423IU,
Vitamin C: 0.1mg,
Calcium: 44mg,
Iron: 1mg
Did you make this recipe?
Please leave a star rating and review below!
