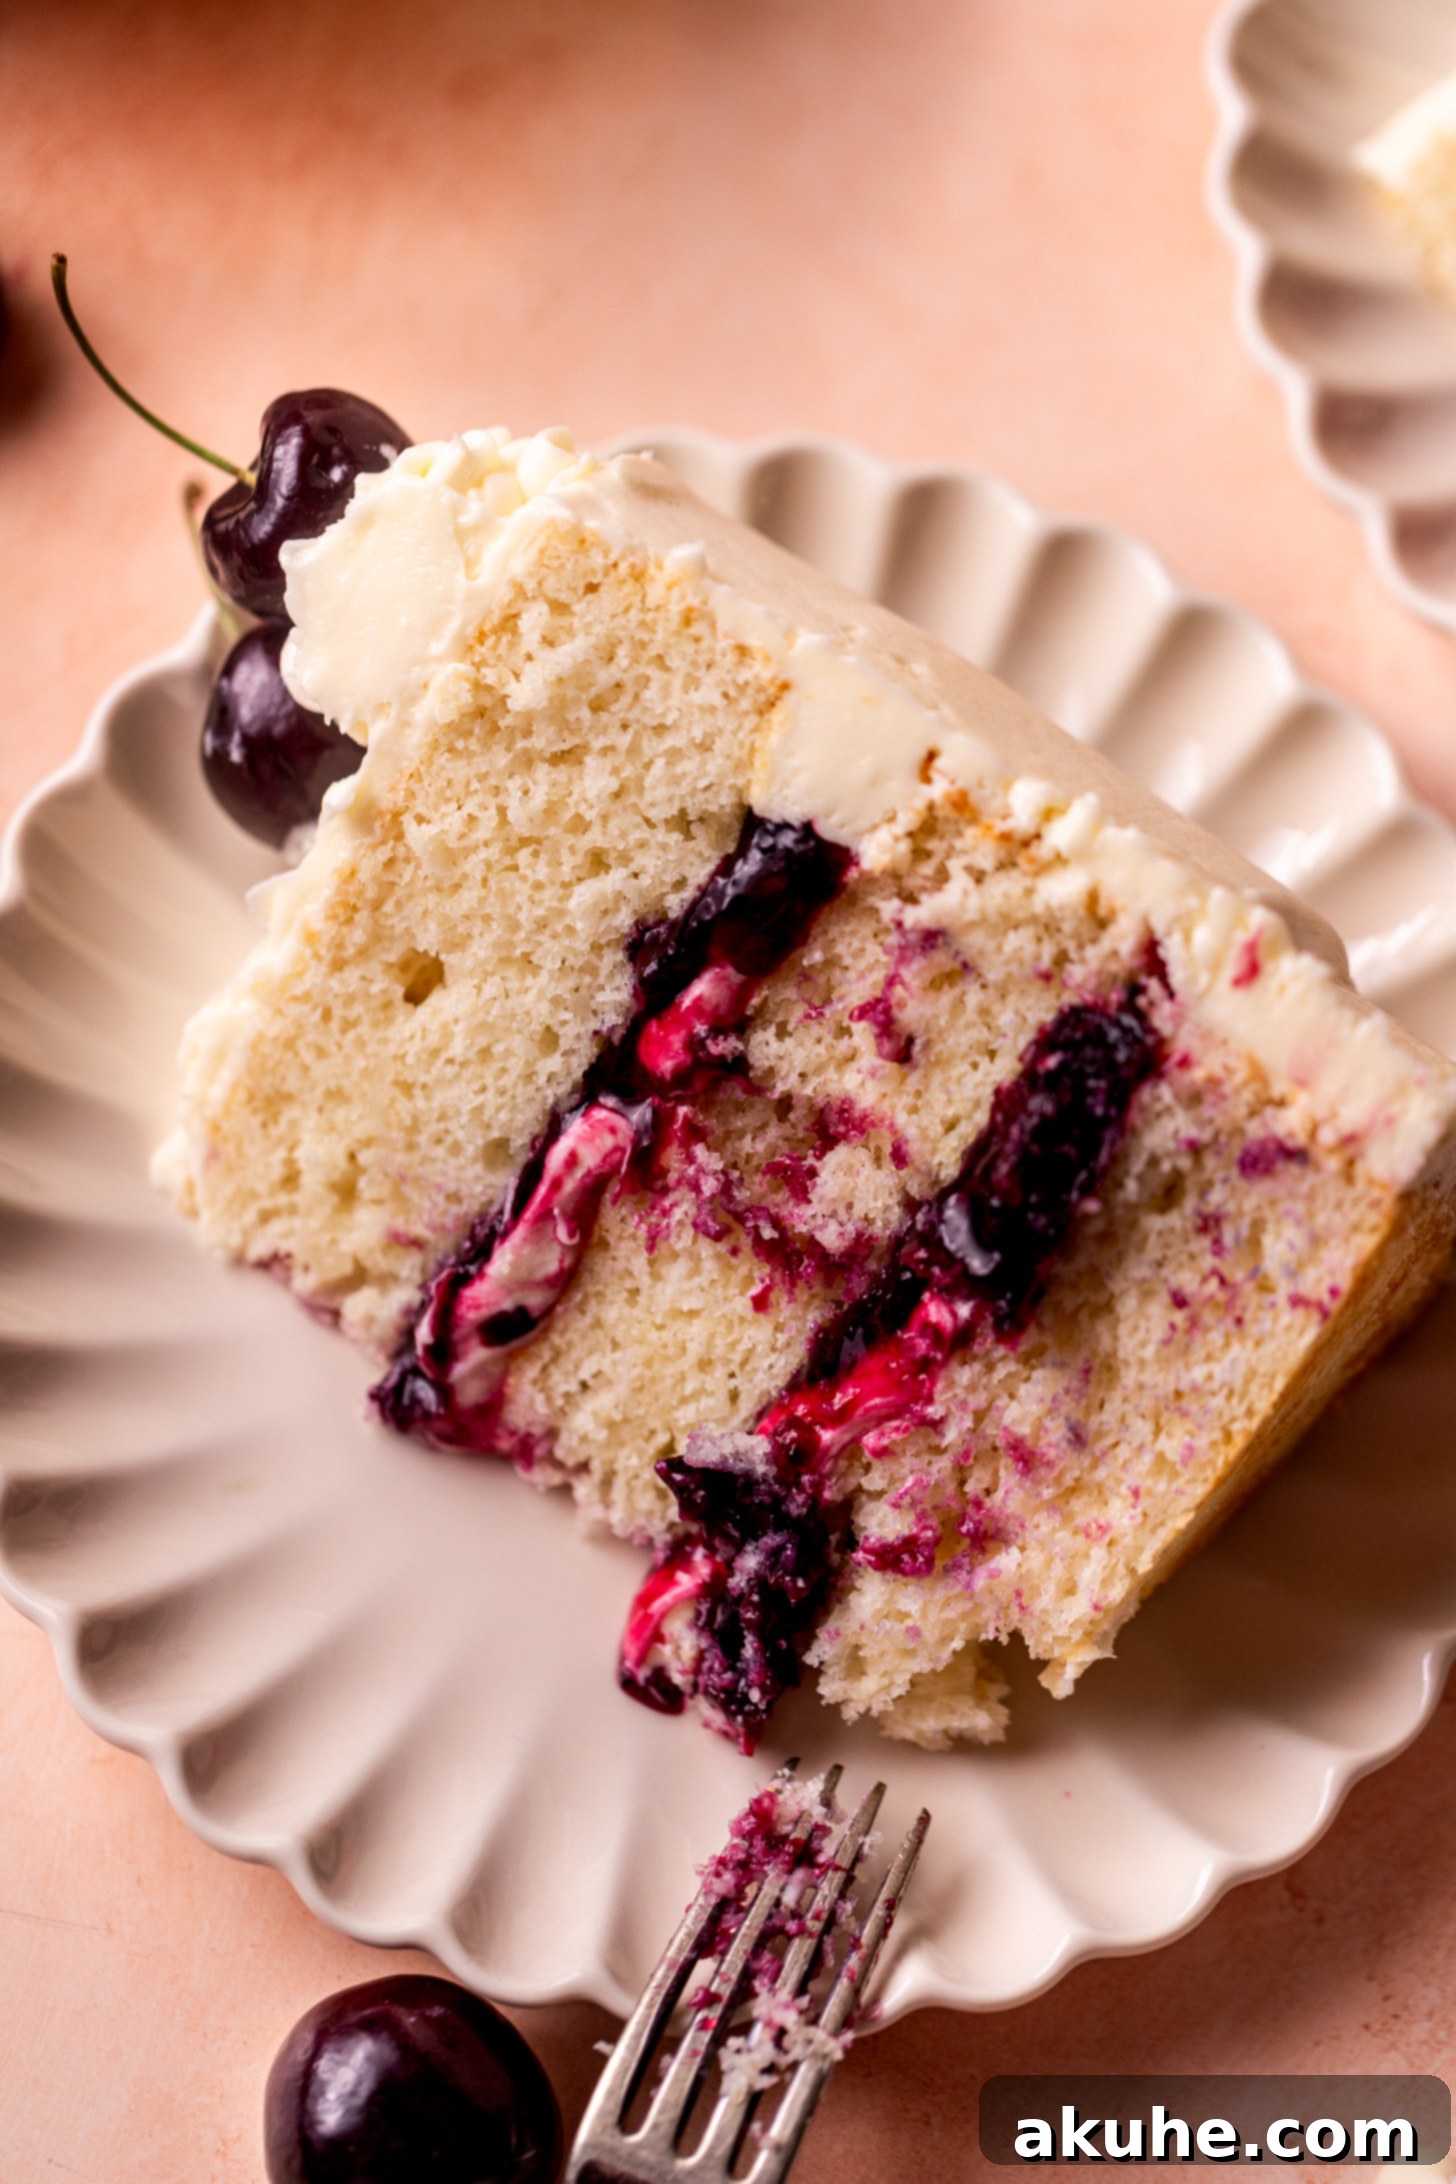
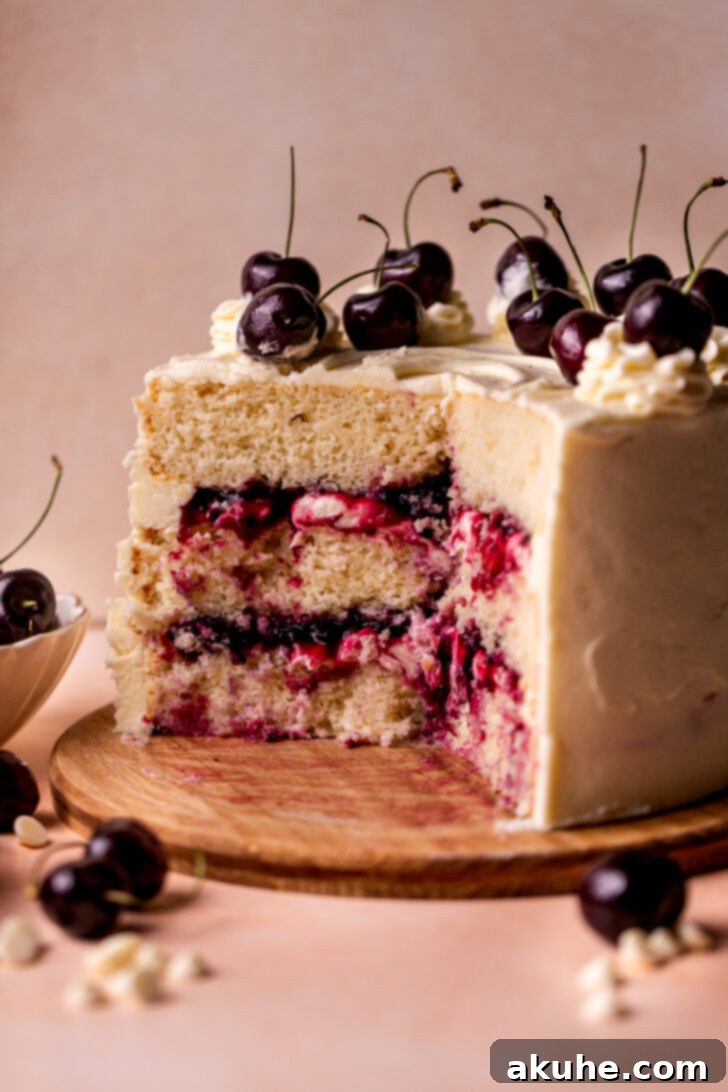
Welcome to the enchanting world of White Forest Cake, a delightful and elegant variation of the classic Black Forest dessert. This stunning creation features three layers of incredibly fluffy white cake, generously filled with a luscious cherry pie filling, and crowned with a rich, velvety white chocolate cream cheese frosting. It’s a sophisticated twist that swaps the traditional dark chocolate and whipped cream for a lighter, brighter aesthetic and an equally irresistible flavor profile. If you adore the pairing of sweet cherries and decadent chocolate but prefer the subtle notes of white chocolate, this recipe is crafted just for you.
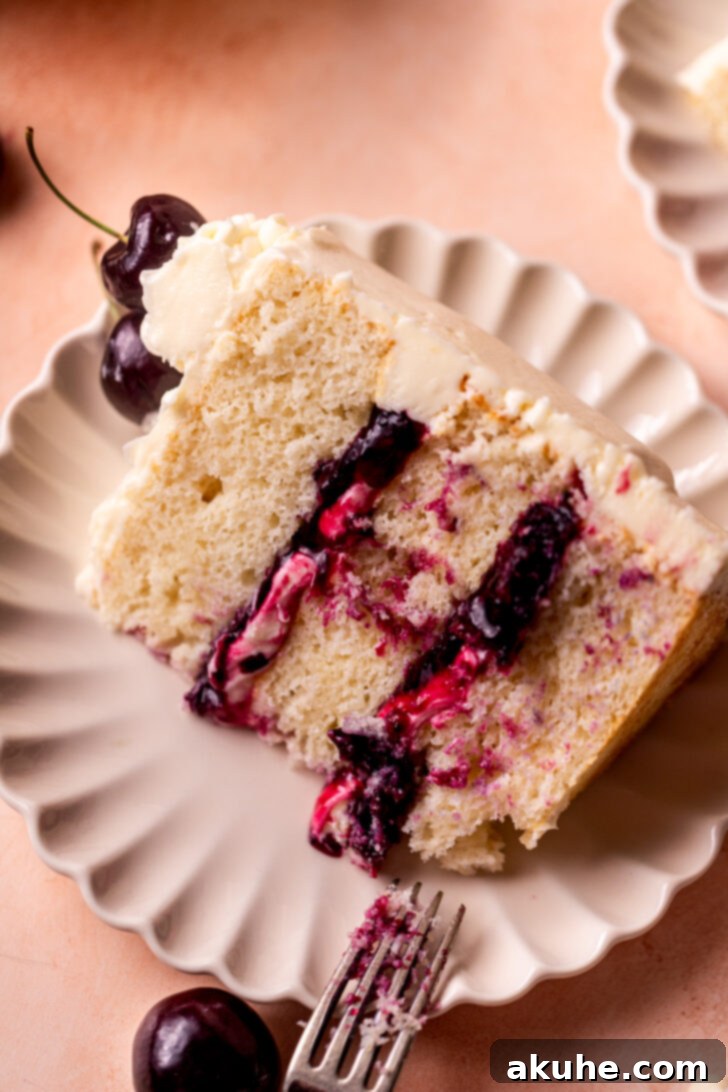
A White Forest Cake is essentially the exquisite white chocolate counterpart to the renowned Black Forest Cake. Instead of a rich chocolate sponge, it boasts a tender white cake. While a traditional Black Forest often relies on a light whipped cream, our recipe elevates the experience with a luxurious white chocolate cream cheese frosting that is both easy to make and utterly divine. This frosting not only delivers incredible flavor but also provides a stable and beautiful canvas for decorating your masterpiece. Whether you’re a seasoned baker or new to the kitchen, our detailed tips, tricks, and process photos will guide you every step of the way to create a bakery-quality cake right at home. If you’re a fan of the classic Black Forest flavors, you might also love our Black Forest Cupcakes, which offer a delightful individual portion of this beloved flavor combination.
Unlocking Perfection: Expert Tips for Baking Your White Forest Cake
Achieving a show-stopping White Forest Cake requires attention to detail. These expert tips, compiled from years of baking experience, are designed to ensure your cake turns out flawlessly, moist, and utterly delicious. For even more insights into creating the perfect cherry components, be sure to explore our dedicated guide on Cherry Pie Filling!
- Precision in Flour Measurement: The Key to a Tender Crumb. When measuring flour, always use the ‘spoon and level’ method. This means gently spooning the flour into your measuring cup until it overflows, then leveling it off with a straight edge (like the back of a knife). Dipping your measuring cup directly into the flour can compact it significantly, leading to an excess of flour in your recipe. Too much flour results in a dense, dry cake rather than the light, airy texture we’re aiming for. For the absolute most tender and delicate crumb, we highly recommend using cake flour. Its lower protein content produces a softer texture. However, if all-purpose flour is all you have, don’t worry; your cake will still be delicious, just slightly less delicate.
- High-Altitude Baking Adjustments: Adapting for Success. For bakers living at higher altitudes, slight modifications are often necessary to prevent cakes from collapsing or drying out. In this recipe, adding an extra 3 tablespoons of flour can help stabilize the cake structure, compensating for the lower atmospheric pressure and ensuring your layers bake beautifully without sinking in the center.
- Embrace the Egg Whites for a Pure White Hue. This recipe intentionally uses only egg whites to achieve that pristine, snowy-white cake color, a hallmark of the White Forest Cake. Egg yolks would add a yellow tint, which we want to avoid for the aesthetic. Don’t let those leftover egg yolks go to waste! They are perfect for making a rich and tangy treat like Easy Lemon Curd or a luxurious custard.
- Strategic Prep for Time Efficiency. To streamline your baking process, consider making the cherry pie filling a day or even several days ahead of time. It stores wonderfully in the refrigerator and allows flavors to meld beautifully. However, the white chocolate cream cheese frosting is best made fresh, right before you plan to assemble the cake. This ensures it has the optimal creamy texture and consistency for spreading and piping.
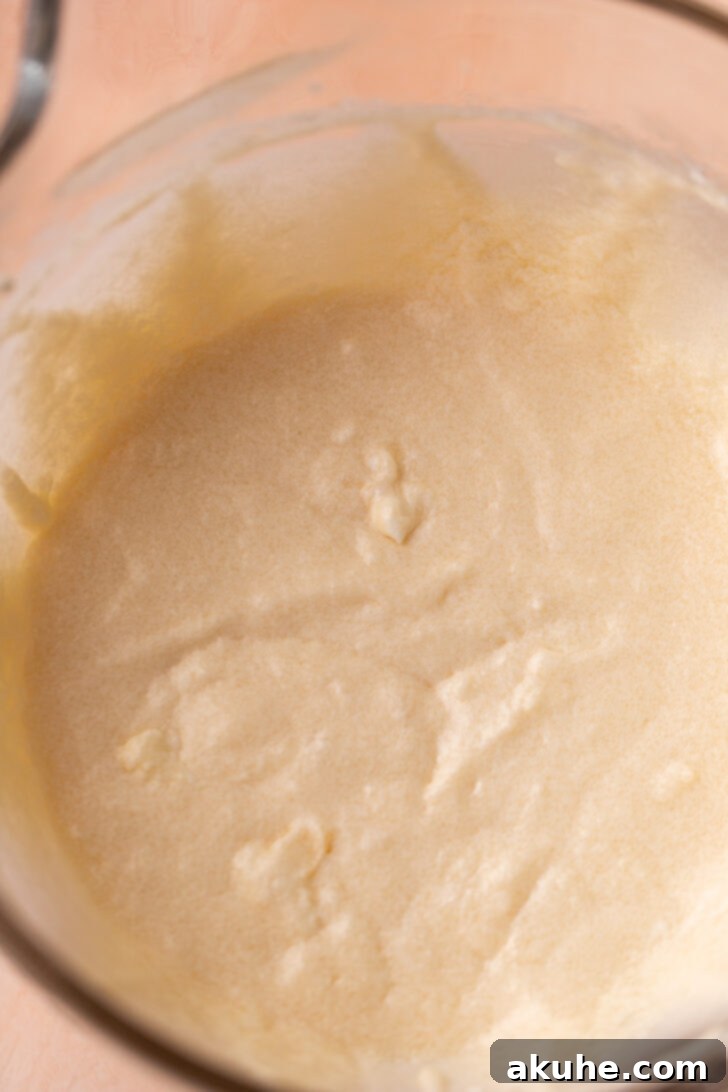
- Temperature Harmony for Silky Frosting. The temperature of your butter and cream cheese for the frosting is paramount. Both ingredients must be at true room temperature – soft enough to easily dent with a finger but not melted or greasy. If one ingredient is significantly colder than the other, it can cause the frosting to “split” or become lumpy and grainy, making it difficult to achieve that smooth, silky texture required for a perfect finish.
- Don’t Overmix the Batter: A Common Pitfall. Once you add the dry ingredients to the wet, mix only until just combined. Overmixing develops the gluten in the flour, which can lead to a tough and chewy cake rather than a tender one. A few lumps are perfectly acceptable and will usually bake out.
- Cooling is Crucial: Patience Pays Off. Ensure your cake layers are completely cooled before attempting to frost them. Frosting warm cakes will cause the frosting to melt and slide off, leading to a messy and unstable cake. Allow the layers to cool on a wire rack for at least an hour or two, or even longer if your kitchen is warm.
Assembling Your White Forest Masterpiece
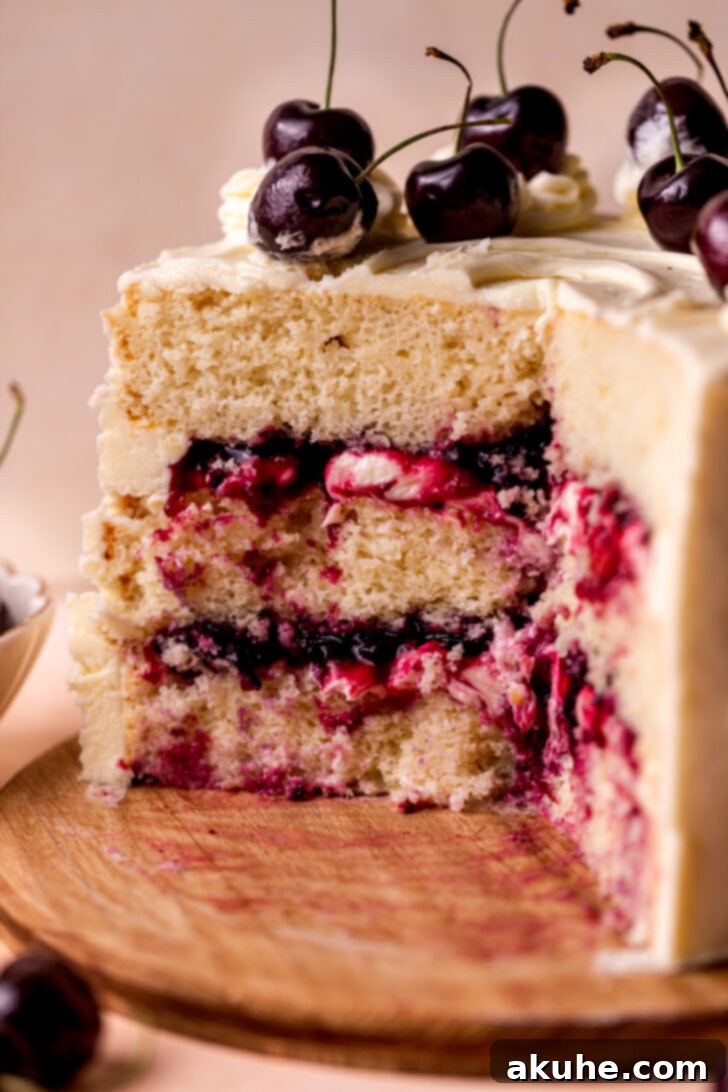
Once your cake layers are perfectly baked and cooled, your cherry filling is set, and your white chocolate frosting is whipped to perfection, it’s time for the truly fun part: assembly! This is where your individual layers come together to form a beautiful and delicious cake. Follow these steps for a professional-looking finish.
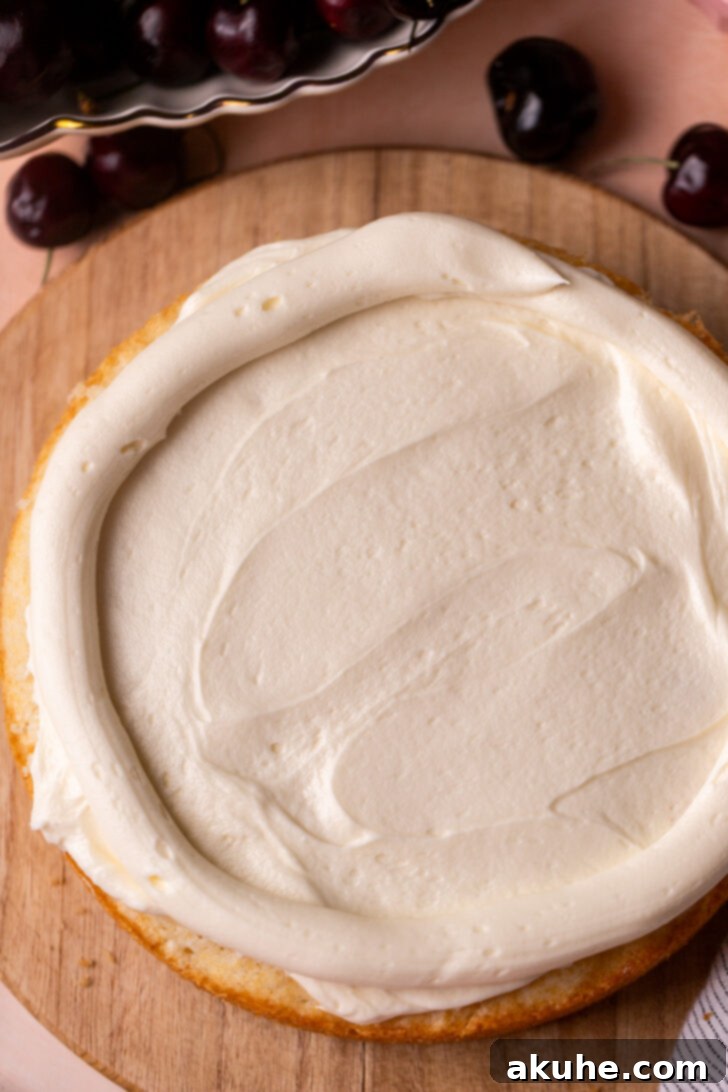
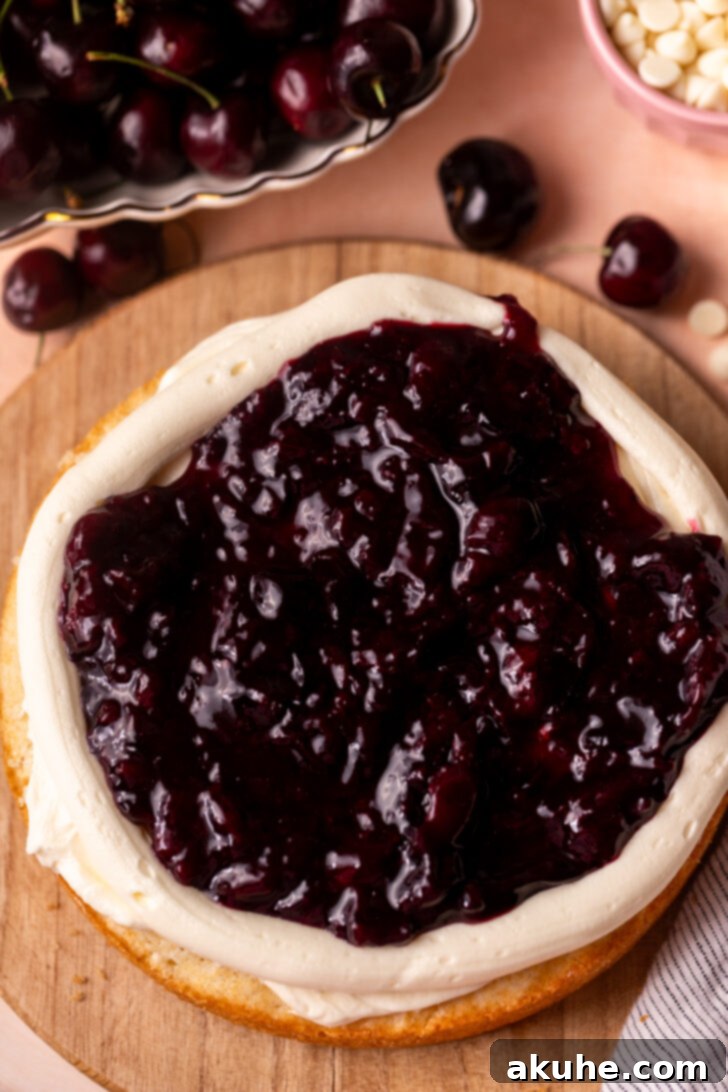
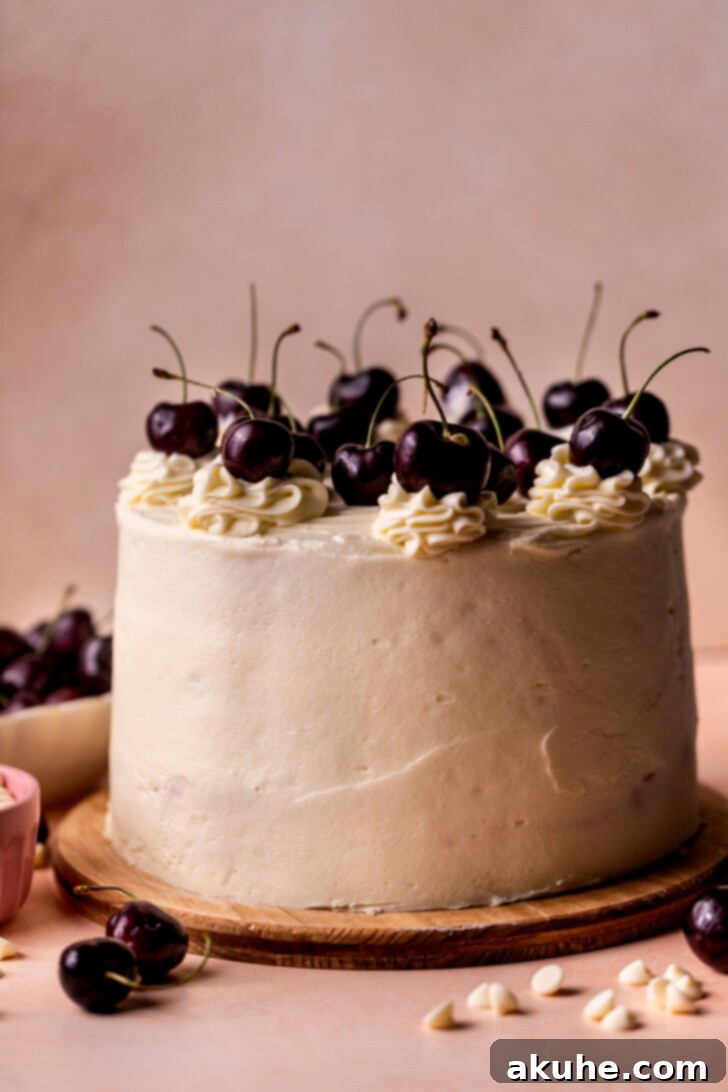
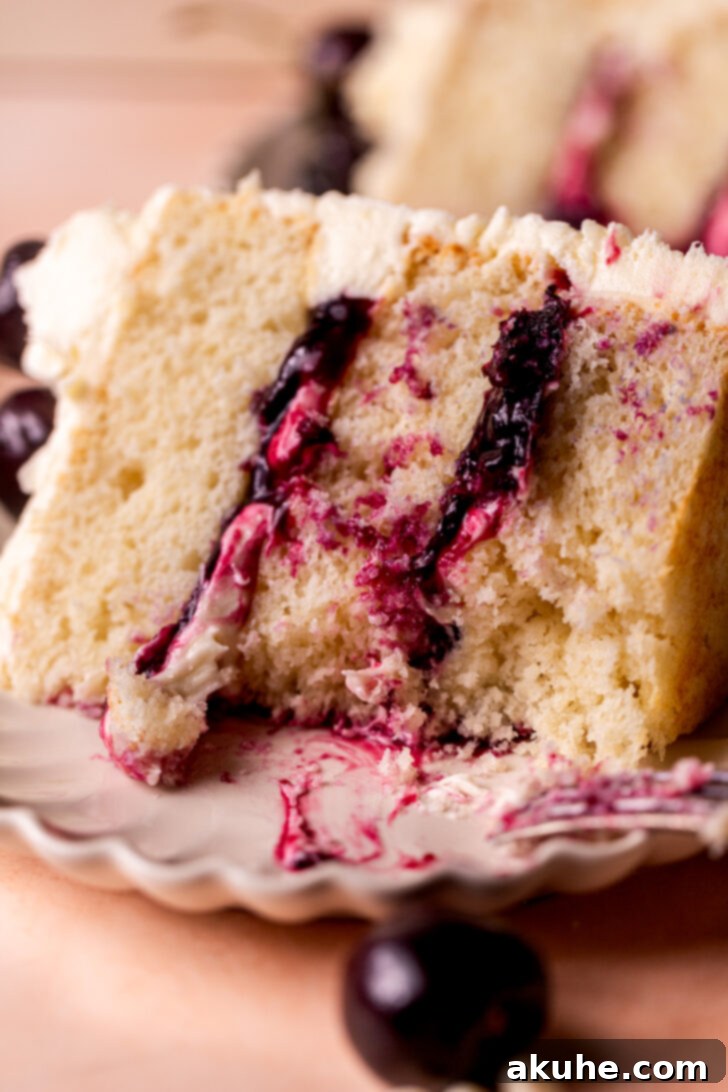
This White Forest Cake is more than just a dessert; it’s an experience. The delicate balance of the fluffy white cake, the sweet-tart burst of cherry, and the rich, creamy white chocolate frosting creates a symphony of flavors and textures that is truly unforgettable. It’s perfect for celebrations, holidays, or simply as a special treat to brighten any day. The visual appeal of the pristine white layers contrasted with the vibrant red cherry filling makes it a stunning centerpiece on any dessert table.
If your heart craves more delightful cherry-infused recipes, be sure to explore our tempting Cherry Brownies and our irresistibly smooth Cherry Cheesecake. These recipes showcase the incredible versatility of cherries in various dessert forms.
Did you create this stunning White Forest Cake? We’d love to hear about your experience! Please take a moment to leave astar review and share your thoughts. Don’t forget to tag us on Instagram @stephaniesweettreats so we can admire your beautiful creations! For an endless stream of baking inspiration and delicious ideas, make sure to follow us on Pinterest.
Recipe Video: Watch the White Forest Cake Come to Life!
Visual learners, rejoice! Below, you’ll find a comprehensive step-by-step video that guides you through the entire process of making this magnificent White Forest Cake. From preparing the fluffy white layers to crafting the perfect cherry filling and achieving that silky white chocolate frosting, this video will ensure your baking journey is smooth and successful.
White Forest Cake
Print Recipe
Pin Recipe
Leave a Review
Ingredients
White Cake
- 3 1/2 cups Cake flour
- 2 tsp Baking powder
- 1 tsp Baking soda
- 1 tsp Salt
- 3/4 cup Unsalted butter, room temperature
- 1/4 cup Oil, canola or vegetable oil
- 1 1/2 cups White granulated sugar
- 3/4 cup Sour cream, room temperature
- 1 TBSP Pure vanilla extract
- 5 Egg whites, room temperature
- 1 cup Buttermilk, room temperature
Cherry Filling
- 1 lb Cherries, fresh or frozen
- 1/2 cup White granulated sugar
- 1 TBSP Cornstarch
- 1 TBSP Water
- 1/4 tsp Almond extract
White Chocolate Frosting
- 2 cups Unsalted butter, room temperature
- 8 oz Cream cheese, room temperature
- 8 oz White chocolate bars, 2 bars Lindt chocolate recommended
- 5 cups Powdered sugar, sifted
- 1 tsp Pure vanilla extract
Instructions
White Cake
- Preheat your oven to 350°F (175°C). Prepare three 8-inch round cake pans by spraying them generously with a nonstick baking spray. Line the bottoms of each pan with an 8-inch parchment paper circle, then spray the parchment paper again. This ensures easy release of your delicate cake layers.
- In a medium-sized bowl, sift the cake flour to remove any lumps and aerate it. Add the baking powder, baking soda, and salt to the sifted flour and whisk them together until thoroughly combined. Set this dry mixture aside.3 1/2 cups Cake flour, 2 tsp Baking powder, 1 tsp Baking soda, 1 tsp Salt
- Using an electric mixer, cream together the room-temperature unsalted butter, oil, and white granulated sugar on high speed for approximately 2 minutes. Continue beating until the mixture becomes visibly pale and fluffy, indicating it’s well aerated.3/4 cup Unsalted butter, 1/4 cup Oil, 1 1/2 cups White granulated sugar
- Reduce the mixer speed to medium. Incorporate the room-temperature sour cream, pure vanilla extract, and egg whites. Mix until all ingredients are just combined, being careful not to overmix.3/4 cup Sour cream, 5 Egg whites, 1 TBSP Pure vanilla extract
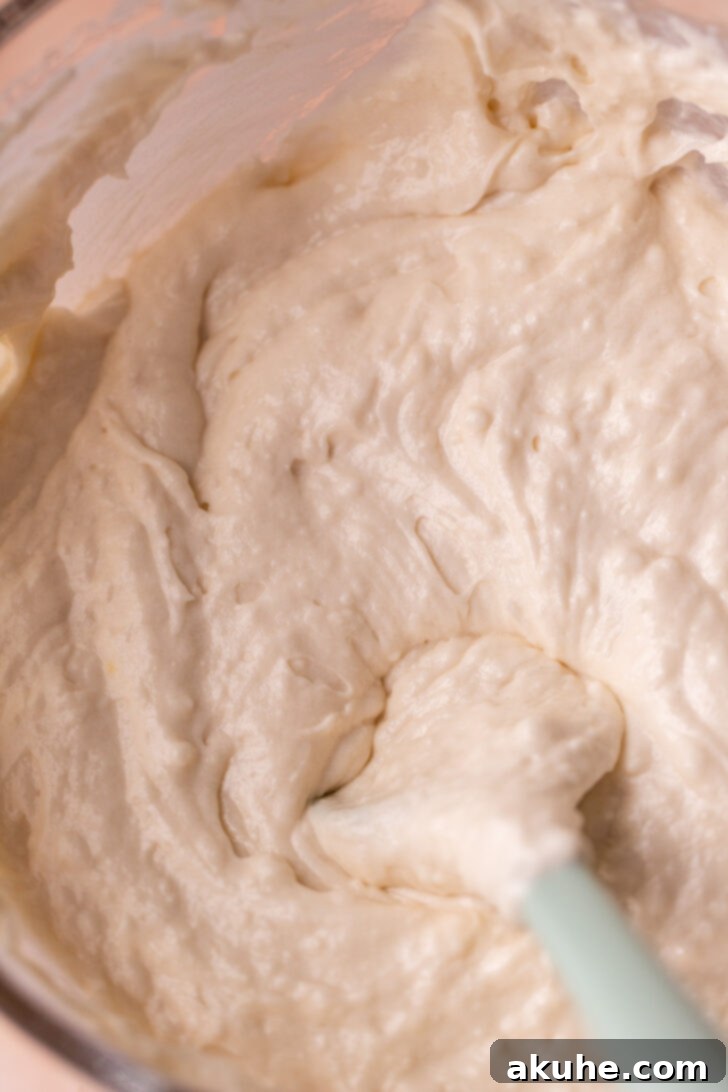
- Gradually add the reserved dry ingredients alternately with the room-temperature buttermilk, beginning and ending with the dry mixture. Mix on low speed until just combined. The batter should be smooth but avoid overmixing to keep the cake tender.1 cup Buttermilk
- Remove the bowl from the mixer and use a rubber spatula to scrape down the sides and bottom of the bowl, ensuring everything is thoroughly incorporated. Divide the cake batter evenly among the three prepared cake pans.
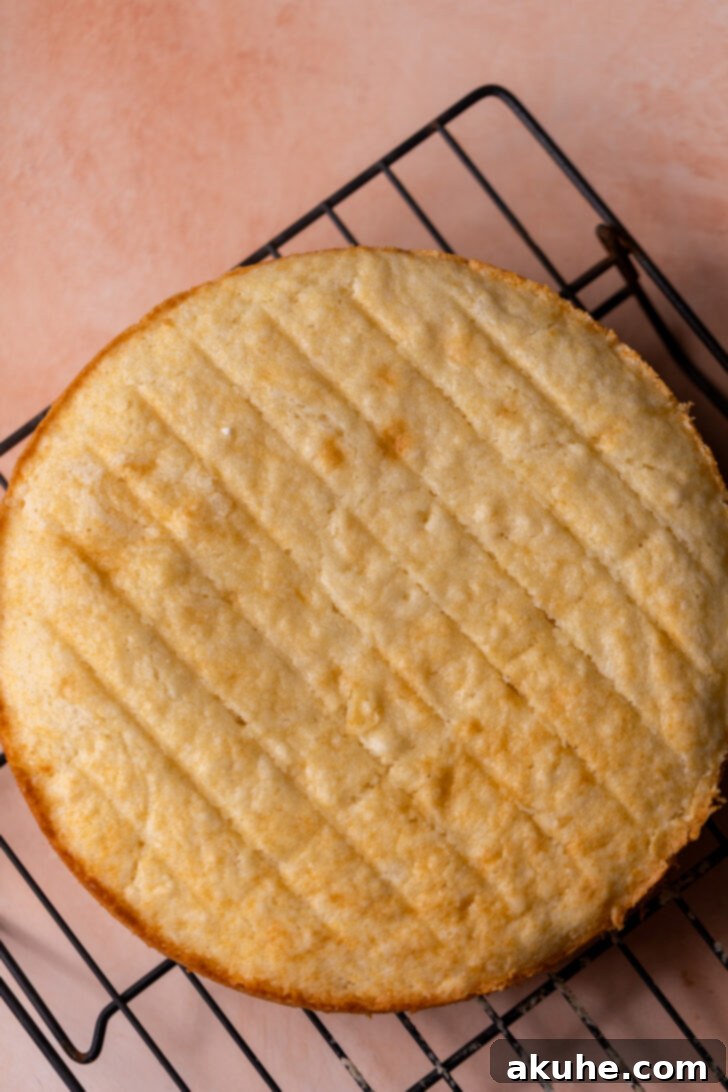
- Bake for 22-25 minutes, or until a wooden toothpick inserted into the center of a cake layer comes out clean, with no wet batter attached.
- Allow the cakes to cool in their hot pans for 10 minutes. Then, carefully invert them onto a wire cooling rack and let them cool completely before handling or frosting. This prevents the delicate cake from tearing.
Cherry Filling
- If using fresh cherries, ensure they are thoroughly pitted. In a medium saucepan over medium heat, combine the cherries, white granulated sugar, cornstarch (mixed with 1 TBSP water to create a slurry), and almond extract.1 lb Cherries, 1/2 cup White granulated sugar, 1 TBSP Cornstarch, 1 TBSP Water, 1/4 tsp Almond extract
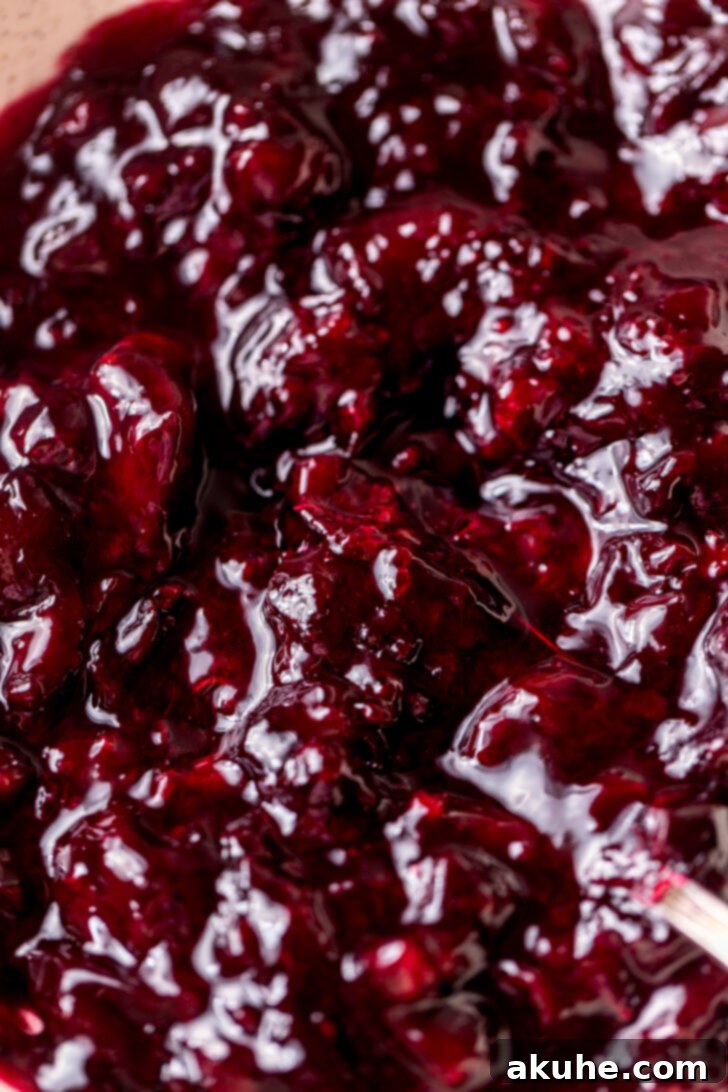
- Continue heating on medium heat, stirring frequently, until the cherries begin to release their juices and soften. Once softened, use a potato masher or a fork to gently mash some of the cherries, leaving some pieces intact for texture. Continue to heat and stir until the filling thickens to a consistency similar to pie filling. This process typically takes about 10 minutes and will yield approximately 1 1/2 cups of filling.
- Transfer the cherry filling to a bowl and allow it to cool completely to room temperature before using. You can make this ahead of time and store it in the refrigerator for up to a week.
White Chocolate Frosting
- Sift the powdered sugar into a large bowl and set aside. Place the white chocolate bars, broken into pieces, into a microwave-safe bowl. Heat in 20-second intervals, stirring thoroughly after each interval, until the white chocolate is fully melted and smooth. Let it cool slightly but remain fluid.8 oz White chocolate bars, 5 cups Powdered sugar
- Using an electric mixer, beat the room-temperature unsalted butter on high speed for 2 minutes until it becomes pale and fluffy. Add the room-temperature cream cheese and beat for another minute until fully incorporated and smooth. Scrape down the bowl as needed to ensure no lumps remain.2 cups Unsalted butter, 8 oz Cream cheese
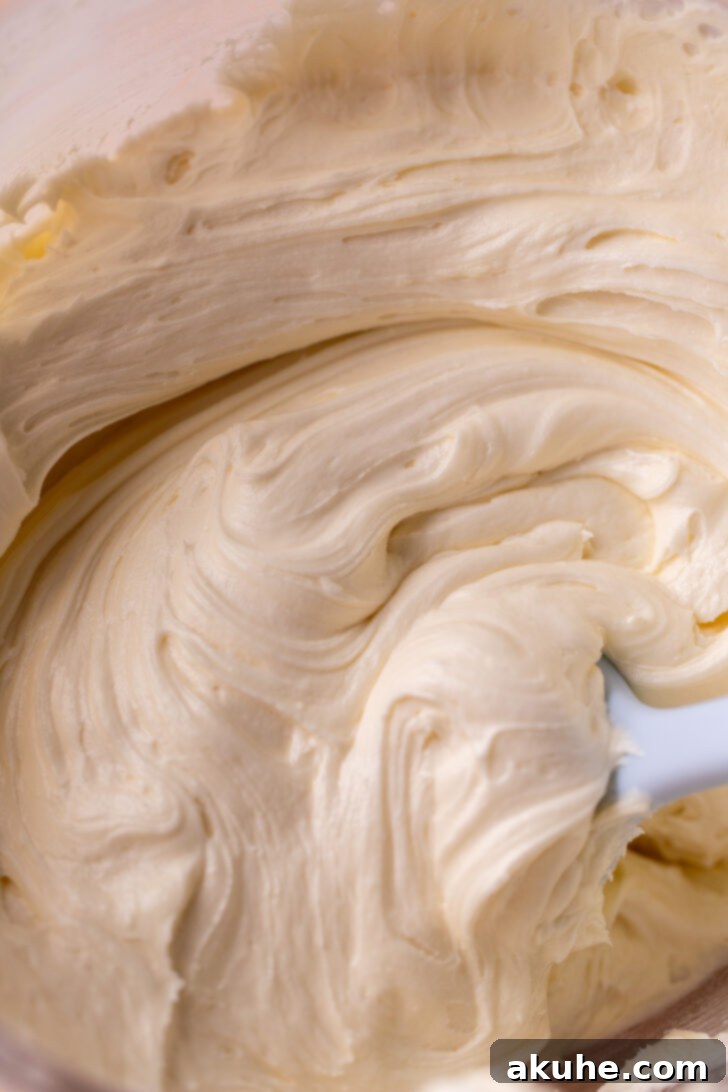
- Pour the slightly cooled melted white chocolate into the butter and cream cheese mixture and mix on high speed until completely combined. Gradually add half of the sifted powdered sugar on low speed, then add the remaining powdered sugar and mix until smooth. Finally, add the pure vanilla extract and beat on high speed for another minute or two until the frosting is light, creamy, and spreadable.1 tsp Pure vanilla extract
Assembly
- Using a serrated knife, carefully level any domed tops off your cooled cake layers to create flat, even surfaces. Place a small dollop of frosting on your serving plate or cake board; this acts as “glue” to secure the first cake layer.
- Place the first cake layer onto the frosted board. Spread approximately 3/4 cup of the white chocolate frosting evenly over the top of this layer. Using a piping bag fitted with a round tip (or simply a Ziploc bag with the corner snipped), pipe a border of frosting around the outer edge of the cake layer. Carefully spread half of the cooled cherry filling within this piped border.
- Gently place the second cake layer on top of the cherry filling, pressing down lightly to secure. Repeat the frosting and cherry filling steps from the previous instruction. Finally, place the third cake layer on top, with the bottom of the cake facing upwards for the flattest top surface.
- Apply a very thin layer of frosting all over the entire cake – this is called a “crumb coat.” Its purpose is to trap any loose crumbs, creating a smooth surface for your final frosting layer. If any cherry filling squeezes out, gently push it back in and cover with the crumb coat. Place the cake in the freezer for 10-15 minutes to allow the crumb coat to set firm. This step is crucial for a clean, professional finish.
- Once the crumb coat is firm, remove the cake from the freezer and apply the remaining frosting, smoothing it out with an offset spatula or bench scraper. For a decorative top, you can use a piping bag with a Wilton 1M tip to pipe elegant swirls or dollops of frosting. Finish by garnishing the top with extra fresh cherries, white chocolate shavings, or even a dusting of powdered sugar. Return the cake to the freezer for another 10 minutes to set the final frosting, then transfer to the refrigerator until ready to serve.
Notes
High-Altitude Baking: For altitudes above 3,500 feet, add an additional 3 tablespoons of flour to the dry ingredients to prevent sinking.
Ingredient Temperatures: For best results, ensure all dairy ingredients (butter, cream cheese, sour cream, buttermilk) are at room temperature. This typically means pulling them out of the refrigerator at least 2 hours before you plan to start baking.
