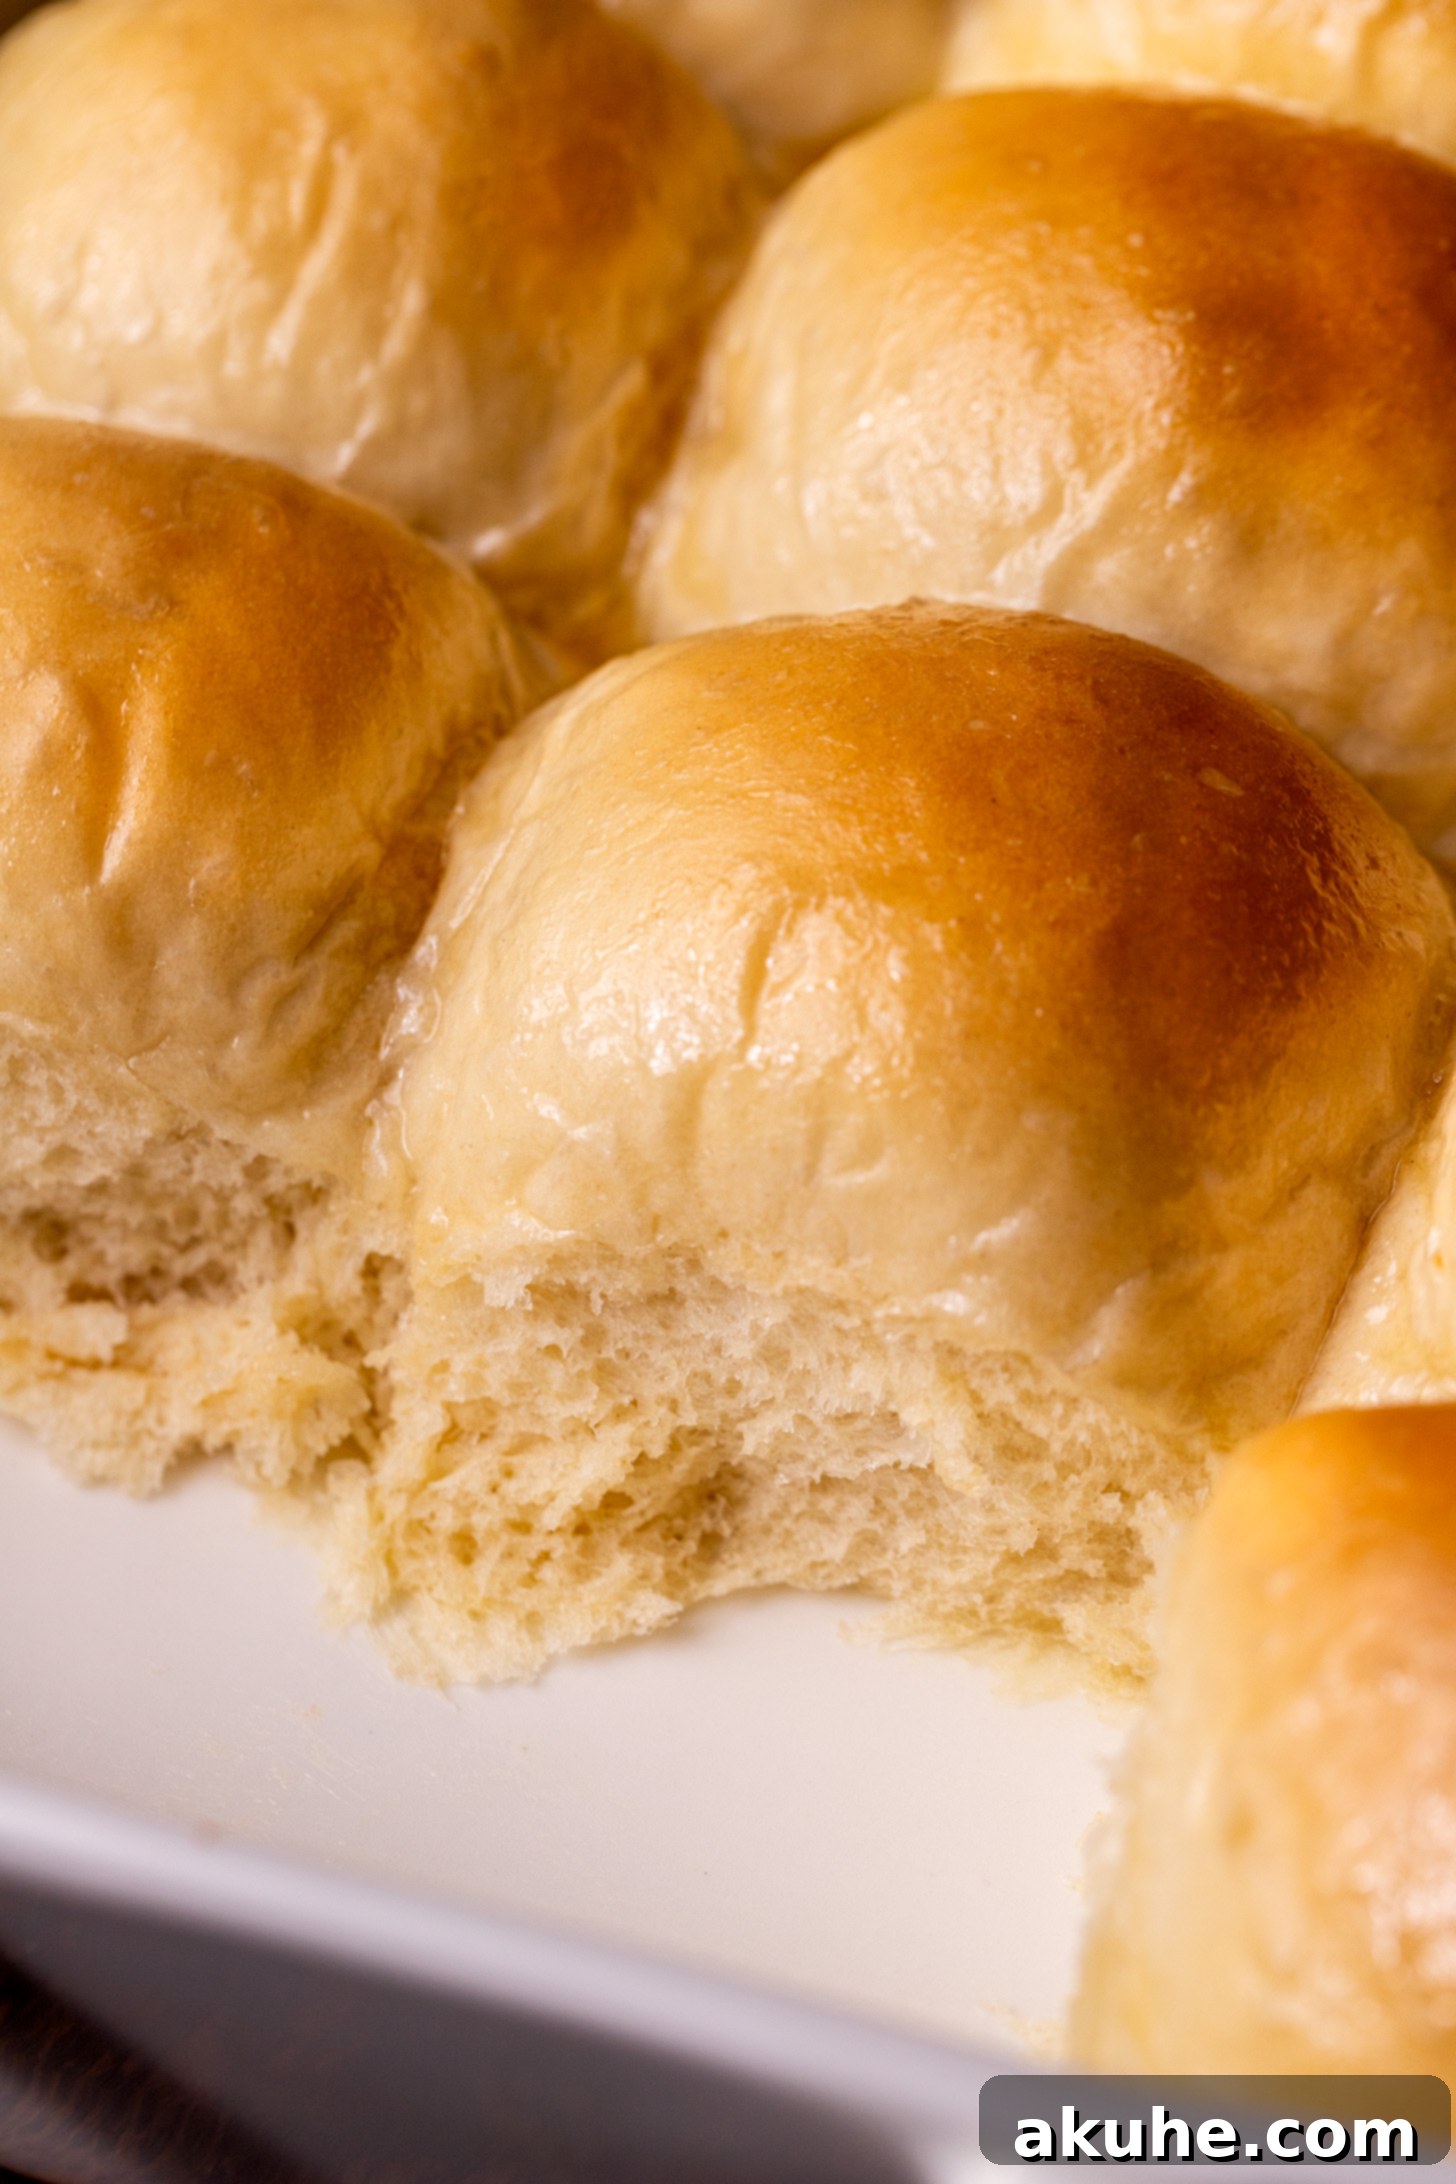
The Ultimate Fluffy Dinner Rolls with Irresistible Honey Butter Glaze: A Step-by-Step Guide to Homemade Perfection
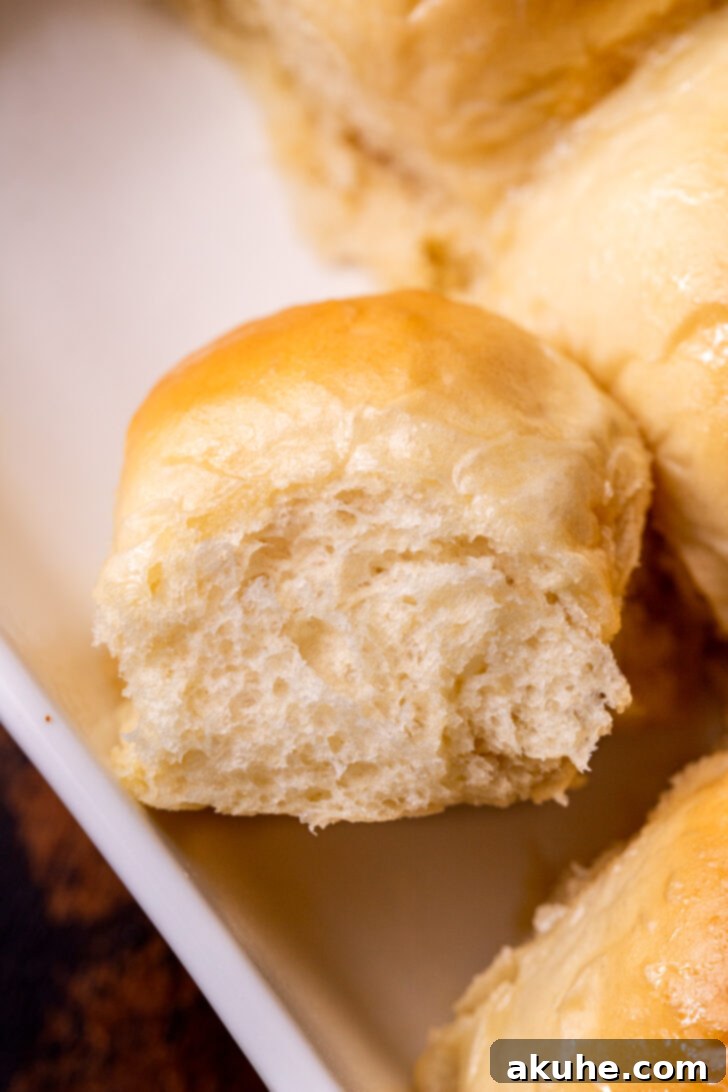
Prepare to delight your taste buds with the most incredibly soft, light, and airy dinner rolls you’ve ever tasted! This foolproof recipe promises homemade perfection, yielding a delicate, melt-in-your-mouth crumb and a golden crust brushed with a generous layer of luscious honey butter. Once you experience the warmth and flavor of these homemade fluffy dinner rolls, you’ll find it impossible to go back to store-bought alternatives. They are truly a game-changer for any meal or special gathering.
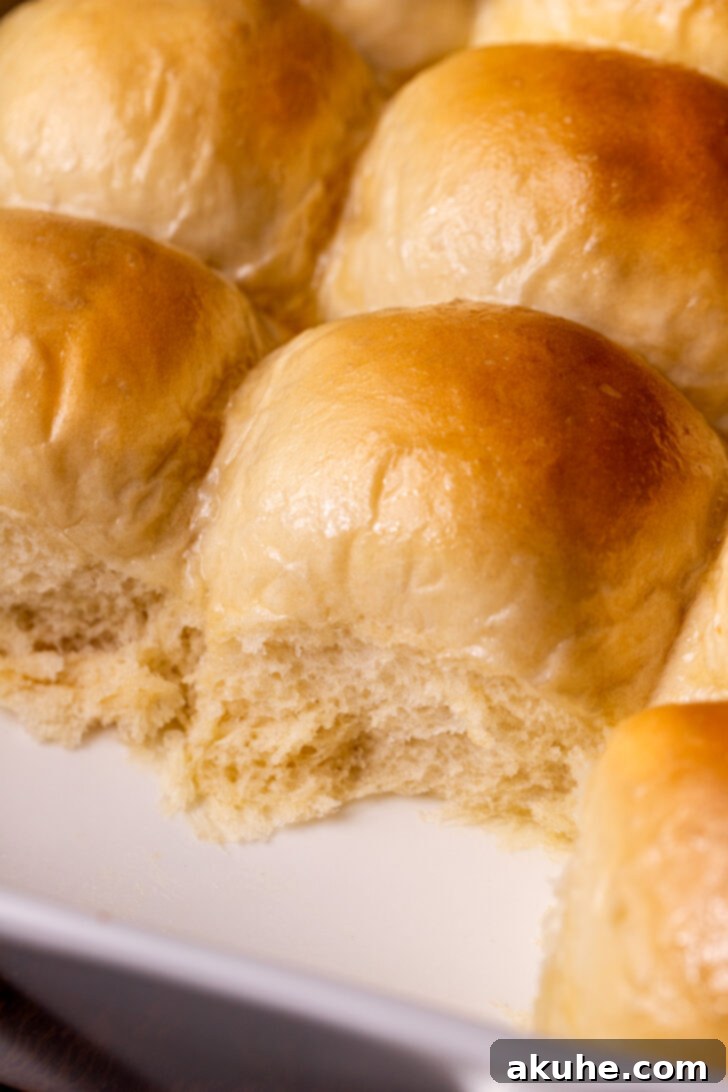
Why Homemade Dinner Rolls Are a Must-Make for Every Occasion
There’s an unparalleled comfort and profound satisfaction that comes from serving homemade dinner rolls. While often overshadowed by decadent desserts during festive gatherings, I’ve discovered that a fresh batch of warm, pillowy rolls, pulled straight from the oven, truly completes any holiday spread. From the grand feasts of Thanksgiving and Christmas to a simple Sunday dinner, these soft dinner rolls elevate the entire dining experience, transforming a meal into a memorable event. The secret to their irresistible appeal lies not only in their incredible, airy texture but also in the rich, sweet honey butter topping that soaks into every crevice, adding an unmatched layer of decadence. Once you start making them at home, the blandness of store-bought rolls simply won’t compare.
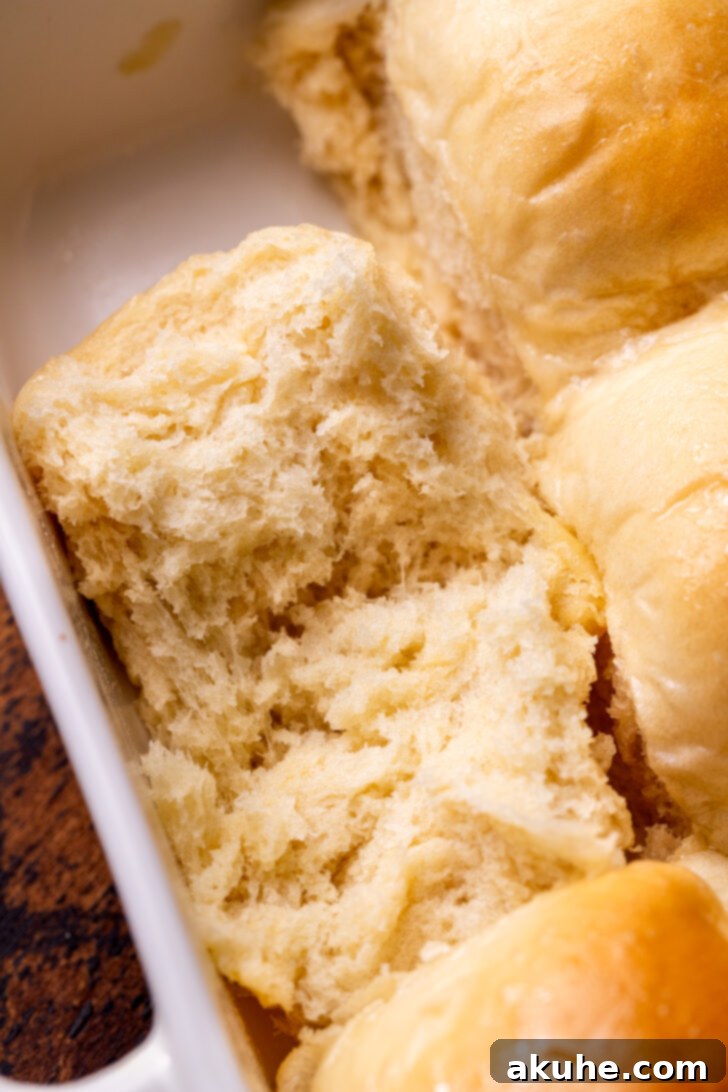
Achieving Perfection: Essential Baking Tips for Super Fluffy Dinner Rolls
Crafting perfectly soft and fluffy dinner rolls is an achievable goal for any home baker, especially when you have the right guidance. By paying close attention to these critical steps and insights, your homemade rolls will consistently turn out beautifully, rivaling those from the finest bakeries. These tips address common baking challenges and ensure your success.
- Tip 1: The Critical Importance of Accurate Flour Measurement
One of the most common pitfalls in baking, and a frequent cause of dry or dense bread, is incorrect flour measurement. To guarantee your dinner rolls are delightfully light and moist, always employ the “spoon and level” method for flour. This involves gently spooning the flour into your dry measuring cup until it overflows, then leveling it off with the straight edge of a knife or spoon handle. Crucially, avoid sticking the measuring cup directly into the flour bag or container, as this compacts the flour significantly, leading to a much greater quantity than intended. This excess flour will absorb too much liquid, resulting in a denser, drier, and less fluffy roll. For ultimate precision and consistent results, using a digital kitchen scale to measure flour by weight (grams) is highly recommended. - Tip 2: Mastering Yeast Activation for an Optimal Rise
Yeast is the indispensable hero behind these magnificent, fluffy dinner rolls; its proper activation is absolutely paramount for a successful rise. Begin by ensuring your milk is warmed to the ideal temperature range of 105-115°F (40-46°C). This warmth is crucial for waking up the yeast. Immediately sprinkle the active dry yeast and one teaspoon of white granulated sugar over the warmed milk. The sugar acts as a vital food source for the yeast, encouraging it to activate and bloom. Gently stir the mixture, then let it sit undisturbed for 5-10 minutes. Within this time, the mixture should become visibly foamy and bubbly, indicating that the yeast is alive, active, and ready to work its magic. If the milk is too hot, it will unfortunately kill the delicate yeast; if it’s too cold, the yeast will remain dormant and won’t activate. Without this crucial activation step, your rolls will simply not rise to their fluffy potential. - Tip 3: Kneading Techniques for the Perfect Dough Consistency
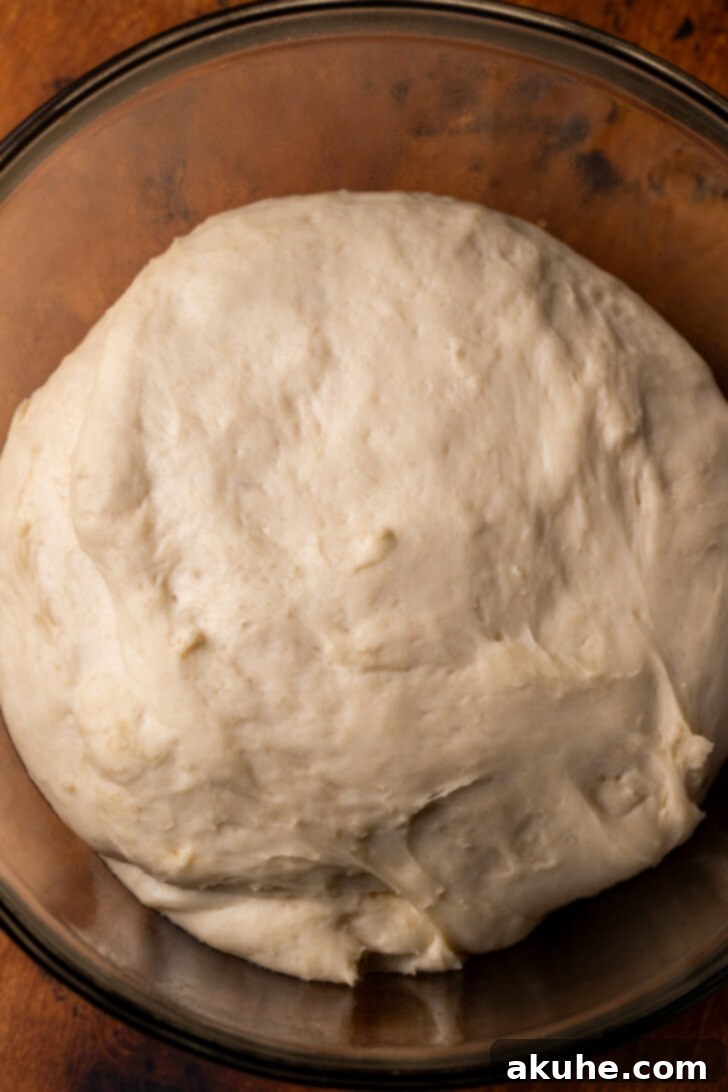
The kneading process is fundamental as it develops the gluten strands within your dough, which are essential for creating the structure, elasticity, and chewy-soft texture of your rolls. Whether you’re kneading by hand or utilizing a stand mixer fitted with a dough hook, your objective is to achieve a dough that is tacky to the touch, yet not excessively sticky that it clings stubbornly to your hands or the mixing bowl. After the initial 5 minutes of kneading, if your dough still feels overly sticky, incrementally add the additional 1/3 cup of flour, one tablespoon at a time. Allow each addition to be fully incorporated before deciding if more is needed. Continue kneading until the dough reaches the perfect consistency. A reliable indicator of well-kneaded dough is the “window pane test”: carefully stretch a small piece of dough between your fingers. If you can stretch it thin enough to see light passing through it without the dough tearing, your gluten is perfectly developed, and your dough is ready for its first rise. For a comprehensive visual guide on both the kneading and shaping processes, please refer to the detailed recipe video provided further down on this page. - Tip 4: Cultivating the Ideal Environment for Dough Rising
For yeast doughs to achieve their magnificent, airy rise, they require a warm, consistent, and completely draft-free environment. A widely used and highly effective trick for creating this optimal rising space is to briefly preheat your oven to its lowest setting, typically around 200°F (90°C). Once it reaches this temperature, immediately turn the oven off. Then, place your bowl of covered dough inside the warm oven, leaving the oven door slightly ajar. This method creates a cozy, consistent temperature that significantly encourages the yeast to work efficiently, leading to a beautiful and substantial first and second rise, ensuring your rolls are light and fluffy. - Tip 5: Precision in Shaping for Uniform and Beautiful Rolls
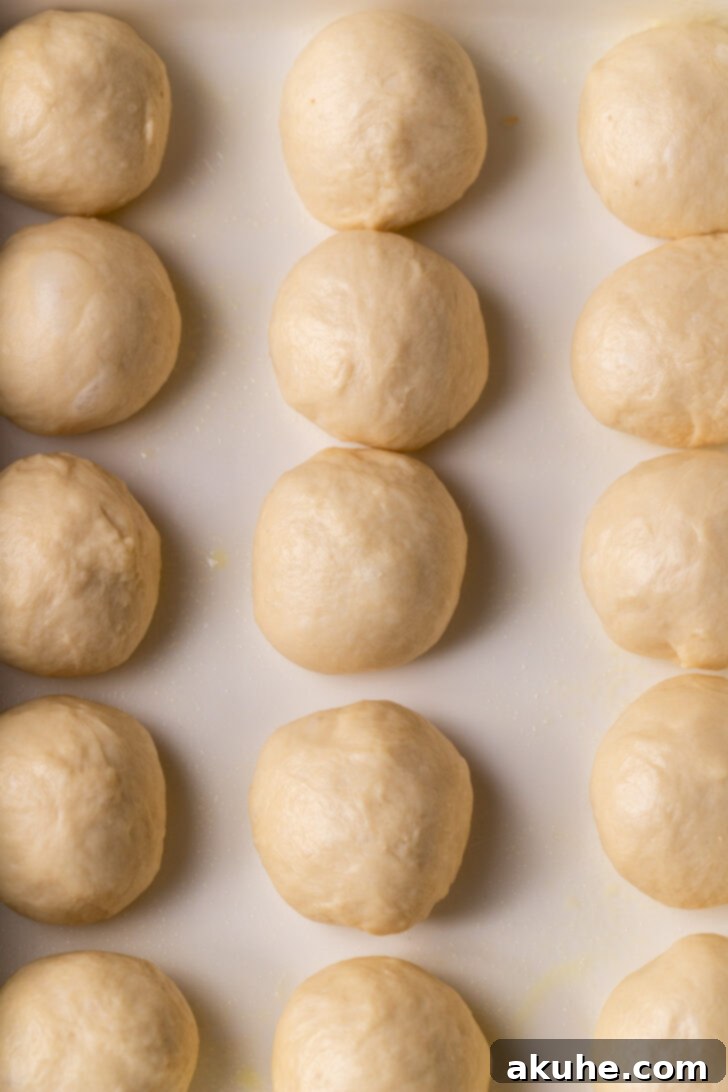
While the recipe video offers an excellent visual demonstration, consistent sizing and a tight, smooth surface are paramount for uniform, beautifully baked rolls. After the first rise, gently deflate the dough to release the accumulated gases. Then, transfer the dough to a lightly floured work surface. For perfectly even rolls that bake uniformly, it’s highly recommended to weigh the entire dough in grams, then divide that total by the number of rolls you intend to make (this recipe yields 15 rolls). For example, my rolls typically weigh around 57 grams each. To shape each portion, take a dough ball and, using your fingers, pull the edges of the dough from the top down towards the bottom center, pinching the seams together to create a rough, tight ball. Next, cup your hand around the dough ball (without pressing down too hard) and gently roll it in small, circular motions against the clean counter surface. This technique creates tension on the dough’s surface, resulting in a smooth, round roll that will rise evenly and bake beautifully.
The Irresistible Honey Butter Glaze: A Signature Touch
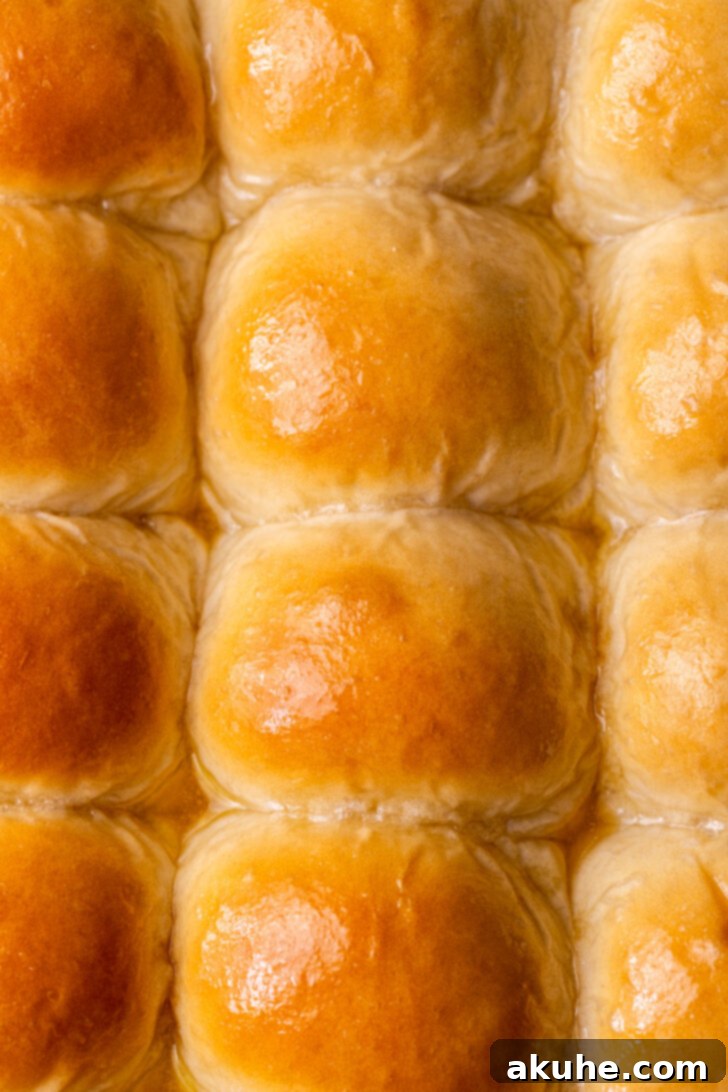
While the fluffy dinner rolls themselves are a triumph of homemade baking, the honey butter glaze is undeniably what elevates this recipe to an extraordinary level. The moment these golden-brown rolls emerge from the heat of the oven, still warm and fragrant, a simple yet magical mixture of melted unsalted butter and fragrant, sweet honey is generously brushed over their entire surface. This golden glaze doesn’t just add a beautiful, inviting sheen; it infuses the rolls with a delicate sweetness and helps to seal in their moisture, ensuring they remain incredibly soft and tender. The honey butter transforms each bite into a decadent experience, making these rolls truly unforgettable and the star of any bread basket. It’s the essential finishing touch that you won’t want to skip.
Craving more delightful roll recipes to expand your baking repertoire? Be sure to explore my Garlic Butter Rolls for a savory and aromatic twist, or try my Fluffy Cheddar Cheese Rolls for a wonderfully cheesy indulgence. Each recipe is designed to deliver that coveted soft, fluffy texture, making them perfect additions to your baking collection.
Serving Suggestions and Smart Storage Tips
These incredibly fluffy dinner rolls are wonderfully versatile and perfectly suited for any dining occasion. For the ultimate experience, serve them warm, directly from the oven, allowing the honey butter to truly shine. They make an exquisite accompaniment to a grand holiday feast, a comforting addition to a casual weeknight family dinner, or a delightful sidekick to hearty soups and fresh salads. For those who can’t get enough, consider offering a small bowl of extra honey butter on the side for dipping. Should you miraculously have any leftover rolls (which is rare!), they can be stored in an airtight container at room temperature for up to 2-3 days. To revive their fresh-baked goodness and recapture that initial softness, simply warm them gently in the oven or microwave for a few seconds before serving again.
Did you absolutely love this recipe and achieve baking perfection? We encourage you to share your culinary success by leaving a star rating and review below! Your feedback helps other bakers. We also adore seeing your beautiful creations, so please make sure to tag us on Instagram @stephaniesweettreats. For a continuous stream of culinary inspiration, delightful baking ideas, and sweet treat tutorials, be sure to follow us on Pinterest.
Recipe Video: Watch How to Make the Perfect Fluffy Dinner Rolls!
For those who benefit from visual learning, our comprehensive step-by-step recipe video is an invaluable resource. This video guide will walk you through every crucial stage of making these incredible fluffy dinner rolls, ensuring you confidently navigate the process. From properly activating the yeast and mastering the kneading technique to shaping the rolls and applying the final honey butter glaze, you’ll see precisely how to achieve consistent and delicious results. Watch the video below to gain confidence and ensure a smooth, enjoyable baking journey from start to finish.
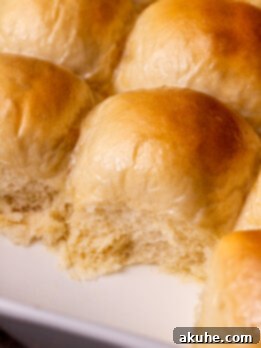
Fluffy Dinner Rolls with Honey Butter
Print Recipe
Pin Recipe
Leave a Review
20 minutes
23 minutes
2 hours
2 hours
43 minutes
15
rolls
Ingredients
-
1 cup Milk, warmed to 110℉ (43°C) -
2 1/4 tsp Active dry yeast, 7 grams -
1 tsp White granulated sugar (for yeast activation) -
1 Large egg, room temperature -
1 tsp Salt -
1 1/2 TBSP White granulated sugar (for dough) -
5 TBSP Unsalted butter, room temperature and cubed -
3 cups All-purpose flour, plus up to 1/3 cup (42 grams) more if needed for dough consistency For the Honey Butter Glaze:
-
2 TBSP Unsalted butter, melted -
1 TBSP Honey
Instructions
- In a microwave-safe bowl or small saucepan, gently warm the milk to 105-115℉ (40-46°C). It is highly recommended to use a kitchen thermometer for precise temperature control. Sprinkle the active dry yeast and 1 teaspoon of white granulated sugar evenly over the warm milk. Stir the mixture gently once or twice, then let it sit undisturbed for 5-10 minutes. During this time, the yeast mixture should become visibly foamy and bubbly, which is a clear indication that the yeast is active and ready to proceed. If no foam appears, your yeast may be expired, or the milk temperature was incorrect; in this case, you will need to discard the mixture and start this initial step over.1 cup Milk,
2 1/4 tsp Active dry yeast,
1 tsp White granulated sugar - In a large mixing bowl (or the bowl of a stand mixer fitted with a dough hook attachment), combine the 3 cups of all-purpose flour, 1 1/2 tablespoons of white granulated sugar, and the salt. Add the lightly beaten room-temperature egg and the cubed room-temperature unsalted butter to the dry ingredients. Pour in the activated yeast mixture. Begin mixing on low speed until the ingredients just start to come together and a shaggy dough begins to form around the hook. Once combined, increase the mixer speed to medium and knead the dough for a full 5 minutes until it becomes smooth, elastic, and pulls away from the sides of the bowl. For those making the dough by hand, please refer to the specific “Making by Hand” notes provided in the section below.1 Large egg,
1 tsp Salt,
1 1/2 TBSP White granulated sugar,
5 TBSP Unsalted butter,
3 cups All-purpose flour - After kneading, carefully check the dough’s consistency. It should feel slightly tacky when touched, meaning it adheres a little to your fingers but isn’t overly sticky or difficult to handle. If the dough feels excessively sticky and wet, gradually add the additional 1/3 cup of all-purpose flour, one tablespoon at a time. Allow each tablespoon to be fully incorporated into the dough before assessing the consistency and adding more if necessary. Continue kneading until the dough achieves the desired tackiness and successfully passes the “window pane test” – a crucial indicator of proper gluten development. This test involves gently stretching a small piece of dough between your fingers until it is thin enough to allow light to pass through without tearing.
- Lightly spray a clean, large mixing bowl with nonstick cooking spray. Form the kneaded dough into a smooth, round ball and place it into the prepared bowl, turning the dough over once to ensure it is lightly coated with the spray. Cover the bowl securely with plastic wrap or a clean kitchen towel. For the most effective rising, utilize the warm oven method: Preheat your oven to its absolute lowest setting, typically around 200℉ (90°C), then immediately turn the oven off. Place the covered bowl of dough into the warm oven, leaving the oven door slightly ajar to prevent it from becoming too hot. Allow the dough to rise undisturbed in this warm environment for 1 hour, or until it has visibly doubled in size.
- Once the dough has successfully doubled in size, gently press your fist into the center to “punch down” the dough, releasing the accumulated air. Transfer the dough onto a lightly floured work surface. To ensure all your dinner rolls are uniform in size and bake evenly, it is best to weigh the entire dough mass in grams, then divide that total weight by 15 (as this recipe yields 15 rolls). For reference, each of my individual dough portions weighed approximately 57 grams. Take one portion of dough and, using your fingers, pull the edges of the dough from the top side down towards the bottom center, firmly pinching the seams together to create a rough, taut ball. Next, cup your hand around the dough ball (without applying excessive pressure) and gently roll it in small, circular motions against the counter surface. This action further tightens the surface tension, resulting in a perfectly smooth, round roll that will rise beautifully. For a visual demonstration of this shaping technique, please refer to the recipe video found on this page.
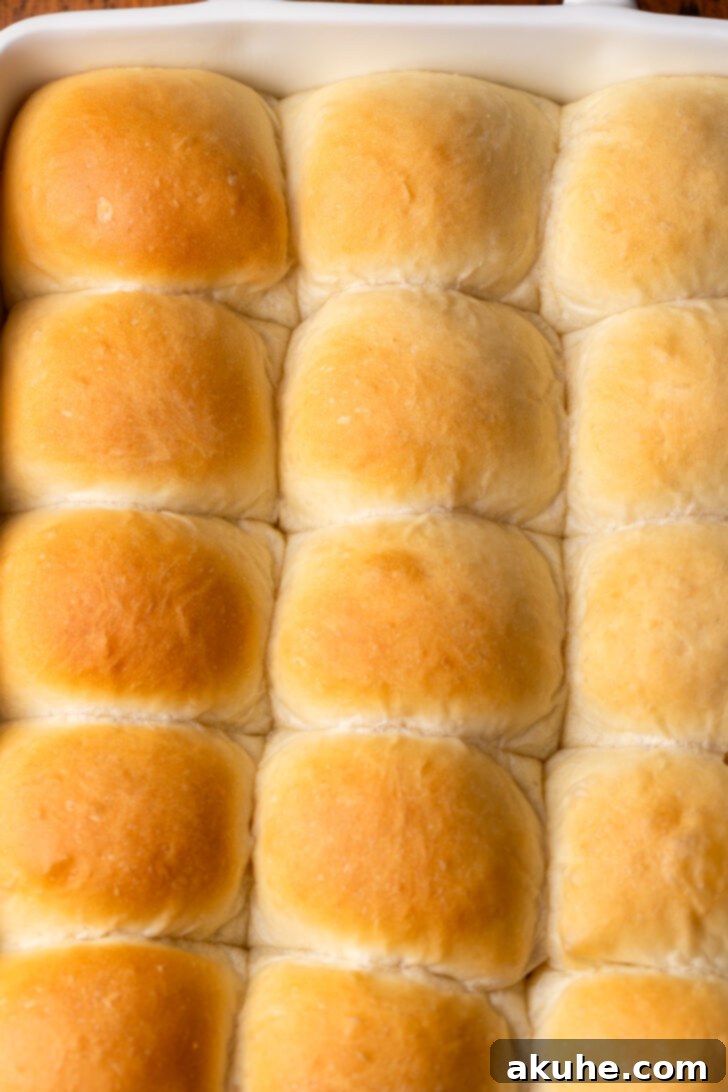
- Generously spray a 9×13-inch baking pan with nonstick baking spray. Carefully arrange the shaped rolls evenly within the prepared pan, ensuring there is a small amount of space between each roll to allow for their second expansion. Loosely cover the pan with a clean kitchen towel and let the rolls undergo their second rise at room temperature on the counter for an additional 1 hour. During this period, they should nearly double in size again and appear noticeably puffy and light. This final rise is crucial for developing the fluffy texture of the baked rolls.
- Towards the end of the second rising period, preheat your oven to 350℉ (175°C). Once the oven is preheated and the rolls have beautifully risen, place the baking pan into the oven and bake for 20-25 minutes. The rolls should emerge with a gorgeous golden-brown crust and be thoroughly cooked through. Immediately after carefully removing the baked rolls from the oven, prepare the irresistible honey butter glaze. In a small, heat-safe bowl, combine the 2 tablespoons of melted unsalted butter and 1 tablespoon of honey. Using a pastry brush, generously brush the warm rolls with this luscious honey butter mixture. Ensure every roll is coated for maximum flavor and shine. Serve your ultimate fluffy dinner rolls warm and savor every single, tender bite!2 TBSP Unsalted butter,
1 TBSP Honey
Notes
Room Temperature Ingredients: To ensure all ingredients incorporate smoothly and the dough develops optimally, it is highly recommended to bring all dairy ingredients (milk, butter, and egg) to room temperature. Plan ahead and pull them out from the refrigerator approximately 1-2 hours before you intend to begin the baking process.
Making by Hand: If you do not have access to a stand mixer, you can absolutely achieve these delicious rolls by hand! After combining the wet ingredients with the dry, use a sturdy rubber spatula or wooden spoon to mix until a shaggy dough begins to form. Then, transfer the dough to a lightly floured surface. Knead the dough vigorously using your hands for 8-10 minutes. Continue until the dough feels smooth, elastic, and passes the famous “window pane test.” From there, simply follow the remaining instructions as written.
Overnight Instructions for Convenient Preparation: To prepare these wonderful dinner rolls ahead of time and simplify your baking day, follow the recipe instructions precisely up to the point where you have rolled and shaped the individual rolls and arranged them in your baking pan (specifically, after Step 5). Instead of proceeding with the second rise at room temperature, cover the pan tightly with plastic wrap or aluminum foil and place it in the refrigerator overnight (this can be done up to 12-18 hours in advance). The next morning or day, remove the rolls from the fridge while your oven preheats to 350℉ (175°C). The rolls will likely have risen somewhat during their cold proof; allow them to sit at room temperature for approximately 30-60 minutes while the oven heats up, giving them time to come to temperature and complete their final proof. Once the oven is ready and the rolls look puffy, bake them as directed in the recipe.
Nutrition Information
Carbohydrates: 23g,
Protein: 3g,
Fat: 6g,
Saturated Fat: 4g,
Polyunsaturated Fat: 0.3g,
Monounsaturated Fat: 2g,
Trans Fat: 0.2g,
Cholesterol: 16mg,
Sodium: 163mg,
Potassium: 58mg,
Fiber: 1g,
Sugar: 3g,
Vitamin A: 190IU,
Vitamin C: 0.01mg,
Calcium: 26mg,
Iron: 1mg
Did you make this recipe?Please leave a star rating and review below!
