Welcome to the ultimate guide for crafting the most delectable homemade dinner rolls you’ll ever taste! These aren’t just any rolls; they are irresistibly soft, brimming with the rich aroma of garlic and a medley of fresh herbs, all crowned with a luscious garlic butter topping. Prepare to impress your family and friends with these magnificent garlic rolls, destined to become the star of any meal and a cherished addition to your recipe collection.
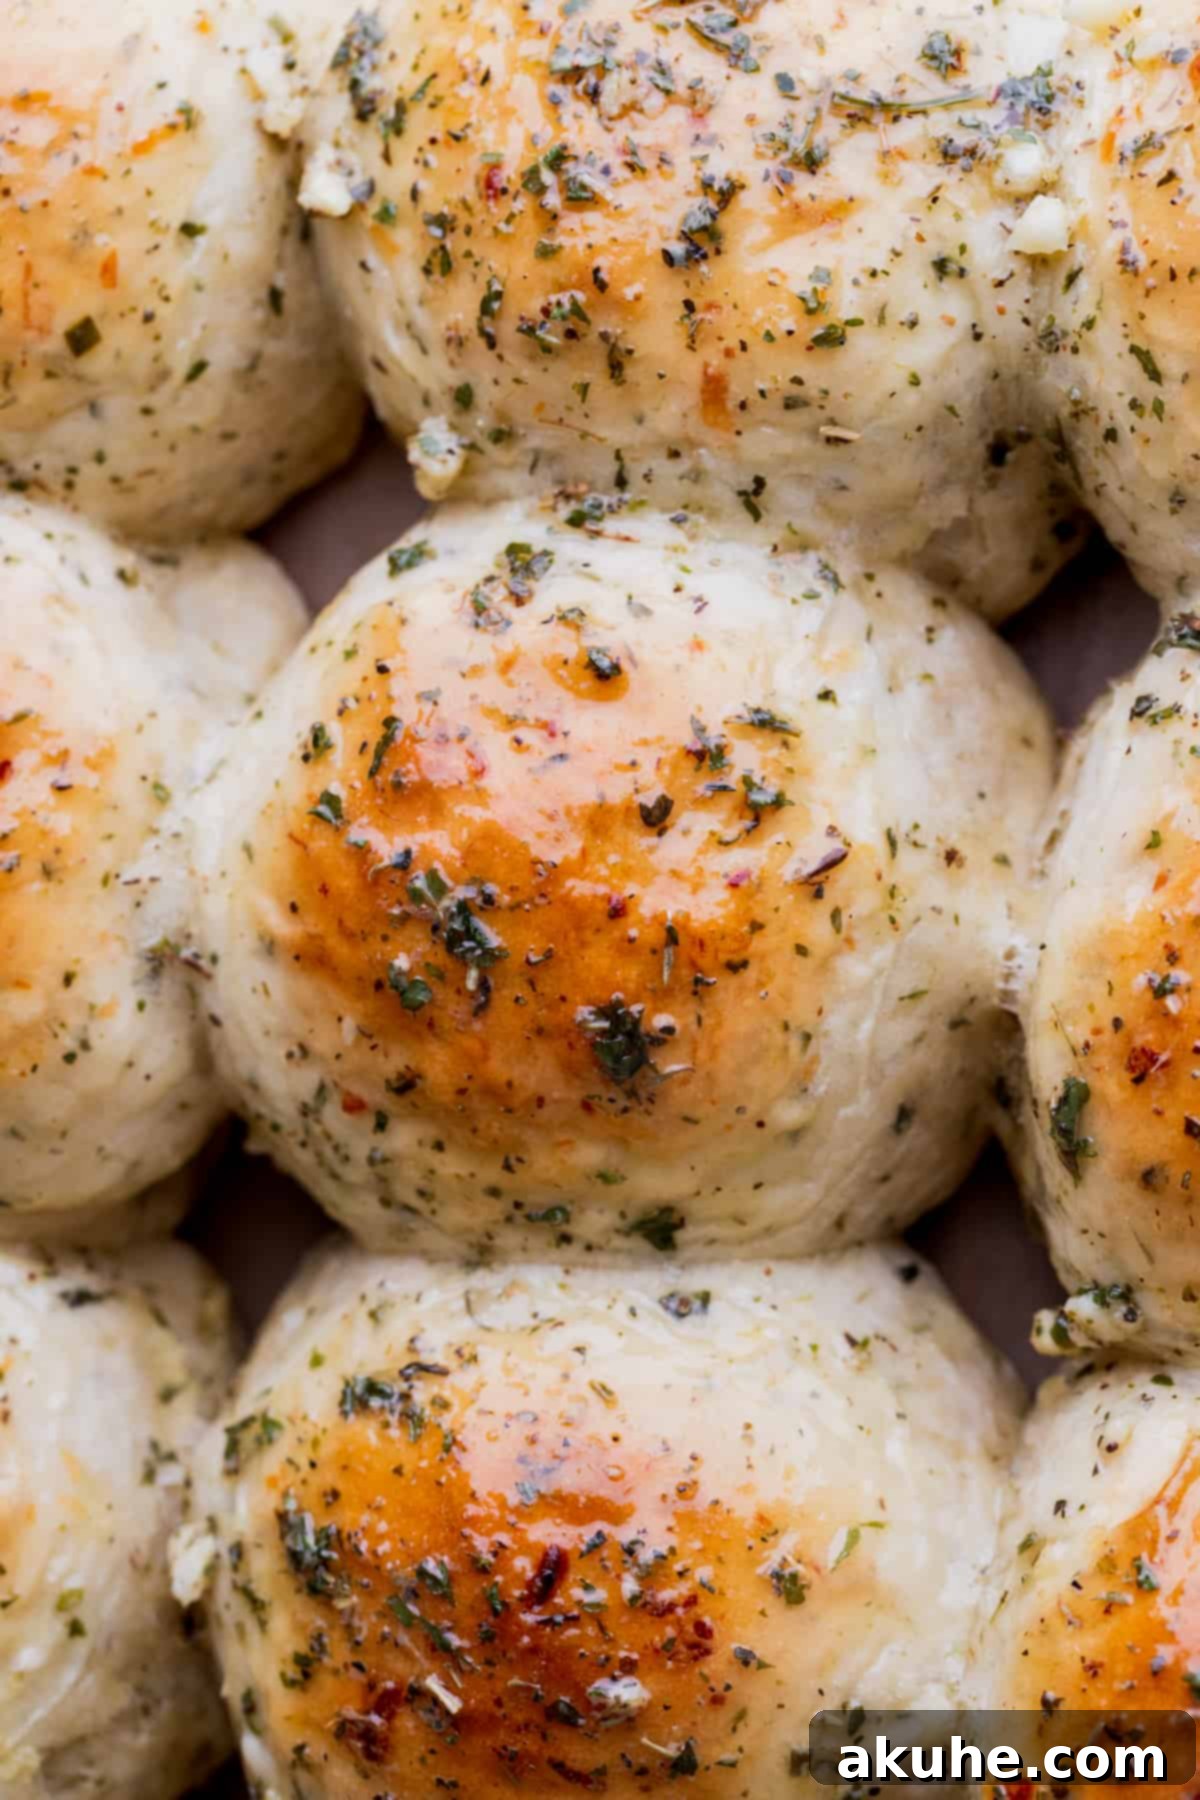
There’s something truly magical about the aroma of freshly baked bread filling your home. These garlic rolls take that magic to a whole new level. Every time I prepare these for a family dinner, they are the first item to disappear from the table – and for good reason! Nothing quite compares to the pillowy soft texture of a perfect dinner roll, especially when infused with so much flavor. Forget those store-bought garlic bread rolls or even quick hacks with Hawaiian rolls; once you experience the deep, savory taste of these scratch-made wonders, there’s no turning back. This recipe guides you through creating exceptionally fluffy, flavorful, and utterly addictive garlic bread rolls from the comfort of your kitchen.
Looking for more amazing roll recipes to try? Don’t miss out on these delightful variations: Pumpkin Cinnamon Rolls, Caramel Cinnamon Rolls, and Nutella Rolls.
Why This Homemade Garlic Roll Recipe is a Must-Try
These garlic rolls aren’t just delicious; they are specifically designed to be easy to make while delivering exceptional results. Here’s what makes this recipe stand out:
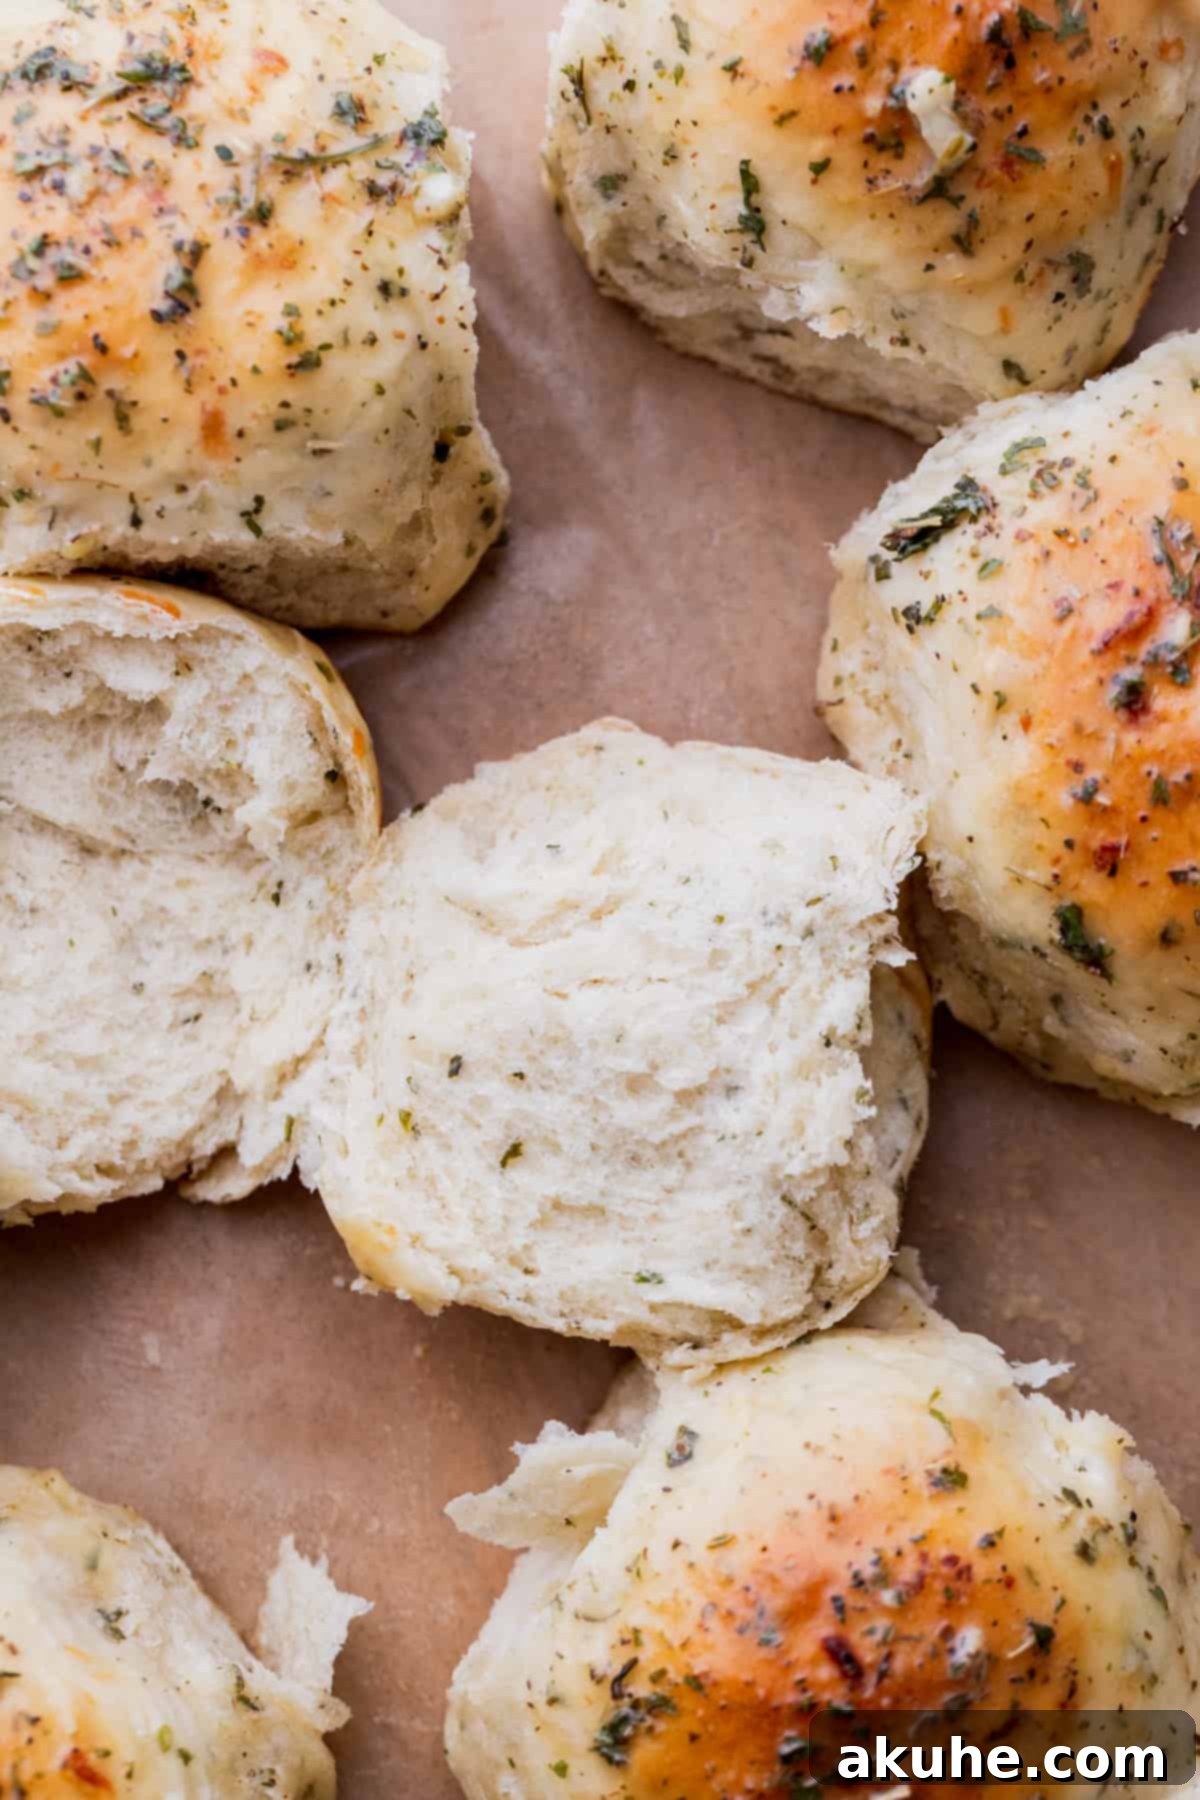
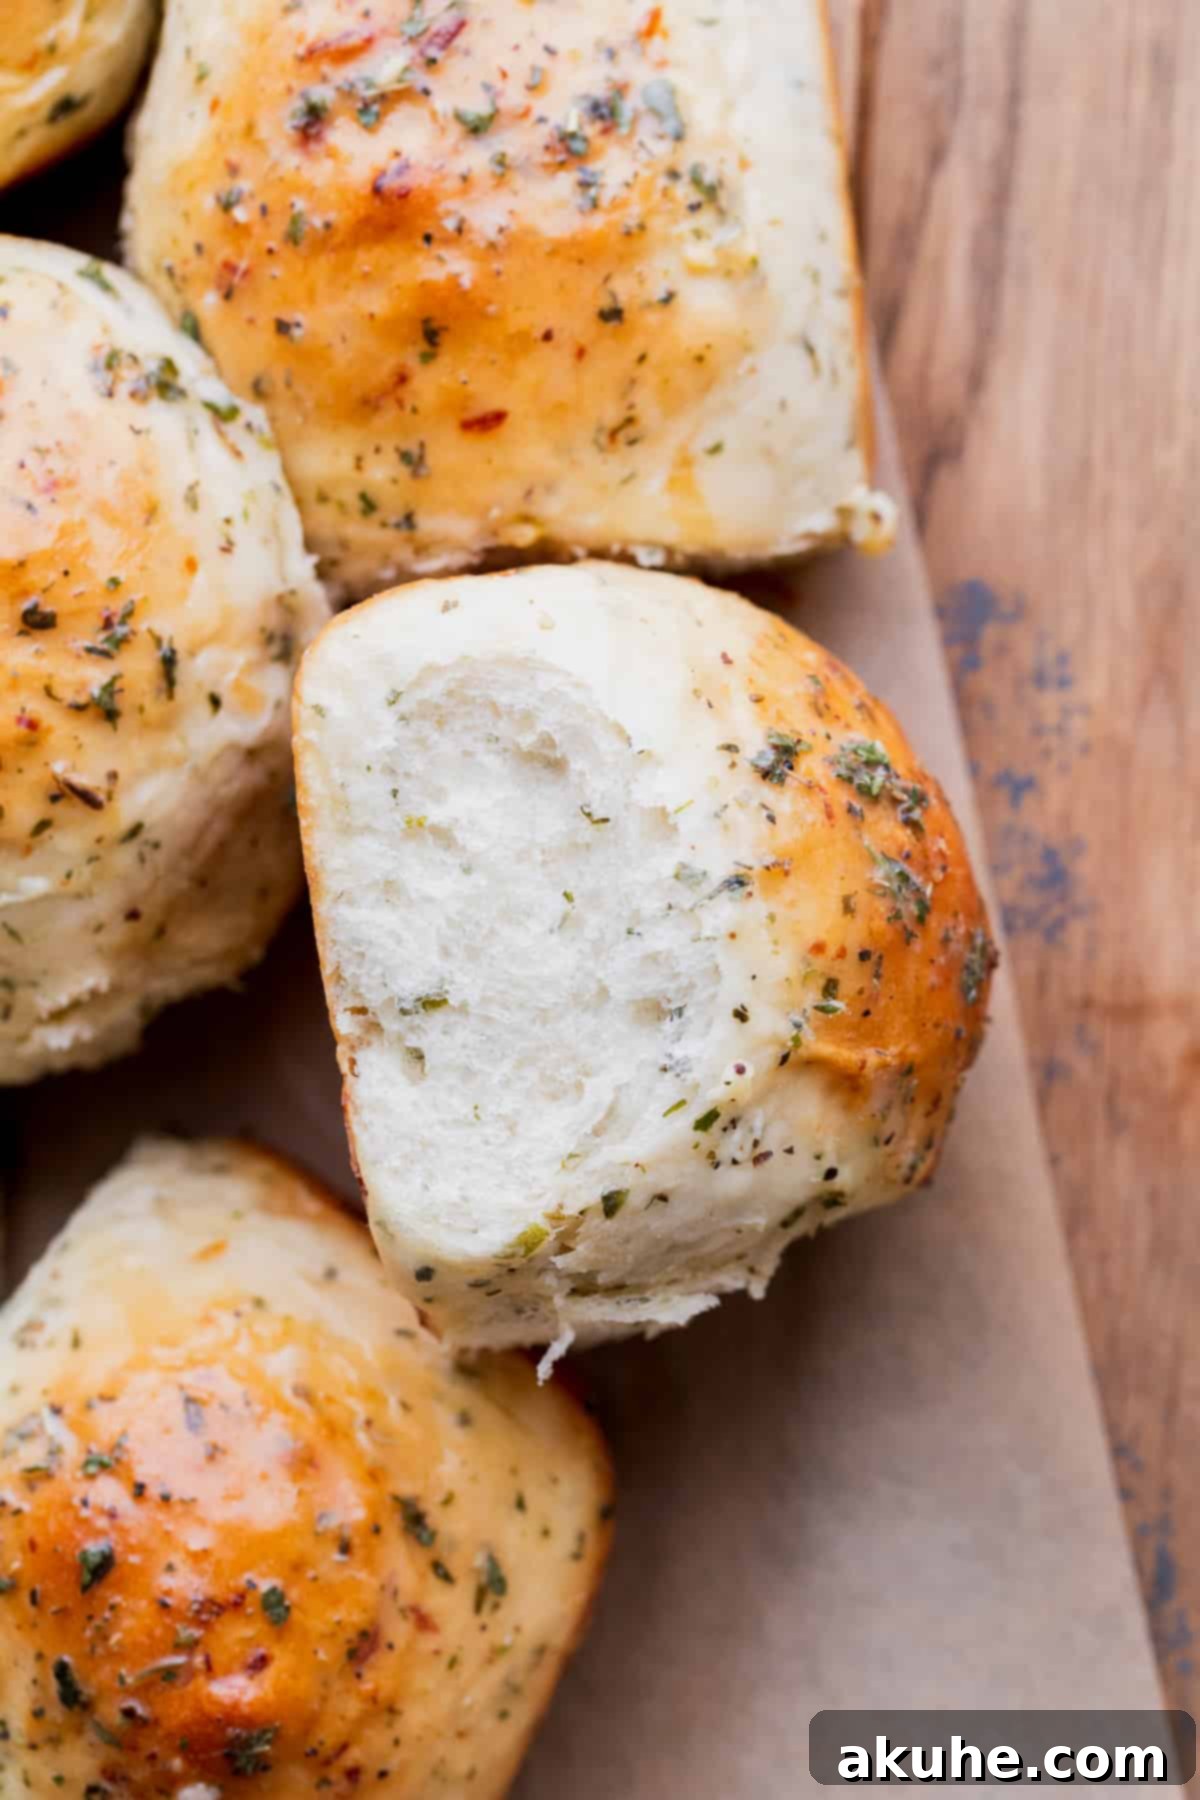
- Unbelievably Fluffy Texture: Each roll boasts a soft, melt-in-your-mouth texture that is simply divine. The secret lies in precise ingredient ratios and proper kneading, ensuring a light and airy crumb that remains tender for days. These aren’t dense or chewy; they’re the epitome of fluffy bread.
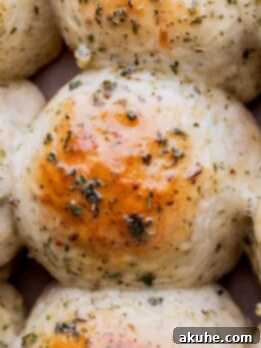
- Irresistible Garlic Herb Butter: What sets these rolls apart is the generous slather of homemade garlic butter, infused with aromatic herbs, brushed on top immediately after baking. This buttery topping seeps into the warm rolls, creating an explosion of savory flavor that elevates them from good to absolutely extraordinary. It’s a flavor bomb you won’t want to miss.
- Surprisingly Easy to Make: Despite their gourmet taste, this recipe is crafted to be straightforward and accessible for home bakers of all skill levels. We use basic, readily available ingredients and provide clear, step-by-step instructions. Whether you’re a seasoned baker or new to working with yeast, you’ll find this recipe enjoyable and rewarding, making these rolls a potential staple in your dinner rotation.
- Aromatic Delight: From the moment you start mixing the dough, the kitchen will fill with the enticing scent of garlic and herbs. The aroma alone is enough to get mouths watering, promising a delightful culinary experience even before the first bite.
- Versatile Side Dish: These rolls are incredibly versatile. They make the perfect accompaniment to Italian dishes like pasta or lasagna, hearty stews, comforting soups, or simply enjoyed on their own as a satisfying snack.
Key Ingredient Notes for Perfect Garlic Rolls
Understanding your ingredients is crucial for baking success. Below are some important notes and tips for the main components of these delightful garlic rolls. For a complete list of measurements, please refer to the detailed recipe card at the end of this article.
- Active Dry Yeast: This recipe calls for active dry yeast. While active instant yeast can also be used, ensure your yeast is fresh and active for the best rise. Expired yeast is the most common reason for bread not rising. The warm water step is vital for “waking up” the yeast.
- Milk: Any type of milk can be used, whether it’s whole, 2%, or even a dairy-free alternative. The milk should be warmed to the same temperature as the water to create the ideal environment for yeast activation and dough development.
- Water: The temperature of your warm water and milk is paramount. Use an instant-read thermometer to ensure both liquids are around 105-115°F (40-46°C). Water that’s too hot will kill the yeast, while water that’s too cold won’t activate it effectively, leading to a poor rise.
- Unsalted Butter: We use unsalted butter for both the dough and the garlic butter topping. This allows you to control the overall saltiness of the rolls. Make sure the butter for the dough is melted and then cooled slightly before adding it to avoid cooking the yeast.
- All-Purpose Flour: For the softest rolls, accurately measure your all-purpose flour. Spoon it into your measuring cup and level it off with a straight edge rather than scooping directly from the bag, which can compact the flour and lead to dry, dense rolls. For even greater precision, use a kitchen scale to measure by weight.
- Fresh Minced Garlic & Garlic Powder: This recipe uses a combination of both fresh minced garlic in the dough and garlic powder to build a deep, layered garlic flavor. The fresh garlic provides a pungent, vibrant note, while the powder offers a more subtle, integrated taste throughout the bread.
- Dried Herbs (Parsley, Chives, Italian Seasoning): These herbs infuse the dough and the garlic butter with classic savory notes. Feel free to adjust the proportions or experiment with other dried herbs like oregano or basil to suit your taste. For an extra pop of flavor, fresh herbs can be used, but remember they are more potent, so use about three times the amount of fresh herbs compared to dried.
- Shredded Parmesan Cheese: Adding Parmesan cheese directly into the dough enhances the savory profile and adds a delightful umami depth. Freshly grated Parmesan will offer the best flavor.
- Egg Wash: A simple egg wash (one beaten egg) brushed over the rolls just before baking is key for achieving that beautiful, glossy golden-brown crust and contributing to a slightly crisp exterior.
Step-by-Step Instructions: Crafting Your Fluffy Garlic Rolls
Making these homemade garlic rolls is a rewarding process. Follow these detailed steps to ensure your rolls are perfectly soft, fluffy, and full of flavor. You can use a stand mixer with a dough hook attachment or knead the dough by hand.
Part 1: Preparing the Dough
STEP 1: Activate the Yeast and Prepare Liquids. Begin by proofing your yeast. In a small bowl, combine the active dry yeast with the warm water (105-115°F / 40-46°C). Stir gently and let this mixture sit undisturbed for about 10 minutes. During this time, the yeast should become foamy and bubbly, indicating it’s active and ready to work. If it doesn’t foam, your yeast may be old or the water temperature was off, and you should start again. While the yeast activates, melt your unsalted butter and set it aside to cool slightly to a lukewarm temperature. Just before the yeast is fully activated, warm your milk to the same 105-115°F (40-46°C) temperature.
STEP 2: Combine Dry Ingredients. In the large bowl of a stand mixer, or a spacious mixing bowl if kneading by hand, sift together the all-purpose flour. Sifting helps to aerate the flour and prevent lumps, contributing to a lighter roll. Add the granulated sugar, salt, minced fresh garlic, garlic powder, dried parsley, dried chives, and shredded Parmesan cheese. Mix these dry ingredients thoroughly with a whisk to ensure they are evenly distributed. This ensures every bite of your roll is flavorful.
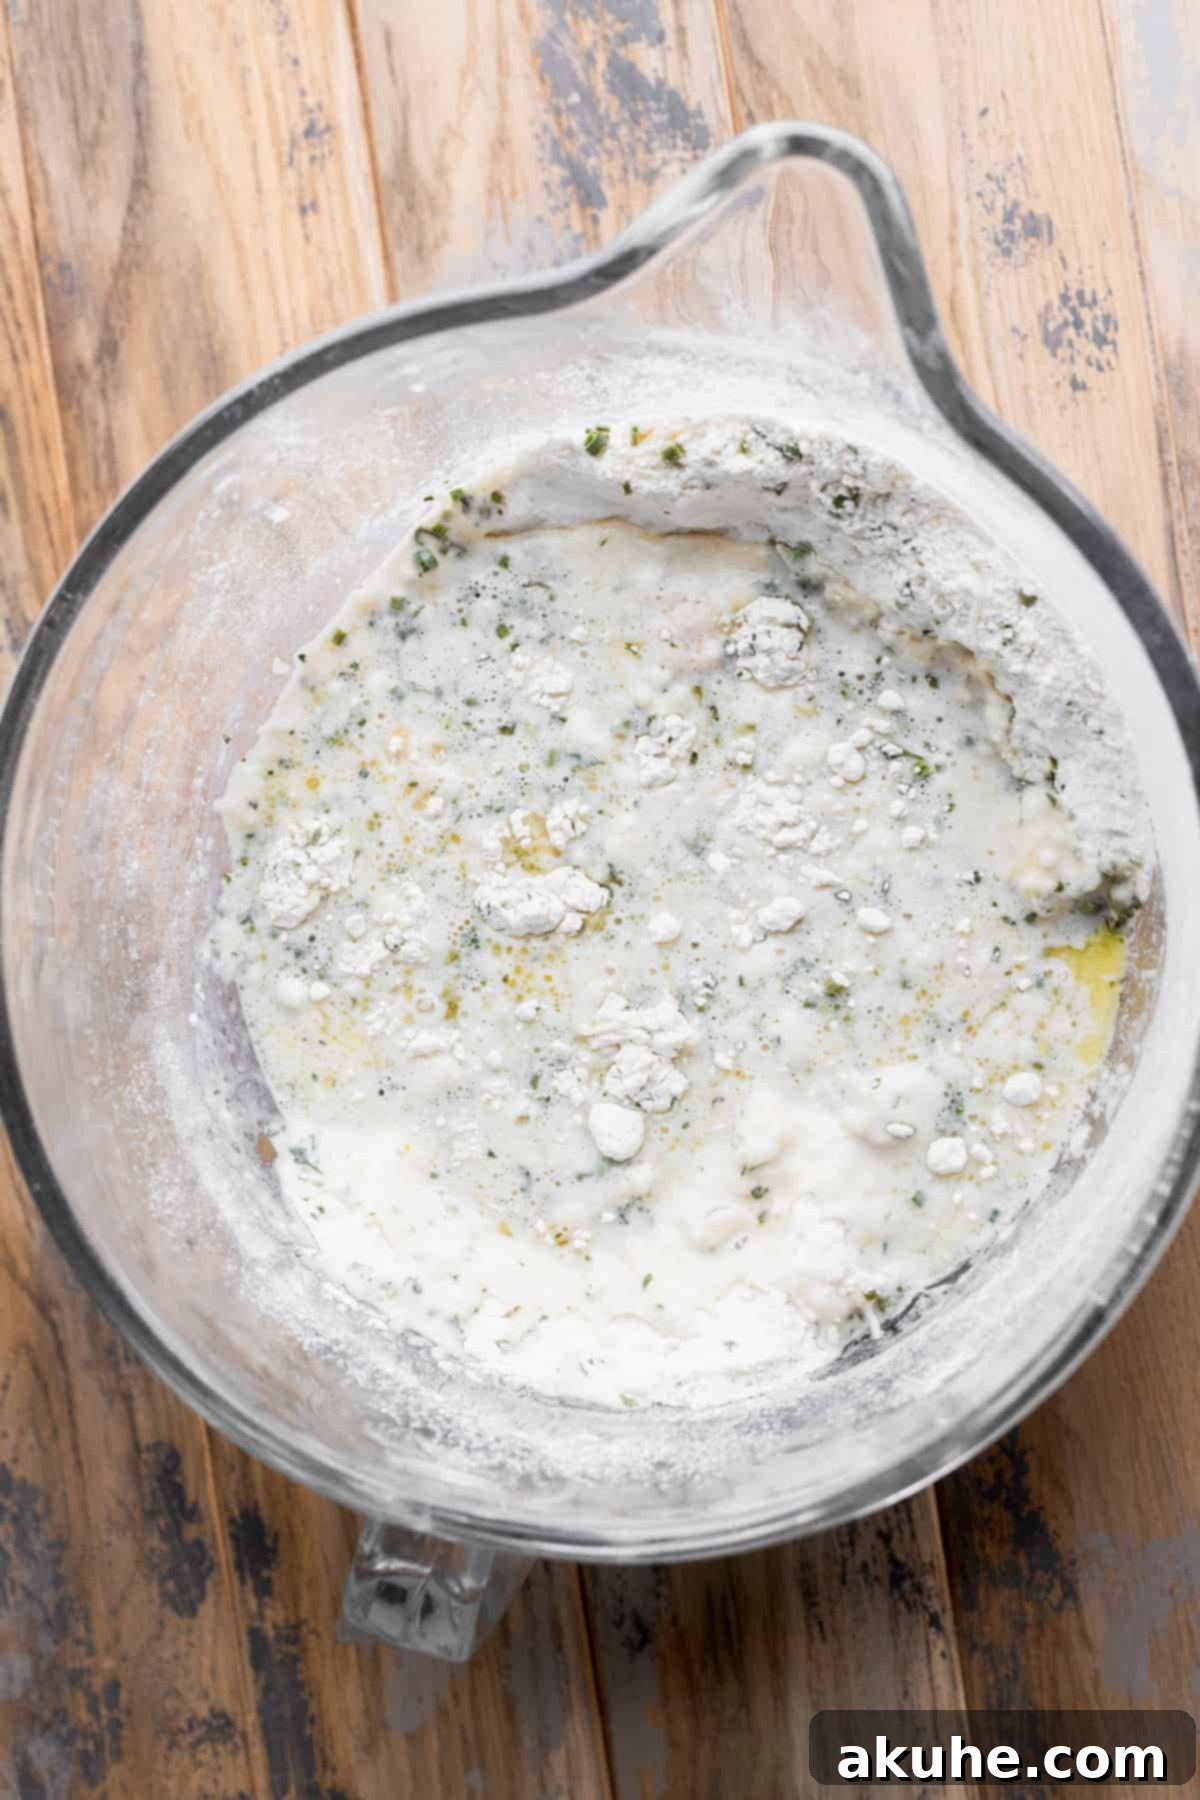
STEP 3: Incorporate Wet Ingredients. Once your yeast is active and foamy, pour the yeast mixture, warm milk, and cooled melted butter into the bowl with the dry ingredients. If using a stand mixer, attach the dough hook. Start mixing on low speed until a shaggy dough begins to form. If kneading by hand, use a sturdy spoon or your hands to bring the ingredients together.
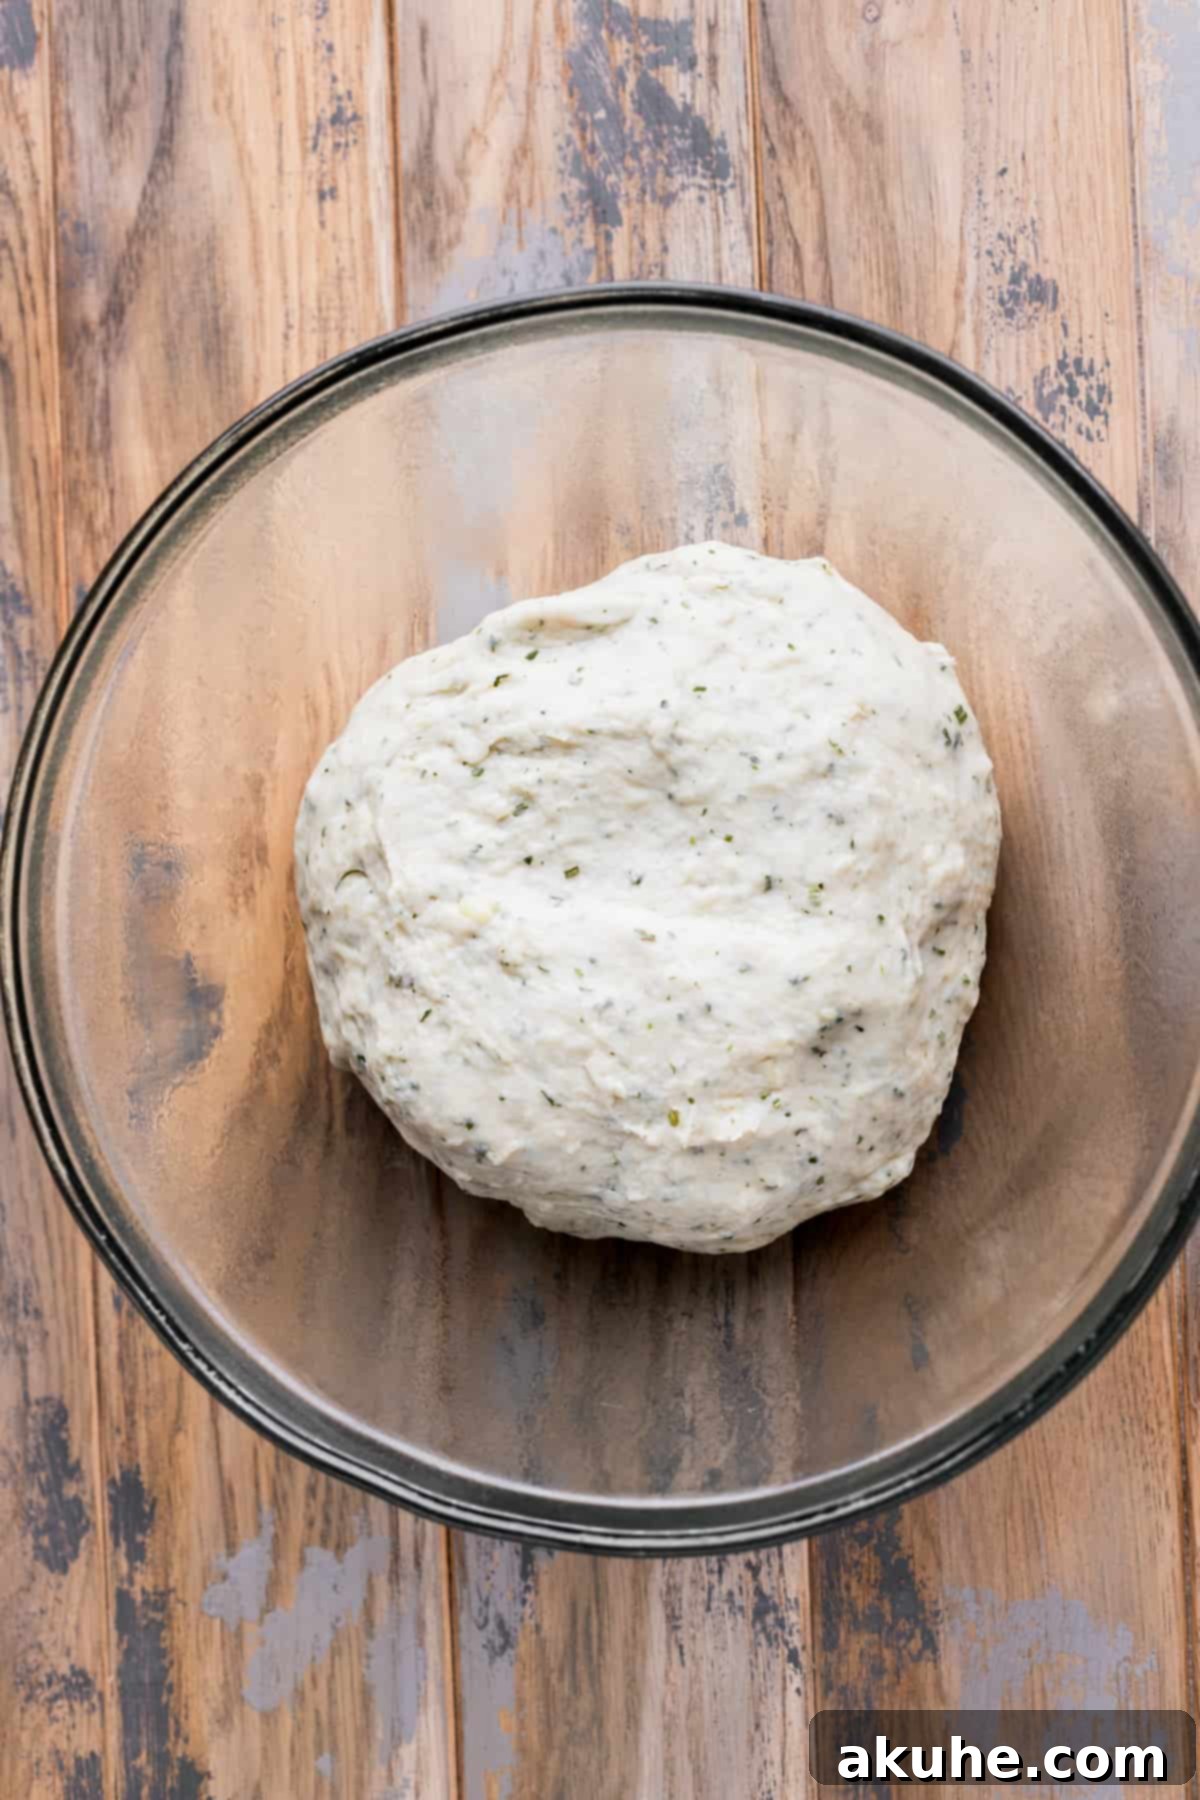
STEP 4: Knead the Dough. Increase your stand mixer speed to medium and knead the dough for a full 5 minutes. Proper kneading is essential for developing the gluten, which gives the rolls their structure and signature fluffy texture. The dough should be slightly tacky to the touch but not overly sticky. If kneading by hand, transfer the shaggy dough to a lightly floured surface and knead vigorously for 5-7 minutes. You’ll know it’s ready when the dough is smooth, elastic, and springs back when gently poked.
STEP 5: First Rise (Bulk Fermentation). Lightly grease a large bowl with nonstick cooking spray or a thin layer of oil. Transfer the kneaded dough into the bowl, turning it once to coat all sides. Cover the bowl snugly with a clean kitchen towel or plastic wrap. For an optimal rise, preheat your oven to 200°F (95°C) for a few minutes, then turn it off. Place the covered dough in the warm, turned-off oven with the door slightly cracked open. Let it rise for 1 hour, or until it has doubled in size. This warm, draft-free environment is perfect for yeast activity.
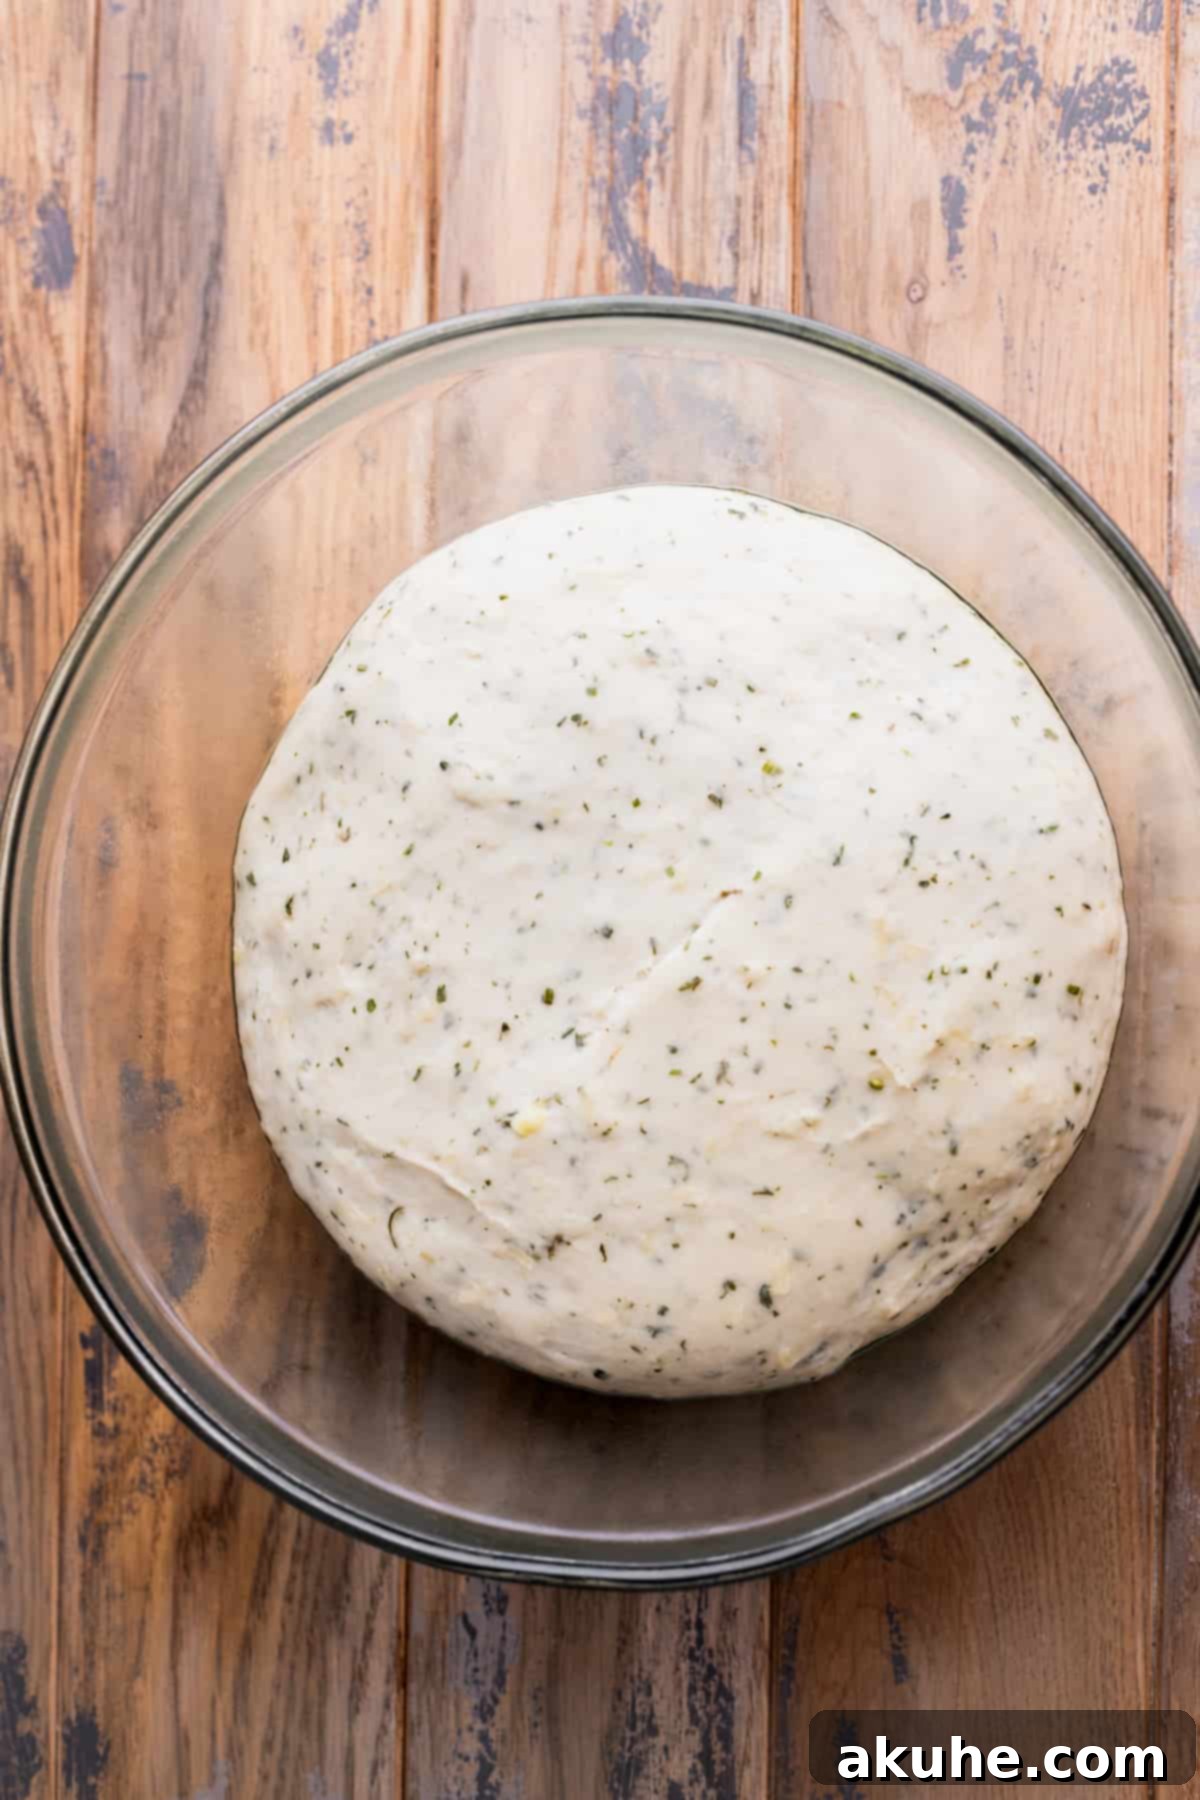
Part 2: Shaping, Second Rise, and Baking
STEP 6: Divide and Shape Dough Balls. Once the dough has completed its first rise, gently punch it down to release the air. Turn the dough out onto a lightly floured surface. For evenly sized rolls, which ensures uniform baking, use a kitchen scale to divide the dough into 12 equal pieces. For this recipe, each piece should weigh approximately 94-95 grams. To shape each roll, take one piece of dough and gently pull the edges down and tuck them underneath, forming a smooth top surface. Then, place the dough ball seam-side down on the counter, cup your hand over it, and gently roll it in a circular motion until it forms a tight, smooth, perfectly rounded ball.
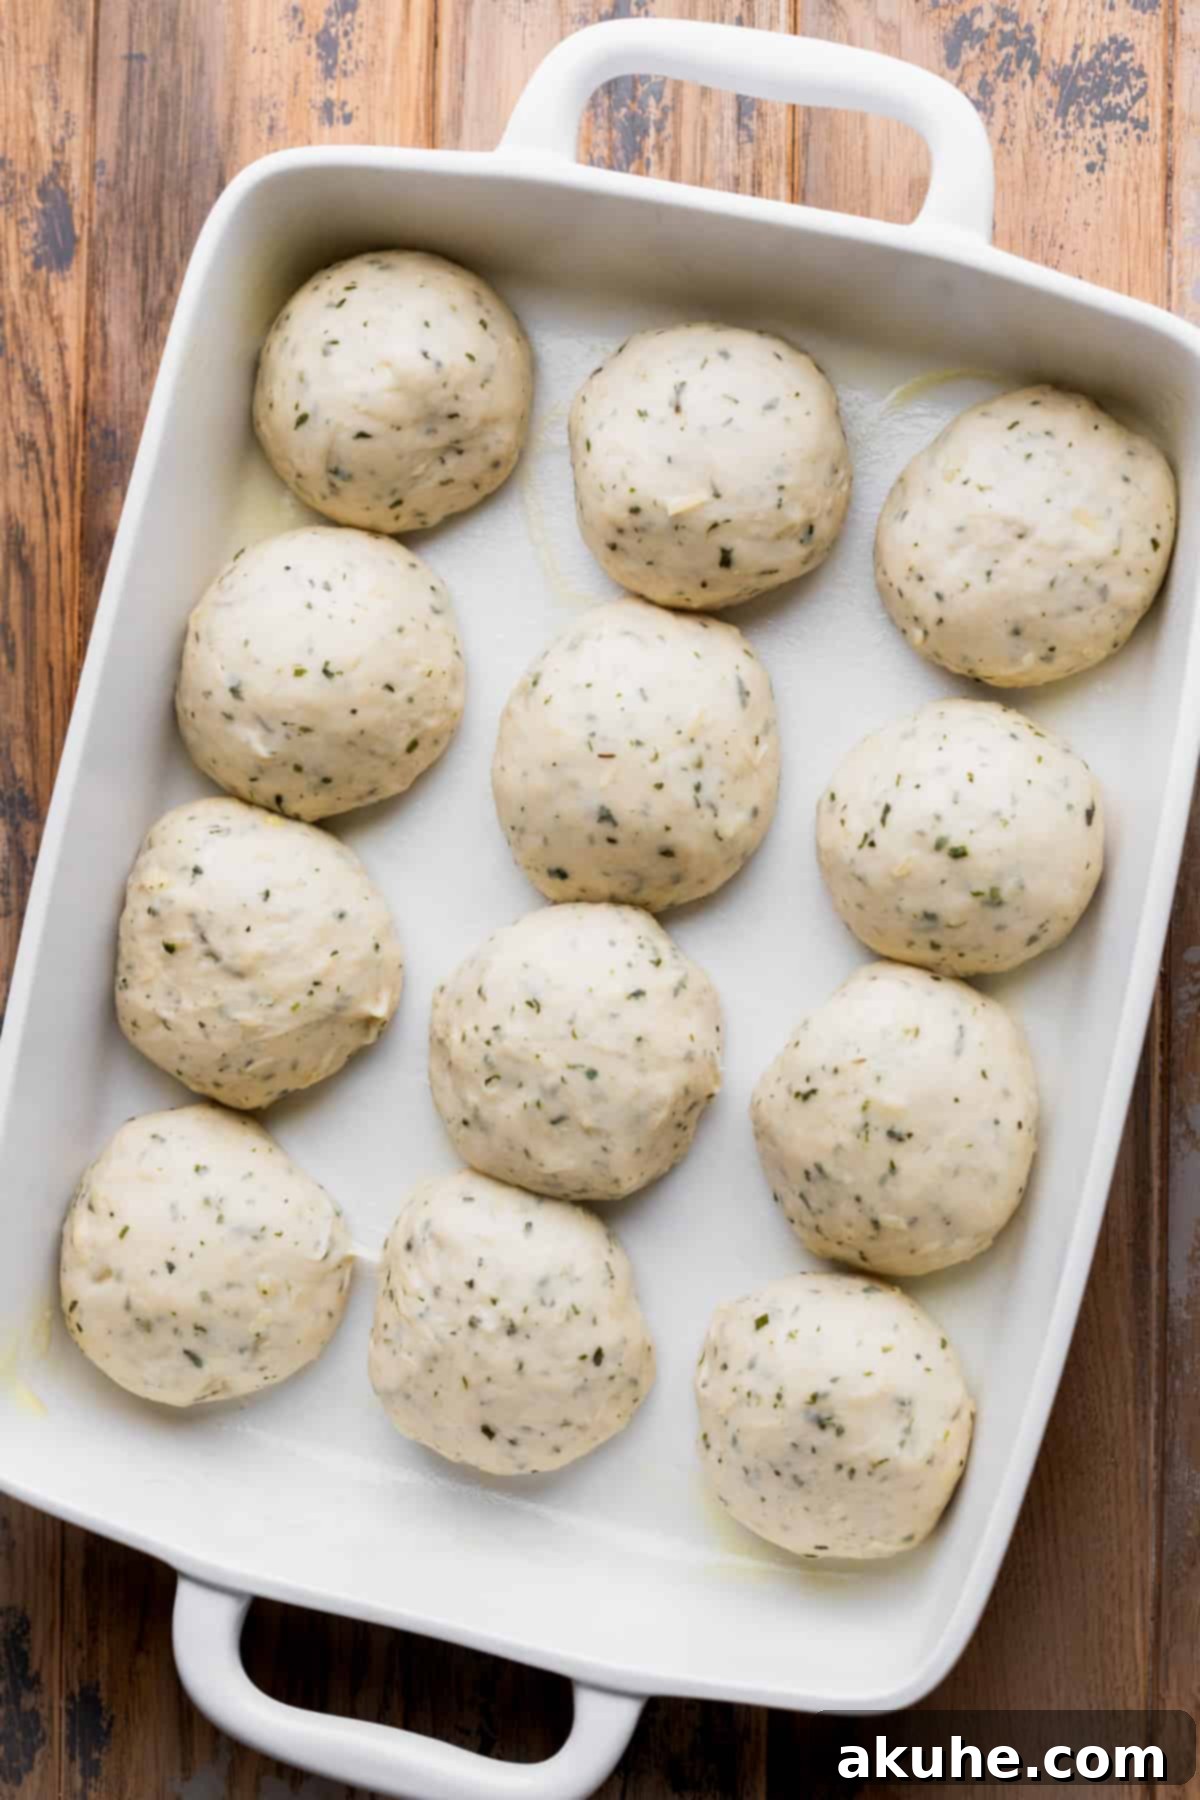
STEP 7: Second Rise (Proofing) and Egg Wash. Lightly spray a 9×13 inch baking pan with nonstick cooking spray. Arrange the 12 shaped dough balls evenly in the prepared pan, leaving a little space between them as they will expand. Cover the pan loosely with a clean kitchen towel and let the rolls rise again in a warm, draft-free spot for another 20 minutes. This second rise allows the rolls to become even lighter and airier. Towards the end of the second rise, whisk one large egg in a small bowl to create an egg wash. After the rolls have risen, gently brush a light, even layer of the egg wash over the tops of each roll. This creates that beautiful golden, shiny crust during baking. Discard any remaining egg wash.
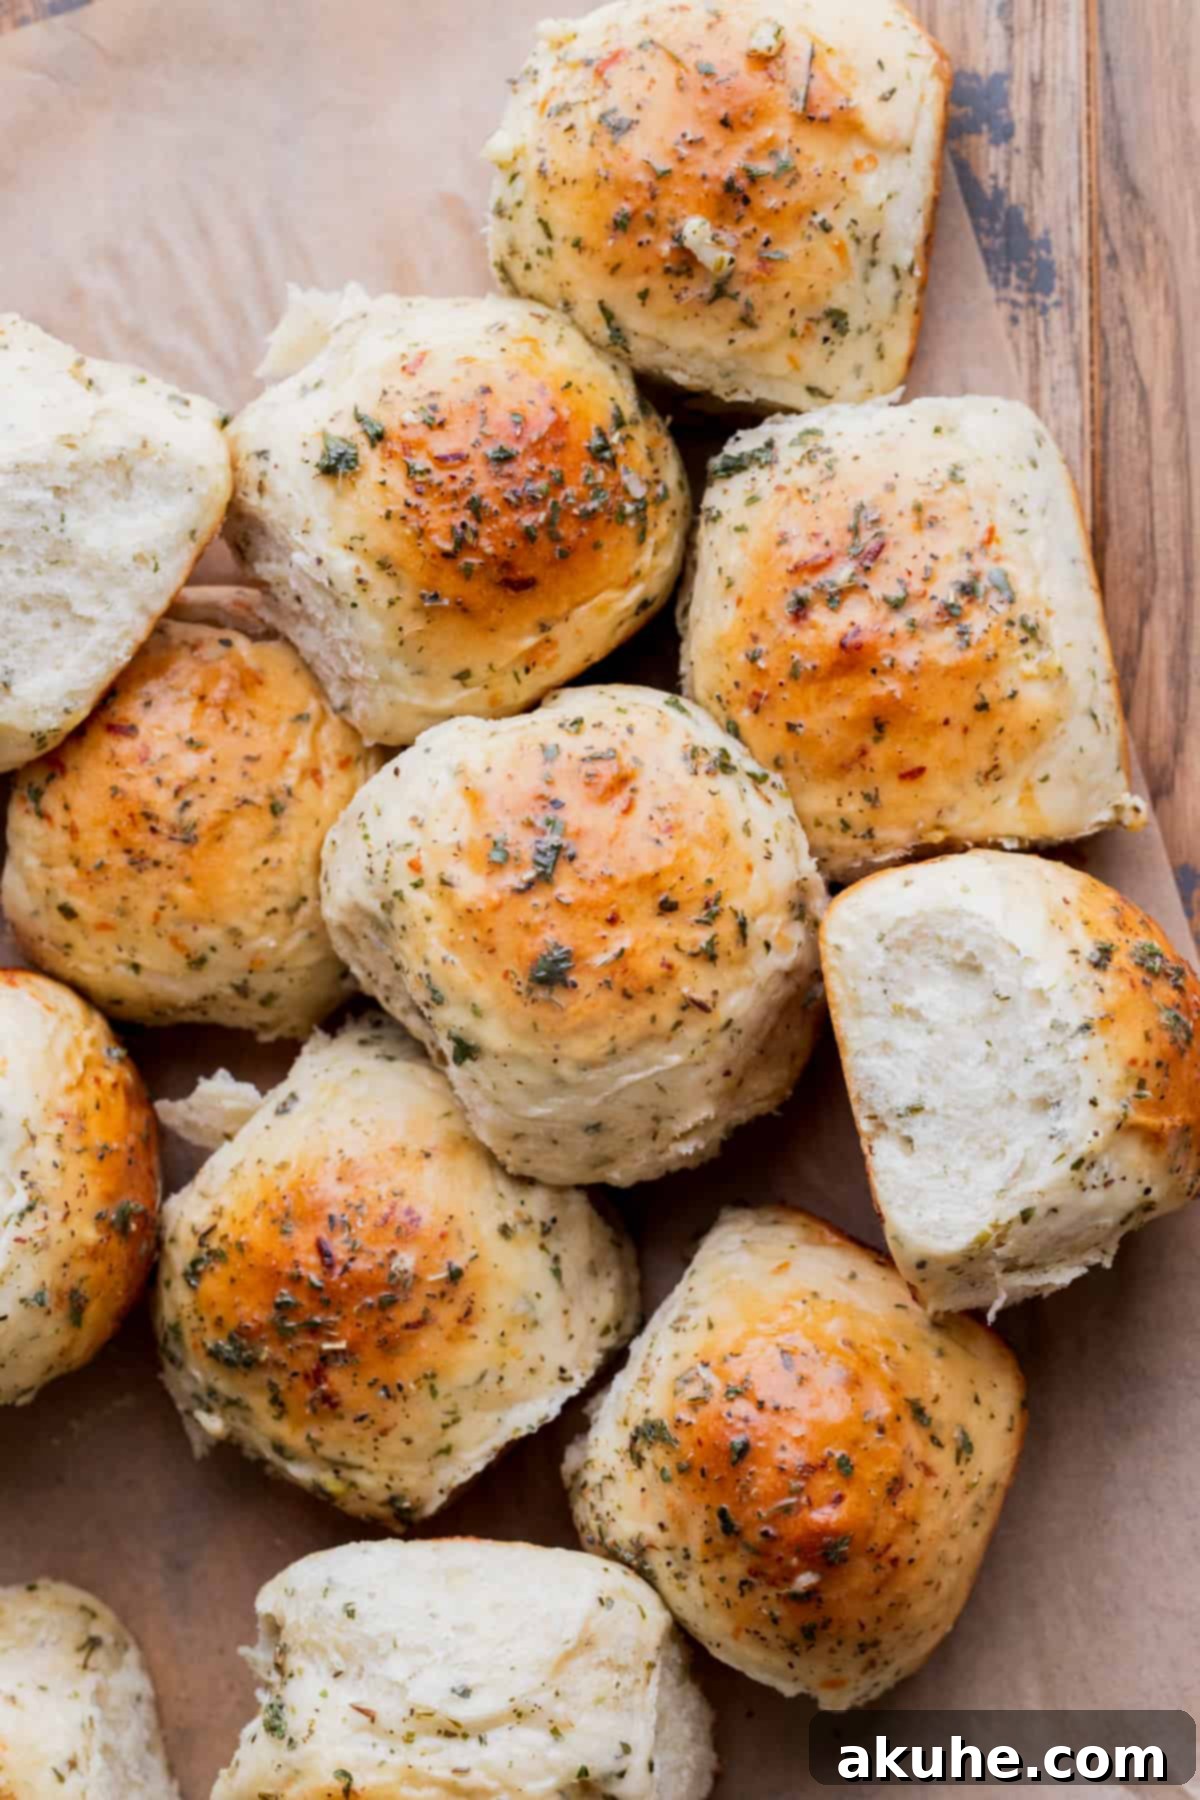
STEP 8: Bake the Rolls. Preheat your oven to 375°F (190°C). Place the baking pan into the preheated oven and bake for 20-25 minutes, or until the tops of the rolls are a rich, golden brown color and they sound hollow when lightly tapped. Keep an eye on them during the last few minutes to prevent over-browning. Once baked, remove the pan from the oven.
Step-by-Step Instructions: Garlic Butter and Serving Your Rolls
The final touch for these incredible garlic rolls is a generous brushing of aromatic garlic herb butter. This step transforms them into an even more irresistible treat.
STEP 1: Prepare the Garlic Butter. While your rolls are cooling slightly from the oven, prepare the garlic butter. In a small bowl, combine the melted unsalted butter, finely minced fresh garlic, Italian seasoning, and dried parsley. Stir until all ingredients are well combined and fragrant. The warmth of the melted butter will help the flavors meld beautifully.
STEP 2: Brush and Serve. Immediately after the rolls come out of the oven and you’ve prepared your garlic butter, generously brush the warm, herb-infused butter over the tops of all the rolls using a pastry brush. The heat from the rolls will help the butter soak in, creating a glistening, flavorful crust. Serve these delightful garlic rolls warm, fresh from the oven, for the ultimate experience. They are truly at their best when piping hot.
Reheating Tip: If you find yourself with any leftover rolls that are no longer warm, don’t worry! They can easily be reheated. Simply place them in the microwave for about 15-20 seconds, or wrap them in foil and warm them in a moderate oven for 5-10 minutes. This will bring back their soft texture and warm, inviting aroma, making them feel freshly baked again.
Expert Baking Tips for Flawless Garlic Rolls
Achieving bakery-quality garlic rolls at home is easier than you think with these expert tips:
- Kneading is Key: Whether you’re using a stand mixer with a dough hook or kneading by hand, ensure you knead the dough for the full 5 minutes. This process is crucial for developing the gluten, which gives the rolls their elasticity, structure, and incredibly soft, fluffy texture. An under-kneaded dough will result in dense, heavy rolls.
- Dough Consistency: After kneading, your dough should feel soft, smooth, and slightly tacky to the touch. It shouldn’t be overly sticky, nor should it be dry or stiff. If it’s too sticky, add a tiny bit more flour (half a tablespoon at a time). If it’s too dry, add a tiny bit of warm milk or water.
- Temperature Matters for Yeast: Yeast is a living organism, and its activity is highly dependent on temperature. Always use an instant-read thermometer to check that your water and milk are between 105°F and 115°F (40-46°C). Too hot will kill the yeast, too cold won’t activate it, and your rolls won’t rise.
- Accurate Flour Measurement: The amount of flour can greatly impact the texture of your rolls. For best results, spoon and level your flour into a measuring cup or, even better, use a kitchen scale to measure by weight. Over-measuring flour is a common mistake that leads to dry, tough rolls.
- Creating the Perfect Rising Environment: Yeast loves warmth and hates drafts. The trick of preheating your oven to 200°F and then turning it off provides an ideal, consistent environment for your dough to rise beautifully. Ensure the oven door is slightly cracked to prevent it from getting too hot and killing the yeast.
- Evenly Sized Rolls: For professional-looking rolls that bake uniformly, use a kitchen scale to divide your dough into equal portions. Aim for approximately 94-95 grams per roll as suggested in the recipe. This small step makes a big difference in the final presentation and ensures every roll is cooked perfectly.
- The Magic of Egg Wash: Don’t skip the egg wash! It’s a simple step that creates that gorgeous, golden-brown, shiny crust on your rolls, making them even more appealing.
- High Altitude Baking: If you live at high altitudes (above 3,500 feet), you may need to make slight adjustments. Often, adding an extra 1-2 tablespoons of flour can help firm up the dough. You might also find that dough rises faster, so keep a close eye on it during proofing times.
Making Your Garlic Rolls Ahead of Time
These garlic rolls are fantastic when freshly baked, but with a little planning, you can prepare them in advance, making mealtime easier. Here are two convenient options:
- Overnight Dough Chilling: After the initial kneading (Step 4), place your dough in a greased bowl, cover it tightly with plastic wrap, and refrigerate it overnight (up to 24 hours) for its first rise. The cold temperature slows down the yeast activity, allowing for a long, slow fermentation that often results in a more flavorful dough. The next day, remove the dough from the fridge and let it come to room temperature for about 30-60 minutes before proceeding with dividing, shaping, and the second rise (Steps 6 and 7). Allow 1-2 hours for the second rise to ensure the dough is fully relaxed and proofed before baking.
- Bake and Reheat: You can completely bake the rolls a day in advance. Once baked and cooled, store them properly (see “Storing and Freezing” below). When ready to serve, let the rolls come to room temperature. To warm them up and restore their soft texture, cover them loosely with foil and bake in a preheated 300°F (150°C) oven for about 5-10 minutes, or until thoroughly warmed through. Brush with fresh garlic butter after reheating for the best flavor.
Frequently Asked Questions About Garlic Rolls
While some bread doughs freeze well, I generally do not recommend freezing this specific raw garlic roll dough. The delicate balance of yeast, butter, and herbs can sometimes be affected by the freezing and thawing process, leading to a less consistent rise and texture. For making ahead, please follow the chilling instructions provided above for the best results.
Absolutely! This recipe uses classic dried parsley and chives, but feel free to experiment. You could incorporate dried oregano, basil, thyme, or a pinch of rosemary for different flavor profiles. Fresh herbs can also be used; simply use about three times the amount of fresh herbs compared to dried, and finely mince them. Adding a touch of onion powder or a pinch of red pepper flakes for a subtle kick are also delicious variations. The baking process will remain the same regardless of your herb choice.
The most common reasons for rolls not rising are related to the yeast. First, double-check the temperature of your warm water for yeast activation; it should be between 105-115°F (40-46°C) as measured with a thermometer. Water that’s too hot will kill the yeast, and water that’s too cold won’t activate it. Second, ensure your active dry yeast is fresh and not expired. Old or expired yeast loses its potency and won’t produce the necessary gases for rising. Always check the expiration date and look for foaminess during the initial activation step. If it doesn’t foam, discard and start with fresh yeast.
Yes, absolutely! While a stand mixer with a dough hook makes the kneading process very easy, you can certainly knead the dough by hand. Simply combine your wet and dry ingredients in a large bowl until a shaggy dough forms, then turn it out onto a lightly floured surface. Knead the dough vigorously for 7-10 minutes, or until it becomes smooth, elastic, and springs back when gently pressed. It’s a great arm workout and a satisfying way to connect with your baking!
To check if your active dry yeast is active, simply combine it with the specified amount of warm water (105-115°F / 40-46°C) and a pinch of sugar (if not already included in the recipe). Let it sit for 5-10 minutes. If the mixture becomes foamy and bubbly on the surface, your yeast is active and ready to use. If it remains flat or develops no bubbles, your yeast is likely inactive, and you’ll need to use a fresh packet.
Storing and Freezing Your Homemade Garlic Rolls
Proper storage is essential to keep your delicious garlic rolls fresh and enjoyable for as long as possible.
Storing
Once your garlic rolls have completely cooled to room temperature, store them in an airtight container or a large resealable plastic bag. They can be kept at room temperature for up to 2-3 days, though they are best enjoyed fresh. For longer storage, you can keep them in the refrigerator for up to 5 days. When reheating from the fridge, follow the microwave or oven instructions provided in the serving section to restore their warmth and softness.
Freezing
These garlic rolls freeze wonderfully after they are baked. Allow the baked rolls to cool completely. Once cooled, place them in a single layer on a baking sheet and freeze for about an hour until firm. This prevents them from sticking together. Then, transfer the frozen rolls to a freezer-safe airtight container or heavy-duty freezer bag. They can be stored in the freezer for up to 30 days. To enjoy, thaw the rolls at room temperature for about 1 hour, then reheat in a warm oven (covered with foil) or microwave until soft and warm. Brushing with fresh garlic butter after reheating will make them taste freshly baked!
Perfect Pairings for Your Garlic Rolls
These versatile garlic rolls are a fantastic accompaniment to a wide variety of meals. Here are some perfect pairing ideas to inspire your next dinner:
- Classic Italian Dinners: Pair them with your favorite pasta dishes like spaghetti and meatballs, lasagna, chicken alfredo, or a simple marinara sauce. They are perfect for soaking up every last bit of delicious sauce.
- Hearty Soups and Stews: There’s nothing more comforting than tearing into a warm garlic roll alongside a bowl of minestrone, creamy tomato soup, beef stew, or a hearty chili.
- Roasted Meats and Poultry: Serve them with roasted chicken, a pot roast, or grilled steaks. The savory garlic flavor beautifully complements rich meat dishes.
- Salads: Elevate a simple green salad or a Caesar salad into a satisfying meal by adding a side of warm garlic rolls.
- Breakfast/Brunch: Believe it or not, these rolls can be a delightful addition to a savory brunch spread. Imagine them alongside scrambled eggs, bacon, or a frittata.
- Simply Snacking: Sometimes, the best way to enjoy these rolls is all on their own, perhaps with an extra dollop of butter or a sprinkle of Parmesan cheese. They are that good!
Customize Your Garlic Rolls: Creative Variations
While the classic garlic roll is perfection, don’t hesitate to get creative and customize your batch with these delightful variations:
- Cheesy Garlic Rolls: In addition to the Parmesan in the dough, sprinkle some shredded mozzarella or cheddar cheese over the rolls during the last 5-10 minutes of baking for a gooey, cheesy crust.
- Spicy Garlic Rolls: Add a pinch of red pepper flakes to the dough or the garlic butter topping for a subtle kick. For more heat, a dash of cayenne pepper or finely minced jalapeños can be incorporated.
- Rosemary Garlic Rolls: Swap out some of the dried parsley or chives for finely chopped fresh or dried rosemary. Its pungent, piney flavor pairs wonderfully with garlic.
- Everything Bagel Seasoning: For a unique twist, brush the rolls with the egg wash and then sprinkle them generously with everything bagel seasoning before baking. This adds a fantastic crunch and savory flavor.
- Onion & Garlic Rolls: Add 1-2 tablespoons of finely minced fresh onion or 1 teaspoon of onion powder to the dough along with the garlic for an extra layer of savory flavor.
- Sun-Dried Tomato & Garlic: Incorporate 1/4 cup of finely chopped, oil-packed sun-dried tomatoes (drained well) into the dough for a burst of sweet-tart flavor and color.
Other Homemade Bread Recipes To Try
Make sure to leave a STAR REVIEW if you loved this recipe! Make sure to tag me on Instagram @stephaniesweettreats. To get more ideas follow me on Pinterest.
Garlic Rolls
Print Recipe | Pin Recipe | Leave a Review
Ingredients
For the Garlic Rolls:
- 2 1/4 tsp Active dry yeast (or 1 packet)
- 1/2 cup Water, warmed to 110°F (43°C)
- 1 cup Milk, warmed to 110°F (43°C)
- 4 TBSP Unsalted butter, melted and cooled
- 4 cups All-purpose flour
- 3 TBSP White granulated sugar
- 1/2 TBSP Salt
- 5 Garlic cloves, minced
- 2 tsp Garlic powder
- 1 TBSP Dried parsley
- 1 TBSP Dried chives (or Italian seasoning)
- 1/2 cup Shredded parmesan cheese
- 1 Large egg, beaten for egg wash
For the Garlic Butter Topping:
- 3 TBSP Unsalted butter, melted
- 1 Garlic clove, minced
- 1/2 tsp Italian seasoning
- 1/2 tsp Dried parsley
Instructions
Garlic Rolls:
- In a small bowl, combine warm water and yeast. Let it sit for 10 minutes until foamy. Heat the milk to 110°F (43°C) right before the yeast is done. Melt the butter while the yeast is sitting so it can cool to lukewarm.
- In a large mixing bowl (or stand mixer bowl), sift together the flour, sugar, salt, minced garlic, garlic powder, parsley, chives, and parmesan cheese. Mix well.
- Add the activated yeast mixture, warm milk, and cooled melted butter to the dry ingredients. Use a dough hook attachment (or your hands) to mix until a shaggy dough forms.
- Knead the dough on medium speed for 5 minutes in a stand mixer. If kneading by hand, knead on a lightly floured surface for 5-7 minutes until the dough is soft, smooth, and elastic.
- Preheat the oven to 200°F (95°C), then turn it off. Spray a large mixing bowl with nonstick spray. Place the dough in the bowl, cover it with a kitchen towel, and place it in the turned-off oven with the door cracked open. Let it rise for 1 hour, or until doubled in size.
- Once risen, gently punch down the dough. Weigh the dough on a kitchen scale and divide it into 12 equal pieces (approximately 94-95 grams each).
- Shape each piece into a smooth ball by pulling the sides to the bottom and rolling it on the counter with a cupped hand until smooth.
- Spray a 9×13 inch baking pan with nonstick spray. Arrange the 12 rolls in the pan. Cover with a kitchen towel and let them rise for another 20 minutes. Then, gently brush a light layer of beaten egg over the tops of the rolls for an egg wash. Discard any remaining egg.
- Preheat the oven to 375°F (190°C). Bake the rolls for 20-25 minutes, or until the tops are golden brown.
Garlic Butter:
- In a small bowl, mix the melted butter, minced garlic, Italian seasoning, and parsley until well combined.
- Once the rolls are out of the oven, use a pastry brush to generously brush the garlic herb butter over the warm tops of the rolls. Serve immediately.
Notes
Flour: Make sure flour is spooned and leveled or use a kitchen scale for accuracy. Compacted flour can lead to dry rolls.
High Altitude Baking: If baking at high altitudes, consider adding an extra 1-2 tablespoons of flour to the dough for optimal results.
Nutrition Information (per serving, approximate)
Calories: 246kcal, Carbohydrates: 38g, Protein: 6g, Fat: 8g, Saturated Fat: 5g, Polyunsaturated Fat: 0.5g, Monounsaturated Fat: 2g, Trans Fat: 0.3g, Cholesterol: 20mg, Sodium: 303mg, Potassium: 117mg, Fiber: 2g, Sugar: 4g, Vitamin A: 253IU, Vitamin C: 1mg, Calcium: 41mg, Iron: 2mg
