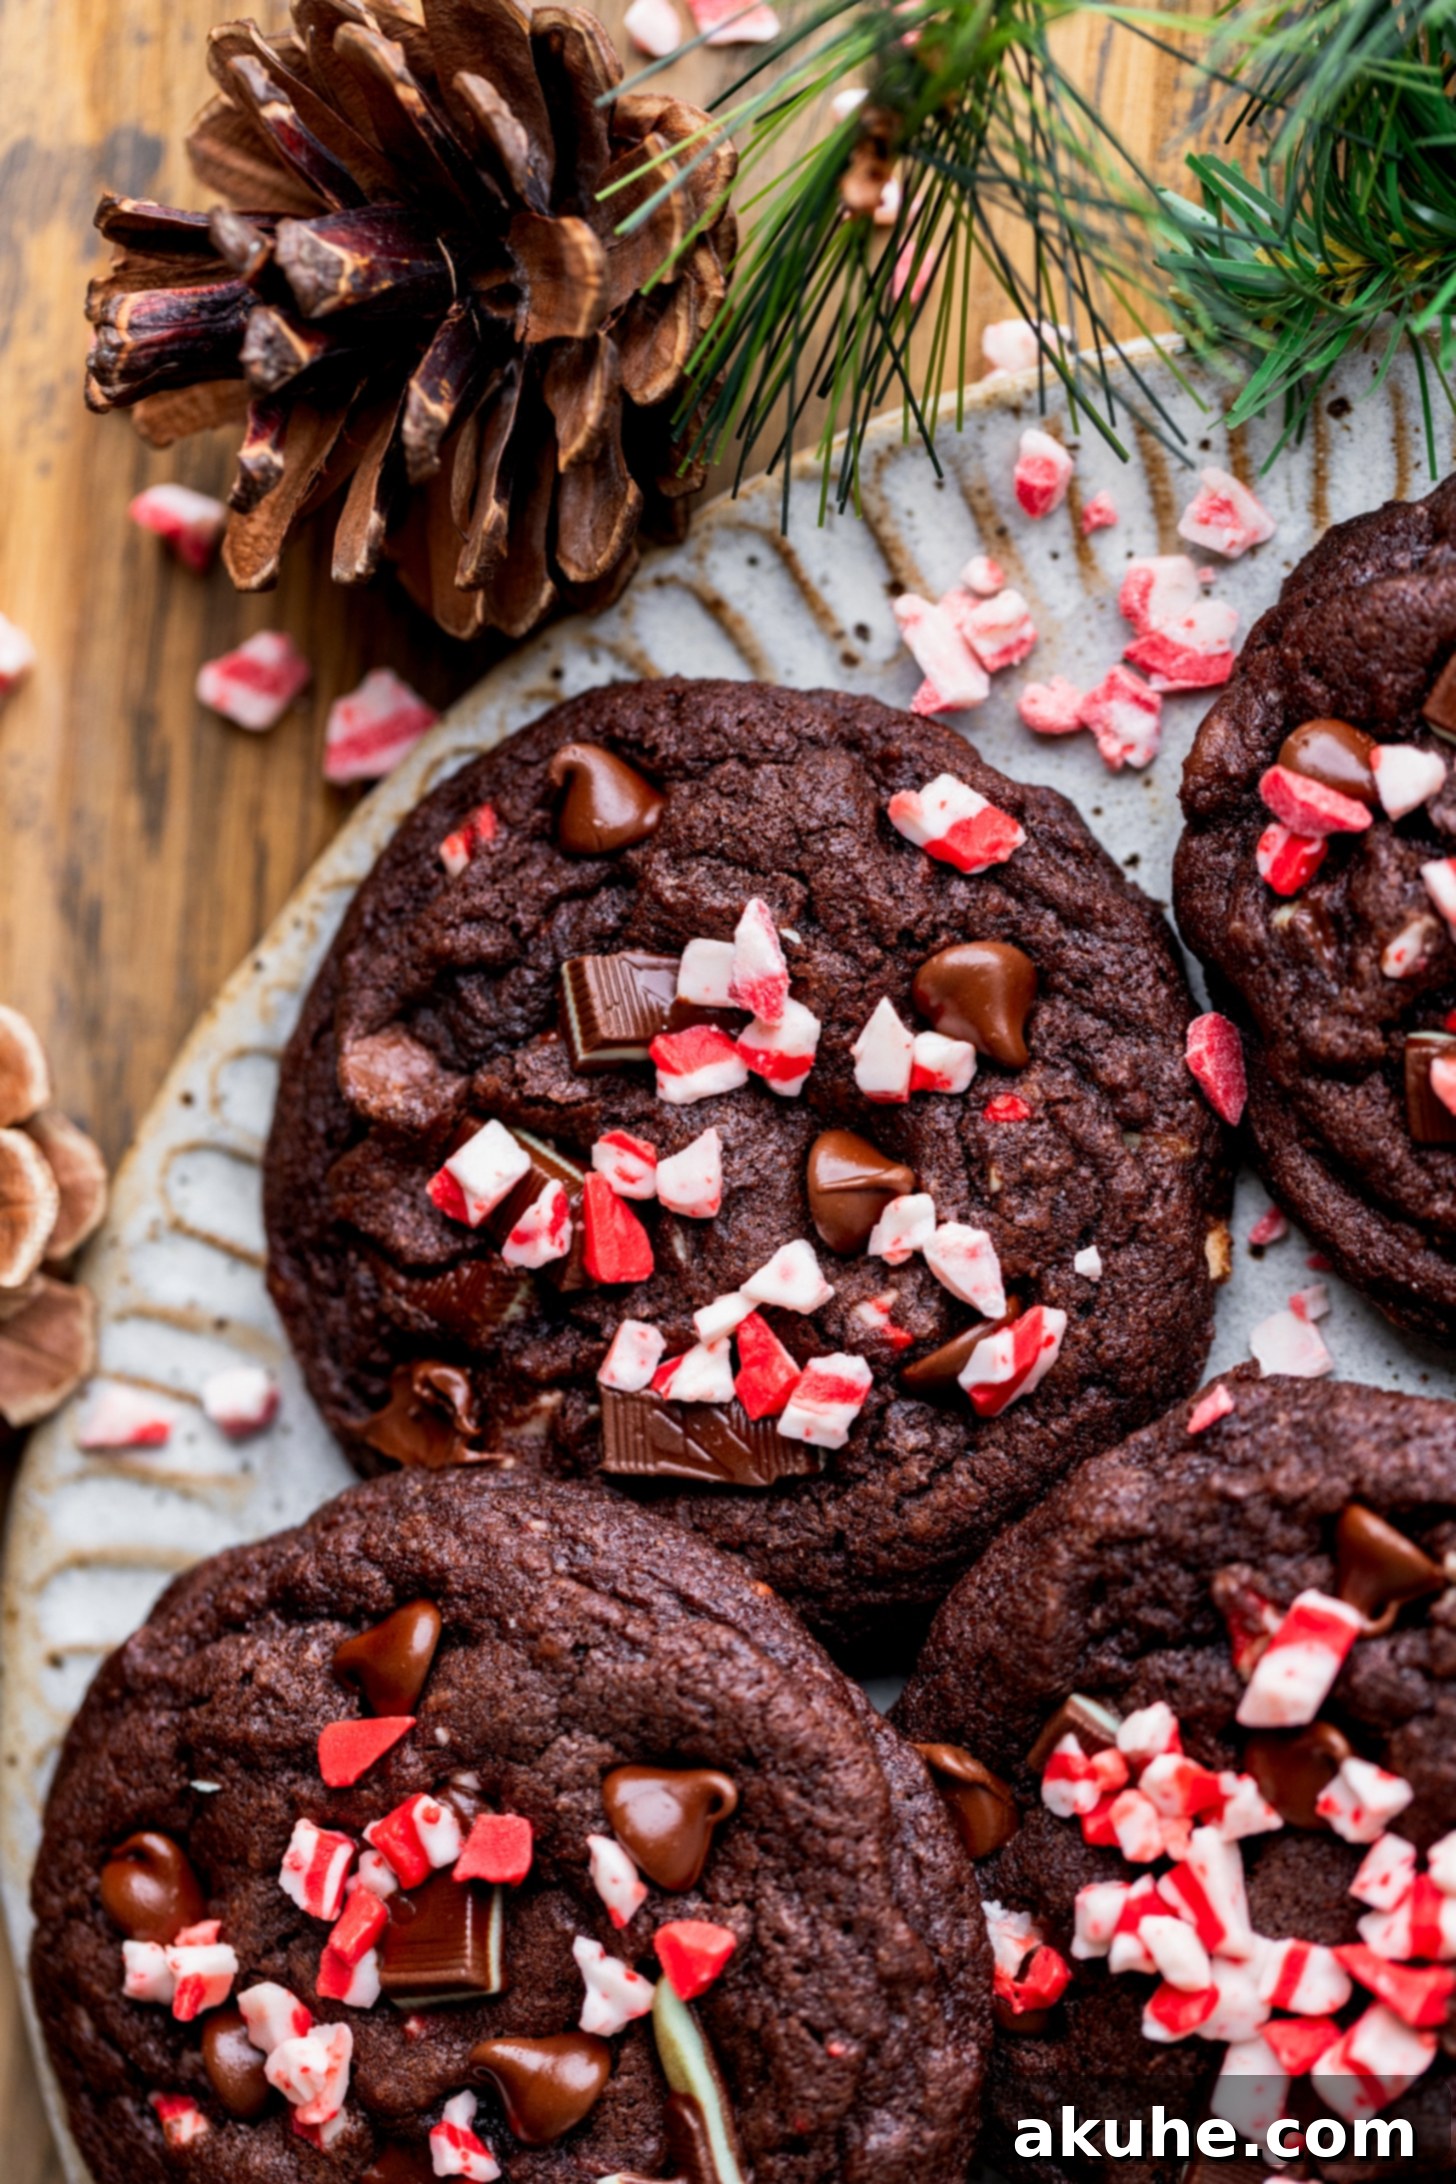
Welcome to the ultimate guide for creating the most enchanting and utterly delicious Chocolate Peppermint Cookies this holiday season! These aren’t just any cookies; they’re a symphony of rich, deep chocolate, refreshing peppermint, and delightful bursts of melty chocolate chips, creamy Andes mints, and vibrant Andes peppermint chips. Perfectly festive and incredibly satisfying, these cookies are destined to become a cherished part of your holiday baking tradition.
There’s something truly magical about the combination of chocolate and peppermint, especially when the air grows crisp and the festive season approaches. These cookies encapsulate that spirit, offering a delightful twist on classic holiday flavors. Forget hard candy canes; imagine a soft, chewy chocolate cookie bursting with cool, minty goodness and decadent chocolate in every bite. This recipe delivers a cookie experience that is both nostalgic and exciting, sure to bring warmth and joy to any gathering.

This chocolate peppermint cookie recipe is not just a dessert; it’s an invitation to celebrate the holiday season with every bite. These are the quintessential holiday cookies, designed to infuse your home with festive cheer. The blend of peppermint candies and Andes mints evokes the cheerful essence of candy canes, yet offers a vastly superior, softer texture and a more nuanced flavor than harsh, crunchy candy cane pieces. The rich chocolate base complements the mint perfectly, creating a balanced and irresistible treat.
If you’re looking to truly impress at any cookie swap or family gathering, look no further. These chocolate peppermint cookies will make you the undisputed star, guaranteed to garner rave reviews and requests for the recipe. We highly recommend making an extra batch, or perhaps even doubling the recipe, because the first tray is very likely to disappear before it even has a chance to cool. Trust us, these are too good not to savor for yourself!
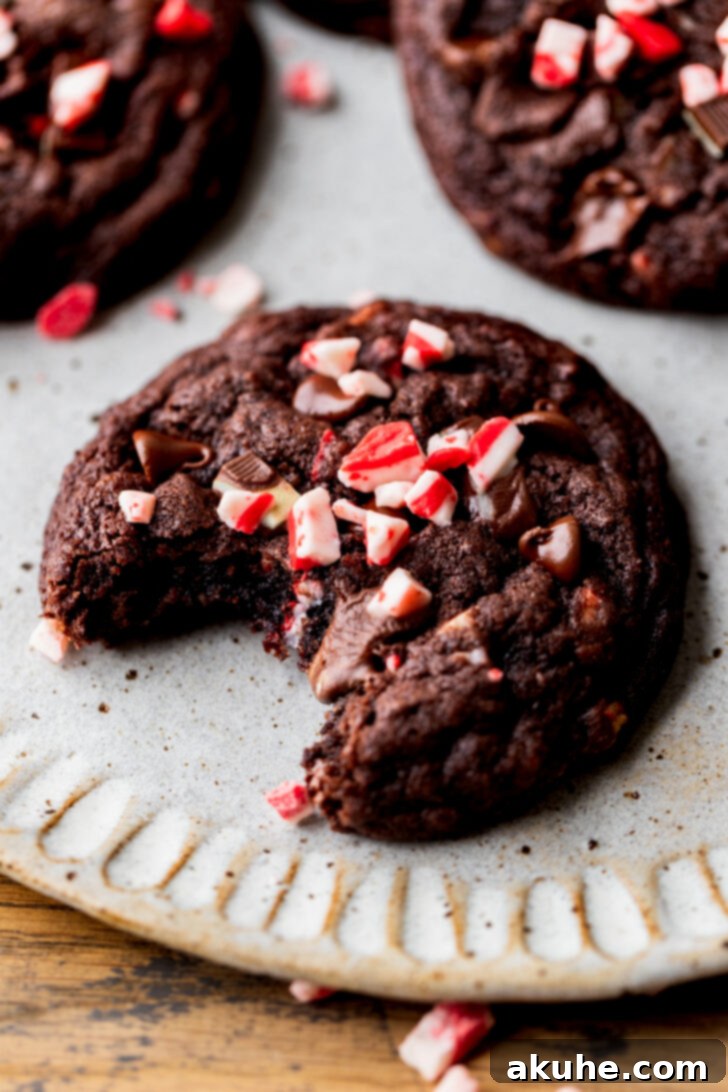
Unlocking the Perfect Chocolate Peppermint Cookie: Essential Baking Tips
Achieving bakery-quality chocolate peppermint cookies at home is entirely possible with a few key techniques. Follow these expert tips to ensure your cookies turn out perfectly soft, chewy, and bursting with flavor, just like the ones in our recipe:
- Tip 1: Precise Flour Measurement is Crucial. The most common baking mistake is incorrectly measuring dry ingredients, especially flour. Always use the “spoon and level” method: gently spoon the all-purpose flour into your measuring cup until it overflows, then use a straight edge (like the back of a knife) to level off the excess. Avoid scooping the measuring cup directly into the flour container, as this compacts the flour, adding too much to your dough. Excess flour will result in dry, crumbly, and cakey cookies that won’t spread properly. This principle applies equally to cocoa powder to ensure the perfect richness and texture. For ultimate accuracy, consider investing in a kitchen scale.
- Tip 2: Master the Creaming of Butter and Sugars. For a truly chewy and airy cookie texture, it’s vital to beat the softened unsalted butter, brown sugar, and granulated white sugar together on high speed for a full 2 minutes. This process, known as creaming, incorporates air into the butter, creating a light and fluffy mixture. This aeration is what gives your cookies their desired chewiness and helps them rise beautifully in the oven. If this step is rushed, your cookies might turn out dense or even greasy. Ensure your butter is at room temperature for optimal creaming.
- Tip 3: The Art of Post-Bake Topping. To achieve that picture-perfect, decadent finish, I recommend topping each warm chocolate peppermint cookie immediately after they come out of the oven. Gently press two pieces of Andes mints, about 4-5 semi-sweet chocolate chips, and a sprinkle of Andes peppermint chips onto the surface of each cookie. The residual heat from the freshly baked cookies will slightly melt the toppings, allowing them to adhere beautifully and creating a gorgeous, glossy appearance. This method also prevents the toppings from sinking to the bottom during baking and keeps their vibrant colors and distinct shapes intact.
- Tip 4: Don’t Rush the Chill Time. Chilling the cookie dough for at least 30 minutes, as specified in the recipe, is a non-negotiable step for optimal results. This cooling period allows the butter to solidify, preventing the cookies from spreading too much in the oven. It also gives the flour time to fully hydrate, leading to a more flavorful and tender cookie with a perfectly chewy texture. Skipping this step can result in flat, crispy cookies that lack depth.
- Tip 5: Use Quality Ingredients. While seemingly obvious, the quality of your ingredients significantly impacts the final taste. Use good quality unsweetened cocoa powder for a rich chocolate flavor, fresh eggs, and pure vanilla extract. For the mint, Andes mints are specified for their unique creamy mint chocolate flavor, and good quality peppermint chips will deliver that refreshing kick.
Crafting the Perfect Holiday Cookie: Step-by-Step Visual Guide
Seeing is believing, especially when it comes to baking! This section provides a visual walkthrough of key stages in making our irresistible Chocolate Peppermint Cookies. Follow these steps closely to ensure your dough comes together perfectly, setting the stage for wonderfully chewy and minty chocolate treats.
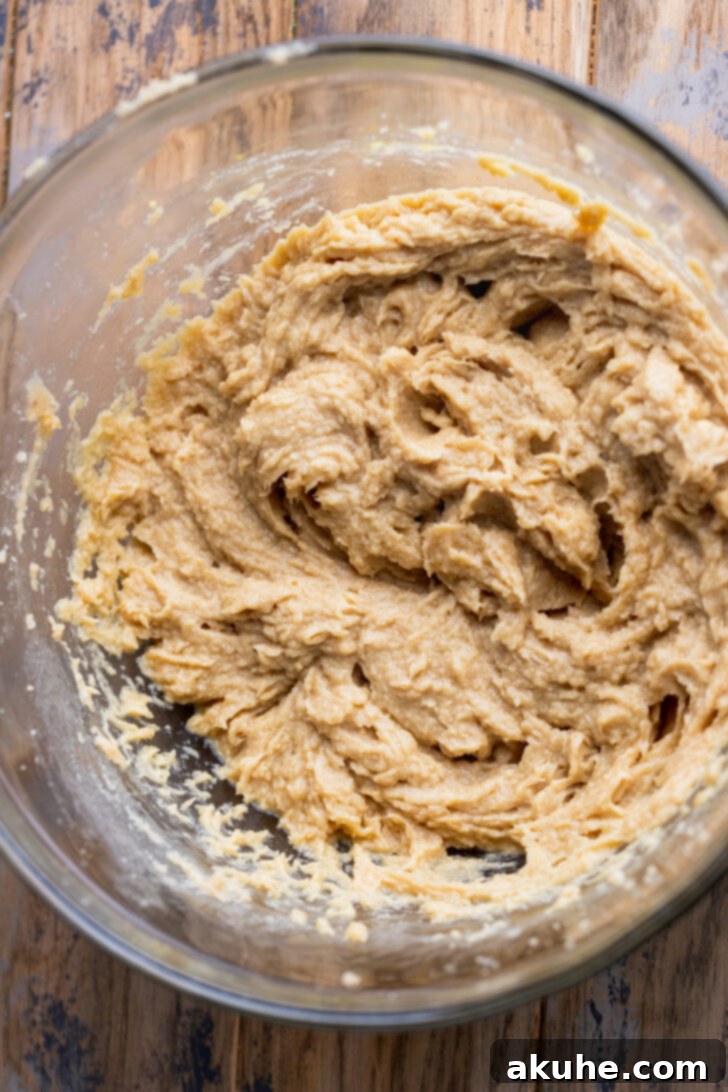
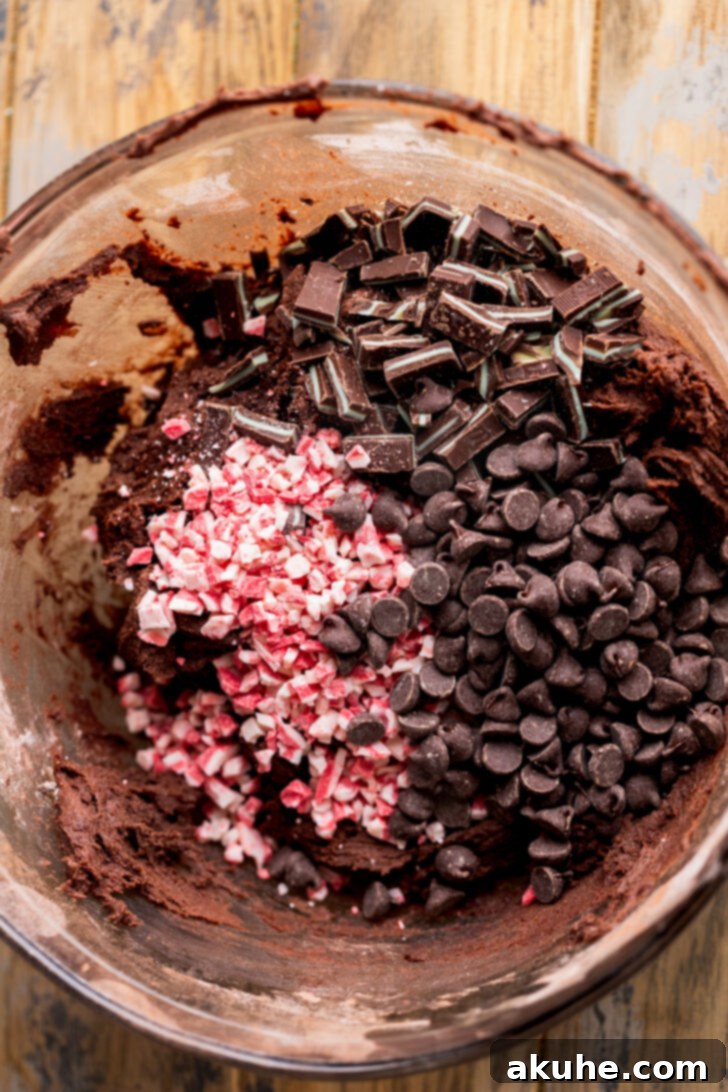
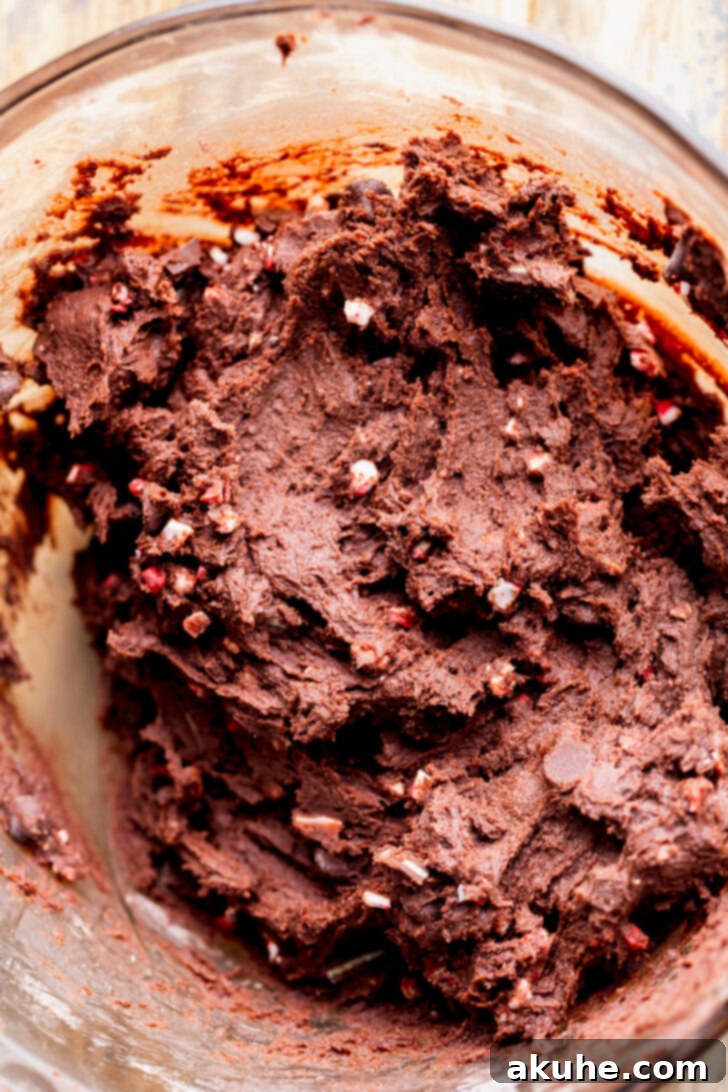
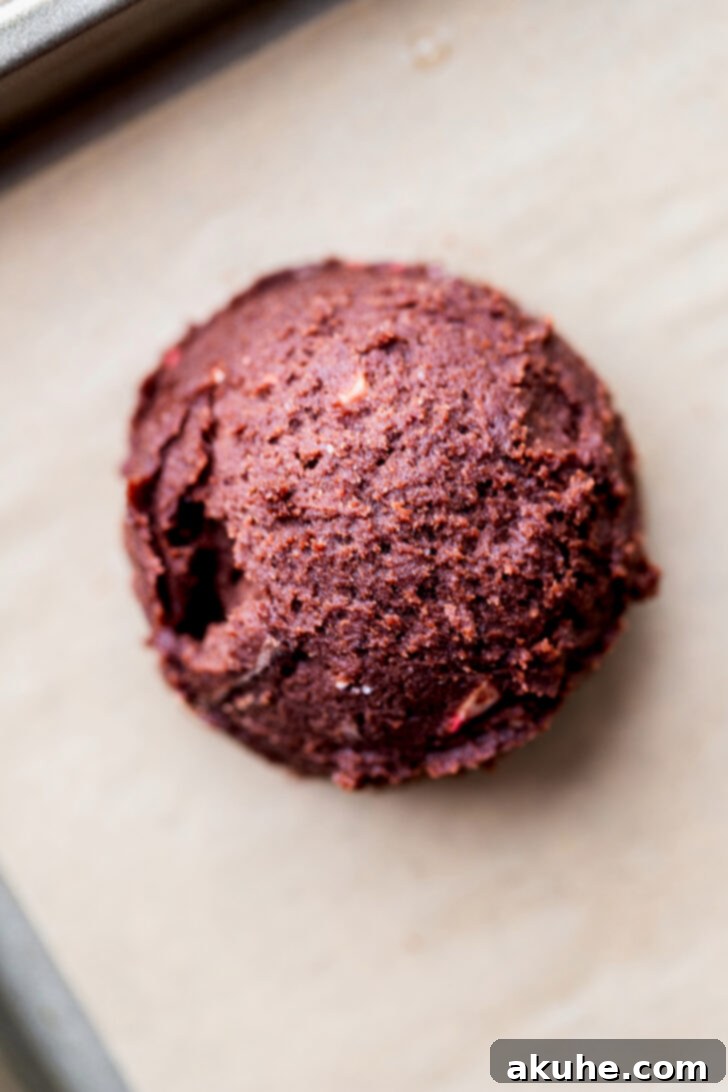
These visuals demonstrate the meticulous steps required for achieving the perfect dough consistency and preparation. From ensuring your wet ingredients are fluffy to incorporating the beloved mix-ins and chilling the dough, each stage contributes to the superior taste and texture of your finished chocolate peppermint cookies. Pay close attention to these details, and you’ll be rewarded with a batch of cookies that are truly exceptional.

More Peppermint Delights and Sweet Inspirations
If you’re as enamored with the refreshing flavor of peppermint as we are, then your culinary adventure doesn’t have to stop with these incredible cookies! The versatility of peppermint makes it a star ingredient in a wide array of desserts, especially during the festive season. Its bright, cool notes perfectly complement rich chocolate, creamy cheesecake, and many other sweet treats. Exploring different peppermint-infused recipes is a wonderful way to expand your baking repertoire and delight your taste buds throughout the holidays.
For those seeking more sophisticated peppermint recipes that capture the essence of the season, I highly recommend trying some of my other popular creations. Each recipe offers a unique way to enjoy this beloved flavor, whether you’re looking for a decadent dessert to impress guests or a comforting treat for family:
- Chocolate Peppermint Cheesecake: Imagine a rich, creamy chocolate cheesecake infused with a subtle hint of peppermint, all on a decadent chocolate crust. This is a showstopper dessert that combines two beloved flavors in a truly elegant presentation. It’s perfect for holiday dinners and special occasions.
- White Chocolate Peppermint Cheesecake: For a lighter, yet equally festive option, this white chocolate peppermint cheesecake is an absolute dream. It features a silky smooth white chocolate base swirled with refreshing peppermint, often topped with crushed candy canes or delicate peppermint pieces. It offers a beautiful contrast in both color and flavor, making it a delightful addition to any dessert table.
These recipes provide a wonderful opportunity to continue your exploration of peppermint desserts. Each one is crafted to deliver exceptional flavor and a memorable experience, making your holiday season even sweeter. Don’t be shy about trying them all!
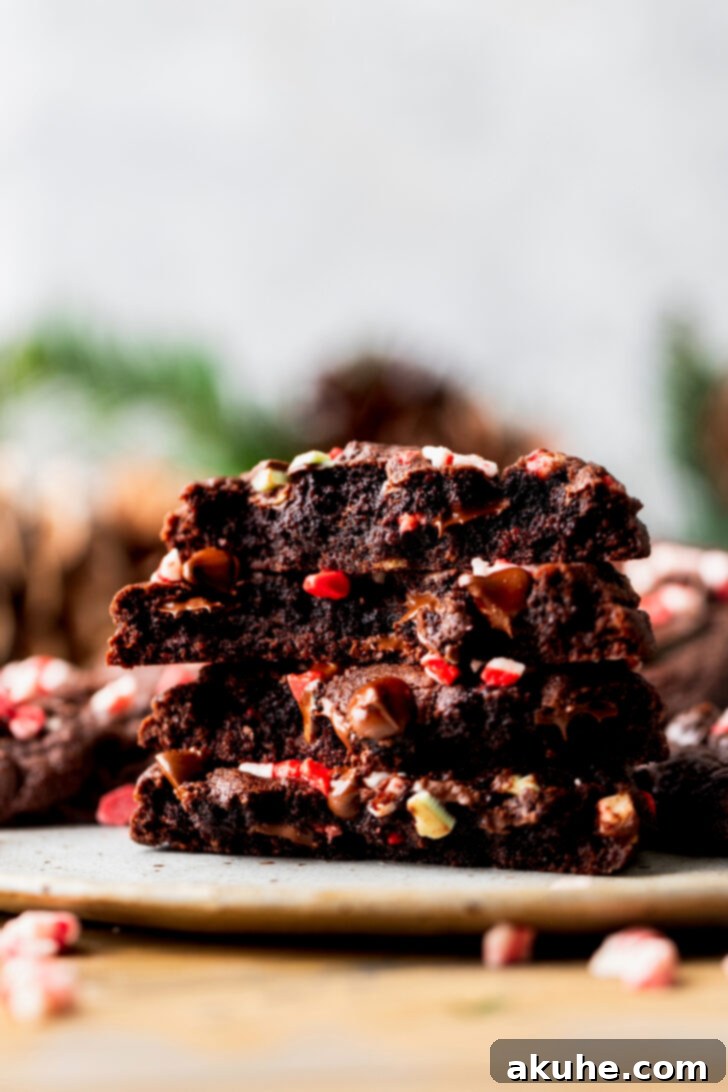
We love hearing from you! If you’ve enjoyed baking and tasting this delightful recipe, please take a moment to leave astar review and share your experience. Your feedback helps us grow and inspires other bakers. Don’t forget to tag me on Instagram @stephaniesweettreats so I can see your beautiful creations! For more inspiring baking ideas and sweet treats, be sure to follow me on Pinterest.
Recipe Video: Watch How It’s Done!
For those who prefer a visual guide, we’ve prepared a comprehensive recipe video that walks you through each step of making these incredible Chocolate Peppermint Cookies. From creaming the butter and sugars to folding in the delectable mix-ins and baking them to perfection, this video ensures you won’t miss a single detail. Watching the process unfold can be incredibly helpful, especially for beginner bakers, or simply for those who want to see the techniques in action before diving into the kitchen. Hit play and let’s bake some magic!
Frequently Asked Questions About Chocolate Peppermint Cookies
Baking can sometimes bring up a few questions, and we’re here to help! Here are some common queries about making these chocolate peppermint cookies, along with our best advice to ensure your baking experience is smooth and successful:
- Can I use different types of chocolate chips? Absolutely! While semi-sweet chocolate chips provide a classic balance, feel free to experiment. Dark chocolate chips will intensify the chocolate flavor, offering a more robust contrast to the mint. Milk chocolate chips will make the cookies sweeter and creamier. You could even use white chocolate chips for a different visual and flavor profile, or a mix of several!
- What if I don’t have Andes mints or peppermint chips? No problem! You can substitute Andes mints with other mint chocolate candies, chopped into small pieces. For peppermint chips, you could use finely crushed candy canes (peppermint sticks) for a similar flavor and festive crunch. Just be mindful that candy canes might dissolve slightly more or add a firmer texture compared to chips.
- How should I store these cookies? Once completely cooled, store your chocolate peppermint cookies in an airtight container at room temperature for up to 3-4 days. For longer freshness, they can be frozen for up to 3 months. To freeze, place them in a single layer on a baking sheet until solid, then transfer to a freezer-safe bag or container, separating layers with parchment paper. Thaw at room temperature before serving.
- Can I make the cookie dough ahead of time? Yes, this dough is excellent for make-ahead baking! Prepare the dough as instructed, then wrap it tightly in plastic wrap (either as a whole log or individual scooped balls) and refrigerate for up to 2-3 days. You can also freeze the dough for up to 3 months. When ready to bake, thaw frozen dough in the refrigerator overnight, then let it come closer to room temperature for about 30 minutes before scooping and baking as usual.
- My cookies are too flat, what went wrong? Flat cookies are often a result of melted butter, not enough flour, or skipping the chilling step. Ensure your butter is softened, not melted. Accurately measure your flour (spoon and level!), and always chill the dough for the recommended time to prevent excessive spreading. Over-beating the wet ingredients after adding flour can also develop too much gluten, leading to tougher, flatter cookies.
We hope these answers help you confidently bake the most perfect batch of chocolate peppermint cookies! Don’t hesitate to reach out if you have any more questions.

Chocolate Peppermint Cookies
Print Recipe
Pin Recipe
Leave a Review
Ingredients
Dry Ingredients:
- 2 cups All-purpose flour
- 1/2 cup Unsweetened cocoa powder
- 1 tsp Baking soda
- 1 tsp Salt
Wet Ingredients:
- 1 cup Unsalted butter, room temperature
- 1 cup Brown sugar
- 1/2 cup White granulated sugar
- 1 tsp Pure vanilla extract
- 2 Large eggs
Mix-ins & Toppings:
- 1/2 cup Andes mints, chopped. Plus more to top the cookies.
- 1/2 cup Peppermint chips, Plus more to top the cookies.
- 1/2 cup Chocolate chips, I use semi-sweet. Plus more to top the cookies.
Instructions
- In a medium bowl, combine and sift the all-purpose flour, cocoa powder, baking soda, and salt. Set this dry mixture aside.
- Using an electric mixer, beat the room temperature unsalted butter, brown sugar, and white granulated sugar on high speed for exactly 2 minutes. This step is crucial for aeration. Then, add the pure vanilla extract and eggs, mixing on medium speed until all wet ingredients are just combined and fluffy.
- Gradually add the dry ingredients to the wet mixture and mix on low speed until just combined. Be careful not to overmix. Fold in the chopped Andes mints, peppermint chips, and chocolate chips until evenly distributed throughout the dough.
- Cover the bowl with plastic wrap and place the cookie dough in the fridge to chill for a minimum of 30 minutes. Meanwhile, preheat your oven to 350°F (175°C) and line 2 cookie sheets with parchment paper.
- Using a large cookie scoop (approximately 3 tablespoons), scoop out the chilled dough. Arrange about 6 cookie dough balls per prepared cookie sheet, ensuring adequate space between them for spreading.
- Bake one cookie sheet at a time in the preheated oven for 13-15 minutes, or until the edges are set and the centers look slightly soft. Overbaking can lead to dry cookies.
- Immediately after removing the cookies from the oven, top them with additional chopped Andes mints, peppermint chips, and chocolate chips. The warmth of the cookies will gently melt the toppings, creating a beautiful finish. Let the cookies sit on the baking sheet for 5 minutes before carefully transferring them to a wire cooling rack to cool completely.
Notes
Flour Measurement: Always use the “spoon and level” method for flour and cocoa powder, or use a kitchen scale for precise measurements. Compacted flour can result in dry, dense cookies that may not spread correctly during baking.
High Altitude Baking: If you are baking at a high altitude, consider adding an extra 2 tablespoons of all-purpose flour to the recipe to help maintain the cookie structure.
Ingredient Preparation: For best results and proper mixing, ensure all dairy ingredients, such as unsalted butter and eggs, are at room temperature. Pull them out of the refrigerator at least 2 hours before you plan to start baking.
Nutrition Information
Calories: 348kcal
Carbohydrates: 45g
Protein: 3g
Fat: 19g
Saturated Fat: 13g
Polyunsaturated Fat: 1g
Monounsaturated Fat: 3g
Trans Fat: 0.5g
Cholesterol: 31mg
Sodium: 229mg
Potassium: 96mg
Fiber: 2g
Sugar: 31g
Vitamin A: 355IU
Calcium: 37mg
Iron: 2mg
Did you make this recipe?
Please leave a star rating and review below!
