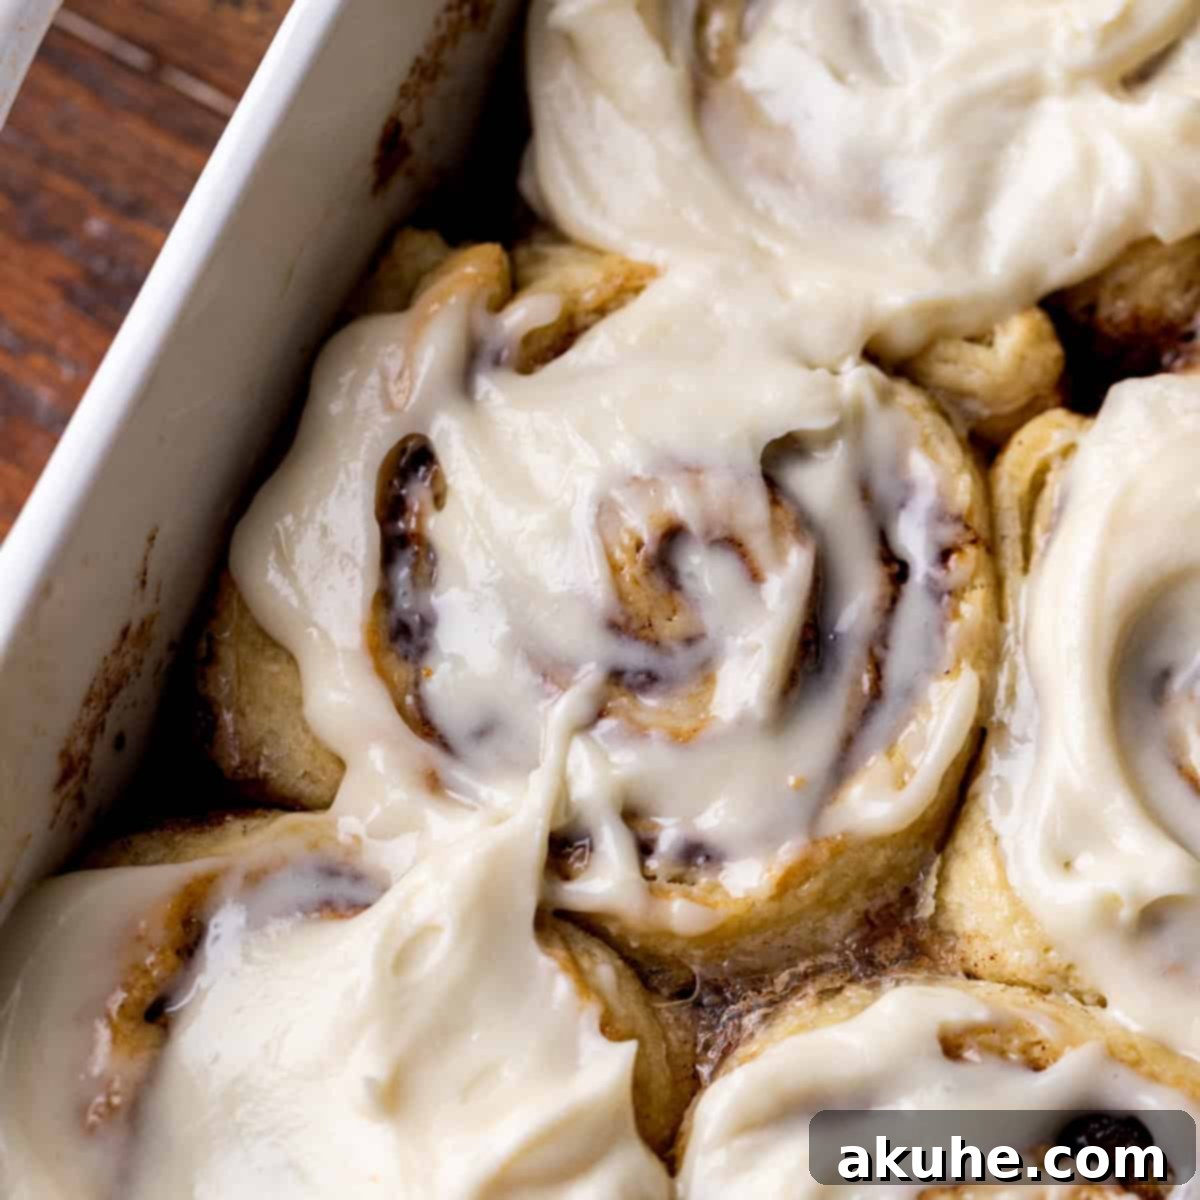
Imagine waking up to the irresistible aroma of freshly baked cinnamon rolls, warm and gooey, topped with a luscious cream cheese icing. Now, imagine achieving that deliciousness in under an hour, without the fuss and wait time of traditional yeast-based recipes. Welcome to the world of no-yeast cinnamon rolls – a true game-changer for anyone craving a quick and delightful breakfast treat or an effortless dessert.
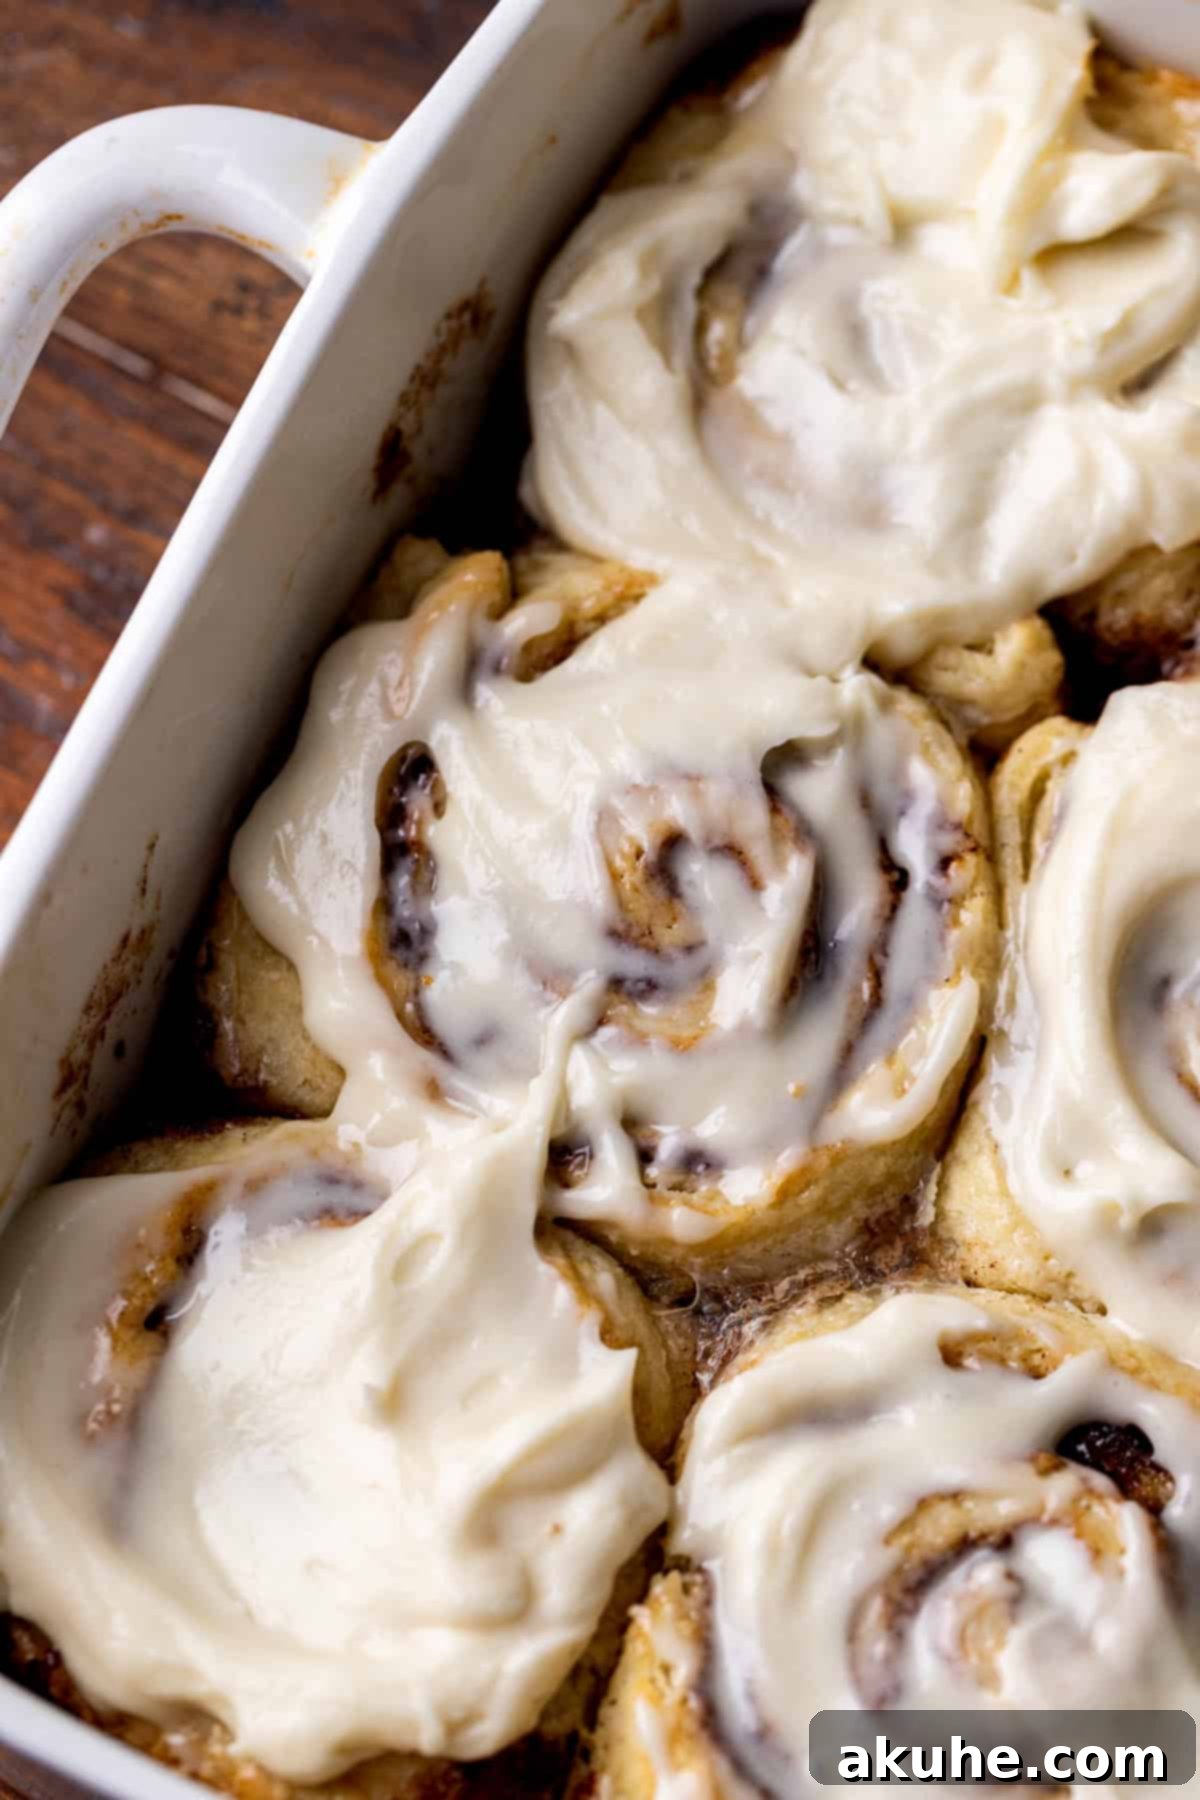
These easy-to-make cinnamon rolls are designed for speed and simplicity, using a biscuit-like dough that eliminates the need for any yeast. This means no lengthy proofing periods, no waiting for the dough to rise, and ultimately, a batch of soft, tender, and incredibly flavorful cinnamon rolls ready to serve in approximately 45 minutes. They offer all the beloved taste and texture of classic cinnamon rolls but fit perfectly into a busy schedule, making them ideal for impromptu brunches, unexpected guests, or simply satisfying that sudden cinnamon roll craving.
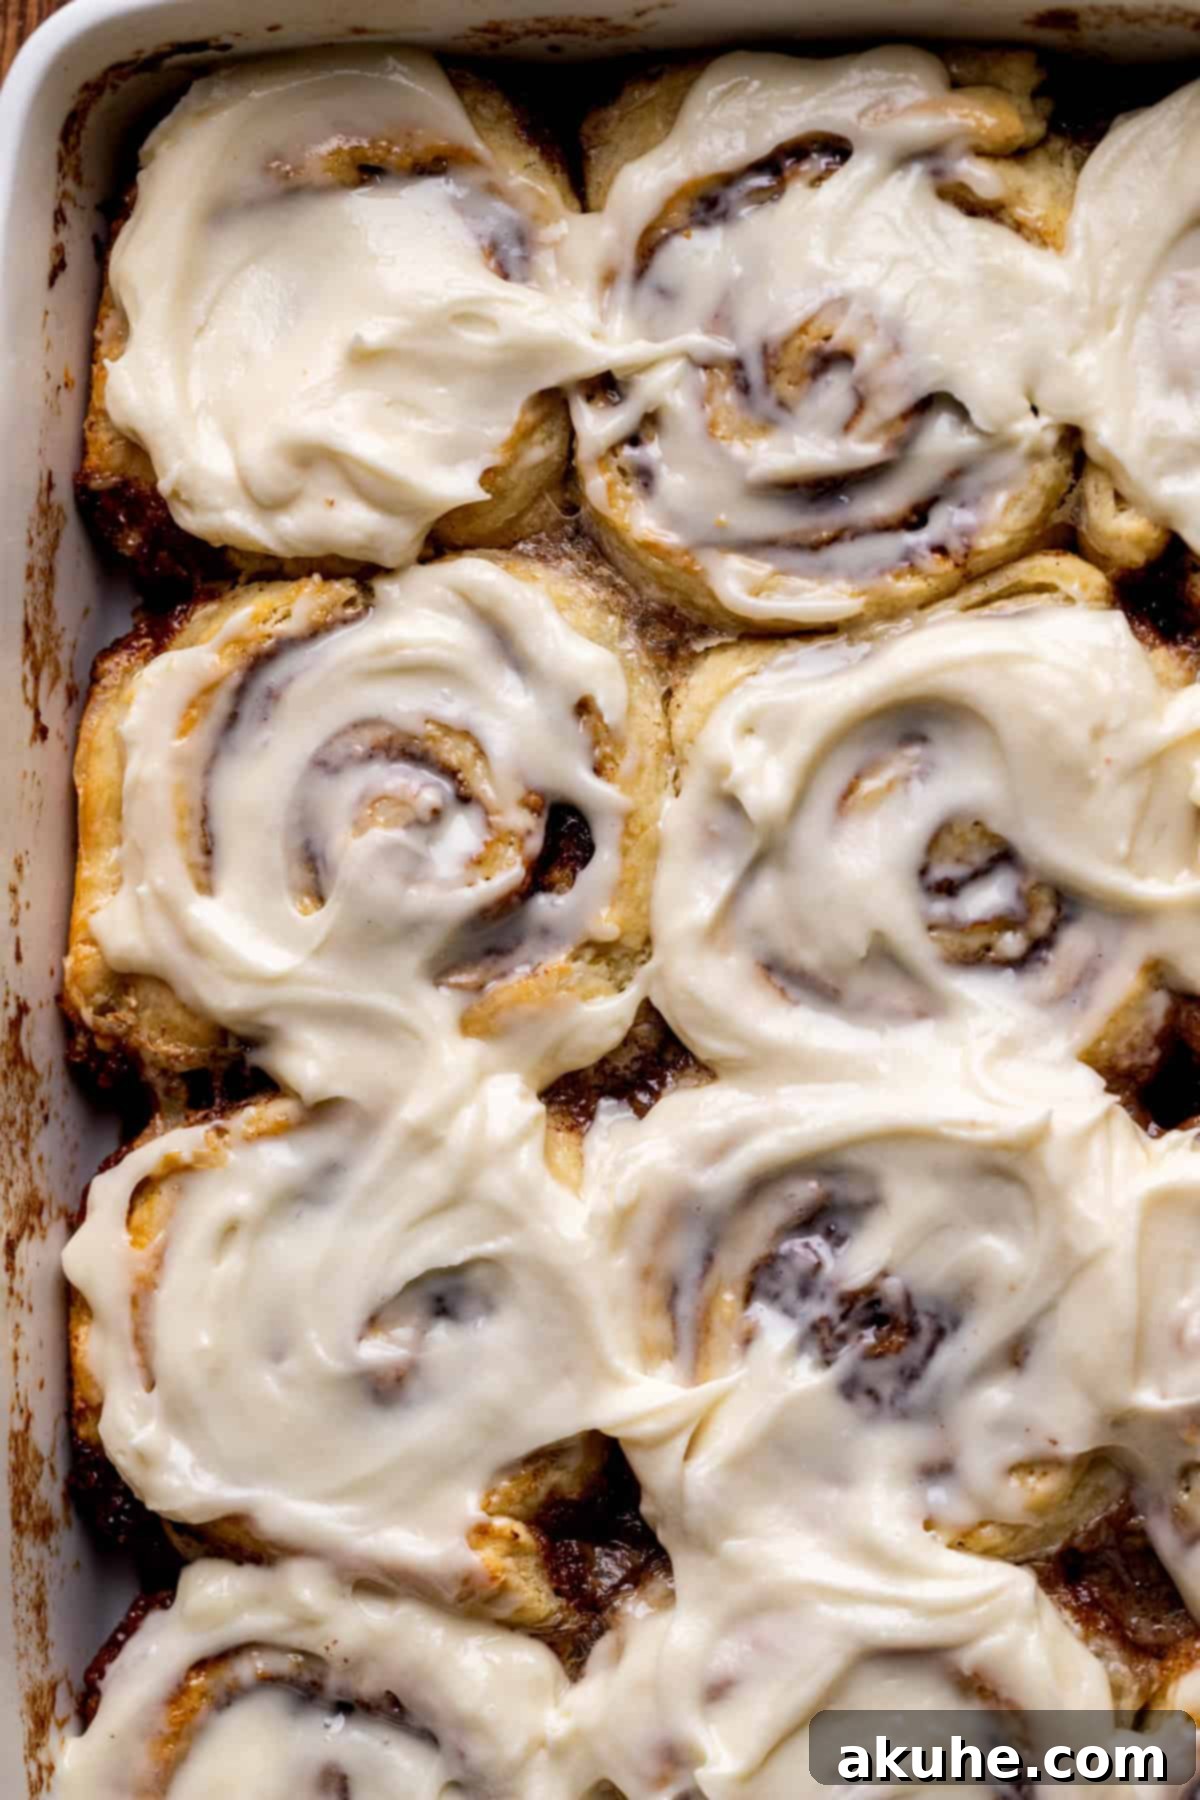
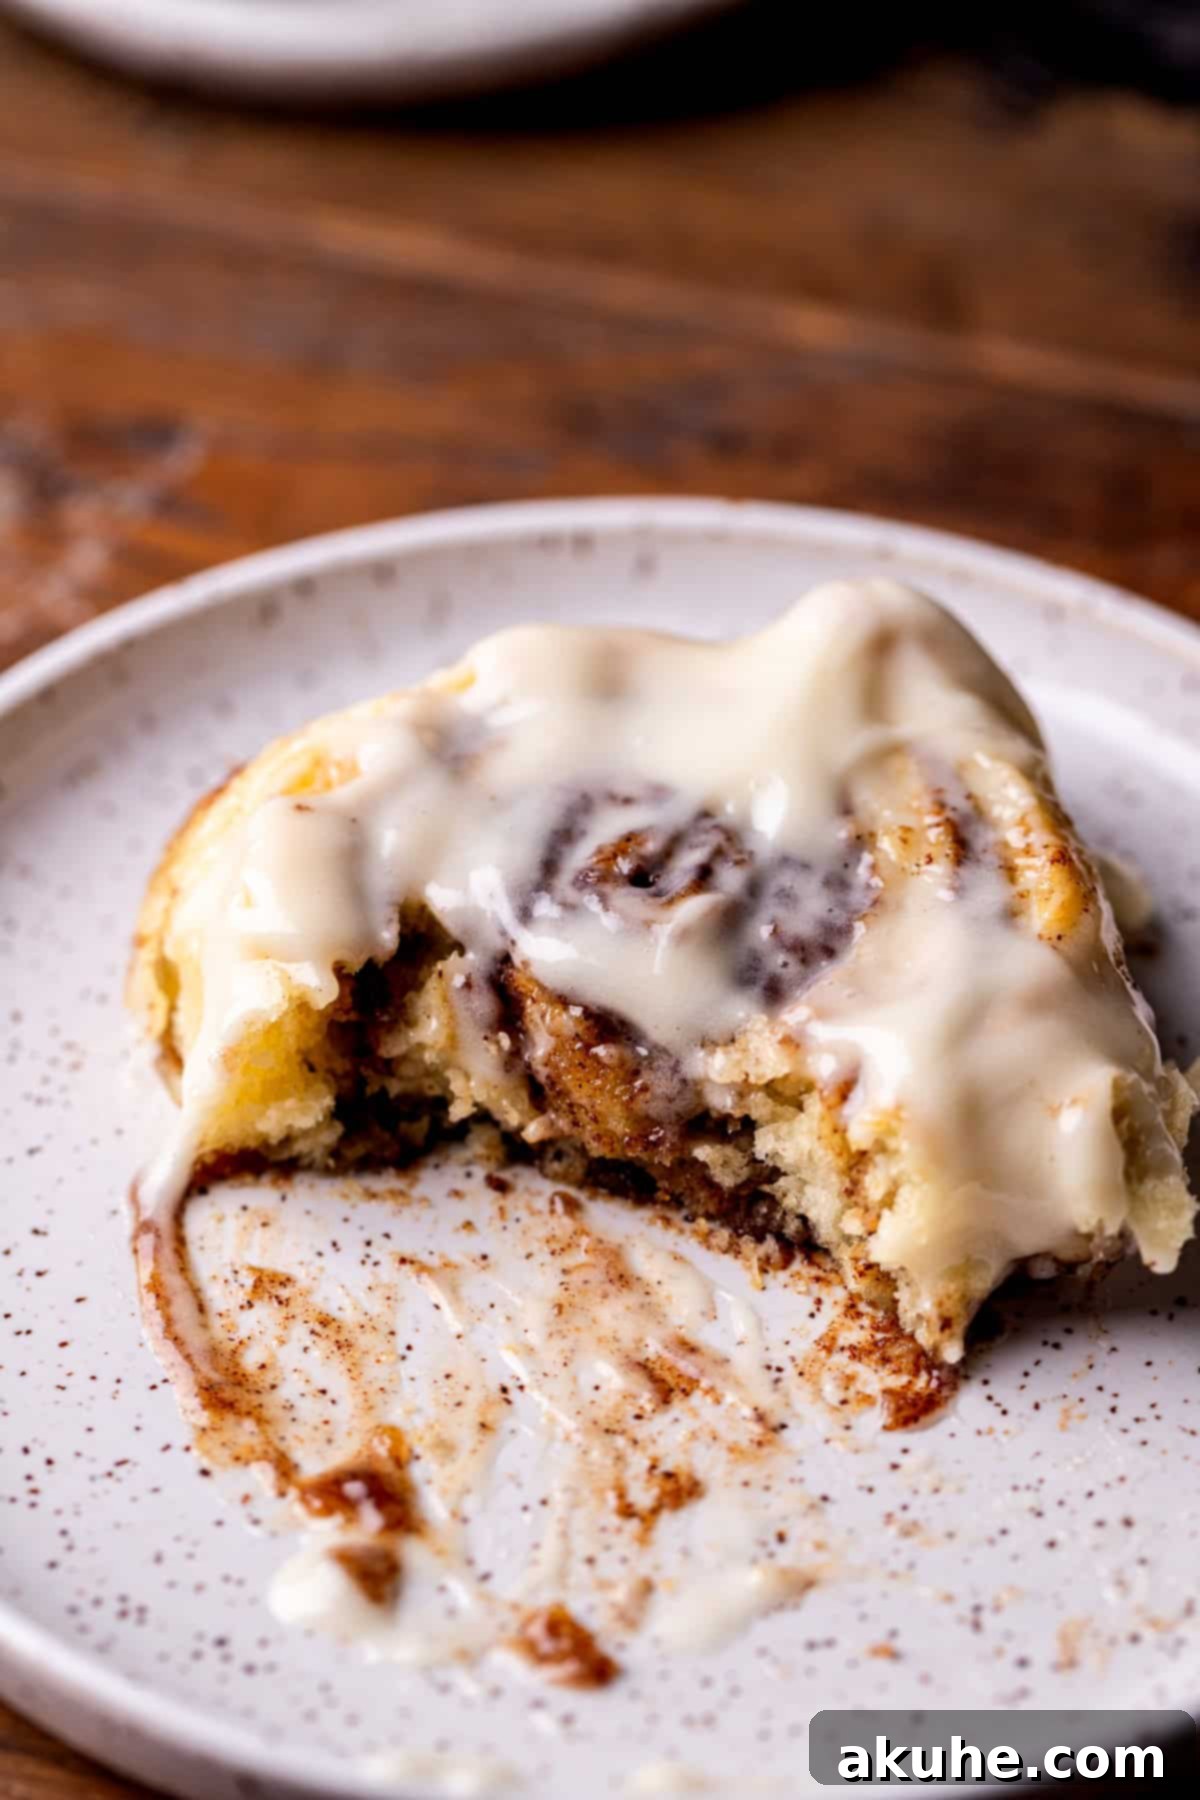
The dough, reminiscent of light and fluffy biscuits, provides the perfect canvas for a rich, aromatic cinnamon filling, generously spread from edge to edge. Once baked to golden perfection, each roll is crowned with a smooth, tangy cream cheese icing that melts slightly into the warm crevices, creating that quintessential gooey finish we all adore. Forget complicated baking; these no-yeast cinnamon rolls prove that extraordinary flavor can be achieved with minimal effort and maximum reward.
Why No-Yeast Cinnamon Rolls Are Your New Go-To Recipe
If you’ve ever shied away from baking cinnamon rolls due to the time commitment, this recipe is about to change your perspective. These no-yeast wonders offer several compelling reasons to become a staple in your kitchen:
- Unbeatable Speed: The most significant advantage of these rolls is their lightning-fast preparation. Traditional cinnamon rolls often demand several hours, including multiple rise times. With this recipe, you can go from mixing ingredients to warm, frosted rolls on your plate in just about 45 minutes. This makes them perfect for busy weekday mornings or when you need a quick dessert.
- Classic Cinnamon Roll Flavor: Despite their speed, there’s no compromise on taste. These rolls deliver the same comforting, sweet, and spiced flavor profile you expect from a classic cinnamon roll. The buttery dough combined with the rich brown sugar and cinnamon filling creates an incredibly satisfying experience that rivals their yeast-leavened counterparts.
- Irresistible Cream Cheese Glaze: A cinnamon roll isn’t truly complete without a decadent cream cheese icing. Our recipe features a simple yet perfect glaze that adds a creamy, tangy sweetness, beautifully complementing the warm spice of the rolls. It’s the finishing touch that elevates these easy rolls to bakery-quality deliciousness.
- Simplicity for Bakers of All Levels: Whether you’re a seasoned baker or just starting out, this recipe is incredibly forgiving. The biscuit-style dough is much easier to handle than a yeast dough, requiring less precision and making the entire process enjoyable and stress-free.
So, if you love cinnamon rolls but not the lengthy process, this faster, simpler version is calling your name. Give it a try, especially for those mornings when you crave a homemade treat without the extensive wait.
Expert Tips for Crafting Perfect No-Yeast Cinnamon Rolls
Achieving bakery-worthy no-yeast cinnamon rolls is simpler than you might think, especially with these key tips. Follow these guidelines to ensure your rolls are perfectly tender, flavorful, and beautifully baked every time:
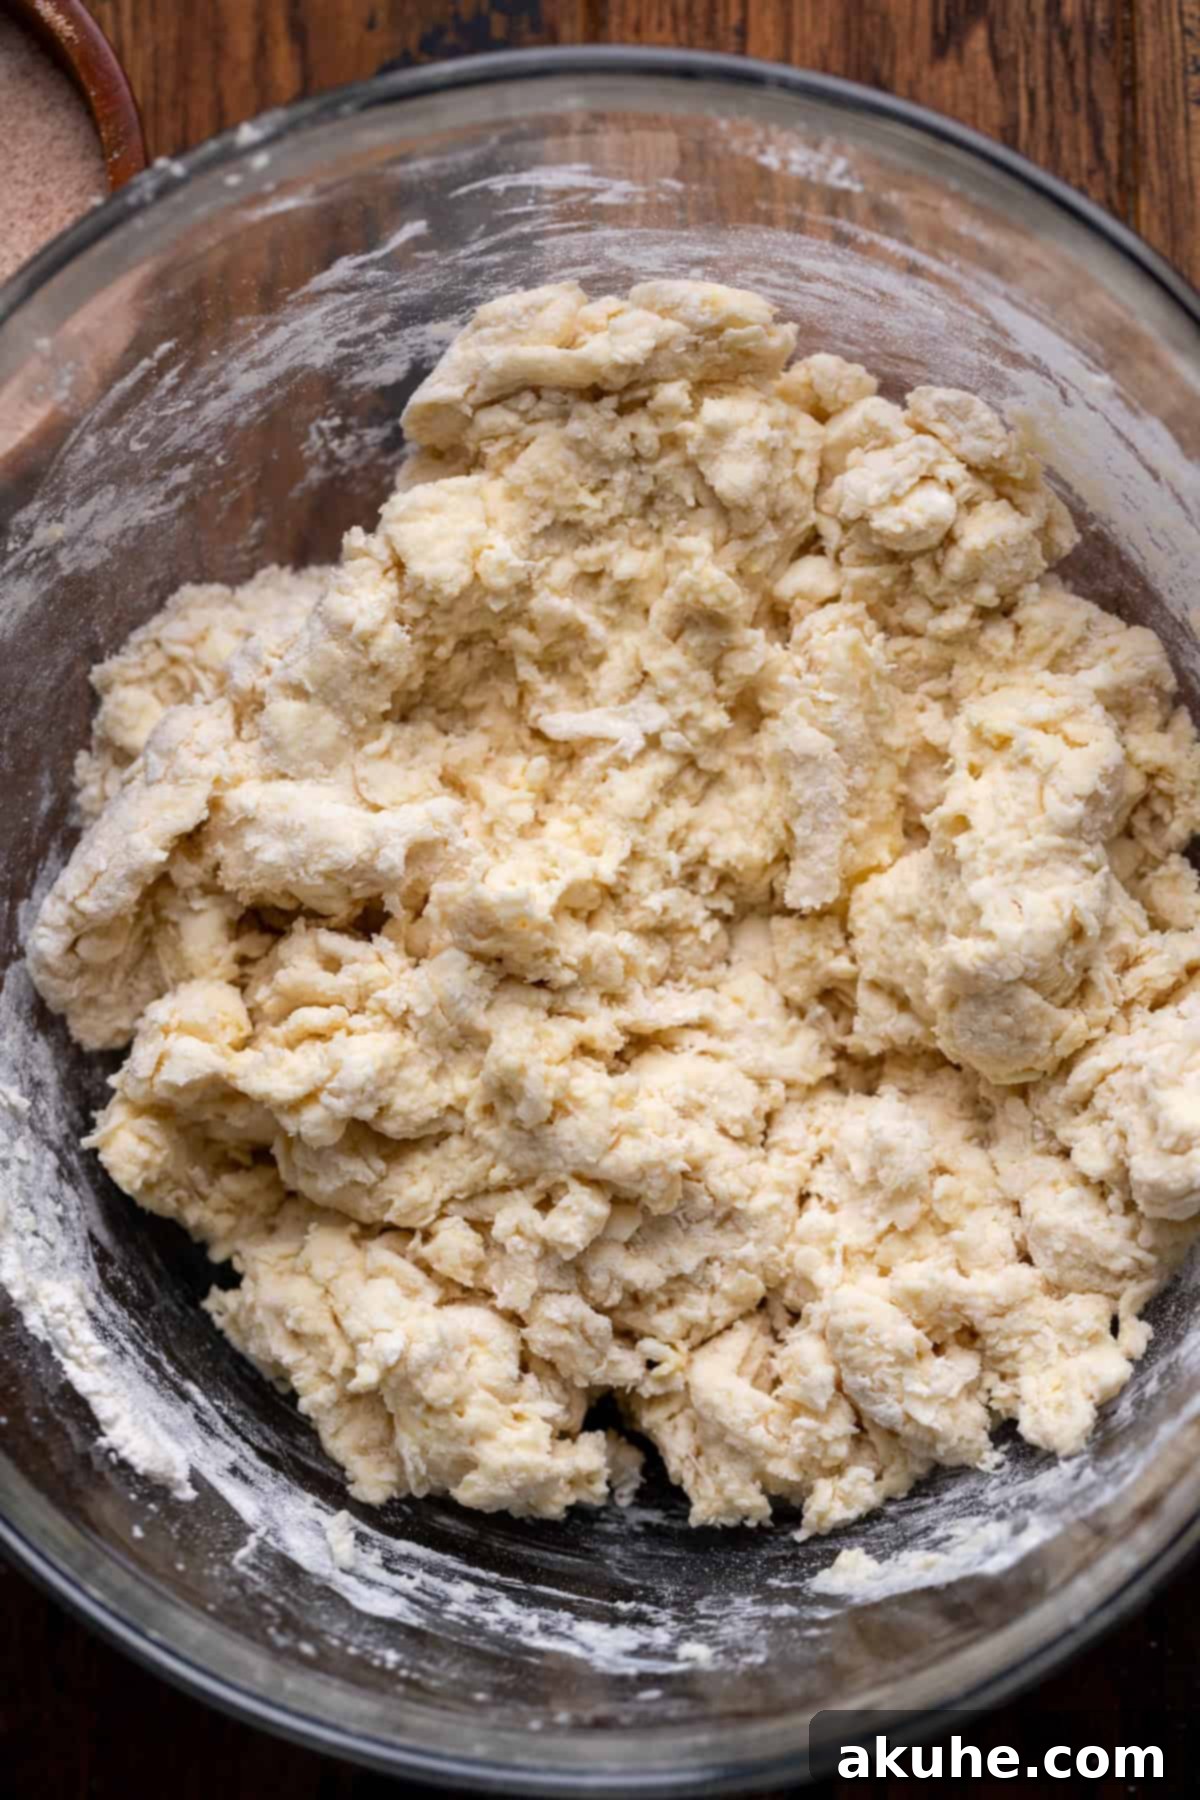
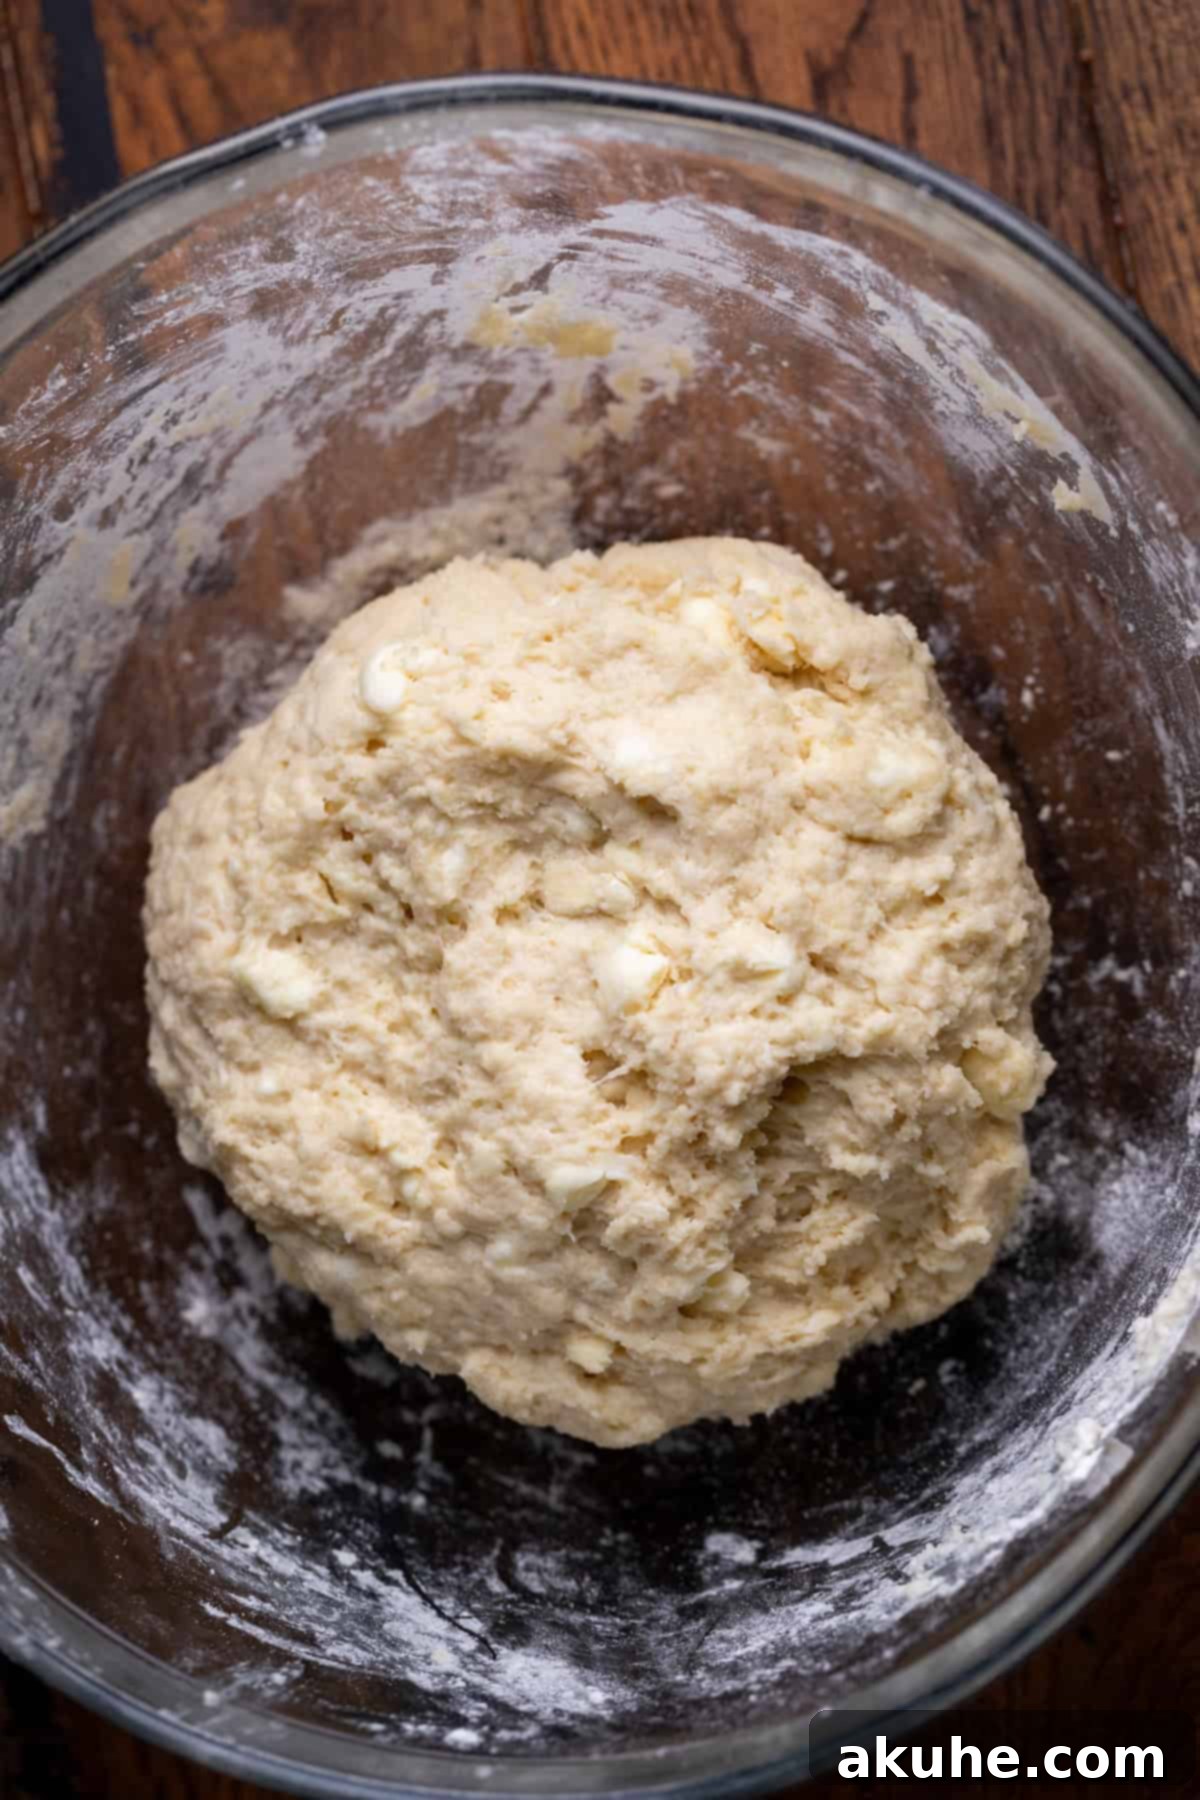
- Tip 1: Avoid Overworking the Dough. This is perhaps the most crucial tip for any biscuit-like dough. Overworking the dough develops the gluten too much, resulting in tough, chewy rolls rather than the desired soft and tender texture. Since there’s no yeast to provide a light, airy rise, maintaining a soft dough is even more paramount. Mix the ingredients just until they are combined and a cohesive ball forms. Gentle handling is key to a light and fluffy outcome.
- Tip 2: Incorporate Cold Butter into the Dough. Much like traditional biscuits or pie crusts, cutting cold, cubed butter into the flour mixture creates tender pockets within the dough. As the rolls bake, these small pieces of butter melt, releasing steam and creating flaky layers and a more tender crumb. Use a pastry blender, a fork, or your fingertips to work the butter into the flour until it resembles coarse crumbs with some pea-sized pieces remaining.
- Tip 3: Ensure Dairy Ingredients are at Room Temperature (for filling & icing). While cold butter is essential for the dough, having your cream cheese and butter for the filling and icing at room temperature is vital for a smooth, lump-free consistency. Room temperature ingredients blend much more easily and uniformly, preventing any stubborn cold lumps and ensuring a silky-smooth texture for your filling and a perfectly spreadable icing. Pull them out of the refrigerator at least an hour or two before you plan to bake.
A Detailed Guide to Assembling Your Rolls
The assembly process for these no-yeast cinnamon rolls is straightforward, but a few specific techniques will ensure beautifully formed, evenly baked treats:
First, prepare your work surface. Since this no-yeast dough tends to be a bit stickier than yeast doughs, you’ll need a generous amount of flour. Liberally flour your countertop or pastry board, and also sprinkle flour on top of the dough itself before you begin rolling. This extra flour acts as a barrier, preventing the dough from sticking to your rolling pin and making the process much smoother and less frustrating.
Next, gently roll the dough into a rectangular shape. Aim for approximately 12 x 15 inches, though precision isn’t critical. The goal is to achieve a relatively even thickness across the entire rectangle. If the dough springs back or resists rolling, let it rest for a few minutes before continuing. This allows the gluten to relax, making it easier to shape.
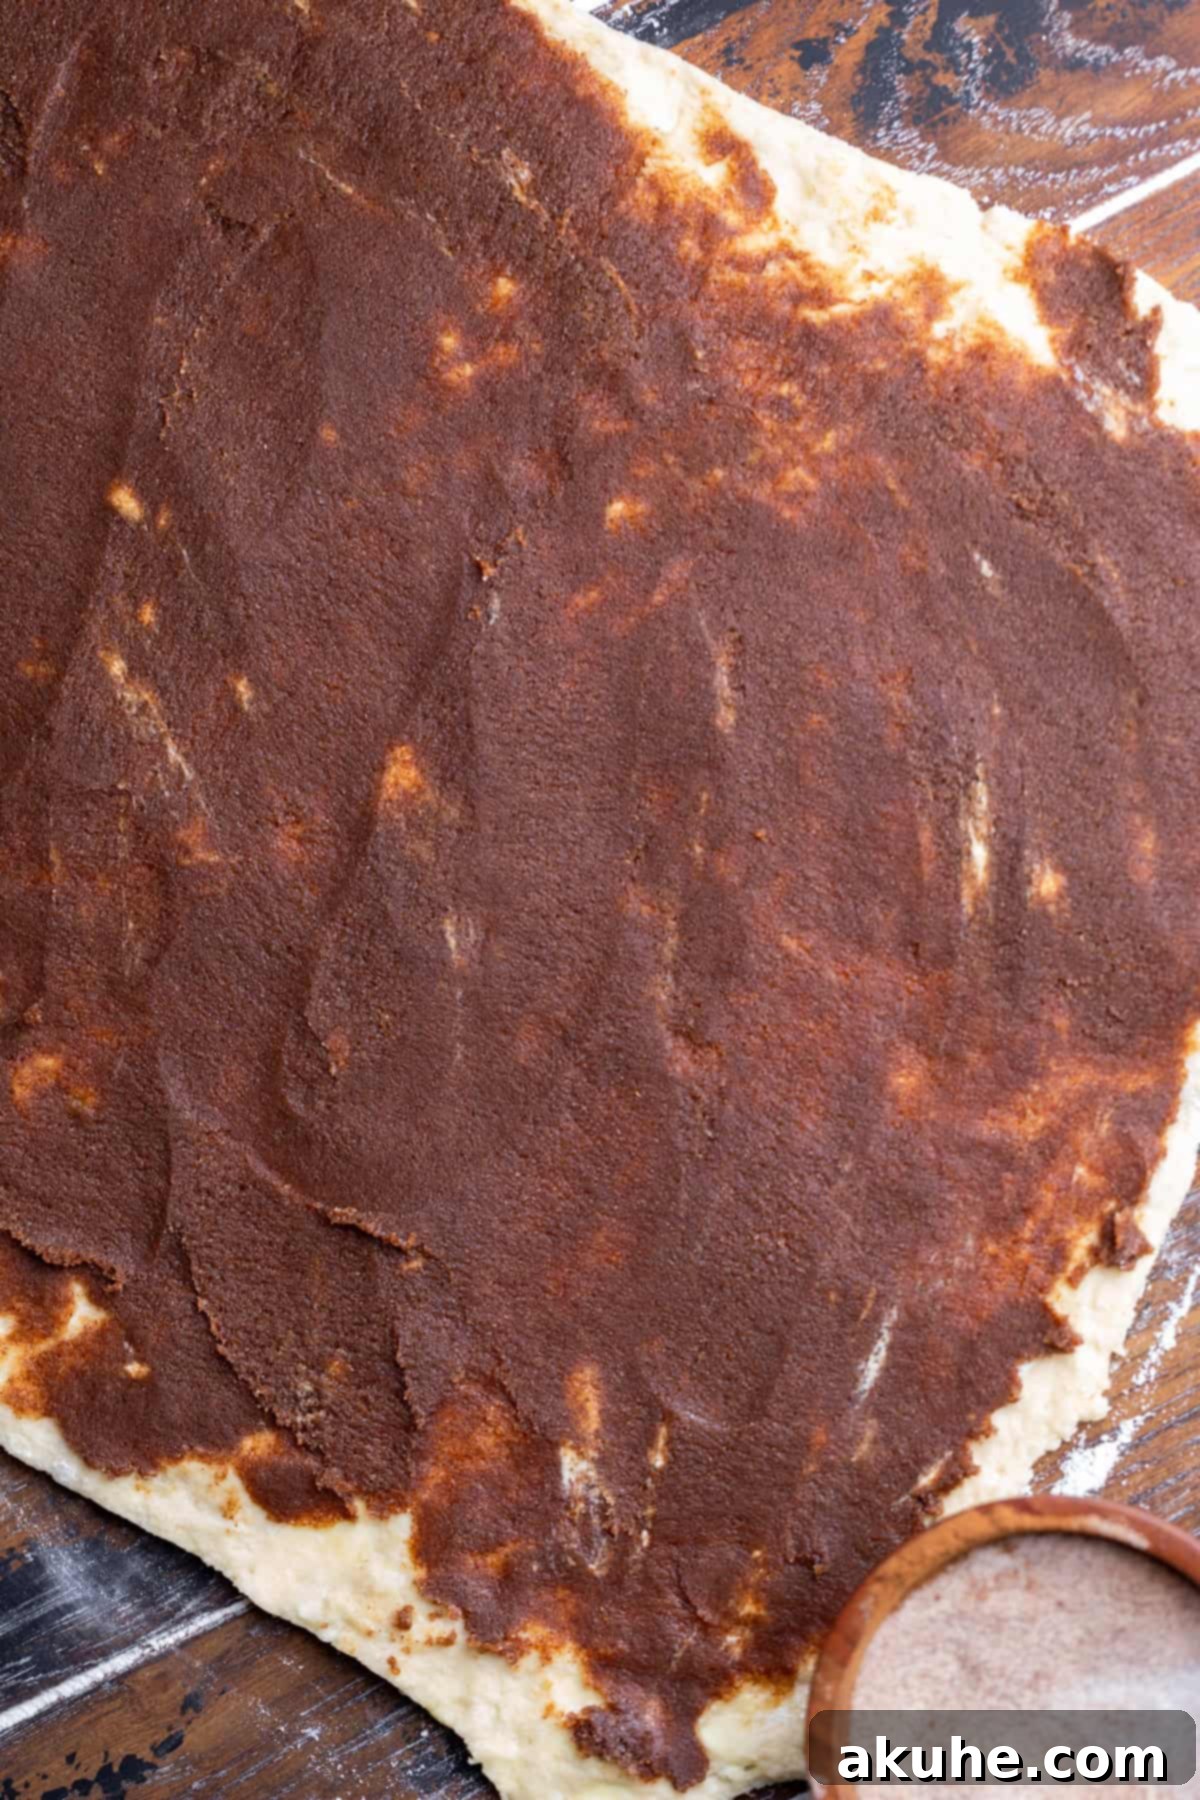
Once your dough rectangle is ready, it’s time to apply the delicious cinnamon filling. I find it helpful to start by placing small dollops of the softened cinnamon filling evenly across the dough. This approach makes it much easier to spread the filling uniformly to the edges using an offset spatula or the back of a spoon, ensuring every bite of your cinnamon roll is packed with flavor.
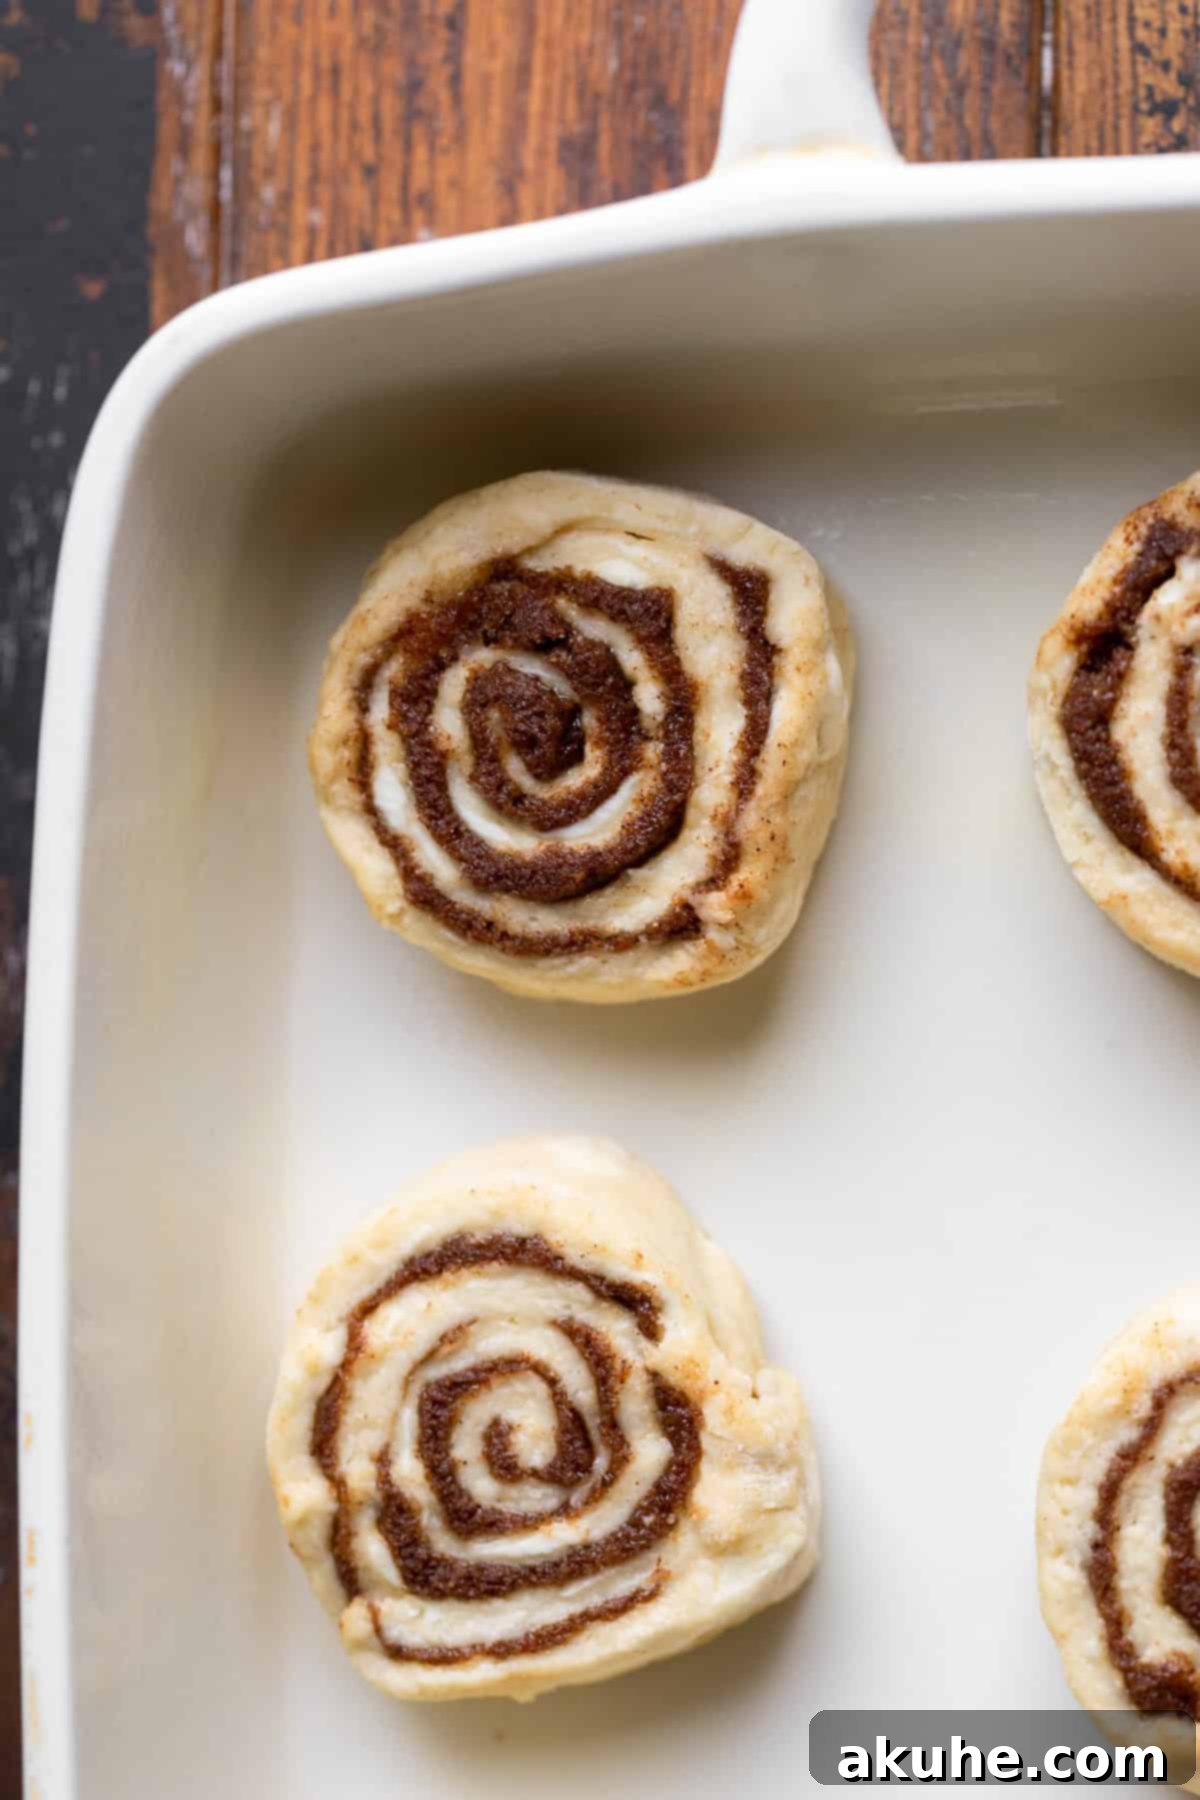
Now, carefully roll the dough into a tight log, starting from one of the short sides. A tight roll is important for well-defined spirals in your finished rolls. Once you have a firm log, use a sharp serrated knife to cut it into individual rolls. A sawing motion, rather than pressing straight down, is crucial here. This technique helps to cut through the dough and filling cleanly without squishing the delicate layers, preserving the beautiful round shape of your rolls.
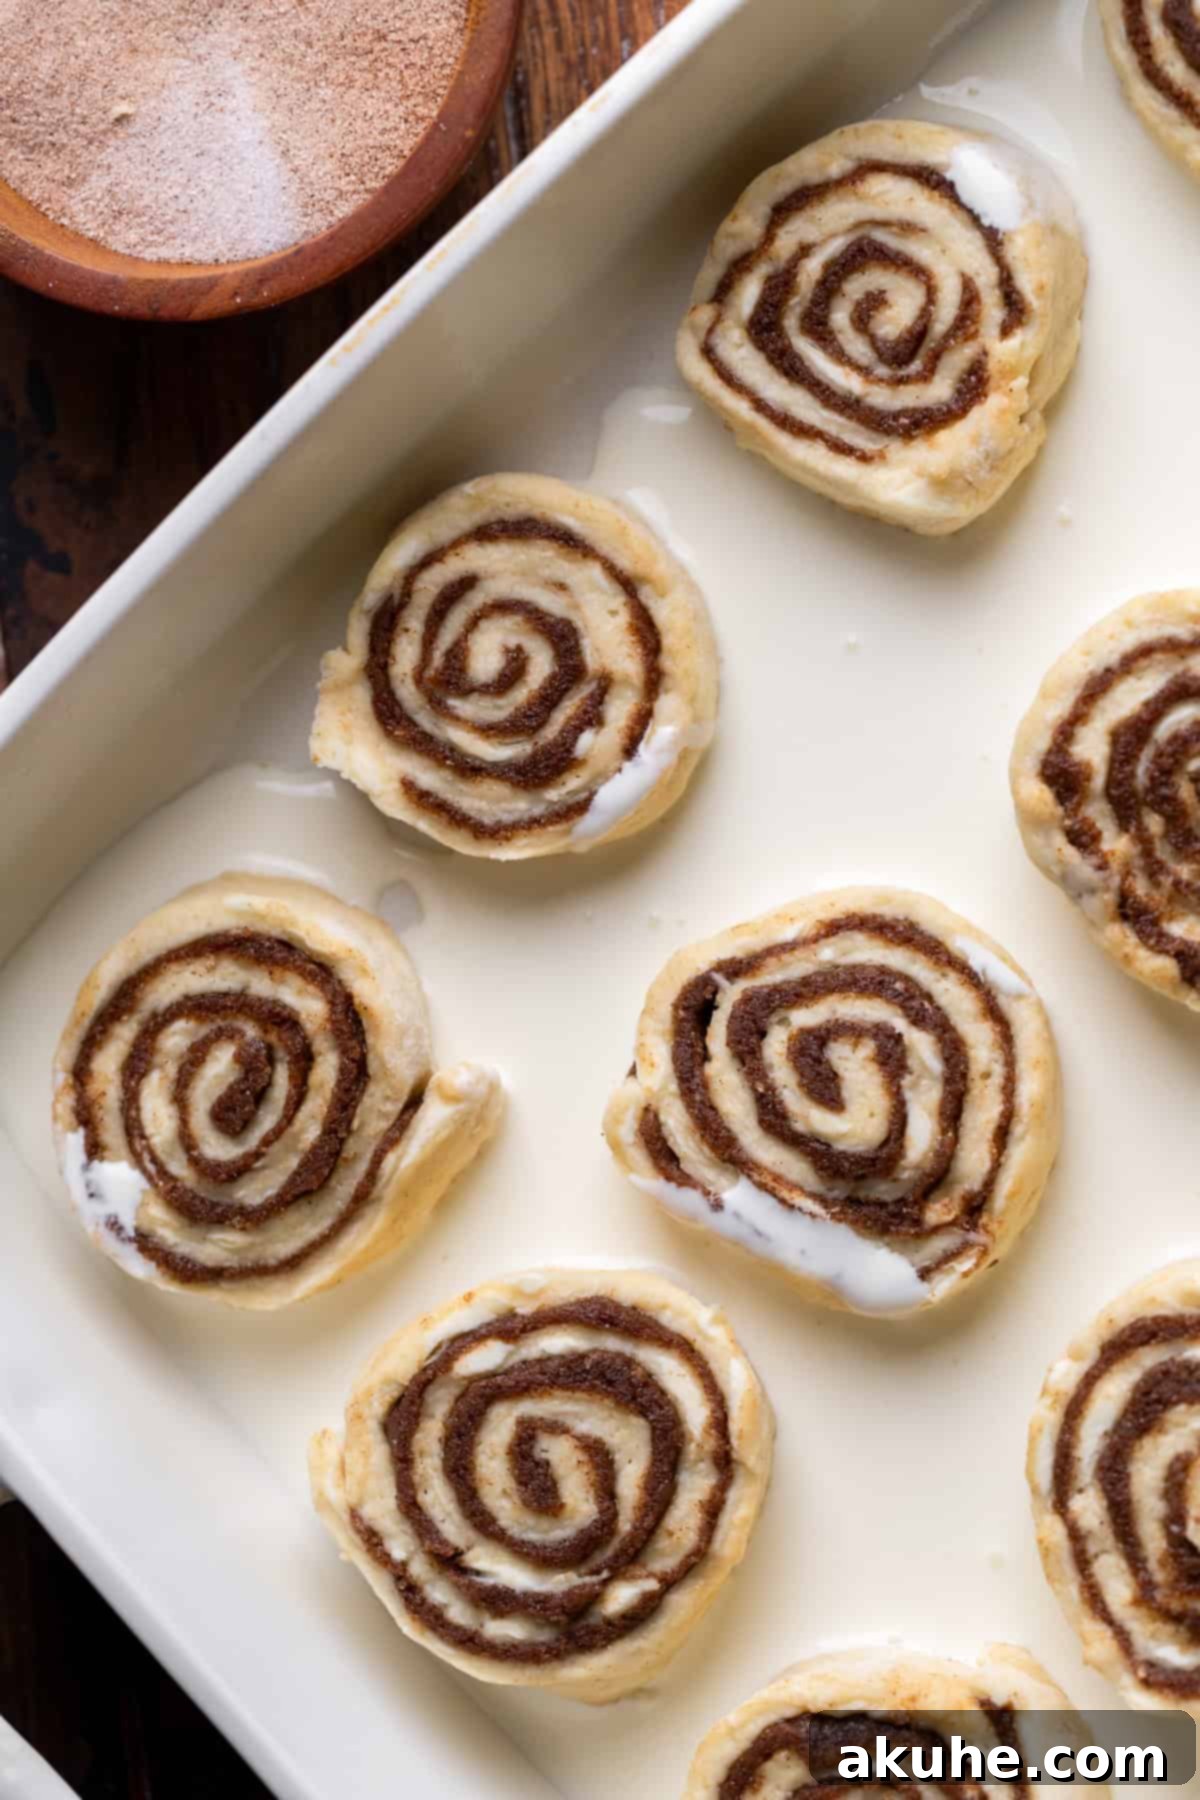
After placing the cut rolls into your prepared baking pan, there’s one final, magical step: pour heavy cream around the rolls. As they bake, the heavy cream will absorb into the dough, creating an incredibly tender, moist, and gooey bottom layer, enhancing the overall richness and making them truly irresistible.
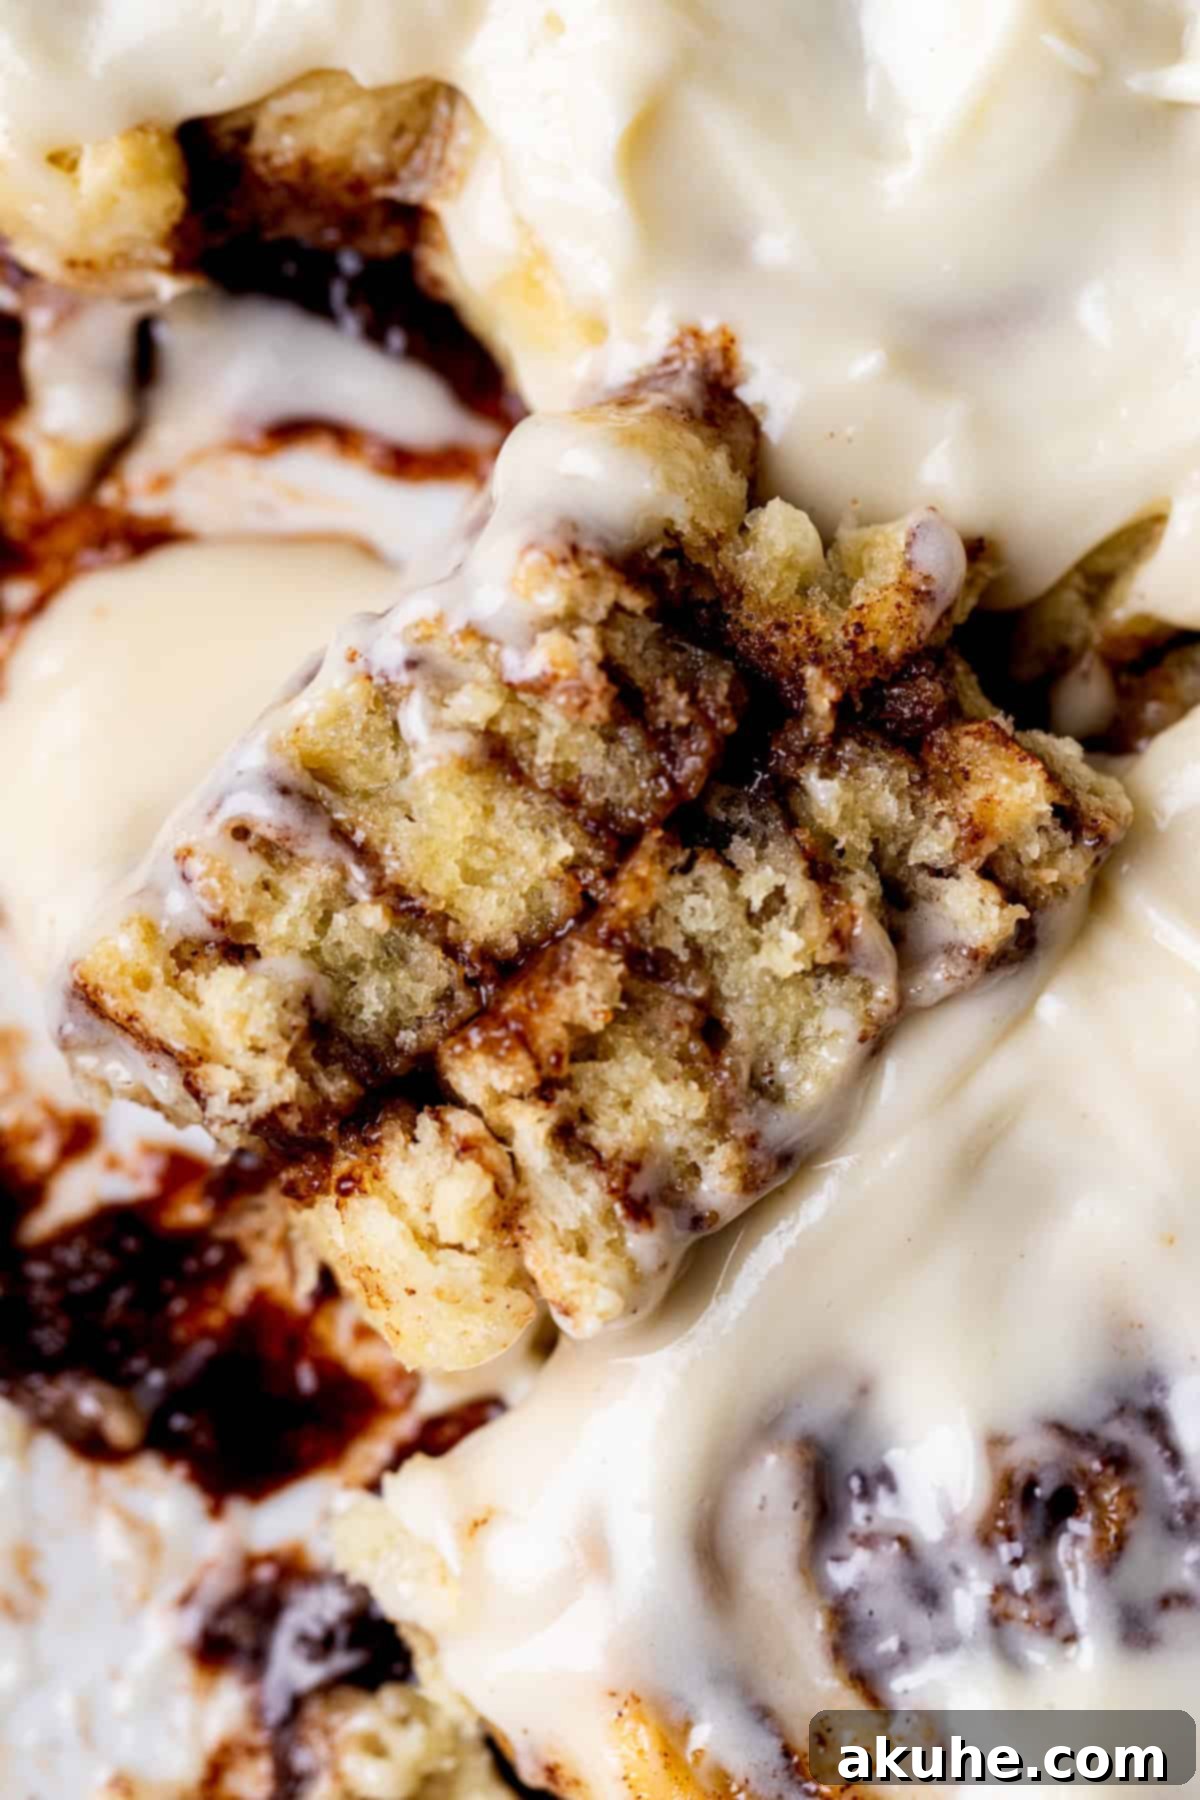
When your cinnamon rolls emerge from the oven, golden brown and fragrant, resist the urge to immediately smother them with icing. Instead, wait a few minutes until the bubbling around the edges subsides. This slight cooling period allows the icing to melt beautifully into the warm cracks and crevices of the rolls without completely liquefying, creating that perfect, luscious frosting layer.
No-Yeast Cinnamon Roll FAQs
What is the best way to reheat leftover cinnamon rolls?
Reheating cinnamon rolls properly ensures they regain their soft, gooey texture. For a single roll, simply microwave it on a plate for 20-30 seconds until warm throughout. If you’re reheating a whole tray, preheat your oven to 350°F (175°C) and warm the rolls for about 5-10 minutes, or until they are heated through and soft to the touch. Covering them loosely with foil can help prevent them from drying out.
Why are my cinnamon rolls tough?
Tough cinnamon rolls are typically the result of one of two common issues. Firstly, overmixing the dough is the most frequent culprit. When you over-knead or over-mix, you develop the gluten too much, leading to a dense, chewy texture. Secondly, overbaking can also make your rolls tough and dry. Keep an eye on them during the last few minutes of baking. They should have a light golden color on top. For an accurate measure of doneness, an instant-read thermometer inserted into the center of a roll should read around 190°F (88°C).
Can I prepare these rolls overnight?
Absolutely! These no-yeast cinnamon rolls are perfect for overnight preparation. You can assemble the rolls completely, right up to the point where they are cut and placed in the baking pan. Crucially, do not add the heavy cream at this stage. Cover the pan tightly with plastic wrap or aluminum foil and refrigerate them overnight for up to 16 hours. When you’re ready to bake, remove the pan from the fridge and let it sit at room temperature for about 1 hour before pouring the heavy cream around the rolls and baking as directed. This allows the dough to come to a more even temperature for optimal baking.
How can I store leftover cinnamon rolls?
To keep your leftover cinnamon rolls fresh and delicious, store them in an airtight container at room temperature for up to 2-3 days, or in the refrigerator for up to 5 days. For longer storage, you can freeze individual iced or un-iced rolls wrapped tightly in plastic wrap and then placed in a freezer-safe bag for up to 2-3 months. Thaw them at room temperature or reheat from frozen in the microwave or oven.
Explore More Cinnamon Roll Recipes
If you’ve fallen in love with these quick no-yeast cinnamon rolls, you might also enjoy exploring other variations of this classic treat:
- Giant Cinnamon Rolls
- Homemade Cinnamon Rolls
- Mini Cinnamon Rolls
- Banana Cinnamon Rolls
- Blueberry Cinnamon Rolls
We hope you enjoy making and devouring these incredibly simple and satisfying no-yeast cinnamon rolls! They are a testament to the fact that delicious baking doesn’t always have to be complicated or time-consuming. Happy baking!
No Yeast Cinnamon Rolls
Stephanie Rutherford
Print Recipe
Pin Recipe
Leave a Review
20 mins
25 mins
45 mins
12 rolls
Ingredients
Dough
- 3 cups All-purpose flour
- 1/4 cup White granulated sugar
- 1 tsp Salt
- 2 tsp Baking powder
- 1/4 tsp Baking soda
- 1 Large egg, room temperature
- 1 cup Buttermilk, room temperature
- 1/2 cup Unsalted butter, cold and cubed
Cinnamon Filling
- 1/2 cup Unsalted butter, room temperature
- 3/4 cup Brown sugar, packed light or dark
- 1 TBSP Ground cinnamon
- 1/3 cup Heavy cream
Cream Cheese Icing
- 4 oz Cream cheese, room temperature
- 4 TBSP Unsalted butter, room temperature
- 1 cup Powdered sugar
- 1 tsp Pure vanilla extract
Instructions
Cinnamon Filling
- In a small bowl using a hand mixer, beat the butter on high speed until soft. Add in the brown sugar and cinnamon and beat until combined and smooth. Set aside.
Dough
- Preheat the oven to 375℉. Spray a 9X13 pan with baking spray. Set aside.
- In a large bowl, mix the flour, sugar, salt, baking powder, and baking soda. Add in the cubed butter; use a dough kneader or your hands to knead the butter into the flour until the butter is the size of a pea.
- Add in the lightly beaten egg and buttermilk. Use a baking nonstick spatula to mix the dough together. Once mixed, use your hands in the bowl to finish kneading the dough until a soft dough ball forms. Remember, do not over-knead!
- Place the dough over a generously floured surface. Sprinkle more flour on top of the dough and use a rolling pin to roll it into a rectangle (approximately 12×15 inches). If the dough is too sticky, sprinkle more flour on top. Use a knife to cut off any uneven edges.
- Spread the cinnamon filling evenly over the dough, ensuring it reaches the edges.
- Starting on the short side, tightly roll the dough into a log. Use a sharp serrated knife and a sawing motion to cut off any uneven ends. Then, cut the log into 12 individual rolls.
- Place the cut rolls into the prepared pan. Pour the heavy cream around the rolls.
- Bake for 25-30 minutes, or until the tops of the rolls are lightly golden.
Cream Cheese Icing
- In a small bowl using a hand mixer, beat the butter and cream cheese on high speed until smooth. Add in the powdered sugar and vanilla extract and mix on medium speed until well combined and smooth.
- Once the baked rolls have stopped bubbling (cooled slightly), use a spoon to dollop the icing on top of each roll and gently smooth it over.
Notes
Dairy: Pull out dairy ingredients (egg, buttermilk, and butter/cream cheese for filling/icing) at least 1-2 hours before baking to bring them to room temperature for best results.
Nutrition Information (per roll, estimated):
Calories: 422kcal, Carbohydrates: 54g, Protein: 5g, Fat: 26g, Saturated Fat: 16g, Polyunsaturated Fat: 1g, Monounsaturated Fat: 7g, Trans Fat: 1g, Cholesterol: 70mg, Sodium: 347mg, Potassium: 107mg, Fiber: 1g, Sugar: 19g, Vitamin A: 848IU, Vitamin C: 0.1mg, Calcium: 104mg, Iron: 2mg
Did you make this recipe?
Please leave a star rating and review below!
