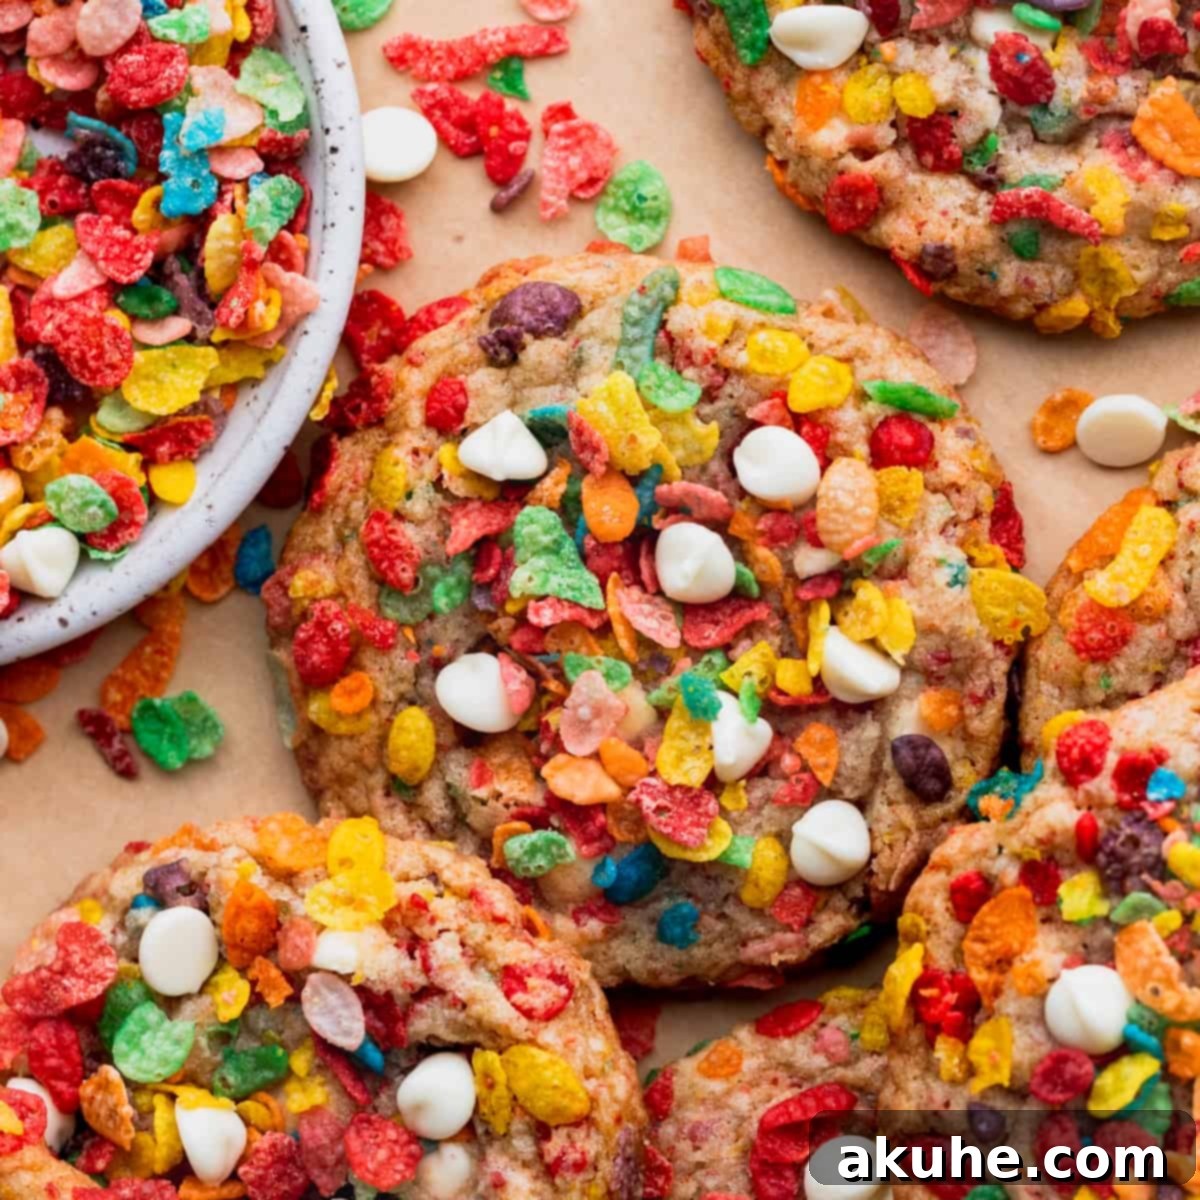
Welcome to the ultimate guide for crafting the most delightful and vibrant Fruity Pebble Cookies you’ll ever encounter! These aren’t just any ordinary cookies; they’re an explosion of color, flavor, and texture, meticulously designed to deliver an unparalleled “Fruity Pebbles” experience in every single bite. Imagine a cookie that’s extra chewy on the inside, with perfectly crisp edges, all while boasting a delightful crunch on the outside, thanks to a generous coating of everyone’s favorite colorful cereal. This recipe is a testament to simple baking, requiring no electric mixer and no chilling time, making it incredibly accessible for bakers of all skill levels, even those just starting their culinary journey.
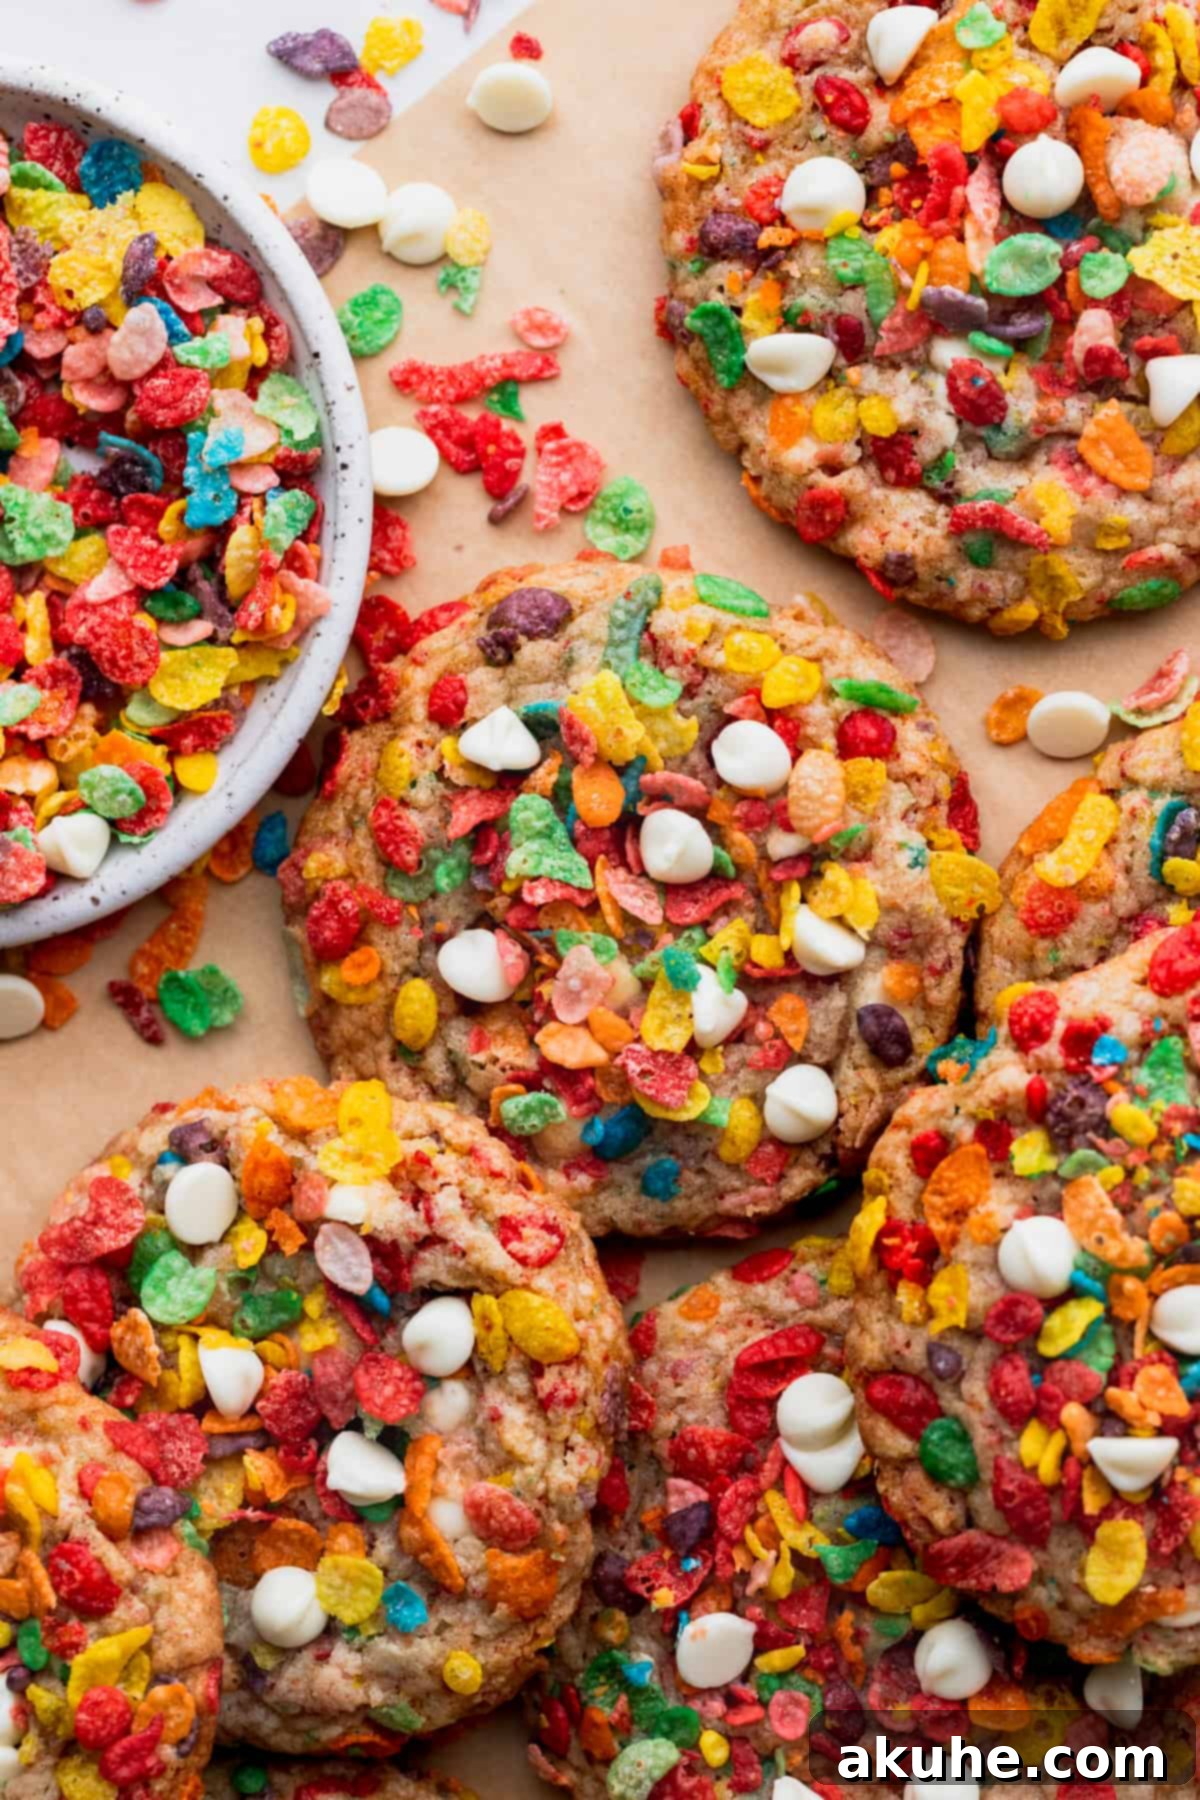
Our quest was to create a cookie that truly celebrates the iconic cereal, ensuring that the essence of Fruity Pebbles shines through in every aspect. We achieve this multi-sensory delight by incorporating Fruity Pebble crumbs directly into the dough, mixing whole cereal pieces throughout for bursts of flavor, and adding creamy white chocolate chips for a balanced sweetness. But the true secret to their show-stopping appeal and satisfying crunch lies in rolling each cookie dough ball in extra Fruity Pebbles just before baking. This not only imbues them with a spectacular colorful crust but also ensures a soft, chewy interior that contrasts beautifully with the crispy exterior.
These cookies often surprise first-time tasters with their addictive deliciousness. The combination of the sweet, sugary cereal and the rich white chocolate chips creates a flavor profile that is both nostalgic and irresistibly satisfying. They are a genuinely joyful treat, perfect for brightening any day or occasion. For those who prefer a slightly less sweet indulgence, a simple sprinkle of flaky sea salt on top after baking, or a modest increase in the salt content within the cookie dough, can beautifully balance the sweetness, adding a sophisticated counterpoint that enhances the overall flavor.
If you’re looking for more fun and creative baking adventures, be sure to explore other delightful recipes such as Snickers Brownies, Chocolate Toffee Rice Krispie Treats, and Peanut Butter Cup Brownies. Each offers a unique twist on classic favorites, promising another round of baking excitement!
Why These Fruity Pebble Cookies Are a Must-Try
These Fruity Pebble Cookies aren’t just a dessert; they’re an experience. Here’s why this particular recipe stands out and guarantees a delightful outcome every time:
- A Cereal Lover’s Dream: This recipe calls for a substantial amount of Fruity Pebbles – nearly three-quarters of a box! We layer the cereal throughout the cookie: ground into fine crumbs for a subtle, integrated flavor in the dough, and as whole pieces for delightful texture within. Finally, each cookie is generously rolled in the colorful cereal before baking, creating a magnificent, crunchy coating. This multi-faceted approach ensures that the distinct, vibrant flavor of Fruity Pebbles is present in every single glorious bite.
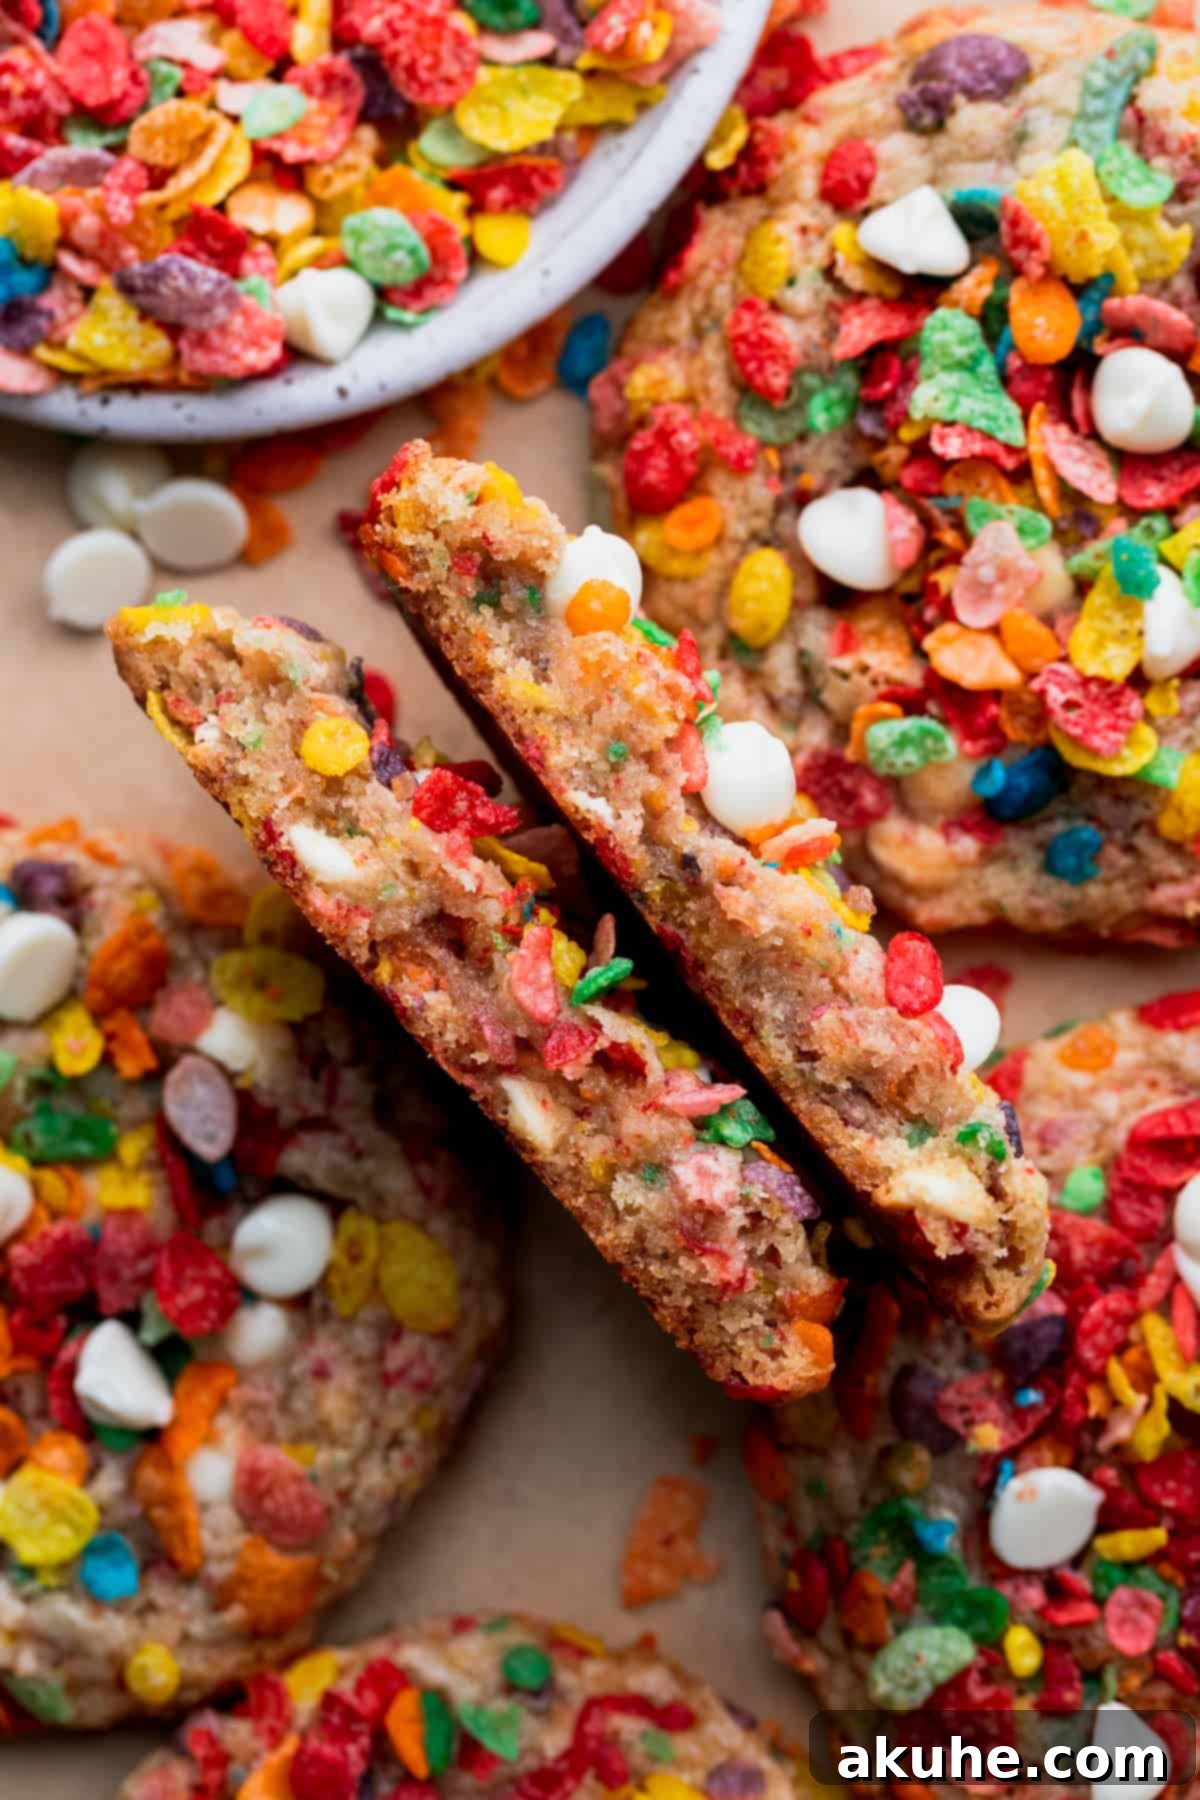
- Irresistibly Chewy Texture: Achieving the perfect cookie texture is an art, and this recipe delivers a masterpiece. These cookies boast a wonderfully chewy center that melts in your mouth, complemented by delightfully crisp edges that provide a satisfying bite. The cereal coating on the outside isn’t just for looks; it adds an extra layer of crunch, elevating the textural complexity and making each cookie a symphony of chewiness and crispness.
- Effortless Baking Experience: Forget about wrestling with heavy stand mixers or planning hours ahead for chilling dough. This recipe is designed for maximum ease and minimal fuss. It requires no electric mixer, relying instead on simple whisking and stirring, and mercifully, no chilling time. This means you can go from craving to warm, fresh-baked cookies in under an hour. It’s a fantastic recipe for busy weeknights, spontaneous baking sessions, or even a fun activity for kids to help with in the kitchen, making it truly kid-approved and beginner-friendly!
Key Ingredients for Perfect Fruity Pebble Cookies
While the full list of ingredients can be found in the recipe card below, here are some essential notes and tips for the star components that make these cookies truly spectacular:
- Fruity Pebbles: Naturally, this is the star of our show! For an authentic experience, stick with classic Fruity Pebbles. While Cocoa Pebbles could offer a chocolatey twist, we generally advise against cereals with marshmallows, as they tend to melt and alter the cookie’s texture in unexpected ways. Ensure you have enough for both the dough and for rolling!
- Unsalted Butter: Using unsalted butter gives you control over the overall saltiness of the cookies. It’s crucial that the butter is melted and then cooled to room temperature. This melted-then-cooled approach contributes significantly to the cookie’s desired chewy texture without causing excessive spreading during baking.
- Brown Sugar: We recommend using light brown sugar, packed tightly. The molasses content in brown sugar adds moisture, depth of flavor, and contributes to that wonderfully chewy consistency that defines these cookies.
- Eggs: For optimal emulsification and a smoother dough, remember to pull your large eggs out of the refrigerator approximately 2 hours before you plan to start baking. Room temperature eggs blend more easily and create a more uniform batter.
- White Chocolate Chips: The quality of your white chocolate chips can make a noticeable difference in the final taste. We highly recommend investing in a good quality brand, such as Ghirardelli white chocolate chips, for their rich, creamy flavor that complements the cereal beautifully. They add a luxurious sweetness that ties all the flavors together.
- All-Purpose Flour: Use a standard all-purpose flour. It’s important to measure it correctly by spooning it into your measuring cup and leveling it off, rather than scooping directly from the bag, which can compact the flour and lead to dry, dense cookies.
- Baking Powder and Baking Soda: These leavening agents work in tandem to give the cookies their perfect rise and soft texture. Ensure they are fresh for best results.
- Salt: A pinch of salt is vital for balancing the sweetness and enhancing all the other flavors in the cookie. Don’t skip it!
- Pure Vanilla Extract: Use good quality pure vanilla extract to add a warm, aromatic note that elevates the overall flavor profile of the cookies.
Step-by-Step Guide to Baking Fruity Pebble Cookies
Get ready to create some truly magical cookies! This recipe is refreshingly simple and does not require an electric mixer. Gather your tools: two medium bowls, a whisk, a rubber spatula, two cookie sheets lined with parchment paper, and a large cookie scoop (a 3-tablespoon scoop works best).
STEP 1: Prepare the Dry Ingredients and Cereal Crumbs. Begin by transforming some of your Fruity Pebbles into fine crumbs. Measure out about 1 cup of Fruity Pebbles and process them in a food processor until they resemble a fine crumb, yielding approximately 1/2 cup of crumbs. Set these aside. In a separate medium bowl, sift your all-purpose flour. This step helps to aerate the flour and prevent lumps. To the sifted flour, add the baking powder, baking soda, and salt. Whisk these dry ingredients together thoroughly until they are well combined. This ensures even distribution of leavening and seasoning throughout the dough.
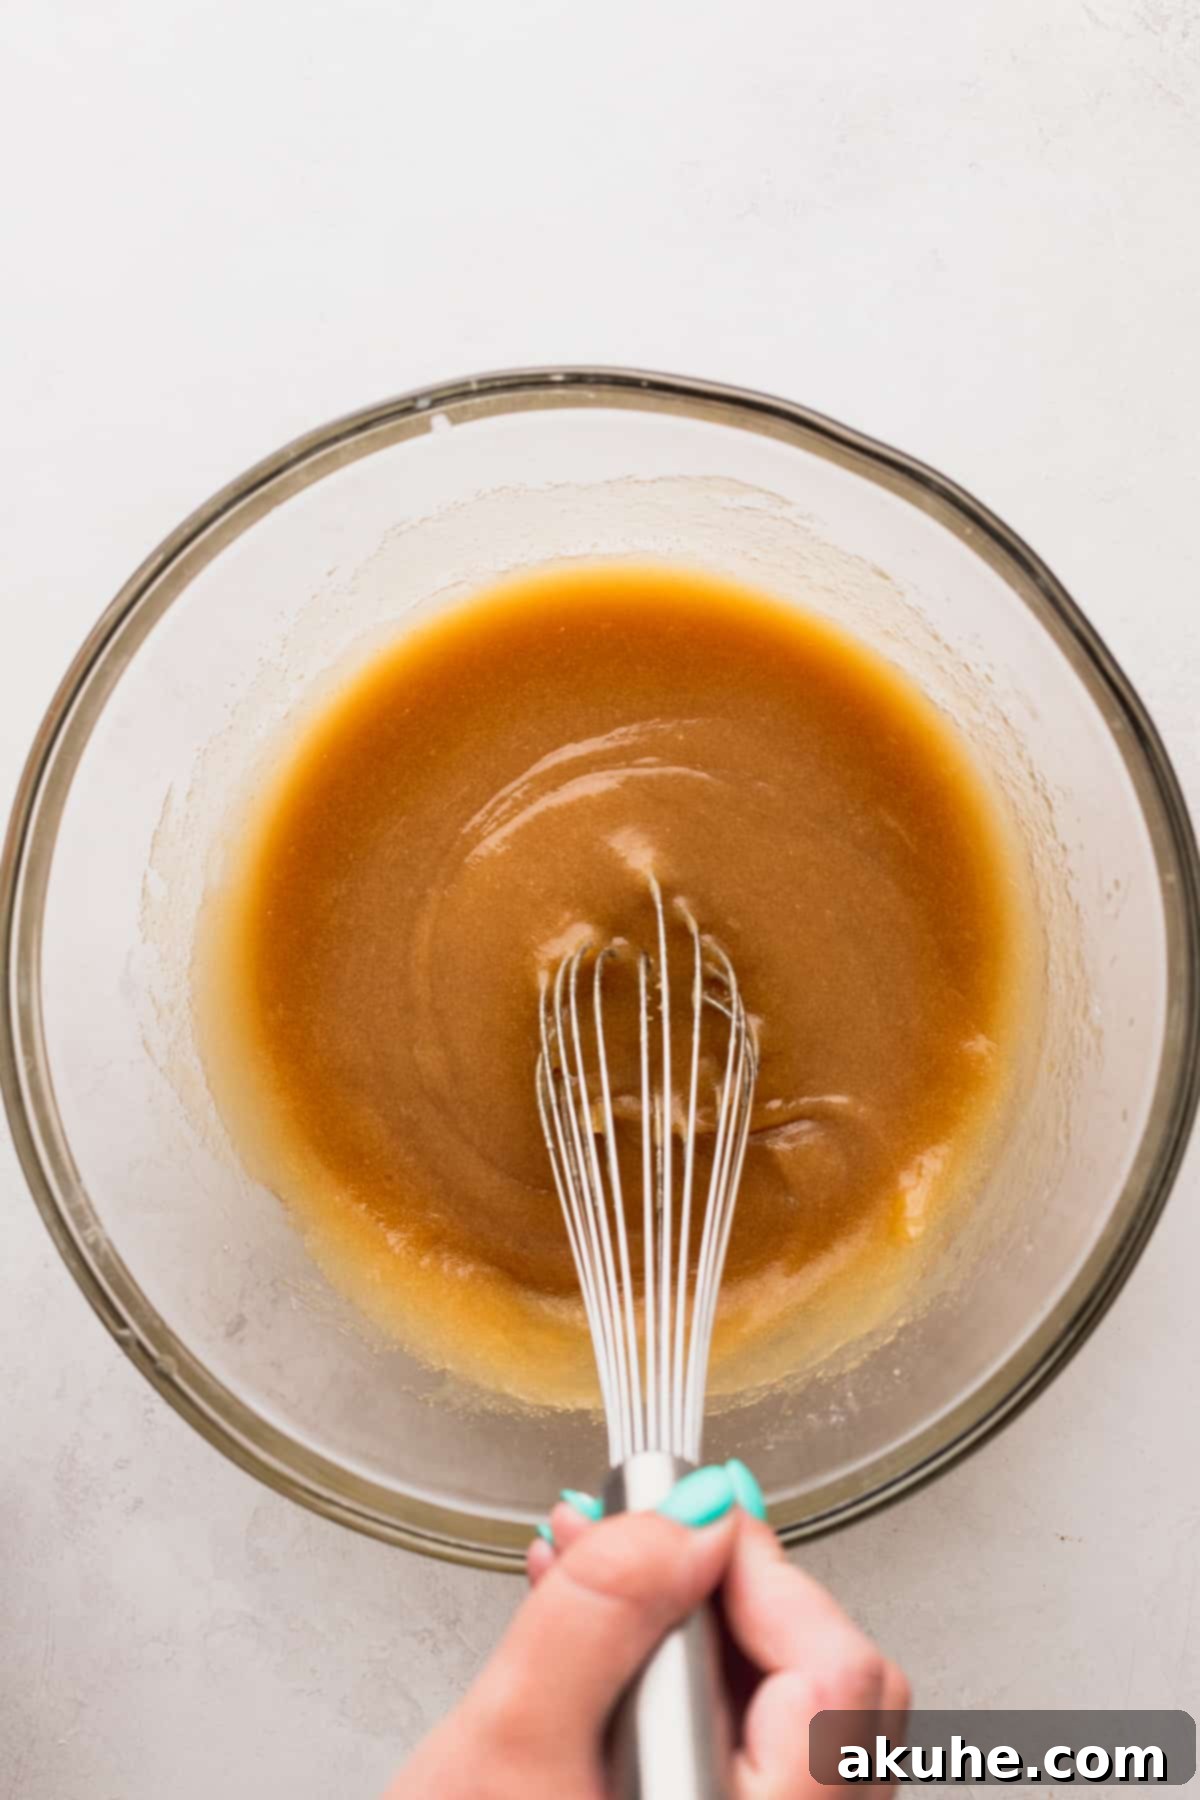
STEP 2: Combine the Wet Ingredients. In a large mixing bowl, combine your melted butter (ensure it has cooled to room temperature to prevent cooking the eggs), packed light brown sugar, white granulated sugar, pure vanilla extract, and room temperature large eggs. Whisk these ingredients vigorously until the mixture is smooth, creamy, and appears well emulsified. This forms the luscious base of your cookie dough.
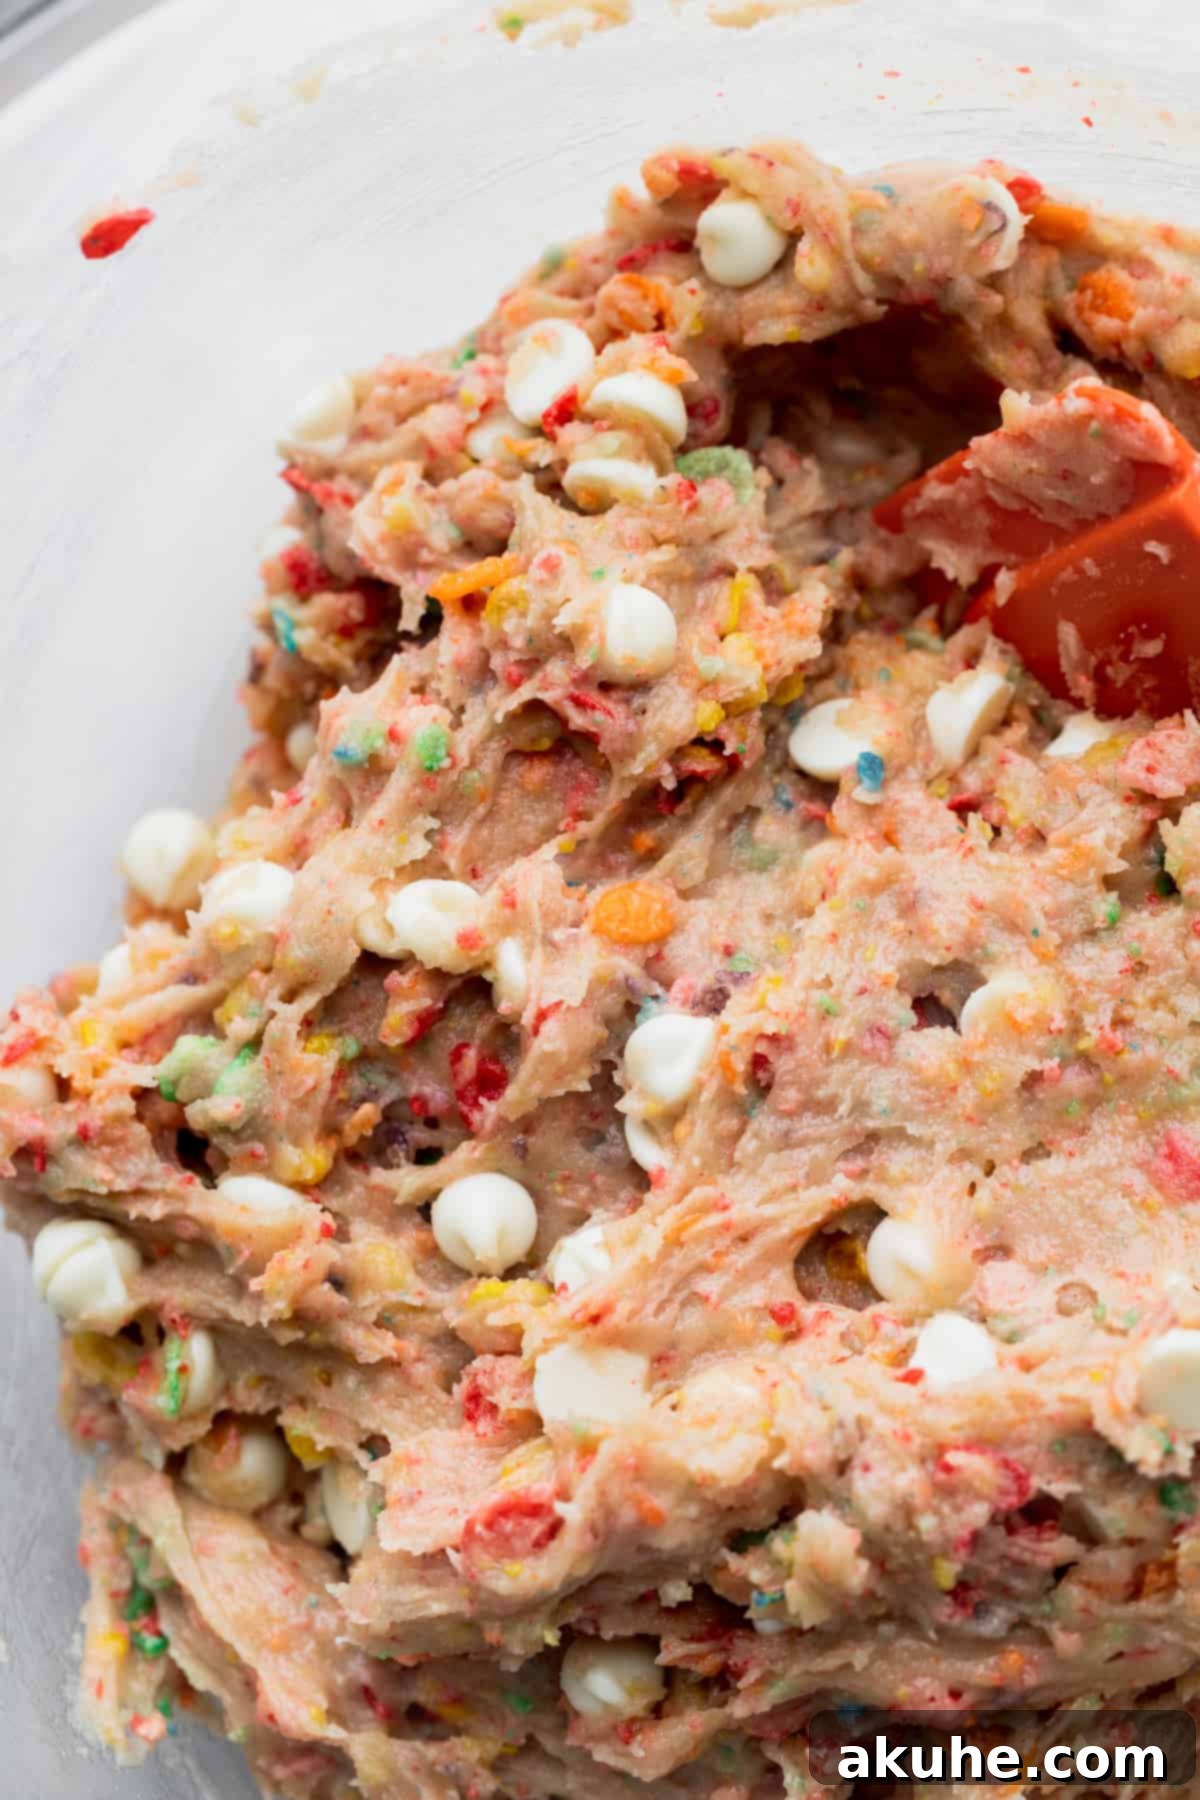
STEP 3: Integrate Dry and Wet Ingredients. Gradually add the prepared dry ingredient mixture along with the Fruity Pebble crumbs into the large bowl containing your wet ingredients. Using a sturdy rubber spatula, gently fold the ingredients together. Mix just until everything is combined and no streaks of dry flour remain. Be careful not to overmix, as this can develop the gluten too much, leading to tougher cookies. Once the base dough is formed, fold in the whole Fruity Pebble cereal pieces and the white chocolate chips. Ensure they are evenly distributed throughout the dough.
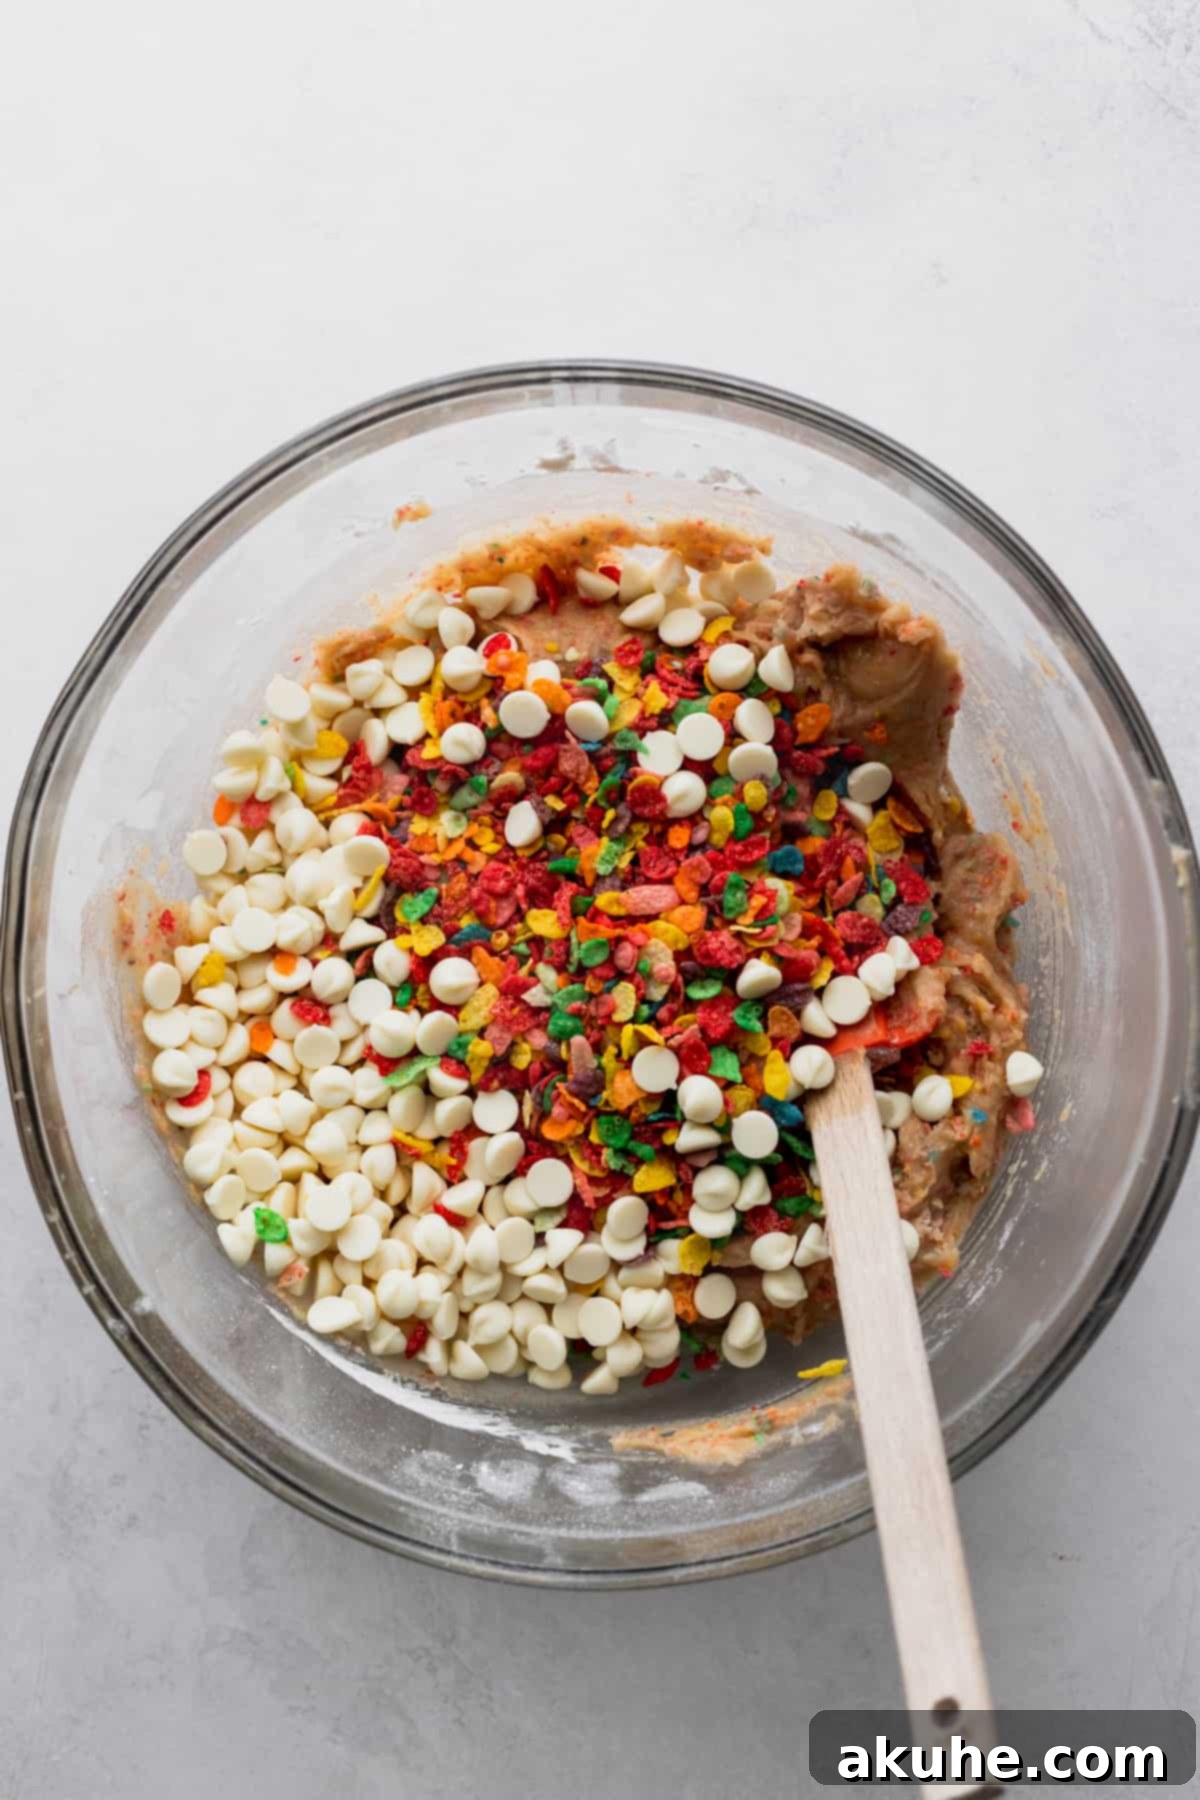
STEP 4: Allow the Dough to Rest. While your oven is preheating to 350°F (175°C), let the cookie dough rest on your counter for about 10-15 minutes. This seemingly small step is quite important: it allows the flour to fully hydrate and the gluten to relax, which helps to prevent excessive spreading during baking and ensures a perfectly chewy cookie.
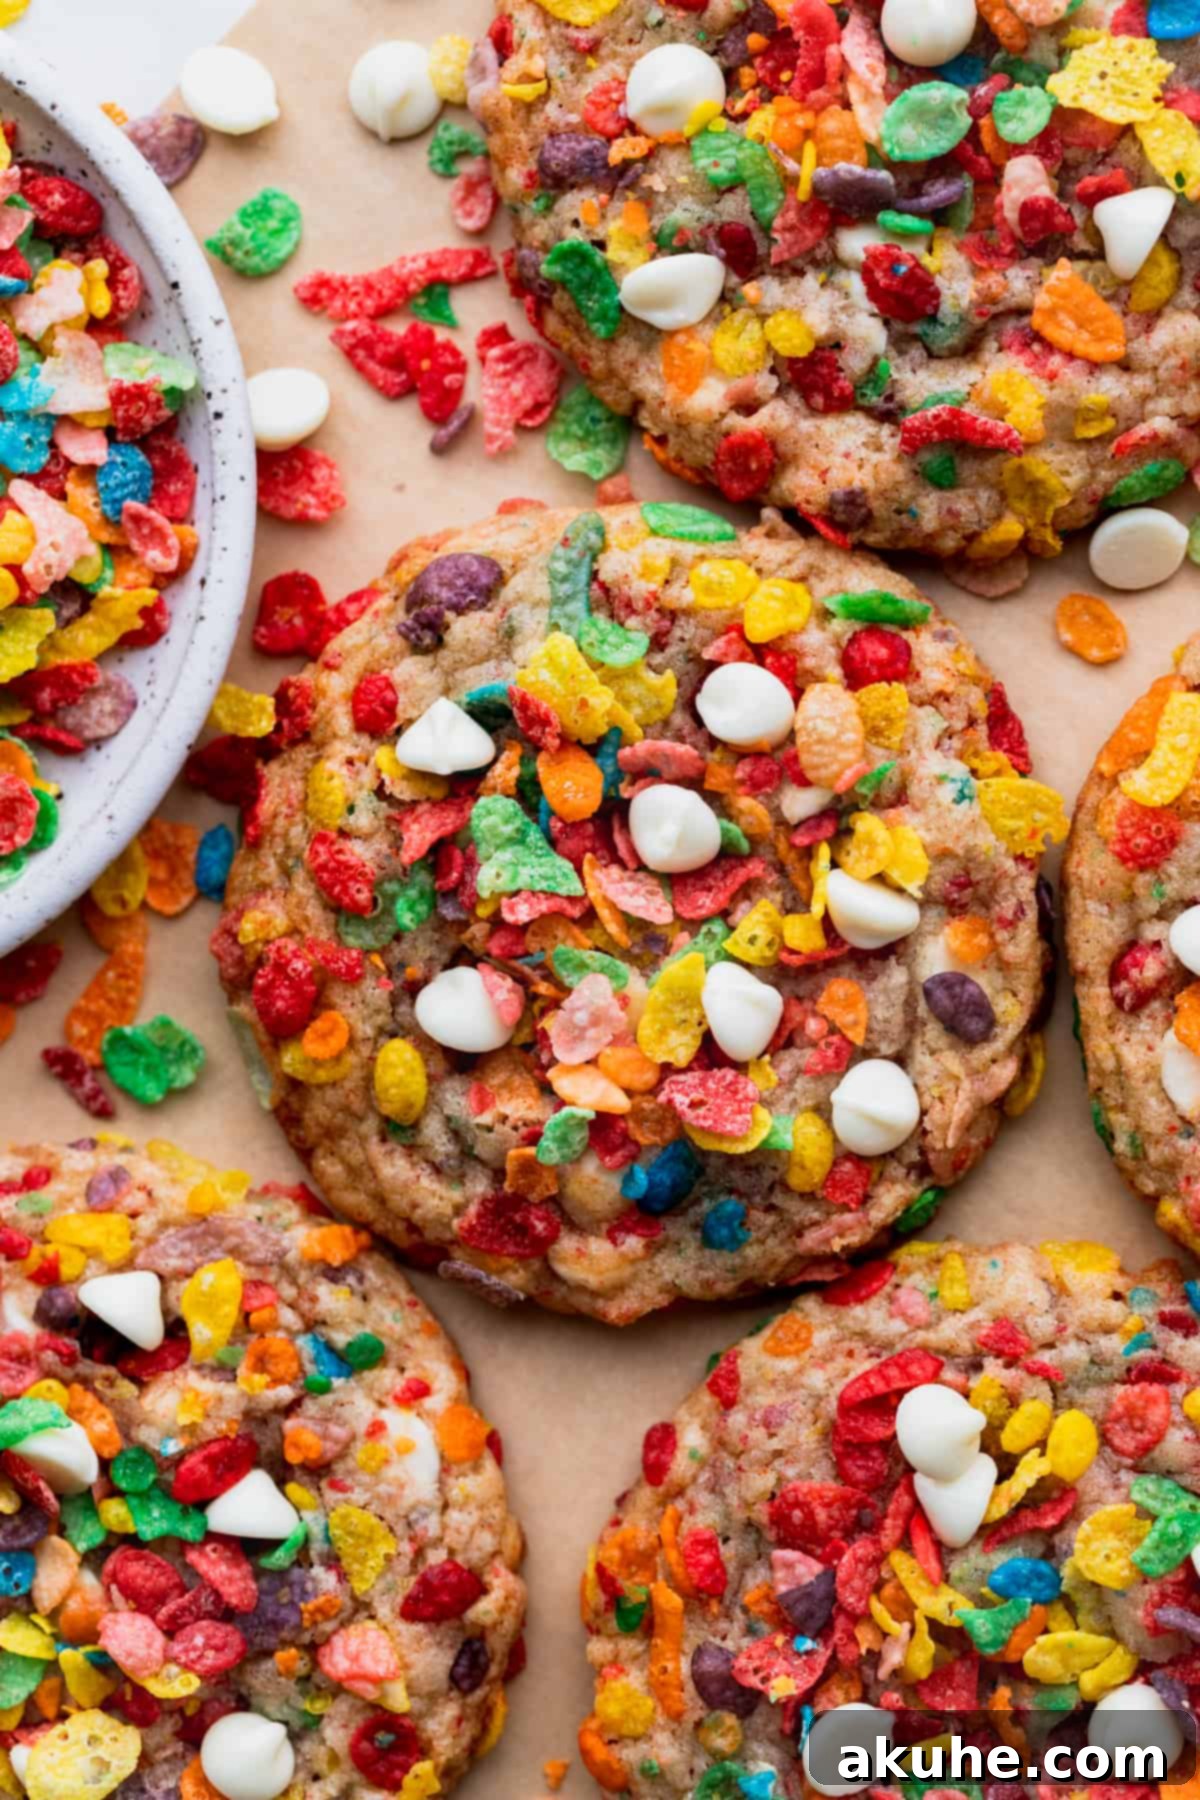
STEP 5: Scoop and Coat the Cookie Dough Balls. Pour a generous amount of whole Fruity Pebbles into a shallow bowl. Use a 3-tablespoon cookie dough scoop to portion out uniform balls of dough. This size ensures consistent baking and a substantial cookie. Carefully roll each cookie dough ball in the bowl of Fruity Pebbles, pressing gently to ensure the cereal adheres well and creates a thick, colorful coating. The more compacted the cereal is, the better it will stick during baking. Place 6 coated cookie dough balls onto each parchment-lined cookie sheet, leaving ample space between them to prevent merging.


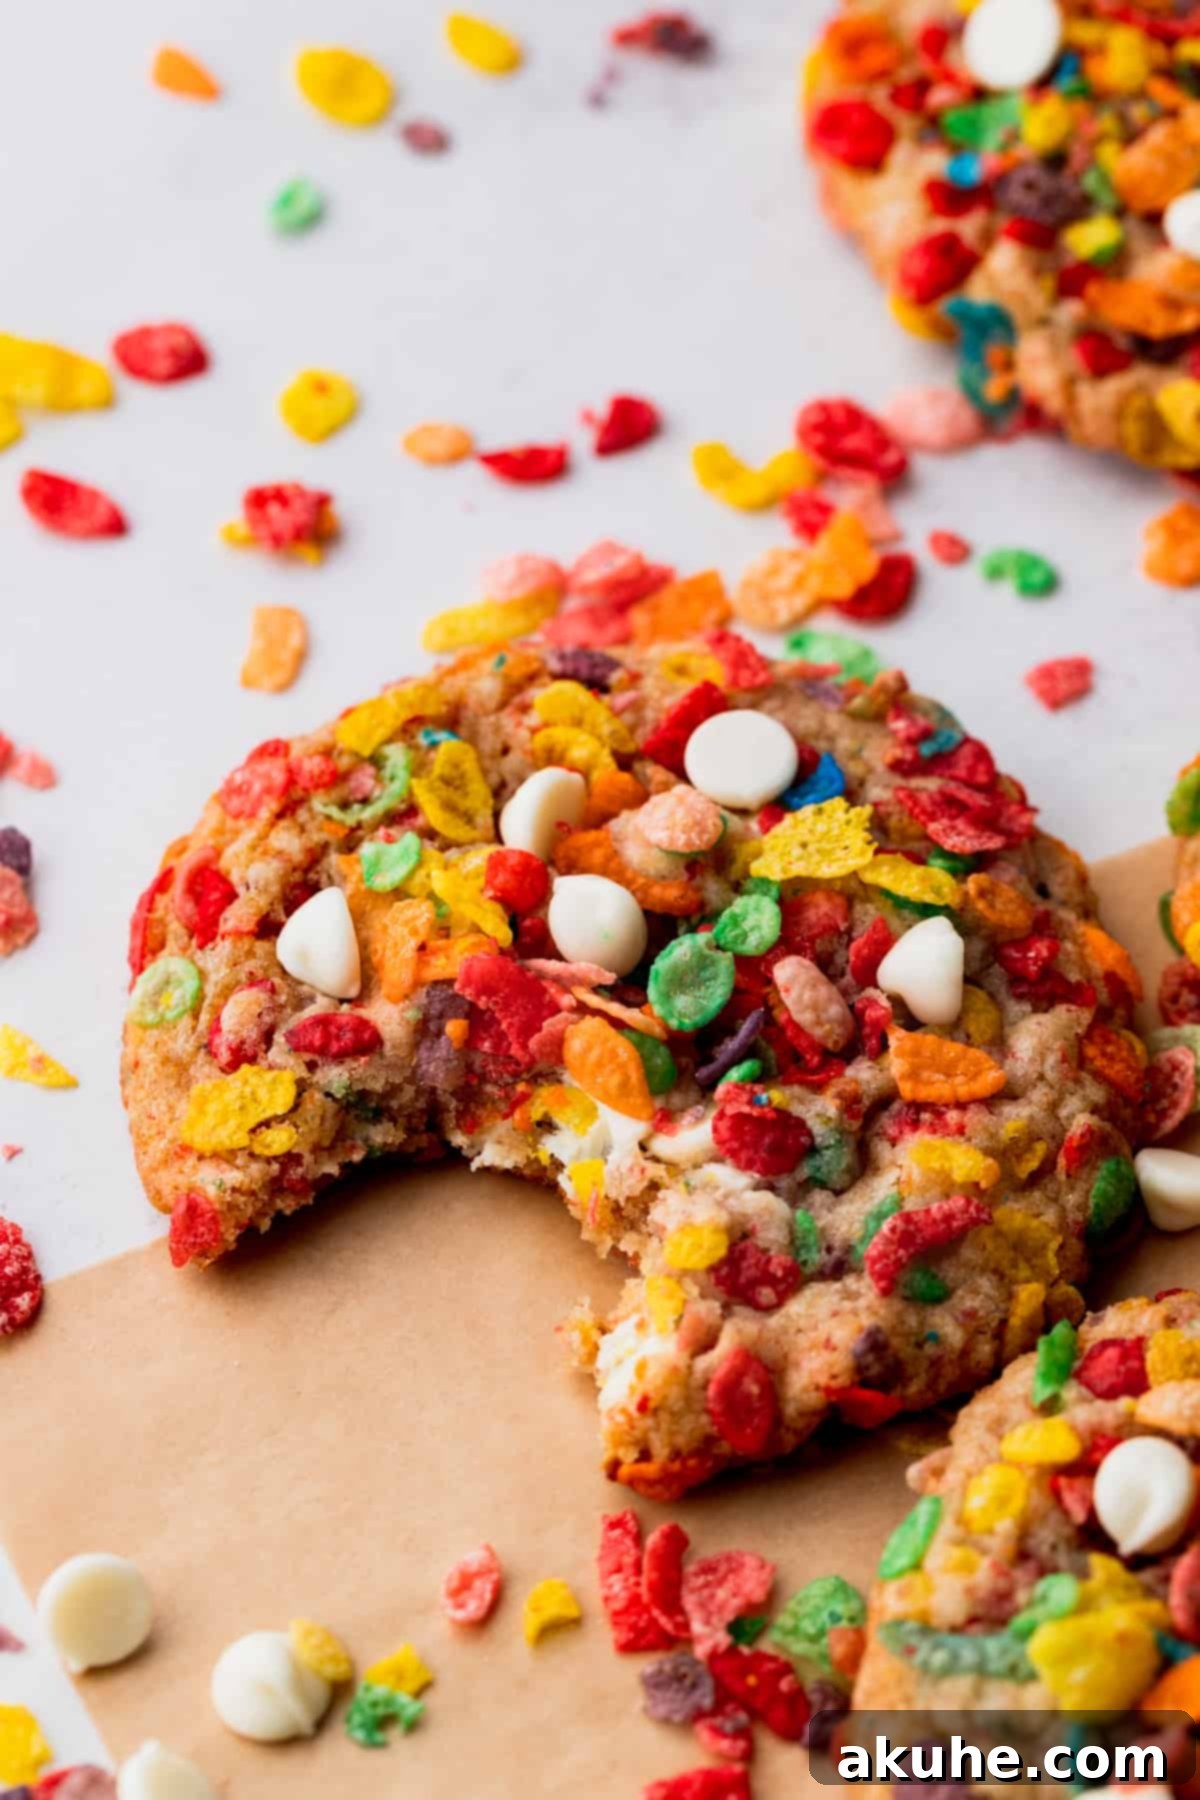
STEP 6: Bake and Garnish. Bake the cookies for 13-15 minutes in your preheated oven. Keep an eye on them; you’re looking for edges that are lightly golden brown, while the centers still appear slightly soft and set but not fully baked through. This “slightly underdone” stage is key to achieving that coveted chewy center. Immediately upon removing the cookies from the oven, and while they are still hot, gently press a few extra Fruity Pebbles and white chocolate chips onto the tops of each cookie. This step enhances their visual appeal and adds another layer of flavor and texture. Allow the cookies to cool on the baking sheet for a few minutes before carefully transferring them to a wire rack to cool completely. This helps them to set and prevents them from breaking.
Expert Baking Tips for Ultimate Fruity Pebble Cookies
Achieving cookie perfection often comes down to a few key techniques and observations. Here are some expert tips to ensure your Fruity Pebble Cookies turn out absolutely phenomenal:
- Accurate Flour Measurement is Key: One of the most common baking errors is incorrect flour measurement. Always use the “spoon and level” method: gently spoon flour into your measuring cup until it overflows, then level it off with the back of a knife. Never scoop flour directly from the bag, as this compacts it, leading to an excess of flour. Too much flour can result in dry, dense cookies that don’t spread properly, losing that desirable chewy texture.
- Troubleshooting Cookie Spread: If your cookies are spreading more than desired, first ensure you are always baking on parchment paper-lined cookie sheets. Parchment paper not only prevents sticking but also helps regulate heat for even baking. Excessive spreading can also be caused by butter that was too warm when added to the ingredients. If your butter was melted and cooled, but still felt warm, it might contribute to spreading. As a last resort, if you notice significant spreading, you can chill the scooped cookie dough balls for 10-15 minutes before baking. This helps solidify the butter, which in turn limits spread.
- Adjusting for High Altitude: Bakers living at high altitudes often need to make small adjustments to their recipes. The lower atmospheric pressure can cause baked goods to rise too quickly and then collapse, or spread excessively. To counteract this in cookies, try adding an extra 1-2 tablespoons of all-purpose flour to the dough. This slight increase in dry ingredients helps to provide more structure and prevent over-spreading.
- Embrace Under-Baking for Chewiness: For truly chewy cookies with soft centers, it’s crucial to pull them from the oven when they appear slightly underdone in the middle. The edges should be lightly golden, but the centers might still look a bit soft or pale. Don’t be tempted to bake them until they are completely firm! Cookies continue to cook from residual heat as they cool on the baking sheet. Removing them a minute or two early ensures they retain that delightful chewiness rather than becoming hard and crispy.
- Room Temperature Ingredients Matter: For ingredients like eggs and butter (even melted butter that has cooled), bringing them to room temperature before mixing is essential. Room temperature ingredients emulsify better, creating a smoother, more uniform dough, which translates to a better texture in your final cookies. Plan ahead and take them out of the fridge at least an hour or two before you start baking.
Frequently Asked Questions About Fruity Pebble Cookies
Absolutely! If you prefer bite-sized treats, you can certainly adjust the size. Use a small cookie scoop (approximately 1.5-2 tablespoons) to portion out the dough. You should be able to fit about 12 smaller cookie dough balls per cookie sheet. Reduce the baking time to approximately 8-11 minutes, keeping a close eye on them until the edges are lightly golden. However, for the best balance of chewiness and crispy edges, we find these cookies are truly much better when baked as larger, more substantial treats.
Yes, they can! Freezing cookie dough is a fantastic way to enjoy freshly baked cookies anytime. After you’ve scooped and rolled the cookie dough balls in Fruity Pebbles, arrange them in a single layer on a parchment-lined baking sheet and freeze until solid. Once frozen, transfer them to an airtight container or a freezer-safe bag. They will keep well in the freezer for up to 30 days. When you’re ready to bake, let the frozen cookie dough balls thaw at room temperature for about 30-60 minutes before baking as directed in the recipe.
Yes, you can chill the cookie dough overnight, and it can even enhance the flavors. However, to make the process easier and prevent the dough from becoming too stiff to scoop, we recommend forming the cookie dough into balls and coating them with Fruity Pebbles first, before chilling them overnight in an airtight container or covered on a baking sheet. Just be sure to allow the chilled cookie dough balls to come back to room temperature (about 30-60 minutes on the counter) before baking them as instructed. This ensures they spread properly and bake evenly.
While Fruity Pebbles are iconic for this recipe, if you absolutely cannot find them, you could experiment with other colorful or sweetened rice-based cereals. Keep in mind that the flavor profile will change, and the vibrant colors might not be as pronounced. You could also try substituting with different types of chocolate chips (milk, dark, or semi-sweet) to complement your chosen cereal. However, for the authentic experience, sourcing Fruity Pebbles is highly recommended!
Storing and Freezing Your Fruity Pebble Cookies
To ensure your delicious Fruity Pebble Cookies remain fresh and enjoyable for as long as possible, proper storage is key.
Store these delectable cookies in an airtight container at room temperature for up to 5 days. Placing a slice of plain bread in the container can help keep them soft and chewy by absorbing excess moisture. For best flavor and texture, we recommend enjoying them within the first 2-3 days.
Freezing Baked Fruity Pebble Cookies
If you’ve baked a large batch or simply want to enjoy these vibrant treats at a later date, freezing the baked cookies is an excellent option. Allow the cookies to cool completely on a wire rack before freezing. Once cooled, arrange them in a single layer on a baking sheet and freeze for about an hour, or until solid. This “flash freezing” prevents them from sticking together. Then, transfer the frozen cookies to an airtight, freezer-safe container or a heavy-duty freezer bag. They can be stored in the freezer for up to 30 days without significant loss of quality. To enjoy, simply thaw them at room temperature for 1-2 hours, or for a warm, fresh-from-the-oven experience, microwave for a few seconds or gently reheat in a low oven.
Other Irresistible Cookie Recipes to Explore
If you’ve fallen in love with these whimsical Fruity Pebble Cookies, you’re likely a fan of fun, flavorful, and easy-to-make treats! Be sure to check out some of our other popular cookie recipes that are guaranteed to delight:
- Classic Chewy Chocolate Chip Cookies: A timeless favorite, perfected for ultimate chewiness and rich chocolate flavor.
- Soft & Spiced Oatmeal Raisin Cookies: Comforting and wholesome, with a perfect blend of oats, raisins, and warm spices.
- Decadent Double Chocolate Fudge Cookies: For the ultimate chocolate lover, these rich, fudgy cookies are pure bliss.
- Bright & Zesty Lemon Crinkle Cookies: A burst of citrusy freshness, perfect for a lighter, refreshing dessert.
If you tried and loved this recipe, please make sure to leave a STAR REVIEW below! Your feedback helps us and other bakers. Don’t forget to tag me on Instagram @stephaniesweettreats with your creations. For more baking inspiration and delicious ideas, be sure to follow me on Pinterest. Happy baking!

Fruity Pebble Cookies
Stephanie Rutherford
Print Recipe |
Pin Recipe |
Leave a Review
20 mins
13 mins
33 mins
15 Large cookies
Ingredients
- 1/2 cup Fruity pebble crumbs (Measure 1 cup of fruity pebbles to blend into a crumb.)
- 2 1/4 cups All-purpose flour
- 1/2 tsp Baking powder
- 1/2 tsp Baking soda
- 1 tsp Salt
- 1 cup Unsalted butter, melted and cooled
- 3/4 cup Brown sugar, packed light brown sugar
- 3/4 cup White granulated sugar
- 1 tsp Pure vanilla extract
- 2 Large eggs, room temperature
- 1 cup Fruity pebbles, plus more to roll the cookies in.
- 1 cup White chocolate chips, plus more to top the cookies
Instructions
- Using a food processor, blend 1 cup of Fruity Pebbles into a fine crumb (this should yield about 1/2 cup of crumbs). Set aside. In a medium bowl, sift the flour, then add the baking powder, baking soda, and salt. Whisk to combine.
- In a large bowl, combine the melted butter (cooled to room temperature), brown sugar, white sugar, vanilla extract, and eggs. Whisk until smooth and creamy.
- Add the dry ingredients and the Fruity Pebble crumbs to the wet ingredients. Use a rubber spatula to mix until just combined, being careful not to overmix. Then, fold in the whole Fruity Pebble cereal pieces and the white chocolate chips.
- Preheat your oven to 350°F (175°C). Line two cookie sheets with parchment paper. Let the cookie dough rest on the counter for 10-15 minutes while the oven preheats; this allows the gluten to relax for better texture.
- Pour additional Fruity Pebbles into a shallow bowl. Using a large 3-tablespoon cookie scoop, portion the dough. Roll each cookie dough ball generously in the extra Fruity Pebbles, pressing gently to ensure good adhesion. Place 6 coated cookie dough balls per prepared cookie sheet.
- Bake for 13-15 minutes, or until the edges are lightly golden and the middles appear slightly underdone (they will continue to cook as they cool).
- Immediately after removing the cookies from the oven, while they are still hot, gently press a few extra Fruity Pebbles and white chocolate chips onto the top of each cookie for added appeal.
- Allow the cookies to cool on the baking sheet for a few minutes before transferring them to a wire rack to cool completely.
Notes
Flour: Always make sure flour is spooned and leveled, or use a kitchen scale for precise measurement. Compacted flour can dry out the cookies and cause them not to spread correctly.
High Altitude Baking: For those baking at high altitudes, consider adding an extra 1-2 tablespoons of flour to the dough to help with spread and texture.
Room Temperature Ingredients: For best results, pull out all dairy ingredients (butter, eggs) at least 1-2 hours before baking to allow them to come to room temperature.
Nutrition Information (per serving)
- Calories: 333kcal
- Carbohydrates: 45g
- Protein: 3g
- Fat: 16g
- Saturated Fat: 10g
- Polyunsaturated Fat: 1g
- Monounsaturated Fat: 4g
- Trans Fat: 0.5g
- Cholesterol: 35mg
- Sodium: 236mg
- Potassium: 75mg
- Fiber: 1g
- Sugar: 29g
- Vitamin A: 448IU
- Vitamin C: 1mg
- Calcium: 48mg
- Iron: 1mg
Did you make this recipe?
Please leave a star rating and review below! We love hearing from you.
