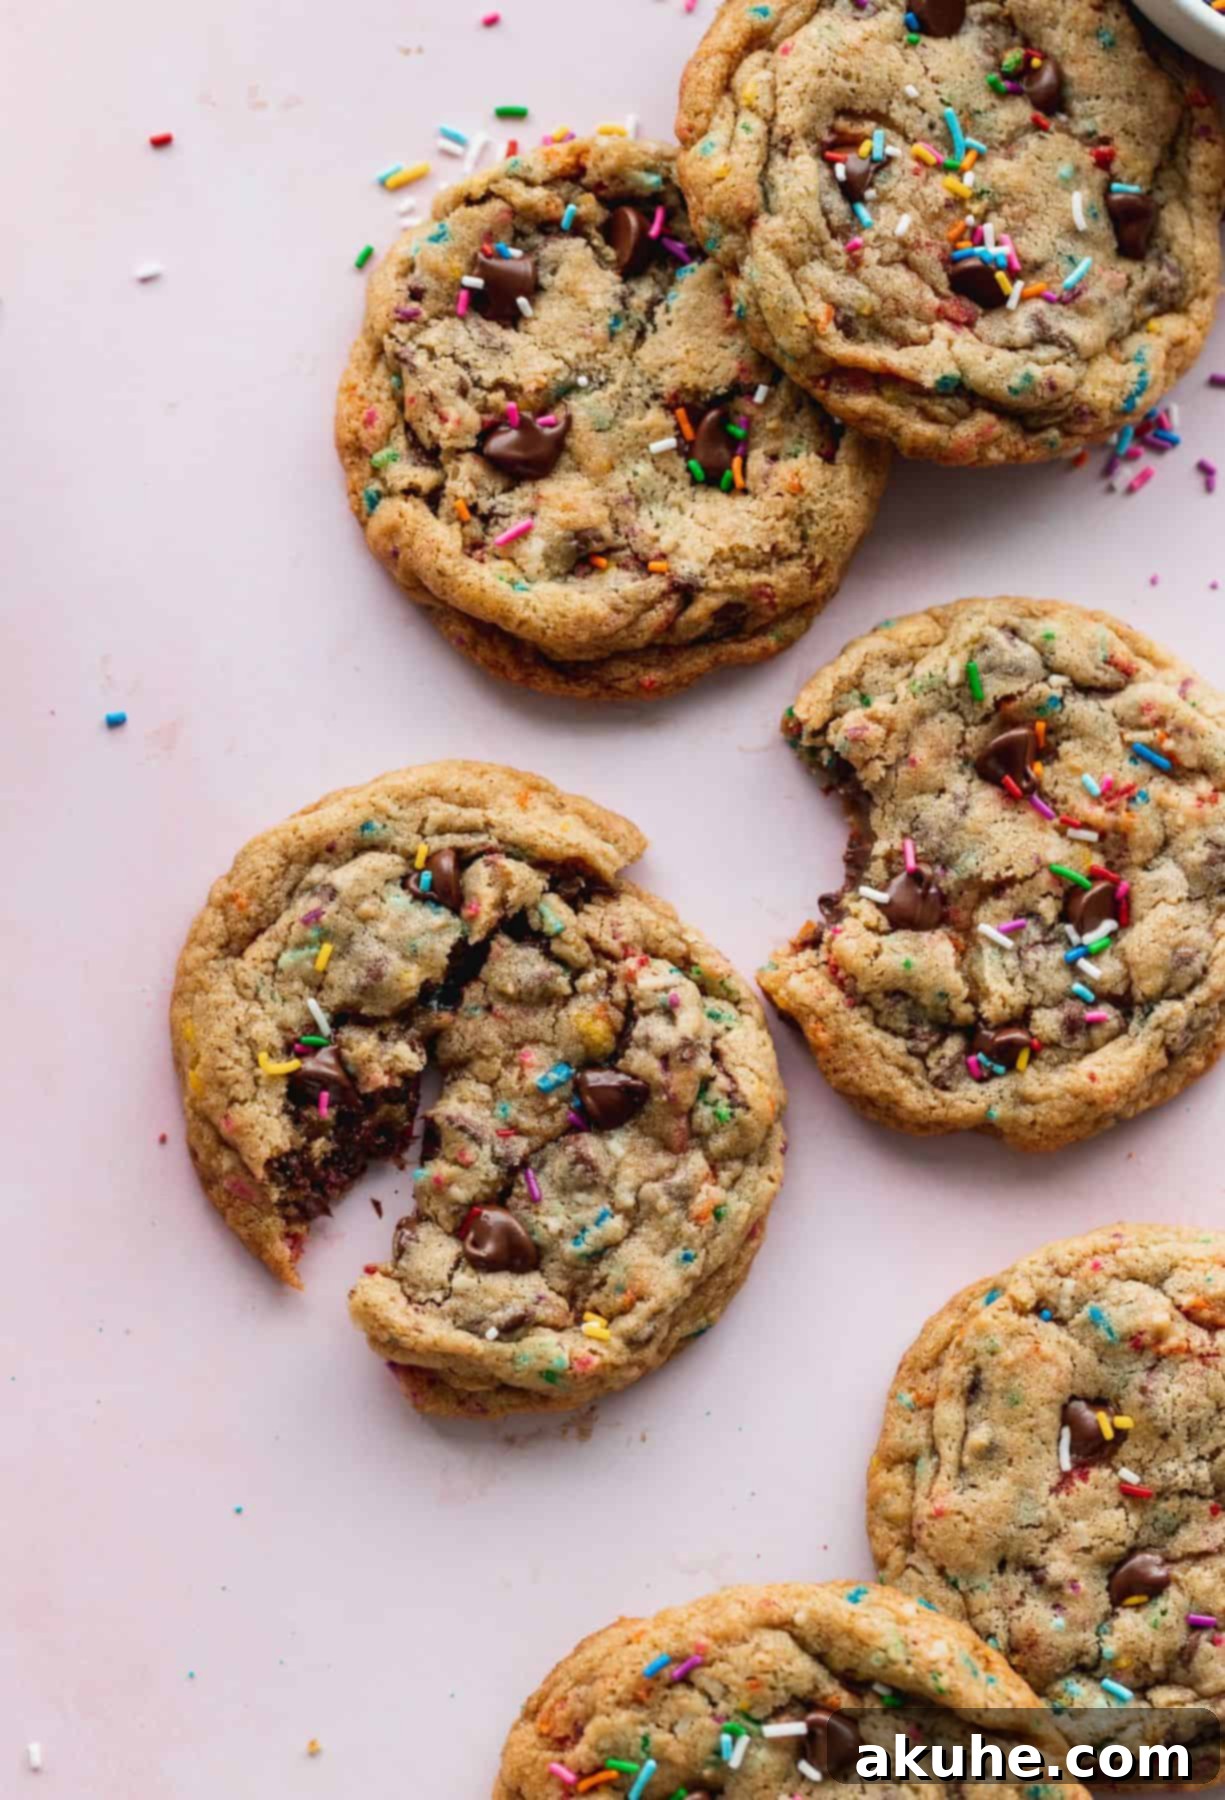
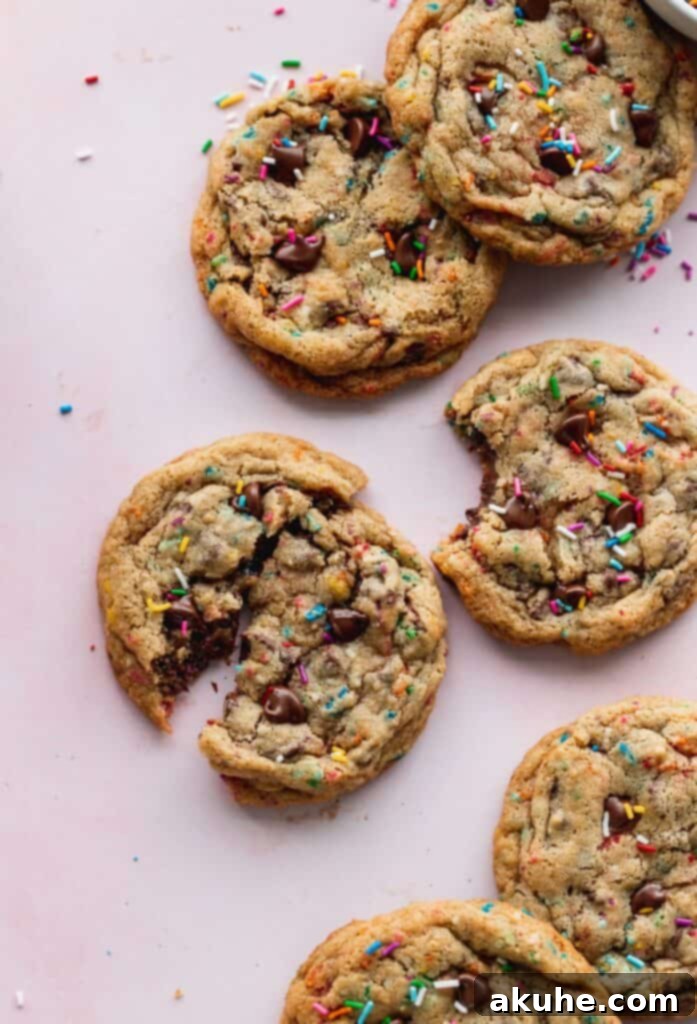
Welcome to the ultimate guide for creating the most enchanting and utterly delicious **Sprinkle Chocolate Chip Cookies**! These aren’t just any cookies; they’re a celebration in every bite, blending the beloved classic chocolate chip cookie with a burst of colorful, crunchy rainbow sprinkles. Imagine a cookie that’s perfectly chewy in the center, boasts delightfully crisp edges, and is generously studded with rich chocolate chips and vibrant sprinkles. Often likened to a delightful twist on funfetti cookies, these **rainbow sprinkle chocolate chip cookies** are sure to bring a smile to anyone’s face. They are incredibly easy to make, making them ideal for birthdays, holidays, or simply brightening an ordinary day with a touch of magic. Get ready to bake a batch of pure joy that tastes as good as it looks!
Crafting the Perfect Sprinkle Chocolate Chip Cookie Dough
Creating the dough for these **chewy sprinkle chocolate chip cookies** is a straightforward process, and with just a few key steps, you can have these delightful treats baking in your oven in under an hour (plus chilling time!). The secret to truly exceptional cookies lies in paying attention to the details of dough preparation. This recipe focuses on maximizing flavor and texture, ensuring each cookie is a masterpiece of chewy goodness with those coveted crisp edges.
Essential Steps for Delicious Dough
- Room Temperature Ingredients: Your Secret Weapon: For the best results, always remember to pull your butter and eggs out of the refrigerator at least 1-2 hours before you plan to start baking. Room temperature ingredients emulsify much better, creating a smoother, more uniform dough. This leads to a superior texture in your baked cookies – think chewier and more tender centers. Cold ingredients can result in a lumpy batter and a denser, less appealing cookie.
- Sifting Dry Ingredients for Uniformity: In a separate bowl, combine your all-purpose flour, baking soda, cornstarch, and salt. Sifting these dry ingredients together is a crucial step that ensures they are thoroughly mixed and free of lumps. This prevents pockets of unmixed leavening agents or salt in your cookies, contributing to an even rise and consistent flavor throughout the batch. Cornstarch is a fantastic addition, known for making cookies extra soft and chewy!
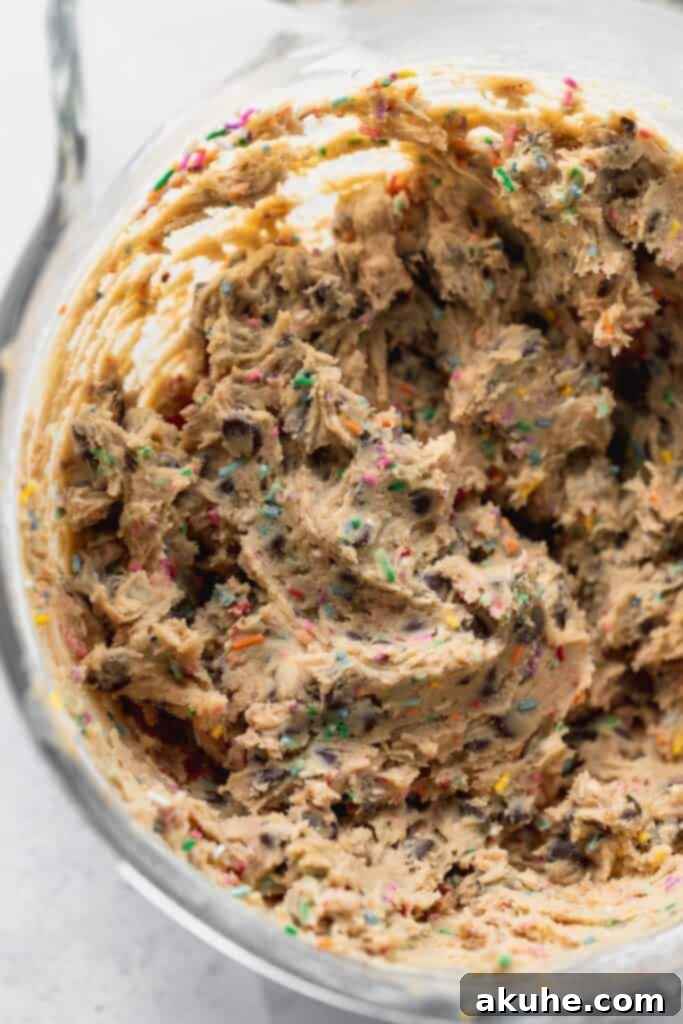
- Creaming Butter and Sugars to Perfection: Using a stand mixer fitted with a paddle attachment or a hand mixer, beat the softened unsalted butter with both the brown sugar (packed for extra moisture and chewiness) and granulated white sugar. This step, known as creaming, should continue until the mixture is visibly light, fluffy, and pale in color – typically 2-3 minutes on medium-high speed. Proper creaming incorporates air into the butter, which then expands during baking, giving your cookies their wonderful texture. Don’t rush this step!
- Incorporating Eggs and Vanilla: Add the eggs one at a time, beating well after each addition until fully incorporated. It’s essential to scrape down the sides and bottom of the bowl frequently with a rubber spatula to ensure all the butter and sugar mixture is thoroughly combined with the eggs. This prevents uneven mixing and ensures consistency. Finally, stir in the pure vanilla extract, which enhances all the sweet flavors.
- Gradually Adding Dry Ingredients: With the mixer on low speed, slowly add the sifted dry ingredients to the wet mixture. Mix only until just combined. Overmixing flour develops gluten, which can lead to tough, dry cookies. Stop mixing as soon as you see no more dry streaks of flour.
- Folding in Chocolate Chips and Sprinkles: This is where the fun truly begins! Gently fold in your semi-sweet chocolate chips and, of course, the vibrant rainbow sprinkles. It’s important to mix these in on the lowest speed or by hand to avoid breaking the delicate sprinkles. We want them to maintain their shape and provide that satisfying crunch and visual pop in every bite of your **homemade sprinkle cookies**.
The Non-Negotiable Step: Chilling The Dough
Do not skip this step! Chilling the dough is paramount for achieving the perfect **chewy chocolate chip cookies** with sprinkles, and it’s particularly vital when using sprinkles. Because sprinkles are essentially sugar, they can melt and cause the cookies to spread excessively in the oven if the dough is too warm. Chilling allows the fats in the butter to solidify, preventing the cookies from spreading too much during baking. It also gives the flour time to fully hydrate, resulting in a more tender crumb, and allows the flavors to meld and deepen, yielding a richer, more complex taste. These cookies need to be chilled for a minimum of 45 minutes before you even think about scooping the dough. This patience will be rewarded with superior cookies.
Mastering the Art of Scooping Cookie Dough
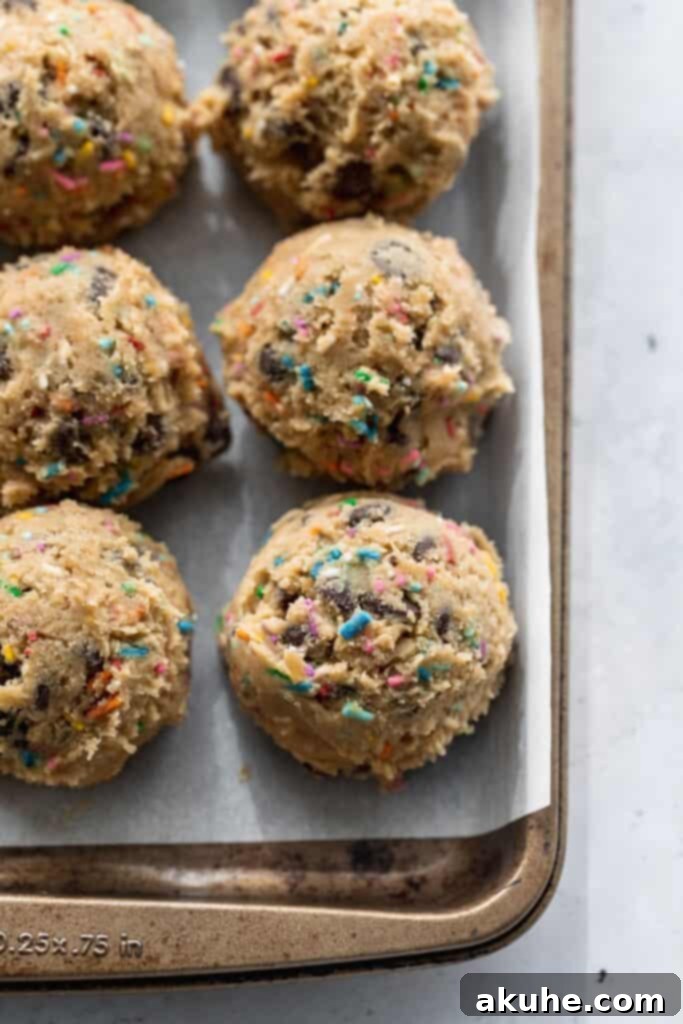
Once your dough has had its essential chill time, it’s time to prepare for baking. Start by lining two baking sheets with parchment paper. I highly recommend parchment paper over silicone baking mats for this recipe, as I’ve found it significantly helps in reducing cookie spreading. The slight grip of parchment paper helps the cookie maintain its shape better during baking.
This recipe is designed to produce generous, **bakery-style cookies**. Larger cookies naturally retain more moisture in their center, which is the key to achieving that wonderfully chewy texture we’re aiming for. For consistent size and perfect presentation, use a large ice cream scoop to portion out your dough. I prefer to scoop all the cookie dough balls first. This way, you can keep the unbaked dough balls chilled in the fridge until you’re ready to bake them in batches, ensuring each cookie starts cold. Place about 6 cookie dough balls per cookie sheet, leaving ample space for spreading. Bake the cookies for 13-15 minutes, or until their edges are lightly golden brown and the centers are still soft but set. This timing ensures a chewy interior with a delicate crispness around the edges.
Can I Make These into Smaller Cookies?
Absolutely! While these **rainbow sprinkle chocolate chip cookies** are designed for that impressive bakery-style size, you can certainly adapt the recipe to make smaller, more traditional-sized cookies. Simply use a standard cookie scoop (about 1.5 tablespoons) to portion out the dough. When making smaller cookies, you will need to adjust your baking time accordingly. Reduce the baking time to approximately 10-12 minutes. Always keep an eye on them, as oven temperatures can vary, and you want them to be lightly golden around the edges while still soft in the center for that perfect chewy texture.
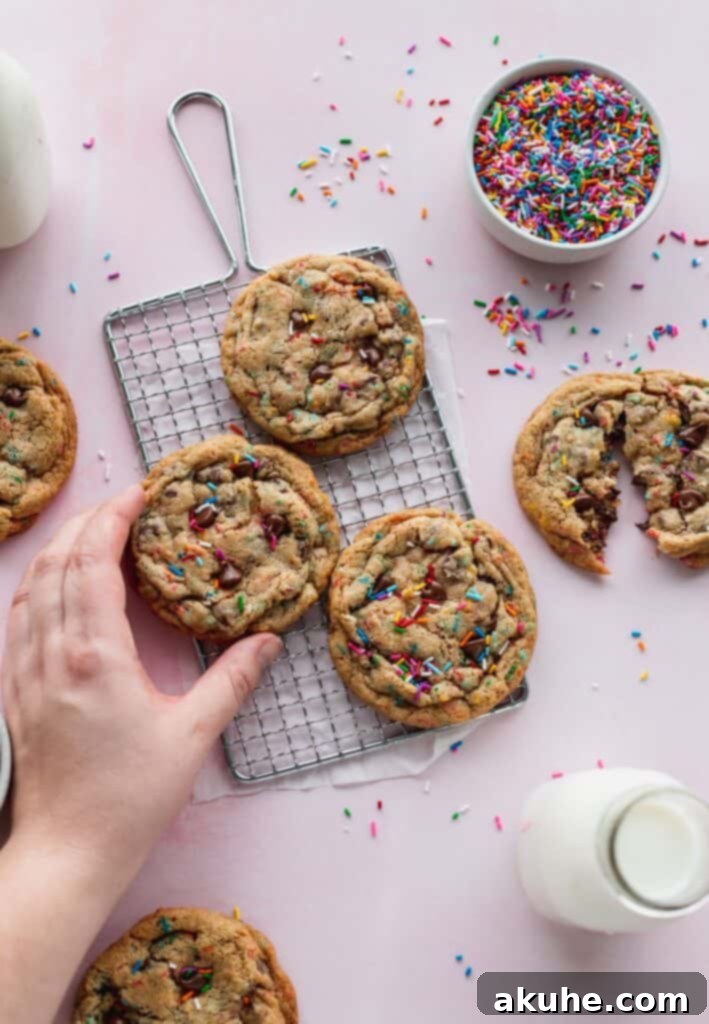
Achieving the Perfect Round Cookie Shape
Sometimes, even with the best techniques, cookies can spread a little irregularly in the oven. But don’t worry, there’s a simple baker’s trick to ensure your **sprinkle chocolate chip cookies** are perfectly round and picture-worthy! This technique is especially useful for creating those professional-looking, uniformly shaped cookies. You’ll need a set of large biscuit cutters, slightly larger than your baked cookies.
Immediately after the cookies come out of the oven, while they are still warm and pliable, take the largest biscuit cutter and place it around a freshly baked cookie. Using a gentle, smooth circular motion, swirl the biscuit cutter around the cookie, coaxing any uneven edges inward to create a perfectly round shape. The heat of the cookie allows it to be reshaped easily. This simple trick transforms any slightly misshapen cookie into a flawlessly round treat. For an extra touch of indulgence and visual appeal, generously top the warm cookies with a few extra chocolate chips and a sprinkle of additional rainbow sprinkles. The warmth of the cookie will slightly melt the chocolate, making it adhere beautifully, and the fresh sprinkles add a final burst of color and crunch.
Storage Solutions for Your Sprinkle Chocolate Chip Cookies
To keep your **chewy sprinkle chocolate chip cookies** fresh and delicious for as long as possible, proper storage is key. Once completely cooled, store these delightful cookies at room temperature in an airtight container. A cookie jar with a tight-fitting lid or a sealed plastic container works perfectly. Storing them this way helps to maintain their wonderful chewy texture and prevents them from drying out. They will retain their freshness and fantastic flavor for up to 5 days, making them perfect for enjoying throughout the week or sharing with friends and family.
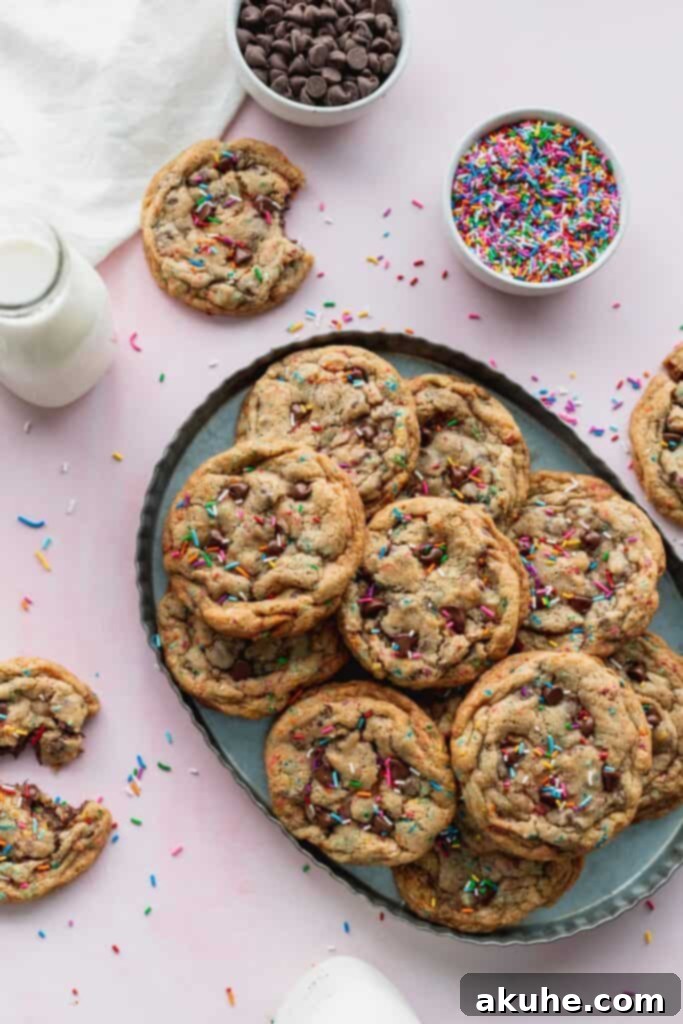
Freezing Sprinkle Chocolate Chip Cookie Dough for Later
One of the best ways to enjoy fresh-baked cookies on demand is to freeze the cookie dough. This way, you’ll always have a stash of delicious **rainbow sprinkle chocolate chip cookie** dough ready to bake whenever a craving strikes or unexpected guests arrive. Freezing cookie dough is a fantastic time-saver and ensures you can enjoy warm, homemade cookies with minimal effort.
To freeze the dough, follow the initial chilling instructions for 45 minutes as outlined above. This crucial step helps the dough set up properly. After chilling, use your large cookie scoop to portion the dough into individual balls. Place these scooped dough balls on a parchment-lined baking sheet and freeze for about an hour, or until firm. Once firm, transfer the frozen cookie dough balls to an airtight freezer-safe container or a heavy-duty freezer bag. Label with the date, and they can be stored in the freezer for up to 3 months. When you’re ready to bake, you can bake the cookies directly from the freezer. Simply add a few extra minutes to the baking time (typically 2-4 minutes longer than the recipe specifies) to ensure the middle bakes through completely. This method is perfect for having fresh-baked **funfetti chocolate chip cookies** whenever you desire, without the fuss of making dough from scratch every time.
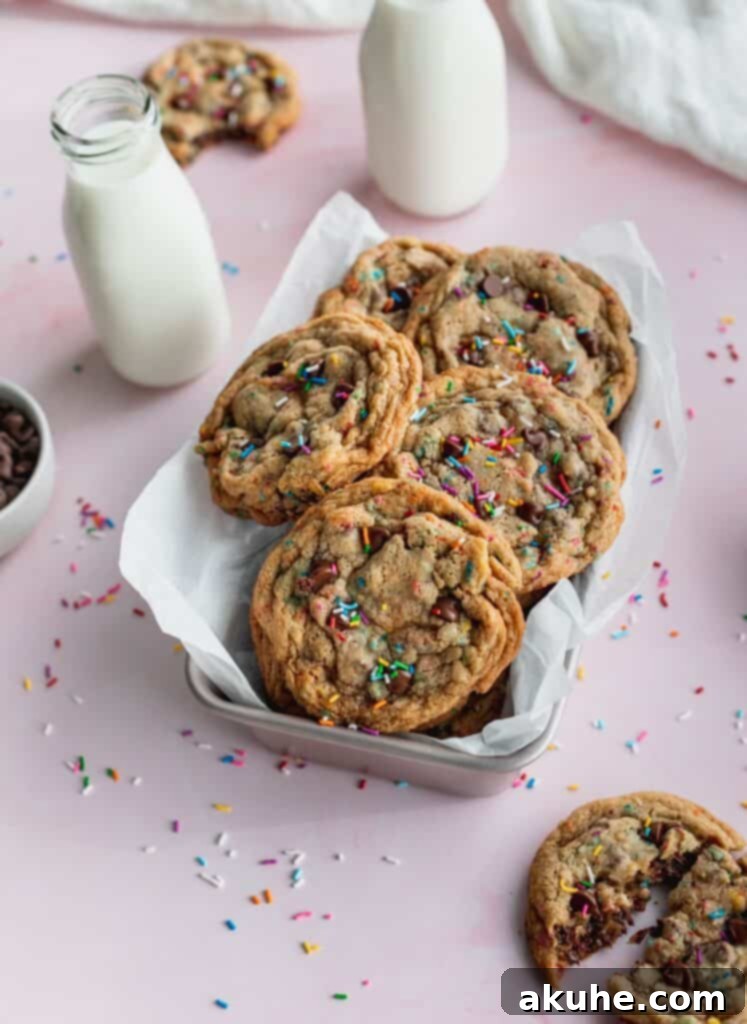
More Delicious Cookie Recipes to Explore
If you loved baking these **sprinkle chocolate chip cookies**, you’re in for a treat! Expand your baking repertoire with these other fantastic cookie recipes. Each offers a unique flavor profile and a delightful baking experience:
- Irresistible Caramel Chocolate Chip Cookies
- Hearty Oatmeal Peanut Butter Chocolate Chip Cookies
- Classic Peanut Butter Chocolate Chip Cookies
- Warm and Comforting Brown Butter Snickerdoodle Cookies
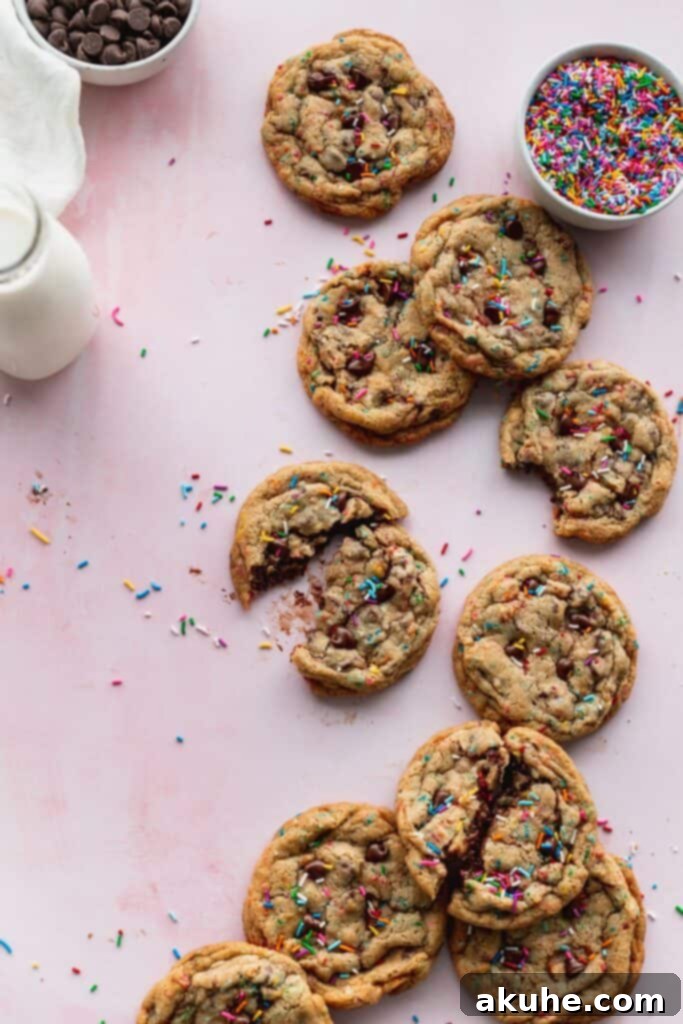
We hope you thoroughly enjoyed making and savoring these delightful **Sprinkle Chocolate Chip Cookies**! If you baked these vibrant treats, we’d love to see your creations. Tag us on Instagram @stephaniesweettreats and consider leaving a review below to share your experience. Your feedback helps us grow and inspires other bakers! For more baking inspiration and sweet ideas, be sure to follow us on Pinterest.

Sprinkle Chocolate Chip Cookies
These sprinkle chocolate chip cookies are chewy cookies with crisp edges. They are full of rainbow sprinkles and very easy to make.
Ingredients
- 2 1/4 cups All-purpose flour
- 1 tsp Baking soda
- 1 tsp Cornstarch
- 1 tsp Salt
- 1 cup Unsalted butter, room temperature
- 1 cup Brown sugar, packed light or dark
- 1/2 cup White granulated sugar
- 1 tsp Pure vanilla extract
- 2 Large eggs, room temperature
- 3/4 cup Rainbow sprinkles, use jimmies
- 1 3/4 cups Semi-sweet chocolate chips
Instructions
In a mixing bowl, sift the flour, baking soda, cornstarch, and salt. Set aside.
Using a mixer, beat the butter, brown sugar, and sugar together for 2 minutes on medium-high. The butter should be light and fluffy. Add in vanilla. Mix and scrape the bowl.
Add in eggs one at time. Mix on medium-low. Add in the dry ingredients slowly. Add in chocolate chips and sprinkles. Mix on low.
Place bowl in fridge and chill for 45 minutes. Preheat oven to 350°F (175°C). Line 2 baking sheets with parchment paper.
Use a large cookie scoop to scoop the cookies. Place 6 cookie dough balls per cookie sheet. Bake for 13-15 minutes. Bake until the edges are slightly golden brown.
Top warm cookies with extra chocolate chips and sprinkles. Let them sit on the hot pan for 4 minutes before transferring to a cooling rack.
Notes
Flour: Spoon and level or use a kitchen scale. Compacted flour can dry out the cookies.
High altitude baking: Add an extra 2 TBSP of flour.
Nutrition Information
Calories: 347kcal, Carbohydrates: 45g, Protein: 3g, Fat: 18g, Saturated Fat: 11g, Trans Fat: 1g, Cholesterol: 29mg, Sodium: 200mg, Potassium: 122mg, Fiber: 2g, Sugar: 30g, Vitamin A: 334IU, Vitamin C: 1mg, Calcium: 31mg, Iron: 2mg
