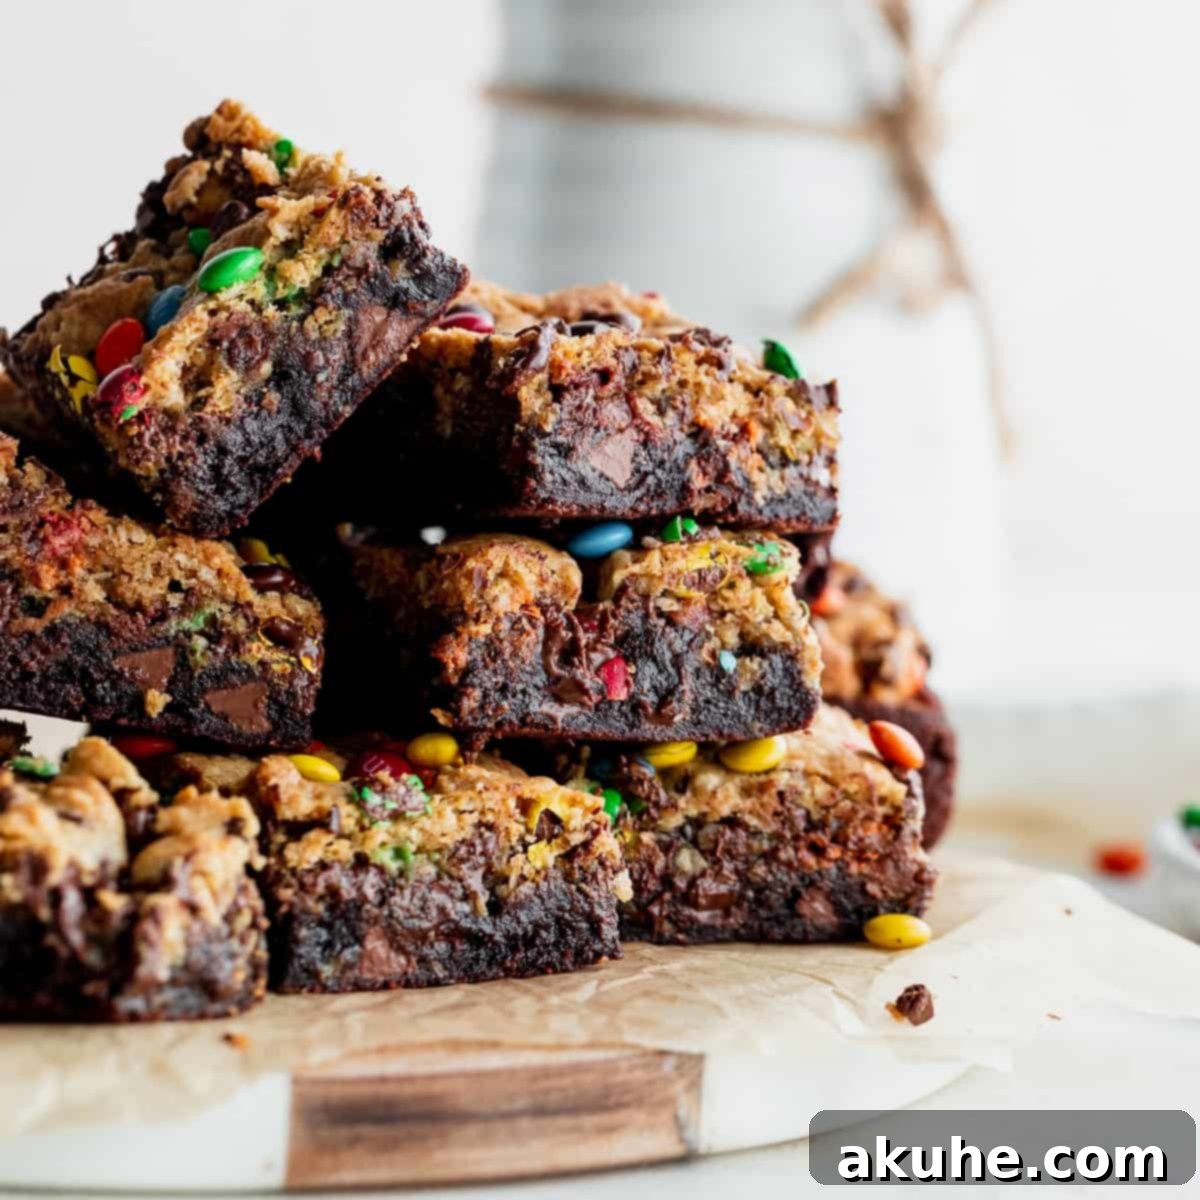
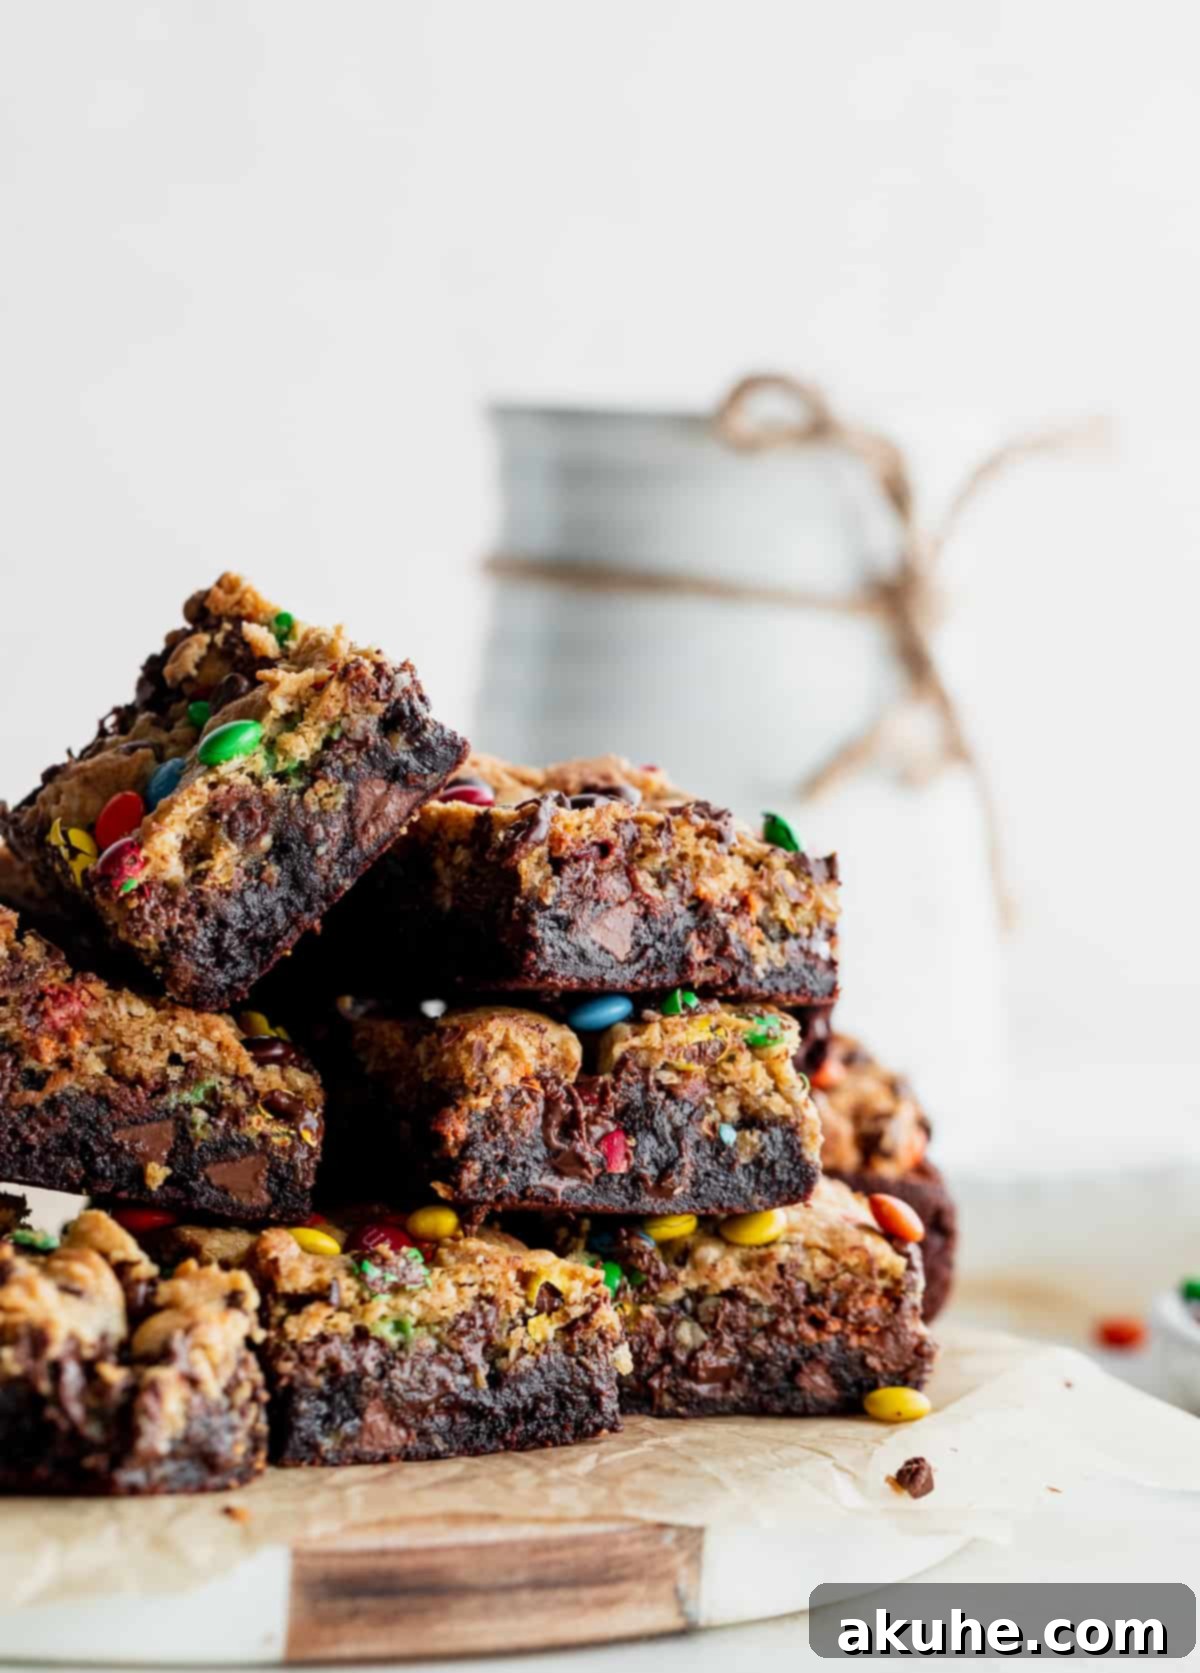
Prepare to elevate your dessert game with these phenomenal Monster Cookie Fudgy Brownies! This isn’t just any brownie; it’s a decadent, double-layered masterpiece designed to satisfy every sweet craving. Imagine a bottom layer of incredibly rich, super fudgy brownies, generously studded with a mix of luscious chocolate chips. But the indulgence doesn’t stop there! Crowned atop this chocolatey foundation is a layer of soft, chewy monster cookie dough, baked to perfection. The result? A harmonious blend of textures and flavors that promises the ultimate brownie experience. If you’re looking to transform your next batch of homemade brownies from simply delicious to absolutely unforgettable, these Monster Cookie Fudgy Brownies are an absolute must-try.
Unraveling the Magic of Monster Cookies
Before diving into the full recipe, let’s shine a spotlight on the beloved star of our top layer: the Monster Cookie. If you’re unfamiliar, Monster Cookies are a celebrated type of cookie renowned for being loaded with “all the fix-ins.” They are, without a doubt, a personal favorite, offering a delightful adventure in every bite!
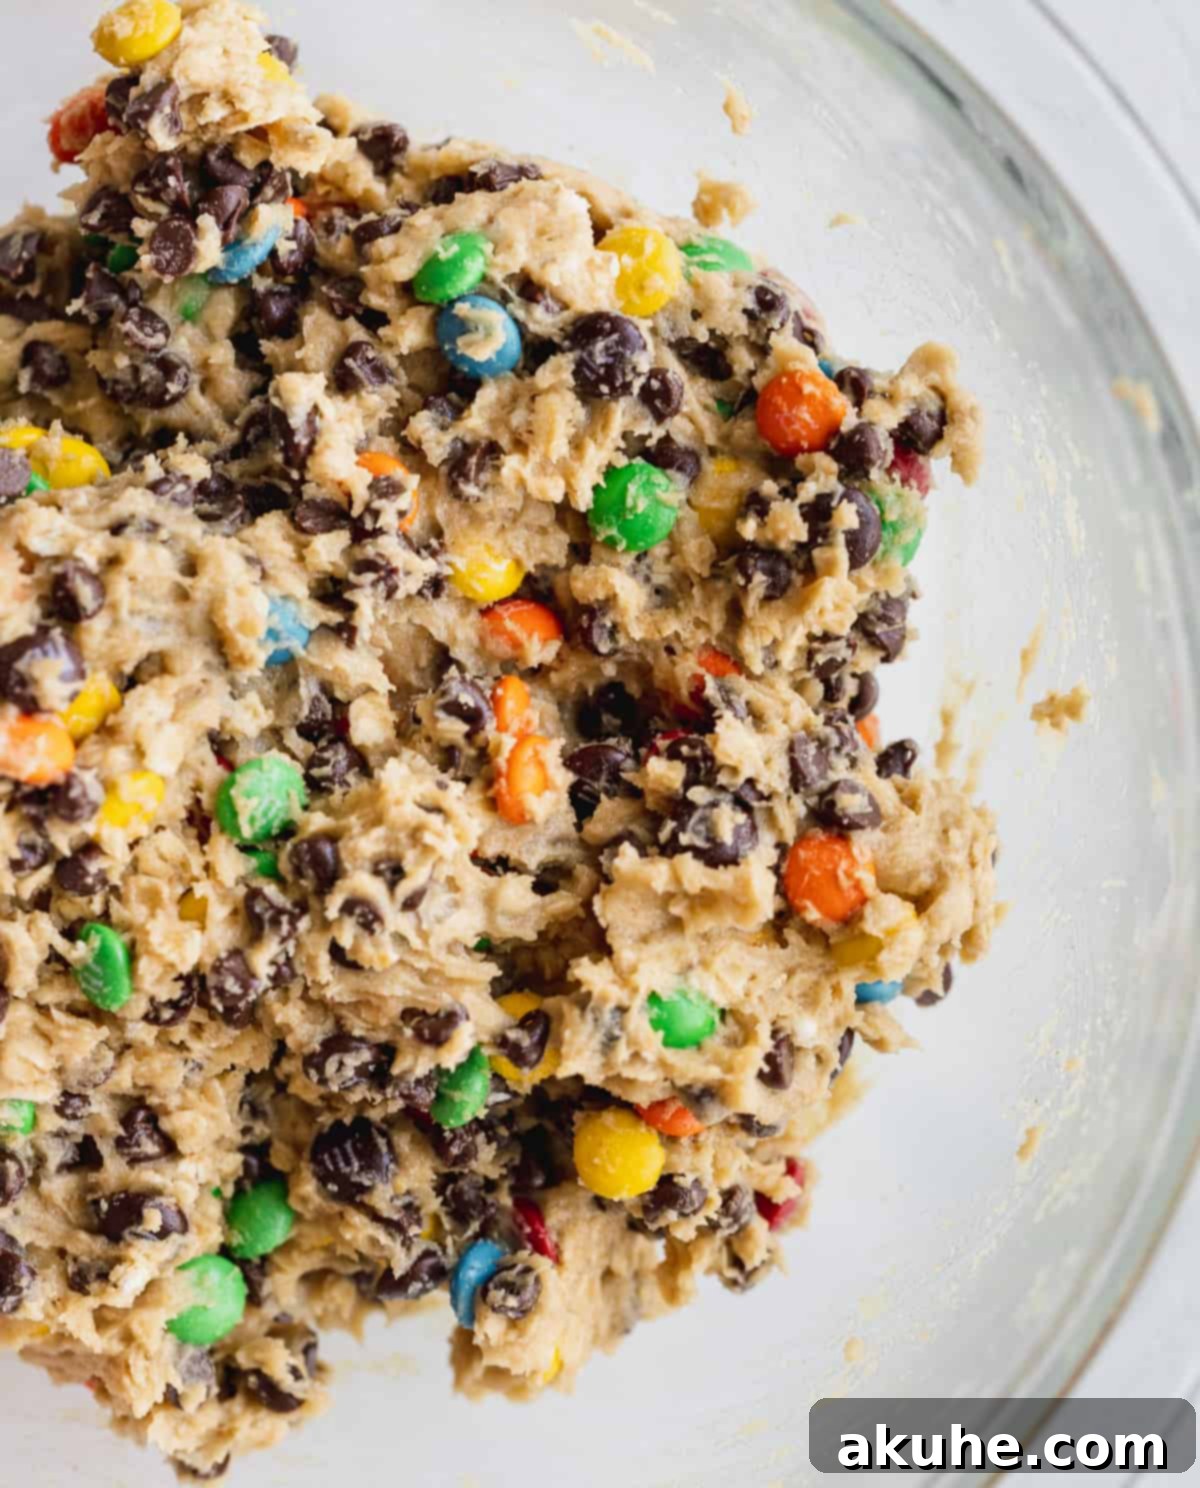
What makes a Monster Cookie so special? It’s a magnificent fusion, a delicious cross between a classic oatmeal chocolate chip cookie and a rich peanut butter cookie. This unique combination delivers the best of both worlds – the satisfying chewiness of oats with the creamy, nutty essence of peanut butter. Each cookie is packed with a delightful assortment of ingredients: wholesome oats for texture, creamy peanut butter for depth of flavor, vibrant mini M&M’s for a playful crunch and burst of color, and sweet mini chocolate chips for an extra dose of chocolatey goodness. The interplay of these components creates a dynamic flavor profile and an irresistible texture that perfectly complements the dense fudginess of the brownie base.
Crafting the Perfect Monster Cookie Dough
The secret to these incredible Monster Cookie Fudgy Brownies lies in preparing each layer with care. Since the monster cookie dough benefits greatly from being chilled before baking, it’s best to tackle this component first. This crucial step ensures the dough firms up, preventing excessive spreading and contributing to that ideal chewy texture. Here’s a detailed breakdown of how to prepare this delightful cookie dough:
- Step 1: Combine Dry Ingredients – In a spacious mixing bowl, meticulously whisk together your dry ingredients: all-purpose flour, cornstarch, baking soda, baking powder, and a pinch of salt. The cornstarch plays a vital role here, acting as a secret ingredient that contributes significantly to the signature chewiness of these monster cookies, preventing them from becoming too crumbly or cakey.
- Step 2: Cream Wet Ingredients (First Pass) – In a separate bowl, using an electric mixer, cream together the softened unsalted butter and both sugars (brown sugar and granulated sugar). Beat them vigorously until the mixture transforms into a light, airy, and fluffy consistency. This process incorporates air, which is essential for the cookie’s texture.
- Step 3: Introduce More Wet Ingredients – Once your butter and sugar mixture is light and fluffy, it’s time to add the creamy peanut butter, pure vanilla extract, and the large egg. Continue beating until all these ingredients are thoroughly incorporated, ensuring a smooth and homogeneous mixture. Don’t forget to scrape down the sides of the bowl to ensure everything is evenly combined.
- Step 4: Gradually Add Dry to Wet – Slowly incorporate the previously prepared dry ingredients into your wet mixture. Mix until just combined. Be careful not to overmix, as this can lead to tough cookies. Due to the addition of peanut butter, you’ll notice the dough has a distinctly wet and pliable texture, which is exactly what we’re looking for.
- Step 5: Fold in the Fillings – Now for the fun part! Gently fold in the quick oats, vibrant mini M&M’s, and decadent mini chocolate chips. These are the elements that give monster cookies their iconic look and taste. If you don’t have mini versions of the M&M’s or chocolate chips, standard-sized ones will work just fine, though they might alter the texture slightly.
- Step 6: Chill for Perfection – Once all ingredients are incorporated, cover the bowl and place the cookie dough in the refrigerator for a minimum of 40 minutes. This chilling period is indispensable; it allows the butter to firm up and the flavors to meld, ensuring the cookies hold their shape better during baking and develop that perfect chewy consistency. This step truly sets the stage for a superior monster cookie layer.
Mastering the Fudgy Brownie Batter
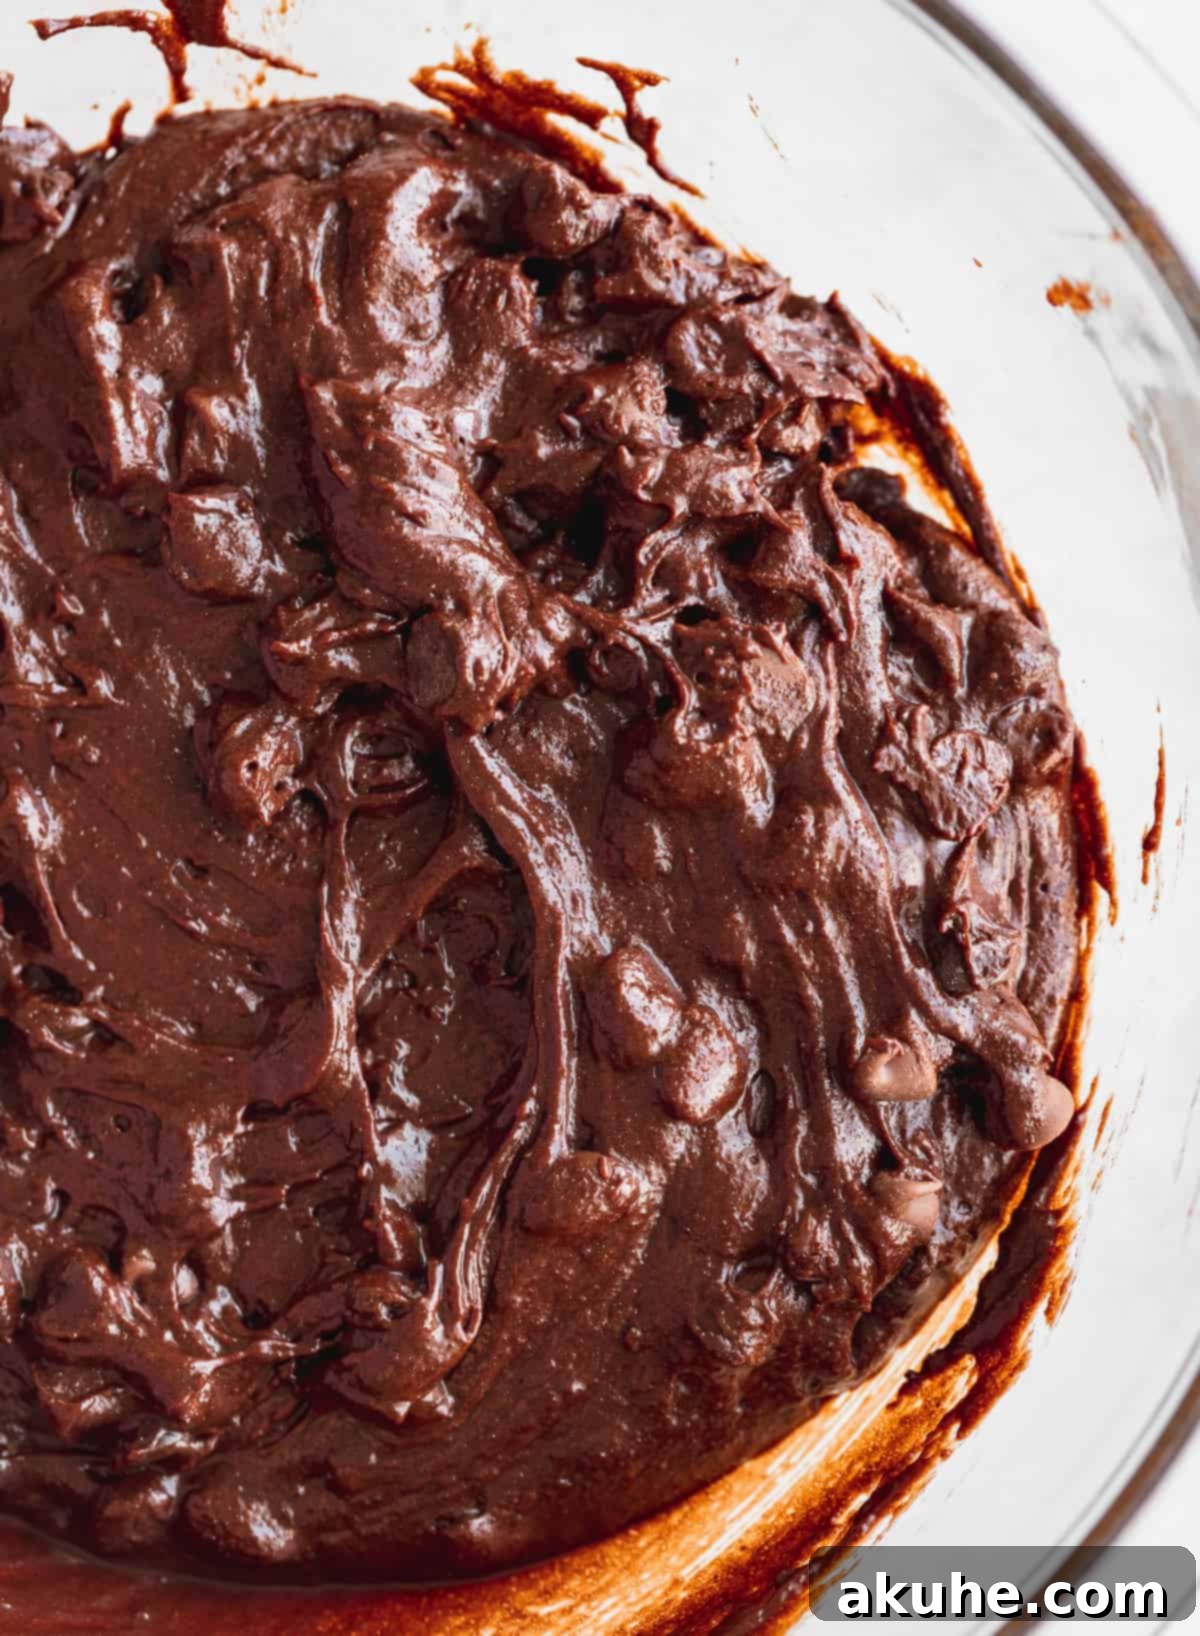
The foundation of these layered delights is a supremely fudgy brownie. Our brownie recipe is inspired by a tried-and-true favorite, “Better Than Boxed Brownies,” but with a slight adjustment in quantity to perfectly fit our chosen baking pan without creating an overly massive brownie. Achieving that signature dense, gooey, and intensely chocolatey brownie requires specific techniques. Here’s how to create the ideal brownie batter:
- Beat Eggs and Sugar with Precision – In a large mixing bowl, combine the granulated sugar, large eggs, and the extra egg yolk. Attach a whisk to your mixer and beat this mixture on high for a full 5 minutes. This extended beating time is critical. It incorporates a significant amount of air into the eggs, which will serve as the primary leavening agent for your brownies, allowing them to rise beautifully and achieve that coveted light-yet-fudgy texture without any traditional baking powder or soda. The mixture should become noticeably light in color and voluminous.
- Gently Incorporate Fats and Flavor – While the egg mixture is beating, ensure your unsalted butter is melted and has cooled slightly – you don’t want to scramble the eggs! Once the eggs are light and fluffy, carefully add the cooled melted butter, vegetable or canola oil, and pure vanilla extract into the mixture. Mix on a low speed, just enough to combine everything without deflating the air you worked so hard to incorporate into the eggs.
- Fold in the Dry Ingredients with Care – Now, it’s time to add the pre-whisked dry ingredients (all-purpose flour, unsweetened cocoa powder, cornstarch, and salt). Gently pour them into the wet mixture. Switch from the mixer to a rubber spatula. The key here is to fold, not stir vigorously. This process takes a few minutes of patient folding until no streaks of dry ingredients remain. Folding gently prevents the development of gluten, which would result in cakey rather than fudgy brownies. Keep going until the batter is smooth and uniformly chocolatey!
- Load Up on Chocolate Chips – This is truly the best part for any chocolate lover! We believe the best brownies are those generously loaded with chocolate chips. To achieve a balanced and complex chocolate flavor, we recommend using two types: semi-sweet chocolate chips and milk chocolate chips. The semi-sweet offers a deep, intense chocolate note, while the milk chocolate adds a creamy sweetness. Fold these into the batter until evenly distributed, ensuring every bite is packed with molten chocolate goodness.
The Strategic Prebaking of the Brownie Layer
Preparing your pan correctly is the first step towards perfect brownies. Grab a 9×9 inch baking pan and generously spray it with a nonstick baking spray. To ensure effortless removal of your brownies later, line the bottom and two opposing sides of the pan with parchment paper, leaving an overhang to act as “handles.” This simple trick will save you a lot of hassle!
Now, let’s talk about the unique prebaking strategy for these layered brownies. A traditional brownie recipe typically requires a longer baking time to achieve its perfect fudgy consistency. However, our monster cookie dough layer cooks much faster. To prevent the cookie layer from becoming overcooked and dry while the brownie base is still too gooey, we introduce a crucial prebaking step. The brownie batter bakes alone for an initial 15 minutes. This allows the brownie layer to set slightly, creating a stable foundation for the cookie dough and ensuring both layers reach their ideal doneness simultaneously.
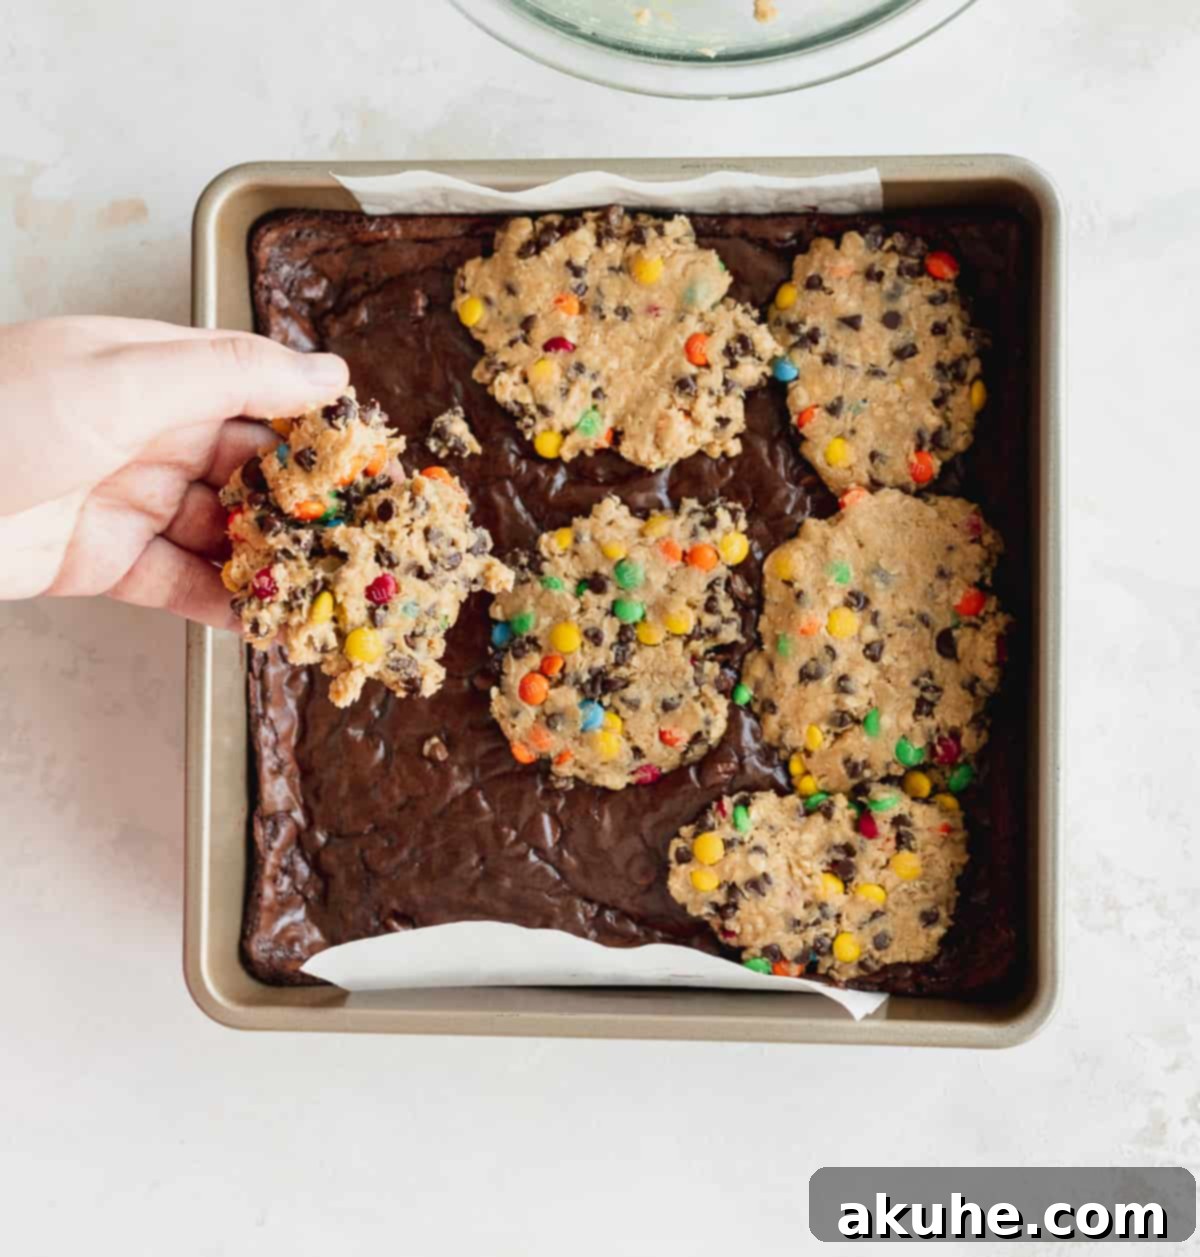
After the initial 15-minute bake, carefully remove the pan from the oven. At this point, retrieve your chilled cookie dough. Take small handfuls of the dough and gently flatten each into a disc shape. Arrange these flattened cookie dough discs evenly across the pre-baked brownie layer, covering the entire surface. Continue this process until all of the delightful monster cookie dough has been used, creating a beautiful, uniform top layer for your ultimate brownie treat.
Elevate with a Decorating Tip
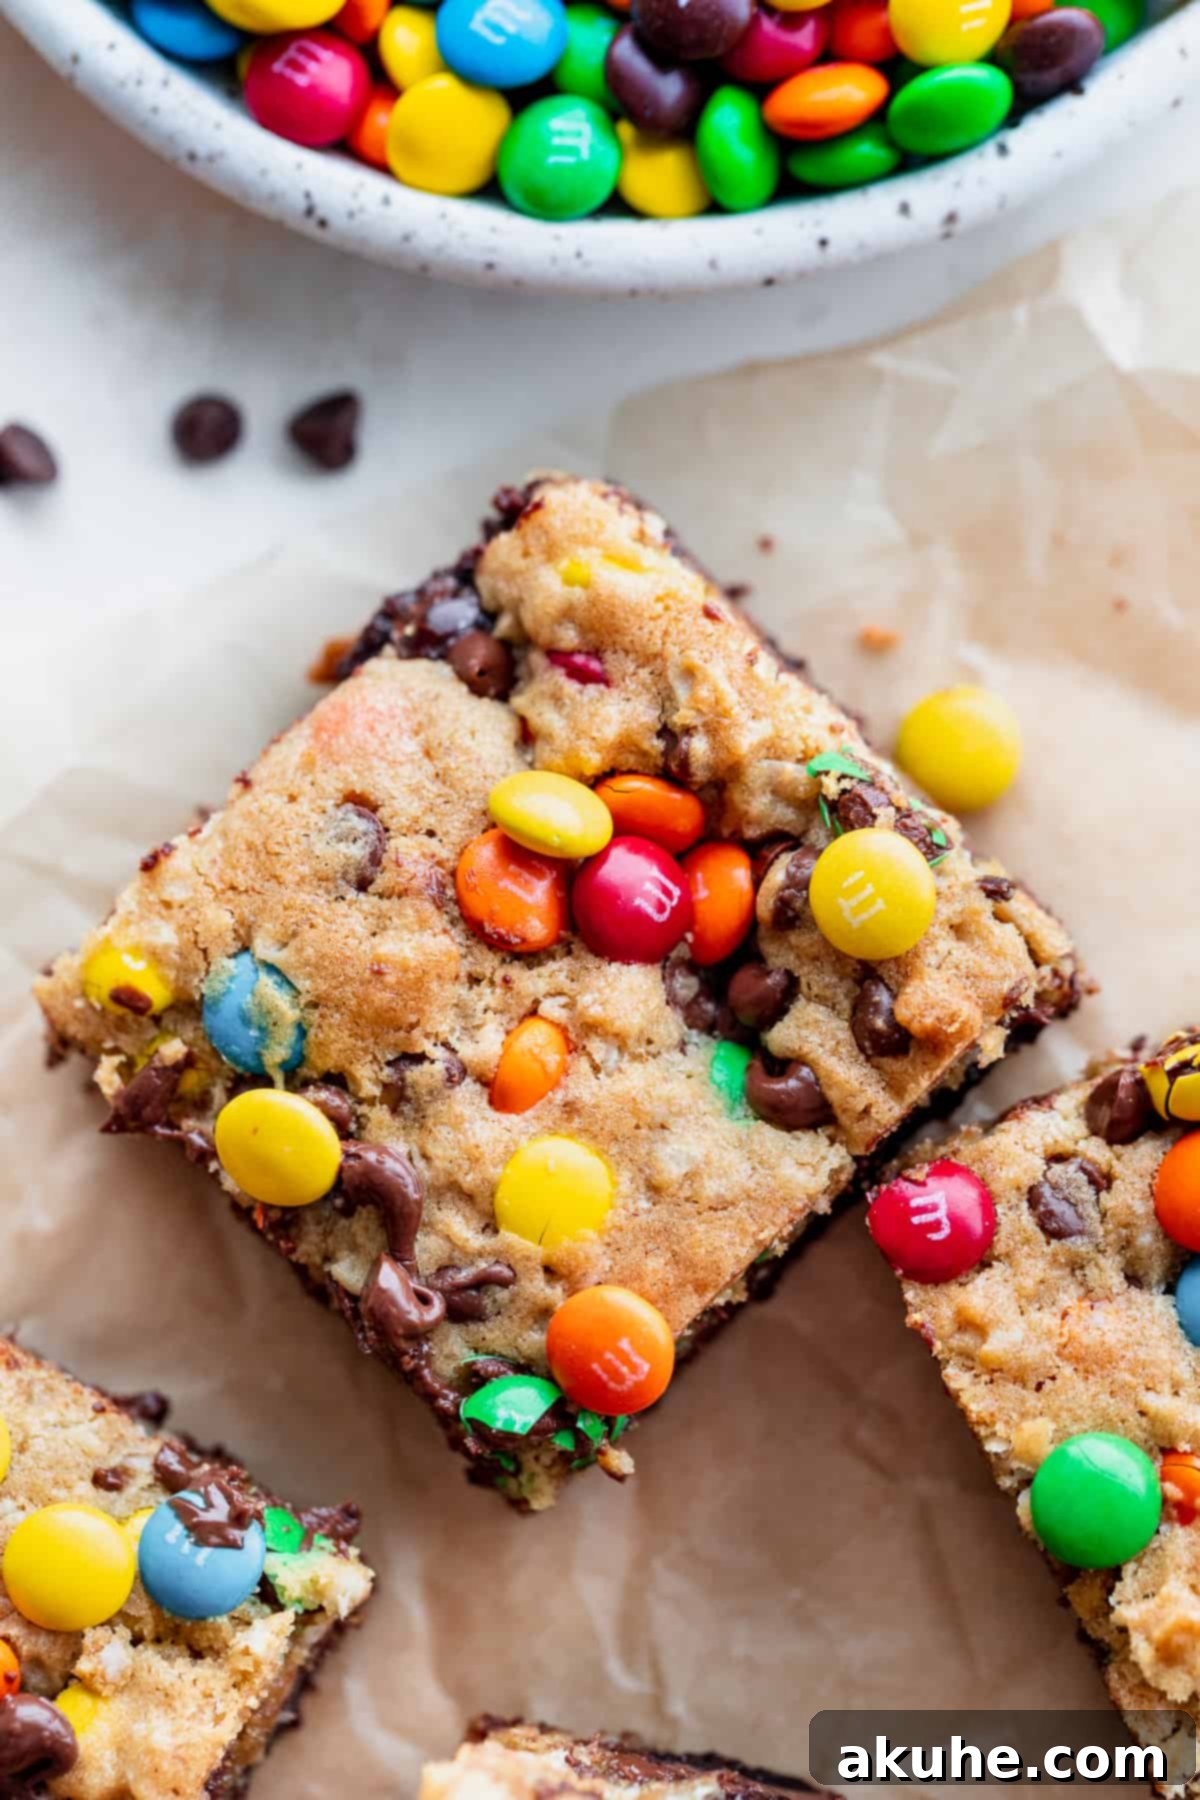
If you desire to enhance the visual appeal and add extra bursts of flavor and texture to the top of your monster cookie layer, a simple decorating trick works wonders. Before returning the pan to the oven for its final bake, liberally sprinkle additional mini M&M’s and mini chocolate chips across the surface of the cookie dough. This ensures they are baked directly into the top layer, providing a beautiful, colorful, and textural finish. We’ve experimented with adding toppings after baking, only to find that once the cookie layer sets, the extra goodies tend to fall off. For best results and maximum adherence, always add your decorative toppings before the final bake!
The Indispensable Art of Cooling Your Brownies
Patience is a virtue, especially when it comes to these monster cookie fudgy brownies. This step is absolutely critical: resist the urge to cut into these brownies until they have cooled completely to room temperature! We understand how incredibly difficult it is to wait when the aroma of freshly baked brownies fills your kitchen, but trust us, it’s worth every second.
There are two primary reasons why thorough cooling is non-negotiable. Firstly, the chocolate flavor develops significantly as the brownies cool. When warm, the chocolate notes can taste surprisingly dull and muted. However, once they reach room temperature, the rich, complex, and intense chocolate flavor truly blossoms, offering a far more satisfying experience. Secondly, brownies continue to cook and set as they cool. If you were to slice into them while still warm, they would be exceedingly gooey and potentially fall apart, making it difficult to achieve those perfectly structured squares. Allowing them to cool completely ensures they firm up to that ideal fudgy, yet sliceable, consistency.
If your cravings simply can’t wait, here’s a little cheat: pop the entire baking tray into the freezer for about 25 minutes. This will rapidly cool the brownies, allowing you to enjoy them sooner without compromising on flavor or texture. This is my go-to method when I need a brownie fix immediately!
Achieving the Perfect Brownie Square
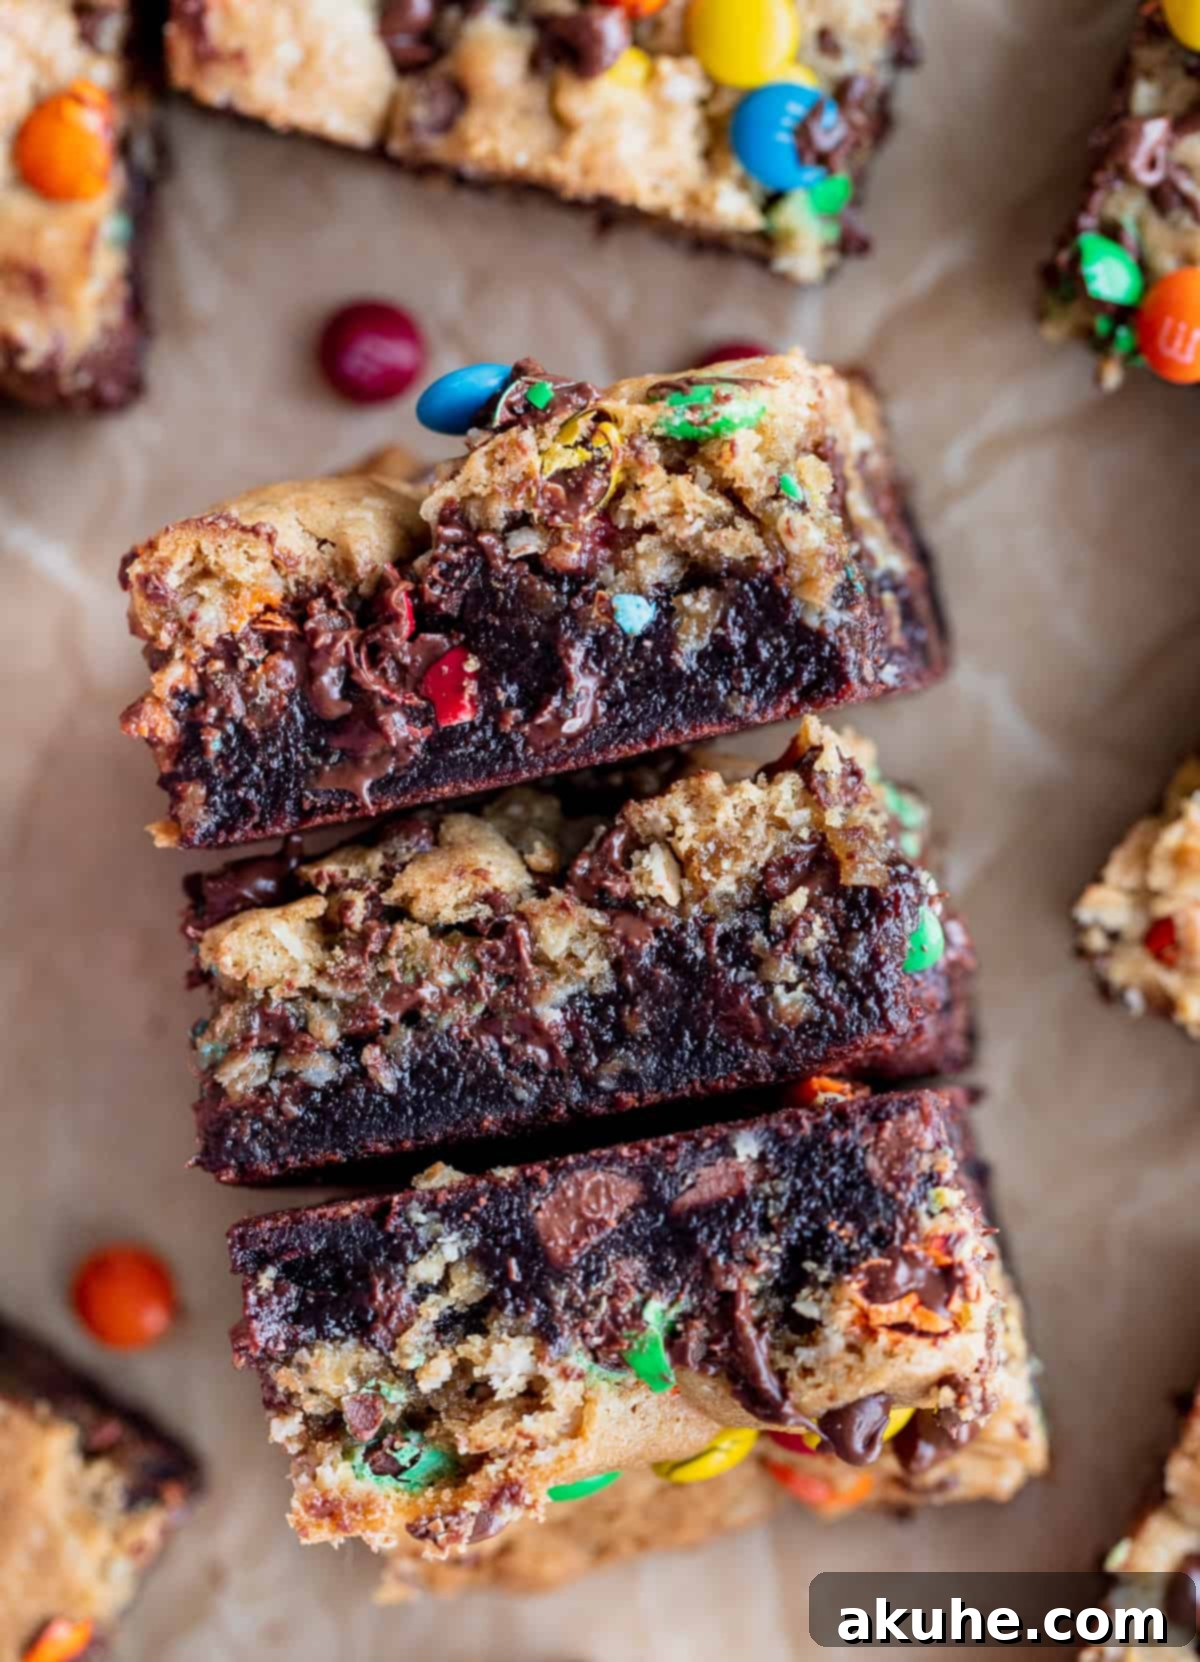
Once your Monster Cookie Fudgy Brownies have reached a blissful room temperature, it’s time for the final step: cutting them into perfect, uniform squares. Carefully lift the brownies out of the pan using the parchment paper overhangs and place them onto a clean cutting board. For the cleanest cuts, employ a sharp, sturdy chef’s knife. Make your first cut, then, crucially, wipe the knife blade clean after each slice. This simple technique prevents sticky residue from transferring between cuts, ensuring every brownie square has beautifully defined edges. Continue slicing until you have 16 perfectly portioned squares, ready to be devoured!
Storing Your Delightful Cookie Brownies
To keep your Monster Cookie Fudgy Brownies at their absolute best, proper storage is essential. They should be stored at room temperature in an airtight container. This method helps maintain their fudgy texture and prevents them from drying out. When stored correctly, these irresistible treats will remain fresh and delicious for up to 5 days, making them perfect for meal prepping your desserts or sharing throughout the week (if they last that long!). For longer storage, you can also freeze individual squares in an airtight container or freezer bag for up to 2-3 months. Simply thaw at room temperature or gently warm for a quick indulgence.
Explore More Irresistible Brownie and Bar Recipes
If you’ve fallen in love with these Monster Cookie Fudgy Brownies and are eager to discover more delectable bar and brownie creations, you’re in luck! Our collection of sweet treats offers a variety of unique and crowd-pleasing recipes that are sure to impress. Whether you’re craving something rich and chocolatey or a delightful twist on a classic, there’s a recipe waiting for you to try. Expand your baking repertoire with these fantastic options:
- White Chocolate Cinnamon Blondies
- Peanut Butter Cup Brownies
- Brown Butter Brookie Bars
- Small Batch Brownies
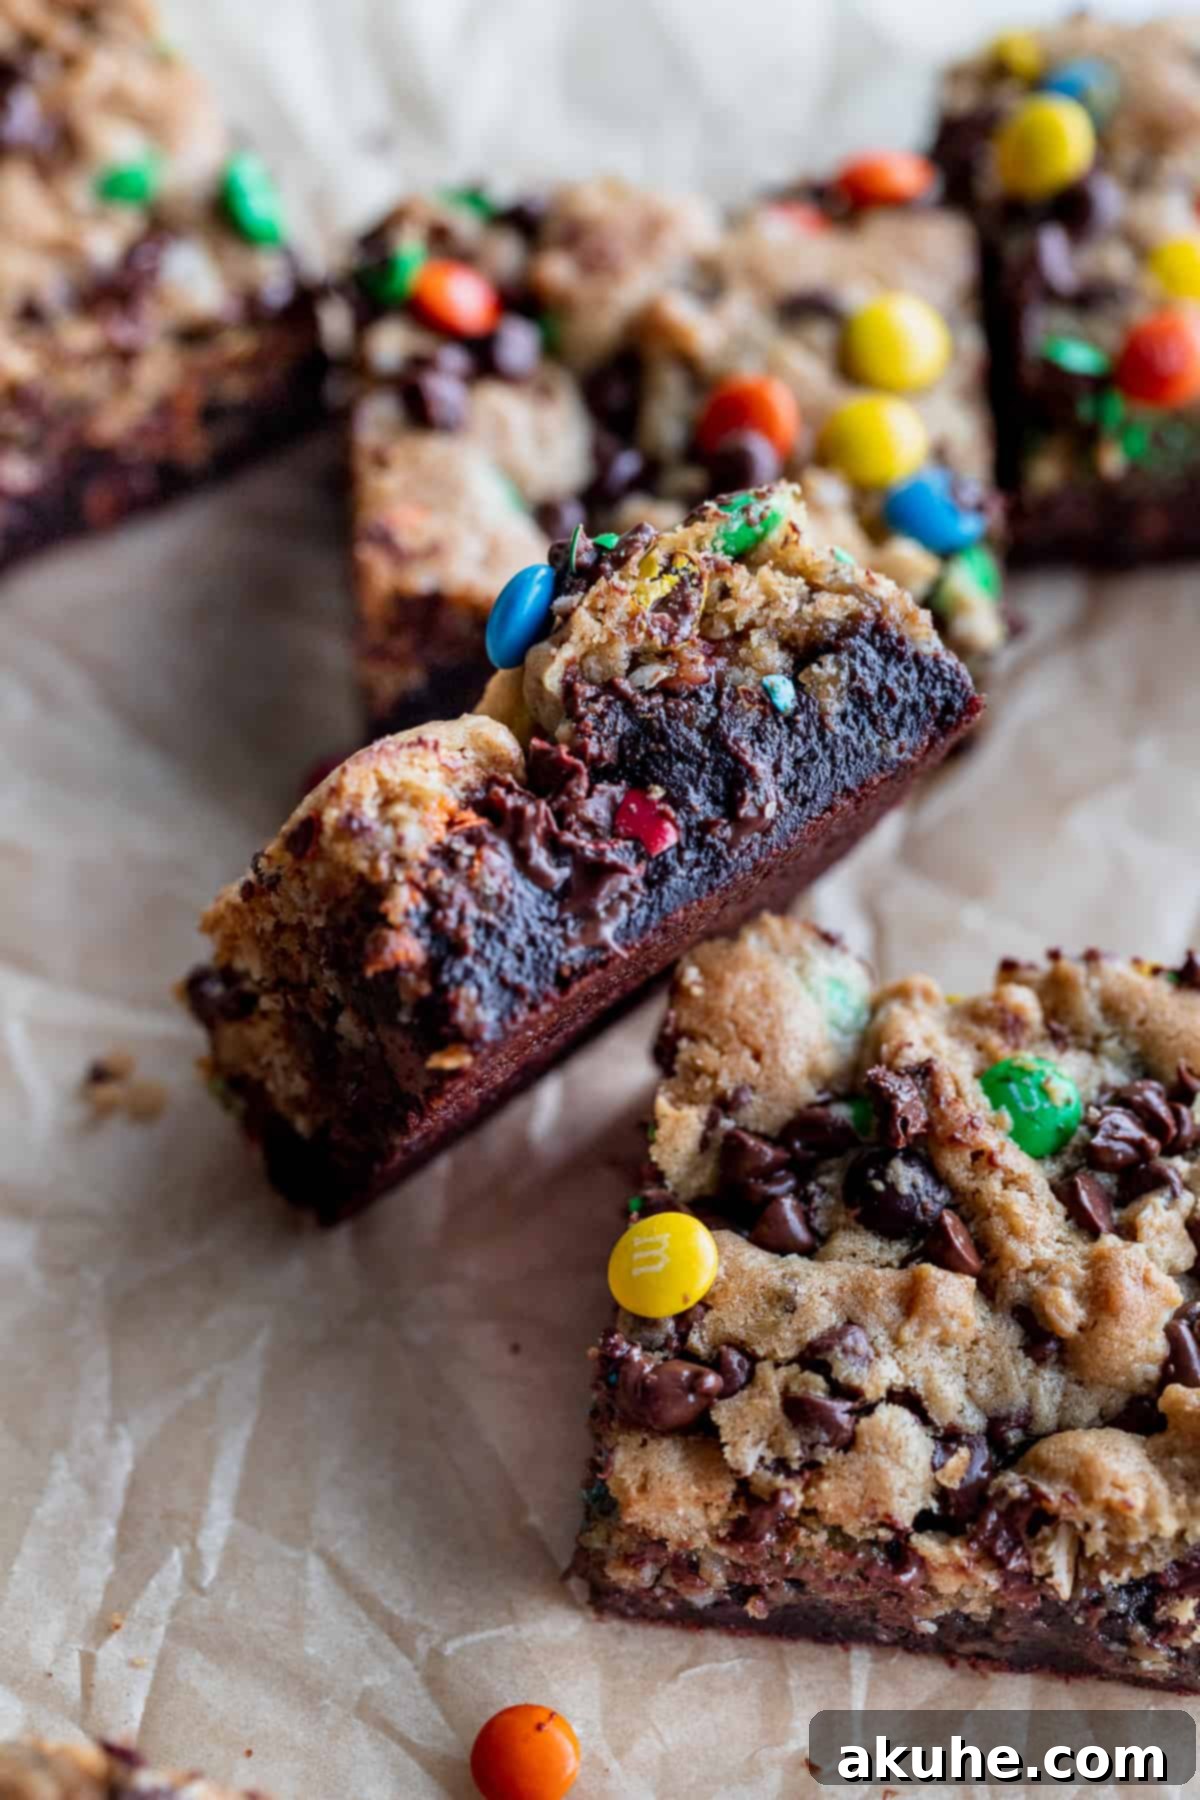
We absolutely adore seeing your baking creations! If you whip up a batch of these glorious Monster Cookie Fudgy Brownies, be sure to tag us on Instagram @stephaniesweettreats and leave a review below to let us know how much you loved them. Your feedback brightens our day! For even more delicious ideas and baking inspiration, don’t forget to follow us on Pinterest.
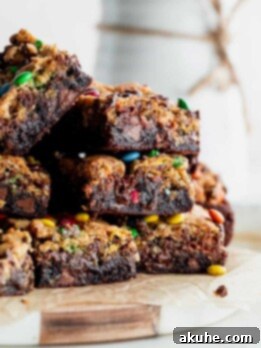
Monster Cookie Fudgy Brownies
Print Recipe
Pin Recipe
Leave a Review
Ingredients
Brownies
- 1 1/3 cup White granulated sugar
- 2 Large eggs
- 1 Egg yolk
- 5 TBSP Unsalted butter
- 1/3 cup Oil, canola or vegetable
- 1 tsp Pure vanilla extract
- 1/2 cup All-purpose flour
- 3/4 cup Unsweetened cocoa powder, dutch process
- 1 TBSP Cornstarch
- 1/4 tsp Salt
- 1/2 cup Semi-sweet chocolate chips
- 1/2 cup Milk chocolate chips
Monster Cookie Dough
- 1/2 cup All-purpose flour
- 1 tsp Cornstarch
- 1/2 tsp Baking soda
- 1/8 tsp Baking powder
- 1/4 tsp Salt
- 1/4 cup Unsalted butter, room temperature
- 1/3 cup Brown sugar, packed light or dark
- 1/8 cup White granulated sugar
- 1/4 cup Peanut butter, creamy
- 1 tsp Pure vanilla extract
- 1 Large egg, room temperature
- 1/2 cup Quick oats
- 1/2 cup Mini chocolate chips
- 1/2 cup Mini M&M’s
Instructions
Monster Cookies
- In a medium-sized mixing bowl, thoroughly whisk together the flour, cornstarch, baking soda, baking powder, and salt. Set aside.
- Using an electric mixer, beat the room temperature butter, brown sugar, and granulated sugar together for approximately 1 minute on medium speed until the mixture is light and fluffy. Then, add the peanut butter and continue mixing for another minute until well combined.
- Next, incorporate the vanilla extract and the large egg. Mix until just combined, ensuring not to overmix. Scrape down the sides of the bowl with a rubber spatula and mix again for about 20 seconds to ensure everything is evenly incorporated.
- Gradually add the prepared dry ingredients into the wet ingredients, mixing on low speed until just combined. Once the flour streaks disappear, gently fold in the quick oats, mini M&M’s, and mini chocolate chips. Cover the bowl with plastic wrap and chill the dough in the refrigerator for 40 minutes to allow it to firm up.
Brownies
- As the cookie dough approaches the end of its chilling time, begin preparing the brownie batter. Preheat your oven to 325°F (160°C). Spray a 9×9 inch baking pan generously with non-stick baking spray. Line the bottom and two opposing sides of the pan with parchment paper, leaving an overhang to facilitate easy removal of the brownies later.
- In a medium bowl, whisk together the all-purpose flour, unsweetened cocoa powder, cornstarch, and salt until well combined. Set this mixture aside.
- In a large mixing bowl, combine the granulated sugar, large eggs, and the extra egg yolk. Using a mixer fitted with a whisk attachment, beat the mixture on high speed for a full 5 minutes. During this time, the mixture will become very light in color, thick, and incredibly fluffy, incorporating a significant amount of air. While this is beating, melt the unsalted butter and allow it to cool slightly so it’s not too hot when added.
- Reduce the mixer speed to low and add the slightly cooled melted butter, oil (canola or vegetable), and pure vanilla extract. Mix until just combined. Remove the bowl from the mixer. Add all of the dry ingredients into the wet mixture. Using a rubber spatula, gently fold in the dry ingredients until no streaks of flour remain. Be careful not to deflate the air from the eggs. Finally, fold in both the semi-sweet and milk chocolate chips until evenly distributed throughout the batter.
- Pour the prepared brownie batter into the lined 9×9 inch pan. Use your rubber spatula to gently spread and smooth the batter evenly into all corners of the pan.
- Bake the brownie layer for an initial 15 minutes. This pre-baking step allows the brownie top to set slightly. While the brownies are baking, take the chilled cookie dough out of the refrigerator. Take small handfuls of the cookie dough and flatten each into a disc shape. After 15 minutes, remove the brownie pan from the oven and carefully arrange the cookie dough discs over the partially baked brownie layer, covering the entire surface. Continue this process until all of the monster cookie dough is used.
- Return the pan to the oven and bake for another 20 minutes. After this time, loosely tent the pan with aluminum foil to protect the cookie layer from over-browning. Continue baking for an additional 5-10 minutes, or until both the cookie and brownie layers are set. A toothpick inserted into the center should come out with moist crumbs, and there should be no noticeable jiggle. Remove the brownies from the oven and immediately transfer the pan to a wire cooling rack.
- Allow the brownies to cool completely on the cooling rack. This is crucial for optimal flavor and texture. Ensure they are at absolute room temperature before attempting to cut into them. Once fully cooled, slice and serve. Store any leftover brownies at room temperature in an airtight container for up to 5 days.
Notes
Flour Measurement: When measuring flour, always use the spoon-and-level method or, ideally, a kitchen scale for accuracy. Spoon the flour into your measuring cup, then level it off with a straight edge. Packing flour into the cup or scooping directly can result in too much flour, which can lead to dry, dense brownies instead of our desired fudgy texture.
Butter Temperature: Ensure your unsalted butter for both the brownies and cookies is at room temperature unless specified otherwise. This allows for proper creaming with sugars, creating an emulsified mixture that traps air for a light and tender crumb.
Egg Temperature: Room temperature eggs also blend more easily and incorporate more air into batter. If you forget to take them out, place them in a bowl of warm water for 5-10 minutes.
