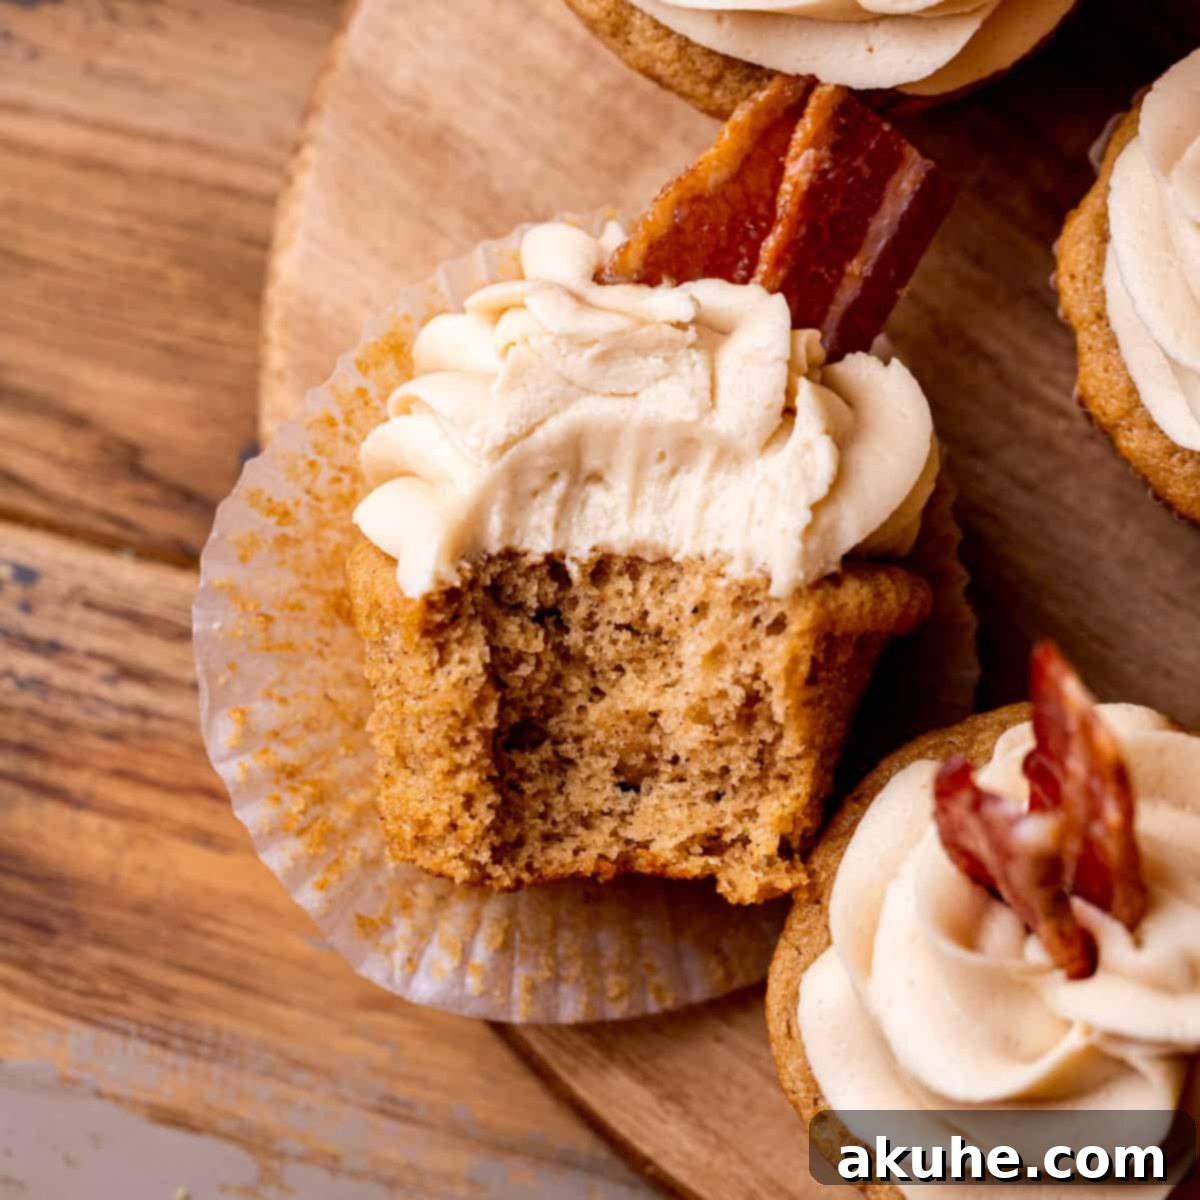
The Ultimate Maple Bacon Cupcakes: A Sweet and Savory Breakfast-Dessert Fusion
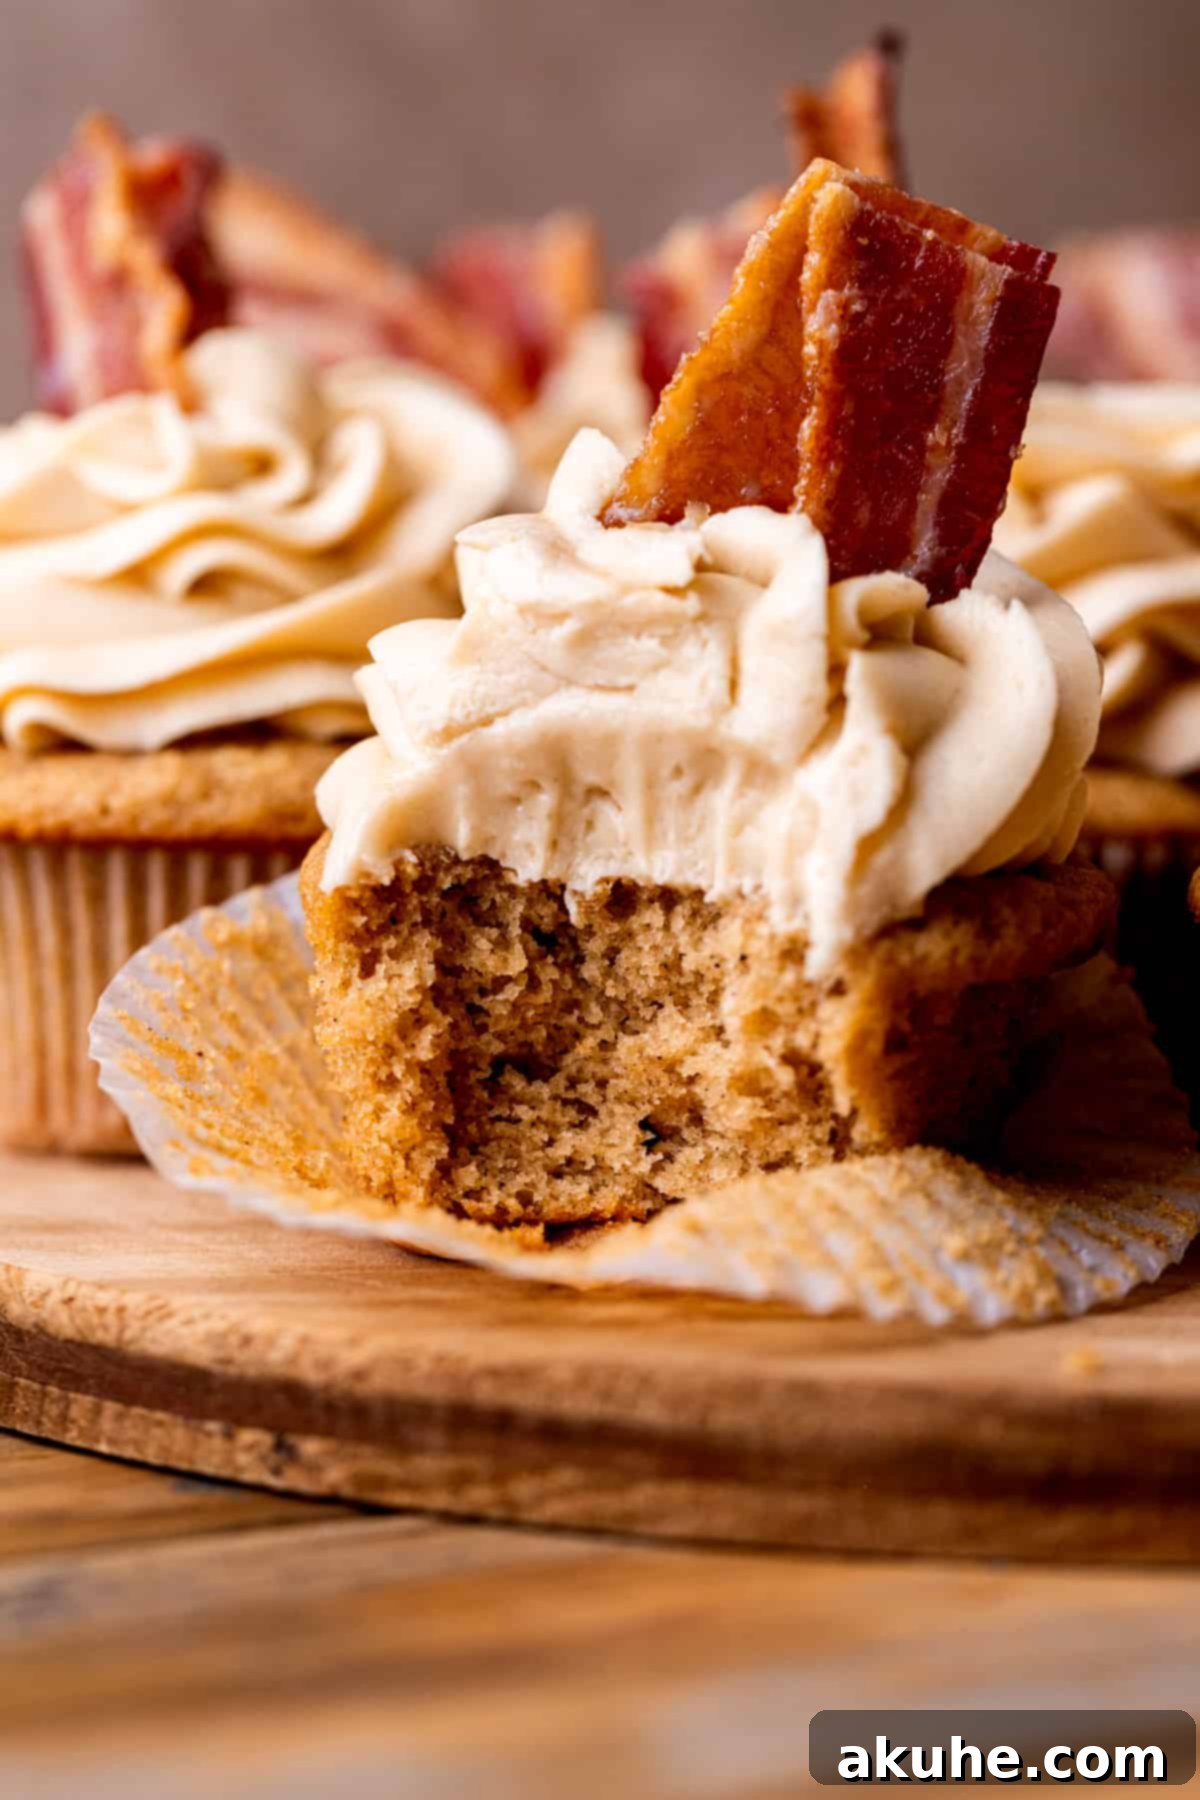
Prepare to tantalize your taste buds with these extraordinary Maple Bacon Cupcakes. Imagine the light, fluffy texture of your favorite breakfast pancake, transformed into a delightful cupcake infused with rich, authentic maple flavor. Each bite delivers a perfect balance of sweet and savory, thanks to the luscious maple cream cheese frosting and a sprinkle of perfectly candied bacon. These aren’t just cupcakes; they’re a culinary adventure, elegantly marrying the best of breakfast with the indulgence of dessert. Ideal for special occasions, brunch gatherings, or simply when you crave something truly unique, these maple bacon cupcakes are guaranteed to impress any bacon and sweet treat enthusiast.
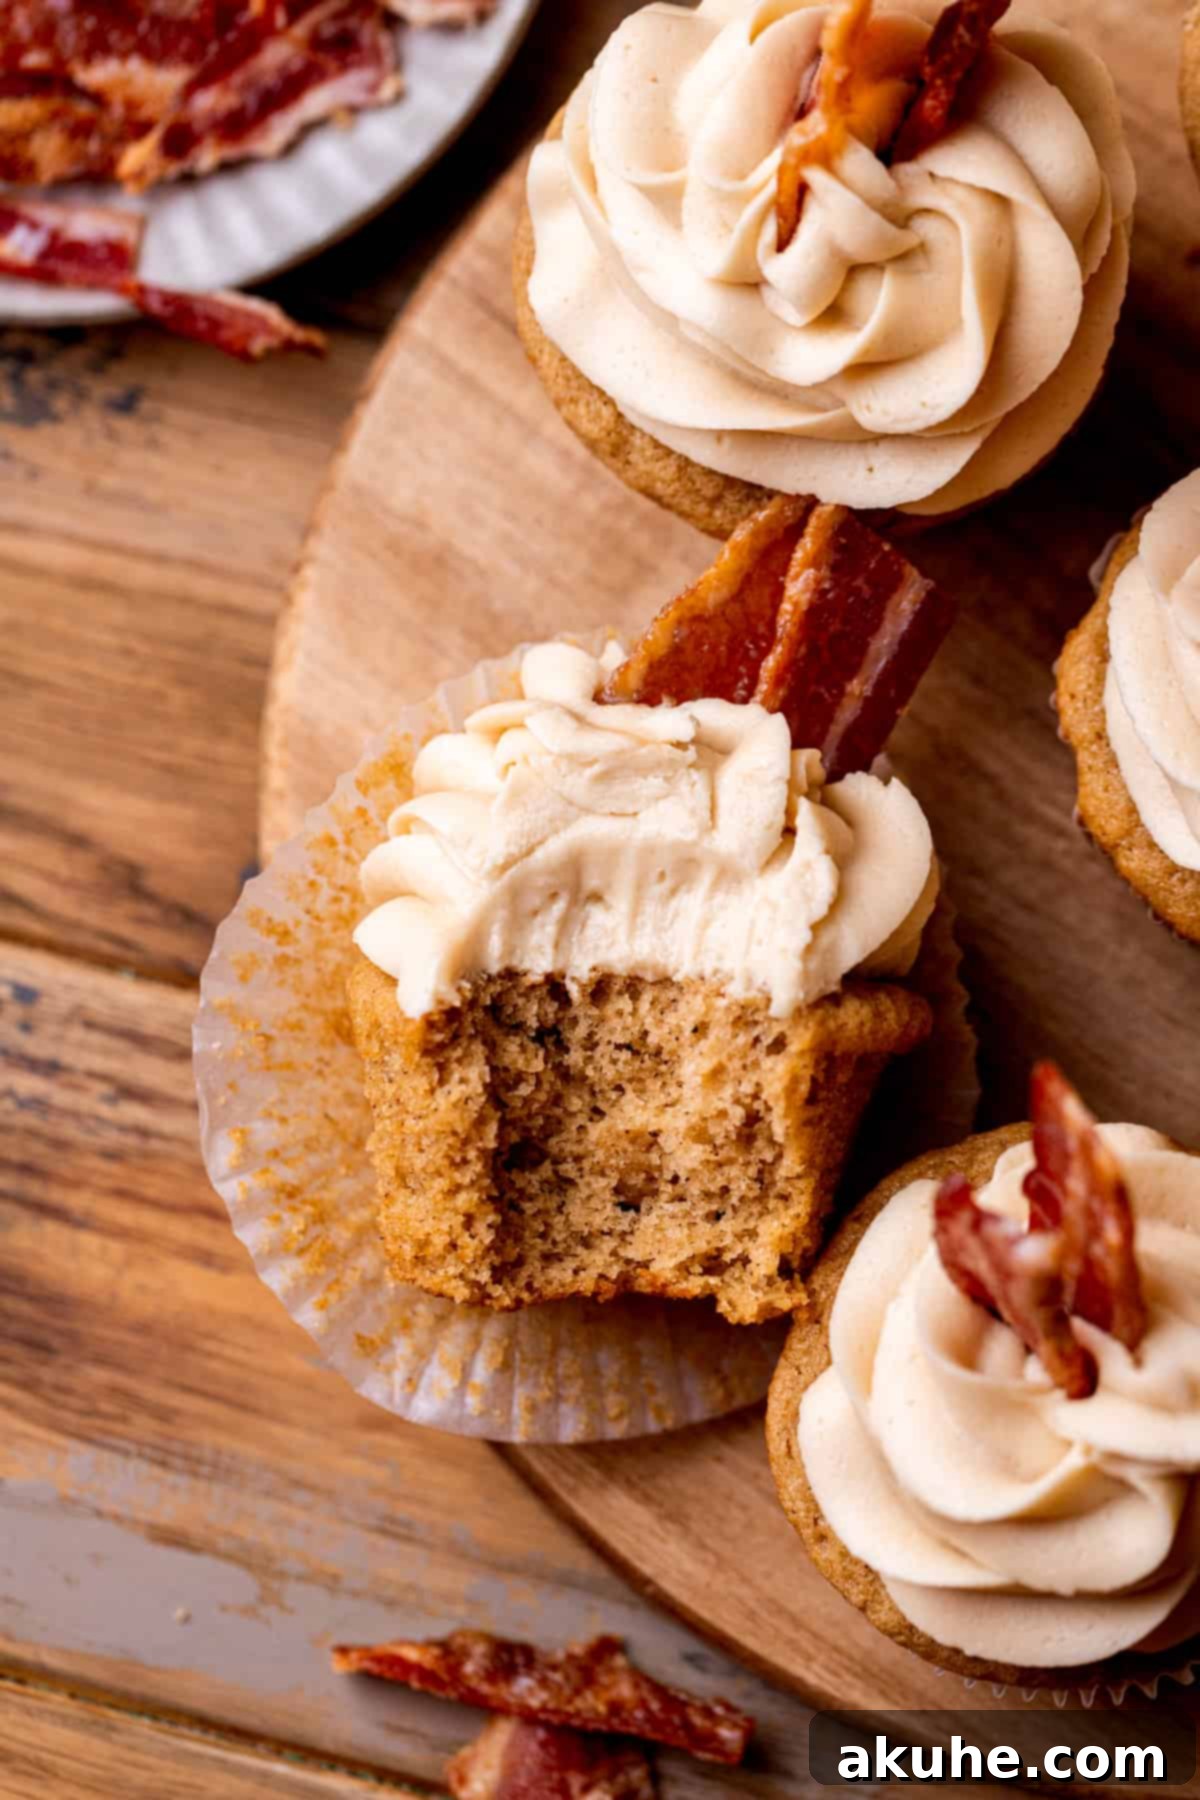
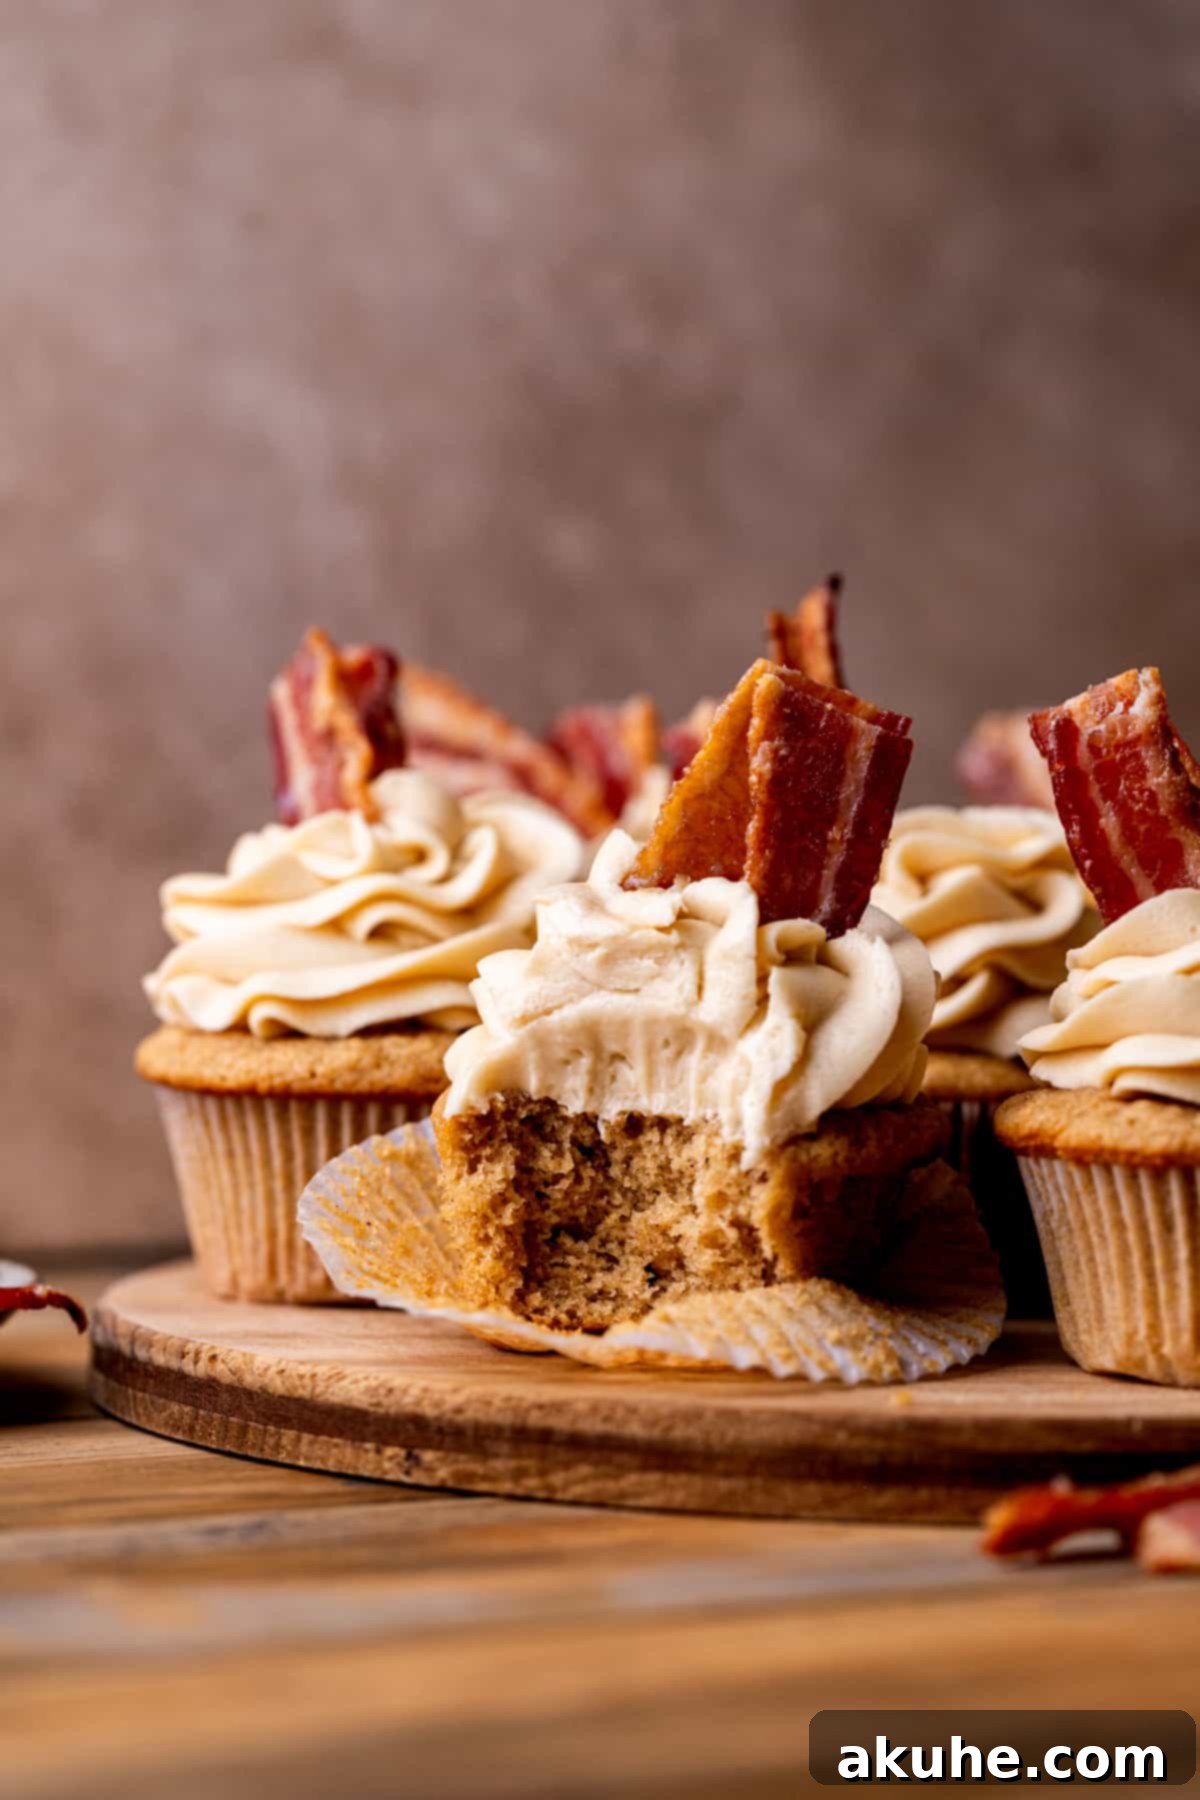
Our meticulously crafted recipe ensures each cupcake is incredibly moist and bursting with a genuine maple taste that complements, rather than overwhelms, the irresistible smoky crunch of candied bacon. This delightful combination offers a sophisticated twist on classic flavors, elevating a simple cupcake into an unforgettable dessert experience. Whether you’re hosting a festive fall brunch, looking for a show-stopping treat, or simply indulging your cravings, these cupcakes offer a taste sensation that’s both comforting and exciting. They’re a celebration of flavor, designed to bring joy and a touch of gourmet flair to your table.
For those who love to explore diverse flavors, especially during the cozy autumn season, don’t miss our other irresistible recipes: discover the chewy delight of Butterscotch Chocolate Chip Cookies, the spiced elegance of Caramel Pumpkin Cheesecake Bars, and the decadent richness of Salted Caramel Brownies.
Why These Maple Bacon Cupcakes Will Be Your New Favorite Recipe
What makes these maple bacon cupcakes stand out from the crowd? It’s a combination of thoughtfully selected ingredients and a straightforward process that yields truly exceptional results. Here’s why this recipe deserves a prime spot in your baking repertoire:
- Unparalleled Rich Maple Flavor: We believe in using the best ingredients, which is why this recipe calls for pure maple syrup – no artificial imitations here! The authentic, nuanced sweetness of real maple is infused throughout the cupcake batter and brilliantly shines in the silky maple cream cheese frosting. This double dose of genuine maple ensures every bite is deeply satisfying and truly captures the essence of this beloved flavor.
- Irresistible Bacon Element: The harmonious pairing of maple and bacon is a culinary match made in heaven, traditionally celebrated in popular treats like maple bacon donuts. Now, you can savor this iconic flavor duo in a decadent cupcake form! The crispy, sweet-and-savory candied bacon pieces not only add an incredible textural contrast but also a striking visual appeal, making each cupcake a tiny masterpiece. It’s the perfect salty counterpoint to the sweet maple.
- Surprisingly Easy to Make: Don’t let the gourmet appeal of these cupcakes intimidate you. We’ve meticulously broken down this recipe into clear, simple, and manageable steps, ensuring that even novice bakers can achieve spectacular results. With readily available ingredients and straightforward instructions, you’ll find the process enjoyable and rewarding, leading to a batch of cupcakes that taste like they came from a high-end bakery.
Essential Ingredient Notes for Perfect Maple Bacon Cupcakes
Achieving the perfect texture and flavor for these maple bacon cupcakes starts with understanding your ingredients. Here are a few important notes to guide you:
- Oil: For the cupcake batter, a neutral-flavored oil like regular vegetable oil or canola oil is recommended. These oils contribute moisture without imparting any dominant flavor, allowing the maple to truly shine.
- Brown Sugar: While light brown sugar offers a subtly mellow caramel note, dark brown sugar can also be used for a deeper, more pronounced molasses flavor in your candied bacon. Either option works beautifully to create that irresistible sweet glaze.
- Large Eggs: The temperature of your eggs significantly impacts the final texture of your cupcakes. Always bring large eggs to room temperature before baking, ideally by taking them out of the refrigerator at least 2 hours prior. This allows them to emulsify better with other ingredients, resulting in a smoother batter and a more tender, evenly baked cupcake.
- Unsalted Butter: Just like the eggs, ensure your unsalted butter is at room temperature. Softened butter creams effortlessly with sugar, creating a light and airy base for your cupcake batter and a wonderfully smooth frosting. Cold butter will result in a lumpy mixture and denser cupcakes.
- Cream Cheese: For the maple cream cheese frosting, room temperature cream cheese is non-negotiable. Cold cream cheese will lead to a lumpy, inconsistent frosting that’s difficult to spread. Allow it to soften for at least 2 hours before use.
- Powdered Sugar: To guarantee a silky-smooth, lump-free frosting, sifting your powdered sugar is a crucial step. This removes any small clumps that can lead to a gritty texture, ensuring your frosting is perfectly velvety.
- Sour Cream: Bringing sour cream to room temperature is important for uniform incorporation into the batter. It adds a delightful tang and moisture, contributing to the cupcake’s tender crumb.
- Maple Syrup: This is a star ingredient, so quality matters. Always opt for real pure maple syrup for both the cupcakes and the frosting. Artificial maple-flavored corn syrups simply cannot replicate the complex, rich, and authentic taste of genuine maple, which is essential for the depth of flavor in this recipe.
Step-by-Step Instructions: Crafting Your Fluffy Maple Cupcakes
Let’s begin by creating the foundation of our dessert: the delectable maple cupcakes. For best results, an electric mixer—either a stand mixer with a paddle attachment or a hand mixer—will be your best friend for achieving a light and airy batter.
STEP 1: Prepare Your Baking Station. Start by preheating your oven to 350°F (175°C). While the oven heats, line a standard 12-cup muffin tin with elegant cupcake liners, ensuring they are ready for the batter.
STEP 2: Combine Dry Ingredients. In a medium mixing bowl, meticulously sift together the all-purpose flour, ground cinnamon, baking powder, baking soda, and salt. Sifting is key here to eliminate any lumps and ensure these leavening agents and spices are evenly distributed, leading to a consistent rise and flavor in your cupcakes.
STEP 3: Cream Butter, Oil, and Sugar. In a separate, larger bowl, combine the room temperature unsalted butter, neutral oil (like canola or vegetable oil), and white granulated sugar. Using your electric mixer, beat these ingredients together on high speed for a full 2 minutes. This creaming process is vital; it incorporates air into the mixture, which contributes significantly to the final cupcake’s light and fluffy texture.
STEP 4: Integrate Wet Ingredients. Reduce your mixer speed to medium. To the creamed butter mixture, add the pure vanilla extract, potent maple extract, real maple syrup, and room temperature sour cream. Mix until these liquid components are just combined. Next, crack in the large, room temperature eggs, one at a time, mixing thoroughly after each addition until the batter appears smooth and homogenous.
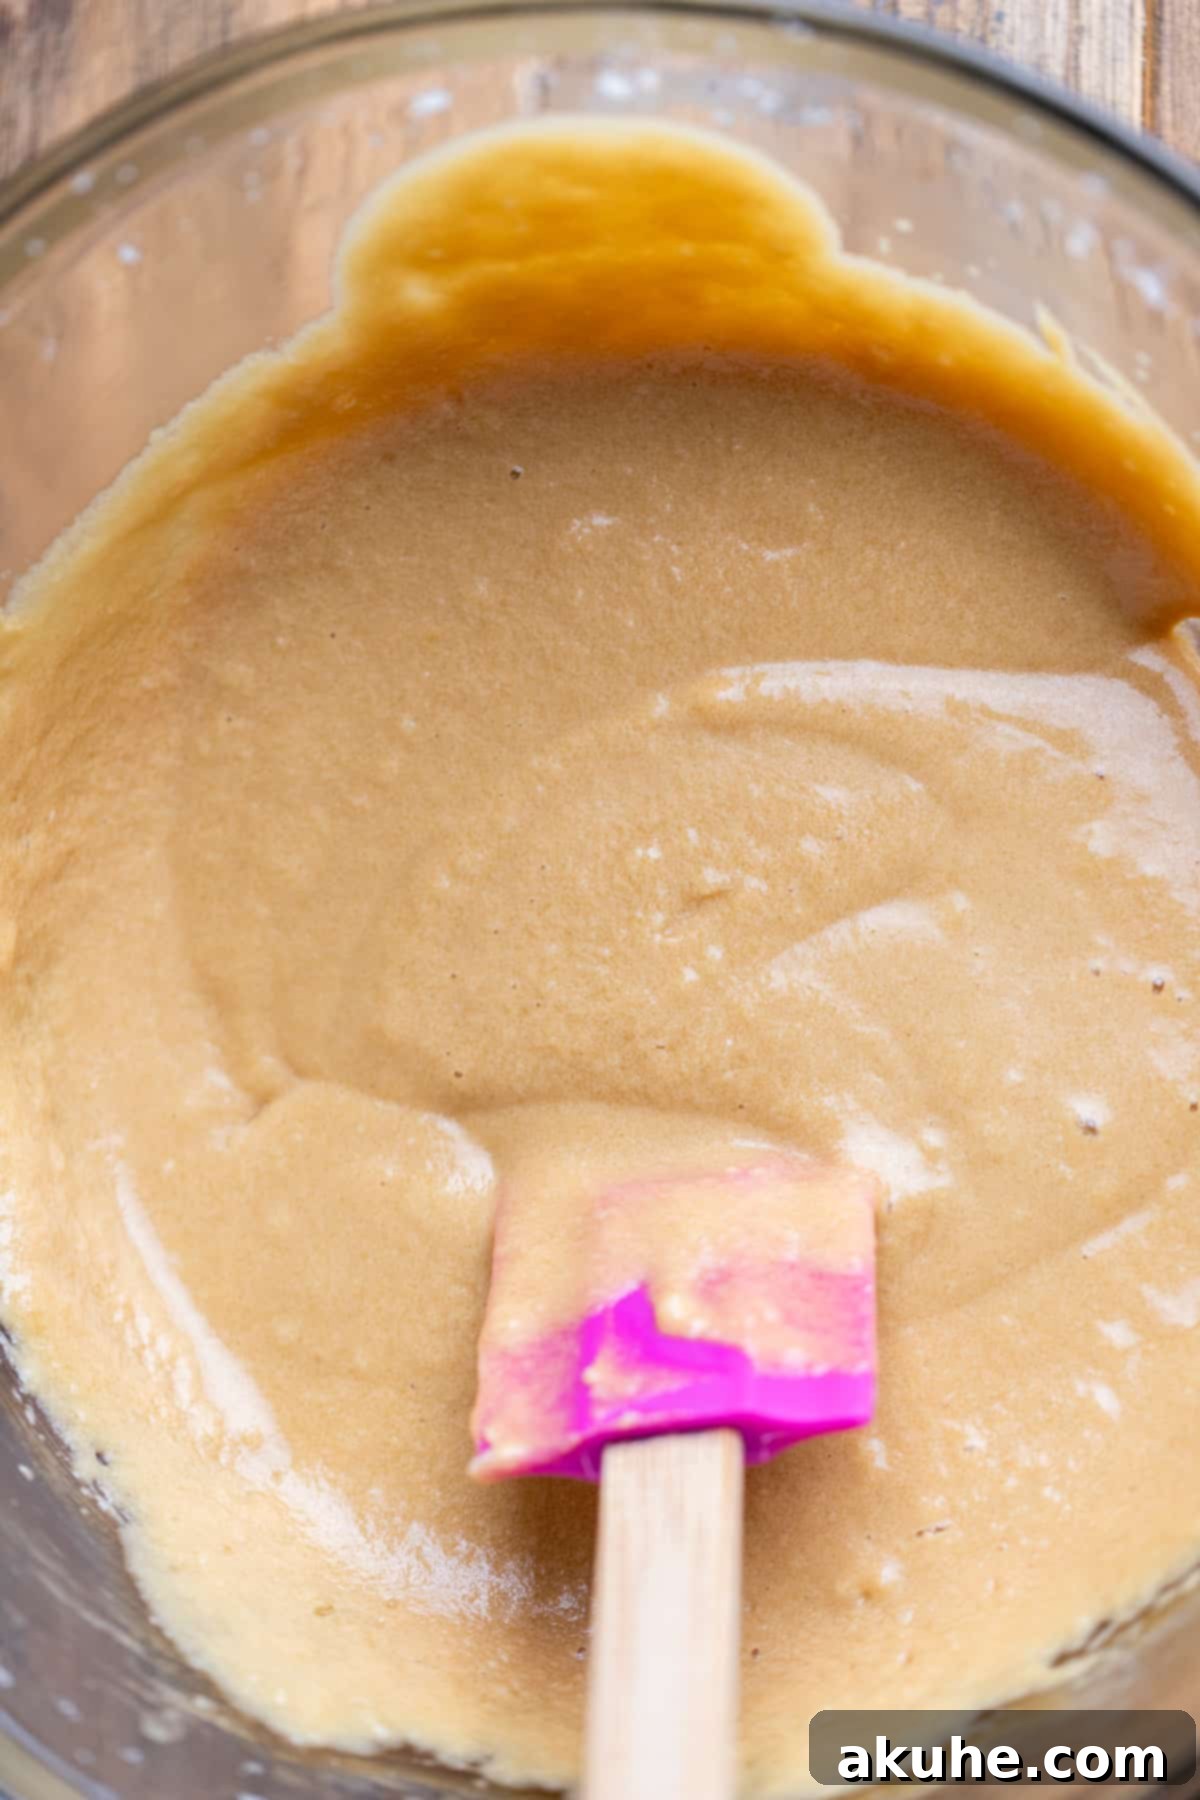
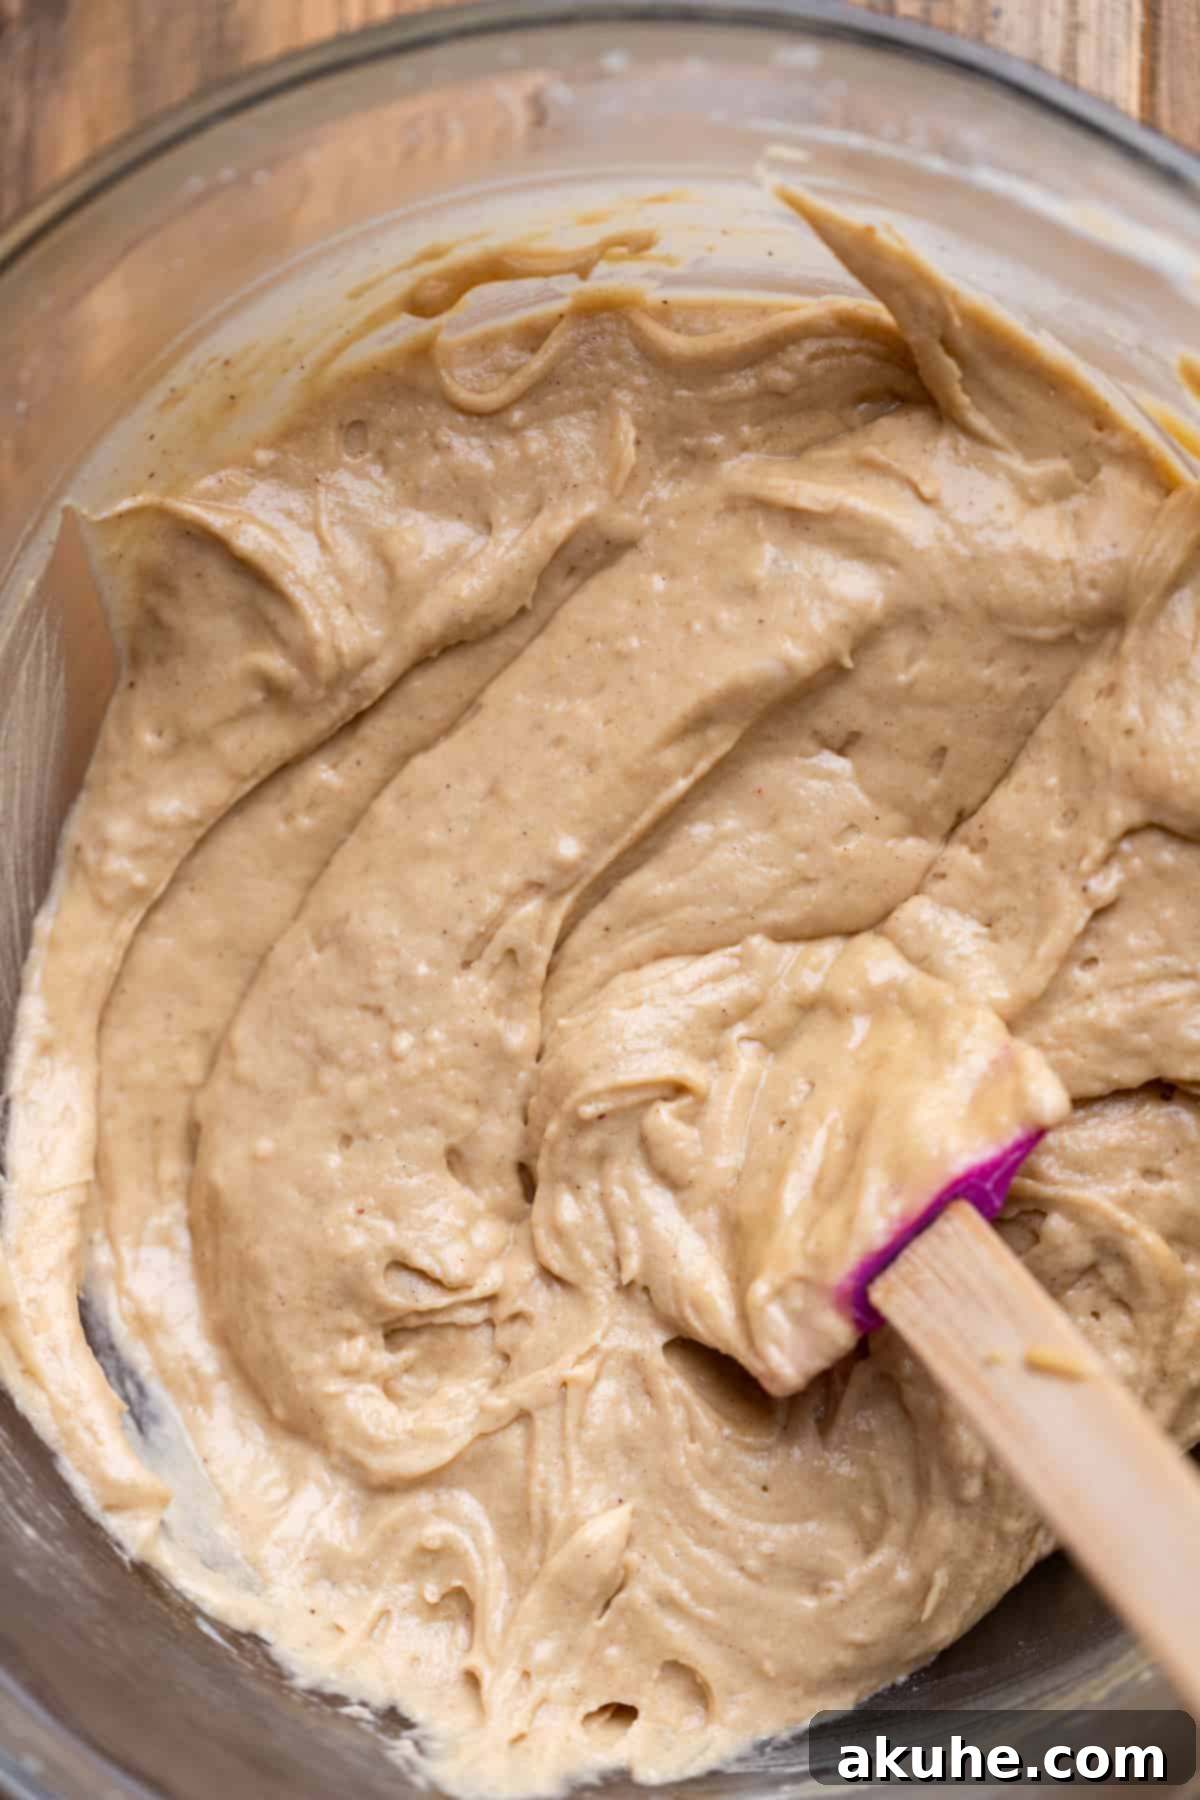
STEP 5: Gently Combine Wet and Dry Mixtures. This step requires a delicate touch to prevent overmixing, which can lead to tough cupcakes. With your mixer on low speed, add approximately one-third of your sifted dry ingredients to the wet mixture, mixing until just barely combined. Then, pour in half of the buttermilk and mix until incorporated. Repeat this process: add another third of the dry ingredients, mix, then add the remaining buttermilk, mix. Finally, add the last portion of dry ingredients and mix only until no streaks of flour are visible. A slightly lumpy batter is better than an overmixed one!
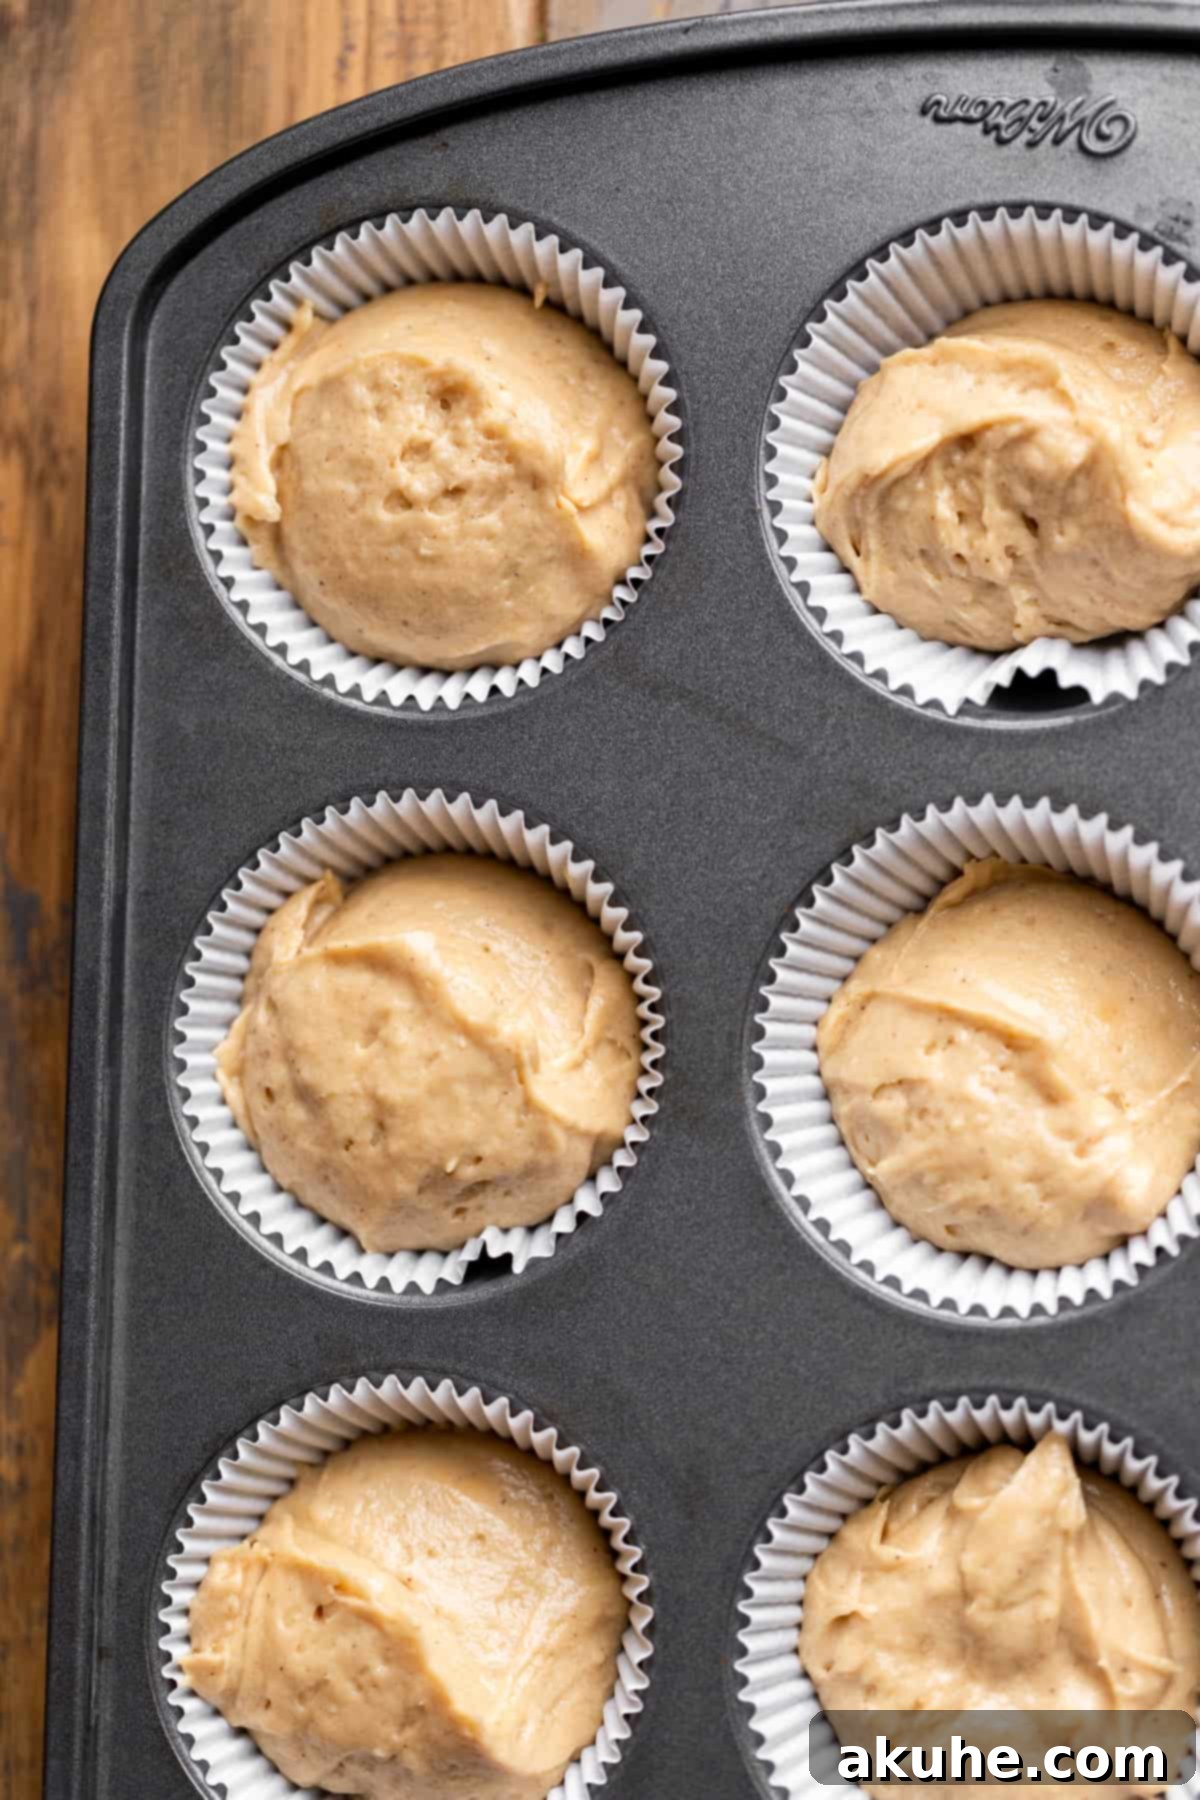
STEP 6: Portion the Batter. Using a large cookie scoop or an ice cream scoop, carefully transfer the cupcake batter into the prepared muffin tin. Fill each cupcake liner approximately two-thirds full. This ensures a proper rise without overflowing, creating beautifully domed cupcakes.
STEP 7: Bake to Perfection. Place the muffin tin into your preheated oven and bake for 15-17 minutes. The cupcakes are perfectly baked when they spring back lightly to the touch and a toothpick inserted into the center of a cupcake comes out clean, free of wet batter.
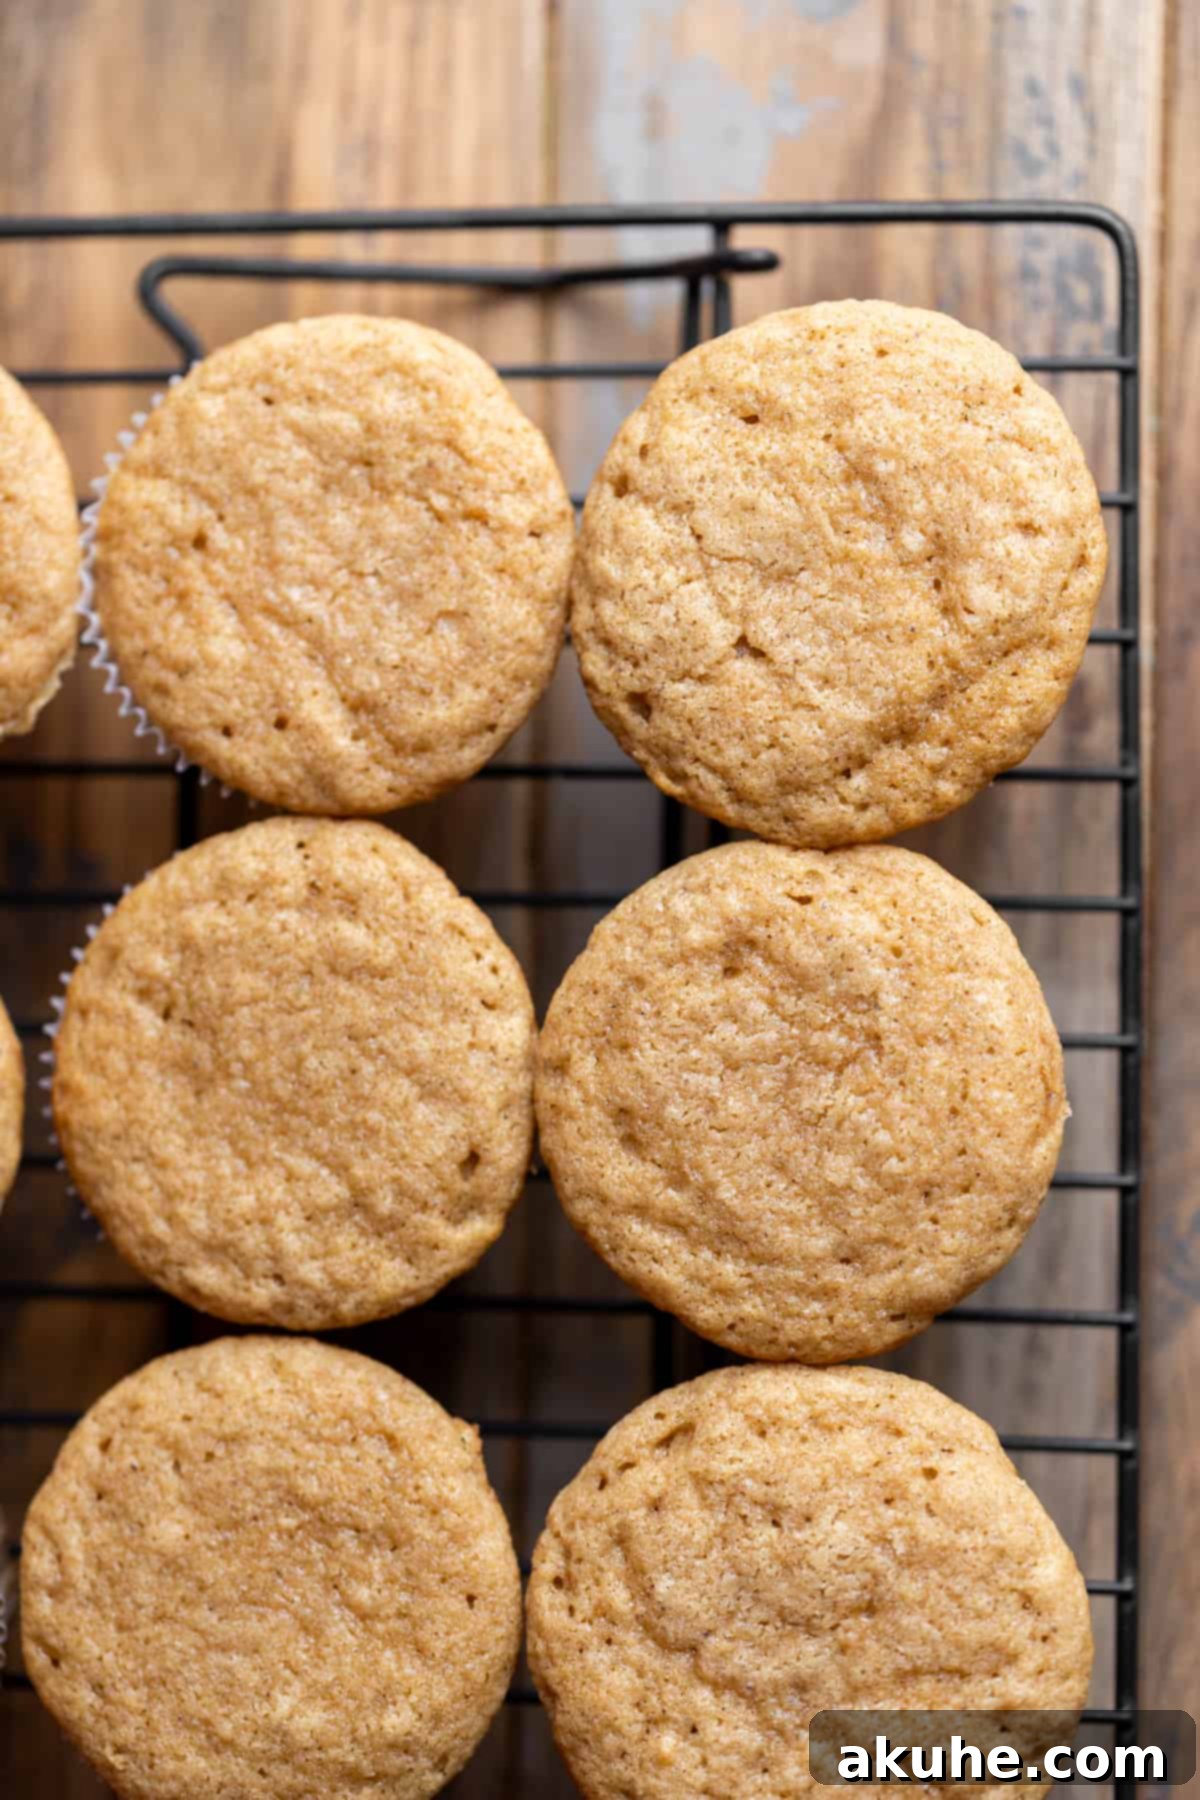
STEP 8: Cool Gracefully. Once baked, remove the muffin tin from the oven and allow the cupcakes to cool in the hot pan for about 10 minutes. This allows them to set properly and prevents them from sticking. After 10 minutes, carefully transfer the warm cupcakes to a wire rack to cool completely. It’s crucial that the cupcakes are entirely cool before you even think about frosting them, as warm cupcakes will melt your beautiful maple cream cheese frosting.
Step-by-Step Instructions: Preparing Candied Bacon and Maple Cream Cheese Frosting
Now that your maple cupcakes are cooling, it’s time to prepare the sensational toppings that complete this sweet and savory masterpiece: crispy candied bacon and luscious maple cream cheese frosting. These two components are what truly elevate these cupcakes to gourmet status.
For the Candied Bacon:
STEP 1: Preheat and Prepare. Set your oven to 325°F (160°C). This lower temperature allows the bacon to crisp slowly and the sugar to caramelize without burning. Line a sturdy baking sheet with aluminum foil. This step is essential for easy cleanup, as the maple syrup and brown sugar will inevitably create a sticky residue. On top of the foil-lined sheet, place a wire cooling rack. This allows air to circulate around the bacon, ensuring it cooks evenly and crisps up beautifully.
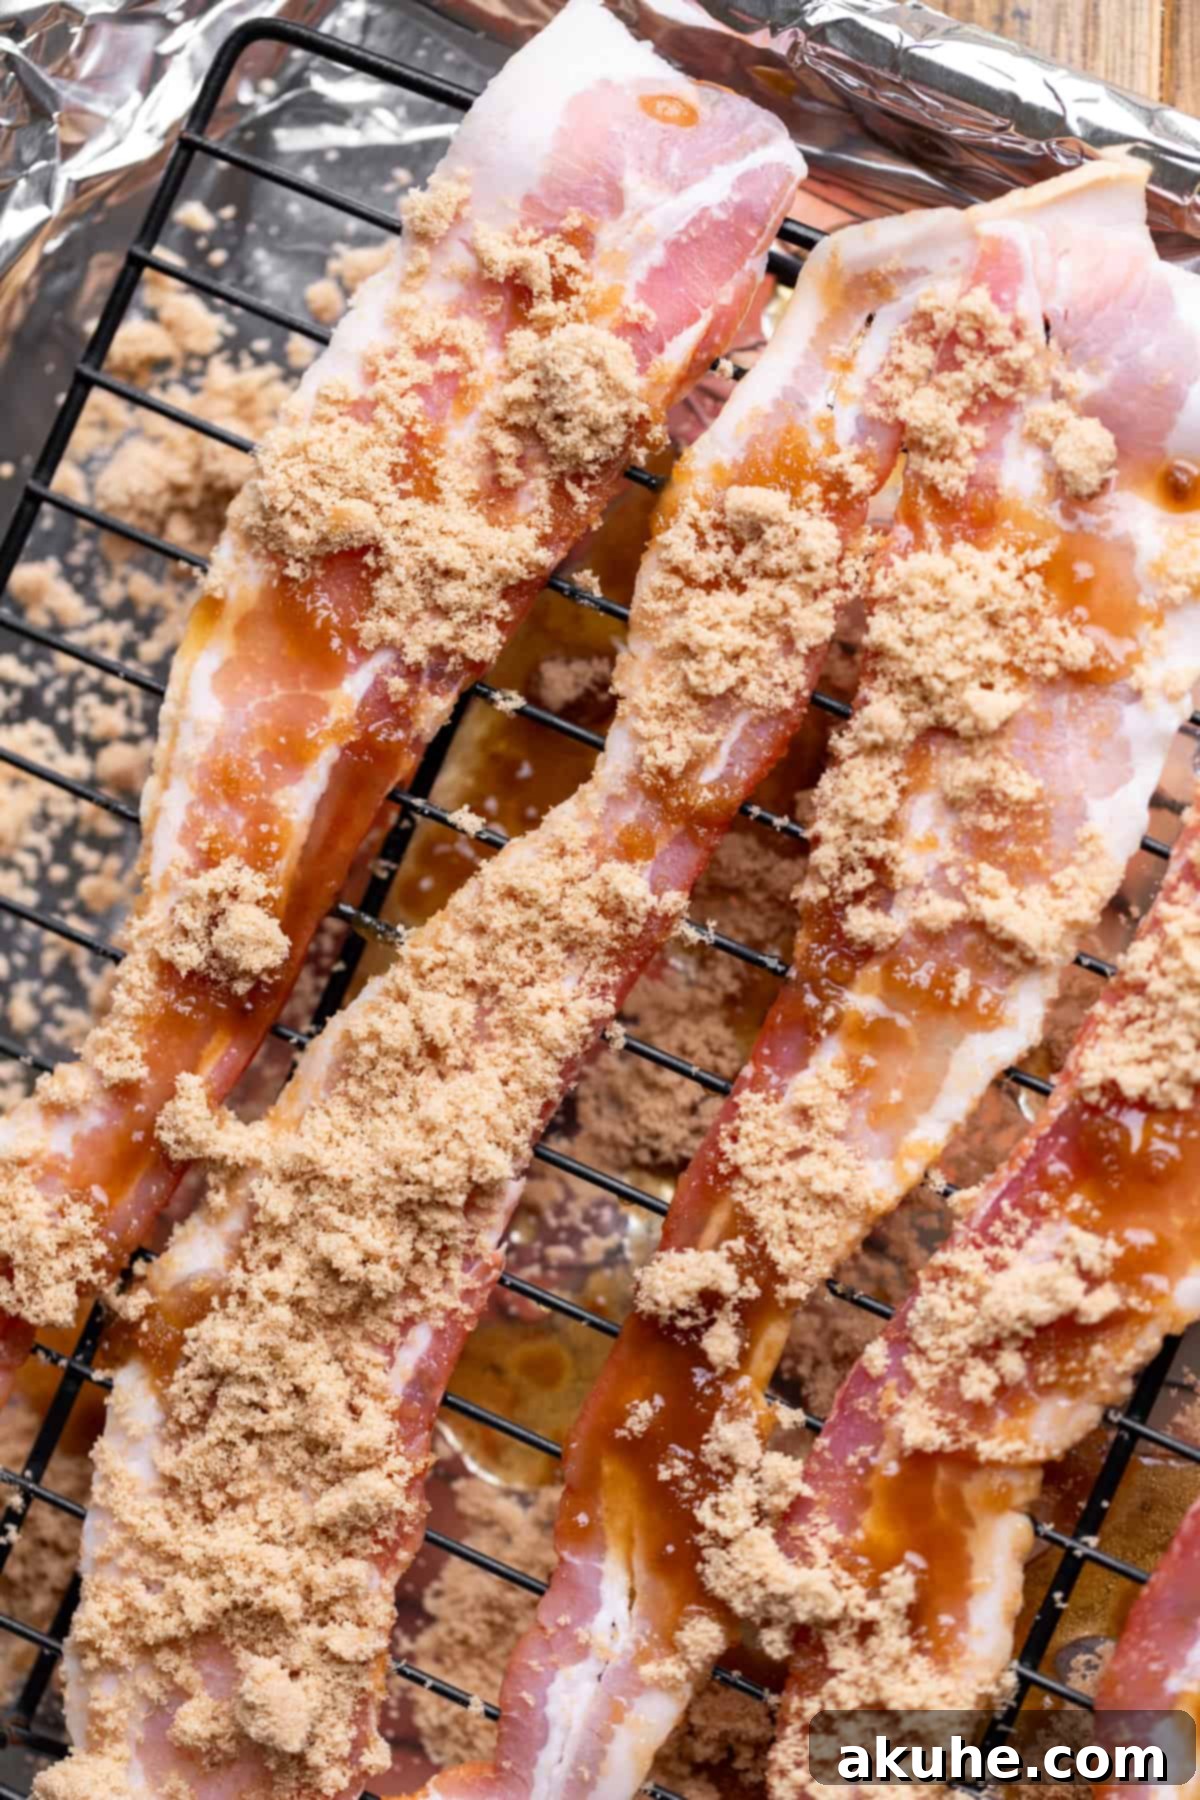
STEP 2: Coat the Bacon. Arrange the slices of thick-cut bacon in a single layer on the wire rack. Drizzle real maple syrup generously over each slice, then sprinkle light or dark brown sugar evenly on top. You only need to coat one side of the bacon; the sugars will melt and spread as it bakes.
STEP 3: Bake the Bacon. Transfer the baking sheet to the preheated oven and bake for approximately 25 minutes. Keep a close eye on it during the last few minutes, as bacon can go from perfectly crispy to burnt very quickly. The bacon should be slightly crispy, and the brown sugar will have melted and caramelized into a glossy, sweet glaze. Some of the sugar and bacon fat will drip onto the foil below, creating a rich, browned caramel that you’ll be glad you lined the pan for!
STEP 4: Cool and Cut. Once the candied bacon is baked to your desired crispiness, carefully remove it from the oven. Allow it to cool completely on the wire rack. As it cools, the caramelized sugar will harden, creating that delightful crunch. Once fully cooled, cut the bacon into small, manageable pieces. These bite-sized morsels will be the perfect garnish for your cupcakes.
For the Maple Cream Cheese Frosting:
STEP 5: Sift Powdered Sugar. In a medium-sized bowl, sift the powdered sugar. This crucial step prevents any lumps from forming in your frosting, ensuring a perfectly smooth and pipeable consistency.
STEP 6: Cream Butter and Cream Cheese. In a large mixing bowl, using your electric mixer, beat the room temperature cream cheese and unsalted butter together on high speed for 2 minutes. Continue beating until the mixture is exceptionally light, fluffy, and creamy. This aeration is key for a luscious frosting texture.
STEP 7: Mix the Frosting Ingredients. With the mixer on low speed, gradually add the sifted powdered sugar to the creamed butter and cream cheese mixture, incorporating it slowly to avoid a sugar cloud. Once the sugar is mostly mixed in, add the real maple syrup, maple extract, and a pinch of salt. Increase the mixer speed to high and beat for another 1-2 minutes until all ingredients are thoroughly combined and the frosting is beautifully creamy, smooth, and spreadable.
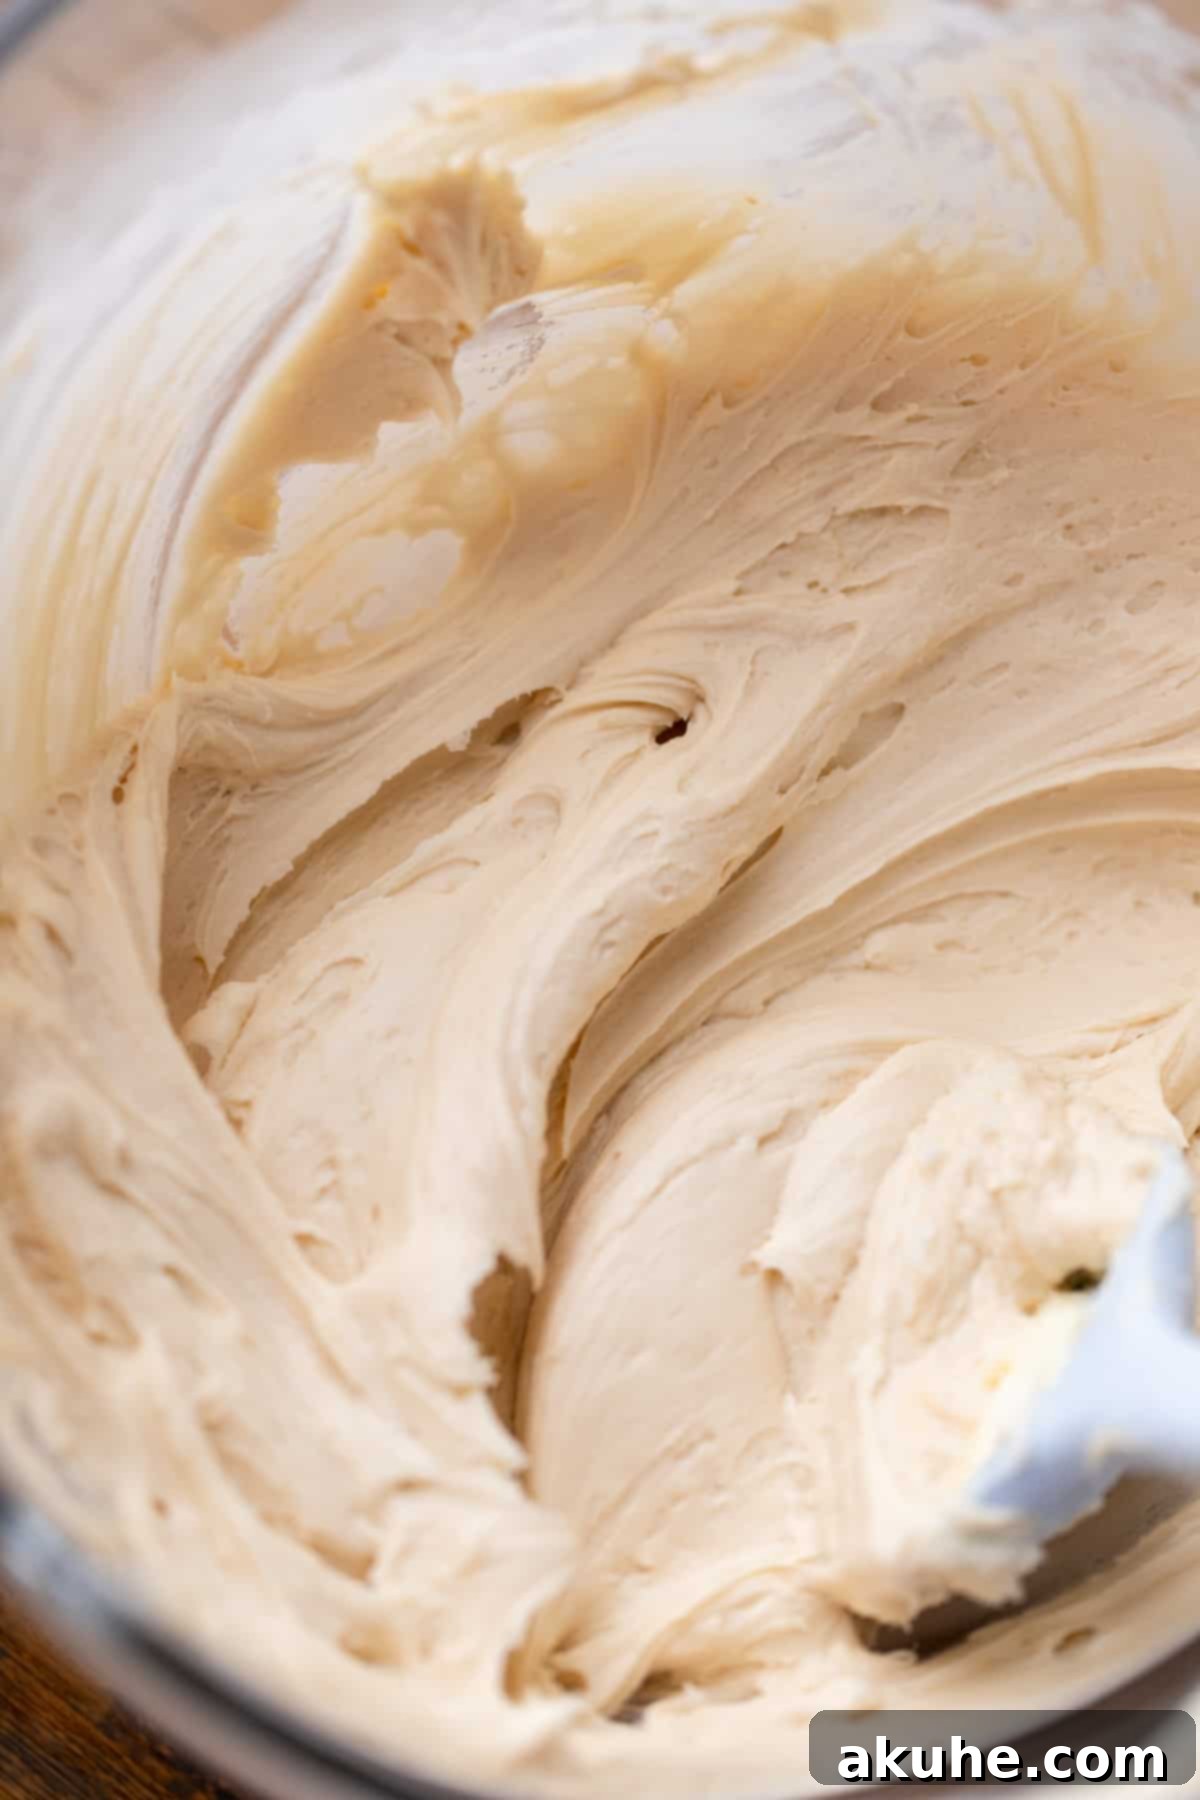
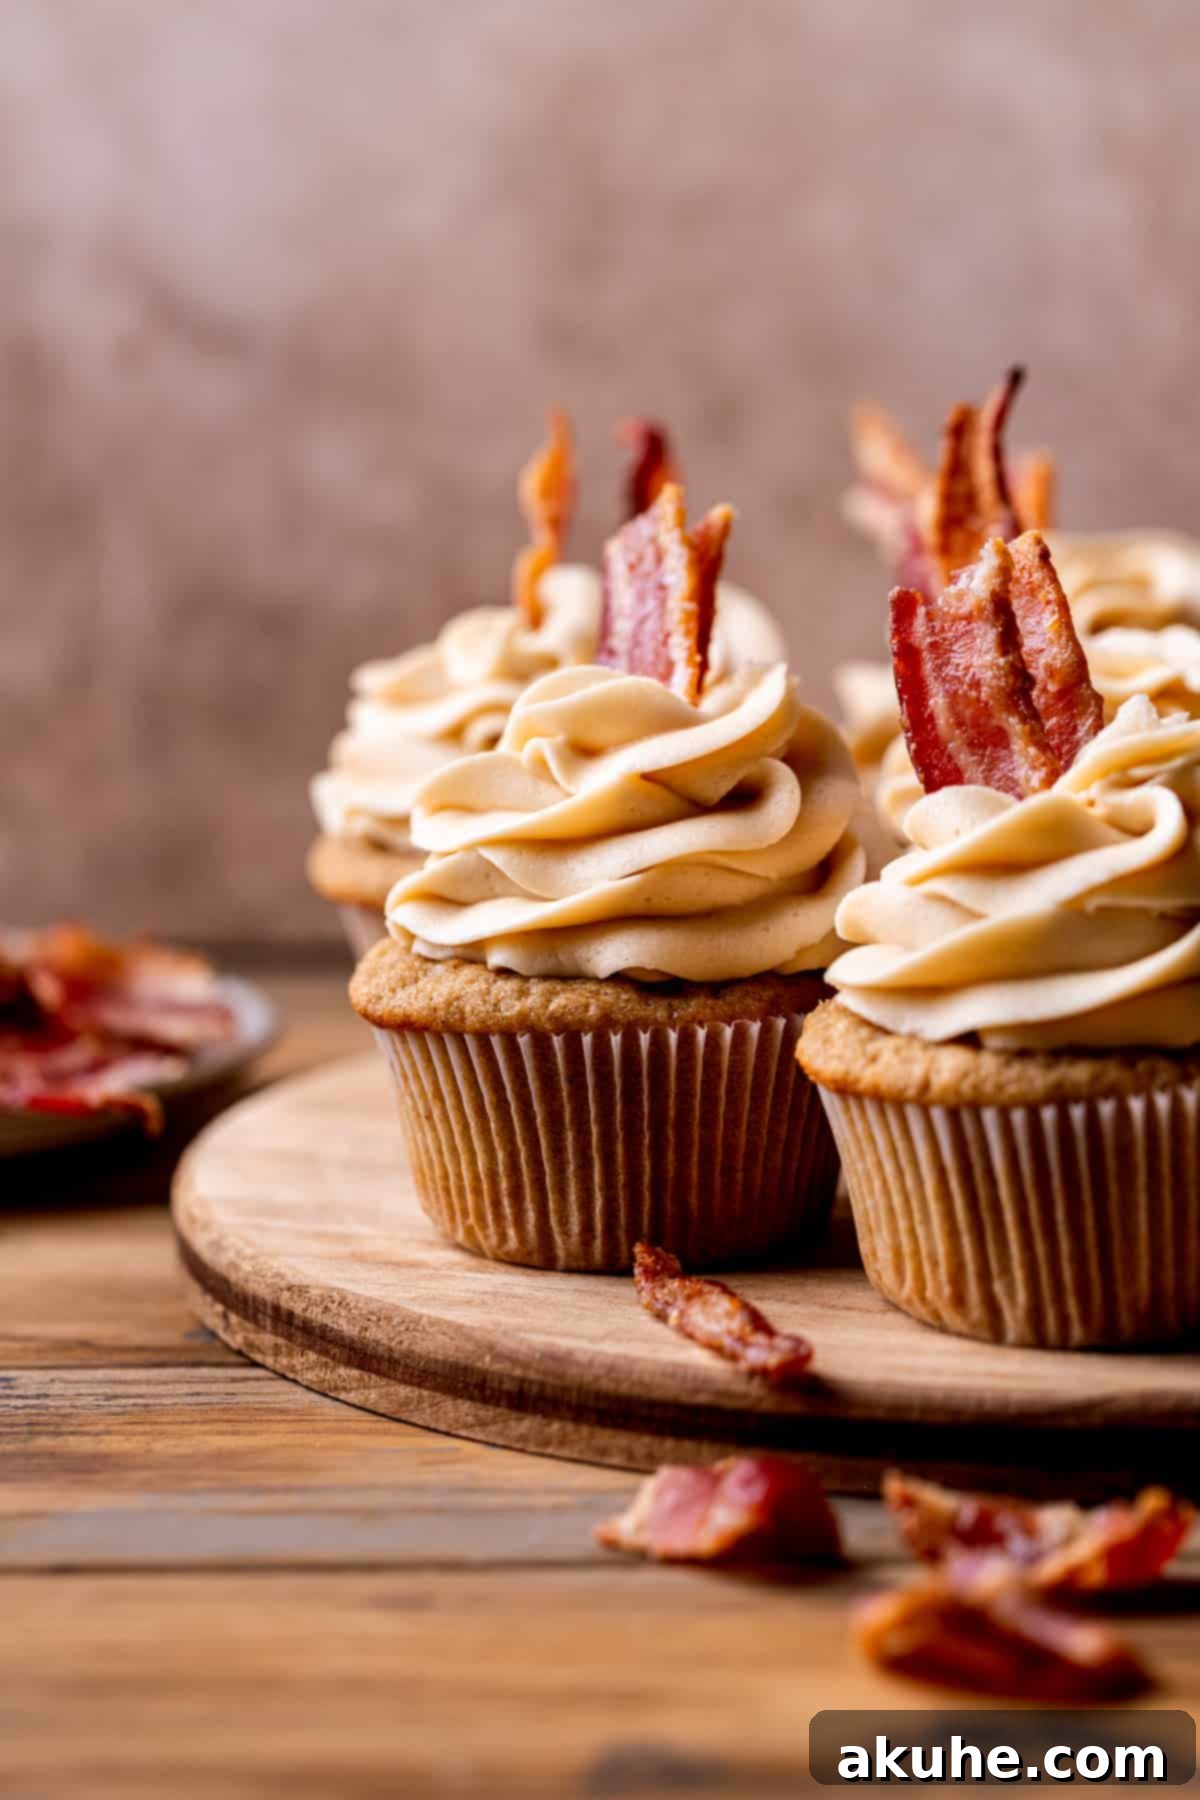
STEP 8: Frost and Garnish. Once your cupcakes are completely cool, it’s time for the grand finale! Pipe or spread the luscious maple cream cheese frosting generously over each cupcake. Immediately after frosting, sprinkle the prepared candied bacon pieces on top. Serve immediately and enjoy the delightful combination of flavors and textures!
Expert Baking Tips for Unforgettable Maple Bacon Cupcakes
Baking can be an art, and a few expert tips can elevate your maple bacon cupcakes from great to truly exceptional. Follow these pointers for the best possible results:
- Accurate Flour Measurement is Key: One of the most common baking mistakes is incorrectly measuring flour. Always use the “spoon and level” method: spoon flour into your measuring cup until it overflows, then use a straight edge (like the back of a knife) to level off the excess. Never scoop flour directly from the bag, as this compacts it, leading to too much flour and dry, dense cupcakes. For ultimate precision, a kitchen scale is always recommended.
- Ensure Cupcakes are Fully Cooled Before Frosting: Patience is a virtue, especially when it comes to frosting. Attempting to frost warm cupcakes will result in a melty, messy disaster as your beautiful maple cream cheese frosting turns into a runny glaze. Allow your cupcakes to cool completely on a wire rack for at least an hour, or even longer, before you begin decorating.
- Customize Bacon Crispiness: The candied bacon is a highlight, and you can adjust its crispiness to your personal preference. For a chewier texture, bake it for a slightly shorter time. For maximum crunch, bake until deeply golden and firm. When cutting, remember to slice the bacon into small, bite-sized pieces. This makes the cupcakes much easier and more enjoyable to eat, ensuring each bite includes a perfect ratio of cake, frosting, and bacon.
- Room Temperature Ingredients are Non-Negotiable: As mentioned in the ingredient notes, ensure all dairy and eggs are at room temperature. This promotes smooth emulsification, leading to a homogenous batter and frosting, and ultimately a lighter, more tender baked good.
- Don’t Overmix the Batter: Once you add the dry ingredients to the wet, mix only until just combined. Overmixing develops the gluten in the flour, which can result in tough, chewy cupcakes instead of light and tender ones. A few small lumps in the batter are perfectly fine.
- Use Good Quality Maple Syrup: This recipe hinges on the rich flavor of maple. Invest in real, pure maple syrup for the best taste. The difference between real maple and artificial syrups is substantial and will be noticeable in the final product.
Frequently Asked Questions About Maple Bacon Cupcakes
Here are answers to some common questions about making and enjoying these delightful maple bacon cupcakes:
Can these maple bacon cupcakes be made ahead of time?
Absolutely! The unfrosted maple cupcakes can be prepared in advance. Once they have cooled completely, wrap them individually in plastic wrap and place them in an airtight container. They can be frozen for up to 30 days. When you’re ready to serve, thaw them at room temperature for about an hour before frosting and adding the candied bacon. For best results with the bacon, make it fresh on the day of serving to ensure maximum crispiness.
Can this recipe be adapted to make mini cupcakes?
Yes, this recipe is perfectly suitable for making mini maple bacon cupcakes! Simply line mini muffin tins with mini cupcake liners. Reduce the baking time to approximately 8-10 minutes, or until a toothpick inserted into the center comes out clean. Keep a close watch on them as mini cupcakes bake much faster.
Can this recipe be made into a cake instead of cupcakes?
Yes, you can easily convert this recipe into a delicious maple bacon cake! Pour the batter into an 8×8-inch or 9×9-inch baking pan. The baking time will be longer, typically around 30-35 minutes, or until a toothpick inserted into the center comes out clean. Once cooled, you can frost the cake with the maple cream cheese frosting and top with the candied bacon for a spectacular dessert.
What are some serving suggestions or variations?
These maple bacon cupcakes are wonderful on their own, but you can enhance them further! Consider adding a sprinkle of toasted pecans or walnuts for an extra layer of texture. A very light dusting of cinnamon on top of the frosting can also heighten the fall flavors. For a boozy twist, a touch of bourbon in the maple extract for the frosting can add a sophisticated depth. Serve them with a hot cup of coffee for a decadent breakfast or as a unique dessert after dinner.
Storing and Freezing Your Maple Bacon Cupcakes
Proper storage is essential to keep your maple bacon cupcakes fresh and delicious. Because of the cream cheese frosting, these cupcakes require refrigeration:
Store your frosted maple bacon cupcakes in an airtight container in the refrigerator for up to 5 days. For the best flavor and texture, allow the cupcakes to sit at room temperature for about 1 hour before serving. This softens the frosting and cake, bringing out their full flavor profiles.
Freezing Frosted Cupcakes
If you wish to freeze frosted cupcakes, place them in an airtight container, ensuring they are not touching each other to prevent the frosting from sticking. They can be frozen for up to 30 days. To enjoy, thaw the frozen cupcakes at room temperature for 1-2 hours before adding fresh candied bacon pieces (if you prefer maximum crunch) and serving. The bacon may lose some crispiness when frozen and thawed, so adding it fresh is always recommended.
More Delightful Cupcake Recipes to Explore
If you’ve fallen in love with these unique maple bacon cupcakes, be sure to explore more of our creative and delicious dessert recipes! We love experimenting with flavors and bringing you delightful treats for every occasion.
We hope you loved this recipe! Your feedback helps us grow. Please consider leaving a STAR REVIEW below. For more delicious ideas and baking inspiration, connect with us on social media: follow us on Instagram @stephaniesweettreats and get inspired by our boards on Pinterest.
Maple Bacon Cupcakes Recipe
Prep Time: 1 hr
Cook Time: 41 mins
Total Time: 1 hr 41 mins
Servings: 12 cupcakes
Ingredients
Maple Cupcakes
- 1 3/4 cup All-purpose flour
- 1/2 tsp Ground cinnamon
- 1 tsp Baking powder
- 1/4 tsp Baking soda
- 1/2 tsp Salt
- 1/2 cup Unsalted butter, room temperature
- 3/4 cup White granulated sugar
- 1 TBSP Oil, canola or vegetable
- 1/4 cup Real maple syrup
- 1 tsp Pure vanilla extract
- 1/2 tsp Maple extract
- 2 Large eggs, room temperature
- 1/4 cup Sour cream, room temperature
- 1/2 cup Buttermilk
Candied Bacon
- 1/2 lb Thick cut bacon
- 1/2 cup Brown sugar
- 1/8 cup Maple syrup
Maple Cream Cheese Frosting
- 4 oz Cream cheese, room temperature
- 3/4 cup Unsalted butter, room temperature
- 3 1/2 cups Powdered sugar, sifted
- 2 TBSP Maple syrup
- 1/2 tsp Maple extract
- 1/4 tsp Salt
Instructions
Maple Cupcakes
- Preheat the oven to 350°F (175°C). Line a 12-cup muffin tin with cupcake liners.
- In a mixing bowl, sift together the all-purpose flour, ground cinnamon, baking powder, baking soda, and salt.
- In a separate bowl, using an electric mixer, beat the unsalted butter, oil, and white granulated sugar together on high speed for 2 minutes until light and fluffy.
- Add the pure vanilla extract, maple extract, real maple syrup, and sour cream to the butter mixture and mix until just combined. Then, add the large eggs and mix on medium speed until smooth.
- Add 1/3 of the dry ingredients and half of the buttermilk to the wet mixture, mixing until just combined. Then, add another 1/3 of the dry ingredients and the remaining buttermilk, mixing until just combined. Finally, add the rest of the dry ingredients and mix only until no streaks of flour are visible.
- Use a large cookie scoop to evenly distribute the batter into the muffin tin, filling each cup approximately 2/3 full.
- Bake for 15-17 minutes, or until a toothpick inserted into the center of a cupcake comes out clean.
- Let the cupcakes cool in the hot pan for 10 minutes before transferring them to a wire rack to cool completely. Ensure they are fully cooled before decorating.
Candied Bacon
- Preheat your oven to 325°F (160°C). Line a cookie sheet with aluminum foil for easy cleanup, then place a wire cooling rack on top of the foil.
- Arrange the thick-cut bacon slices on the cooling rack. Drizzle real maple syrup over the bacon and sprinkle brown sugar evenly on top. (Only one side needs to be coated.)
- Bake for 25 minutes, or until the bacon is slightly crispy and the sugar has melted and caramelized.
- Once the bacon has cooled completely, cut it into small pieces to use as a topping for the cupcakes.
Maple Cream Cheese Frosting
- In a medium bowl, sift the powdered sugar to ensure a smooth frosting.
- Using an electric mixer, beat the room temperature cream cheese and unsalted butter on high speed for 2 minutes until light, fluffy, and creamy.
- Slowly add the sifted powdered sugar to the creamed mixture, mixing on low speed until combined. Then, add the real maple syrup, maple extract, and salt. Increase the mixer speed to high and beat until the frosting is smooth and creamy.
- Once the cupcakes are completely cool, frost them generously with the maple cream cheese frosting and immediately top with the candied bacon pieces.
Notes
- Flour: Always spoon and level your flour, or use a kitchen scale for accuracy. Compacted flour can lead to dry cupcakes.
- High Altitude Baking: If baking at high altitudes, consider adding an extra 1 tablespoon of all-purpose flour to the recipe.
- Room Temperature Ingredients: For best results, pull out all dairy ingredients (butter, cream cheese, sour cream, eggs) at least 2 hours before baking to allow them to come to room temperature.
Nutrition Information (per cupcake)
Calories: 476kcal, Carbohydrates: 78g, Protein: 6g, Fat: 33g, Saturated Fat: 17g, Polyunsaturated Fat: 3g, Monounsaturated Fat: 10g, Trans Fat: 1g, Cholesterol: 77mg, Sodium: 377mg, Potassium: 123mg, Fiber: 1g, Sugar: 26g, Vitamin A: 771IU, Vitamin C: 0.05mg, Calcium: 70mg, Iron: 1mg
