Indulge in the ultimate delight with these incredible Mini M&M Cookies – an easy-to-master recipe that promises soft, thick, and wonderfully chewy results every single time. Unlike many cookie recipes that demand extensive effort or special equipment, these M&M-studded treats are designed for simplicity, requiring no mixer and coming together in just minutes. Each bite is a symphony of textures and flavors, loaded with both vibrant mini M&M’s and rich mini chocolate chips, ensuring a burst of happiness in every mouthful. Prepare to elevate your cookie game with a recipe that’s not just a step up from classic chocolate chip cookies but a leap into a world of irresistible chewiness and vibrant fun.

These cookies are a true celebration for any M&M lover, overflowing with countless colorful mini M&M’s! The beauty of this recipe lies in its sheer simplicity: you won’t need a stand mixer or even a hand mixer, making it perfect for bakers of all skill levels. The dough is effortlessly prepared by hand using melted butter, cutting down on cleanup and prep time significantly. In roughly 10 minutes, you’ll have your dough ready to go. While they do require a brief chill time, this crucial step is what guarantees those perfectly thick, gloriously chewy cookies with beautifully crisp edges and melt-in-your-mouth soft centers. Forget dry, crumbly cookies; these are designed for maximum satisfaction.
For those eager to explore more delightful baking adventures, be sure to try our Small Batch Chocolate Chip Cookies, a perfect recipe when you need just a few fresh cookies. If you’re a fan of rich, nutty flavors, our Peanut Butter Nutella Cookies are an absolute must-bake. And for a festive and fun treat, don’t miss our Chewy Birthday Cake Cookies. Happy baking, and get ready to create some truly memorable treats!
Why You’ll Love This Mini M&M Cookie Recipe
This Mini M&M cookie recipe stands out for several compelling reasons, making it a favorite among home bakers. We’ve meticulously crafted it to ensure an enjoyable baking process and truly spectacular results. Here’s what makes these cookies exceptionally special:
- Effortlessly Easy to Make: Simplicity is key! This recipe utilizes melted butter, eliminating the need for any fancy kitchen gadgets like a stand mixer. You can easily whisk the dough together by hand, saving you time on setup and cleanup. It’s the perfect recipe for busy weeknights or a fun weekend activity with kids.
- Achieve the Perfect Chewy Texture: Prepare for cookie perfection! These cookies boast an incredibly desirable texture – delightfully chewy throughout, with subtly crisp edges that give way to wonderfully soft, almost gooey centers. The careful balance of ingredients and precise instructions ensures this optimal chewiness every time, distinguishing them from standard, often crumbly, cookies.
- Loaded with Mini M&M’s: Who can resist mini M&M’s? We wholeheartedly agree they are the best kind! This recipe generously packs them into every cookie, ensuring a burst of colorful chocolatey goodness in each bite. The smaller size means better distribution, so you get that iconic M&M crunch and flavor more frequently, making these cookies truly irresistible.
- No Special Equipment Required: Beyond basic kitchen tools, you won’t need anything specific. A few bowls, a whisk, and a rubber spatula are all that’s necessary to create these delicious cookies. This accessibility makes it a fantastic recipe for beginner bakers or anyone looking for a straightforward baking experience.
- Guaranteed Crowd-Pleaser: From casual gatherings to celebratory events, these Mini M&M cookies are always a hit. Their vibrant appearance and universally loved flavor profile make them an instant favorite with both children and adults. Be prepared for requests for the recipe!
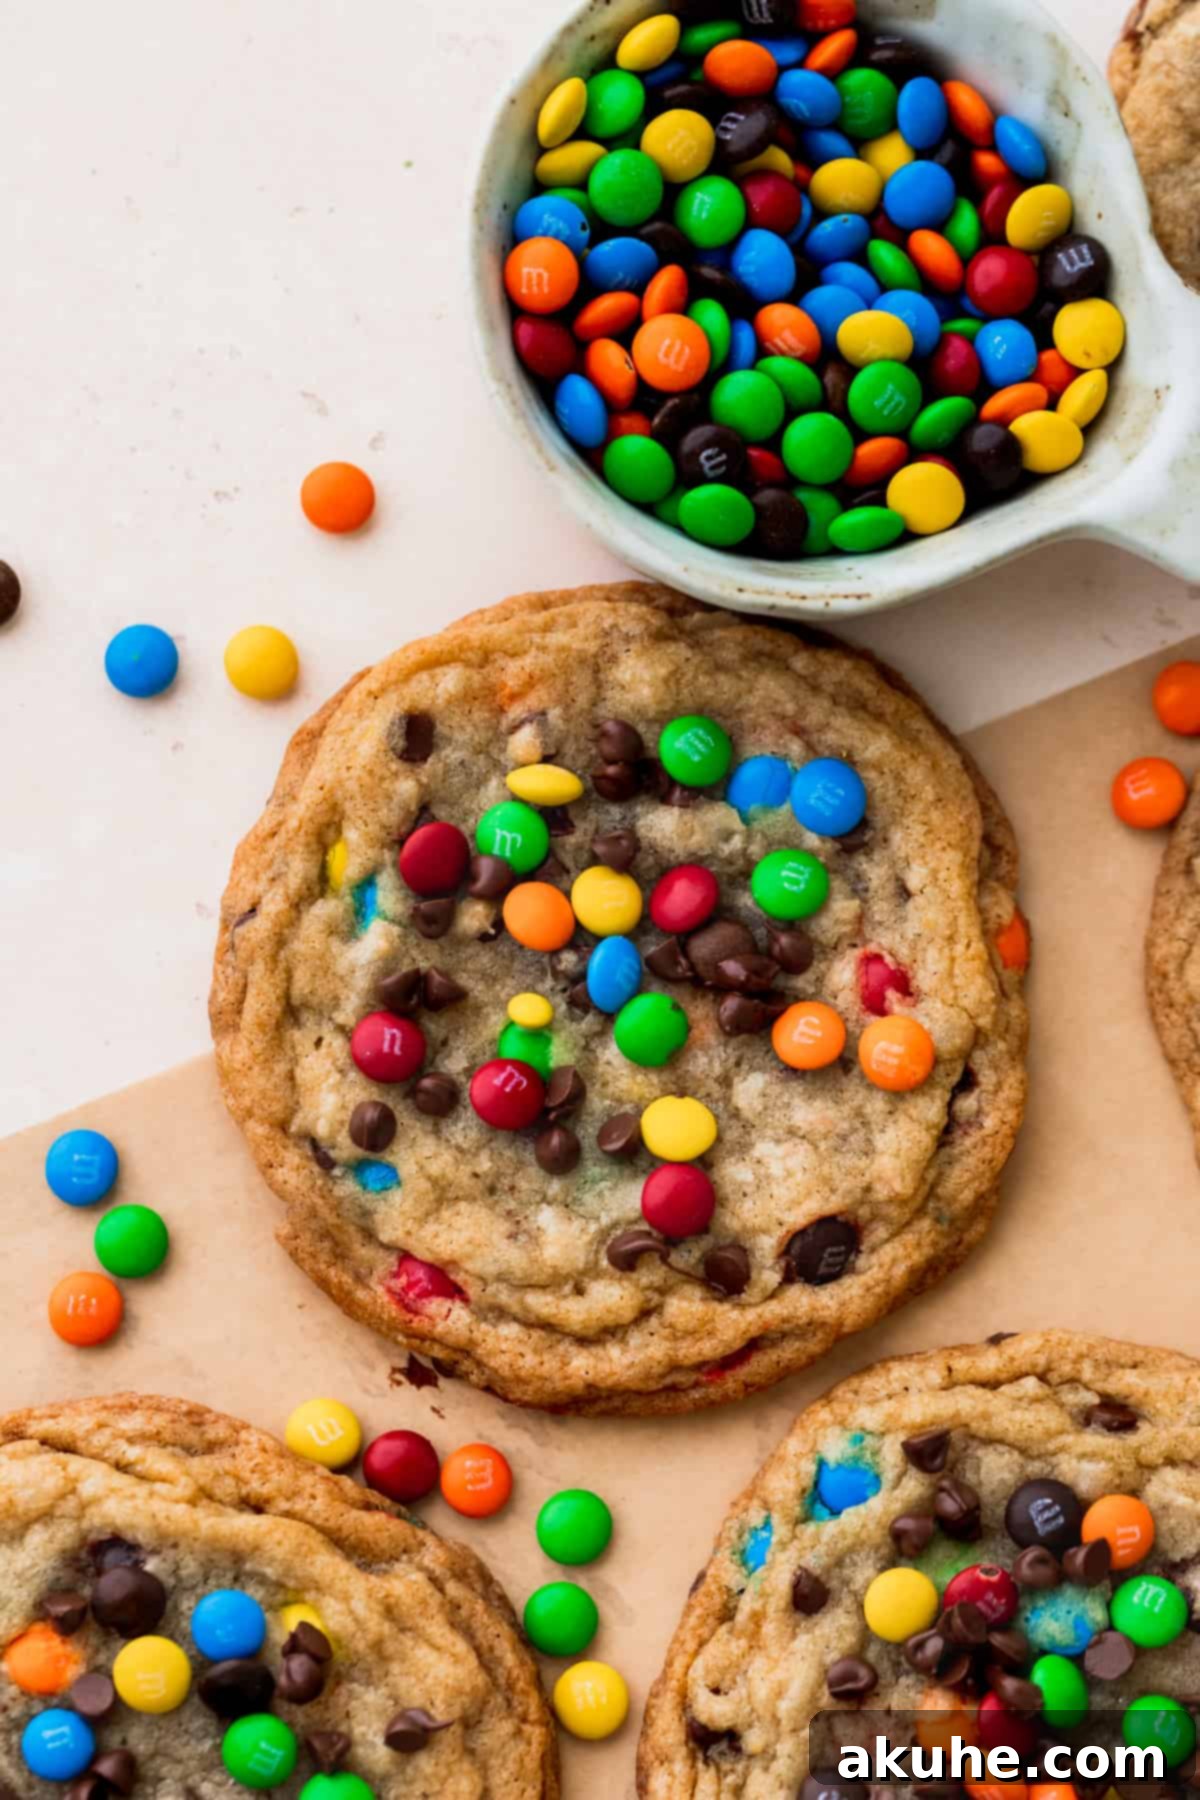
Essential Ingredient Notes for Perfect Mini M&M Cookies
Understanding the role of each ingredient is crucial for achieving the best possible Mini M&M Cookies. Here are some detailed notes to guide you. For the precise measurements, please refer to the comprehensive recipe card below.
- Unsalted Butter: The recipe calls for melted butter, but it’s vital that the butter cools to room temperature before you incorporate it into the wet ingredients. If the butter is even slightly warm, it will cause the cookie dough to spread excessively during baking, resulting in thin, flat cookies instead of the thick, chewy texture we’re aiming for. Plan ahead and allow ample time for the melted butter to cool.
- Brown Sugar (Light or Dark): We recommend using light brown sugar for this recipe to achieve a golden-brown hue and a balanced sweetness. While dark brown sugar can be used, it contains more molasses, which will give the cookies a darker appearance and a slightly deeper, more robust flavor. Stick with light brown sugar for the classic M&M cookie look and taste.
- Large Eggs: The temperature of your eggs significantly impacts the dough’s consistency. For optimal emulsification and a smoother dough, it’s essential to use room temperature large eggs. This allows them to blend more evenly with the other ingredients. Remove them from the refrigerator at least 2 hours before you plan to start baking.
- Mini M&M’s: These are the stars of the show! Mini M&M’s provide a fantastic color pop and ensure a chocolate candy crunch in nearly every bite. You’ll need at least one standard large bag for the dough, plus a little extra for topping the cookies immediately after baking for that bakery-style finish. While regular M&M’s can be substituted, the mini version offers superior distribution throughout the cookie.
- Mini Chocolate Chips: To complement the mini M&M’s and enhance the overall chocolatey experience, mini chocolate chips are ideal. They melt beautifully and integrate seamlessly into the dough. For best results, use semi-sweet or dark mini chocolate chips. Milk chocolate chips might make the cookies overly sweet, especially with the added sugar from the M&M’s.
- All-Purpose Flour: You might notice a slightly higher flour quantity in this recipe compared to some others. This extra flour is intentionally added to balance the additional sugar content contributed by the M&M’s and chocolate chips. Without this adjustment, the higher sugar content would cause the cookies to spread too much, compromising their desired thickness and chewiness. Ensure you measure the flour correctly by spooning it into the measuring cup and leveling it off, rather than scooping directly from the bag, which can compact the flour and lead to an inaccurate measurement.
Step-by-Step Instructions: Crafting Your Chewy Mini M&M Cookies
Follow these detailed steps to bake perfect soft and chewy Mini M&M Cookies. Precision in each step ensures a delightful outcome.
STEP 1: Prepare the Butter. Begin by melting the unsalted butter in a microwave-safe bowl until fully liquid. Once melted, transfer the hot butter into a large mixing bowl. It is critically important that this butter cools down to room temperature before proceeding. Allow it to sit for approximately 15 to 20 minutes. To verify, test the temperature – it should be cool to the touch, not warm. If it’s still too warm, place the bowl in the freezer for about 10 minutes, then check again. A perfectly cooled butter prevents excessive cookie spreading.
STEP 2: Combine the Dry Ingredients. In a separate medium-sized bowl, use a sifter to combine the all-purpose flour, baking soda, baking powder, and salt. Sifting helps to aerate the flour and ensures these leavening agents and salt are evenly distributed, which is essential for uniform cookie rise and texture. Once sifted and mixed, set this bowl aside.
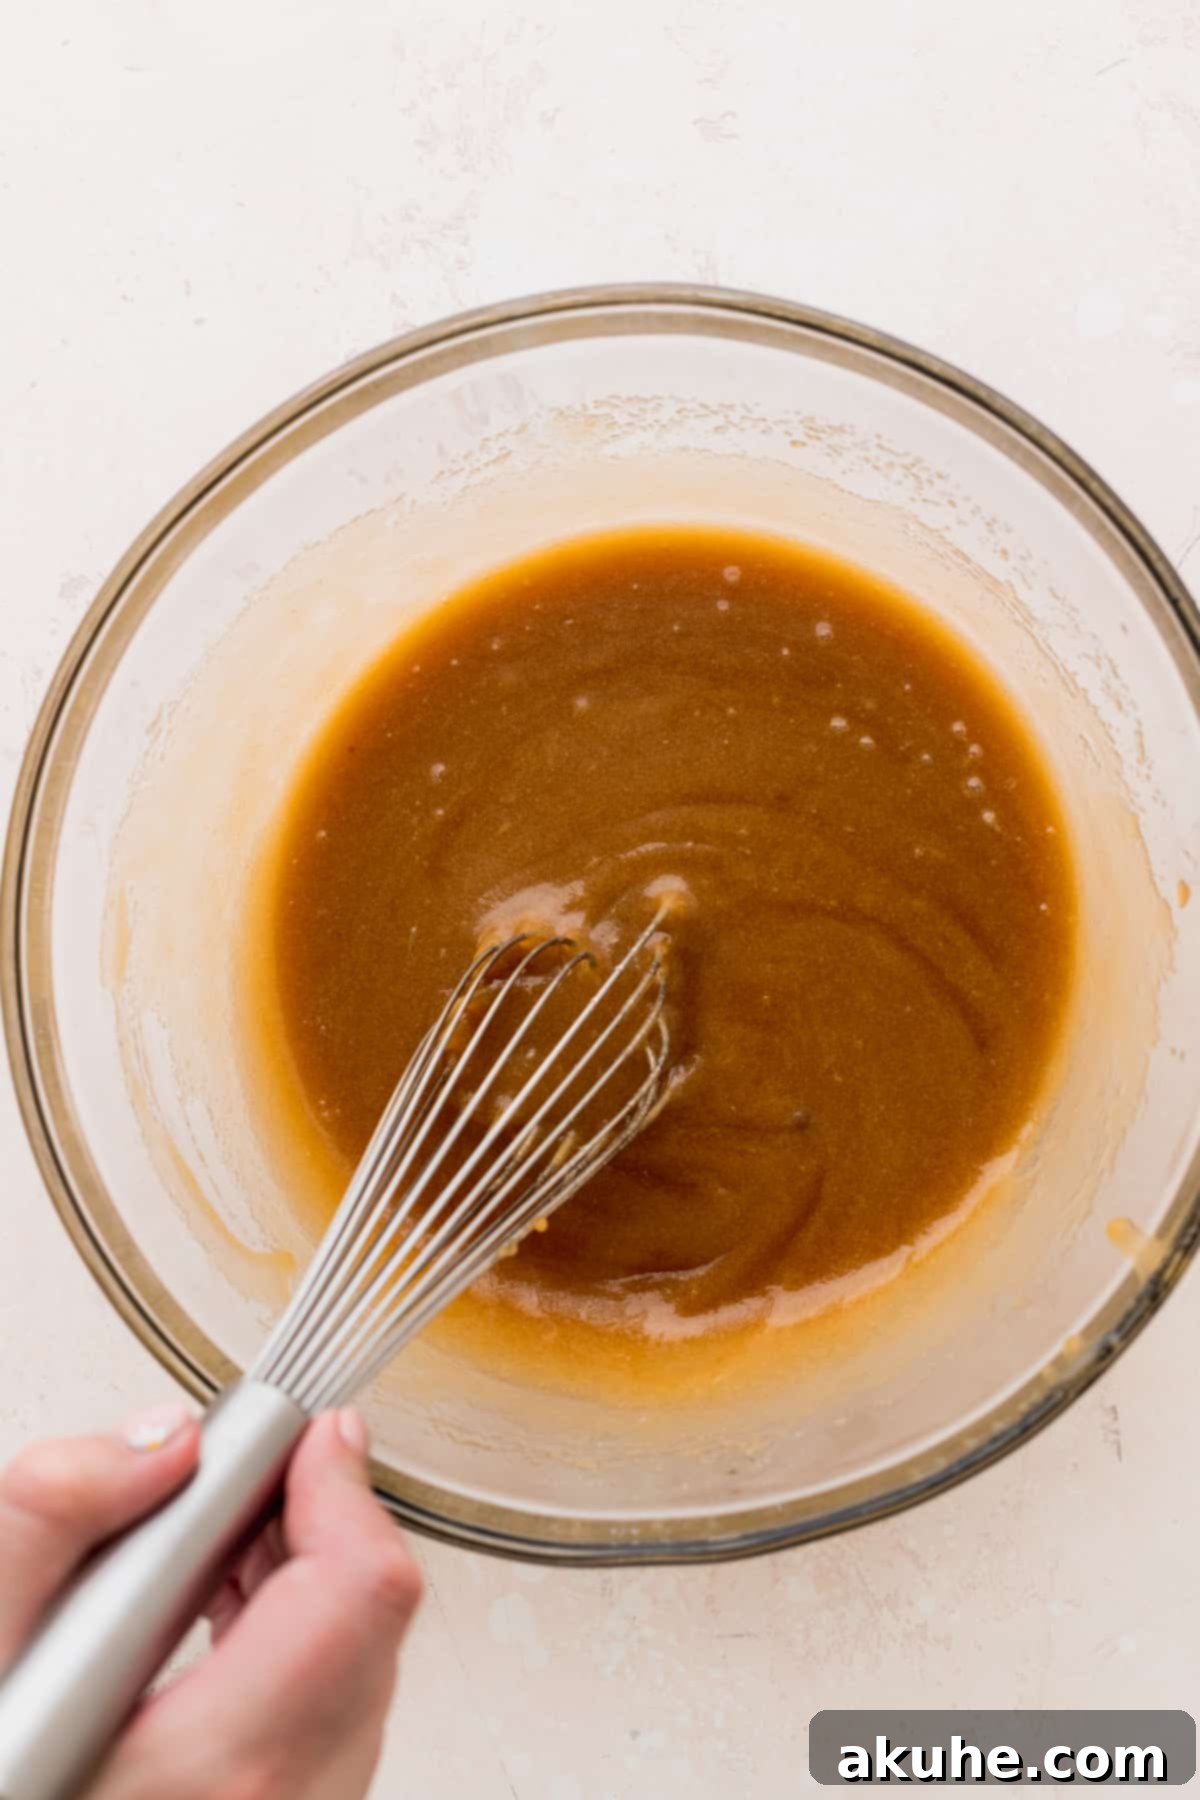
STEP 3: Mix the Wet Ingredients. Return to the large bowl containing the cooled melted butter. Add the brown sugar and white granulated sugar. Using a sturdy whisk or a rubber spatula, vigorously mix these ingredients until they are thoroughly combined and creamy. There’s no need for a hand mixer here; arm power works perfectly! Next, incorporate the pure vanilla extract and the room temperature large eggs. Continue mixing until all the wet ingredients are well blended and the mixture is smooth and cohesive.
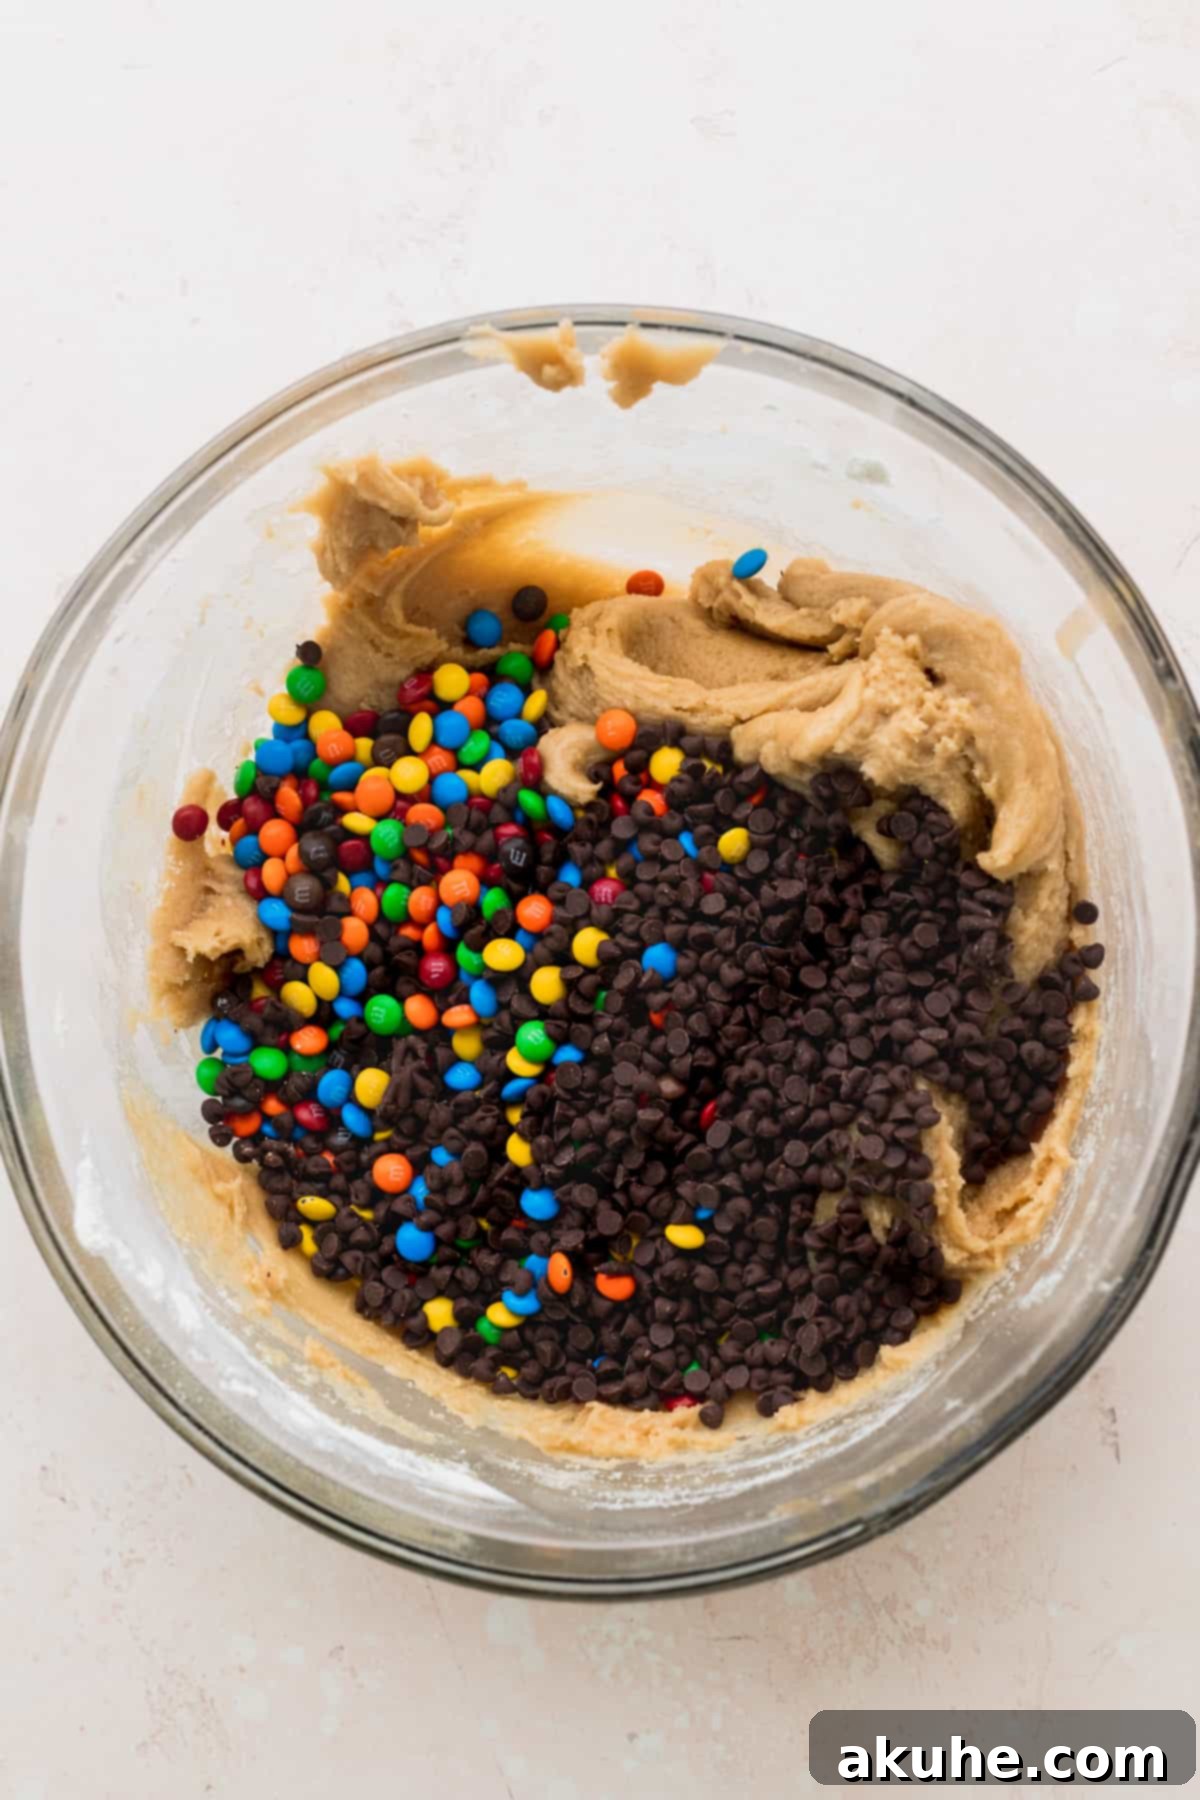
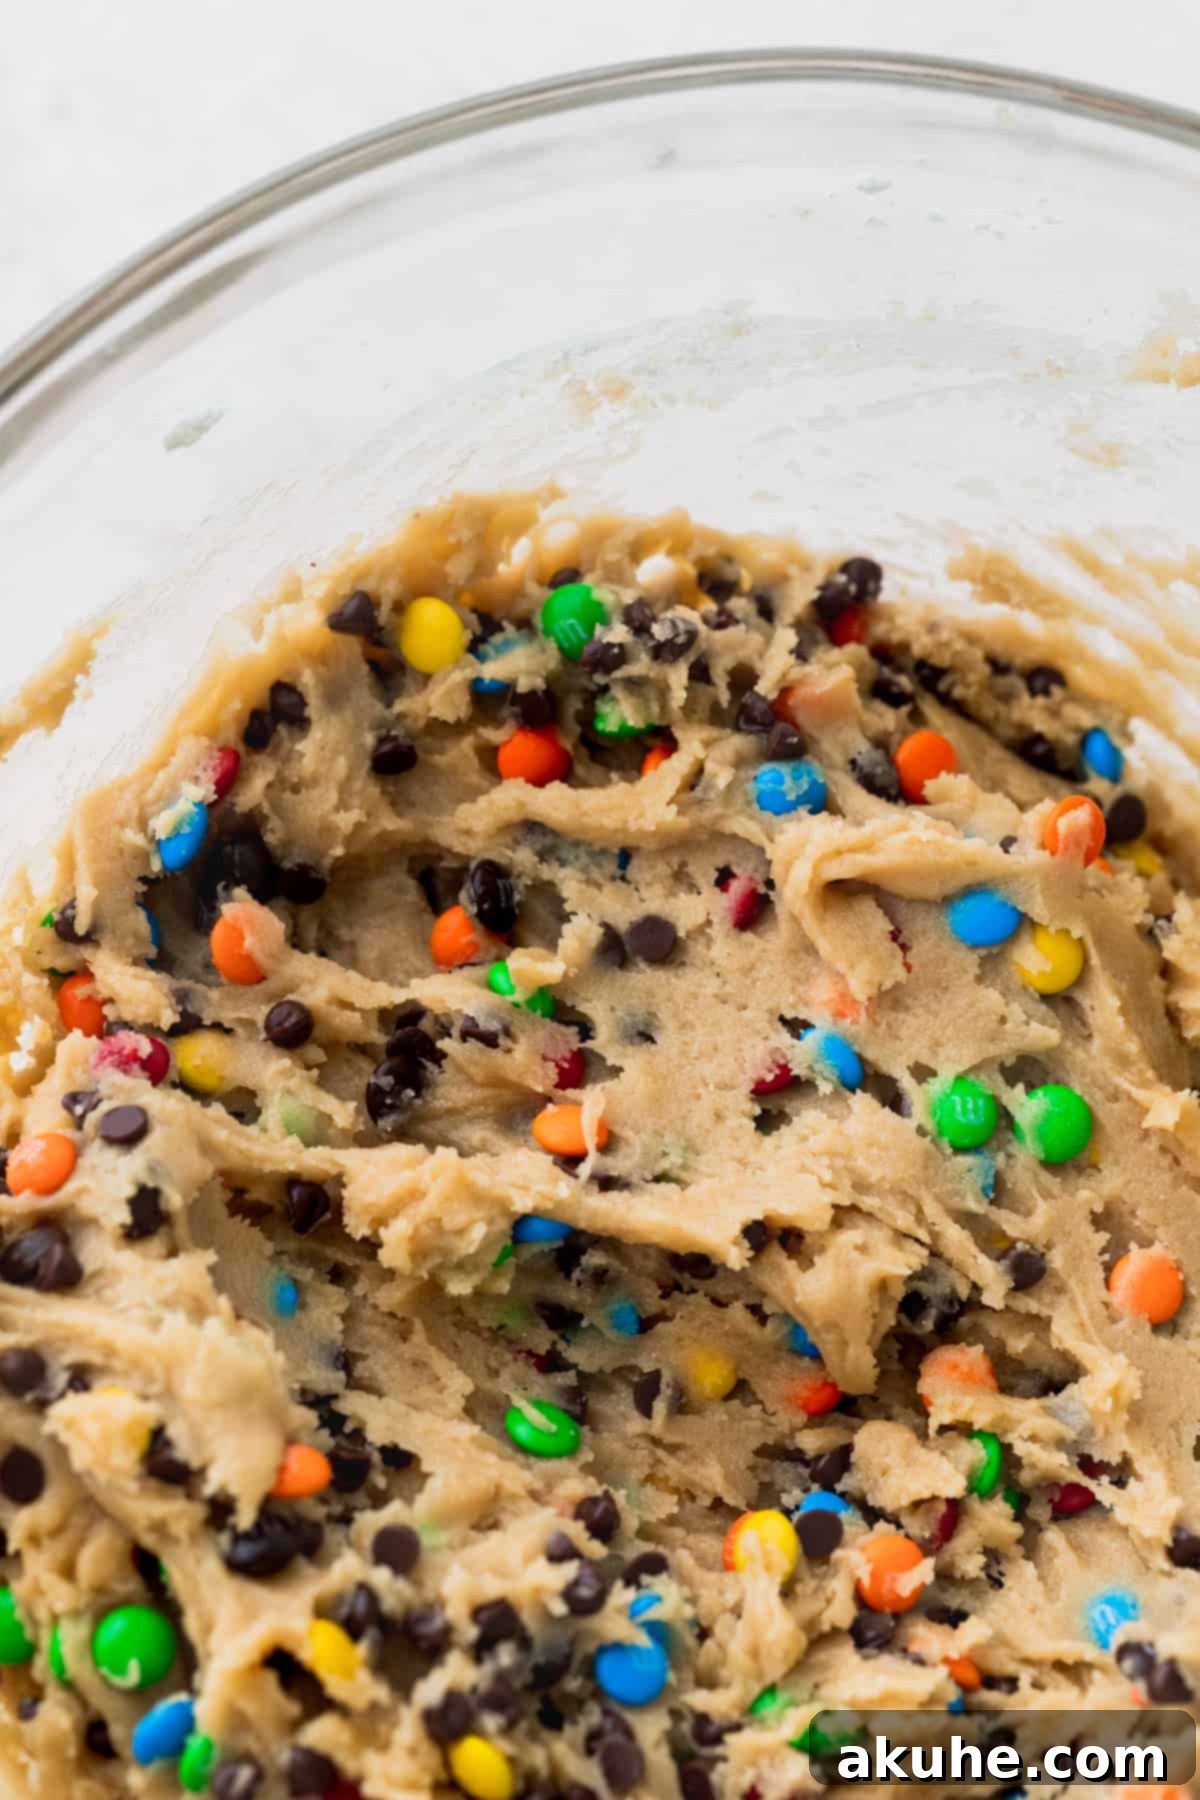
STEP 4: Integrate Dry Ingredients and Mix-ins. Gradually add the sifted flour mixture to the wet ingredients. Using a rubber spatula, gently fold the dry into the wet until just combined. Be careful not to overmix, as this can lead to tough cookies. As soon as the flour streaks disappear, pour in the vibrant mini M&M’s and the mini chocolate chips. Gently fold these delicious additions into the dough until they are evenly distributed throughout, ensuring every cookie gets its share of treats.
STEP 5: Scoop the Dough. Line two large cookie sheets with parchment paper. This prevents sticking and promotes even baking. Using a large cookie scoop (ideally a 3-ounce scoop for substantial cookies), portion out the dough. Place no more than 6 cookie dough balls on each prepared cookie sheet, ensuring ample space between them for spreading during baking. This careful spacing is essential for well-formed cookies.
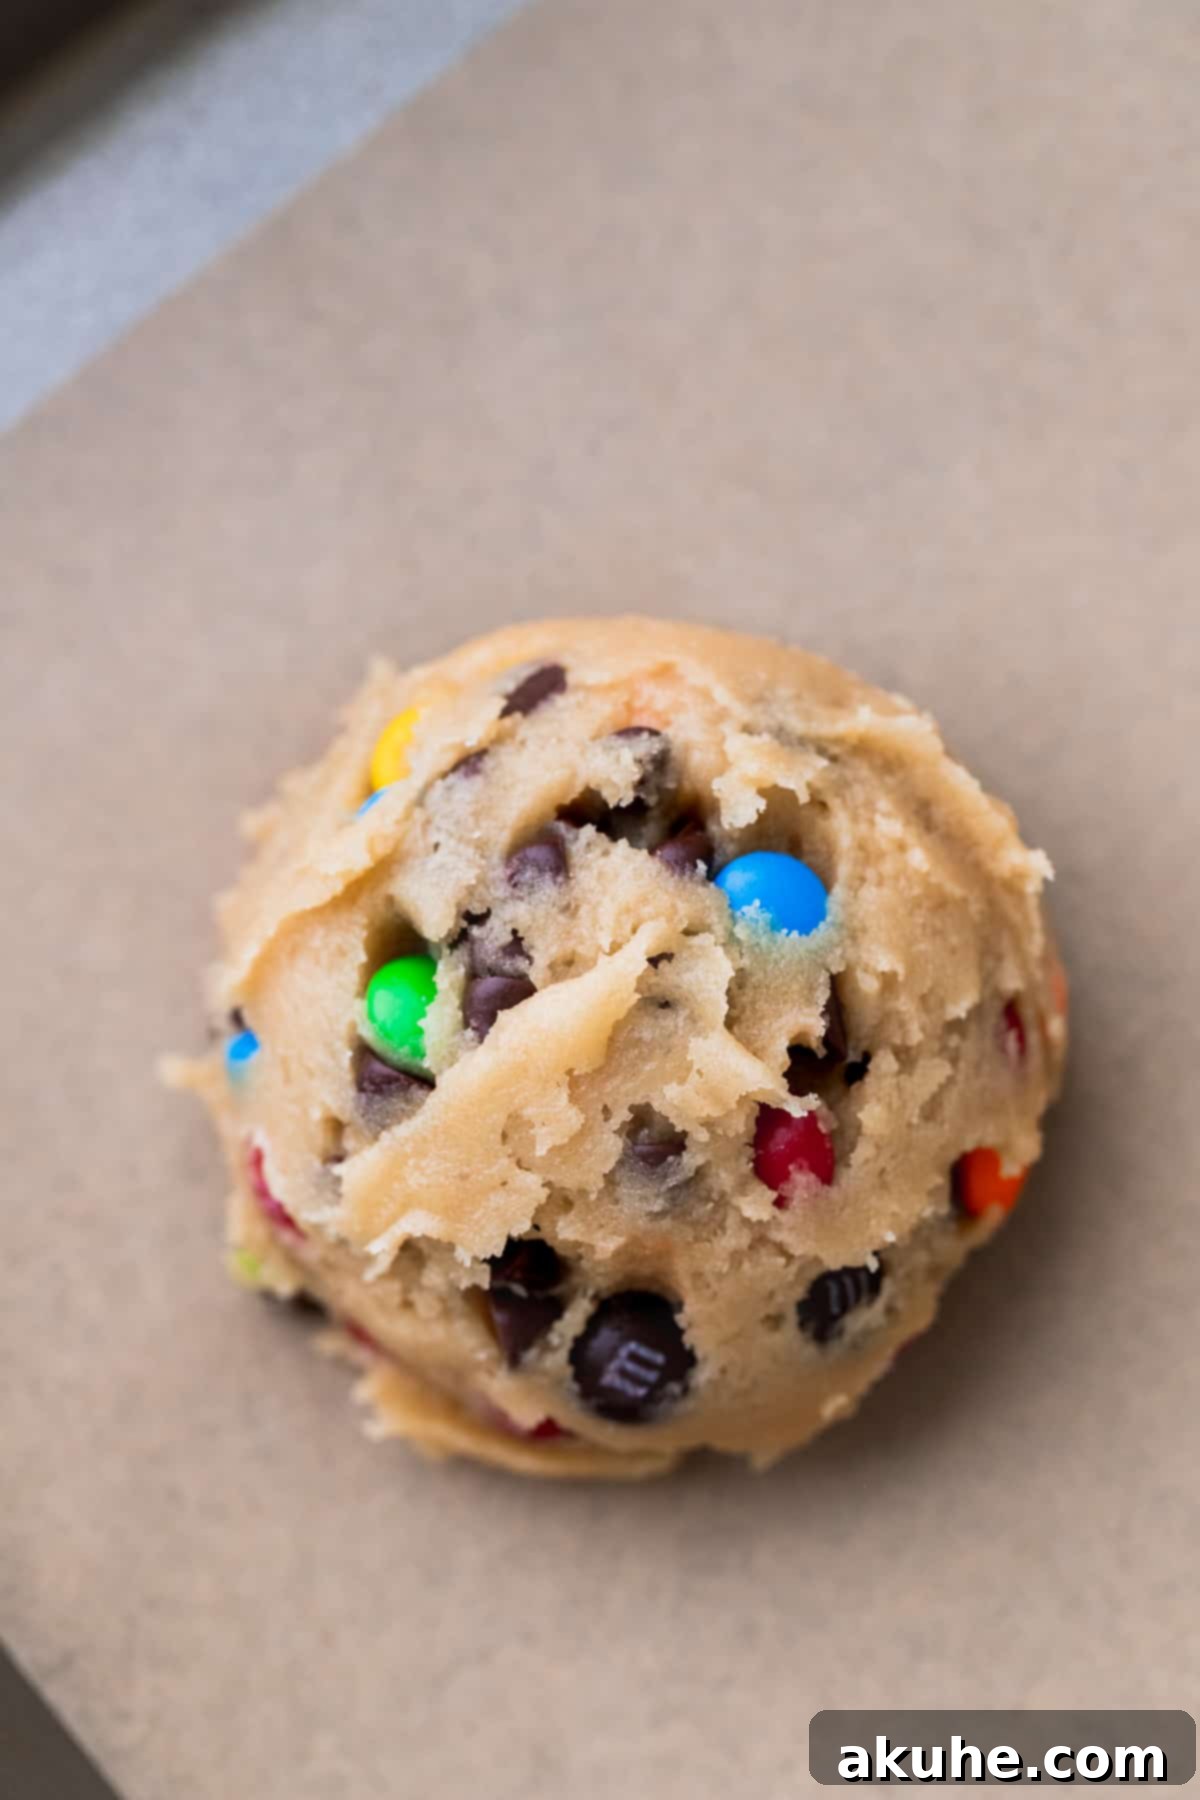
STEP 6: Chill the Cookie Dough. This step is non-negotiable for thick, chewy cookies. Place the first cookie sheet (the one that will go into the oven first) in the freezer for at least 10 minutes while your oven preheats. The cookie dough balls absolutely must be cold when they enter the oven to prevent excessive spreading and to encourage that desired thick texture. The remaining scooped cookie dough balls can be stored in the refrigerator while you bake the first batch.
STEP 7: Bake the Cookies. Preheat your oven to 350°F (175°C). Bake one chilled cookie sheet at a time for 13-15 minutes. The edges should appear golden brown, and the centers should still look slightly soft. Do not overbake if you want truly chewy cookies.
PRO TIP for Perfect Round Cookies: Around the 12-minute mark of baking, carefully remove the cookies from the oven. While they are still warm and pliable, use a large round cookie cutter (larger than your cookies) and gently scoot the edges of each cookie inward to create a perfectly round shape. Alternatively, you can use the back of a fork to gently press and reshape the edges. This simple trick helps achieve beautiful, uniform cookies every time.
STEP 8: Cool the Cookies. Once baked to perfection, allow the cookies to remain on the hot baking pan for 5 minutes. This continued residual heat helps to set the cookies without over-baking them. After 5 minutes, carefully transfer the warm cookies to a wire rack or cooling rack to cool completely. Cooling on a rack ensures air circulation, preventing the bottoms from becoming soggy.
Expert Baking Tips for Irresistible Mini M&M Cookies
Achieving bakery-quality cookies at home is entirely possible with a few expert tips. These insights will help you troubleshoot common baking issues and ensure your Mini M&M Cookies turn out perfectly every time.
- Precision in Flour Measurement: One of the most common baking errors is incorrect flour measurement. Always use the “spoon and level” method: gently spoon flour into your measuring cup until it overflows, then level off the excess with the back of a knife. Never scoop the measuring cup directly into the flour bag, as this compacts the flour, adding too much to your recipe. Excess flour can lead to dry, crumbly cookies that don’t spread properly, resulting in a dense texture.
- Preventing Cookie Spread: If your cookies are spreading more than desired, there are a few factors to check. Firstly, always use parchment paper on your cookie sheets; it provides a non-stick surface and helps regulate heat. Secondly, ensure your cookie dough balls are thoroughly chilled before they go into the oven – this is crucial for maintaining their shape and thickness. Thirdly, double-check that your melted butter has truly cooled to room temperature, not just slightly warm, as warm butter contributes significantly to spreading. Lastly, an oven thermometer can confirm your oven temperature is accurate; an oven running too low can also cause excessive spreading.
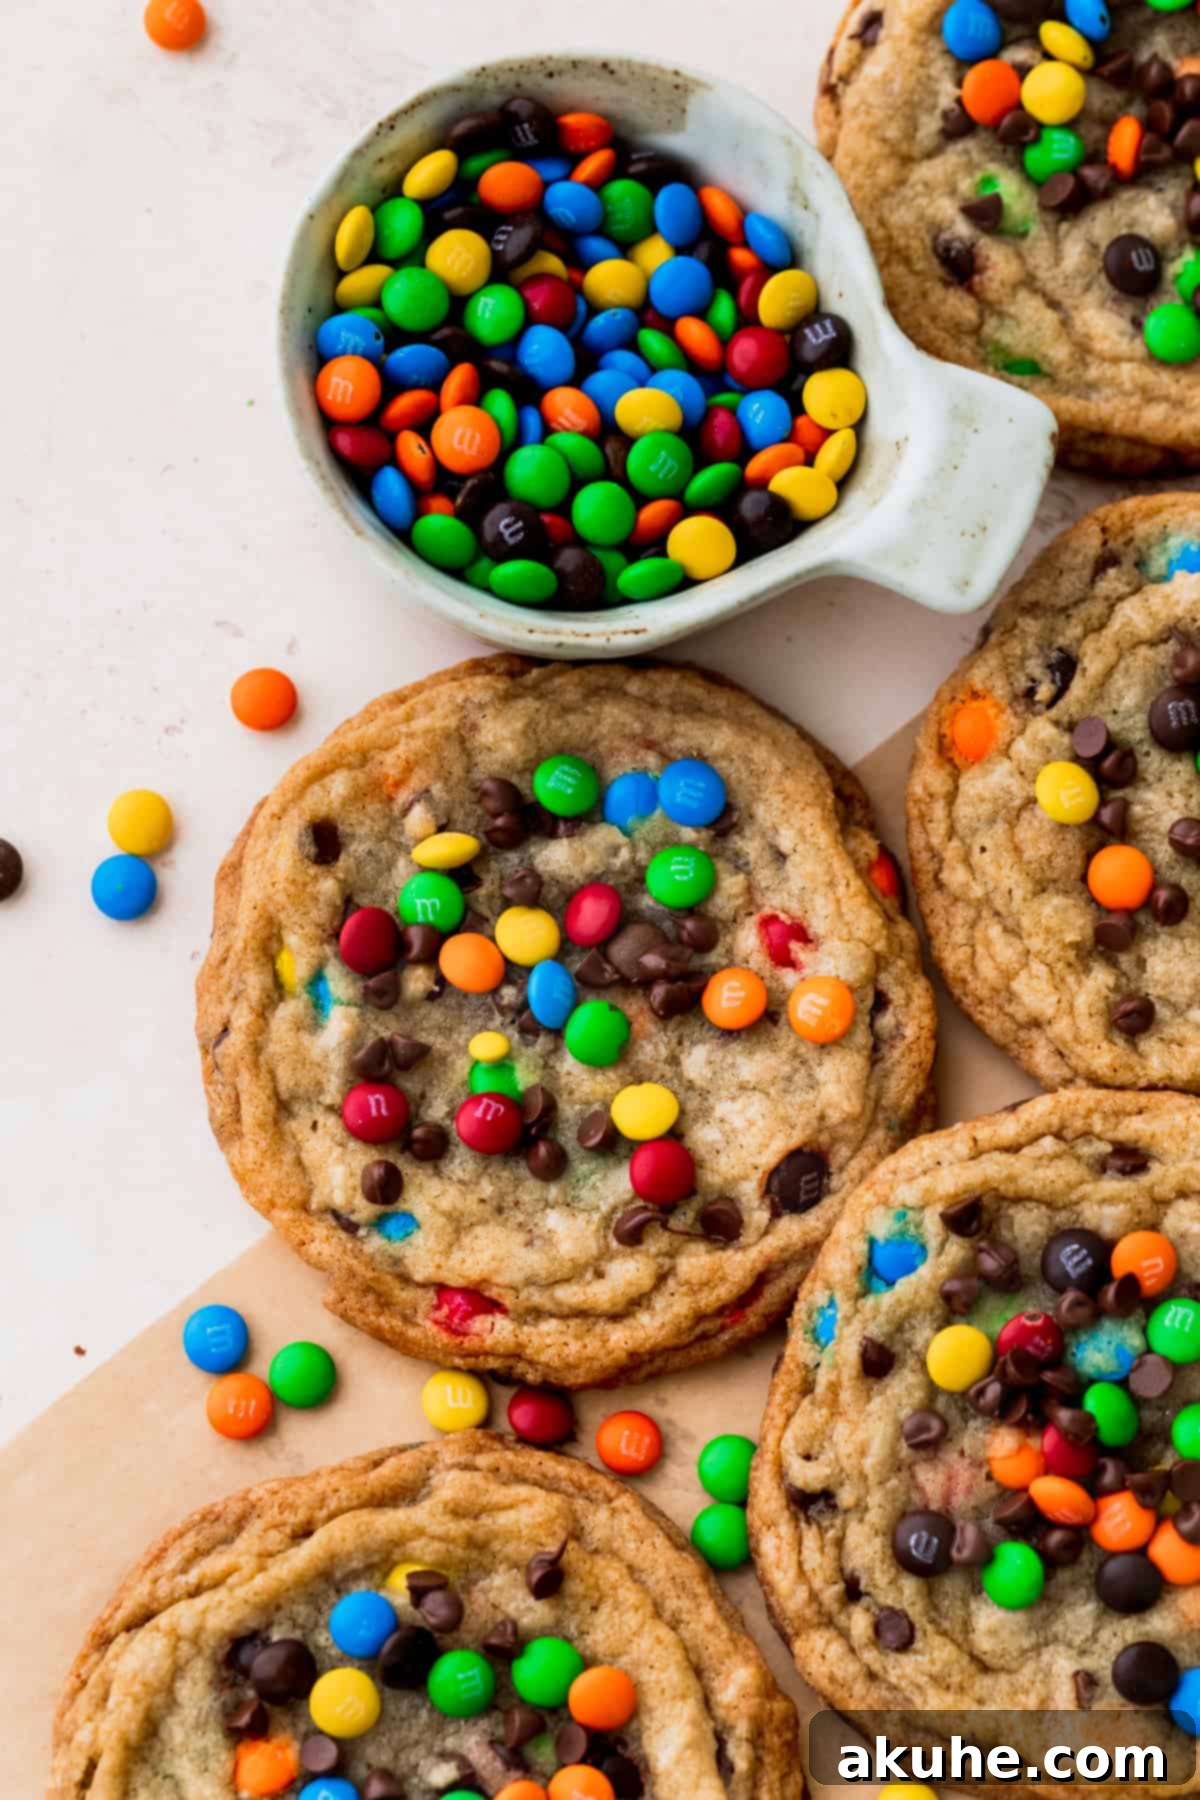
- The Art of Topping Warm Cookies: For that beautiful, professional-looking finish, don’t forget to top your cookies! Immediately after removing them from the oven, while they are still warm and soft, gently press extra mini M&M’s and mini chocolate chips onto the top of each cookie. This not only enhances their visual appeal, showcasing those vibrant colors and tempting chocolate, but also adds an extra layer of texture and flavor, making each cookie even more enticing.
- Do Not Overmix the Dough: Once you add the dry ingredients to the wet, mix only until no streaks of flour remain. Overmixing develops the gluten in the flour, which can lead to tough, dense cookies instead of the desired chewy texture. A light hand with a rubber spatula is best for folding.
- Room Temperature Ingredients for Uniformity: Beyond just eggs, ensure other dairy ingredients like butter (even after melting and cooling) are at room temperature. This allows all ingredients to emulsify better, creating a smoother, more uniform dough that bakes consistently.
Frequently Asked Questions (FAQ) About Mini M&M Cookies
Here are answers to some common questions about making these delightful Mini M&M Cookies.
Yes, absolutely! While we particularly love the M&M minis because they allow for a greater distribution of color and chocolate in every bite, regular-sized M&M’s will work just fine. Keep in mind that you might get fewer M&M’s per cookie, but the flavor will still be fantastic. If you have regular M&M’s on hand, go ahead and use them; otherwise, pick up some minis next time for that signature look and texture!
Yes, you can certainly adjust the size! If you prefer smaller cookies, use a small cookie scoop (about 1.5 ounces) to portion the dough. You should be able to get approximately 12 smaller cookies per cookie sheet. When baking smaller cookies, adjust your baking time accordingly; they will typically need less time in the oven, usually between 8-11 minutes, or until the edges are golden brown and the centers are just set.
The beauty of this recipe is that a mixer is entirely unnecessary! The use of melted butter means that all the ingredients can be easily combined with just a whisk and a rubber spatula. This makes the cleanup process much simpler and the recipe more accessible. However, if you prefer to use a hand mixer or a stand mixer, it won’t negatively impact the cookies. Just be sure not to overmix the dough once the flour is added.
Feel free to get creative! While Mini M&M’s and mini chocolate chips are the stars, you can certainly experiment with other additions. Consider adding chopped nuts like pecans or walnuts for extra crunch, or white chocolate chips for a different flavor profile. Just be mindful not to add too many additional mix-ins, as this can alter the dough’s consistency and baking time.
If your cookies are too thick and not spreading, it’s often due to too much flour (from improper measurement) or dough that is too cold. Ensure you’re using the spoon and level method for flour. If the issue persists, your oven might be too hot, causing the cookies to set before they can spread. Try reducing the oven temperature slightly or ensure your butter was indeed at room temperature after melting.
Storing and Freezing Your Delicious Mini M&M Cookies
Once you’ve baked a batch of these irresistible Mini M&M Cookies, you’ll want to ensure they stay fresh and delicious for as long as possible. Proper storage is key to preserving their soft, chewy texture and vibrant flavors.
Store your baked Mini M&M cookies in an airtight container at room temperature. This will keep them wonderfully fresh and chewy for up to 5 days. For optimal freshness, you can also place a slice of bread in the container with the cookies; the bread will absorb moisture, helping the cookies retain their softness.
Freezing Baked Cookies
These chewy M&M cookies freeze exceptionally well, making them perfect for meal prep or for enjoying a sweet treat whenever a craving strikes. To freeze baked cookies, allow them to cool completely on a wire rack. Once cooled, place them in an airtight freezer-safe container or a heavy-duty freezer bag, ensuring as much air is removed as possible to prevent freezer burn. They can be frozen for up to 30 days. When you’re ready to enjoy them, simply thaw the cookies at room temperature for about 1 hour before eating. You can also warm them slightly in the microwave for a few seconds for that fresh-baked feel.
Freezing Cookie Dough Balls
Freezing the cookie dough is an excellent way to have fresh, warm cookies at a moment’s notice. After scooping your cookie dough balls (as described in STEP 5), arrange them in a single layer on a parchment-lined baking sheet. Place the baking sheet in the freezer for 1-2 hours, or until the dough balls are firm. Once frozen solid, transfer the individual cookie dough balls to an airtight freezer-safe container or a heavy-duty freezer bag. Label with the date. The frozen cookie dough balls can be stored in the freezer for up to 30 days. To bake from frozen, simply thaw the dough balls at room temperature for about 1 hour before baking according to the recipe instructions, adding an extra minute or two to the bake time if needed.

Other Irresistible Cookie Recipes to Try
If you’ve enjoyed these Mini M&M Cookies, you’ll love exploring more cookie creations! Don’t miss out on expanding your baking repertoire with these other fantastic recipes from our collection.
If you absolutely loved this recipe, please make sure to leave a STAR REVIEW below! We adore seeing your creations, so don’t forget to tag us on Instagram @stephaniesweettreats. For endless baking inspiration and more delightful ideas, make sure to follow us on Pinterest. Happy baking, and thank you for being a part of our sweet community!

Mini M&M Cookies
Print Recipe
Pin Recipe
Leave a Review
20 mins
14 mins
10 mins
44 mins
18 Large cookies
Ingredients
- 2 3/4 cups All-purpose flour
- 1/2 tsp Baking soda
- 1/2 tsp Baking powder
- 1 tsp Salt
- 1 cup Unsalted butter, melted and cooled.
- 1 1/4 cup Brown sugar, packed light or dark
- 3/4 cup White granulated sugar
- 1 tsp Pure vanilla extract
- 2 Large eggs, room temperature
- 1 1/4 cup Mini M&M’s, plus more for topping the cookies
- 1/2 cup Mini chocolate chips, plus more for topping the cookies
Instructions
- First, melt the butter in the microwave until completely melted. Pour the hot butter into a large bowl and allow it to sit for 15-20 minutes until the butter reaches room temperature.
- In a separate bowl, sift together the all-purpose flour, baking soda, baking powder, and salt. Set this dry mixture aside.
- Using the bowl with the cooled butter, add in the brown sugar and white granulated sugar. Use a whisk or rubber spatula to mix until well combined. Then, add the pure vanilla extract and large eggs, mixing until fully incorporated.
- Pour the dry flour mixture into the wet ingredients. Gently fold the batter with a rubber spatula until it is just combined and no streaks of flour remain. Add the mini M&M’s and mini chocolate chips, folding them into the dough until evenly distributed.
- Line two cookie sheets with parchment paper. Use a large cookie scoop (about 3 oz) to scoop the dough, placing 6 cookie dough balls on each cookie sheet, ensuring adequate space between them.
- Place the first cookie sheet that will be baked into the freezer for at least 10 minutes, or until the dough balls are cold, while your oven preheats. Store the remaining cookie dough balls in the fridge.
- Preheat the oven to 350°F (175°C). Bake one chilled cookie sheet at a time for 13-15 minutes, or until the edges are golden brown and the centers are slightly soft.
- Immediately after removing from the oven, top the hot cookies with extra mini M&M’s and mini chocolate chips. Allow the cookies to sit on the hot pan for 5 minutes before carefully transferring them to a cooling rack to cool completely.
Notes
High altitude baking: Add an extra 2 tablespoons of flour to the recipe if baking at high altitude.
Room Temperature Ingredients: For best results, pull out dairy ingredients (like eggs) at least 2 hours before baking.
Troubleshooting Spreading: If your cookies spread too much, verify your melted butter was completely cooled to room temperature, you used parchment paper, and your cookie dough balls were cold before baking.
Carbohydrates: 41g,
Protein: 2g,
Fat: 12g,
Saturated Fat: 7g,
Polyunsaturated Fat: 1g,
Monounsaturated Fat: 3g,
Trans Fat: 1g,
Cholesterol: 28mg,
Sodium: 181mg,
Potassium: 44mg,
Fiber: 1g,
Sugar: 26g,
Vitamin A: 326IU,
Vitamin C: 1mg,
Calcium: 31mg,
Iron: 1mg
Did you make this recipe?
Please leave a star rating and review below!
