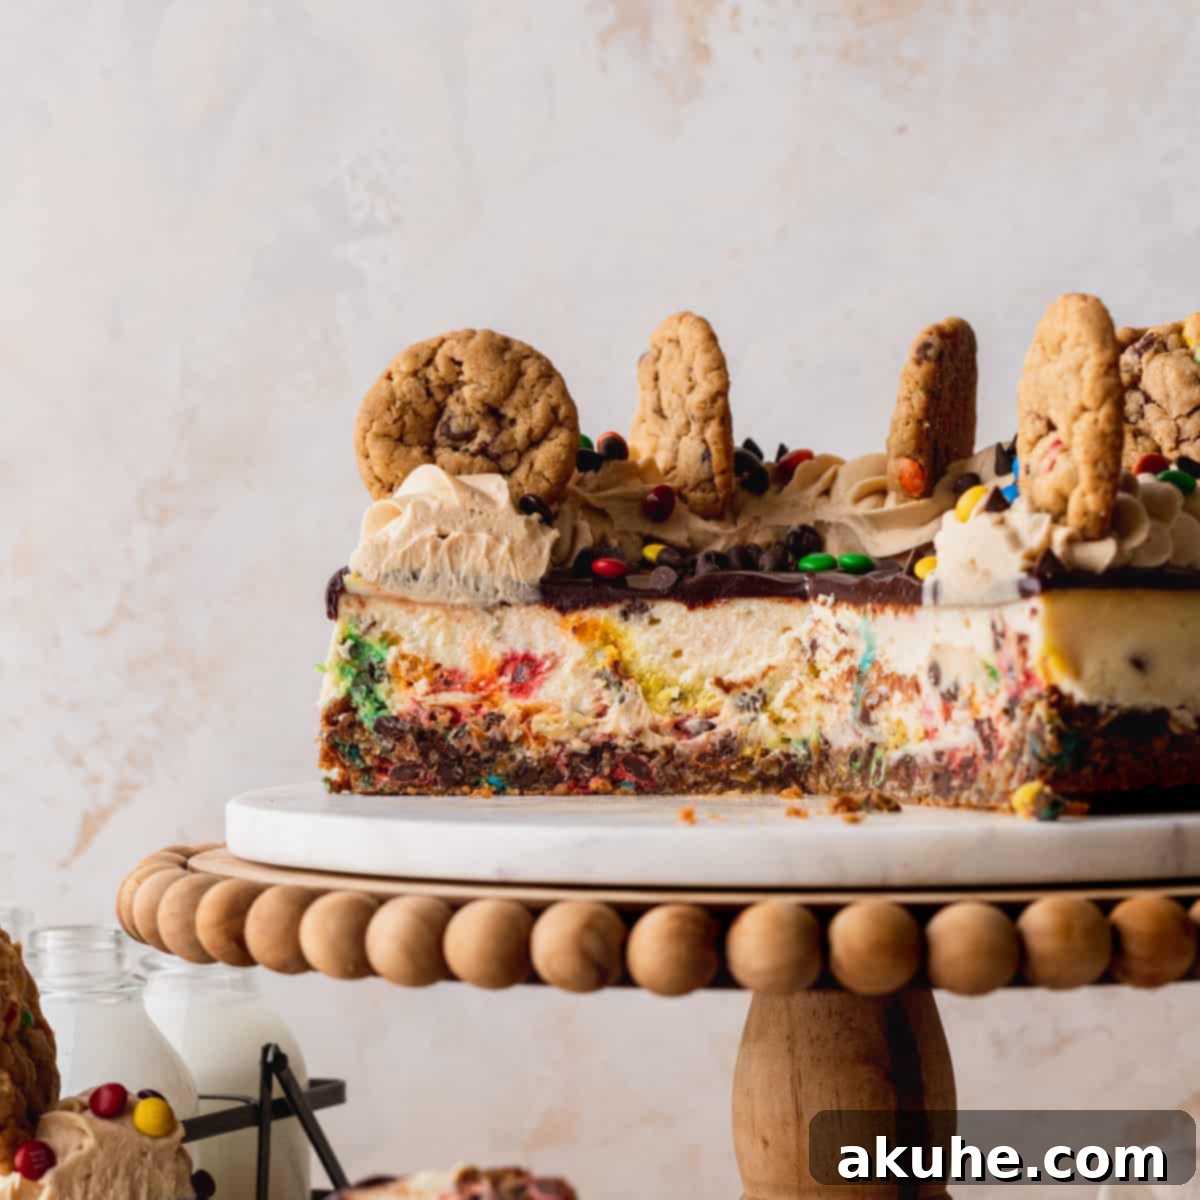
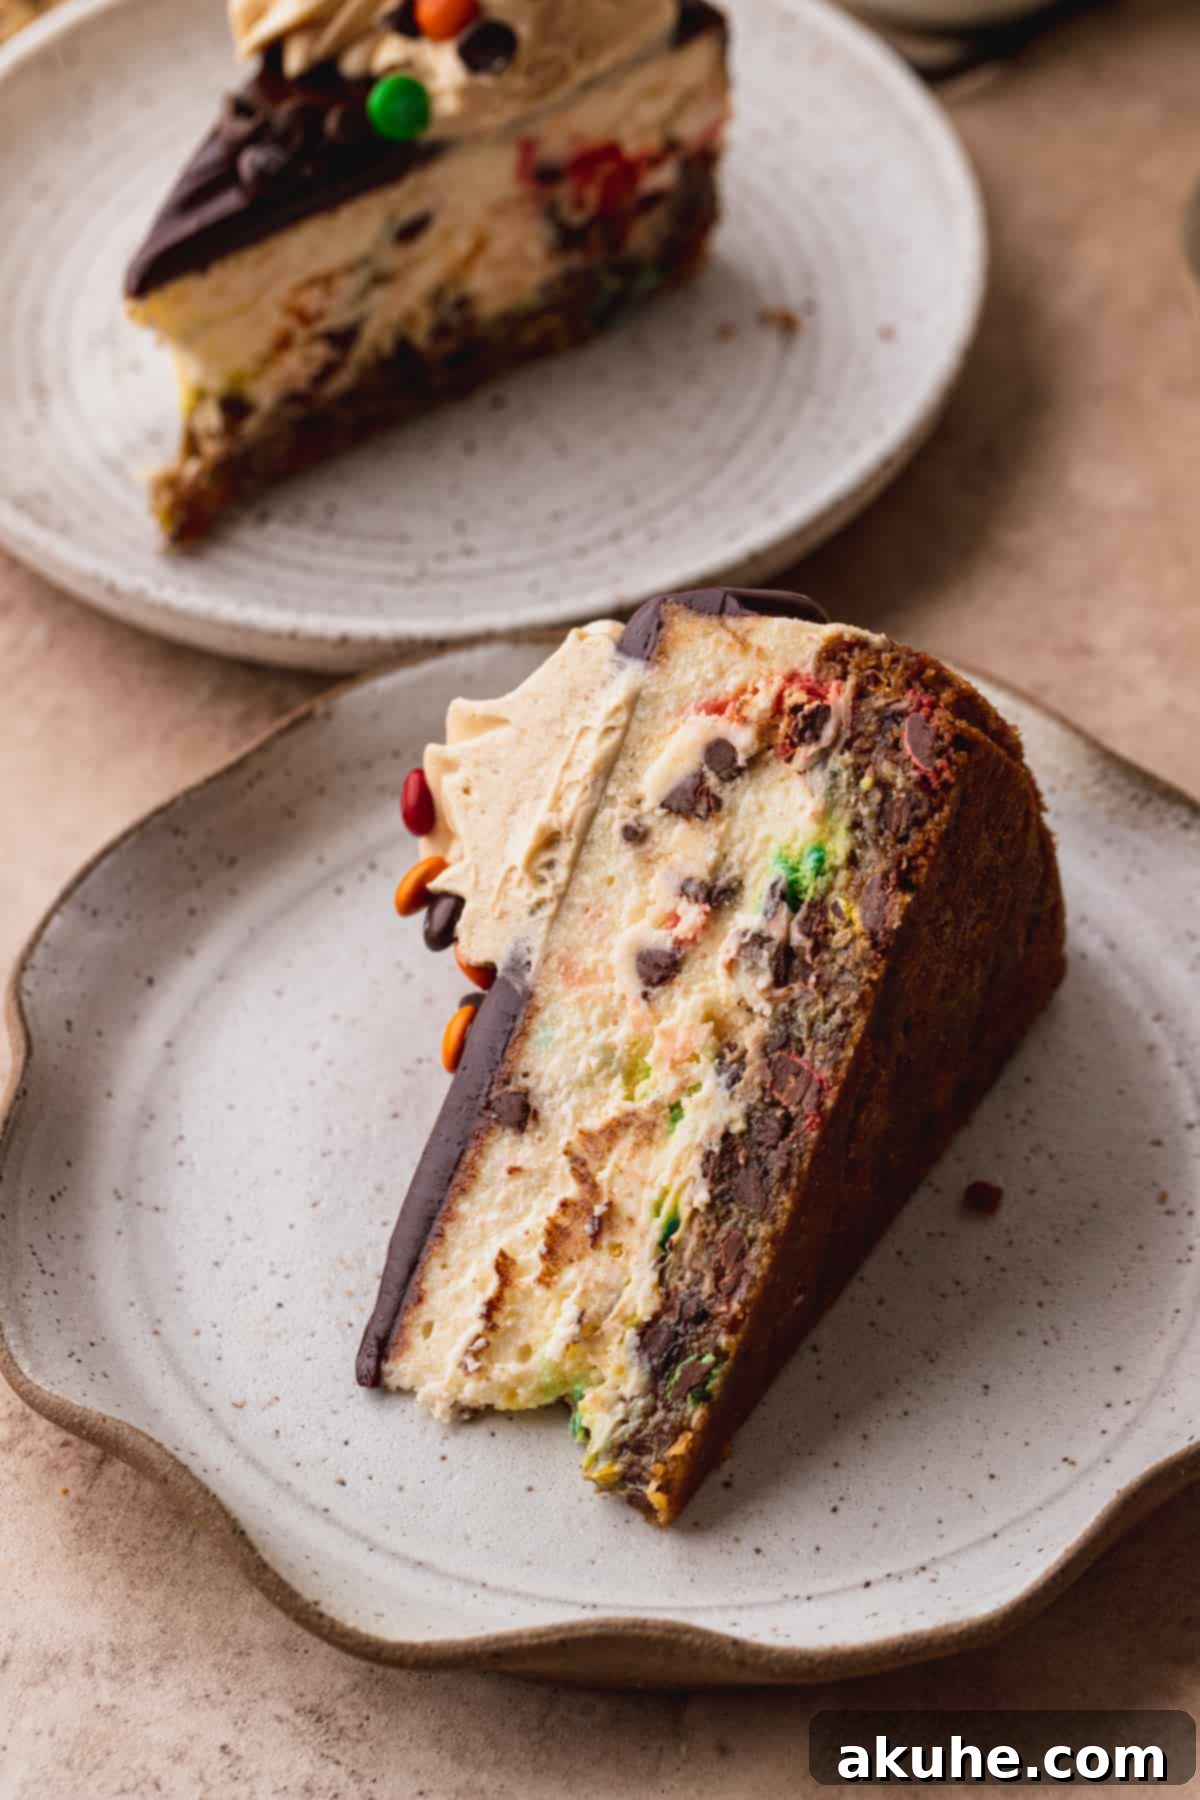
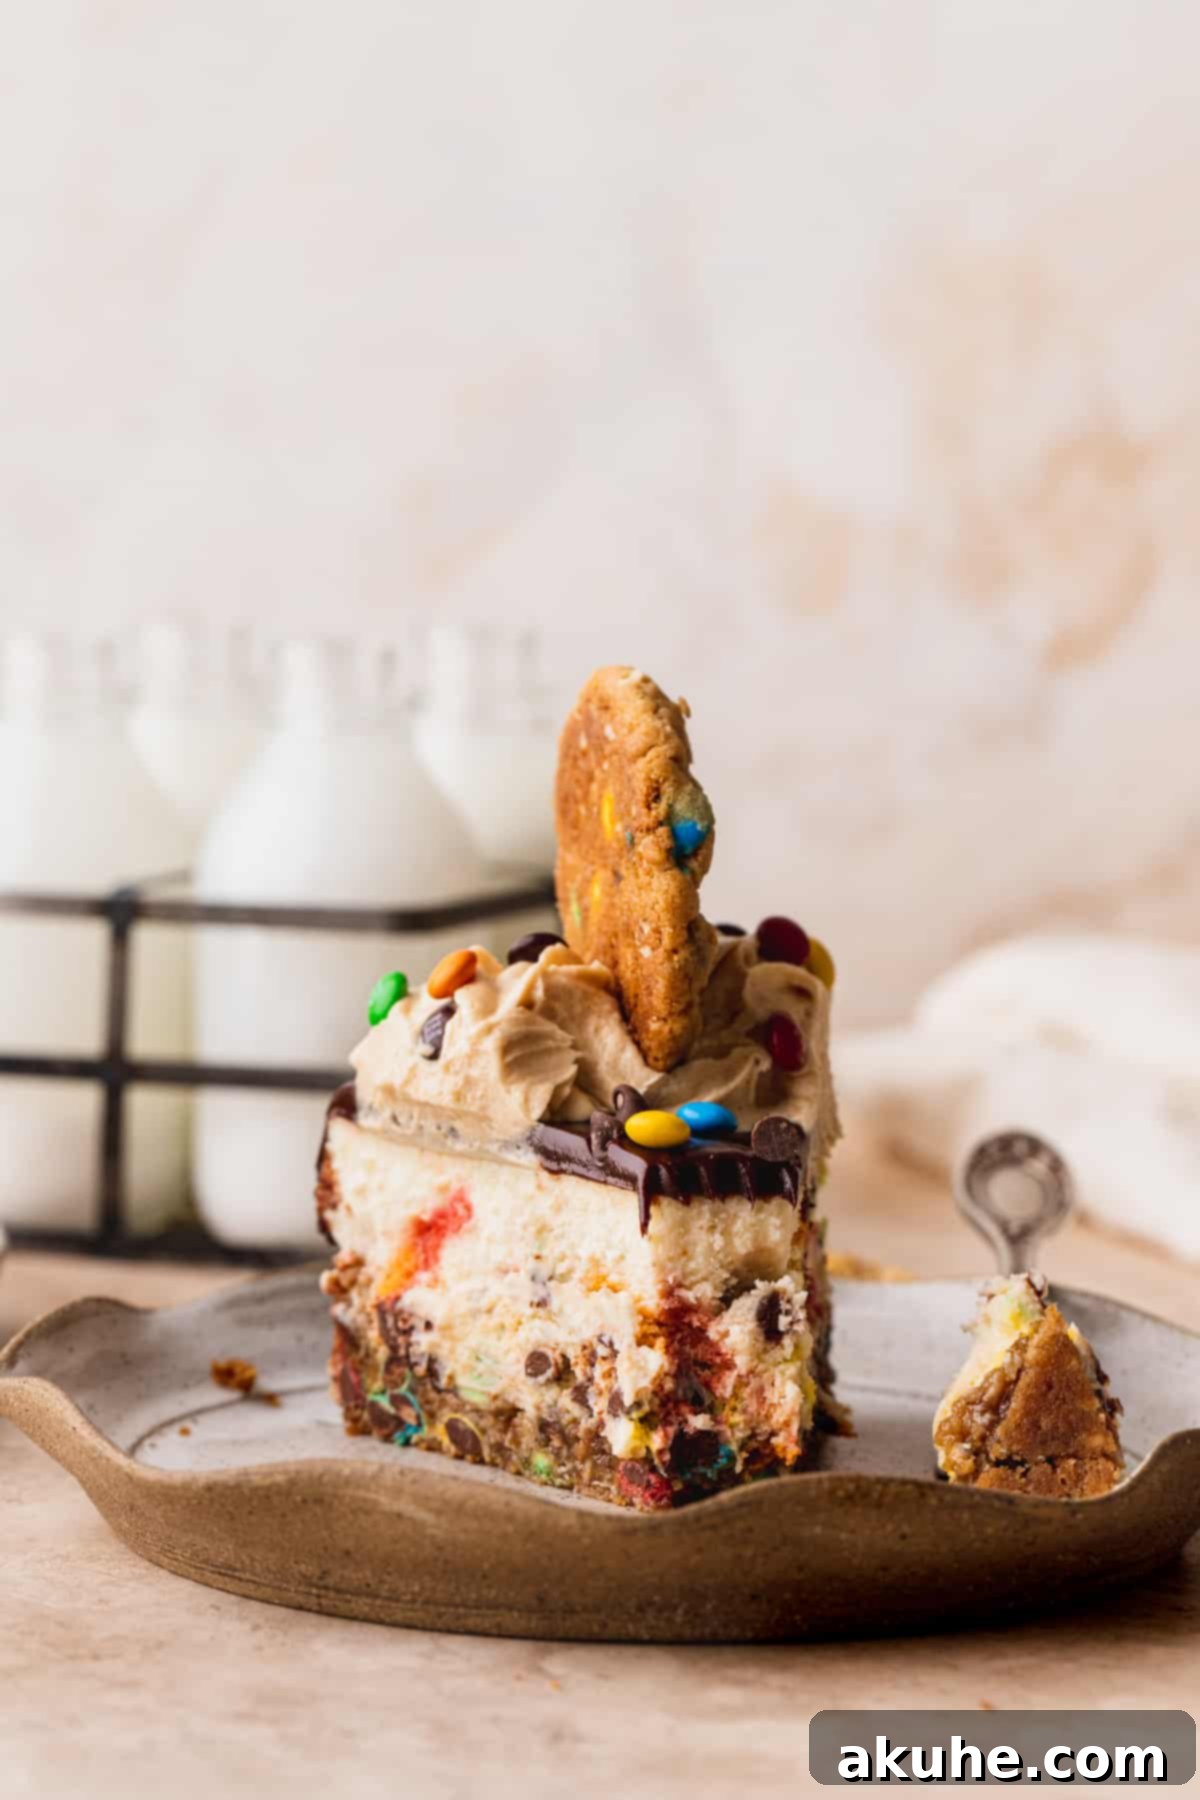
Prepare to embark on a truly extraordinary dessert journey with this incredible **Monster Cookie Cheesecake**. This recipe masterfully marries the beloved, vibrant flavors of classic monster cookies with the smooth, luxurious texture of a creamy baked cheesecake. Imagine a robust, peanut butter-infused monster cookie crust, generously studded with quick oats, mini M&M’s, and mini chocolate chips, forming the perfect foundation. Crowned with a rich, velvety cheesecake filling that’s brimming with even more mini M&M’s and chocolate chips, this dessert is then elegantly finished with a luscious chocolate ganache and a swirl of creamy peanut butter frosting. It’s a symphony of textures and tastes designed to delight every palate and make any occasion feel like a celebration.
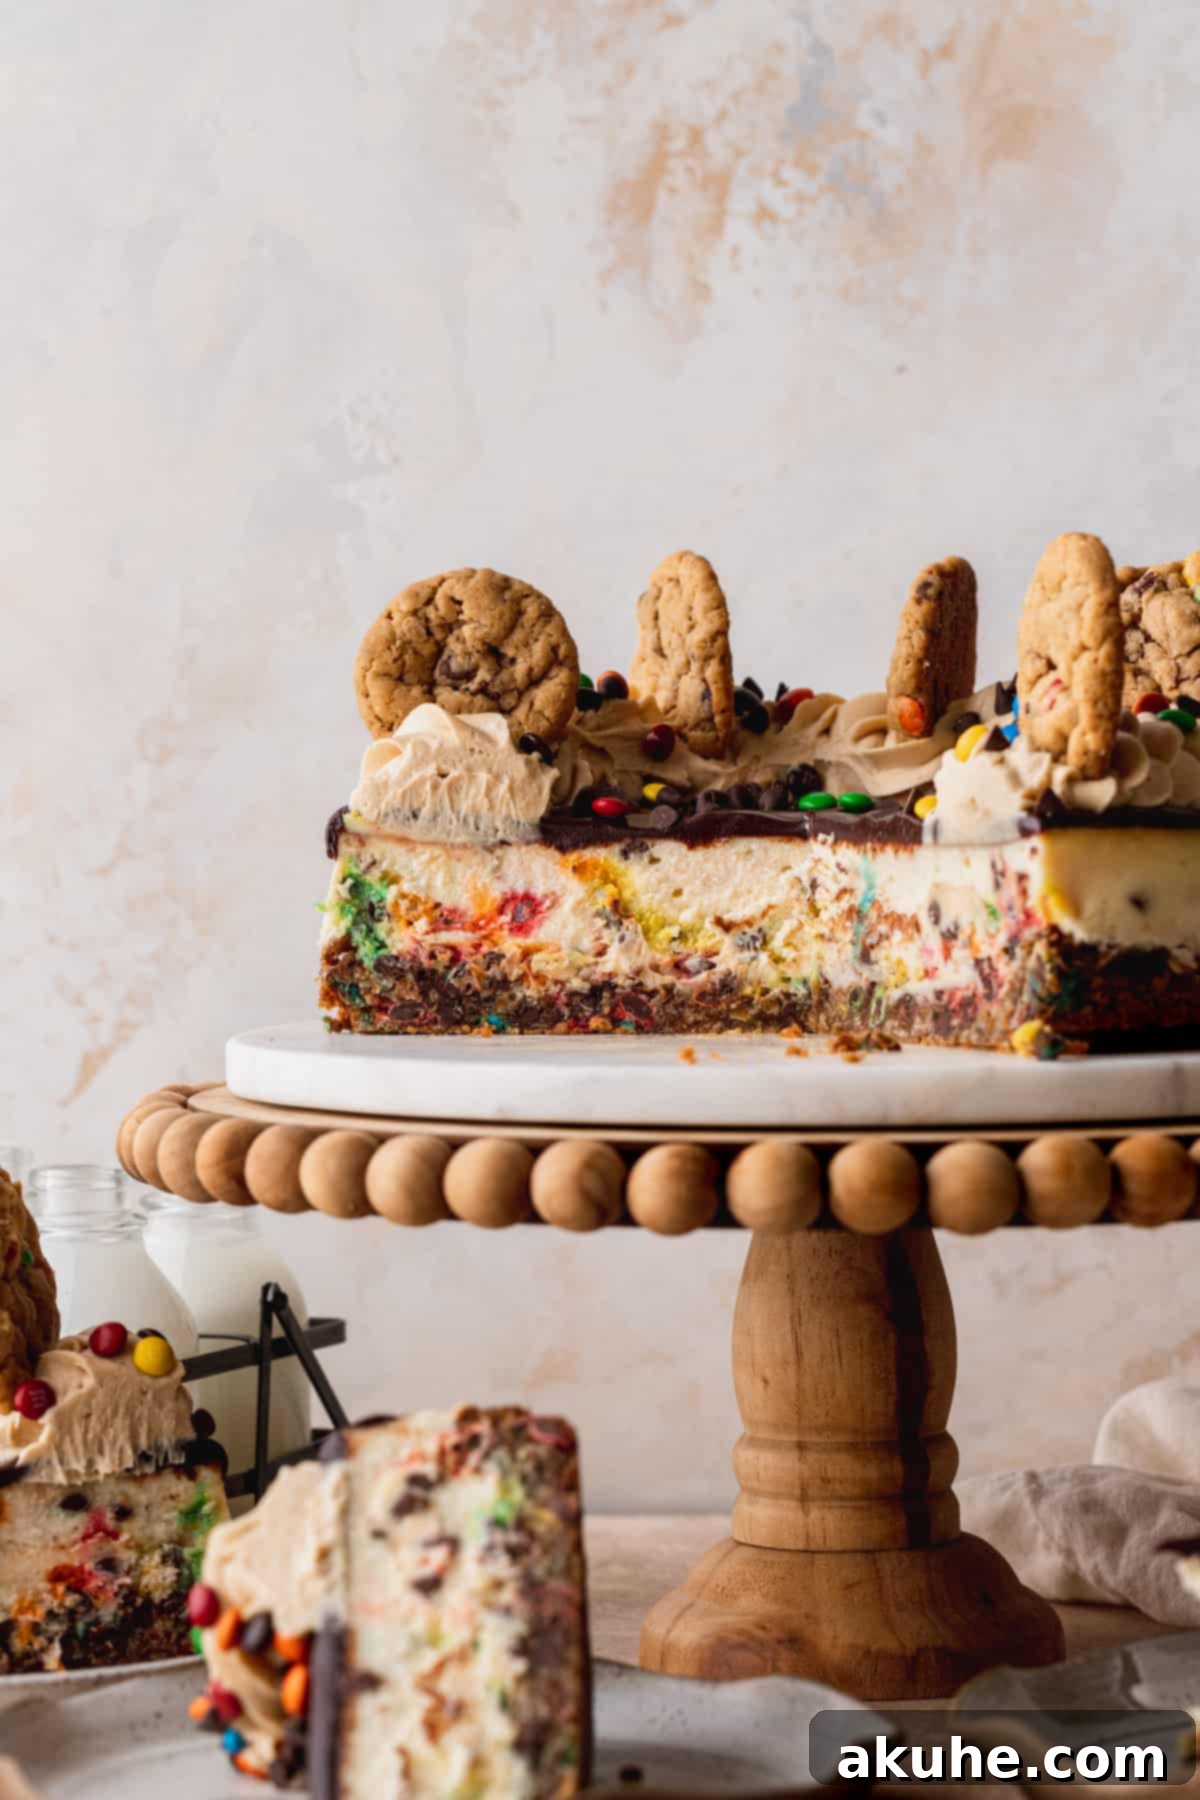
For those who adore the nostalgic charm and irresistible blend of flavors found in monster cookies, this cheesecake is nothing short of a dream come true. The base isn’t just any cookie crust; it’s a dynamic, flavor-packed creation, featuring the unmistakable richness of peanut butter, the hearty chewiness of oats, and the playful crunch of mini M&M’s and chocolate chips in every bite. This unique crust provides a textural contrast that elevates the entire cheesecake experience, setting it apart from traditional graham cracker bases. My love for monster cookies has inspired several creations, and this cheesecake proudly stands as one of the most decadent and impressive. If you’re eager to explore more monster cookie delights, don’t miss out on my monster cookie brownies, chewy monster cookies, and innovativebrown butter brookie bars. Each recipe promises a unique take on this cherished cookie, but this cheesecake truly takes the crown for its sheer indulgence.
Why This Monster Cookie Cheesecake Will Be Your New Favorite
This isn’t just another cheesecake recipe; it’s a meticulously crafted dessert designed to bring joy and awe with every bite. Here’s why this Monster Cookie Cheesecake is guaranteed to become a staple in your baking repertoire:
- Effortless Monster Cookie Crust: Say goodbye to lengthy chilling times! This flavorful cookie crust comes together quickly and easily, providing a satisfyingly chewy and peanut-butter-rich base without any fuss. It’s packed with oats, mini M&M’s, and chocolate chips, ensuring a burst of classic monster cookie flavor from the very first layer.
- Irresistibly Creamy M&M Cheesecake: The star of the show, this baked cheesecake filling boasts a luxuriously smooth and creamy texture. It’s generously studded with both mini chocolate chips and vibrant mini M&M’s, adding delightful pops of color and sweetness throughout the rich, tangy cream cheese base.
- Silky Smooth Chocolate Ganache Topping: A decadent layer of glossy chocolate ganache cascades over the baked cheesecake, adding an intense chocolatey depth and a beautiful, professional finish. This elegant topping is simple to prepare but adds immense flavor and visual appeal.
- Dreamy Peanut Butter Frosting Swirls: Capping off this magnificent dessert is a light yet rich peanut butter frosting. Its smooth, creamy consistency complements the ganache and cheesecake perfectly, providing an additional layer of beloved peanut butter flavor. This frosting also offers the ideal structure to hold extra cookie decorations, if desired.
- A Feast for the Eyes and Palate: Beyond its incredible taste, this cheesecake is visually stunning. The layers of cookie crust, colorful M&M-filled cheesecake, dark ganache, and peanut butter frosting create an impressive presentation that’s perfect for celebrations, holidays, or simply treating yourself and loved ones.
Essential Ingredient Insights for Perfection
Achieving cheesecake perfection starts with understanding your ingredients. Here are some detailed notes to ensure your Monster Cookie Cheesecake turns out absolutely flawless:
- Brown Sugar (Light or Dark Packed): I specifically recommend using light brown sugar for its molasses content, which contributes to the crust’s incredible chewiness and deepens its flavor. You can opt for dark brown sugar if you prefer an even richer, more pronounced caramel note. Always pack your brown sugar firmly into the measuring cup to ensure accurate quantities.
- Peanut Butter (Creamy, Not Natural): The choice of peanut butter is crucial for the crust’s texture. Stick with a classic creamy peanut butter, such as Jif or Skippy. Natural peanut butters, while delicious, tend to be too runny and oily due to oil separation, which can throw off the delicate balance of the cookie dough, potentially resulting in a crumbly or greasy crust.
- Quick Oats (or Rolled Oats): Quick oats are ideal for the crust as they blend seamlessly into the dough while still providing that signature monster cookie texture. If you only have regular rolled oats on hand, simply pulse them a few times in a food processor or blender until they are broken down into smaller pieces, mimicking the consistency of quick oats. Avoid instant oats as they can become mushy.
- Mini M&M’s and Mini Chocolate Chips: While I love the charming visual appeal and even distribution of minis in both the crust and the filling, regular-sized M&M’s and chocolate chips can certainly be used. The smaller size helps prevent them from sinking to the bottom of the cheesecake batter and ensures every bite contains a delightful sprinkle of candy and chocolate.
- Full-Fat Cream Cheese (Block Style): This is non-negotiable for a truly rich and creamy cheesecake. Always use full-fat cream cheese in block form, not the spreadable tubs, which contain more water and stabilizers that can compromise the texture and flavor of your cheesecake. Ensure it’s at room temperature for smooth, lump-free mixing.
- Full-Fat Sour Cream: Just like cream cheese, full-fat sour cream contributes essential moisture, tang, and richness to the cheesecake batter. Its acidity also helps to tenderize the proteins, resulting in a silkier, more stable cheesecake. Again, bring it to room temperature before mixing.
- Sifted Powdered Sugar: For the peanut butter frosting, sifting your powdered sugar is a small but vital step. This prevents any unwanted lumps or grittiness in your frosting, ensuring a perfectly smooth and pipeable consistency.
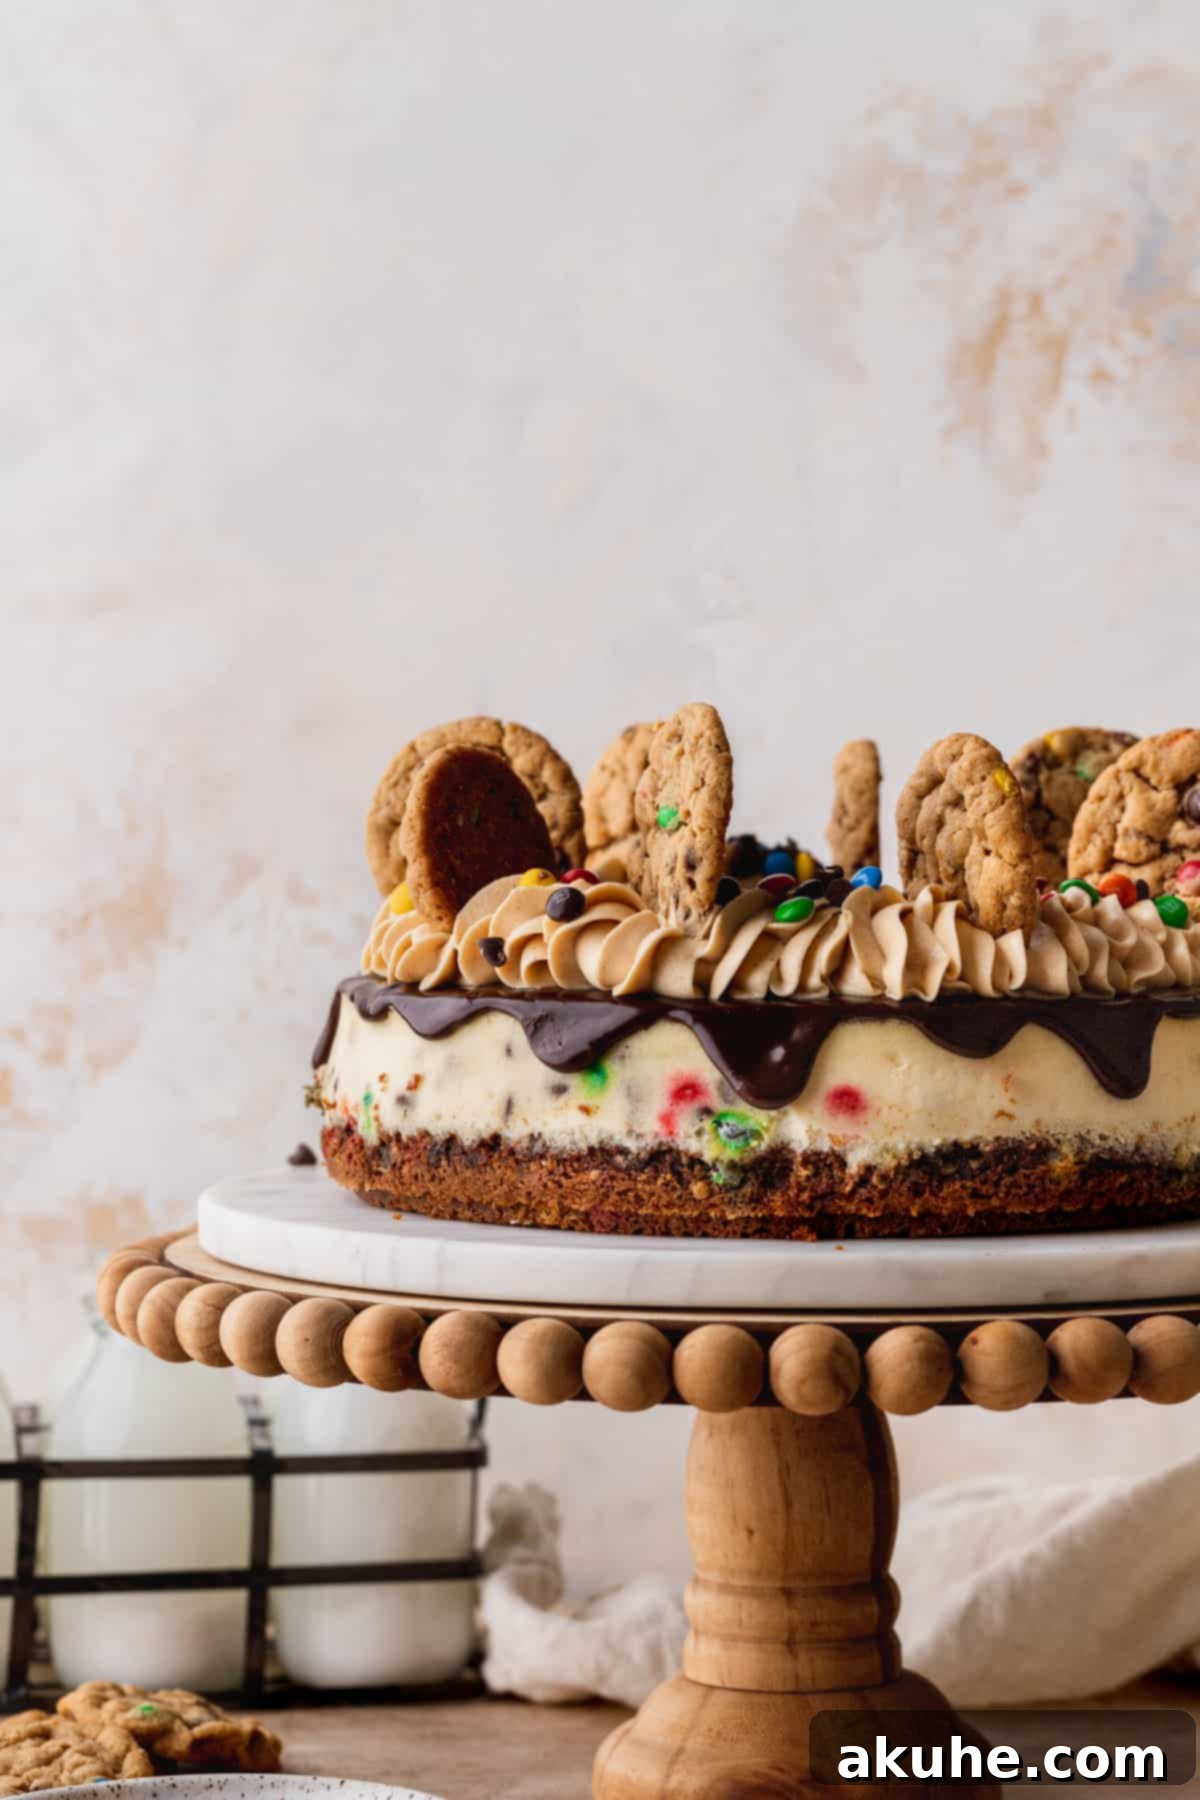
Detailed Step-by-Step Instructions for Your Monster Cookie Cheesecake
Crafting this incredible dessert is a rewarding experience. Follow these detailed instructions carefully to ensure a perfect Monster Cookie Cheesecake from crust to topping.
Part 1: The Irresistible Monster Cookie Crust
STEP 1: Prepare Your Pan and Dry Ingredients. Begin by preheating your oven to 350°F (175°C). Take a 9-inch springform pan and generously spray it with baking spray. To ensure easy release and prevent any sticking, line the bottom of the pan with a parchment paper circle and spray it again. In a medium-sized bowl, sift together the all-purpose flour, baking soda, baking powder, and salt. Sifting helps to aerate the flour and remove any lumps, ensuring a uniform crust. Set this mixture aside.
STEP 2: Cream Wet Ingredients. In a large mixing bowl, using an electric mixer, cream together the softened unsalted butter, light brown sugar, and creamy peanut butter. Beat on high speed for about 2 minutes until the mixture is light, fluffy, and very smooth. This process incorporates air and creates a tender crust. Next, beat in the pure vanilla extract and the room temperature large egg until just combined, ensuring not to overmix.
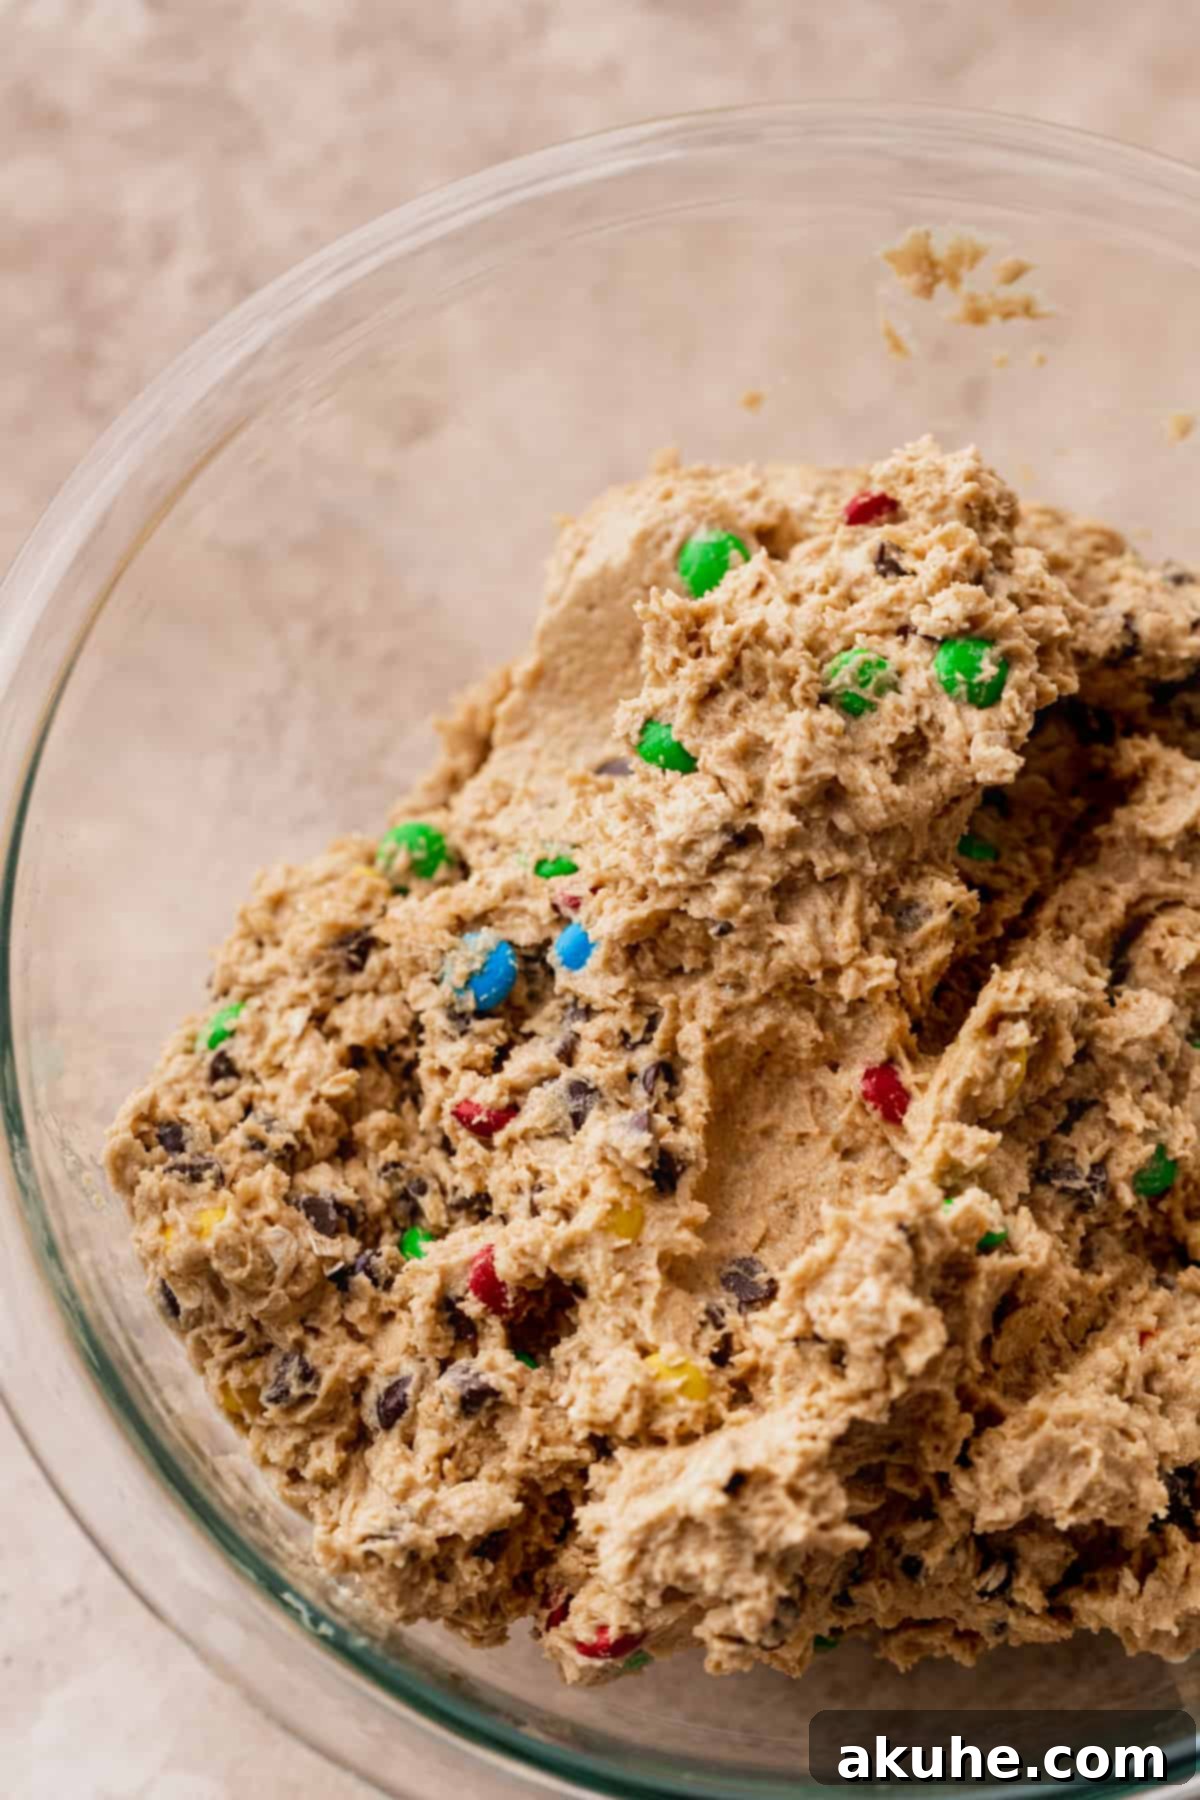
STEP 3: Combine Wet and Dry, Add Mix-ins. Gradually add the sifted dry ingredients to the wet mixture. Mix on low speed until just combined. Be careful not to overmix, as this can develop the gluten in the flour, leading to a tough crust. Finally, gently fold in the quick oats, mini M&M’s, and mini chocolate chips using a rubber spatula. The dough will have a slightly wet and sticky consistency, which is perfectly normal for monster cookies.
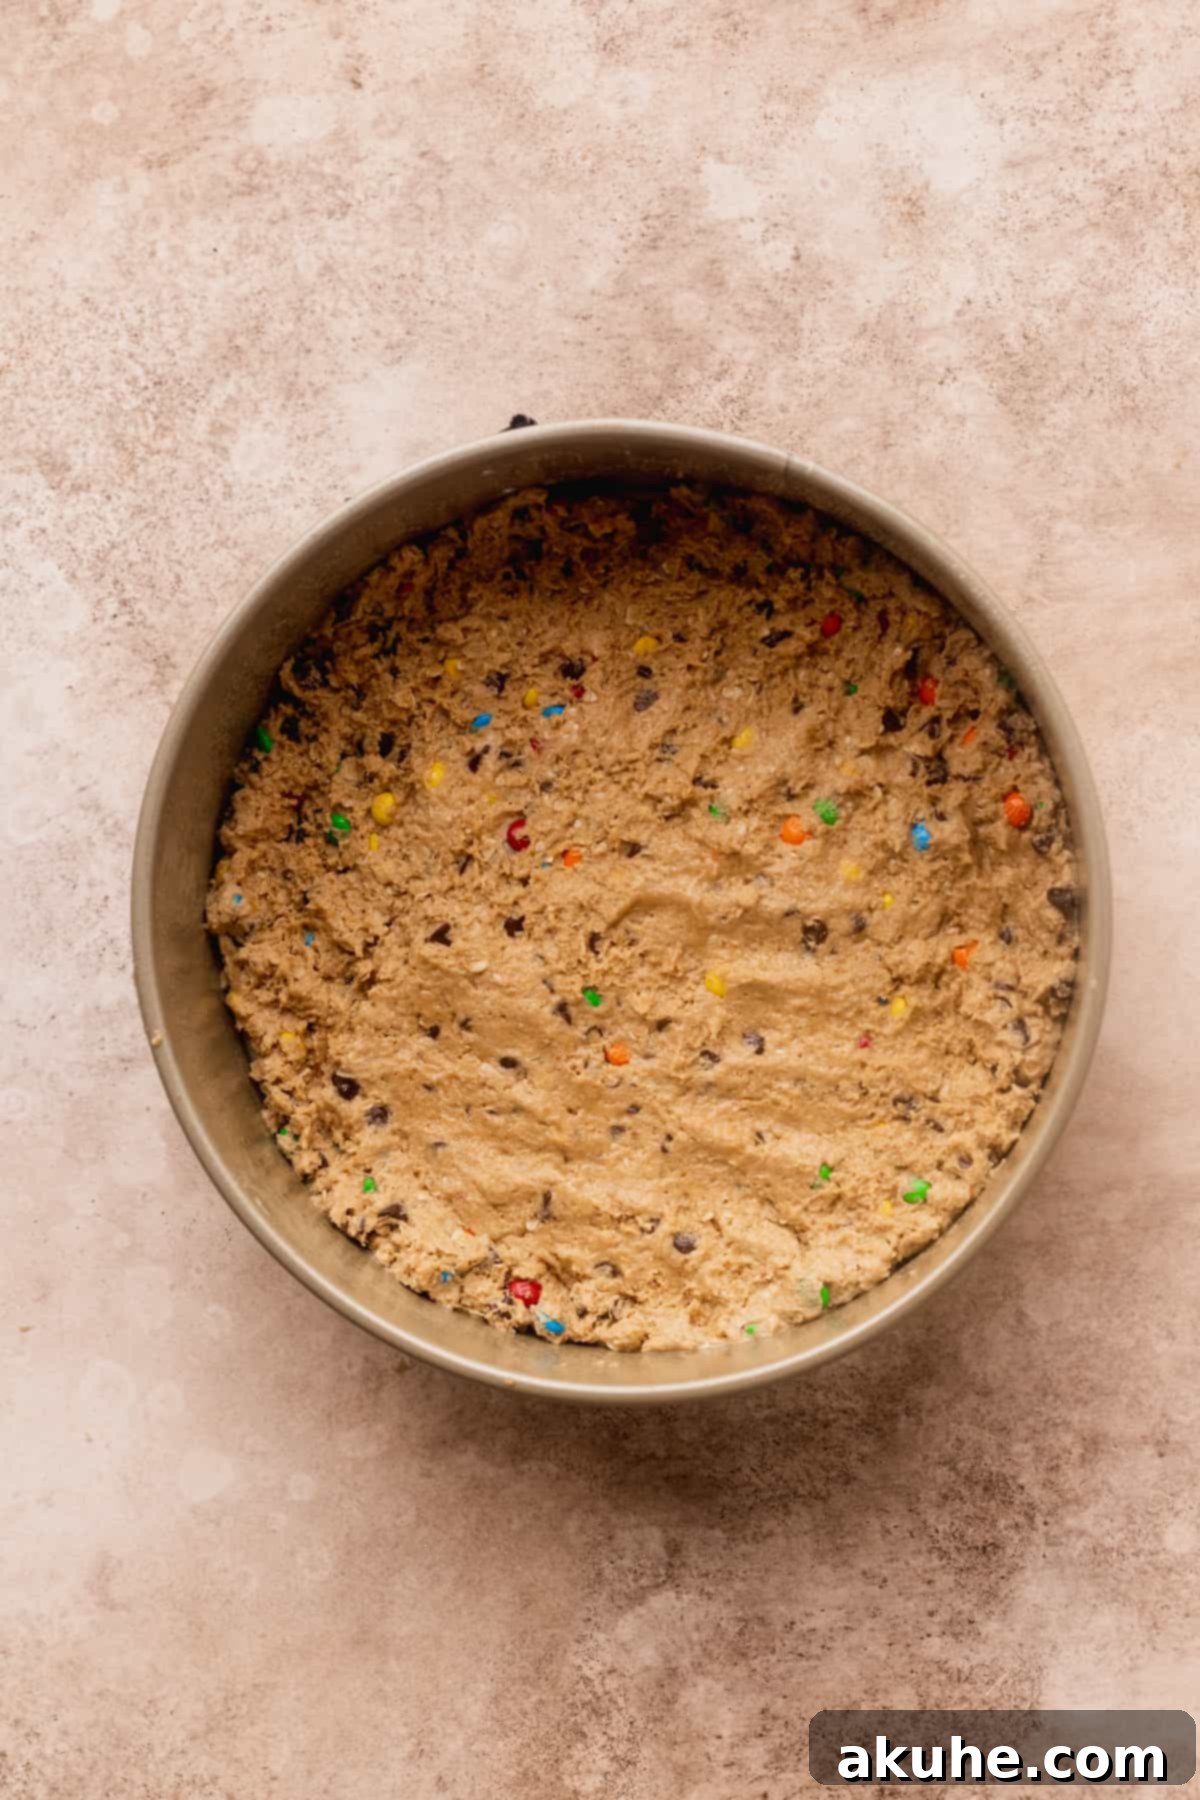
STEP 4: Form and Bake the Crust. Transfer about three-quarters of the prepared cookie dough into the springform pan. Press the dough firmly and evenly onto the bottom of the pan, forming a solid crust. Use the back of a spoon or your fingers to compact it well. Reserve the remaining one-quarter of the dough to bake into small cookies later, which will serve as delightful decorations for your finished cheesecake. Bake the crust for 18-20 minutes, or until the edges are lightly golden brown and the center appears slightly puffy. The crust will firm up as it cools. Allow the baked cookie crust to cool completely while you prepare the cheesecake filling.
Part 2: The Creamy M&M Cheesecake Filling
STEP 5: Prepare for Cheesecake Baking. Reduce your oven temperature to 325°F (160°C). This lower temperature is crucial for baking cheesecake evenly and preventing cracks. Prepare your water bath (bain-marie) at this stage. A water bath provides a moist, even baking environment, which is vital for preventing cracks in the cheesecake. You can use one of two methods:
Method A (Leak-Proof): Place your springform pan (with the cooled crust) inside a slightly larger 10-inch round cake pan. Then, place the cake pan into a large roasting pan. Fill the roasting pan with hot steaming water until it comes about halfway up the sides of the cake pan. This double-pan method provides an excellent barrier against water seeping into your cheesecake.
Method B (Standard): Tightly wrap the bottom and sides of your springform pan with heavy-duty aluminum foil, at least twice, to create a waterproof seal. Place the wrapped springform pan directly into a large roasting pan and fill the roasting pan with hot steaming water, again, about halfway up the sides of the springform pan. While generally effective, this method carries a slightly higher risk of water leakage.
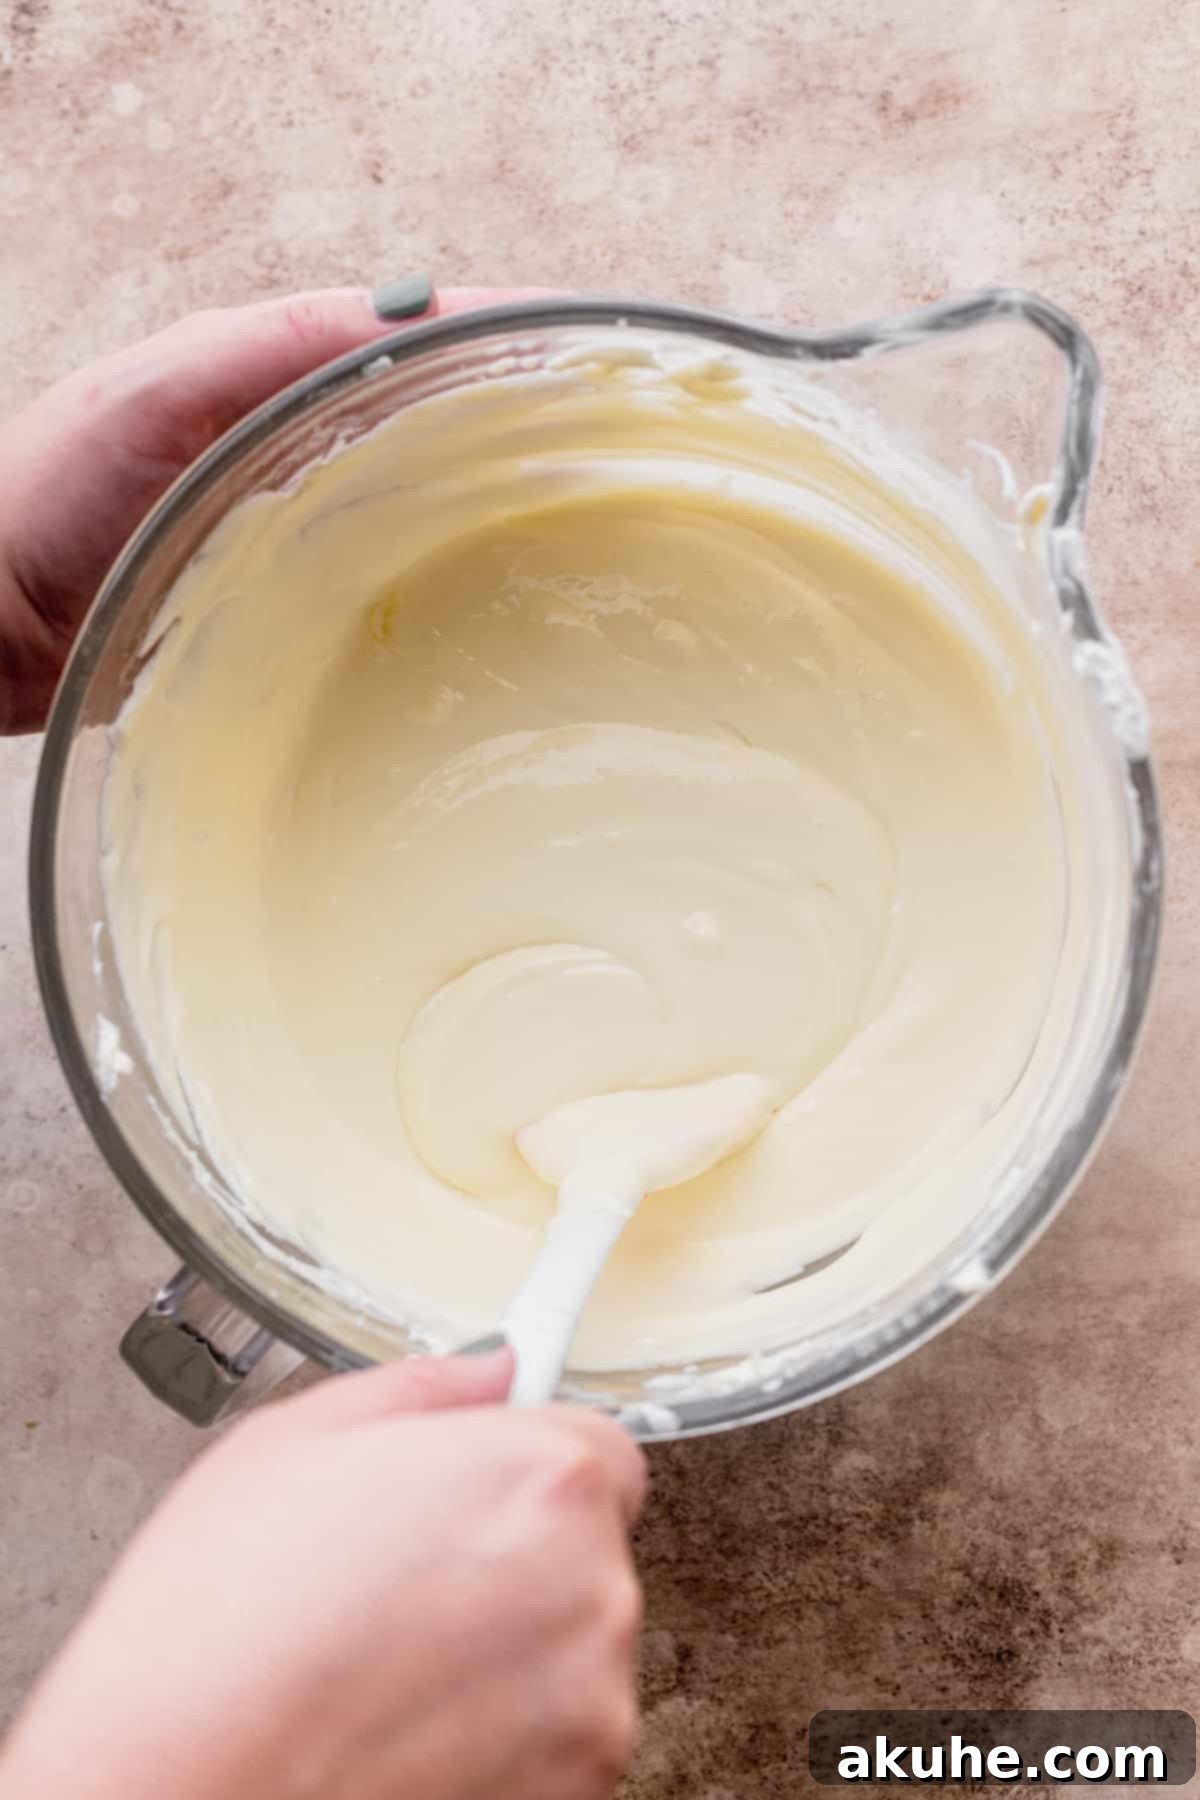
STEP 6: Beat Cream Cheese and Sugar. In a large mixing bowl, beat the room temperature full-fat cream cheese on high speed for 1 minute until it is smooth and lump-free. Stop and scrape down the sides of the bowl thoroughly to ensure everything is incorporated. Add the white granulated sugar and continue to beat on high for another minute until the mixture is light and creamy, with no sugar granules visible. Thorough beating at this stage is key to a smooth cheesecake.
STEP 7: Incorporate Wet Ingredients. Add the room temperature sour cream, heavy cream, and pure vanilla extract to the cream cheese mixture. Beat on high speed until the mixture is perfectly smooth and well combined. Again, scrape down the bowl as needed.
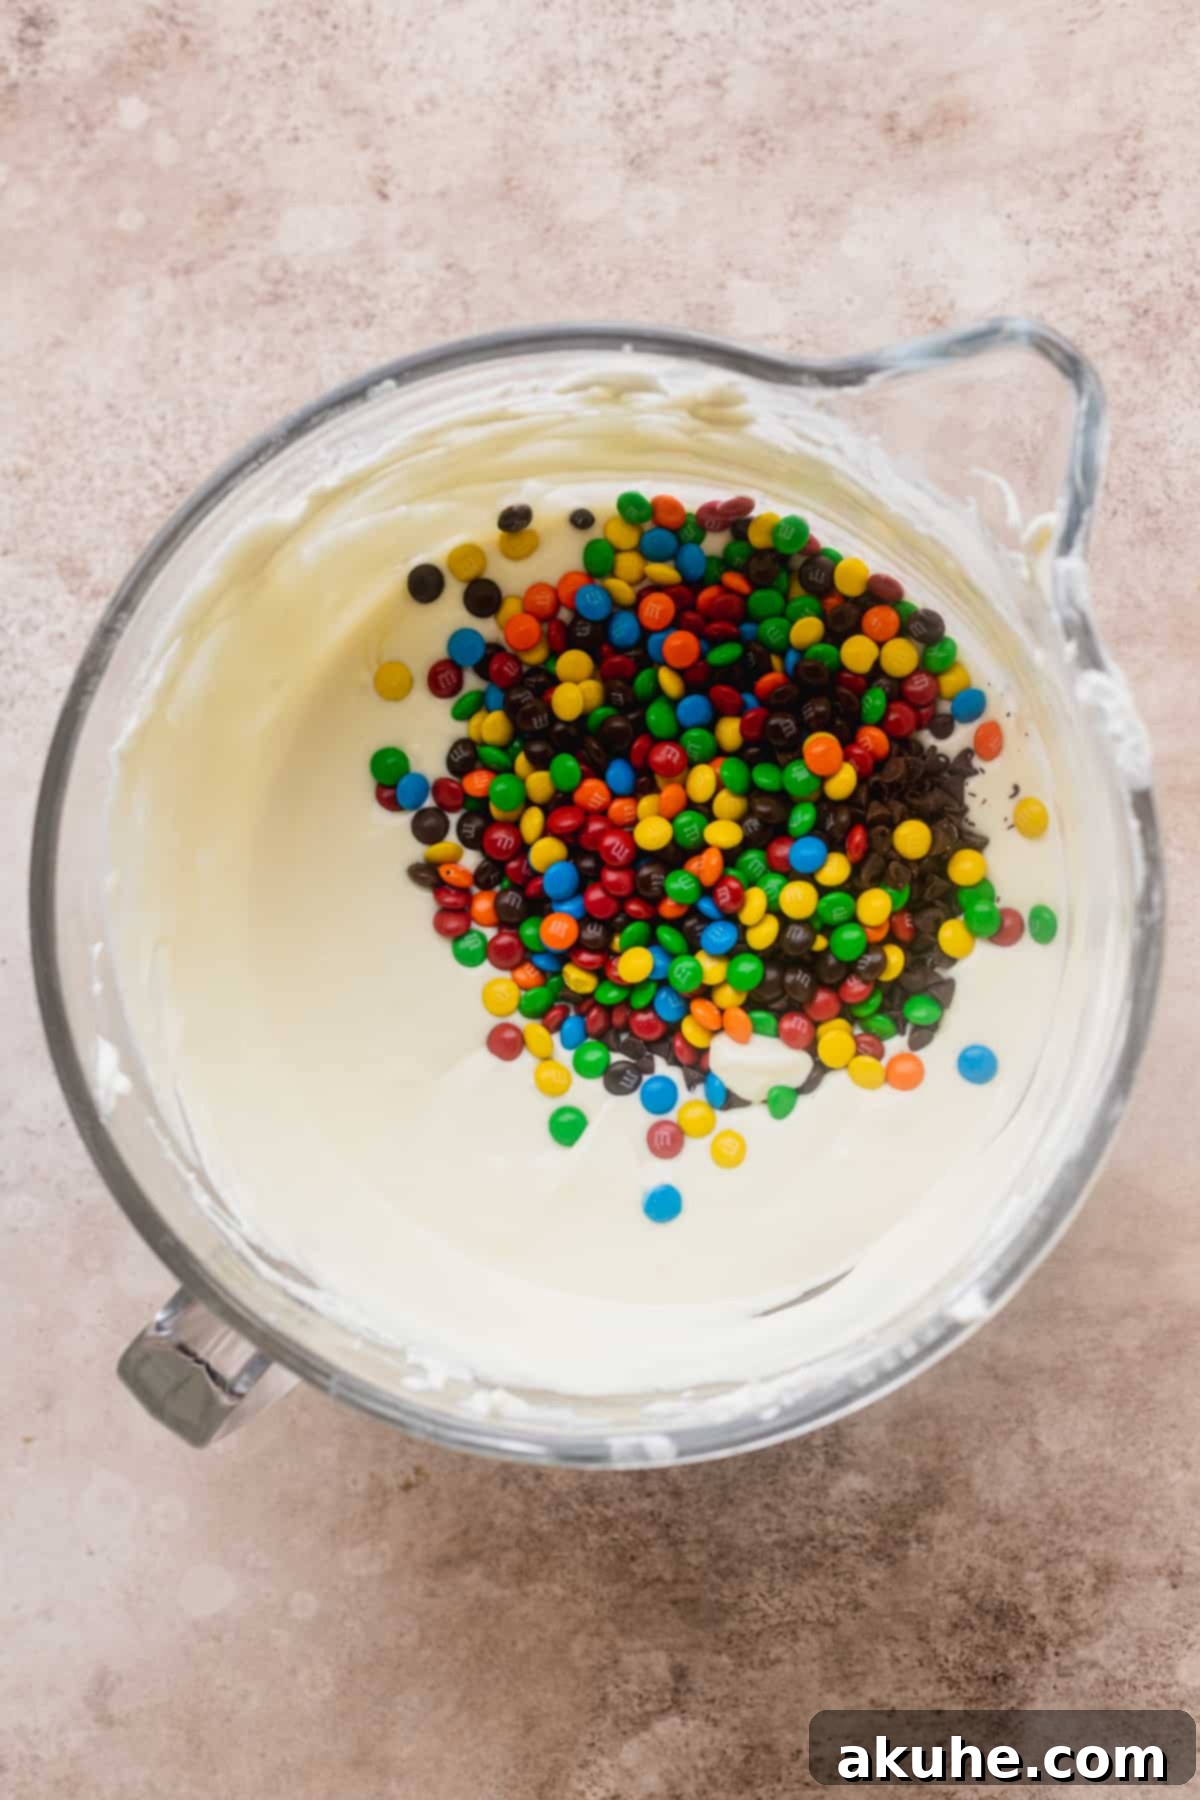
STEP 8: Gently Add Eggs and Mix-ins. Reduce the mixer speed to low. Add the large eggs one at a time, mixing only until each egg is just combined. Overmixing the eggs can introduce too much air into the batter, which can lead to cracks during baking and cooling. Once the eggs are just incorporated, use a rubber spatula to gently fold in the mini M&M’s and mini chocolate chips. This gentle folding ensures they are evenly distributed without deflating the batter.
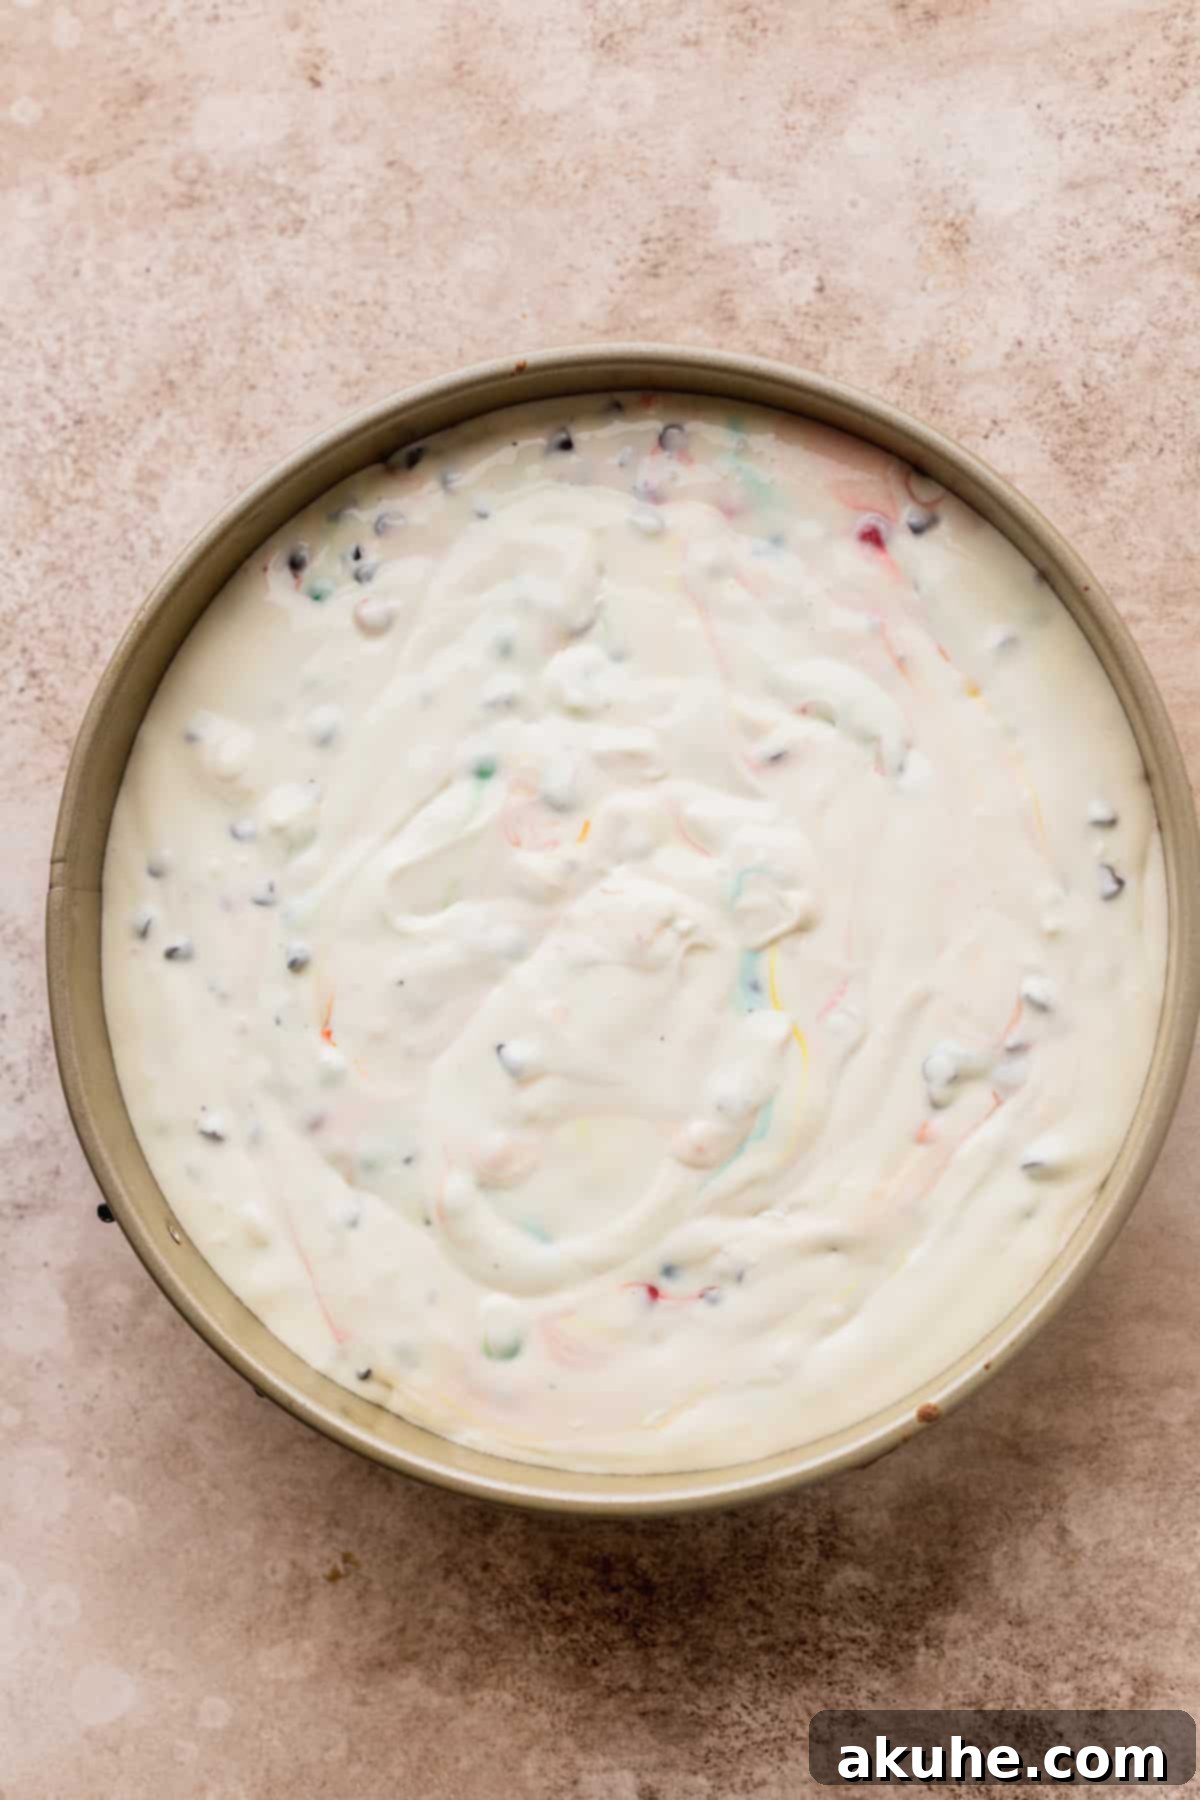
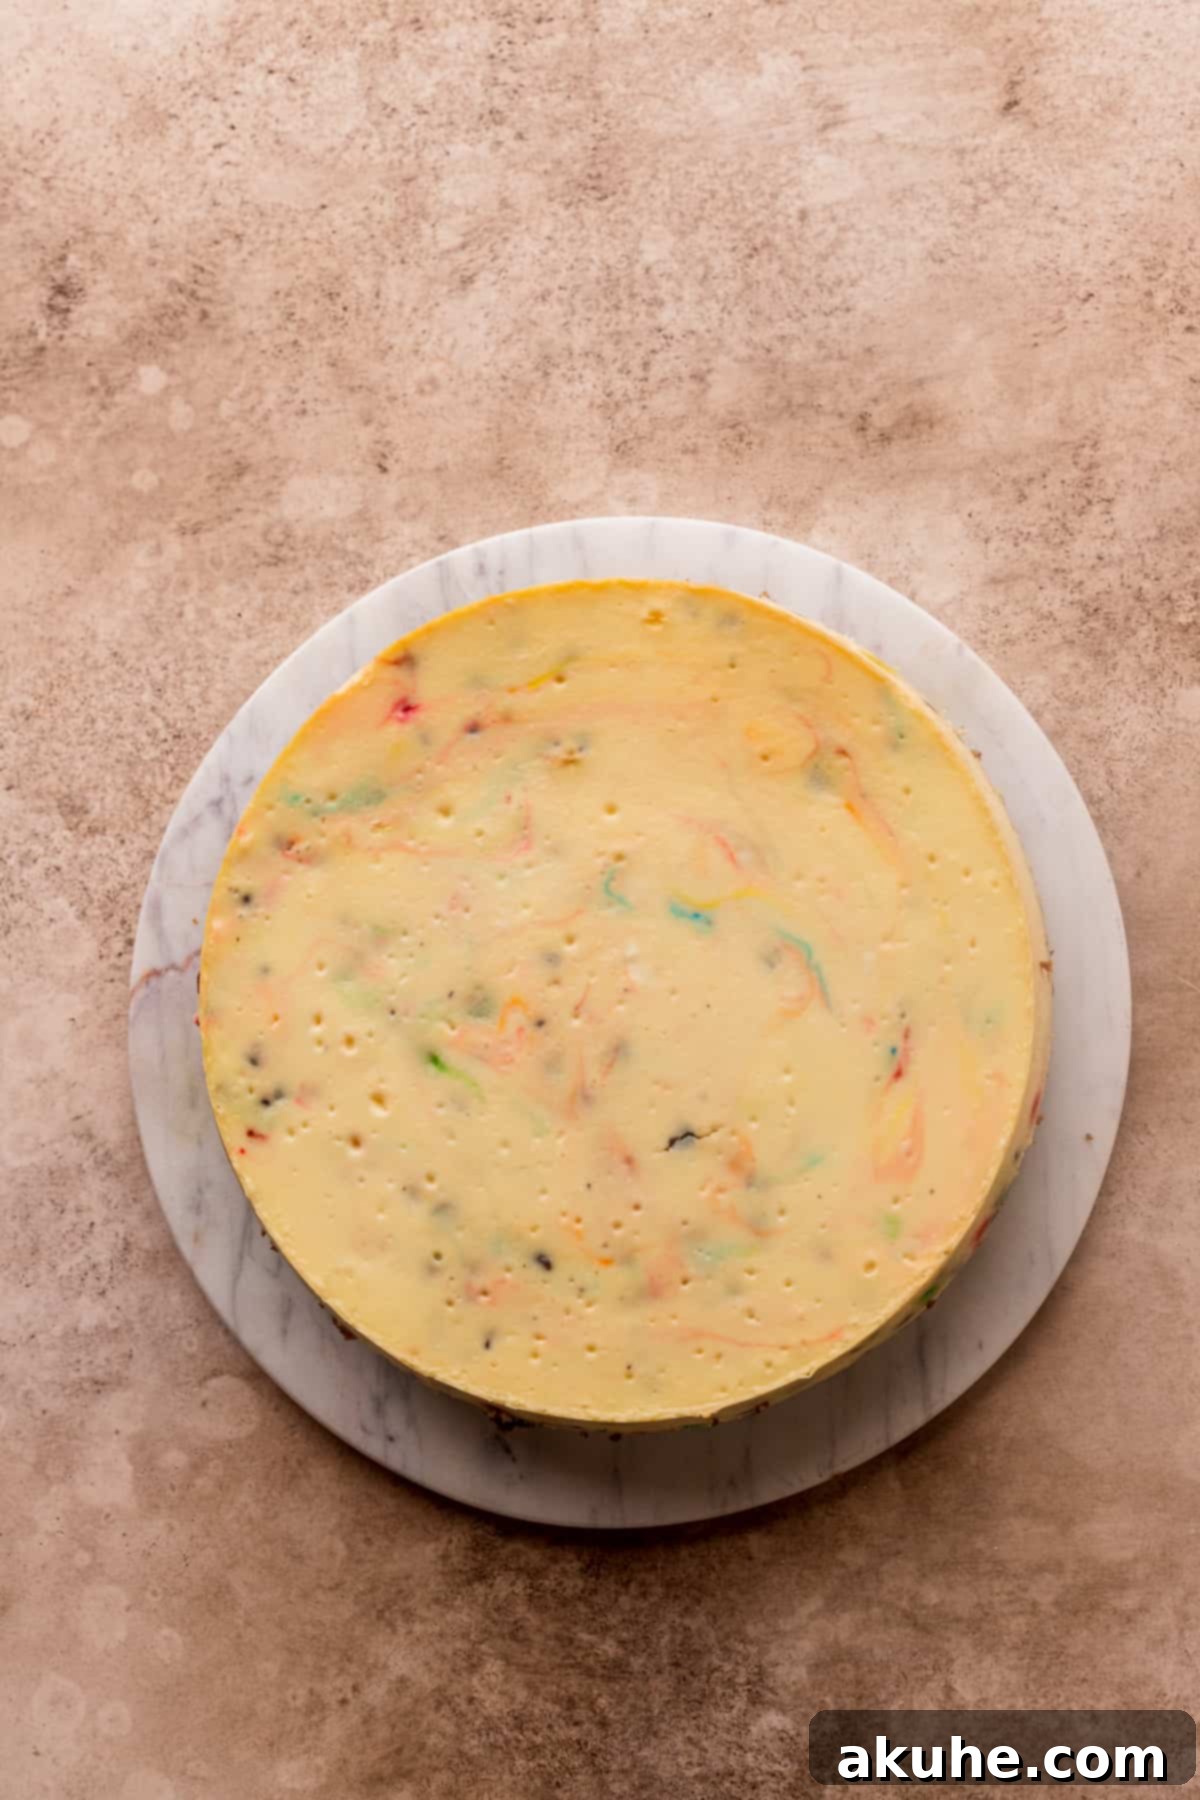
STEP 9: Bake and Cool the Cheesecake. Carefully pour the cheesecake batter over the cooled monster cookie crust in your prepared springform pan. Place the roasting pan with the water bath and cheesecake into the preheated oven. Bake for 75-85 minutes. The cheesecake is done when the edges are set and firm, but the very center still has a slight wobble when gently shaken. This slight jiggle indicates it’s cooked through but not overbaked, which helps prevent dryness and cracks.
Once baked, turn off the oven and prop the oven door open slightly with a wooden spoon. Allow the cheesecake to cool slowly inside the oven for 30 minutes. This gradual cooling is critical for preventing sudden temperature changes that can cause cracks. After 30 minutes, remove the cheesecake from the water bath and transfer it to a wire cooling rack. Let it cool completely at room temperature, then cover it loosely with plastic wrap and refrigerate for at least 6 hours, or ideally overnight. Chilling completely is essential for the cheesecake to fully set and achieve its perfect dense, creamy texture.
Crafting the Perfect Chocolate Ganache and Peanut Butter Frosting
The final touches elevate this cheesecake from delicious to absolutely unforgettable. Here’s how to create and apply the stunning toppings:
Part 3: Decadent Chocolate Ganache
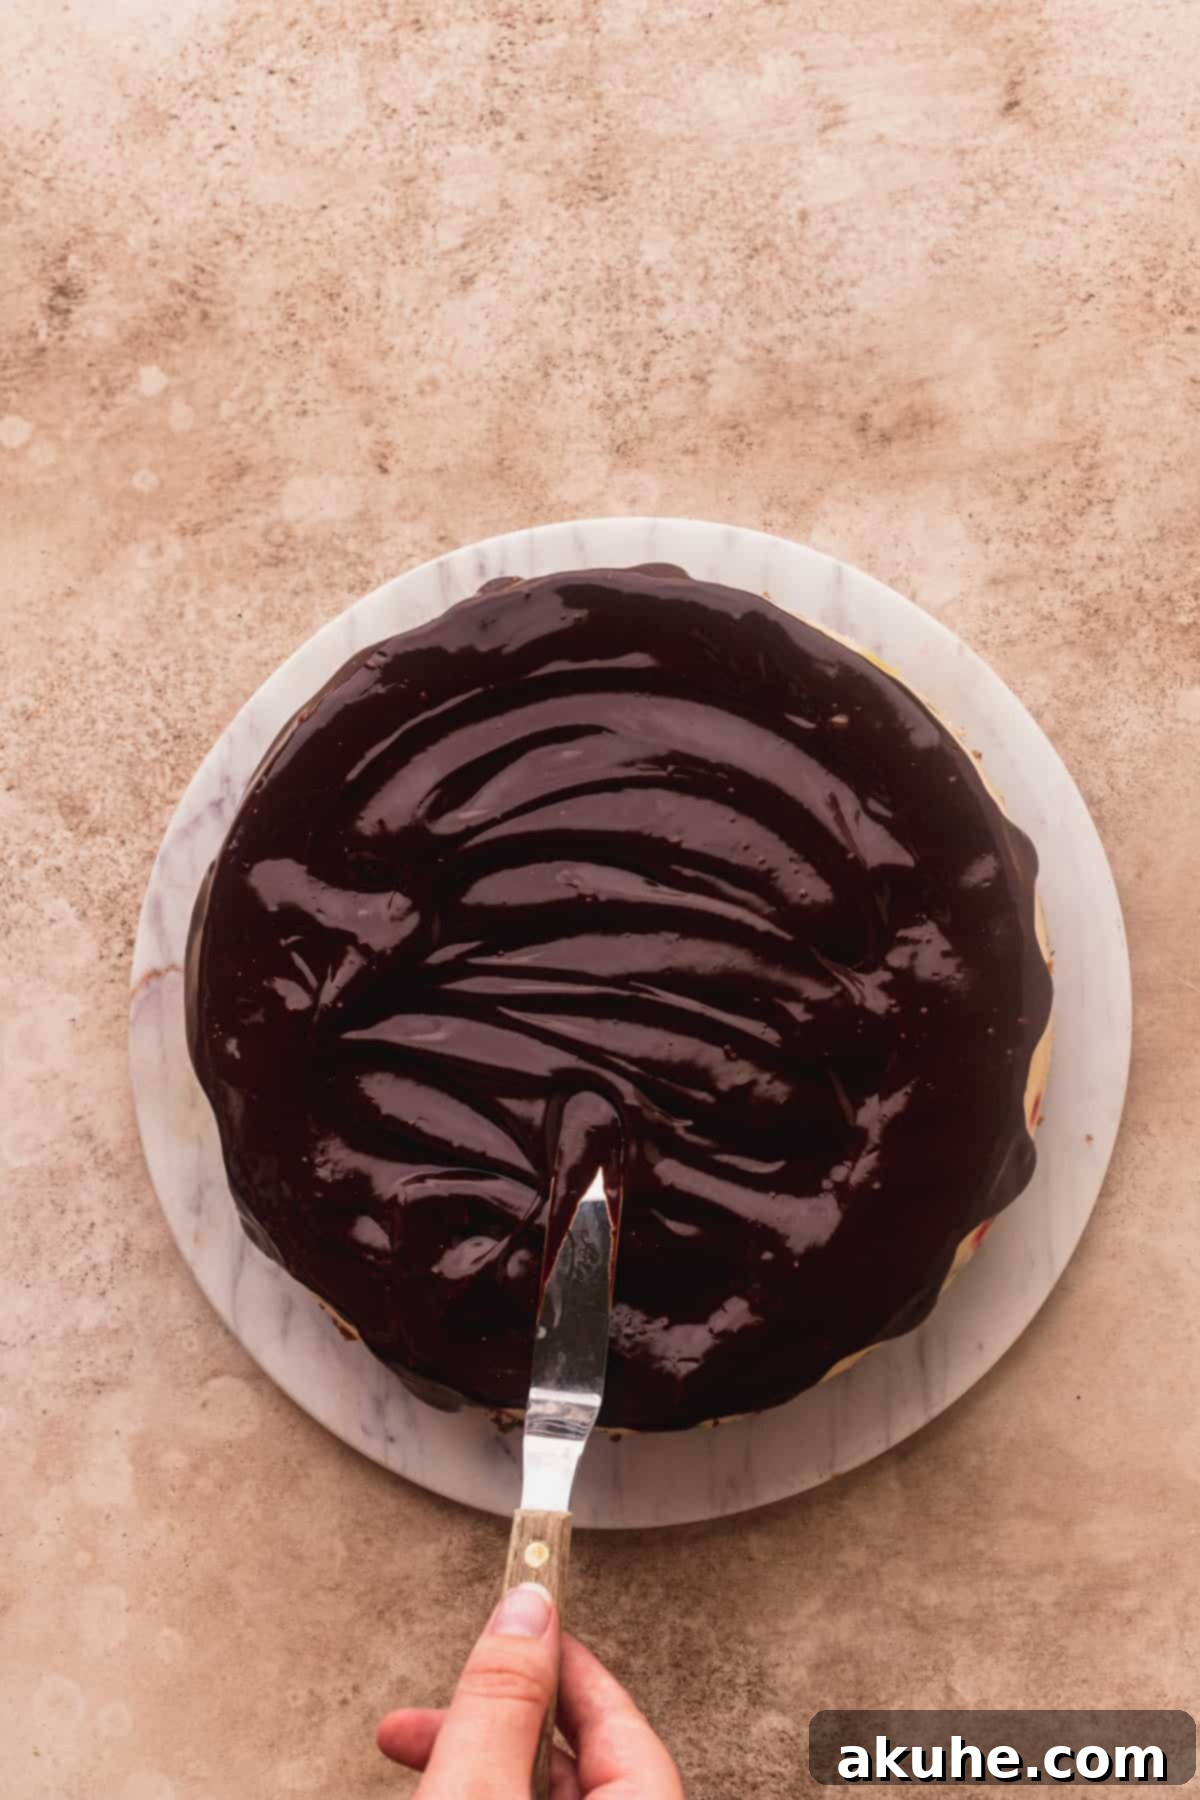
STEP 10: Prepare the Ganache. Once your cheesecake is thoroughly chilled, carefully remove the springform pan sides and the parchment paper from the base. Place the cheesecake on your chosen serving platter. In a small, heatproof bowl, place the semi-sweet chocolate chips. In a small saucepan, heat the heavy cream over medium-low heat until it’s steaming hot but not boiling. Pour the hot cream directly over the chocolate chips. Let it sit undisturbed for 1 minute and 30 seconds. This allows the heat from the cream to melt the chocolate.
STEP 11: Create and Apply Ganache. After the resting period, gently stir the mixture continuously with a rubber spatula, starting from the center and working your way out, until it transforms into a smooth, glossy, and homogeneous ganache. If any small chocolate chunks remain, you can microwave the ganache in 15-second intervals, stirring after each, until it’s perfectly smooth. Carefully pour the warm ganache evenly over the top of the chilled cheesecake, spreading it gently to the edges. Chill the ganache-covered cheesecake in the refrigerator for about 10 minutes to allow the chocolate to set slightly before you apply the frosting.
Part 4: Creamy Peanut Butter Frosting
STEP 12: Prepare Butter for Frosting. For the ideal peanut butter frosting texture, your unsalted butter should be slightly cold, not fully softened to room temperature. Take it out of the fridge about 30 minutes before you start. It should still feel cool to the touch, but a gentle press with your finger should leave a slight indent. While waiting, sift your powdered sugar to ensure a smooth, lump-free frosting.
STEP 13: Whip Butter and Peanut Butter. Using an electric mixer, beat the slightly cold butter on medium speed for 2 minutes until it becomes lighter in color and slightly fluffy. Add the creamy peanut butter and continue beating in several intervals, stopping frequently to scrape down the sides and bottom of the bowl. This ensures the butter and peanut butter are fully incorporated and prevents any streaks of unmixed butter.
STEP 14: Finish the Frosting. Gradually add the sifted powdered sugar to the butter-peanut butter mixture, mixing on low speed until it becomes very thick. Pour in the pure vanilla extract and heavy cream. Beat for about 20 seconds, then scrape the bowl down once more. Increase the mixer speed to high and beat for a final minute. This high-speed beat will aerate the frosting, making it wonderfully creamy and pipeable, while maintaining a strong structure to hold any additional decorations.
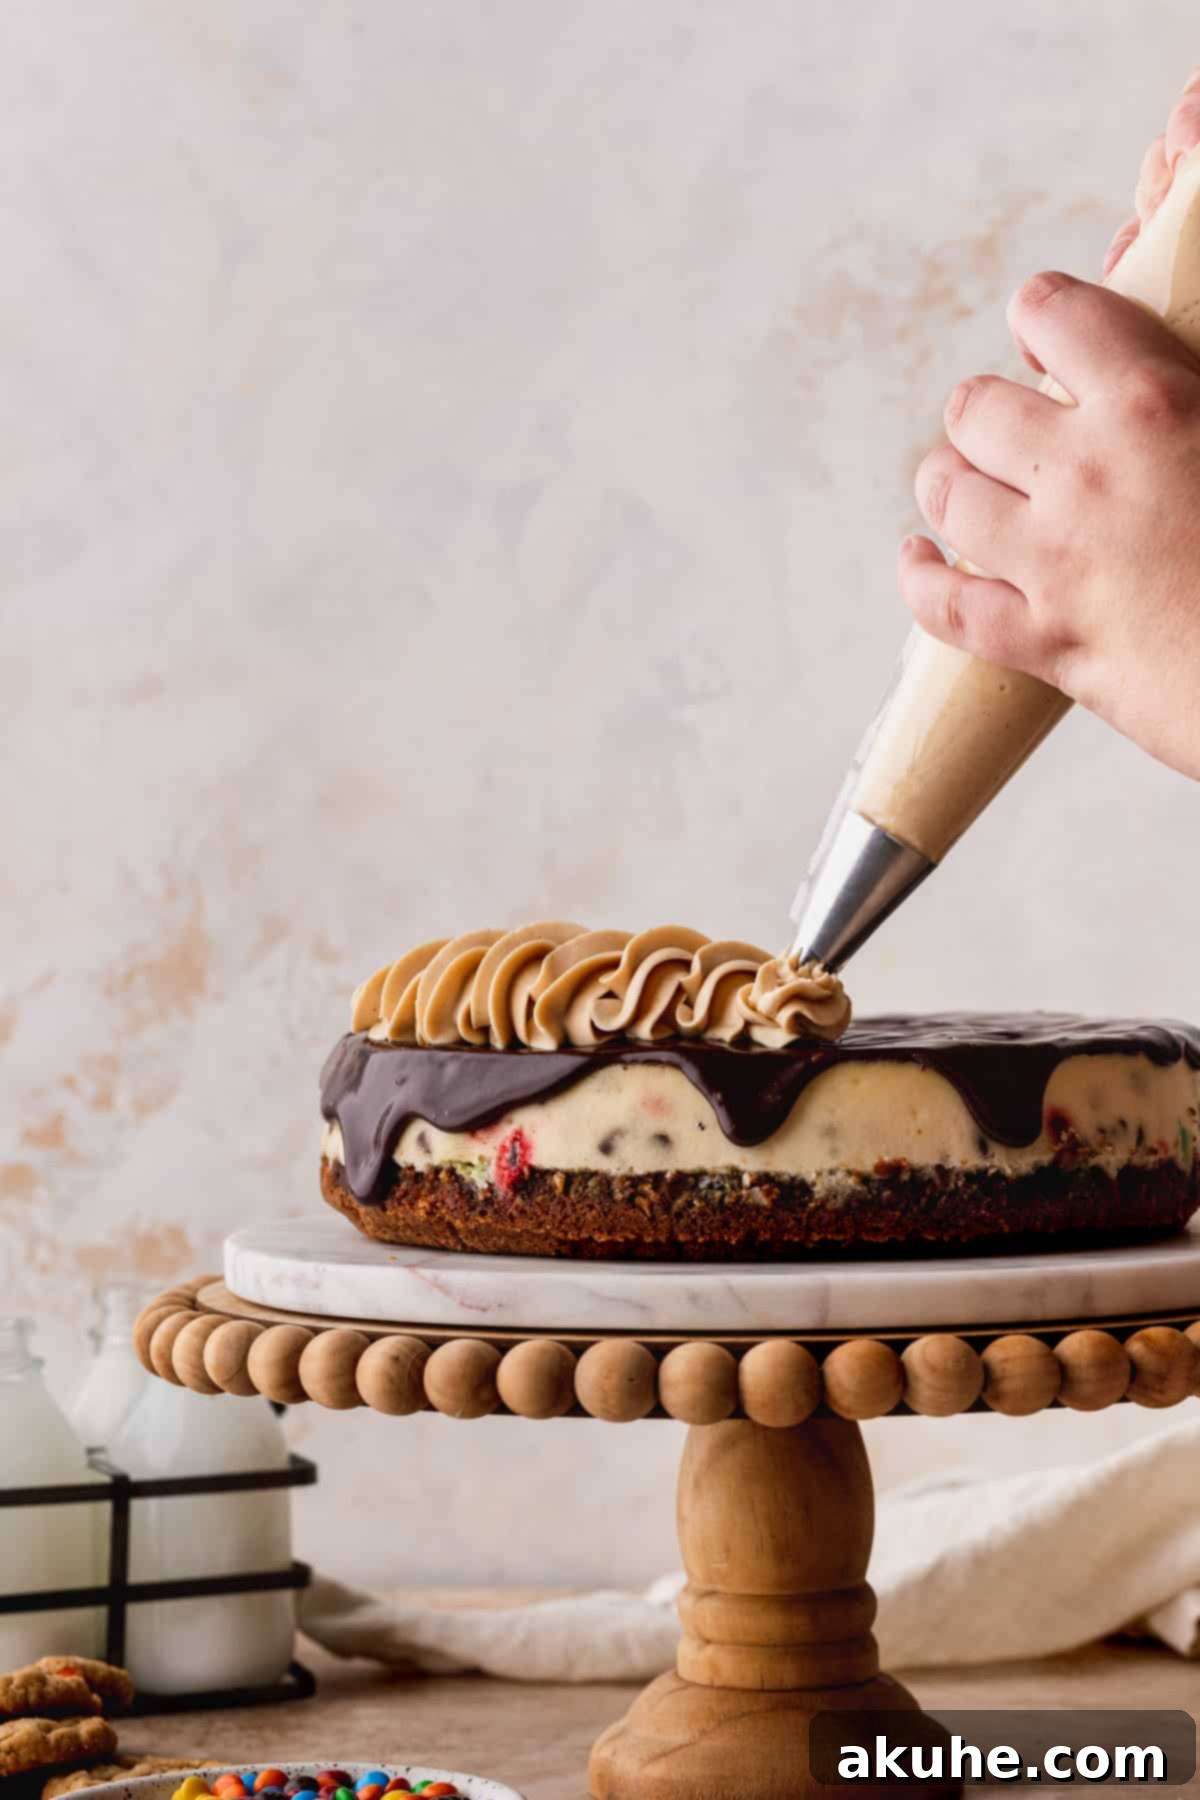
STEP 15: Decorate Your Masterpiece. Transfer the peanut butter frosting to a piping bag fitted with your favorite decorative tip. Pipe beautiful swirls or rosettes around the edge of the cheesecake, or create an elaborate pattern across the top. The robust texture of this frosting is perfect for holding additional decorations. Sprinkle the cheesecake with the small monster cookies you baked earlier, extra mini chocolate chips, and mini M&M’s for a truly festive look. Keep the cheesecake refrigerated until you are ready to serve to ensure all layers remain perfectly set and chilled.
Frequently Asked Questions (FAQ) About Monster Cookie Cheesecake
Absolutely! To transform this recipe into convenient cheesecake bars, you’ll need to make a slight adjustment to the cheesecake batter quantity. Reduce the cheesecake batter by about one-third. When baking, you won’t need to use a water bath, which simplifies the process. The baking time will also be shorter, typically around 40-50 minutes, or until the edges are set and the center has a slight jiggle. This makes them perfect for parties or portion control!
Don’t fret if your cheesecake develops a crack! It’s a very common occurrence, even for experienced bakers, and often happens due to sudden temperature changes during cooling or slight overbaking. The wonderful news is that the rich chocolate ganache and creamy peanut butter frosting are designed to cover any imperfections beautifully. No one will ever know, and the taste will be just as magnificent!
While the peanut butter frosting adds an incredible depth of flavor and a beautiful aesthetic to the cheesecake, its primary functional purpose is to provide a sturdy base to hold additional cookie pieces or candy decorations on top. If you prefer a simpler presentation or want to reduce the sweetness, you can certainly omit the frosting. The chocolate ganache alone provides a delicious and elegant finish. However, for the full monster cookie experience, the frosting is highly recommended!
Yes, this cheesecake is excellent for making ahead and freezing! After it has completed its initial chilling period in the refrigerator (at least 6 hours or overnight), wrap the entire cheesecake (without toppings) tightly in several layers of plastic wrap, then an additional layer of aluminum foil. Freeze it for up to 30 days. When you’re ready to serve, thaw the cheesecake on the counter for 1-2 hours before decorating with the chocolate ganache and peanut butter frosting. This ensures it’s perfectly defrosted and ready for its finishing touches.
For perfectly clean slices, dip a sharp, thin knife into hot water and wipe it clean with a paper towel before each cut. This warms the blade slightly, allowing it to glide through the dense cheesecake without dragging or sticking. Repeat this process for every slice, and you’ll achieve beautifully clean edges every time.
Storing and Freezing Your Monster Cookie Cheesecake
To ensure your Monster Cookie Cheesecake remains fresh and delicious, proper storage is key.
Store any leftover slices or the entire cheesecake in an airtight container in the refrigerator. This helps to prevent it from absorbing other odors and keeps it moist. It will stay fresh and delightful for up to 5 days, making it a perfect dessert to enjoy over several days or to prepare a day or two in advance for an event.
Freezing for Extended Enjoyment
For longer storage, this cheesecake freezes beautifully. I recommend freezing it in individual slices. First, allow the cheesecake to chill completely after baking and topping. Then, cut it into desired slices. Wrap each slice tightly in plastic wrap, then place them in an airtight freezer-safe container or a freezer bag. This method prevents freezer burn and makes it easy to grab just one slice whenever a craving strikes. Frozen slices can be stored for up to 30 days. To enjoy, simply thaw a slice on the counter for about 1 hour before indulging. This allows it to soften to the perfect creamy consistency.
Discover More Decadent Cheesecake Recipes To Try
If you’ve fallen in love with the magic of this Monster Cookie Cheesecake, be sure to explore my other irresistible cheesecake creations! From classic fruit-filled options to innovative flavor combinations, there’s a cheesecake for every craving and occasion. Each recipe is crafted with care to bring you the same level of deliciousness and baking satisfaction.
If you loved making and devouring this monster cookie cheesecake, please make sure to leave me a star review below! Your feedback truly helps and is appreciated. Don’t forget to tag me on Instagram @stephaniesweettreats when you share your delicious creations. I love seeing what you bake! For more baking inspiration and delightful dessert ideas, be sure to follow me on Pinterest.
Watch the Recipe Video
Monster Cookie Cheesecake
Print Recipe
Pin Recipe
Leave a Review
Ingredients
Monster Cookie Crust
- 3/4 cup All-purpose flour
- 1 tsp Baking soda
- 1/4 tsp Baking powder
- 1/2 tsp Salt
- 1/2 cup Unsalted butter, room temperature
- 1 cup Brown sugar, light or dark packed
- 1/2 cup Peanut butter, creamy
- 1 tsp Pure vanilla extract
- 1 Large egg, room temperature
- 1 cup Quick oats
- 1/2 cup Mini M&M’s
- 1/2 cup Mini chocolate chips
Cheesecake Filling
- 24 oz Cream cheese, room temperature
- 3/4 cup White granulated sugar
- 1/2 cup Sour cream, room temperature
- 1/4 cup Heavy cream, room temperature
- 1 tsp Pure vanilla extract
- 3 Large eggs, room temperature
- 1/2 cup Mini M&M’s
- 1/2 cup Mini chocolate chips
Chocolate Ganache
- 1 cup Semi-sweet chocolate chips
- 1/2 cup Heavy cream
Peanut Butter Frosting
- 1/2 cup Unsalted butter, slightly cold
- 1/2 cup Peanut butter, creamy
- 1 1/2 cups Powdered sugar, sifted
- 1 tsp Pure vanilla extract
- 1/8 cup Heavy cream
Instructions
Monster Cookie Crust
- Preheat oven to 350F. Spray a 9 inch springform pan with baking spray. Line the bottom with a parchment circle and spray again.
- In a medium bowl, sift together flour, baking soda, baking powder, and salt. Set aside.3/4 cup All-purpose flour, 1 tsp Baking soda, 1/4 tsp Baking powder, 1/2 tsp Salt
- Using a mixer, cream together butter, brown sugar, and peanut butter. Beat on high for 2 minutes.1/2 cup Unsalted butter, 1 cup Brown sugar, 1/2 cup Peanut butter
- Add in vanilla and egg. Mix until combined. Add in the dry ingredients. Mix on low.1 tsp Pure vanilla extract, 1 Large egg
- Fold in oats, mini M&M’s, and mini chocolate chips. The dough will be very wet.1 cup Quick oats, 1/2 cup Mini M&M’s, 1/2 cup Mini chocolate chips
- Place 3/4ths of the dough into the pan. Compact it on the bottoms of the pan. Save the rest of the dough to bake small cookies for decoration.
- Bake the cookie crust for 18-20 minutes. The edges will be golden brown. It will be puffy in the middle. Let the cookie crust cool while you make the cheesecake.
Cheesecake Filling
- Preheat oven to 325F.
- Using a mixer, beat room temperature cream cheese on high for 1 minute. Scrape the bowl. Add in sugar and beat for 1 minute.24 oz Cream cheese, 3/4 cup White granulated sugar
- Add in vanilla, sour cream, and heavy cream. Mix on high and beat until smooth.1/2 cup Sour cream, 1/4 cup Heavy cream, 1 tsp Pure vanilla extract
- Add in eggs one at a time and mix on low. Stop mixing as soon as it is combined. Use a rubber spatula and fold mini M&M’s and mini chocolate chips into batter.3 Large eggs, 1/2 cup Mini M&M’s, 1/2 cup Mini chocolate chips
- Pour cheesecake batter onto cooled cookie crust.
- Prepare a water bath using one of the methods described above. Both require a large roasting pan and hot steaming water.
1. Place the springform pan in a 10 inch cake pan. Place the cake pan in a roasting pan and fill with hot water about 1/2 way up the cake pan. This method is leak proof!
2. Wrap springform pan with foil tightly twice. Place in the roasting pan and fill halfway with hot water. This method can have water leak in.
- Bake cheesecake 75-85 minutes. The cheesecake is finished baking when the edges are firm and set and the middle has a slight jiggle. Turn off the oven and crack open the door, and let the cheesecake slowly cool for 30 minutes. Then transfer to cooling rack.
- Let cheesecake cool completely. Then, cover and place in fridge for at least 6 hours to overnight.
Extra Monster Cookies (for Decoration)
- Preheat oven to 350F. Line a cookie sheet with parchment paper.
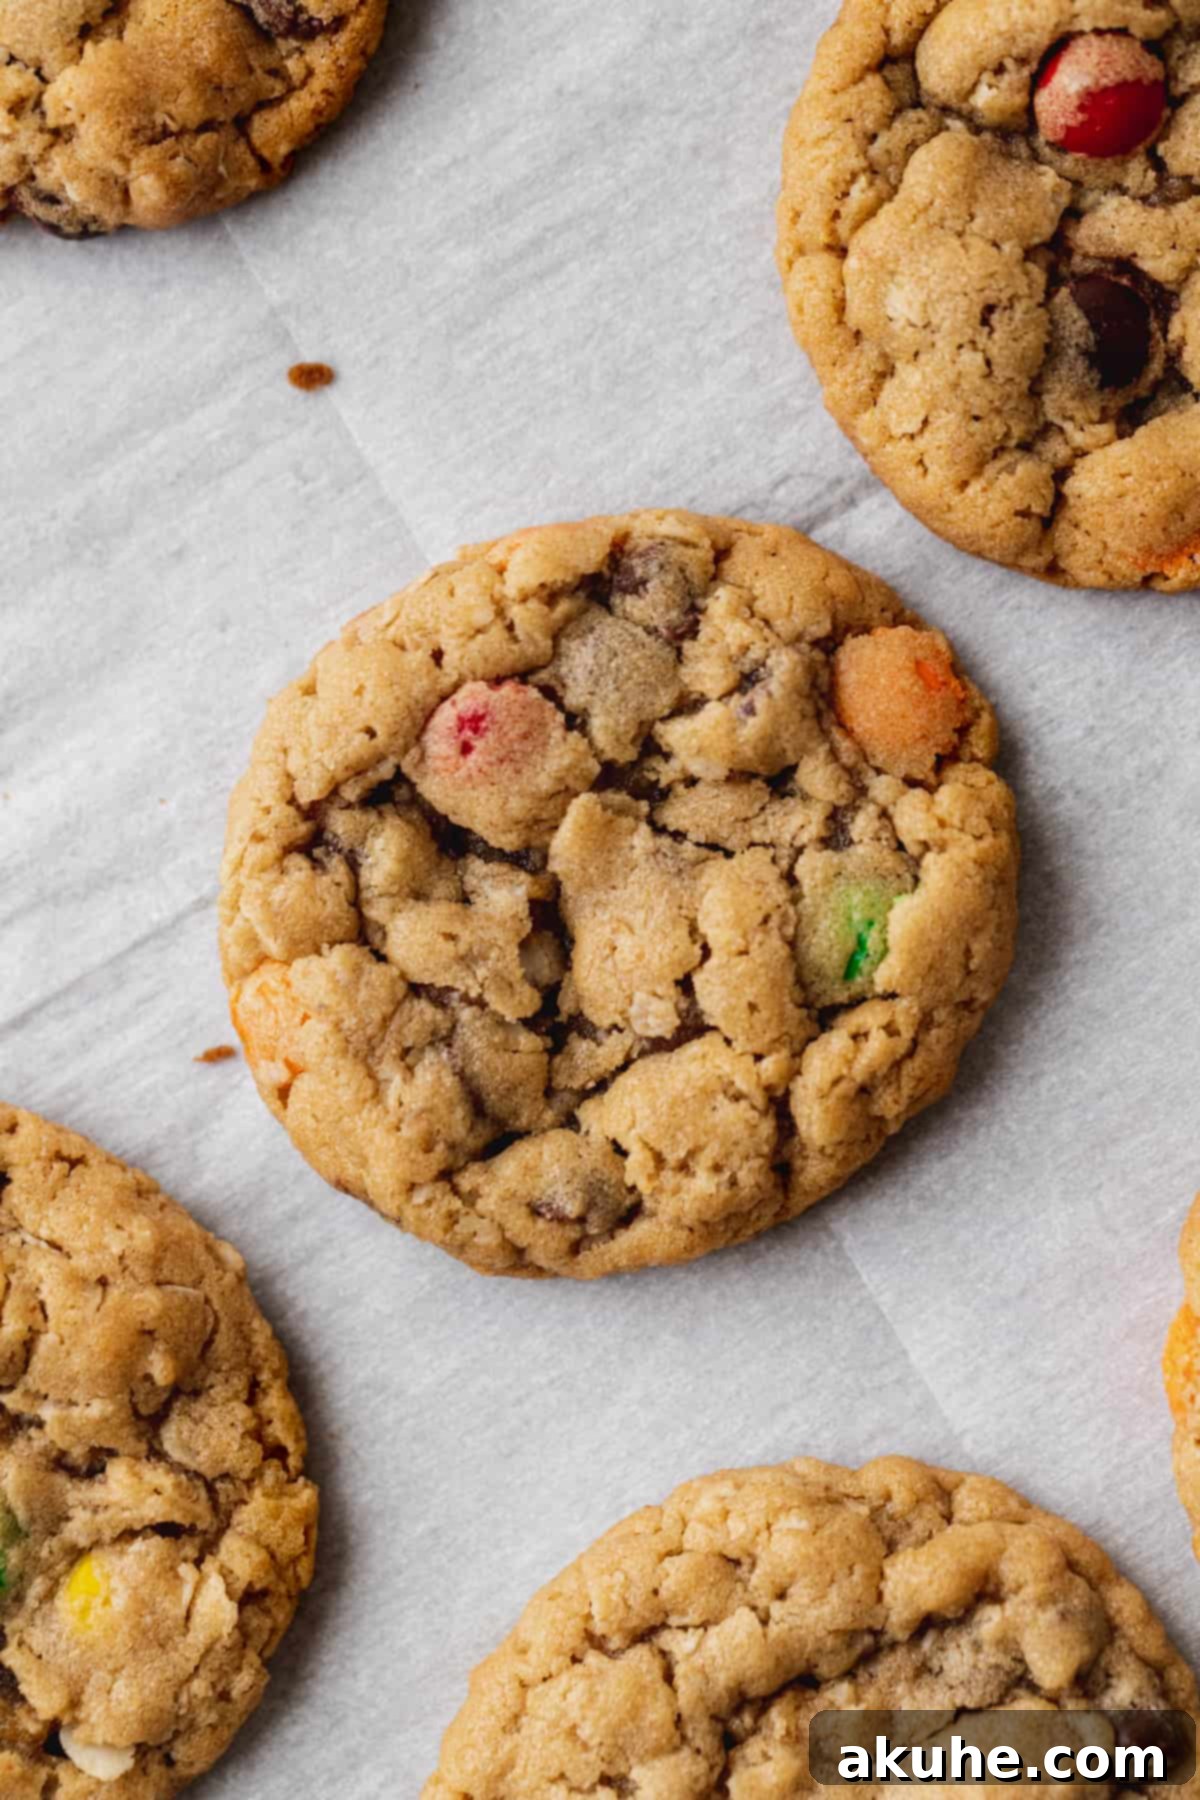
- Using a 1oz cookie scoop, portion out the reserved cookie dough. For smaller, bite-sized decorations, split each dough ball in half and roll into a smaller ball. This should yield up to 11 small cookies.
- Bake for 8-10 minutes, or until the edges are golden brown. Let cookies sit for 5 minutes on the baking sheet before transferring to a cooling rack to cool completely.
Chocolate Ganache
- Carefully remove the springform pan and the parchment paper base from the chilled cheesecake and set the cheesecake on your serving platter.
- In a small, heatproof bowl, combine the semi-sweet chocolate chips. Heat the heavy cream in a saucepan over medium-low heat until it’s steaming hot (do not boil). Pour the hot cream over the chocolate chips.1 cup Semi-sweet chocolate chips, 1/2 cup Heavy cream
- Let the mixture sit undisturbed for 1 minute and 30 seconds. Then, using a rubber spatula, stir continuously from the center outwards until the ganache is smooth and glossy. If any chocolate chunks remain, gently heat in the microwave in 15-second intervals, stirring after each, until fully melted.
- Pour the warm ganache over the top of the cheesecake, spreading it evenly. Chill the cheesecake in the refrigerator for 10 minutes to allow the ganache to set slightly before adding the frosting.
Peanut Butter Frosting
- Place the cold unsalted butter on the counter for 30 minutes to become slightly cold (not fully room temperature). It should be cold to the touch but yield to a finger indent. Sift the powdered sugar while the butter rests.1/2 cup Unsalted butter
- Using an electric mixer, beat the slightly cold butter on medium speed for 2 minutes until it starts to lighten and become fluffy. Add the creamy peanut butter and beat in several intervals, stopping to scrape the bowl several times to fully incorporate the butter.1/2 cup Peanut butter
- Slowly add the sifted powdered sugar, mixing until the frosting becomes thick. Incorporate the pure vanilla extract and heavy cream, then beat for 20 seconds. Scrape the bowl. Finally, beat on high speed for 1 minute to achieve a light, creamy, and pipeable consistency.1 1/2 cups Powdered sugar, 1 tsp Pure vanilla extract, 1/8 cup Heavy cream
- Pipe the peanut butter frosting onto the cheesecake as desired. Sprinkle with the extra monster cookie pieces, mini chocolate chips, and mini M&M’s. Keep the finished cheesecake refrigerated until ready to serve for the best flavor and texture.
