Welcome to the delightful world of homemade pastries! These Chocolate Cream Cheese Danishes offer a perfect blend of rich, creamy, and flaky textures, all in one surprisingly easy-to-make package. Utilizing convenient frozen puff pastry, this recipe transforms simple ingredients into a gourmet treat that’s ideal for breakfast, brunch, or a special dessert. Each danish features a luscious cream cheese filling, baked to golden perfection within layers of buttery pastry, then crowned with a smooth, decadent chocolate ganache frosting once cooled. Get ready to impress with minimal effort!
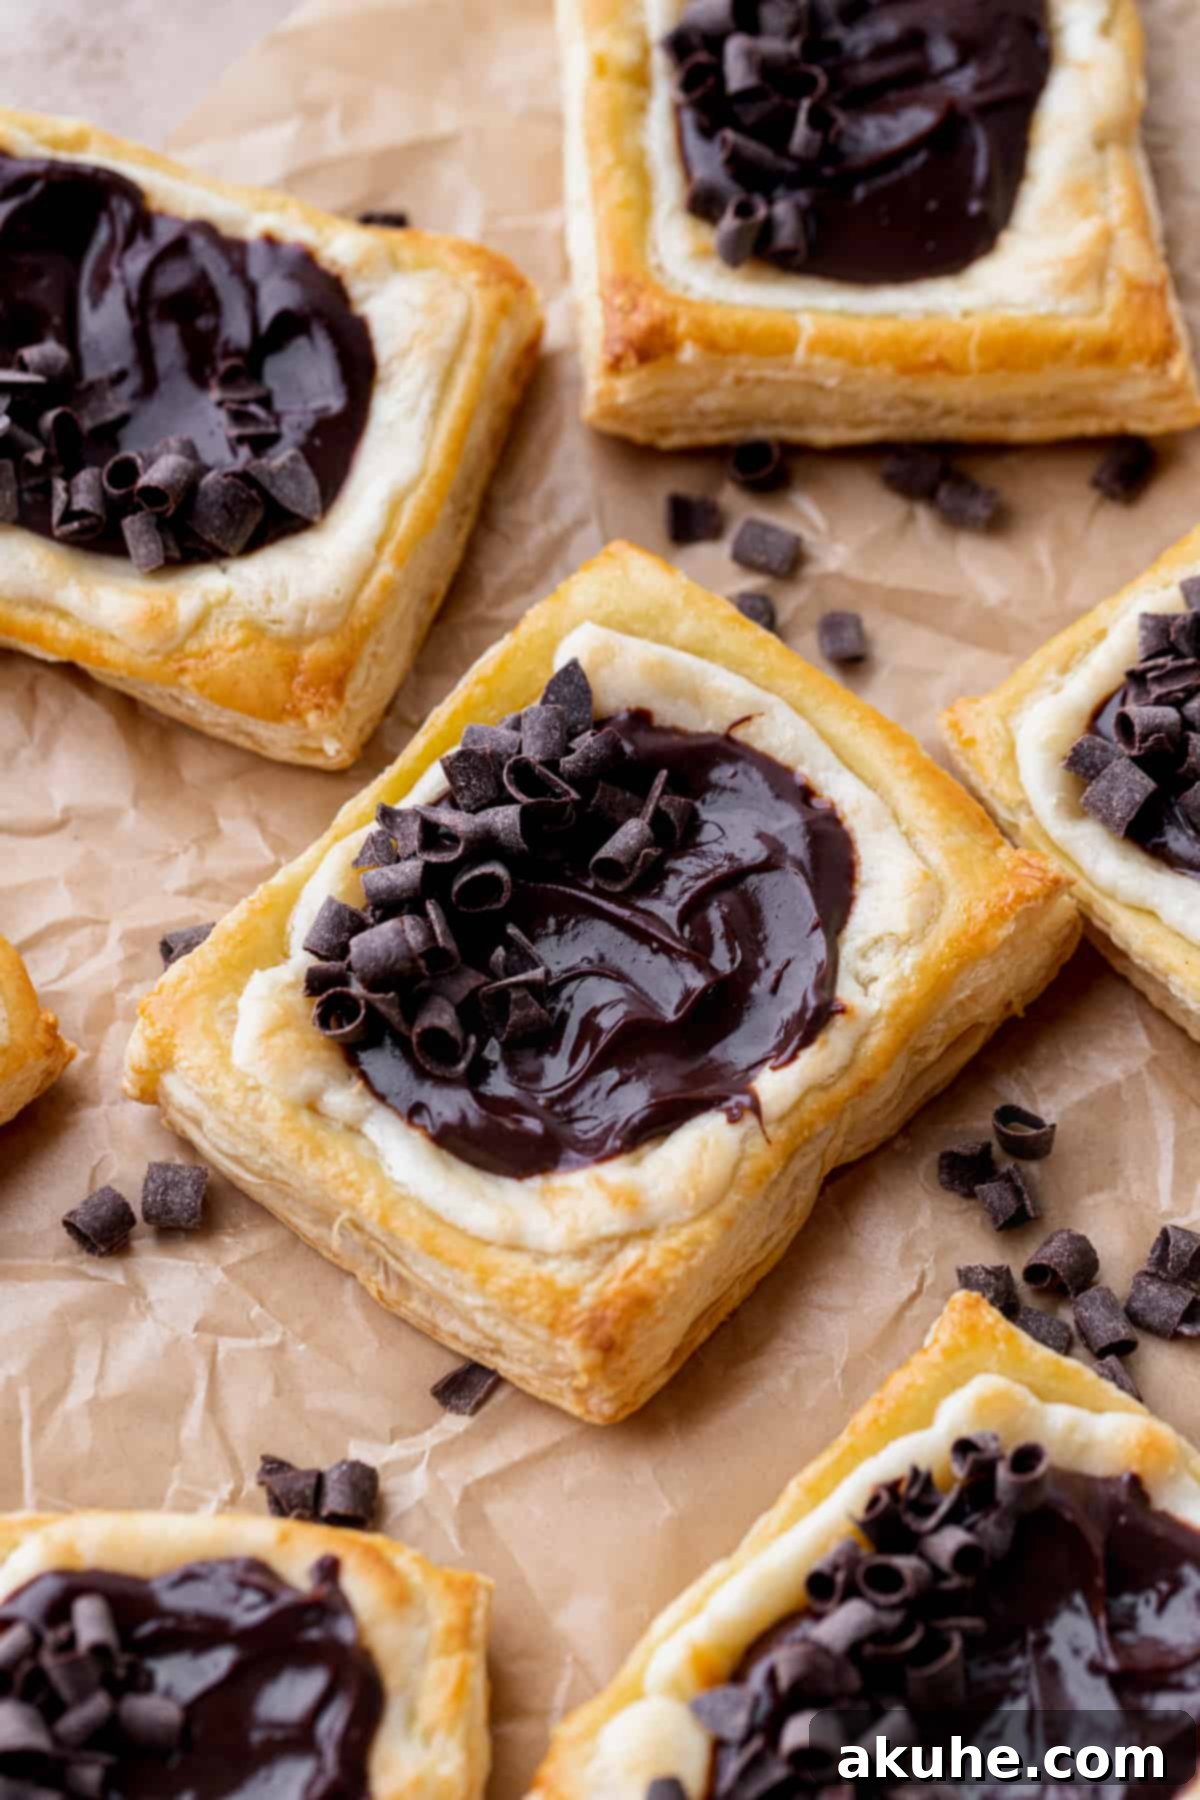
My inspiration for these irresistible danishes came from a desire to create a fuss-free yet utterly delicious recipe, especially perfect for holiday baking or any time you crave a special treat. While many fruit-filled danishes exist, I noticed a distinct lack of readily available chocolate options. That’s how this unique take on a classic pastry was born – combining the beloved cream cheese danish with the irresistible allure of chocolate. The result? A perfectly balanced treat that will satisfy any sweet tooth.
One of the best parts about this recipe is its accessibility. Since we’re leveraging the convenience of frozen puff pastry, it dramatically cuts down on preparation time and complexity, making it an excellent project for cooks of all skill levels. Even children can easily participate in the assembly, turning baking into a fun and memorable family activity. Imagine the joy of creating these flaky, chocolate-drizzled pastries with your loved ones!
If you’re on the hunt for more straightforward and delicious recipes to expand your baking repertoire, be sure to explore some of my other favorites: Easy Blueberry Danish for a fruity twist, Better Than Boxed Fudge Brownies for intense chocolate cravings, Pumpkin Chocolate Chip Muffins for a seasonal delight, and Chocolate Cookie Dough Pop Tarts for a playful, nostalgic treat.
Why You Will Love These Chocolate Cream Cheese Danishes
There are countless reasons why these danishes will become your new go-to recipe. From their effortless preparation to their exquisite taste, they truly deliver a delightful experience.
- Effortless Preparation: This recipe is designed for ease, making it accessible even for beginner bakers. Using frozen puff pastry eliminates the most time-consuming step of traditional danish making, allowing you to achieve bakery-quality results with minimal stress. It’s so simple that even kids can get involved, fostering a love for baking in the younger generation.
- Luxurious Puff Pastry: The foundation of these danishes is frozen puff pastry, a culinary marvel that bakes into hundreds of delicate, flaky, buttery layers. This provides an incredible textural contrast to the smooth fillings and gives each bite that quintessential European pastry experience without the arduous labor.
- Decadent Cream Cheese Filling: A hallmark of any great danish, our cream cheese filling is perfectly sweetened and subtly tangy. It provides a creamy, rich core that beautifully complements the crisp pastry and serves as the ideal canvas for the chocolate ganache. This simple yet profound filling elevates the entire danish.
- Irresistible Chocolate Ganache: Capping off these delightful pastries is a silky-smooth chocolate ganache. Prepared with minimal fuss, this ganache develops a rich, frosting-like texture after a short setting period, adding an intense chocolatey finish that ties all the flavors together. It’s the perfect touch of indulgence.

Essential Ingredient Notes for Perfect Danishes
Selecting the right ingredients is key to achieving the best flavor and texture in your Chocolate Cream Cheese Danishes. Here’s a closer look at what you’ll need and why specific choices matter:
- Frozen Puff Pastry: This is your secret weapon for quick danishes. Look for high-quality frozen puff pastry in the freezer section of your local grocery store, usually near desserts or frozen fruits. Good quality pastry ensures maximum flakiness and a rich, buttery taste, creating those sought-after delicate layers.
- Cream Cheese: For the most luscious and stable filling, always opt for full-fat cream cheese. Low-fat or whipped varieties can result in a runny filling that doesn’t hold its shape as well during baking. Ensure it’s softened to room temperature for a smooth, lump-free mixture.
- Egg Wash: A simple egg wash, made with one large egg whisked with a touch of water, is crucial for achieving that beautiful golden-brown sheen on your danishes. It also helps the edges puff up wonderfully, creating a defined border around your creamy filling.
- Chocolate Chips: The choice of chocolate significantly impacts the ganache’s flavor. Semi-sweet chocolate chips are highly recommended as they offer a balanced sweetness that pairs wonderfully with the cream cheese. Dark chocolate chips also work beautifully for a more intense, less sweet profile. Avoid milk chocolate chips, as they can make the ganache overly sweet and potentially overwhelm the other flavors.
Step-by-Step Instructions for Your Chocolate Cream Cheese Danishes
Crafting these delicious chocolate danishes is a straightforward process when you follow these easy steps:
STEP 1: Thaw the Puff Pastry. Begin by removing the frozen puff pastry sheets from their packaging and laying them flat on a clean counter. Allow them to thaw for approximately 30 minutes at room temperature. This makes them pliable and easy to work with without becoming too warm.
STEP 2: Prepare the Luxurious Chocolate Ganache. While the pastry thaws, start on your ganache. Place the semi-sweet or dark chocolate chips in a heatproof bowl. In a small saucepan, gently heat the heavy cream over medium-low heat until it just begins to steam and simmer around the edges – do not boil. Pour the hot cream directly over the chocolate chips. Let it sit undisturbed for 1 minute and 30 seconds to allow the chocolate to melt. Then, stir gently with a spatula or whisk until the mixture is smooth and glossy. If any small chocolate chunks remain, microwave the mixture in 15-second intervals, stirring thoroughly after each, until completely smooth. Set the ganache aside at room temperature for at least 2 hours to cool and thicken to a “pudding-like” consistency, perfect for spreading.
STEP 3: Create the Creamy Cheese Filling. In a medium-sized mixing bowl, use a hand mixer to beat the room-temperature cream cheese on high speed for about 1 minute until it’s light and fluffy. Gradually add the granulated sugar and continue beating for another minute until well combined and smooth. Finally, mix in the pure vanilla extract until just incorporated. This filling is wonderfully simple yet delivers rich flavor.
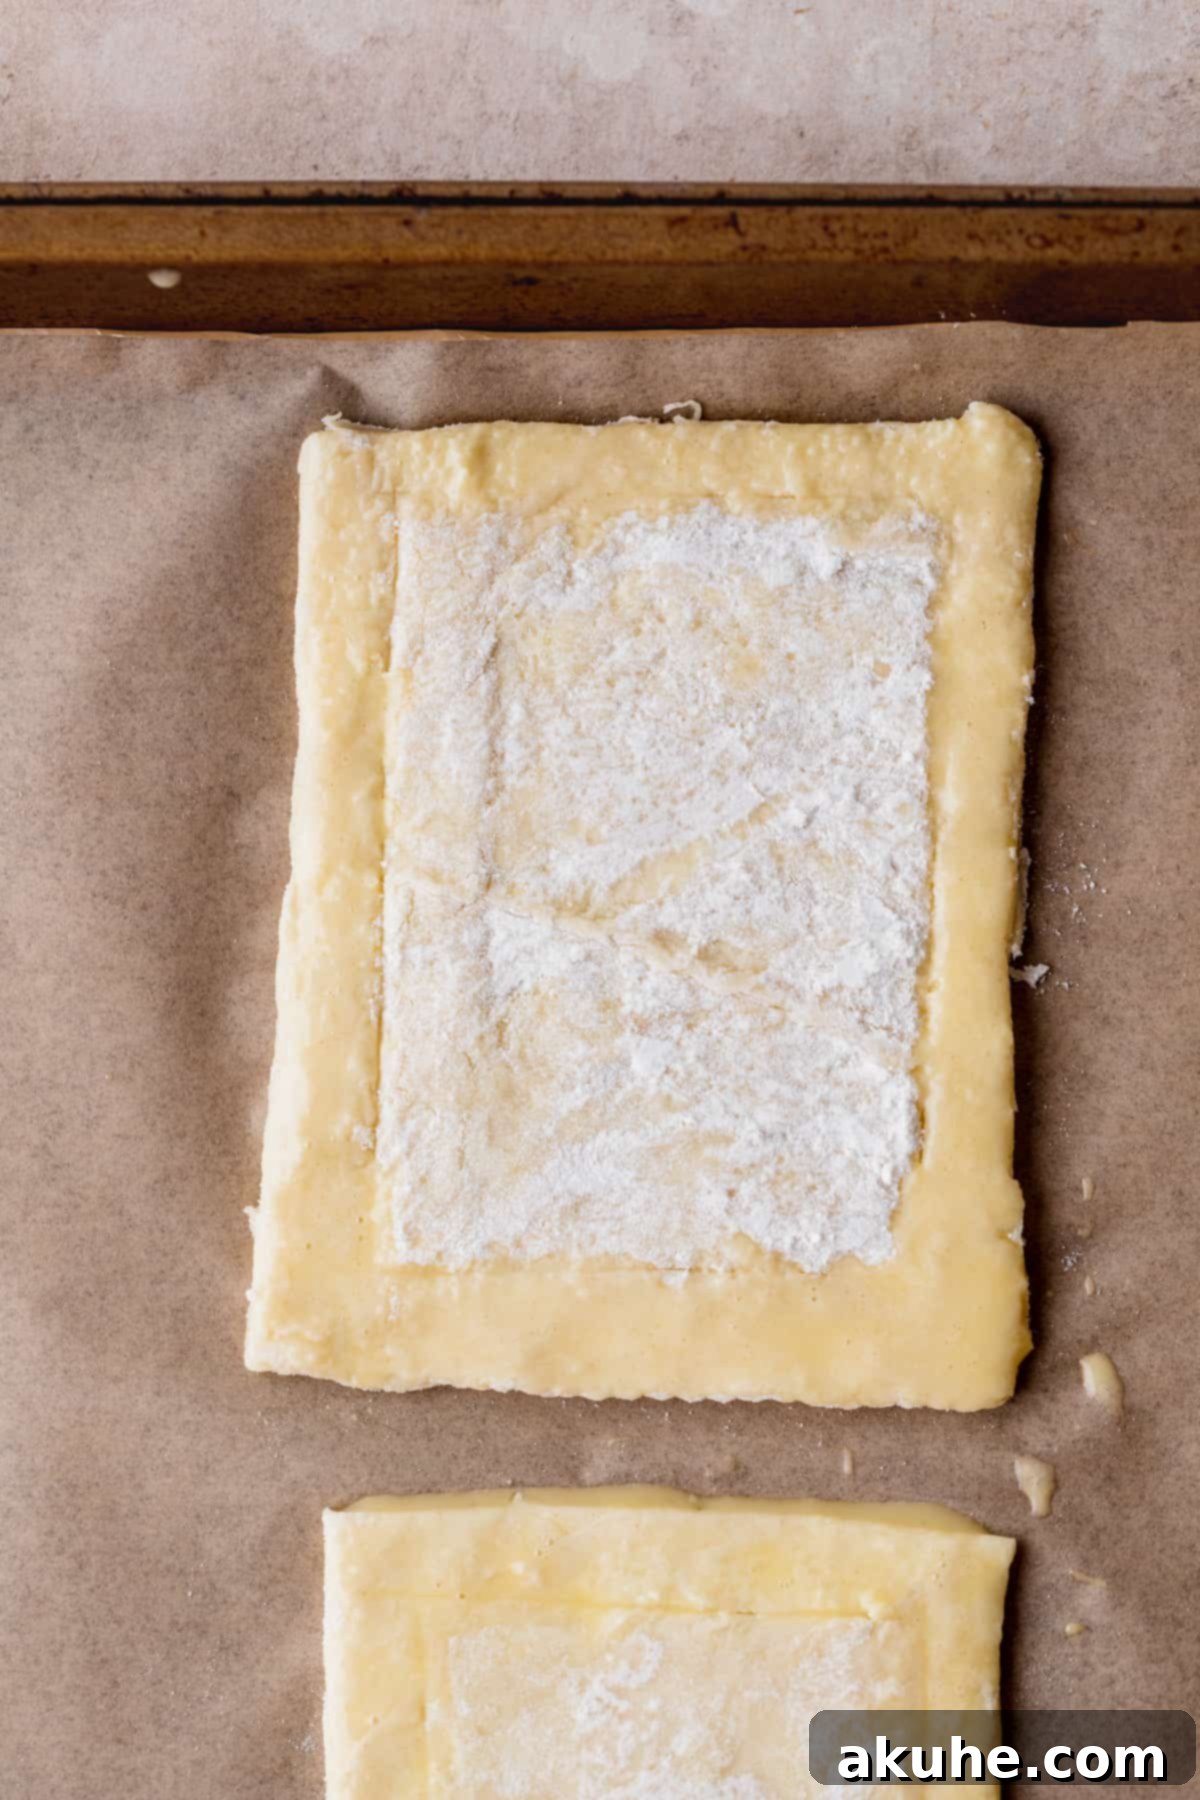
STEP 4: Prepare the Puff Pastry Rectangles. Lightly flour a clean work surface. Carefully unfold one sheet of thawed puff pastry. Gently press down any seams with your fingers to ensure they are sealed. Using a sharp knife or pizza cutter, cut the pastry sheet into 6 equal rectangles. For each rectangle, gently score a smaller rectangle about 1/2 inch in from the edges, creating an inner “box” without cutting all the way through the pastry. This scoring creates a border that will puff up during baking, encasing the filling beautifully. Repeat with the second puff pastry sheet.
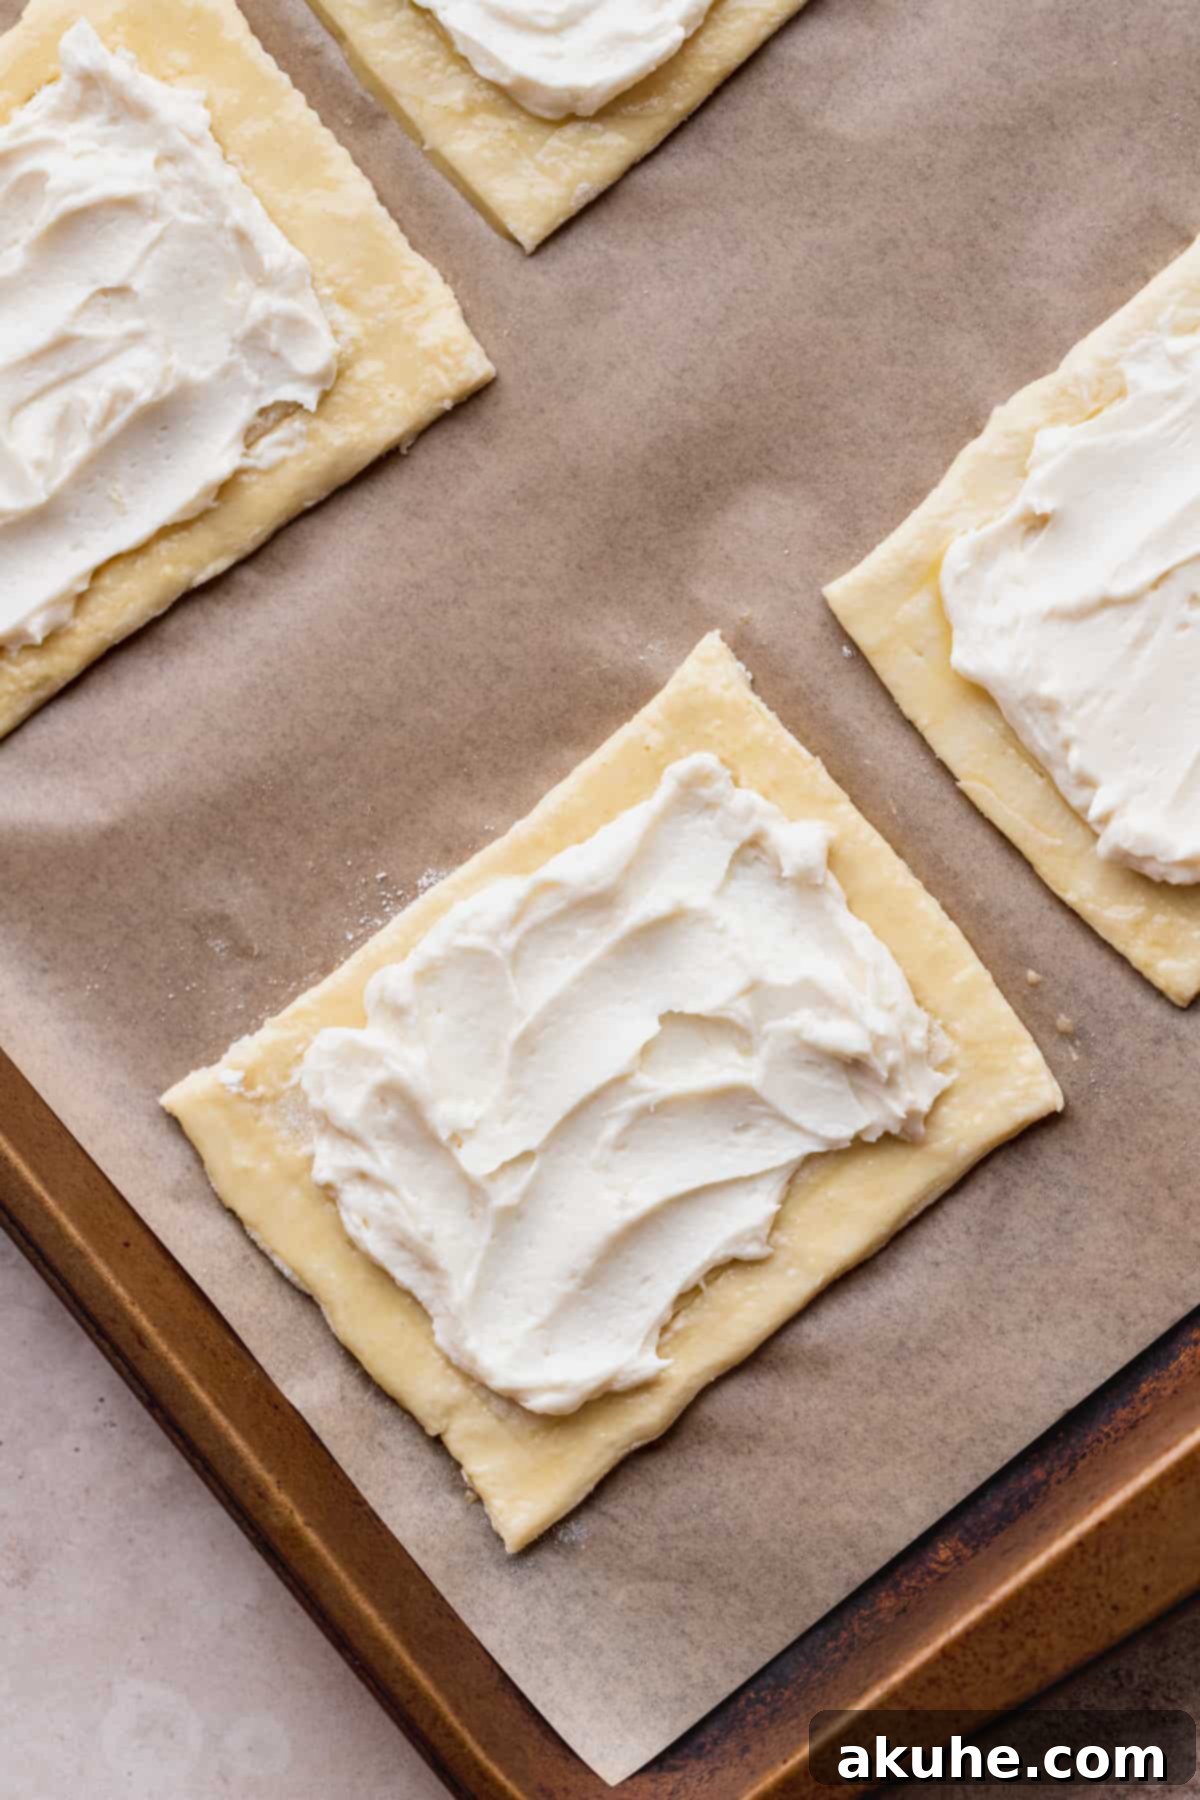
STEP 5: Add the Cream Cheese Filling. Place the pastry rectangles onto two baking sheets lined with parchment paper, allowing some space between each danish. Spoon about 1 tablespoon of the prepared cream cheese filling into the center of each scored rectangle. Carefully spread the filling evenly within the inner scored box, making sure to leave the outer 1/2-inch border of pastry clear. This helps create the classic danish shape.
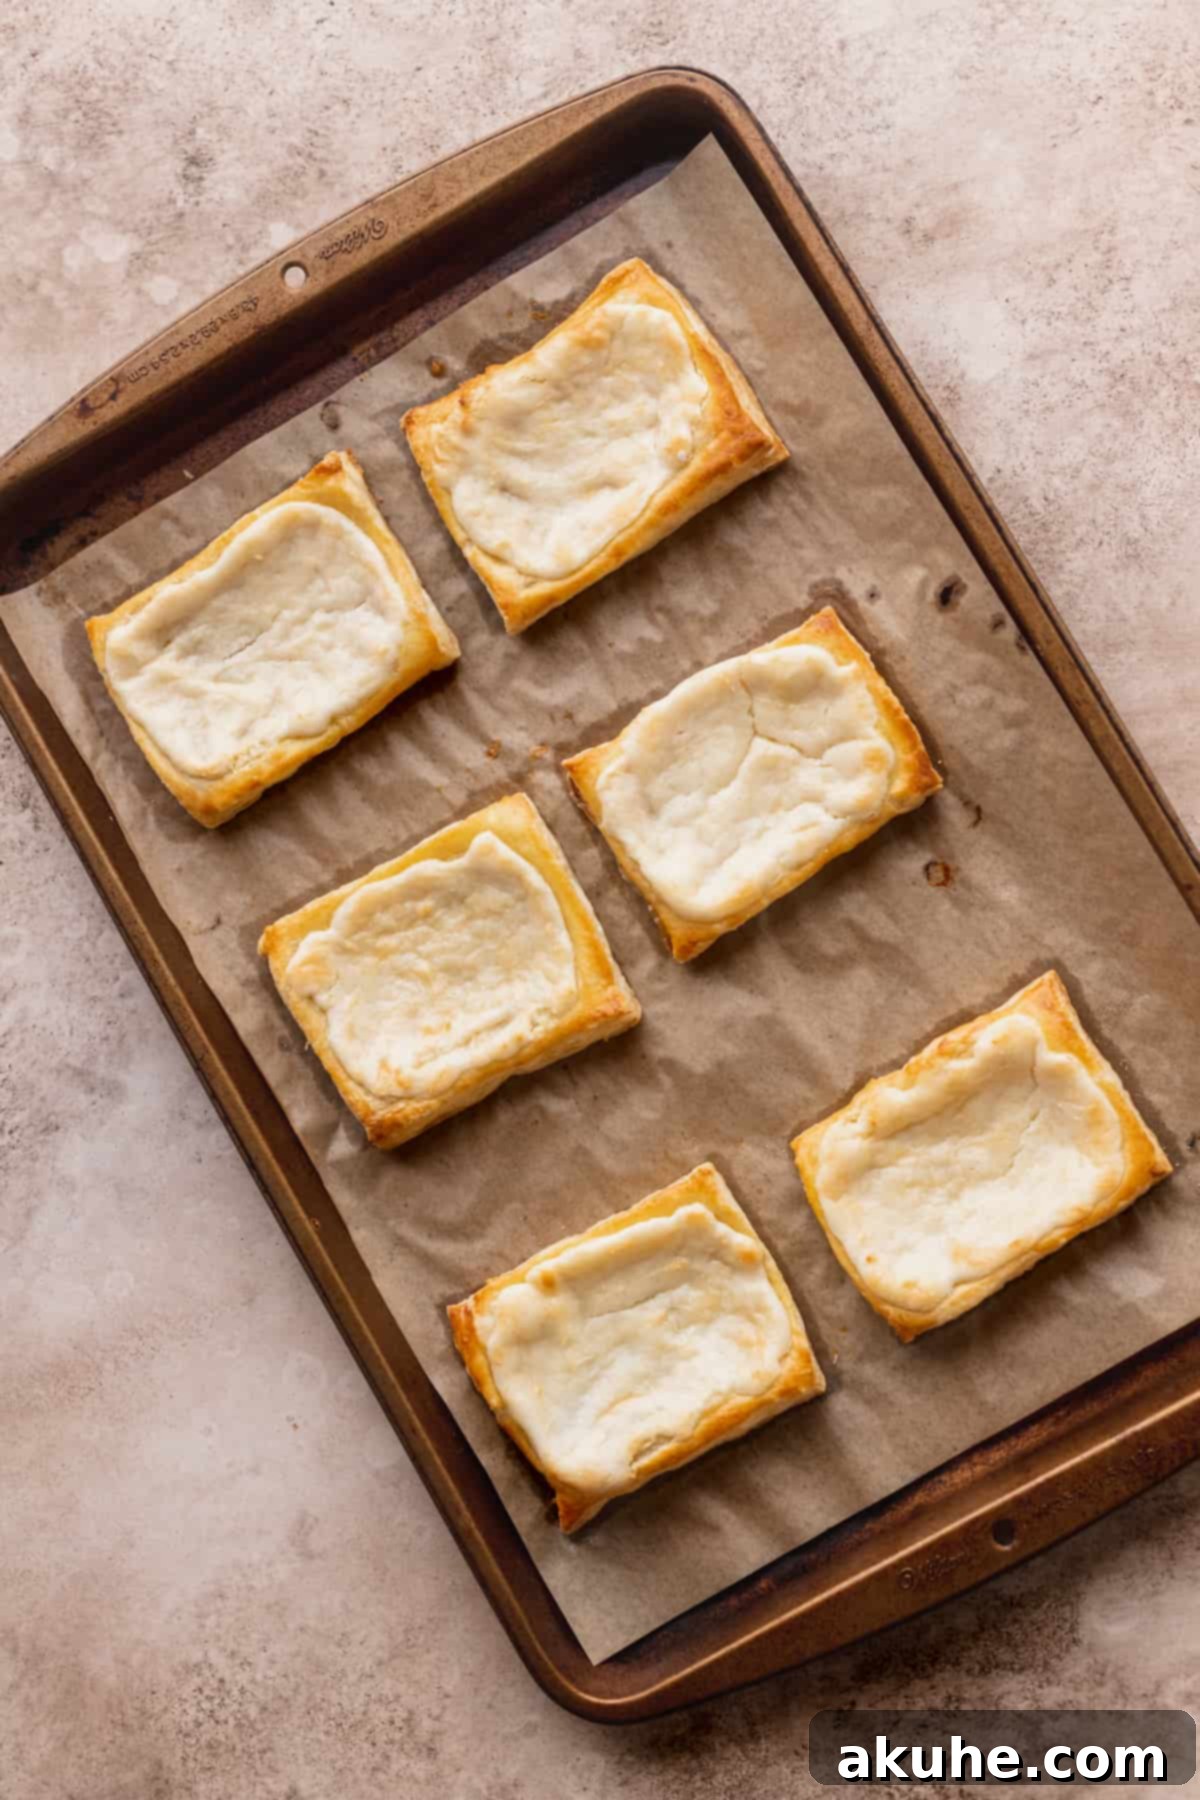
STEP 6: Bake to Golden Perfection. Preheat your oven to 400°F (200°C). In a small bowl, whisk together one large egg and 1 teaspoon of water to create an egg wash. Using a pastry brush, lightly brush the exposed puff pastry borders of each danish with the egg wash. Place one baking sheet with danishes in the fridge and the other in the freezer for 5 minutes. Chilling the pastry before baking helps the butter solidify, promoting maximum puff and flakiness. Bake one sheet at a time for 17-20 minutes, or until the pastry is beautifully golden brown and puffed. Transfer the baked danishes to a wire rack to cool completely. Once the first batch is cool, bake the second sheet.
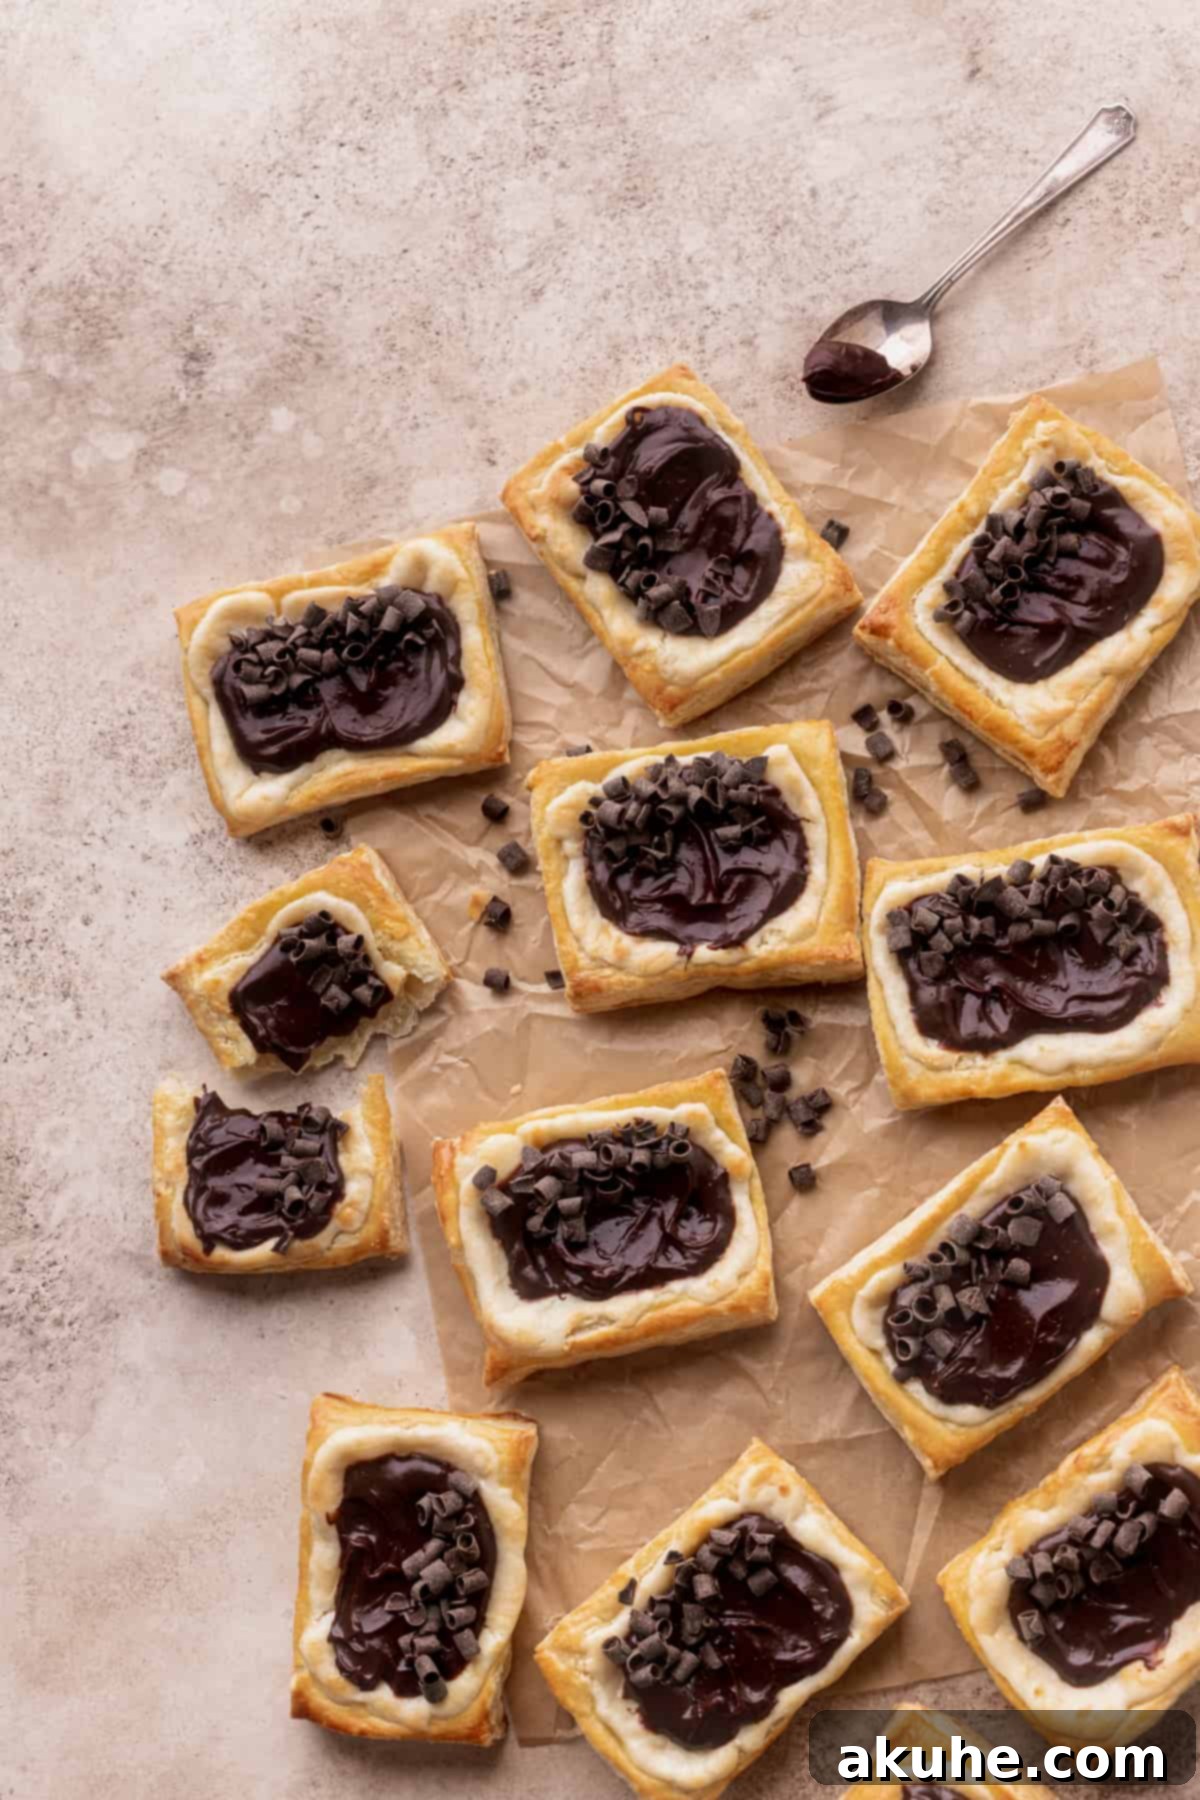
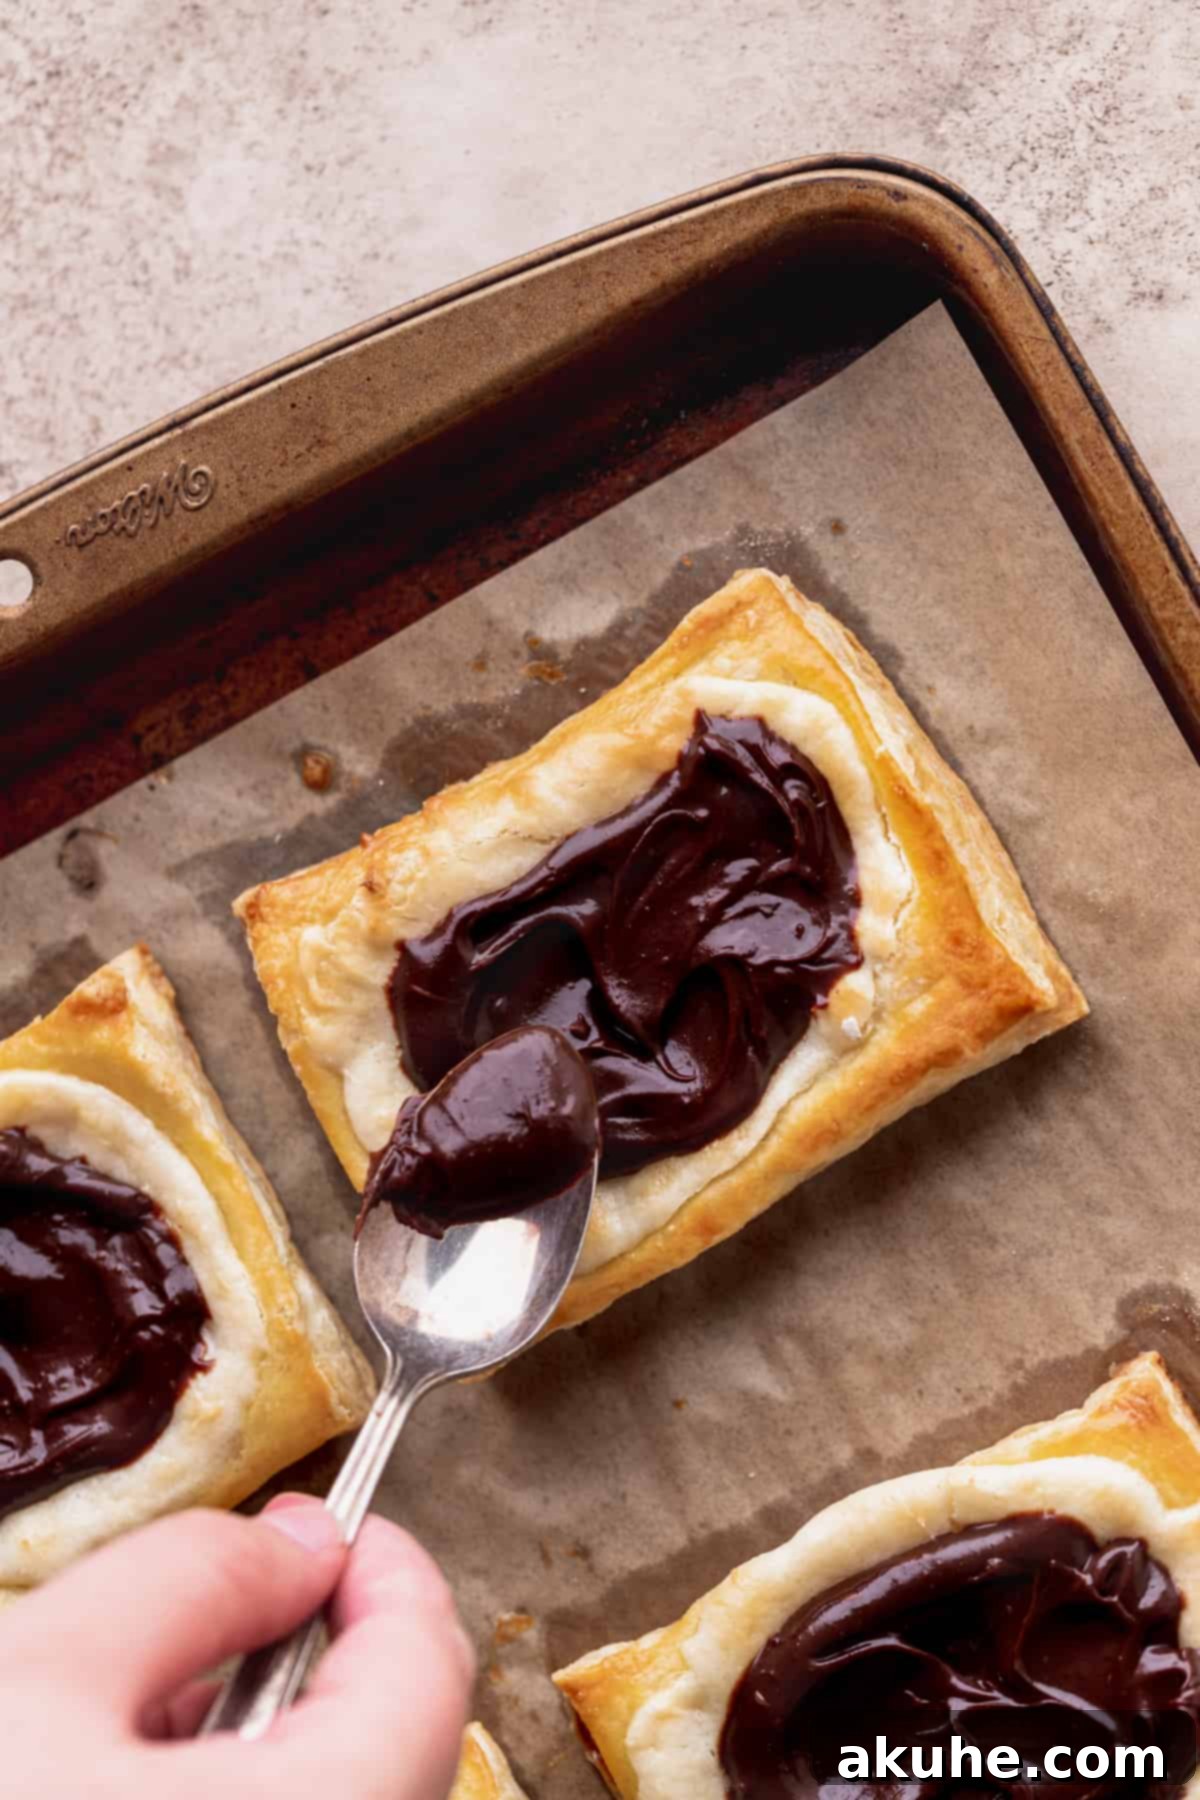
STEP 7: Finish with Chocolate Ganache. Once the baked danishes have cooled completely to room temperature, retrieve your thickened chocolate ganache. Generously spoon the ganache over the cream cheese filling of each danish, spreading it gently. For an appealing look, leave a small border of the baked cream cheese filling visible around the edges of the chocolate layer. Allow the ganache to set slightly before serving.
Expert Tips for Danish Perfection
Achieving bakery-quality results with your homemade danishes is easier than you think with a few expert insights:
First, don’t be alarmed if the cream cheese filling appears to sink slightly after the danishes cool. This is a completely normal occurrence due to the nature of cream cheese-based fillings. The flavor and texture remain perfectly intact, so rest assured your danishes are still delicious!
For the chocolate ganache, stir it periodically as it cools and thickens. This simple action prevents a skin or film from forming on the surface and helps you monitor its consistency. You’re looking for a smooth, spreadable, pudding-like texture that holds its shape without being too firm or too runny. It should be ready to spread once your danishes are completely cool.
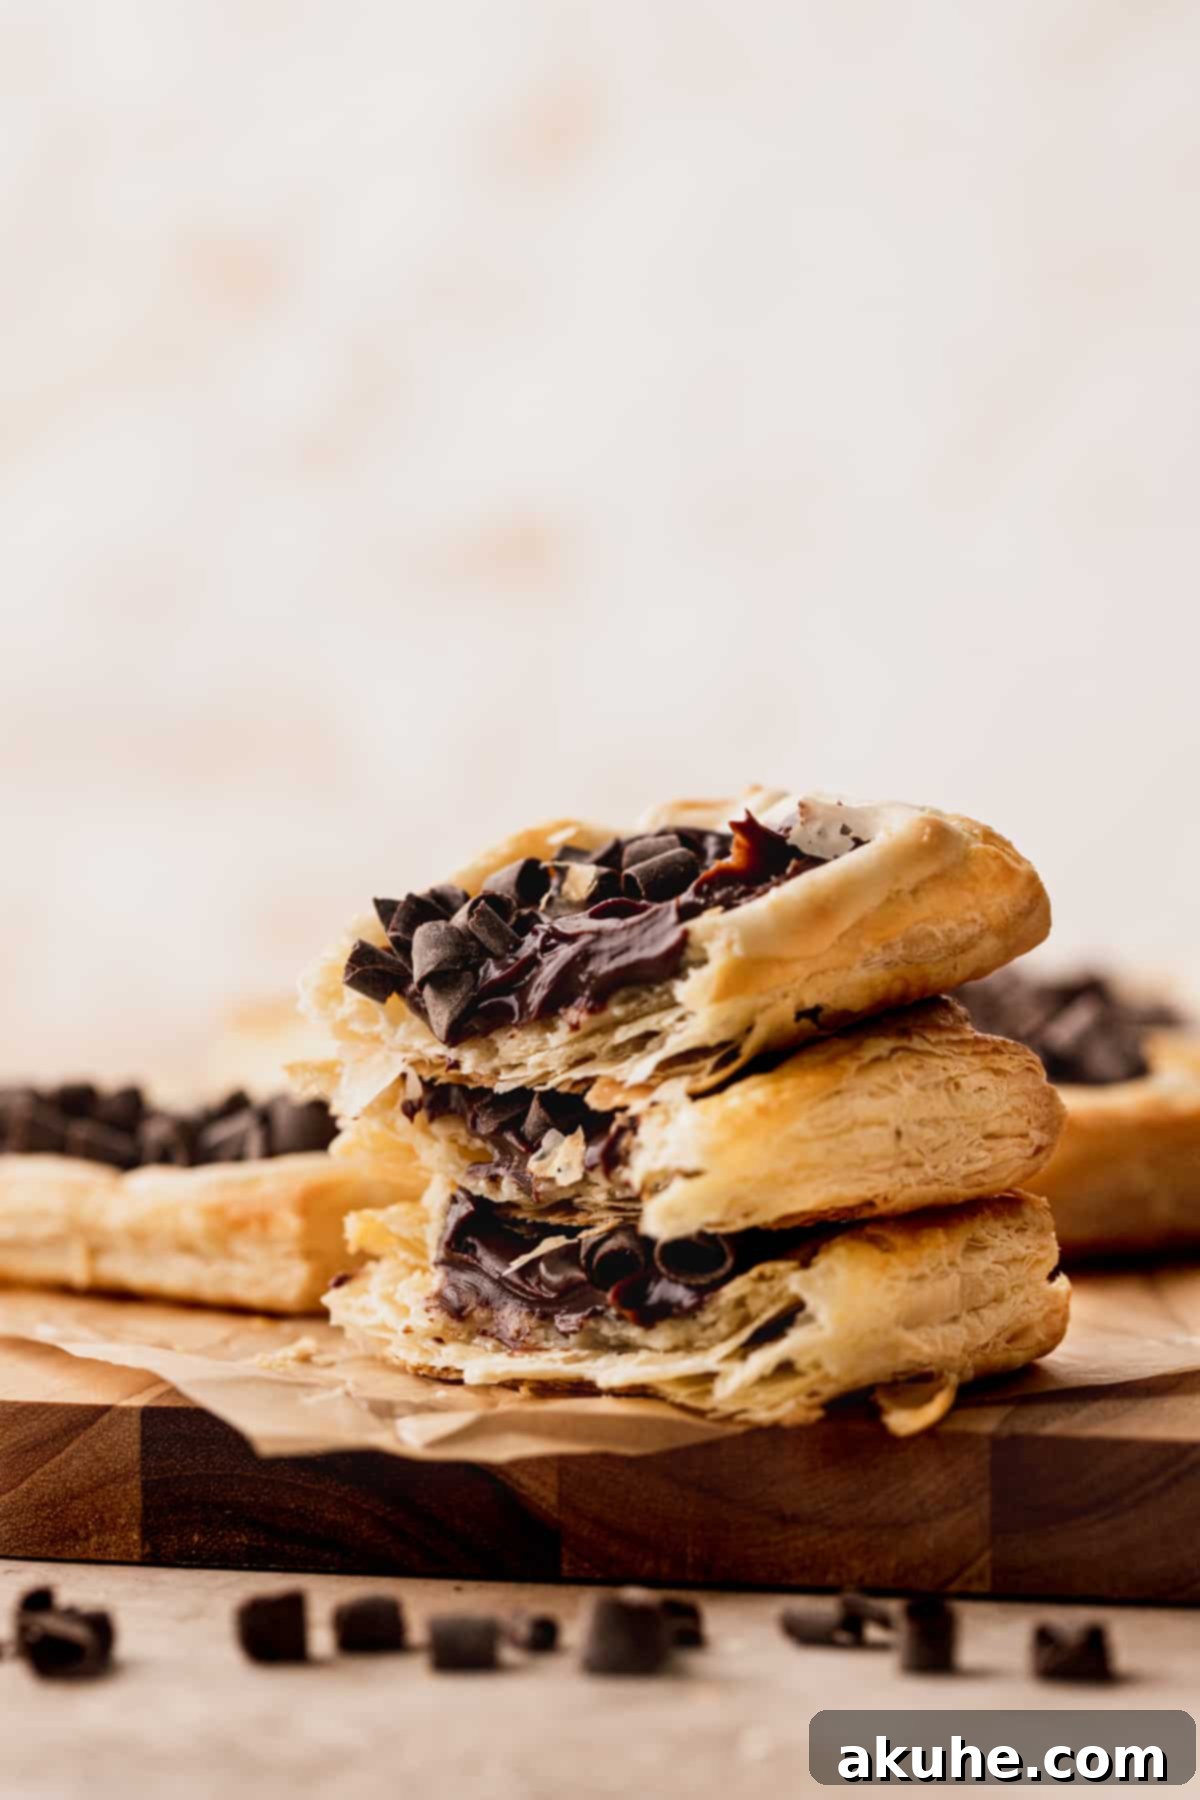
When working with puff pastry, speed is your friend. The colder the butter in the pastry stays, the flakier your baked goods will be. That’s why chilling the cut danishes for a few minutes before baking is so important – it firms up the butter, preventing it from melting too quickly in the oven and locking in those beautiful layers.
Ensure your oven is fully preheated before baking. A hot oven creates a burst of steam from the butter and water in the pastry, forcing the layers to separate and creating that signature puff. Baking one sheet at a time also ensures even heat distribution and consistent baking results.
Frequently Asked Questions (FAQ)
Here are answers to some common questions about making these delicious Chocolate Cream Cheese Danishes:
Yes, they absolutely do! You’ll find the flaky pastry and creamy cheese filling remarkably similar to the popular Starbucks version. However, with the addition of the rich chocolate ganache, many agree these homemade chocolate cream cheese danishes are even better!
While these are specifically designed as chocolate danishes and truly shine with the ganache, the danishes taste fantastic even without it. If you prefer a classic cream cheese danish, simply omit the chocolate ganache step. They’re still a wonderful, satisfying treat on their own.
Absolutely! These danishes are perfect for making ahead. You can bake them completely, allow them to cool, and then add the chocolate ganache just before serving, or even apply the ganache and store them. They retain their delicious flavor and texture wonderfully and taste excellent the next day, making them ideal for entertaining or meal prep.
Yes, you can! After assembling the danishes (before the egg wash and baking), place them on a parchment-lined baking sheet and freeze until solid. Once frozen, transfer them to an airtight container or freezer bag. When ready to bake, you can bake them from frozen, adding a few extra minutes to the baking time, or let them thaw slightly on the counter before baking as directed.
Look for all-butter puff pastry if available, as it will yield the most flavorful and flakiest results. Brands like Pepperidge Farm are widely available and work well, but any quality frozen puff pastry will provide a good base for this recipe.
Storing Your Chocolate Cream Cheese Danishes
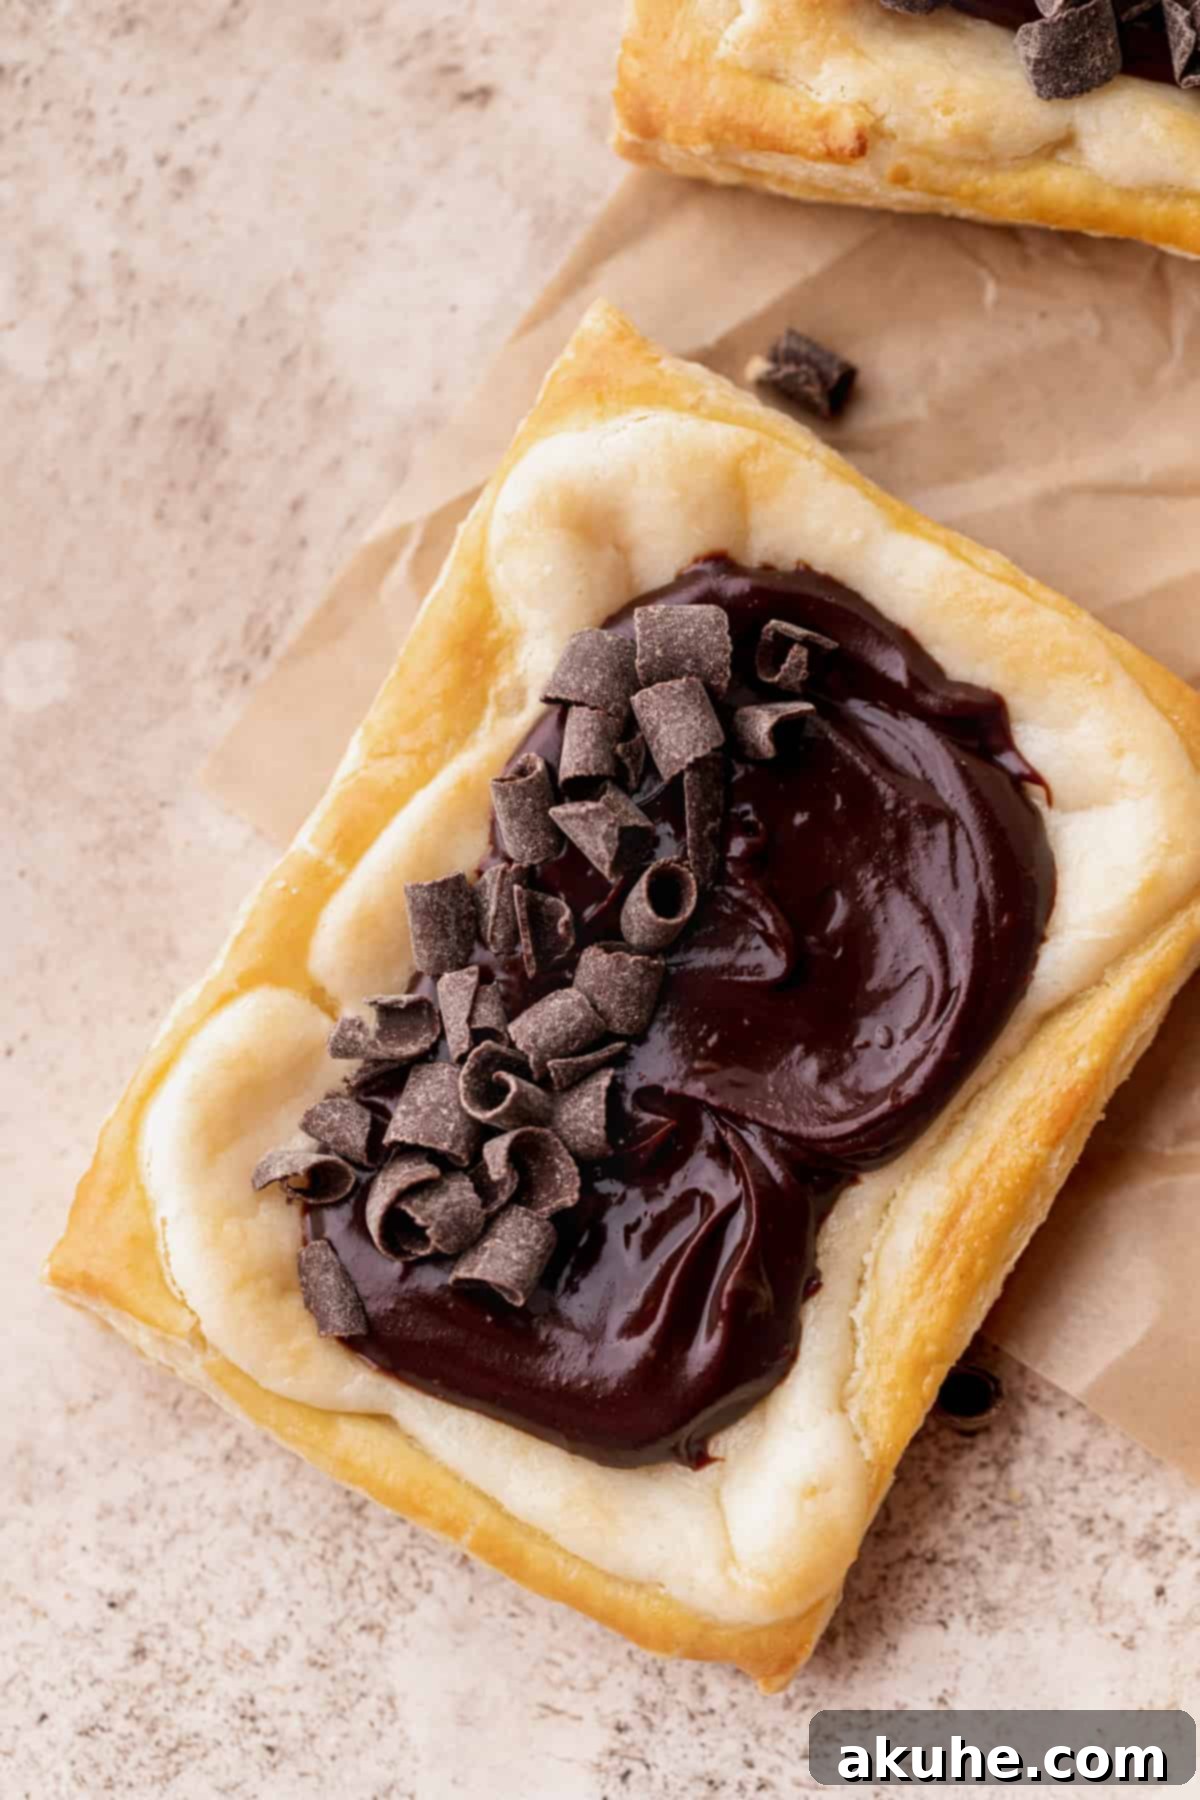
To keep your delicious Chocolate Cream Cheese Danishes fresh, store them in an airtight container at room temperature. They will remain wonderfully fresh and flavorful for up to 5 days. If you prefer a chilled pastry, you can also store them in the refrigerator, but allow them to come to room temperature or gently warm them for optimal flavor and texture. Reheating them briefly in a toaster oven can help restore some of their flakiness.
Other Breakfast Recipes To Try
Don’t forget to leave a star review below and share your thoughts on this recipe! Your feedback helps others discover and enjoy these amazing danishes. I’d also love to see your creations! Make sure to tag me on Instagram @stephaniesweettreats. For more delicious ideas and inspiration, be sure to follow me on Pinterest.

Chocolate Cream Cheese Danish
By Stephanie Rutherford
These chocolate cream cheese danishes are made with frozen puff pastry. They are topped with cream cheese filling and chocolate ganache frosting. They are very easy to make!
Print Recipe | Pin Recipe | Leave a Review
Prep Time: 45 mins
Cook Time: 18 mins
Cooling Time: 2 hrs
Total Time: 3 hrs 3 mins
Servings: 12 danishes
Ingredients
- 2 Frozen puff pastry sheets
- 8 oz Cream cheese, room temperature
- 1/3 cup White granulated sugar
- 2 tsp Pure vanilla extract
- 1 Large egg, for egg wash
- 1 tsp Water, for egg wash
- 1 cup Semi-sweet chocolate chips
- 3/4 cup Heavy cream
Instructions
- Place frozen puff pastry on the counter for 30 minutes to thaw.
- While you wait for the pastry to thaw, make the chocolate ganache. Pour chocolate chips in a bowl. Heat heavy cream in a saucepan over medium-low heat until steaming. Pour hot cream over chocolate chips.
- Let sit for 1 minute and 30 seconds. Stir gently until smooth. If any chocolate chunks remain, heat in the microwave for 15-second intervals, stirring well in between. Let sit for 2 hours at room temperature until “pudding-like” in texture.
- In a small bowl, beat the cream cheese using a hand mixer on high for 1 minute. Add in sugar and beat again for 1 minute. Mix in vanilla.
- Place thawed pastry sheets on a lightly floured surface. Use your fingers to push the seams together. Use a sharp knife and cut pastry into thirds lengthwise, then cut each third in half to get 6 rectangles per sheet.
- Mix the egg and water together for the egg wash. Use a pastry brush and spread the egg wash around the edge of each rectangle.
- Preheat oven to 400°F (200°C). Line two cookie sheets with parchment paper.
- Place the rectangles on the cookie sheet, 6 per sheet. For each rectangle, use a sharp knife and cut another rectangle shape along each rectangle of pastry, leaving a 1/2-inch edge. Do not cut all the way down, as this allows the pastry to rise around the filling.
- Spoon 1 tablespoon of cream cheese filling on each rectangle, spreading the filling inside each scored “box.”
- Place 1 sheet of prepared danishes in the fridge and 1 in the freezer. Let the sheet in the freezer sit for 5 minutes before baking to ensure the butter in the pastry is cold again.
- Bake 1 sheet at a time for 17-20 minutes, or until the pastry is golden brown. Let cool completely before baking the next sheet.
- Spoon the prepared chocolate ganache on top of the cream cheese filling once the pastry is cool. Make sure some of the cream cheese is showing around the edges of the chocolate for a pretty presentation.
Nutrition Facts (per danish)
- Calories: 226 kcal
- Carbohydrates: 15 g
- Protein: 2 g
- Fat: 18 g
- Saturated Fat: 10 g
- Polyunsaturated Fat: 1 g
- Monounsaturated Fat: 5 g
- Trans Fat: 1 g
- Cholesterol: 42 mg
- Sodium: 68 mg
- Potassium: 123 mg
- Fiber: 1 g
- Sugar: 12 g
- Vitamin A: 480 IU
- Vitamin C: 1 mg
- Calcium: 38 mg
- Iron: 1 mg
Did you make this recipe? Please leave a star rating and review below!
