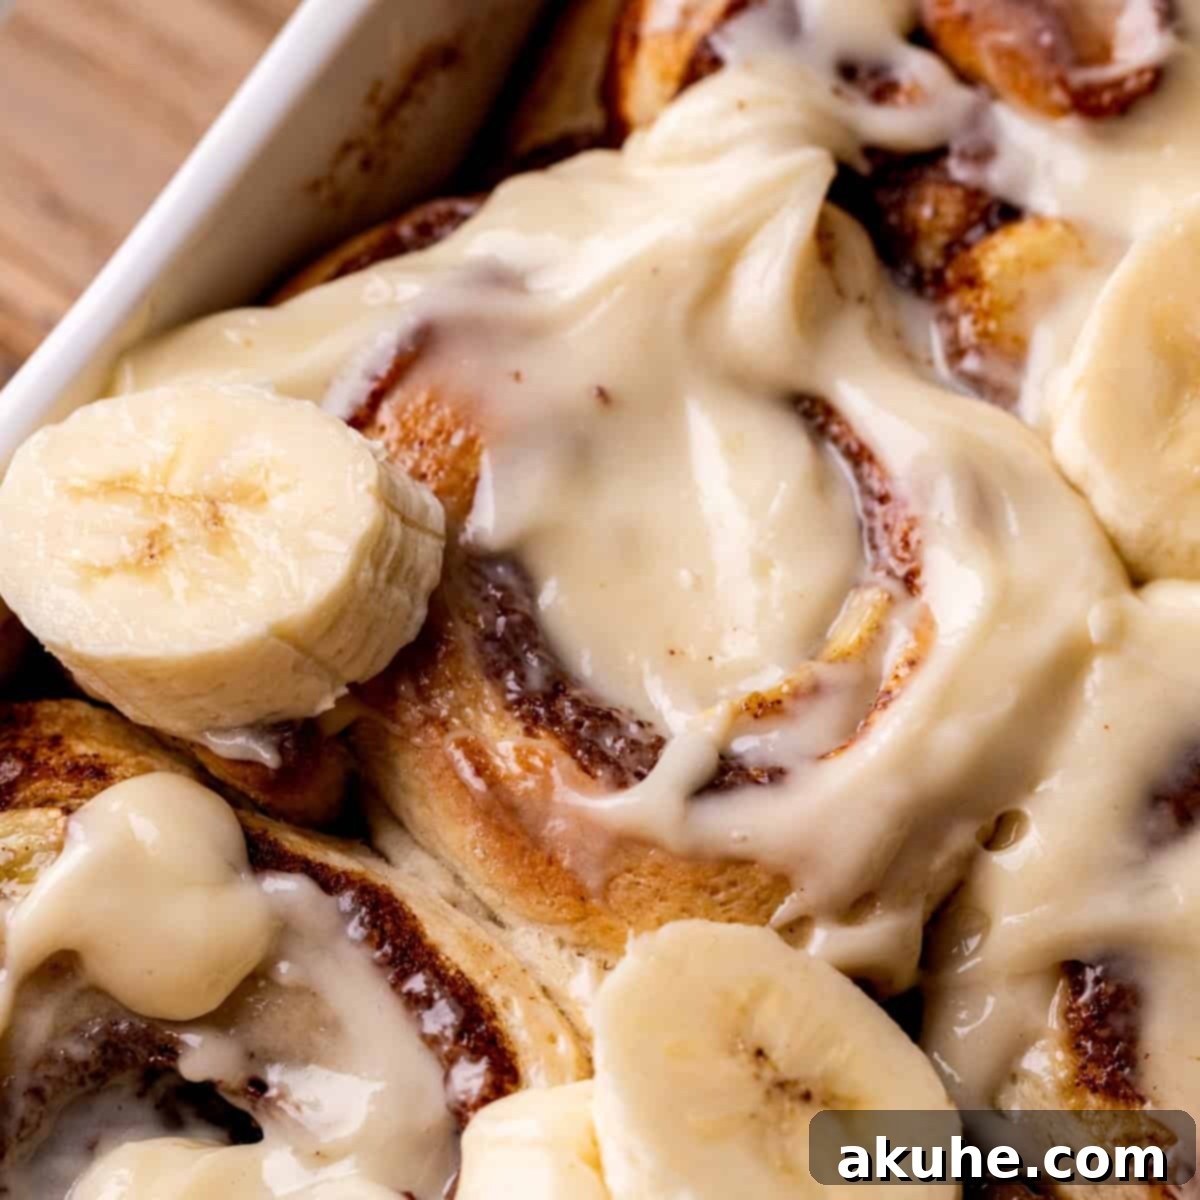
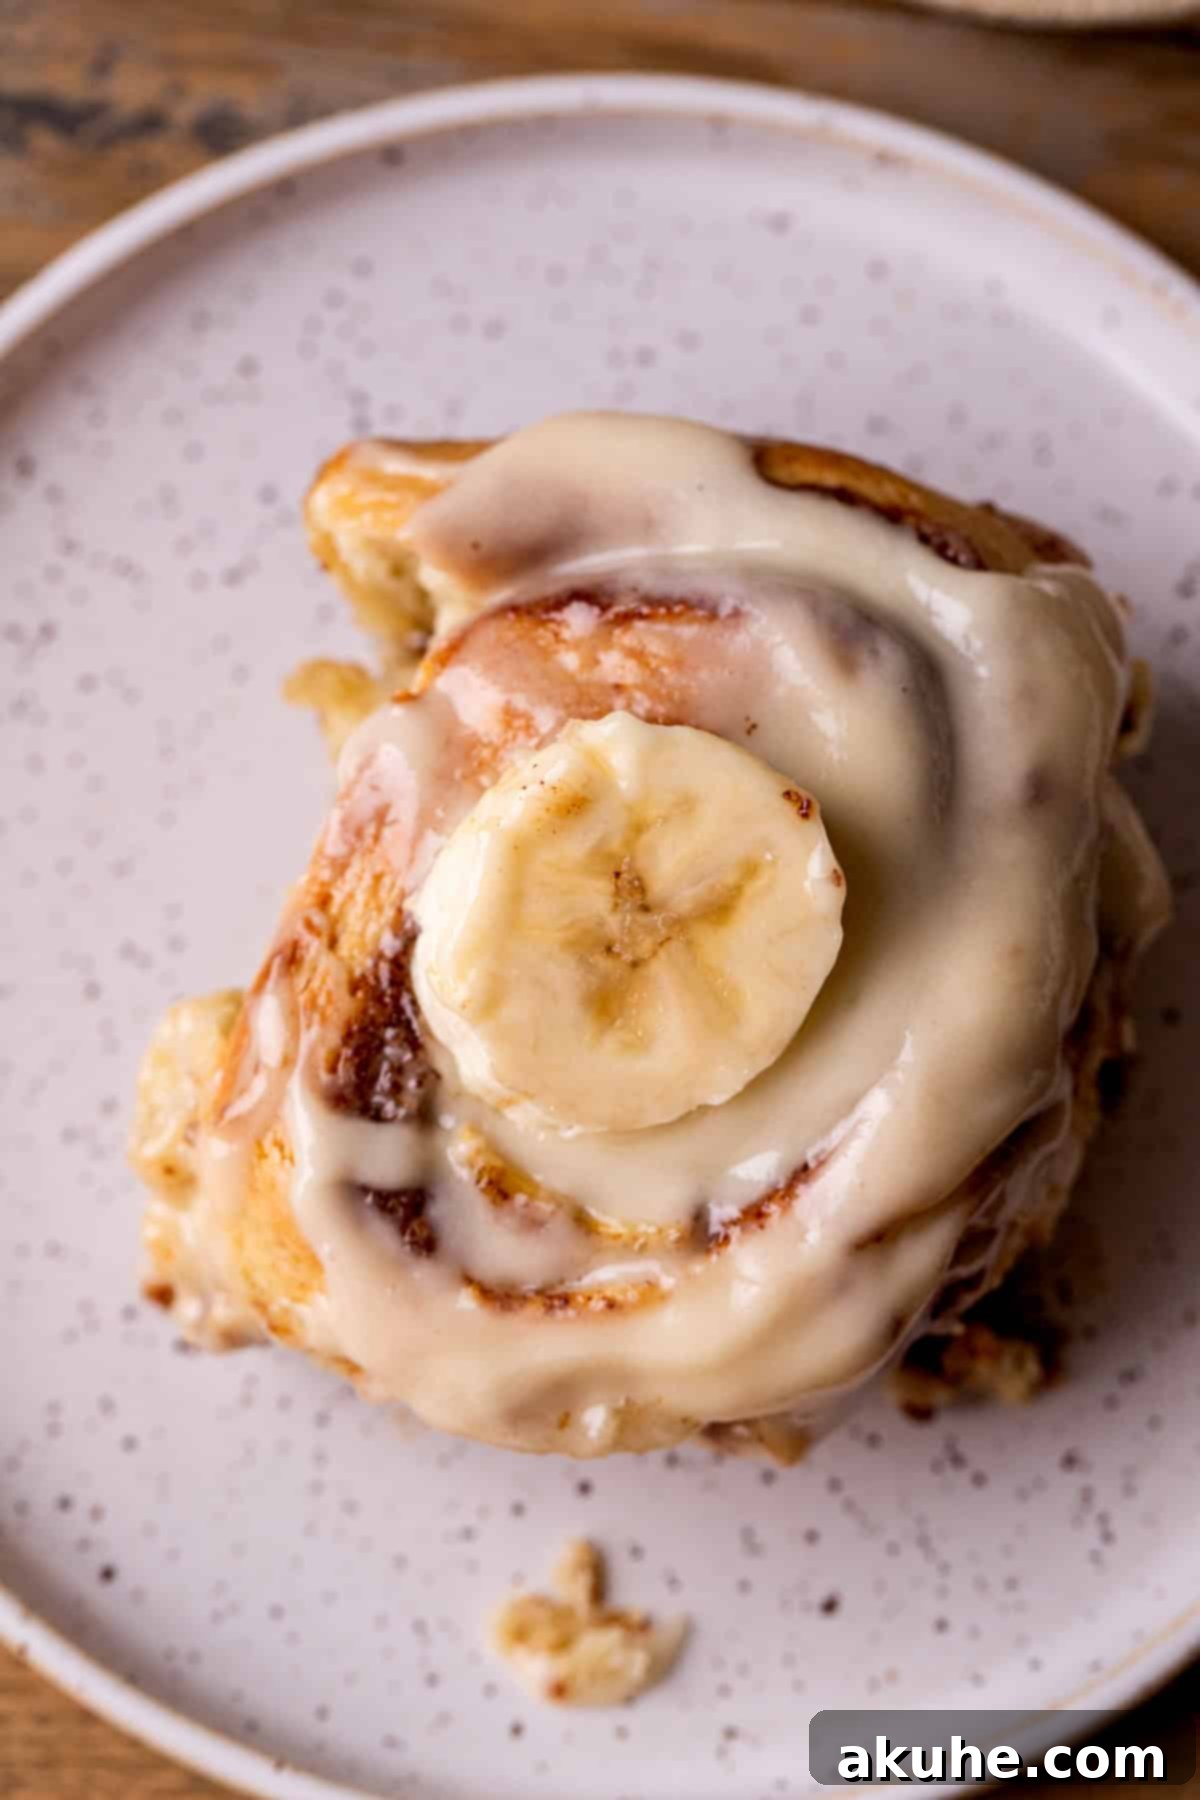
Imagine the comforting aroma of freshly baked banana bread mingling with the sweet spice of cinnamon rolls. That’s precisely what you get with these extraordinary **Banana Cinnamon Rolls**! This recipe masterfully combines two beloved breakfast classics into one irresistible treat. Featuring a tender, fragrant banana dough, a rich cinnamon filling generously studded with ripe banana slices, and a luscious cream cheese icing, these rolls are destined to become your new favorite. The moment they emerge from the oven, your home will be filled with the unmistakable scent of warm banana bread, setting the perfect mood for a truly special morning.
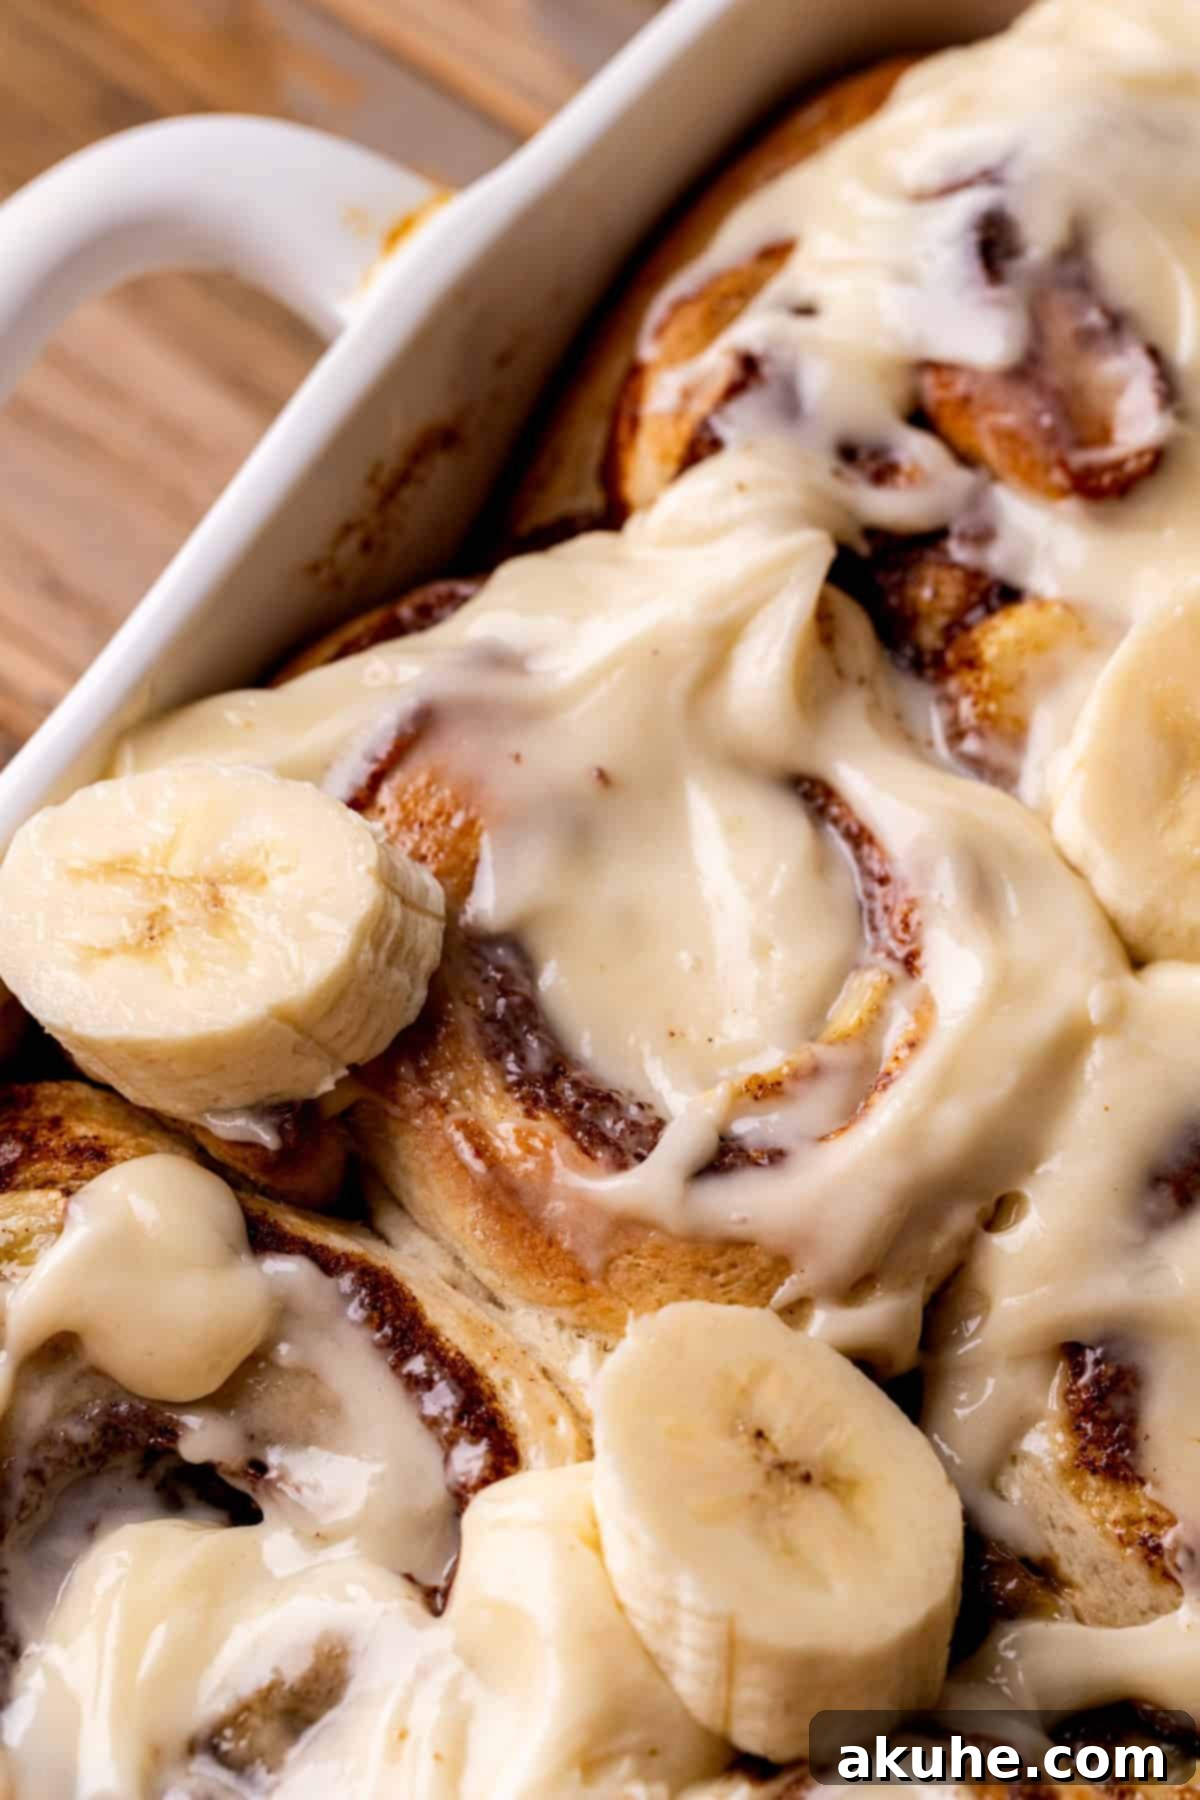
For any banana enthusiast, these **banana bread cinnamon rolls** offer the ultimate breakfast experience. Every single bite delivers an explosion of natural banana flavor, thanks to both the innovative banana-infused dough and the delightful inclusion of fresh banana slices within the cinnamon swirl. Far from being complicated, this recipe is as straightforward as preparing any other homemade cinnamon rolls, yet the resulting flavor profile is elevated and truly exceptional. Preparing these fluffy, gooey delights is an effortless way to transform an ordinary morning into something truly memorable and celebratory. Get ready to impress your family and friends with this unique twist on a classic!
If you’re seeking other delightful breakfast options to tantalize your taste buds, we highly recommend exploring our recipes for Nutella Muffins, decadent Chocolate Glazed Donuts, and our wonderfully fluffy Banana Waffles. Each offers a delicious start to your day!
Why This Banana Cinnamon Rolls Recipe Is a Must-Try
Discover what makes our **Fluffy Banana Cinnamon Rolls** stand out from the crowd and why they’re poised to become a staple in your recipe collection:
- Unforgettable Banana Bread Flavor Fusion: This recipe brilliantly marries the comforting, sweet notes of classic banana bread with the warm, spicy essence of traditional cinnamon rolls. The result is a harmonious blend that’s both familiar and exciting. The dough itself is imbued with real banana, ensuring a rich flavor foundation, while the cinnamon-sugar filling and fresh banana slices create a multi-layered taste sensation. When these rolls bake, the fragrant aroma alone is enough to transport you to a cozy kitchen filled with the promise of deliciousness.
- Perfectly Gooey and Satisfying Texture: Expect nothing less than the soft, pillowy texture that defines exceptional homemade cinnamon rolls. Our banana cinnamon rolls deliver that signature gooey center, making each bite incredibly moist and decadent. Beyond the tender dough, the inclusion of fresh banana slices within the swirl adds an intriguing and delightful textural contrast, preventing any monotony and enhancing the overall eating experience. It’s a symphony of softness and subtle chewiness.
- Convenient Make-Ahead Option: Life can be busy, but that doesn’t mean you have to compromise on a freshly baked breakfast. This recipe offers incredible flexibility, allowing you to prepare the rolls the day before. Simply follow our detailed “Overnight Rolls” instructions, and you can pop them into the oven the following morning. This feature is a game-changer for holidays, special occasions, or simply ensuring a relaxed start to your day with minimal effort when you wake up.
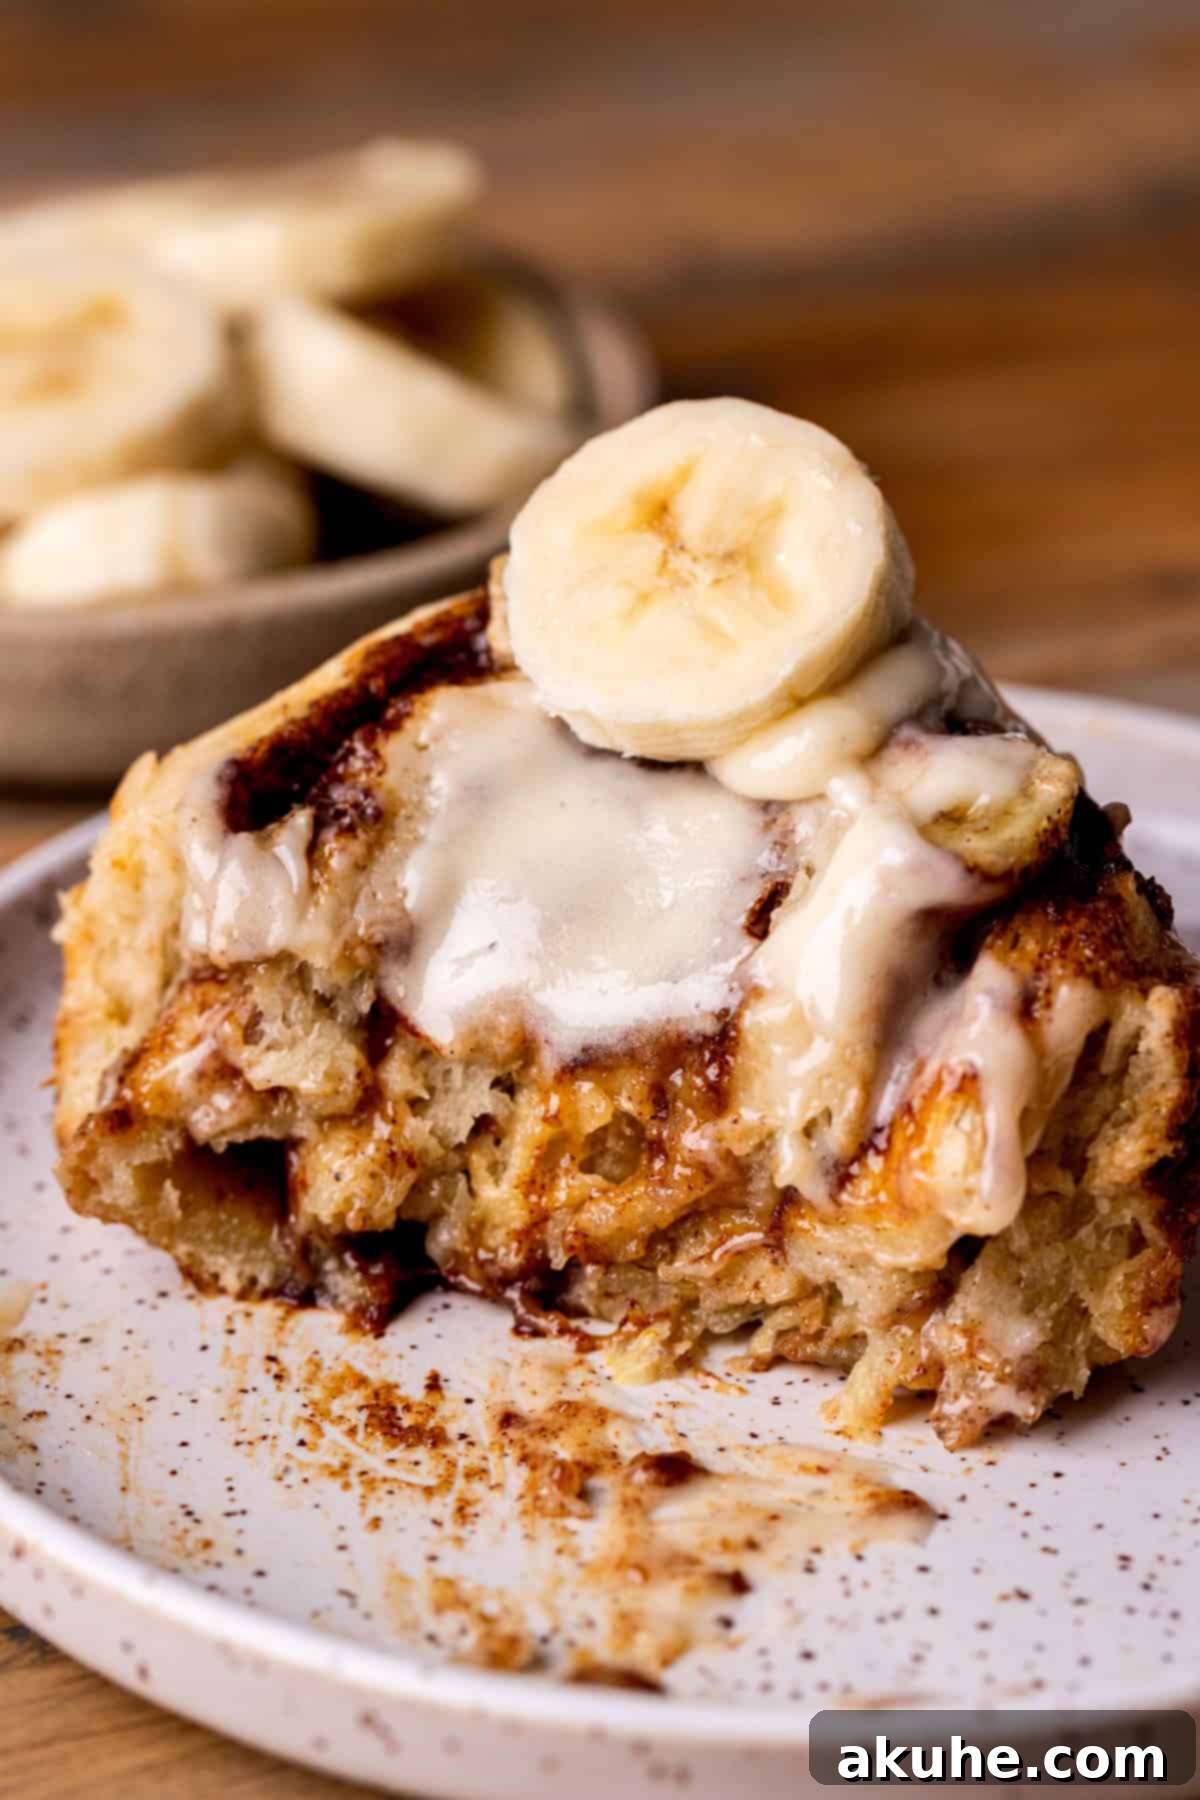
Essential Ingredient Notes for Perfectly Fluffy Banana Cinnamon Rolls
Understanding your ingredients is key to achieving stellar baking results. Here are some detailed notes on the components for these **fluffy banana cinnamon rolls**. For a comprehensive list of quantities and preparation, please refer to the recipe card provided below.
- All-Purpose Flour: You’ll notice this recipe calls for a slightly higher amount of flour compared to many standard cinnamon roll recipes. This is crucial because of the additional moisture introduced by the mashed bananas in the dough. Proper measurement is vital – spoon your flour into the measuring cup and level it with a straight edge rather than scooping directly, which can compact the flour and lead to a dry, dense dough. Alternatively, using a kitchen scale for accuracy is highly recommended.
- Unsalted Butter: Always opt for unsalted butter to control the total sodium content of your rolls. It’s imperative that your butter for both the dough and the filling is softened to room temperature. This typically means pulling it out of the refrigerator at least two hours before you plan to start baking. Softened butter incorporates more evenly into the dough and creams smoothly with sugar for the filling, ensuring a consistent texture.
- Milk: Any type of milk (dairy or non-dairy) will work beautifully in this recipe. The critical factor is its temperature. Warm the milk to precisely 110°F (43°C). A temperature too high will kill the active yeast, preventing the dough from rising, while milk that’s too cool will drastically slow down or even inhibit yeast activity, resulting in a dense roll. Use a thermometer for accuracy.
- Active Dry Yeast: We specifically recommend one packet (approximately 2¼ teaspoons or 11 grams) of active dry yeast. This type of yeast needs to be proofed in warm liquid. While instant yeast can often be used interchangeably, avoid “fast rise” or “rapid rise” yeast, as its aggressive rising properties might not be suitable for the slower fermentation desired in this rich dough. Ensure your yeast is fresh and not expired for optimal results.
- Large Egg: A single large egg adds richness, helps bind the dough, and contributes to its overall structure and tender crumb. Like the butter, ensure your egg is at room temperature before use; this allows it to emulsify more effectively with other ingredients. Lightly beat the egg before adding it to the dry ingredients for easier incorporation.
- Cream Cheese: For the most luxuriously smooth and creamy icing, your cream cheese must be at room temperature. This prevents lumps and ensures it beats seamlessly with the butter and powdered sugar. Take it out of the fridge at the same time as your butter, about two hours prior to mixing.
- Bananas: The ripeness of your bananas plays a dual role in this recipe. For the dough, very ripe bananas (with brown spots) are ideal as they are sweeter and mash more easily, imparting a deeper flavor. However, for the filling, you’ll want fresh, slightly firmer bananas that are just ripe enough to slice easily and hold their shape during baking, providing a pleasant textural contrast rather than becoming mushy. Using fresh, medium-ripe bananas for both dough and filling offers a balanced approach if you don’t have super ripe ones readily available.
Ingredient Substitutions for Dietary Needs
While this recipe is designed for maximum deliciousness, we understand that dietary considerations are important. Here are some potential substitutions:
- Dairy-Free Options: For those avoiding dairy, you can successfully adapt this recipe by using your favorite dairy-free milk (such as almond or soy milk, warmed as directed), plant-based butter alternatives, and dairy-free cream cheese. Always ensure these substitutes are suitable for baking and are brought to the correct temperature.
- Gluten-Free Considerations: Unfortunately, due to the specific requirements for yeast activation and gluten development crucial for the fluffy, chewy texture of these cinnamon rolls, this recipe is not a good candidate for gluten-free flour substitutes. Achieving the desired rise and texture with gluten-free flours can be challenging and would require significant alterations.
Step-by-Step Instructions: Crafting the Perfect Banana Dough
Creating the foundation for these delightful **banana cinnamon rolls** begins with the unique banana-infused dough. Follow these steps carefully to ensure a soft, pliable, and flavorful base:
STEP 1: Activate Your Yeast. Begin by gently heating your milk in a microwave-safe bowl until it reaches the ideal temperature of 110°F (43°C). This warmth is critical for waking up the yeast. Once at temperature, sprinkle the active dry yeast evenly over the surface of the warm milk. Resist the urge to stir it in immediately; simply let it sit undisturbed for about 10 minutes. During this time, the yeast will proof, becoming foamy and fragrant, indicating it’s alive and ready to work its magic. If no foam appears, your yeast may be expired or the milk was too hot/cold, and you should start again.
STEP 2: Prepare Dry Ingredients and Knead in Butter. In a spacious large bowl, combine the measured all-purpose flour, granulated sugar, and salt. Whisk these dry ingredients together thoroughly to ensure even distribution. Next, add the cubed, room-temperature unsalted butter. Using a pastry blender or your fingertips, work the butter into the flour mixture. Continue kneading until the butter is fully incorporated, forming small, pea-sized crumbs. This step helps create pockets of butter that will yield a tender, flaky dough.
STEP 3: Combine Wet and Dry Ingredients. Once your yeast mixture is actively bubbling, add it to the large bowl containing your dry ingredients. Follow with the lightly beaten room-temperature egg and the mashed ripe bananas. These wet ingredients are what give our dough its distinctive flavor and moisture. Stir gently to combine the ingredients.
STEP 4: Knead the Dough to Perfection. If using a stand mixer, attach the dough hook. Start mixing on low speed until all the ingredients are just combined and a shaggy dough begins to form. Then, increase the speed to medium and let the mixer knead the dough for precisely 5 minutes. This process develops the gluten, resulting in an elastic and smooth dough. The dough should be slightly sticky but manageable. If you prefer to knead by hand, refer to the detailed instructions in the recipe notes below.
STEP 5: Prepare for the First Rise. Preheat your oven to its lowest setting, usually 200°F (93°C), then immediately turn it off. This creates a warm, draft-free environment ideal for dough rising. Lightly spray a clean large mixing bowl with nonstick baking spray. Transfer the prepared dough into this bowl, ensuring it’s not sticking excessively to your hands. Cover the bowl securely with a clean kitchen towel to retain warmth and moisture.
STEP 6: The First Rise – A Warm Embrace. Place the covered bowl with the dough inside your pre-warmed (but now off) oven. Immediately crack the oven door open just slightly to prevent it from getting too hot and to ensure gentle warmth. Allow the dough to rise for a full 1 hour. The consistent, gentle warmth of the oven is particularly beneficial for this dough, as the high moisture content from the bananas sometimes requires a little extra help for a robust rise.
Step-by-Step Instructions: Crafting the Irresistible Cinnamon Banana Filling
Now that your banana dough is on its first rise, it’s time to prepare the flavorful core of these **banana cinnamon rolls** – the cinnamon banana filling. This sweet and spicy mixture, combined with fresh banana slices, is what truly defines these unique treats.
STEP 1: Beat Butter and Sugar. In a small bowl, use a hand mixer to beat the room-temperature unsalted butter on high speed until it becomes wonderfully smooth and creamy. This takes just about a minute. Then, add the packed brown sugar (either light or dark brown will work, but dark brown offers a deeper molasses flavor) and ground cinnamon. Continue mixing on medium speed for about 1 minute, until the ingredients are fully combined and the mixture is light and fluffy. Set aside.
STEP 2: Roll Out the Dough. Once your dough has completed its first rise, gently punch it down to release the air. Transfer the dough onto a lightly floured clean work surface. Sprinkle a little extra flour over the top of the dough to prevent sticking. Using a rolling pin, carefully roll the dough into a large rectangle. Aim for a thickness of approximately ¼ inch. Precision here helps create even layers in your finished rolls.
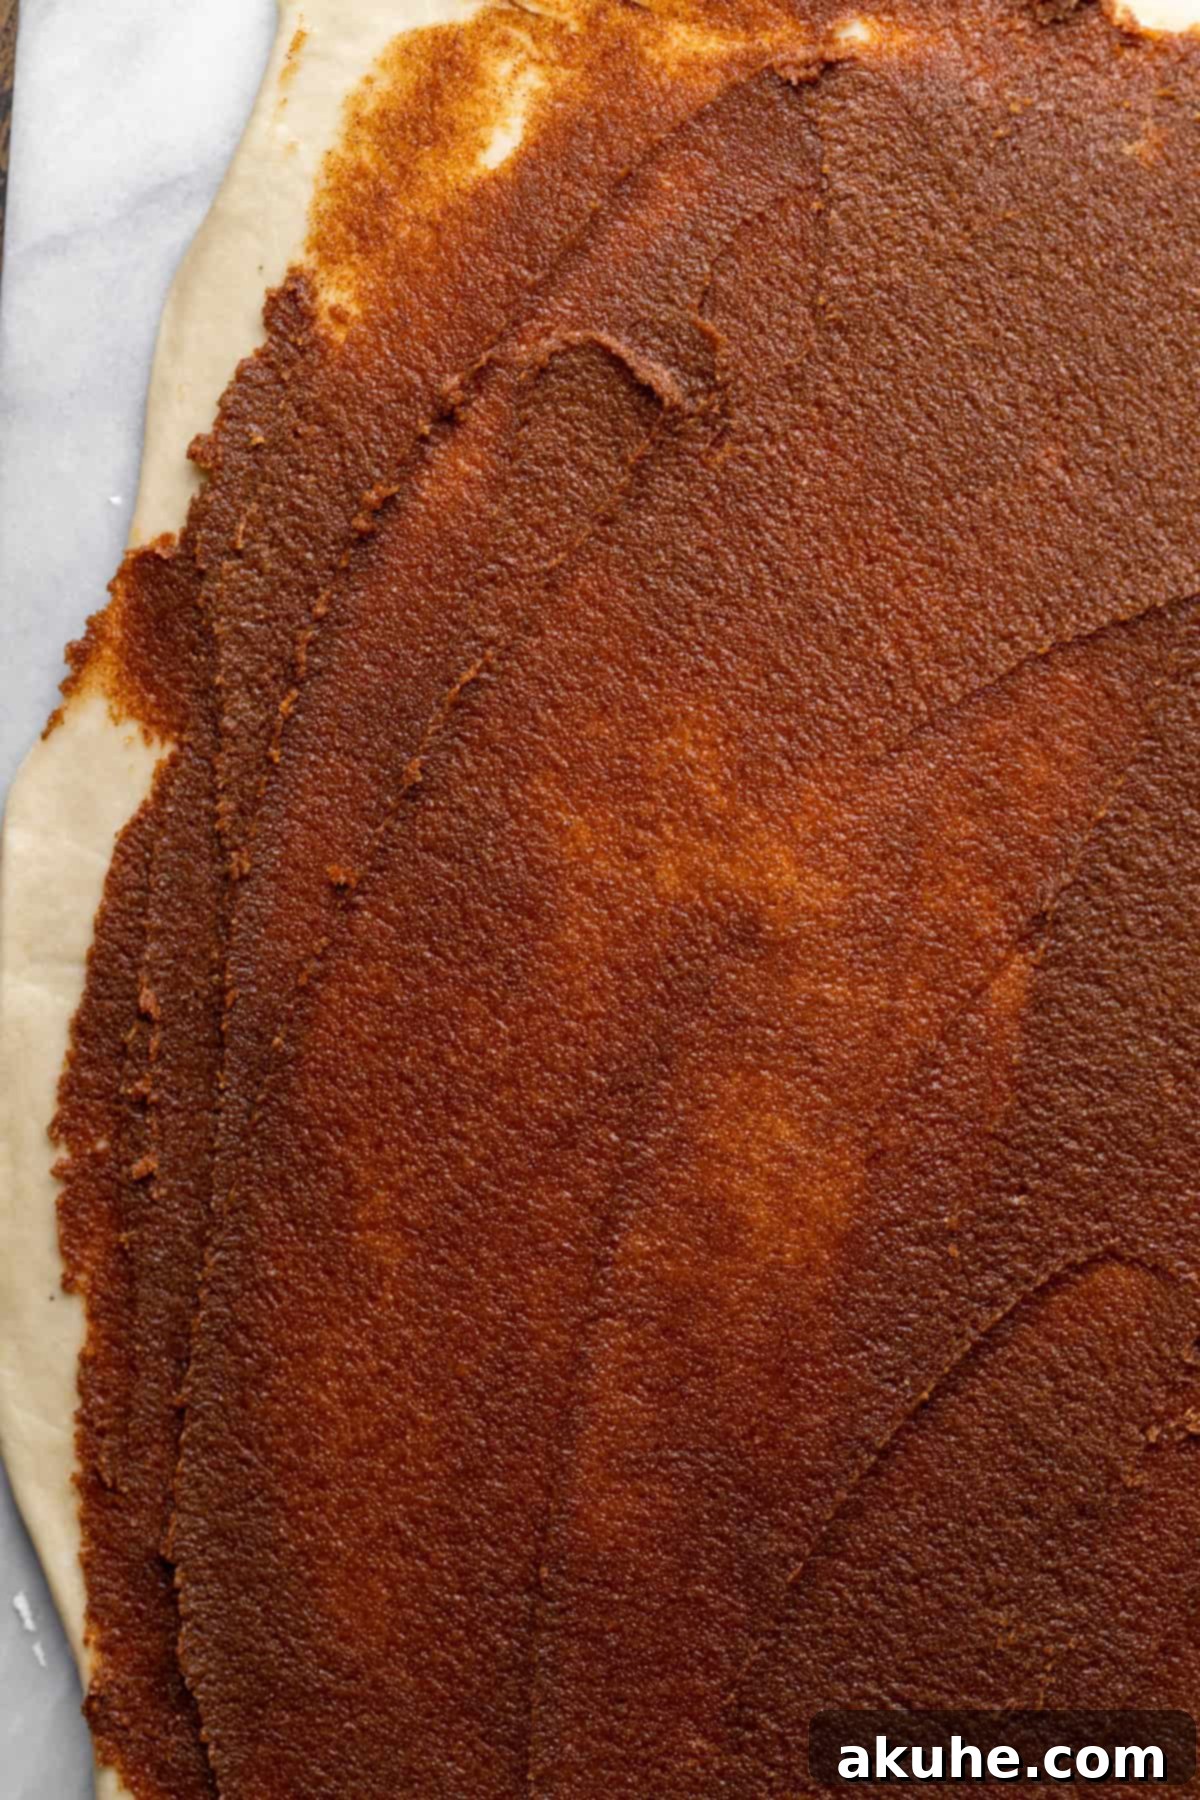
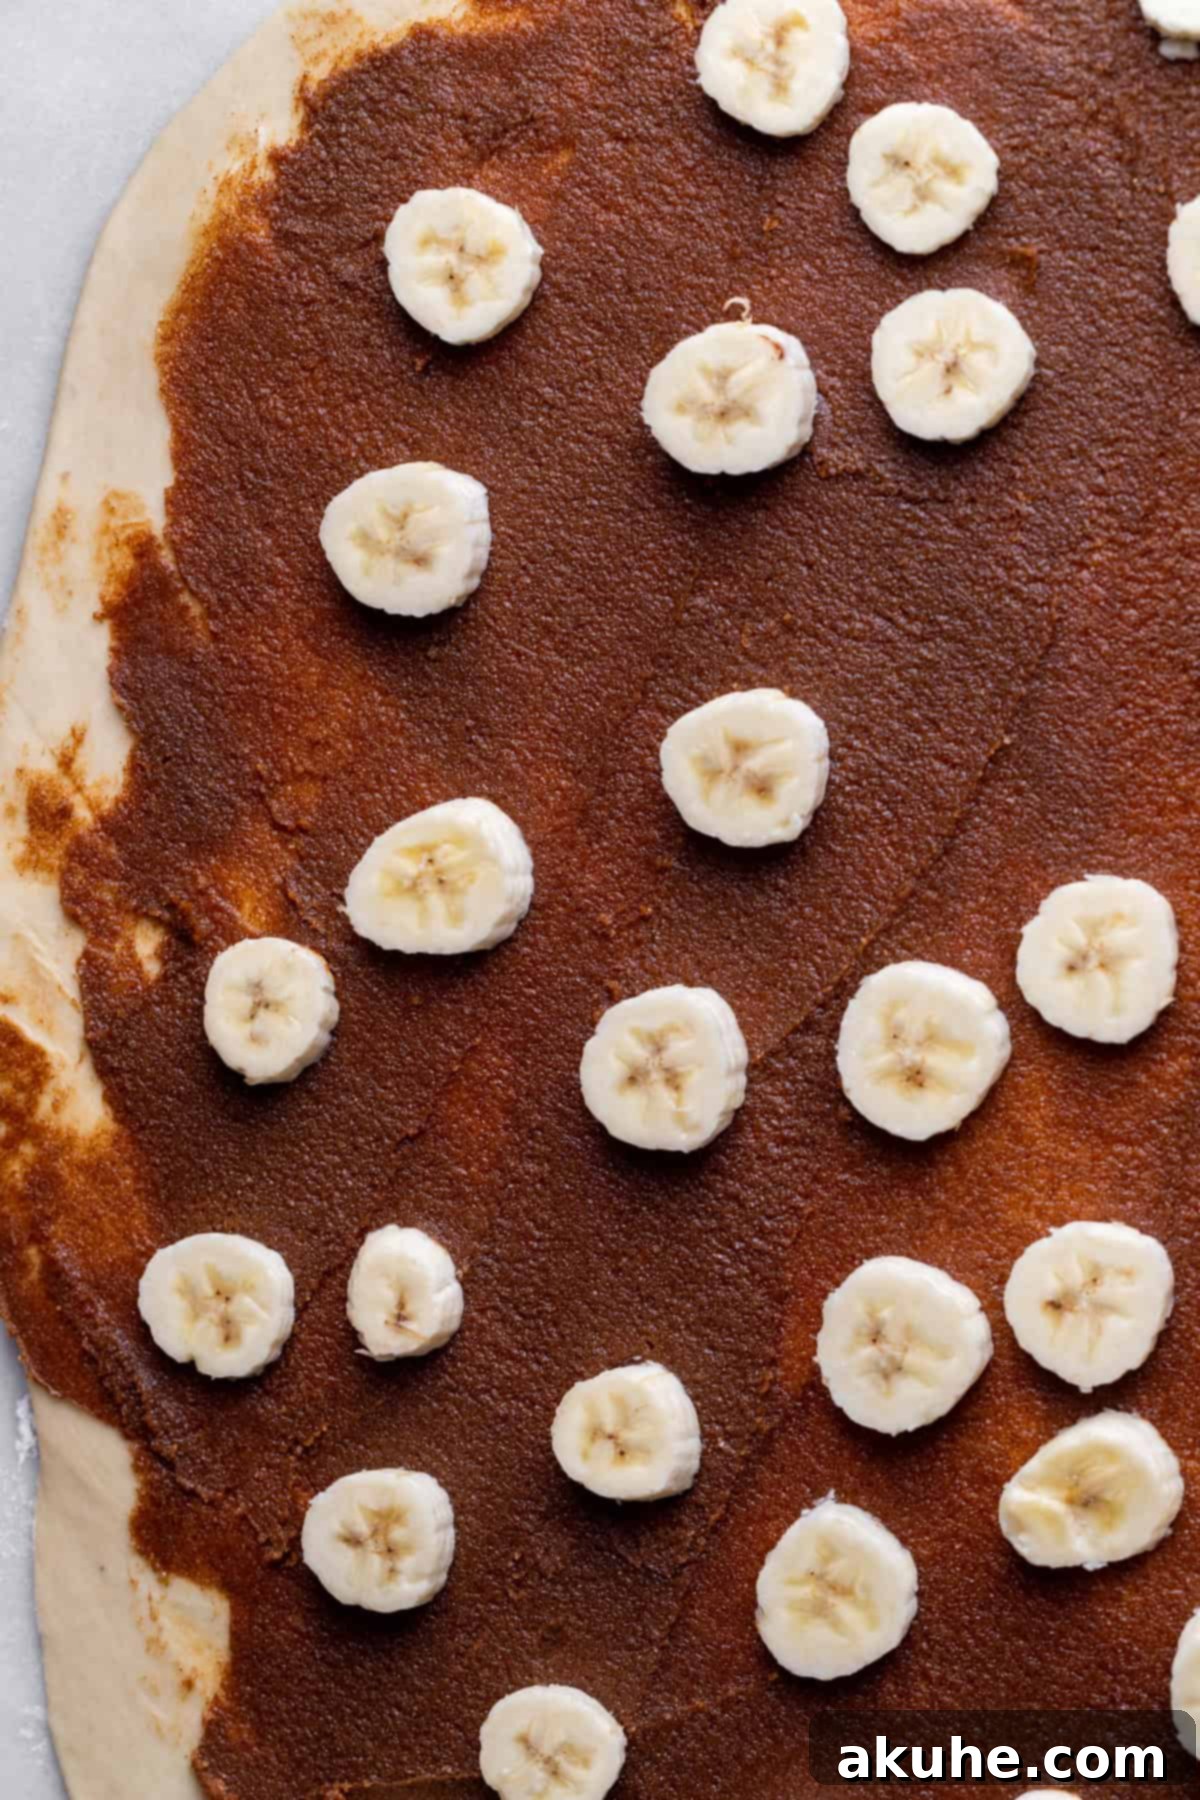
STEP 3: Spread Filling and Add Bananas. Employ an offset spatula to gently and evenly spread the prepared cinnamon-sugar filling over the entire surface of the rolled-out dough, making sure to extend it all the way to the edges. This ensures every part of the roll gets that wonderful flavor. Next, arrange an even layer of thinly sliced fresh bananas (not overly ripe for best texture) over the cinnamon filling. The bananas should cover the surface without overlapping too much.
STEP 4: Roll the Dough into a Log. Carefully begin rolling the dough from one of the shorter sides, working slowly and tightly to form a neat log. This tight roll is crucial for creating those beautiful, distinct spirals in your finished cinnamon rolls. Once rolled, use a sharp serrated knife to carefully trim off any uneven ends from the log. These end pieces can be baked separately as a little baker’s treat!
STEP 5: Cut the Rolls. With your sharp serrated knife, proceed to cut the log into 12 equal-sized rolls. A gentle sawing motion works best to avoid squishing the dough and disrupting the layers. Evenly sized rolls ensure uniform baking.
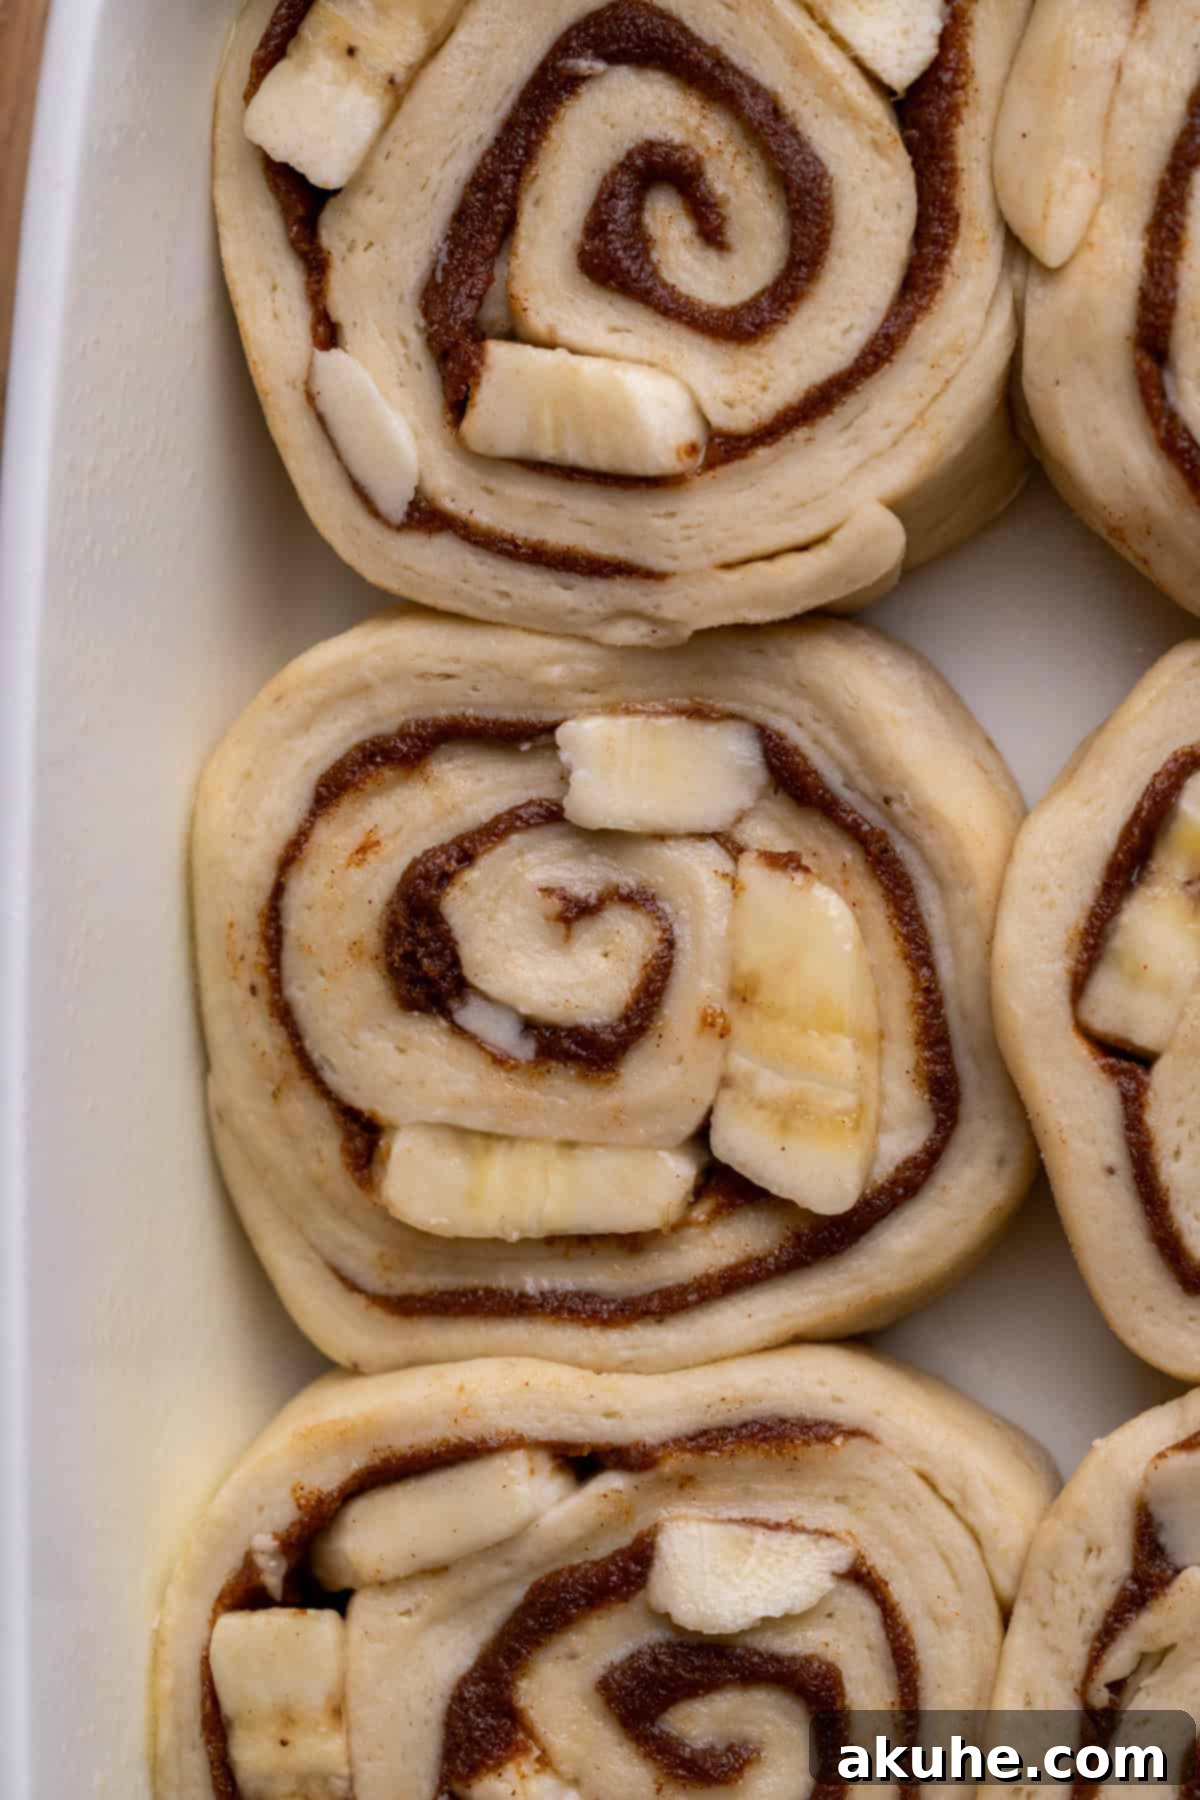
STEP 6: Second Rise and Oven Preheat. Generously spray a 9×13-inch baking pan with nonstick baking spray to prevent sticking. Carefully arrange the cut rolls into the prepared pan, leaving a small amount of space between each roll to allow for expansion during their final rise. Cover the pan with a clean kitchen towel and let them rise for another 20 minutes in a warm spot. Simultaneously, preheat your oven to 375°F (190°C), ensuring it reaches temperature while the rolls complete their second rise.
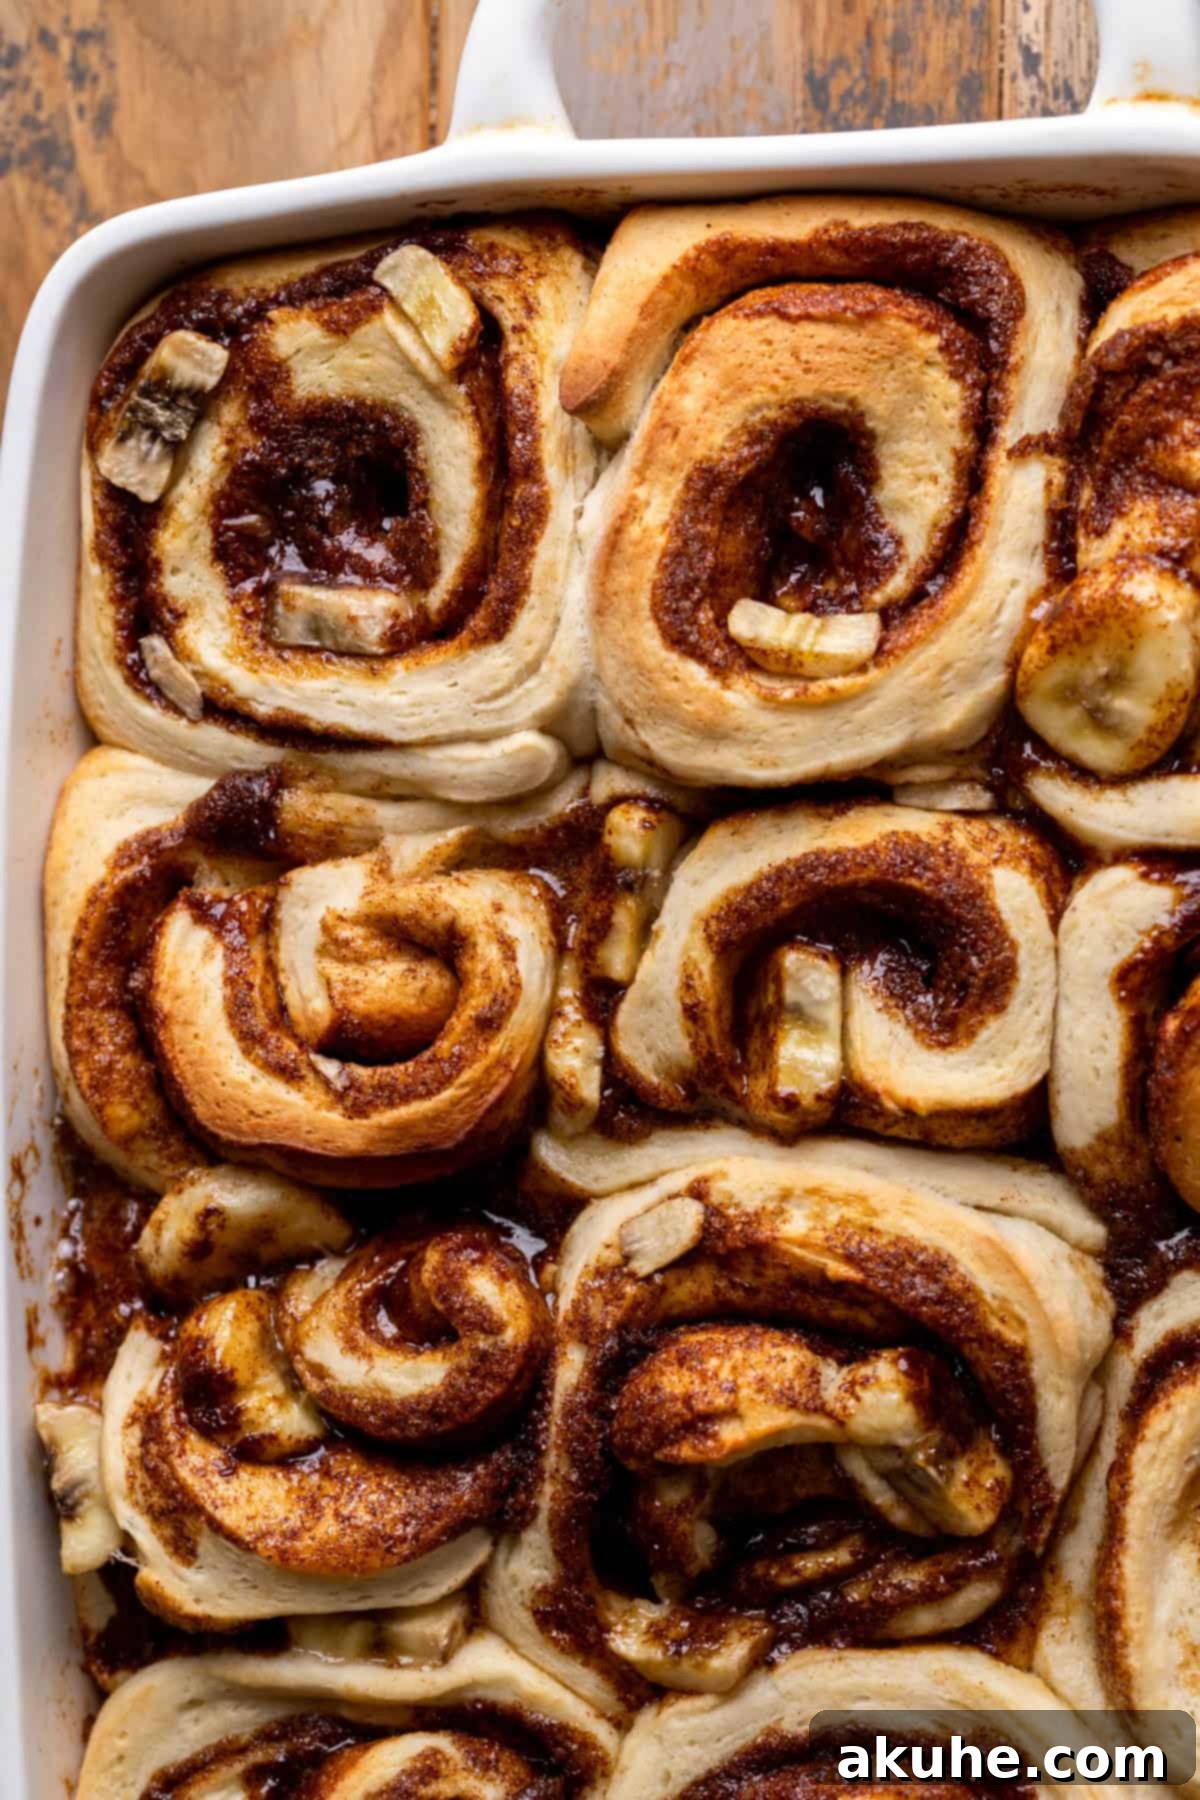
STEP 7: Bake to Golden Perfection. Place the pan of risen cinnamon rolls into the preheated oven. Bake for approximately 28 to 33 minutes. The rolls are perfectly done when their tops are beautifully golden brown, and the centers are soft and puffy. Keep an eye on them, as oven temperatures can vary. While your rolls are baking, take this opportunity to prepare the indulgent cream cheese icing, so it’s ready to spread the moment they come out of the oven.
Step-by-Step Instructions: Crafting the Silky Cream Cheese Icing
No cinnamon roll is complete without a rich and creamy icing. This delightful cream cheese frosting perfectly complements the sweet and spicy flavors of our **banana cinnamon rolls**. Follow these simple steps for a velvety smooth finish:
STEP 1: Beat Butter and Cream Cheese. In a small mixing bowl, combine the room-temperature cream cheese and unsalted butter. Using a hand mixer, beat these two ingredients together on high speed for approximately 1 minute. The goal is to achieve a wonderfully smooth and lump-free mixture, forming the creamy base of your icing.
STEP 2: Mix in Sweetness and Flavor. Add the sifted powdered sugar (sifting prevents lumps and ensures a silky texture) and the pure vanilla extract to the cream cheese and butter mixture. Start mixing on low speed to gently incorporate the powdered sugar without creating a cloud of dust. Once the sugar is mostly combined, increase the speed to high and continue beating for another 1-2 minutes, until the icing is light, fluffy, and perfectly creamy. Scrape down the sides of the bowl as needed to ensure everything is well mixed.
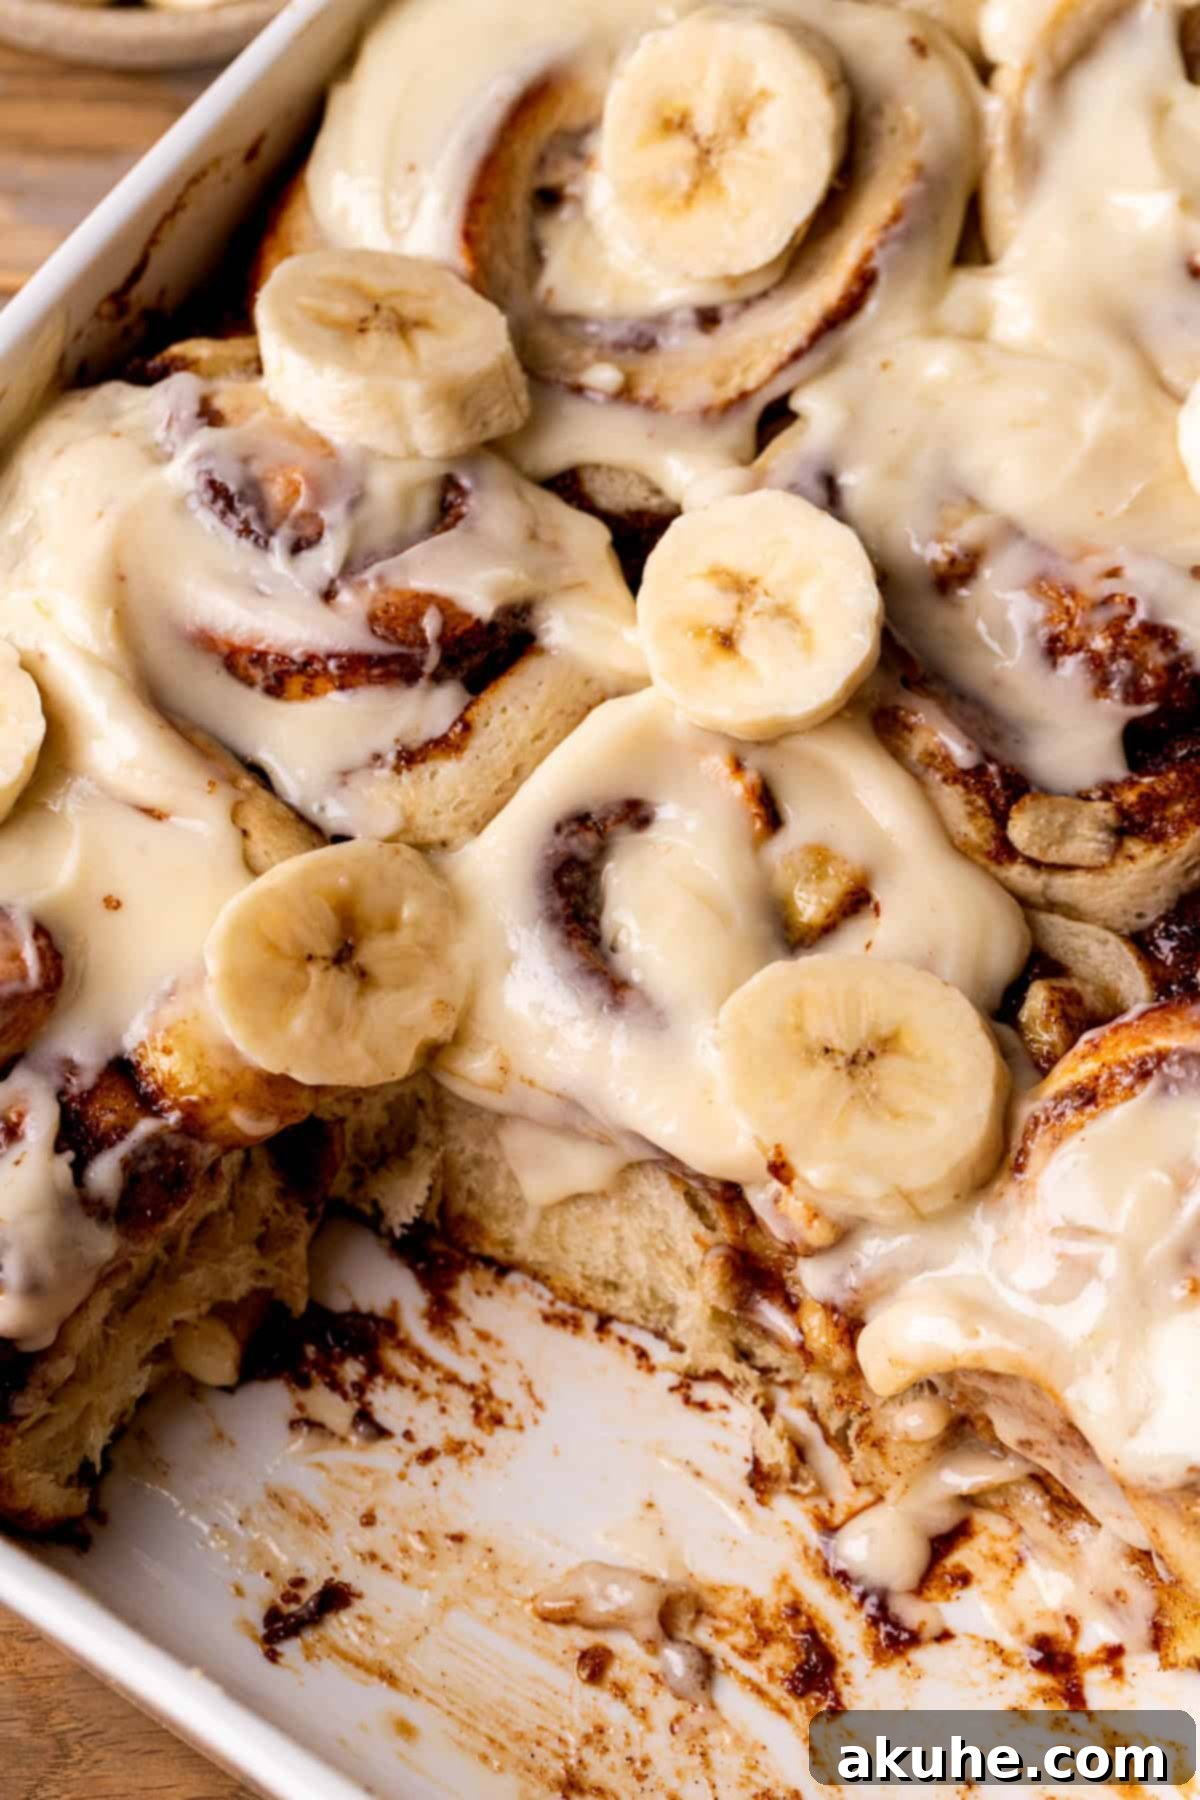
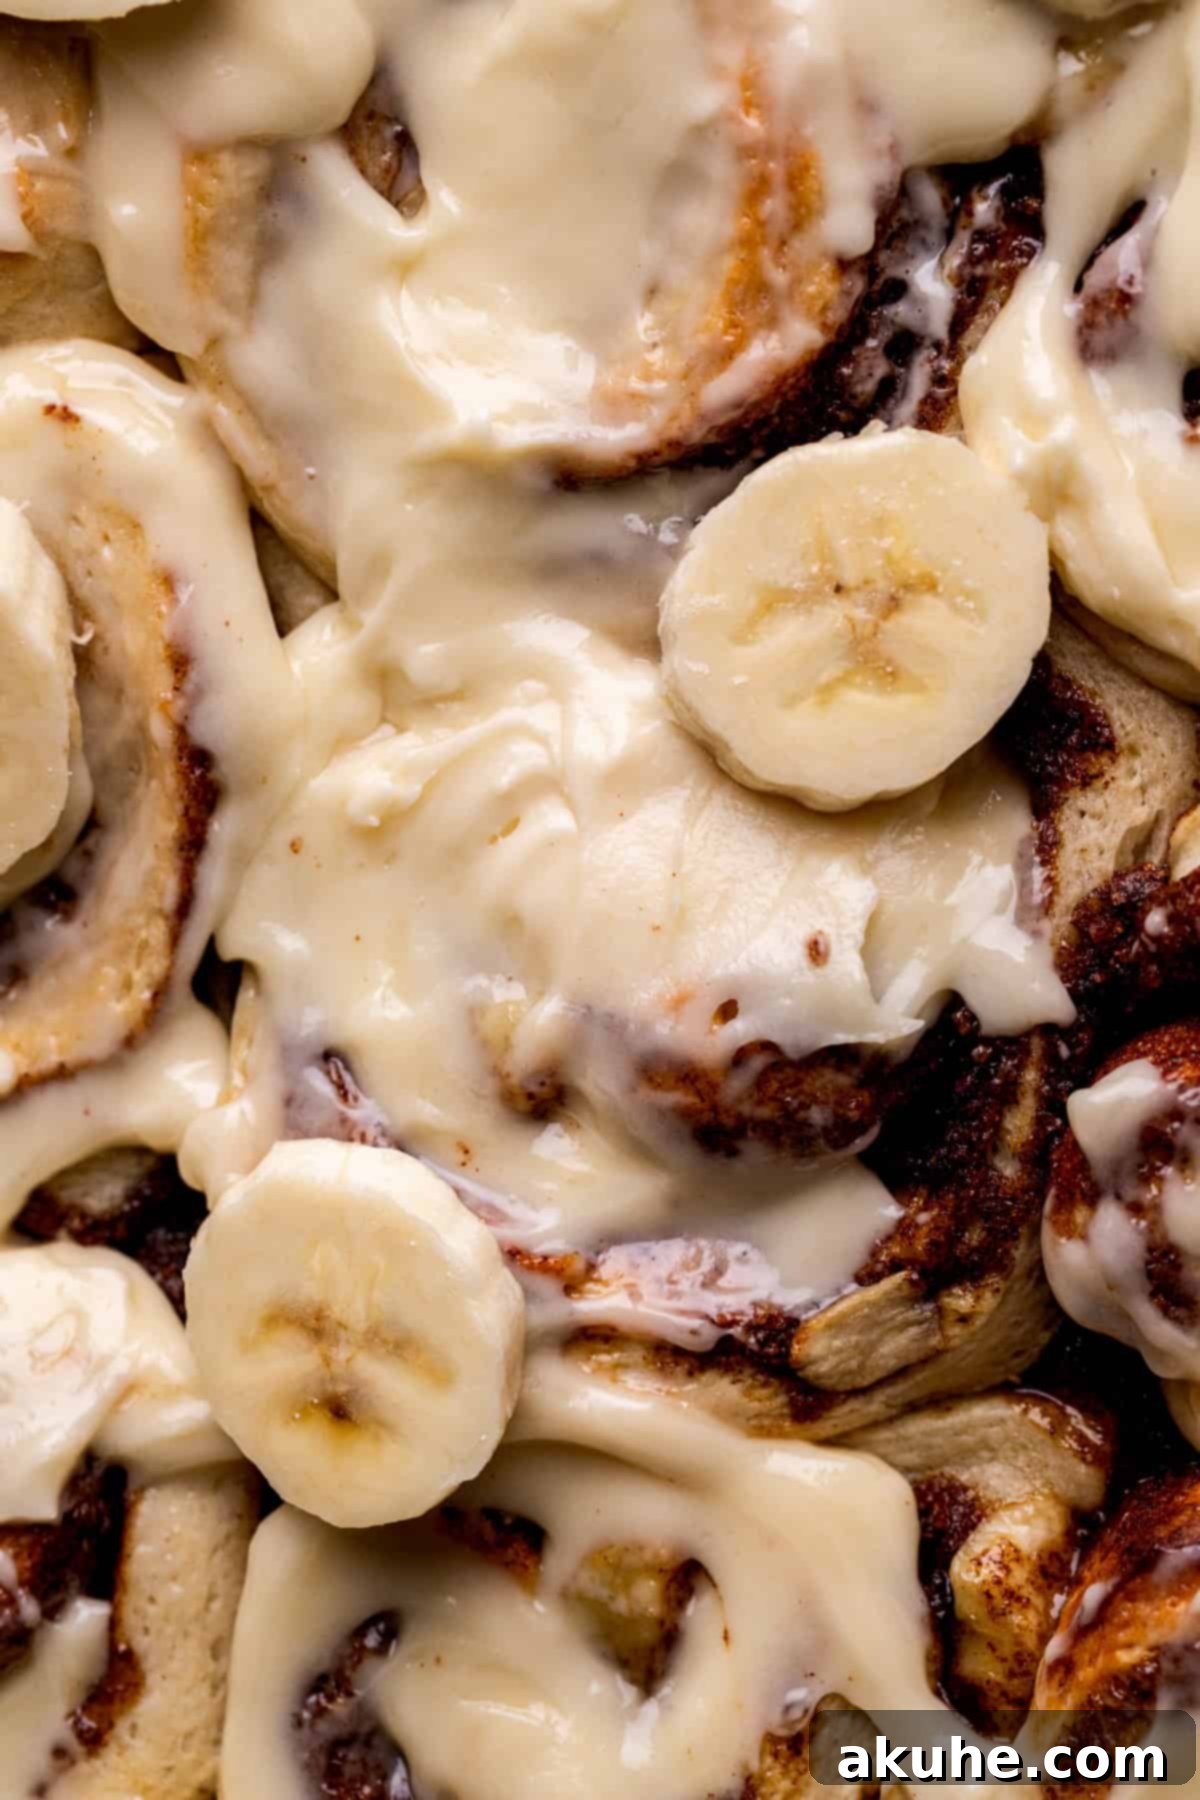
STEP 3: Ice the Warm Rolls. As soon as the freshly baked banana cinnamon rolls are removed from the oven, allow them to rest in the pan until the bubbling subsides, typically about 10 minutes. This slight cooling period allows the rolls to set slightly and prevents the icing from melting too quickly. Once cooled slightly, spoon the generous cream cheese icing over the warm rolls. Use an offset spatula or the back of your spoon to spread it evenly over the entire pan, ensuring every roll is decadently coated. Serve immediately and enjoy!
Mastering Overnight Banana Cinnamon Rolls for Effortless Mornings
Our **banana cinnamon rolls** are perfectly suited for make-ahead preparation, offering the luxury of fresh-baked goods with minimal morning effort. To prepare **overnight rolls**, follow the recipe instructions precisely up until the second rise step, after you have cut the rolls and placed them in the baking pan. Instead of letting them rise at room temperature, securely cover the pan with aluminum foil, ensuring it’s airtight to prevent the dough from drying out. Place the covered pan directly into the refrigerator to undergo a slow, cold rise overnight, or for a minimum of 8 hours. This slow fermentation enhances the flavor of the dough.
The next morning, simply remove the pan of rolls from the refrigerator as your oven preheats. This allows the rolls to come closer to room temperature and relax slightly, which aids in a better rise during baking. Once your oven reaches the specified temperature (375°F or 190°C), remove the foil and continue baking the rolls as directed in the recipe. This method is ideal for holiday breakfasts, weekend brunches, or any occasion when you want to wake up to the delightful aroma and taste of warm, homemade cinnamon rolls without the fuss.
Expert Baking Tips for Flawless Banana Cinnamon Rolls
Achieving bakery-quality **homemade banana cinnamon rolls** is within your reach with these essential baking tips:
- Accurate Flour Measurement is Paramount: One of the most common baking errors is incorrect flour measurement. Always spoon your flour into the measuring cup and then level it off with a straight edge. Never scoop directly from the bag, as this compacts the flour, adding too much to your recipe. Excess flour results in a dry, dense, and tough dough that won’t rise properly. For ultimate accuracy, use a kitchen scale to measure flour by weight (grams).
- Ensure Your Yeast is Vigorous: Yeast is a living organism, and its vitality is crucial for a successful rise. Always check the expiration date on your yeast packet. When proofing, make sure your milk is precisely 110°F (43°C) – too hot will kill the yeast, and too cold will inhibit its activation. If your yeast mixture doesn’t become foamy after 5-10 minutes, your yeast is likely inactive, and you’ll need to start with a fresh packet.
- Mind the Temperature of All Ingredients: For consistent results, ensure all cold ingredients like butter, milk, and eggs are brought to their specified temperatures (room temperature for butter/egg, warmed for milk). Room temperature ingredients emulsify better, creating a smoother dough and a more uniform mixture.
- Do Not Over-Knead: While kneading develops gluten, over-kneading can make the dough tough. Follow the recommended kneading times closely. If kneading by hand, the dough is ready when it feels smooth, elastic, and passes the “windowpane test” (you can stretch a small piece thin enough to see light through it without it tearing).
- Proper Rise Environment: Yeast doughs love warm, draft-free environments. If your kitchen is cold, use the oven method described in the “First Rise” step, or find another warm spot like on top of a warm appliance or near a sunny window. A proper rise is key to light and airy rolls.
Frequently Asked Questions About Banana Cinnamon Rolls
Yeast doughs thrive in warmth. If your home is chilly, a great trick is to create a warm environment in your oven. Preheat your oven to its lowest setting, usually 200°F (93°C), then immediately turn it off. Place your bowl of dough (covered with a kitchen towel) inside the turned-off oven and crack the oven door open slightly. This traps a gentle warmth, providing the perfect cozy spot for your dough to rise effectively without getting too hot.
To enjoy your banana cinnamon rolls as if they were freshly baked, proper reheating is key. If you’re warming up just one or two rolls, place them on a microwave-safe plate and heat for 15-25 seconds (microwave times vary), or until they are warm and soft. For an entire tray of rolls, preheat your oven to 350°F (175°C). Cover the baking dish loosely with aluminum foil to prevent drying, and warm them in the oven for about 5-10 minutes, or until heated through and gooey. This method helps maintain their tender texture.
Yes, you absolutely can! This is an excellent way to get a head start. Follow the recipe instructions for making the dough, filling, and shaping the rolls. Instead of baking them completely, bake the rolls for only about 10 minutes, just enough to set the dough slightly. Then, remove them from the oven, let them cool, and chill them. The next morning, you can finish the remaining baking time (typically 18-23 minutes) in a preheated oven until they are golden brown and fully cooked. This allows for a quick, fresh-baked experience with minimal fuss on a busy morning.
Exciting Recipe Variations for Your Banana Cinnamon Rolls
While our classic **banana cinnamon rolls** are undeniably delicious, they also serve as a fantastic base for creative customization. Experiment with these delightful variations to discover new favorites:
- Banana Nut Cinnamon Rolls: Elevate the classic banana bread flavor by incorporating chopped nuts. Add ½ to ¾ cup of finely chopped walnuts or pecans into your cinnamon-banana filling mixture. The nuts will provide a wonderful crunch and depth of flavor. For an extra touch, sprinkle some additional chopped nuts over the icing once the rolls are baked and frosted.
- Alternate Icing Flavors: While our cream cheese icing is divine, you can easily adapt it for different flavor profiles. For **chocolate banana rolls**, mix 2-3 tablespoons of unsweetened cocoa powder into the cream cheese icing. For a unique twist, try **peanut butter banana rolls** by blending in ⅓ to ½ cup of smooth peanut butter with the cream cheese and butter before adding the powdered sugar. Adjust sugar to taste.
- Simplified Cinnamon Sugar Coating: If you prefer a lighter finish or are short on time, you can replace the cream cheese icing with a simple cinnamon sugar coating. As soon as the hot rolls come out of the oven, brush their tops generously with melted unsalted butter. Immediately after, sprinkle a mixture of granulated sugar and ground cinnamon over the buttery rolls. This creates a crisp, sweet, and aromatic crust.
Special Tools for Effortless Baking
Having the right tools can make all the difference in your baking experience, especially when crafting homemade treats like these **banana cinnamon rolls**. Here are a few recommended items that will simplify the process:
- Nonstick Baking Spray with Flour: To ensure your precious rolls never stick, we highly recommend using a baking spray that contains flour. Products like this nonstick spray create a perfect non-stick surface, guaranteeing easy release and beautifully intact rolls every time.
- Offset Spatula: An offset spatula is an indispensable tool for spreading fillings and frostings smoothly and evenly. Its angled blade makes it easy to navigate around dough and achieve a consistent layer across the surface of your rolls and the final icing.
- 9×13 Inch Baking Pan: While any standard baking dish will work, we particularly love using a sturdy casserole pan for these rolls. Its robust construction ensures even heat distribution, leading to perfectly baked and golden-brown cinnamon rolls.
- Rolling Pin: A good rolling pin is essential for achieving a uniform dough thickness. Whether you prefer a classic French pin or one with handles, any style you have on hand will work perfectly for rolling out your banana dough.
Storing and Freezing Your Delicious Banana Cinnamon Rolls
To keep your **banana cinnamon rolls** tasting fresh and delightful, proper storage is essential. Store any leftover rolls in an airtight container in the refrigerator for up to 5 days. For the best eating experience, always reheat them in the microwave until they are warm and soft again.
These versatile banana cinnamon rolls can also be successfully frozen using two convenient methods, allowing you to enjoy them long after baking:
- Freezing Unbaked Rolls: If you want to prepare ahead, you can freeze the shaped rolls (after the first rise and cutting, but before the second rise). Arrange them in your baking pan, cover tightly with plastic wrap and then foil, and freeze for up to 30 days. When ready to bake, transfer them to the refrigerator overnight to thaw. While they may not rise quite as much as fresh dough, they will still yield delicious results. Allow them to come to room temperature for about 30-60 minutes before baking as directed.
- Freezing Already Baked Rolls: To enjoy baked rolls at a later date, allow them to cool completely. You can freeze them individually or as a whole tray, wrapped securely in plastic wrap and then foil. They can be stored in the freezer for up to 30 days. To serve, thaw the rolls at room temperature for about 1 hour, then reheat in the microwave or oven until warm and soft.
Other Irresistible Cinnamon Roll Recipes To Try
If you’ve fallen in love with the comforting warmth of cinnamon rolls, be sure to explore more delightful variations!
Craving More Banana? Explore These Fantastic Banana Recipes Too!
For those who can’t get enough of this amazing fruit, we have a curated selection of banana-centric delights:
- Decadent Banana Pudding Cheesecake
- Moist and Easy Banana Snack Cake
- Comforting Banana Bread Coffee Cake
- Sweet and Savory Peanut Butter Banana Muffins
- Wholesome Banana Blueberry Muffins
Did you fall in love with this recipe? Make sure to leave a STAR REVIEW below! We adore seeing your creations, so please tag us on Instagram @stephaniesweettreats. For even more delectable ideas and inspiration, be sure to follow us on Pinterest. Happy baking!

Banana Cinnamon Rolls
Print Recipe
Pin Recipe
Leave a Review
Ingredients
Banana Dough
- 3/4 cup Milk, warmed to 110℉
- 2 1/4 tsp Active dry yeast, 11 grams (1 whole packet)
- 1 Large egg, room temperature and lightly beaten
- 2/3 cup Mashed bananas, mash 2 bananas and then measure
- 5 1/4 cup All-purpose flour
- 1 tsp Salt
- 1/4 cup White granulated sugar
- 10 TBSP Unsalted butter, room temperature and cubed
Cinnamon Banana Filling
- 1/2 cup Unsalted butter, room temperature
- 3/4 cup Brown sugar, packed light or dark
- 1 TBSP Ground cinnamon
- 2 Bananas, sliced thinly
Cream Cheese Icing
- 4 oz Cream cheese, room temperature
- 4 TBSP Unsalted butter, room temperature
- 1 cup Powdered sugar, sifted
- 1 tsp Pure vanilla extract
Instructions
Banana Dough
- Heat the milk in a bowl in the microwave until warmed to 110℉. Sprinkle the yeast on top and let it rest for 10 minutes.3/4 cup Milk, 2 1/4 tsp Active dry yeast
- In a large bowl, mix the flour, sugar, and salt together. Add the cubed butter and use a pastry kneader or your hands to knead the butter into the dough. Do this until the butter is the size of a pea.5 1/4 cup All-purpose flour, 1 tsp Salt, 1/4 cup White granulated sugar, 10 TBSP Unsalted butter
- Add in the milk/yeast, beaten egg, and mashed bananas to the dry ingredients. Using a mixer with a dough hook, mix on low speed until a dough starts to form. Switch to medium speed and knead for 5 minutes. *Making by hand instructions in the recipe notes.1 Large egg, 2/3 cup Mashed bananas
- Preheat the oven to 200℉. Spray a large mixing bowl with nonstick spray. Place the dough in the bowl. The dough will be sticky, but not overly sticking to your hands. Cover the bowl with a kitchen towel.
- Place in the oven, turn off the oven, and crack open the door. Let it rise for 1 hour. Since there is so many wet ingredients, in needs the extra warmth with yeast to rise well.
Cinnamon Banana Filling
- In a small bowl using a hand mixer, beat the butter on high speed until smooth. Add in the brown sugar and cinnamon. Mix on medium speed for 1 minute.1/2 cup Unsalted butter, 3/4 cup Brown sugar, 1 TBSP Ground cinnamon
- Place the dough on a lightly floured surface. Sprinkle a little extra flour on top of the dough. Roll into a large rectangle about 1/4 inch thick using a rolling pin.
- Spread the cinnamon filling over the dough using an offset spatula. Top with the sliced bananas, place these evenly.2 Bananas
- Roll the dough starting on the short side. Roll into a log. Use a serrated knife to cut the uneven ends off. Use the knife to lightly saw into 12 even rolls. *Overnight instructions in the recipe notes.
- Spray a 9X13-inch pan with baking nonstick spray. Place the rolls evenly in the pan. Cover with a kitchen towel and let rise for 20 minutes. Preheat the oven to 375℉.
- Bake for 28-33 minutes until the tops are lightly golden brown.
Cream Cheese Icing
- In a small bowl, using a hand mixer, beat the butter and cream cheese on high speed for 1 minute.4 oz Cream cheese, 4 TBSP Unsalted butter
- Add in the powdered sugar and vanilla. Mix on low speed until combined, switch to high speed and mix until creamy.1 cup Powdered sugar, 1 tsp Pure vanilla extract
- Use a spoon to evenly dollop the icing on each roll, and spread.
Notes
* You need 5 1/4 cups of flour for this recipe because of the high moisture content from the bananas in the dough. This amount is necessary to achieve the correct dough consistency and prevent it from being overly sticky.
Bring all dairy ingredients (butter, milk, cream cheese, egg) out of the refrigerator approximately 2 hours before you plan to start baking. This allows them to reach room temperature, which is crucial for proper emulsification and optimal dough texture.
Instructions for Making the Dough by Hand:
To make the dough by hand, begin by incorporating the wet ingredients into the dry ingredients using a sturdy rubber spatula until a shaggy dough forms. Then, switch to using your hands to mix and bring the dough together.
Transfer the dough to a lightly floured work surface. Knead the dough vigorously with your hands for 5-8 minutes. The dough is ready when it feels smooth, elastic, and less sticky.
You can test for proper kneading by performing the “windowpane test.” Take a small piece of dough and gently stretch it apart with your fingers. If you can stretch it thin enough to see light pass through it without the dough tearing, it has been kneaded sufficiently.
Overnight Instructions for Convenience:
For overnight preparation, follow all instructions until you have cut the rolls and placed them evenly in your baking pan. At this point, cover the pan tightly with aluminum foil and place it in the refrigerator.
The next morning or day, remove the rolls from the refrigerator while your oven preheats to 375°F (190°C). Once the oven is ready, remove the foil and bake as directed.
