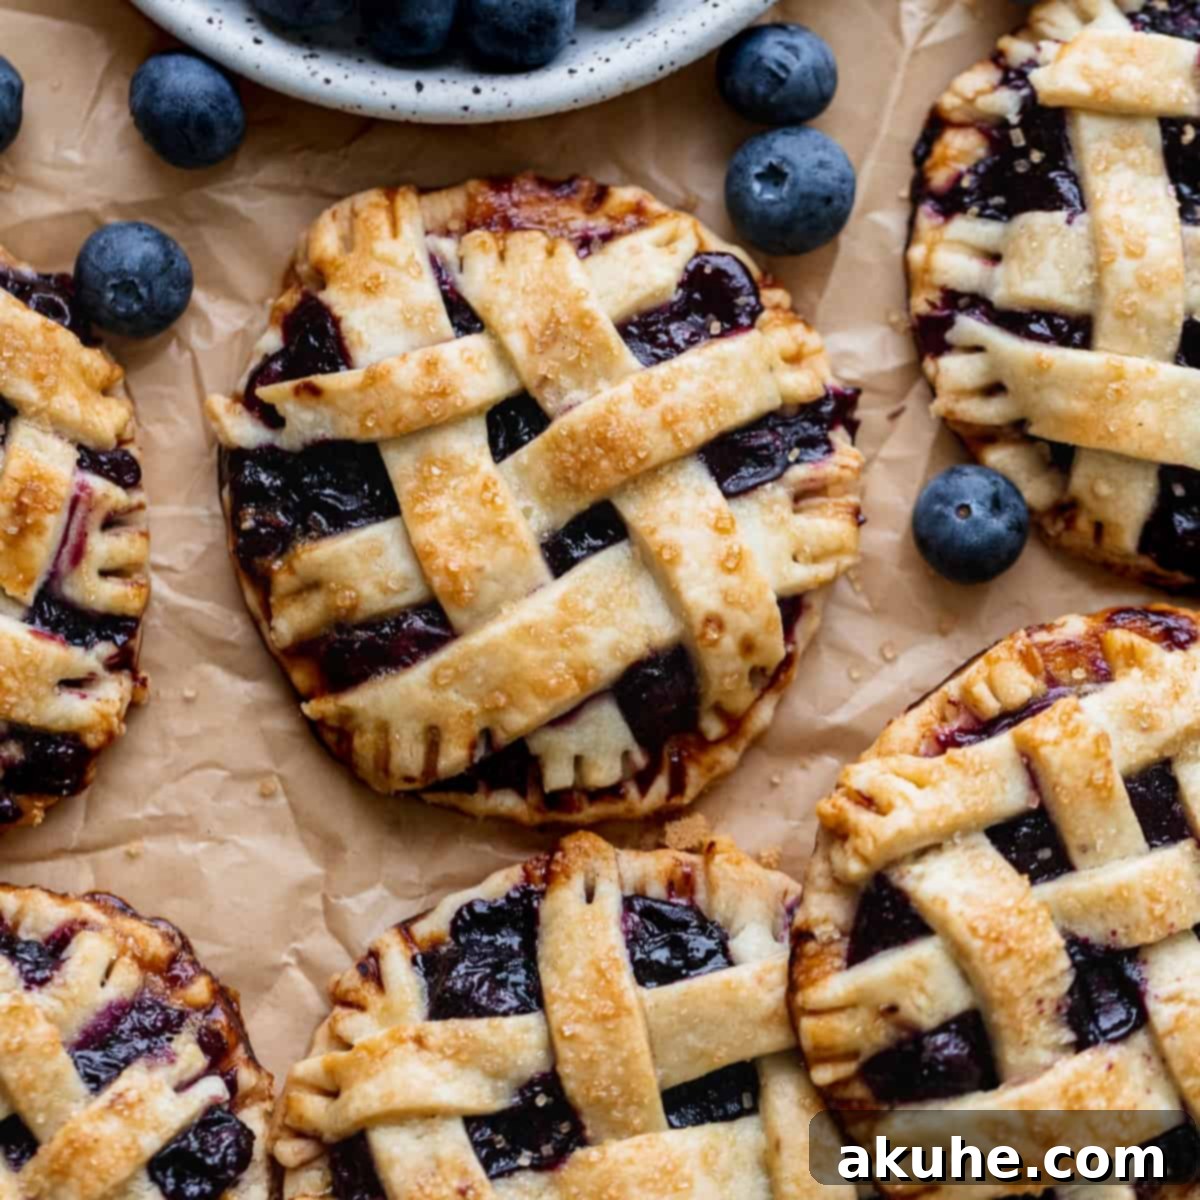
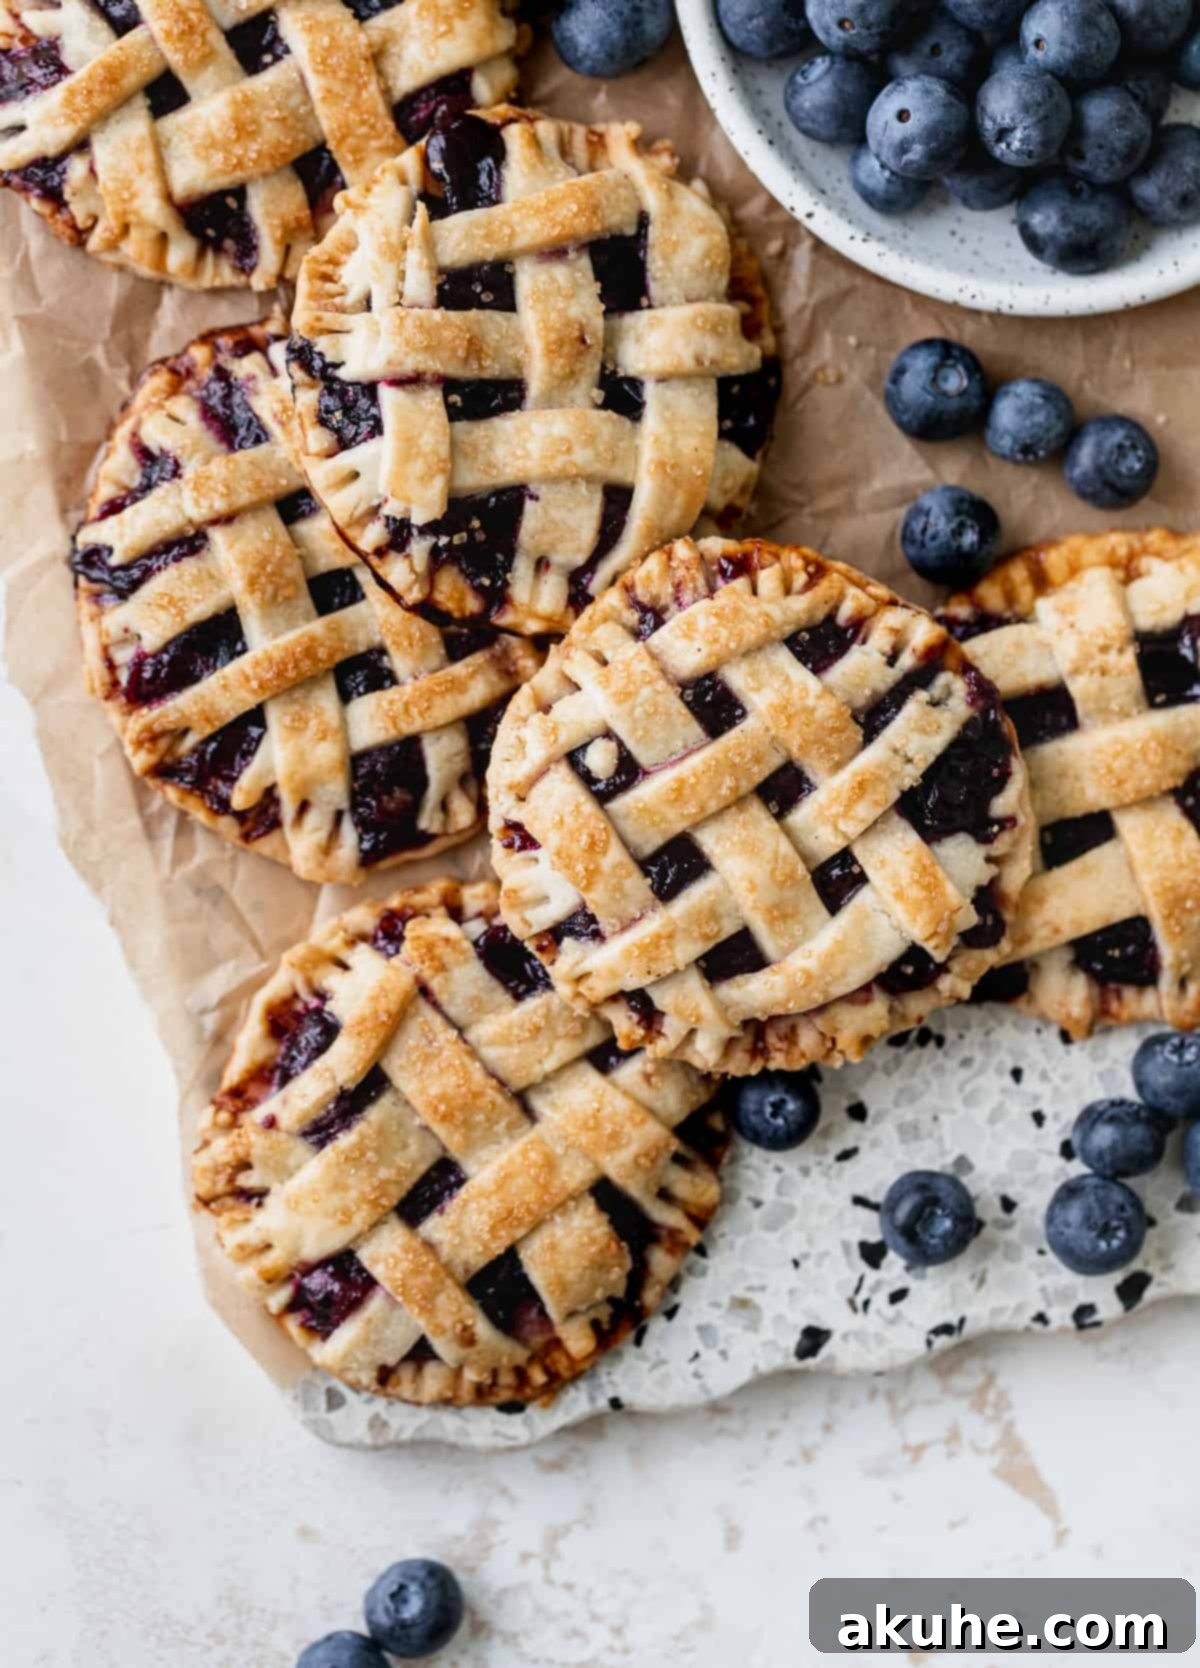
There’s something undeniably enchanting about a perfectly baked pie, and when it comes in a charming, handheld size, the magic only multiplies. These mini blueberry pies are an absolute delight, offering all the comforting flavors of a classic blueberry pie in a convenient, individual serving. Imagine a golden, flaky pie crust, beautifully adorned with delicate lattice work, encasing a luscious blueberry filling subtly spiced with cinnamon. They’re not just incredibly delicious; they’re also surprisingly easy to make and guaranteed to impress, whether for a family gathering or a special treat for yourself.
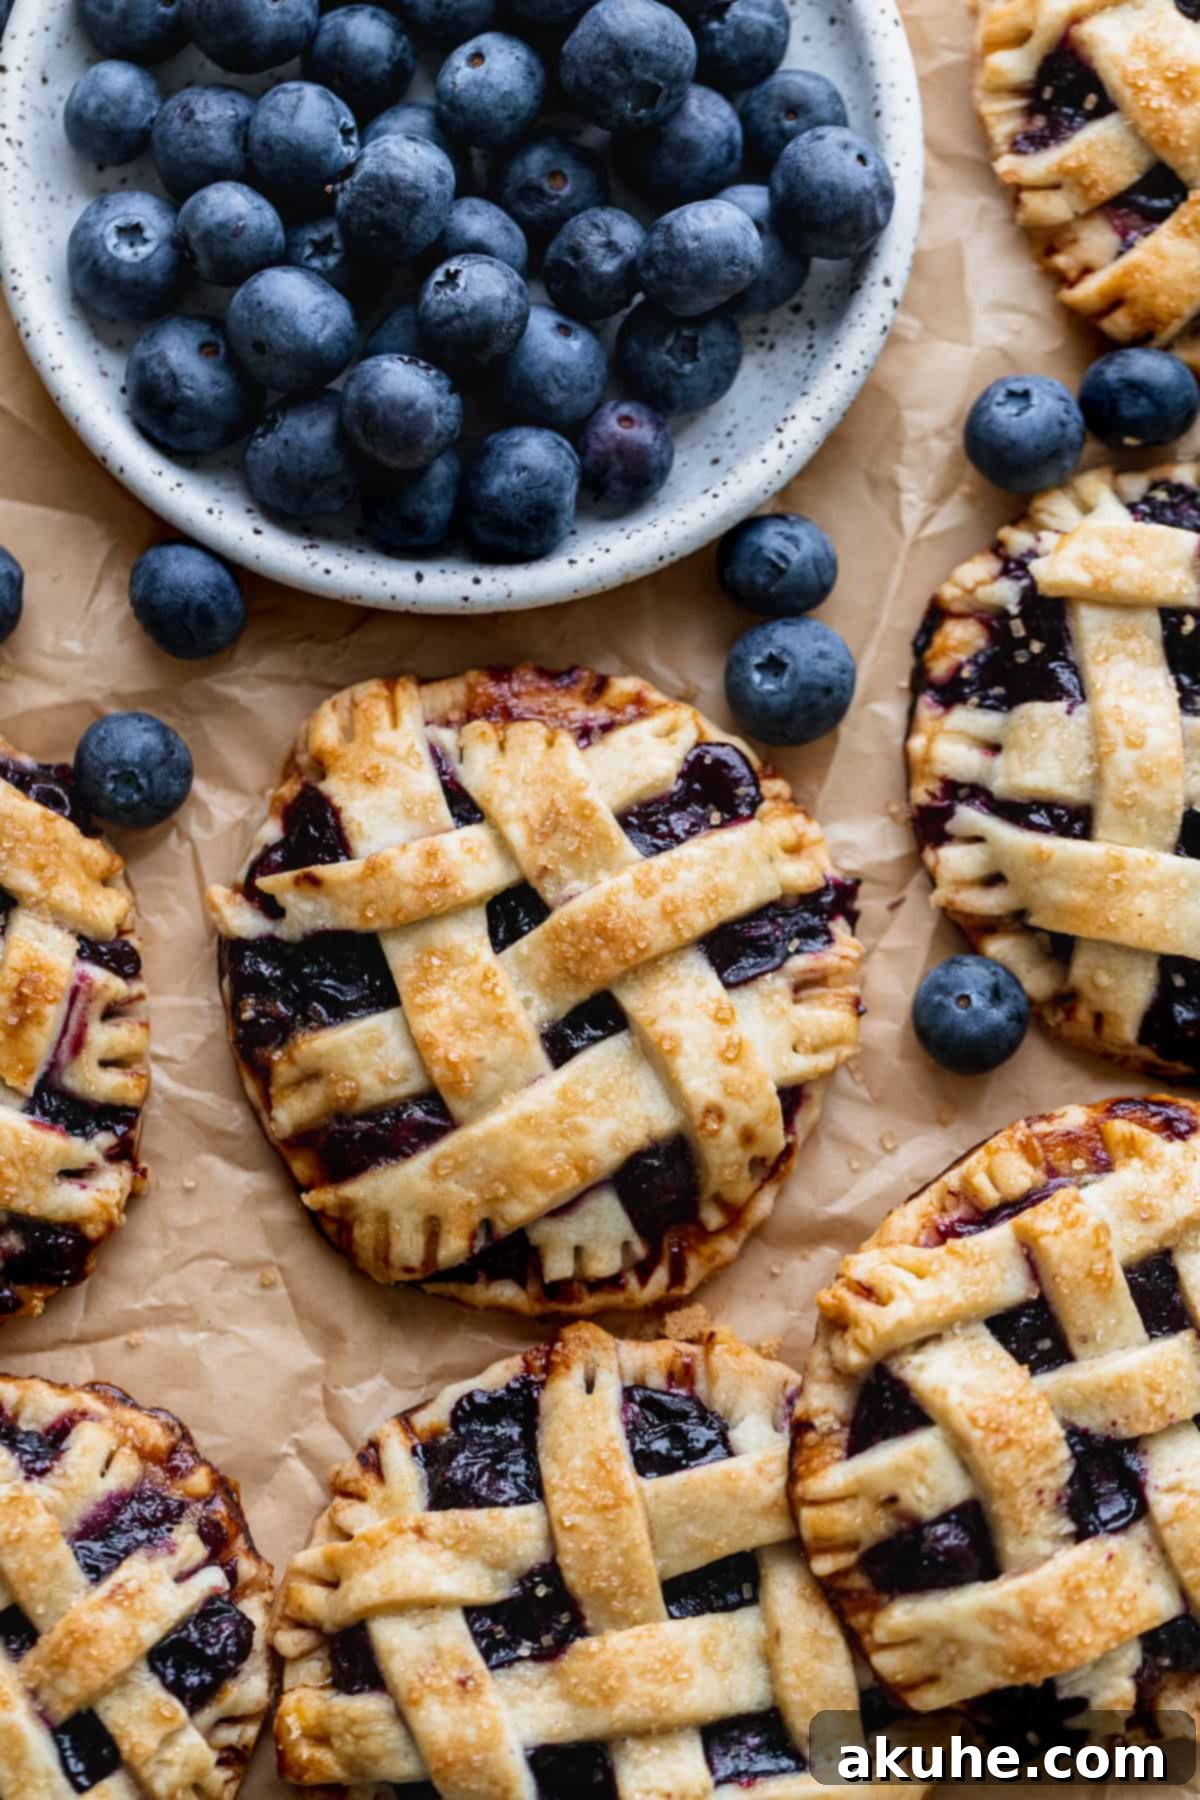
While these elegant mini pies might look like they require expert pastry skills, the truth is they are far simpler to create than their impressive appearance suggests. My goal was to craft a delightful dessert that could be easily enjoyed by hand, yet still boast a sophisticated and eye-catching presentation. The beauty of these individual treats lies in their perfect portion size and the delightful crunch of the crust paired with the warm, fruity filling.
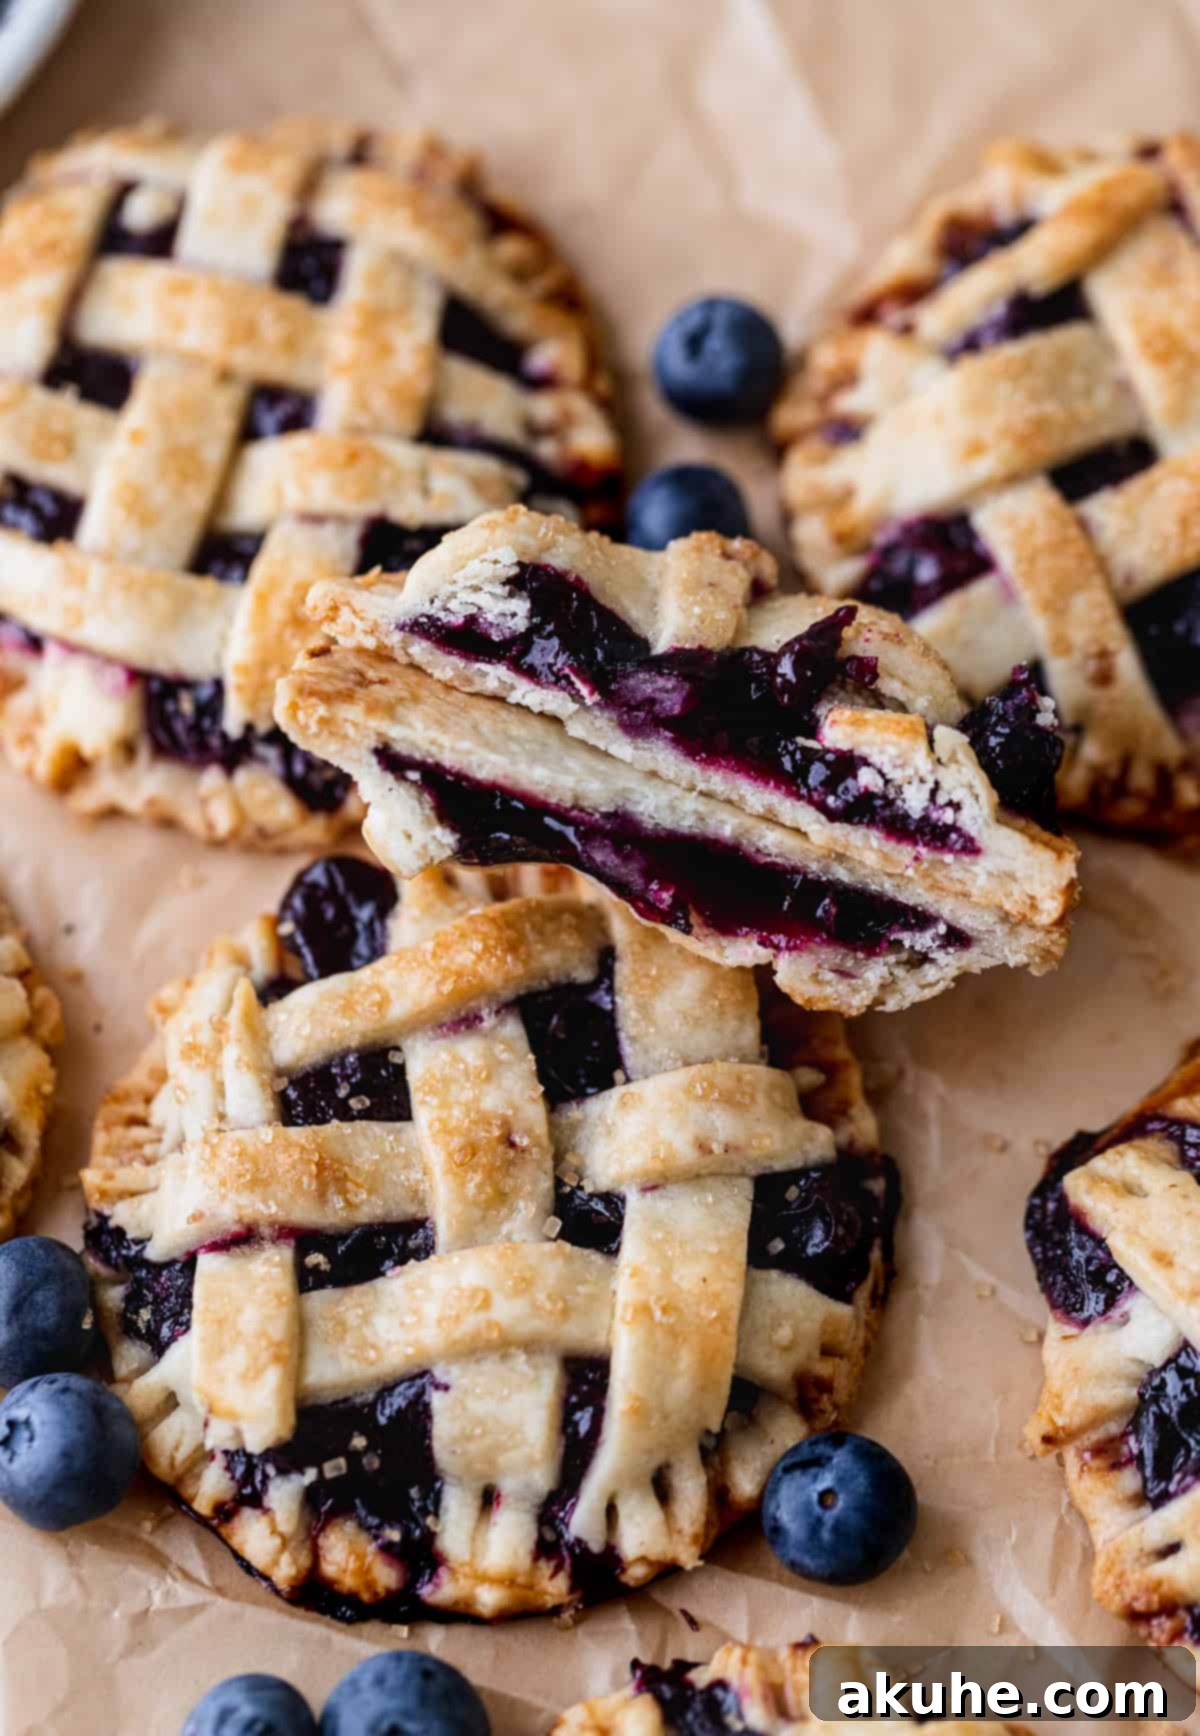
If you love the idea of handheld desserts, I have several other fantastic recipes that you’ll enjoy just as much! Be sure to explore my Strawberry Hand Pies for another fruity favorite, my Easy Blueberry Danish for a breakfast or brunch option, and the irresistible Chocolate Cookie Dough Pop Tarts for a truly indulgent treat. Each offers a unique spin on convenient, delicious desserts.
One of the most encouraging aspects of making these mini blueberry pies is how forgiving the lattice work can be. I’ve discovered through extensive testing that even if your initial lattice strips look a little uneven or messy before baking, they miraculously transform in the oven, baking up into a beautifully uniform and appealing design. So, don’t let perfection be the enemy of good when it comes to decorating – embrace the process, and the oven will work its magic!
To ensure your success, I’ve compiled comprehensive step-by-step instructions and essential tips throughout this guide. You’ll find everything you need to confidently create these delightful mini blueberry pies, from perfecting the flaky crust to crafting the flavorful filling and achieving that stunning golden finish.
Why You’ll Love This Mini Blueberry Pie Recipe
This recipe for homemade mini blueberry pies is a true winner for countless reasons, making it a favorite among home bakers and dessert enthusiasts alike. From its convenient serving size to its incredible flavor profile, every element is designed for success and enjoyment.
- Perfectly Portable & Handheld: There’s an undeniable charm and convenience to individual-sized desserts. These mini pies are designed to be eaten by hand, making them ideal for picnics, potlucks, parties, or simply a delightful treat on the go. No plates or forks required!
- Effortlessly Flaky Pie Crust: Forget intimidating pastry recipes. This pie crust is remarkably easy to prepare using a food processor or blender, guaranteeing a consistently flaky, tender, and buttery texture every single time. It’s the perfect foundation for our delicious filling.
- Versatile with Fresh or Frozen Blueberries: Whether it’s peak berry season or the dead of winter, you can enjoy these pies year-round. The recipe works beautifully with both fresh and frozen blueberries, giving you the flexibility to bake whenever the craving strikes.
- Rich & Flavorful Blueberry Filling: The heart of these pies is a vibrant blueberry filling, meticulously crafted with a harmonious blend of sweet blueberries, a bright splash of lemon juice for zesty counterpoint, and a comforting hint of cinnamon. This combination creates a depth of flavor that is truly irresistible.
- Visually Stunning & Impressive: The delicate lattice topping gives these mini pies a gourmet, bakery-quality appearance. While it might seem intricate, I’ll show you just how simple it is to achieve this elegant design, turning simple ingredients into a show-stopping dessert.
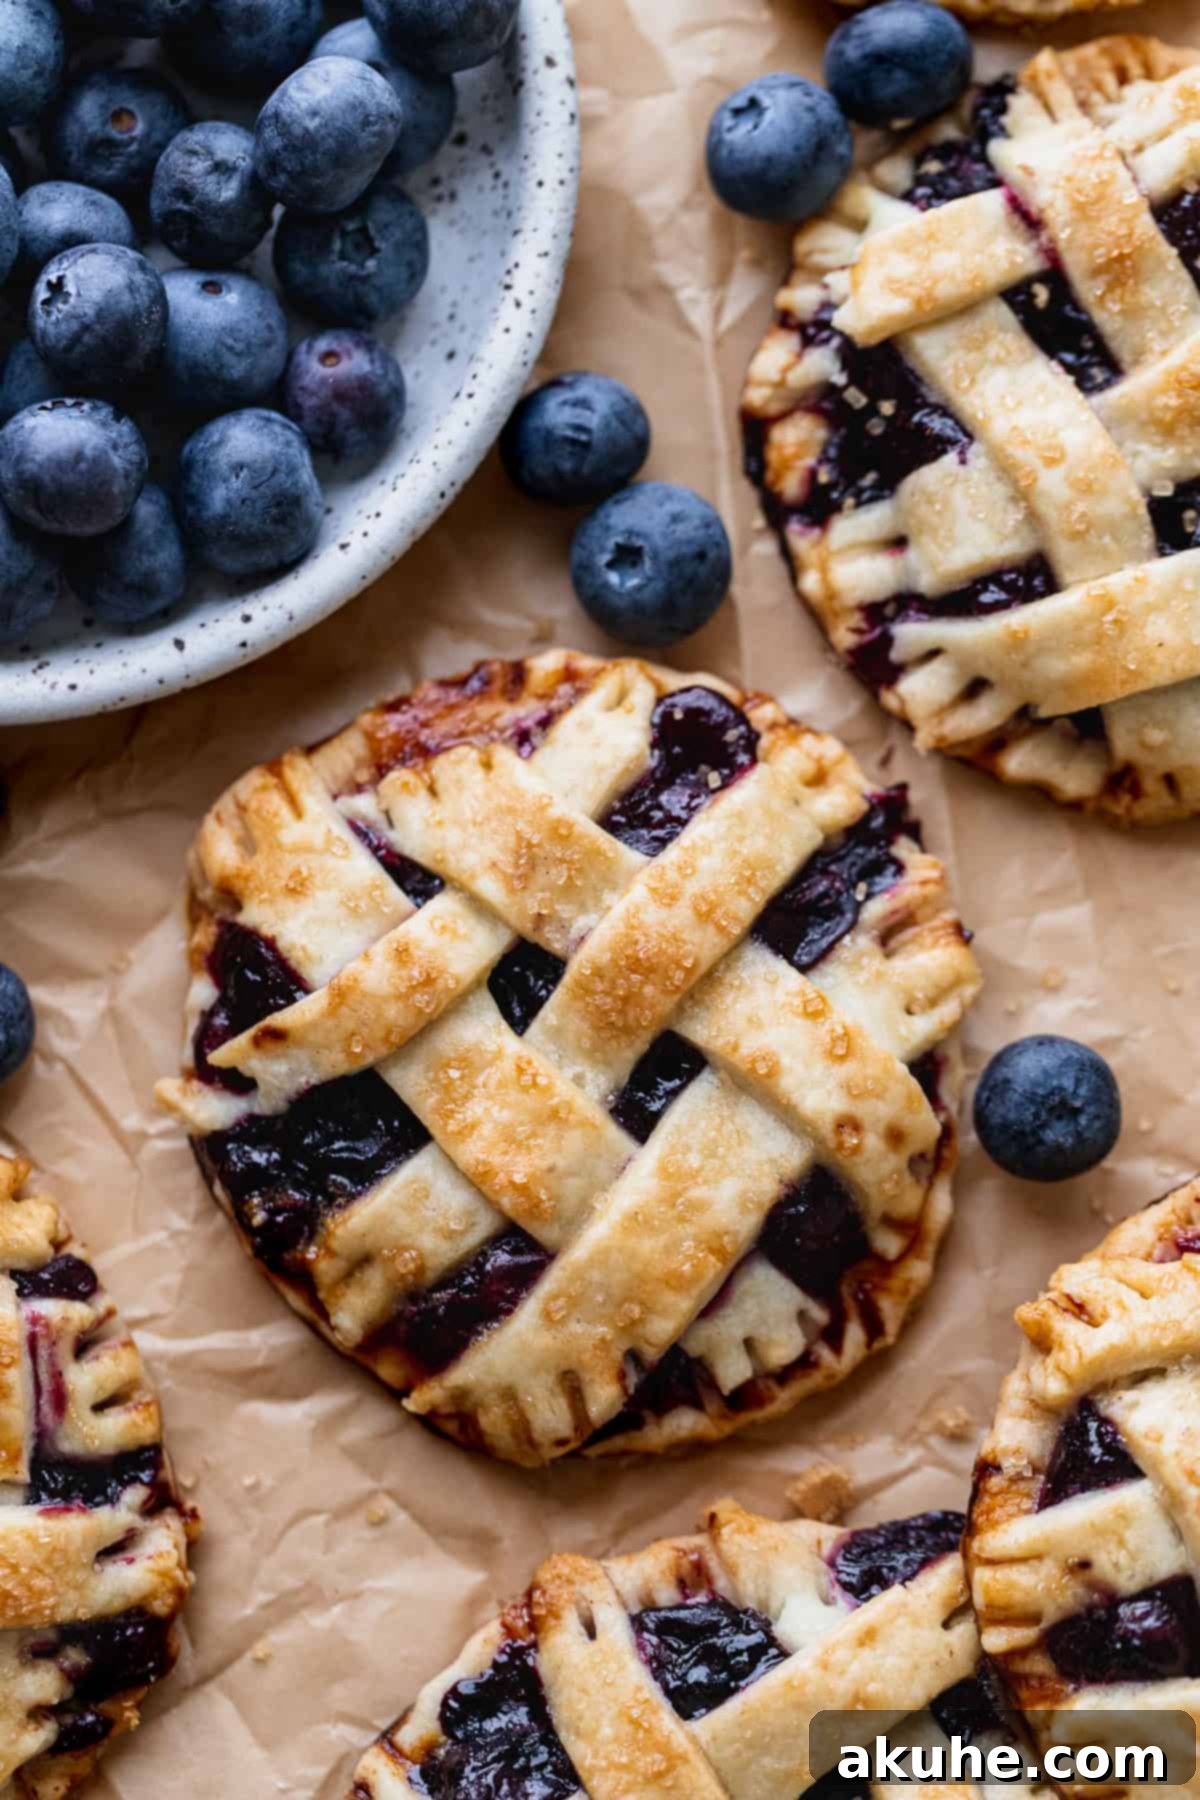
Essential Ingredients for Perfect Mini Blueberry Pies
Crafting these delectable mini blueberry pies begins with selecting the right ingredients. Here’s a closer look at what you’ll need and some helpful notes to ensure your baking success:
- All-Purpose Flour: This is the workhorse of our pie crust. It’s crucial to use all-purpose flour and avoid bread flour, which has a higher protein content and would result in a tougher crust due to increased gluten development. For best results, measure your flour by spooning it into the measuring cup and leveling it off, or even better, use a kitchen scale for precise measurements.
- Unsalted Butter: The secret to a truly flaky pie dough lies in very cold butter. Cut your unsalted butter into small cubes, then return it to the refrigerator to chill thoroughly before incorporating it into the flour mixture. This ensures that the butter pieces remain distinct, creating pockets of steam during baking that lead to that desired flakiness. Using unsalted butter also gives you complete control over the salt content in your recipe.
- White Granulated Sugar: Used in both the pie dough and the blueberry filling to add sweetness and enhance flavor.
- Salt: A pinch of salt in both the crust and the filling balances the flavors, making them pop.
- Egg Wash: A simple mixture of one large egg and one tablespoon of water. Brushing this over the top of your pies before baking gives them a beautiful, shiny, and golden-brown finish, adding to their professional appearance.
- Coarse Sugar: I particularly love using turbinado sugar (like Sugar in the Raw, not an ad, just a preference!) for topping these pies. Its larger crystals provide a delightful textural crunch and a subtle sweetness that perfectly complements the fruit filling.
- Blueberries: The star of the show! You can use either fresh or frozen blueberries. If using frozen, there’s no need to thaw them beforehand when making the filling; they will soften as they cook. For fresh blueberries, ensure they are washed and thoroughly dried to prevent excess moisture from making the filling too runny.
- Lemon Juice: Freshly squeezed lemon juice is always recommended for its vibrant flavor, but bottled lemon juice concentrate works perfectly fine. The lemon juice brightens the blueberry flavor and adds a touch of tartness, balancing the sweetness and preventing the filling from becoming cloyingly sweet.
- Cornstarch: This essential ingredient acts as a thickener for our blueberry filling, ensuring it sets properly and doesn’t run out of the pies during baking or when eaten.
- Ground Cinnamon: A touch of ground cinnamon adds a warm, inviting spice note that beautifully enhances the natural sweetness of the blueberries, creating a truly comforting flavor profile.
Step-by-Step Instructions: Crafting the Flaky Pie Dough
A truly exceptional pie begins with an incredible crust. Follow these detailed steps to create a perfectly flaky and tender pie dough that will elevate your mini blueberry pies.
STEP 1: Prepare and Chill the Butter. Begin by cutting your very cold unsalted butter into small, ½-inch cubes. Place the cubed butter back into the refrigerator to keep it as cold as possible. While the butter chills, sift your all-purpose flour into a large bowl (or directly into your food processor). Then, add the granulated sugar and salt to the flour. Transfer these dry ingredients to a food processor or blender. Pulse a few times until the dry ingredients are well combined.
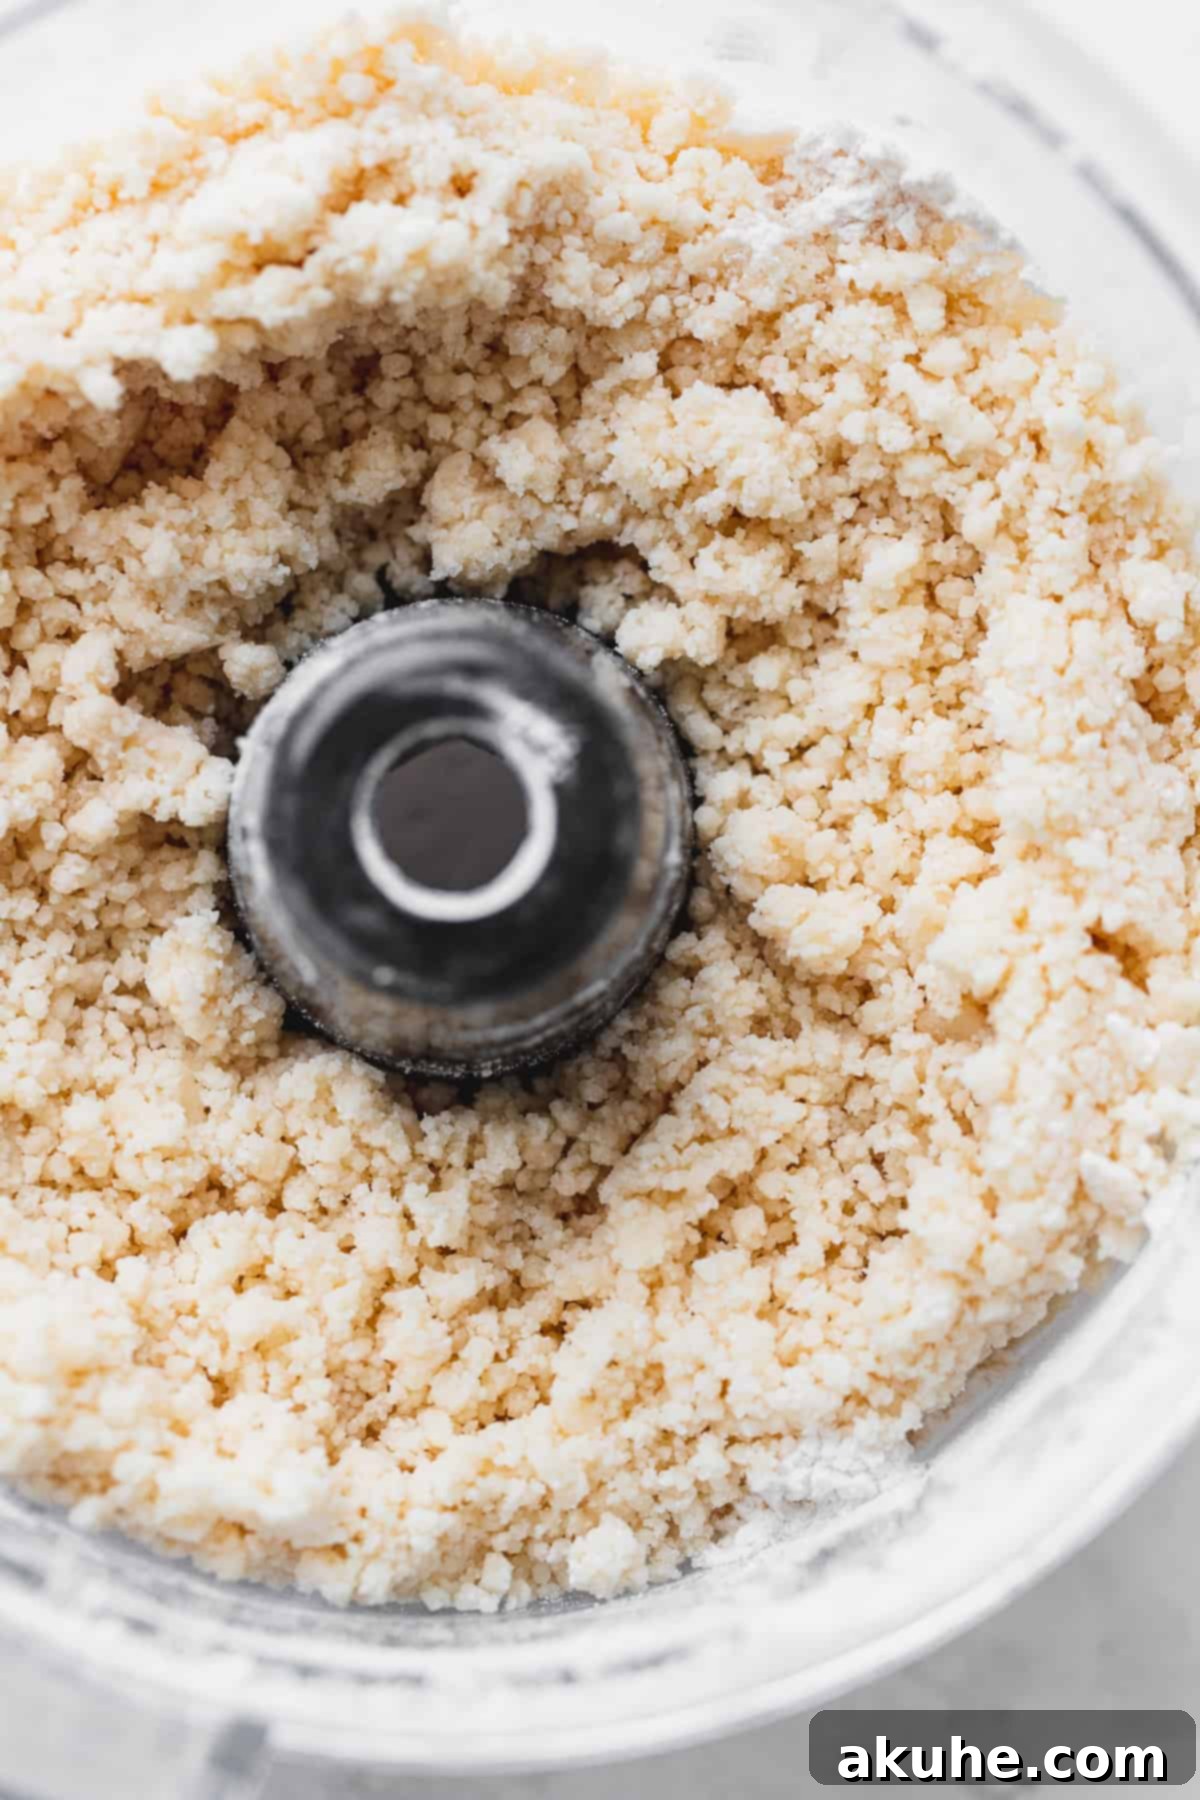
STEP 2: Incorporate the Cold Butter. Now, add the chilled, cubed butter to the flour mixture in the food processor. Pulse the mixture in short bursts. Initially, the mixture will appear dry, and the butter pieces will be small. Continue pulsing until the butter is evenly distributed and resembles small peas or coarse crumbs. The goal is to coat the butter with flour without fully blending it, which is crucial for achieving a flaky texture. Refer to the accompanying pictures for visual guidance on the desired consistency.
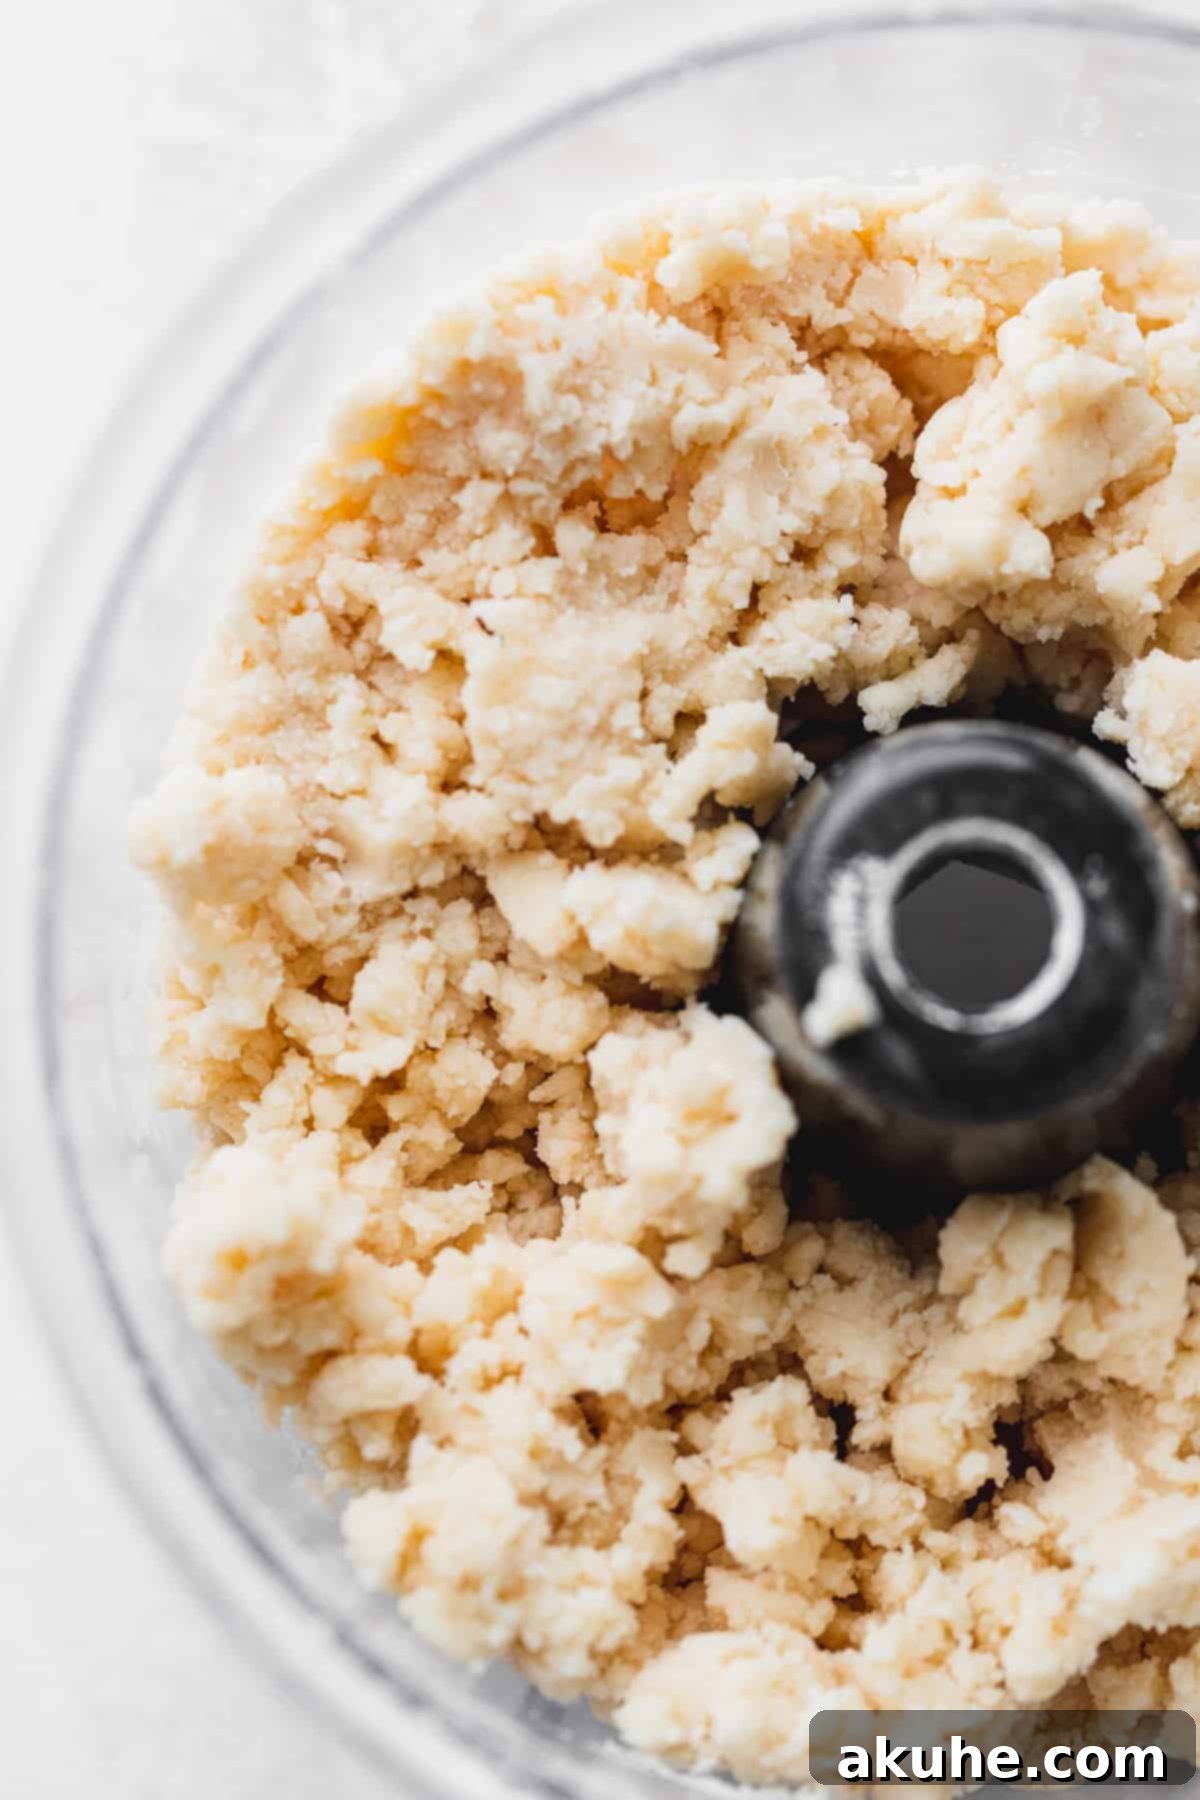
STEP 3: Gradually Add Ice Water. With the food processor running, gradually add the ice water, a tablespoon at a time, through the feed tube. Pulse the dough after each addition. You’ll know you’ve added enough water when the mixture starts to come together and forms a cohesive dough when pinched between your fingers. If it’s too crumbly, add another small splash of ice water and pulse again. Be careful not to overmix; stop as soon as the dough begins to form.
STEP 4: Divide, Shape, and Chill the Dough. Carefully transfer the dough from the food processor onto a sheet of plastic wrap. Using the plastic wrap to assist, gently form the dough into a ball, minimizing handling to keep it cold. Divide the dough into two equal portions. Wrap each portion tightly in plastic wrap and flatten them into rectangular discs. This rectangular shape will make rolling out the dough much easier later. Place both dough discs in the refrigerator to chill for at least 30 minutes. This chilling period is essential for the gluten to relax and for the butter to firm up, making the dough easier to roll and ensuring a flaky crust.
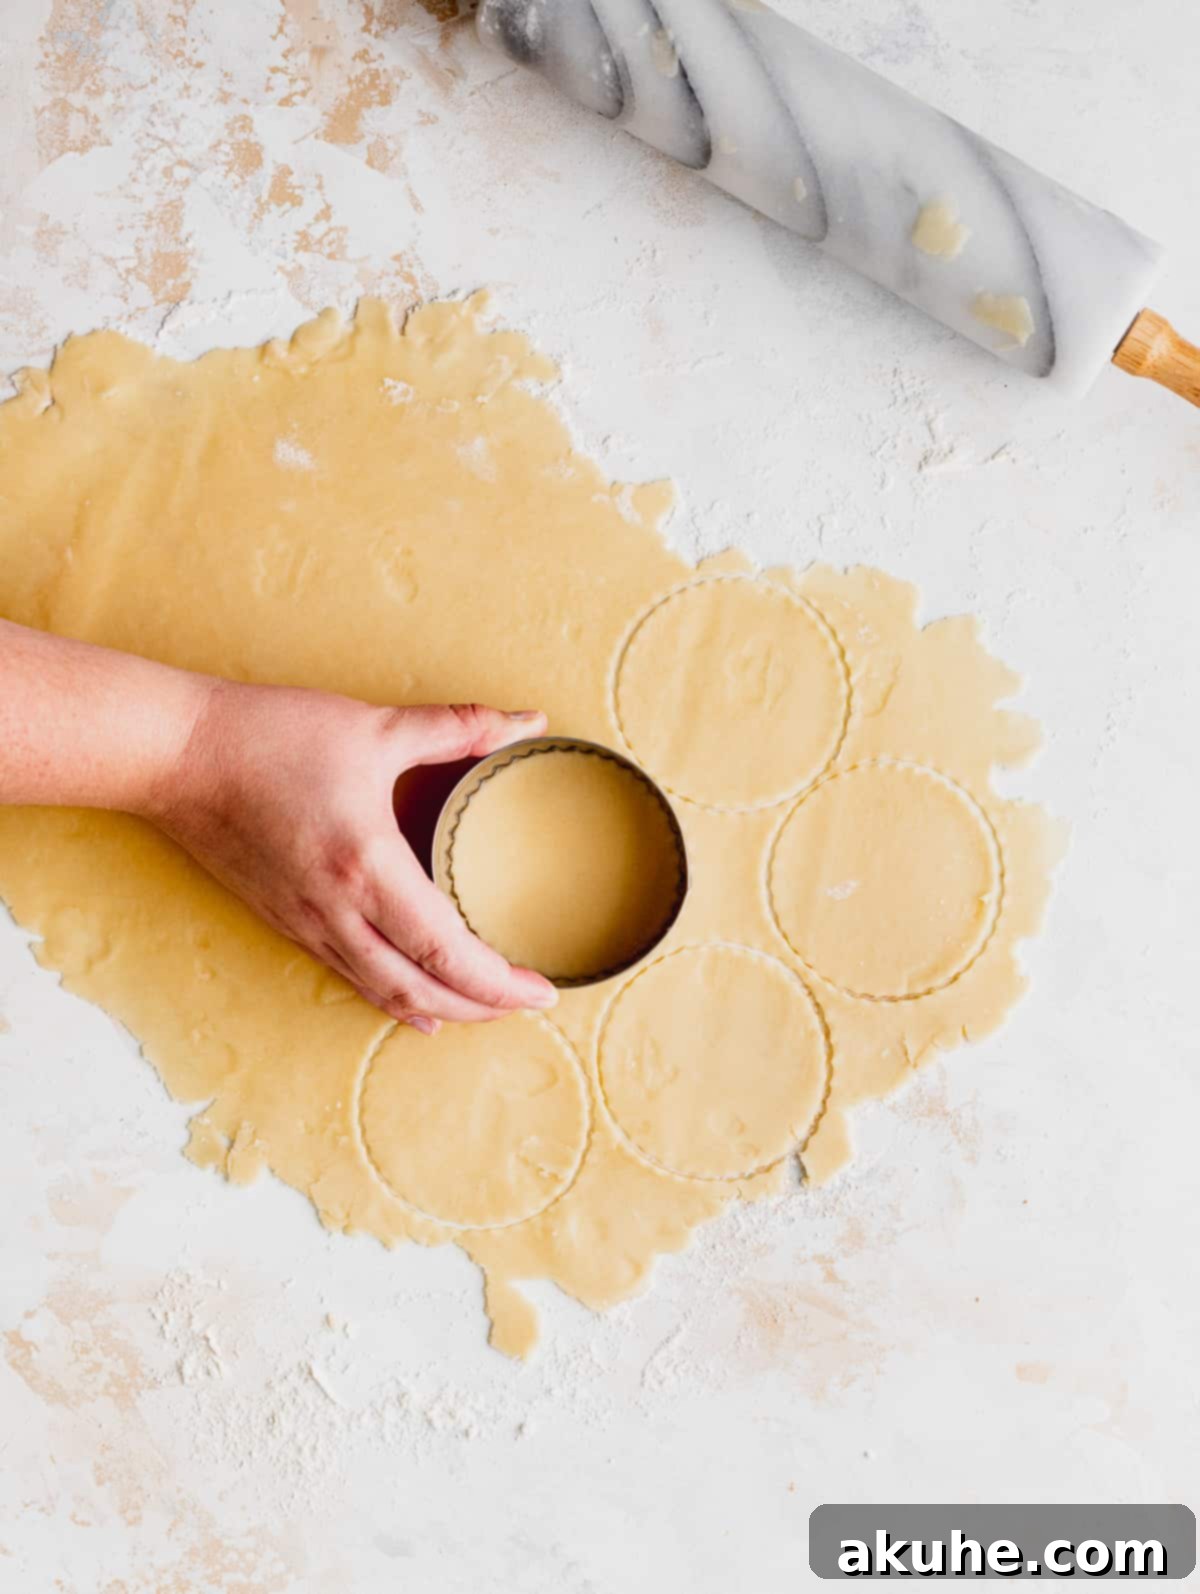
STEP 5: Roll and Cut the Pie Crusts. Once the dough is thoroughly chilled, lightly flour a clean work surface. Take one disc of dough and roll it out until it is very thin, aiming for about ⅛-inch thickness. A thin crust is paramount for ensuring the pies bake through without any raw spots. Use a biscuit cutter or a round cookie cutter to cut out as many circles as possible. For these mini pies, I used a 3.5-inch cutter for the bottom crusts and a 4-inch cutter for the lattice tops. Gather any dough scraps, gently press them together, re-wrap, and chill briefly before re-rolling to cut additional circles.
Preparing the Luscious Blueberry Filling
The sweet and tangy blueberry filling is the heart of these mini pies. It’s crucial to prepare this filling in advance, as it needs to be completely cooled before being spooned into the pie dough. A warm filling could prematurely melt the cold butter in your delicate pie crust, compromising its flaky texture.
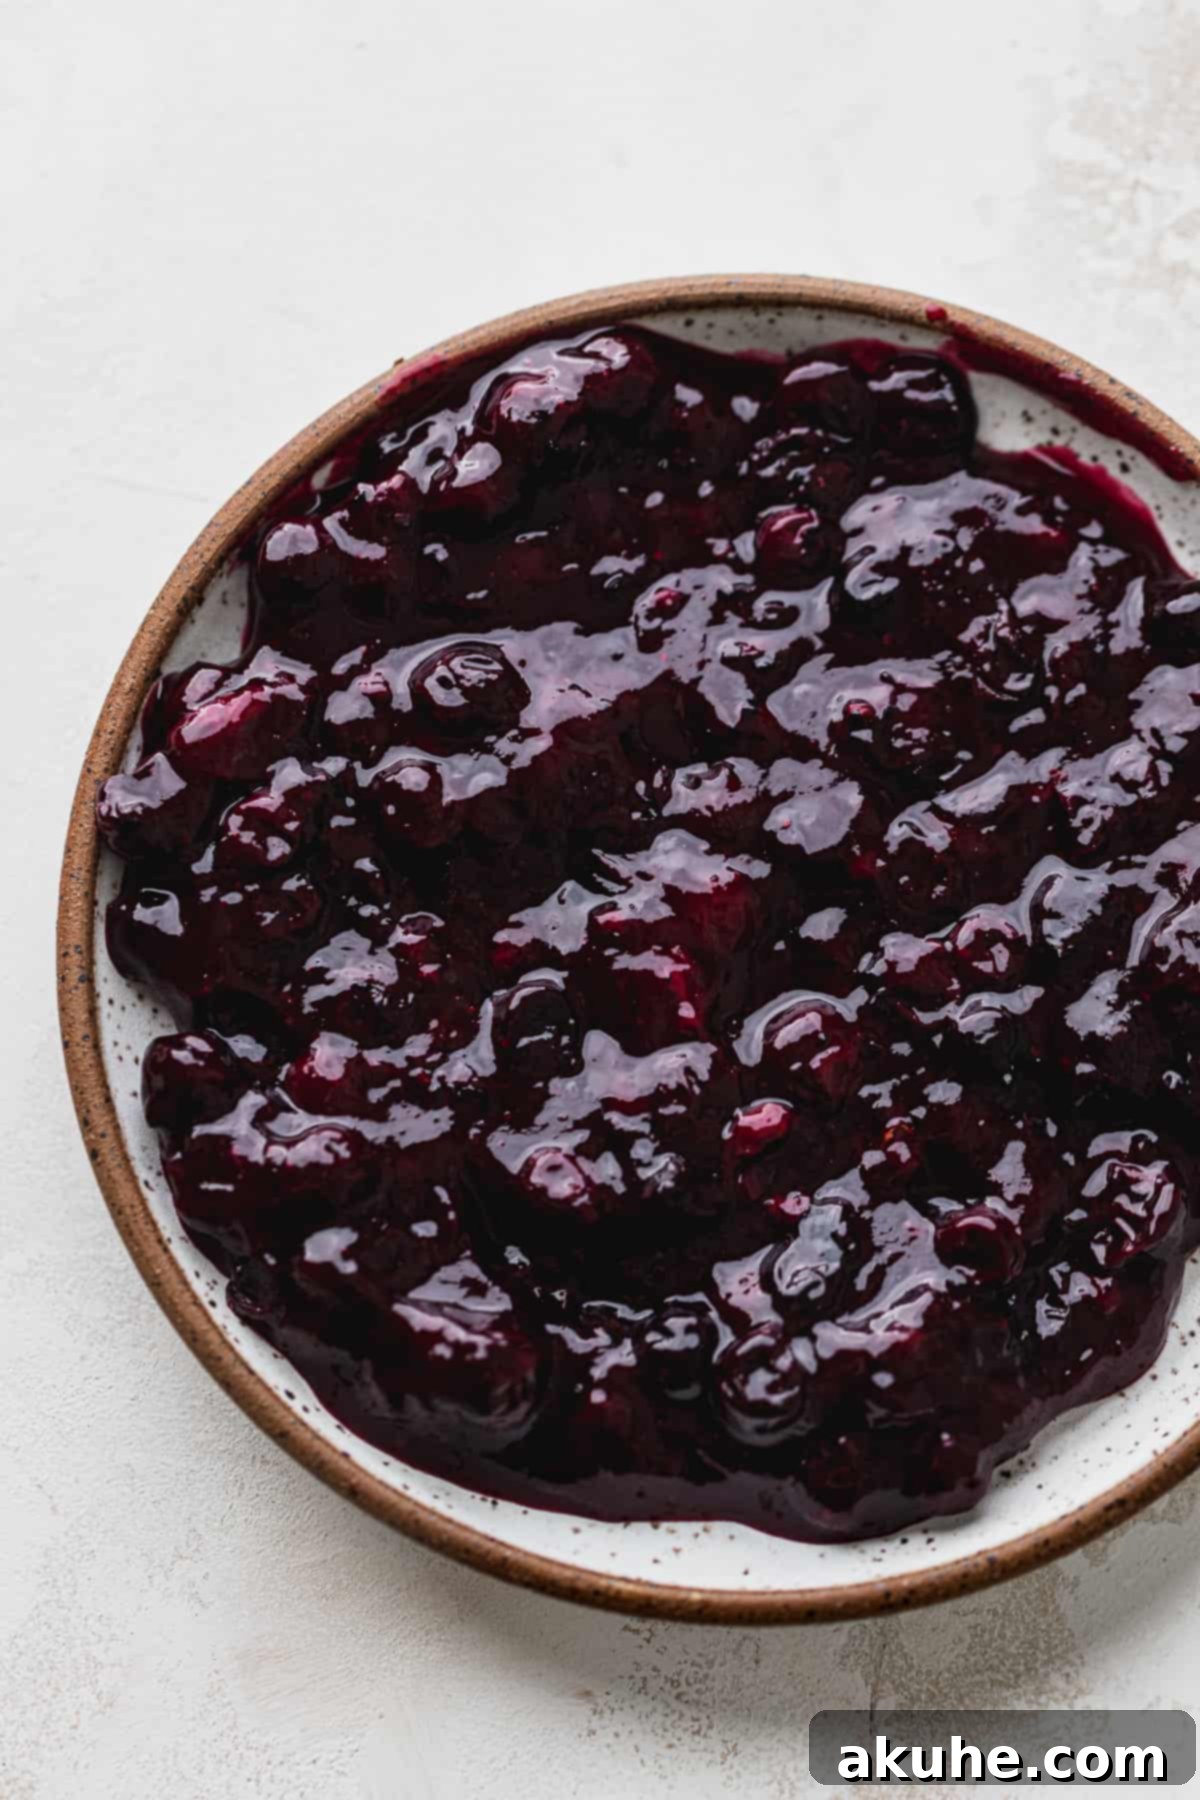
To begin, combine your fresh or frozen blueberries, cornstarch, granulated sugar, lemon juice, ground cinnamon, and a pinch of salt in a small saucepan. Place the saucepan over medium heat. Stir continuously as the mixture heats up. As the blueberries begin to soften, you’ll notice their vibrant purple juices starting to release and mingle with the other ingredients. Continue to cook, stirring occasionally, until the berries have burst and released their liquids.
Next, take a wooden spoon or a potato masher and gently mash some of the blueberries. You don’t need to mash all of them; leaving some whole berries adds wonderful texture and bursts of flavor in every bite. Continue to cook the filling for a few more minutes, stirring, until it visibly thickens to a jam-like consistency. The cornstarch will work its magic, transforming the liquid into a rich, spoonable filling.
Once thickened, remove the saucepan from the heat. Transfer the blueberry filling to a small, heatproof bowl and allow it to cool completely at room temperature. As it cools, the cornstarch will continue to thicken the filling further, achieving the perfect consistency for our mini pies. This cooling step is non-negotiable for a successful, non-soggy pie bottom.
Assembling and Decorating Your Mini Blueberry Pies
Once your pie dough circles are cut and your blueberry filling is cooled, it’s time for the fun part: assembly and decoration! This process is surprisingly straightforward and incredibly rewarding. Watch the video below for a visual guide on how to assemble and create the charming lattice topping for these delightful little pies.
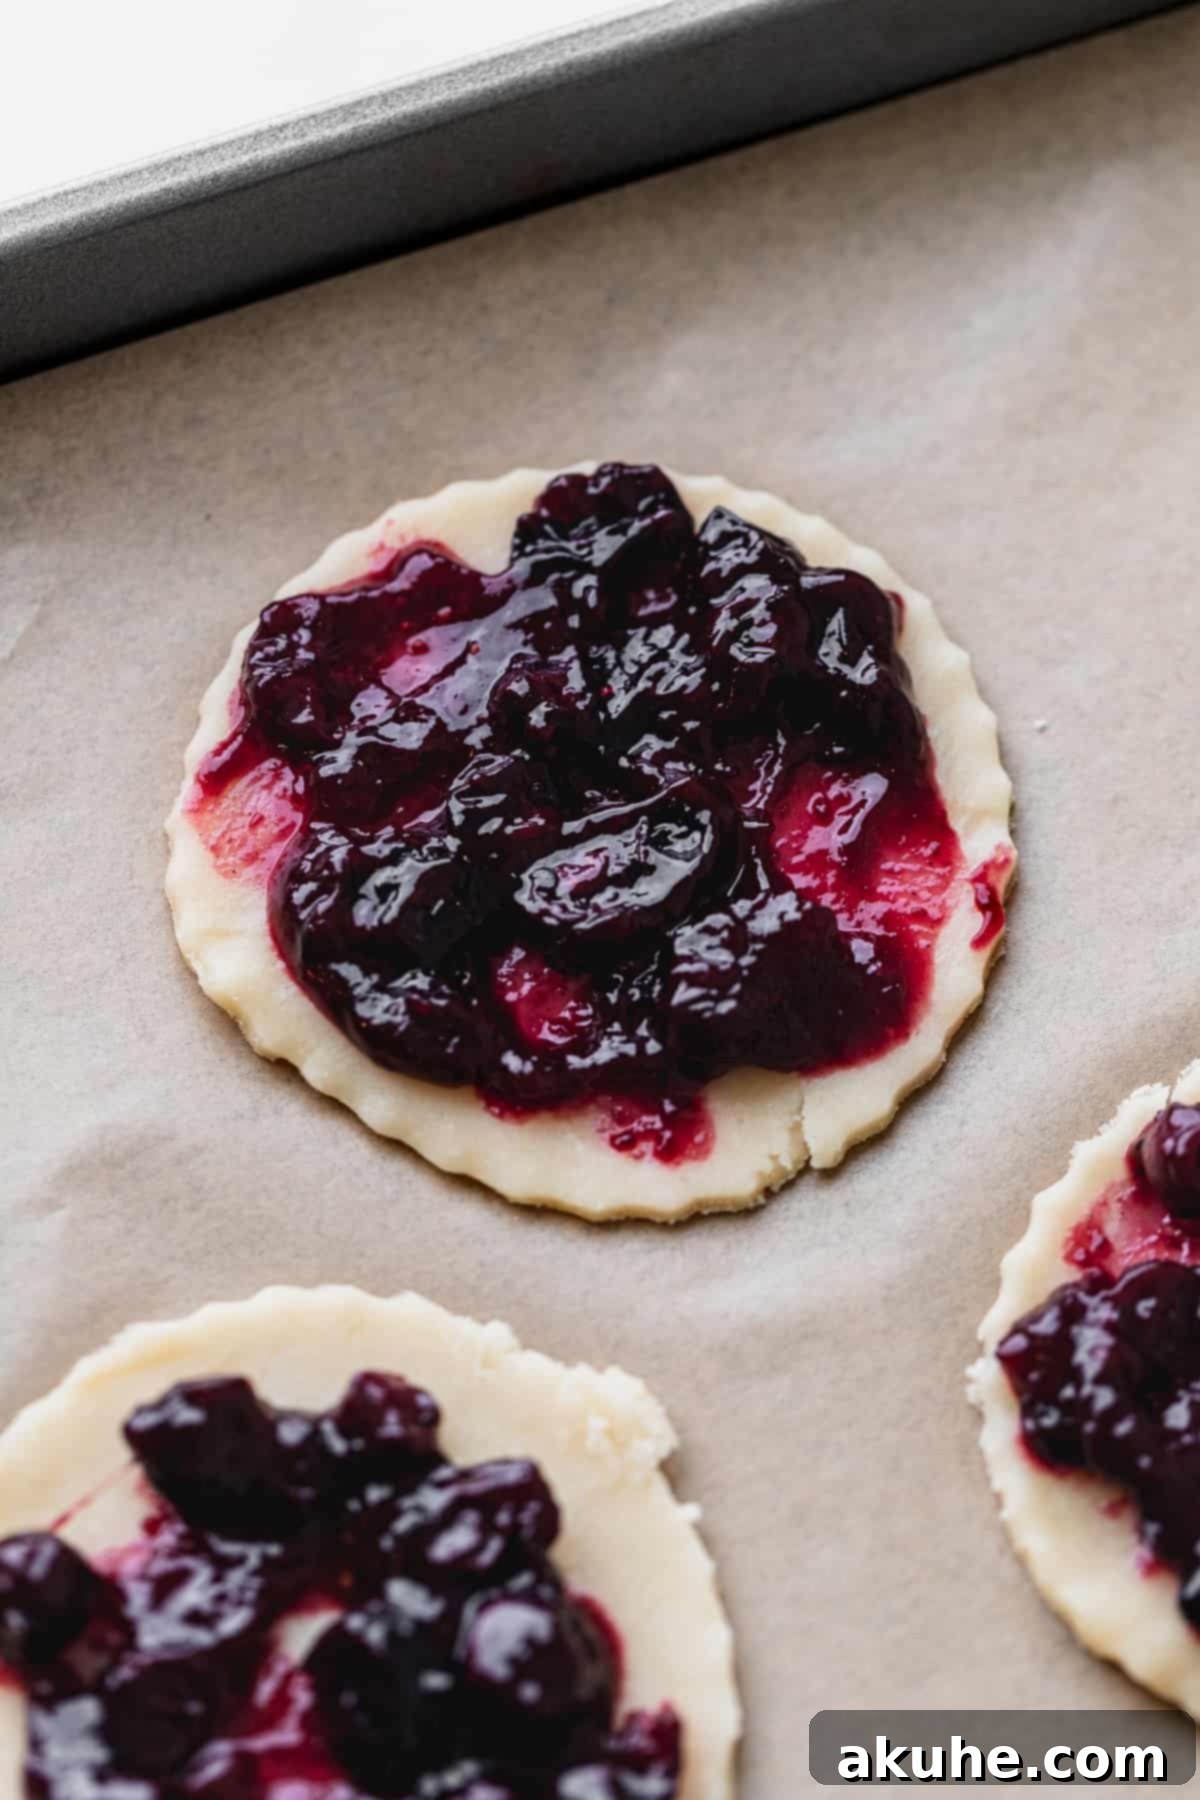
Begin by arranging the smaller pie dough circles (your bottom crusts) on a baking sheet lined with parchment paper. Scoop about ½ tablespoon of the cooled blueberry filling onto the center of each small dough circle. Using the back of a spoon, gently spread the filling out, leaving a small border around the edges of the crust. Be careful not to overfill, as this can lead to messy pies.
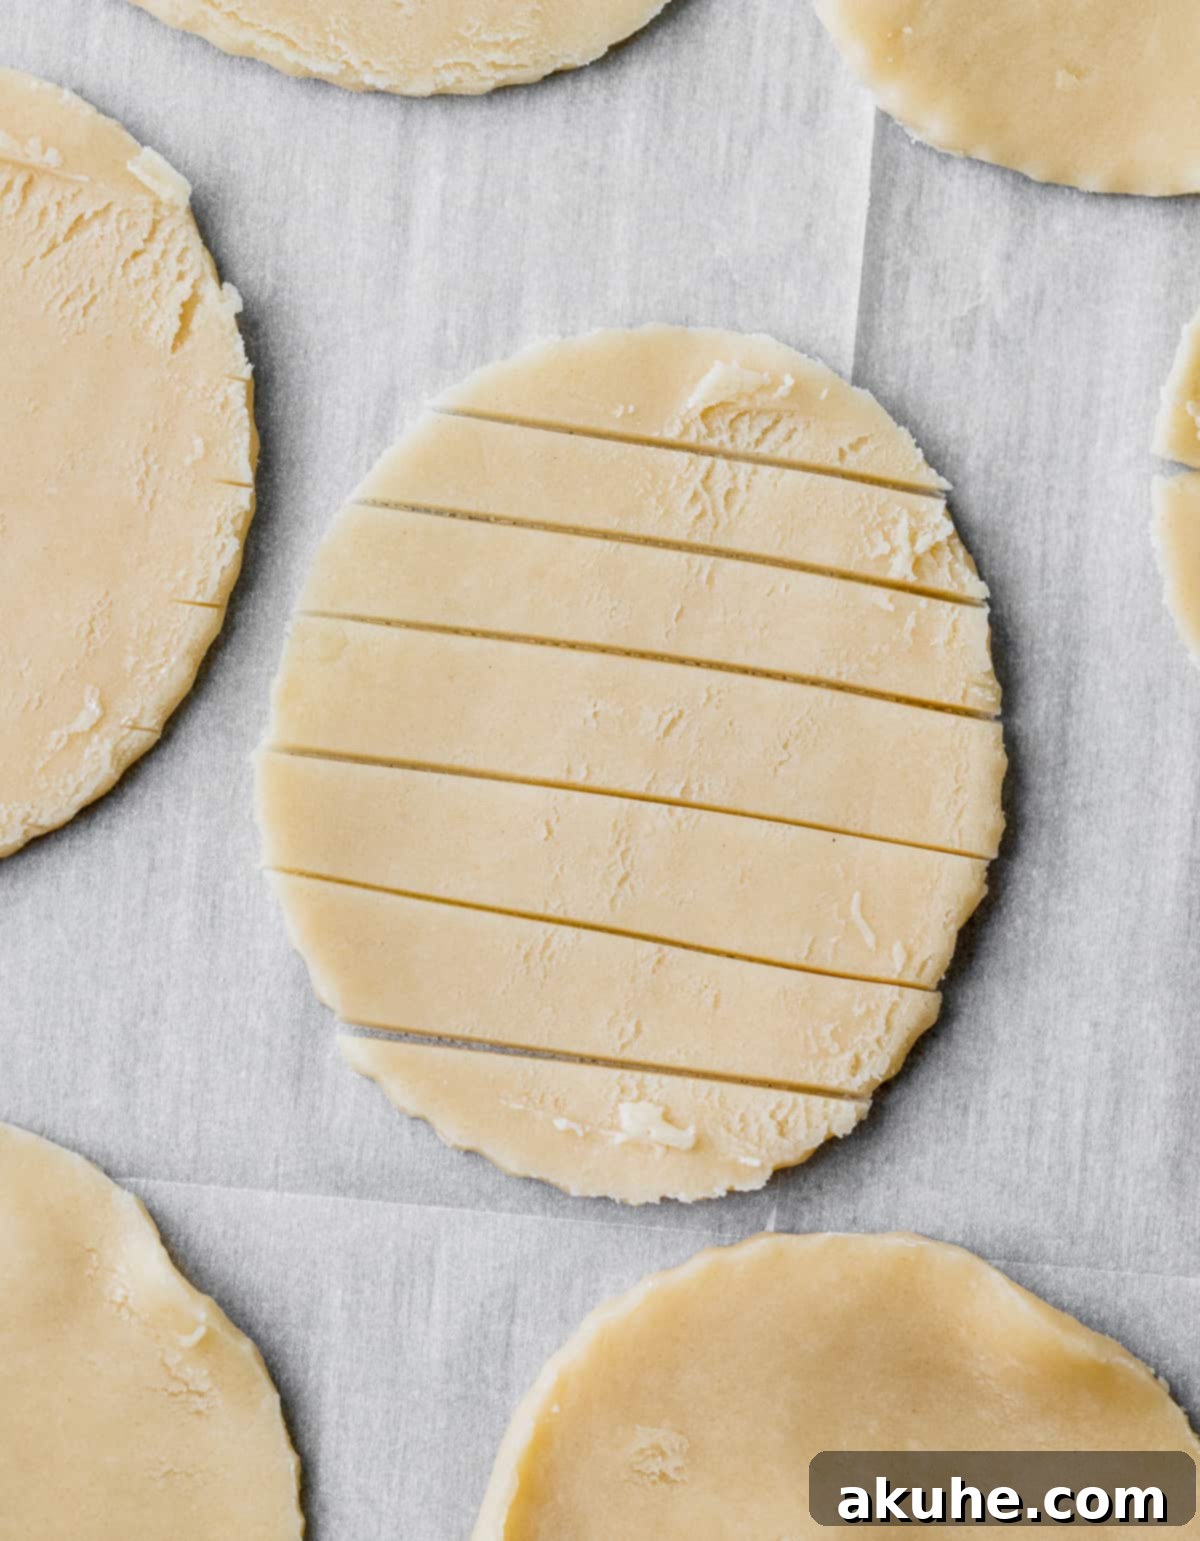
Next, take the slightly larger dough circles that you set aside for the lattice tops. Using a pizza cutter or a sharp knife, carefully cut these circles into even strips, approximately ½-inch wide. As you cut, you’ll notice small curved edges on either side of the strips; discard these, as we only want the straight lines for our lattice design.
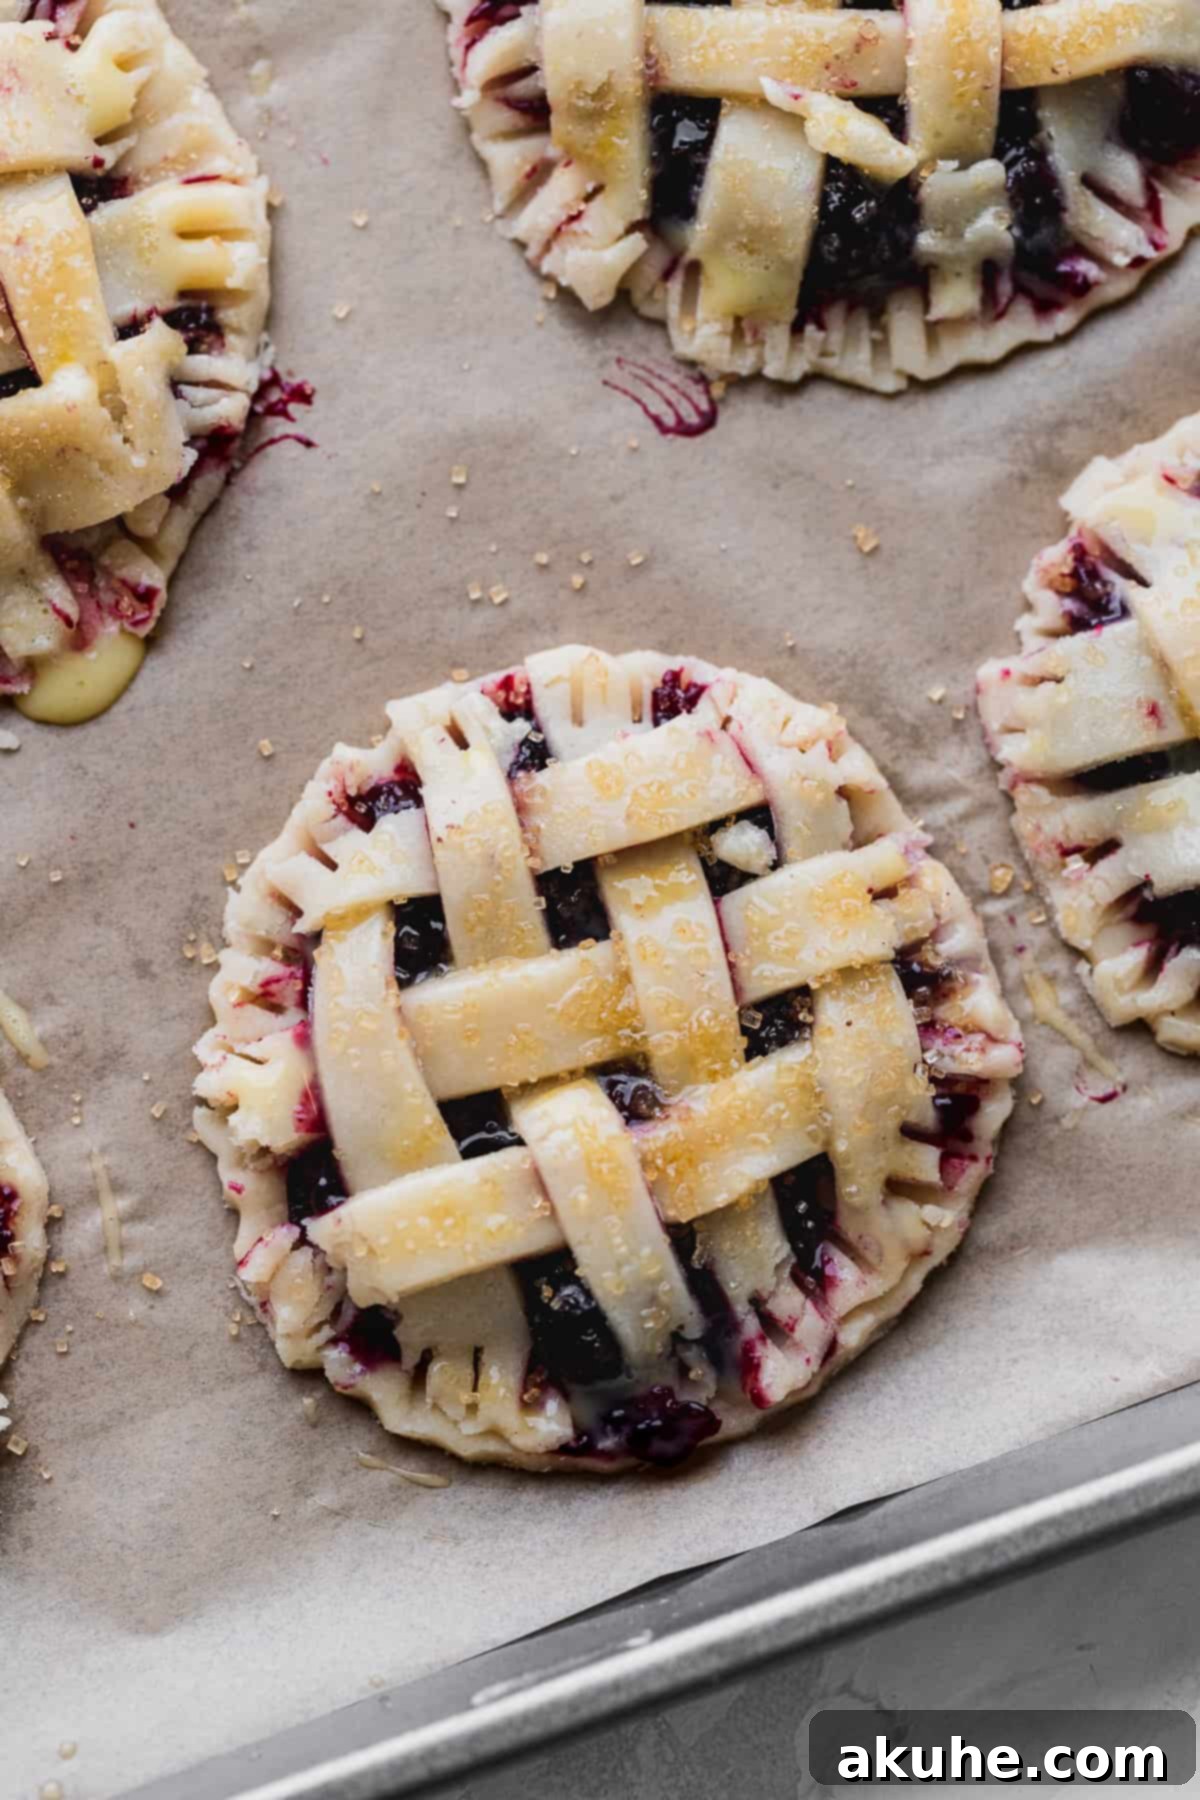
Now for the lattice! Carefully place three of the dough strips parallel across the top of a filled pie. Take another three strips and begin to weave them over and under the initial three strips, creating a classic woven pattern. It might take a little practice, but remember, even a slightly imperfect lattice will bake up beautifully. Once your lattice is in place, gently crimp the edges of the top and bottom crusts together with a fork to seal the pies securely. Use your pizza cutter to trim away any excess dough that hangs over the edges, giving your pies a clean, professional finish.
After assembling and decorating all your mini blueberry hand pies, it’s crucial to let them chill in the refrigerator for at least 30 minutes. This chilling period allows the butter in the crust to firm up again, which is vital for maintaining the shape of the pies and ensuring that coveted flaky texture during baking.
The Final Touches: Topping and Baking
Before sending your beautiful mini pies into the oven, a few simple steps will ensure they come out golden, shiny, and perfectly delicious.
First, prepare your egg wash by whisking together one large egg with one tablespoon of water in a small bowl. Using a pastry brush, gently apply a medium layer of this egg wash over the entire top surface of each pie, including the lattice strips and the crimped edges. This step is essential for achieving that gorgeous, glossy, golden-brown sheen that makes homemade pies look so inviting.
Next, generously sprinkle coarse sugar over the egg-washed tops of the pies. This not only adds a delightful sparkle but also contributes a wonderful crunchy texture and an extra touch of sweetness that perfectly complements the tartness of the blueberries.
Preheat your oven to 400°F (200°C). Once hot, carefully transfer your baking sheet of pies to the oven. Bake for approximately 20-24 minutes, or until the tops are a rich, golden brown and the filling is bubbly. Keep an eye on them towards the end of the baking time to prevent over-browning. The aroma filling your kitchen will be absolutely incredible!
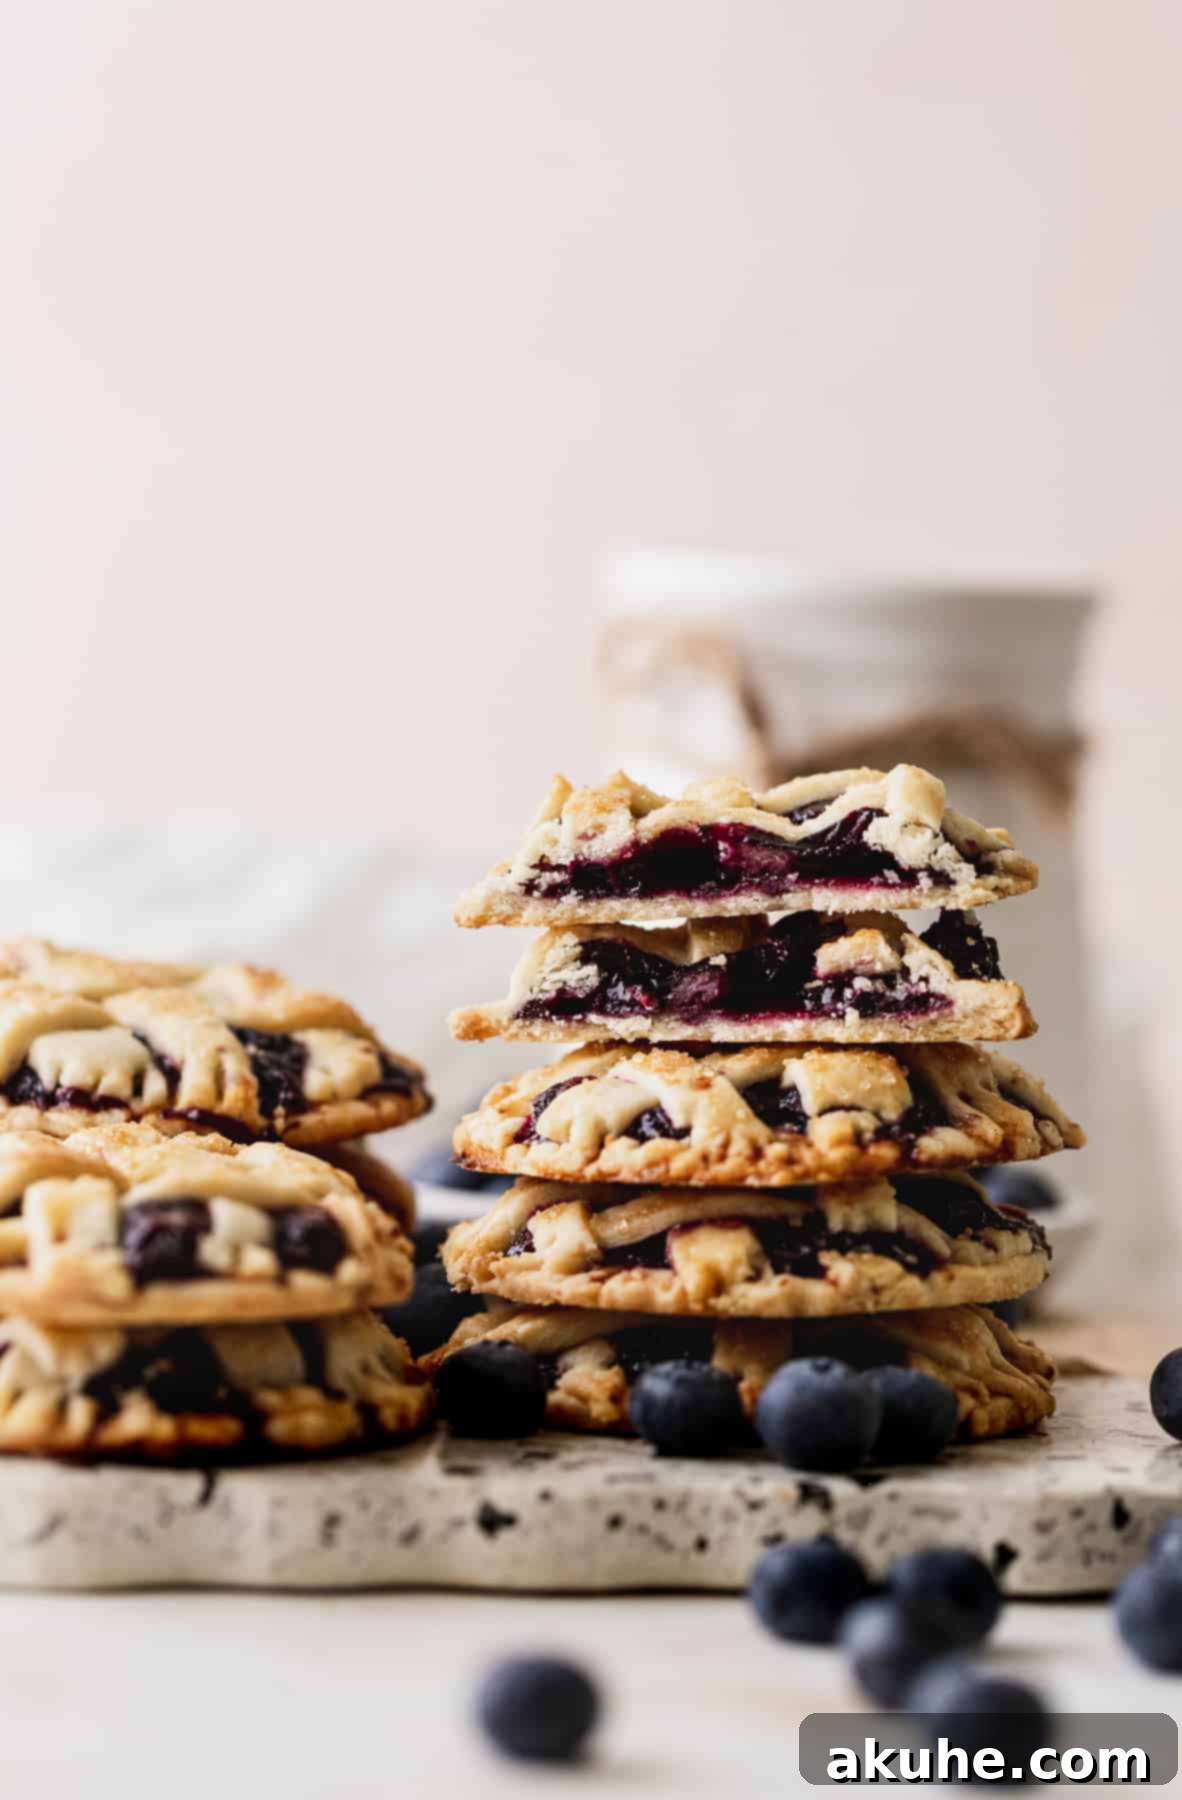
Allow the pies to cool on the baking sheet for a few minutes before transferring them to a wire rack to cool completely. While they are tempting to eat warm, allowing them to cool ensures the filling fully sets. For an extra special treat, serve these mini blueberry pies with a scoop of vanilla bean ice cream or a dollop of freshly whipped cream. The warm pie and cold ice cream combination is simply heavenly.
Frequently Asked Questions About Mini Blueberry Pies
Absolutely! These pies are wonderful to make in advance. For the freshest taste, I recommend preparing them one day ahead of serving. While fresh out of the oven is always a treat, they hold up beautifully overnight.
If you find your dough is raw after baking, it’s most likely because the pie dough wasn’t rolled thin enough. Thicker pastry requires a longer baking time to cook through, and mini pies are designed for thin, crisp crusts. Ensure you roll the dough to about ⅛-inch thickness to guarantee a perfectly baked crust.
Yes, definitely! This recipe is incredibly versatile. You can easily substitute blueberries with other berries like strawberries, raspberries, or a mix of “triple berries” for a delicious variation. Just be mindful that some berries release more liquid, so you might need a tiny bit more cornstarch if your chosen berries are particularly juicy.
While not strictly mandatory for taste, the egg wash plays a significant role in the visual appeal of your pies. Without it, the crust will bake to a duller, matte finish. The egg wash is what gives the pies their gorgeous, shiny, and golden-brown top, making them look much more appetizing and professionally baked.
Certainly! If you enjoy a bit of extra sweetness and a decorative touch, a simple icing would be a wonderful addition. For a bright and zesty option, check out the lemon icing recipe used in my strawberry danish – it would pair beautifully with the blueberry filling.
Expert Baking Tips for Flawless Mini Blueberry Pies
Achieving bakery-quality mini blueberry pies is easier than you think when armed with these expert tips. Pay close attention to temperature and dough handling for the best results:
- Maintain Cold Dough: This is arguably the most crucial tip for a flaky pie crust. The goal is to keep the butter in the dough as cold as possible at every stage. If the dough becomes too warm, the butter will melt out prematurely during baking, resulting in a tough, greasy, or less flaky crust. Cold butter creates steam pockets, which are what give pie crust its characteristic layers. Work quickly, and don’t hesitate to pop the dough back into the fridge if it starts to feel warm.
- The Importance of Post-Assembly Chilling: After you’ve assembled your mini pies, complete with filling and lattice, the final chilling step for 30 minutes is absolutely vital. This allows the butter to re-solidify and the dough to relax, preventing shrinkage and ensuring the pies hold their beautiful shape and flakiness during baking. Skipping this step can lead to misshapen pies and a less desirable texture.
- Optimal Dough Temperature for Decorating: While the dough should be cold for flakiness, it shouldn’t be rock-hard when you’re forming the lattice. You want the pie dough to be semi-cold—chilled but still pliable enough to work with. If it’s too warm, the butter will soften too much, making the strips difficult to handle and prone to breaking as you try to weave them. If it’s too cold, it will crack. Aim for a temperature that allows for flexibility without stickiness.
- Roll the Dough Thin: A common pitfall for new pie bakers is rolling the dough too thick. When I first tested this recipe, I made the crust too thick, which resulted in unpleasant raw dough spots even after proper baking time. To ensure your mini pies bake through perfectly, roll your pie dough as thinly as you can manage – ideally around ⅛-inch thick. A thin crust bakes quickly and crisps up beautifully, offering a delightful contrast to the soft filling.
- Measure Flour Accurately: For pie crust, precision matters. Too much flour can make the dough dry and crumbly, while too little can make it sticky. Always spoon and level your flour into a measuring cup, or use a kitchen scale for the most accurate results.
Storing and Freezing Your Mini Blueberry Pies
These delightful mini blueberry pies are fantastic for making ahead or enjoying over several days. Here’s how to properly store them to maintain their freshness and flavor.
Storing
Once baked and completely cooled, store your mini blueberry pies at room temperature in an airtight container. This will help keep the crust crisp and the filling fresh. They will remain delicious for up to 4 days. If your kitchen is particularly warm, or if you prefer, you can store them in the refrigerator, but allow them to come to room temperature or warm them slightly before serving for the best taste and texture.
Freezing
For longer storage, mini blueberry pies freeze beautifully. To freeze, individually wrap each cooled pie tightly in plastic cling wrap, ensuring no air is exposed. Then, place the wrapped pies in a freezer-safe airtight container or a heavy-duty freezer bag. They can be frozen for up to 30 days without significant loss of quality.
When you’re ready to enjoy a frozen pie, thaw it on the kitchen counter for approximately 2 hours. For the absolute best results and to revive that freshly baked texture, warm the thawed pie in the microwave for about 10-15 seconds, or in a preheated oven at 300°F (150°C) for 5-7 minutes until just warmed through and the crust regains some crispness.
Other Fruit Recipes To Try
If you’ve enjoyed baking with fruit, be sure to explore more of my delightful fruit-centric recipes that celebrate seasonal flavors and classic combinations!
Did you try this recipe? I’d love to hear your thoughts! Please make sure to leave me a star review below. Your feedback helps other bakers, and it makes my day!
Also, don’t forget to tag me on Instagram @stephaniesweettreats so I can see your wonderful creations. I hope you loved making and eating these mini blueberry pies! To get even more baking inspiration and ideas, follow me on Pinterest.

Mini Blueberry Pies
Print Recipe
Pin Recipe
Leave a Review
Ingredients
Pie Dough
- 2 3/4 cups All-purpose flour
- 3 tsp White granulated sugar
- 1/2 tsp Salt
- 1 cup Unsalted butter, cold
- 1/4 cup Ice water
- 1 Large egg
- 1 TBSP Water
- Coarse sugar, for topping
Blueberry Filling
- 1 cup Fresh blueberries, washed and dried
- 1 TBSP Cornstarch
- 3 TBSP White granulated sugar
- 2 TBSP Lemon juice
- 1/4 tsp Ground cinnamon
- Pinch of salt
Instructions
Pie Dough
- Cut the unsalted butter into ½-inch cubes. Place the cubed butter back in the fridge to ensure it stays very cold. In a food processor, blend the all-purpose flour, white granulated sugar, and salt until combined. Add the cold cubed butter to the food processor and pulse in short bursts until the butter is mixed into the flour and resembles small peas or coarse crumbs. Initially, the butter will look small and dry in the flour; continue pulsing until it reaches the desired pea-shaped consistency.
- Gradually add the ice water, starting with one tablespoon at a time, through the food processor’s feed tube while pulsing. Continue pulsing until the dough just begins to come together. The dough has enough water when it holds together when pressed. If it crumbles, add a small splash more of ice water and pulse again. Be careful not to overmix.
- Transfer the pie dough onto cling wrap. Using the cling wrap to assist, gently form the dough into a cohesive ball, minimizing direct handling. Split the dough into two equal halves. Wrap each dough half tightly in fresh cling wrap and gently flatten each into a rectangular disc.
- Chill the wrapped pie dough discs in the refrigerator for at least 30 minutes to allow the gluten to relax and the butter to firm up.
Blueberry Filling
- In a small saucepan over medium heat, combine the fresh or frozen blueberries, cornstarch, white granulated sugar, lemon juice, ground cinnamon, and a pinch of salt. Stir continuously. Cook the mixture until the blueberries begin to soften and their vibrant purple juice starts to release.
- Using the back of a wooden spoon or a potato masher, gently crush some of the blueberries to help release more flavor and create a richer consistency. Continue to cook, stirring occasionally, until the filling thickens slightly to a jam-like texture. Remove the saucepan from the heat and transfer the filling to a heatproof bowl. Allow it to cool completely at room temperature; the filling will continue to thicken as it cools.
Assembly
- On a lightly floured surface, roll out one of the chilled dough discs to a very thin ⅛-inch thickness. Use a 3.5-inch biscuit cutter to cut out as many circles as possible (you should get about 10). Place these smaller circles on a cookie sheet lined with parchment paper. Gather the dough scraps, gently press them together, re-wrap, and chill briefly.
- Roll out the second dough disc on a floured surface to ⅛-inch thickness. Use a 4-inch biscuit cutter to cut out circles. Re-roll any dough scraps (including those from the first batch) to cut additional circles until you have 10 larger circles in total. These slightly larger circles are for the decorative lattice tops. Place these on a separate cookie sheet lined with parchment paper and chill both sets of circles in the fridge.
- Scoop approximately ½ tablespoon of the cooled blueberry filling onto the center of each smaller dough circle (the bottom crusts). Use the back of a spoon to gently spread the filling out, leaving a small border around the edges. Take the larger dough circles and use a pizza cutter or sharp knife to cut them into even strips. Discard any rounded edge strips, keeping only the straight pieces.
- To create the lattice design, carefully place three strips of dough parallel over the filled pie. Then, take another three strips and weave them over and under the first set of strips to create a woven pattern. Refer to the video above for a visual demonstration. Once the lattice is complete, gently crimp the edges of the top and bottom crusts together with a fork to seal the pies. Use a pizza cutter to trim away any excess dough hanging over the edges. Chill the assembled mini blueberry hand pies for 20 minutes to firm up the butter.
- Preheat your oven to 400°F (200°C). In a small bowl, whisk together the large egg and 1 tablespoon of water to create an egg wash. Use a pastry brush to apply a medium layer of this egg wash over the tops of each pie, ensuring the lattice and edges are covered. Generously sprinkle coarse sugar over the egg-washed pies. Bake for 20-24 minutes, or until the tops are beautifully golden brown and the filling is bubbly. Allow the pies to cool on the baking sheet for a few minutes before transferring them to a wire rack to cool completely before eating.
Notes
Blueberry Filling Ahead: The blueberry filling can be prepared in advance. Once cooled, store it in an airtight container in the refrigerator for up to 3 days until ready to assemble the pies.
