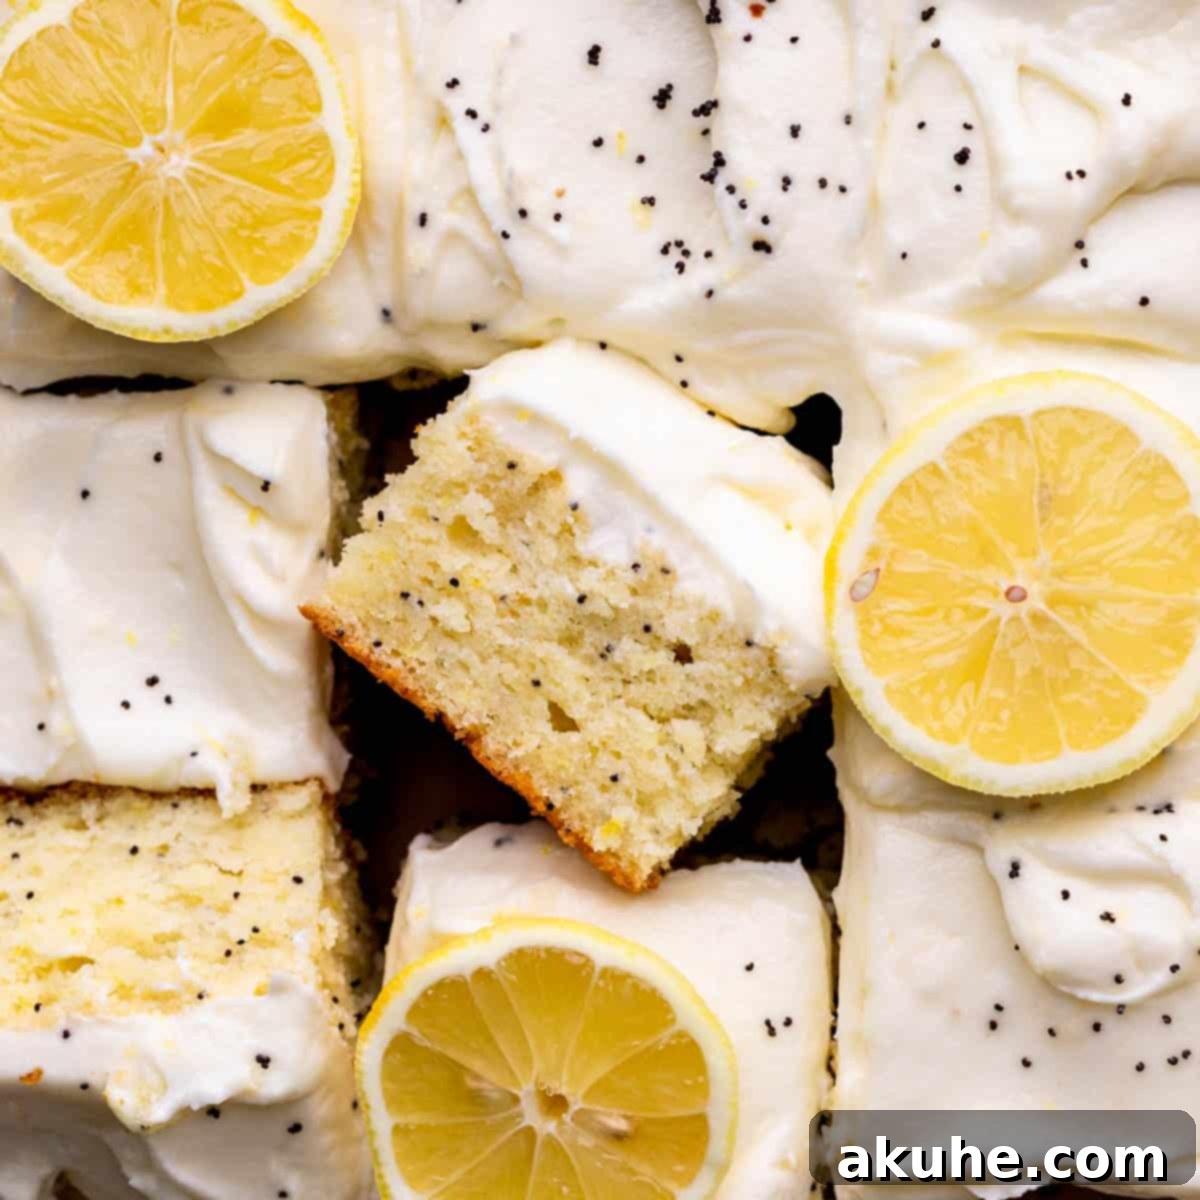
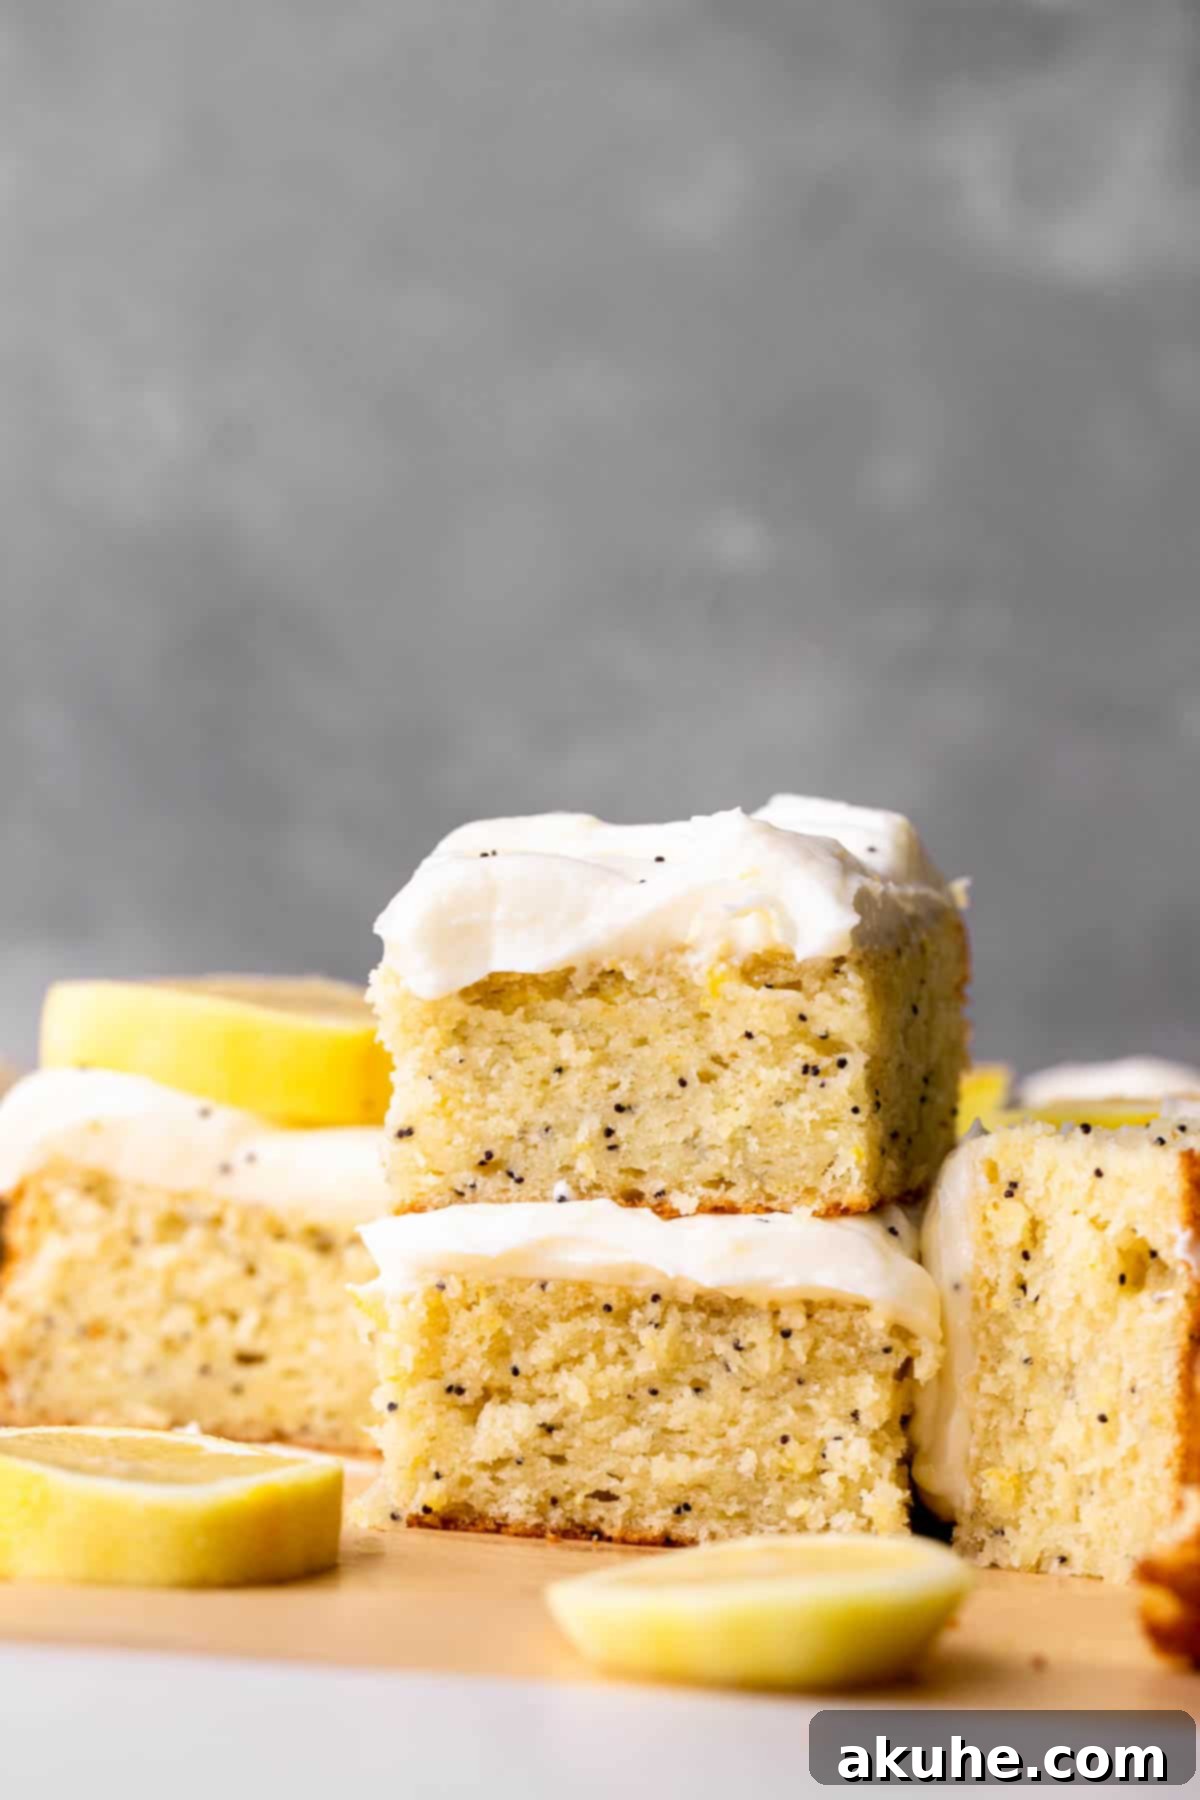
Welcome to the ultimate guide for baking a truly delightful Lemon Poppy Seed Cake! This cake is a celebration of fresh, vibrant citrus and the subtle, nutty crunch of poppy seeds, all crowned with a luscious lemon cream cheese frosting. Baked in a convenient 9×9 inch pan, it’s designed to be perfectly moist, tender, and incredibly flavorful. Whether you’re a seasoned baker or just starting your culinary journey, this recipe promises a simple yet spectacularly delicious dessert that will brighten any occasion. Perfect for spring gatherings, weekend treats, or simply to satisfy a craving for something bright and refreshing, this cake is sure to become a beloved staple in your recipe collection.
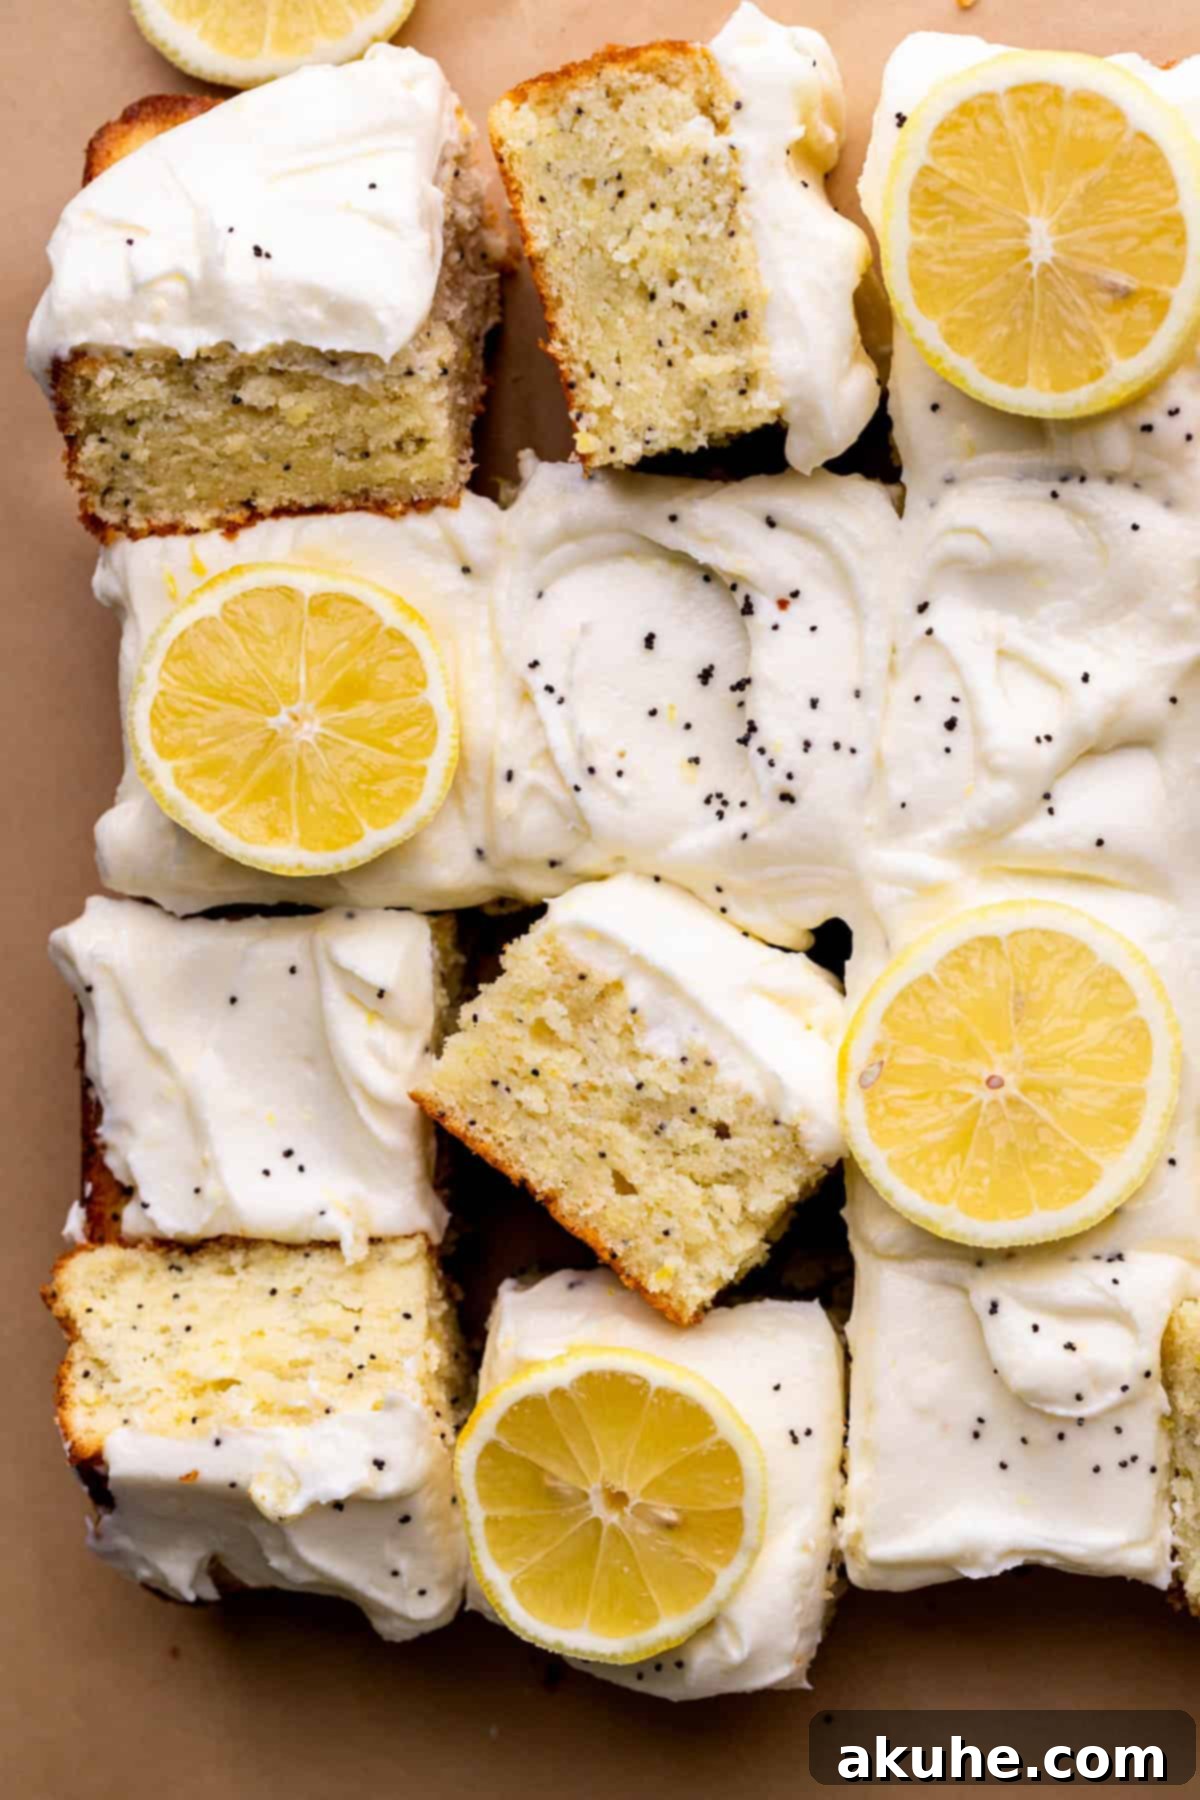
There’s something undeniably captivating about the combination of zesty lemon and delicate poppy seeds. This Lemon Poppy Seed Cake isn’t just a dessert; it’s an experience. Each bite delivers a burst of tangy lemon flavor, perfectly balanced by the earthy notes of poppy seeds, all wrapped in a wonderfully moist and tender cake crumb. The crowning glory, a rich and tangy lemon cream cheese frosting, adds an irresistible creamy texture and enhances the citrus profile, making it an absolute dream for any lemon lover. Prepare for this cake to be the star of your next spring celebration or family get-together, vanishing from the dessert table in record time!
If you find yourself enchanted by the magic of lemon, be sure to explore more of our delightful lemon dessert recipes. We highly recommend trying our Lemon Bar Cupcakes for a handheld citrus treat, our fudgy and bright Lemon Brownies, and our wonderfully chewy Lemon Cookies. Each recipe offers a unique way to enjoy the refreshing flavor of fresh lemons.
Why This Lemon Poppy Seed Cake Recipe is a Must-Try
Discover the secrets behind why this particular Lemon Poppy Seed Cake recipe stands out from the rest. We’ve meticulously crafted it to ensure a perfect balance of flavor, texture, and ease, making it an ideal choice for bakers of all skill levels.
- Unforgettable Lemon Poppy Seed Flavor: This cake perfectly captures the essence of fresh lemons, offering a bright and zesty flavor that truly sings. We use both fresh lemon zest and juice to ensure a vibrant citrus punch, which is beautifully complemented by just the right amount of poppy seeds, adding a subtle, pleasant crunch and earthy depth without overpowering the delicate lemon notes. It’s a harmonious blend that creates an incredibly refreshing and satisfying taste experience.
- Incredibly Moist and Tender Texture: Say goodbye to dry cakes! This Lemon Poppy Seed Cake recipe is specifically formulated to yield an exceptionally moist and tender crumb every single time. The thoughtful combination of unsalted butter, oil, and sour cream contributes to a rich, soft, and melt-in-your-mouth texture that remains moist for days. You’ll achieve a perfect crumb that holds its shape beautifully while still being wonderfully delicate.
- Effortless and Easy-to-Follow: Baking this exquisite cake doesn’t require advanced culinary skills. We’ve designed this recipe to be straightforward and simple, breaking down each step into easy-to-understand instructions. With no complicated techniques or hard-to-find ingredients, you can confidently create a bakery-quality lemon poppy seed cake in your own kitchen. It’s the perfect recipe for busy bakers looking for impressive results without the stress.
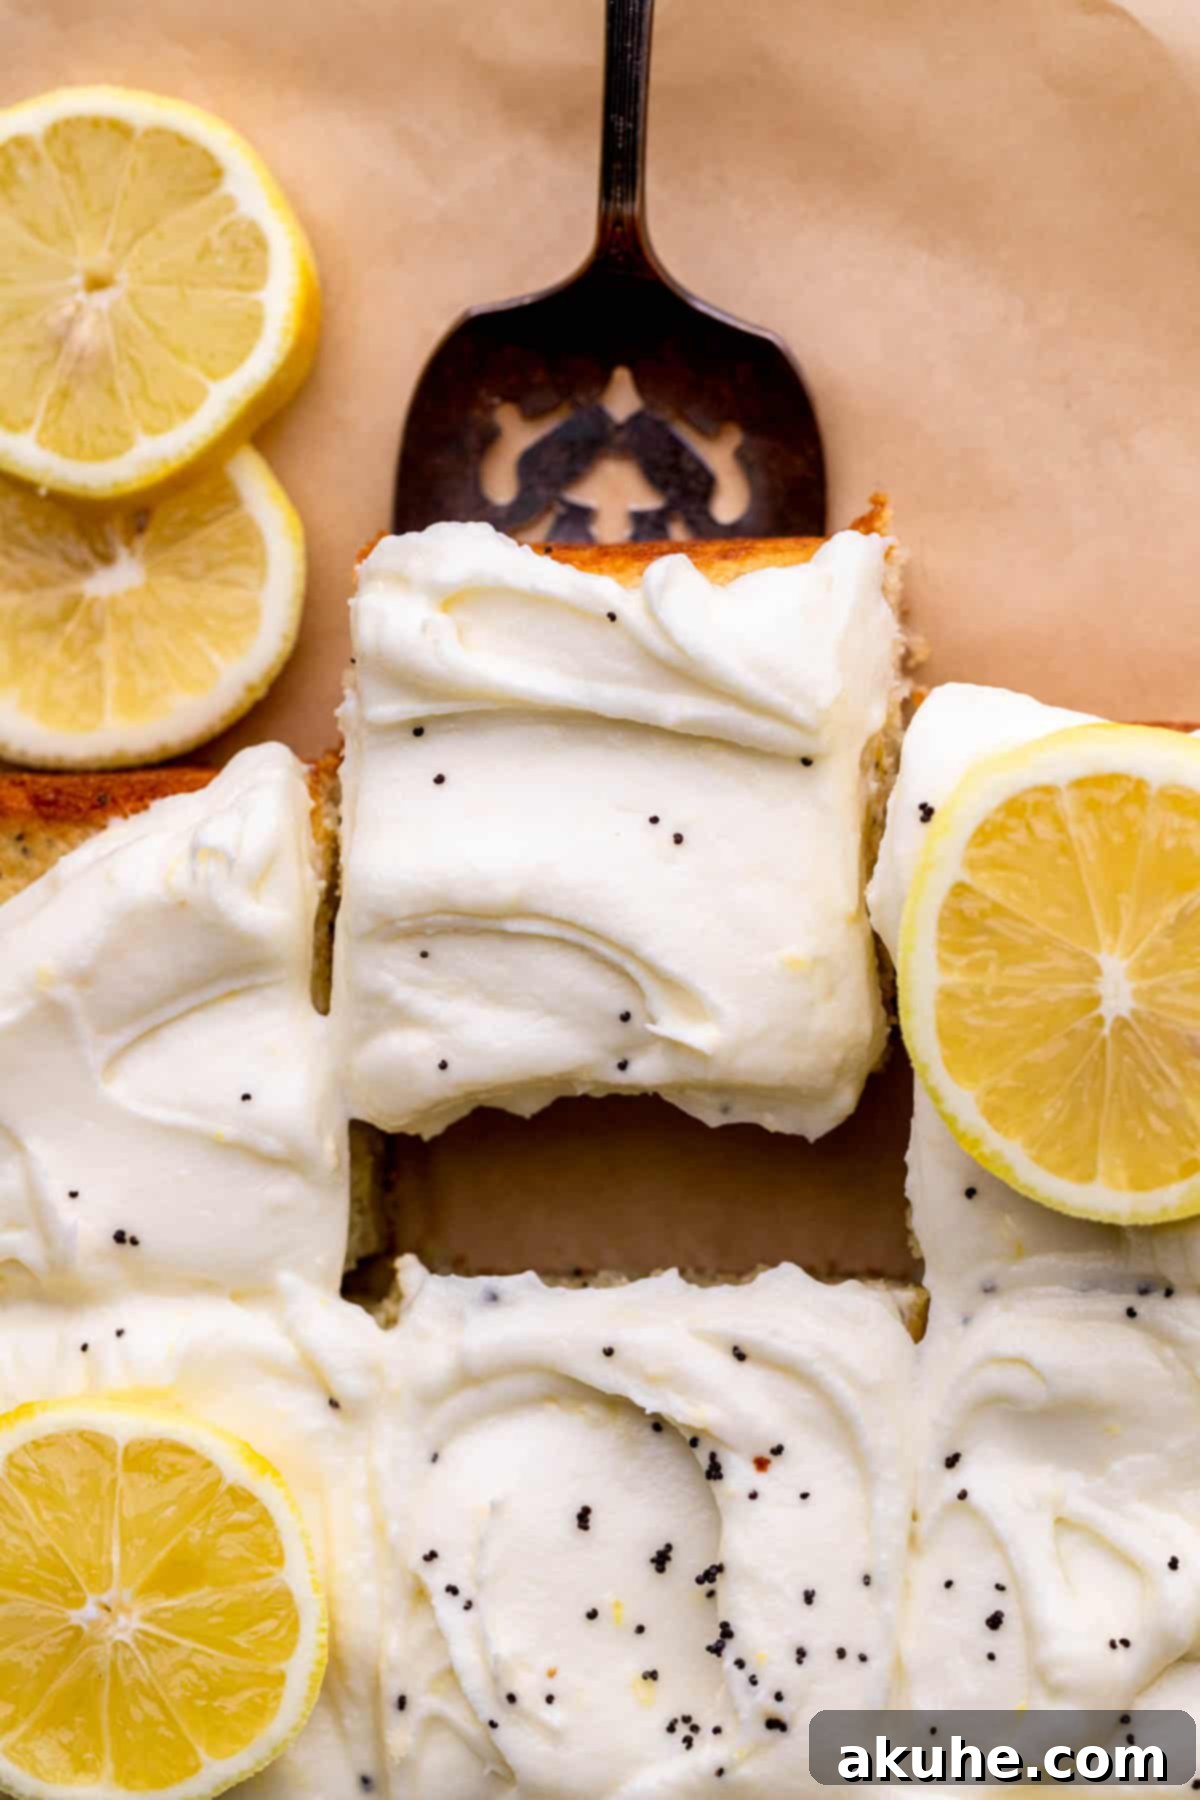
Key Ingredients for the Perfect Lemon Poppy Seed Cake
The quality of your ingredients directly impacts the flavor and texture of your cake. Here are some essential notes on the key components for both the cake and its delectable frosting. For a complete list of measurements, please refer to the comprehensive recipe card below.
- Unsalted Butter: Always use unsalted butter for baking, as it gives you control over the overall saltiness of the recipe. For optimal creaming and a smooth batter, ensure your butter is at room temperature. This means pulling it out of the fridge at least 2 hours before you plan to start baking.
- Sour Cream: This ingredient is a secret weapon for achieving an incredibly moist and tender cake. The acidity of sour cream reacts with the leavening agents, and its fat content adds richness. Opt for full-fat sour cream or a high-quality plain Greek yogurt for the best results. Like butter, allow it to come to room temperature for seamless incorporation into the batter.
- Oil: Incorporating a neutral-flavored oil like canola oil, vegetable oil, or even a light olive oil, alongside butter, ensures the cake remains moist and tender for longer. Oil contributes to moisture without adding extra solids, resulting in a beautifully soft crumb that resists drying out.
- Eggs: Large eggs are standard in most baking recipes. Crucially, ensure your eggs are at room temperature. Room temperature eggs emulsify better with other ingredients, creating a more cohesive and evenly textured batter, which translates to a more uniform and tender cake.
- Buttermilk: Full-fat or reduced-fat buttermilk both work wonderfully in this recipe. Its acidity works similarly to sour cream, tenderizing the cake crumb and enhancing the leavening process, resulting in a lighter, fluffier cake. Remember to bring it to room temperature for proper integration.
- Cream Cheese: For the frosting, use full-fat cream cheese for the richest, creamiest, and most stable frosting. Cold cream cheese can lead to a lumpy frosting, so make sure it’s softened to room temperature for at least 2 hours before you begin.
- Powdered Sugar: Also known as confectioners’ sugar, this is essential for a smooth and silky frosting. Sifting the powdered sugar before adding it is a critical step to prevent any lumps, ensuring your lemon cream cheese frosting is perfectly smooth and spreadable.
- Fresh Lemons: The star of the show! Always use fresh lemons for both the zest and the juice. Lemon zest contains essential oils that deliver the most potent and aromatic lemon flavor, far superior to bottled juice or artificial extracts. I recommend medium-sized lemons; after zesting, you can juice them for the recipe. Fresh zest is non-negotiable for a truly vibrant lemon taste.
Step-By-Step Instructions: Crafting Your Moist Lemon Poppy Seed Cake
Creating this delicious Lemon Poppy Seed Cake is a straightforward process when you follow these simple steps. For the best results, we recommend using a stand mixer fitted with a paddle attachment, which makes light work of mixing your batter to perfection.
STEP 1: Prepare Your Pan and Preheat Oven. Begin by preheating your oven to 350°F (175°C). Next, take a 9×9 inch square baking pan and generously spray it with a nonstick baking spray. To ensure your cake releases flawlessly, line the bottom of the pan with a sheet of parchment paper. If you don’t have a square cut, an 8-inch parchment paper circle can work. Once the parchment is in place, give it another quick spray with nonstick spray. This double protection guarantees an easy removal of your beautiful cake.
STEP 2: Combine the Dry Ingredients. In a medium-sized bowl, use a fine-mesh sieve to sift together the all-purpose flour, baking powder, and baking soda. Sifting helps to aerate the flour and remove any lumps, ensuring a light and even cake texture. Once sifted, gently stir in the poppy seeds and the salt. Set this mixture aside for later, ready to be incorporated into your wet ingredients.
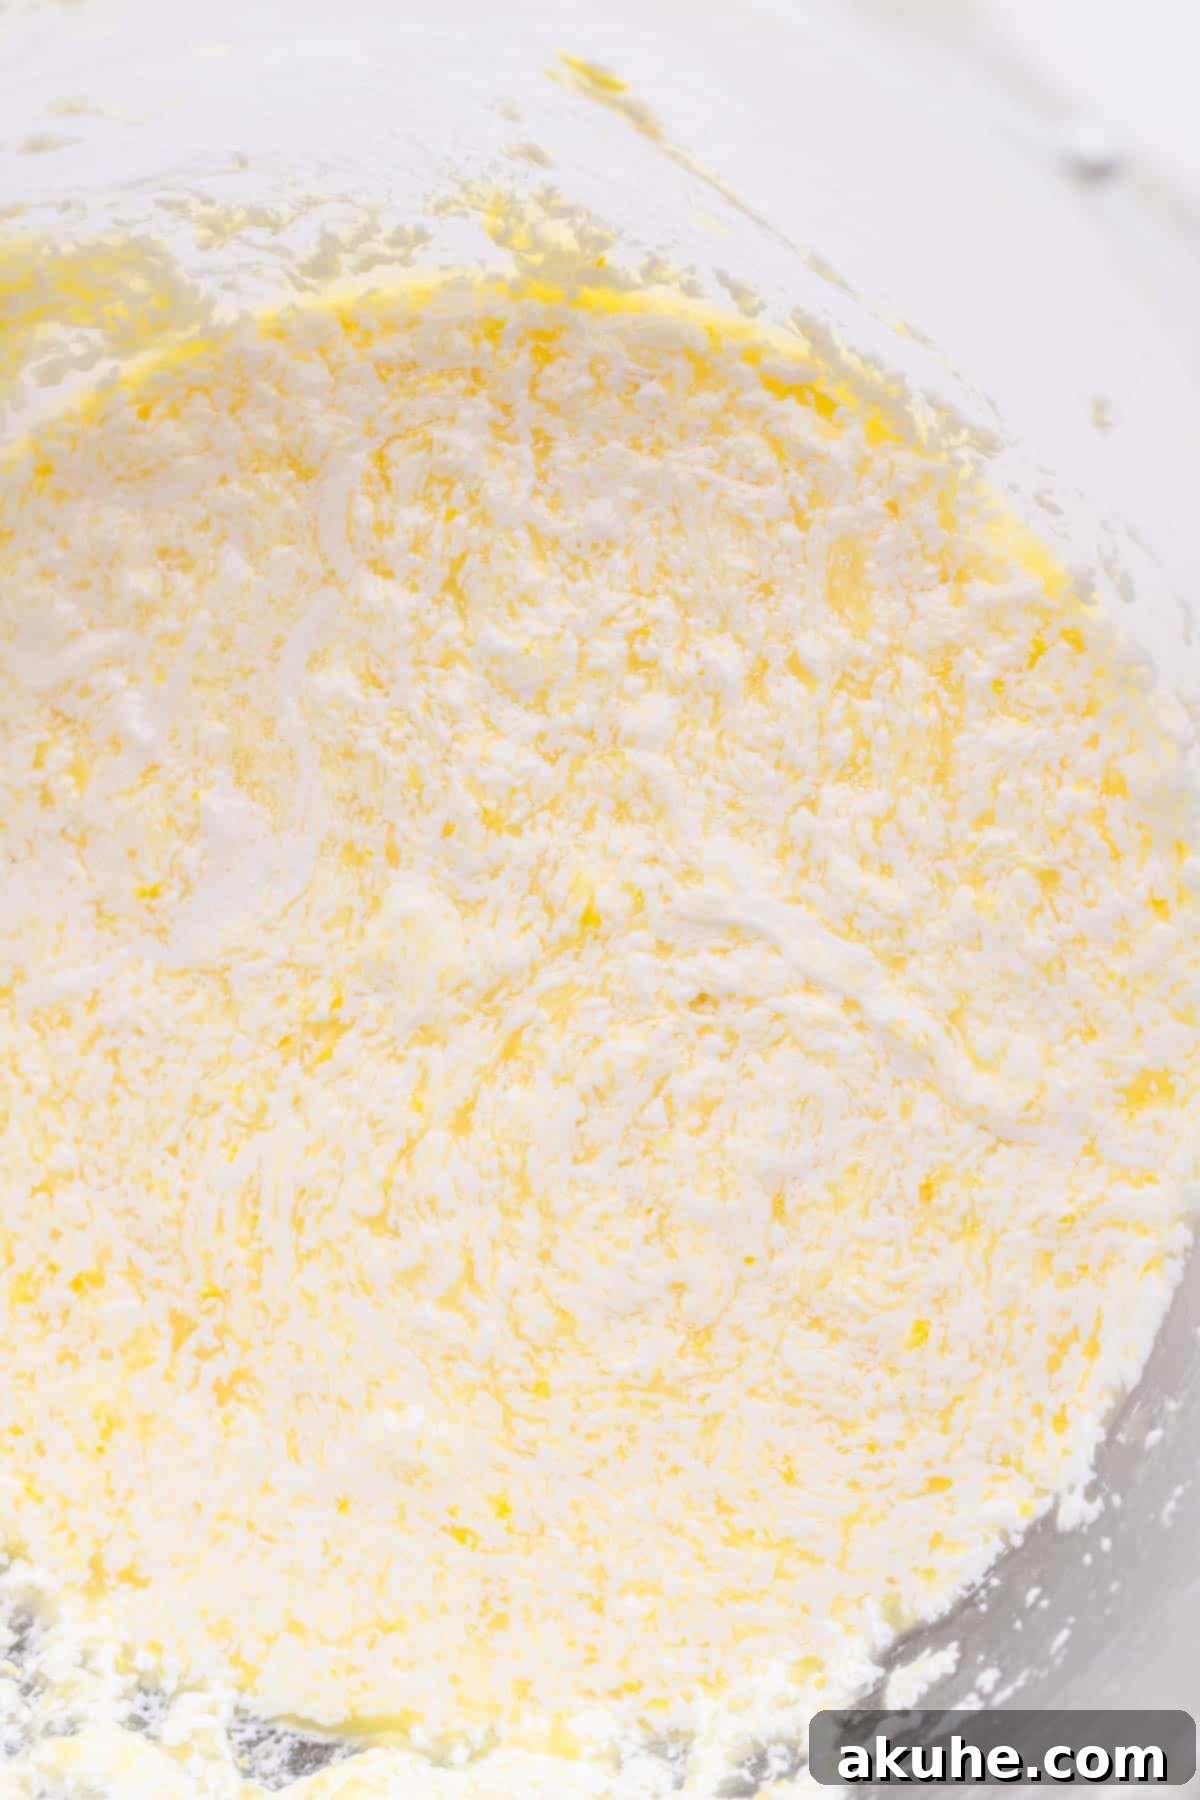
STEP 3: Cream Butter, Oil, and Sugar. In the bowl of your stand mixer, combine the softened unsalted butter, neutral oil (canola, vegetable, or light olive), and white granulated sugar. Beat these ingredients together on high speed for a full 3 minutes. This creaming process is crucial as it incorporates air into the mixture, which contributes to the cake’s light and fluffy texture. You’ll know it’s done when the mixture becomes noticeably lighter in color and develops a fluffy consistency.
STEP 4: Introduce Wet Ingredients for Flavor and Moisture. To the creamed butter mixture, add the aromatic lemon zest, fresh lemon juice, and room-temperature sour cream. Mix these ingredients on medium speed until they are just combined. Then, crack in the large, room-temperature eggs and continue mixing on medium speed until they are fully incorporated into the batter. Don’t be alarmed if the batter appears slightly curdled or separated at this stage; this is perfectly normal due to the acidity of the lemon reacting with the dairy ingredients.
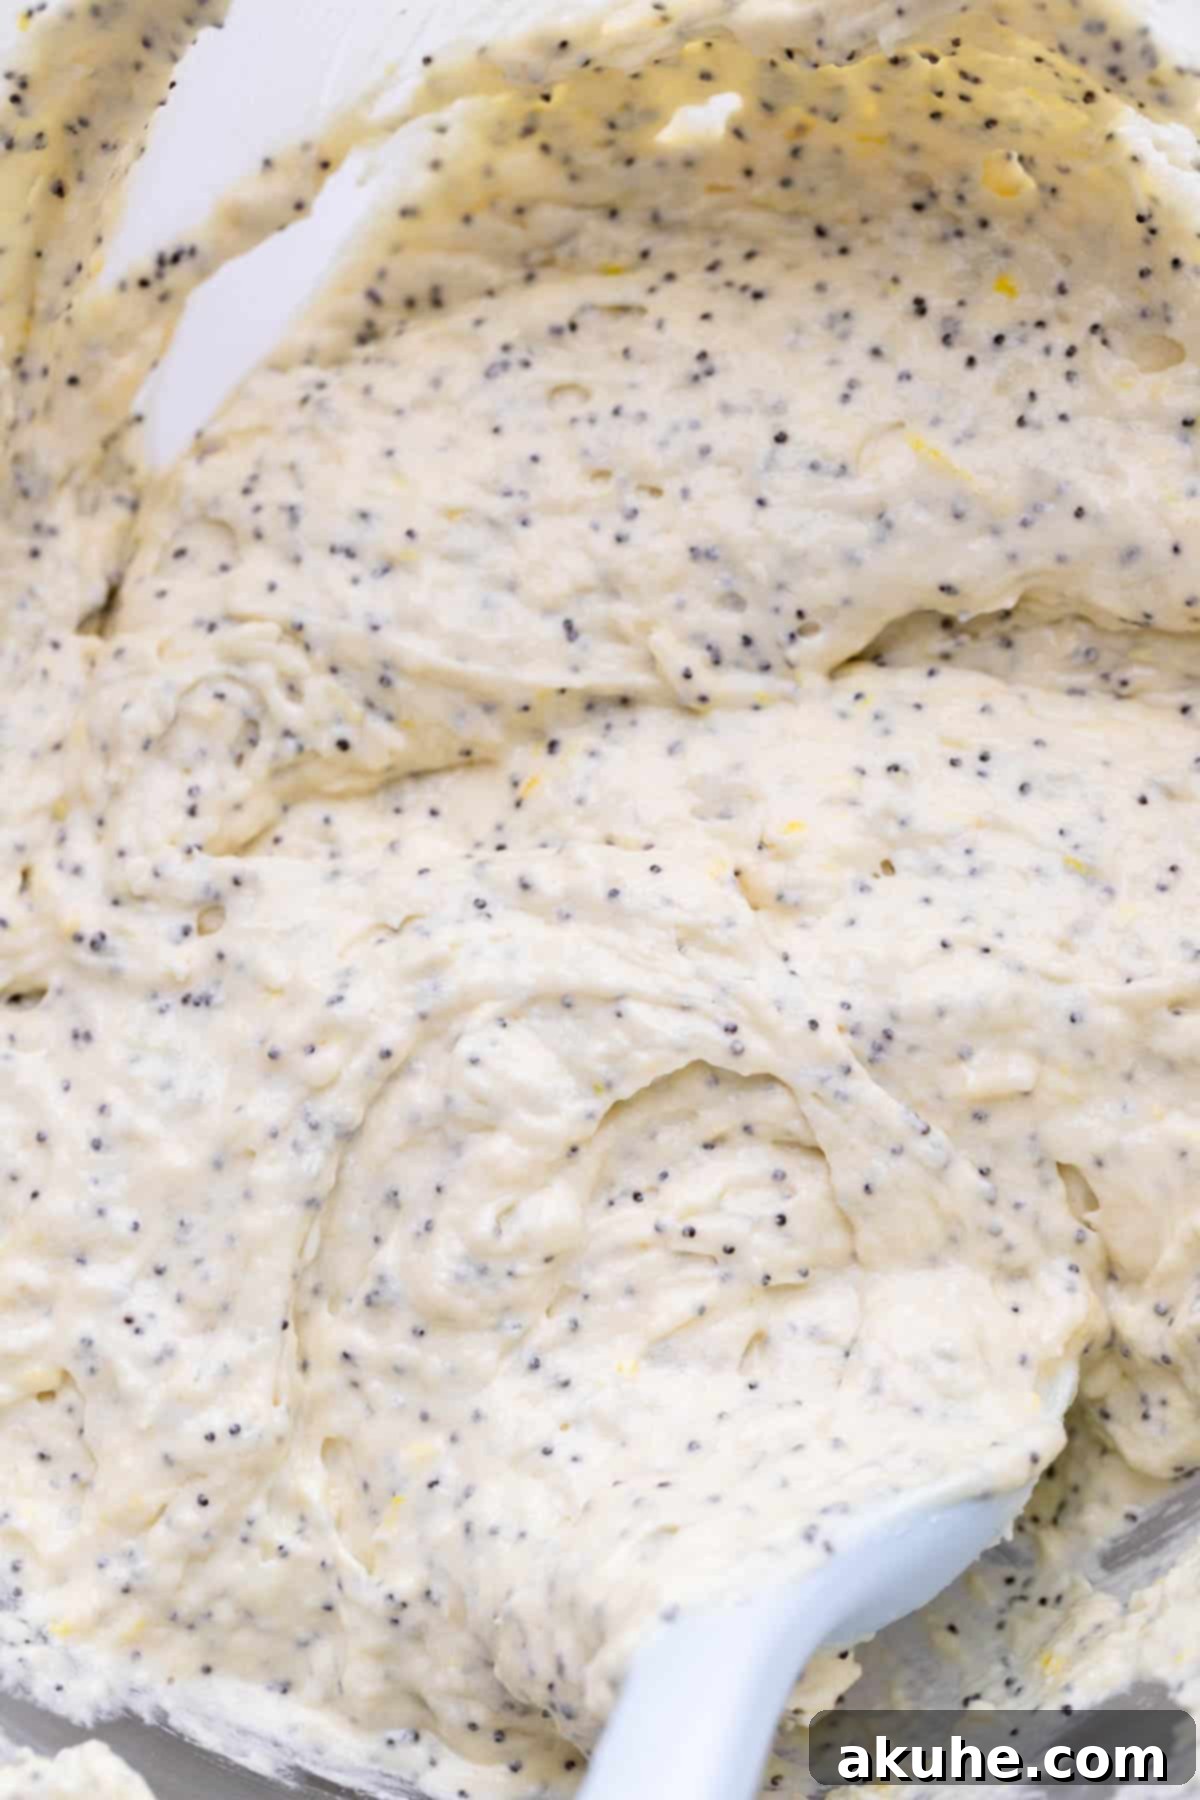
STEP 5: Alternate Dry and Wet for a Perfect Blend. Now, it’s time to gently combine the wet and dry mixtures. Add approximately one-third of your sifted flour mixture to the wet ingredients, followed by half of the room-temperature buttermilk. Mix on low speed until the ingredients are almost combined – avoid overmixing. Next, add the remaining half of the buttermilk and another third of the flour mixture, mixing again on low speed until nearly combined. Finally, add the last portion of the flour mixture and mix just until no streaks of dry flour remain. Be very careful not to overmix the batter at this stage, as it can lead to a tough cake.
STEP 6: Bake to Golden Perfection. Carefully pour the beautifully mixed batter into your prepared 9×9 inch baking pan, spreading it evenly. Transfer the pan to your preheated oven and bake for approximately 25-30 minutes. The cake is perfectly baked when a cake tester or a clean toothpick inserted into the very center comes out clean or with only a few moist crumbs attached. The edges should be lightly golden brown and the top should spring back gently when touched.
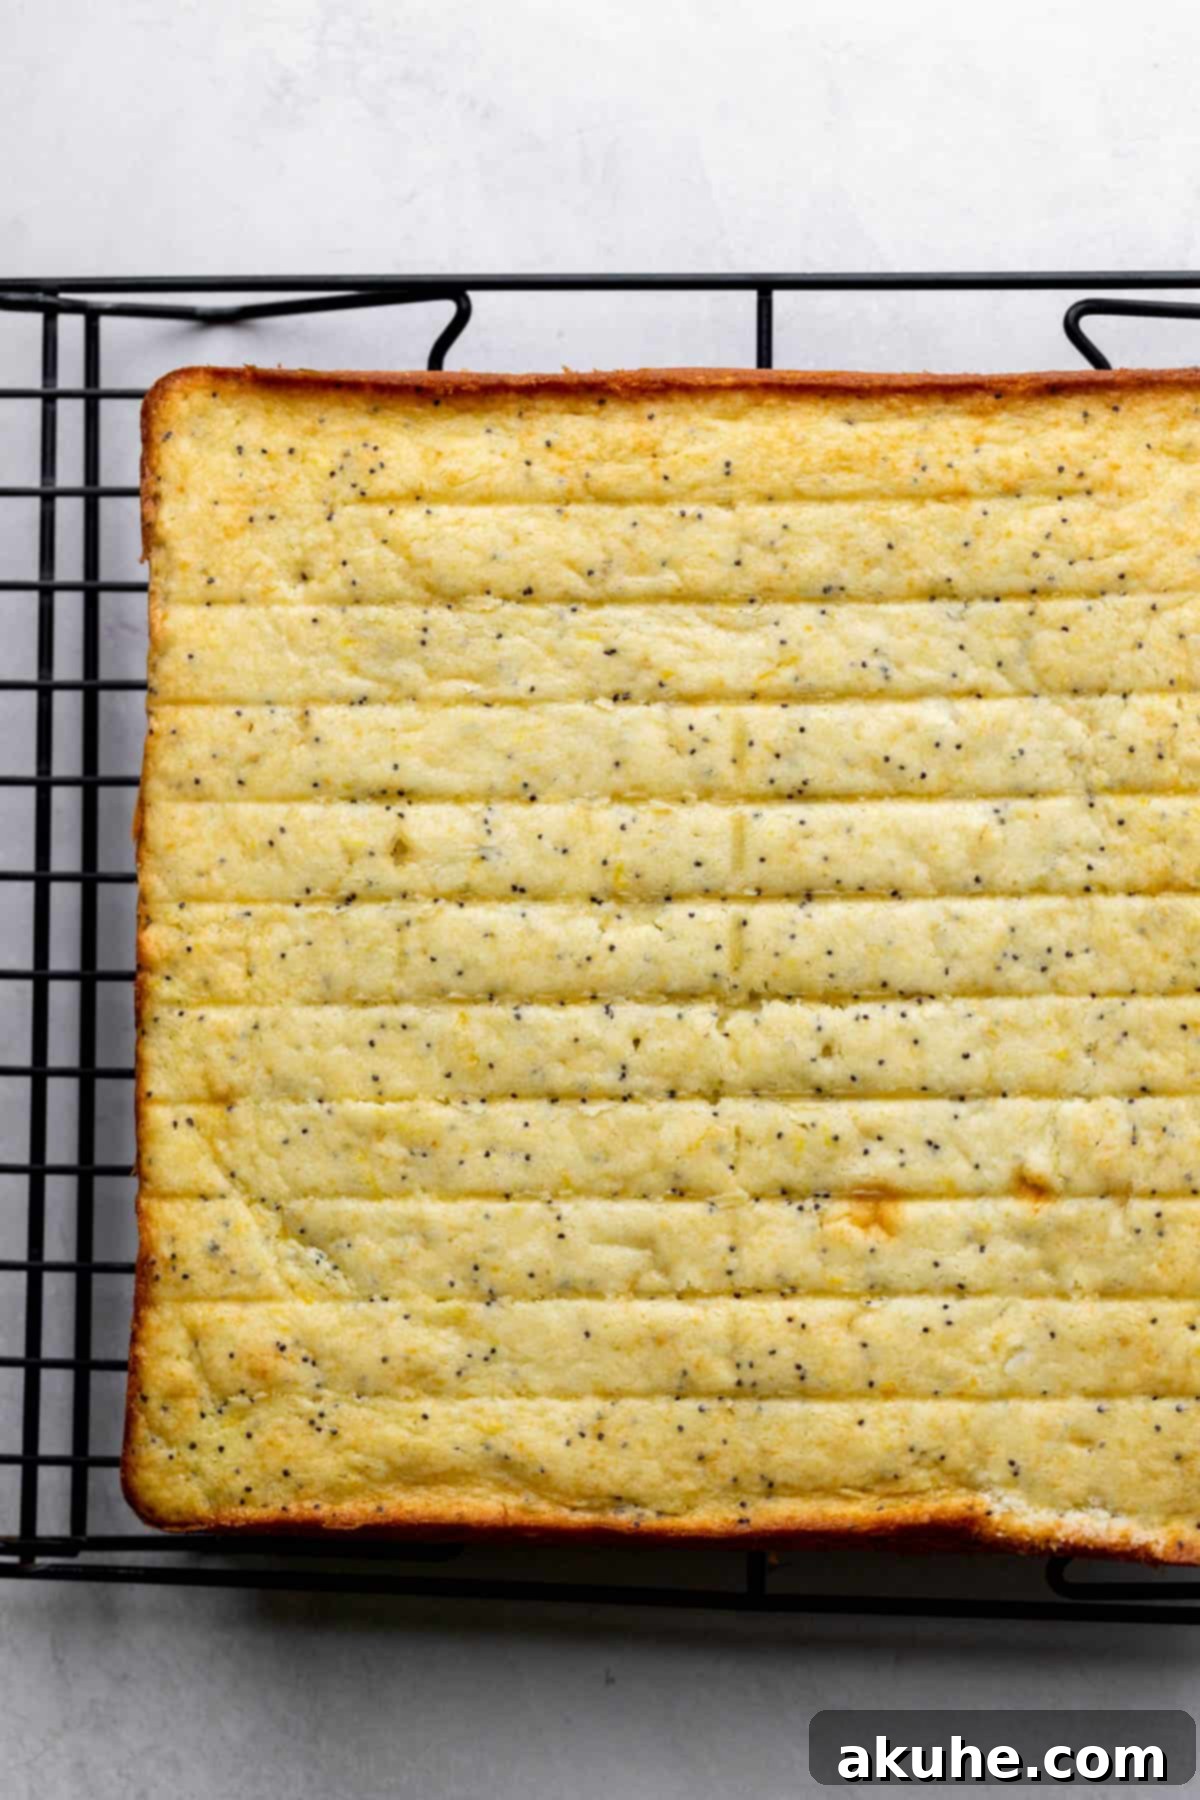
STEP 7: Cool Completely for Best Results. Once baked, resist the urge to immediately remove the cake from the pan. Allow it to cool in the baking pan for about 10 minutes. This crucial resting period helps the cake to set and prevents it from tearing when you transfer it. After 10 minutes, carefully invert the cake onto a wire cooling rack to cool completely. Ensuring the cake is fully cooled before frosting is essential; otherwise, your beautiful lemon cream cheese frosting will melt.
Step-By-Step Instructions: Crafting the Silky Lemon Cream Cheese Frosting
This tangy and sweet lemon cream cheese frosting is the perfect complement to our moist lemon poppy seed cake. It’s simple to make and adds an irresistible finish.
STEP 1: Beat Butter and Cream Cheese. In the bowl of your stand mixer, combine the room-temperature unsalted butter and the softened cream cheese. Beat these together on high speed for 2 minutes. During this process, be sure to pause halfway through and scrape down the sides of the bowl with a rubber spatula. This ensures that both ingredients are thoroughly combined and no lumps remain, creating a perfectly smooth and uniform base for your frosting.
STEP 2: Incorporate Powdered Sugar. With the mixer on low speed, gradually add the sifted powdered sugar to the butter and cream cheese mixture. Adding it slowly helps prevent a cloud of sugar from dusting your kitchen! Continue mixing on low speed until all the powdered sugar is fully incorporated and the mixture is just combined. This low-speed mixing prevents over-aerating the frosting too early.
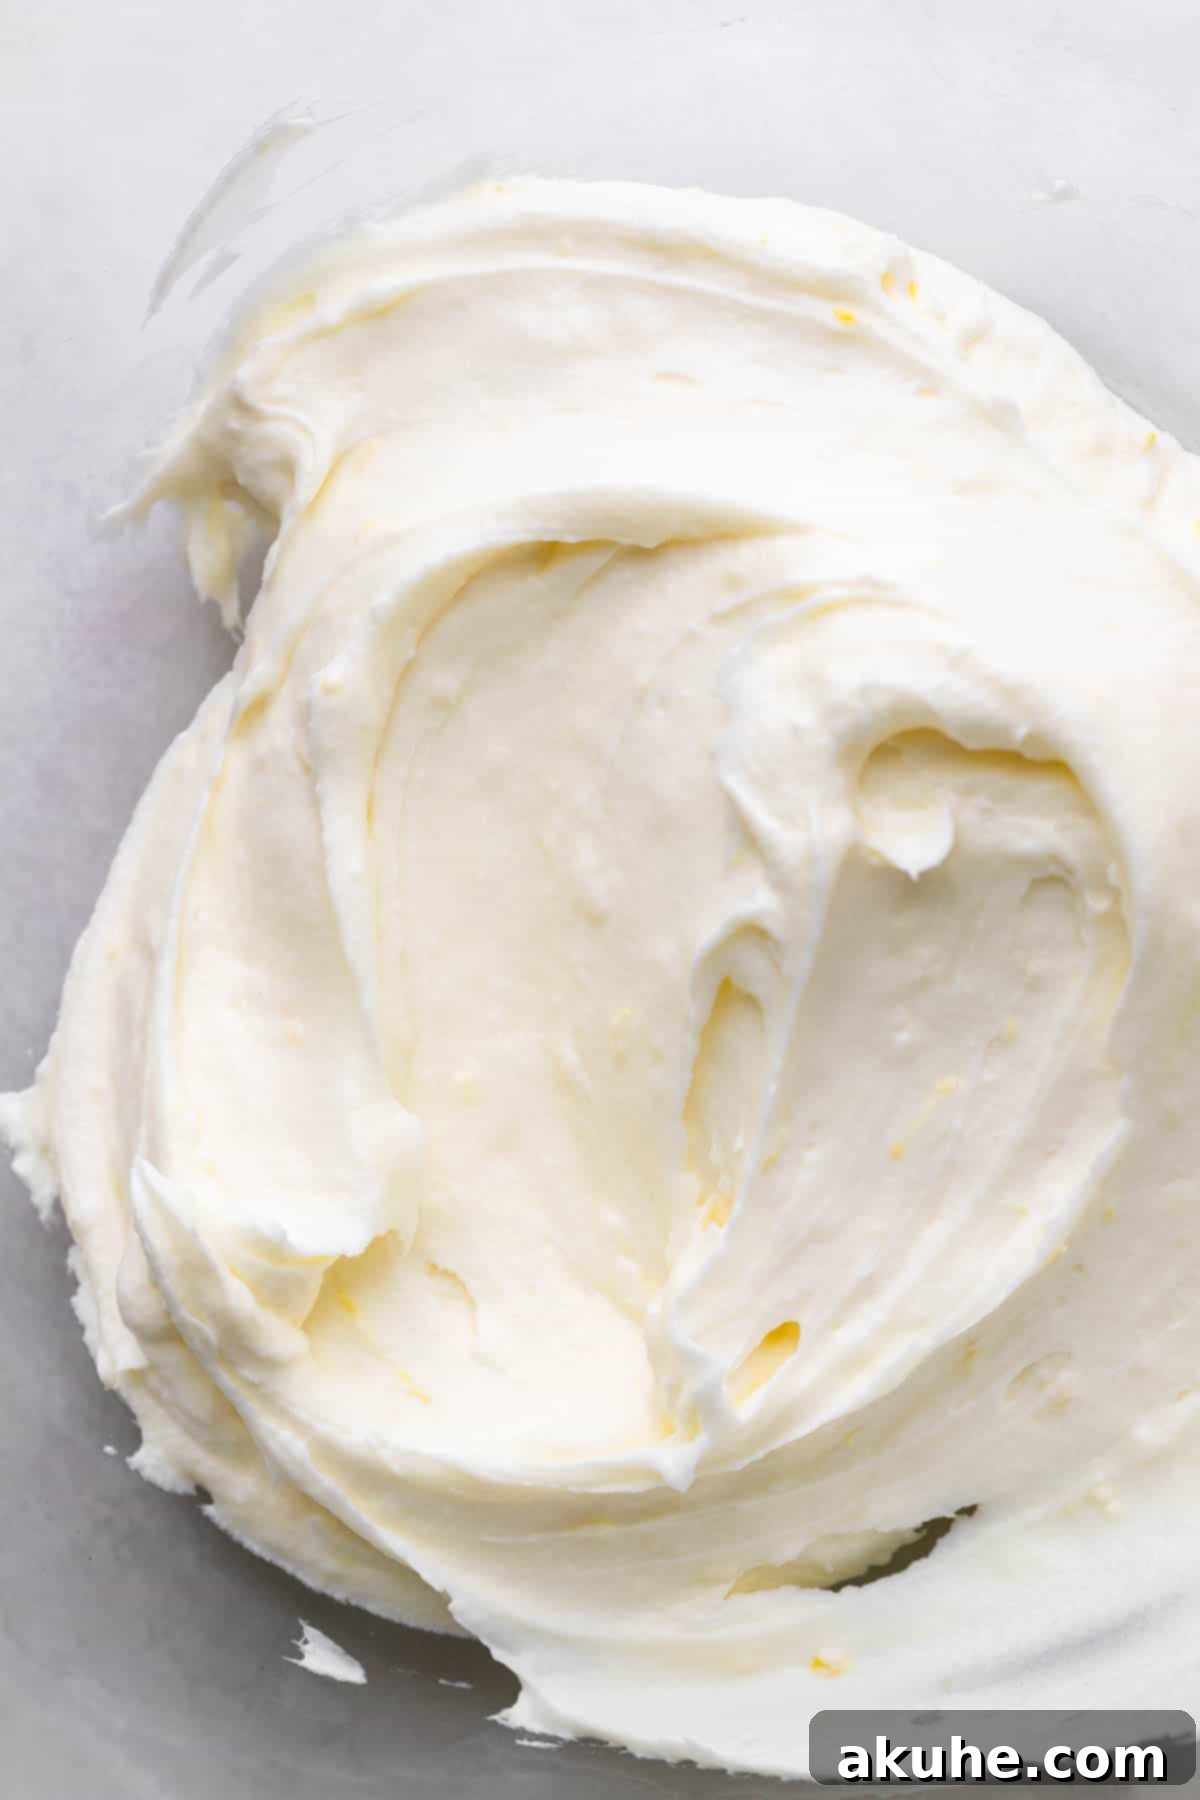
STEP 3: Finish with Flavor and Creaminess. Now, add the fresh lemon zest and the salt to the mixture. Increase the mixer speed to high and beat for another 2-3 minutes. This final beating step whips air into the frosting, transforming it into a light, airy, and wonderfully creamy consistency that is easy to spread. The lemon zest will infuse the frosting with a bright, irresistible tang.
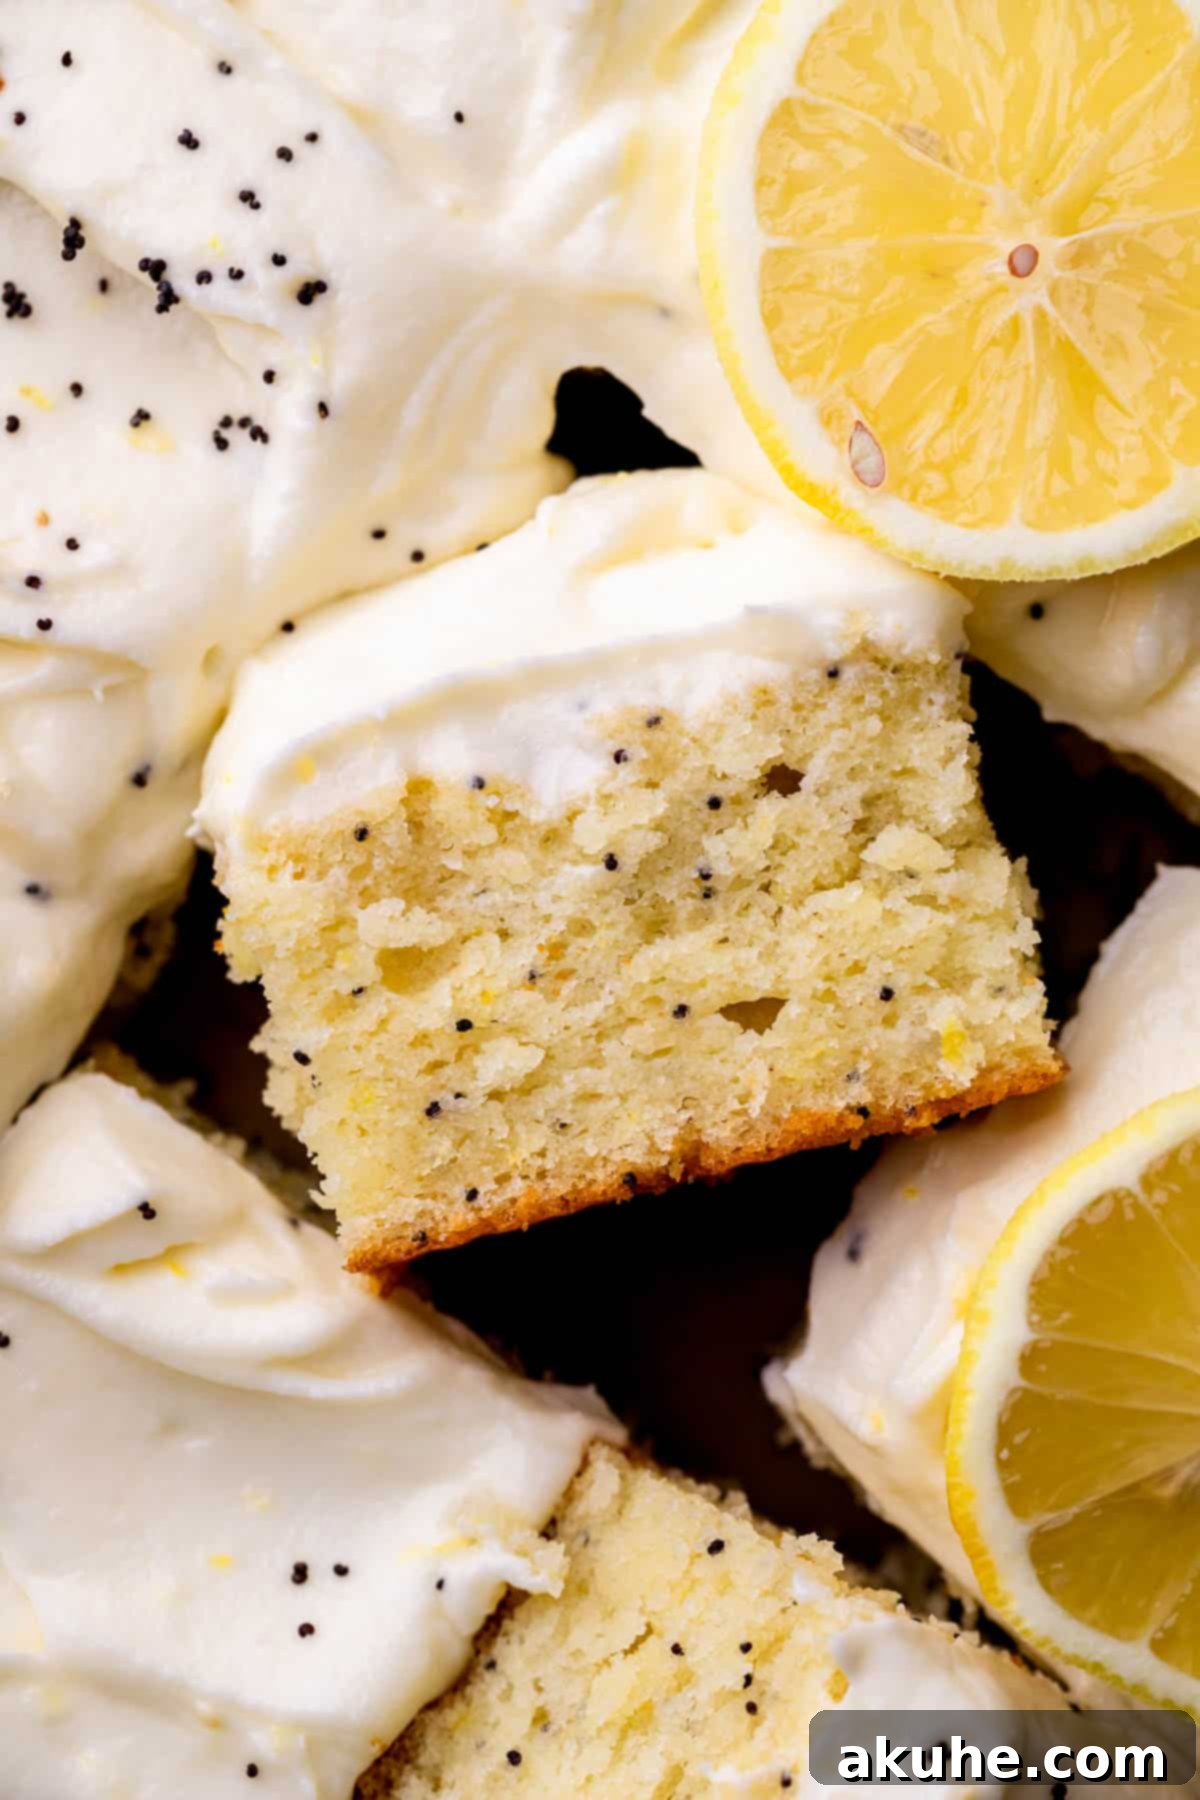
STEP 4: Decorate Your Masterpiece. Once your cake is completely cool and your frosting is silky smooth, it’s time for the grand finale. Spread the luscious lemon cream cheese frosting evenly over the top of the cake. For an extra touch of beauty and flavor, sprinkle some additional fresh lemon zest and a few poppy seeds over the frosted surface. This not only enhances the visual appeal but also provides another delightful burst of flavor and texture.
Expert Baking Tips for a Flawless Lemon Poppy Seed Cake
Achieving baking perfection often comes down to a few key techniques and insider tips. Follow these expert recommendations to ensure your Lemon Poppy Seed Cake turns out beautifully every single time.
- Properly Measure Flour: This is arguably one of the most critical steps for a moist cake. Never scoop flour directly from the bag with your measuring cup, as this compacts it, leading to too much flour and a dry cake. Instead, use the “spoon and level” method: gently spoon flour into your measuring cup until it overflows, then level it off with the straight edge of a knife. For ultimate precision, consider using a kitchen scale to measure flour by weight (usually grams).
- Thorough Pan Preparation: To guarantee an easy and clean release of your cake, thorough pan preparation is essential. First, generously spray your 9×9 inch pan with a high-quality nonstick baking spray, ensuring you cover every corner. Then, line the bottom of the pan with parchment paper. Crucially, spray the parchment paper again. This double layer of protection ensures neither the cake nor the paper sticks, preventing any tearing or damage when you invert the cake. Be meticulous and avoid missing any spots with the spray.
- Room Temperature Ingredients are Non-Negotiable: We cannot stress this enough! For both the cake batter and the frosting, ensure all dairy ingredients (butter, cream cheese, sour cream, buttermilk, eggs) are at true room temperature. This typically means pulling them out of the refrigerator 1-2 hours before you start baking. Room temperature ingredients emulsify much better, creating a smoother, more uniform batter and a truly cohesive, lump-free frosting.
- Avoid Overmixing: Once you start adding the flour mixture to the wet ingredients, mix only until just combined. Overmixing develops gluten, which can lead to a tough, dense, and chewy cake. Stop mixing as soon as no dry streaks of flour are visible.
- High Altitude Baking Adjustment: If you reside in a high-altitude area (generally above 3,000 feet), you may need to make a slight adjustment to prevent your cake from collapsing or drying out. Add an extra 1 to 2 tablespoons of all-purpose flour to the cake batter. This helps strengthen the cake’s structure in lower atmospheric pressure.
- Even Frosting with an Offset Spatula: For a professional-looking finish on your frosted cake, an offset spatula is your best friend. Its angled blade allows you to spread the cream cheese frosting smoothly and evenly across the top and sides of the cake with minimal effort, creating beautiful, consistent layers.
Frequently Asked Questions About Lemon Poppy Seed Cake
Can the cake layer be made ahead of time?
Absolutely! Preparing the cake layer in advance is a fantastic time-saver. Once your cake layer has completely cooled, wrap it tightly in several layers of plastic wrap to prevent freezer burn. You can then freeze it for up to 30 days. When you’re ready to decorate, simply pull the frozen cake out about 1 hour before you plan to frost it, allowing it to thaw slightly for easier handling and spreading of the frosting.
Can I use a different size cake pan?
Yes, you can certainly adjust the pan size! An 8×8 inch pan will yield a thicker cake, requiring a slightly longer baking time (keep an eye on it and test for doneness). A 9-inch round pan will also work, and will result in a cake that’s somewhat thicker than one baked in a 9×9 inch square pan. Be mindful that baking times may vary with different pan sizes, so always use the toothpick test to confirm doneness.
Can this recipe be made into cupcakes?
Yes, this versatile recipe adapts beautifully to cupcakes! This recipe will yield approximately 12 standard-sized cupcakes. Line a 12-cup muffin tin with paper liners, fill each liner about two-thirds full with batter, and bake for a shorter duration, typically 18-22 minutes, or until a toothpick inserted into the center of a cupcake comes out clean.
What if I don’t have buttermilk?
No buttermilk? No problem! You can easily make a homemade substitute. Simply pour 3/4 cup of whole milk into a liquid measuring cup, then add 1 tablespoon of fresh lemon juice or white vinegar. Stir it gently and let it sit for 5-10 minutes. The milk will curdle slightly, and you’ll have a perfect buttermilk substitute ready to use!
Can I use bottled lemon juice?
While bottled lemon juice can be used in a pinch, we highly recommend using fresh lemon juice and especially fresh lemon zest for the most vibrant and authentic lemon flavor. The essential oils in fresh lemon zest provide an unparalleled aroma and taste that bottled juice simply cannot replicate. For truly exceptional results, fresh is always best!
Storing and Freezing Your Lemon Poppy Seed Cake
To keep your Lemon Poppy Seed Cake tasting fresh and delicious, proper storage is key. Because of the cream cheese frosting, this cake should always be stored in the refrigerator.
Store this lemon poppy seed cake in an airtight container, such as a cake carrier, to protect it from drying out and absorbing other refrigerator odors. When stored correctly in the fridge, your cake will remain wonderfully fresh and flavorful for up to 5 days. For the best taste and texture, allow slices to come to room temperature for about 15-20 minutes before serving.
Freezing Your Cake for Future Enjoyment
If you have leftovers or want to prepare the cake far in advance, this lemon poppy seed cake freezes beautifully. For optimal freshness and convenience, we recommend freezing individual cake slices. Simply place the slices in an airtight container, separating layers with parchment paper if stacking. This method allows you to grab a single portion whenever a craving strikes!
Individual cake slices can be frozen for up to 30 days. To enjoy, simply remove a slice from the freezer and let it thaw in the refrigerator overnight, or at room temperature for a couple of hours. The frosting will retain its creamy texture, and the cake will still be moist and tender.
Explore Other Sweet Recipes
Did you fall in love with this recipe? We’d be thrilled if you could leave a STAR REVIEW below to share your experience! And don’t forget to tag us on Instagram @stephaniesweettreats with your beautiful creations. For more inspiring baking ideas and delicious desserts, be sure to follow us on Pinterest. Happy baking!
Lemon Poppy Seed Cake
This lemon poppy seed cake is baked in a 9×9 pan and is full of fresh lemons and poppy seeds. It is topped with a lemon cream cheese frosting, creating a perfect balance of zesty and sweet.
Prep Time: 30 mins
Cook Time: 25 mins
Decorating Time: 15 mins
Total Time: 1 hr 10 mins
Servings: 9 slices
Ingredients
For the Lemon Poppy Seed Cake:
- 2 1/4 cup All-purpose flour
- 2 1/2 tsp Baking powder
- 1/4 tsp Baking soda
- 1 TBSP Poppy Seeds
- 1/2 tsp Salt
- 1/2 cup Unsalted butter, room temperature
- 3 TBSP Oil, canola or vegetable oil
- 1 cup White granulated sugar
- 3 Lemons zested
- 2 TBSP Lemon juice (from 1 lemon)
- 1/4 cup Sour cream, room temperature
- 3 Large eggs, room temperature
- 3/4 cup Buttermilk, room temperature
For the Lemon Cream Cheese Frosting:
- 3/4 cup Unsalted butter, room temperature
- 8 oz Cream cheese, room temperature
- 2 cups Powdered sugar, sifted
- 1 Lemon zested
- 1/4 tsp Salt
- Extra lemon zest and poppy seeds for topping
Instructions
For the Lemon Poppy Seed Cake:
- Preheat your oven to 350°F (175°C). Spray a 9×9-inch square baking pan generously with nonstick baking spray. Line the bottom of the pan with parchment paper (an 8-inch parchment circle works well if you don’t have a square) and spray it again.
- In a medium bowl, sift together the all-purpose flour, baking powder, and baking soda. Add in the poppy seeds and salt, then whisk to combine. Set aside.
- Using a stand mixer with the paddle attachment, beat the room-temperature unsalted butter, oil, and white granulated sugar on high speed for 3 minutes until the mixture is light in color and fluffy.
- Add the lemon zest, lemon juice, and sour cream to the butter mixture, mixing on medium speed until combined. Then, add the large eggs and mix on medium speed until just incorporated. The batter may appear slightly separated due to the lemon’s acidity, which is completely normal.
- Gradually combine the wet and dry ingredients. Add one-third of the dry flour mixture to the wet batter, followed by half of the buttermilk. Mix on low speed until almost combined. Add another one-third of the dry ingredients and the remaining buttermilk, mixing again until nearly combined. Finally, add the remaining dry ingredients and mix on low speed just until no streaks of flour are visible. Be careful not to overmix.
- Pour the prepared batter evenly into the greased and lined 9×9 inch pan. Bake for 25-30 minutes, or until a wooden skewer or toothpick inserted into the center of the cake comes out clean.
- Let the cake cool in the baking pan for 10 minutes before carefully inverting it onto a wire rack to cool completely. Ensure the cake is fully cooled before applying the frosting.
For the Lemon Cream Cheese Frosting:
- In the bowl of your stand mixer with the paddle attachment, beat the room-temperature unsalted butter and cream cheese on high speed for 2 minutes. Stop halfway through to scrape down the sides of the bowl with a rubber spatula to ensure an even mixture.
- Add the sifted powdered sugar to the cream cheese mixture and mix on low speed until it is fully incorporated and combined.
- Stir in the fresh lemon zest and salt. Increase the mixer speed to high and beat for 2-3 minutes until the frosting is light, fluffy, and creamy.
- Spread the finished lemon cream cheese frosting evenly over the top of the completely cooled cake. Decorate with a sprinkle of extra lemon zest and poppy seeds for an appealing finish.
Notes
- Flour Measurement: For the most accurate results and to prevent a dry cake, always measure your flour by spooning it into the measuring cup and then leveling it off. Avoid scooping directly from the bag.
- High Altitude Baking: If you are baking at a high altitude, consider adding an extra 1 to 2 tablespoons of all-purpose flour to the cake batter to help with structure.
- Room Temperature Dairy: For the best texture and emulsification, ensure all dairy ingredients (butter, sour cream, buttermilk, cream cheese) are at room temperature. This usually requires taking them out of the refrigerator at least 2 hours before you plan to bake.
Nutrition Information (Approximate per serving)
Calories: 503kcal, Carbohydrates: 66g, Protein: 5g, Fat: 38g, Saturated Fat: 21g, Polyunsaturated Fat: 3g, Monounsaturated Fat: 11g, Trans Fat: 1g, Cholesterol: 91mg, Sodium: 394mg, Potassium: 110mg, Fiber: 1g, Sugar: 19g, Vitamin A: 1106IU, Vitamin C: 1mg, Calcium: 125mg, Iron: 1mg
Did you make this recipe?
Please leave a star rating and review below!
