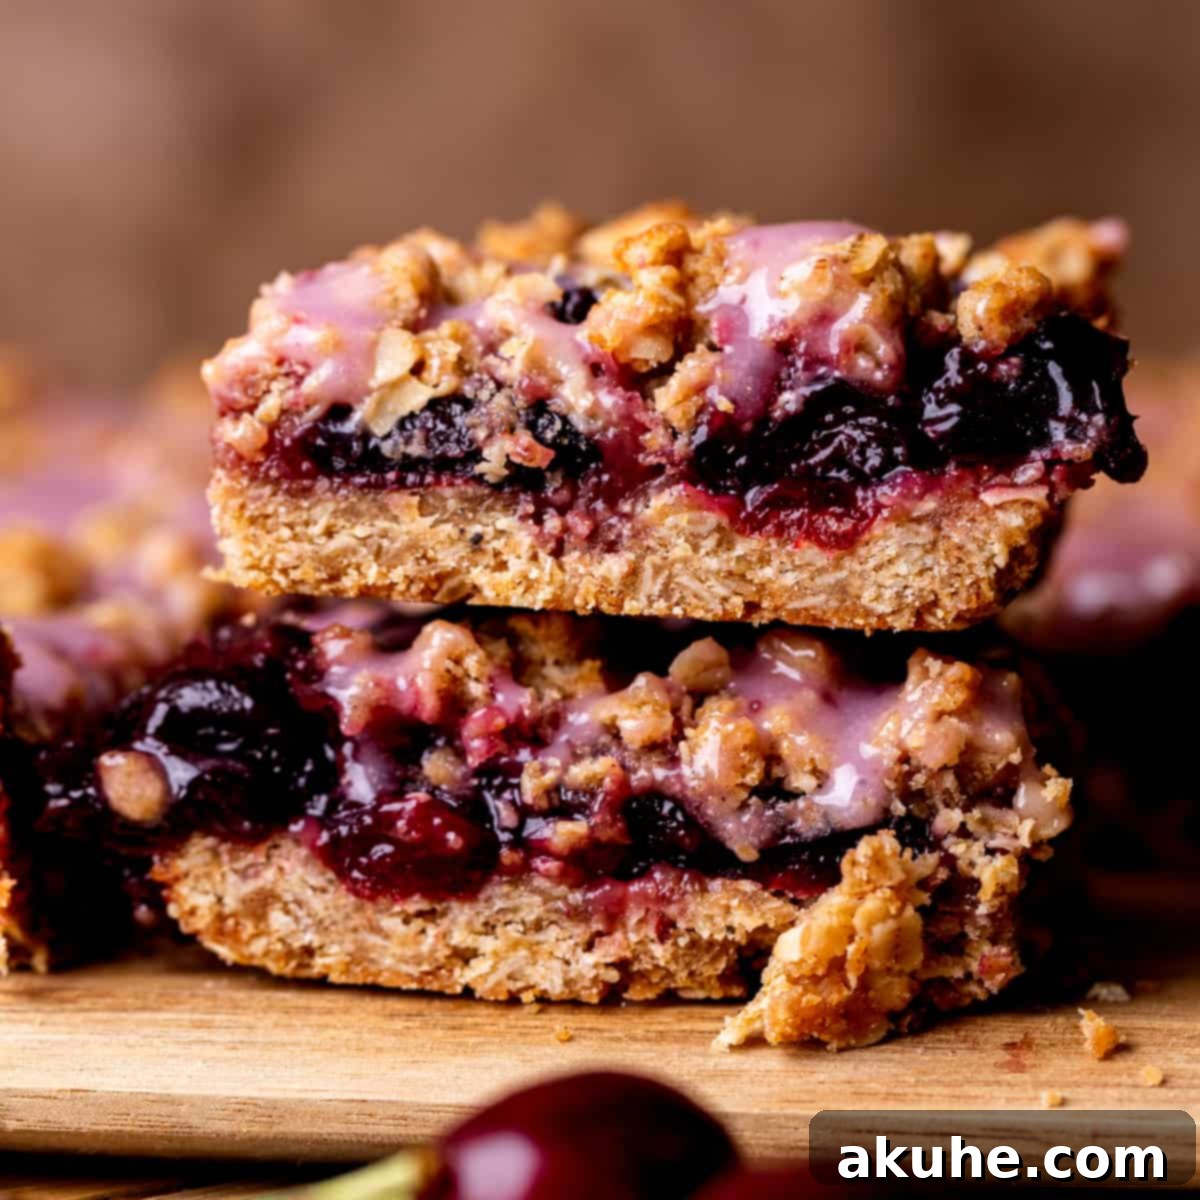
Irresistible Cherry Pie Bars with Oatmeal Crumble and Sweet Glaze: The Ultimate Easy Dessert
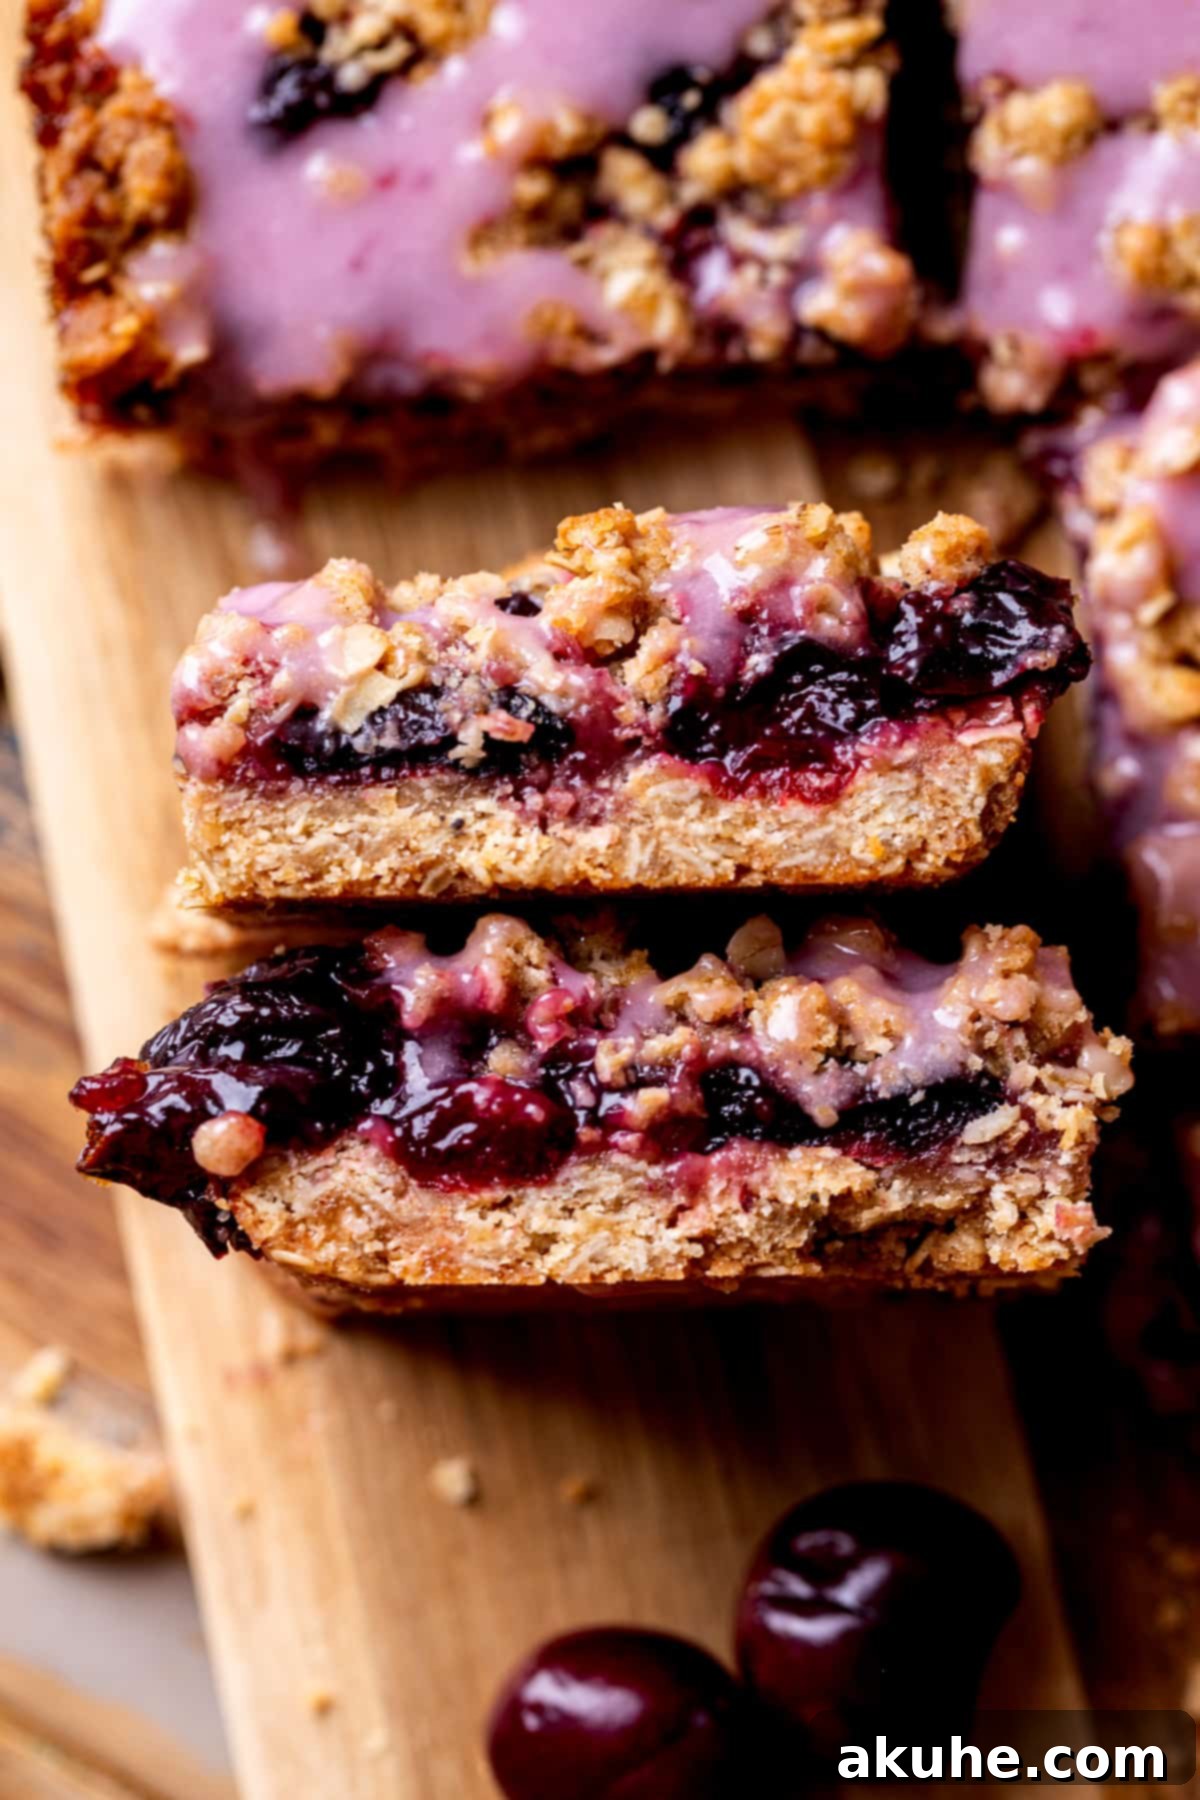
Discover the delightful world of homemade cherry pie bars – a mouth-watering dessert that captures all the classic flavors of a traditional cherry pie, but with significantly less effort and a uniquely satisfying texture. These craveable bars feature a luscious homemade cherry pie filling nestled between two layers of buttery, cinnamon-spiced oatmeal crumble, all crowned with a glistening cherry glaze. Perfect for using up fresh cherries, celebrating a special occasion, or simply treating yourself, these bars are poised to become your new favorite sweet indulgence.
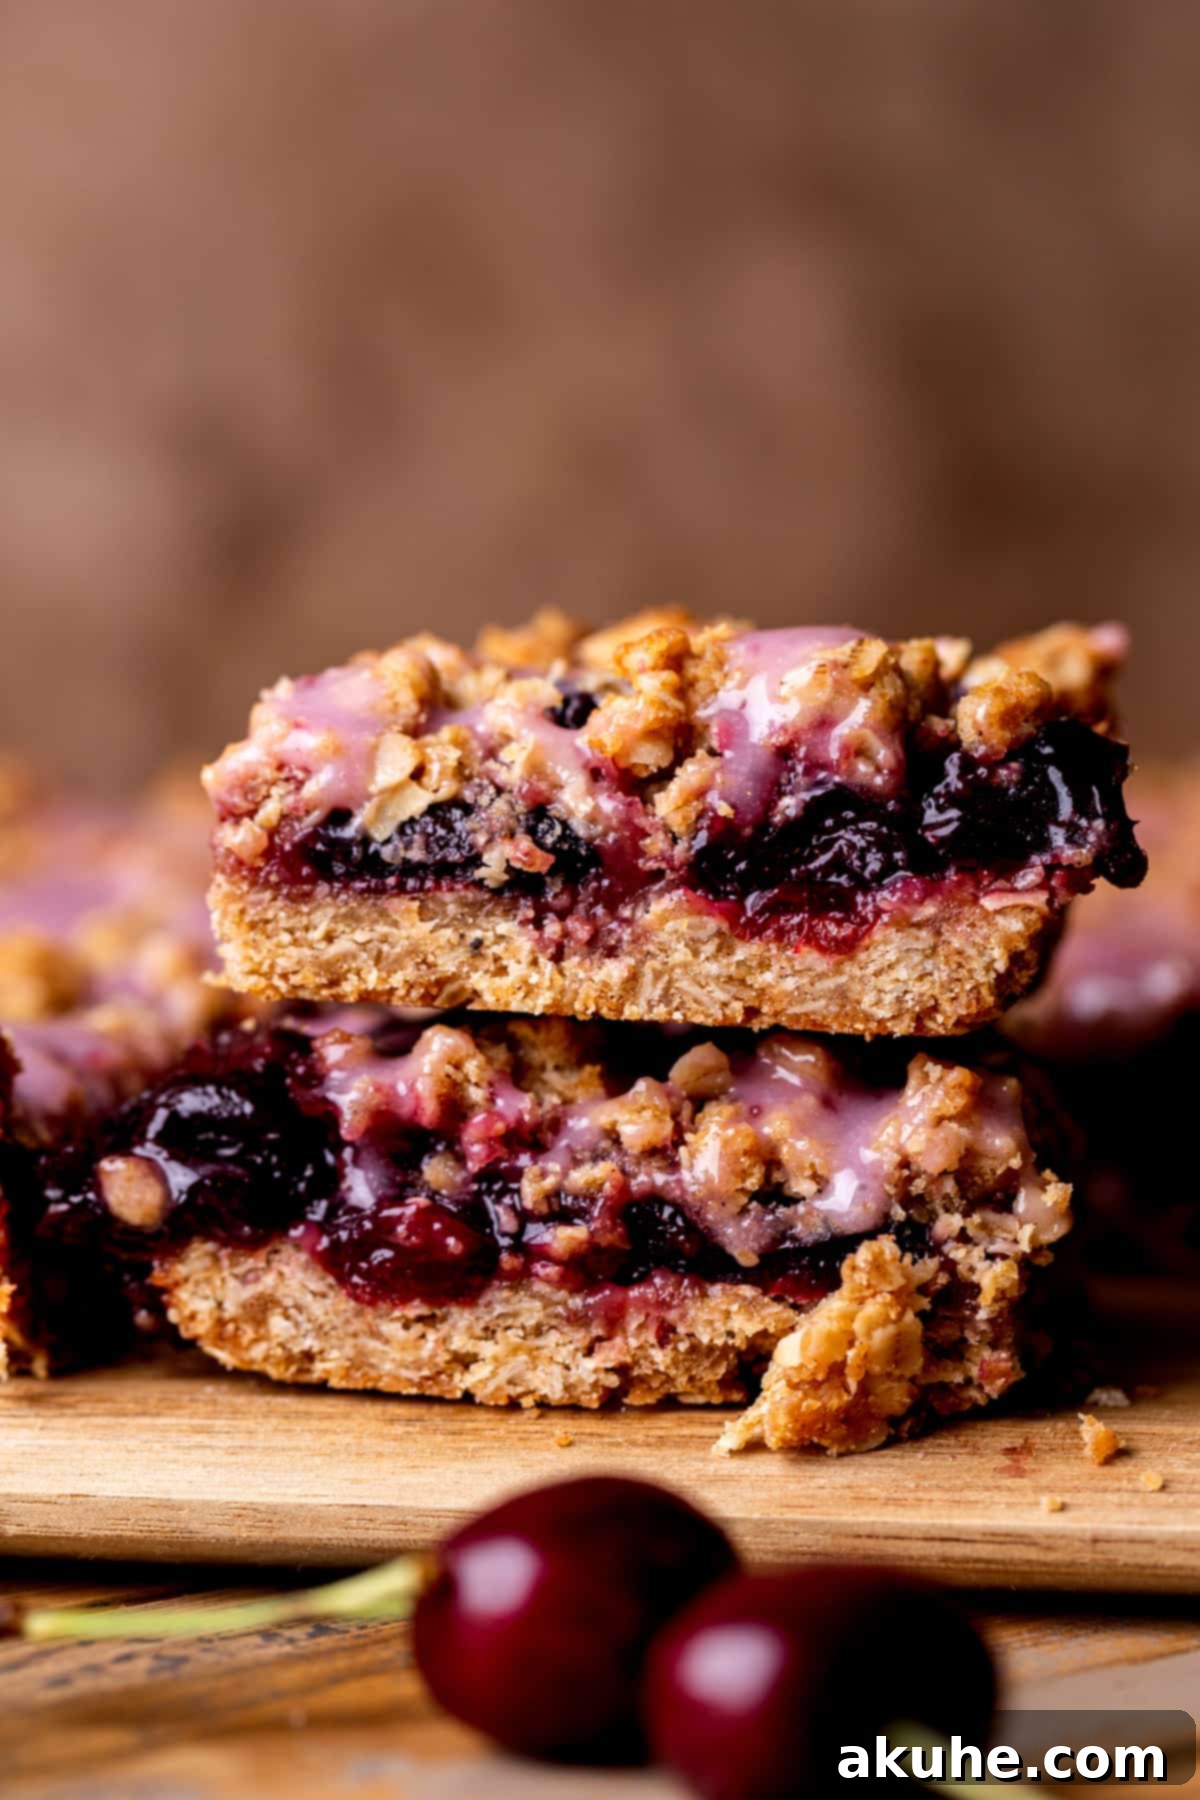
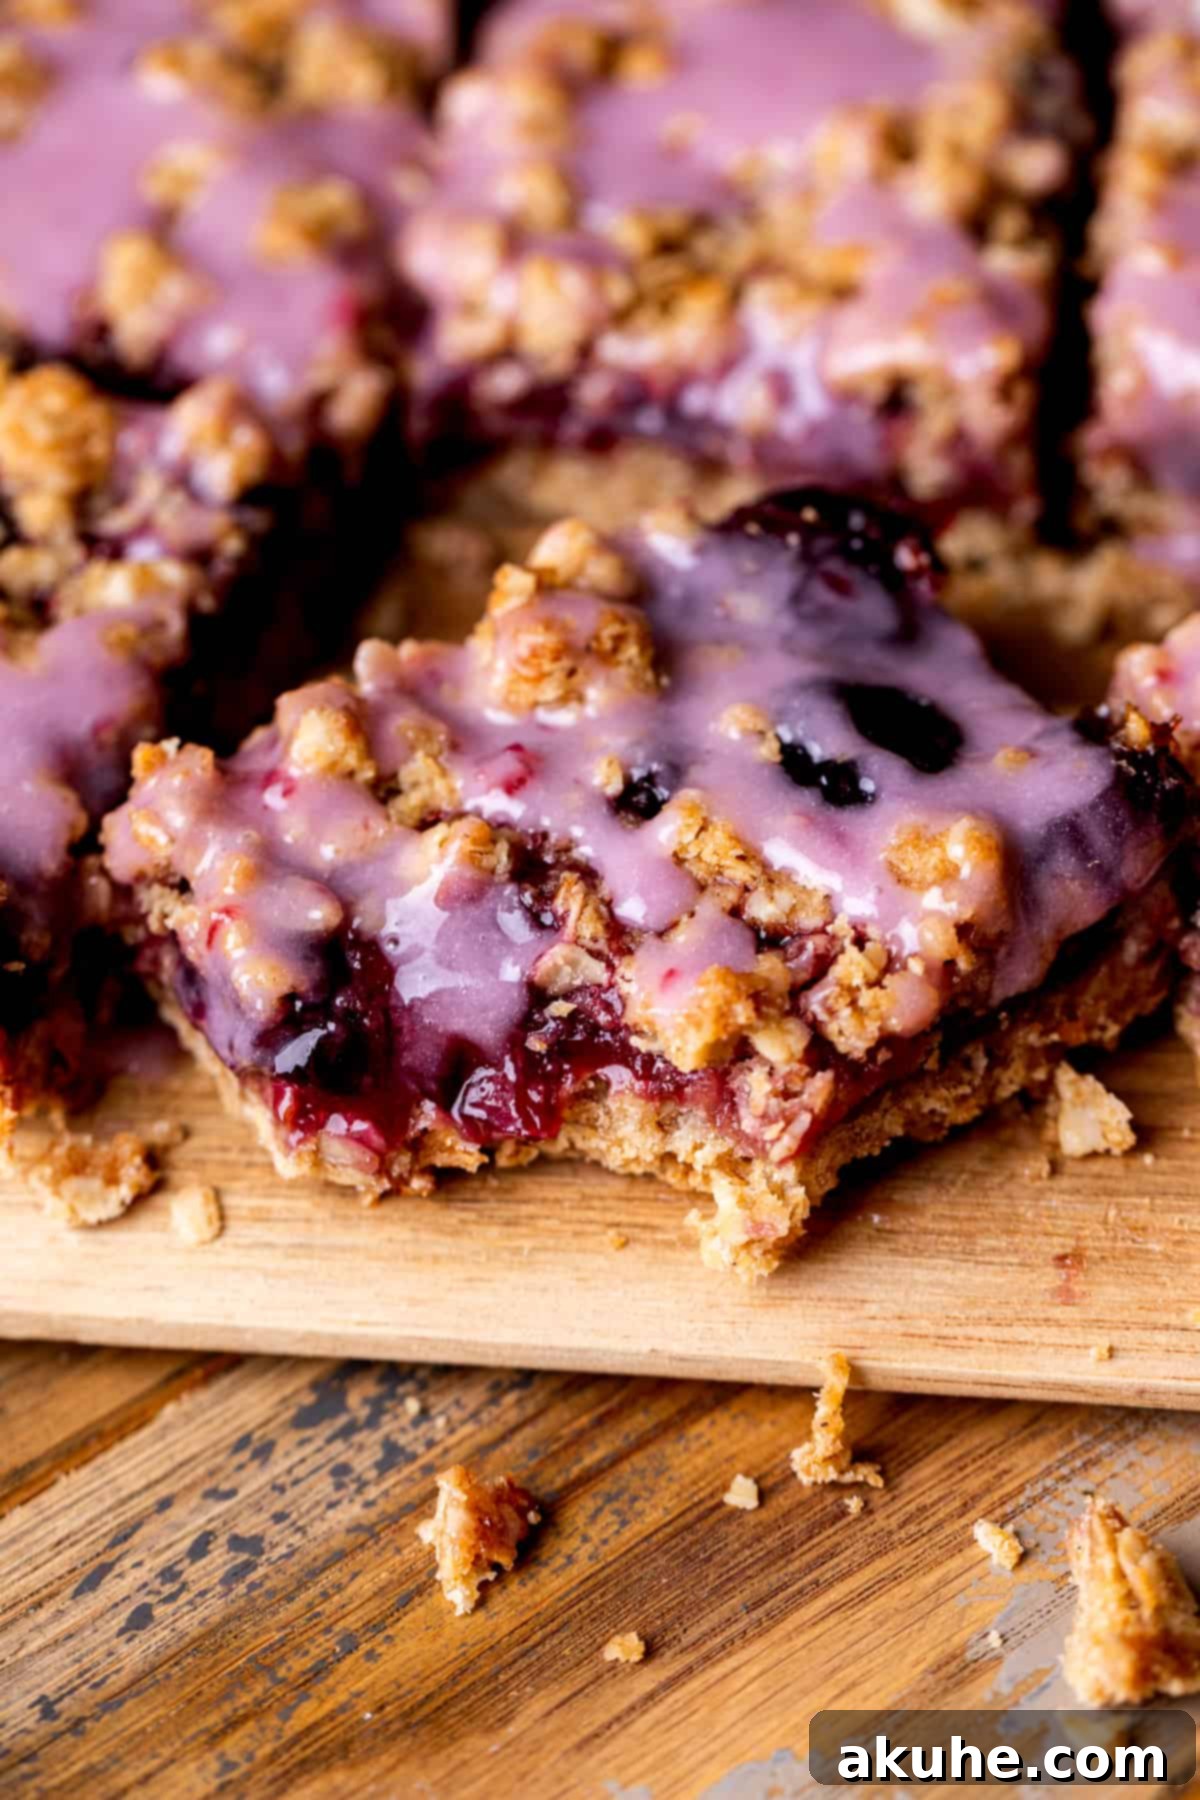
Forget the stress of rolling out pie crusts; these homemade cherry pie bars offer a delicious and effortless alternative that truly shines. The base layer is a rich, chewy oatmeal cinnamon crumble, providing a delightful textural contrast and warming spice that perfectly complements the bright, sweet-tart cherry pie filling. A generous crumble topping adds an extra layer of crunch, while a silky cherry glaze finishes them off with an elegant touch and an extra burst of cherry flavor. Each bite delivers a harmonious blend of textures and tastes, making these dessert bars an unforgettable treat that guests will surely request again and again.
If you’re a fan of fruity desserts that are both easy to make and incredibly satisfying, you’ll love these cherry pie bars. For more delightful recipes featuring fruit, be sure to explore our Lemon Blueberry Cheesecake, Strawberry Cheesecake Cookies, and Lemon Donuts. Each offers a unique burst of fruity freshness, perfect for any occasion.
Why These Cherry Pie Bars Will Become Your Go-To Dessert
There are countless reasons why this cherry pie bar recipe stands out from the crowd. From its incredible flavor profile to its sheer simplicity, these bars are designed to impress without demanding hours in the kitchen. Here’s what makes them truly special:
- All the Flavor, Half the Fuss: Enjoy the classic, comforting taste of a homemade cherry pie without the intricate process of making and handling a traditional pie crust. These bars simplify baking, delivering a robust cherry flavor and a delightful texture in an easy-to-manage form.
- Irresistible Oatmeal Crumble: The star of these bars (besides the cherries!) is the rich, buttery oatmeal cinnamon crumble. It forms both a sturdy, flavorful base and a wonderfully crunchy topping, providing a perfect counterpoint to the soft, juicy cherry filling. The oats add a wholesome depth and chewiness that elevates the entire dessert.
- Effortless Baking: Say goodbye to finicky pie crusts! This recipe eliminates the need for rolling, chilling, and blind-baking, making it incredibly accessible for bakers of all skill levels. You get all the delicious homemade goodness without any of the traditional pie-making challenges. Plus, using fresh homemade cherry filling ensures a superior taste that store-bought options simply can’t match.
- No Special Equipment Needed: You won’t need to pull out your electric stand mixer or hand mixer for this recipe. All the mixing can be done with simple kitchen tools like a whisk and a fork, making cleanup a breeze and proving that extraordinary desserts don’t always require fancy gadgets.
Key Ingredients for Perfect Cherry Bars
Crafting these delectable cherry pie bars begins with selecting the right ingredients. Each component plays a vital role in achieving the perfect balance of flavor and texture. Below are important notes on the main ingredients, with a full list available in the comprehensive recipe instructions.
- Fresh Cherries: While this recipe was tested with sweet cherries for their succulent flavor, feel free to use sour cherries if you prefer a more tart dessert. Ensure your cherries are washed and pitted for the best results. Frozen cherries can also be a suitable substitute if fresh ones are not in season; just be sure to thaw them completely and drain any excess liquid before use.
- Quick Oats: Opt for quick-cooking or instant oats. These smaller, thinner oats integrate beautifully into the crumble, creating a tender yet crunchy texture. Avoid old-fashioned or rolled oats, as their larger size and longer cooking time will result in a different, potentially less desirable, consistency in the crumble.
- Brown Sugar: Light brown sugar lends a subtle caramel note and moistness to the crumble, enhancing its overall flavor. Dark brown sugar can also be used for a deeper, more pronounced molasses taste, offering a delicious variation. Make sure to pack it firmly when measuring.
- Unsalted Butter: Using unsalted butter gives you complete control over the saltiness of your dessert. It’s crucial to melt the butter before combining it with the dry ingredients for the crumble. Allow it a few minutes to cool slightly after melting to ensure it doesn’t cook the dry ingredients prematurely.
- Homemade Cherry Filling: The heart of these bars is a vibrant, homemade cherry filling that far surpasses any store-bought alternative. You’ll prepare this delicious filling from scratch in the initial steps, ensuring fresh, intense cherry flavor and perfect consistency.
- All-Purpose Flour: The foundation of our crumble. Make sure to measure your flour correctly by spooning it into the measuring cup and leveling it off. This prevents over-measuring, which can lead to a dry, dense crumble.
- Granulated Sugar: Used in the cherry filling to balance the tartness of the cherries and create a syrupy texture.
- Cornstarch: This acts as a thickening agent for the cherry filling, giving it that wonderfully luscious, jam-like consistency.
- Almond Extract: A small amount of almond extract enhances the natural cherry flavor, adding a depth and aromatic quality that makes the filling truly special.
- Powdered Sugar: Essential for the delicate cherry glaze. Sifting powdered sugar before mixing is a vital step to prevent lumps and achieve a super smooth, pourable glaze.
- Milk: Just a touch of milk (or cream) is used to thin the powdered sugar and reserved cherry filling into a drizzly glaze. Start with a small amount and add more gradually to reach your desired consistency.
Essential Equipment for Baking Cherry Pie Bars
Preparing these delicious cherry pie bars is straightforward, and you likely already have most of the necessary tools in your kitchen. Here’s a quick list of what you’ll need:
- 8×8 inch square baking pan: This size is perfect for creating thick, substantial bars.
- Parchment paper: Essential for easy removal of the baked bars from the pan.
- Nonstick baking spray: Provides an extra layer of nonstick protection.
- Medium saucepan: For cooking the homemade cherry pie filling.
- Mixing bowls (various sizes): For combining ingredients for the filling, crumble, and glaze.
- Whisk and fork: Basic tools for mixing, no electric mixer required!
- Measuring cups and spoons: For accurate ingredient measurement.
- Spatula or spoon: For stirring and spreading.
- Cooling rack: For cooling the bars completely before chilling and glazing.
Step-by-Step Instructions: Crafting the Cherry Pie Filling and Oatmeal Crumble
Follow these detailed steps to create the vibrant cherry pie filling and the perfectly textured oatmeal cinnamon crumble that form the heart of these irresistible bars.
Homemade Cherry Pie Filling
- Prepare the Cherries: Begin by washing and pitting 1 pound of fresh cherries. This is a crucial step to ensure a smooth, enjoyable filling.
- Combine Ingredients: In a medium saucepan, combine the prepared cherries, 2 tablespoons of water, 2 tablespoons of cornstarch, 3/4 cup of white granulated sugar, and 1 teaspoon of almond extract.
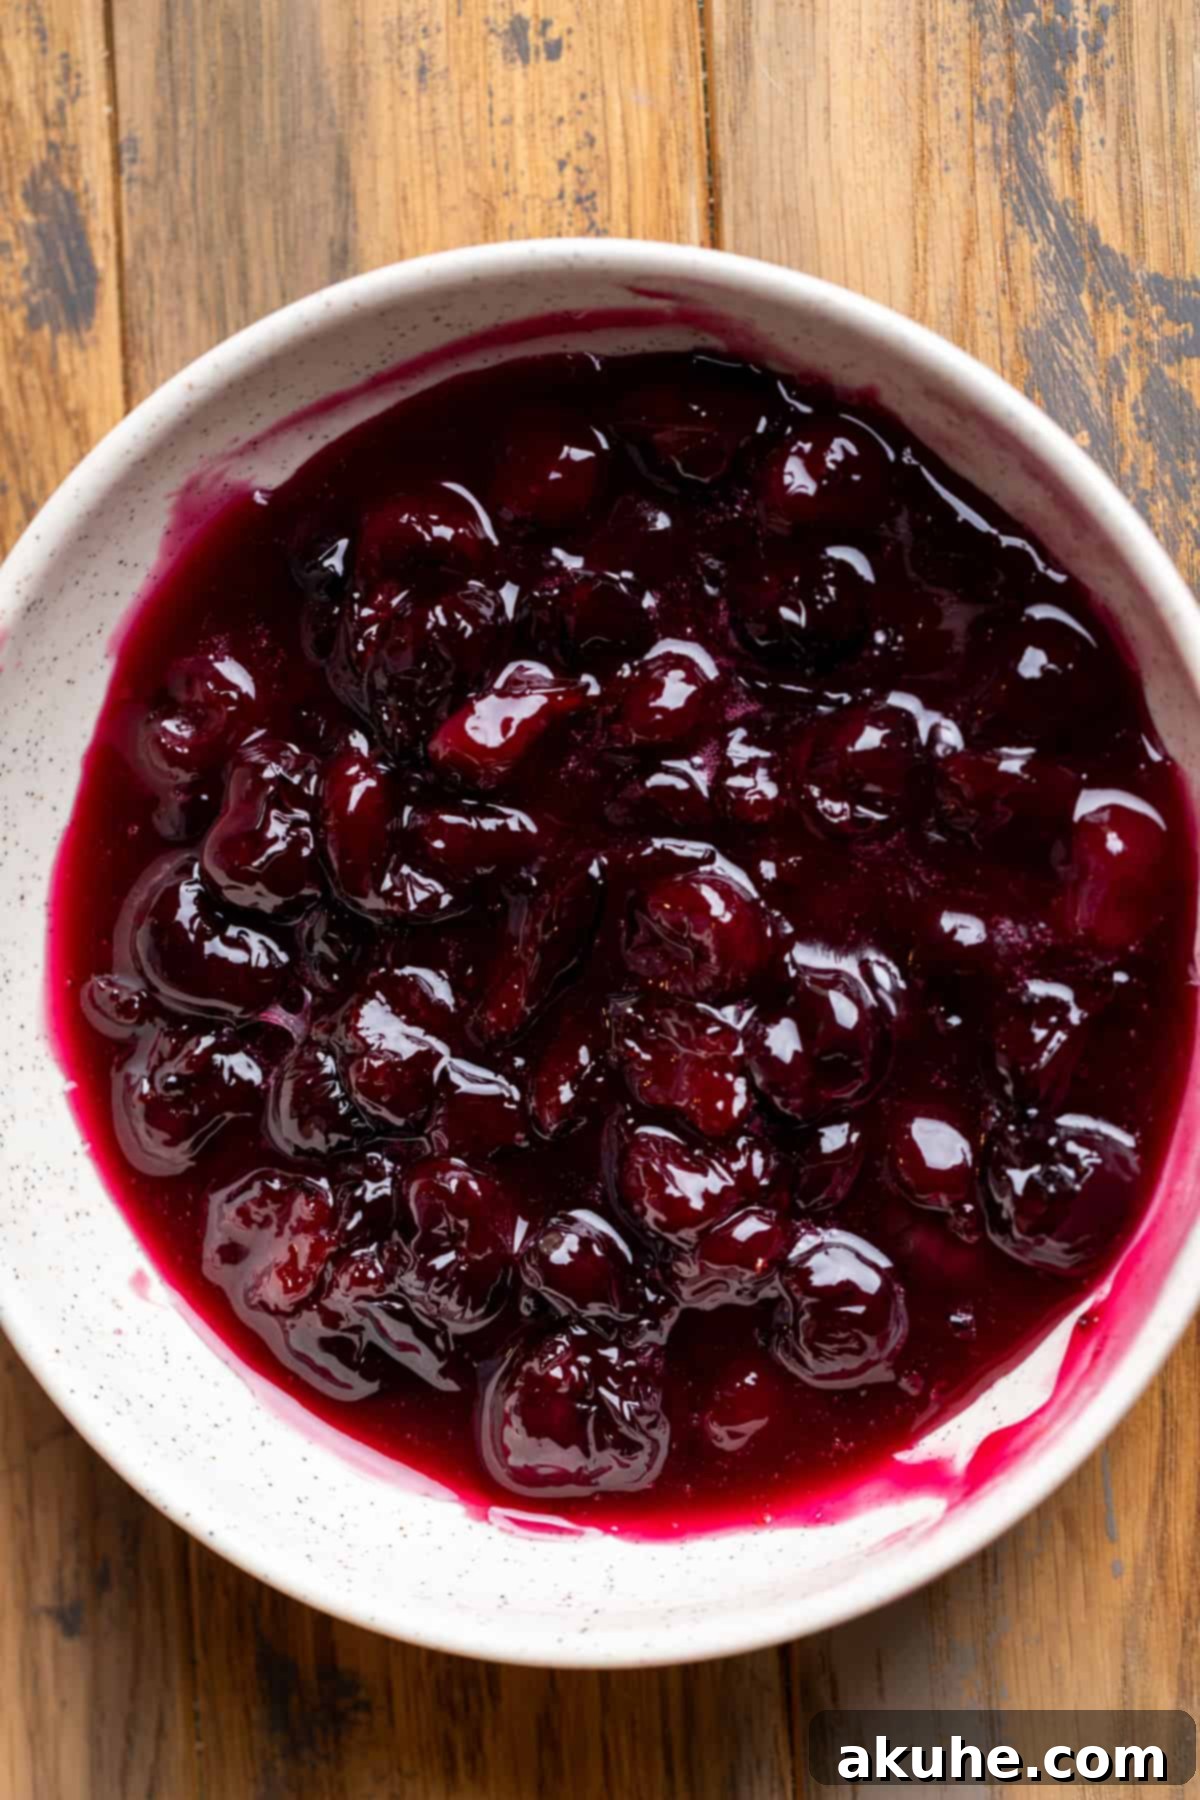
- Cook the Filling: Place the saucepan over medium heat. Stir the cherry mixture continuously until the cherries begin to release their juices. Continue cooking and stirring for 5-10 minutes. The filling will visibly thicken as it cooks, reaching a luscious, jam-like consistency.
- Cool the Filling: Once thickened, immediately pour the hot cherry filling into a separate, heatproof bowl. Allow it to cool completely to room temperature before proceeding. This prevents the filling from making your crumble soggy and ensures it sets properly.
Oatmeal Crumble (Crust and Topping)
- Preheat Oven & Prep Pan: Preheat your oven to 350°F (175°C). Prepare an 8×8 inch square baking pan by spraying it thoroughly with nonstick baking spray. Line the bottom and two opposing sides with parchment paper, allowing the paper to extend above the edges to create “handles.” This will make removing the baked bars much easier. Spray the parchment-lined pan again for extra nonstick assurance.
- Mix Dry Crumble Ingredients: In a large mixing bowl, combine 1 1/2 cups of all-purpose flour, 1 1/4 cups of quick oats, 3/4 cup of packed brown sugar, 1/2 teaspoon of baking powder, 1/2 teaspoon of salt, and 1/2 teaspoon of ground cinnamon. Whisk these dry ingredients together until they are well combined.
- Add Melted Butter: Pour 3/4 cup of slightly cooled melted unsalted butter over the dry ingredients. Use a fork to mix everything together until a cohesive, crumbly mixture forms. Be sure to mix until all the dry ingredients are moistened, but avoid overmixing.
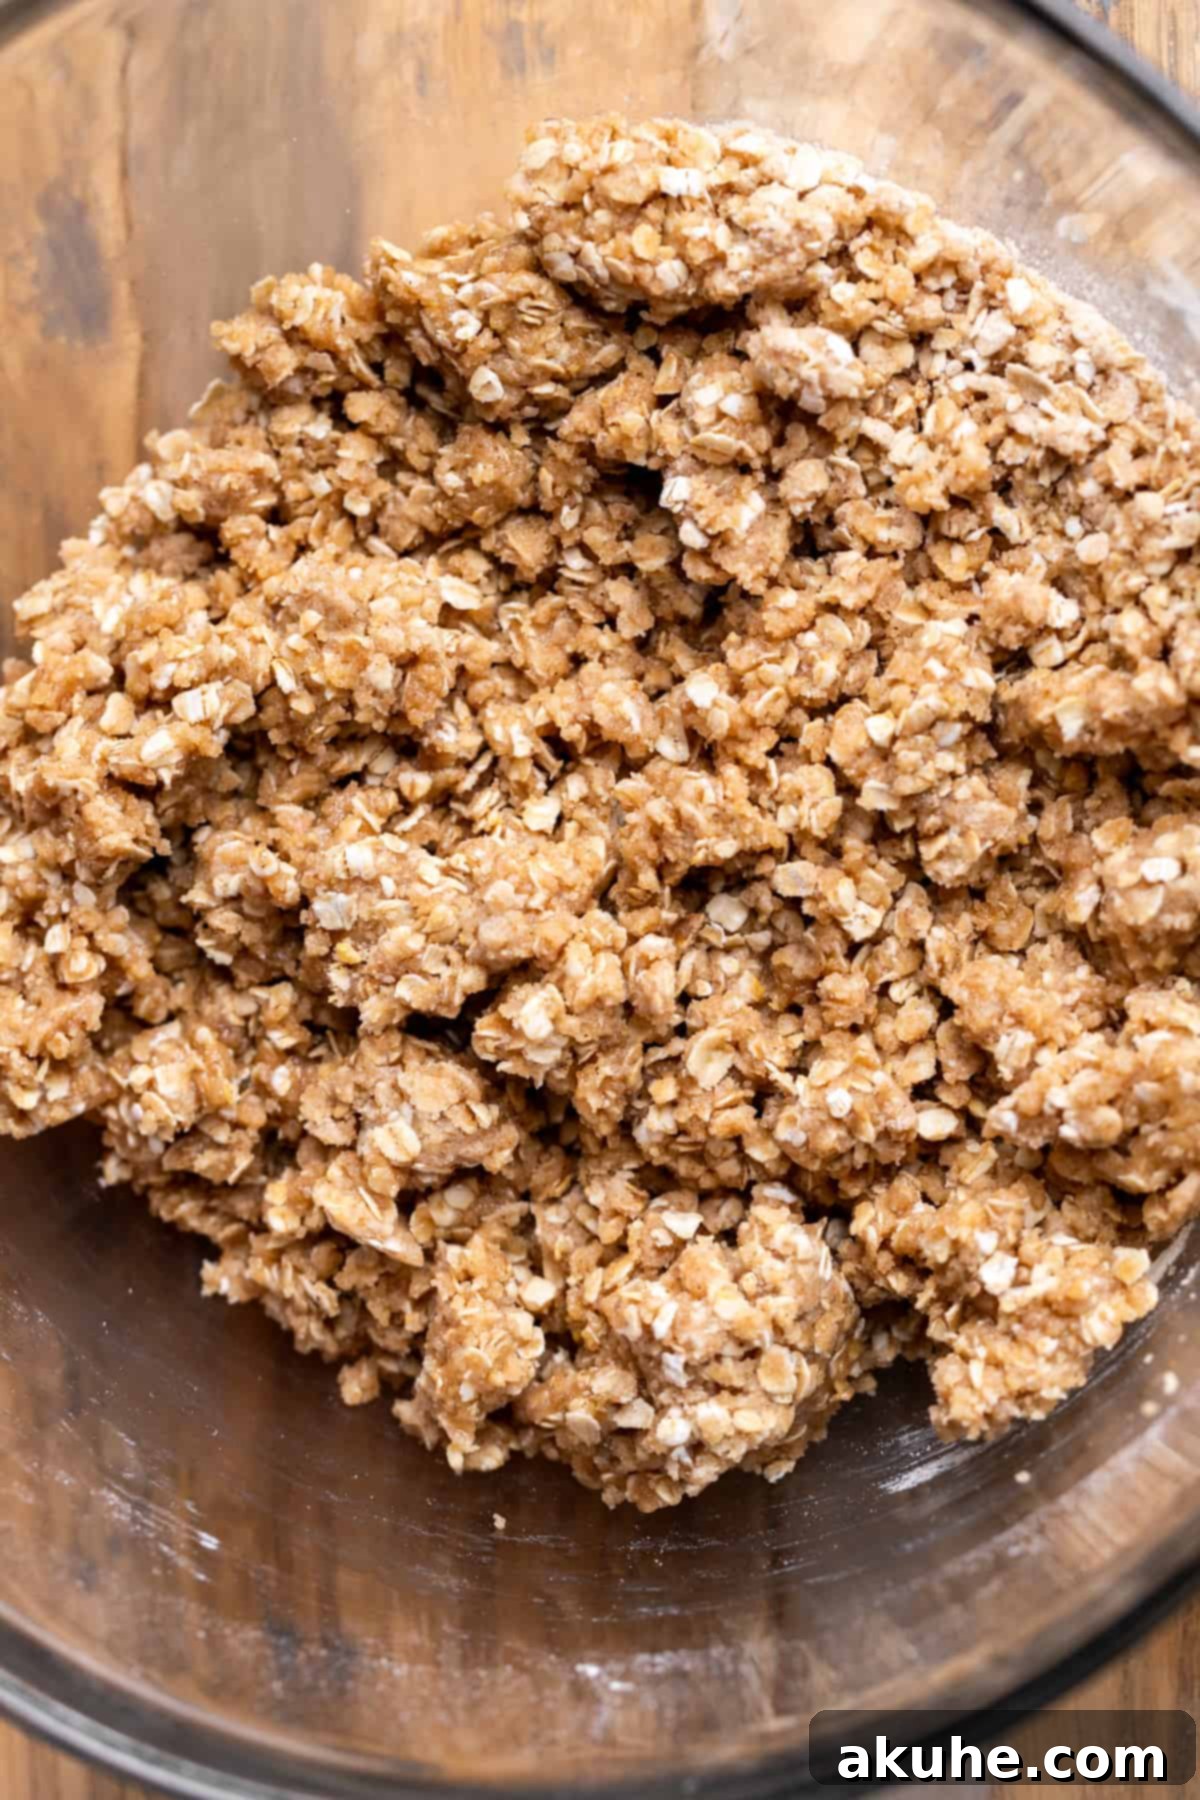
- Separate Crumble: Measure out 1 cup of the prepared crumble mixture and set it aside; this will be used for the topping.
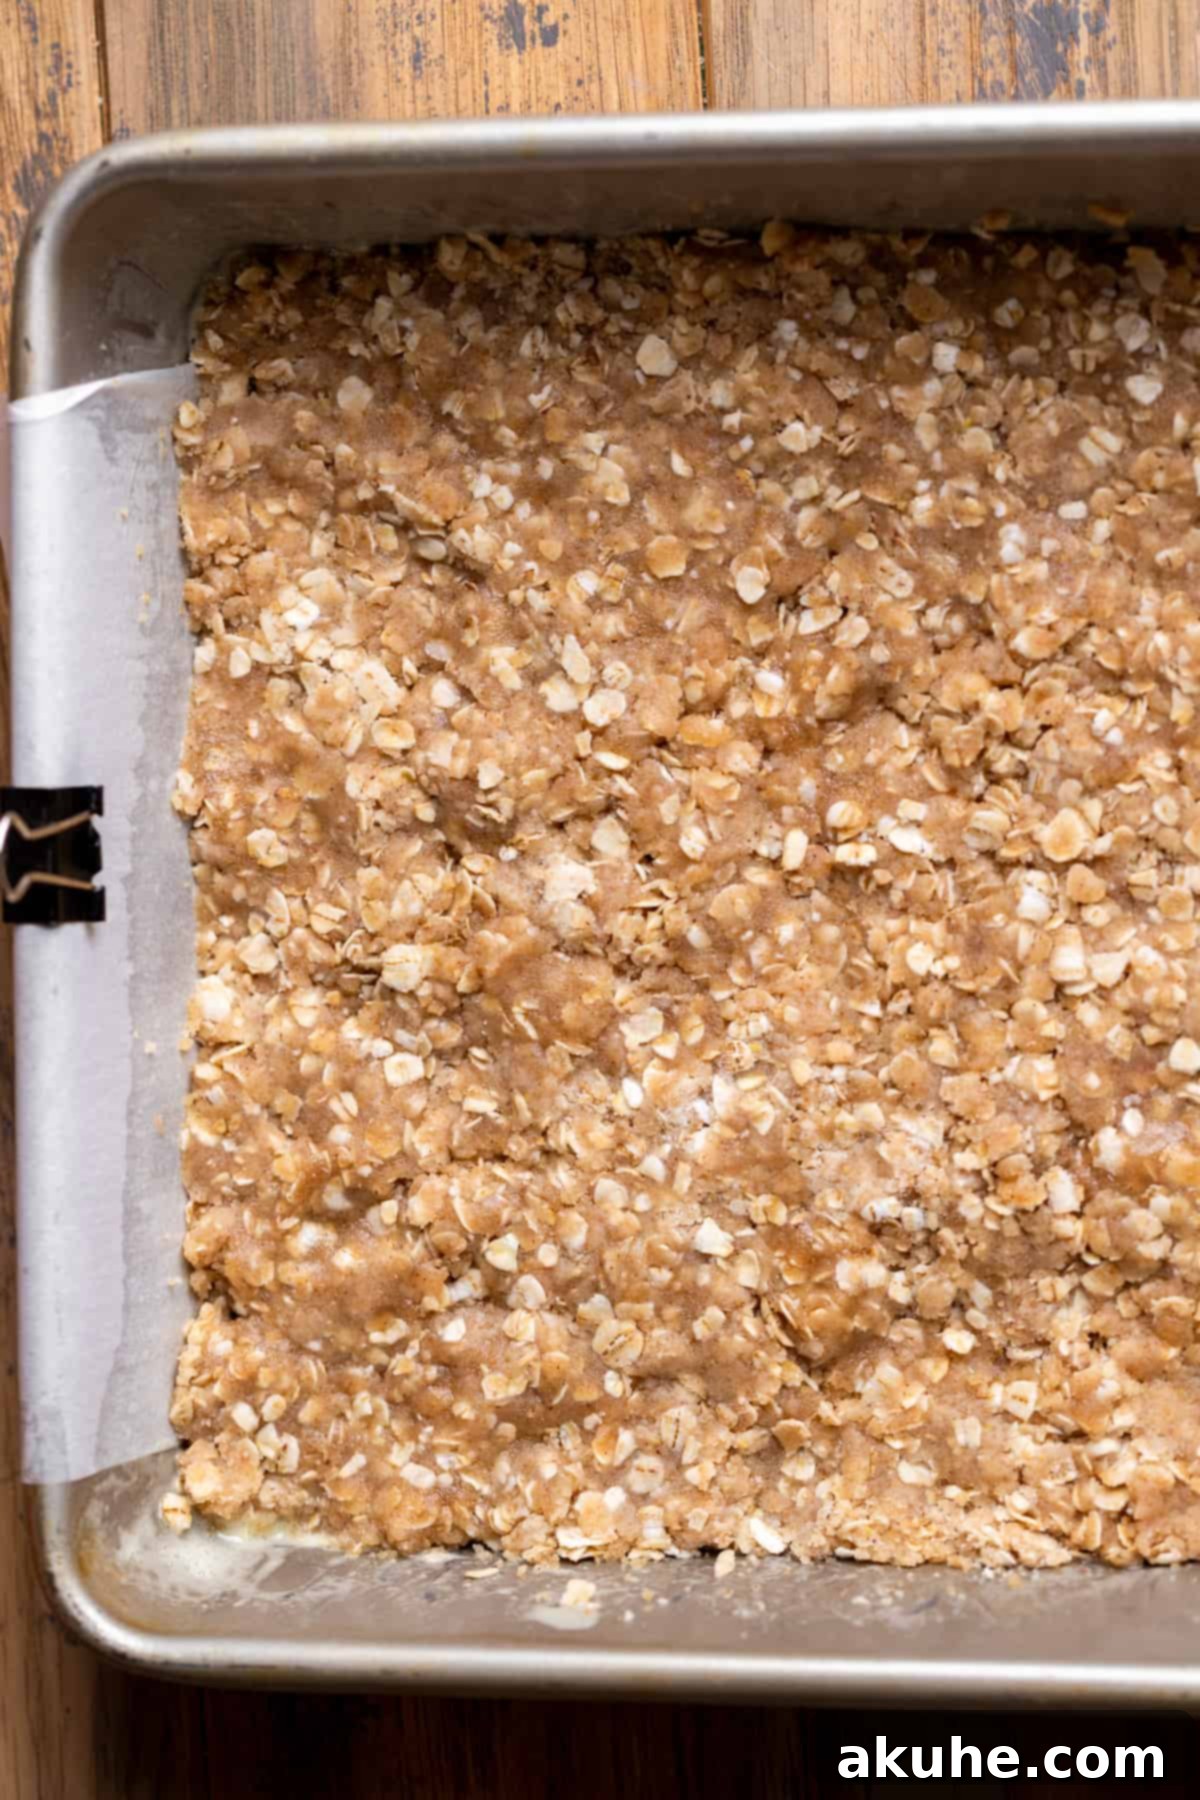
- Form the Base: Press the remaining crumble mixture evenly into the bottom of your prepared baking pan. Use the back of a spoon or your fingers to create a firm, compact crust.
- Bake the Crust: Bake the crumble crust for 15 minutes. This preliminary bake helps the crust set and achieve a beautiful golden hue before adding the filling.
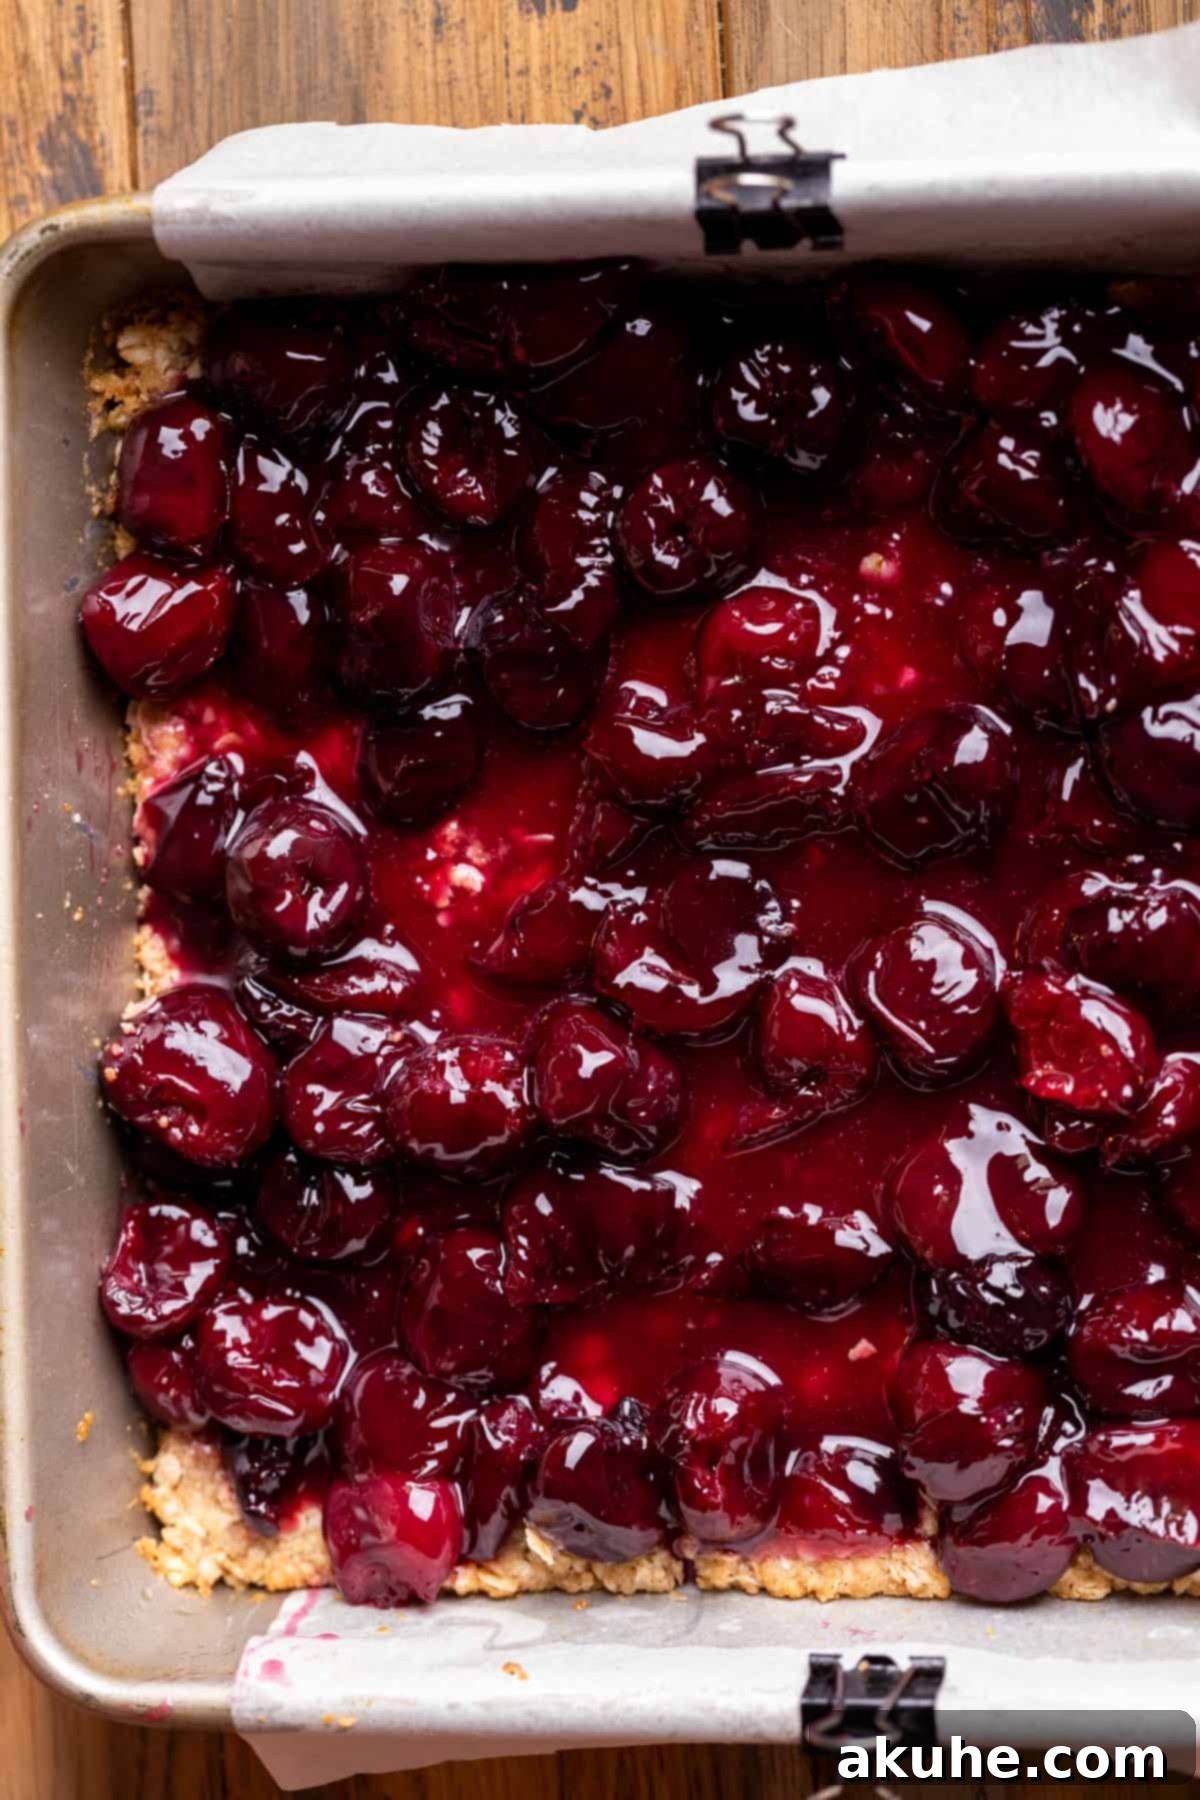
- Assemble the Layers: Once the crust is pre-baked, carefully pour the cooled cherry pie filling over the hot crust, spreading it evenly. Remember to reserve 1 tablespoon of the cherry filling for the glaze later.
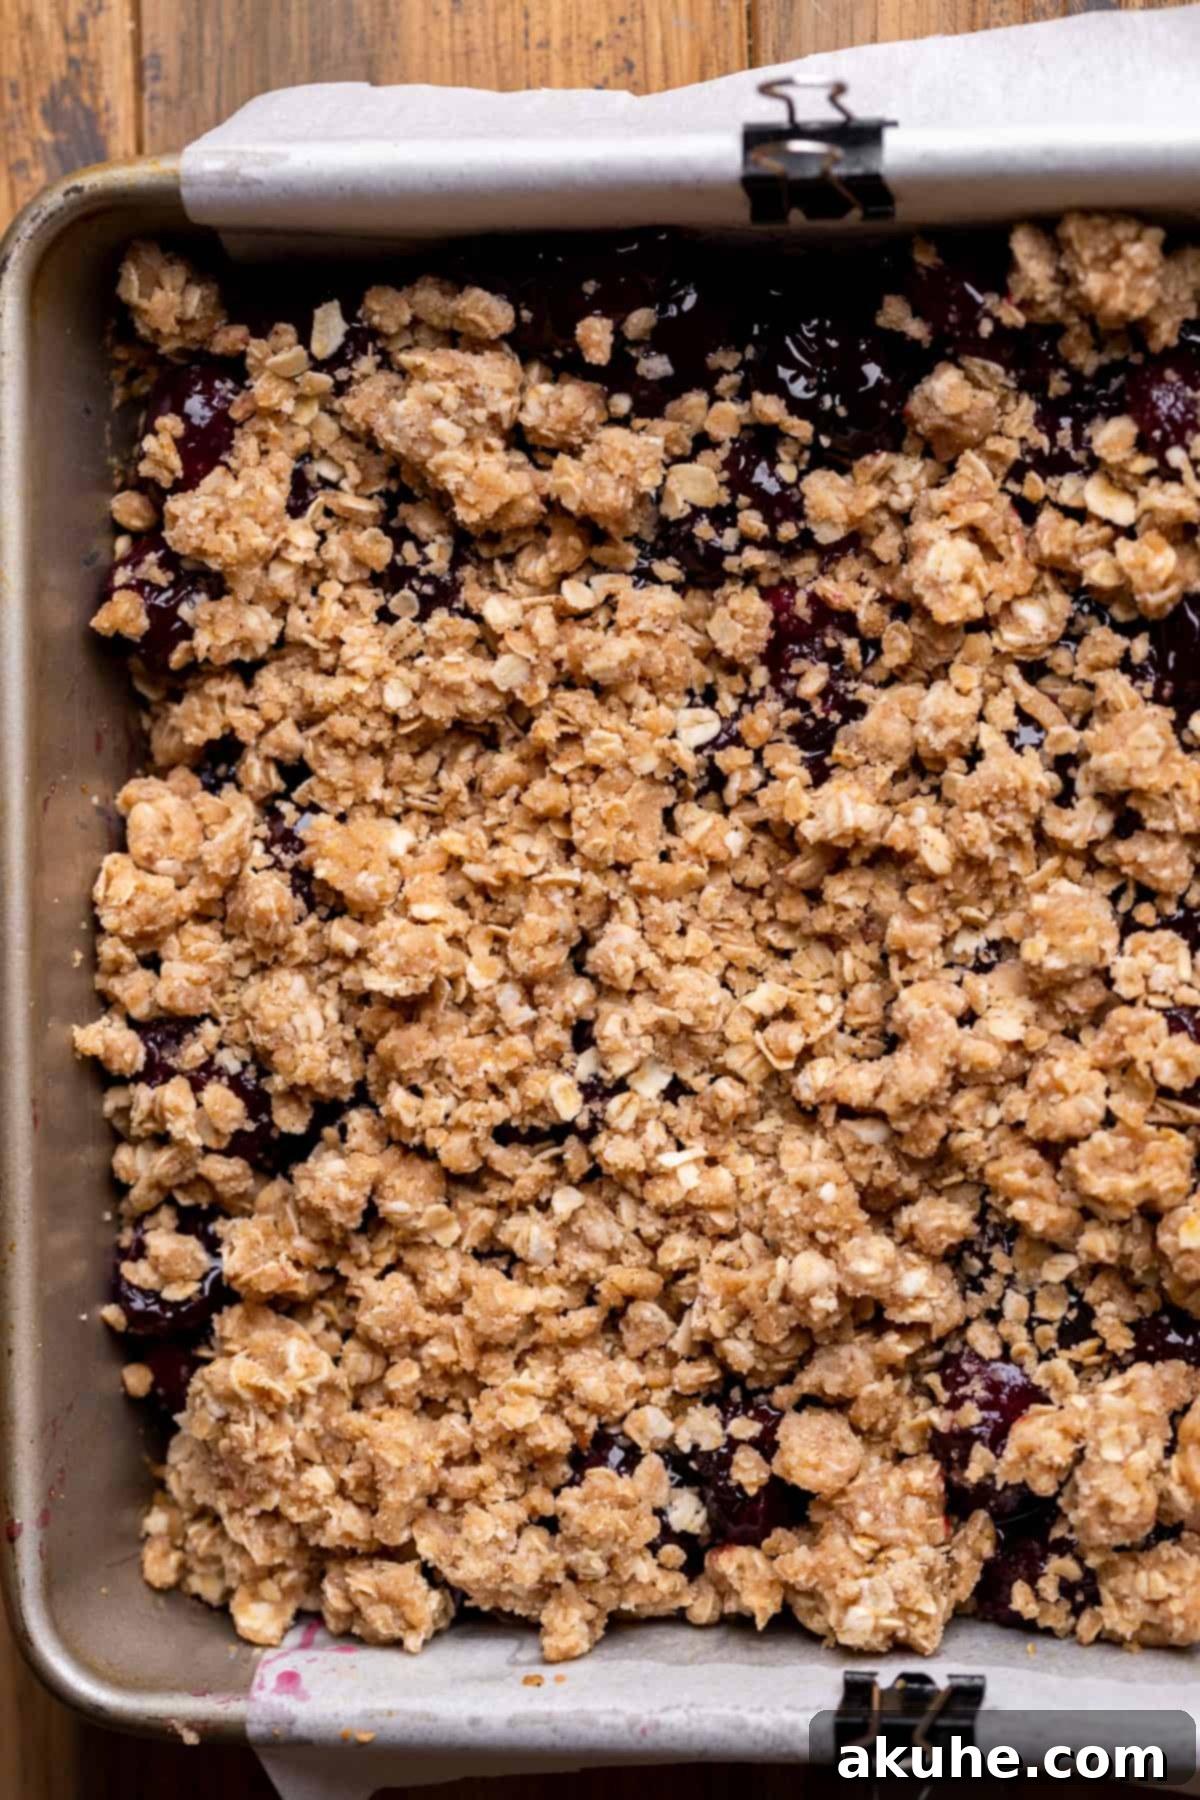
- Add Crumble Topping: Evenly sprinkle the reserved 1 cup of oatmeal crumble mixture over the cherry filling.
- Final Bake: Return the pan to the oven and bake for another 30-35 minutes. The bars are ready when the topping is golden brown and the filling appears slightly jiggly in the center.
- Cool Completely and Chill: Remove the pan from the oven and place it on a wire cooling rack to cool to room temperature. This step is crucial for the bars to set properly. Once completely cool, transfer the pan to the refrigerator and chill for at least 1 hour, or until firm.
Step-by-Step Instructions: Cherry Glaze and Serving Your Bars
Once your cherry pie bars are perfectly chilled, it’s time to add the finishing touch – a sweet and tangy cherry glaze – and prepare them for serving.
- Prepare Bars for Glazing: Before decorating, ensure your cherry pie bars are thoroughly cold and firm. This will help them hold their shape and make them easier to handle. Once chilled, use the parchment paper handles to carefully lift the entire slab of bars out of the pan. Gently peel away the parchment paper.
- Mix the Cherry Glaze: In a small bowl, combine 1/2 cup of powdered sugar, the 1 tablespoon of reserved cherry filling, and 1 tablespoon of milk. Use a whisk to mix these ingredients until the glaze is smooth, free of lumps, and has a consistent, drizzly consistency. If it’s too thick, add a tiny bit more milk (a quarter teaspoon at a time) until it reaches your desired flow.
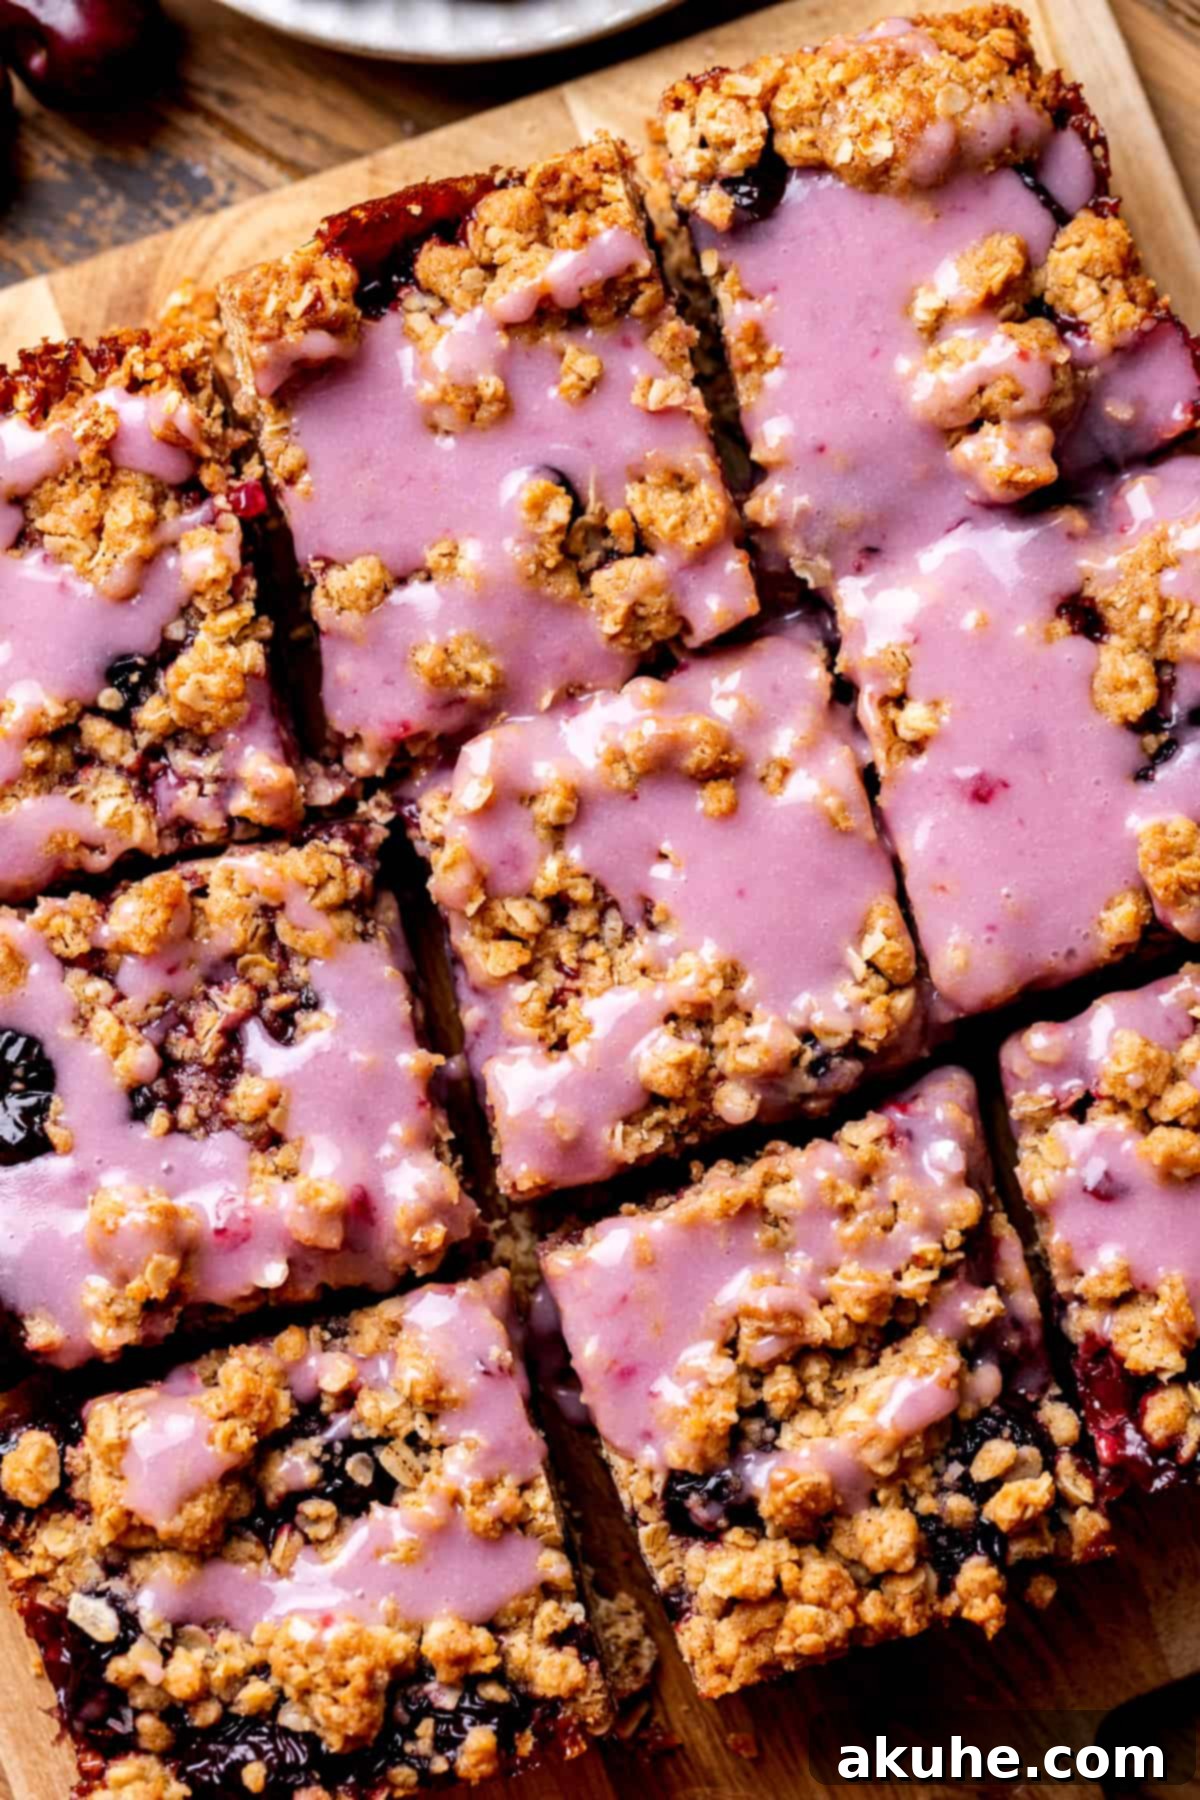
- Decorate and Serve: Drizzle the prepared cherry glaze artistically over the top of the chilled bars. You can use a spoon for a rustic look or a piping bag for more precision. Once the glaze has set slightly (a few minutes at room temperature), use a sharp knife to cut the large slab into individual, perfectly sized bars. Serve immediately and enjoy!
Expert Baking Tips for Flawless Cherry Pie Bars
Achieving bakery-quality cherry pie bars is easier than you think with these expert tips:
- Master Flour Measurement: Accurate flour measurement is key to a tender crumble. Always use the “spoon and level” method: spoon flour into your measuring cup until it overflows, then use the back of a straight edge (like a knife) to level off the excess. Never scoop flour directly from the bag, as this compacts it and results in too much flour, leading to dry, dense bars.
- Ensure Easy Release: To prevent your bars from sticking, generously spray your baking pan with nonstick baking spray. The parchment paper sling is your best friend here, so make sure to leave enough overhang on two sides to easily lift the entire slab out of the pan once cooled. If any edges still cling, gently run a thin knife along the perimeter before lifting.
- Patience is a Virtue: It’s absolutely crucial that the cherry pie bars cool completely to room temperature, and then chill thoroughly in the refrigerator, before attempting to cut or glaze them. If the bars are still warm, the filling will not be set, and the crumble will be too fragile, causing them to fall apart when handled. A properly chilled bar will slice cleanly and hold its shape beautifully.
- Don’t Overmix the Crumble: Once you add the melted butter to the dry ingredients, mix just until everything is moistened and crumbly. Overmixing can develop the gluten in the flour, leading to a tough rather than tender crumble.
- Oven Temperature Matters: Ovens can vary. If you suspect your oven runs hot or cold, consider using an oven thermometer to ensure it’s accurately preheated to 350°F (175°C). Consistent temperature is vital for even baking and a perfectly golden crust.
- Customize Your Crumb Topping: If you prefer a larger, chunkier crumble topping, you can gently squeeze some of the reserved crumble mixture together with your fingers before sprinkling it over the cherry filling. This creates more distinct clusters.
Frequently Asked Questions About Cherry Pie Bars
Can I make the cherry pie filling ahead of time?
Absolutely! The homemade cherry pie filling can be prepared up to 2-3 days in advance. Simply cook it as directed, let it cool completely, and then store it in an airtight container in the refrigerator. Before assembling your bars, allow the filling to come to room temperature for easier spreading and even baking.
Can I use frozen cherries?
Yes, frozen cherries are an excellent substitute if fresh ones are out of season or unavailable. Make sure to thaw the frozen cherries completely and drain any excess liquid before using them in the filling. This prevents the filling from becoming too watery. The quantity remains the same as for fresh cherries.
Can I make this recipe with canned cherries?
This particular recipe is specifically formulated for fresh or frozen cherries, which create a vibrant, naturally flavored filling. Canned cherry pie filling often contains added sugars and thickeners that would alter the balance and texture of this recipe significantly. For the best results, stick to fresh or thawed frozen cherries.
What if my crumble is too dry or too wet?
If your crumble mixture seems too dry and isn’t holding together, you can add a tiny bit more melted butter (1 teaspoon at a time) until it reaches the right consistency. If it’s too wet or greasy, add a tablespoon of all-purpose flour or quick oats until it’s crumbly but still holds its shape when pressed.
How do I know when the cherry filling is thick enough?
The cherry filling is ready when it coats the back of a spoon and you can draw a clear line through it with your finger. It should bubble slowly and thicken visibly. Remember, it will continue to thicken slightly as it cools.
Storing and Freezing Your Cherry Pie Bars
Proper storage is key to keeping your cherry pie bars fresh and delicious. Store any leftover bars in an airtight container at room temperature for up to 2 days, or in the pan covered tightly with aluminum foil or plastic wrap in the fridge for up to 5 days. Chilling the bars can also make them firmer and easier to handle.
Freezing Cherry Pie Bars
For longer storage, these cherry pie bars freeze beautifully. Once the bars are completely cooled and chilled, cut them into individual slices. Place the slices in a single layer on a baking sheet and freeze for about an hour until firm. Then, transfer the frozen bars to an airtight freezer-safe container or a heavy-duty freezer bag, separating layers with parchment paper to prevent sticking. They can be frozen for up to 1 month. To enjoy, thaw individual slices at room temperature for 1-2 hours before eating. You can also warm them gently in the microwave for a few seconds for a freshly baked feel.
Other Fruit Dessert Recipes to Try
If you loved these cherry pie bars, you’ll surely enjoy exploring other fruit-filled creations from our kitchen. Expand your baking repertoire with our collection of vibrant and tasty fruit desserts!
Cherry Pie Bars Recipe
Cherry Pie Bars
Print Recipe
Pin Recipe
Ingredients
Cherry Pie Filling
- 1 lb Cherries, washed and pitted
- 2 TBSP Water
- 2 TBSP Cornstarch
- 3/4 cup White granulated sugar
- 1 tsp Almond extract
Oatmeal Crumble
- 1 1/2 cups All-purpose flour
- 1 1/4 cups Quick oats
- 3/4 cup Brown sugar, packed light or dark
- 1/2 tsp Baking powder
- 1/2 tsp Salt
- 1/2 tsp Ground cinnamon
- 3/4 cup Unsalted butter, melted
Cherry Glaze
- 1/2 cup Powdered sugar
- 1 TBSP Cherry filling (reserved from above)
- 1 TBSP Milk
Instructions
Cherry Pie Filling
- In a medium saucepan over medium heat, mix the cherries (make sure they are washed and pitted first), water, cornstarch, sugar, and almond extract.
- Mix until the juice starts to release. Cook for 5-10 minutes until filling is thickened. Pour the cherry filling into a separate bowl and cool completely.
Oatmeal Crumble
- Preheat the oven to 350°F (175°C). Spray an 8×8-inch square pan with nonstick baking spray. Line the bottom and 2 sides of the pan with parchment paper, leaving an overhang for handles. Spray again.
- In a mixing bowl, combine the all-purpose flour, quick oats, brown sugar, baking powder, salt, and cinnamon. Pour the melted butter over the dry ingredients. Use a fork to mix until combined and a crumbly mixture forms.
- Take out 1 cup of the crumble and set it aside for the topping. Press the remaining crumble firmly into the prepared pan to form the base crust.
- Bake the crumble crust for 15 minutes.
- Pour the cooled cherry filling evenly over the hot crust. Make sure to save 1 Tablespoon of the filling for the glaze. Sprinkle the reserved 1 cup of crumble evenly on top of the cherry filling.
- Bake for 30-35 minutes. The topping should be golden brown and the filling will be slightly jiggly. Place the pan on a cooling rack to cool completely to room temperature. Once cool, place the pan in the fridge for at least 1 hour until the bars are cold and firm.
- Once cold, use the parchment paper handles to carefully lift the bars out of the pan. Remove the parchment paper.
Cherry Glaze
- In a small bowl, whisk together the powdered sugar, the reserved 1 tablespoon of cherry filling, and milk until smooth and drizzly.
- Drizzle the cherry glaze over the cold bars. Once the glaze sets slightly, cut the dessert into individual bars to serve.
We hope you love this recipe! If you enjoyed making these homemade cherry pie bars, please consider leaving a STAR REVIEW below. Your feedback means a lot! Don’t forget to tag us on Instagram @stephaniesweettreats with your delicious creations. For more baking inspiration and sweet ideas, be sure to follow us on Pinterest.
