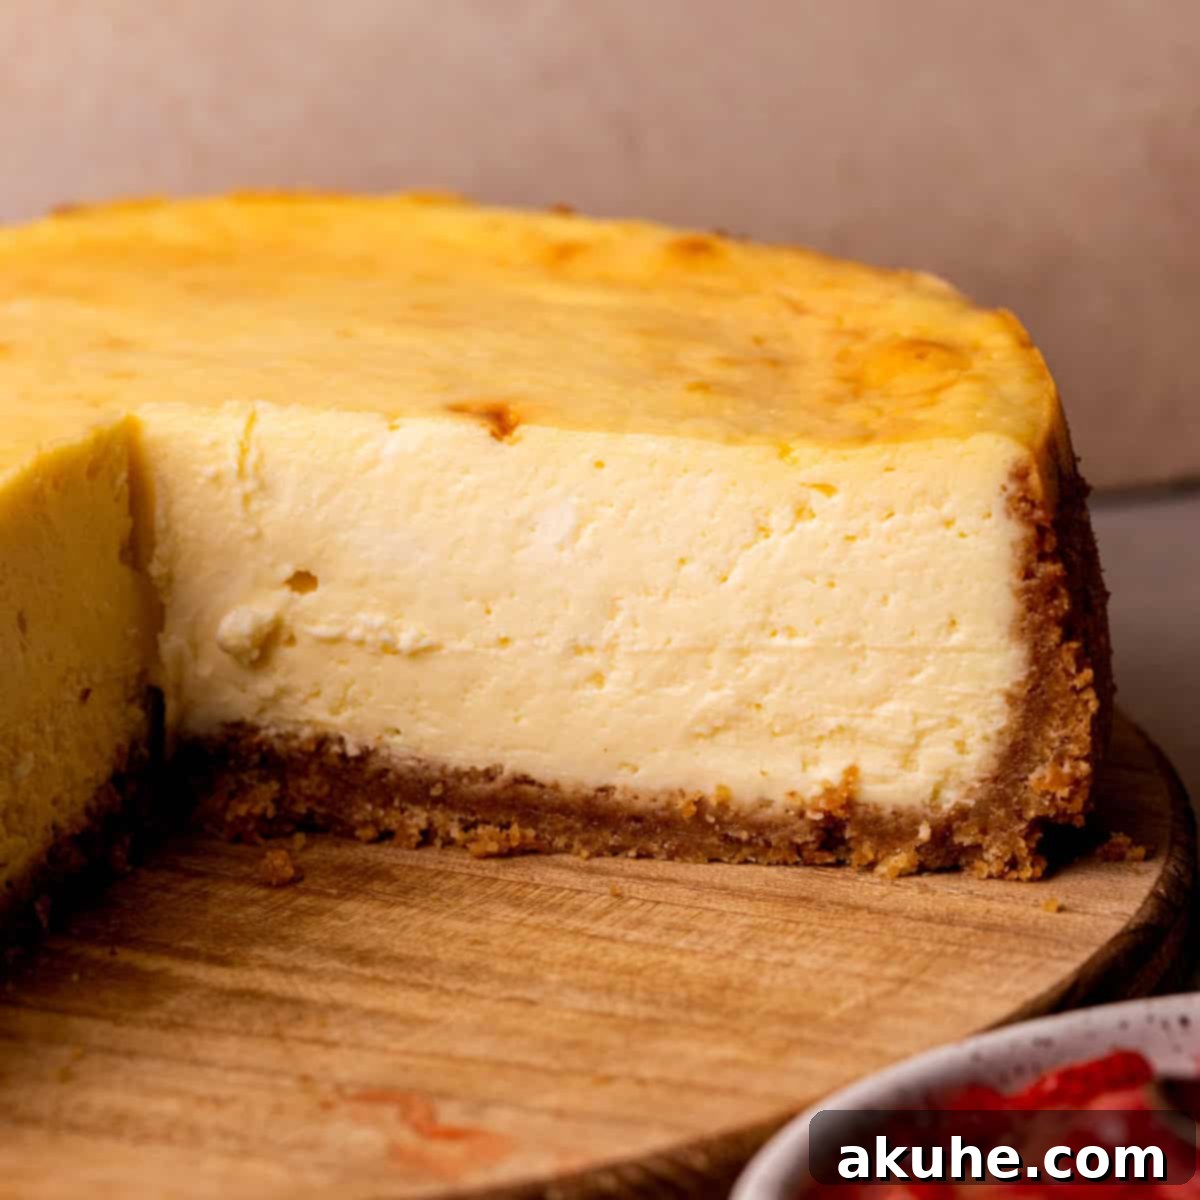
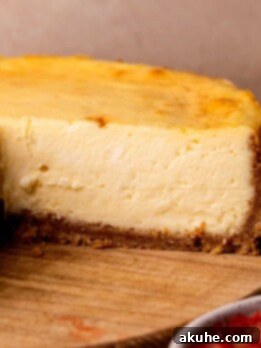
Indulge in the ultimate dessert experience with this authentic New York style cheesecake recipe. A true classic, it features a perfectly buttery graham cracker crust, a luxuriously creamy and incredibly rich cheesecake filling, all crowned with a vibrant homemade strawberry sauce. This isn’t just a dessert; it’s a culinary masterpiece that promises to delight with every forkful, embodying the iconic flavors and textures that make New York cheesecake famous worldwide. Prepare to impress your family and friends with a dessert that’s both elegant and irresistibly decadent.
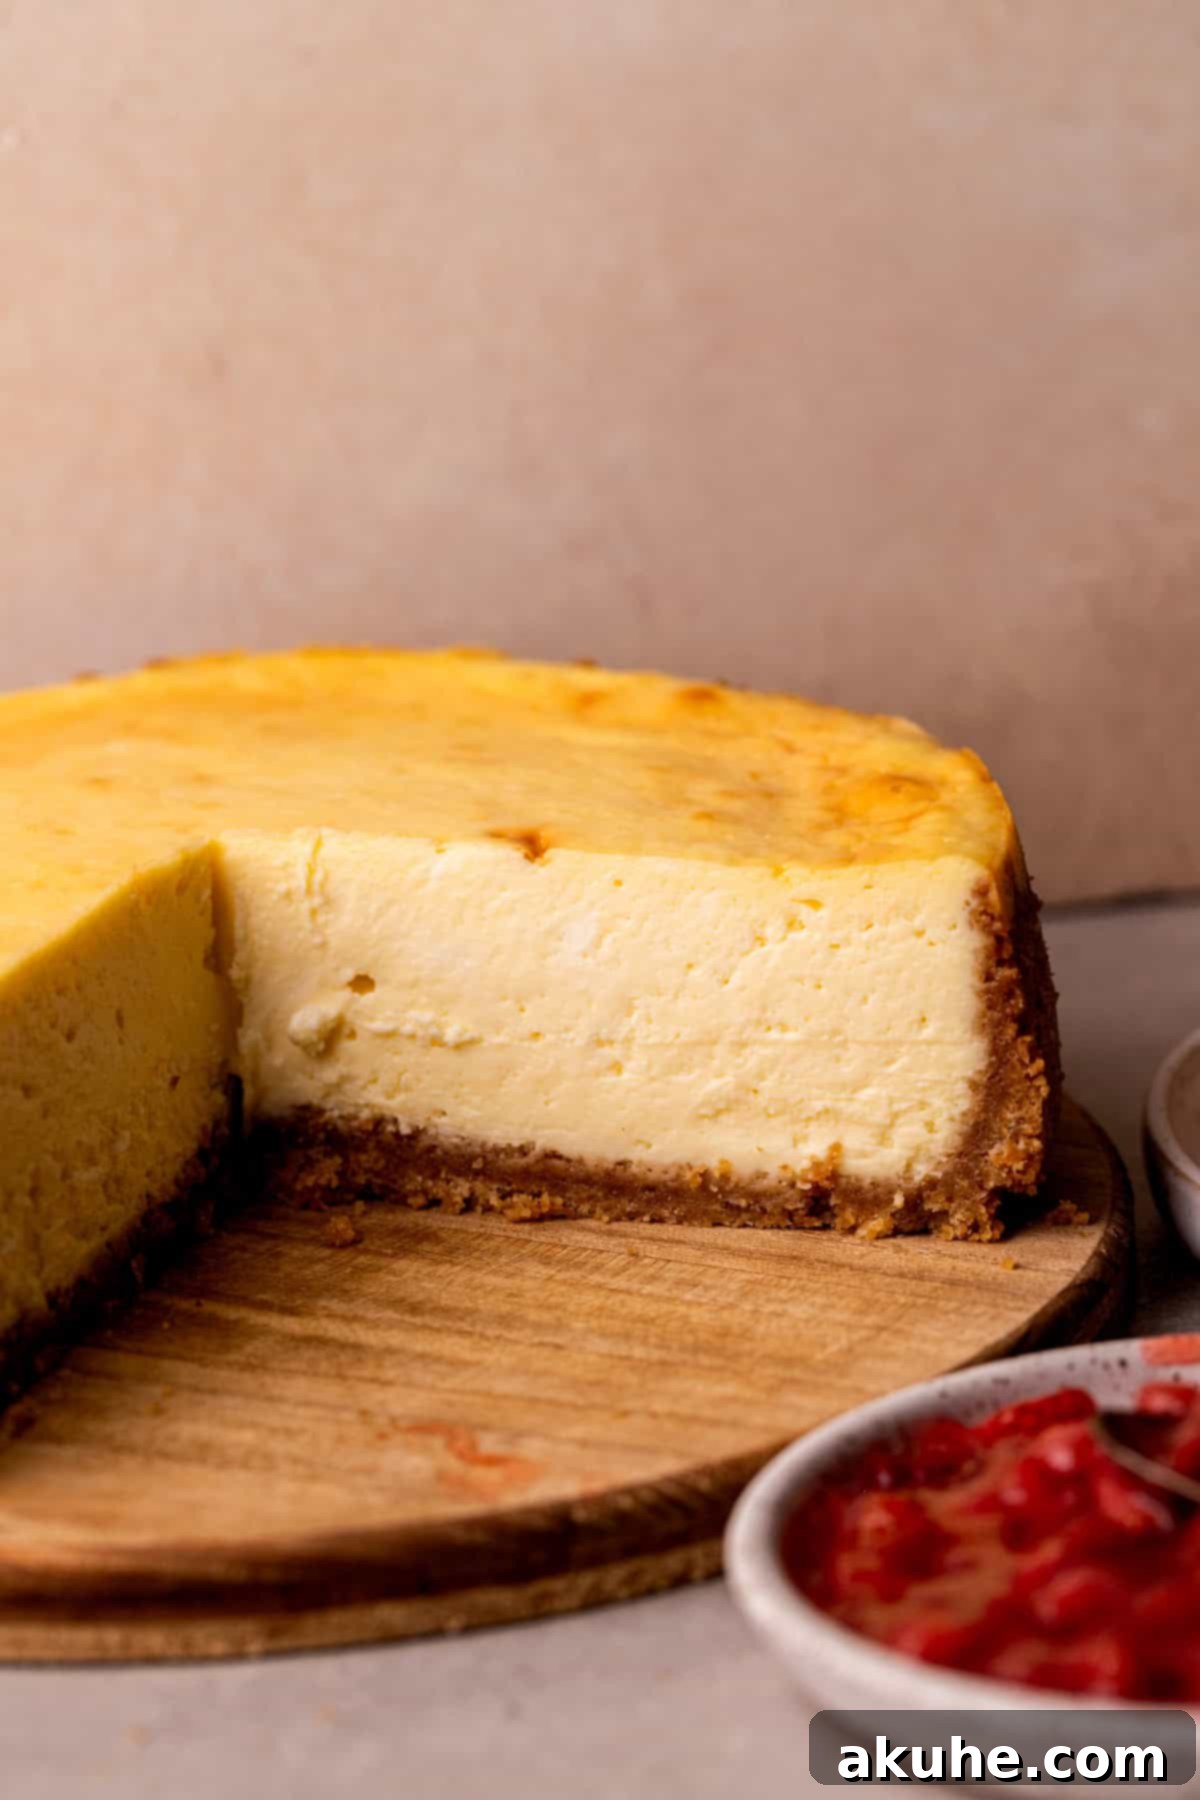
What sets New York style cheesecake apart is its signature density and profound richness. It elevates the standard cheesecake experience, delivering an even more opulent blend of textures and deep, satisfying flavors that define a truly exceptional cheesecake. If your goal is to bake a cheesecake that transcends the ordinary and leaves a lasting impression, then mastering the New York style is an absolute must. Its robust character and indulgent taste make it a staple for special occasions or simply a luxurious treat to savor.
The Unmistakable Allure of New York Style Cheesecake
New York style cheesecake stands as the quintessential “basic” cheesecake, yet it possesses a magical quality that makes it undeniably special. It strikes a perfect balance, offering comforting familiarity alongside an elevated taste profile.
- Timeless Flavor Profile: The classic cheesecake flavor reaches its pinnacle in the New York style. It’s characterized by a prominent cream cheese base, subtly enhanced by a touch of sour cream and a hint of lemon juice. This combination creates a perfect “cheesecake tang” that is both refreshing and deeply satisfying, providing a complex flavor that is never overwhelming but always memorable.
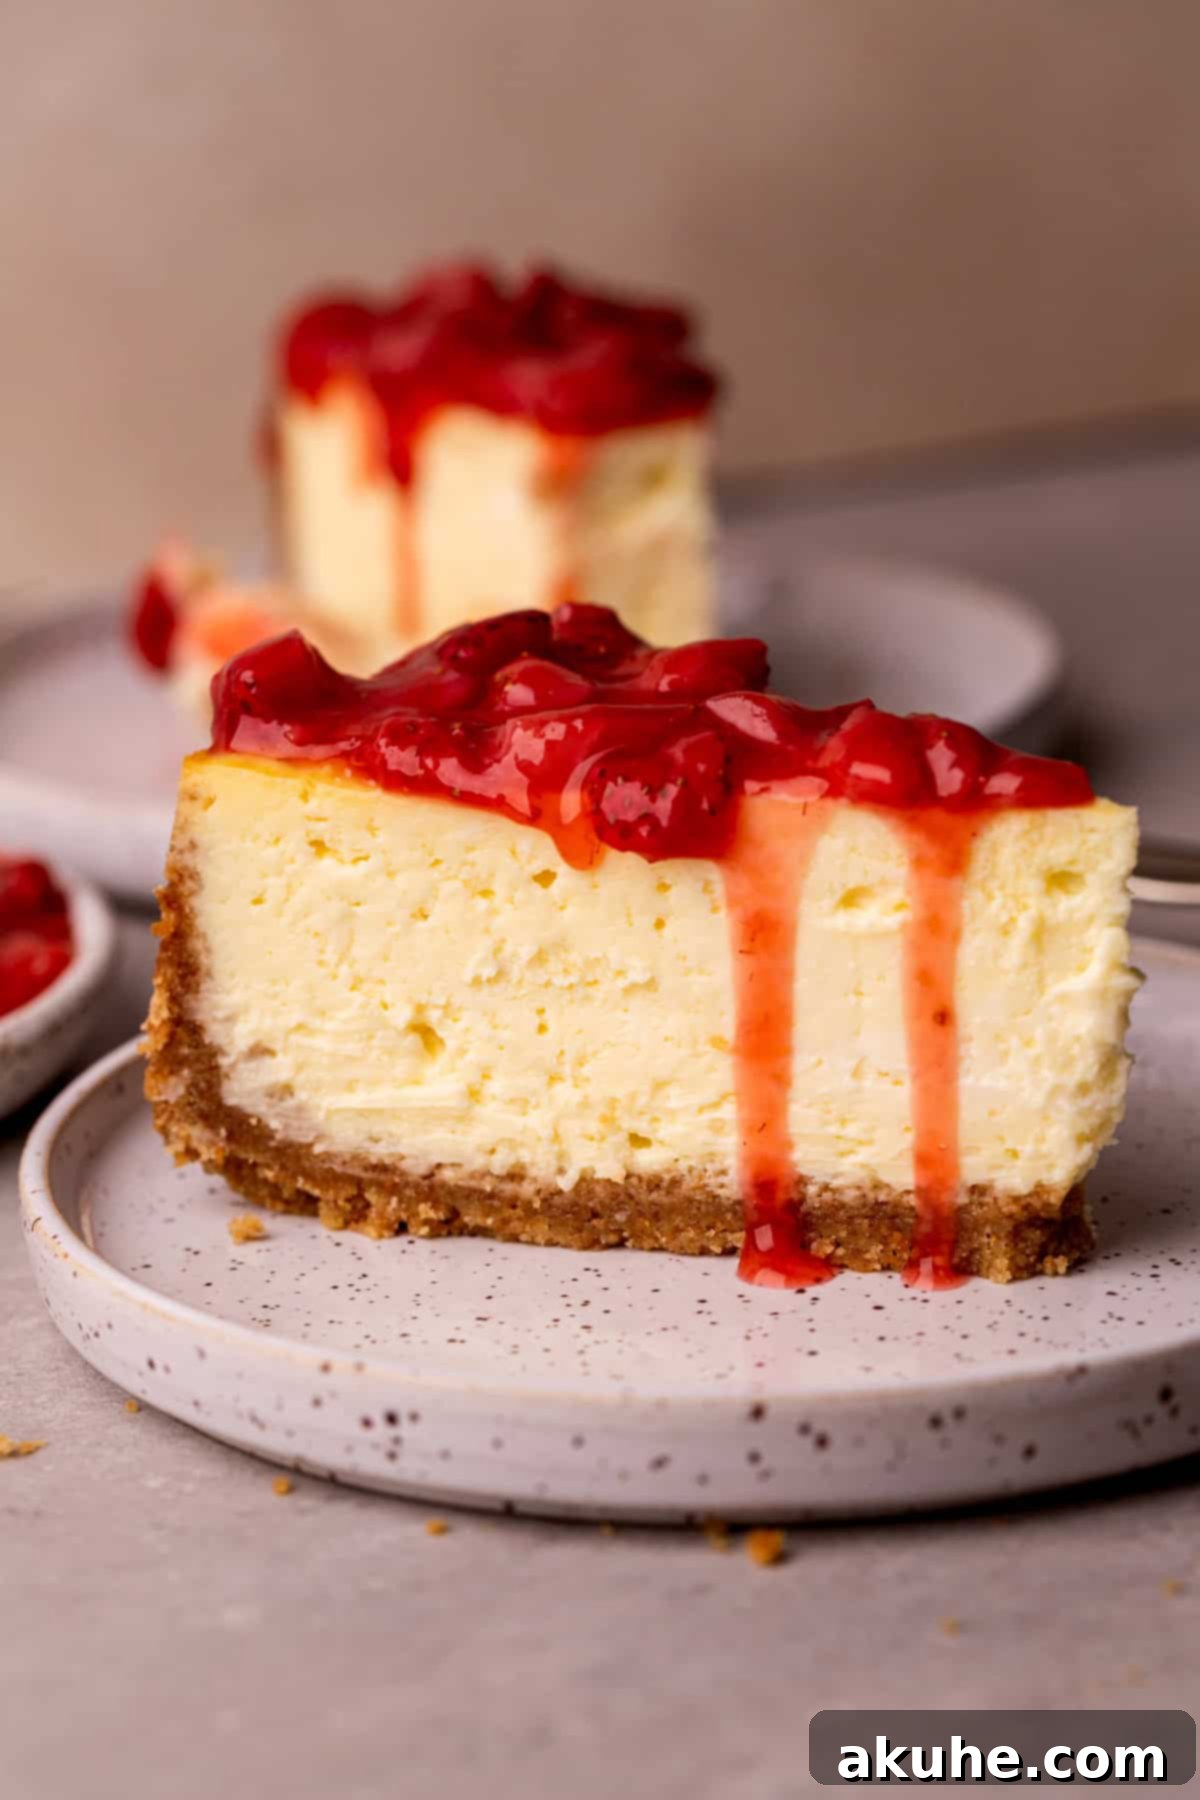
- Unmatched Richness: This isn’t just any cheesecake; it’s an intensely rich cheesecake. The generous quantities of cream cheese, fresh eggs, and high-quality sugar contribute to an unparalleled depth of flavor and a remarkably dense, smooth texture that melts in your mouth. Each bite is a testament to its indulgent composition, making it far more luxurious than lighter cheesecake varieties.
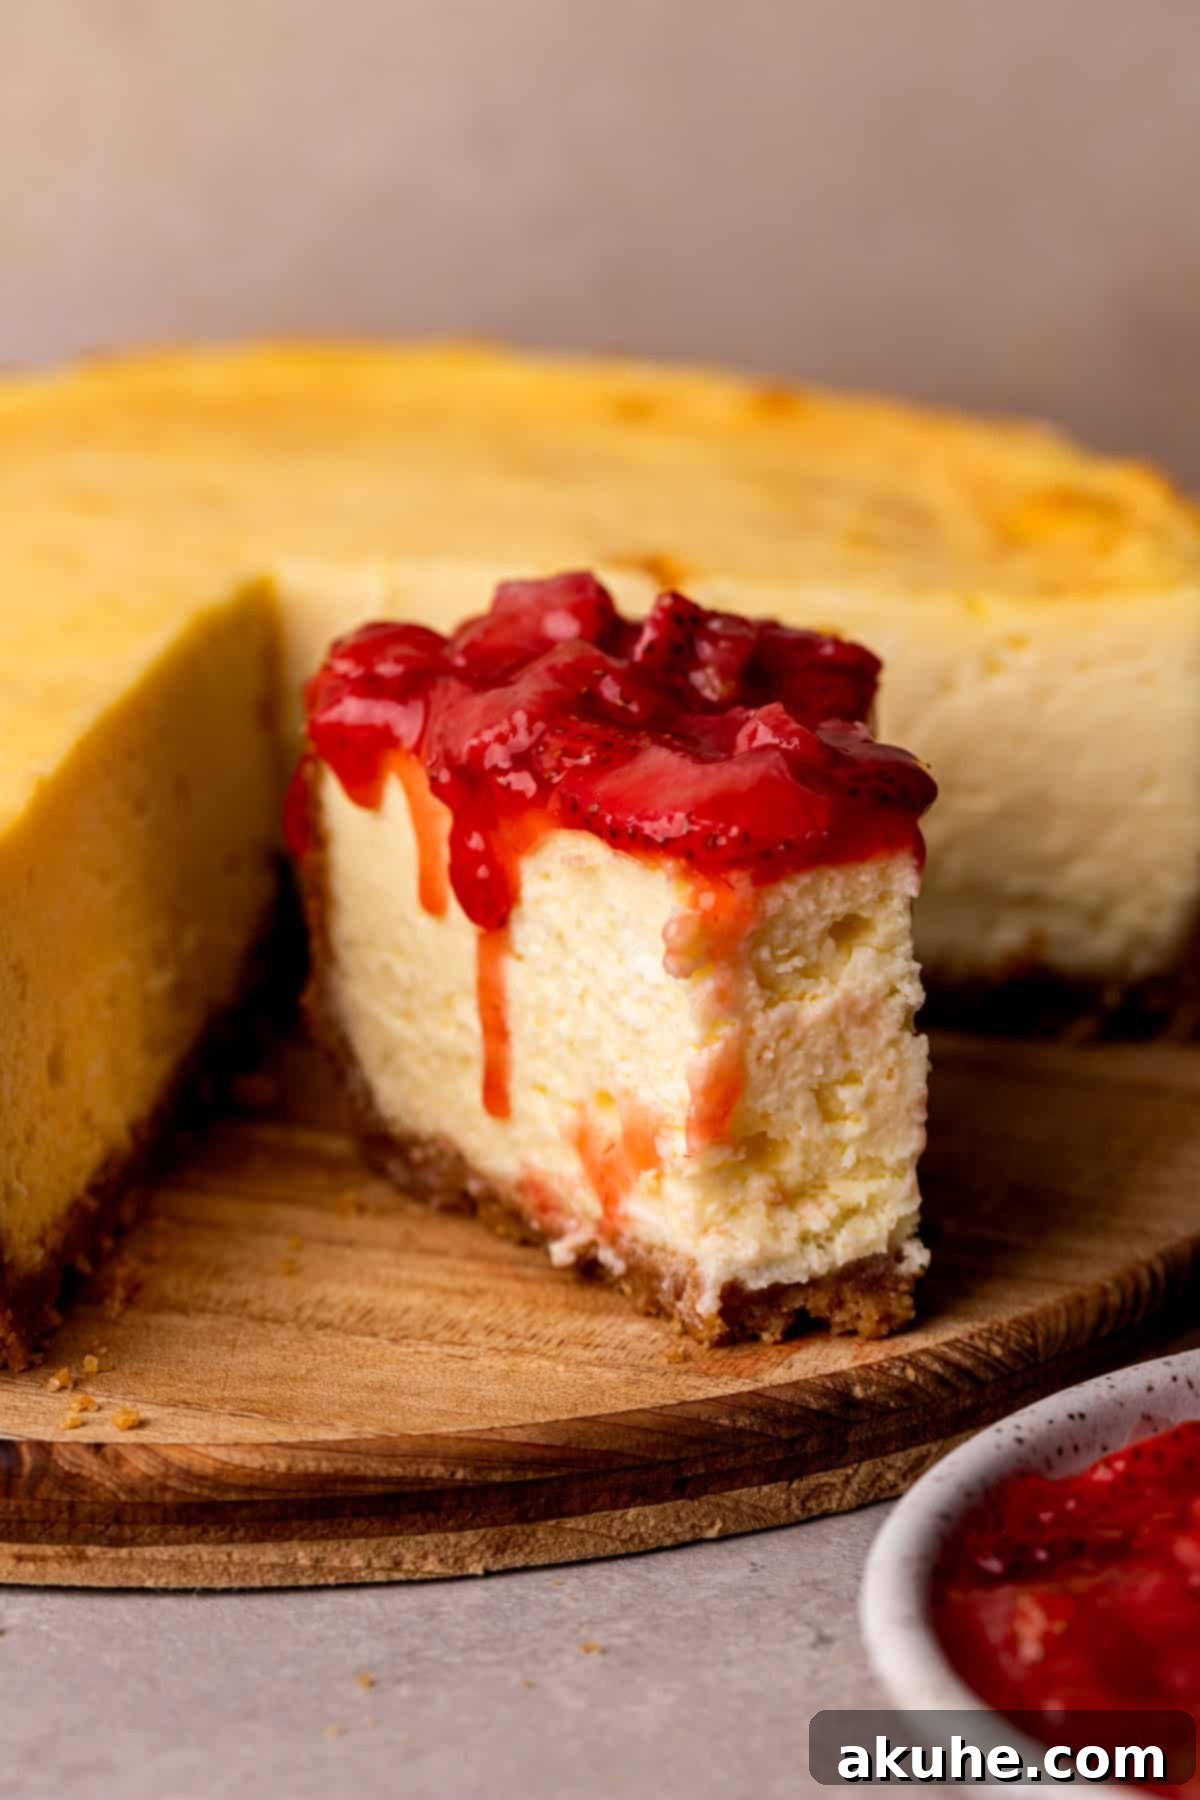
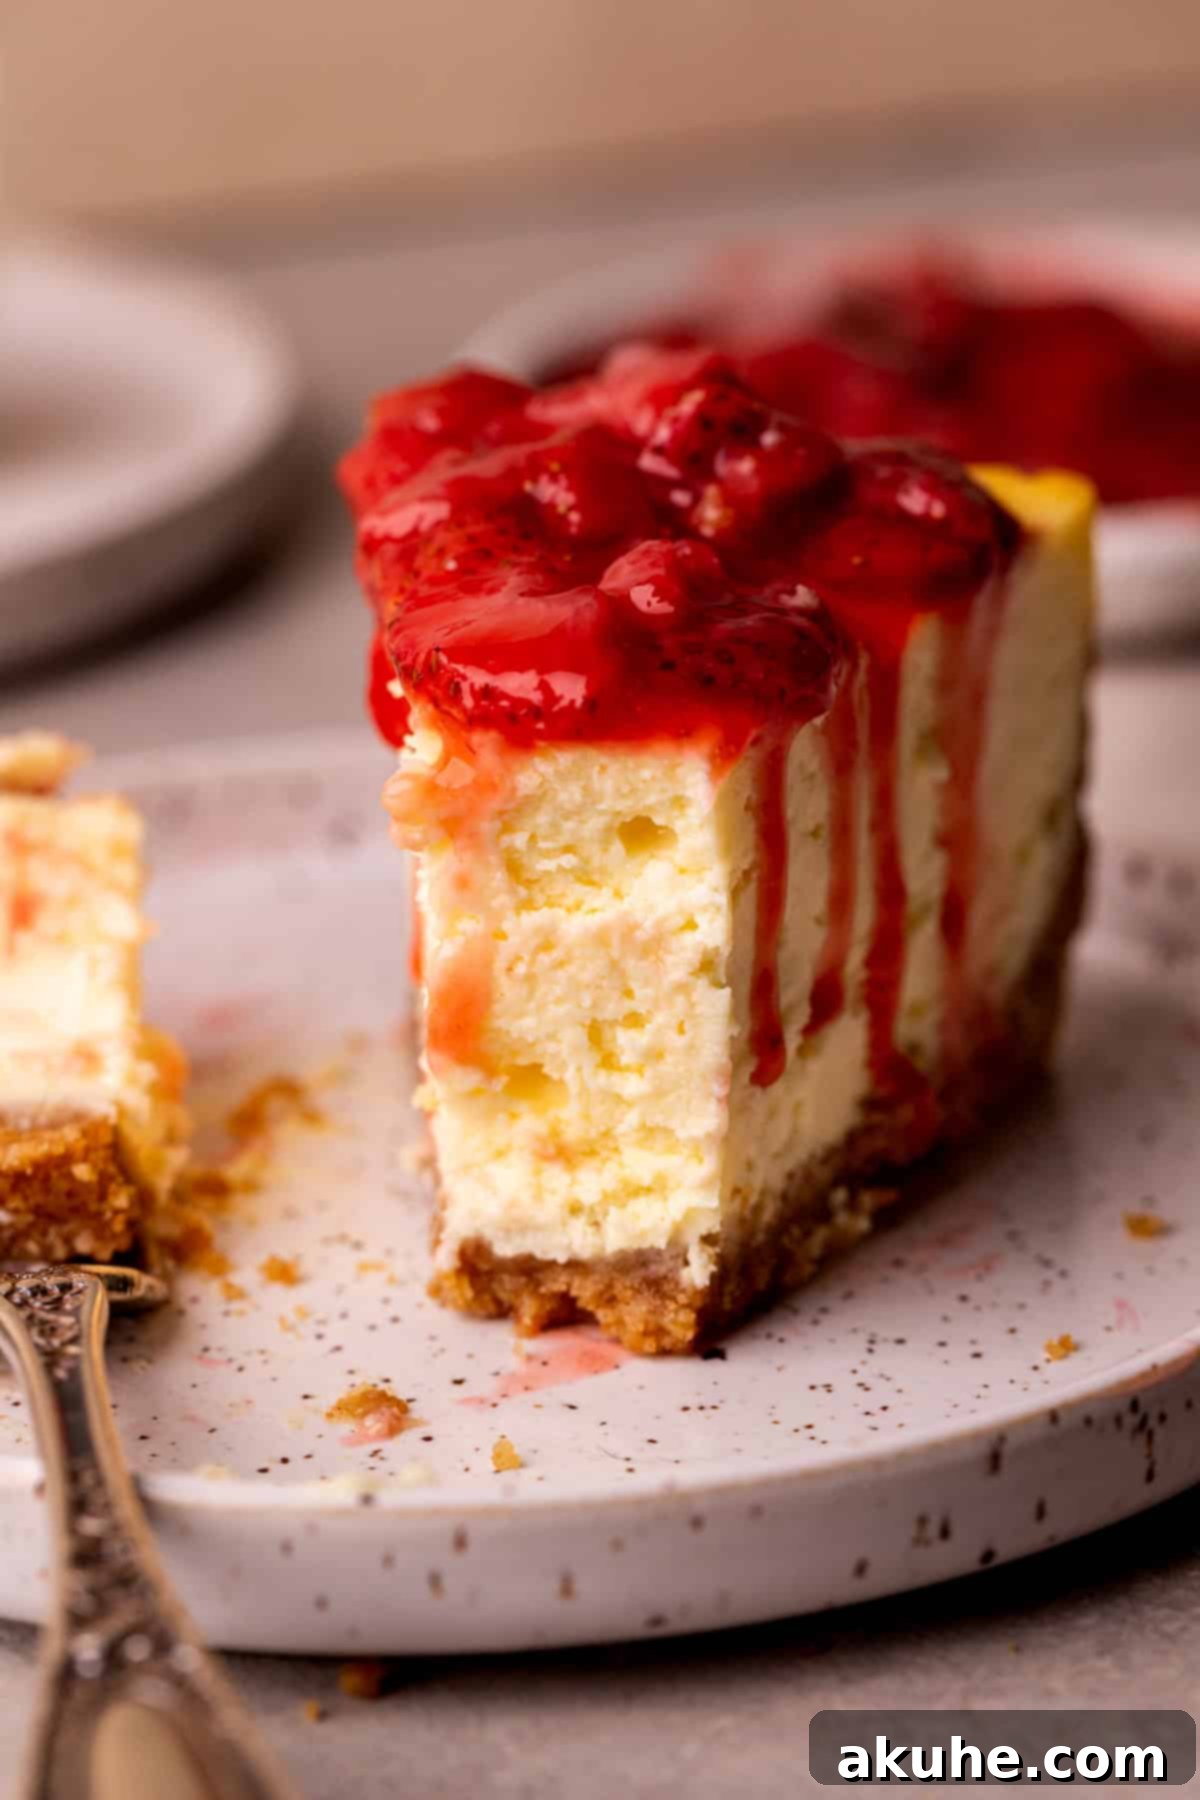
- Exquisite Strawberry Sauce Pairing: The inherent richness and creamy textures of the cheesecake find their perfect counterpoint in a vibrant strawberry sauce. This topping isn’t merely decorative; it introduces a delightful tartness and fruity sweetness, creating a harmonious “berries and cream” symphony. The bright, fresh notes of strawberries cut through the cheesecake’s richness, offering a balanced and incredibly appealing taste sensation.
This dessert is so exceptionally good, you’ll find yourself needing to exercise caution with serving sizes—otherwise, it might just disappear entirely before you know it!
Demystifying New York Style vs. Regular Cheesecake
The distinction between New York style and what is often termed “regular” cheesecake lies primarily in their ingredient proportions and, consequently, their resulting texture and flavor. A true New York style cheesecake boasts a significantly higher concentration of cream cheese, sugar, and eggs compared to its counterparts. Conversely, it incorporates a lesser amount of sour cream and heavy cream. This specific ratio yields a cheesecake that is remarkably more dense, firm, and intensely rich, a hallmark of its New York origin.
In contrast, regular cheesecake recipes often rely on a greater proportion of sour cream and heavy cream to achieve a lighter, airier, and more delicate consistency. While delicious, this results in a different mouthfeel, trading the extra creaminess for the profound richness and sturdy structure characteristic of the New York style.
Another subtle yet crucial difference often found in this iconic cheesecake recipe is the inclusion of a small amount of flour or cornstarch and a hint of lemon juice. The flour, or more commonly cornstarch in modern recipes, acts as a binder, providing structural integrity that helps prevent cracks and ensures the cheesecake holds its shape beautifully. It also contributes to the dense, almost fudge-like texture. The lemon juice, though not enough to impart a distinct lemon flavor, plays a vital role in balancing the richness. It enhances the natural tang of the cream cheese, adding a bright counterpoint that elevates the overall flavor profile without dominating it. This subtle acidity brings a sophisticated depth that pairs exquisitely with the creamy base.
Expert Tips for Crafting the Perfect Homemade New York Style Cheesecake
Achieving a bakery-quality New York style cheesecake at home is entirely possible with these essential tips. Follow them closely to ensure your homemade masterpiece turns out beautifully, just like the recipe intended!
Mastering the Cheesecake Layer
- Tip 1: Room Temperature Ingredients are Key: This is perhaps the most critical step for a silky-smooth cheesecake batter. Ensure all your dairy ingredients, especially cream cheese and eggs, are at room temperature. Cold ingredients will resist emulsifying properly, leading to a lumpy batter with unmixed cream cheese pockets, which can ruin the texture and cause cracks during baking. Plan ahead and take them out of the fridge at least two hours before you start baking.
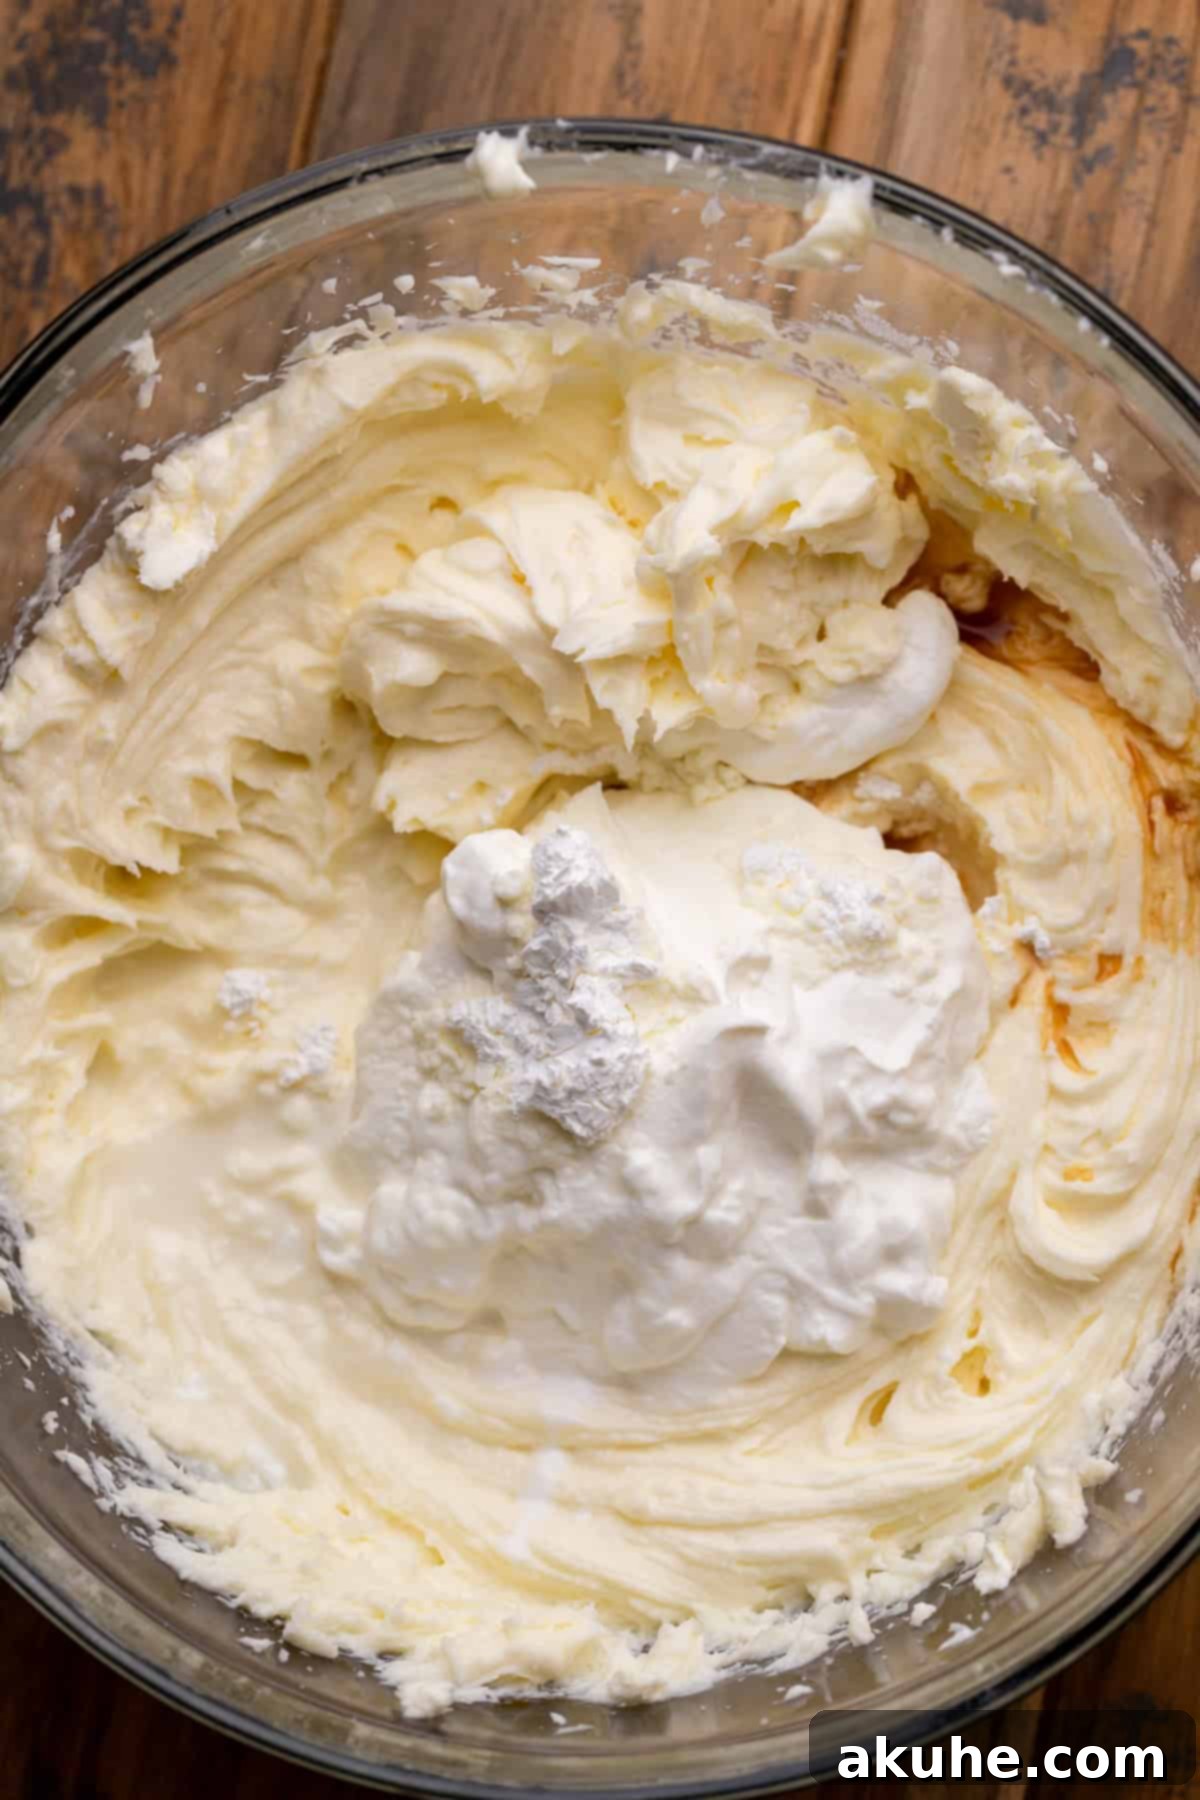
- Tip 2: Thoroughly Beat the Cream Cheese: Before adding other ingredients, beat the softened cream cheese on its own until it’s incredibly smooth and fluffy. This step is crucial for eliminating any lumps and incorporating a bit of air, creating a creamy foundation for your cheesecake. I recommend beating it on high speed for at least two minutes, stopping to scrape down the sides of the bowl frequently to ensure even consistency.
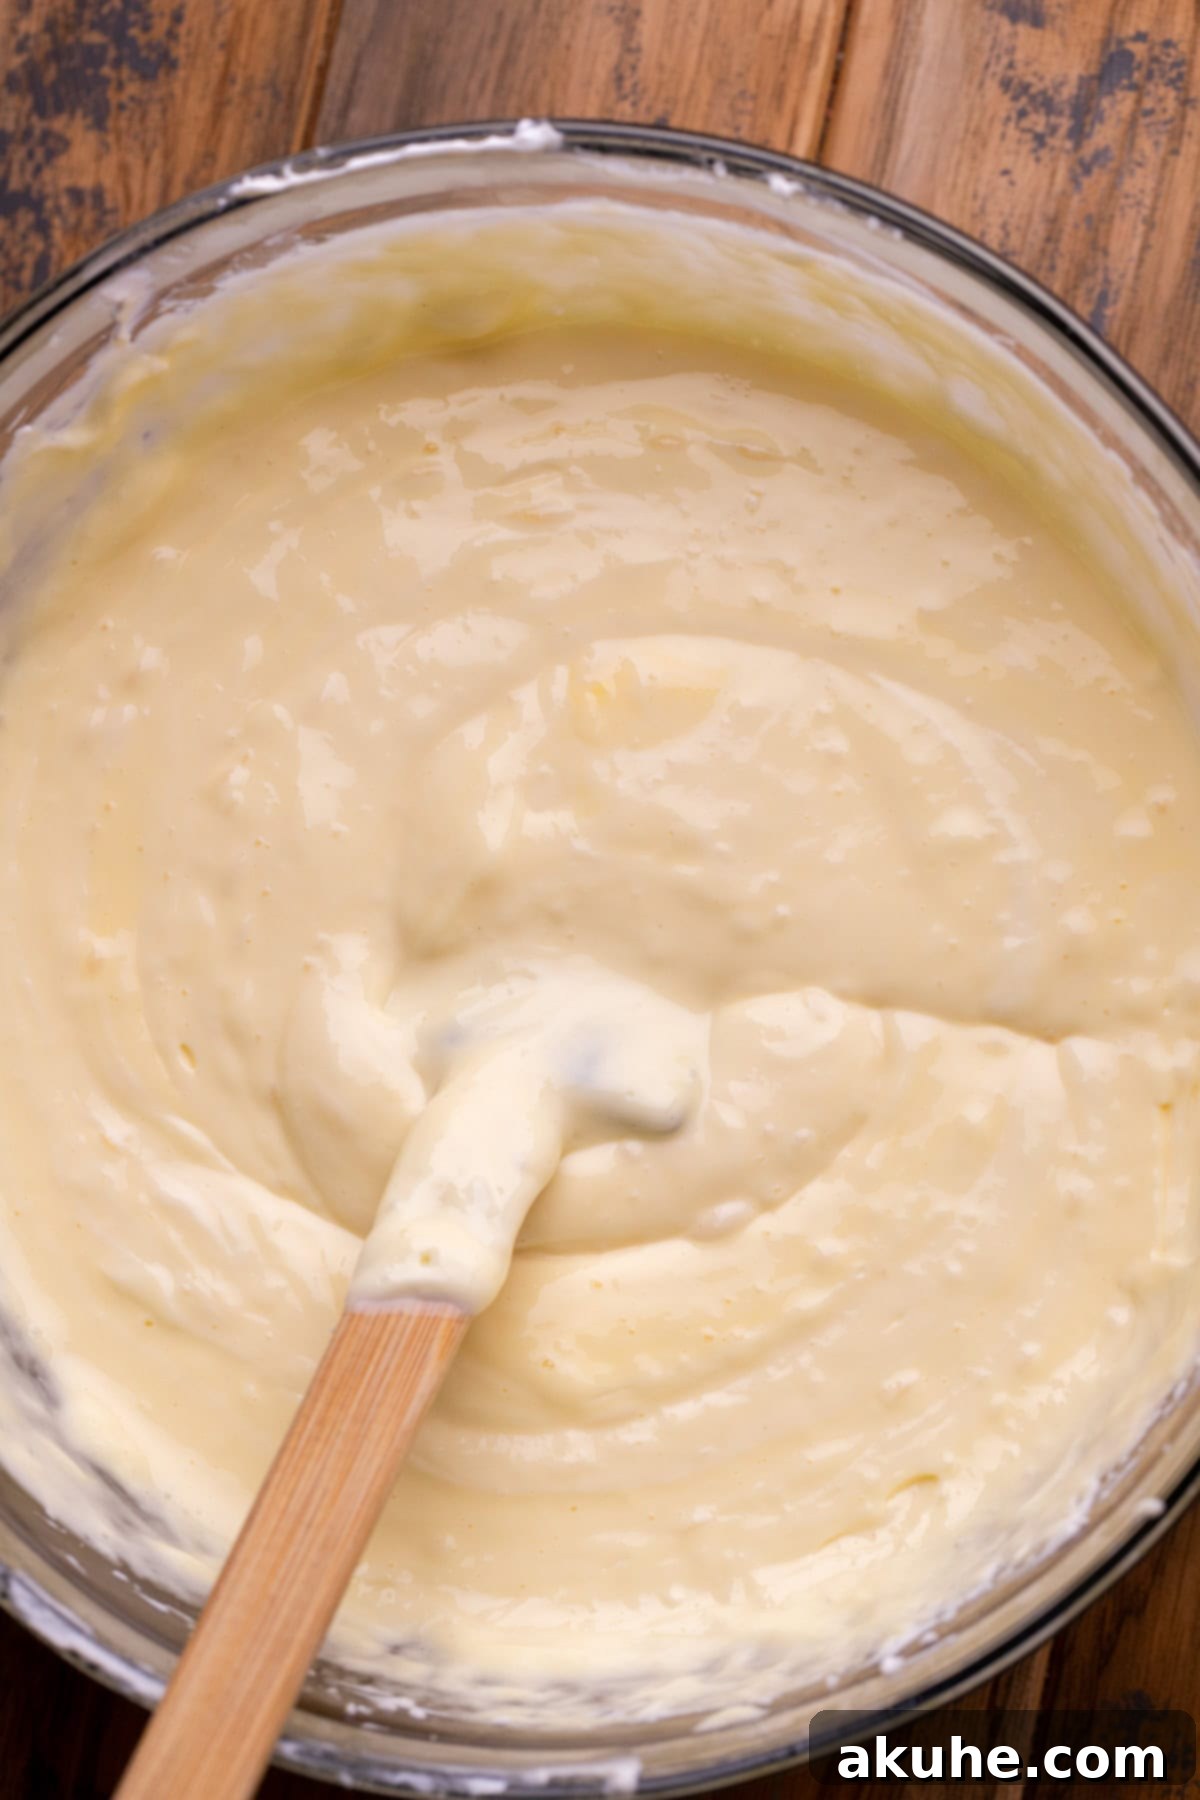
- Tip 3: Gentle Egg Incorporation is a Must: Once your cream cheese and sugar mixture is smooth, add the eggs one at a time, mixing on the lowest speed possible until just combined. Over-mixing the eggs is a common pitfall; it incorporates too much air into the batter. This excess air can cause the cheesecake to puff up rapidly in the oven, only to collapse dramatically as it cools, resulting in unsightly cracks on the surface. Mix only until the yellow streaks disappear, then stop.
Crafting the Perfect Strawberry Sauce
- Tip 1: Prepare Sauce in Advance: For optimal results and to streamline your baking process, make the strawberry sauce a day ahead or at least several hours before you plan to serve the cheesecake. This allows the sauce ample time to cool completely and thicken properly, preventing a warm sauce from melting into your perfectly chilled cheesecake. It also eliminates last-minute rushing, making the entire dessert preparation more enjoyable.
- Tip 2: Achieve the Ideal Consistency: When cooking the strawberry sauce, heat it gently and only until it begins to thicken to your desired consistency. Overcooking can lead to a sauce that’s too thick, resembling jam or jelly rather than a luscious topping. If your sauce appears too runny after a few minutes of simmering, simply continue to cook it for an extra minute or two, stirring frequently, to allow more liquid to reduce. Conversely, if it becomes too thick, a tablespoon of water or orange juice can help loosen it.
Essential Water Bath Techniques
The water bath, also known as a bain-marie, is not an optional step for a perfect cheesecake; it is absolutely essential. It creates a moist, steamy environment in the oven, which is crucial for even baking and preventing the cheesecake from drying out. Without this moist heat, the surface of the cheesecake is highly susceptible to cracking, a common issue for many bakers.
Here are two highly effective techniques for employing a water bath, both utilizing a large roasting pan filled with hot, steaming water:
- The Double-Pan Method (My Preferred Choice): This technique offers the best protection against water seeping into your crust. Place your springform pan, containing the cheesecake batter, inside a slightly larger 10-inch cake pan. Then, set this combined setup into your large roasting pan. Carefully fill the roasting pan with hot water, ensuring the water level reaches approximately halfway up the sides of the 10-inch cake pan. This method creates an impenetrable barrier, guaranteeing no water will touch your graham cracker crust, ensuring it remains perfectly crisp. It truly makes baking cheesecake worry-free!
- The Foil-Wrapped Method: While effective, this method requires meticulous wrapping to prevent leaks. Begin by wrapping your springform pan tightly with heavy-duty aluminum foil, at least two layers deep. Ensure the foil extends well up the sides of the pan, forming a secure seal. Place the wrapped springform pan directly into the roasting pan. Then, fill the roasting pan with hot water, again bringing the level about halfway up the sides of the springform pan. Although this method works well, there’s a slight chance of water finding its way through the foil and into the crust, potentially leading to a soggy bottom. For guaranteed dry crust, the first method is superior.
Strategies for Preventing Cheesecake Cracks
Cracks on the surface of a cheesecake are a common frustration, but with careful attention to detail, they are entirely preventable. Here’s how to ensure your cheesecake emerges with a perfectly smooth, unblemished top:
- Achieve Ultra-Smooth Batter: Start by beating the cream cheese, sugar, and any other wet ingredients (excluding eggs) on high speed until the mixture is exceptionally creamy and free of any lumps. Any small pieces of unmixed cream cheese can expand and contract differently during baking and cooling, creating stress points that lead to cracks. A smooth batter is the foundation for a flawless surface.
- Incorporate Eggs Gently: As previously mentioned, add the eggs and egg yolks one at a time, mixing on the lowest speed possible, just until they are fully incorporated. The goal is to introduce as little air as possible. Excessive air bubbles in the batter can cause the cheesecake to rise too quickly and dramatically in the oven. This rapid rise and subsequent fall during cooling can stretch the cheesecake’s delicate structure, resulting in cracks.
- Utilize a Water Bath Consistently: This step is non-negotiable for crack-free cheesecake. As detailed above, a water bath provides a humid, stable baking environment, ensuring the cheesecake cooks gently and evenly. The steam prevents the surface from drying out and setting too quickly, which is a primary cause of cracking.
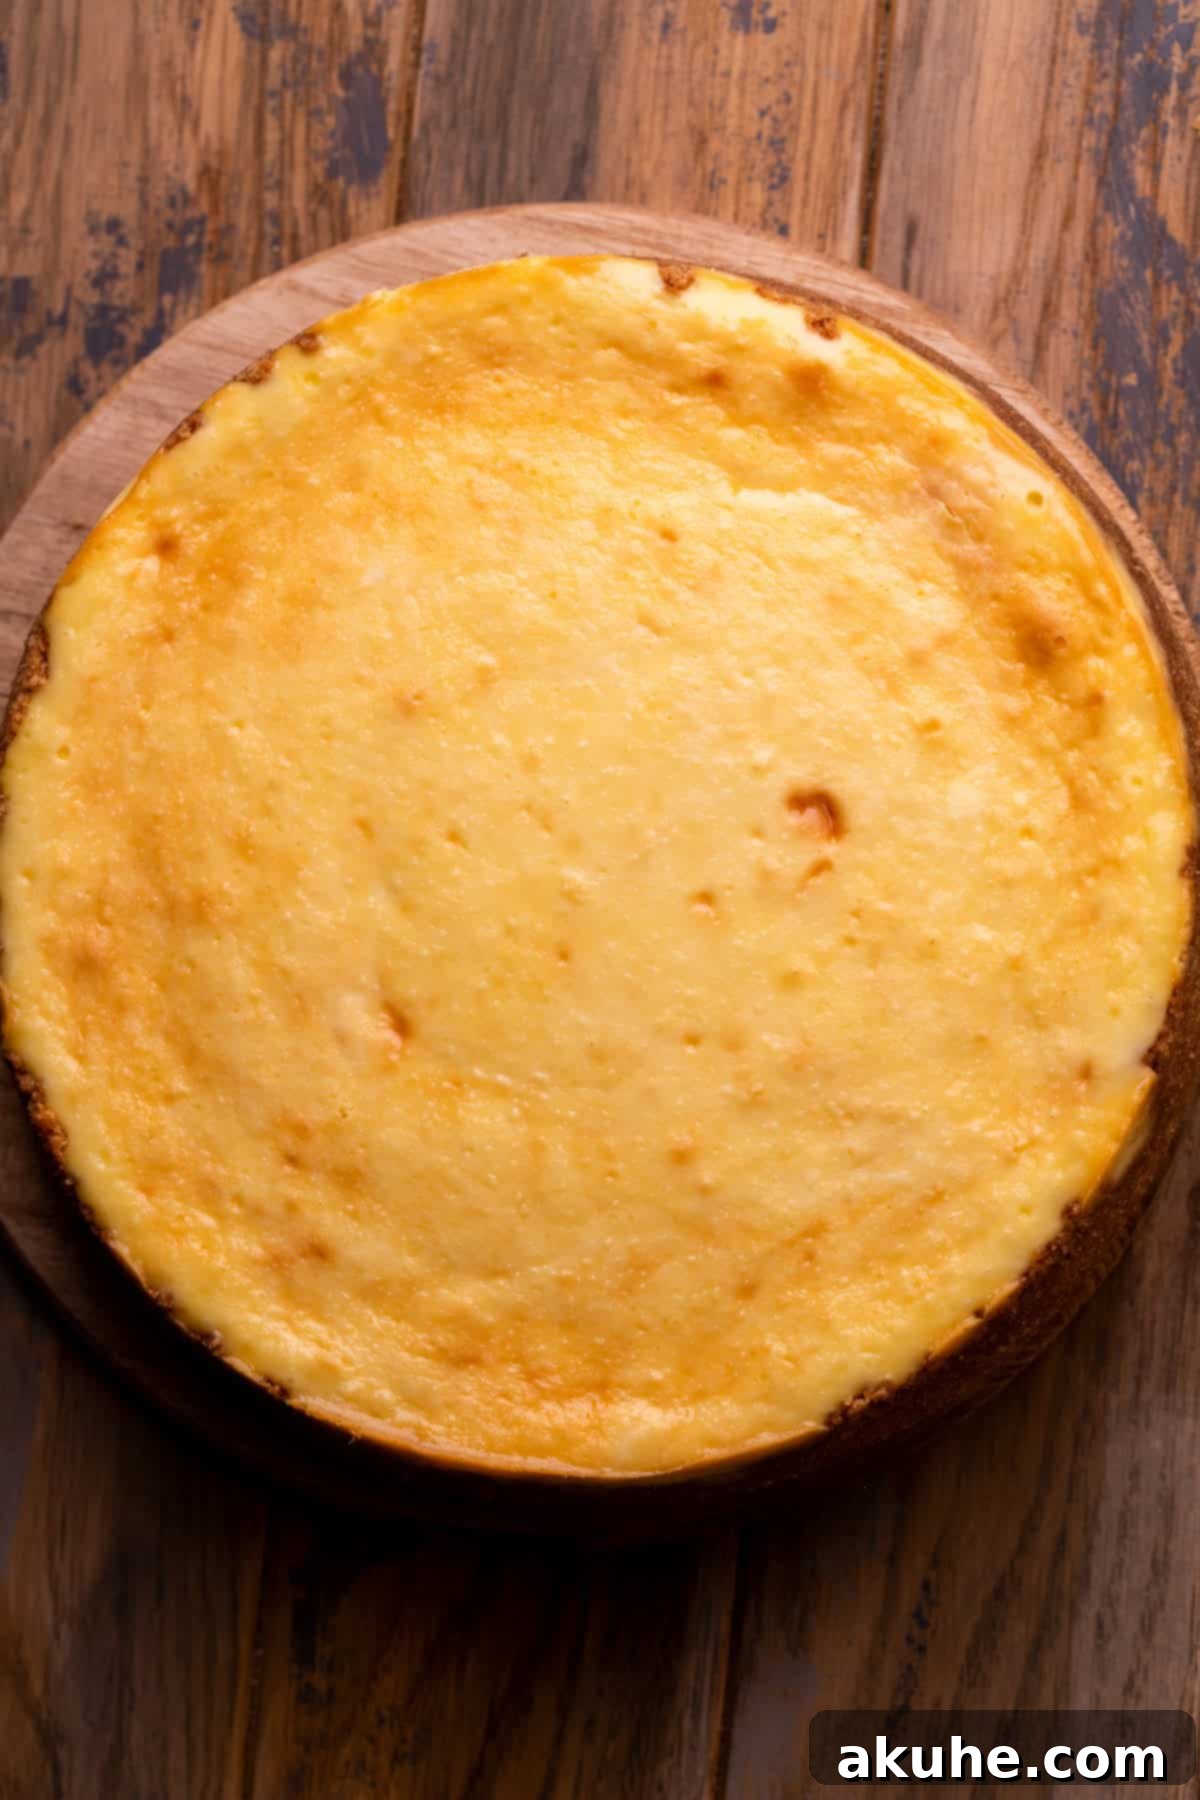
- Master the Cooling Process: Once your cheesecake is done baking (the edges should be set, but the center should still have a slight jiggle), do not remove it from the oven immediately. Turn off the oven, crack the door open by an inch or two, and allow the cheesecake to cool slowly inside for at least 30 minutes, or even an hour. This gradual temperature reduction prevents a sudden thermal shock, which can cause the cheesecake to contract too rapidly and crack. Only after this slow cooling period should you remove it to a wire rack to cool completely at room temperature before chilling.
Effortlessly Removing Cheesecake from the Pan
Removing a delicate cheesecake from its springform pan can be daunting, but with the right technique, it’s a breeze, leaving your cheesecake intact and presentation-ready.
First, before adding any crust ingredients, generously spray your 9-inch springform pan with a high-quality baking non-stick spray. Next, carefully line the bottom of the pan with a 9-inch parchment paper circle. This creates a non-stick barrier that will easily lift away. Make sure to spray the parchment paper again for double protection.
Then, after the cheesecake has been thoroughly chilled, ideally overnight, the springform pan collar should release with minimal effort. Simply unlatch the springform mechanism, and the sides should pop right off. If you encounter any resistance, very gently run a thin, sharp knife around the inner edge of the cheesecake before releasing the springform. This can help loosen any parts that might be sticking.
Once the collar is removed, you should be able to gently slide the cheesecake off the bottom plate of the springform pan onto your serving platter. If the bottom plate doesn’t slide easily, you can carefully lay the cheesecake on its side to peel off the parchment paper circle and then transfer it. With these steps, your cheesecake will be perfectly presented every time.
Frequently Asked Questions About New York Style Cheesecake
Can I adapt this recipe for mini cheesecakes?
Absolutely! This versatile New York style cheesecake recipe can easily be scaled down to create delightful mini cheesecakes. To do so, divide the recipe ingredients into thirds, aiming to yield approximately 12 individual mini cheesecakes. Bake these in a standard muffin pan for a shorter duration, typically 18-20 minutes, or until the centers are just set. For detailed instructions on preparing mini cheesecakes, including specific baking tips and tricks, you can refer to dedicated mini cheesecake recipes, which often provide step-by-step guidance for achieving perfect bite-sized treats.
What other pan sizes can I use for this recipe?
This recipe is quite adaptable to various pan sizes, though adjustments to ingredient quantities and baking times will be necessary. For New York cheesecake bars, you can halve the recipe and bake it in an 8×8 or 9×9 inch square baking pan. If you prefer a slightly smaller round cheesecake, an 8-inch springform pan works well with the full recipe, though monitor baking time closely as it might bake a bit faster. For an even smaller 6-inch springform pan, it’s best to halve the entire recipe. Remember that thinner cheesecakes in larger pans will bake faster, so always adjust your baking times accordingly and rely on visual cues (set edges, slight jiggle in the center) rather than strict timings.
How do I achieve a perfect, clean slice of cheesecake?
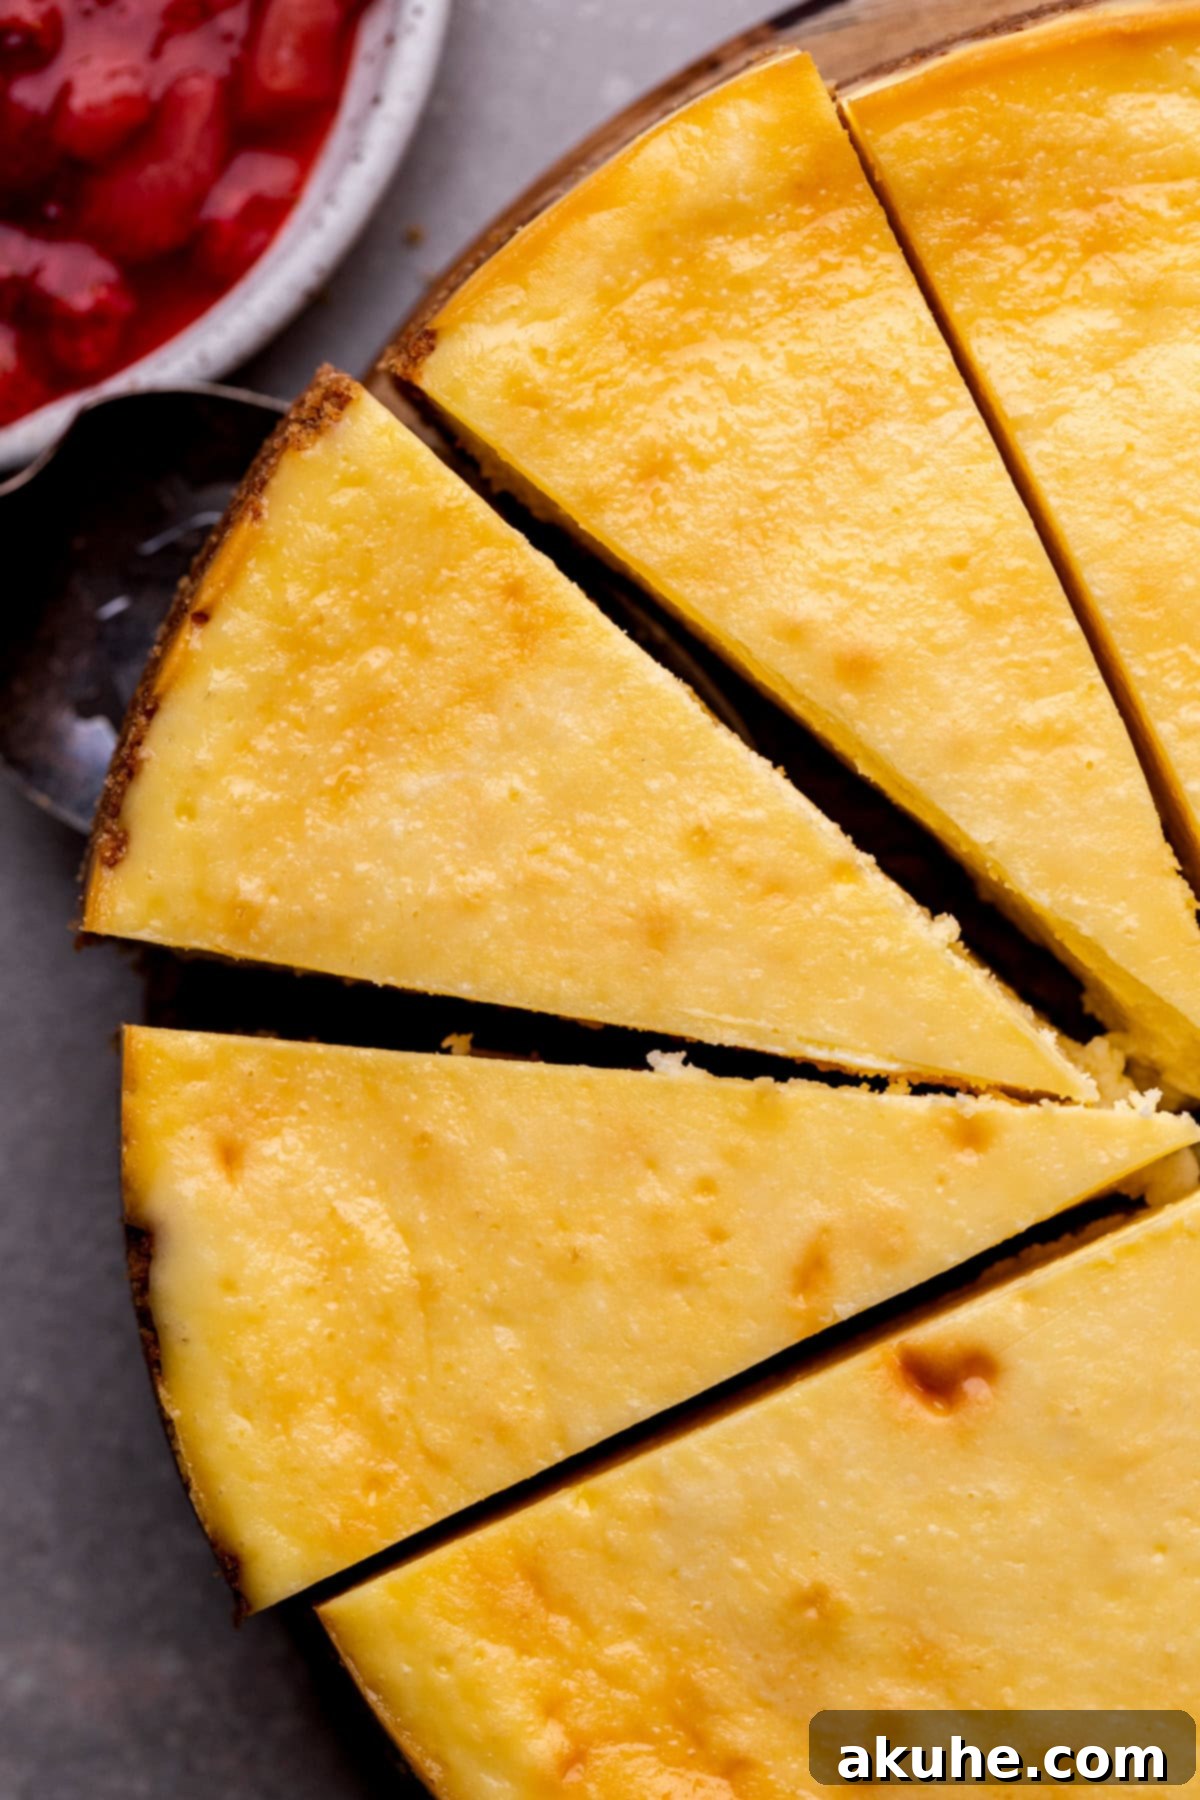
Achieving those picture-perfect, clean slices requires two key elements: temperature and technique. First and foremost, ensure your cheesecake is very cold, ideally having chilled in the refrigerator overnight. A well-chilled cheesecake holds its structure much better. Second, use a sharp, thin-bladed knife. For the cleanest cuts, dip your knife in hot water and wipe it clean after each slice. This warms the blade slightly, allowing it to glide through the dense cheesecake without dragging or tearing, resulting in impeccably smooth edges for every piece.
What are the best methods for storing this cheesecake?
Proper storage is essential to maintain the freshness and quality of your homemade New York cheesecake. For refrigeration, place the cheesecake in an airtight container, such as a specialized cake carrier, to prevent it from absorbing odors or drying out. Stored this way, it will remain fresh and delicious for up to 5 days in the refrigerator.
For longer storage, New York cheesecake freezes exceptionally well. You can freeze individual slices by wrapping each piece tightly in plastic wrap, then placing them in an airtight freezer-safe container. These frozen slices will keep for up to 30 days. To enjoy, simply thaw them at room temperature for 1-2 hours before serving.
Alternatively, you can freeze the entire cheesecake before decorating it with any toppings. After the cheesecake has fully cooled and chilled overnight in the refrigerator (this is crucial for setting its structure), wrap it securely in multiple layers of plastic wrap, followed by a layer of aluminum foil. Freeze for up to 30 days. When you’re ready to serve, thaw the wrapped cheesecake in the refrigerator overnight, or at room temperature for 1-2 hours, before unwrapping and adding your desired decorations.
Discover More Irresistible Cheesecake Recipes
If you’ve enjoyed perfecting this classic New York style cheesecake, be sure to explore my other delightful cheesecake creations for every palate and occasion:
- Small-Batch Cheesecake
- Decadent Oreo Cheesecake
- Lush Caramel Cheesecake
- Elegant White Chocolate Cheesecake
- Rich Peanut Butter Cheesecake
If you loved this recipe, please consider leaving a STAR REVIEW below! Your feedback helps others discover and enjoy these sweet treats. Don’t forget to tag me on Instagram @stephaniesweettreats to share your creations. For even more baking inspiration and delicious ideas, follow me on Pinterest. Happy baking!
New York Style Cheesecake
Pin Recipe
Leave a Review
Ingredients
Graham Cracker Crust
- 2 1/2 cups Graham cracker crumbs
- 1/4 cup Brown sugar, packed light or dark
- 10 TBSP Unsalted butter, melted
New York Style Cheesecake
- 32 oz Cream cheese, room temperature
- 1 1/2 cups White granulated sugar
- 5 Large eggs, room temperature
- 1 Egg yolk, room temperature
- 1 cup Sour cream, room temperature
- 1 tsp Lemon juice
- 1 TBSP Cornstarch
Strawberry Sauce *optional
- 1 lb Strawberries, fresh or frozen
- 1/3 cup White granulated sugar
- 1 TBSP Cornstarch
- 1 tsp Lemon juice
- 1 tsp Pure vanilla extract
Instructions
Graham Cracker Crust
- Preheat the oven to 325℉. Spray a 9-inch springform pan with baking nonstick spray. Line the bottom with a parchment paper circle and spray again.
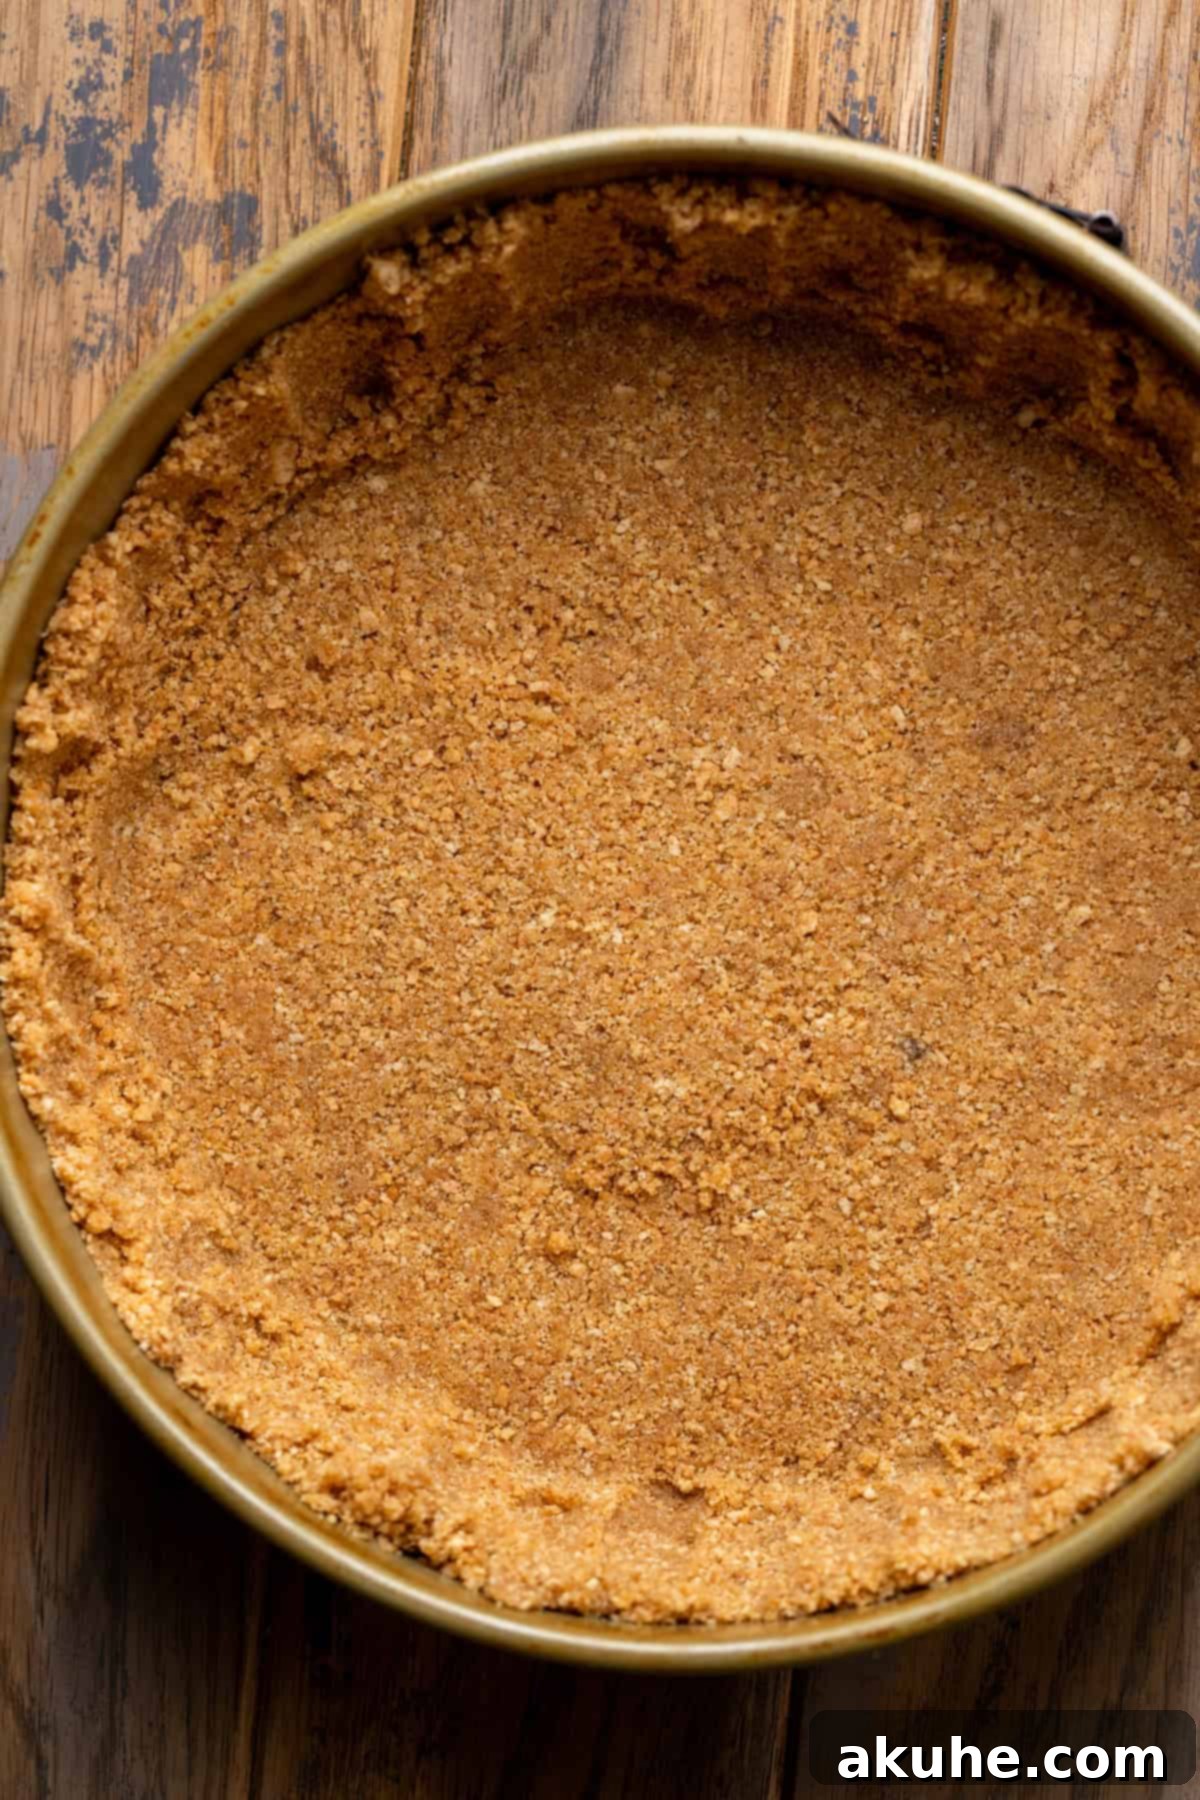
- Using a food processor, blend the graham crackers into a fine crumb. Add the crumbs, brown sugar, melted butter to a small bowl. Mix using a fork. (Ingredients: 2 1/2 cups Graham cracker crumbs, 10 TBSP Unsalted butter, 1/4 cup Brown sugar)
- Pour crumbs into the pan. Use your hands to press the crust halfway up the sides of the pan. Use the bottom of a measuring cup to compact the bottom of the crust.
- Bake for 11 minutes.
New York Style Cheesecake
- Start the hot water for the water bath.
- Using a mixer, beat the cream cheese and sugar on high speed for 2 minutes. Add in the vanilla, sour cream, lemon juice, and cornstarch. Mix on medium until combined. Scrape the bowl using a baking rubber spatula. (Ingredients: 32 oz Cream cheese, 1 1/2 cups White granulated sugar, 1 cup Sour cream, 1 tsp Lemon juice, 1 TBSP Cornstarch)
- Add in the eggs and egg yolk. Mix on low speed until just combined. Scrape the bowl again. (Ingredients: 5 Large eggs, 1 Egg yolk)
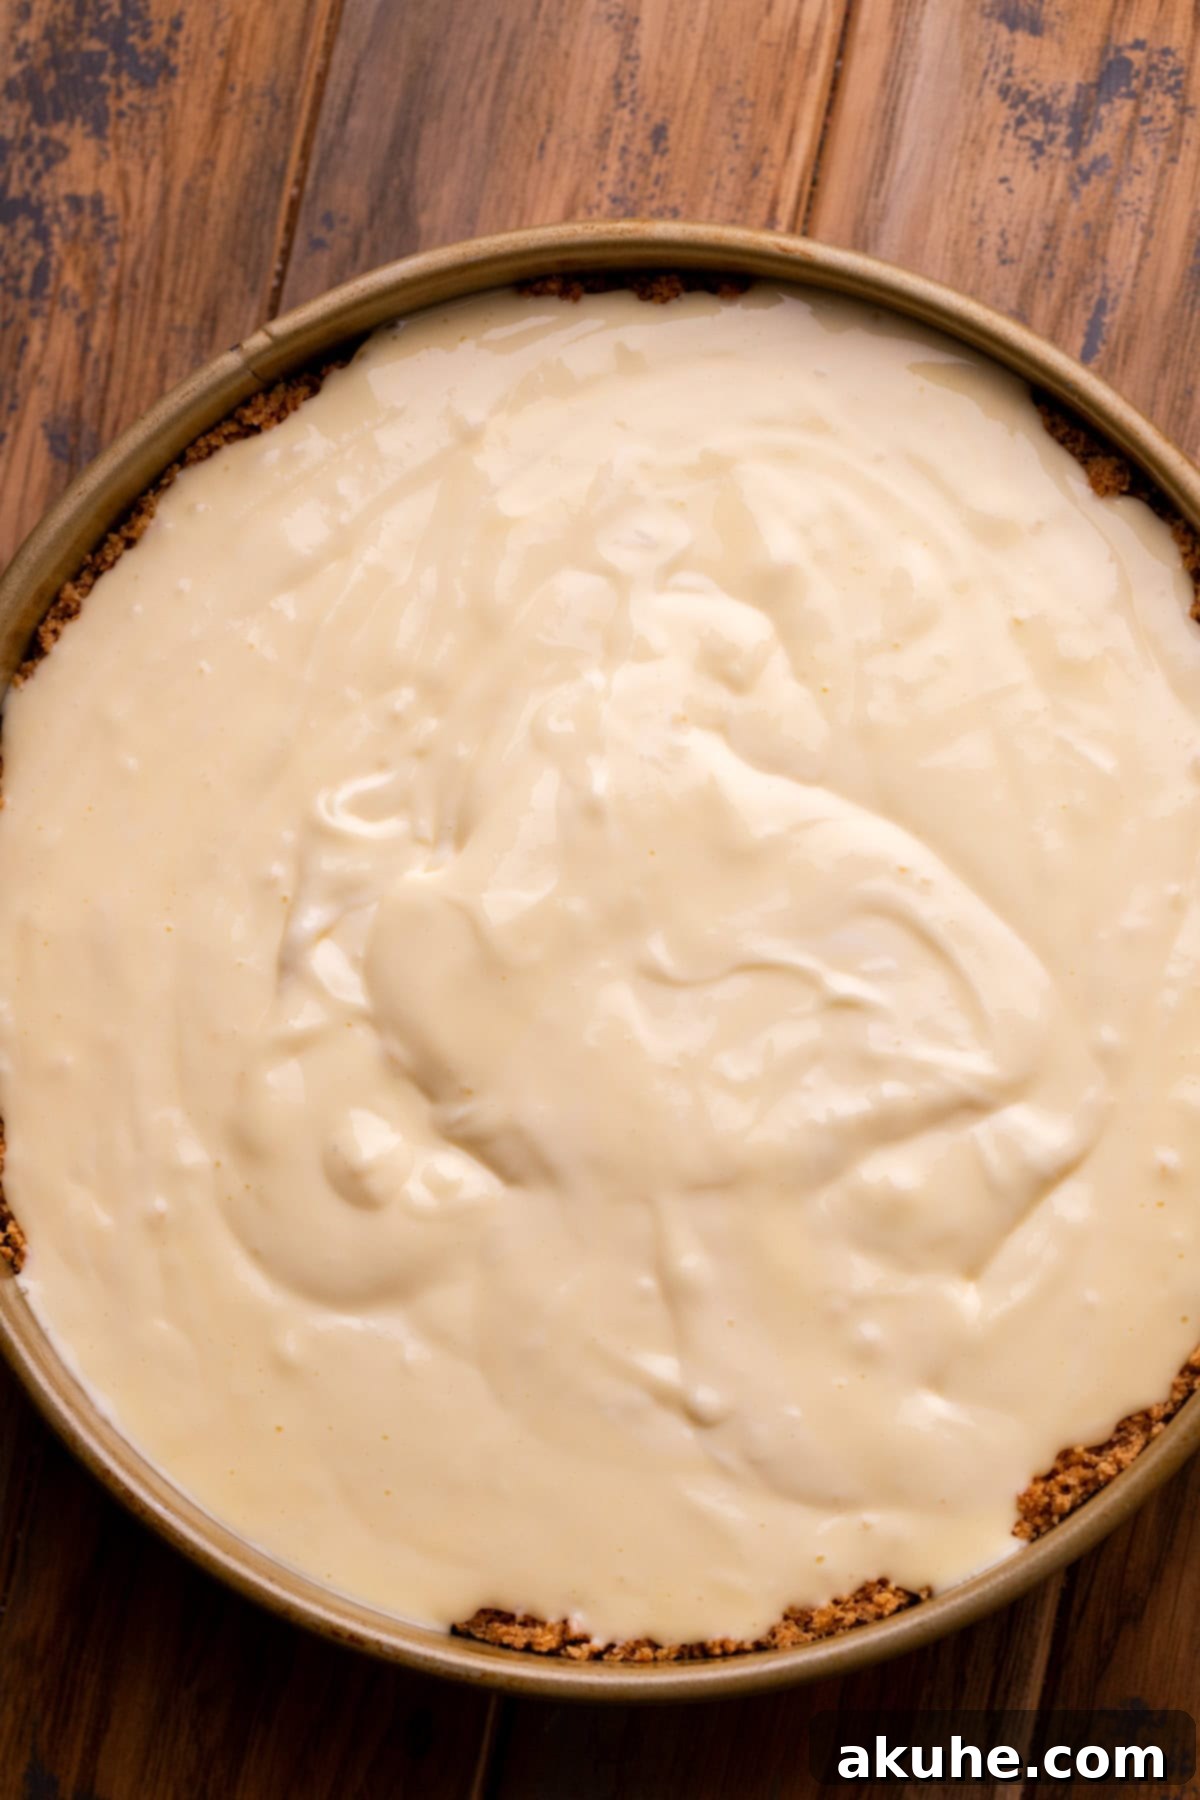
- Pour the cheesecake batter on top of the crust.
- Water bath. Use one of these methods for a water bath. Both methods use a large roasting pan and hot steaming water.
1. Place the springform pan in a 10 inch cake pan. Place the cake pan in the roasting pan and fill with hot water halfway up the cake pan. This method prevent water getting into the crust.
2. Wrap the springform pan tightly twice in aluminum foil. Place the springform pan inside the roasting pan. Fill with hot water halfway up the springform pan. This method works great, but can sometimes leak water into the crust.
- Bake for 70-80 minutes. Bake until the edges are set and the middle has a slight jiggle.
- Turn off the oven, crack open the door, and let the cheesecake slowly cool for 30 minutes.
- Place the cheesecake still inside the springform pan on a cooling rack. Cool completely.
- Wrap in foil and chill in the fridge for at least 6 hours or overnight.
Strawberry Sauce
- Start the sauce the same day you make the cheesecake, so it can be chilled before using.
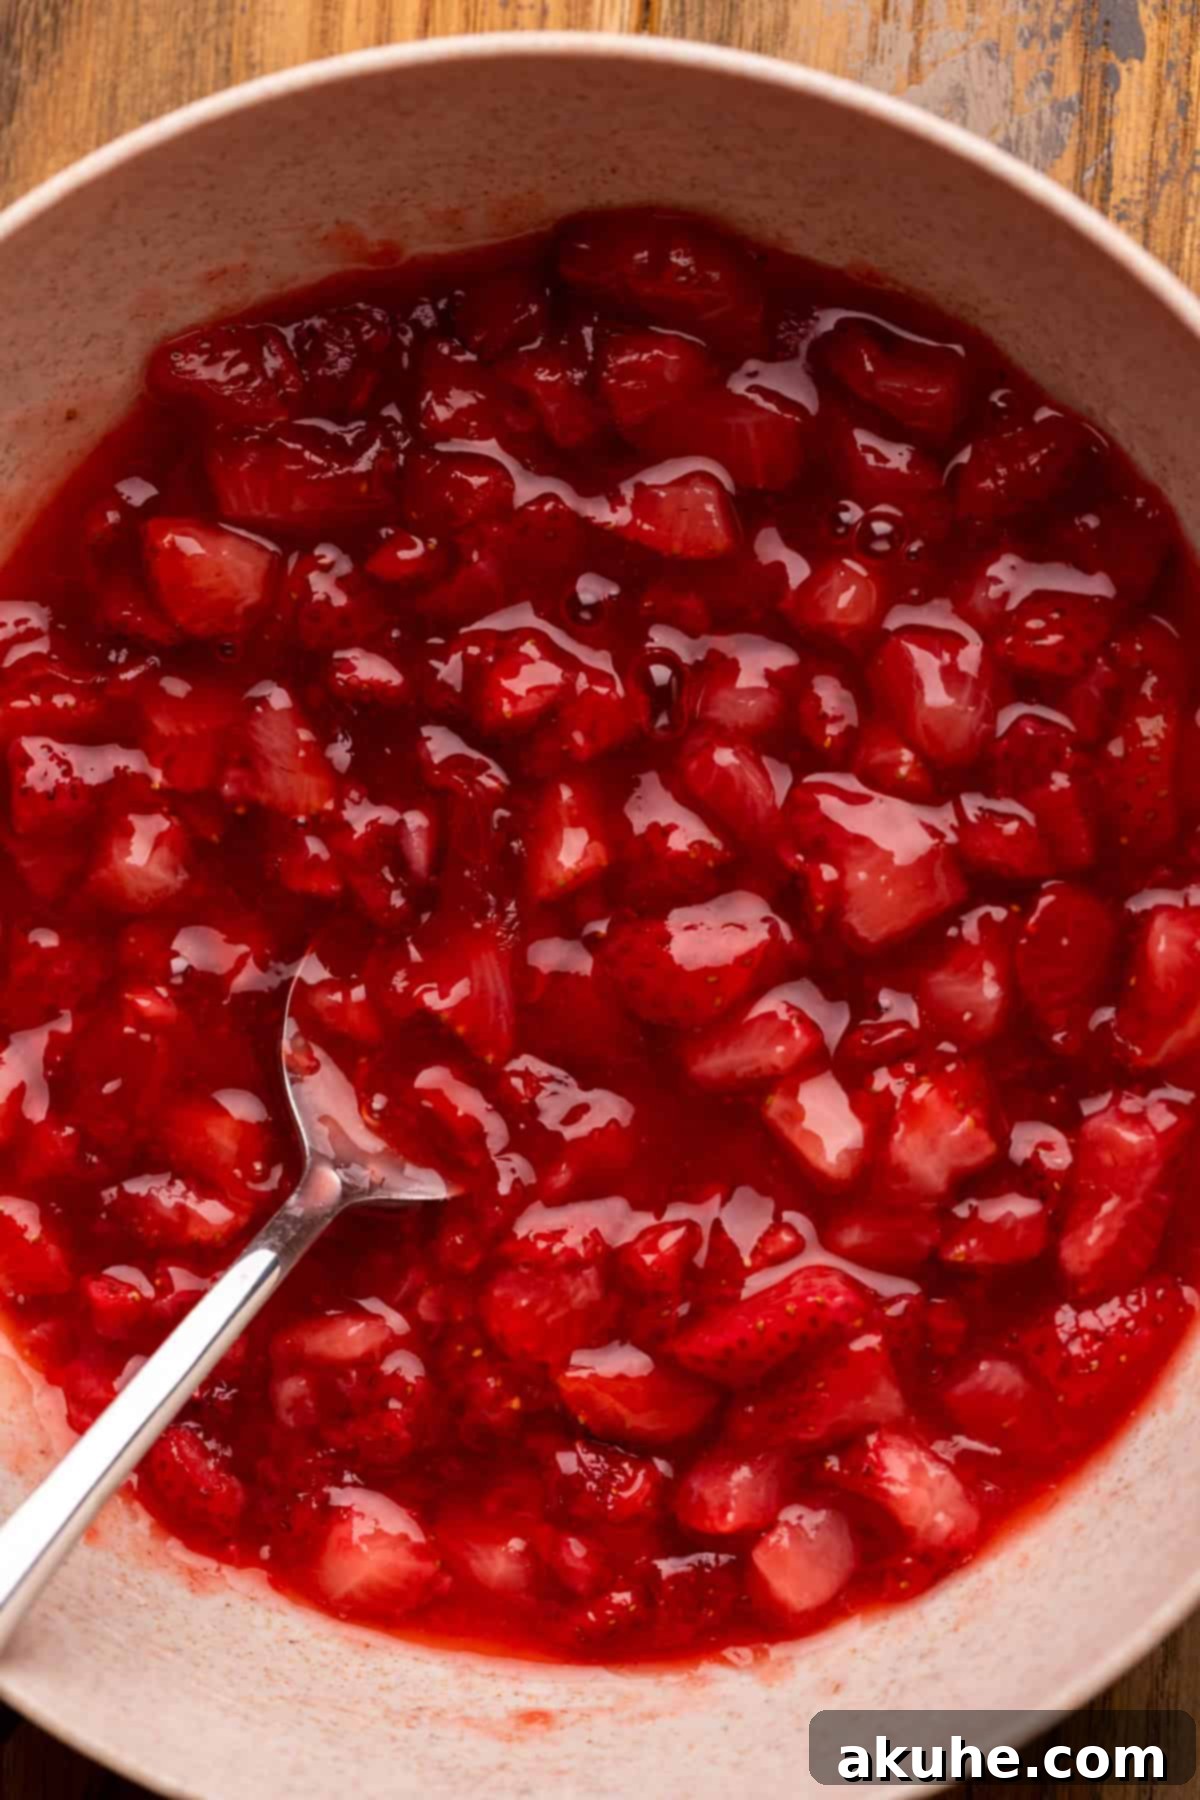
- If using fresh strawberries, cut them into quarters. In a medium saucepan over medium heat, add the strawberries, sugar, cornstarch, lemon juice, and vanilla. (Ingredients: 1 lb Strawberries, 1/3 cup White granulated sugar, 1 TBSP Cornstarch, 1 tsp Lemon juice, 1 tsp Pure vanilla extract)
- Heat until it starts to bubble. Then, cook for 5 minutes or until it starts to thicken.
- Remove from heat and wait for it to cool completely before transferring to the fridge.
- Once the cheesecake is chilled, remove the pan and the parchment paper. Top with the strawberry sauce.
Notes
Nutrition Information (per slice):
- Calories: 464kcal
- Carbohydrates: 43g
- Protein: 5g
- Fat: 31g
- Saturated Fat: 18g
- Polyunsaturated Fat: 1g
- Monounsaturated Fat: 8g
- Trans Fat: 0.3g
- Cholesterol: 97mg
- Sodium: 272mg
- Potassium: 169mg
- Fiber: 1g
- Sugar: 33g
- Vitamin A: 1089IU
- Vitamin C: 17mg
- Calcium: 91mg
- Iron: 1mg
Did you make this recipe? Please leave a star rating and review below!
