Indulge in Perfection: The Ultimate Homemade Yellow Cake with Decadent Chocolate Cream Cheese Frosting
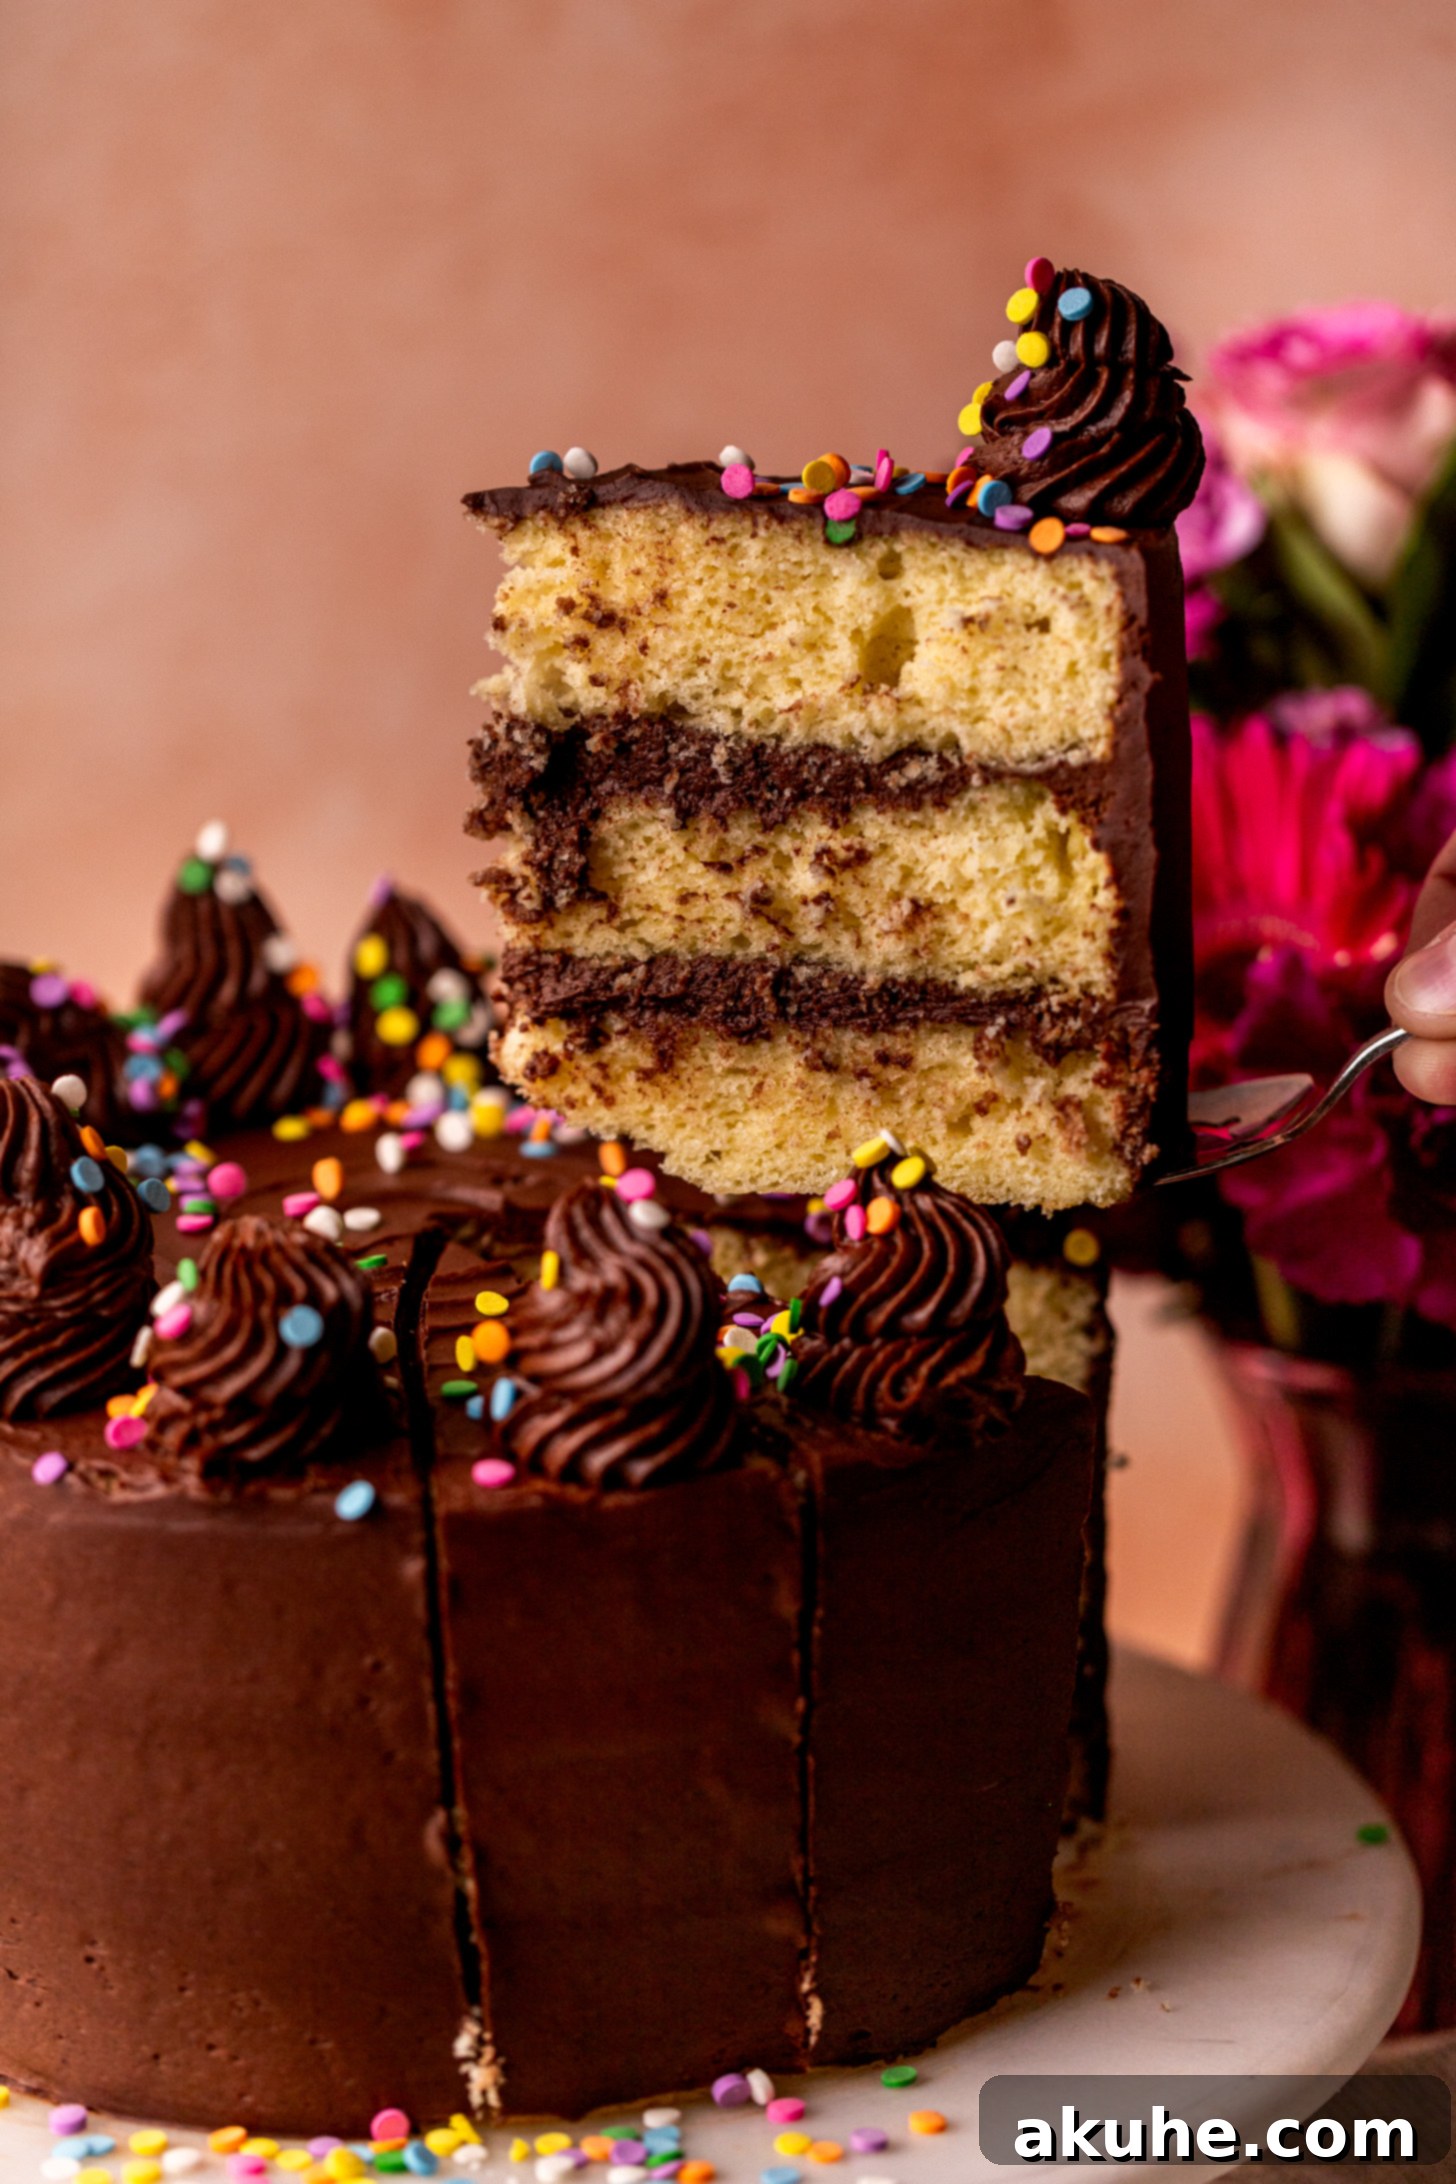
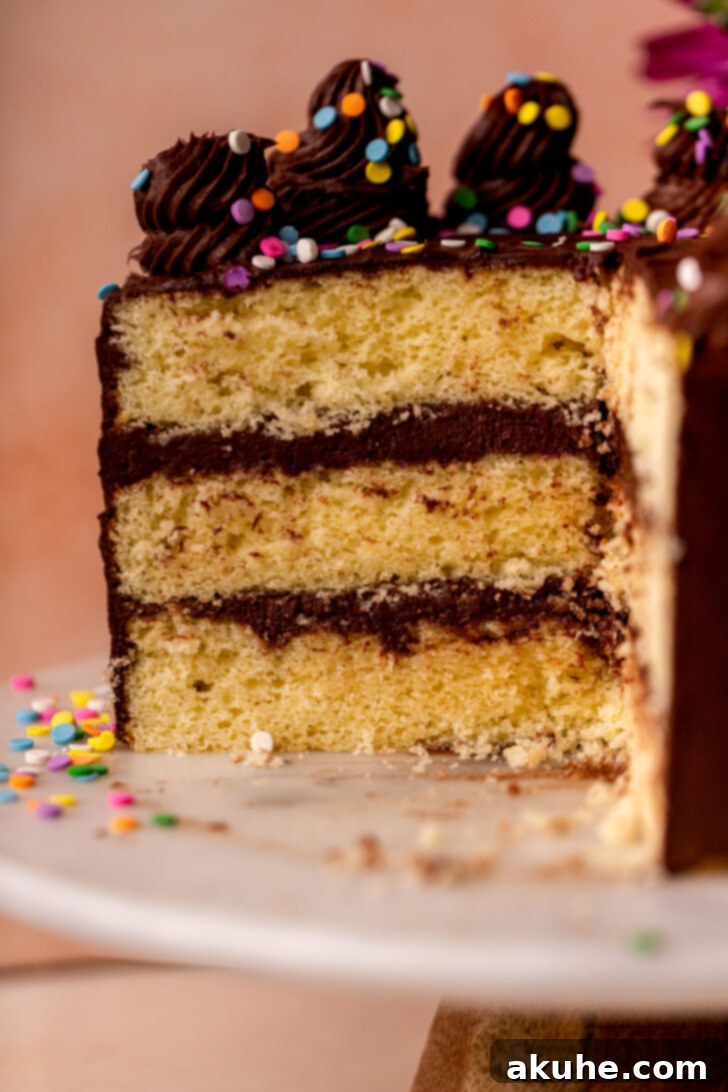
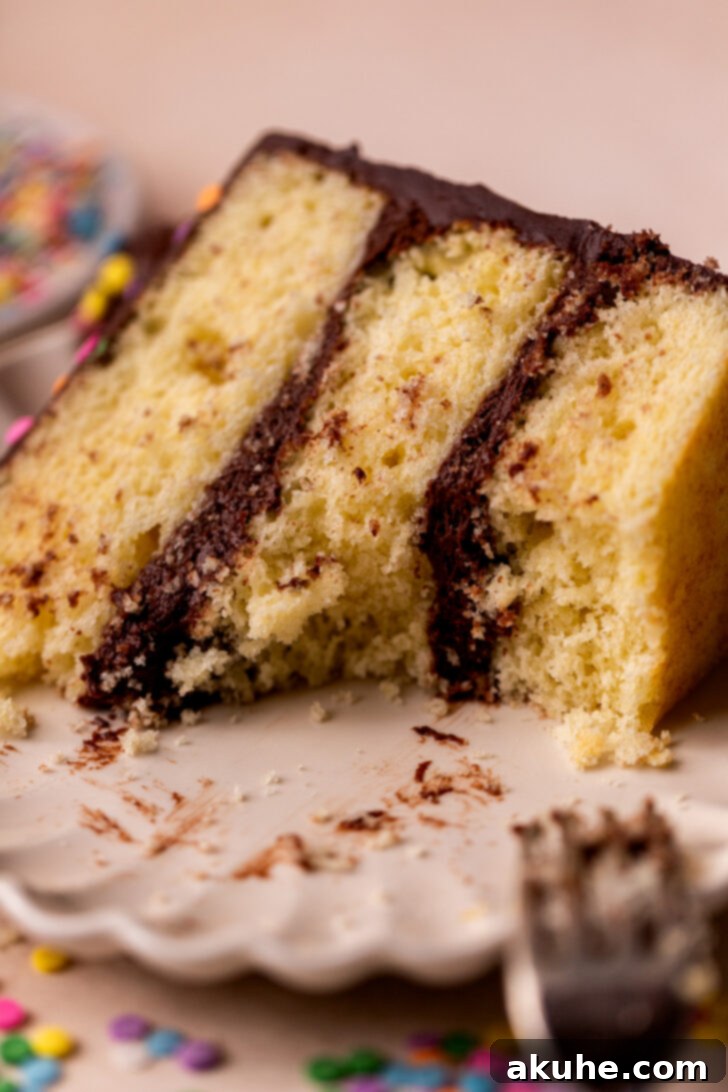
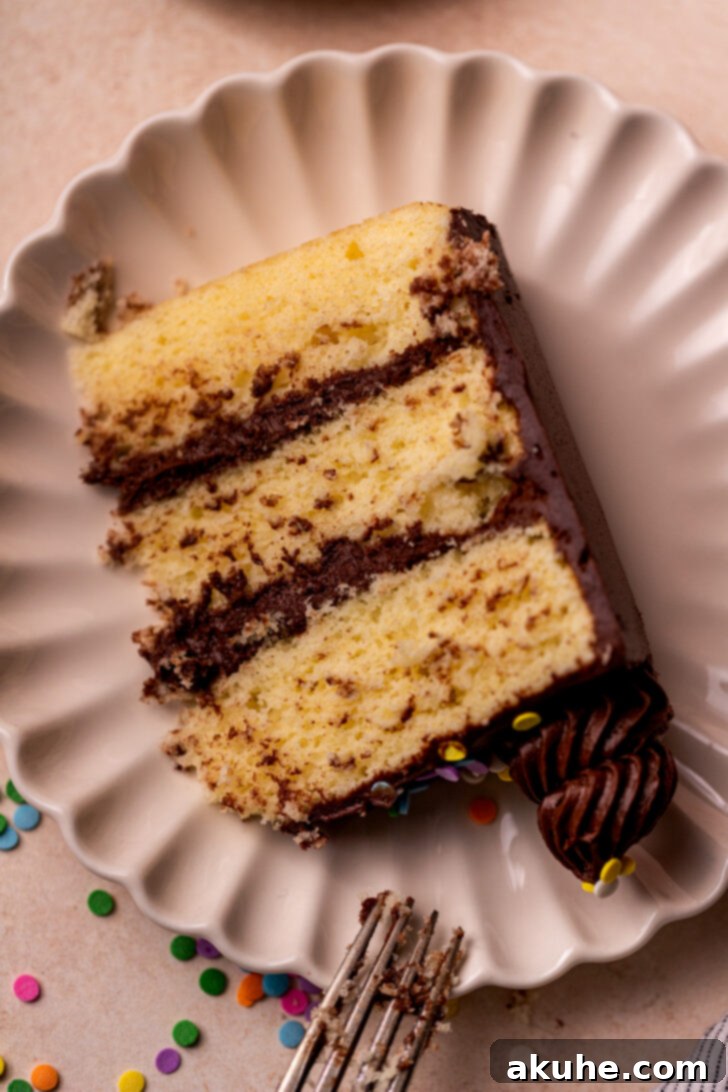
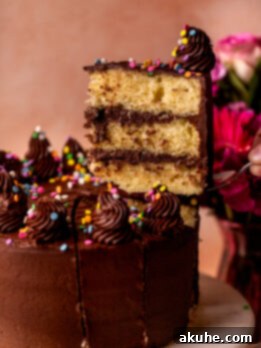
There’s something truly magical about a classic yellow cake, especially when it’s homemade and layered with rich, creamy chocolate frosting. This exquisite homemade yellow cake isn’t just a dessert; it’s a celebration in every bite, making it the absolute perfect choice for birthdays, special occasions, or simply a delightful weekend treat. Imagine three tender, golden layers of cake, generously slathered with a luscious chocolate cream cheese frosting, and crowned with a scattering of colorful sprinkles. This recipe promises an unforgettable experience, delivering a cake that’s incredibly soft, moist, and bursting with classic flavor.
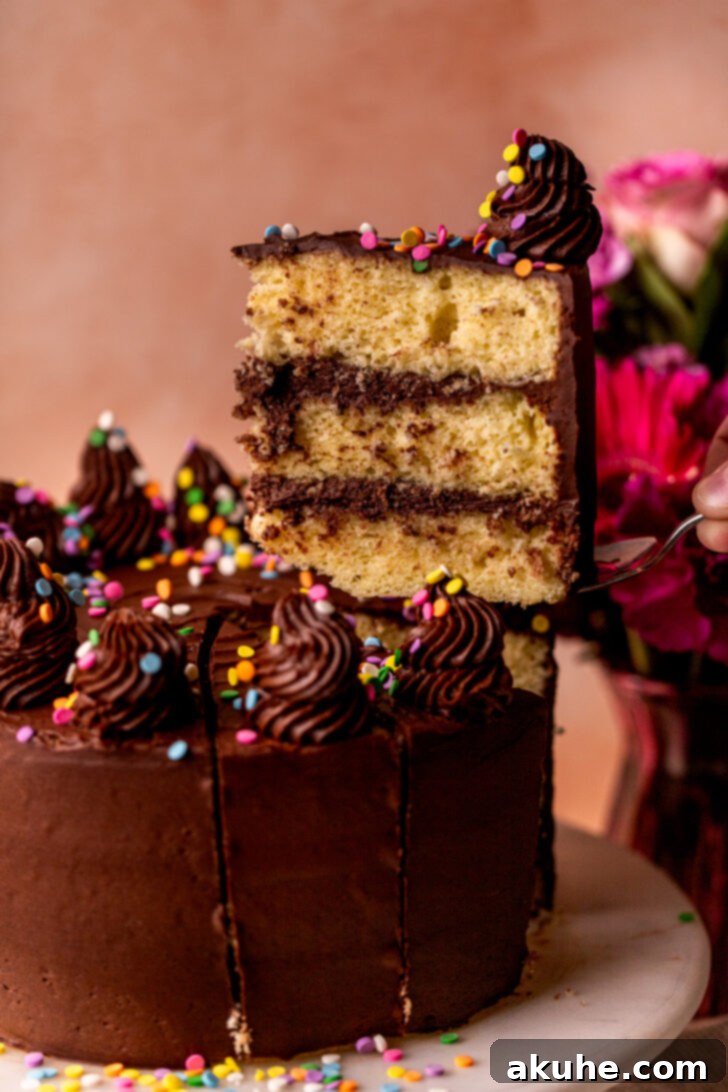
For many, a yellow cake embodies pure childhood nostalgia. I remember those simpler days when a store-bought box mix paired with canned chocolate frosting was the pinnacle of birthday delight – and I devoured every crumb! While those memories are sweet, my culinary journey has led me to create a homemade yellow cake recipe that far surpasses its predecessors. This version is not just soft; it’s extraordinarily fluffy, tender, and intensely flavorful. The secret lies in a carefully calibrated balance of fats: extra egg yolks contribute unparalleled richness and a vibrant yellow hue, while sour cream and buttermilk ensure an incredible moistness and delicate crumb. These ingredients work in harmony to elevate a simple yellow cake into a truly spectacular dessert.
To ensure your baking success, I’ve compiled a comprehensive guide filled with expert tips, essential tricks, and helpful process photos to walk you through each step. Whether you’re a seasoned baker or just starting, you’ll find everything you need to confidently create this show-stopping cake. If you adore classic vanilla flavors, don’t miss trying my delightful mini vanilla cake for another perfect treat!
Crafting Your Masterpiece: Essential Tips for the Perfect Yellow Cake
Achieving a bakery-quality yellow cake at home is entirely within reach with a few crucial techniques. Follow these expert tips to ensure your cake turns out as beautifully soft, moist, and flavorful as this recipe intends. For even more insights into our decadent frosting, explore my dedicated post on chocolate cream cheese frosting.
- Tip 1: The Art of Flour Measurement & Choice: Precision is paramount when it comes to flour. Never scoop your measuring cup directly into the flour container; this compacts the flour, leading to an excess amount and a dry, dense cake. Instead, gently spoon the flour into your measuring cup and then level it off with the back of a knife. For the ultimate soft and tender crumb, opt for cake flour. Its lower protein content results in a more delicate texture. While all-purpose flour can be used, your cake won’t achieve the same level of ethereal softness.
- Tip 2: Mastering the Creaming Method for Aeration: The initial step of beating butter, oil, and sugar together is critical for the cake’s texture. Beat these ingredients on high speed for at least 2 minutes, or until the mixture becomes visibly pale and fluffy. This process, known as creaming, incorporates air into the batter, which creates a light and airy structure, contributing significantly to the cake’s overall softness and rise. Don’t rush this step!
- Tip 3: The Importance of Room Temperature Ingredients: Ensure all your dairy products (butter, eggs, egg yolks, sour cream, buttermilk) are at room temperature. This allows them to emulsify properly with the other ingredients, creating a smooth, cohesive batter. Cold ingredients can lead to a lumpy batter and a denser cake. Plan ahead and pull them out of the refrigerator at least two hours before baking.
- Tip 4: Don’t Overmix the Batter: Once you’ve added the dry ingredients and buttermilk, mix on low speed only until just combined. Overmixing develops the gluten in the flour, resulting in a tough, chewy cake. A few small lumps are preferable to an overmixed batter.
- Tip 5: Prepare Your Cake Pans Diligently: Properly preparing your cake pans prevents sticking and ensures easy release. Generously spray three 8-inch cake pans with baking spray. For an extra layer of protection, line the bottoms with parchment paper circles and spray again. This double-layer approach guarantees your beautiful cake layers won’t cling to the pan.
- Tip 6: Make the Chocolate Cream Cheese Frosting Just Before Use: While the cake cools, prepare your frosting. Cream cheese frosting is best when freshly made and can become too soft or too firm if prepared too far in advance. If it gets too soft, a quick chill in the refrigerator can help, but it’s ideal to use it when it’s perfectly creamy and spreadable.
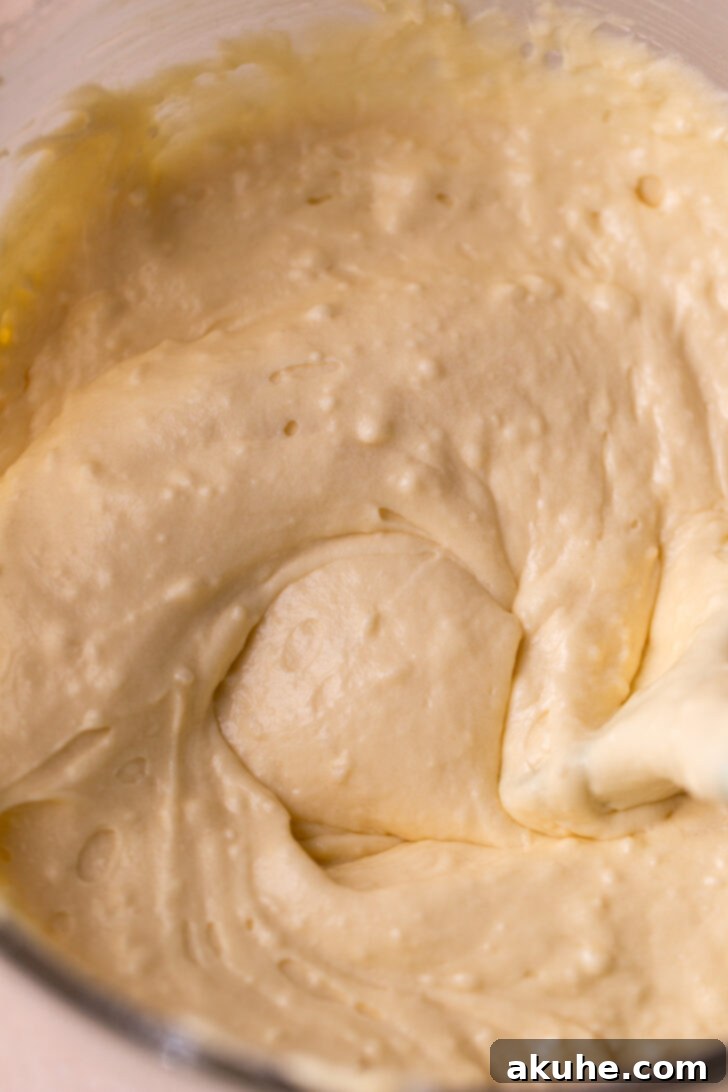
Visual Journey: From Ingredients to Irresistible Batter
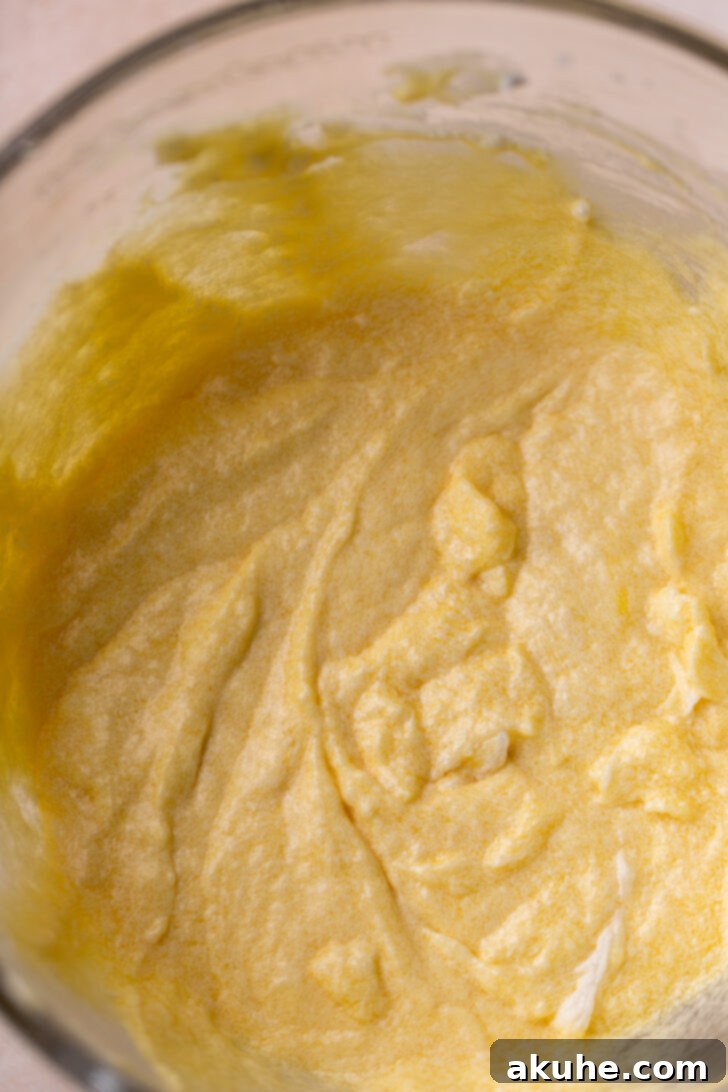
Witnessing the transformation of simple ingredients into a beautiful cake batter is part of the baking joy. These images illustrate key stages in creating our tender yellow cake.
The Perfect Pairing: Decadent Chocolate Cream Cheese Frosting
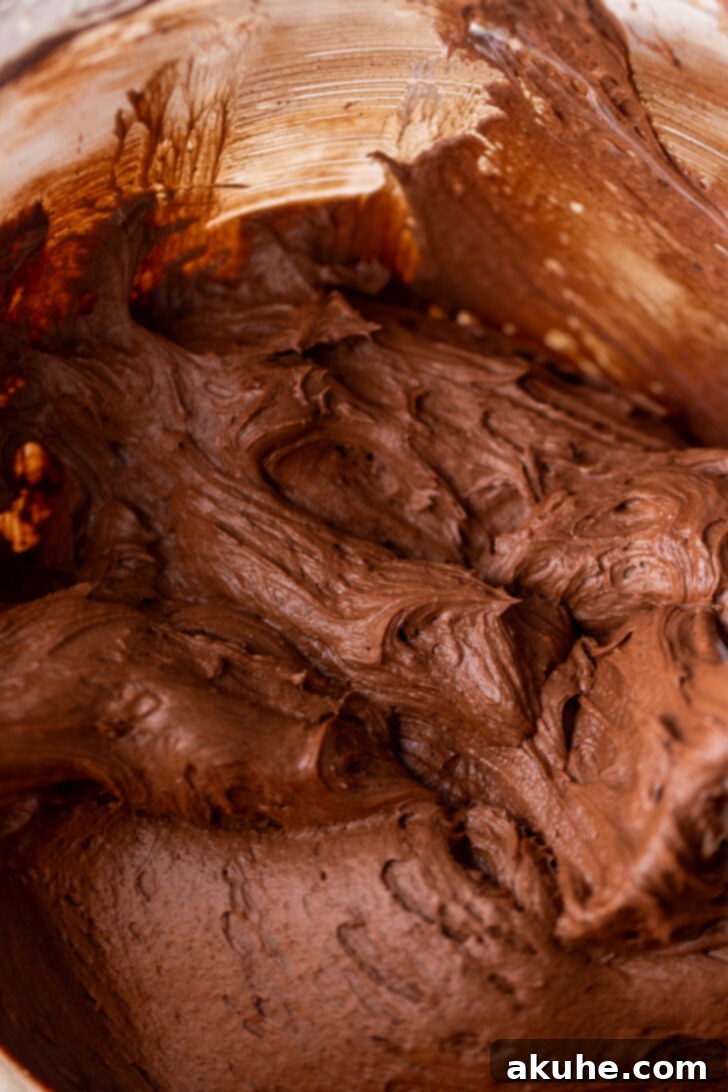
No yellow cake is complete without the perfect frosting, and our chocolate cream cheese frosting is a dream come true. This frosting offers a delightful balance of sweet and tangy, with a rich cocoa depth that perfectly complements the subtle vanilla notes of the yellow cake. Its creamy texture makes it easy to spread and pipe, creating a professional-looking finish every time.
- Achieving Frosting Perfection: The longer you beat the chocolate cream cheese frosting, the lighter and airier its color and texture will become. This aeration not only makes it easier to work with but also creates a wonderfully fluffy consistency that melts in your mouth. Beat until it’s light and creamy, scraping down the sides of the bowl frequently to ensure everything is well combined.
Assembling and Decorating Your Stunning Yellow Cake
The assembly and decoration phase is where your cake truly comes to life. With perfectly baked and cooled layers and a ready batch of frosting, you’re just a few steps away from a beautifully finished dessert.
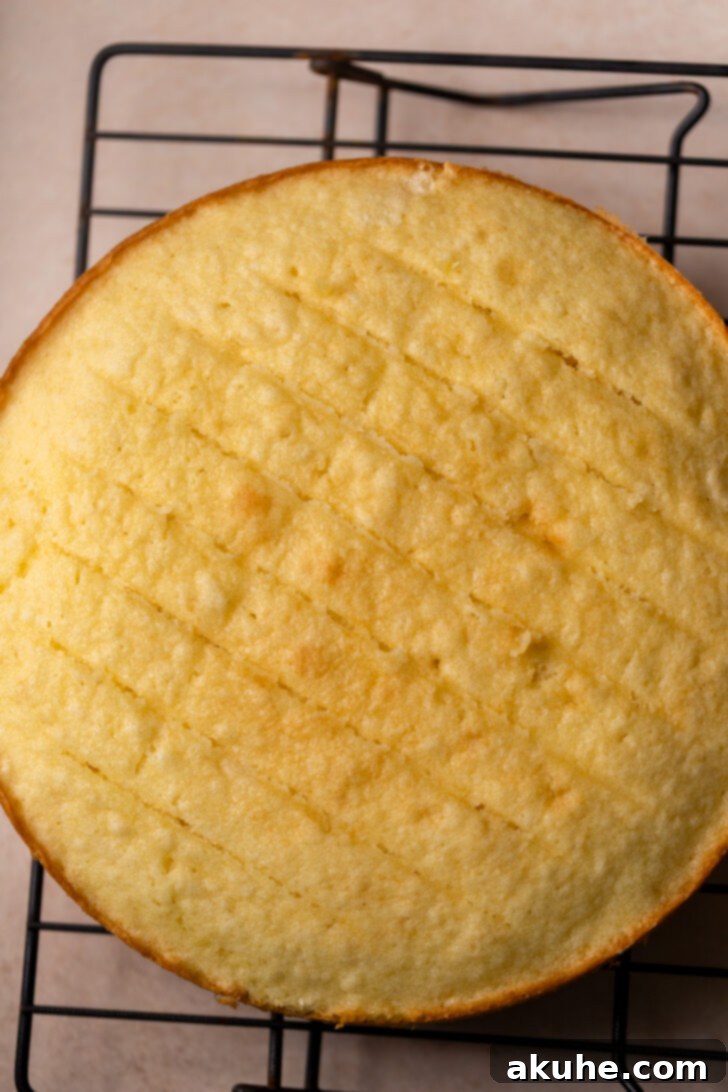
- Leveling for Perfection: After your cake layers have cooled completely, use a long serrated knife to carefully slice off any domes on top. This creates flat, even surfaces that are essential for stable and professional-looking stacked layers.
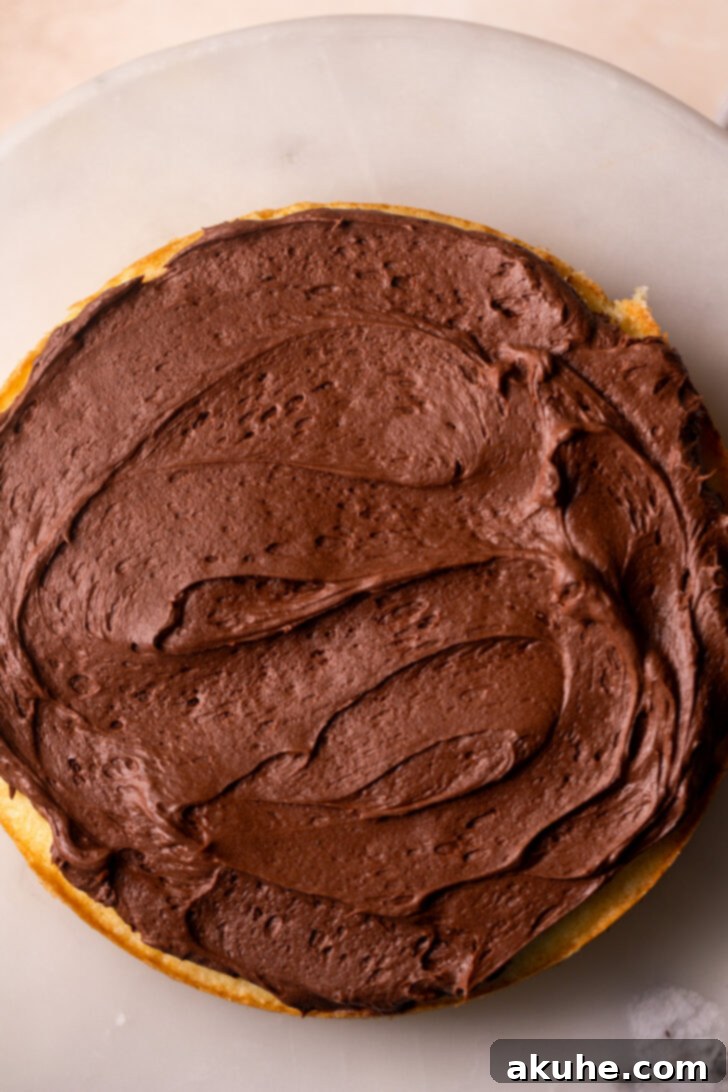
- The Crumb Coat: Begin by placing your first cake layer on your serving plate or cake stand. Spread approximately 1 cup of frosting evenly over this layer. Repeat with the second cake layer. For the third layer, place it bottom-side up; this creates an even, flat top for your cake. Apply a very thin layer of frosting all over the entire cake – this is called a “crumb coat.” Its purpose is to trap any loose crumbs, preventing them from mixing into your final frosting layer.
- Chill for Stability: Once the crumb coat is applied, place the cake in the freezer for about 15 minutes, or in the refrigerator for 30 minutes, until the frosting is firm. This chilling step is crucial for stability and ensures a smooth, clean finish for your final frosting application.
- Final Frosting Flourish: After chilling, apply the remaining frosting to the cake. Use an offset spatula or bench scraper to achieve smooth sides and a level top. Take your time to create crisp edges and a beautiful, even coating.
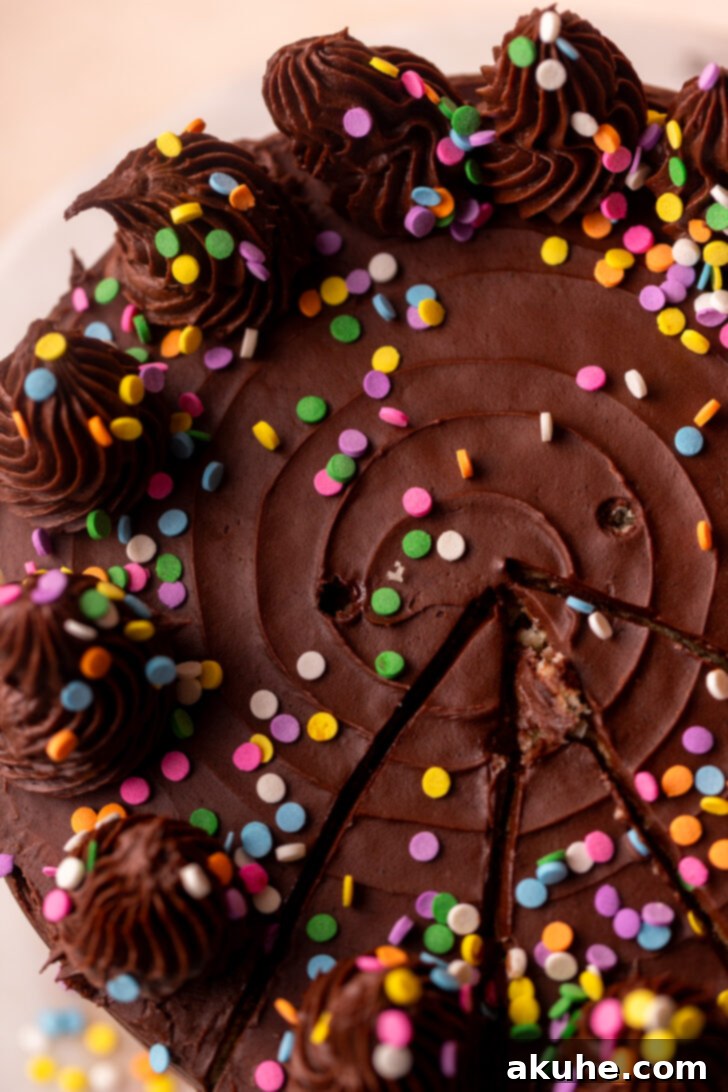
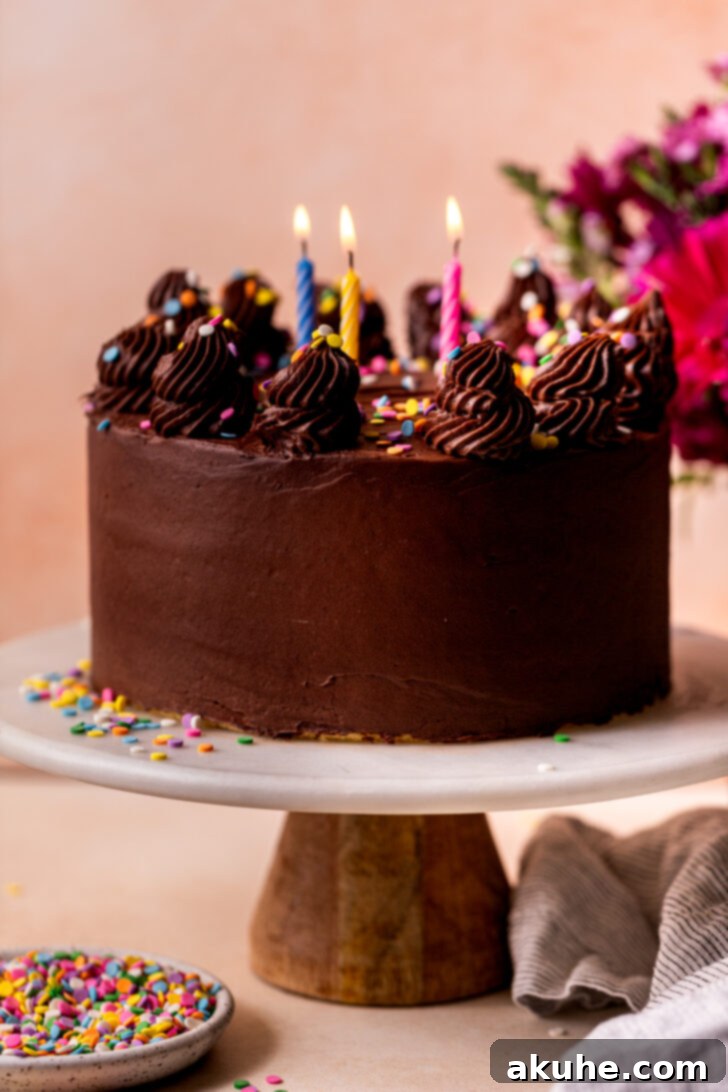
- Decorate with Flair: Now for the fun part! For an elegant touch, I used a Wilton tip 6B to pipe lovely dollops around the top edge of the cake, creating a decorative border. Finally, scatter your favorite sprinkles generously over the top of the cake. The vibrant colors of the sprinkles contrast beautifully with the rich chocolate frosting, adding a festive and inviting look.
Serving and Storing Your Homemade Yellow Cake
Once your masterpiece is complete, knowing how to properly serve and store it ensures that every slice remains as delicious as the first.
- Serving Suggestions: For the cleanest slices, use a long, sharp serrated knife. Dip the knife in hot water and wipe it clean between each cut. This prevents the frosting from tearing and gives you beautifully neat portions. Serve your cake at room temperature for the best flavor and texture; if refrigerated, let it sit out for about 30-60 minutes before serving.
- Storage Tips: Store any leftover cake covered at room temperature for up to 2 days, or in the refrigerator for up to 5 days. For longer storage, slices can be individually wrapped in plastic wrap and then placed in an airtight container in the freezer for up to 2-3 months. Thaw in the refrigerator overnight before bringing to room temperature to serve.
Frequently Asked Questions (FAQs) about Yellow Cake
Here are answers to some common questions that arise when baking homemade yellow cake:
- Can I use all-purpose flour instead of cake flour?
Yes, you can, but be aware that the texture will be slightly different. All-purpose flour has a higher protein content, which can result in a slightly denser and less tender crumb compared to cake flour. If you do use all-purpose flour, consider sifting it an extra time to help lighten it. - Can I make this cake ahead of time?
Absolutely! The cake layers can be baked a day or two in advance, cooled completely, wrapped tightly in plastic wrap, and stored at room temperature (or frozen for longer storage). The chocolate cream cheese frosting can also be made a day ahead and stored in an airtight container in the refrigerator; just make sure to bring it to room temperature and re-whip it briefly before assembling the cake. - Why is my yellow cake dry?
A dry cake can result from several factors. Over-baking is a common culprit, so always test for doneness with a toothpick. Using too much flour (often due to compacting it when measuring) or overmixing the batter can also lead to a dry, tough texture. Ensure all your ingredients are at room temperature to help create a well-emulsified, moist batter. - What can I substitute for buttermilk?
If you don’t have buttermilk on hand, you can easily make a substitute. For 1 cup of buttermilk, measure 1 cup of regular milk (dairy or non-dairy) and add 1 tablespoon of lemon juice or white vinegar. Stir gently and let it sit for 5-10 minutes until it slightly curdles. - How do I adjust this recipe for high-altitude baking?
Baking at high altitudes often requires slight adjustments to prevent cakes from collapsing or drying out. As a general rule for this recipe, you might add an extra 3 tablespoons of cake flour to help stabilize the structure, reduce the baking powder by about 1/4 teaspoon, and potentially increase liquids very slightly if the batter seems too thick. Start with small adjustments and note what works best in your specific environment.
Craving more delightful cake recipes? Be sure to try my charming mini vanilla cake and the deliciously spiced mini carrot cake.
Your Feedback Matters!
Loved this recipe? Please take a moment to leave astar review below! Your feedback helps other bakers discover and enjoy this delicious cake. Don’t forget to share your creations and tag me on Instagram @stephaniesweettreats. For more baking inspiration and ideas, make sure to follow me on Pinterest.
Watch the Magic Unfold: Recipe Video
Visual learners, rejoice! See every step of this delightful yellow cake recipe come to life in our detailed video tutorial. Watching the process can provide extra confidence and clarify any questions you might have.
The Ultimate Homemade Yellow Cake Recipe
Homemade Yellow Cake
Print Recipe
Pin Recipe
Leave a Review
Ingredients
Yellow Cake
- 3 1/2 cups Cake flour
- 1 tsp Baking powder
- 1/2 tsp Baking soda
- 1 tsp Salt
- 3/4 cup Unsalted butter, room temperature
- 1/4 cup Oil, canola or vegetable
- 1 3/4 cups White granulated sugar
- 3 Large eggs, room temperature
- 2 Egg yolks, room temperature
- 1 tsp Pure vanilla extract
- 1/4 cup Sour cream, room temperature
- 1 cup Buttermilk, room temperature
Chocolate Cream Cheese Frosting
- 1 1/2 cups Unsalted butter, room temperature
- 8 oz Cream cheese, room temperature
- 3 cups Powdered sugar, sifted
- 3/4 cup Unsweetened cocoa powder, dutch process sifted
- 1 tsp Pure vanilla extract
- Sprinkles, for decoration
Instructions
- Preheat the oven to 350℉ (175°C). Line three 8-inch cake pans with baking spray. Line the bottoms with parchment paper circles and spray again. Set aside.
- In a medium bowl, sift together the cake flour, baking powder, baking soda, and salt.3 1/2 cups Cake flour, 1 tsp Baking powder, 1/2 tsp Baking soda, 1 tsp Salt
- Using an electric mixer in a large bowl, beat the unsalted butter, oil, and granulated sugar on high speed for 2 minutes. The mixture should become pale in color and fluffy.3/4 cup Unsalted butter, 1/4 cup Oil, 1 3/4 cups White granulated sugar
- Add in the large eggs, egg yolks, pure vanilla extract, and sour cream. Mix on medium speed until just combined.3 Large eggs, 2 Egg yolks, 1 tsp Pure vanilla extract, 1/4 cup Sour cream
- Alternately add the sifted dry ingredients and buttermilk to the wet ingredients, beginning and ending with the dry. Mix on low speed until just combined. Be careful not to overmix. Split the batter evenly between the prepared cake pans.1 cup Buttermilk
- Bake for 26-29 minutes, or until a toothpick inserted into the center of a cake comes out clean with no wet batter.
- Let the cakes cool in their hot pans for 10 minutes before carefully inverting them onto a wire rack to cool completely. Ensure cakes are completely cool before decorating to prevent frosting from melting.
Chocolate Cream Cheese Frosting
- In a large bowl, sift the powdered sugar and unsweetened cocoa powder together to remove any lumps. Set aside.3 cups Powdered sugar, 3/4 cup Unsweetened cocoa powder
- Using an electric mixer, beat the room temperature unsalted butter on high speed for 2 minutes until light and fluffy. Scrape down the sides of the bowl, then add the room temperature cream cheese. Beat on high speed for another 1 minute until well combined and smooth.1 1/2 cups Unsalted butter, 8 oz Cream cheese
- Gradually add in half of the sifted powdered sugar and cocoa mixture, mixing on low speed until combined. Add the remaining powdered sugar mixture and mix on low until smooth. Finally, add the pure vanilla extract and beat on high speed for 1-2 minutes until the frosting is creamy, light, and fluffy.1 tsp Pure vanilla extract
Assembly
- Once completely cool, use a serrated knife to carefully level the domes off the top of each cake layer. Place the first cake layer onto your serving platter or cake stand.
- Spread approximately 1 cup of chocolate cream cheese frosting evenly over the first cake layer. Place the second cake layer on top and repeat with another 1 cup of frosting. For the third layer, place it with the bottom of the cake facing up to create a perfectly flat top.
- Apply a thin, even layer of frosting (the crumb coat) all over the entire cake. Freeze the cake for 15 minutes (or refrigerate for 30 minutes) to set the crumb coat. After chilling, apply the remaining frosting to the cake, smoothing the sides and top. Optional: For decorative flair, I used Wilton tip 6B to pipe dollops on top of the cake. Finish by generously topping with your favorite sprinkles.Sprinkles
Notes
High Altitude Baking: If baking at high altitudes, consider adding an extra 3 tablespoons of cake flour to help stabilize the cake structure.
Room Temperature Ingredients: For best results, pull out all dairy ingredients (butter, eggs, sour cream, buttermilk, cream cheese) at least 2 hours before you plan to start baking. This ensures proper emulsification and a smoother batter and frosting.
