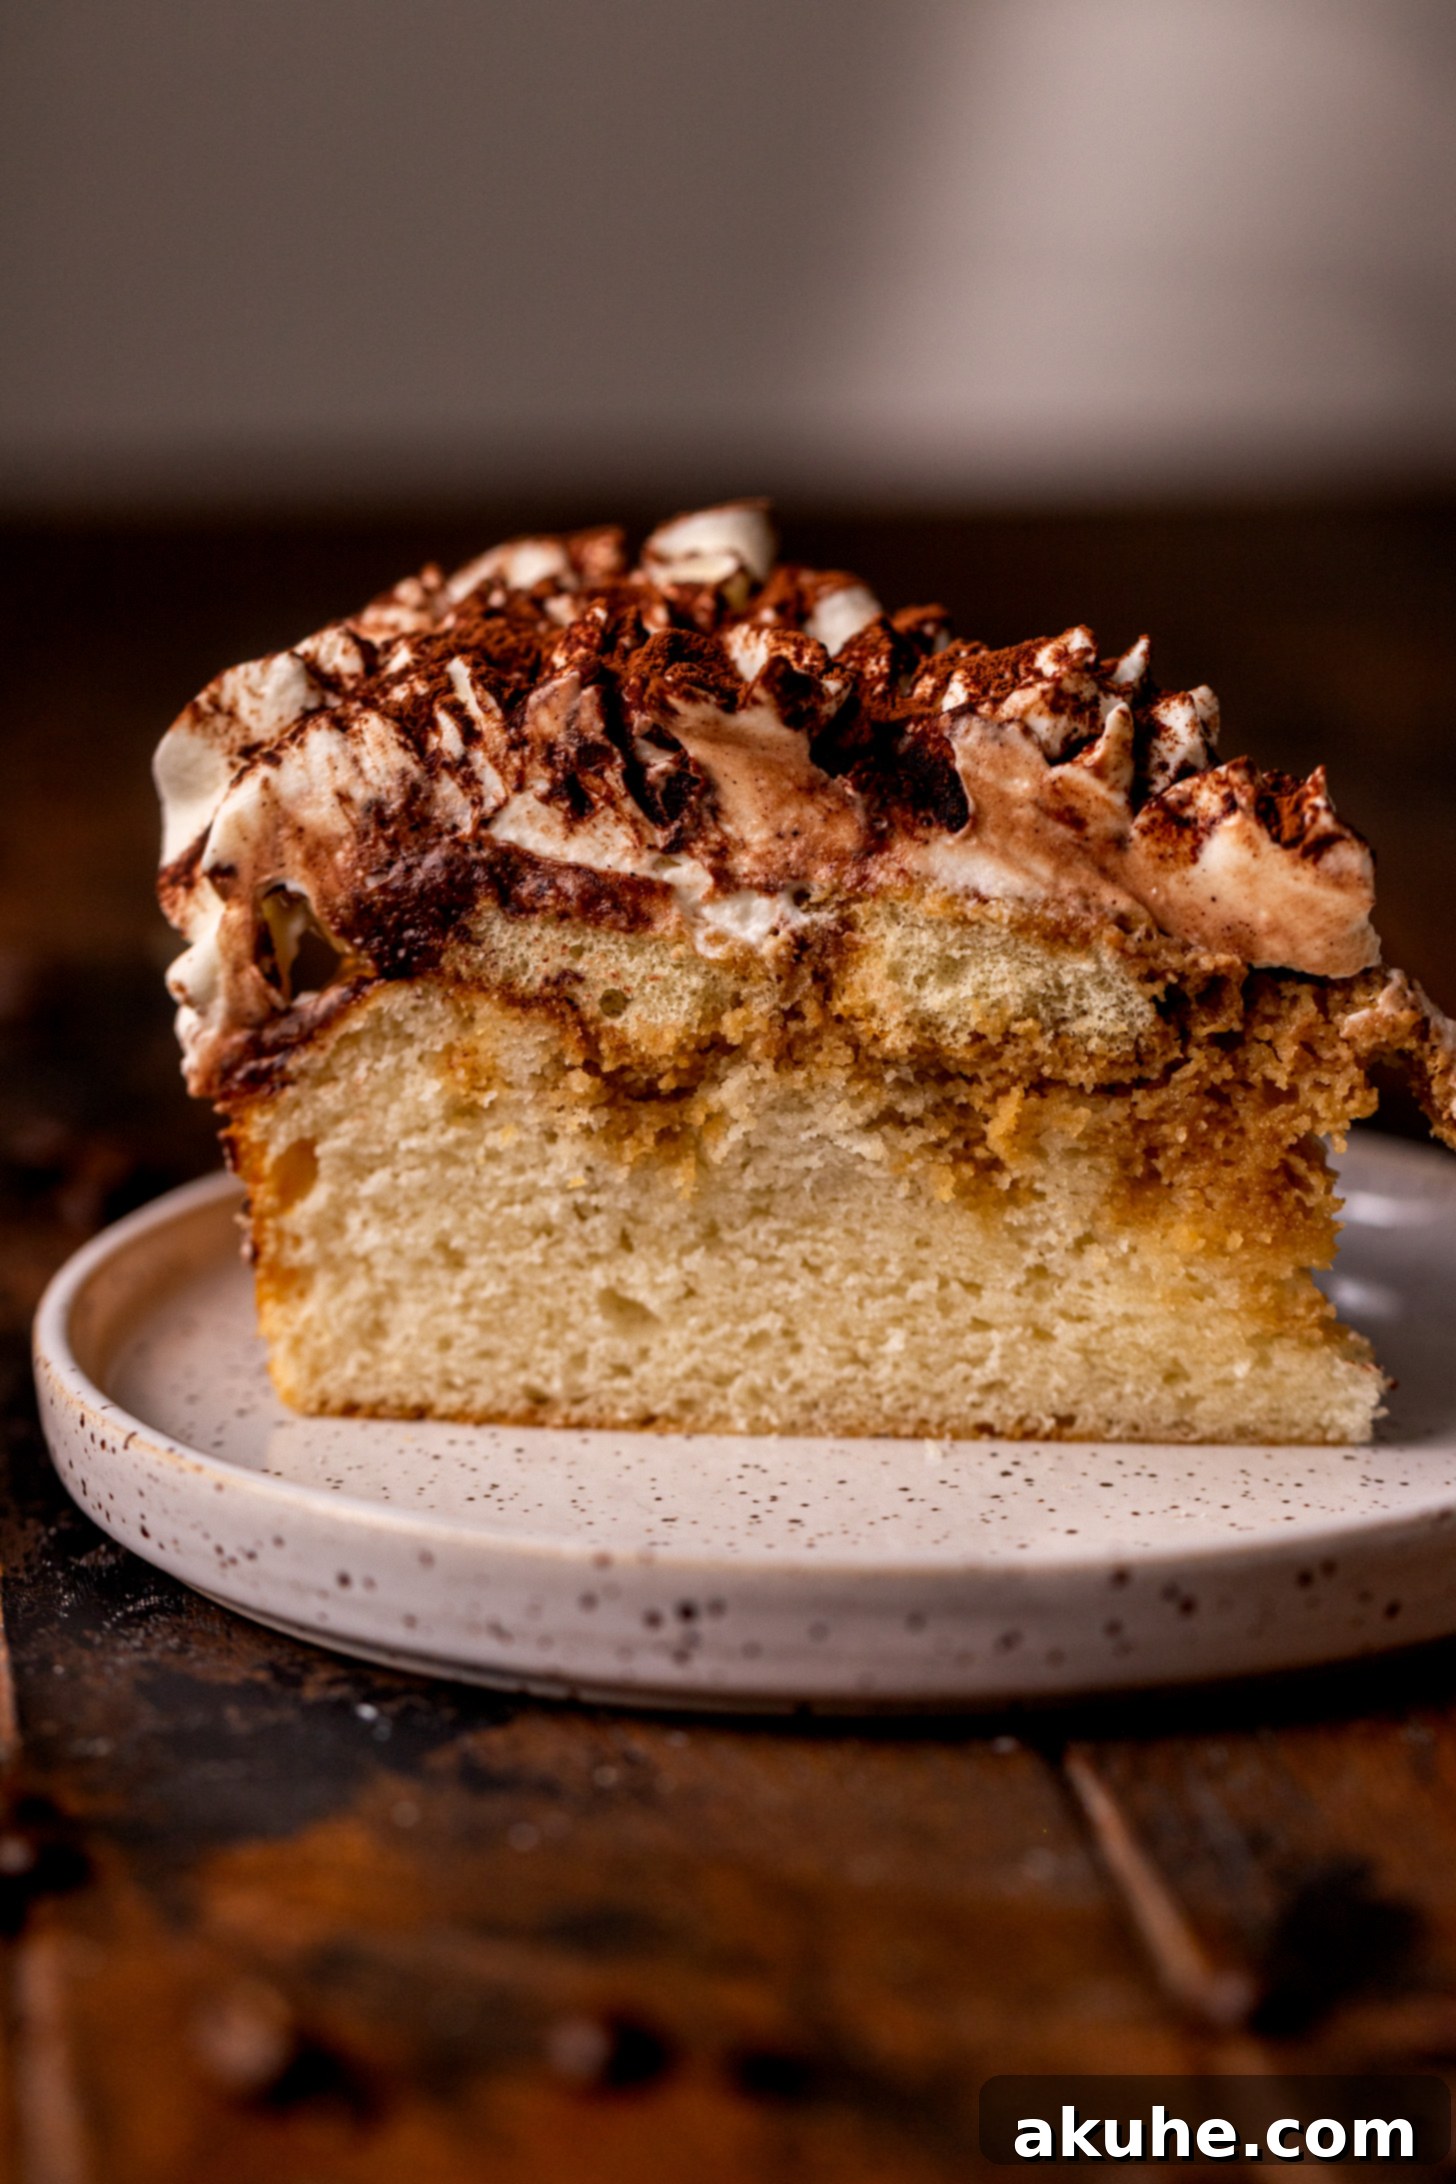
Delectable Tiramisu Cake: A Masterpiece Blending Italian Tradition with Classic Baking
Prepare to elevate your dessert experience with this exquisite Tiramisu Cake, a harmonious fusion of the beloved Italian classic and a beautifully crafted cake. This recipe features a light, airy white cake base, generously infused with an aromatic espresso milk soak. Each slice is then adorned with espresso-dipped ladyfingers, a luxurious mascarpone frosting, and a delicate dusting of rich cocoa powder, promising an unforgettable taste of Italy in every bite.
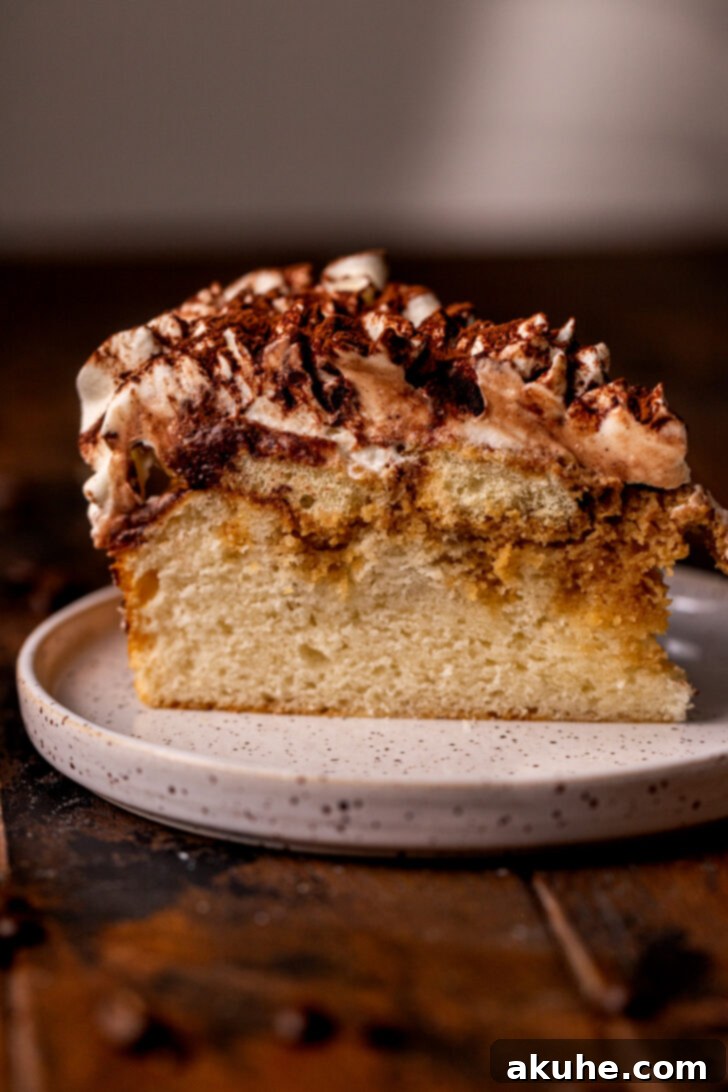
Why You’ll Adore This Tiramisu Cake
If you’re searching for a dessert that perfectly balances sophistication with comforting flavors, this Tiramisu Cake is your ideal choice. It brings together the iconic elements of traditional tiramisu – the creamy mascarpone, the coffee-soaked ladyfingers, and the bitter cocoa – all elegantly presented within a moist cake structure. While this recipe is crafted without alcohol, allowing the pure coffee and cream flavors to shine, it can easily be adapted with a splash of rum or Marsala wine for those who prefer a more traditional boozy kick. This cake is not just a dessert; it’s an experience, designed to impress guests and satisfy even the most discerning palates. It’s also a fantastic alternative to the layered dessert for those who prefer slicing a cake.
Beyond its incredible taste, this recipe is designed to be approachable for home bakers. With detailed tips, clear instructions, and helpful process photos, you’ll be guided every step of the way to ensure your tiramisu cake turns out beautifully. If you have a passion for tiramisu-inspired treats, you might also love exploring my Tiramisu Cheesecake for another delightful variation.
Essential Tips for Baking Your Perfect Tiramisu Cake
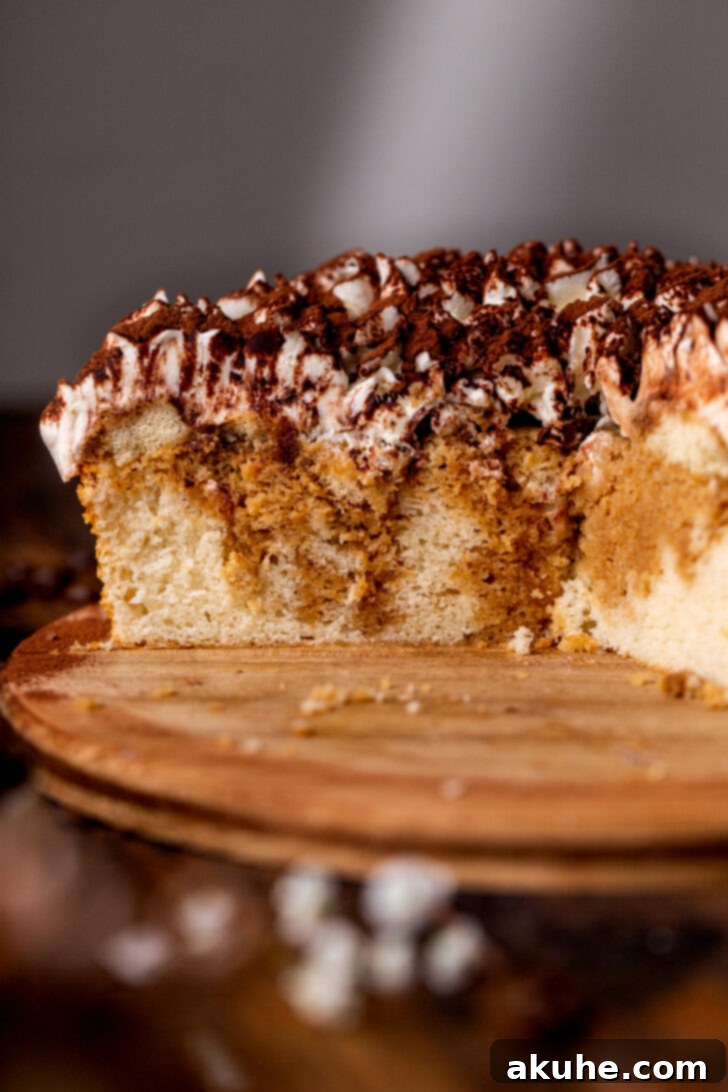
Achieving a bakery-worthy Tiramisu Cake is simpler than you might think when you follow these crucial tips. These insights will help ensure your cake is moist, flavorful, and perfectly structured, just like the one pictured here. For an in-depth guide on crafting the luscious mascarpone cream, be sure to consult my dedicated Mascarpone Frosting recipe.
- Precision in Flour Measurement: One of the most common reasons for dry cakes is incorrectly measured flour. Always gently spoon your flour into the measuring cup and level it off with a straight edge. Never scoop directly from the bag with your measuring cup, as this compacts the flour, resulting in too much dry ingredient and, ultimately, a dense, dry cake.
- Embrace Room Temperature Ingredients: For a truly moist and tender cake, ensure all your dairy ingredients (butter, sour cream, buttermilk, egg whites) are at room temperature before you begin baking. This allows them to emulsify more easily with other ingredients, creating a smoother, more uniform batter. A well-emulsified batter traps more air, leading to a lighter, more consistent crumb.
- The Art of Soaking Ladyfingers: When it comes to the ladyfingers, timing is everything. A quick dip in the espresso is all they need. Ladyfingers are incredibly porous and will absorb liquid rapidly. Over-soaking them will result in a soggy, crumbling mess rather than a delightful, moist layer. Dip each side for just a second or two.
- Don’t Overmix the Batter: Once you add the dry ingredients to the wet, mix on low speed only until just combined. Overmixing develops the gluten in the flour, which can lead to a tough and chewy cake texture. A few lumps are perfectly fine!
- Cool Completely: Before you even think about soaking or frosting your cake, it must be completely cool. Decorating a warm cake will cause the frosting to melt and slide off, making assembly impossible and resulting in a messy presentation. Patience is key for a beautifully finished cake.
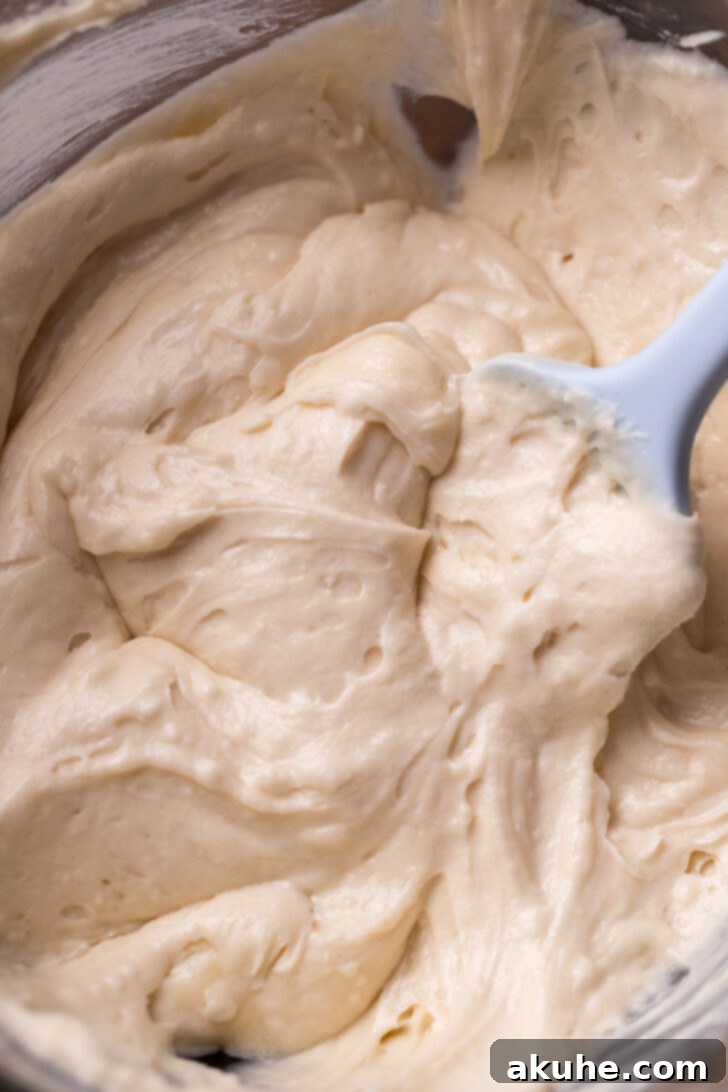
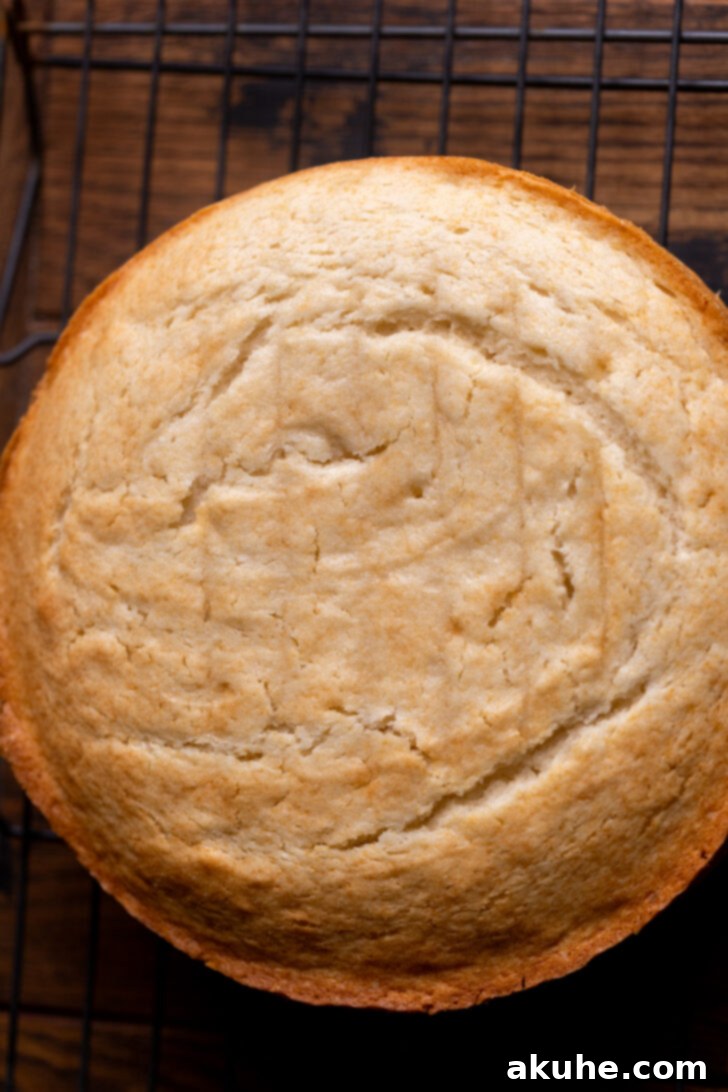
Crafting the Moist White Cake: Step-by-Step
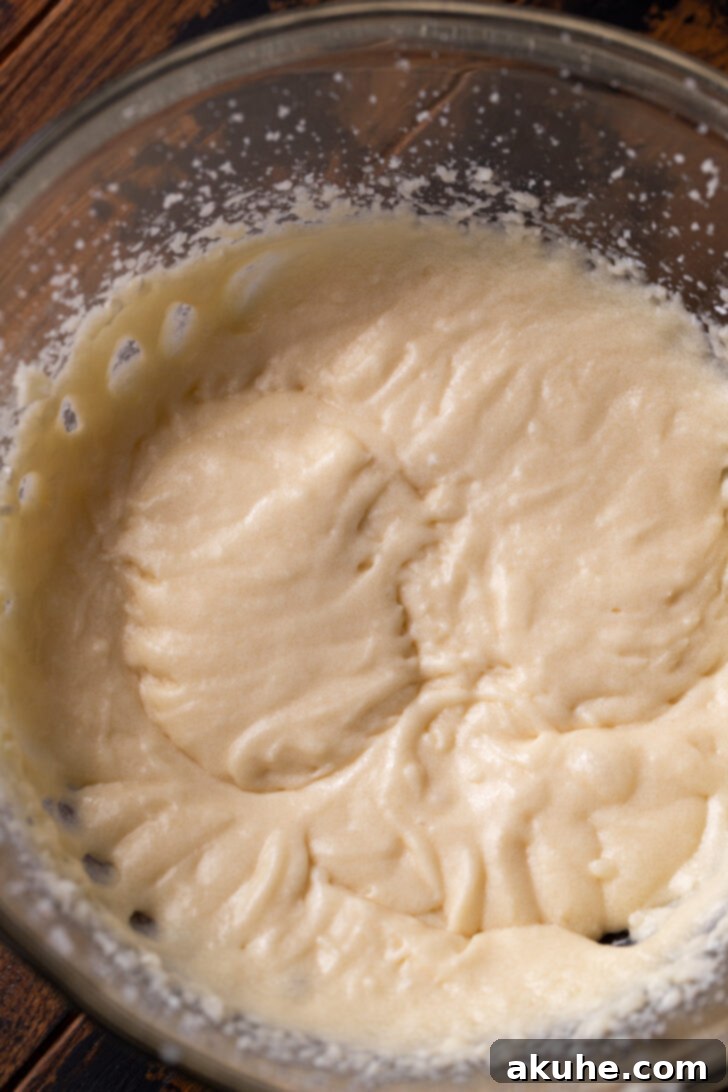
The foundation of this Tiramisu Cake is a wonderfully soft and moist white cake. Its delicate crumb is the perfect canvas for the bold flavors of espresso and rich mascarpone. Achieving this cake requires careful attention to detail, particularly with ingredient temperatures and mixing techniques, which contribute significantly to its light and tender texture.
- Preheat your oven to 350°F (175°C). Prepare an 8×8 inch (20×20 cm) square cake pan by spraying it thoroughly with baking spray. Line the bottom with a parchment paper circle and spray the paper again for an easy release. Set this prepared pan aside.
- In a medium-sized bowl, sift together the cake flour, baking powder, baking soda, and salt. Sifting helps to aerate the dry ingredients and prevents lumps, ensuring a smooth cake batter. Set this dry mixture aside.
- In a large mixing bowl, using an electric mixer, cream together the room temperature unsalted butter, oil, and granulated sugar on high speed for about 2 minutes. This creaming process incorporates air into the butter and sugar, which is crucial for a light and fluffy cake.
- Reduce the mixer speed to medium and add the pure vanilla extract, room temperature sour cream (or Greek yogurt), and room temperature large egg whites. Mix until these ingredients are just combined and smooth.
- Gradually add the sifted dry ingredients to the wet mixture, alternating with the room temperature buttermilk. Begin and end with the dry ingredients, mixing on low speed only until just combined after each addition. Be careful not to overmix, as this can lead to a tough cake. Remove the bowl from the mixer and use a spatula to scrape down the sides, ensuring everything is thoroughly incorporated.
- Pour the creamy cake batter evenly into your prepared cake pan. Bake for 34-39 minutes, or until a wooden toothpick inserted into the center comes out clean, indicating the cake is fully baked.
- Allow the cake to cool in the hot pan for 10 minutes before carefully inverting it onto a wire rack to cool completely. This resting period helps the cake retain its moisture and structure. Ensure the cake is entirely cool before proceeding with decoration.
Assembling Your Tiramisu Masterpiece: Layers of Flavor
With the white cake baked and cooled, it’s time to transform it into the Tiramisu Cake you’ve been dreaming of. This assembly process builds layers of coffee, cream, and tender cake, creating a dessert that’s both visually stunning and incredibly delicious. Each step is designed to maximize flavor and texture, from the espresso milk soak to the final dusting of cocoa.
- Once your cake is completely cooled, use a serrated knife to carefully level the top, removing any dome. This creates a flat surface for easier layering. Then, using a fork or skewer, poke holes about halfway down all over the cake’s surface. These holes will act as channels for the espresso milk soak.
- Prepare the espresso milk soak: First, mix the hot water and espresso powder until the powder is fully dissolved. Pour this strong espresso into a separate bowl. Stir in the granulated sugar and heavy cream until well combined. The sugar will dissolve in the warm espresso, and the cream will add richness.
- Gently and evenly pour the espresso milk soak over the poked cake. Use a pastry brush to ensure the liquid penetrates all the holes, thoroughly moistening the cake without making it soggy. Let the cake sit for about 10 minutes, allowing the soak to be fully absorbed before moving to the next step.
- Now, prepare the ladyfingers: In a shallow bowl (wide enough to accommodate a ladyfinger), mix another batch of hot water and espresso powder. Quickly dip each ladyfinger into the espresso, turning it once to ensure both sides are lightly soaked. Do not let them sit in the liquid for too long. Arrange the soaked ladyfingers neatly over the entire surface of the espresso-soaked cake, pressing them down gently.
- Prepare the mascarpone frosting: In a small bowl, using a hand mixer, beat the cold mascarpone cheese and sifted powdered sugar together until the mixture is smooth and creamy.
- In a separate chilled metal bowl, using a whisk attachment on your electric mixer, beat the cold heavy cream and pure vanilla extract on high speed until soft peaks form.
- Gently fold the mascarpone mixture into the whipped cream until fully combined. Continue beating on high speed until stiff peaks form, creating a rich, airy, and stable mascarpone frosting.
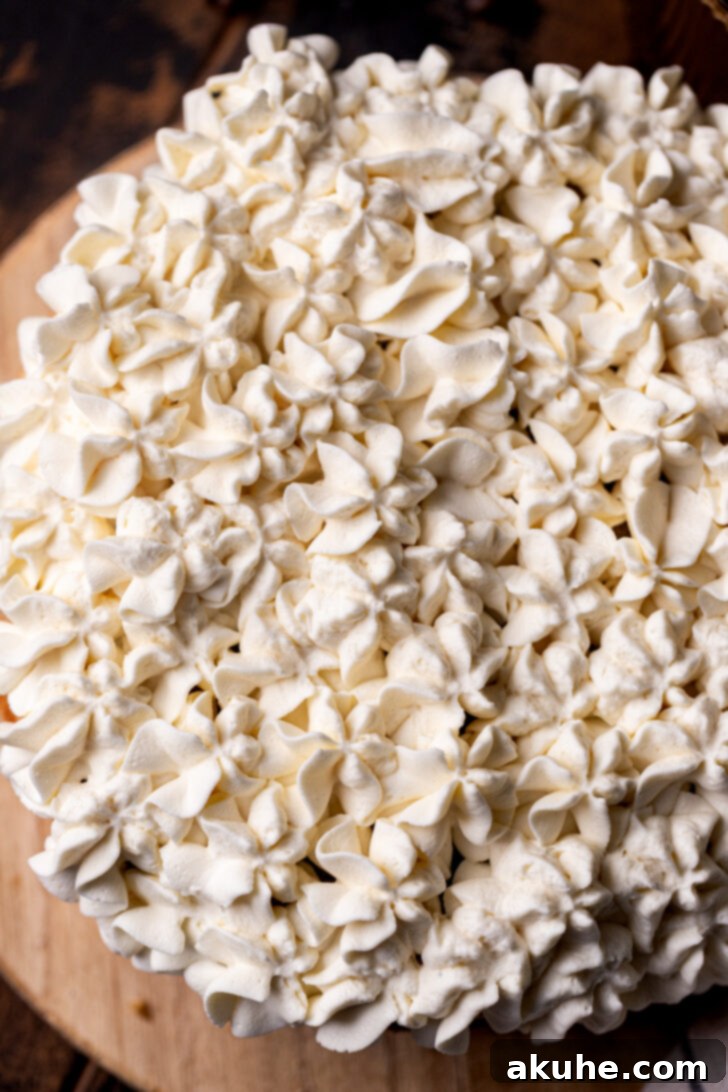
- Transfer the mascarpone frosting to a piping bag fitted with your desired tip (a Wilton 4B tip creates beautiful dollops). Pipe small, attractive dollops of the frosting over the entire layer of ladyfingers.
- For the finishing touch, place a small amount of cocoa powder in a fine mesh sieve and dust the top of the cake generously. This adds a beautiful visual contrast and a hint of classic tiramisu bitterness.

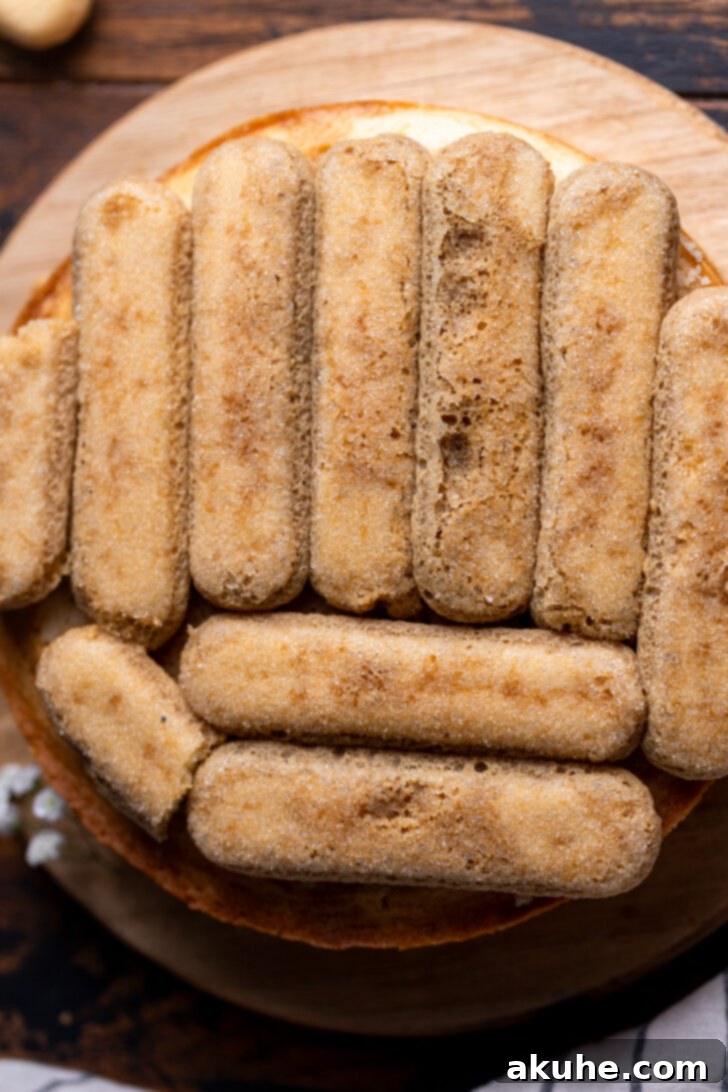
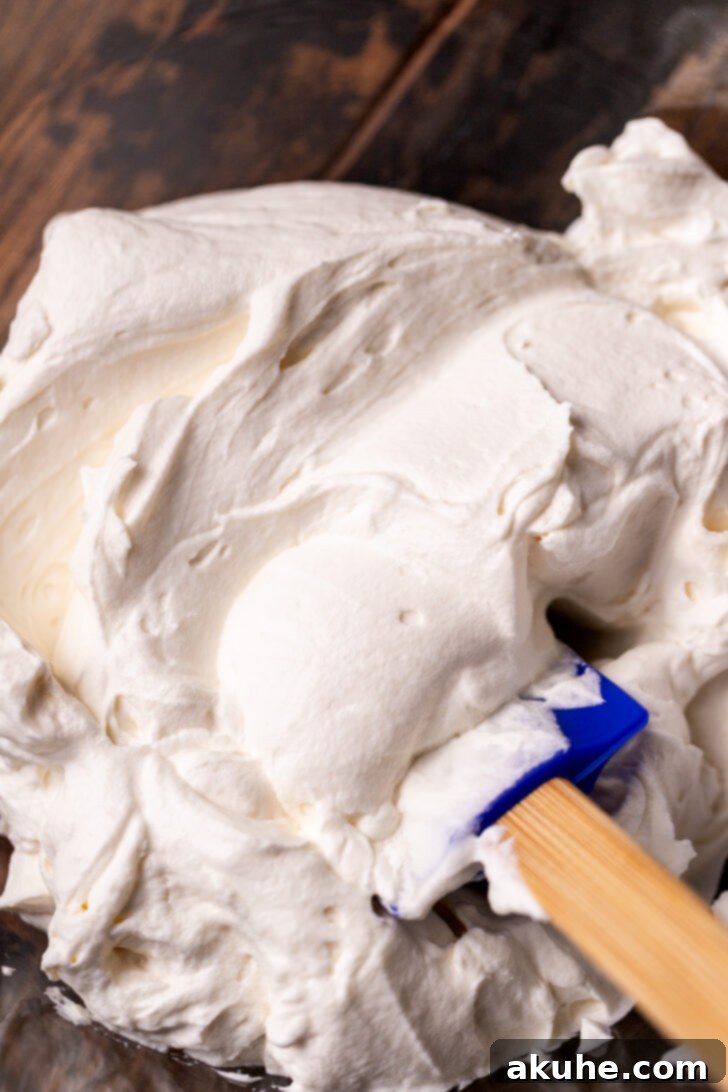

Storage and Serving Suggestions
To ensure your Tiramisu Cake remains as fresh and delicious as possible, store it covered in the refrigerator. It will keep well for up to 3-4 days. The flavors actually meld and deepen over time, so consider making it a day in advance for optimal taste. When serving, allow the cake to sit at room temperature for about 15-20 minutes before slicing to soften the mascarpone frosting slightly, enhancing its creamy texture. This cake is rich and satisfying on its own, but a simple garnish of fresh berries or an extra dusting of cocoa can elevate its presentation even further.
For those who love the bold flavors of coffee in their desserts, this Tiramisu Cake is just the beginning. Explore more coffee-infused delights like my Espresso Chocolate Chip Cookies or these delightful Chewy Coffee Cookies, perfect for any coffee enthusiast!

Did you enjoy this recipe? We’d love to hear from you! Please leave astar review and share your experience. Don’t forget to tag me on Instagram @stephaniesweettreats with your stunning creations! For more delicious baking ideas and inspiration, make sure to follow me on Pinterest.
Watch the Recipe Video

Tiramisu Cake
This tiramisu cake is a one layer soft and moist white cake. It is poked with an espresso milk soak, then topped with ladyfingers soaked in espresso, a light mascarpone frosting, and a dusting of cocoa powder.
Pin Recipe
Leave a Review
30 mins
25 mins
30 mins
1 hr
25 mins
16 slices
Ingredients
White Cake
- 1 3/4 cups Cake flour
- 1 tsp Baking powder
- 1/4 tsp Baking soda
- 1/2 tsp Salt
- 1/2 cup Unsalted butter, room temperature
- 2 TBSP Oil, canola or vegetable
- 1 cup White granulated sugar
- 1 TBSP Pure vanilla extract
- 1/4 cup Sour cream, room temperature or Greek yogurt
- 3 Large egg whites, room temperature
- 1/2 cup Buttermilk, room temperature
Espresso Milk Soak
- 1 cup Hot water
- 1 TBSP Espresso powder
- 1/2 cup White granulated sugar
- 1/4 cup Heavy cream
Mascarpone Frosting & Assembly
- 4 oz Mascarpone cheese, cold
- 1/2 cup Powdered sugar, sifted
- 1 tsp Pure vanilla extract
- 1 cup Heavy cream
- 12 Ladyfingers
- 1 cup Hot water
- 1 TBSP Espresso powder
- Cocoa powder, for dusting
Instructions
White Cake
Preheat the oven to 350℉ (175°C). Spray an 8×8 inch (20×20 cm) cake pan with baking spray. Line the bottom with a parchment paper circle and spray again. Set aside.
In a medium bowl, sift the cake flour, baking powder, baking soda, and salt. Set aside.
Using an electric mixer in a large bowl, beat the unsalted butter, oil, and white granulated sugar on high speed for 2 minutes until light and fluffy.
Add the pure vanilla extract, sour cream, and egg whites. Mix on medium speed until just combined. Gradually add the dry ingredients and buttermilk, mixing on low speed until just combined. Take the bowl off the mixer and scrape the sides of the bowl with a spatula to ensure all ingredients are incorporated.
Spread the cake batter evenly into the prepared cake pan. Bake for 34-39 minutes, or until a toothpick inserted into the center comes out clean.
Let the cake sit in the hot pan for 10 minutes before carefully transferring it to a wire rack to cool completely. Ensure the cake is fully cooled before proceeding with decorating.
Espresso Milk Soak
Once the cake is completely cooled, use a serrated knife to cut off the domed top, creating a flat surface. Use a fork or skewer to poke holes all over the cake, about halfway down.
First, prepare the espresso by mixing the hot water and espresso powder. Pour the espresso into a bowl. Add the granulated sugar and heavy cream, and mix until the sugar is dissolved.
Gently pour the prepared espresso milk soak over the poked cake. Use a pastry brush to ensure the liquid permeates into all the holes. Let the cake sit for 10 minutes to absorb the soak before decorating further.
Mascarpone Frosting & Assembly
Prepare the espresso for the ladyfingers: Mix hot water and espresso powder in a shallow bowl (wide enough for a ladyfinger).
Quickly dip each ladyfinger into the espresso (just a quick soak on each side) and arrange them on top of the cake, covering the entire surface.
In a small bowl, using a hand mixer, beat the cold mascarpone cheese and sifted powdered sugar together until creamy and smooth.
In a separate chilled metal bowl, using a whisk attachment, beat the cold heavy cream and pure vanilla extract on high speed until soft peaks form. Gently fold in the mascarpone mixture, then continue beating on high until stiff peaks form.
Transfer the mascarpone frosting to a piping bag (I used a Wilton 4B tip) and pipe little dollops all over the top of the ladyfingers. Finish by putting a small amount of cocoa powder in a mesh sieve and dusting generously over the piped frosting.
Notes
Flour Measurement: For the most accurate results, always spoon your flour into the measuring cup and level it off. Alternatively, using a kitchen scale for precise weight measurement is ideal. Compacted flour can significantly dry out your cake.
High Altitude Baking: If you are baking at a high altitude, consider adding an extra 2 tablespoons of cake flour to your dry ingredients to help stabilize the cake structure.
Room Temperature Dairy: Remember to pull out all dairy ingredients at least 2 hours before you plan to start baking. This ensures they are at optimal room temperature for proper emulsification and a smooth batter.
Nutrition Information (per serving)
Calories: 330kcal, Carbohydrates: 39g, Protein: 4g, Fat: 19g, Saturated Fat: 11g, Polyunsaturated Fat: 1g, Monounsaturated Fat: 5g, Trans Fat: 0.2g, Cholesterol: 65mg, Sodium: 148mg, Potassium: 81mg, Fiber: 0.4g, Sugar: 20g, Vitamin A: 631IU, Vitamin C: 0.1mg, Calcium: 58mg, Iron: 1mg
Did you make this recipe?
Please leave a star rating and review below!
